|
|
|
Nov 21, 2018 22:38:08 GMT
|
|
i don't think your solder is an issue, but worse case you are about 4 compression joints away from putting the internet back to the warm comfortable bosom of defcon 5?
is the quarter turn valve for rapid discharging the system? that's neat, i'd actually like something like that for my portable one. when i bought it, it had a keyring-ring on the overpressure valve. in my mind that was a green light to use it to discharge the compressor. yep it did stretch the spring in the valve and yes it did start discharging on its own before the compressor reached its target.
|
| |
|
|
|
|
tristanh
Part of things
  Routinely bewildered
Posts: 990 
|
|
|
|
|
Gas specific ones are designed to run at a working pressure of 750mbar max. You can get airline specific ones from the likes of Wurth. Possibly even Screwfix.
|
| |
Whether you believe you can, or you cannot, you're probably right.
|
|
|
|
|
Nov 22, 2018 22:09:22 GMT
|
Gas specific ones are designed to run at a working pressure of 750mbar max. You can get airline specific ones from the likes of Wurth. Possibly even Screwfix. It's for water and oil too. I hope it's not rated at 750mbar 'cos I might be a gnats chuff over that 10bar.  is the quarter turn valve for rapid discharging the system? that's neat, Er, actually no. Although I suppose you could. I always discharge it through the drain tap in the bottom of the tank. It's actually related to this valve... 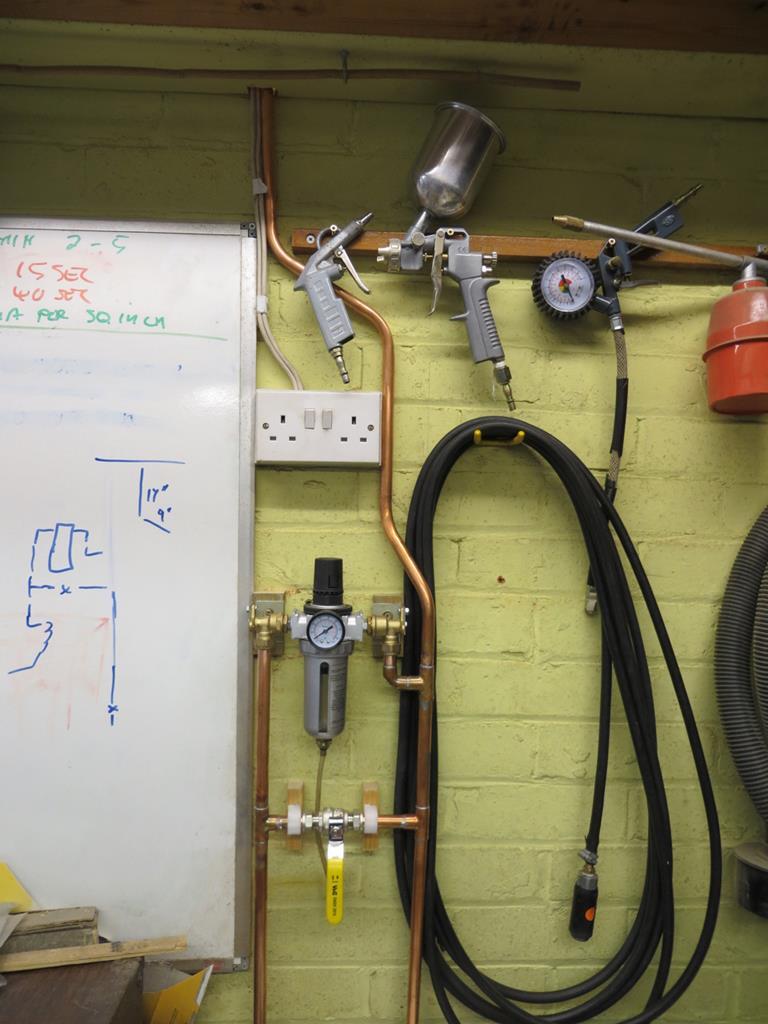 ...under the water trap. You see, as good as the trap is it has a disadvantage. When using a lot of air it drops the pressure on the outlet side a bit. It's a bit restrictive. Normally it doesn't matter but occasionally, notably when using the media blaster or the rattle gun, I need all the output of the compressor. The valve under the water trap allows me to quickly bypass it if I need to. I might stencil the wall "Open Valve For Full Beans Mode" for a bit of fun. Here's why I actually wanted to use copper, at least in the first stages. Moisture that gets through the trap or when I've bypassed it will (hopefully) condense in the cold copper pipe on the output side. It'll then run down into the dead leg and I can drain it through the valve in the bottom of the pipe. There is an outlet very close to all this stuff but I deliberately took the copper right to the ceiling to give moisture more chance to condense before the outlets. Will it work? No clue! But I did think it through. Honest! Back to the idea of a rapid discharge valve... I'll tell you a story... Years ago I needed to rerun the gas pipe through the house. It was a tortuous route which involved crawling under the house, having the floors up and so on. It was going to take weeks of truly miserable work. So I organised with my nice gasman that I'd run the pipe and get him to test and commission it when he put the new boiler in. I wanted to check it before I asked him to commission it so, not realising that he'd test it at a few mbar for a few mins, I blew it up to 2 bar for an hour. It held perfectly and, well, I have a good safety margin! So, test completed, I went into the little loft space which I now call "the boiler room" and wanged open the 22mm quarter turn valve. So remember this is just a long length of pipe at 2 bar exhausting into a dirty little loft space... The noise was earth shattering and I disappeared in a monumental dust cloud as any loose fluff in the room took to the air. If you thing I'm opening that drain valve with 10 bar and a full tank behind it you are sadly mistaken! |
| |
|
|
|
|
|
Nov 22, 2018 22:22:11 GMT
|
So, test completed, I went into the little loft space which I now call "the boiler room" and wanged open the 22mm quarter turn valve. So remember this is just a long length of pipe at 2 bar exhausting into a dirty little loft space... The noise was earth shattering and I disappeared in a monumental dust cloud as any loose fluff in the room took to the air. If you thing I'm opening that drain valve with 10 bar and a full tank behind it you are sadly mistaken! when i bought my compressor it had a key-ring ring through the top of the overpressure valve, why would they do that ? its like a big red button do not press. |
| |
|
|
|
|
|
|
|
So, test completed, I went into the little loft space which I now call "the boiler room" and wanged open the 22mm quarter turn valve. So remember this is just a long length of pipe at 2 bar exhausting into a dirty little loft space... The noise was earth shattering and I disappeared in a monumental dust cloud as any loose fluff in the room took to the air. If you thing I'm opening that drain valve with 10 bar and a full tank behind it you are sadly mistaken! when i bought my compressor it had a key-ring ring through the top of the overpressure valve, why would they do that ? its like a big red button do not press. Mine is the same. Only in the last few years have I stopped using that (the noise is horrific) to empty the tank and it wasn't because I realised that wasn't what it was for. I started cracking open the tank drain plug and letting the air bleed that way so I know it's also getting out any water that would have sat in there for months otherwise. |
| |
Last Edit: Nov 23, 2018 8:52:45 GMT by Deathrow
|
|
|
|
|
Nov 23, 2018 11:04:55 GMT
|
|
The rusty mank that comes out of the tank is scary isn't it. I've never really worked out how I'm supposed to inspect the tank, or how long they last.
And mine too has the ring in the safety valve. No idea why. Maybe it's just holds the pieces together during manufacturing?
|
| |
|
|
|
|
|
Nov 23, 2018 14:05:56 GMT
|
when i bought my compressor it had a key-ring ring through the top of the overpressure valve, why would they do that ? its like a big red button do not press. Mine is the same. Only in the last few years have I stopped using that (the noise is horrific) to empty the tank and it wasn't because I realised that wasn't what it was for. I started cracking open the tank drain plug and letting the air bleed that way so I know it's also getting out any water that would have sat in there for months otherwise. i stopped doing it when the overpressure valve started venting before the compressor reached its target (8 bar), then had to buy a new valve. there you go kids, don't play with your ring. |
| |
|
|
|
|
|
Nov 23, 2018 16:28:32 GMT
|
The rusty mank that comes out of the tank is scary isn't it. I've never really worked out how I'm supposed to inspect the tank, or how long they last. And mine too has the ring in the safety valve. No idea why. Maybe it's just holds the pieces together during manufacturing? It is a bit alarming. The outside of mine has got some surface rust on it and the paint has flaked off. The outside doesn't really get wet so I can't imagine the inside is better off. I was reading a bit about this and I understand they all have a plate welded on to the end that indicates the pressure the tank is rated for and when it was tested. I think you're meant to get them tested periodically to check that they're still up to the task. I imagine though that the testing probably comes close to the cost of a replacement compressor. EDIT: Removed incorrect info. |
| |
Last Edit: Nov 23, 2018 16:39:03 GMT by Deathrow: Removed incorrect information.
|
|
|
|
|
Nov 25, 2018 17:21:31 GMT
|
|
|
| |
|
|
jamesd1972
Club Retro Rides Member
Posts: 2,921  Club RR Member Number: 40
|
|
|
|
|
Haven’t you got some outside to do as well?
James
|
| |
|
|
|
|
|
|
|
|
|
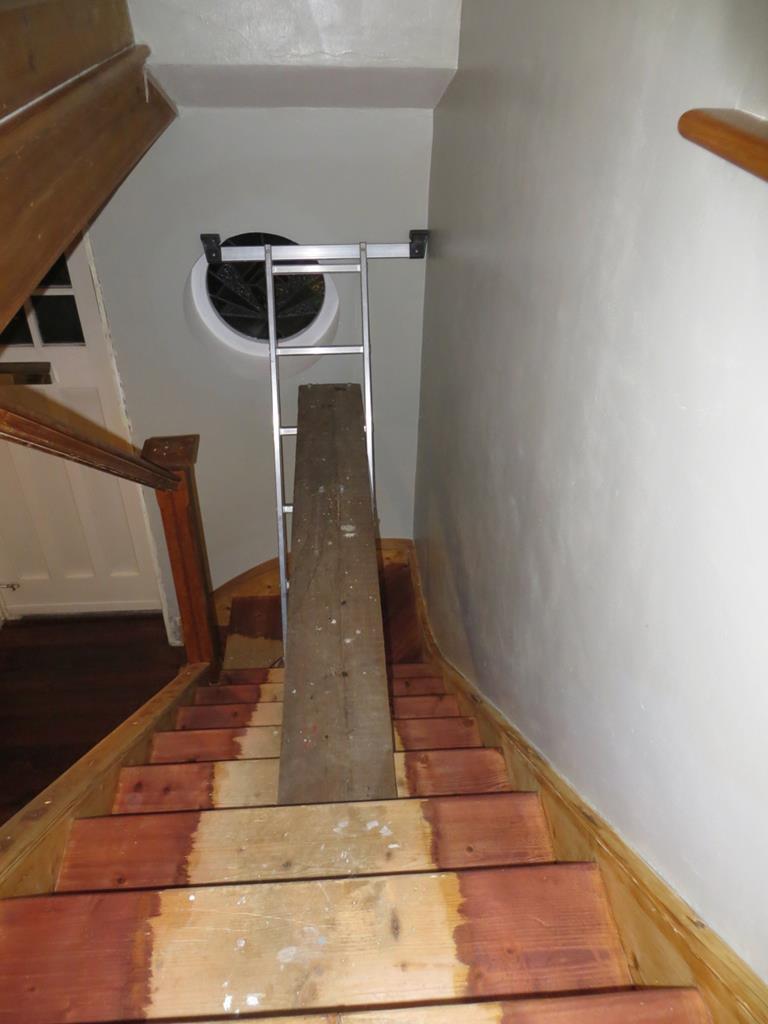
Haven’t you got some outside to do as well? James Hang on, he hasn't finished falling off the inside plank yet 😊 |
| |
|
|
|
|
|
|
|
I'll get back to the painting story presently. Actually we are rapidly heading towards some woodwork. But in the meantime we've noticed scratching sounds from near the patio doors in the evenings. I've not been entirely sure whether they were coming from inside the house or outside. I was pretty sure it was a mouse. Or worse.  We've seen no evidence of there being any furry friends in the house, the noise always comes from near the door, and a trap under the floor hasn't caught anybody. So is our friend under the decking just outside? Yesterday I lifted a couple of planks from the decking and, sure enough, found a nest tucked up right by the house, and saw one creature doing a runner. It's either a very healthy mouse or a little rat. I didn't get a good look, I was too busy screaming like a girl. I don't believe our friend can get access to the house from there but I'm not too happy about his presence so close. Anyway, what with it being Christmas and all, good will to all men (and furry rodent friends?)... Well I was upset that I'd woken the poor thing from his daytime slumbers so I thought I'd make amends. I've left him a nice meal on a 'special serving platter'. James |
| |
|
|
|
|
|
Dec 14, 2018 22:06:29 GMT
|
Tragic news... Mr Ratty doesn't yet have a squashed head. Might change the bait tomorrow. Anyhoo. Some considerable time ago. I was stripping the paint off the stairs. Washing them, sanding, oiling and so on... I probably said that if my missus suggested painting them I'd divorce her. Well, if I didn't actually say that I definitely thought it. Well the stringer didn't look right and I painted it. 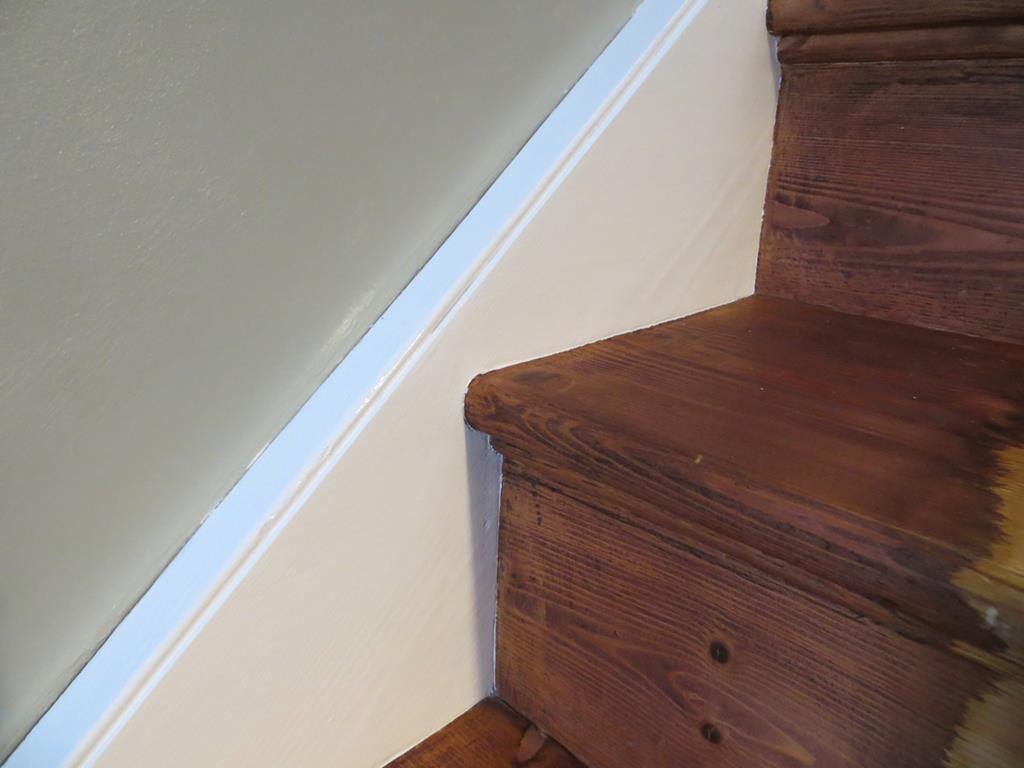 It was a a bit of a difficult decision after all the work getting the paint off but it really didn't look good. It does look good painted so I'm happy. A lot of wasted work? Well not really. The shape has definition now it's not under a dozen layers of gloss. A bit of an odd thing to say about a flat piece of wood but there is truth in it. In places you now see a bit of the grain through the paint. What I'm trying to say here is that it looks crisp but hasn't lost its age and character. Could I be working hard to justify slapping paint on the stringer? Maybe but it was the right thing to do. So next... 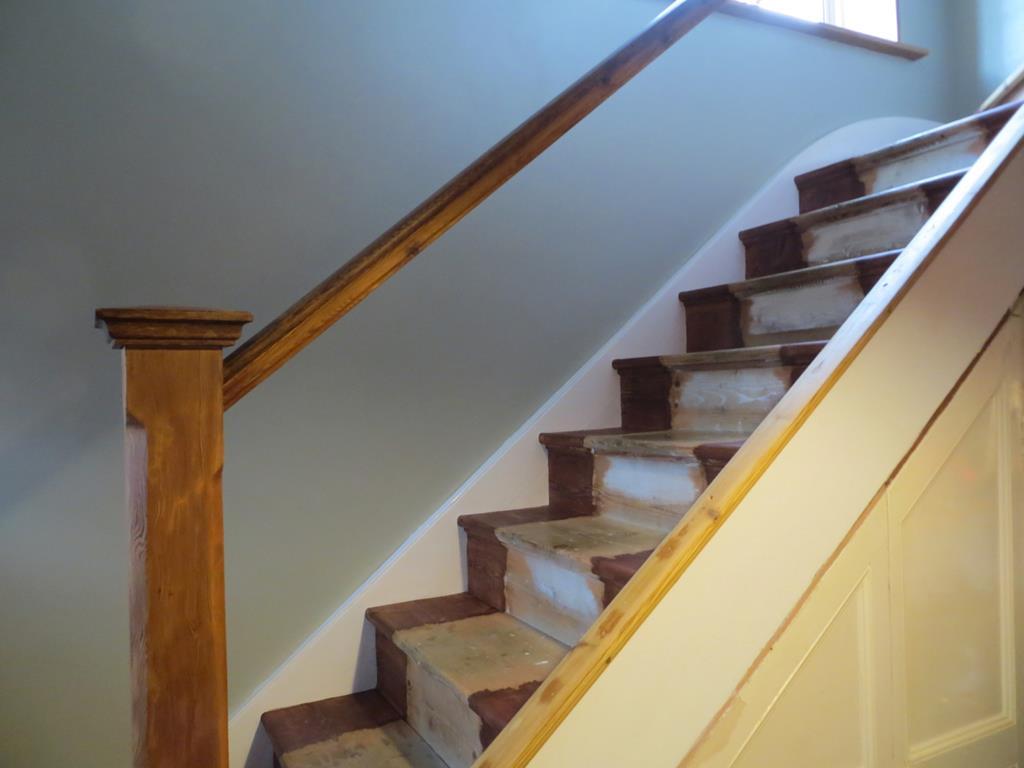 I seem to have a banister and a newel post but no woody spindle things. Originally it had a glass panel. You know, the sort of thing that breaks when you fall down the stairs and cuts your femoral artery so you bleed to death... Now you can just buy these spindle things but my 1930s stair case had odd sized ones by modern standards. They are about an inch and a half by an inch and an eighth. So I thought I'd buy some oak and make them. Just plain square. Nothing fancy. 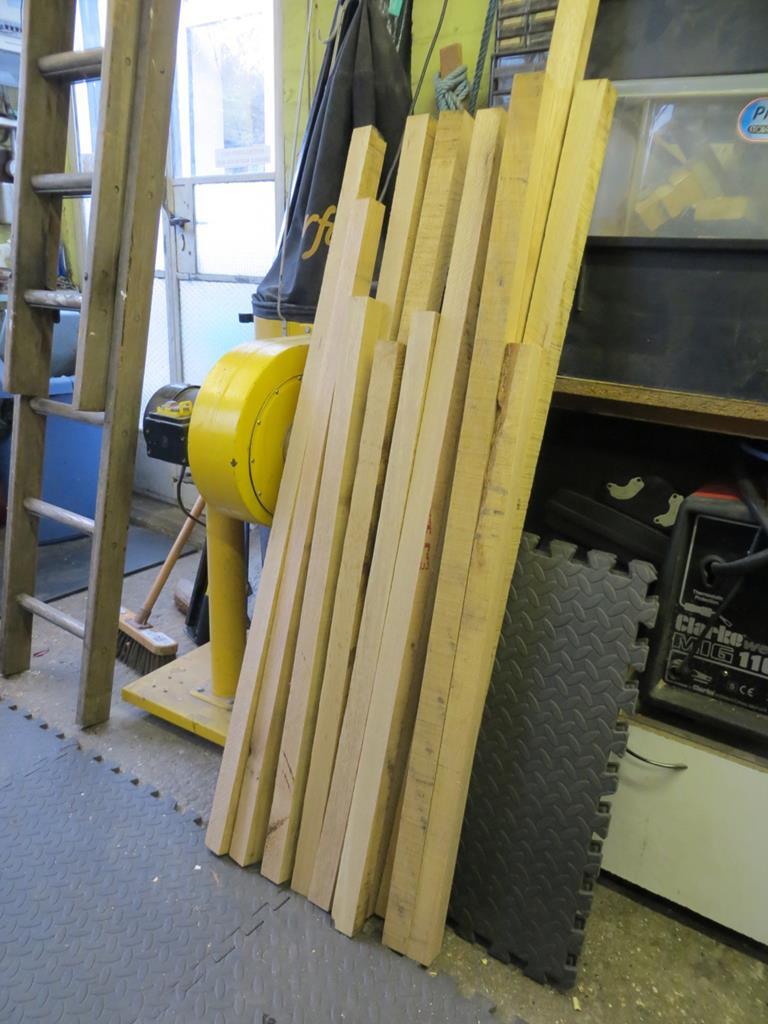 So, as if by magic, some rough sawn oak appears in "Installation #651"...  Otherwise known as the garage. And I set to with the plainer. Just enough to get a flat side. 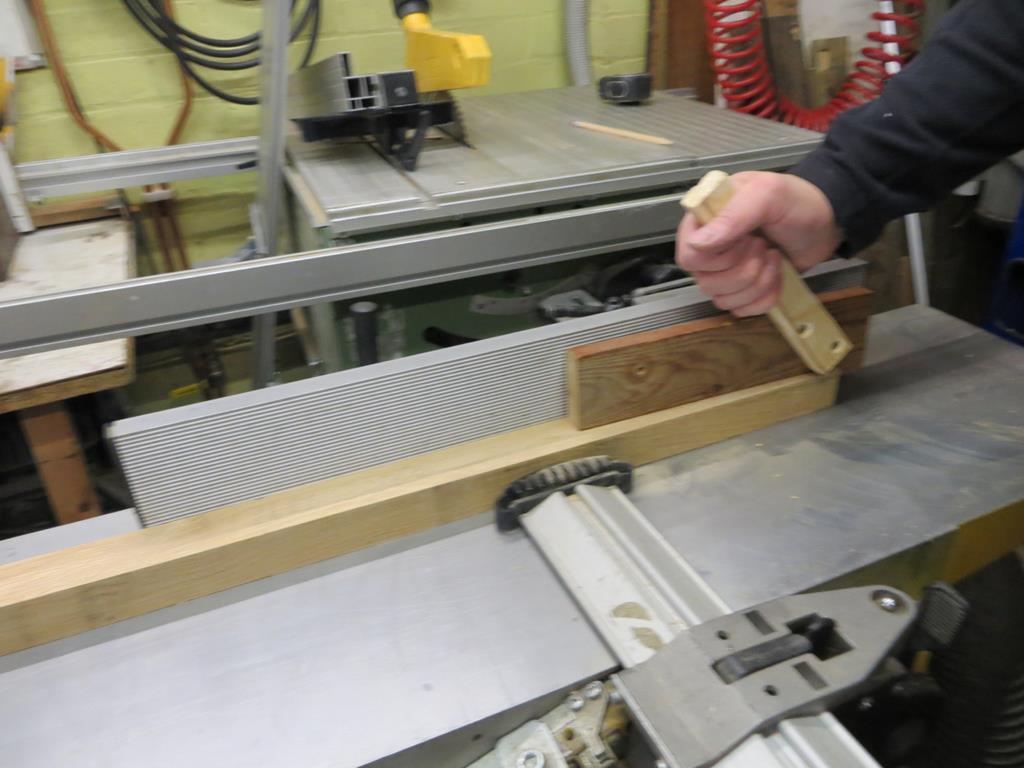 And, yes, I agree that's an utterly rubbish photo. I'm ashamed to show it but it's the only one I've got. Then the plainer gets switched to thicknesses mode and we get down to the final dimensions. Look, I've made you a little video to illustrate the process. I hope you weren't expecting an exciting and enlightening commentary like you'd get from jimspolicev8sd1 or ivanhoew 'cos you'd be sadly disappointed. Although, in my defence there isn't much to say about pushing wood into a machine and catching it on the other side. And you wouldn't have heard me anyway. So I tried to make up for the lack of commentary with exciting camera angles and impeccable production values. And probably failed. Anyway, some oak turned into a pile of chips on the floor... 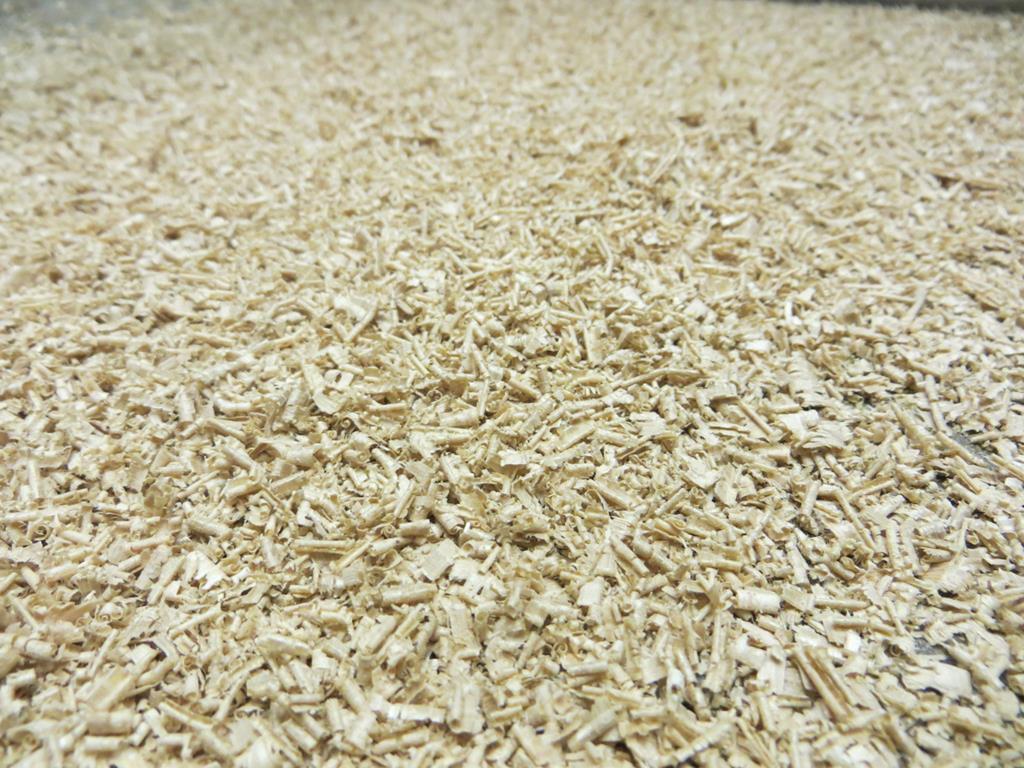 ...and some stair spindles. 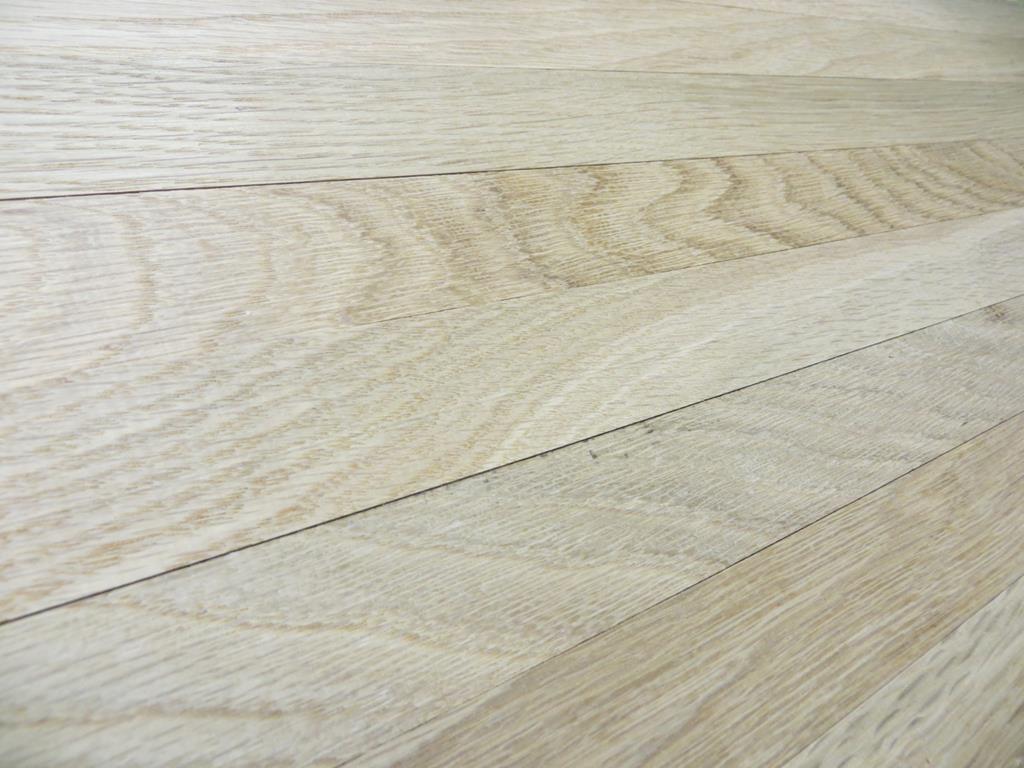 You know oak really is good looking stuff. It looks even more appealing and attractive when it's nicely oiled. People have said the same about me! James PS (I wish...  ) |
| |
|
|
|
|
|
Dec 15, 2018 10:11:44 GMT
|
Wonderful. I don't think I've seen as good an oak planing video in ages. Thank you.  |
| |
|
|
|
|
|
Dec 15, 2018 13:34:44 GMT
|
Wonderful. I don't think I've seen as good an oak planing video in ages. Thank you.  Many would say you still haven't. I went to change the bait in Mr Ratty's special dinner platter today. He's not stupid. Realising that this thing was foreign and possibly dangerous he'd piled dead leaves all around it and changed his route in and out to stay clear of it. I think I'm about to be outsmarted by a small rodent. How embarrassing. |
| |
|
|
|
|
|
Dec 15, 2018 16:16:40 GMT
|
|
dad used to have a sticker in his garage window saying "my cocks always in first" which is a racing pigeon pun.
the joke was lost on me for an embarrassingly long time
|
| |
|
|
Wilk
Part of things
 
Posts: 528 
|
|
Dec 16, 2018 17:21:45 GMT
|
|
Love the smell of freshly planed oak. It's better than freshly cut grass.
I've just purchased 14" X 1.25" boards to make into an engineers tool chest. It's hopefully going through the thicknesses at work as it needs to finish 3/4"
That'll make the curse word groan! And take more than a couple of passes!
|
| |
Last Edit: Dec 16, 2018 17:22:44 GMT by Wilk
If it can be fixed with a hammer, then it must be an electrical fault
|
|
|
|
|
Dec 16, 2018 21:29:43 GMT
|
Yeah, takes a while doesn't it. I was going steady and I think it too a day and a half. That's 'weekend days' though. The ones where you crawl out of bed at 10, have a couple of hours to relax at lunch and knock off when you are a bit bored. But all the same, it's a lot of pushing wood through a machine. So the plan for the bottom is that there'll be a screw going up through the capping rail into the bottom of the spindle. Once all the spindles are screwed to the capping rail that gets screwed to the stringer. Anyway the first job is to drill a pilot hole in the bottom of each spindle. Bob in the centre and plumb. Not going off at random angles. I unscrewed the pillar drill from the bench, spun the head round, clamped it into the vice and built a jig onto the table thingy. 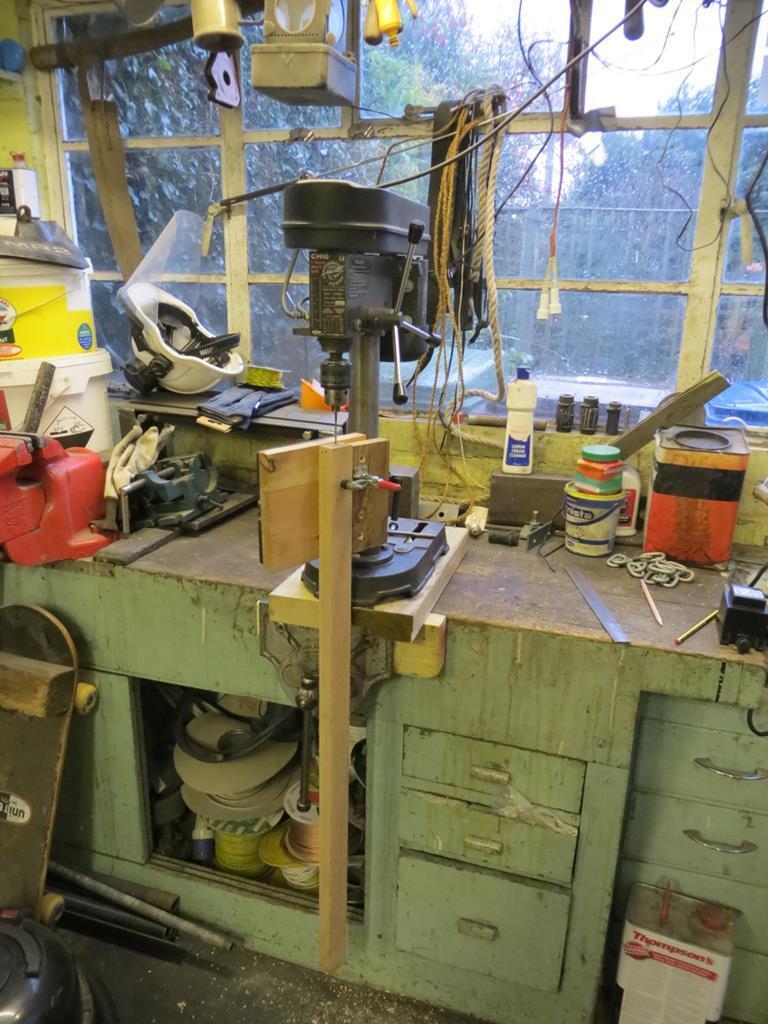 Took longer to do than to say... The spindle can hang over the edge of the bench you see. All because I haven't got a floor standing pillar drill. Pah! Who needs a floor standing pillar drill when you've got brains, good looks and modesty on your side? 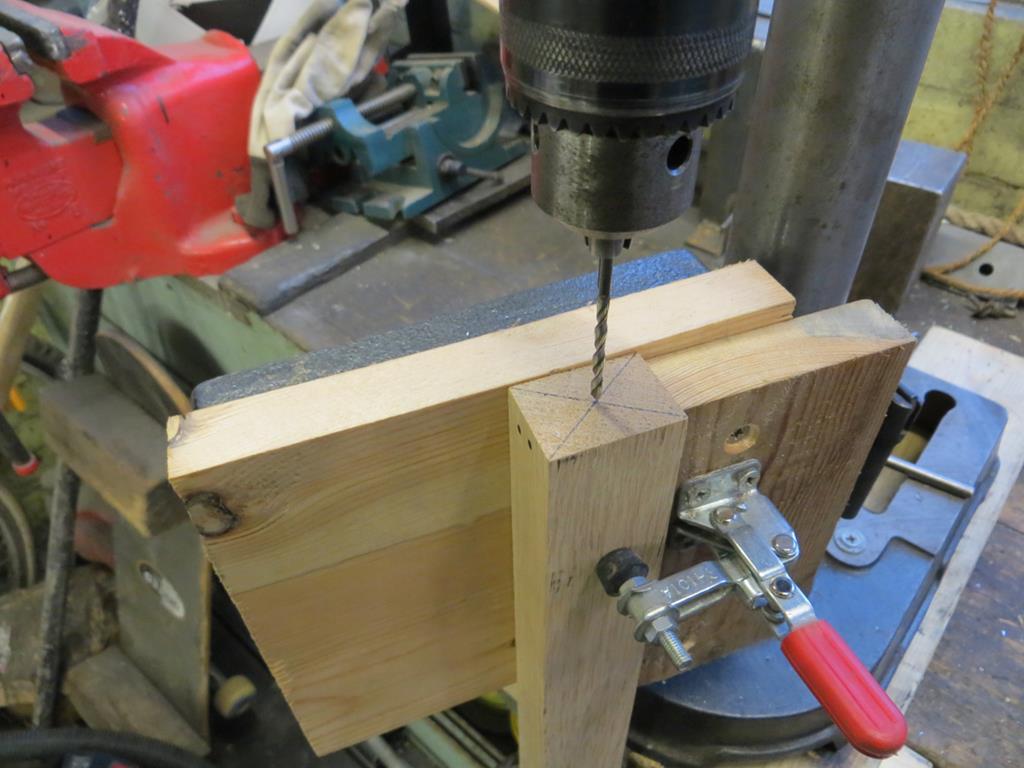 I marked off the centre of each spindle just to check the bit wasn't wandering about, but it was pretty much a case of clamping them in and drilling them out. Now I know what you are thinking. I've left the end square and, in order to screw them to the capping rail and have them point upwards, they all need an angle cutting on the bottom. I can do that! 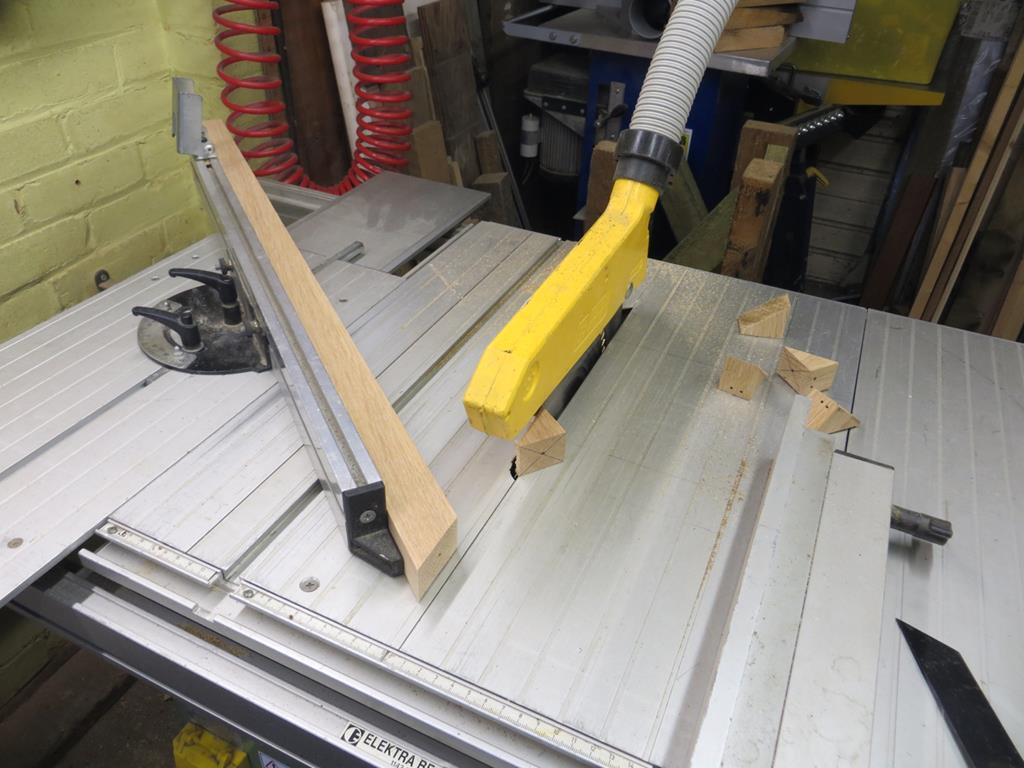 Good. Next I need holes in the capping rail for the screws to pass through. But they need to be exactly in the right spot and vertical. IE at an angle through the rail. I wondered about setting the angle on the table of the pillar drill but the rail is too long for that to work. The end would stick through the ceiling. Or the floor. So I took one of the bits I'd cut off a spindle and made it into a guide jig so I could drill it with the battery drill. After a couple of goes at measuring the drilling points along the rail I made 16 'ikkle holes and hoped they were in the right places. 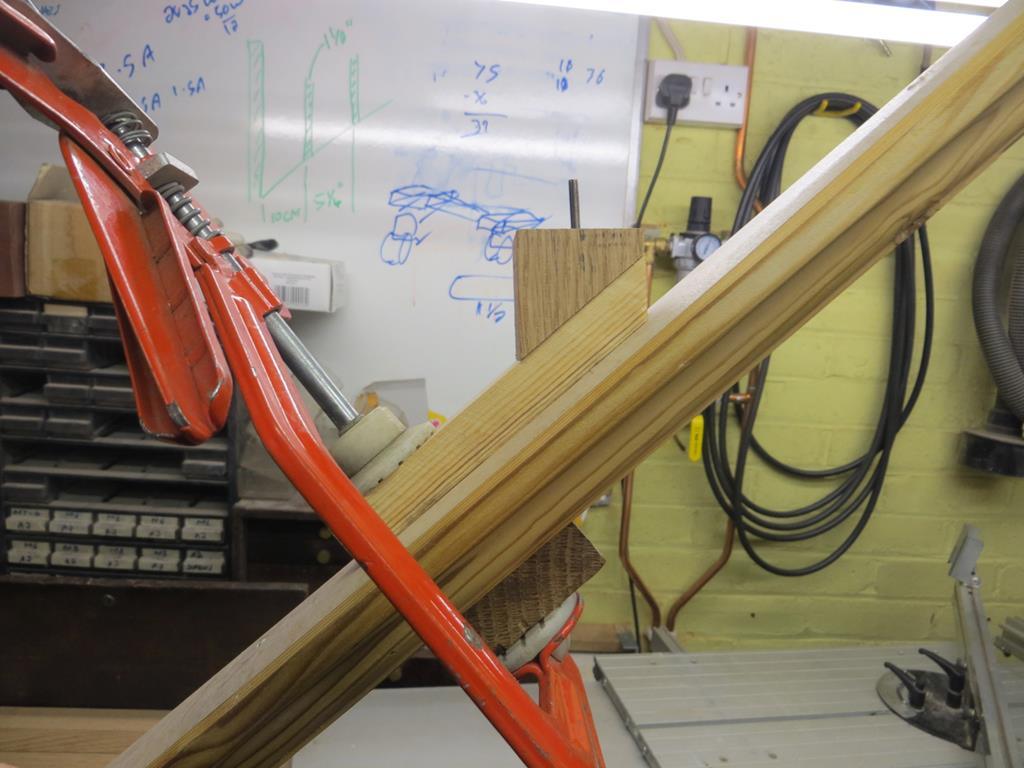 If you are wondering where the battery drill is in that picture... It's a special invisible one. Ok, it's not. What I did was made a tiny drilling at each point on the rail. Then stuck the bit in the jig, engaged it in the drilling and clamped it to the rail. That way each hole is in the right place without a lot of tedious messing about trying to work out where to put the jig. That's what the photo is, bit engaged in drilling, jig clamped on. Lastly put the bit in the drill and Bob's your mothers brother. That's were we are at... Something like this... 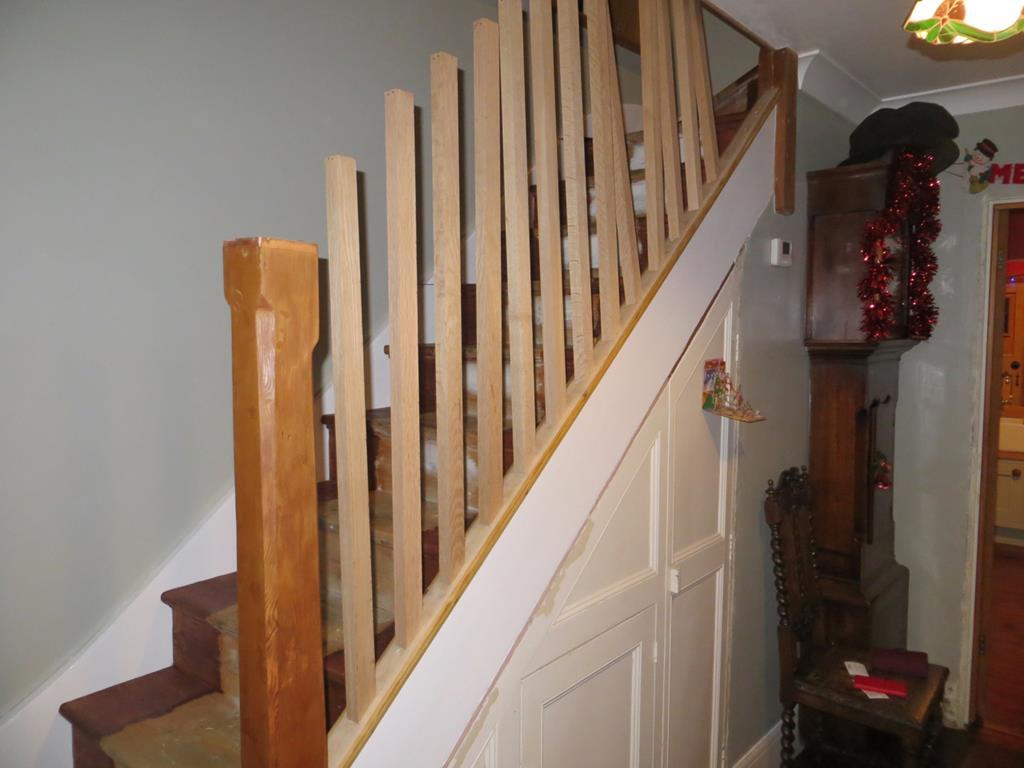 Are you wondering how I'm going to get all the holes in the hand rail in the right places, directly above the holes in the capping rail, and get the spindles the right length, and get everything parallel and so on? So am I. James |
| |
|
|
jamesd1972
Club Retro Rides Member
Posts: 2,921  Club RR Member Number: 40
|
|
Dec 16, 2018 21:32:56 GMT
|
|
Nice, but have you finished all the painting yet ?
James
|
| |
|
|
|
|
|
Dec 16, 2018 22:09:20 GMT
|
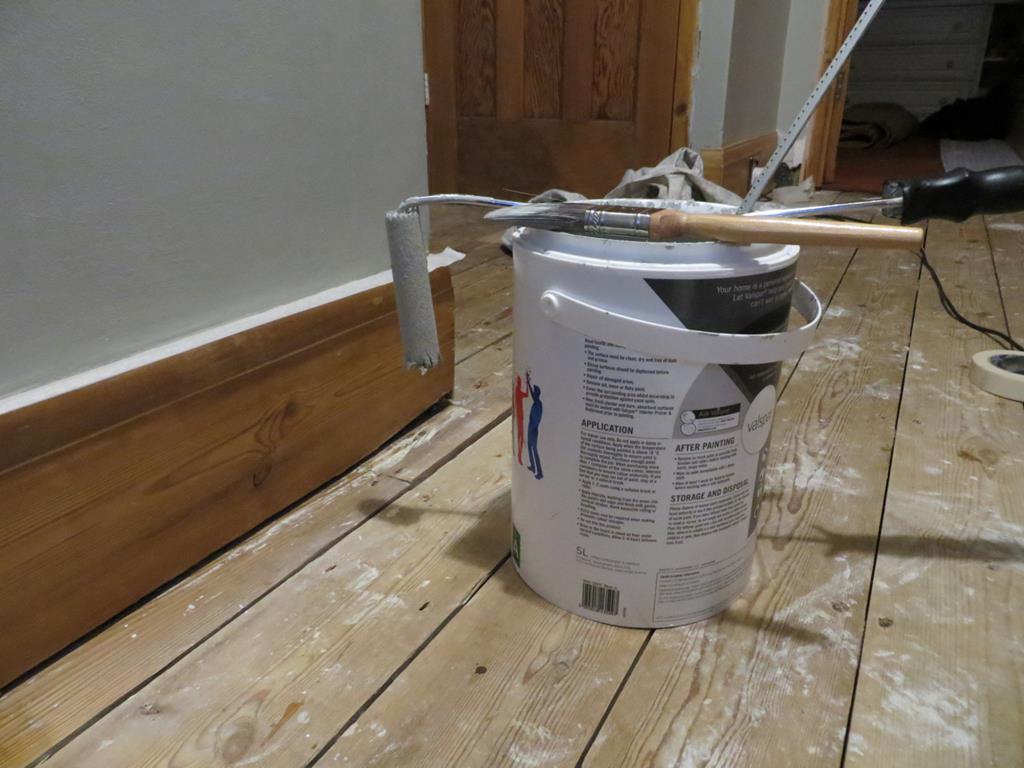
Nice, but have you finished all the painting yet ? James Er... Don't ask awkward questions! Besides, there is always something that needs painting. It's an endless task. |
| |
|
|
|
|




 )
)


