|
|
|
May 19, 2019 11:04:27 GMT
|
Good way to hang the wheels. Do you find the panels swing about when painting them? or are they restrained somehow that I cant see? It all depends upon how heavy they are - doors are not too bad - but lighter panels would swing about - If I hang them I tend to hang braces or weights to the bottom to prevent the sway Ah ok, thanks. |
| |
|
|
|
|
|
|
|
May 19, 2019 11:20:07 GMT
|
|
Beautiful workmanship
|
| |
|
|
|
|
|
May 19, 2019 16:45:39 GMT
|
|
Re Hydrate 80. I was advised that in the case of deep pitting but not a hole, to make a dam around the affected area with blu-tac or similar, to prevent the H80 from running and to leave it overnight to work through, gently working the solution into the pitting with the tip of a narrow screwdriver. Making sure that any residue from the blu-tac is thoroughly removed before priming.
|
| |
|
|
|
|
|
May 19, 2019 17:59:53 GMT
|
Re Hydrate 80. I was advised that in the case of deep pitting but not a hole, to make a dam around the affected area with blu-tac or similar, to prevent the H80 from running and to leave it overnight to work through, gently working the solution into the pitting with the tip of a narrow screwdriver. Making sure that any residue from the blu-tac is thoroughly removed before priming. Maybe true, but definitely not practical in my case, far too many pits as the metal is nearly 80 years old and hasn't had any paint on for years but luckily it lived in a dry climate so isn't a lot cause. I will be painting the whole panel so it will end up in all the pits and also will be covering good metal as well. |
| |
|
|
|
|
|
May 28, 2019 20:43:36 GMT
|
Fresh back from the Jowett Car Clubs national rally - so back to work 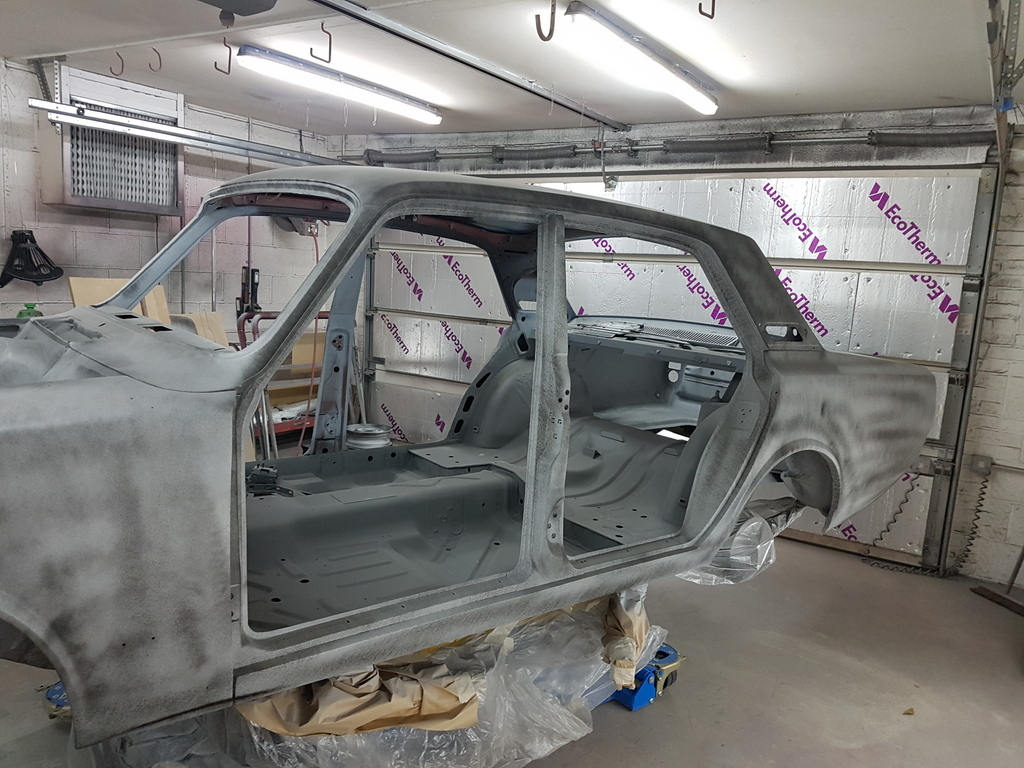 Once I had a tidy up I put the car into the middle of the workshop to allow access to it all the way around the car 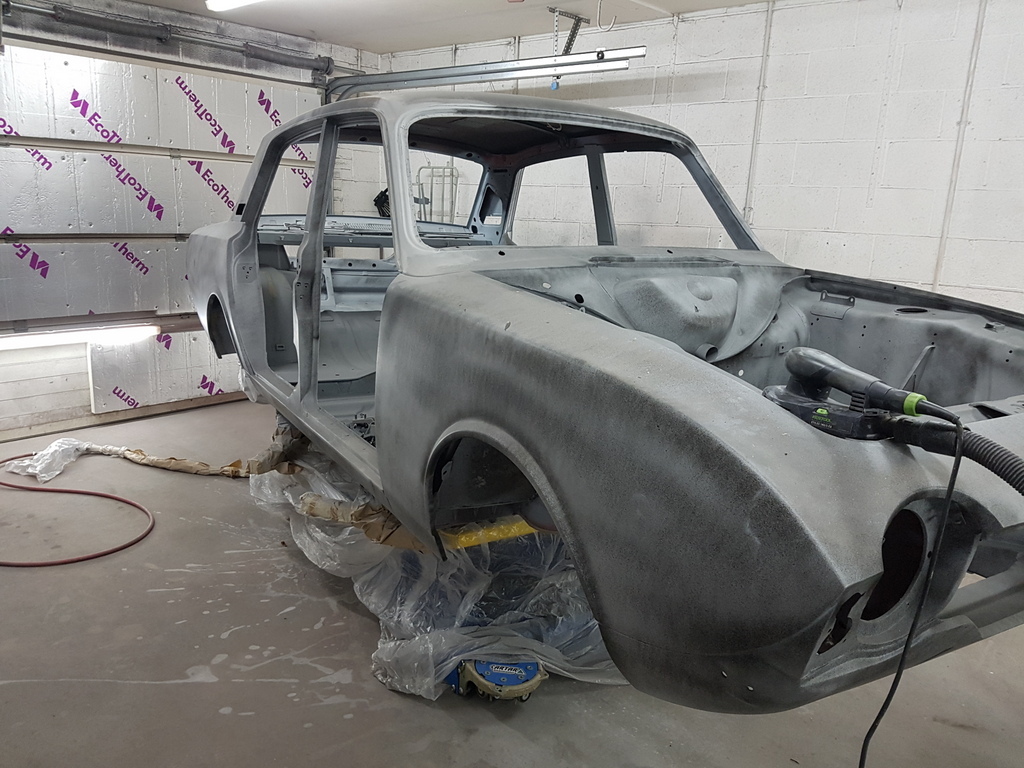 Before commencing the flatting / blocking back of the polyester 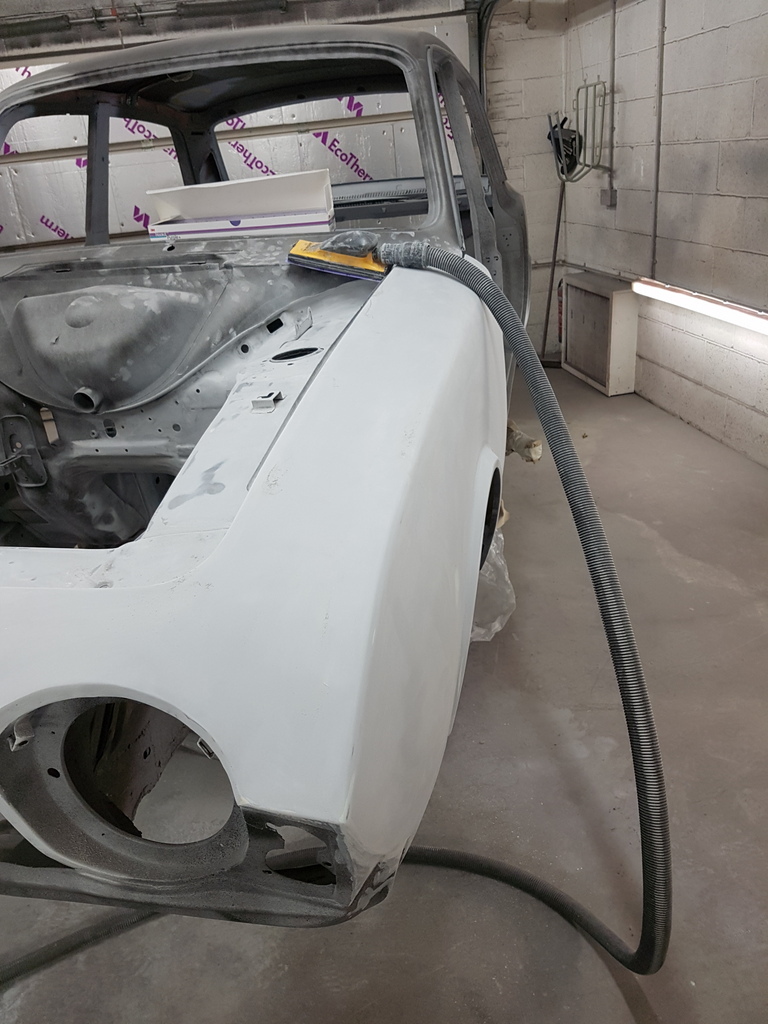 Initially sanded back with the DA then blocked over by hand 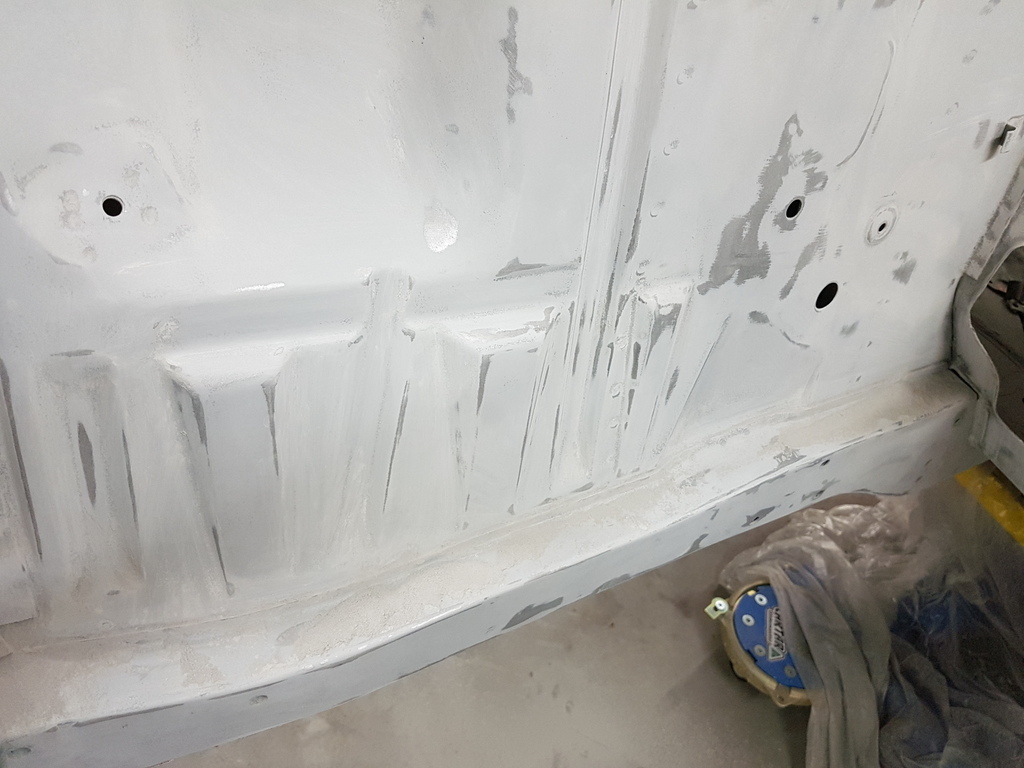 All the rebates / flanges & difficult to access areas all have to be undertaken by hand 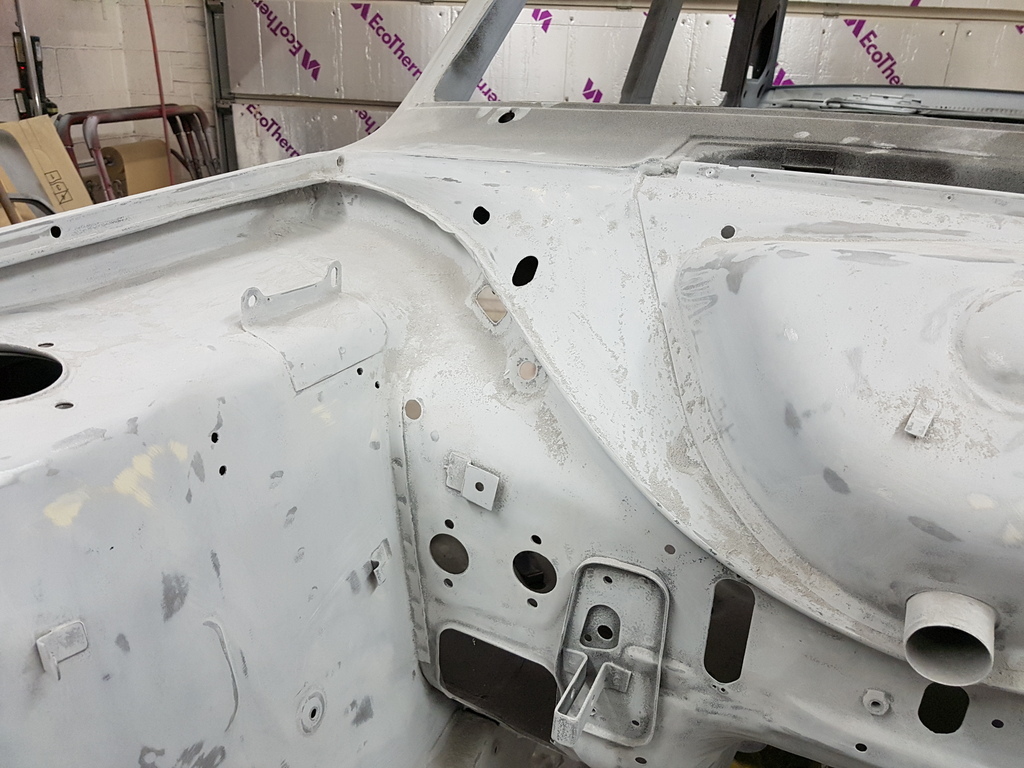 I got all of the front end completed today 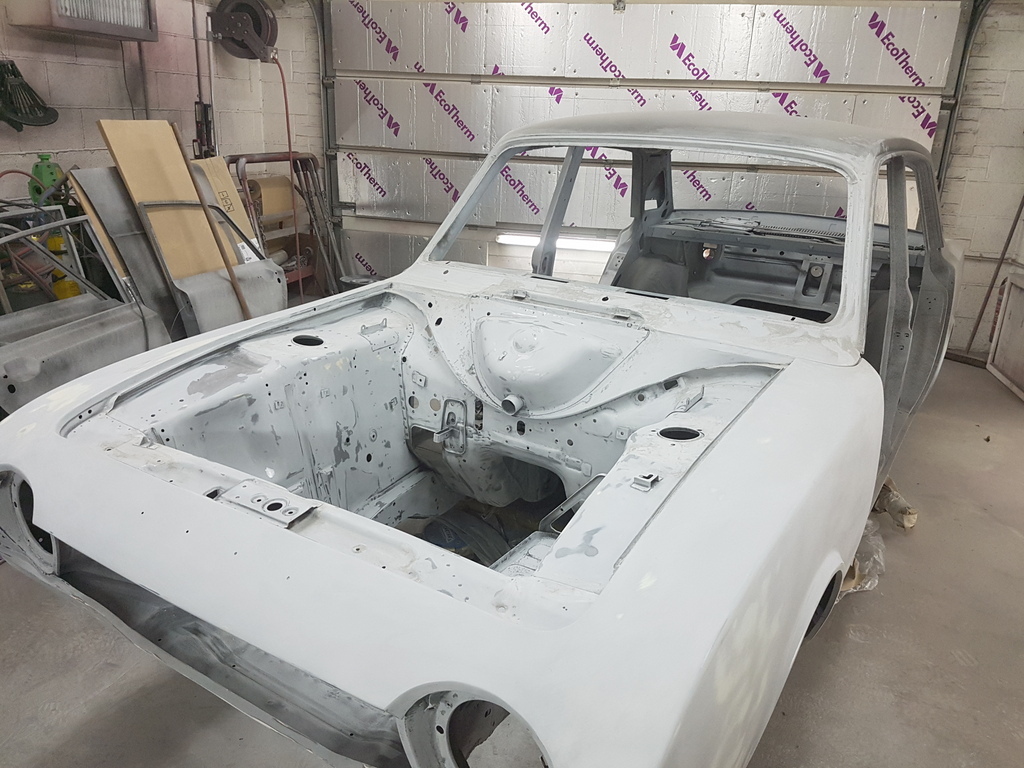 Whilst also making a start on the offside door apertures & sill areas 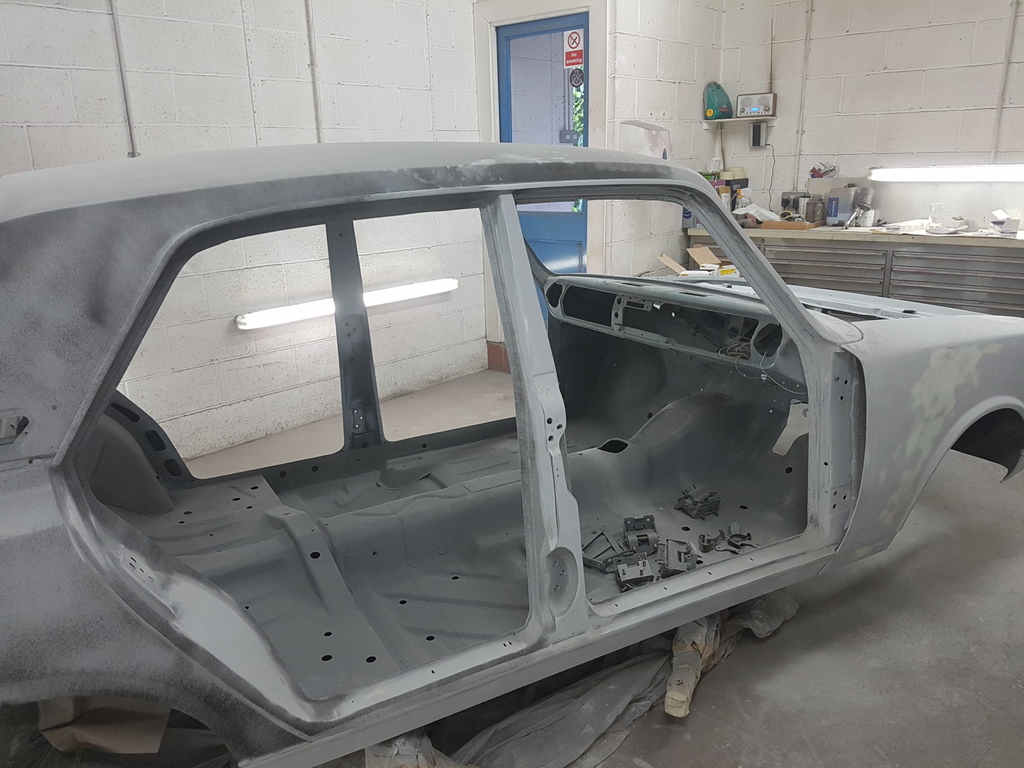 Its another job where methodical diligence is required - I have seen many decent restorations ruined at this stage through lack of attention to detail - its easy to understand why though has this is a mind numbingly boring & tedious task to undertake - but you have to stick with it if you want all the right results - more tomorrow |
| |
|
|
|
|
|
May 28, 2019 20:46:40 GMT
|
|
Superb.....
|
| |
Fraud owners club member
2003 W211 Mercedes E class
1989 Sierra sapphire
1998 ex bt fiesta van
|
|
|
|
|
|
|
|
I see that you appear to favour Festool products? Only the best for you obviously :-)
|
| |
|
|
|
|
|
May 29, 2019 12:00:43 GMT
|
I see that you appear to favour Festool products? Only the best for you obviously :-) Nope - I hate it - it's no where near has good as the 'Mirka' Dual Action sander that it replaced - the Mirka version being lighter and far more controllable - the Festool one was on special offer at the time of purchase and now I can see why - has soon has it dies or possibly even before it will get replaced with another Mirka DA - Festool in my book has proven to be all show and no go - just goes to show that you cant always rely on the top end of the market products - thankfully its only Festool product that I own  |
| |
Last Edit: May 29, 2019 12:02:06 GMT by Deleted
|
|
|
|
|
May 29, 2019 12:53:06 GMT
|
I see that you appear to favour Festool products? Only the best for you obviously :-) Nope - I hate it - it's no where near has good as the 'Mirka' Dual Action sander that it replaced - the Mirka version being lighter and far more controllable - the Festool one was on special offer at the time of purchase and now I can see why - has soon has it dies or possibly even before it will get replaced with another Mirka DA - Festool in my book has proven to be all show and no go - just goes to show that you cant always rely on the top end of the market products - thankfully its only Festool product that I own  Horses for courses obviously. I have several tools from the Festool range and have found all of them to be exactly what it says on the tin. I must admit that I had never heard of MIRKA, so I shall now have a look at their products. |
| |
|
|
|
|
|
May 29, 2019 14:33:44 GMT
|
Nope - I hate it - it's no where near has good as the 'Mirka' Dual Action sander that it replaced - the Mirka version being lighter and far more controllable - the Festool one was on special offer at the time of purchase and now I can see why - has soon has it dies or possibly even before it will get replaced with another Mirka DA - Festool in my book has proven to be all show and no go - just goes to show that you cant always rely on the top end of the market products - thankfully its only Festool product that I own  Horses for courses obviously. I have several tools from the Festool range and have found all of them to be exactly what it says on the tin. I must admit that I had never heard of MIRKA, so I shall now have a look at their products. 'Mirka' Are a specialist abrasive manufacture & supplier and have a wide range of sanders that are suitable for their abrasive products - they tend to specialise in the automotive / marine / carpentry & construction industries |
| |
|
|
dcal
Kinda New

Posts: 6 
|
|
May 29, 2019 20:05:56 GMT
|
|
Hi Grumpynorthner,
Long term lurker here but thank's so much for sharing your techniques and knowledge and taking the time to record your restorations in such detail.
I've learnt so much from your posts and have tried to apply what I've learnt on my restorations.
I have much yet to learn, but having people prepared to teach is so beneficial to people starting out and I really appreciate your demystification's of the black arts.
Now something I have actual experience of.
I'm with you on Mirka.
I bought a deos 70 x 198 electric sander and the performance is unbelievable compared to the air sanders I used. (which is still an excellent sander)
It's only 250w and variable speed but with Abranet sanding sheets it's incredible and far better than an air sander that runs out of air on a 3hp compressor. (which is almost 2400 watts!)
I really like air tools but i think electric sanders (and grinders) work so much better.'
Keep up the good work
|
| |
|
|
|
|
|
May 29, 2019 20:17:31 GMT
|
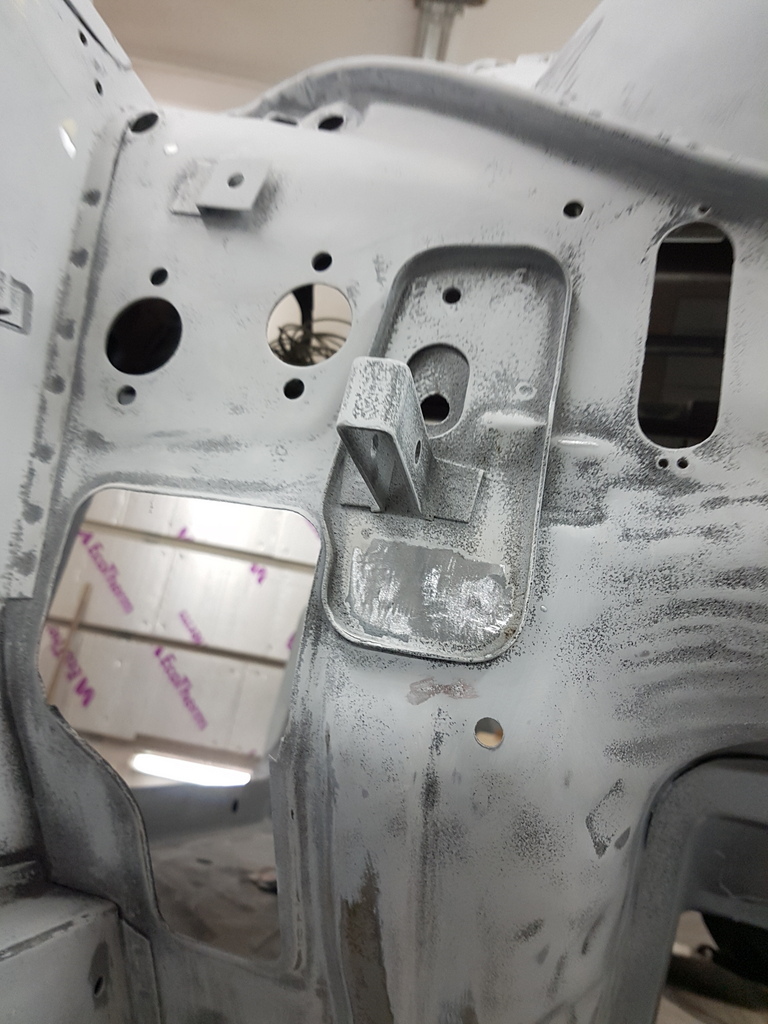 Pete left a message on my phone this morning - apparently a previous owner had drilled 2 holes where they shouldn't be any - duly welded up then and dressed back 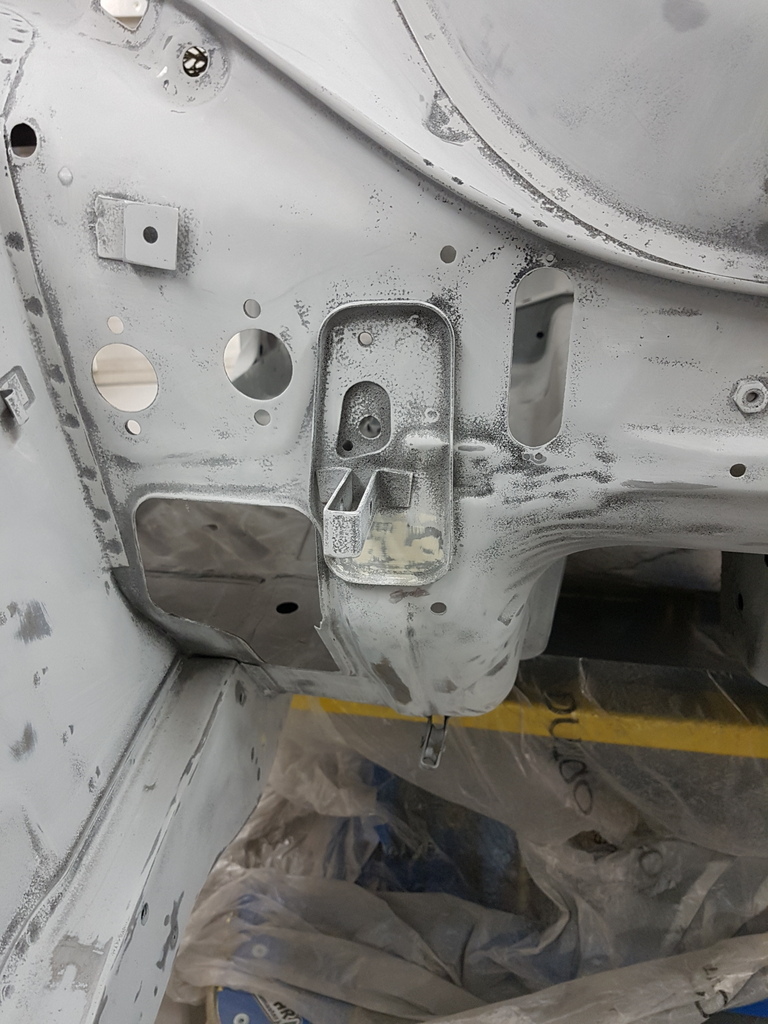 Then profiled 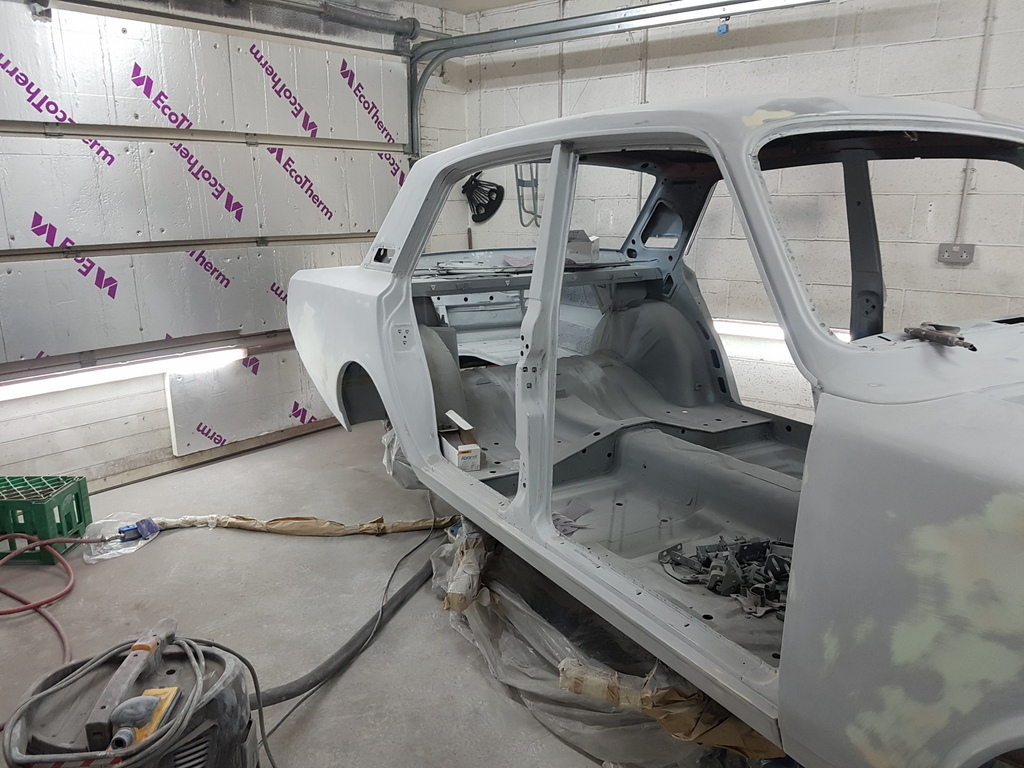 The areas like the door apertures take longer to sand back by hand than most of the larger panel areas take by machine / hand - simply due to the awkward access - decent thin gloves are a must otherwise you will end up abrading the skin off your fingers and believe me - its painful when you do 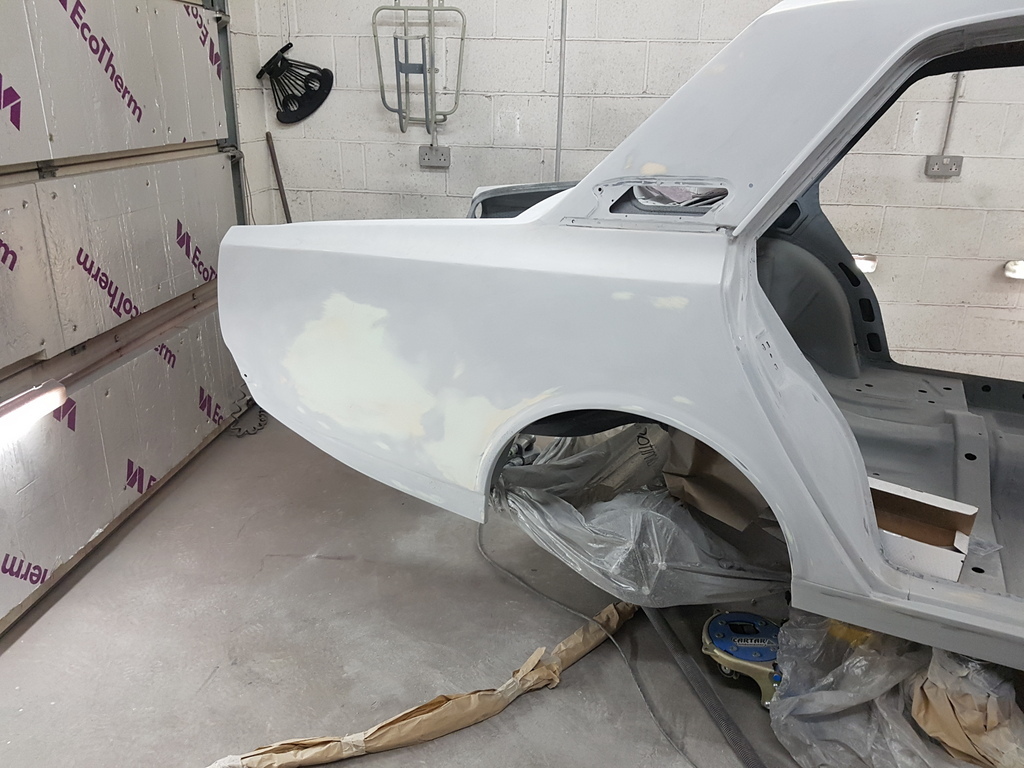 A few areas have required a little reworking in order to achieve the correct profiles - only because of the standards that I set myself do I go this extent - but I always commit to the fact that I am only has good as my last job 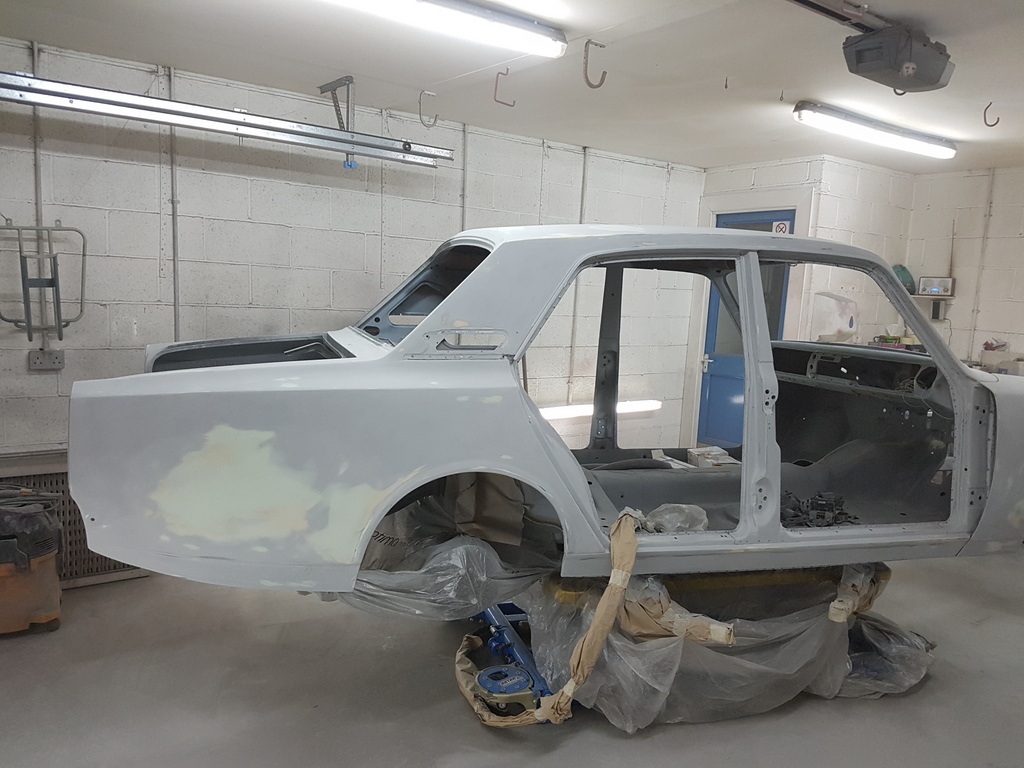 So that's all of the offside complete 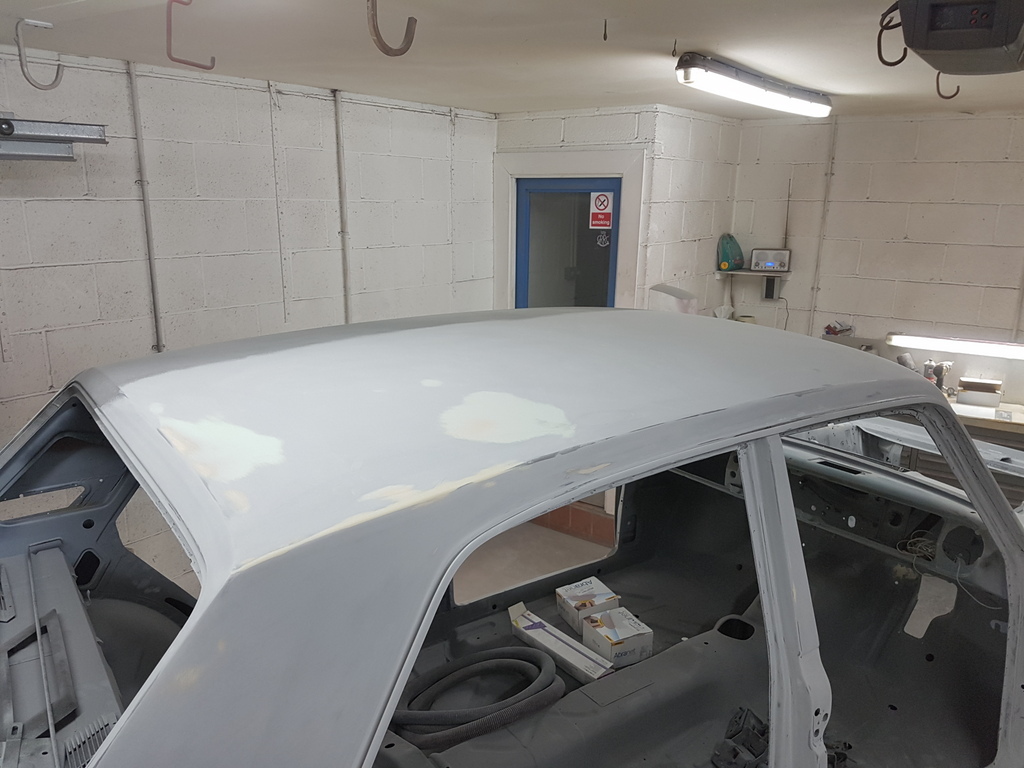 Along with 50% of the roof 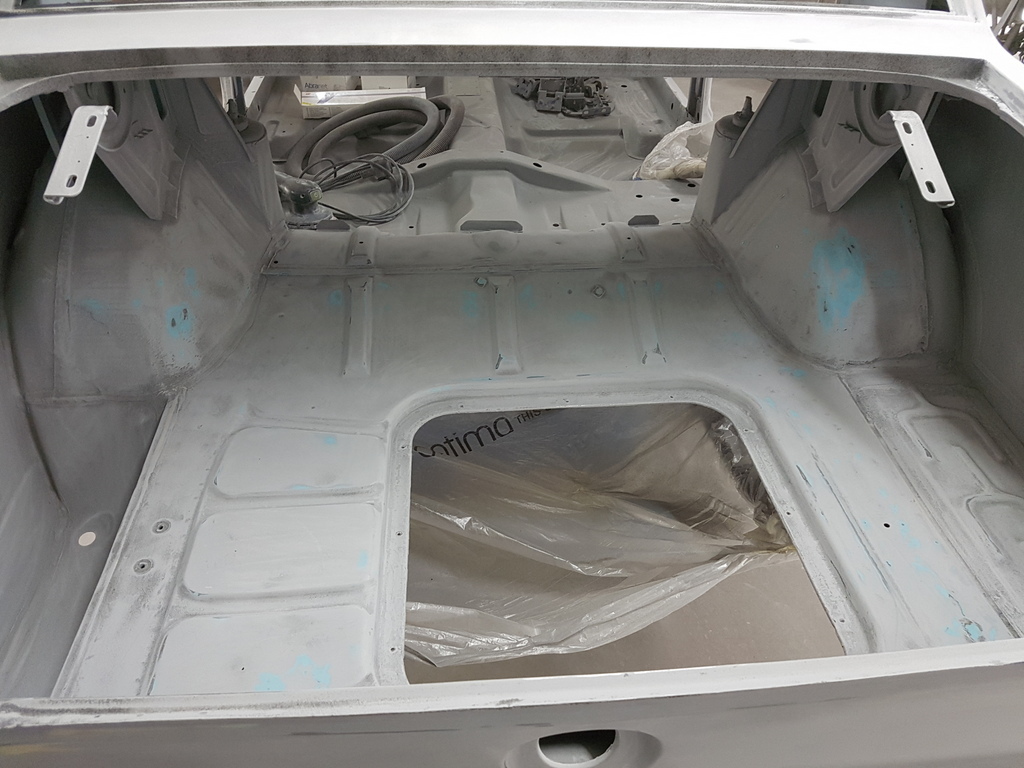 The boot area 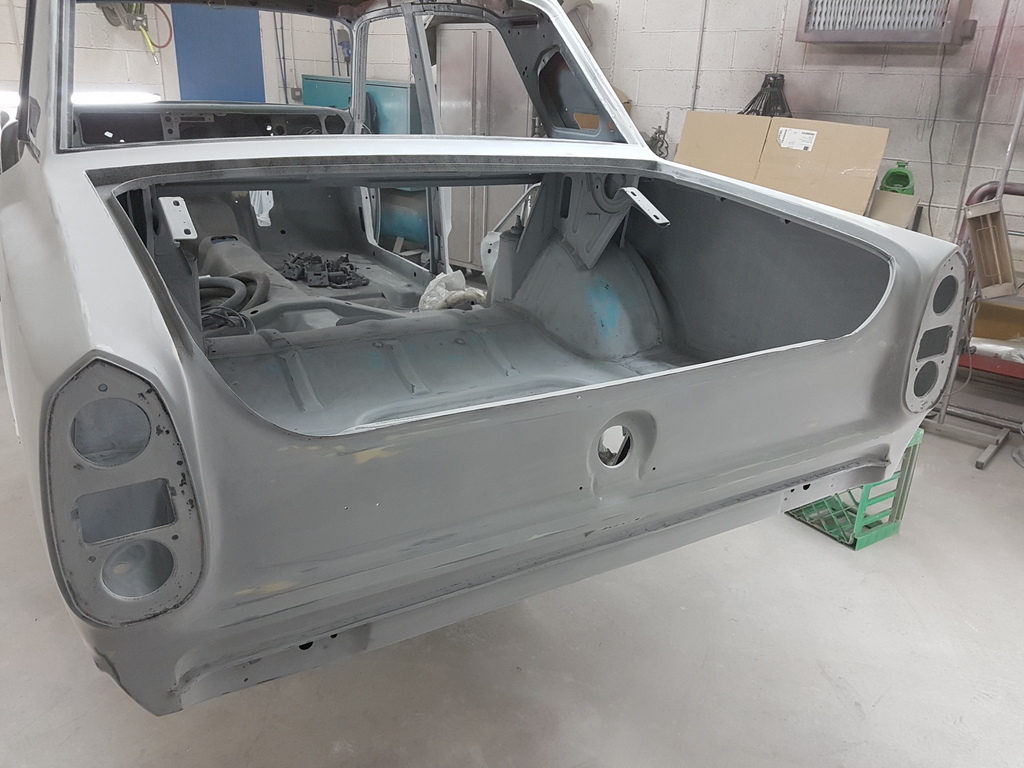 Rear panels 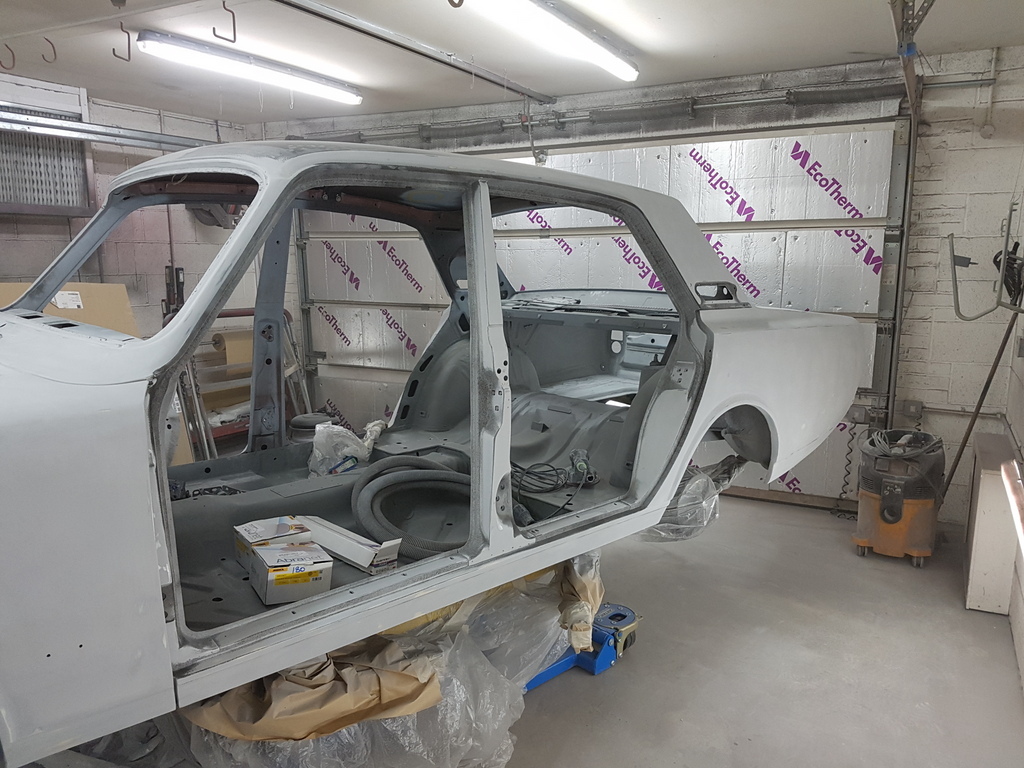 And the nearside rear wing - that leaves all the nearside door apertures, nearside roof area along with several minor areas to sand back - once done I can make a start on the loose panels - more tomorrow |
| |
|
|
|
|
|
May 29, 2019 21:09:17 GMT
|
|
I really like the way you show in your pics what has been done next to what still needs attention. That primer/dust coat really changes dramatically after sanding....and Ill bet during as well...
thanks for showing what it takes to flat back difficult areas, and how important they are. I'm inspired, and not too readily admit I skimp big time in that regard....but NO MORE!...at least I'm brave typing this to make such a statement. But I am inspired to do better work through your example....
thanks as always, Grumpy!
JP
|
| |
I know its spelled Norman Luxury Yacht, but its pronounced Throat Wobbler Mangrove!
|
|
|
|
|
May 29, 2019 21:57:23 GMT
|
It's a lot of sanding for a satin black paint job  I've compared the photos but I can't see the 2 missing holes?? |
| |
|
|
|
|
|
|
|
It's a lot of sanding for a satin black paint job  I've compared the photos but I can't see the 2 missing holes?? Sounds like an oxymoron. In his previous post there is a pic of the bulkhead where you can make them out. Unless you were commenting about the 'missing holes'.. In which case, carry on! |
| |
|
|
|
|
|
|
|
It's a lot of sanding for a satin black paint job  I've compared the photos but I can't see the 2 missing holes?? 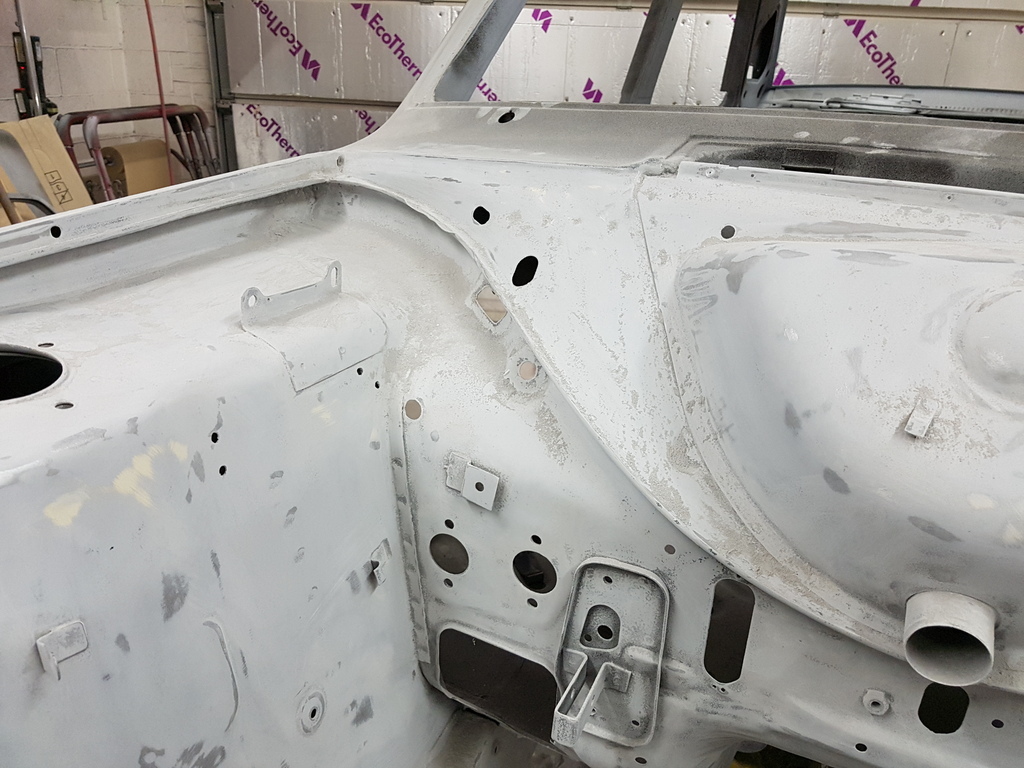 Here you see them - just under the U shaped bracket for the handbrake cable pully 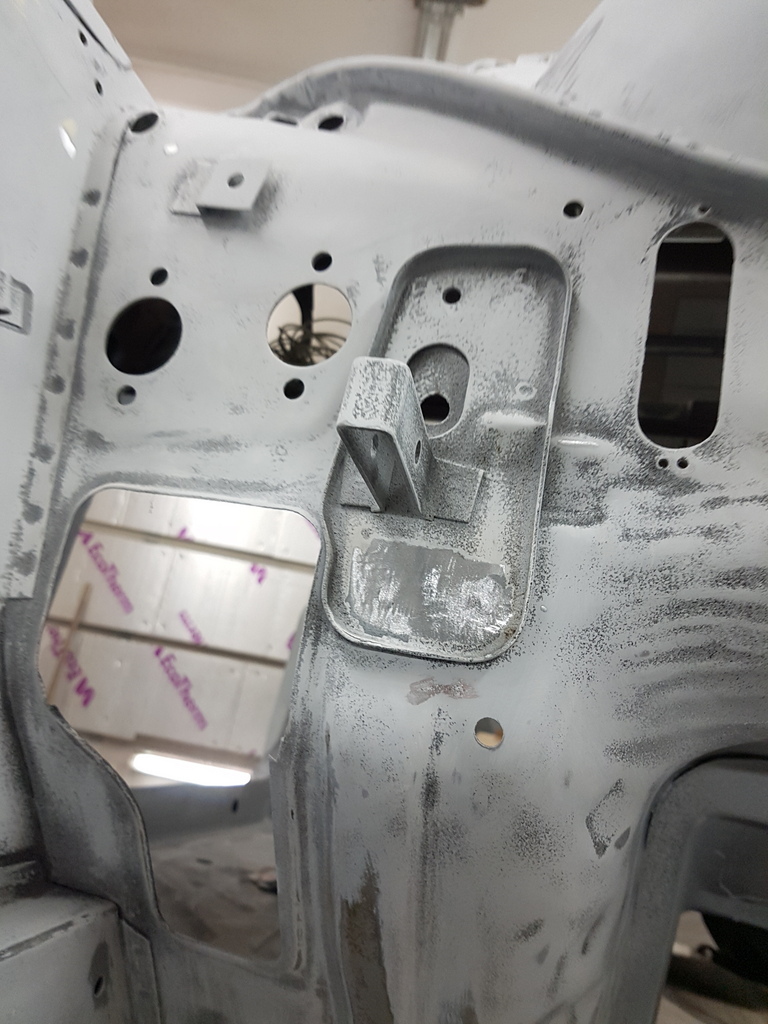 Here you don't And that's a good prediction with the satin black has it is involved along with some matt black too  |
| |
|
|
|
|
|
|
|
Oooh satin black with Matt black subtle flames - niiiiiice  |
| |
|
|
|
|
|
May 30, 2019 10:04:33 GMT
|
Oooh satin black with Matt black subtle flames - niiiiiice  no no, the satin black gives the chameleon candy flip paint more depth. |
| |
|
|
|
|
|
May 30, 2019 11:05:07 GMT
|
|
I’m going for Matt black being underneath, satin on the roof, and a nice blue for the rest of the car.
|
| |
|
|
|
|
|
May 30, 2019 21:10:33 GMT
|
Keep on dreaming with the colour scheme all - I might put you all out of your misery in weeks time or so - meanwhile 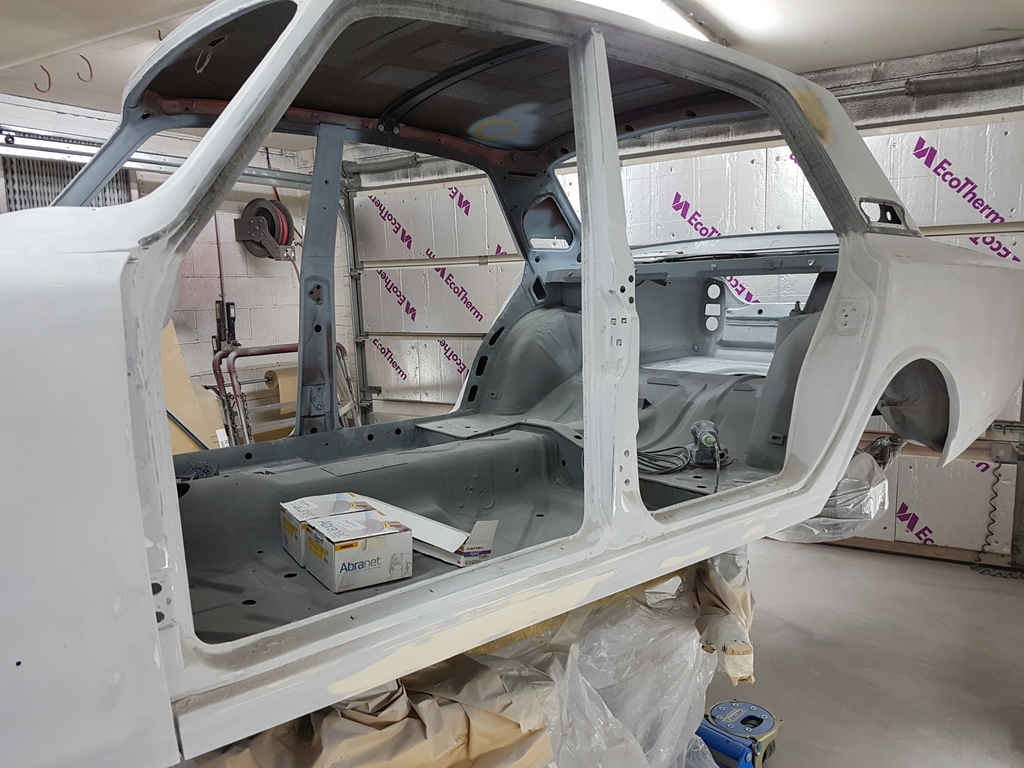 I completed the door apertures on the nearside 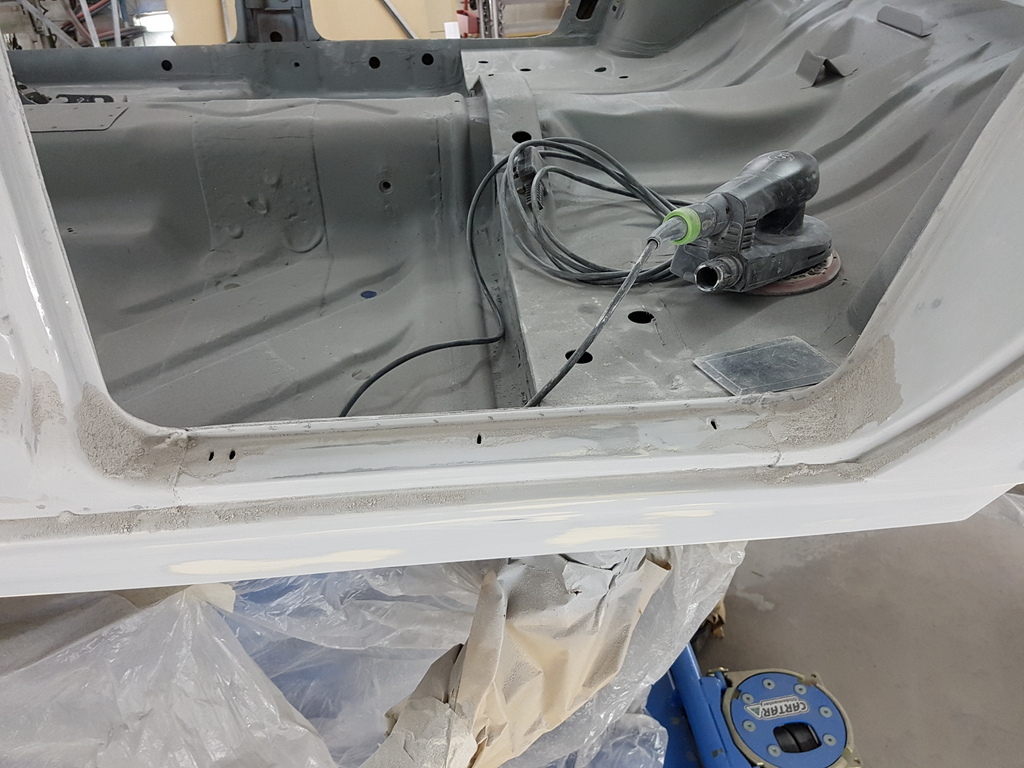 I would always recommend using the vacuum on any loose sanding dust where possible rather than the airline which just transfers the dust to every other location in the workshop 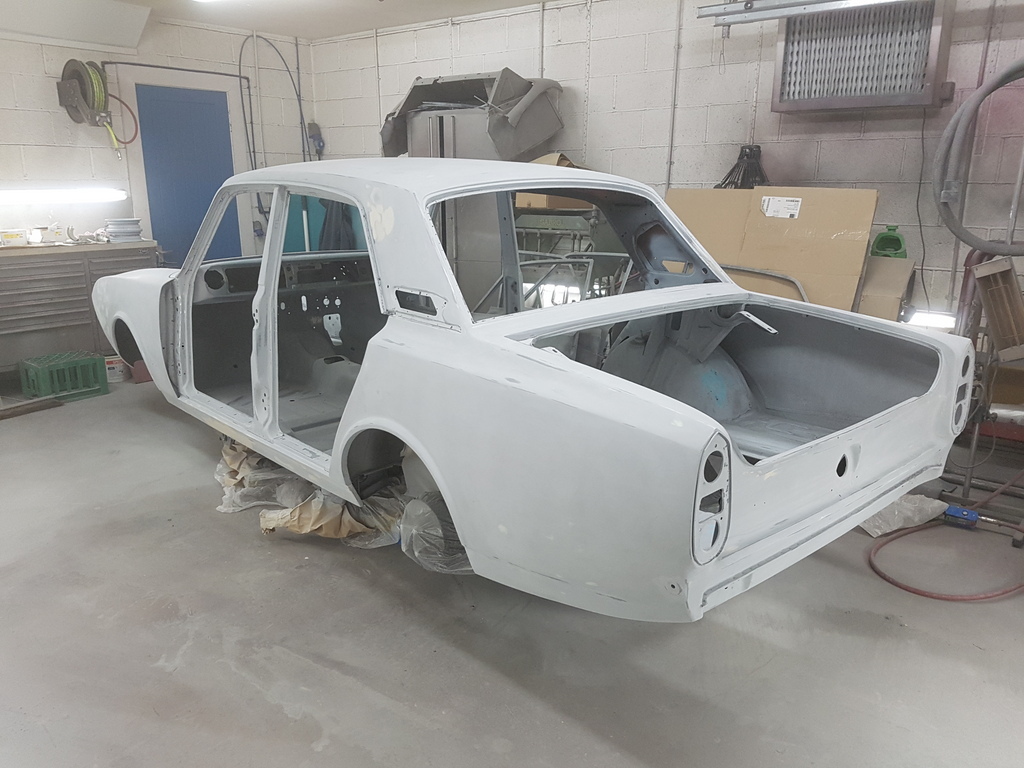 Then completed the roof area 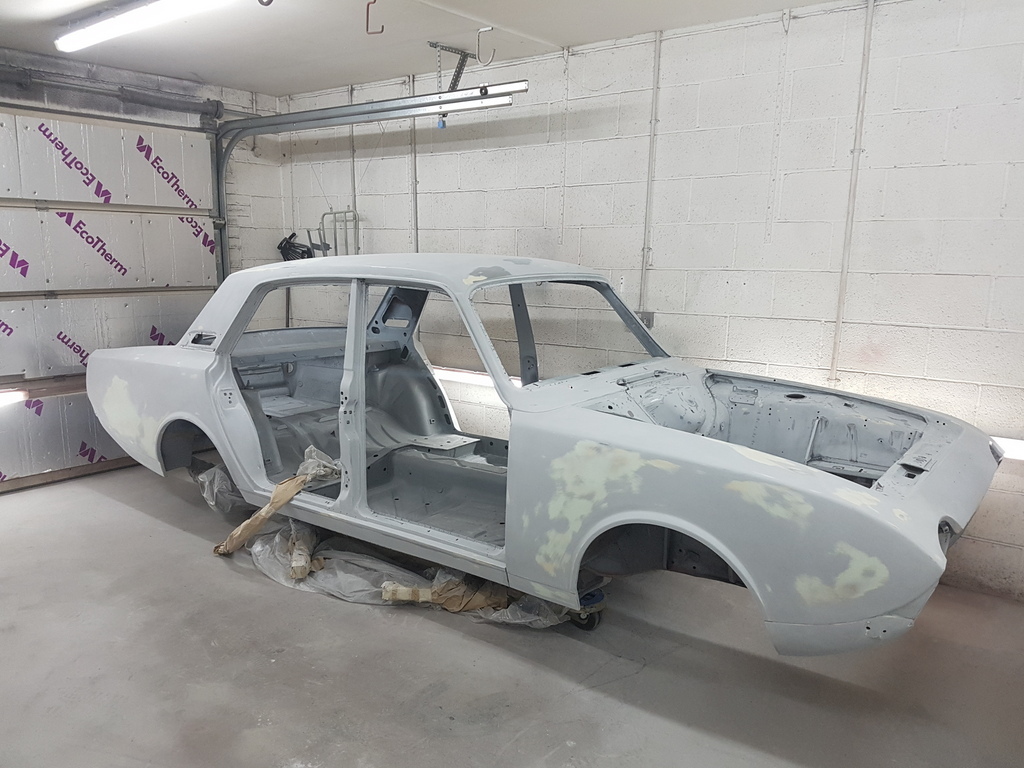 So that's the bodyshell all sanded back on the stage one primer 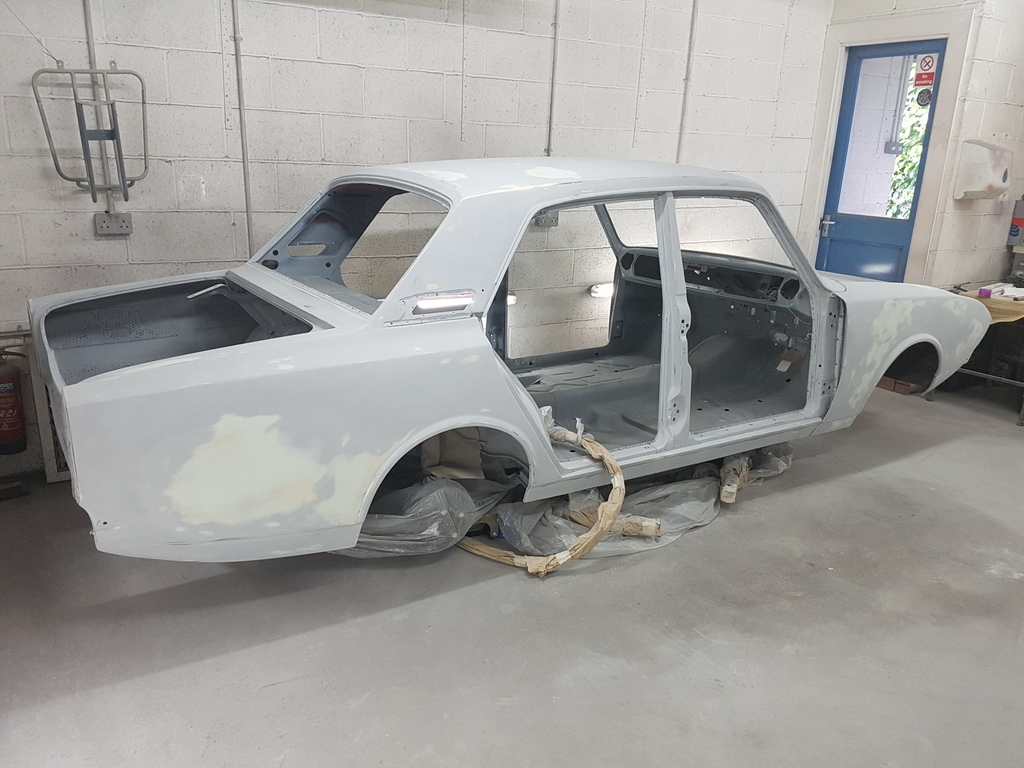 Peter had supplied me with a handful of bits that are required at the prior to paint stage on the car - last time I was up in the Midlands 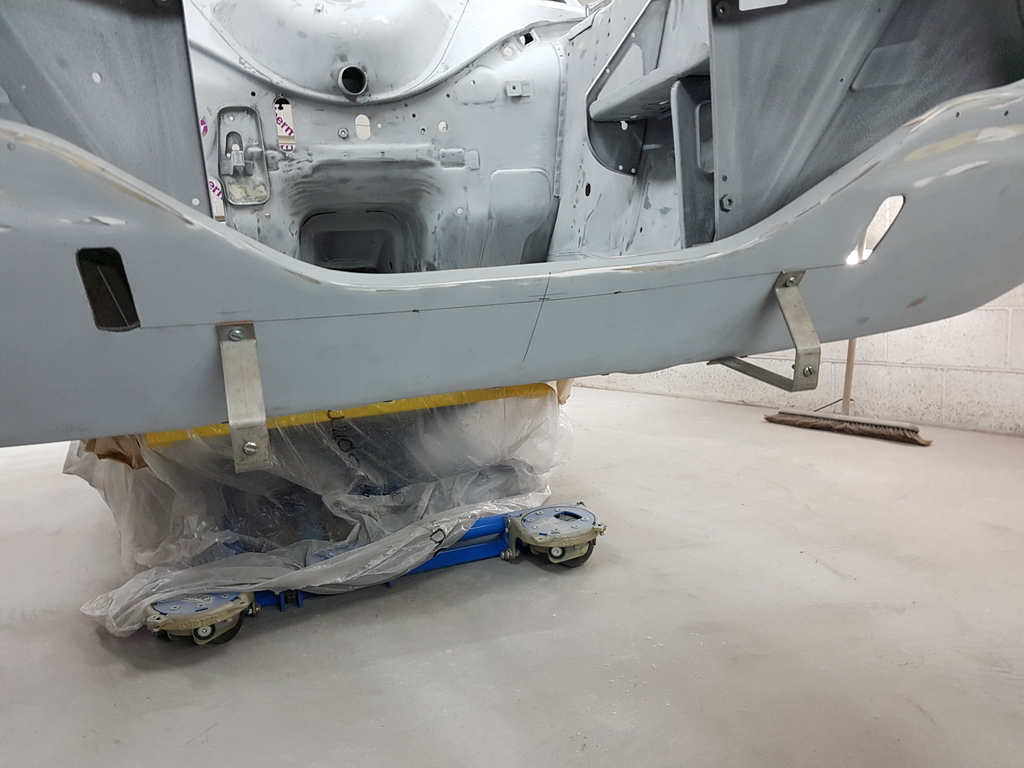 One of them being the front number plate brackets 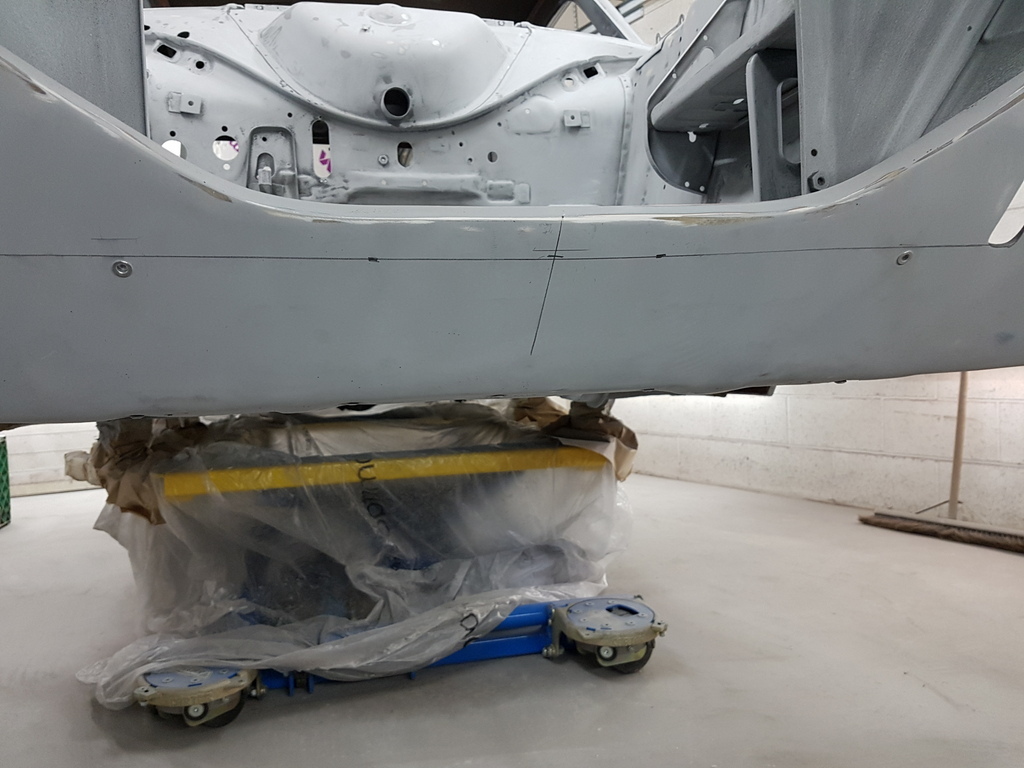 Front valance is fibreglass but thick enough to take rivitnuts has the anchor points for the brackets 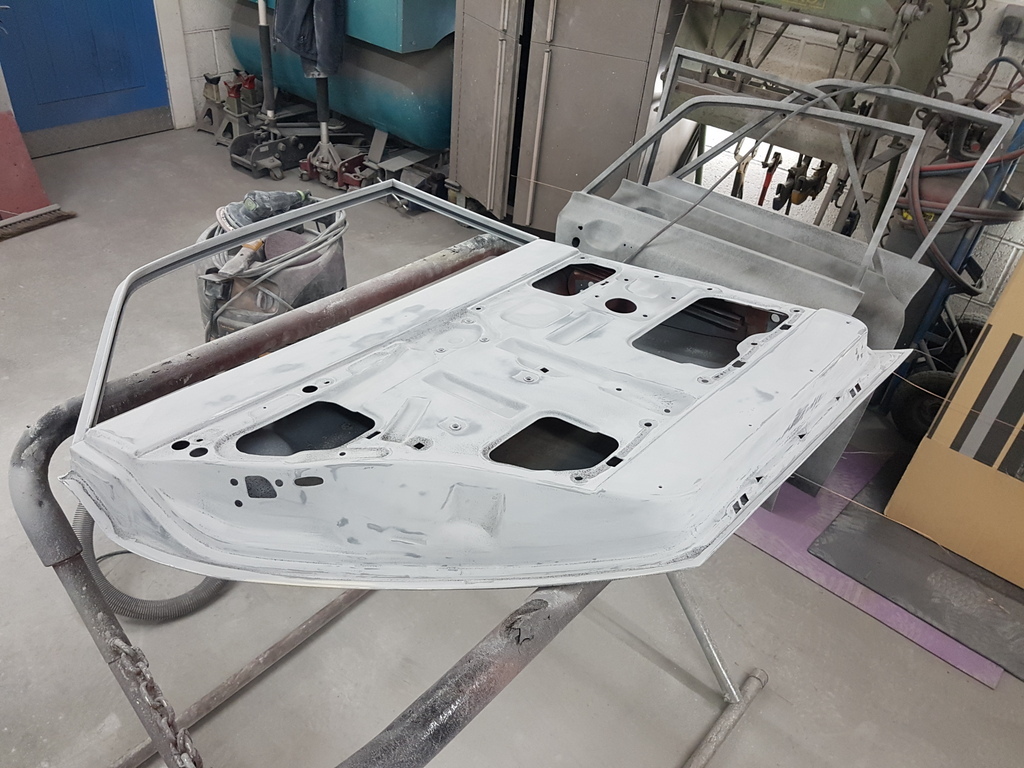 Made a start on the loose panels 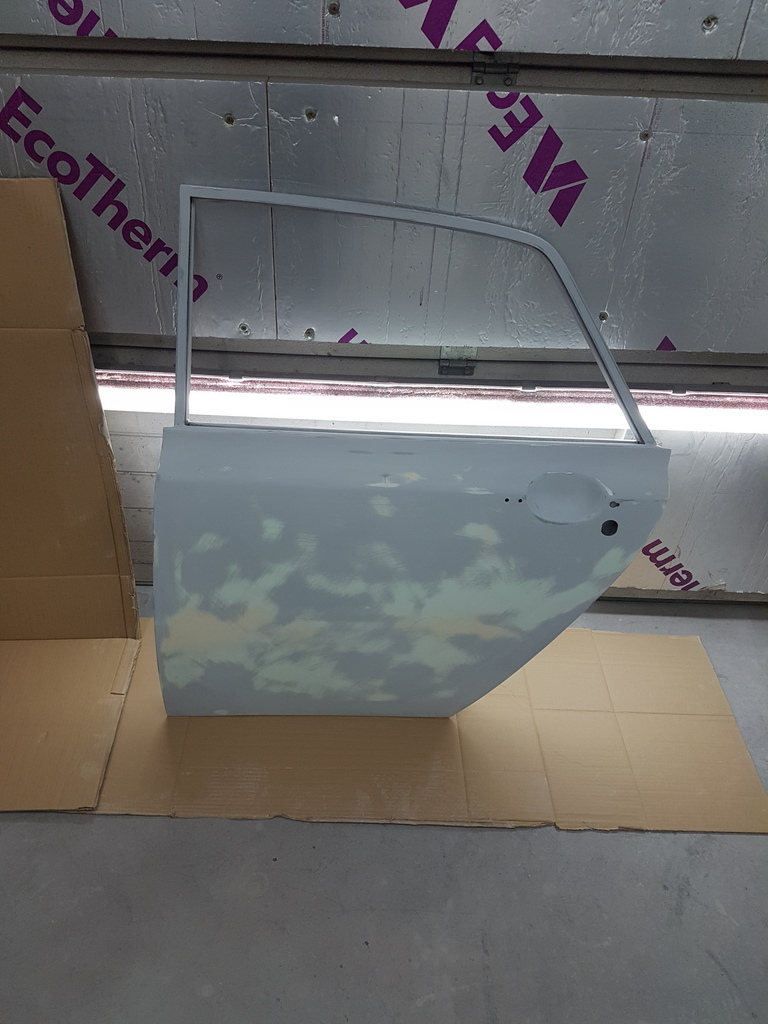 Still some way to go yet though 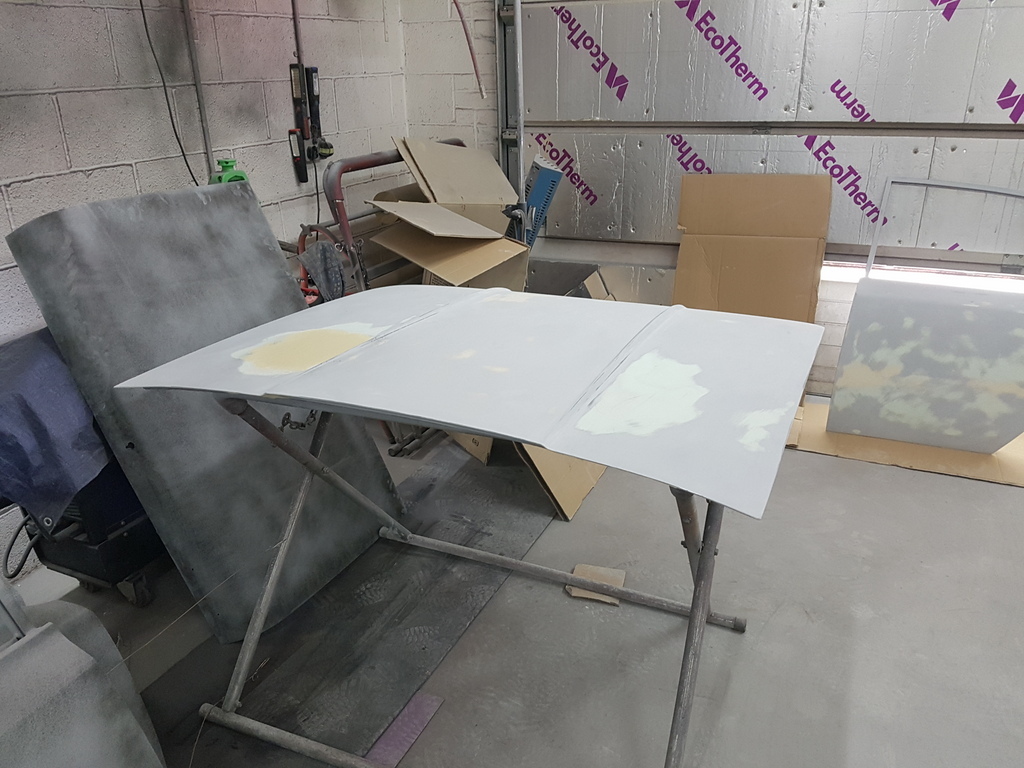 Also made a start on the final sealing where required 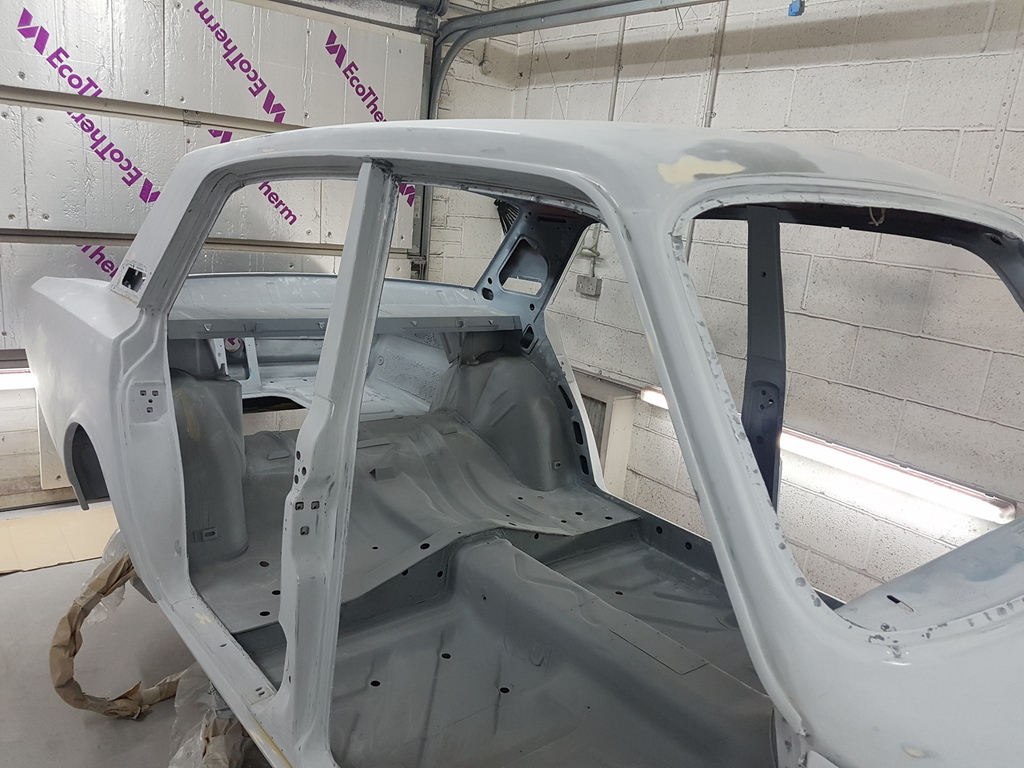 Tricky section is the roof rail / rain gutter - inside edge of the upstand requires sealing 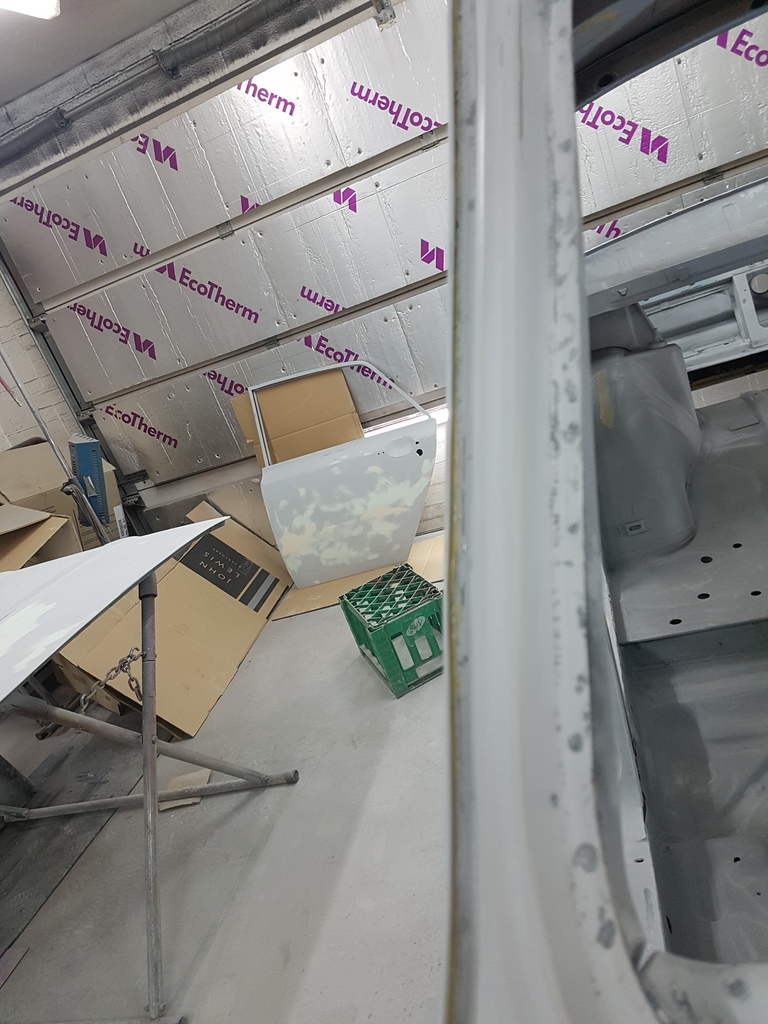 You might just be able to see the beige sealer on the inside edge of the rail on the windscreen pillar 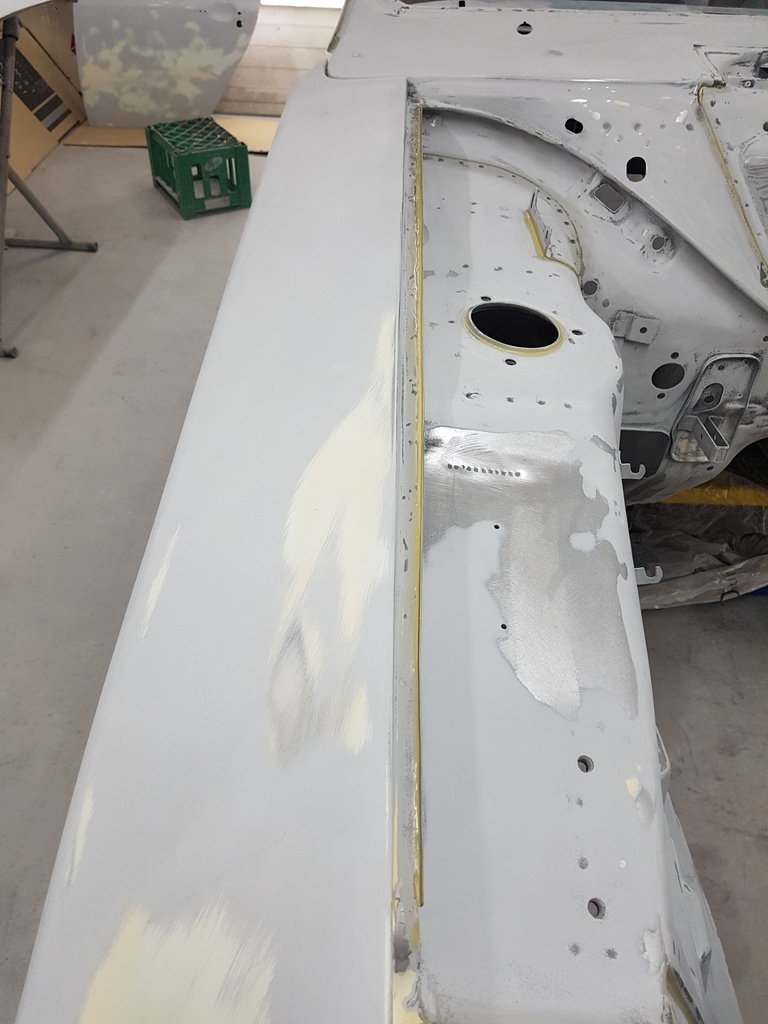 Many other areas like the wing flange edge to the inner wing 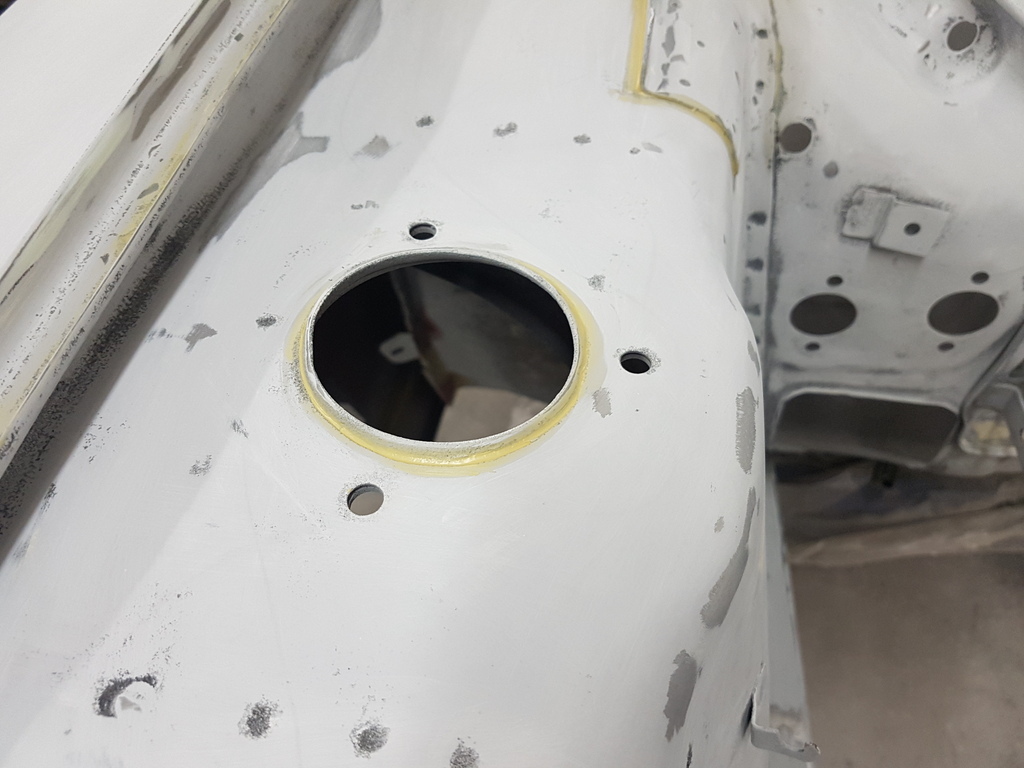 Any open edge where water can enter then sit under the seam 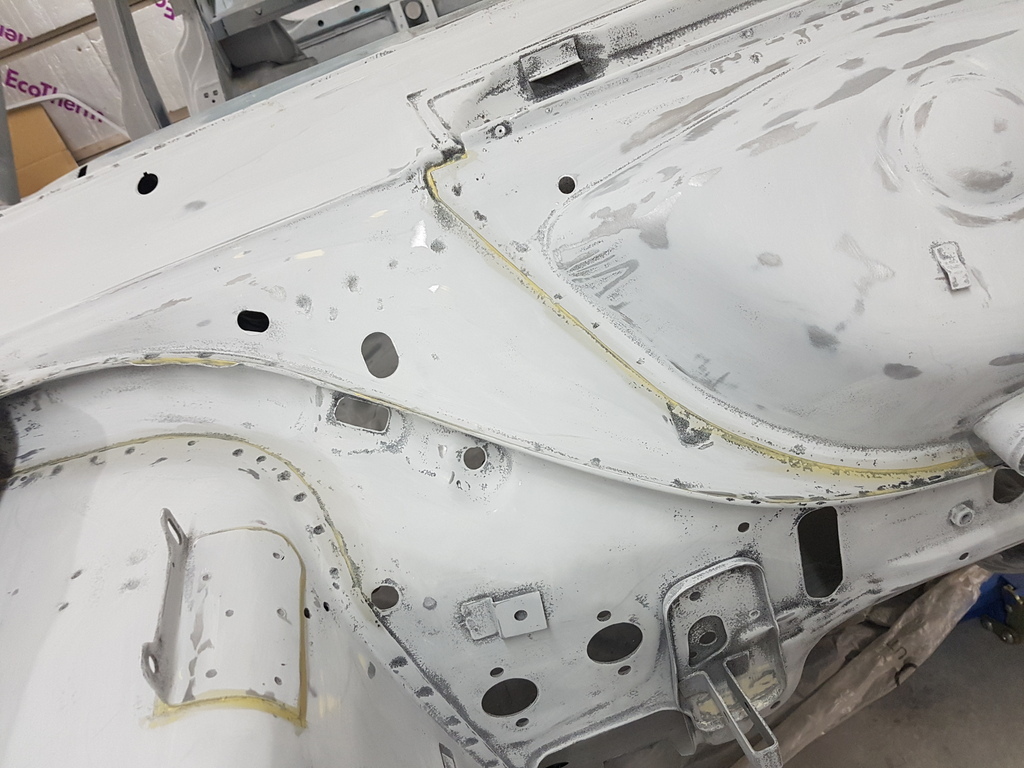 It does not require a thick bead - just a fine edge wiped in will do the job 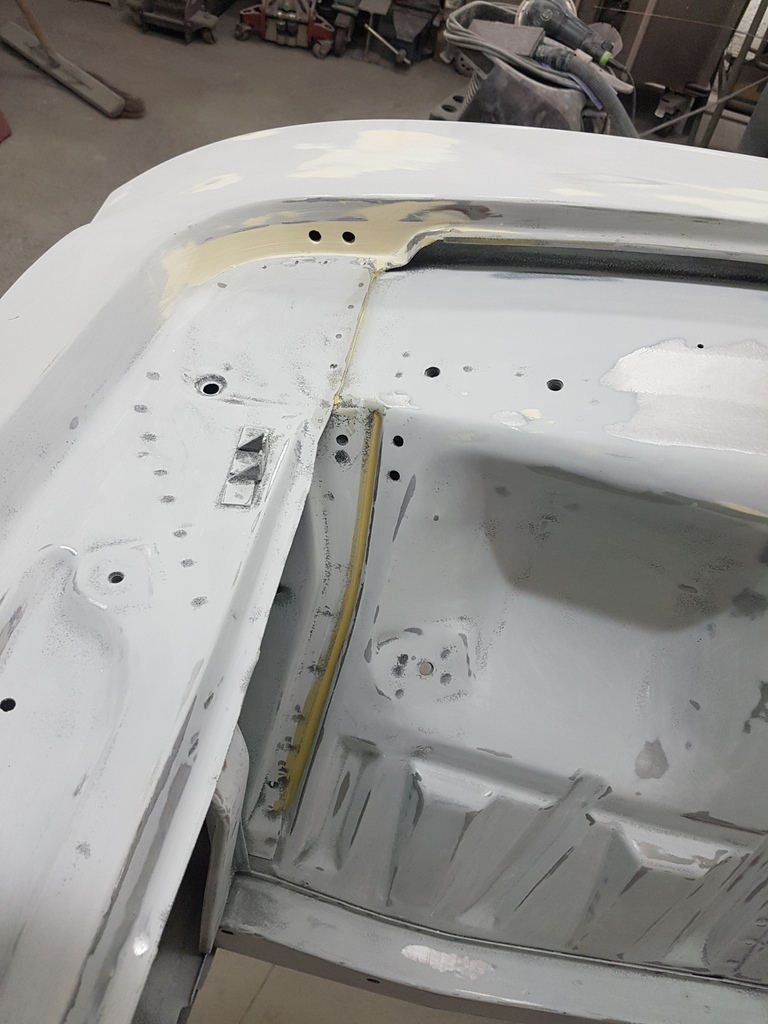 There are loads of areas once you start to look - many would not have been done when the car was new - but a little time spent now with the sealer gun can add to the future proofing of the paint & overall quality of the completed car 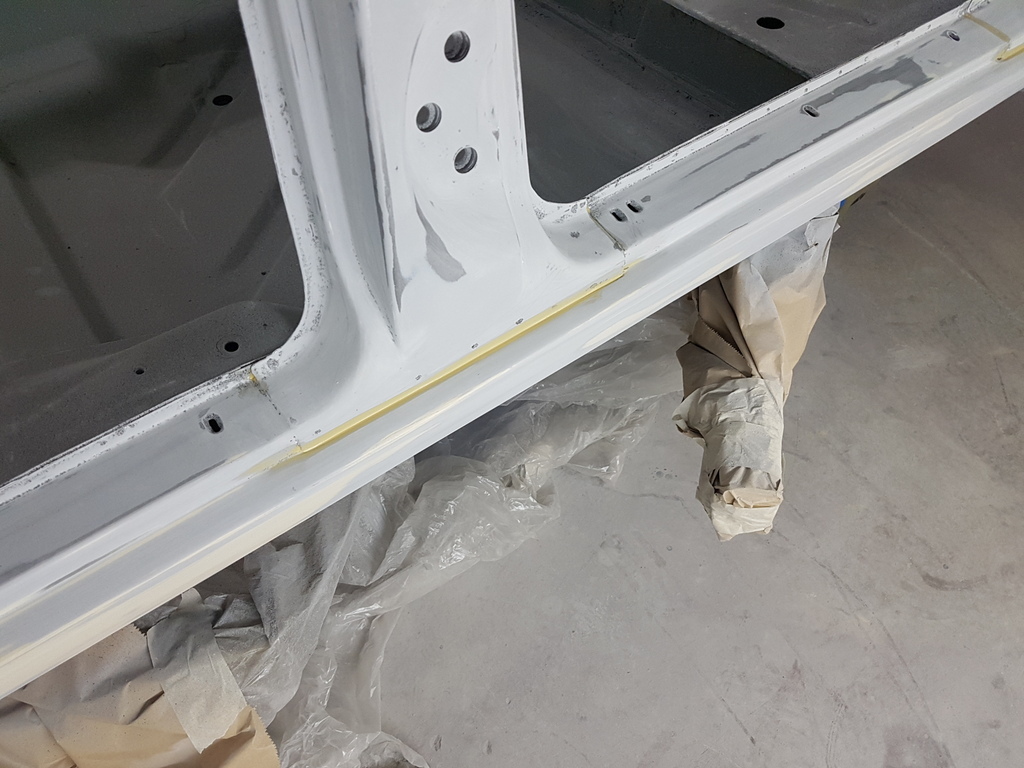 More tomorrow |
| |
Last Edit: May 30, 2019 21:12:21 GMT by Deleted
|
|


