jonomisfit
Club Retro Rides Member
Posts: 1,787
Club RR Member Number: 49
|
|
Sept 8, 2020 20:26:00 GMT
|
|
|
| |
|
|
|
|
jonomisfit
Club Retro Rides Member
Posts: 1,787
Club RR Member Number: 49
|
|
Sept 9, 2020 20:28:30 GMT
|
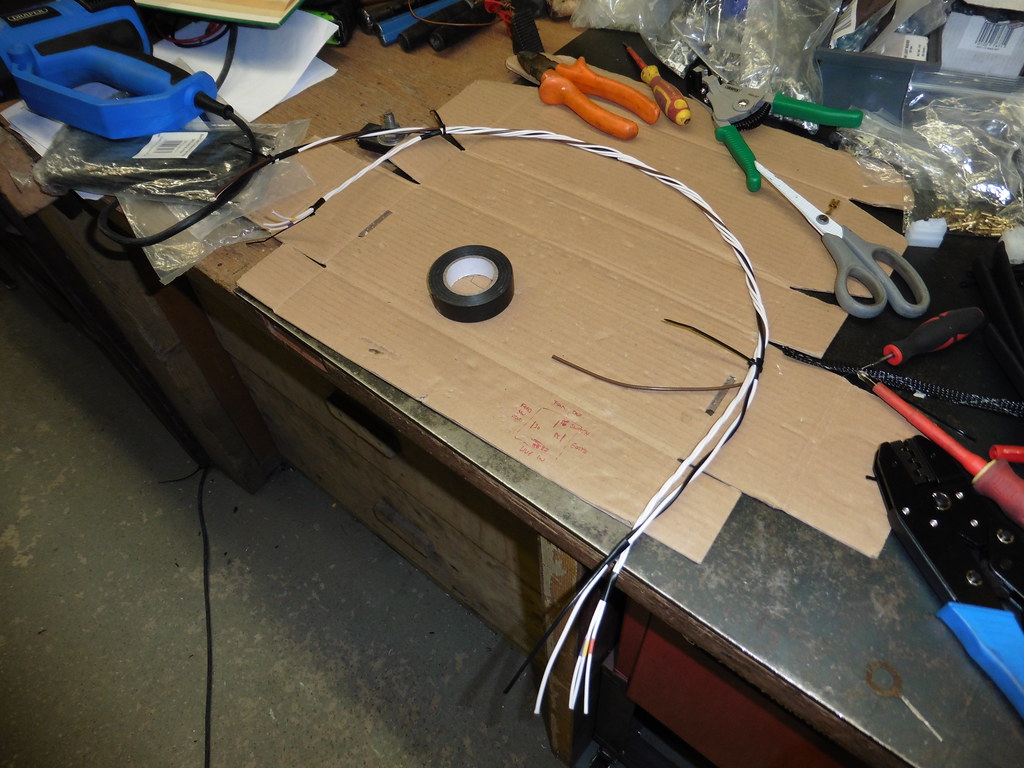
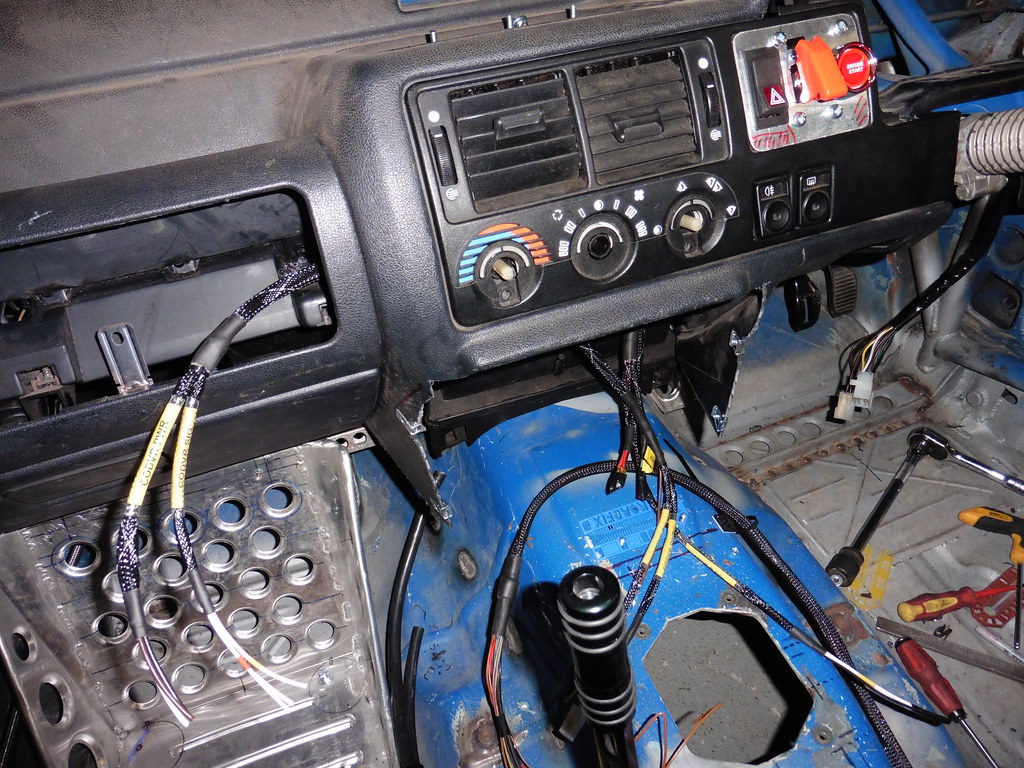
brake switch wiring 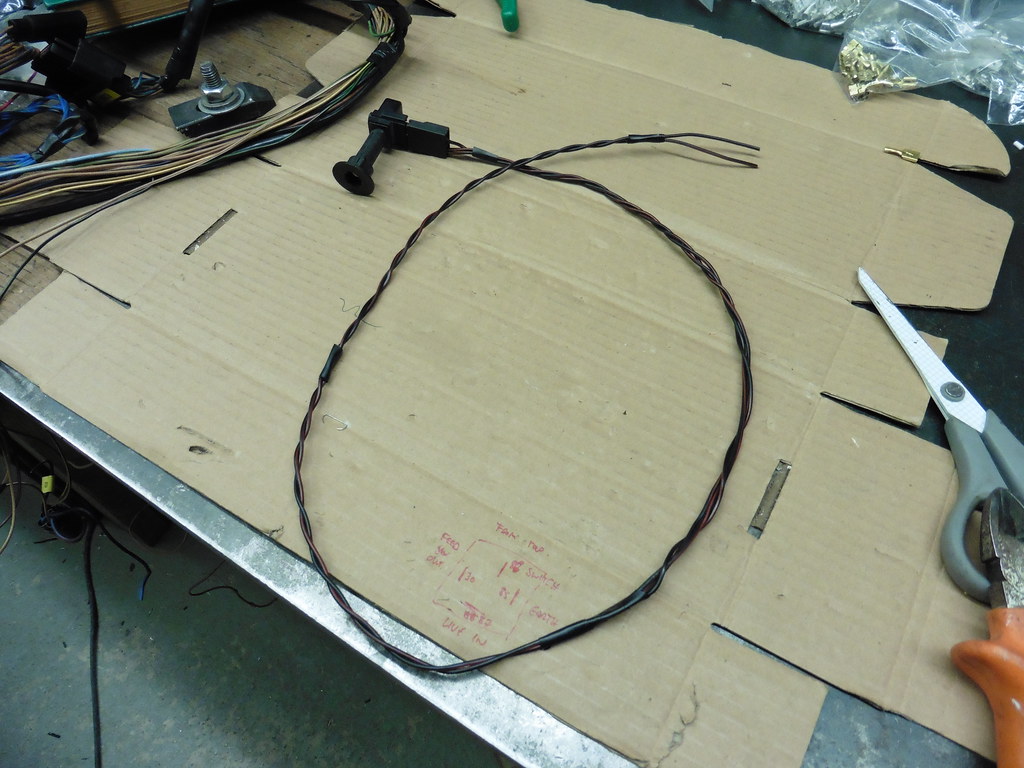 P1040156 P1040156 by jono_misfit, on Flickr 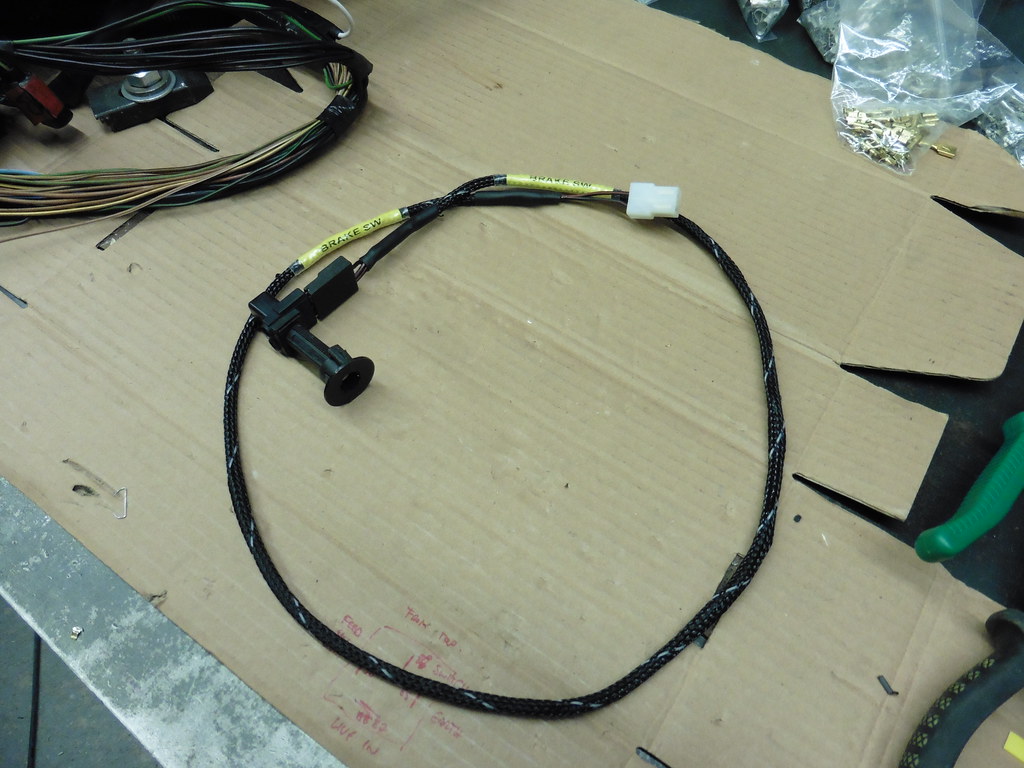 P1040157 P1040157 by jono_misfit, on Flickr start tidying up the ECU loom, the diagnostic connectrs etc, are no use to me, plus AC switch and few other bits, so the ends are terminated, sealed, and then added to this dead leg should they ever be needed in the future  P1040158 P1040158 by jono_misfit, on Flickr then there is a second leg of things I don't need (gearbox kick down, breather canister purge etc.) so terminated, sealed, and added to a second dead leg. 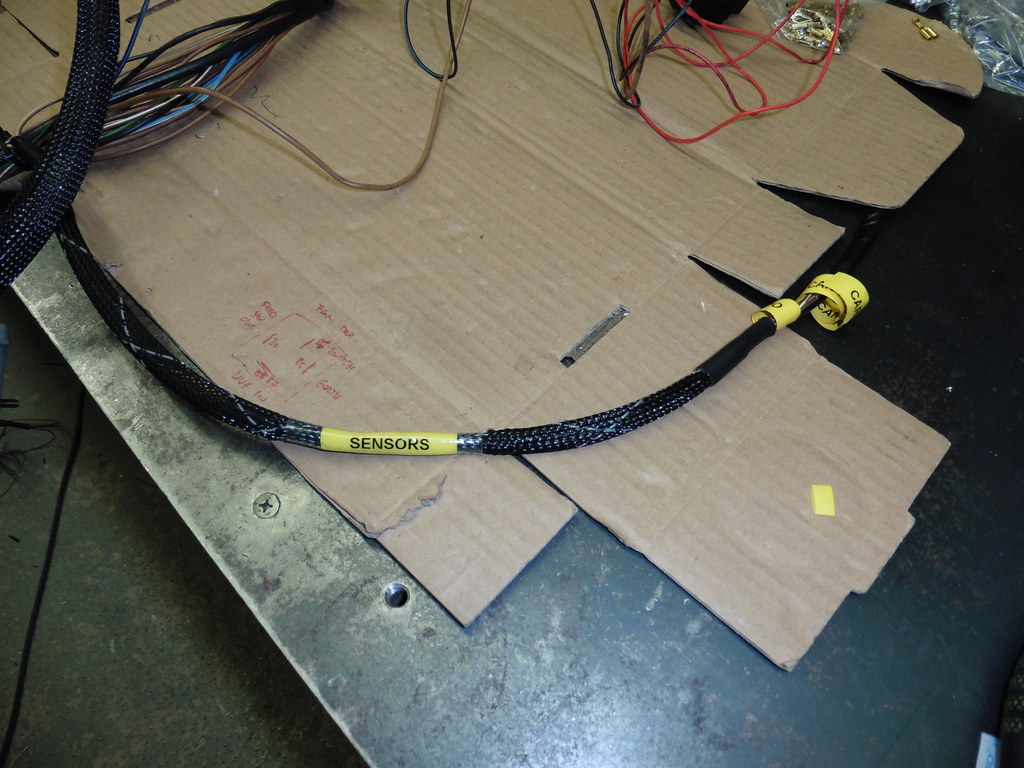 P1040159 P1040159 by jono_misfit, on Flickr next job will be sorting out the ECU / Engine loom feeds / relays / fuses. |
| |
|
|
mk2cossie
Club Retro Rides Member
Posts: 3,057  Club RR Member Number: 77
|
|
Sept 9, 2020 20:45:57 GMT
|
I havent forgotten about the wiring diagram, just lacking inspiration and motivation at the moment  The wiring looms are coming along nicely tho, very impressed with how good they look  Do you have the AC pump and bracket going spare by any chance? |
| |
|
|
jonomisfit
Club Retro Rides Member
Posts: 1,787
Club RR Member Number: 49
|
|
Sept 9, 2020 21:33:24 GMT
|
|
No worries.
I'm pretty certain the answer to this is going to be no, but i'll check the workshop next time i'm out there as my dad dropped a load of bits off and there could be the pump and bracket somewhere.
|
| |
|
|
melle
South West
It'll come out in the wash.
Posts: 2,008
|
|
Sept 10, 2020 7:56:12 GMT
|
|
Any recommendations for braided sleeve? I've always used loom tape or re-used brittle original sheathing on my cars, but what you're using looks so much nicer. Had a look on eBay, but it all looks the same and varies wildly in price. I wonder how well the different types hold up in practice (read: engine heat)? I'd rather use the best I can afford, then redoing it in a few years time.
I like your sub-looms. I was always of the opinion that it was better too have less connections = less potential issues, but with decent connectors it shouldn't be a problem really.
|
| |
www.saabv4.com'70 Saab 96 V4 "The Devil's Own V4" '77 Saab 95 V4 van conversion project '88 Saab 900i 8V
|
|
jonomisfit
Club Retro Rides Member
Posts: 1,787
Club RR Member Number: 49
|
|
Sept 10, 2020 8:47:46 GMT
|
|
I bought mine from a company called PMG rather than eBay, I can't recommend them enough. The eBay stuff seemed very expensive for the same products.
There are a number of different types. If you look through the pics there are two types I use. The one with the white crosses through it is a slightly higher temperature one than the all black.
You can also get higher temperature again than I've used, abrasive restant, raychem style seal shroud etc. They get pretty expensive though.
I generally like as few connections in a wire chain as possible, however in this instance I'm driven by practicality of being able to reconfigure it all in the future as engines etc change.
I'll keep an eye on how it develops and if any issues arise from it.
|
| |
|
|
melle
South West
It'll come out in the wash.
Posts: 2,008
|
|
Sept 10, 2020 8:57:49 GMT
|
|
Thanks, that's useful information, I'll look up PMG. Did you get your connectors there as well?
It makes sense to have at lease a separate engine loom, and I think it doesn't harm to make things like rad fans easily detachable too.
|
| |
www.saabv4.com'70 Saab 96 V4 "The Devil's Own V4" '77 Saab 95 V4 van conversion project '88 Saab 900i 8V
|
|
jonomisfit
Club Retro Rides Member
Posts: 1,787
Club RR Member Number: 49
|
|
Sept 10, 2020 10:22:21 GMT
|
|
It's pmgonlinecompany.
I got the connectors switches etc. from a number of places.
Automotive wiring products
Car builders solutions
3 way components on eBay
Bad obsession motorsport
Plus a few others
|
| |
|
|
melle
South West
It'll come out in the wash.
Posts: 2,008
|
|
Sept 10, 2020 12:00:16 GMT
|
|
I've used 3 Way a few times, always been happy with their products. Will check out the others, thanks again.
|
| |
www.saabv4.com'70 Saab 96 V4 "The Devil's Own V4" '77 Saab 95 V4 van conversion project '88 Saab 900i 8V
|
|
jonomisfit
Club Retro Rides Member
Posts: 1,787
Club RR Member Number: 49
|
|
Sept 10, 2020 20:27:31 GMT
|
ECU loom termination, the main live feed for 02 sensors and Injectors, the ECU power feed, an ignition signal, and the starter solenoid trigger. The single connector is the tacho signal return from EDIS 6 module. 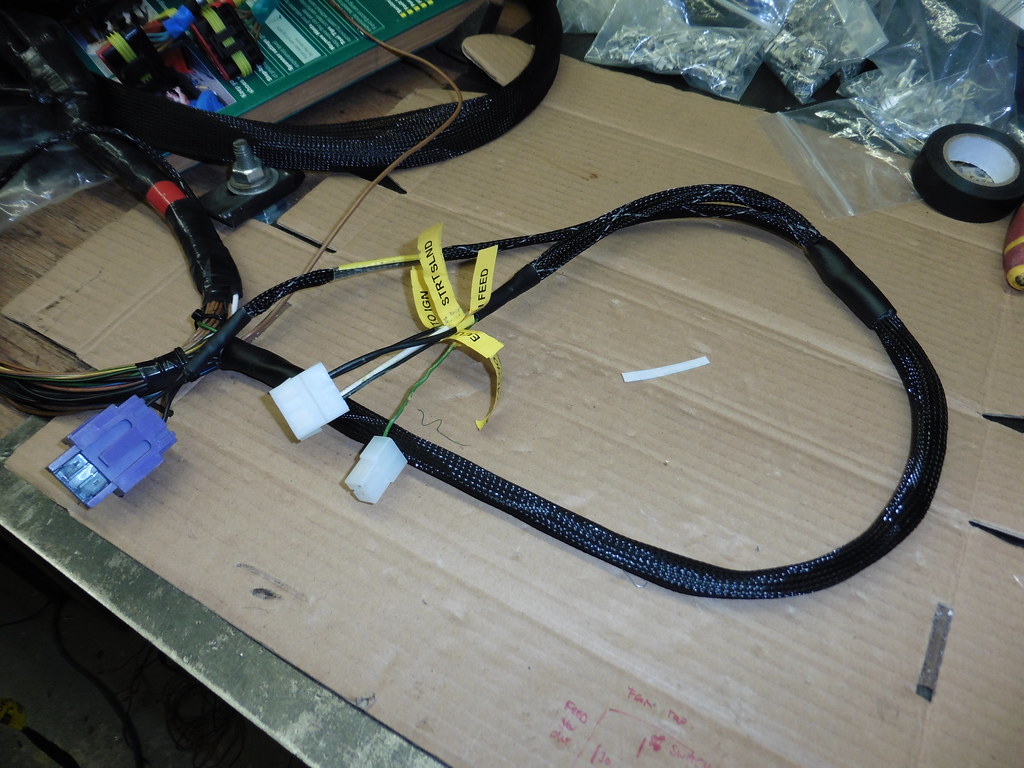 P1040161 P1040161 by jono_misfit, on Flickr |
| |
Last Edit: Sept 10, 2020 21:37:01 GMT by jonomisfit
|
|
jonomisfit
Club Retro Rides Member
Posts: 1,787
Club RR Member Number: 49
|
|
Sept 11, 2020 19:42:15 GMT
|
I made a central cable guide  P1040162 P1040162 by jono_misfit, on Flickr will rivet in here  P1040163 P1040163 by jono_misfit, on Flickr temp screwed in , and cable ties fitted to show how its used  P1040164 P1040164 by jono_misfit, on Flickr first cable fitted for linking Engine loom to centre panel  P1040165 P1040165 by jono_misfit, on Flickr running earths to the relays. I think i'll replace a couple of the rivets with bolts, so I can use them as earth studs, plus it will them properly earth the panel.  P1040166 P1040166 by jono_misfit, on Flickr starting the colum loom links. 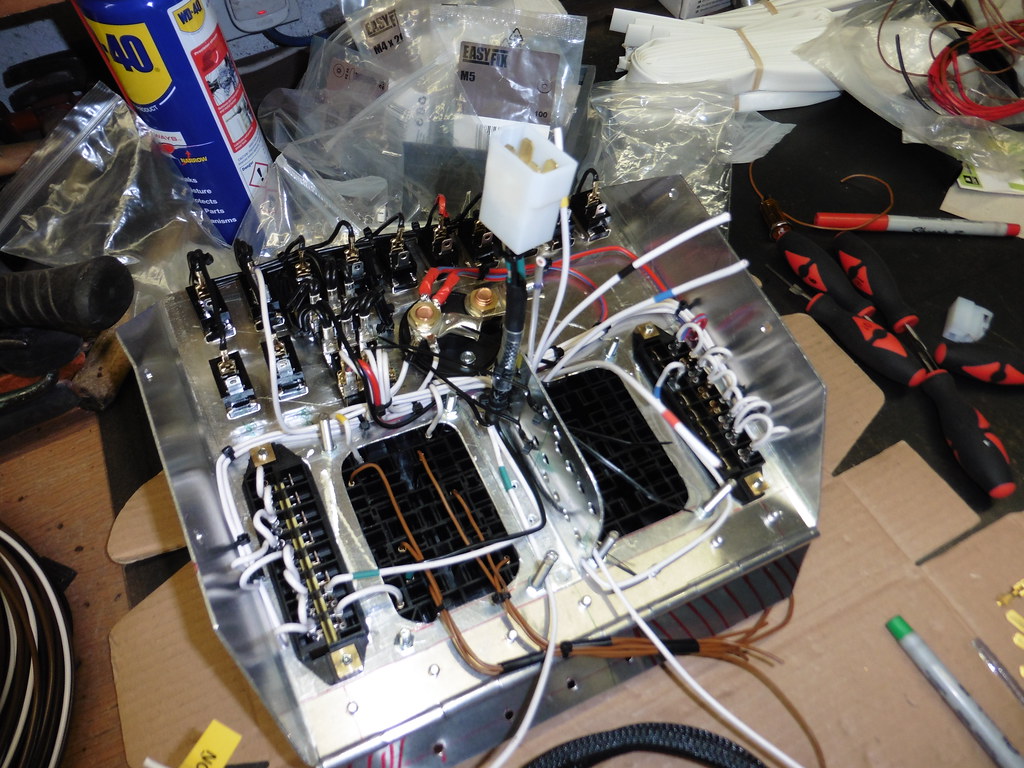 P1040167 P1040167 by jono_misfit, on Flickr loom them up first so they're easier to manage  P1040168 P1040168 by jono_misfit, on Flickr  P1040169 P1040169 by jono_misfit, on Flickr sheath applied  P1040170 P1040170 by jono_misfit, on Flickr Terminated and sanity check against the link cable  P1040171 P1040171 by jono_misfit, on Flickr When i'm happy with it all there will be coloured banding applied so its easy to see what goes to what. Its about to start getting really complicated on the wiring front it think..... I've also decided I need to re-do the feeds to the switches, as most of them don't need to be switched by the ignition, they can just be fed stright from fuses. I've also realised a number of relays arent needed that way and I can use the switches directly for the low load items. |
| |
|
|
jonomisfit
Club Retro Rides Member
Posts: 1,787
Club RR Member Number: 49
|
|
Sept 13, 2020 20:41:53 GMT
|
I continued wiring up the panel.  P1040172 P1040172 by jono_misfit, on Flickr I swapped out some of the ign feeds to switches and fed some directly from fuses, and then linked some through. 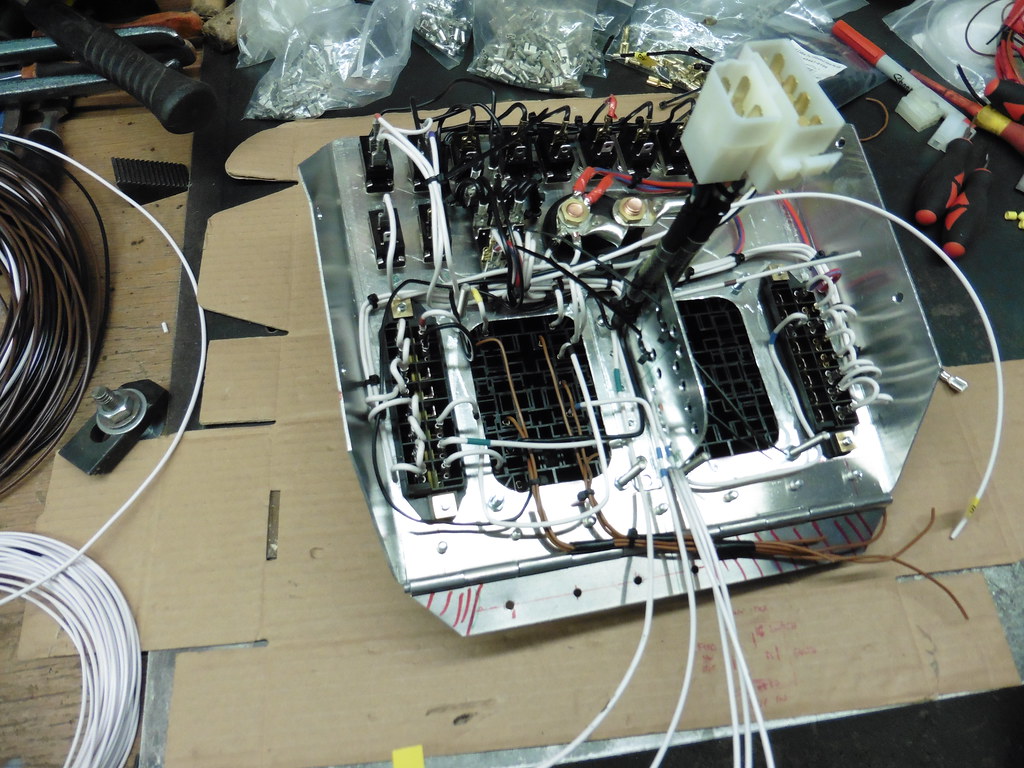 P1040173 P1040173 by jono_misfit, on Flickr continued on with wiring up the relays 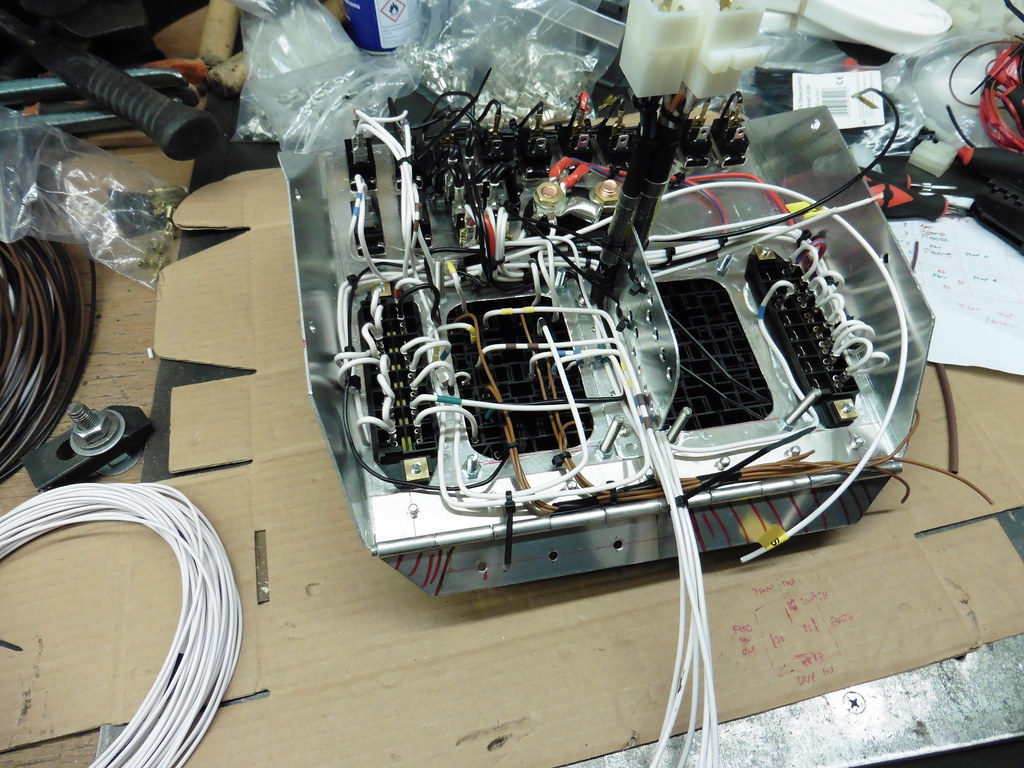 P1040174 P1040174 by jono_misfit, on Flickr and some more  P1040175 P1040175 by jono_misfit, on Flickr then worked out I can cut down on the conenction to the board if I split out the front / rear lights from a single panel connection.  P1040176 P1040176 by jono_misfit, on Flickr started terminating that through 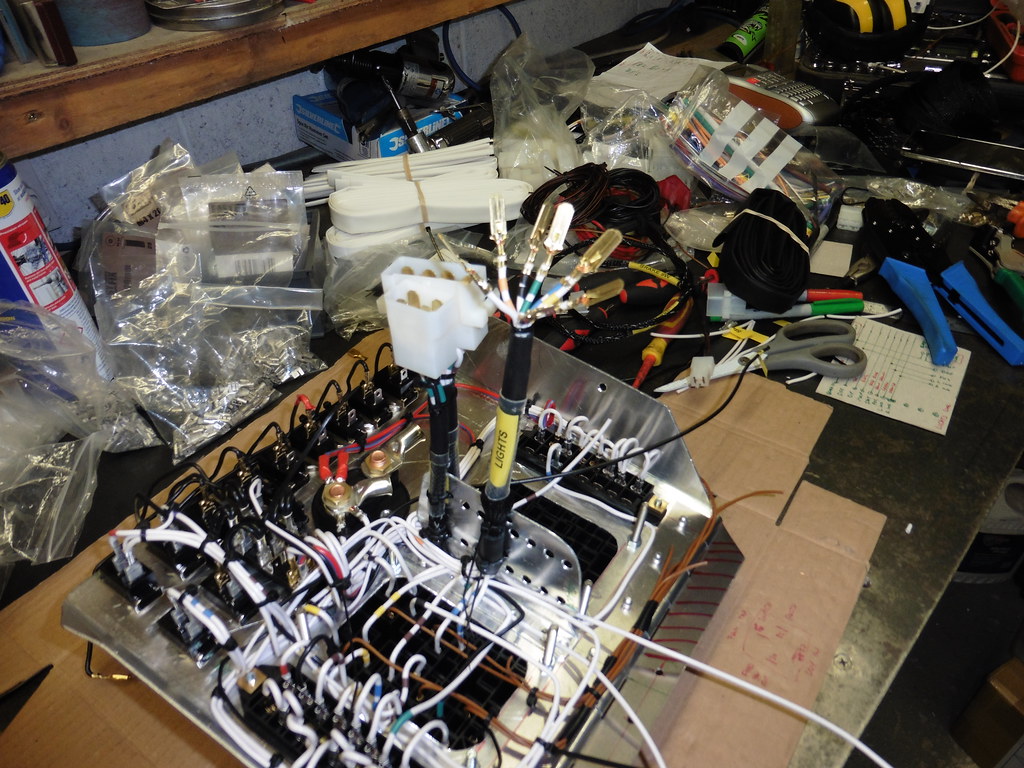 P1040177 P1040177 by jono_misfit, on Flickr  P1040178 P1040178 by jono_misfit, on Flickr the panel is starting to get very busy... and its only half done. started on the link loom fom the panel to the bulkhead connector 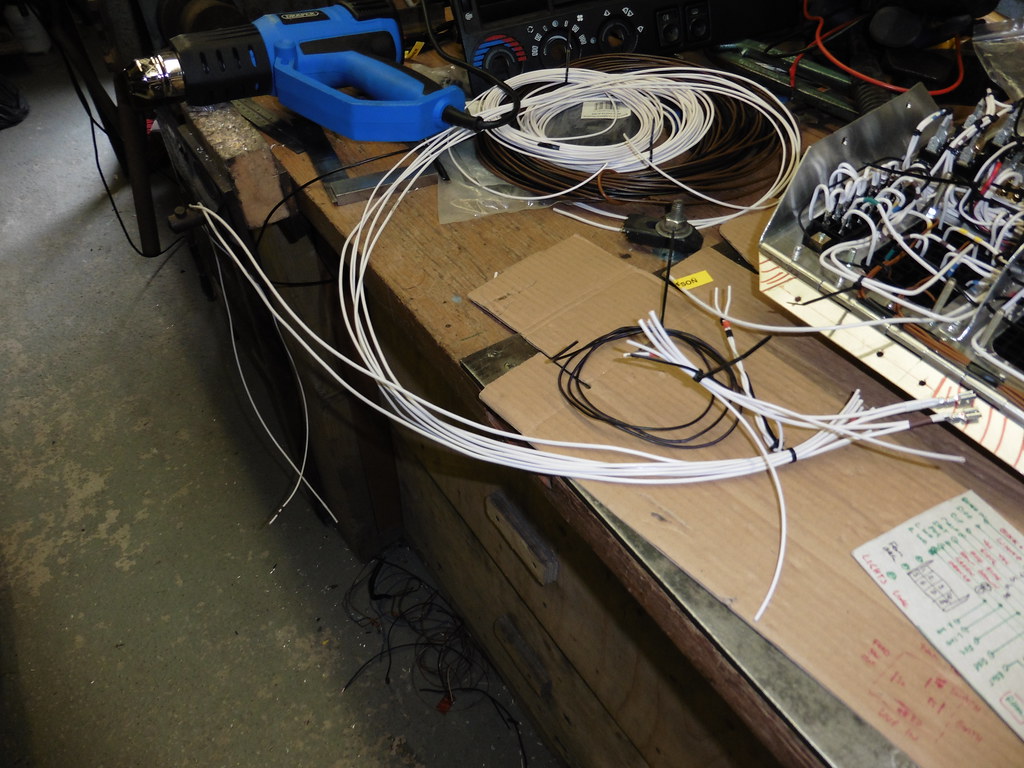 P1040179 P1040179 by jono_misfit, on Flickr black and red split out is the brake switch connection. 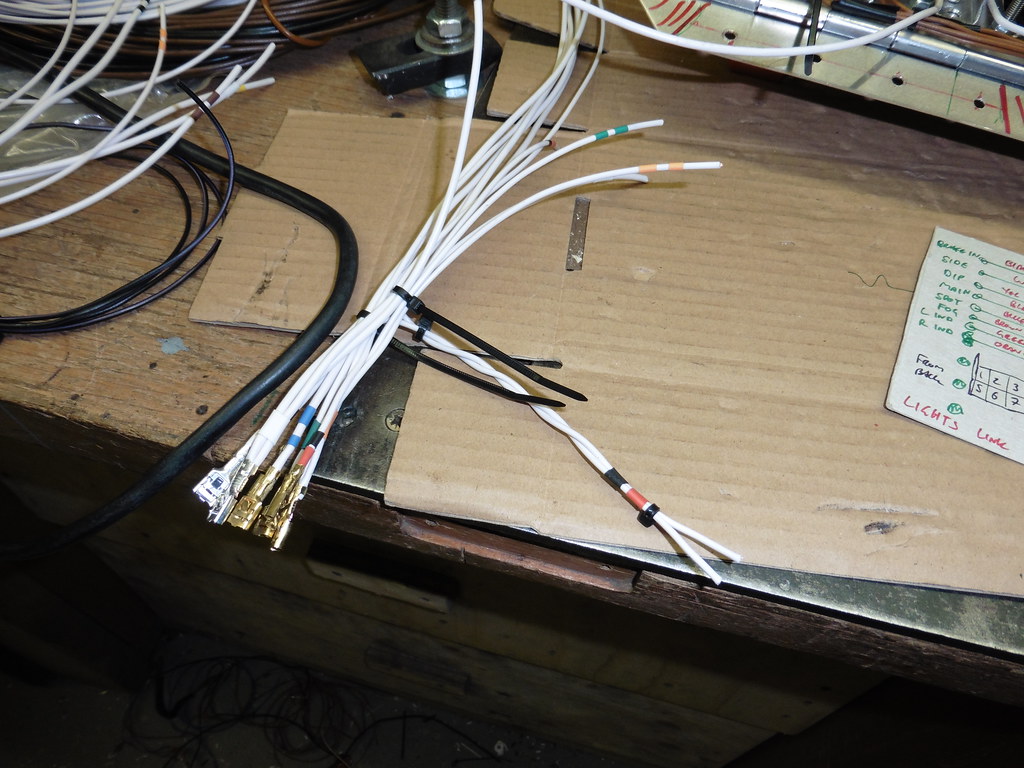 P1040180 P1040180 by jono_misfit, on Flickr link out loom, the connector on the left of the pic is the feed for the rear lights.  P1040181 P1040181 by jono_misfit, on Flickr  P1040182 P1040182 by jono_misfit, on Flickr Link loom, there will be more wires (a lot more) joining this for things like fans and windscreen wipers.  P1040183 P1040183 by jono_misfit, on Flickr |
| |
|
|
jonomisfit
Club Retro Rides Member
Posts: 1,787
Club RR Member Number: 49
|
|
Sept 14, 2020 20:13:55 GMT
|
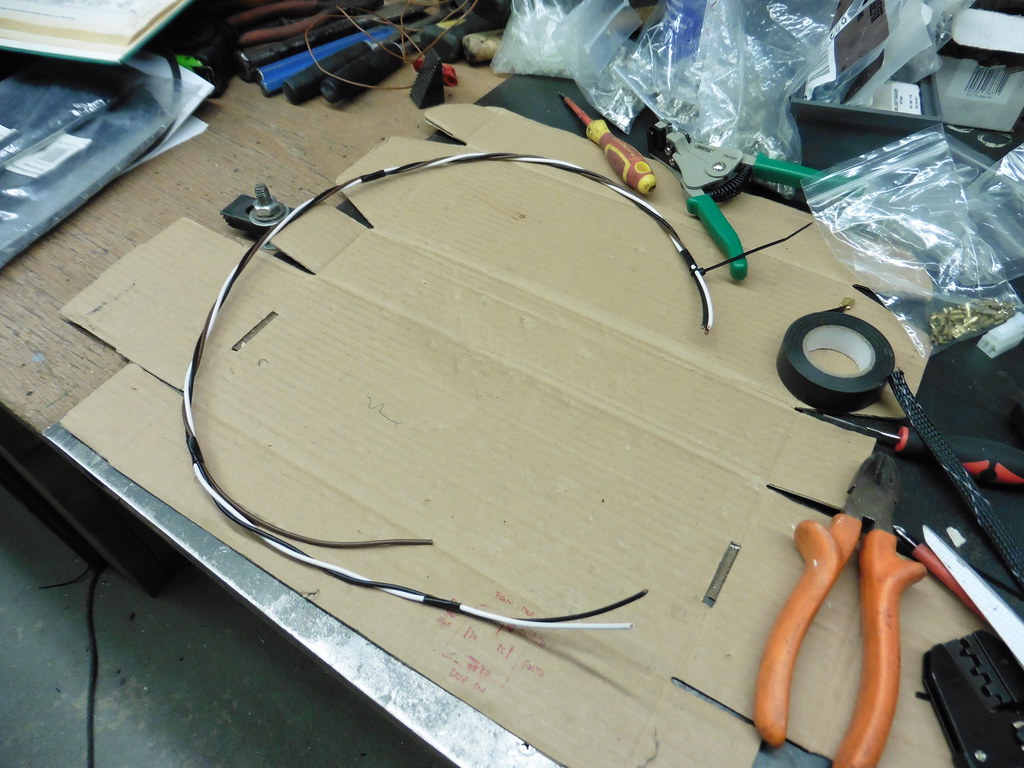
a couple of bit tonight, which doesnt look like anything, but tok a while of working out. the additional cables to add to the loom I've started yesterday....  P1040185 P1040185 by jono_misfit, on Flickr suitable sizes / colours found  P1040186 P1040186 by jono_misfit, on Flickr prepping for braiding / terminating.  P1040187 P1040187 by jono_misfit, on Flickr |
| |
|
|
eurogranada
Europe
To tinker or not to tinker, that is the question...
Posts: 2,556
|
|
Sept 15, 2020 7:53:41 GMT
|
|
Instead of liking every single post: nice job you're doing on the wiring!
|
| |
|
|
jonomisfit
Club Retro Rides Member
Posts: 1,787
Club RR Member Number: 49
|
|
Sept 15, 2020 20:19:37 GMT
|
thanks. Terminating last nights bit of loom.  P1040188 P1040188 by jono_misfit, on Flickr wipers, washers, blower  P1040189 P1040189 by jono_misfit, on Flickr There were a lot of extra wires for things like washer level sensors etc. which I'm not going to use, so have allocated as some strategic spares.  P1040190 P1040190 by jono_misfit, on Flickr task for next time is integrating these two pieces of loom. 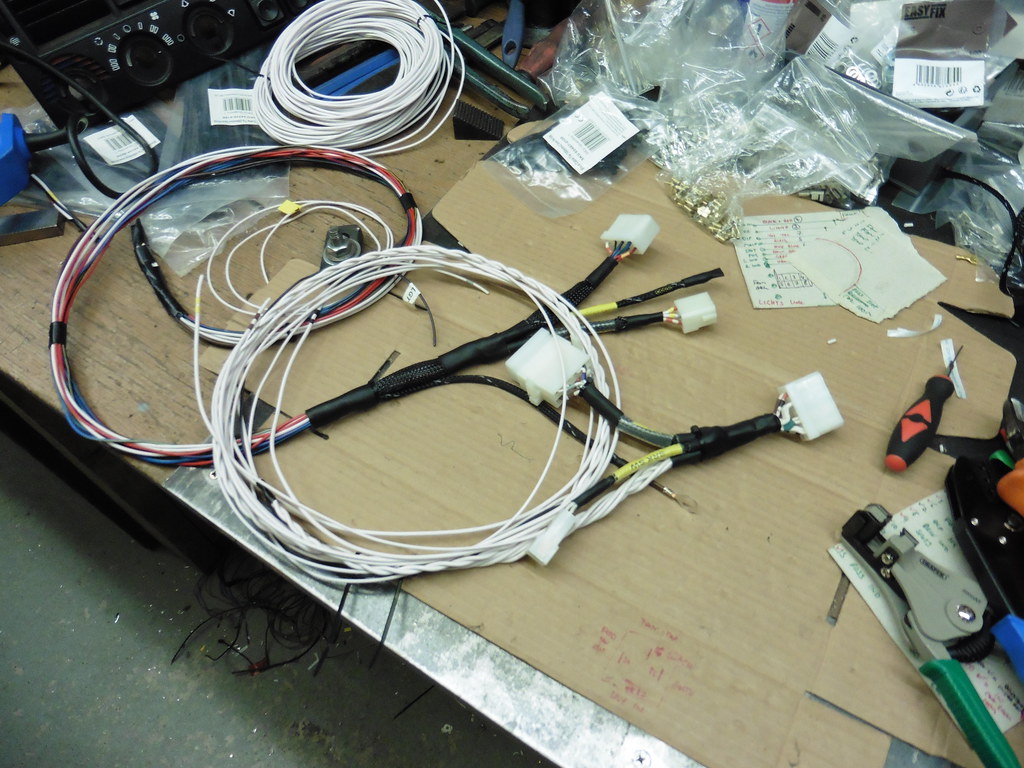 P1040191 P1040191 by jono_misfit, on Flickr Its going to be a good size.... |
| |
|
|
|
|
|
Sept 15, 2020 20:45:06 GMT
|
Looking good! I like the central guide plate. It makes it look tidy and avoid the risk of pulling of connectors. It is a busy place but should be avoiding electrical gremlins
Peter
|
| |
|
|
Darkspeed
Club Retro Rides Member
Posts: 4,872
Club RR Member Number: 39
|
|
Sept 15, 2020 21:08:17 GMT
|
|
Nice work - It does however make me glad I am dealing with very basic circuits with my projects.
|
| |
|
|
jonomisfit
Club Retro Rides Member
Posts: 1,787
Club RR Member Number: 49
|
|
Sept 15, 2020 22:14:46 GMT
|
|
I'm hoping so. And also hoping I haven't mucked up anything up...
Hopefully the morris will be more straight forward when I do that
|
| |
|
|
jonomisfit
Club Retro Rides Member
Posts: 1,787
Club RR Member Number: 49
|
|
Sept 16, 2020 20:18:56 GMT
|
Right, to start conjoining my mess of wires into a single piece of loom  P1040192 P1040192 by jono_misfit, on Flickr start layering up the cables  P1040193 P1040193 by jono_misfit, on Flickr Start adding in the rest of the cables  P1040195 P1040195 by jono_misfit, on Flickr all in a bunch 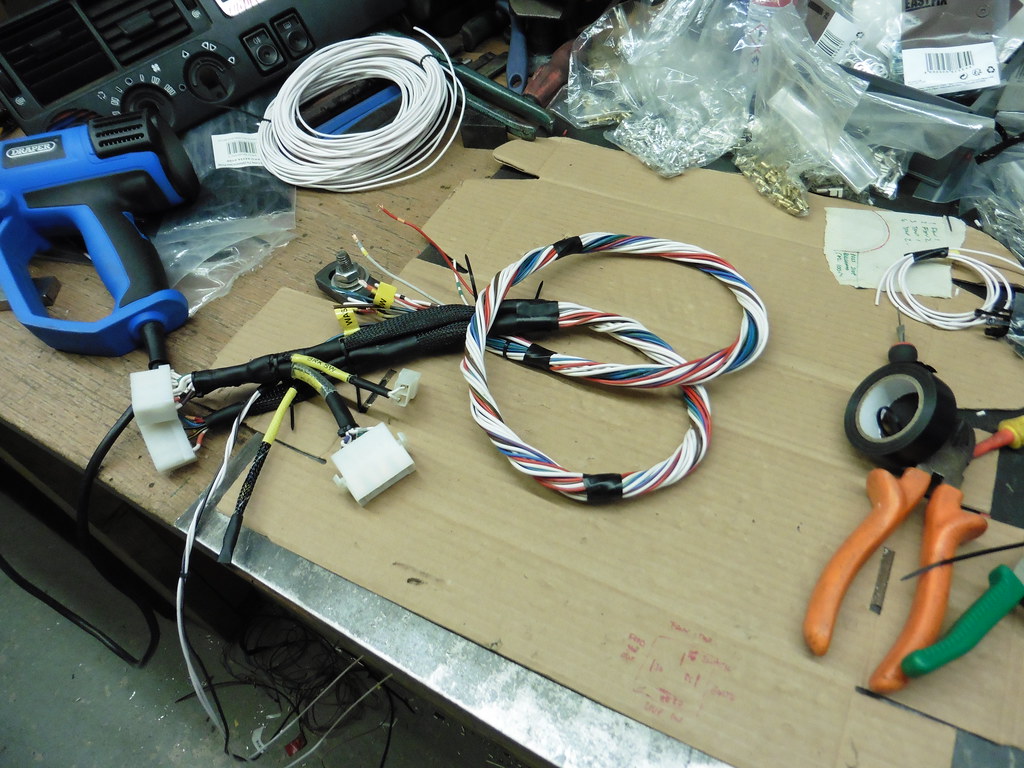 P1040194 P1040194 by jono_misfit, on Flickr It could be a bit neater, and I think the last set I put on should have wrapped the opposite direction. Added a piece of braid to it  P1040196 P1040196 by jono_misfit, on Flickr and started checking the conenctor to make sure the various guages of cables i'm using fit it.... |
| |
|
|
jonomisfit
Club Retro Rides Member
Posts: 1,787
Club RR Member Number: 49
|
|
Sept 20, 2020 17:26:23 GMT
|
wiring in the rest of the front end connections.  P1040197 P1040197 by jono_misfit, on Flickr checking it all lines up with the link loom  P1040198 P1040198 by jono_misfit, on Flickr ignition and start wired in  P1040199 P1040199 by jono_misfit, on Flickr i then realised i hadnt put in split out connection for the hazzard switch, so had to splice them in  P1040200 P1040200 by jono_misfit, on Flickr its all getting very tight... hazard switch wired in 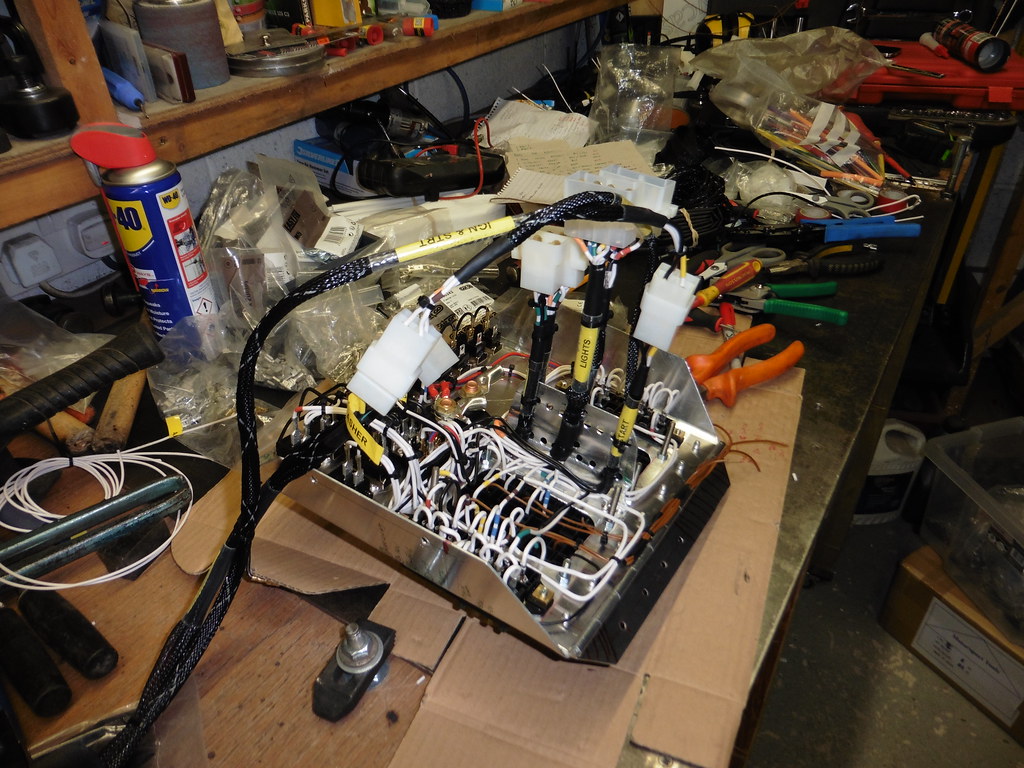 P1040201 P1040201 by jono_misfit, on Flickr flasher relay in 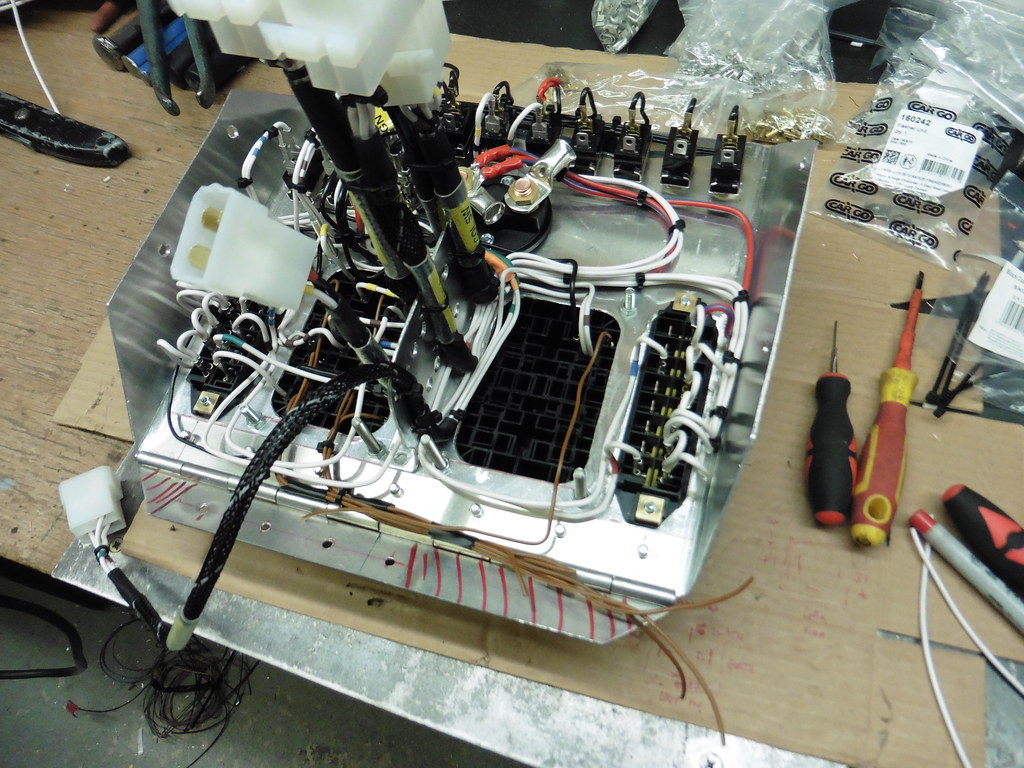 P1040202 P1040202 by jono_misfit, on Flickr I then decided to re-route all the ignition feeds to the switches, as its very close to the dash panel and i've already had one cable damaged from it, this way its got much more clearance.  P1040203 P1040203 by jono_misfit, on Flickr relay earth in 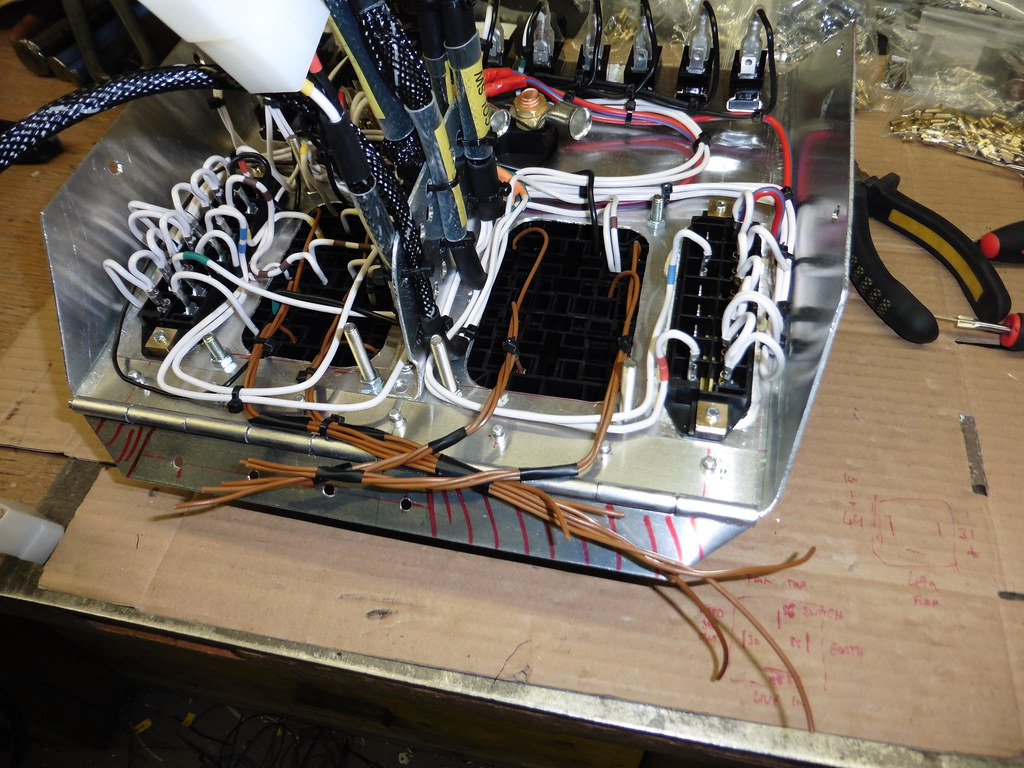 P1040204 P1040204 by jono_misfit, on Flickr I think i'll just add washers / nuts to the bolts holding on the relay panels to get earth points. I'll just nee to make sure they have good contact once its all stripped and painted. fuel pumps, fuel gauge, and intercom loom.  P1040205 P1040205 by jono_misfit, on Flickr  P1040206 P1040206 by jono_misfit, on Flickr fans feeds added. I'm still undecided on using the existing temp controlling relay or using a new one, so the coiled cables are for the thermostat signal if I do mount them here.  P1040207 P1040207 by jono_misfit, on Flickr panel back in situ to check clearance  P1040208 P1040208 by jono_misfit, on Flickr its fairly busy in there but it all fits and is accessible  P1040209 P1040209 by jono_misfit, on Flickr panel closed  P1040210 P1040210 by jono_misfit, on Flickr still a fair space in there  P1040211 P1040211 by jono_misfit, on Flickr  P1040212 P1040212 by jono_misfit, on Flickr I've still got to do the rear loom connections, the bulkhead connector inside and out, and add in a switch panel feed for the co-driver panel. But other than that its getting pretty close to wiring complete...... Untill i need to fault find on it.... |
| |
|
|
 P1040150 by jono_misfit, on Flickr
 P1040151 by jono_misfit, on Flickr
 P1040152 by jono_misfit, on Flickr
 P1040153 by jono_misfit, on Flickr
 P1040155 by jono_misfit, on Flickr
 P1040150 by jono_misfit, on Flickr
 P1040151 by jono_misfit, on Flickr
 P1040152 by jono_misfit, on Flickr
 P1040153 by jono_misfit, on Flickr
 P1040155 by jono_misfit, on Flickr


