63v8
Part of things
 
Posts: 232
|
|
|
|
|
I suffered from sciatica about 15 years ago digging clay out of the garden, fell to the floor and had to crawl in to the house. Never felt pain like that and it lasted for weeks, trying to sleep or getting out of a chair was agony.
Great work as usual but that bulkhead is a real surprise, from the front it just looks like a normal upright bulkhead. The pic from the side reveals the true angle to allow the hot air to escape from the rad to the vents on the side. These Jowetts are wonderful feats of engineering , is there a cover plate fitted between the top of the rad and bulkhead to force the hot air sideways to the vents ?
|
| |
|
|
|
|
|
|
|
|
|
|
There is always a low level electric pallet mover like those the supermarkets use. When not in use it can live on the back of you trailer.
|
| |
Last Edit: Apr 17, 2019 12:53:44 GMT by Badwolf
|
|
|
|
|
Apr 17, 2019 13:51:23 GMT
|
Best to institute whatever solution you choose for jockying the cars sooner, rather than later... how strong is sid ? |
| |
|
|
|
|
|
Apr 17, 2019 18:45:39 GMT
|
Best to institute whatever solution you choose for jockying the cars sooner, rather than later... how strong is sid ? No chance - once Sid gets into his sleeping in the sun mode (pic taken today) the only thing he going to move for is his dinner  |
| |
Last Edit: Apr 18, 2019 9:40:28 GMT by Deleted
|
|
|
|
|
Apr 17, 2019 18:51:58 GMT
|
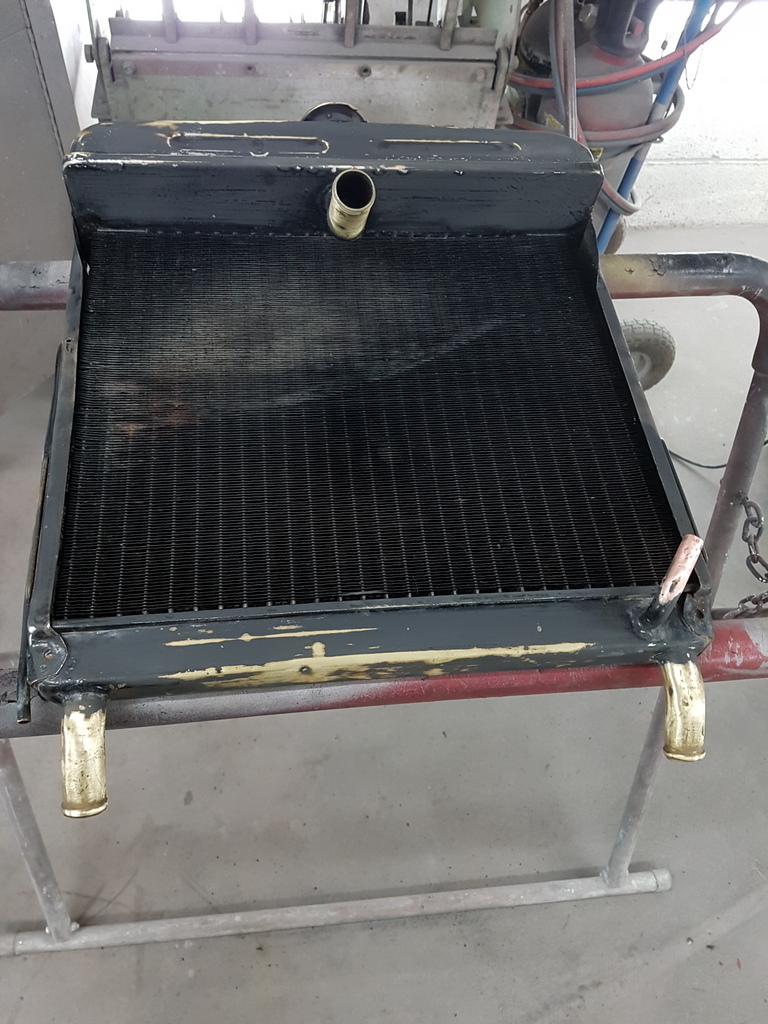 Radiator was new a couple of years ago but now had flaking paint on it 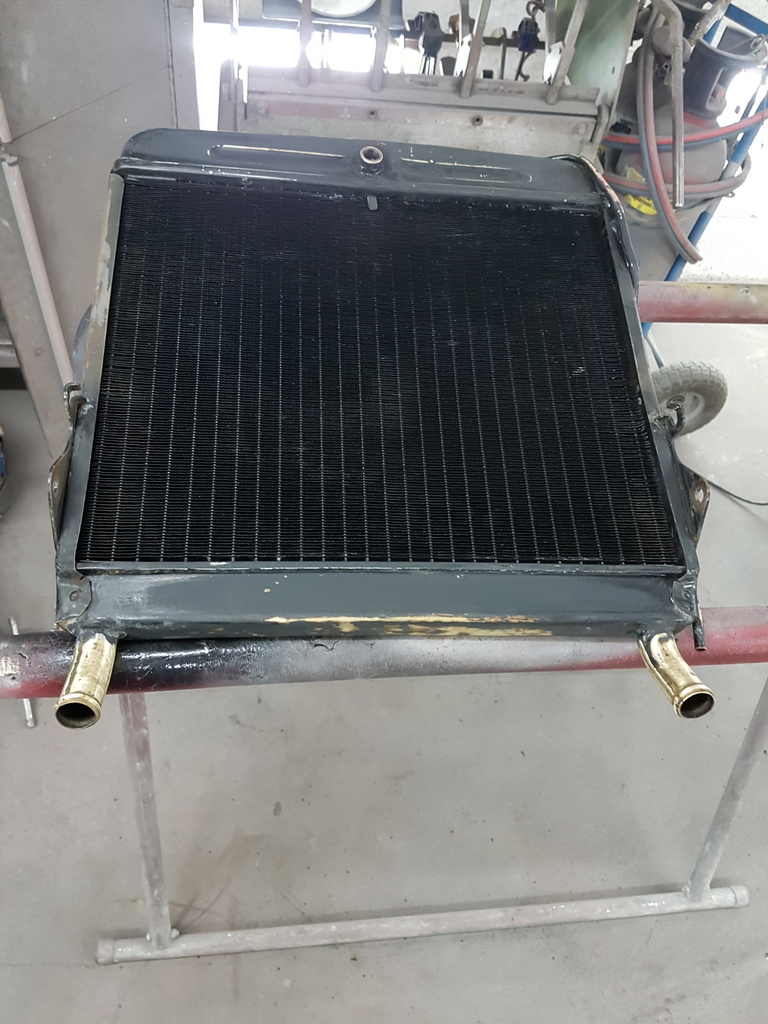 Prepped up 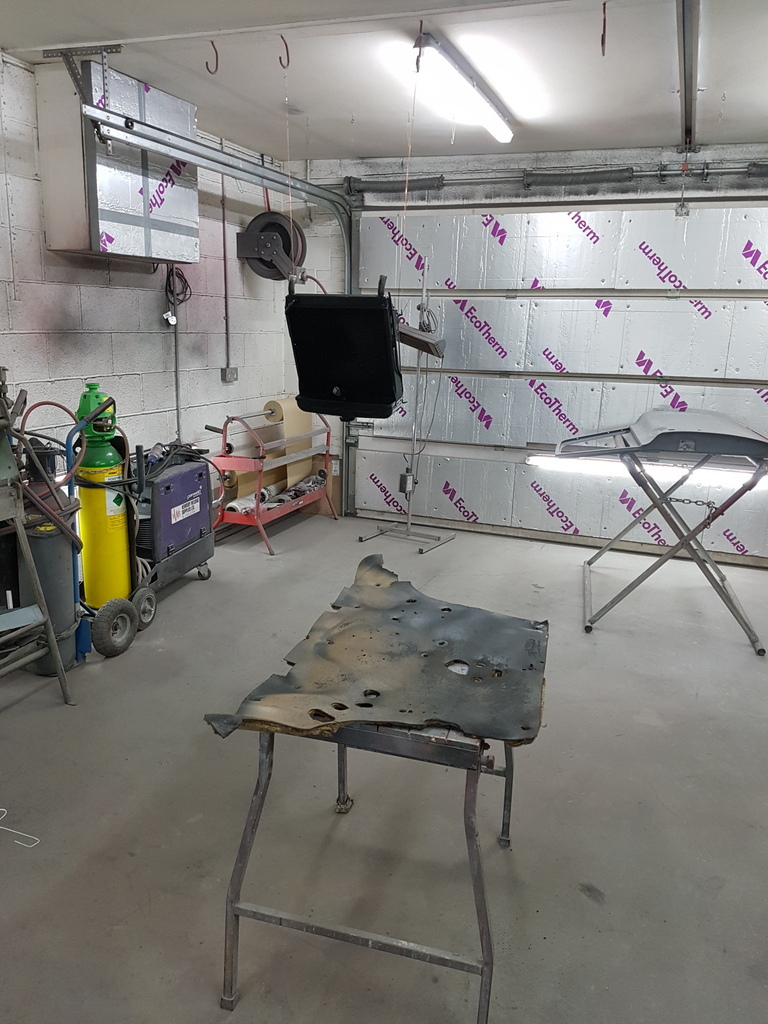 Spot primed 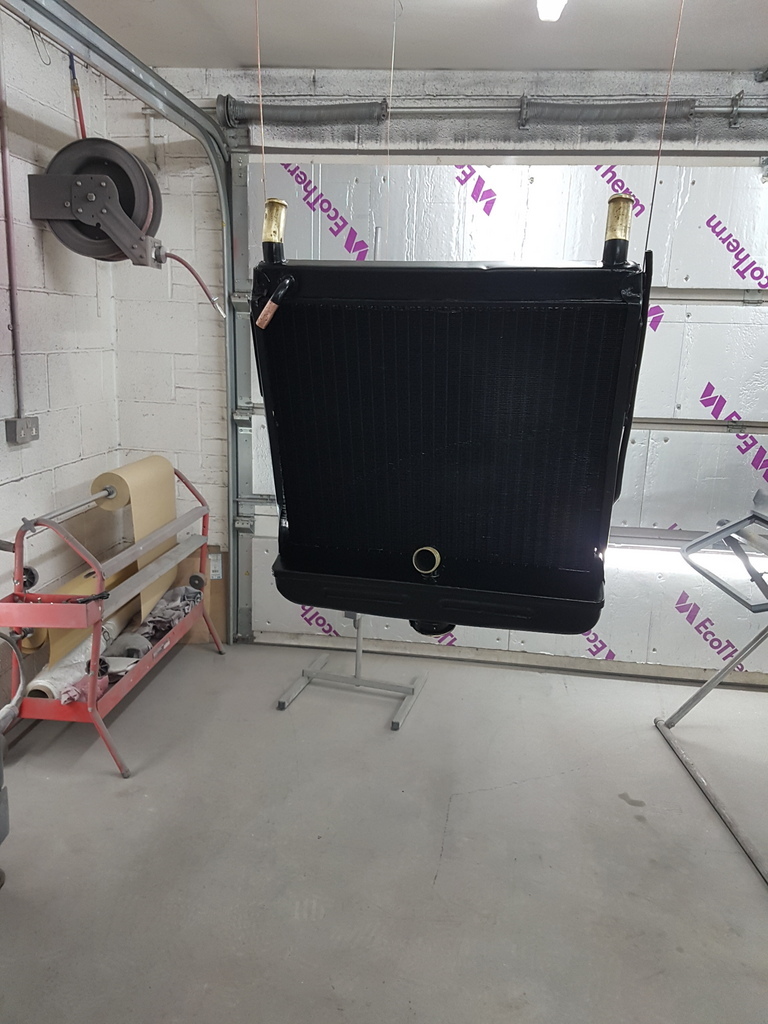 And a few coats of satin black applied to it 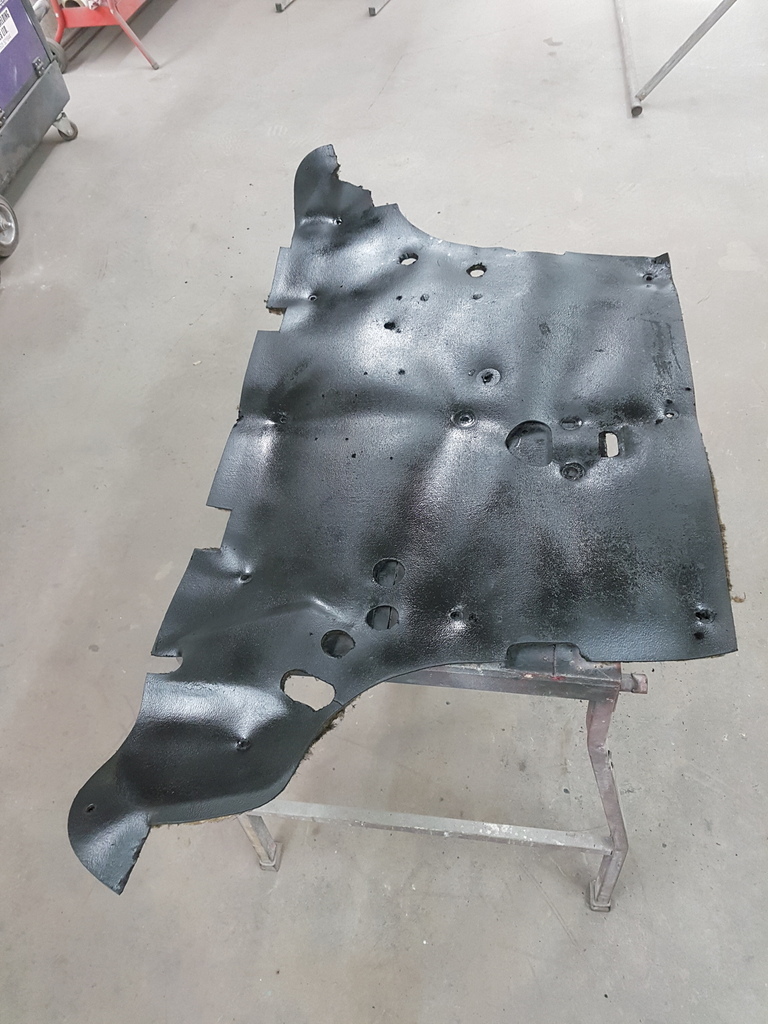 Also prepped the bulkhead insulation up which had gold overspray over it from the previous owner painting the metal dash - I applied a few coats of matt black to it - this will be refitted with some additional insulation but it's good to go again - still lots of other bits to prep / paint between jobs |
| |
|
|
|
|
|
Apr 18, 2019 20:09:15 GMT
|
Some more bits turned up from the excellent Jowett Car Spares 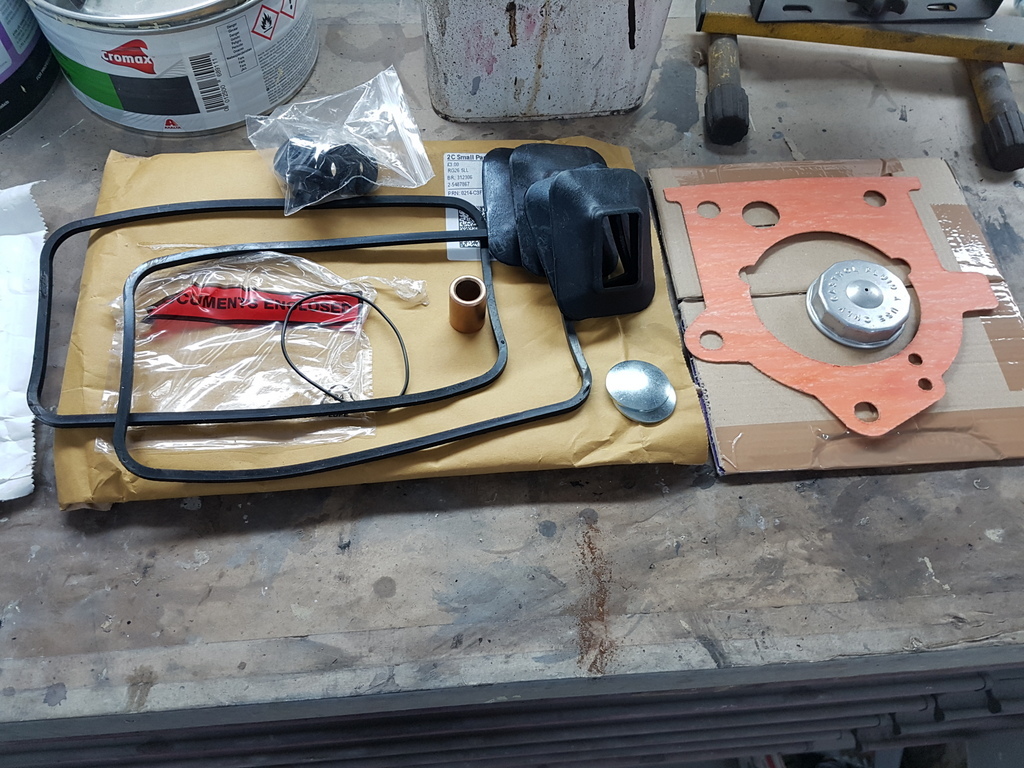 I needed to replace the cap on the brake reservoir - the previous owner had bodged a cap on from a one gallon can 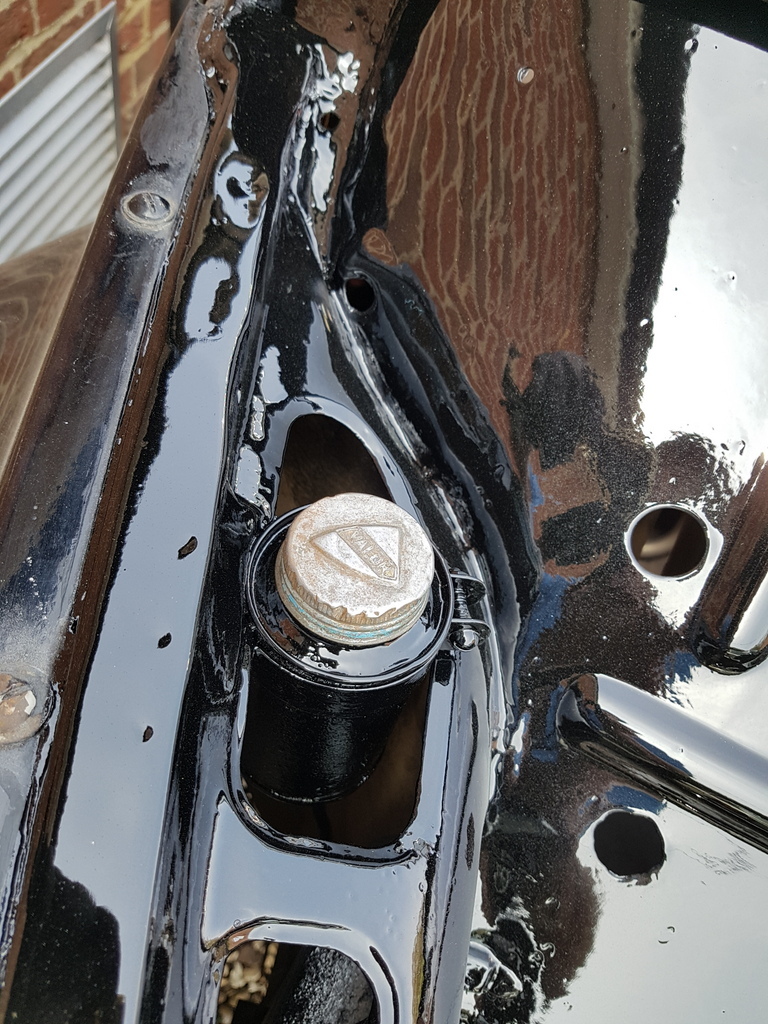 Managed to track one down has a single item (sub £9) rather than have to spend £60 on a complete reservoir 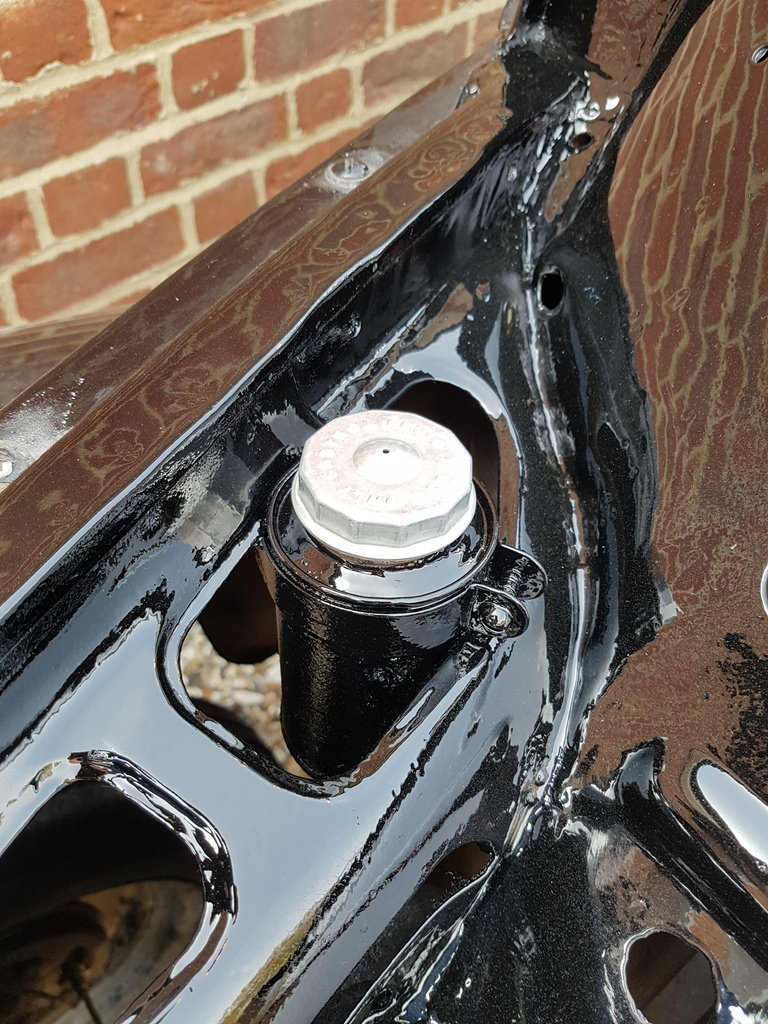 Spigot bearing for the flywheel is an 'Oilite' bush type - needs soaking in oil for 24 hours prior to fitting 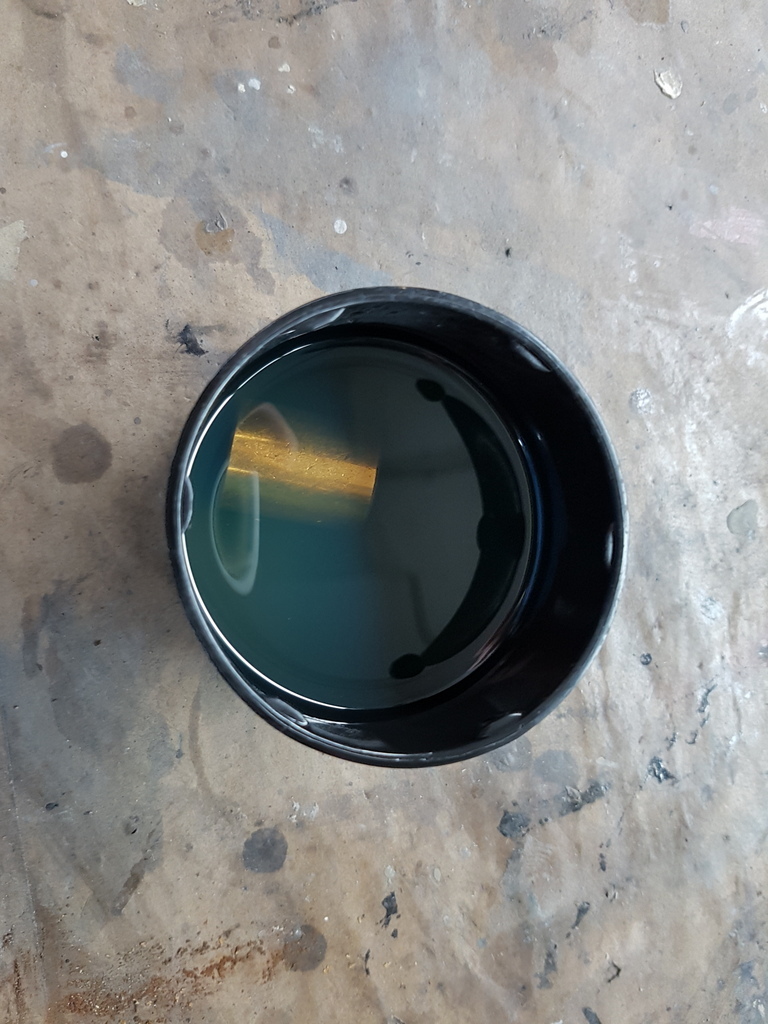 Applied a couple of coats of matt black to the etching primer on the inner face of the bulkhead 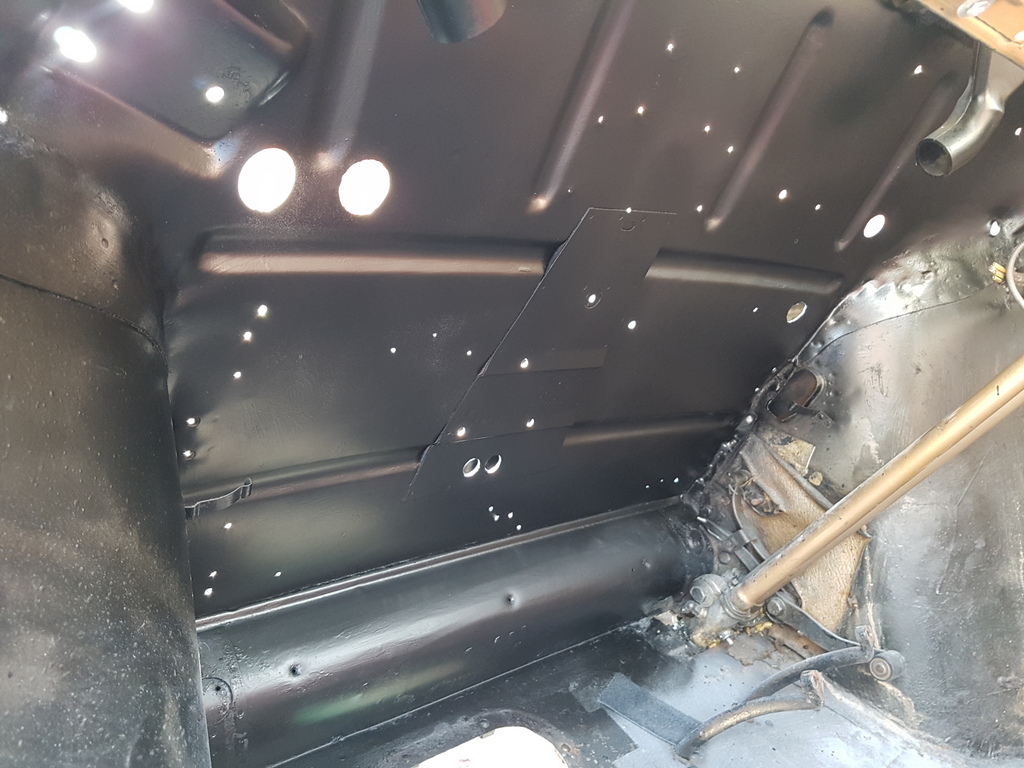 And did the front of the chassis legs & steering drag link in satin black 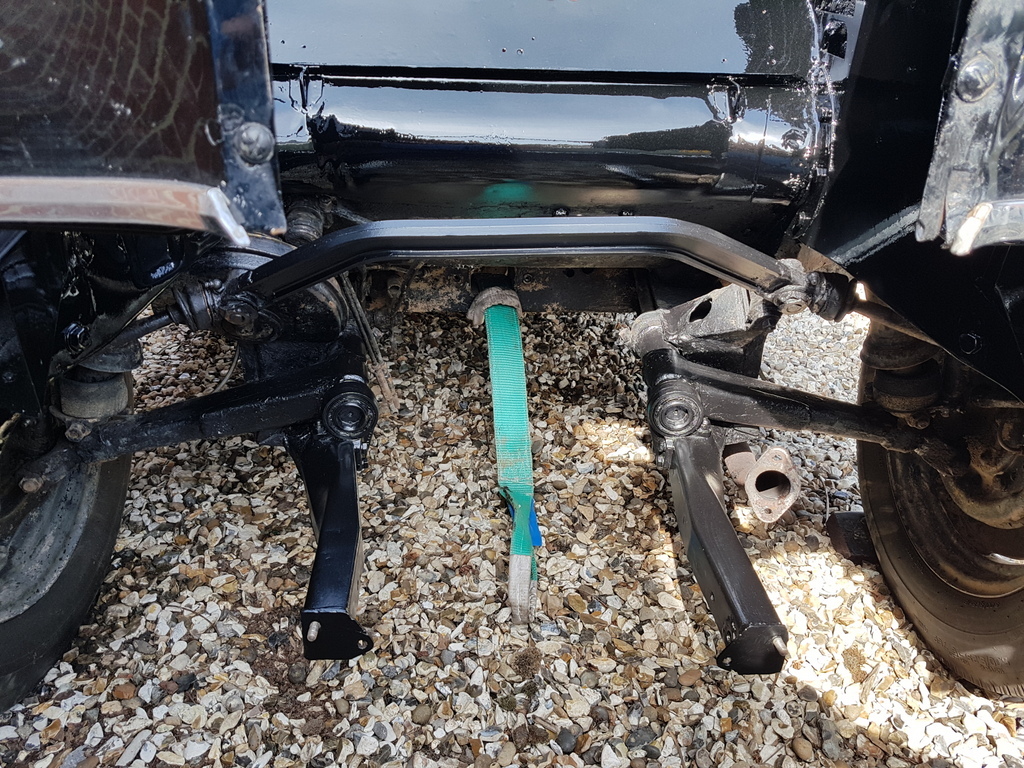 Refitted the inner bulkhead liner with additional insulation behind it 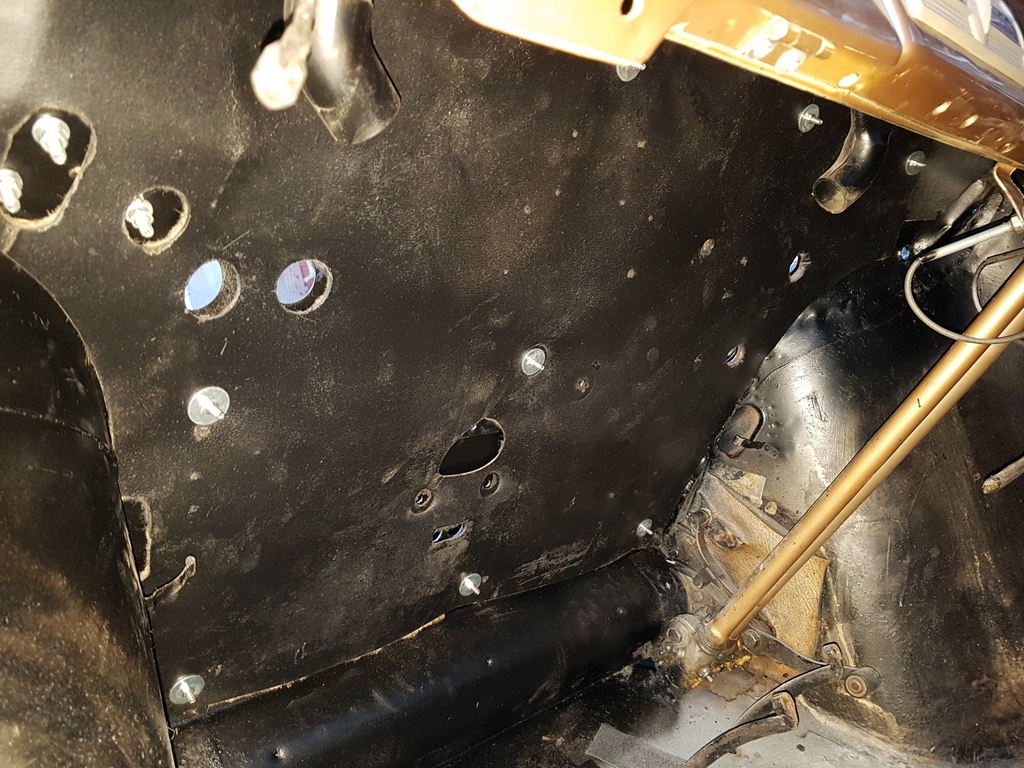 Then fitted the wiper motor & the regulator box back to engine bay 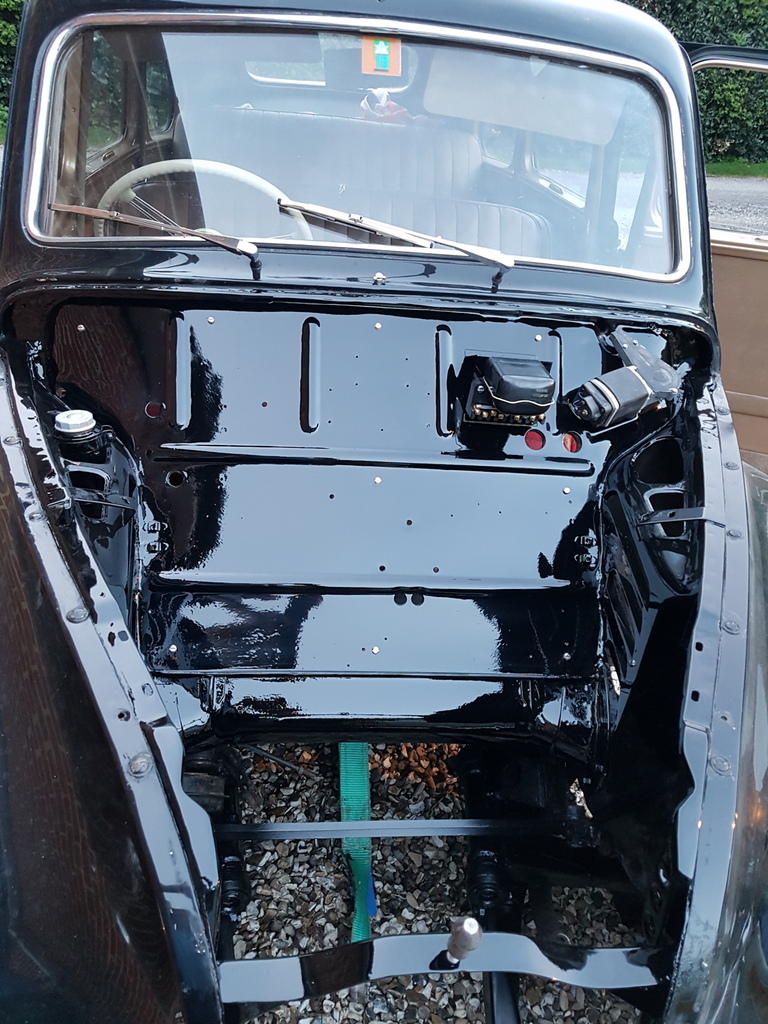 Several parts like the bonnet hinges & bonnet stay have been daubed in paint by the previous owner which is now flaking off and starting to produce surface rust so these need cleaning up prior to repainting them 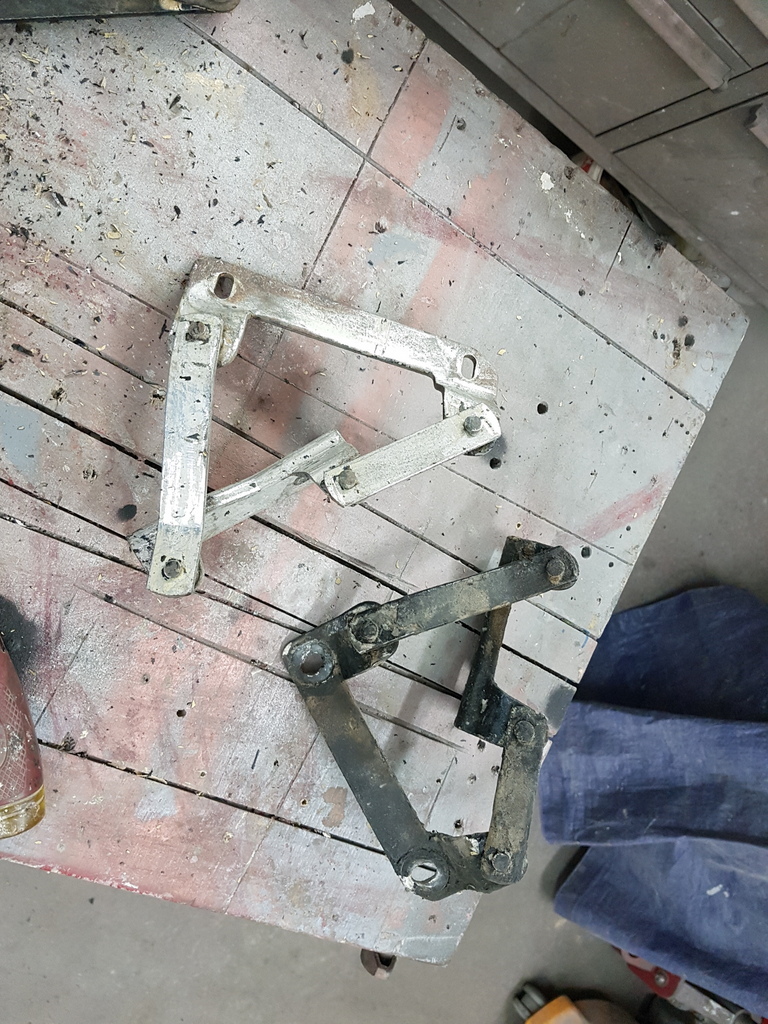 Just scraped the paint off with a sharp chisel and will give them a sand off in the morning 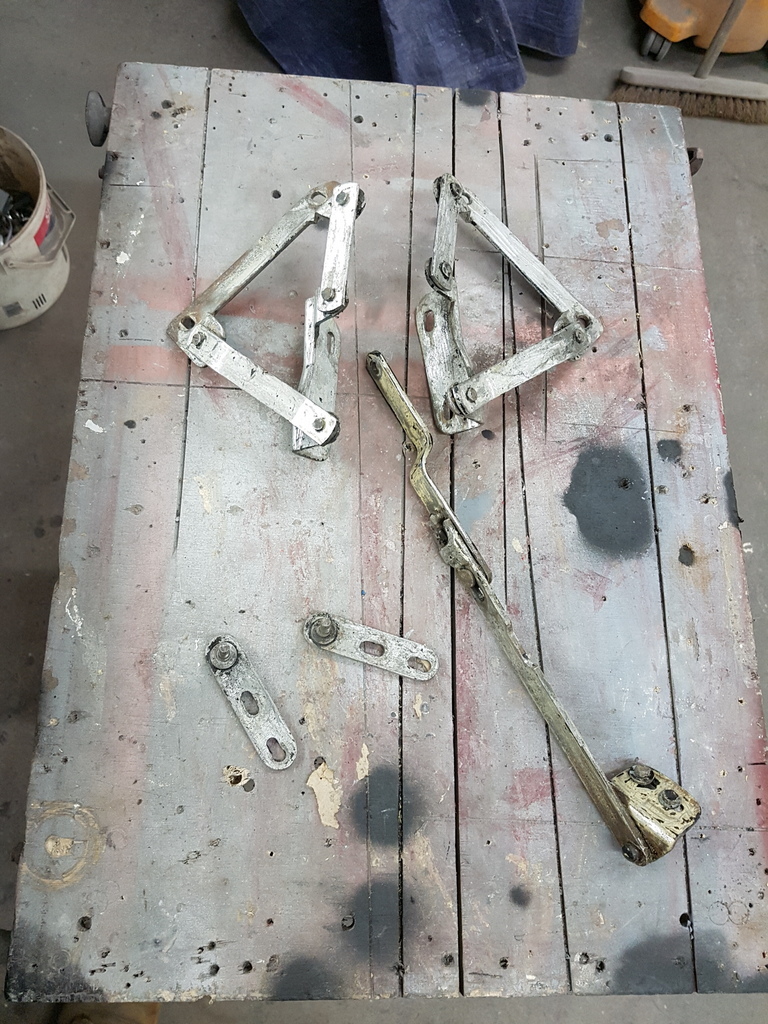 |
| |
|
|
|
|
|
|
|
|
I love to see those bits going back on one at a time...they look great. The chassis black (satin) is perfect.
JP
|
| |
I know its spelled Norman Luxury Yacht, but its pronounced Throat Wobbler Mangrove!
|
|
|
|
|
|
|
Looking good, Chris... Question... Have you no concern that with all these improvements...., transmission, engine service, re-wiring, etc. that your "better 2/3rds" costume designer may feel somewhat let down during this year's Javelin road trip...., when compared to all the unexpected adventures last year's version provided?  Keep up the good work, Lance |
| |
|
|
|
|
|
|
|
Spigot bearing for the flywheel is an 'Oilite' bush type - needs soaking in oil for 24 hours prior to fitting Oh, there's an interesting thing I hadn't realised when I rebuilt my pedal box using Oilite bushes instead of the standard short-lived nylon version. I might need to pop it out again next winter to do that bit. |
| |
|
|
|
|
|
Apr 19, 2019 17:34:19 GMT
|
Spigot bearing for the flywheel is an 'Oilite' bush type - needs soaking in oil for 24 hours prior to fitting Oh, there's an interesting thing I hadn't realised when I rebuilt my pedal box using Oilite bushes instead of the standard short-lived nylon version. I might need to pop it out again next winter to do that bit. Oilite bushes are impregnated with graphite during manufacture to aid production process and don't have to be oiled for every application only if specified so check first before you go pulling anything apart. |
| |
Last Edit: Apr 19, 2019 20:22:03 GMT by peteh1969
|
|
|
|
|
|
|
Apr 19, 2019 19:48:57 GMT
|
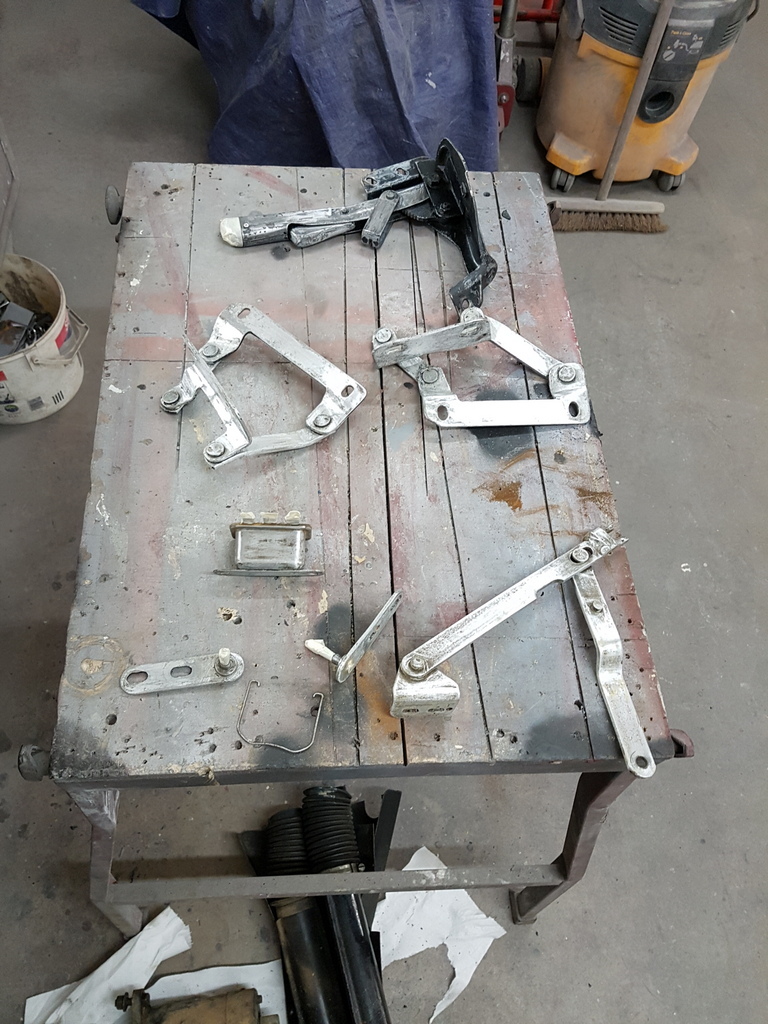 Cleaned & completed the prep work on metal parts 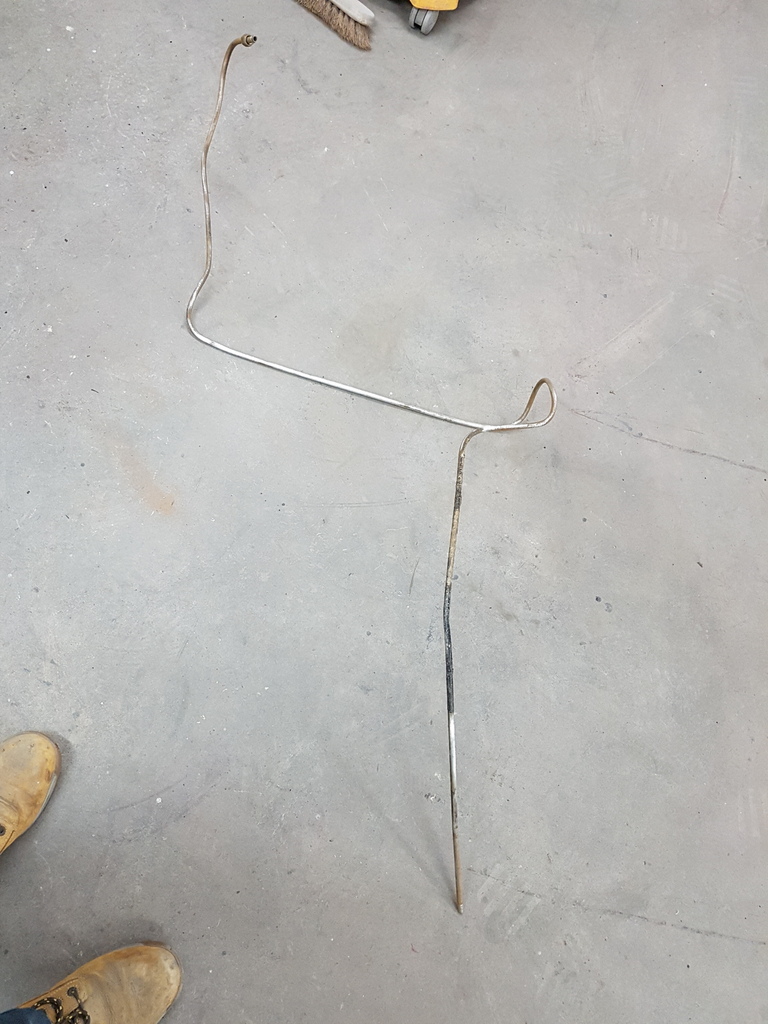 Including the steel fuel line 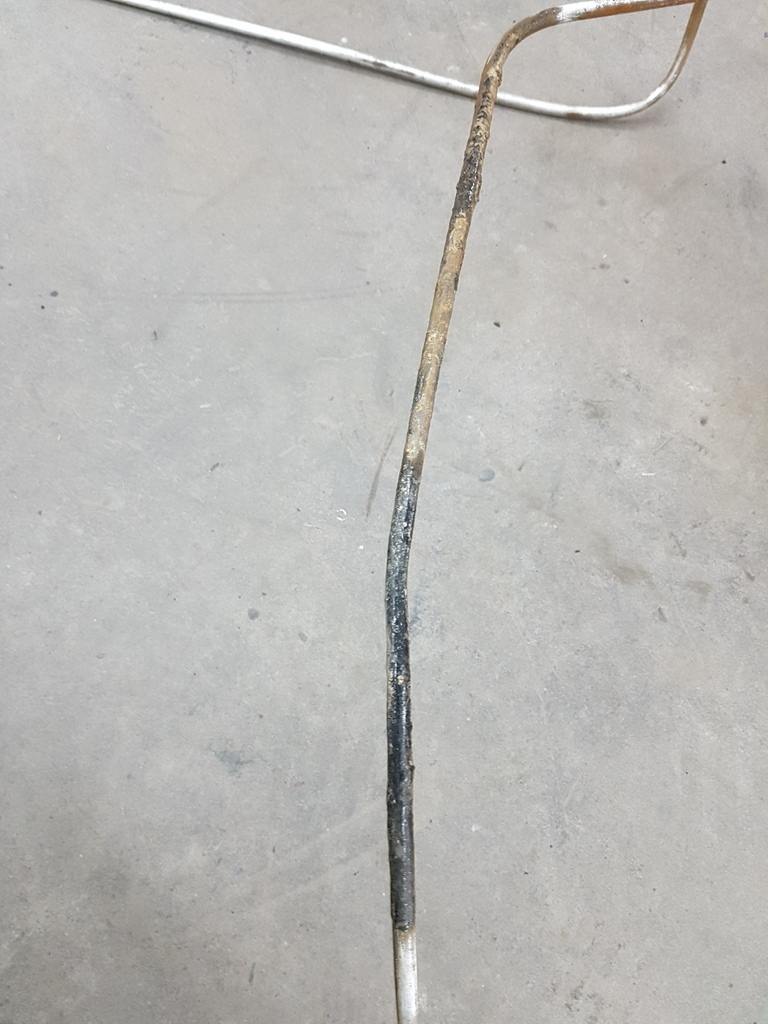 Again this had been daubed in paint which was loose & flaky behind which rust was harbouring 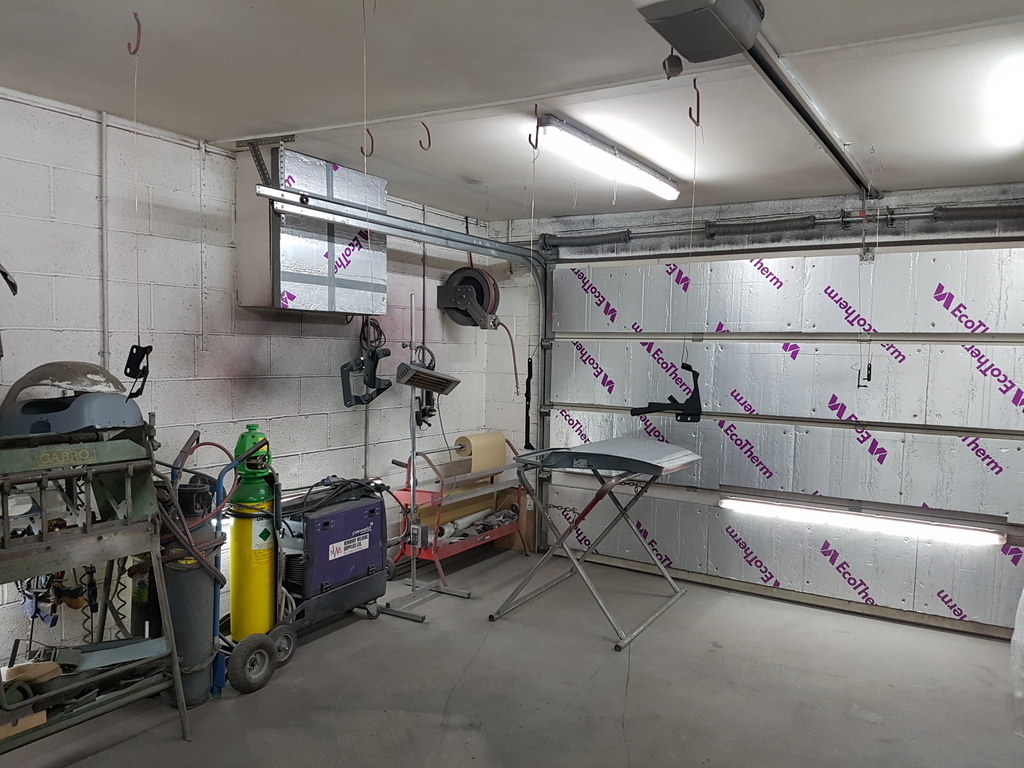 Into primer - some items are being refinished in gloss and others in satin 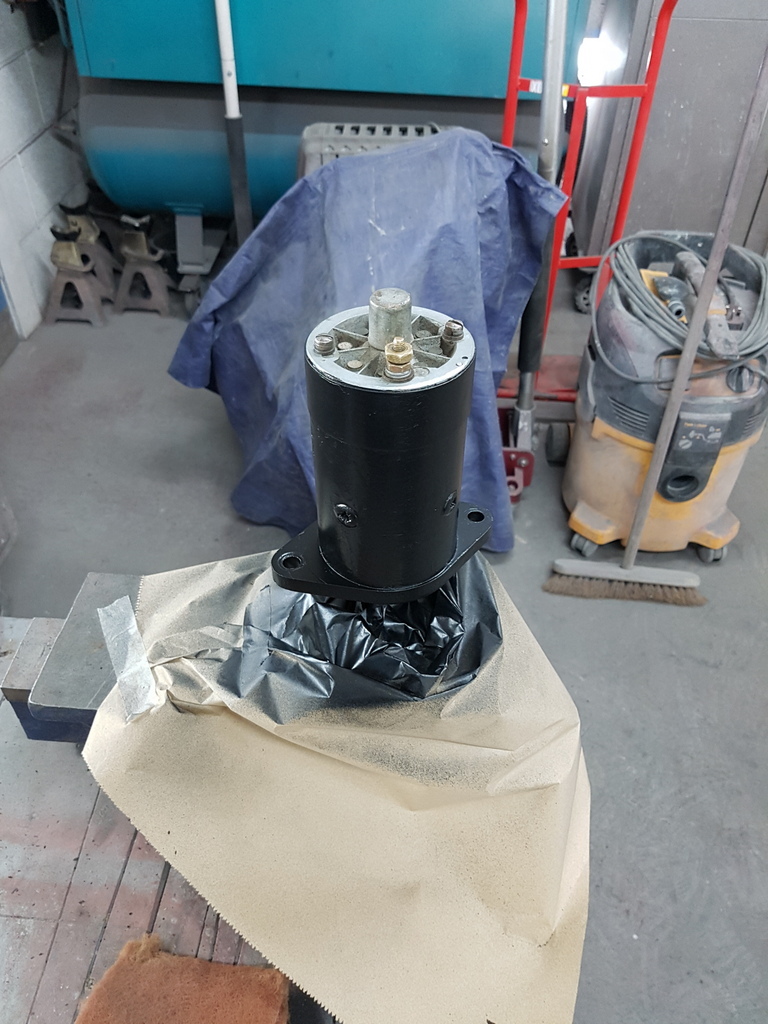 Starter motor cosmetically sorted 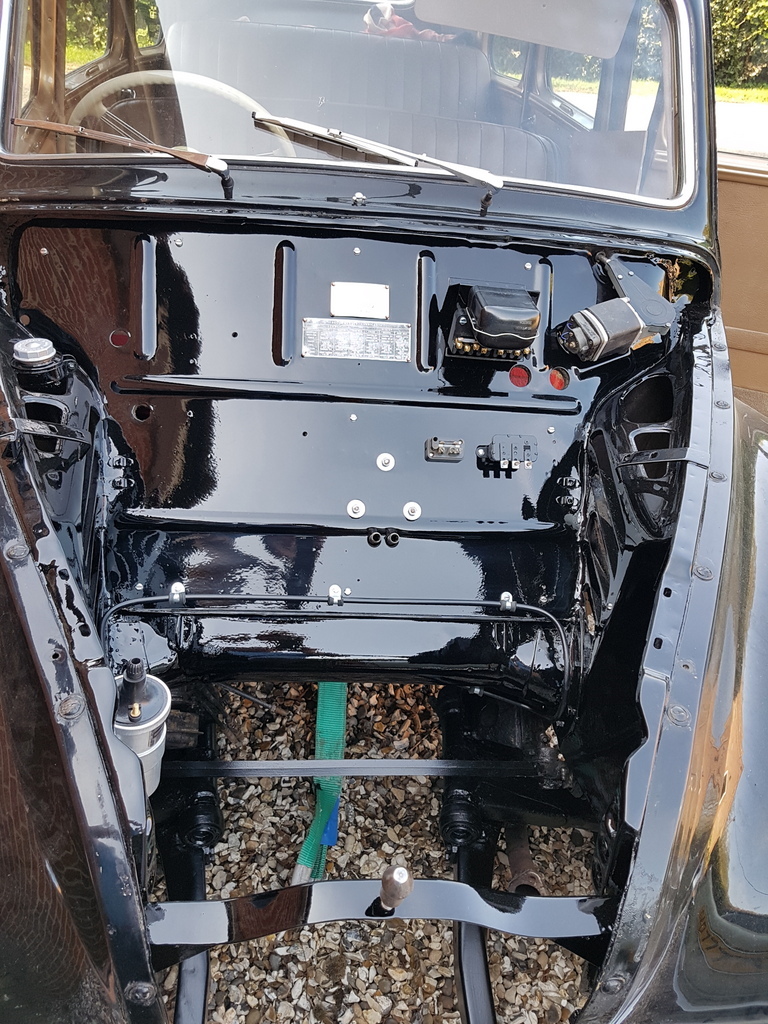 More bits cleaned up and refitted to the engine bay 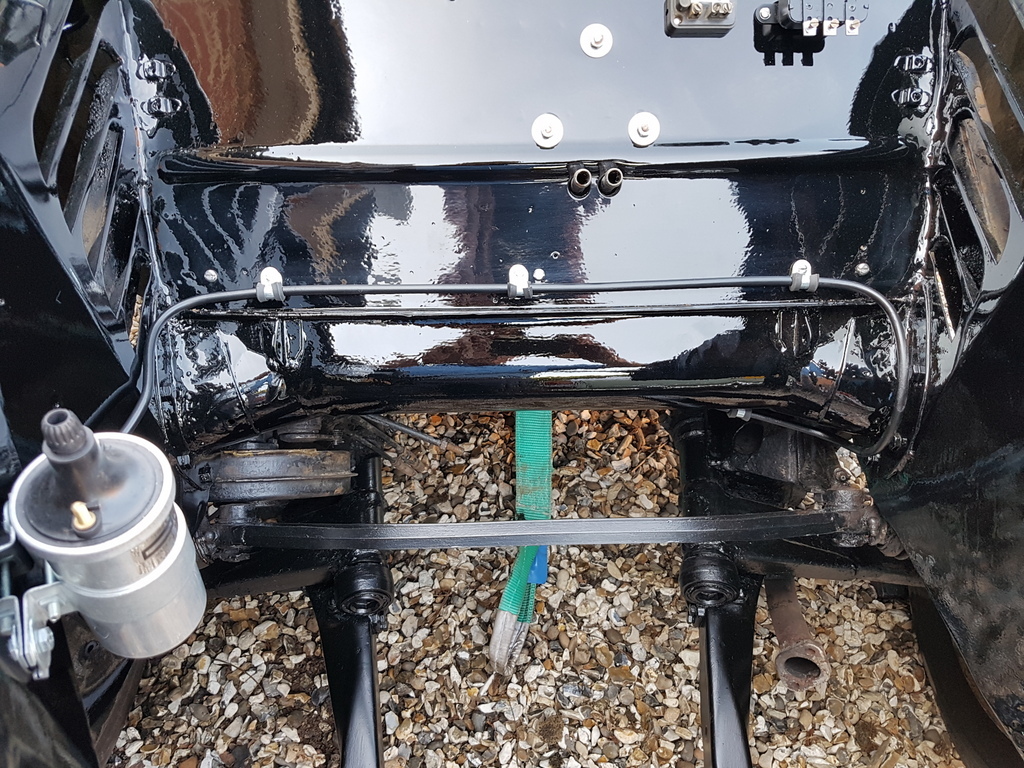 Including the freshly painted fuel pipe 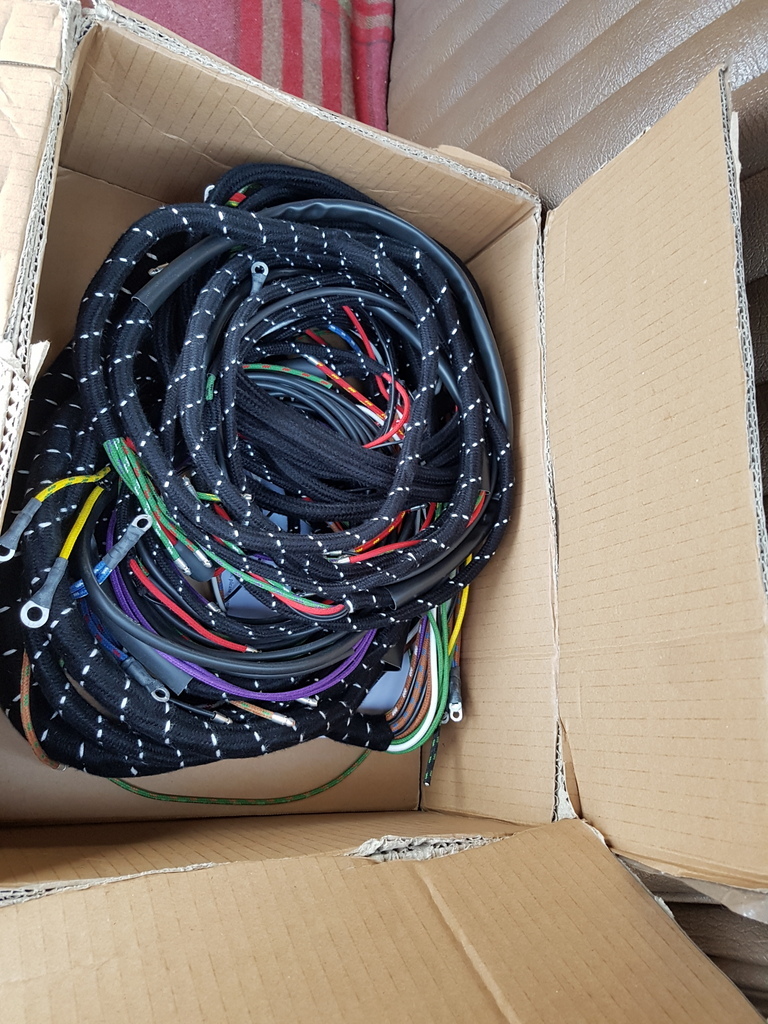 Time to make a start on fitting the wiring harness 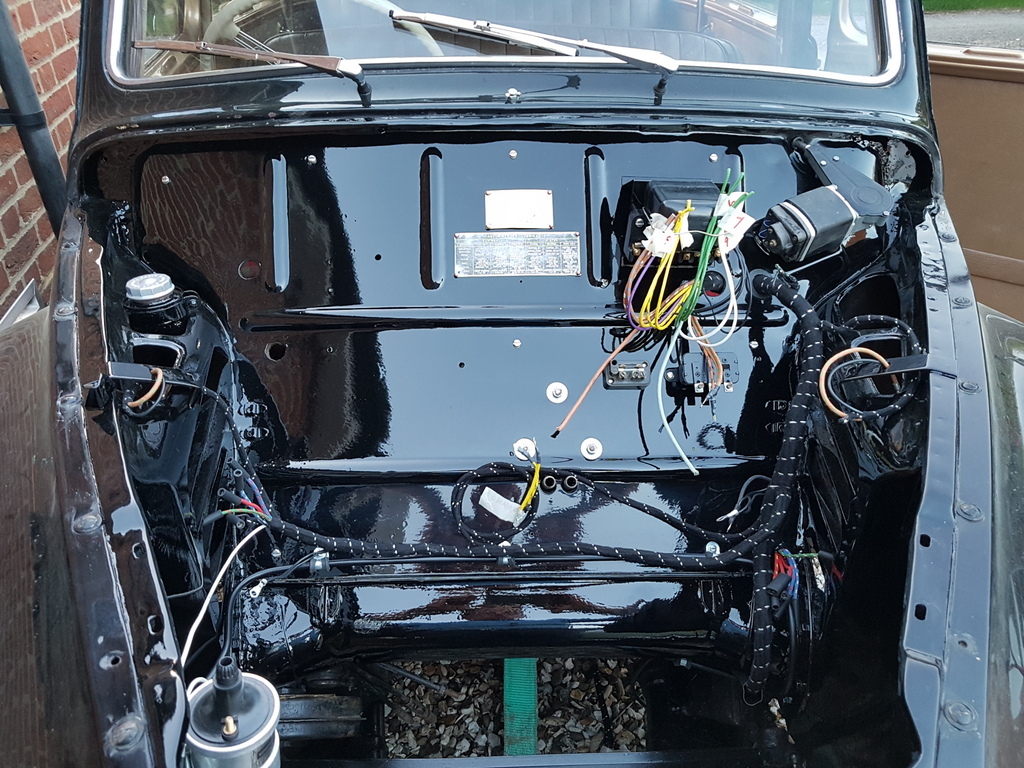 Unfortunately the only wiring diagram that I can put my hands on is 65 years old - went to print it and found out that the printer was out ink - so being attempting to decipher it on the laptop screen 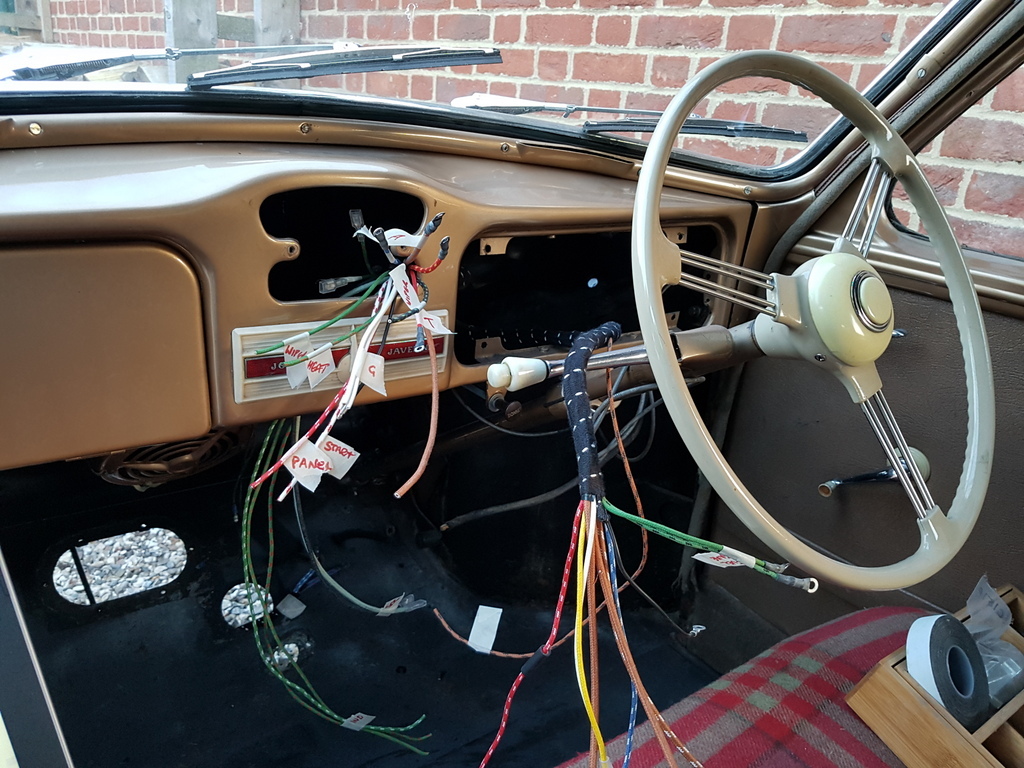 Managed to get some of it labelled up but still have a handful of wires going to no where 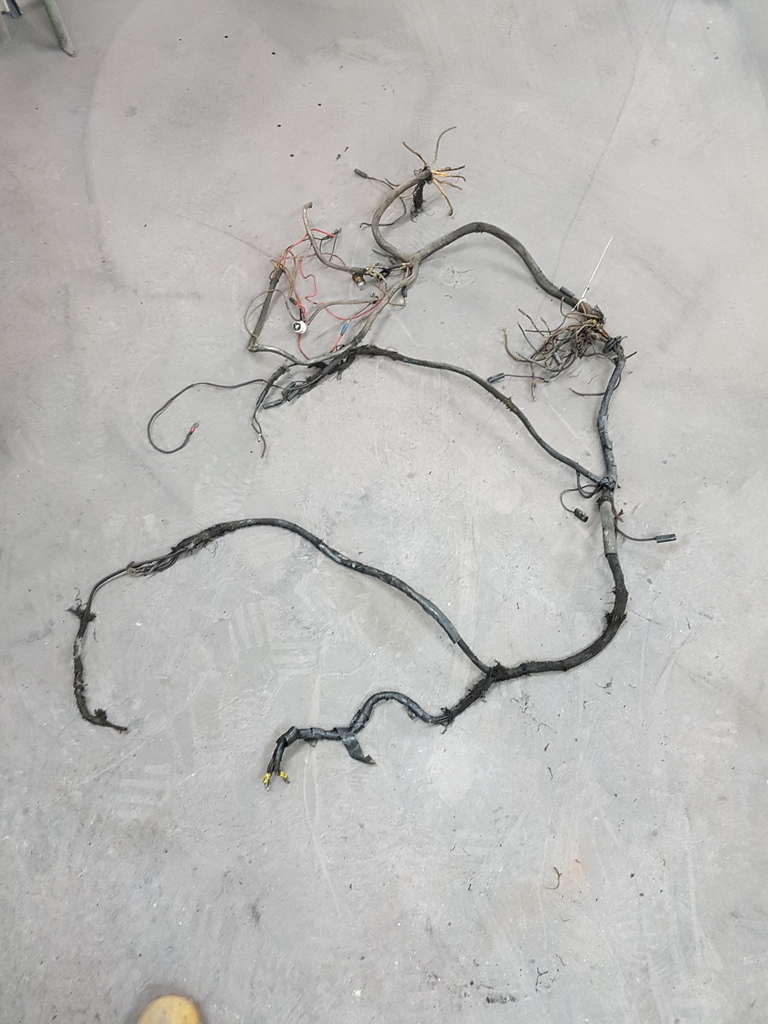 The old harness does not give any clues either due to its age its largely lost all of it colour coding - but I think I have it worked out now - my Javelin is the standard model - they also did a delux model which has several other electrical implements - ammeter, headlight dipping indictor, oil pressure light etc and I am assuming that they only do one harness for all models now days - hence my handful of wires going to no where - I also need to work out how to wire a indicator relay & switch in (must be 40 years ago since I last did one) and whilst I get by I am by no means has clever with electric stuff has what I am with paint  More tomorrow |
| |
|
|
melle
South West
It'll come out in the wash.
Posts: 2,011
|
|
Apr 19, 2019 20:17:57 GMT
|
|
I only oil Oilite bushes when used for stuff that spins at speed, such as in cranks or distributors, I've never bothered for pedals etc. I stand them up on my thumb or in the palm of my hand, fill with oil and press with my other thumb until oil seeps through the walls. This way you're sure they're saturated.
|
| |
Last Edit: Apr 19, 2019 20:18:44 GMT by melle
www.saabv4.com'70 Saab 96 V4 "The Devil's Own V4" '77 Saab 95 V4 van conversion project '88 Saab 900i 8V
|
|
|
|
|
Apr 20, 2019 21:37:18 GMT
|
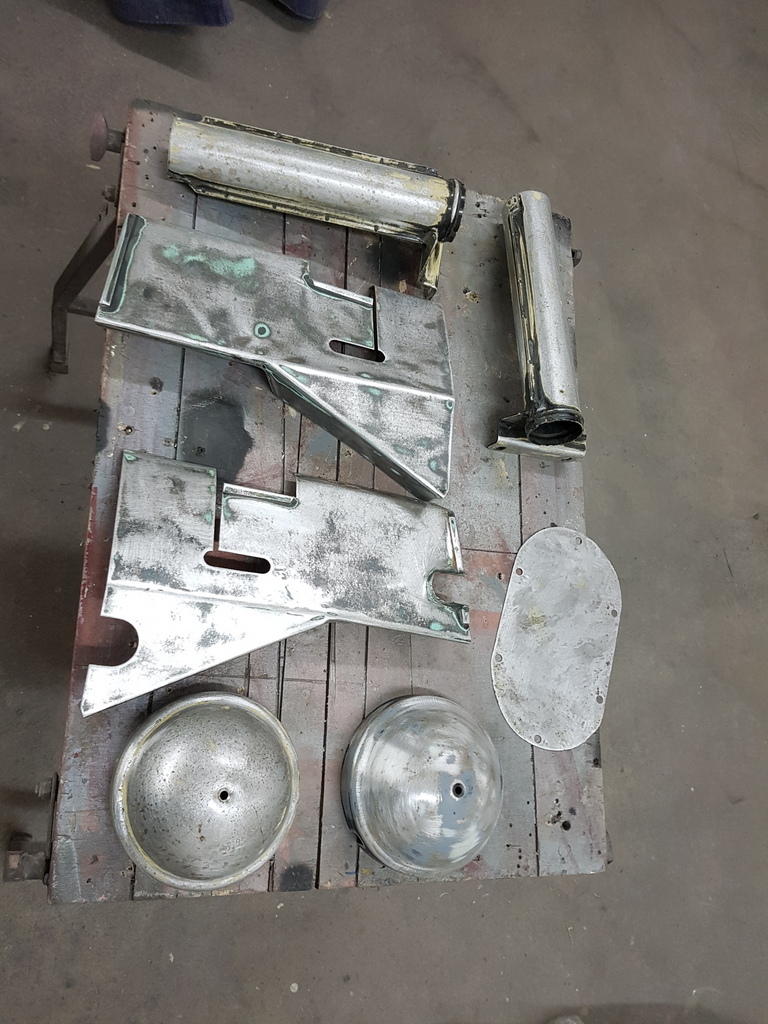 Prepped the last of the metal engine bay fittings that required paint 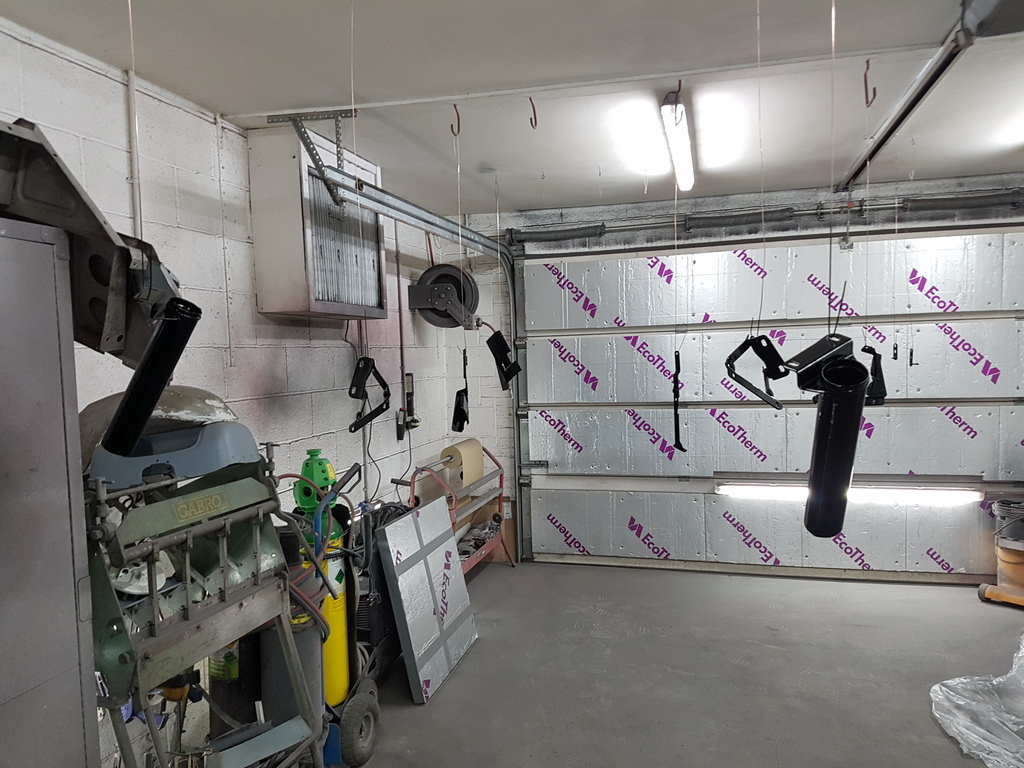 Which were then primed & painted 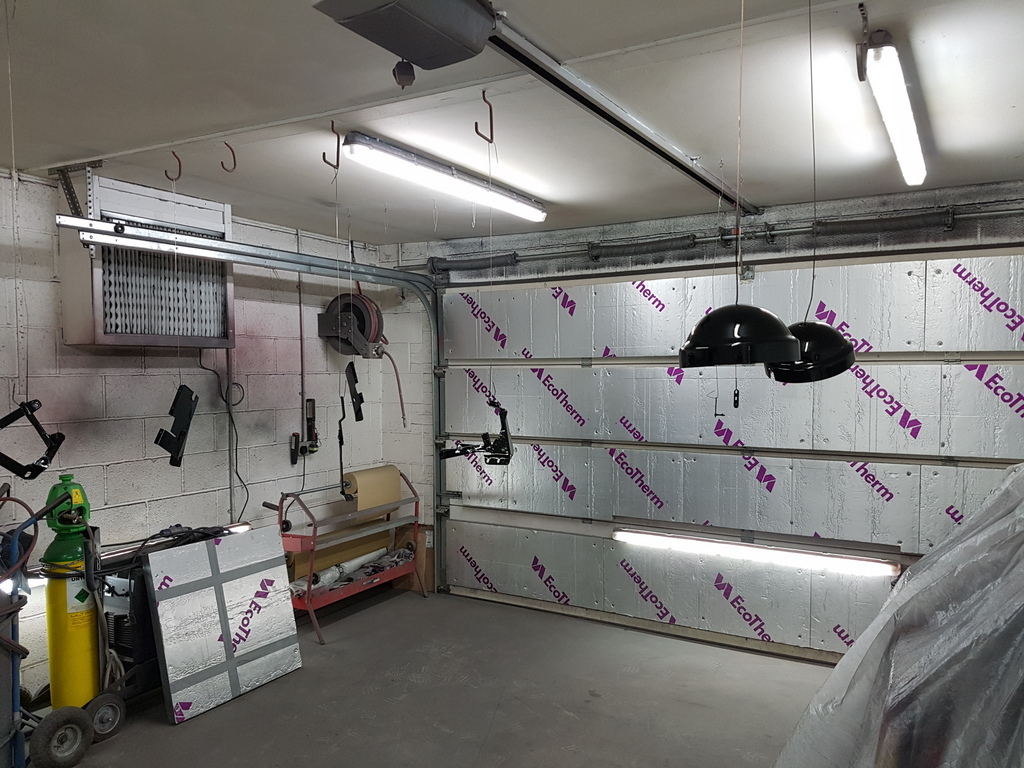 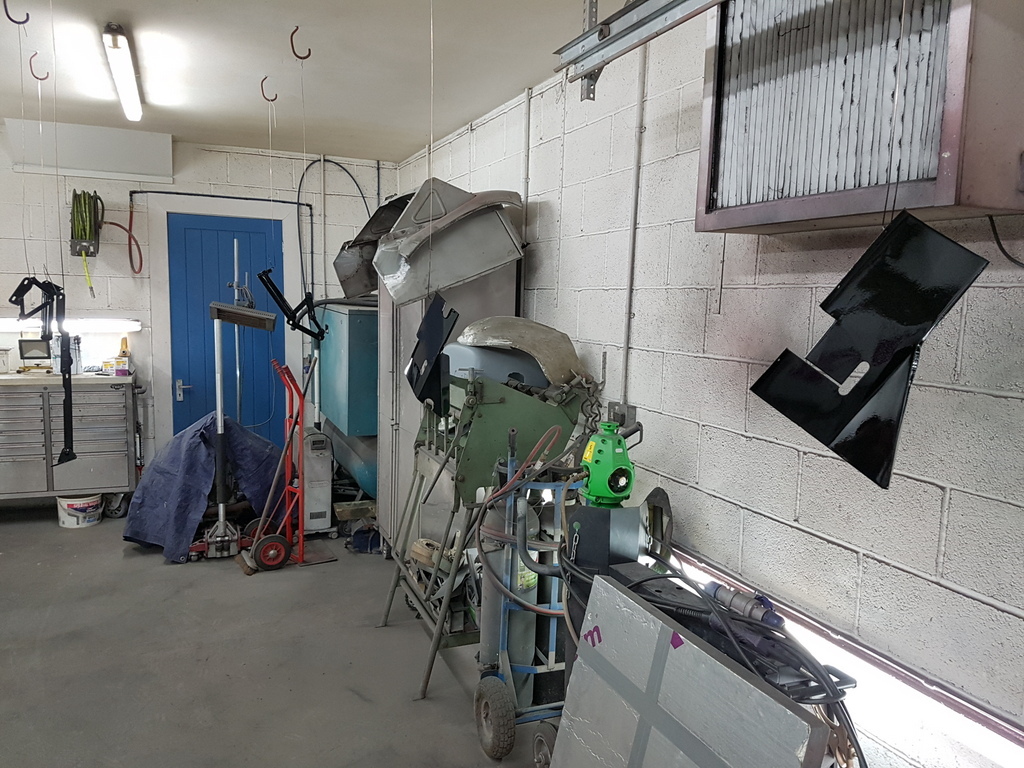 And whilst the paint was drying I pooped out and purchased a new ink cartridge for the printer hence I could now print the wiring diagram out 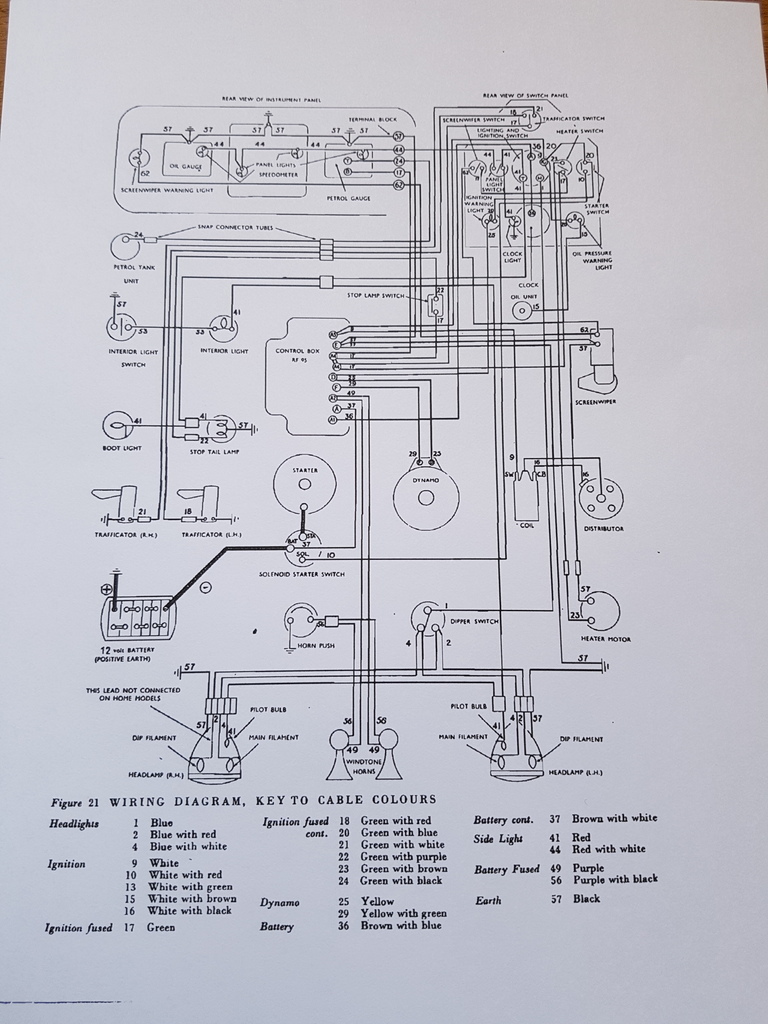 Then had to remake the harness for the headlamps on both sides 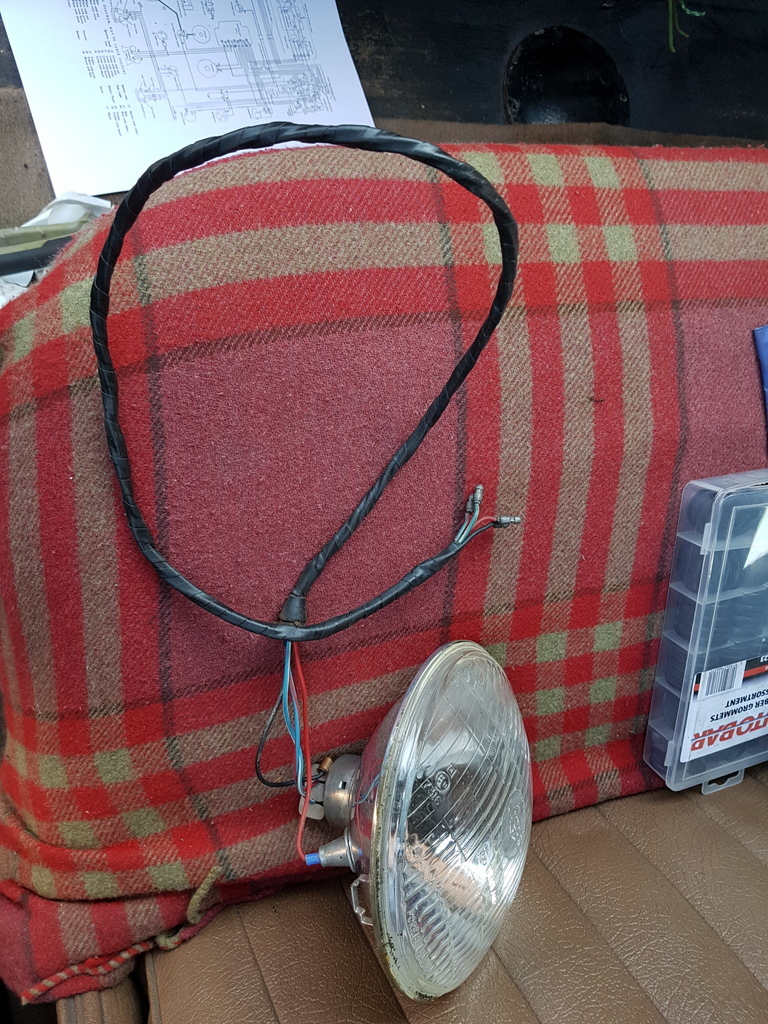 Duly refitted along with harnesses for the front indicators 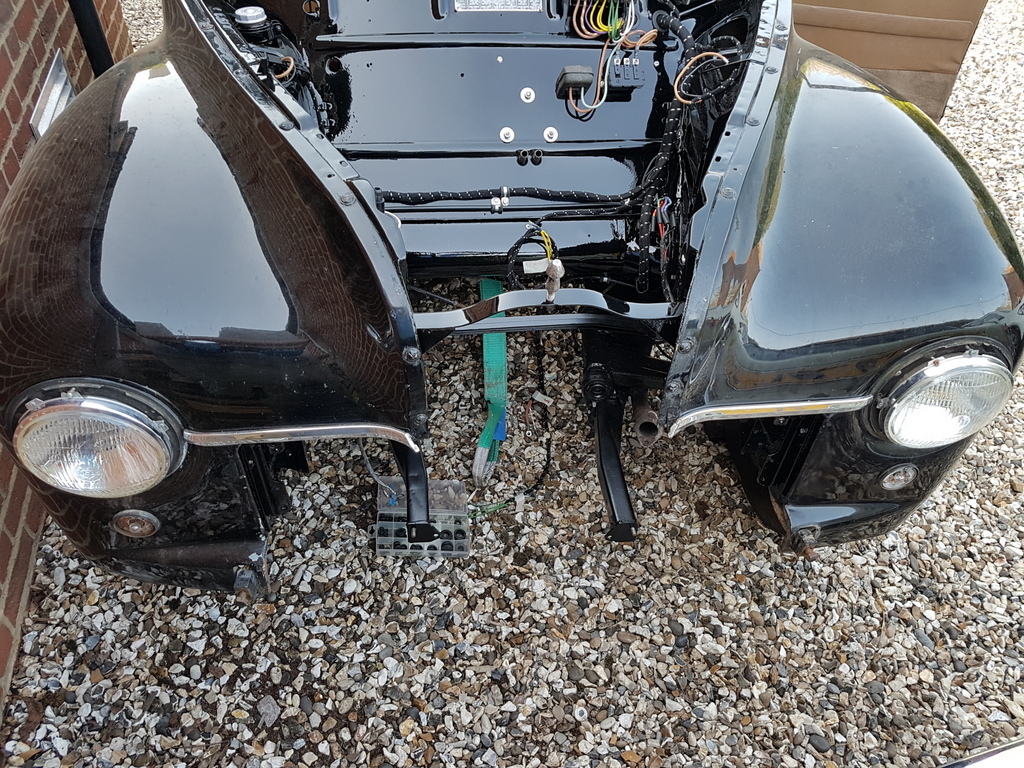 Harness placed to clips as required 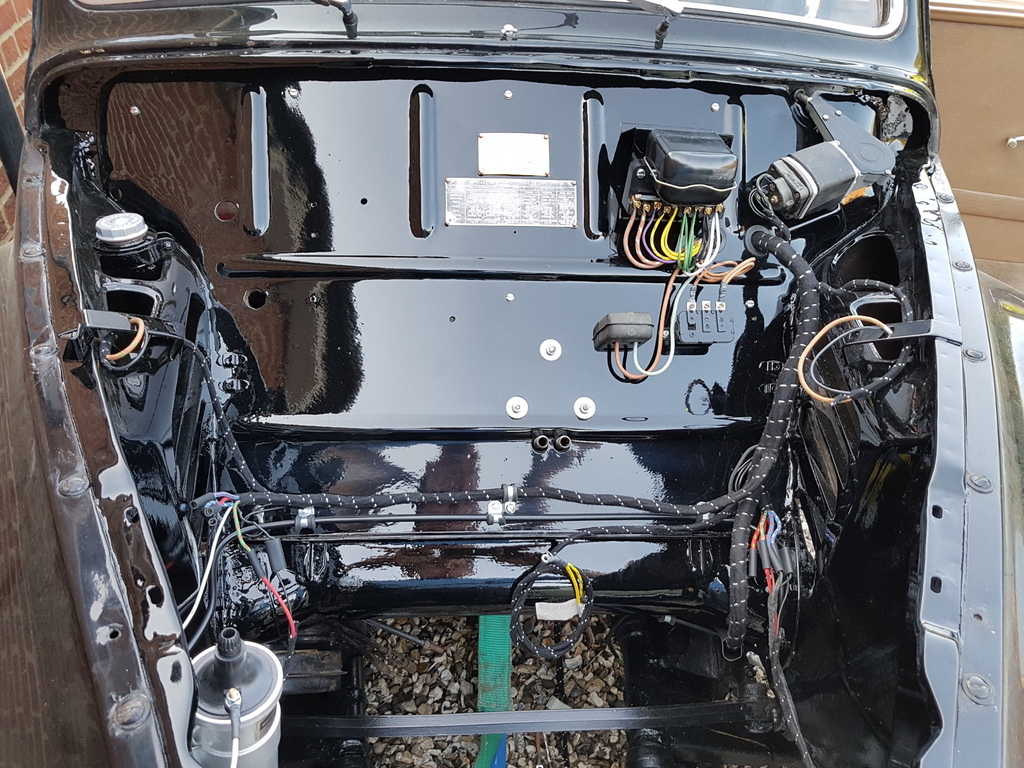 And the earths made up & connected 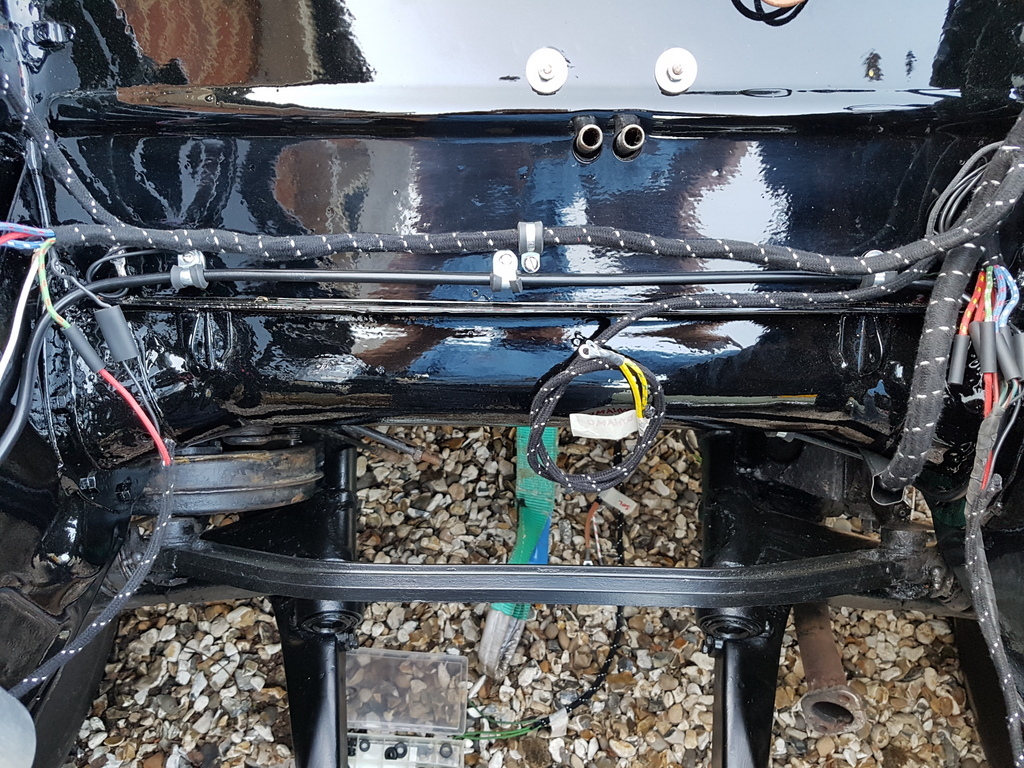 And all the connections made up to the regulator box, auxiliary fuse, horn relay & wiper motor 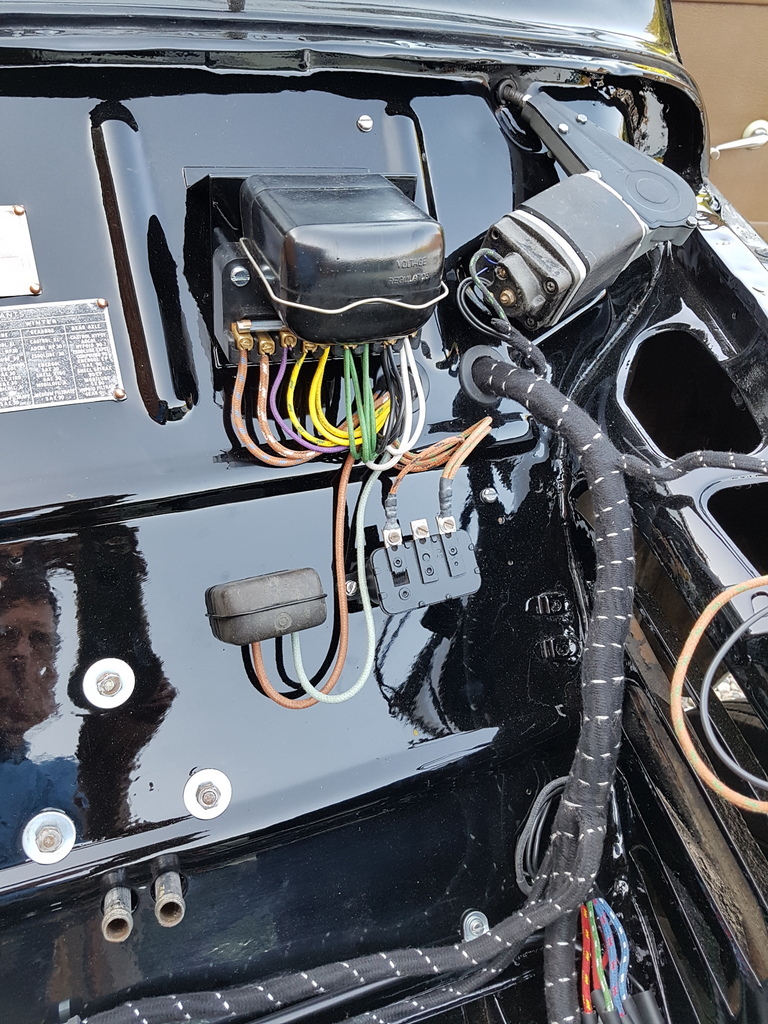 A few minor connections to make good with the offside head lamp harness tomorrow and the radiator can be refitted |
| |
|
|
|
|
|
|
|
|
That wiring...so simple! Lovely stuff.John
|
| |
|
|
|
|
|
|
|
That wiring...so simple! Lovely stuff.John There is a little guess work has not everything in the harness is printed on wiring diagram but it is pretty straight forward |
| |
|
|
|
|
|
|
|
|
I love a wiring harness diagram that fits on one page! with the flashers its worth using one of the modern electronic flasher units as its the same wiring connections but just needs and additional earth, loads more reliable than the old thermal/bi-metallic type
|
| |
|
|
|
|
|
|
|
I love a wiring harness diagram that fits on one page! with the flashers its worth using one of the modern electronic flasher units as its the same wiring connections but just needs and additional earth, loads more reliable than the old thermal/bi-metallic type Ah - You sound like a man that knows something about wiring indicators in - which are not on my wiring diagram - so currently I have a supply & the feeds to either side after that I'm left scratching my head - so any chance you could do me a quick sketch of a simple wiring diagram for the indicator circuit ? (its positive earth too) but don't worry if not  |
| |
Last Edit: Apr 21, 2019 8:47:31 GMT by Deleted
|
|
|
|
|
Apr 21, 2019 10:24:28 GMT
|
|
Chris- Totally none car post, but consider getting a cheap colour laser printer. The heads don't dry out/clog up if not used, they are ready within seconds of powering up and print a full A4 page in about 10 seconds. If you use it for club work it will save you loads of time so you have more time to post your interesting stuff for us to read (and admire!!!). Cartridges can be had fairy cheaply off fleabay to keep costs down.
|
| |
|
|
|
|
|
Apr 21, 2019 12:47:14 GMT
|
Not mine - but it’s straightforward and one I’ve used before. 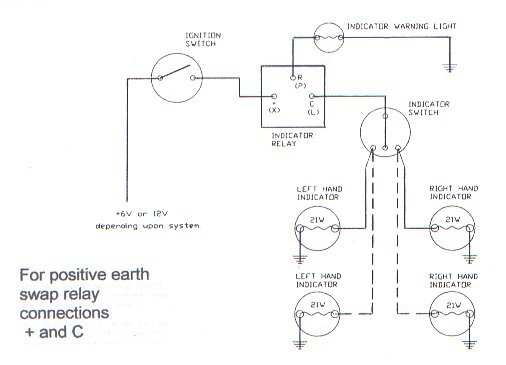 |
| |
|
|
|
|
|
Apr 21, 2019 17:41:34 GMT
|
|
^^^ yep that works, the only thing I would do is add a fuse in the circuit for some protection, you would need a 21+21+5 flasher unit which is just the bulb ratings that are in use on the side that's flashing
|
| |
|
|
|
|


