whitz
West Midlands
Posts: 216
|
|
Dec 16, 2018 21:13:00 GMT
|
Was going up do a update earlier but been chasing parts up constantly and i still am chasing some parts to turn up Only 1 real picture of a part finished rear gearbox mount, will get one when its all finished and tarted up 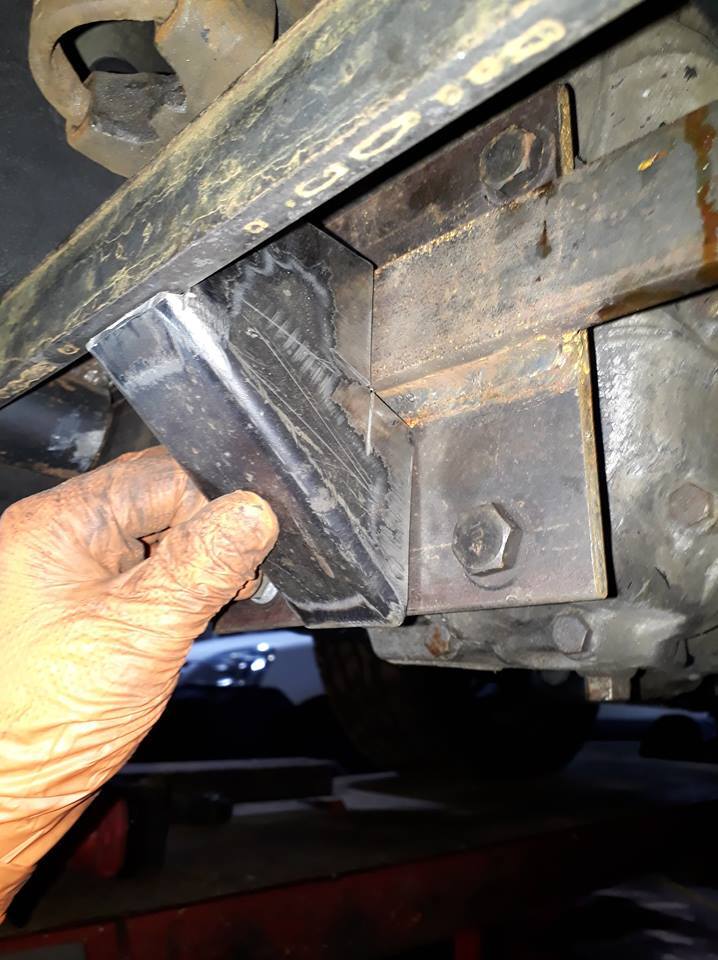 Went and splashed out on a full airlift performance setup, 3P management airlift universal front bangs and rear sleeve's 4 gal tank and a those airmaxxx580 compressors, powerflex bushes there to help with the angles, ordered 2 thinking i might just need those but now ordered 4 more 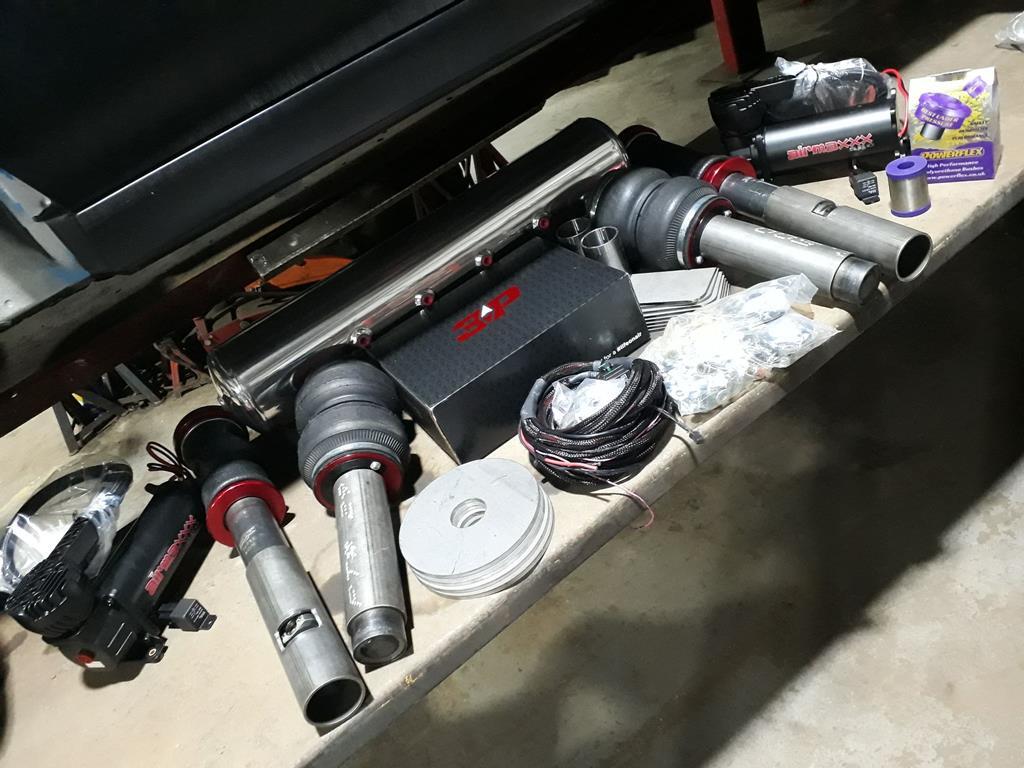 This is my planned airred out level with a 1.5" gap bags are a 5" lift and drive mode will be in the middle 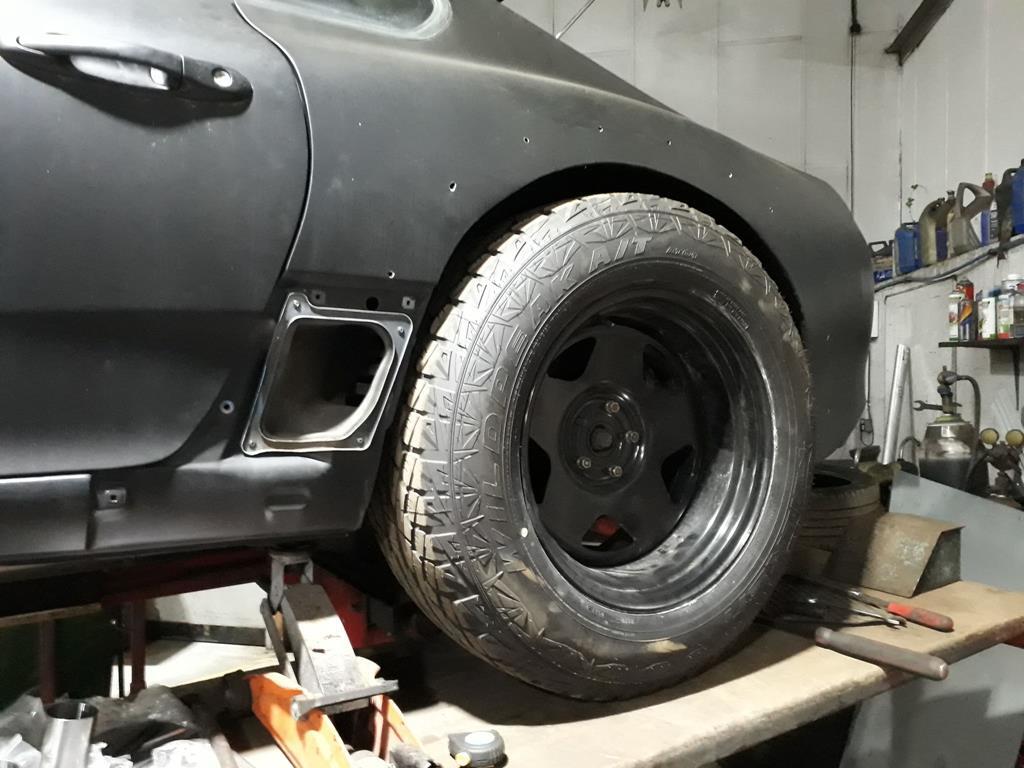 Heater unit mounted up in place tunnel capped in, hole has been cut and engine/box removed 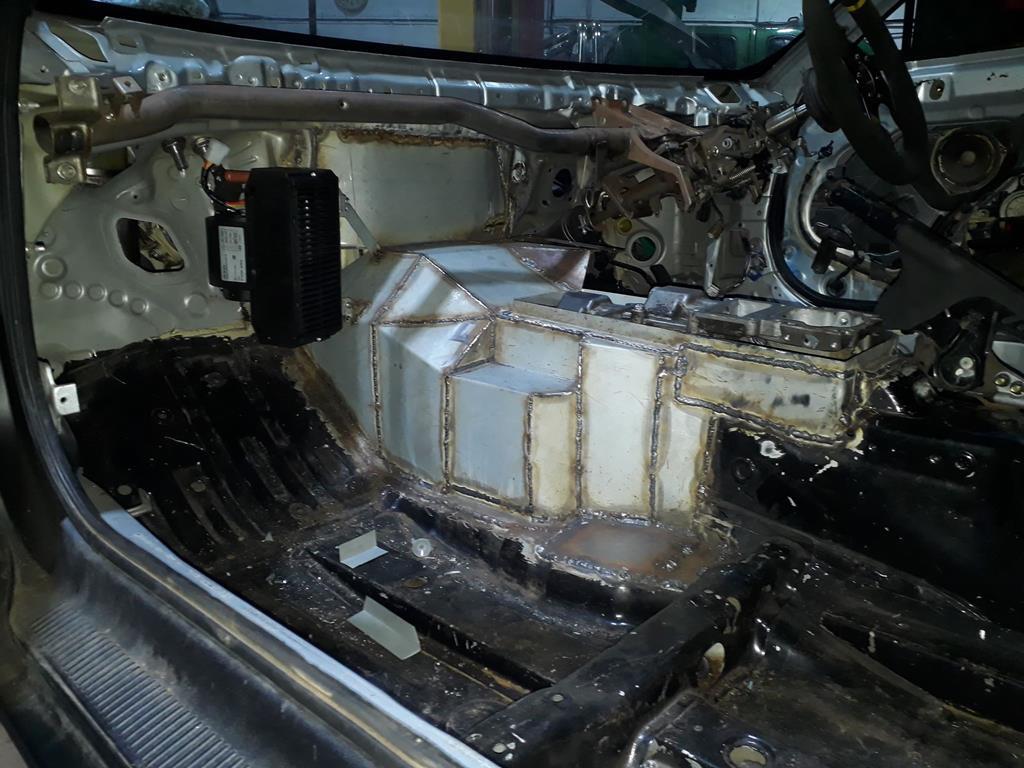 This is the rear arch sat on the tyre and would go lower, that is with a full tub cut too 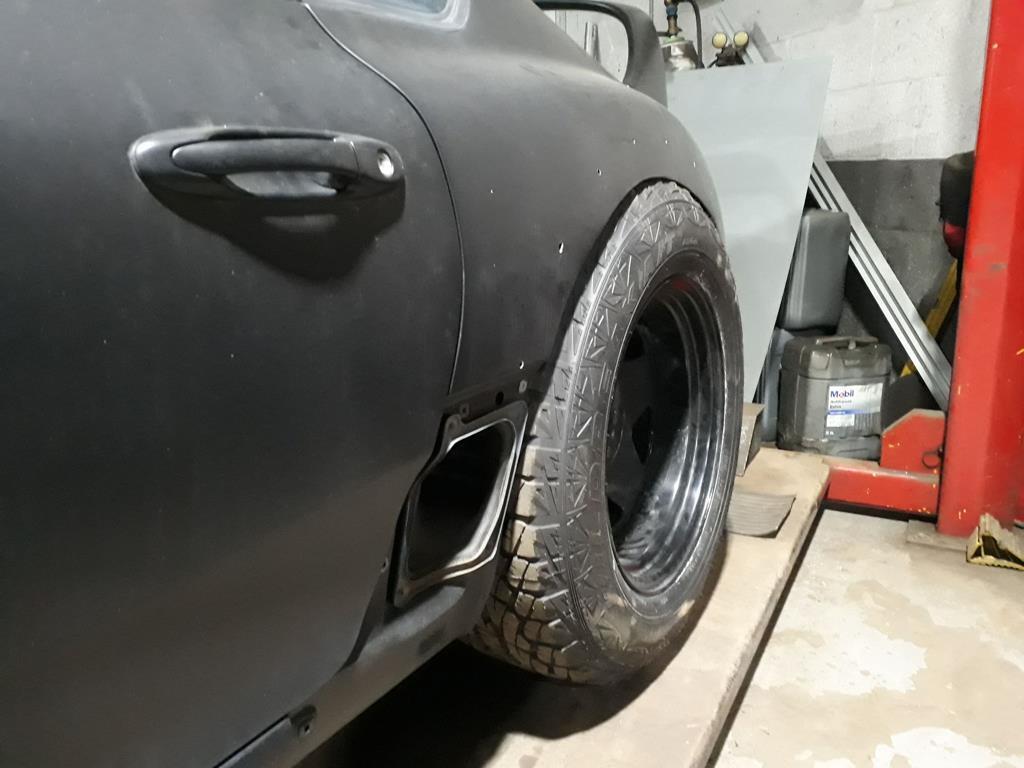 all front subframe dropped off to clear sump etc and to pull it straight out the front, bonnet off too 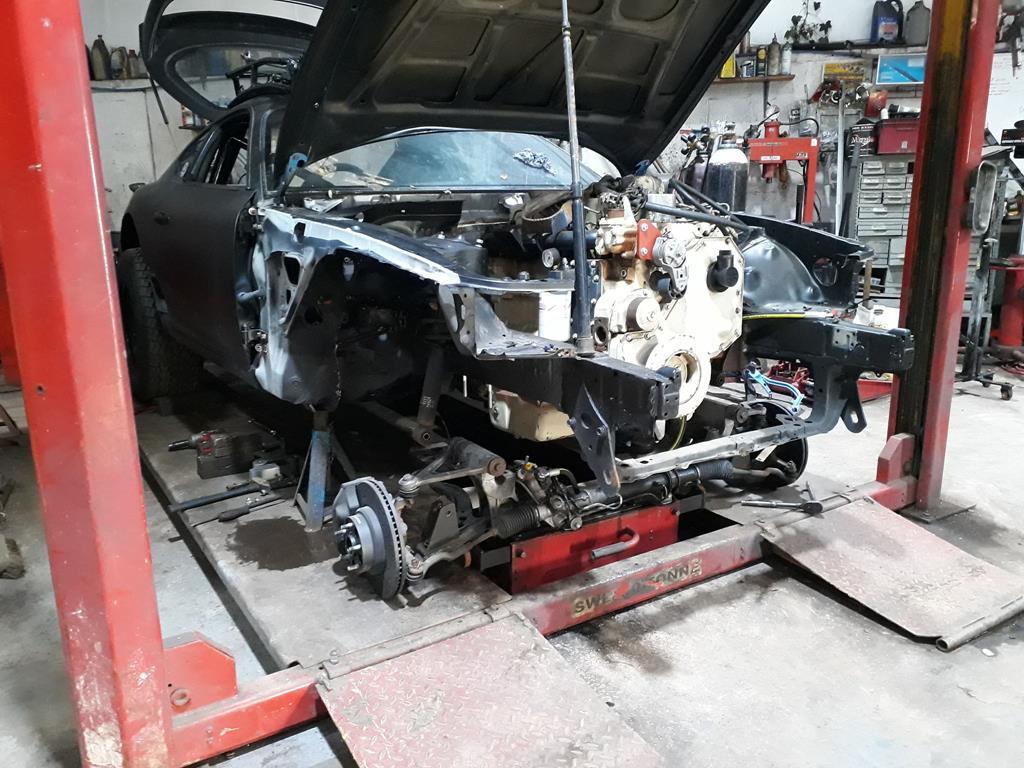 Engine out ready to weld all inside the tunnel few plates etc etc 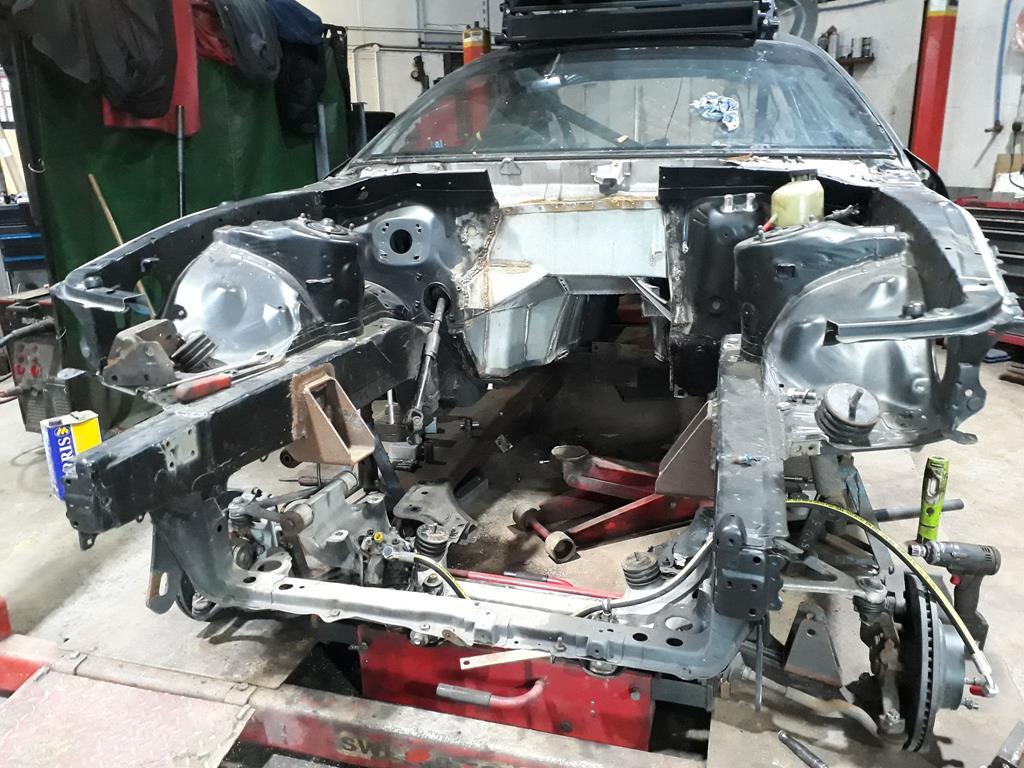 Going to try and get the air ride in over chrimbo but unlikely as everythign seems to go tits up + waiting on a bunch of suspension plates to get drawn up in cad and laser cut order placed (thanks Scott) Ash |
| |
|
|
|
|
|
|
|
Dec 25, 2018 13:50:33 GMT
|
|
Well this is... different. Following this build for sure
|
| |
|
|
whitz
West Midlands
Posts: 216
|
|
|
|
Been doing hours here and there on it over the last week or so Tunnel bits and pieces welded up finished blanking off a few holes and the clutch bracket mount along with the dash support, i do love me red lead 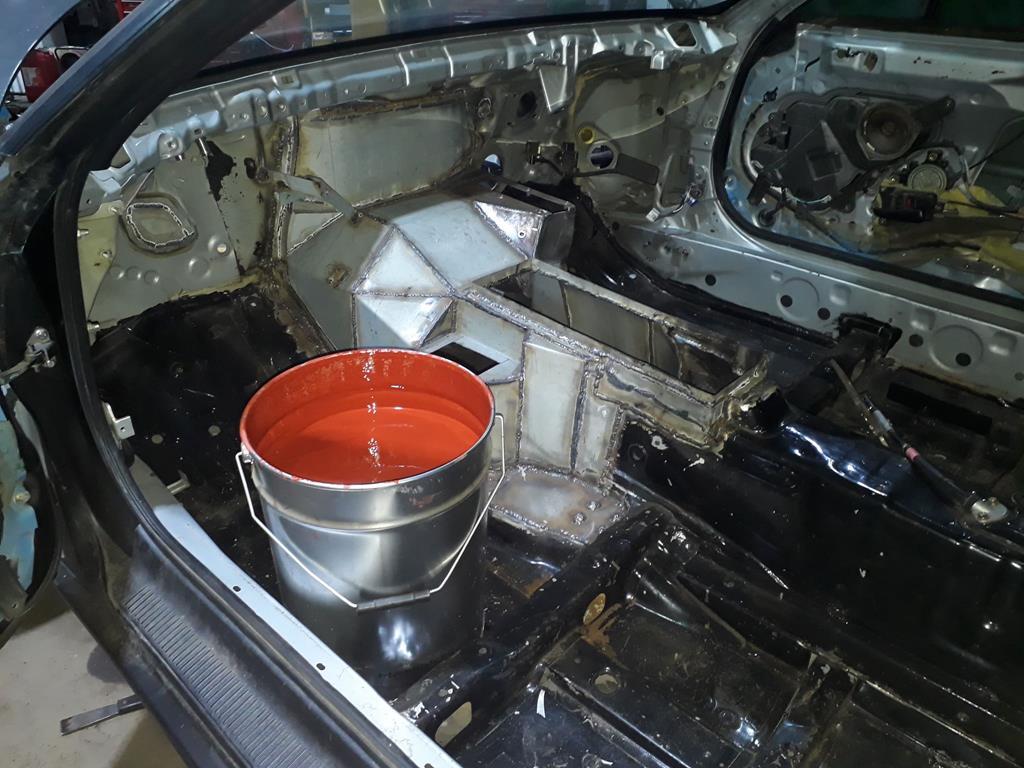 Going for something like this in the back will all be boxed in 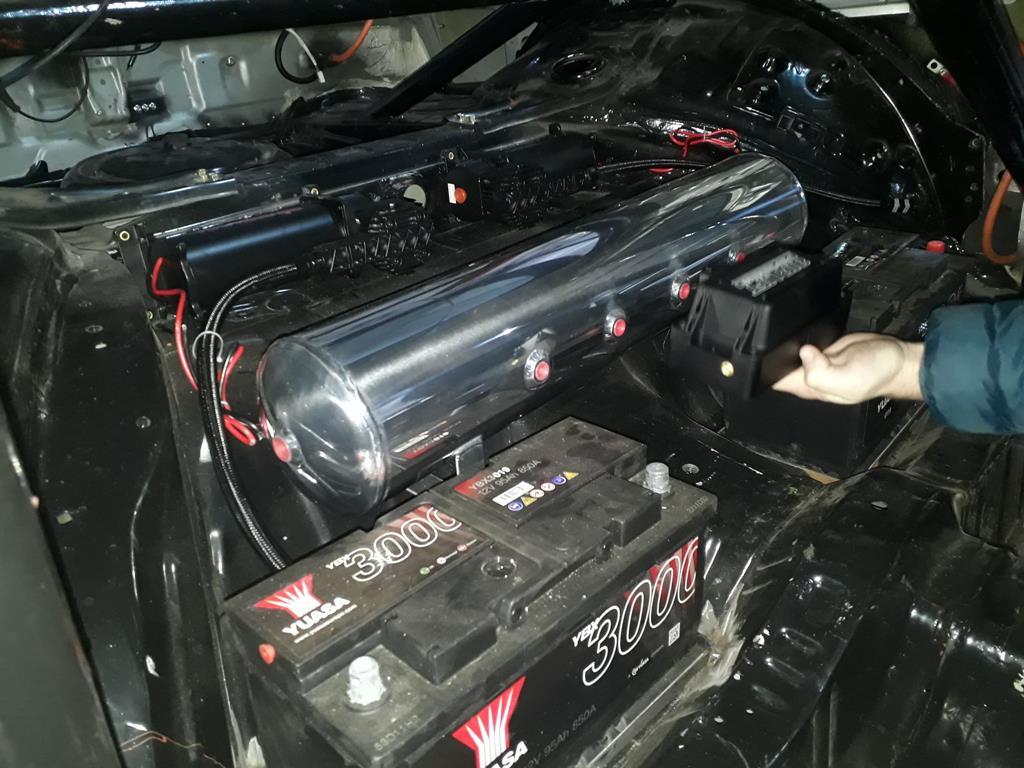 rear bag on full droop, had to go this way rather than using a standard style top mount due to the bit of angle adjustment that needs to be there, lots of messing about getting it all lined up good enough 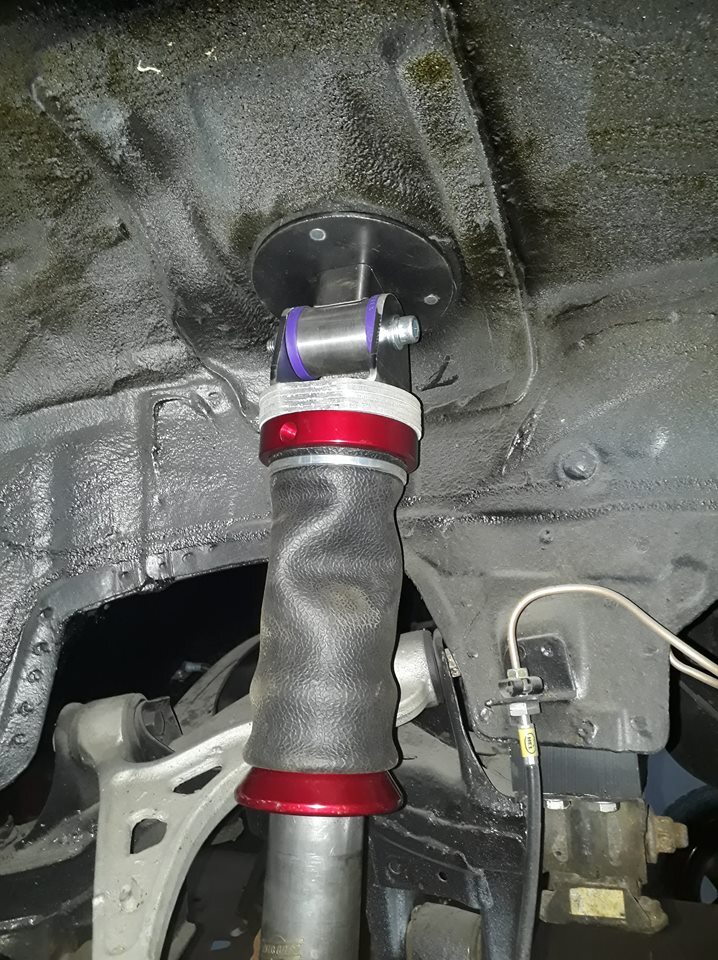 same of the bottom, like having to edge off the lower mount to allow full articulation 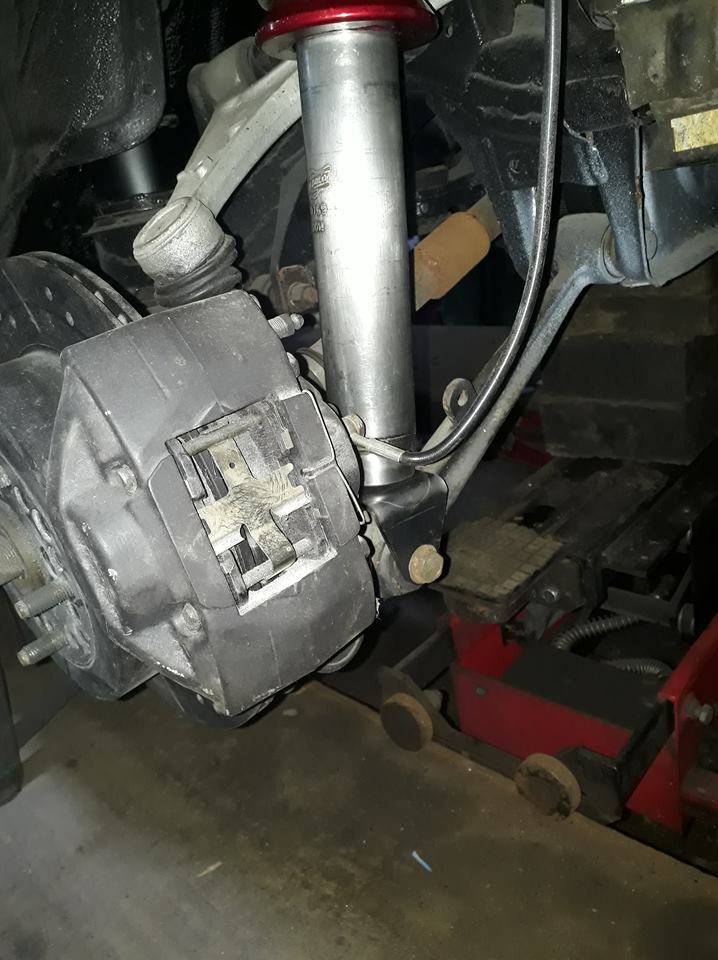 working out front heights under full compression here 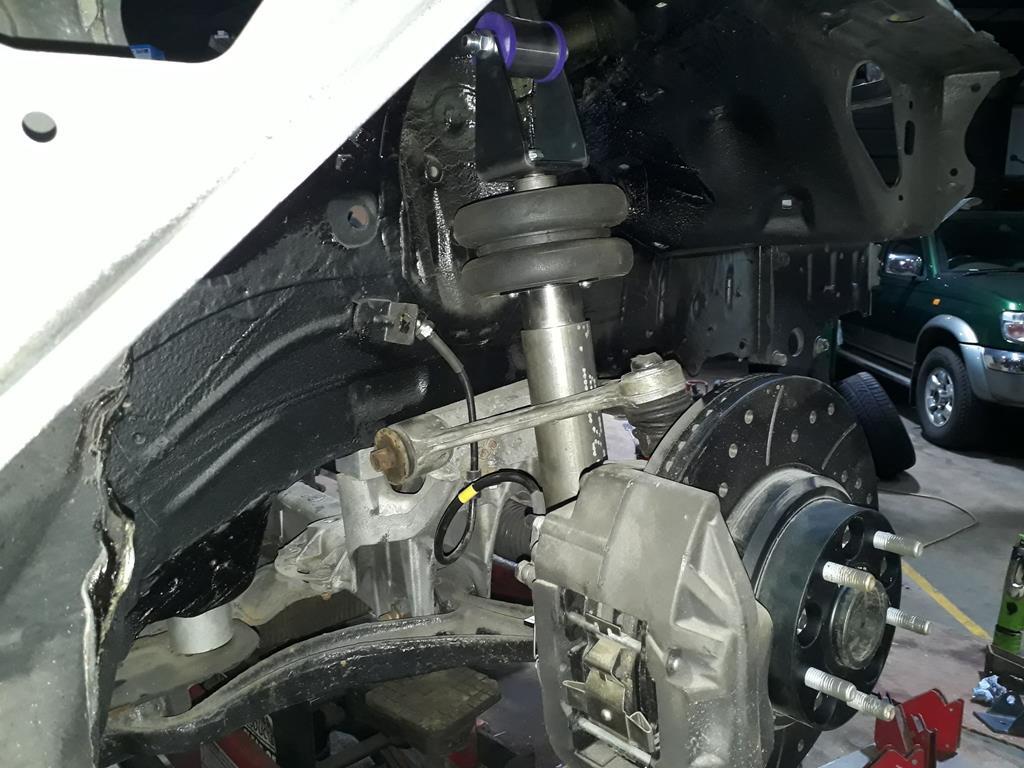 rears top and bottom welded up, cut abit off the sleeve tube then welded it on 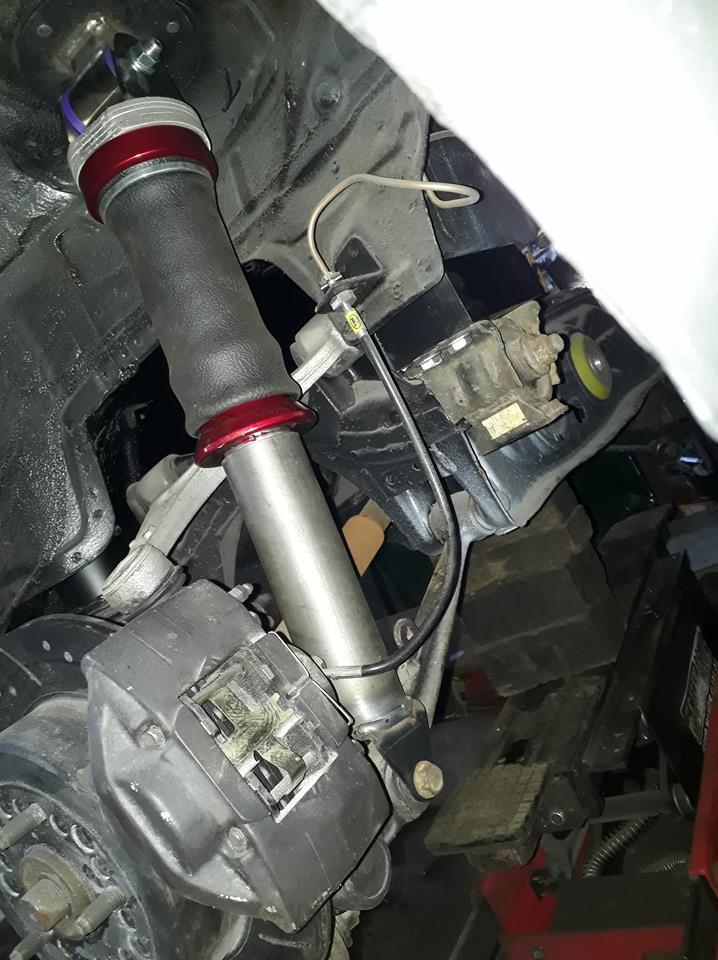 mmmm red lead 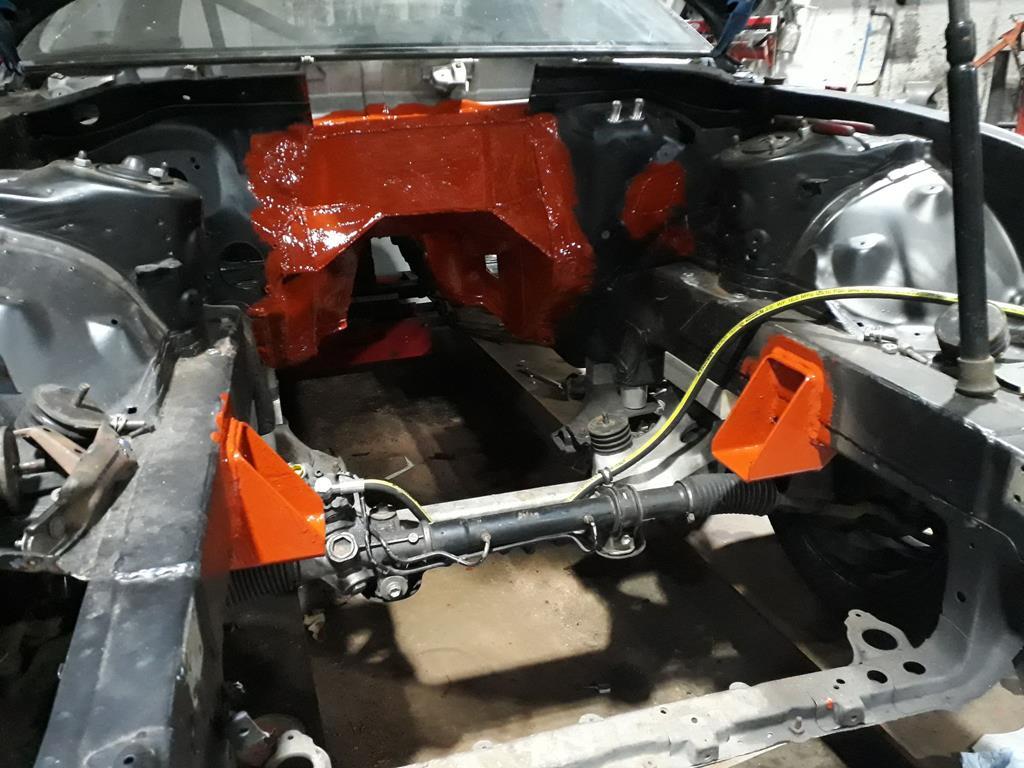 boot full of bits to get powdercoated 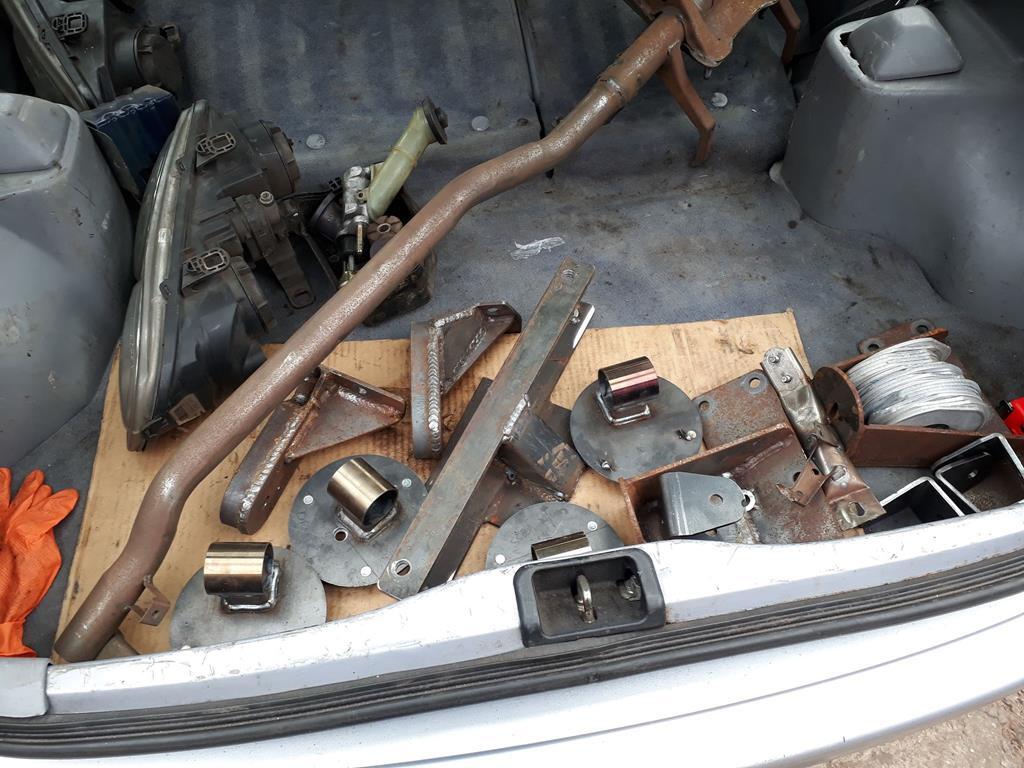 scott pulling a solid one to open up on a sunday to just get these done 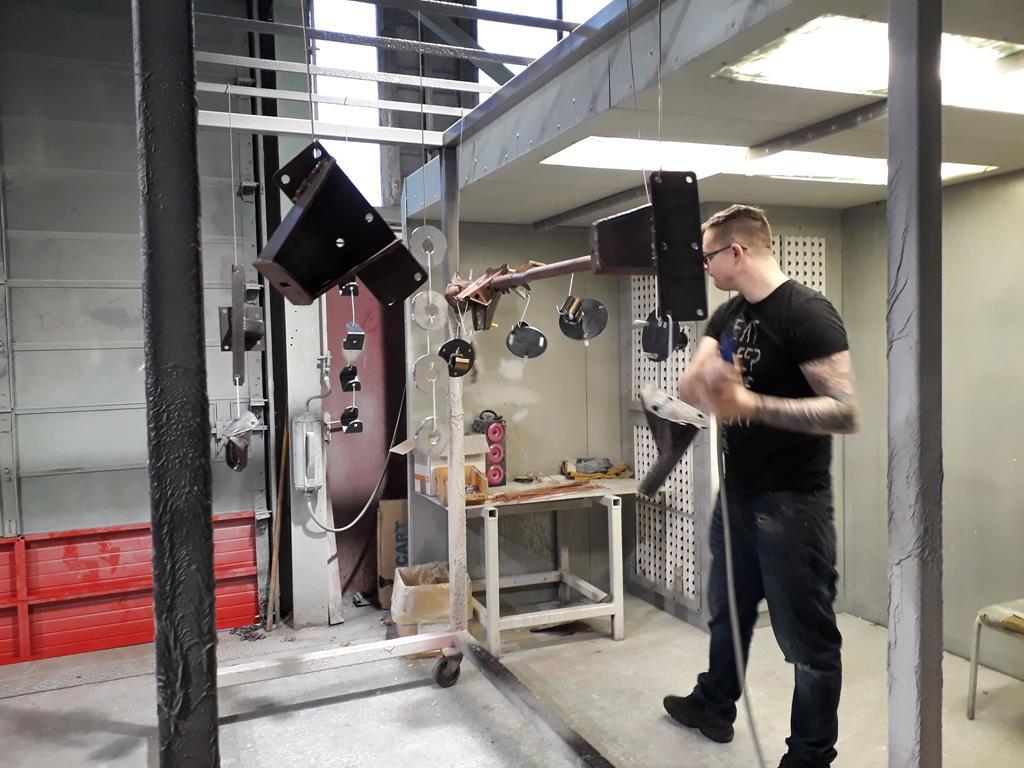 fresh out the oven in textured black (obviously) 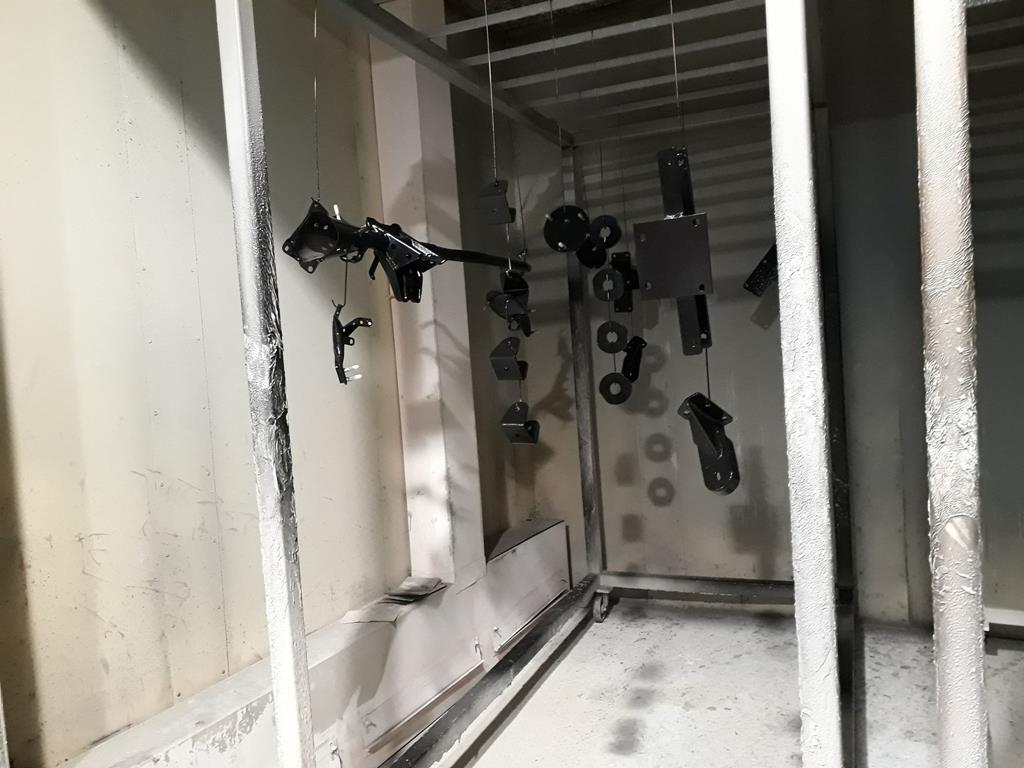 A picture showing the highly technical methods of working out ride heights and levels 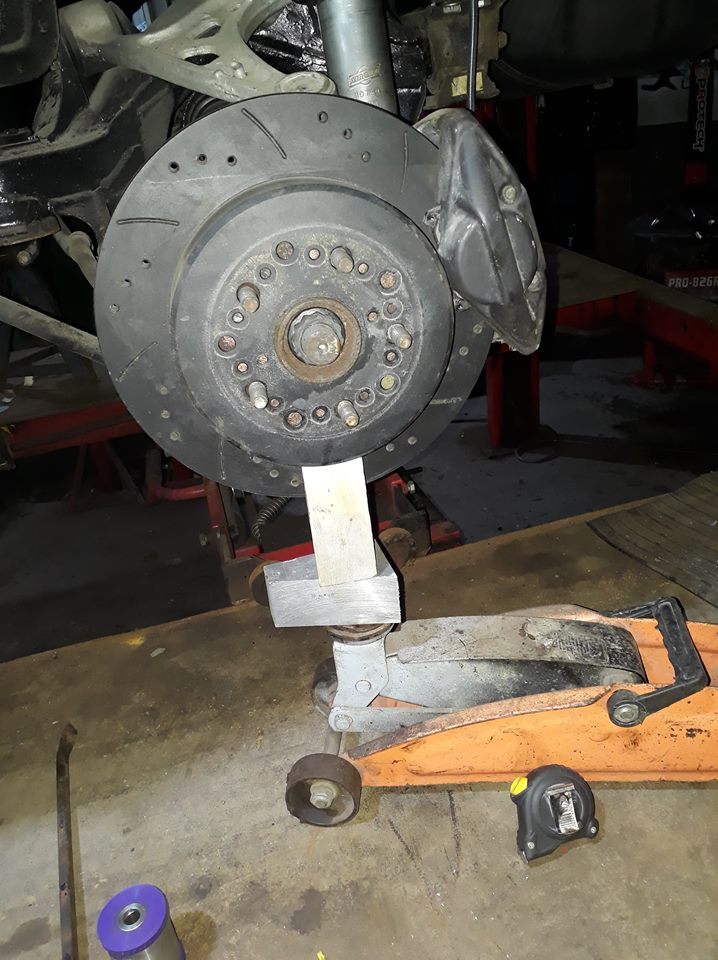 Ash |
| |
|
|
whitz
West Midlands
Posts: 216
|
|
|
|
started to box it all in with head scratching to sus out how to fit it all in and use speaker space aswell 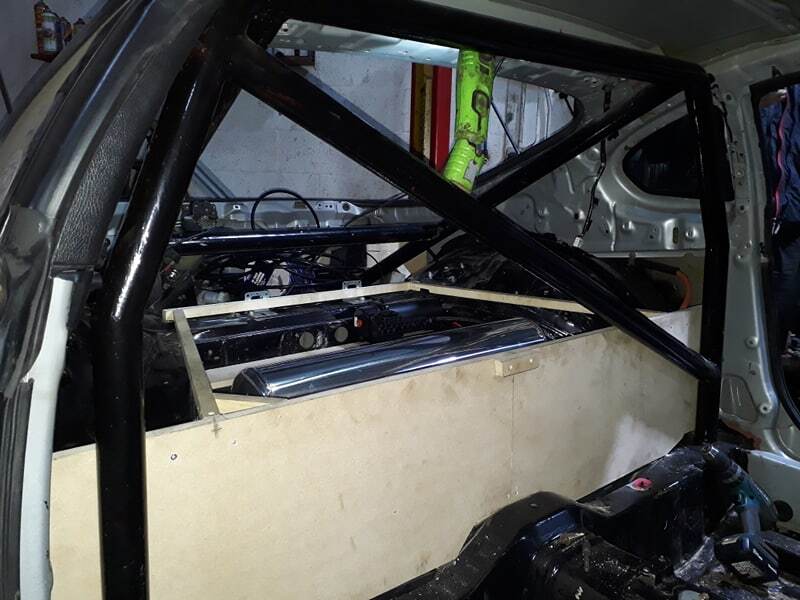 had a brand new bag blow out after 1/2 a lift, these come with no warranty but there trying to get it through warranty so heres hoping 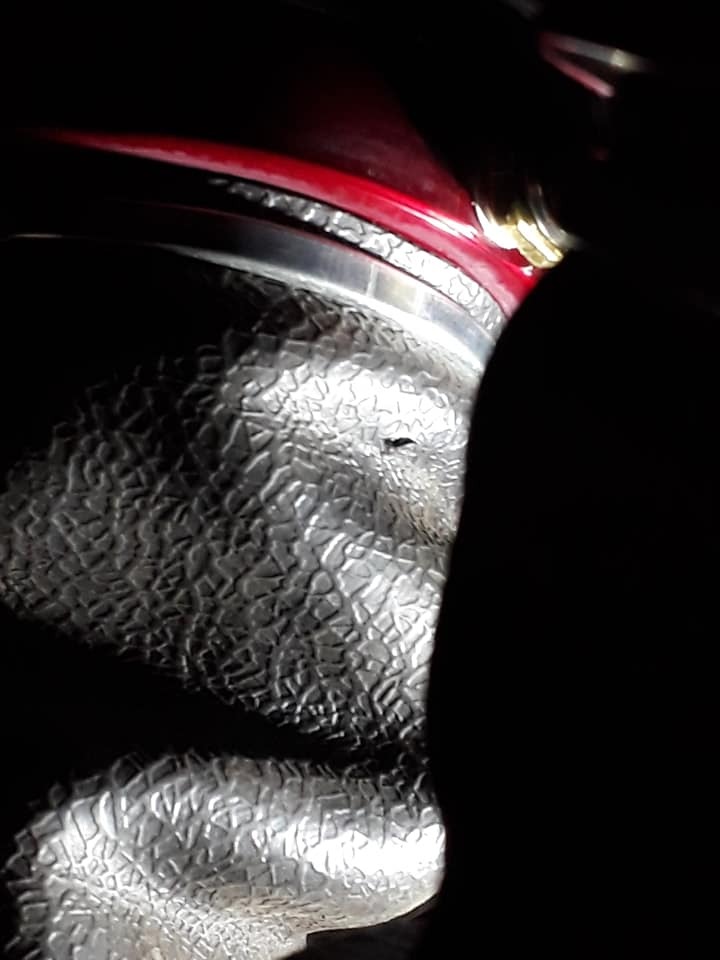 other rear side 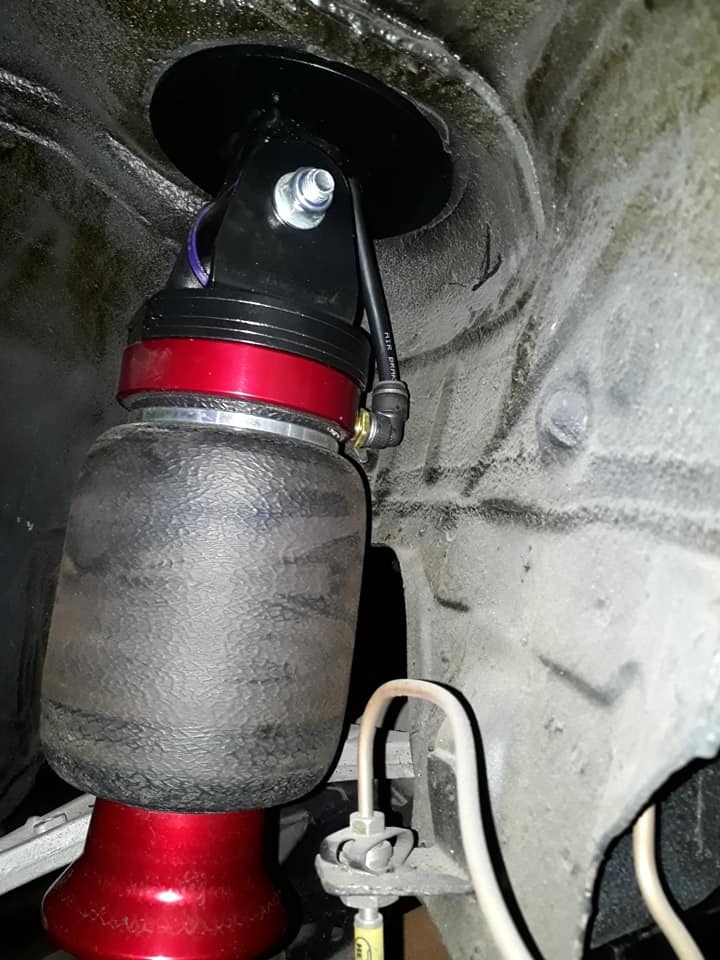 vid of side http://instagr.am/p/BtRkQ_bH6fe Ash |
| |
|
|
|
|
|
|
|
|
I love this! I love seeing the updates, you’ve got such a different view and approach to problems and solutions!!
And the speed you work at is inspiring
Keep it up😎😎 and keep the updates coming, one of my favourite builds on here👌
|
| |
1970 Beetle 1600
1973 Rover P6 2000SC
1993 Audi 80 Avant 1.9TDI
1996 Transit SWB pop top camper, 2L Twink
|
|
|
|
|
|
|
|
Man there's some work in that trans tunnel!
|
| |
|
|
|
|
|
|
|
|
|
| |
Last Edit: Feb 11, 2019 9:02:17 GMT by legend
|
|
whitz
West Midlands
Posts: 216
|
|
Mar 10, 2019 23:33:43 GMT
|
Just been plodding along doing bits and pieces, tunnel painted inside and under, roof lined with flash banding, rear arches fitted for good i was going to use an mg loom but gave up after buying a donor stripping it all out and after starting that Had all of the boot build out, glued painted and carpeted around half of it and all back in and bolted up for good ordered a complete set of vdo gauges, oil temp + pressure, water temp, volts, boost, tach, speedo, fuel along with the senders and I'm going to wire the car from scratch, i just ned to find a suitable warning light panel alot of money spent at demon tweeks all black face vdos 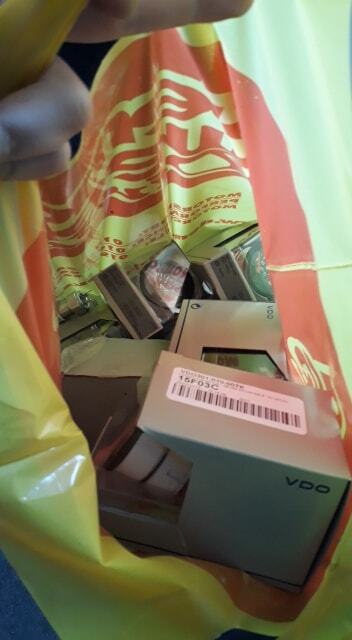 waiting on some none stock items to turn up but dash skeleton put in place trying to figure out what gauges i want in certain spots, can see the volt in place, will rework the holes on the left and put oil+ water temp in them 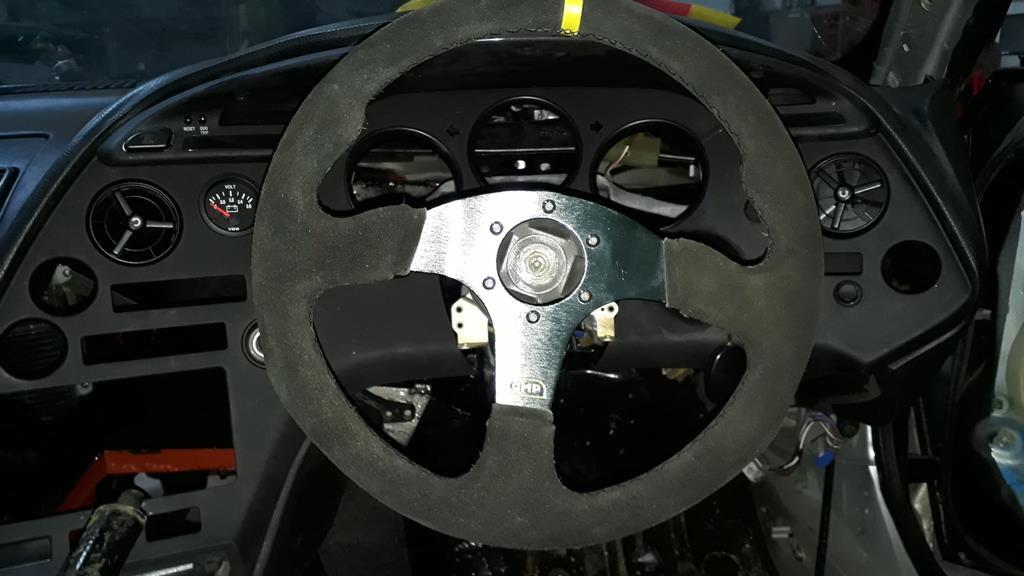 booty shot, arches where a right pita to bolt on inside the car, i know it looks all color mis matched but its not and yes it moves when its fully lowered with no catching 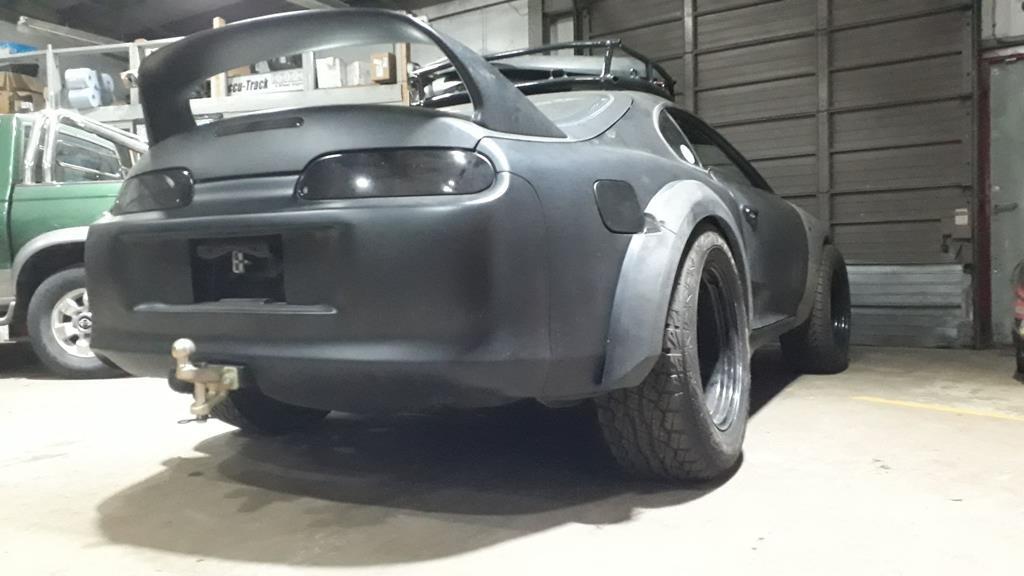 Ash |
| |
|
|
|
|
|
Mar 11, 2019 12:49:18 GMT
|
|
Looking Phat!
|
| |
|
|
|
|
|
Mar 11, 2019 14:49:18 GMT
|
|
Looks incredible
|
| |
|
|
|
|
jamesd1972
Club Retro Rides Member
Posts: 2,921  Club RR Member Number: 40
|
|
Mar 11, 2019 16:25:12 GMT
|
|
Did you get a replacement air bag sorted ok ?
Looking good- if expensive with posh gauges to add to the build !
James
|
| |
|
|
whitz
West Midlands
Posts: 216
|
|
Apr 30, 2019 22:16:01 GMT
|
I know i know lack of updates, had a failed upload twice so here goes again had to go through lots of small issues to get the gearbox onto the engine for good, had to machine and rebush the clutch fork and bellhousing due to wearing out along with alot of fettling to get all the new parts to work with each other 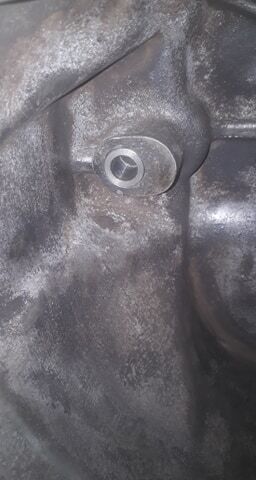 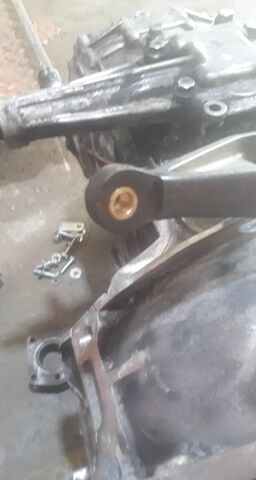 There is meant to be 2 unbroken bolts there, these hold the P-Pumps weight to take it off the front casing, been broken and not lined up correctly for a long time 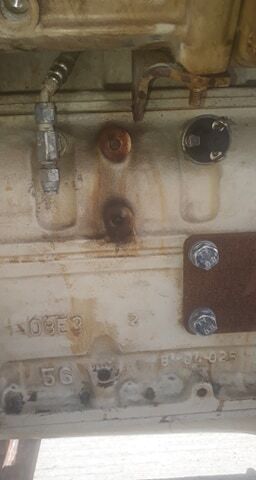 3rd gearbox, with a good casing and all clean inside, bellhousing shaved and cleaned up 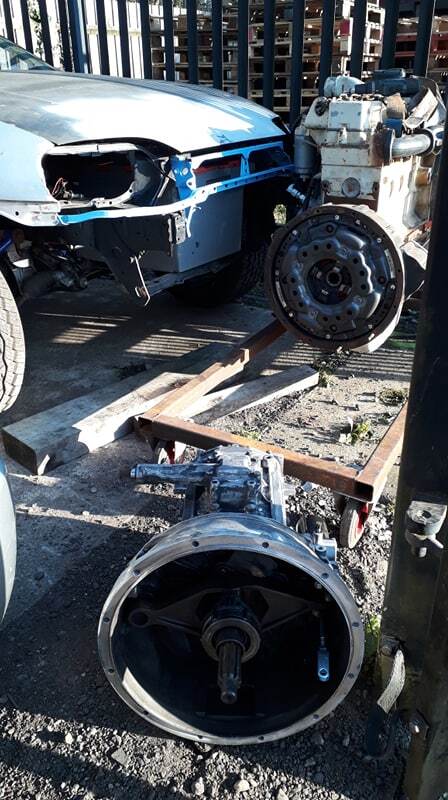 another fettling issue, new pushrod on the left and correct one on the right, took me ages to get the old correct one that i had to machine the ball end to fit the new slave 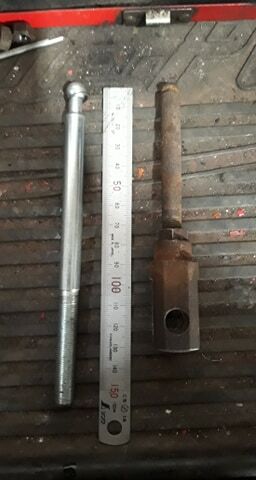 engine and gearbox wire wheeled twice and all the nooks and crannies gone over TFR + jetwashed 3 times to make it spotless for the paint, unfortunatly this high temp engine enamel that was hyped up by a bunch of people was rubbish and has come out terrible so il have to sort that engine is back in now hopefully for good, ill probably have to remake the front most engine mounts as ive put too much heat into them from welding 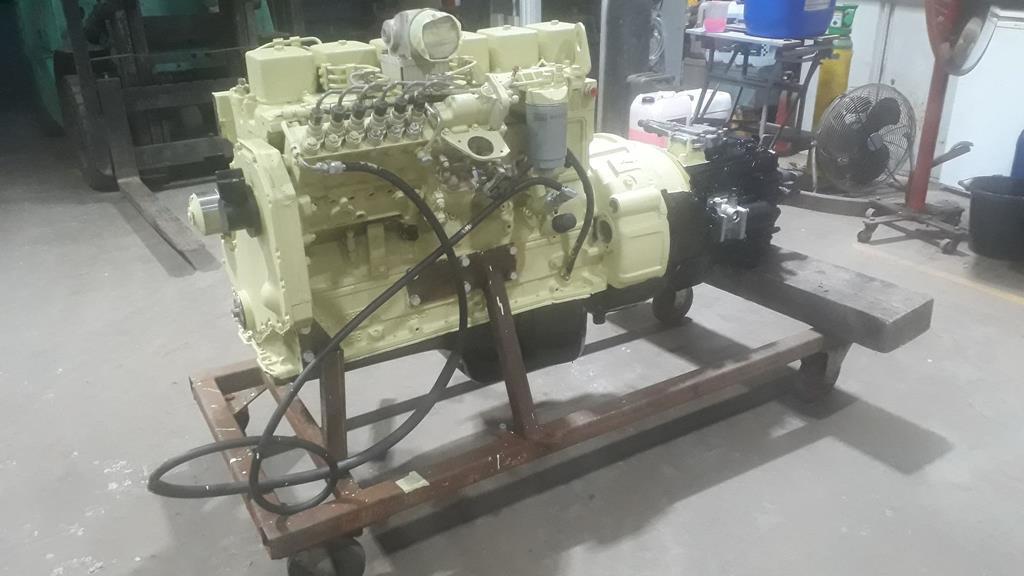 at this point ive got the new filters and housings, new starter, new oil filler cap, new water pump, il have to do a timing bump and other tuning items at a later date 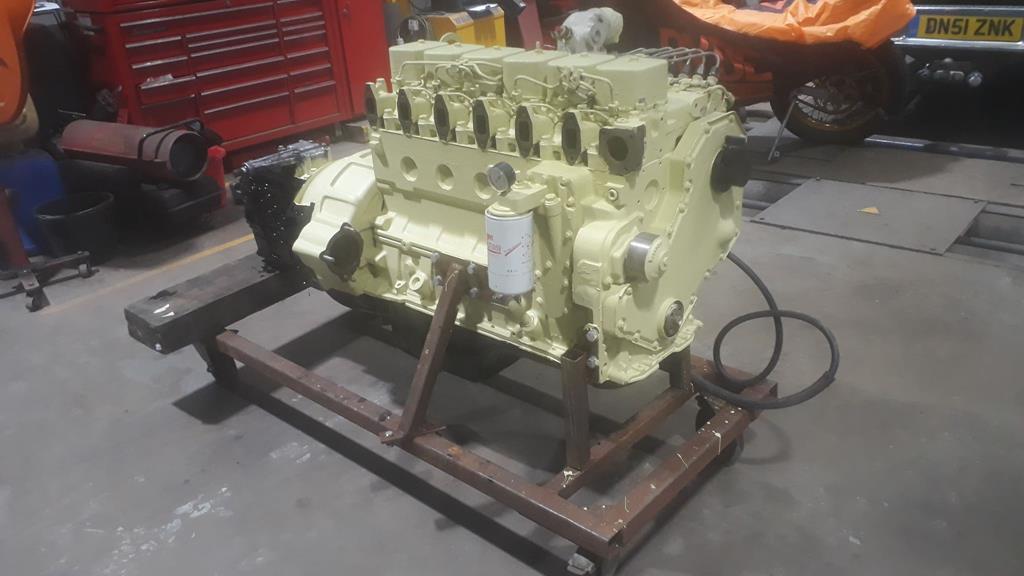 Ash |
| |
|
|
|
|
|
|
|
|
Re bookmarked as it seems to have dropped off my feed.
|
| |
|
|
|
|
whitz
West Midlands
Posts: 216
|
|
May 27, 2019 22:15:27 GMT
|
bit of an update/teaser if you will il be plowing stupid amounts of time and money into the supra as i have around 66 days + 7 days testing before i go down to USC as my fiat is going to end up being written off by a DPD driver in a hit and run (almost 3 months ago now) so i have to take this or the rovaru and only 1 is doable engine in and a few items in place to start mocking up and ordering parts, at this point ive found i need to shim them middle mounts and remake the fronts (too much heat in them has warped) 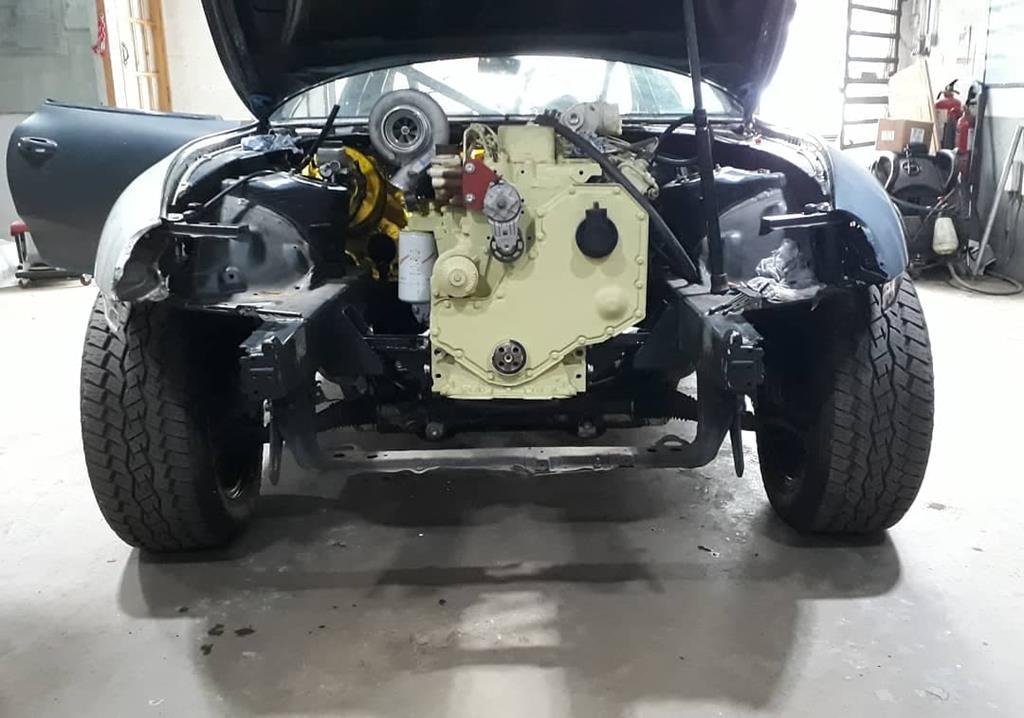 heat will be a major issue so i have gold take, single aluminum skin heat shielding and blackets for turbo and maifold to try and keep it under control 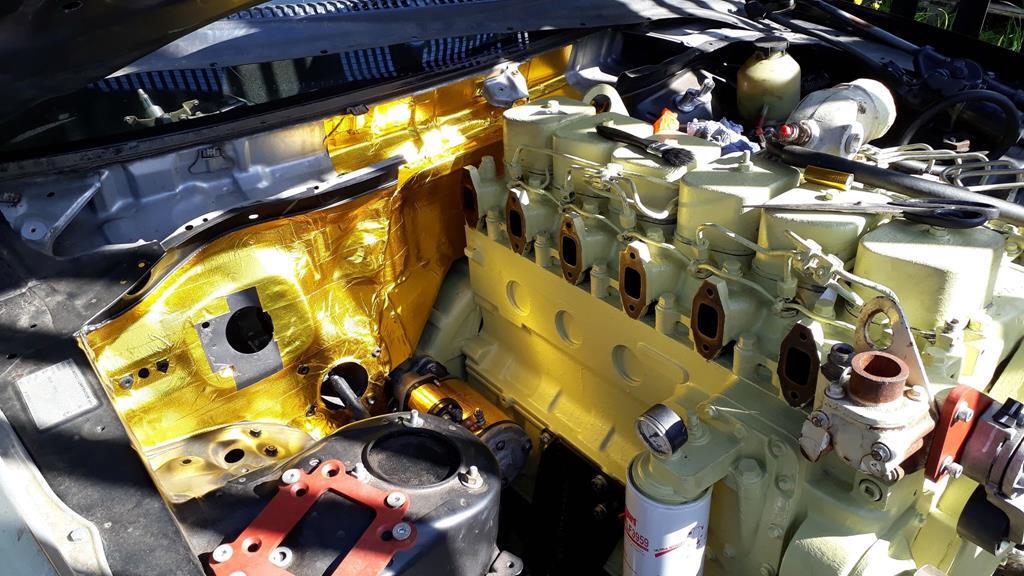 brake vacuum pump % set painted and mostly wired (still need to add the plug) fitted nice and snug 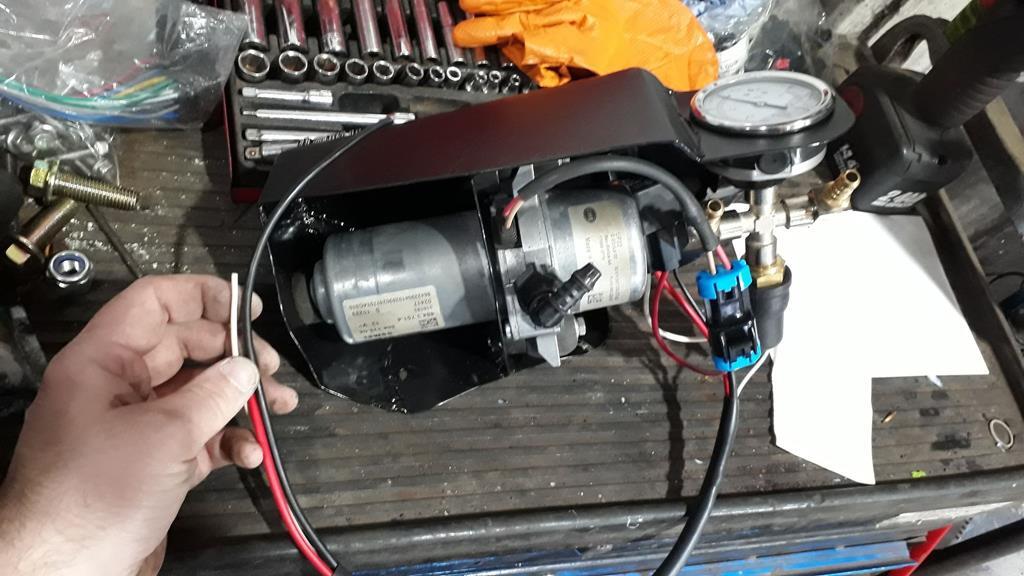 scott popped around and took some fancy pics (by my standards) 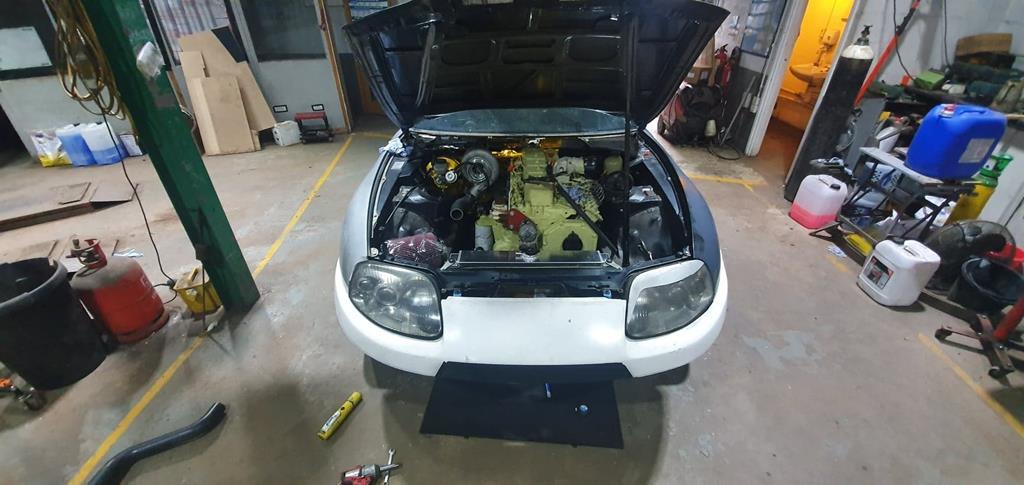 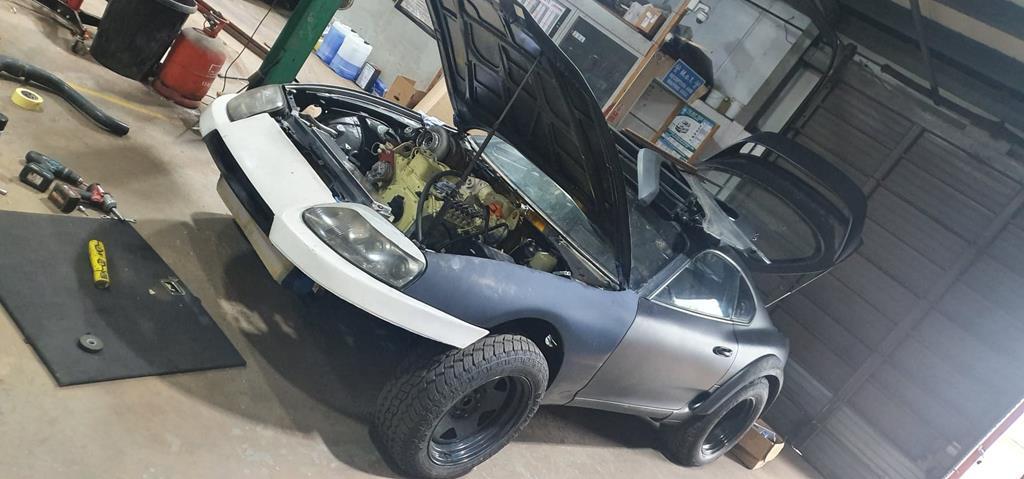 start of fuel tank top had with vdo tube sender 1/2" feed 3/8" return and a 6mm filler vent, 125mm dia and 3mm thick cheap as to buy off ebay rather then cutting it out of a plate myseld 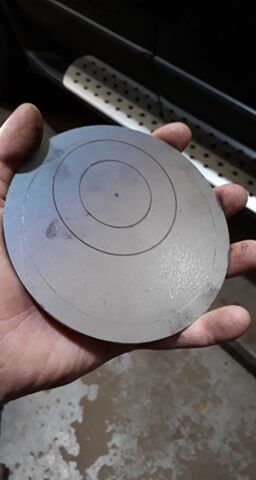 bulkhead fittings for tubes 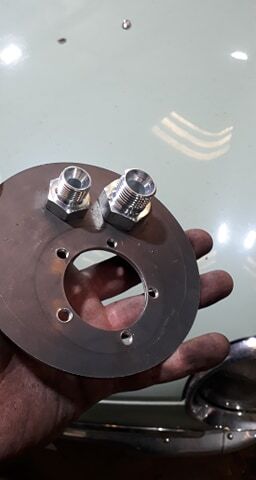 fittings drilled to sized, pipes cleaned (only bundy tube) really tight fit and silver soldered in place with a pair of P-clips to stop them vibrating too much 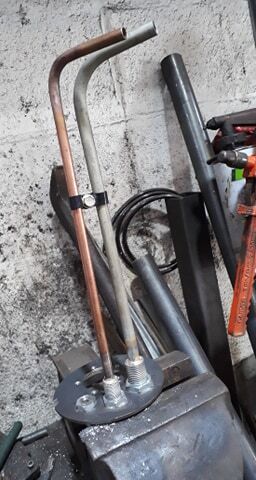 some fuel lines and various parts from supra breakers that il mess about with to suite me 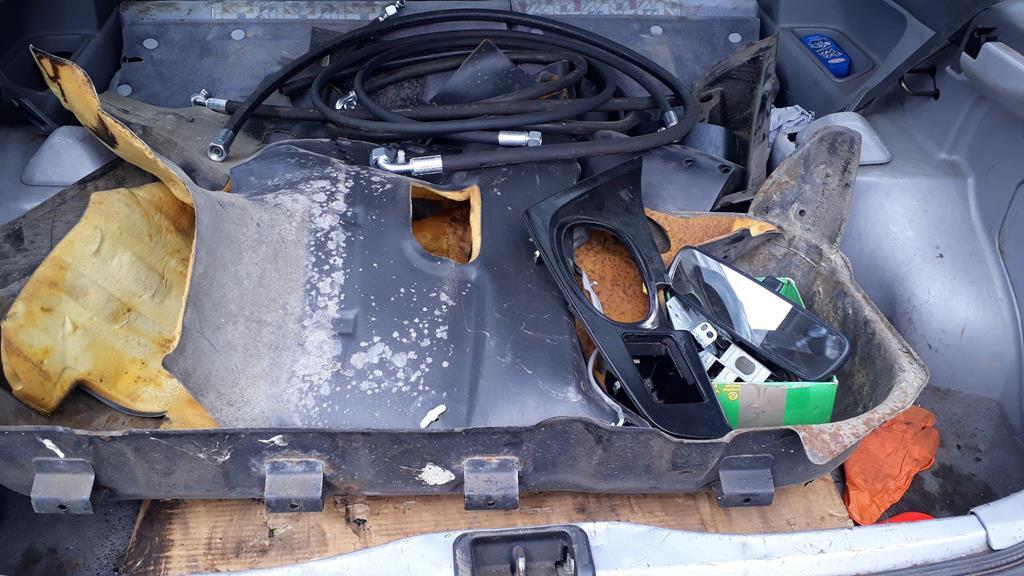 1 wire hydro hoses under the car in the factory positions, hose is tough so snapped 2 mounting tabs so had to redo those 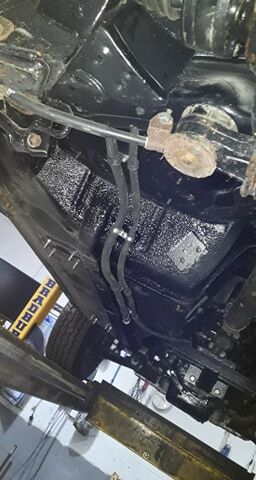 filter and head under rear of car, only space for it, tape on there to keep it clean for now 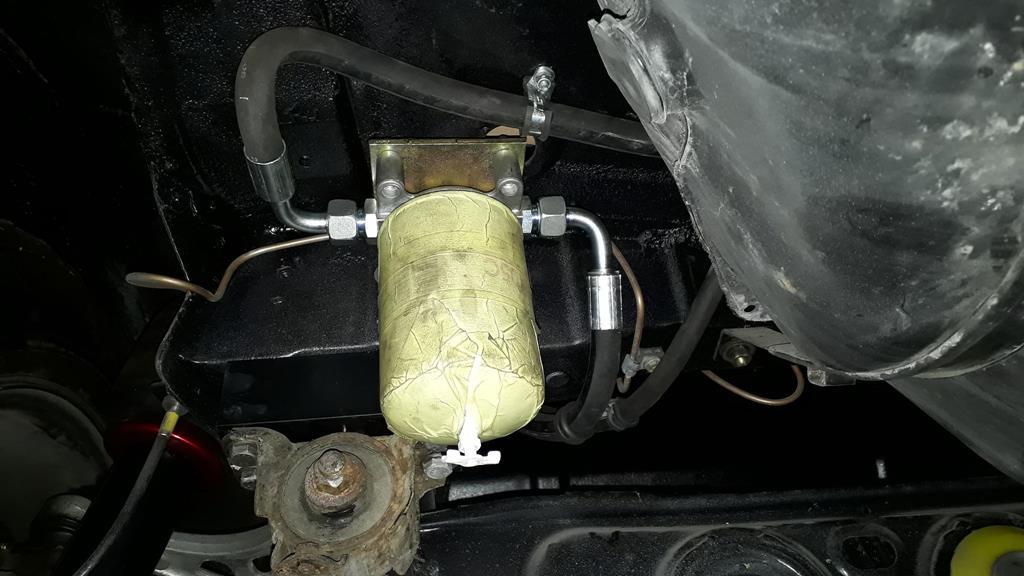 pretty tight under there, had to bend edging up for clearance and will have to chop the top had to clear it 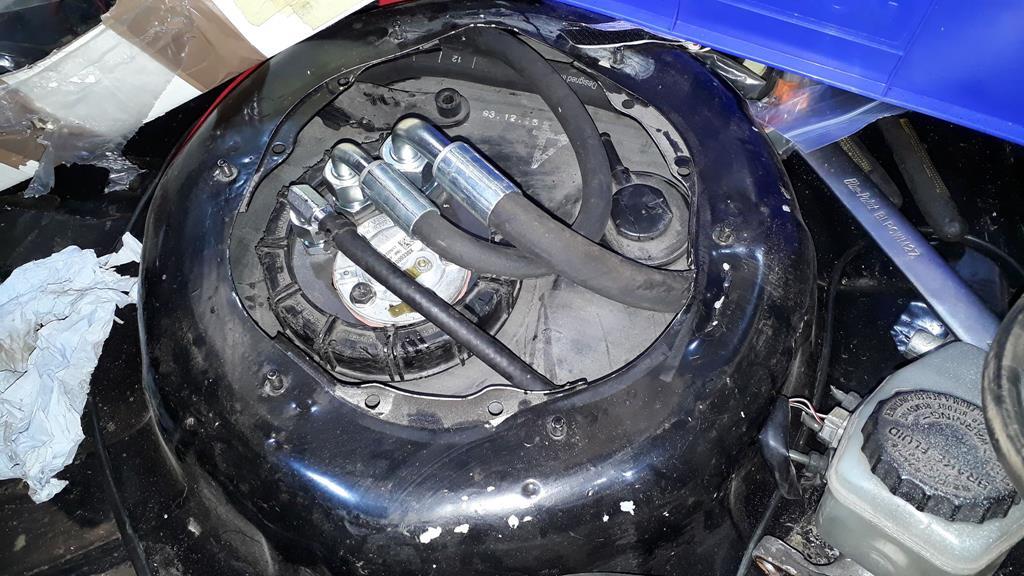 very technical method to the start of the front bumper/ducting making it out of 3mm ally to save some weight 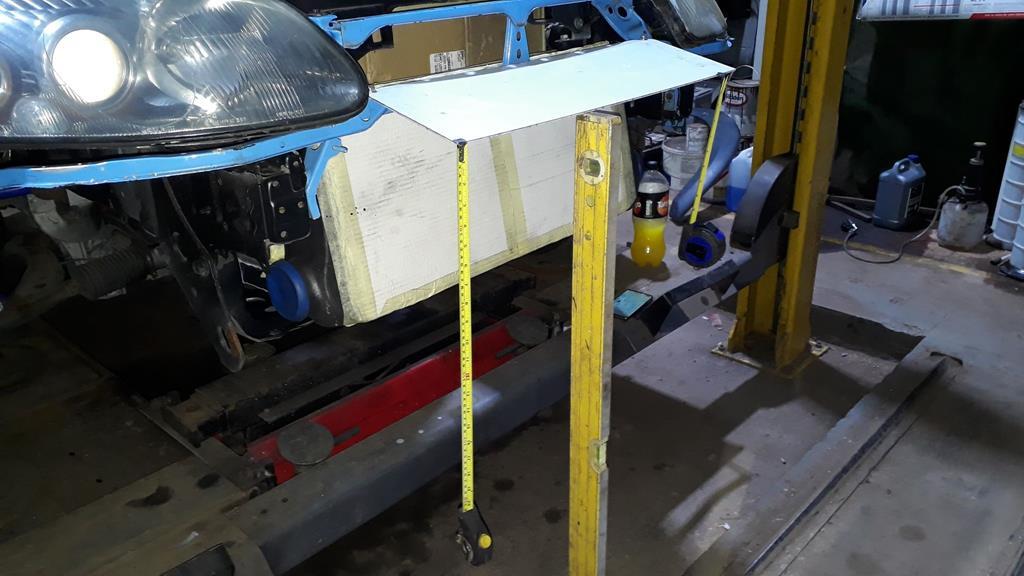 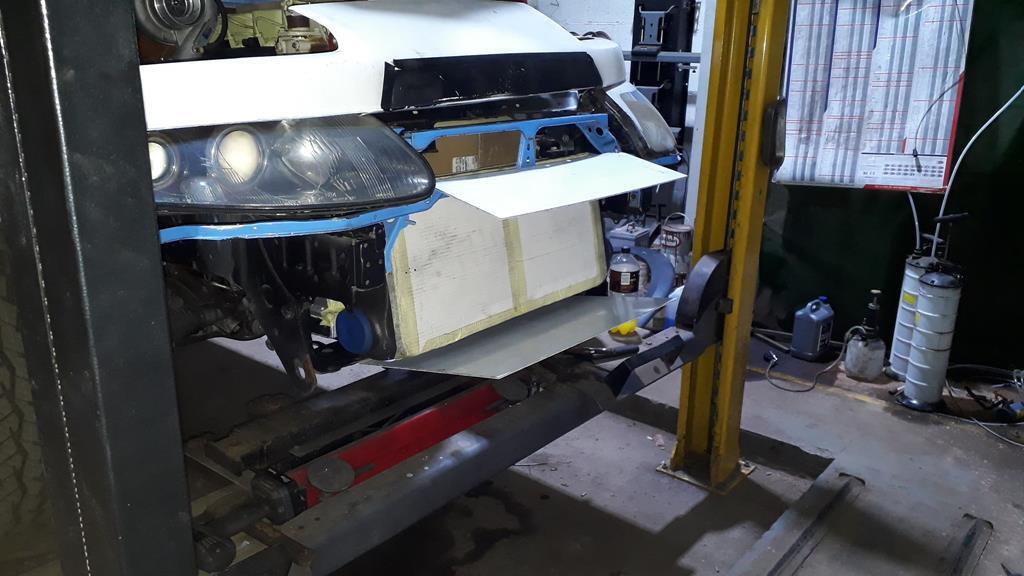 some bits bolted on for good! hopefully atleast, heater unit and hoses in with front ducting face, clutch master cylinder setup with new cylinder and pedal, brake pedal bracket in but all 3 pedals to make yet, column and cross bar in along with the fashbanding and stock bulkhead sound proofing chopped/trimmed to fit back in 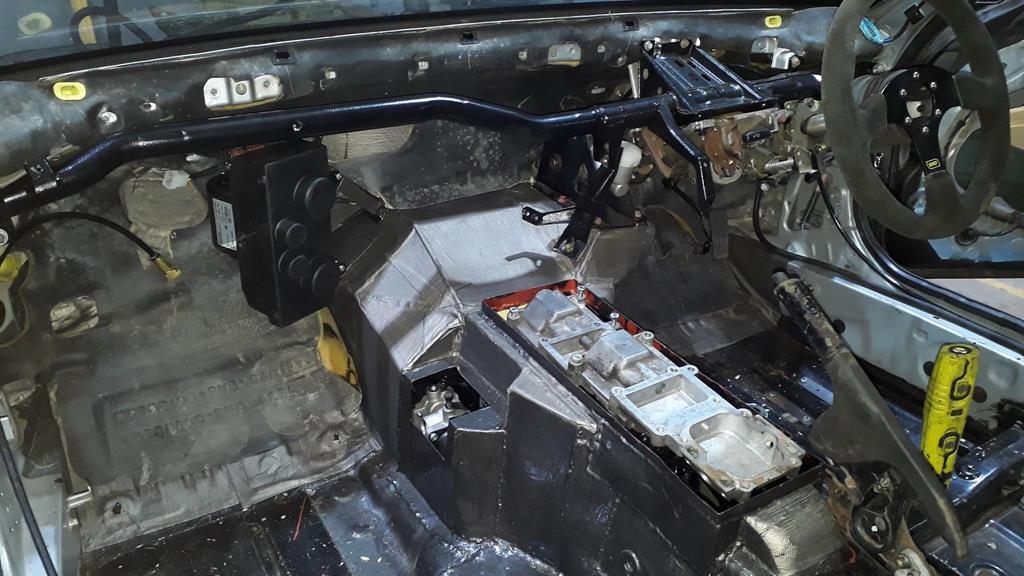 have around 10 items on order and a nuch of other fuel hoses to make, some battery cables made up with some more to add, if all goes to plan i should have it crudely running in chassis by weeks end Ash |
| |
|
|
|
|
|
|
|
Good progress,....but flat written off by hit & run?  How can you hit & run a flat? |
| |
|
|
|
|
|
May 28, 2019 10:38:06 GMT
|
Good progress,....but flat written off by hit & run?  How can you hit & run a flat? I'm guessing that they reversed into it then drove off, leaving it in an unsafe condition. I remember seeing something similar when I worked in insurance - lorry took the corner off a shop and it all had to be rebuilt. |
| |
Last Edit: May 28, 2019 10:38:24 GMT by mrbounce
|
|
|
|
|
May 28, 2019 10:56:49 GMT
|
Love this... very technical method to the start of the front bumper/ducting making it out of 3mm ally to save some weight Ash Engine weighing eleventeen tons, but nice lightweight bumper.  Colin Chapman would have been proud. Top work still going on here though.  |
| |
Last Edit: May 28, 2019 11:02:54 GMT by georgeb
|
|
jamesd1972
Club Retro Rides Member
Posts: 2,921  Club RR Member Number: 40
|
|
May 28, 2019 14:14:24 GMT
|
Good progress,....but flat written off by hit & run?  How can you hit & run a flat? FIAT ! might need to put your specs on... James Ps nice progress |
| |
Last Edit: May 28, 2019 14:15:17 GMT by jamesd1972
|
|
|
|
|
May 28, 2019 14:21:07 GMT
|
|
That's a biiiiiig lump!
|
| |
|
|
|
|





 How can you hit & run a flat?
