glenanderson
Club Retro Rides Member
Posts: 4,318
Club RR Member Number: 64
|
|
Mar 18, 2022 22:23:18 GMT
|
|
Excellent stuff. Well done.
As far as the crustiness goes, judging by the state of the engine, and inside the timing cover, I suspect that the previous owner engaged in some serious “pay and play” off-roading, as it looks like it spent some considerable time up to its waistline in muddy water. Either that or he lived in a swamp. 🤣
|
| |
My worst worry about dying is my wife selling my stuff for what I told her it cost...
|
|
|
|
|
|
|
Mar 19, 2022 12:06:15 GMT
|
|
That would explain alot
|
| |
|
|
|
|
|
|
|
Anyone else get hit with the "blood rain" the other week? 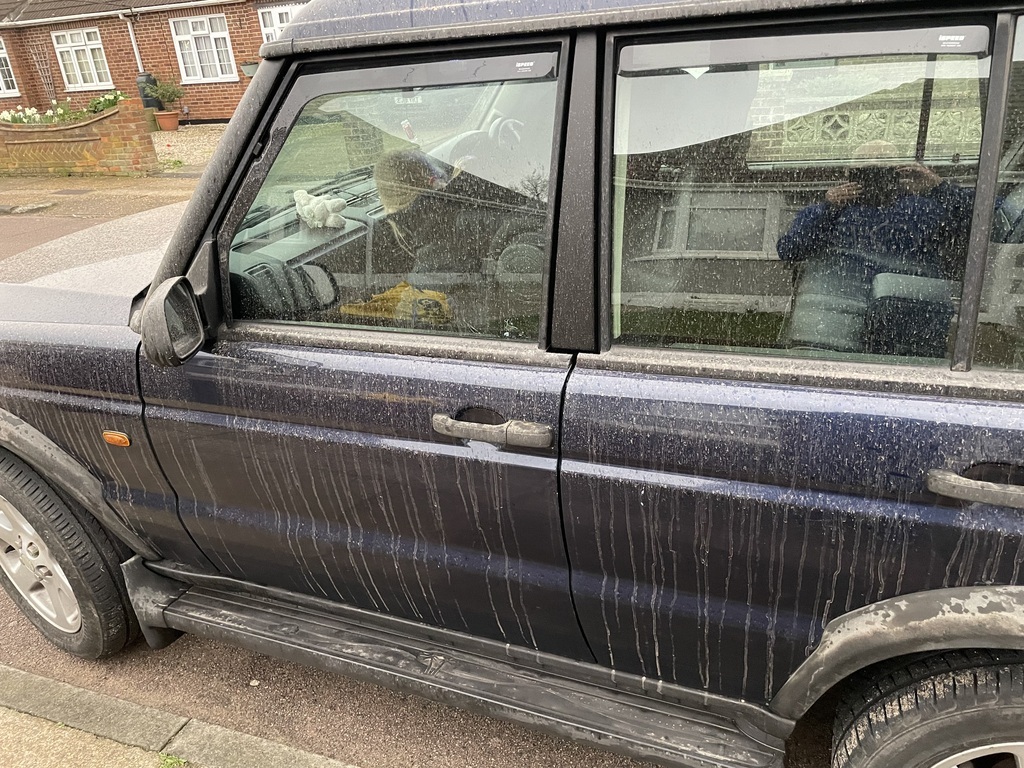 My new new ECU arrived from House of Torque, Immobiliser removed and remapped to around 220 bhp along with my new standalone wiring harness to suit and new gaskets for the axle tube ends and the diff cover. 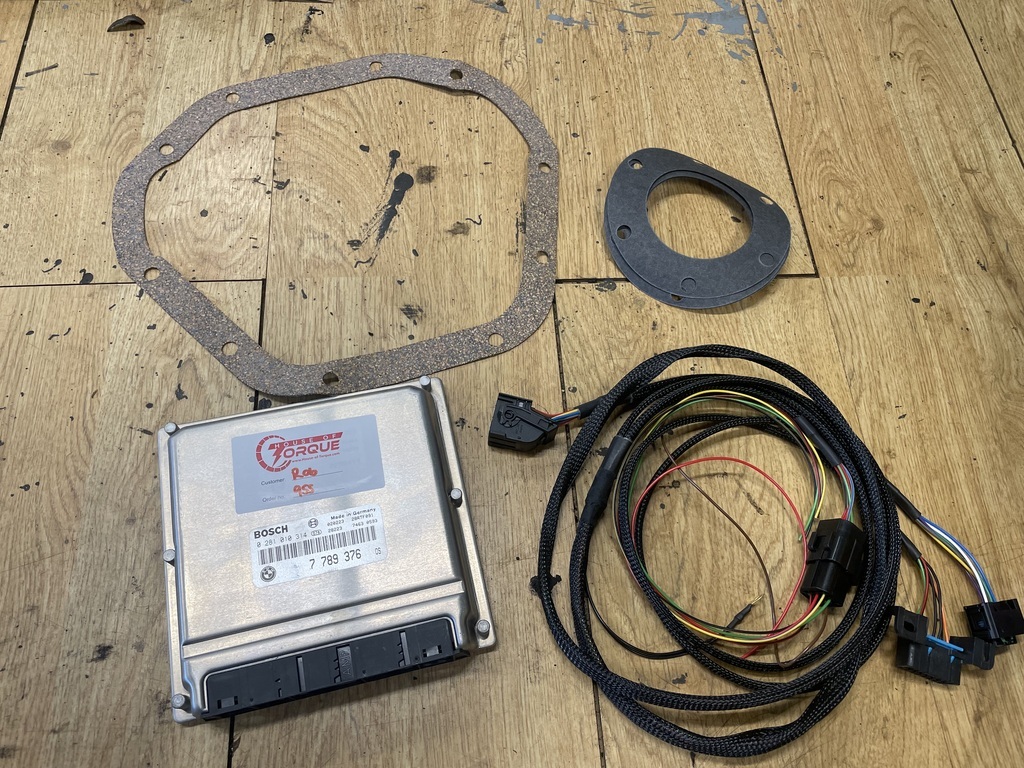 New front axle stub shafts (for the rear), new rear discs and one new drive flange 'cos I had to cut the other one off. 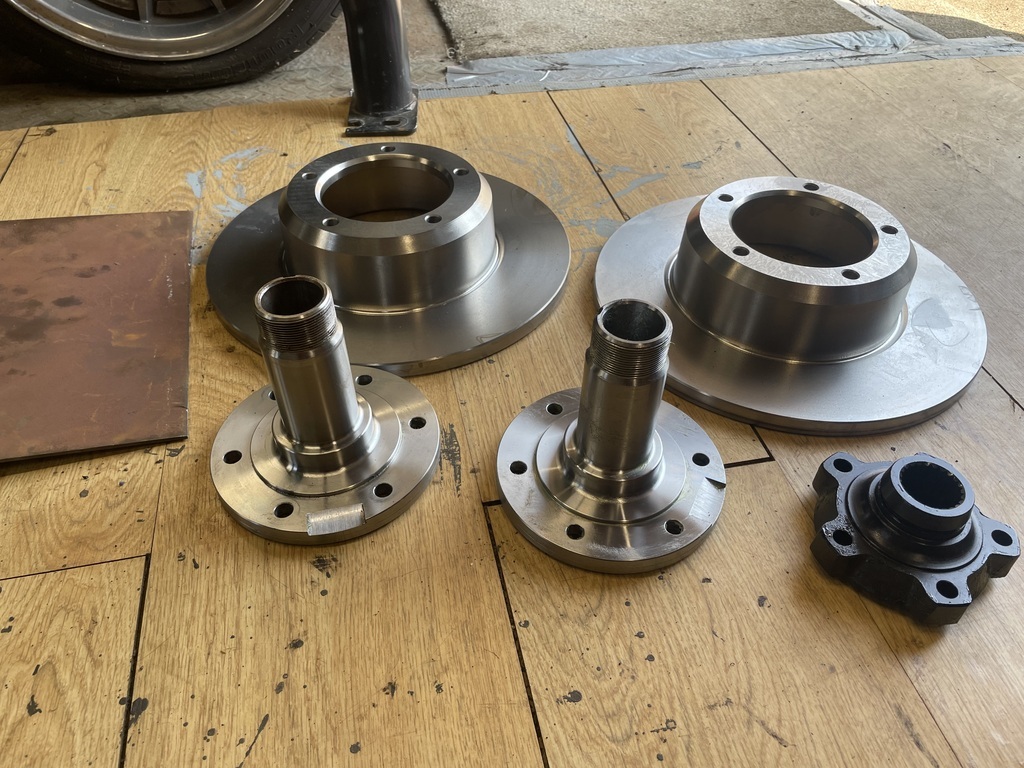 New bolt on rear caliper brackets. 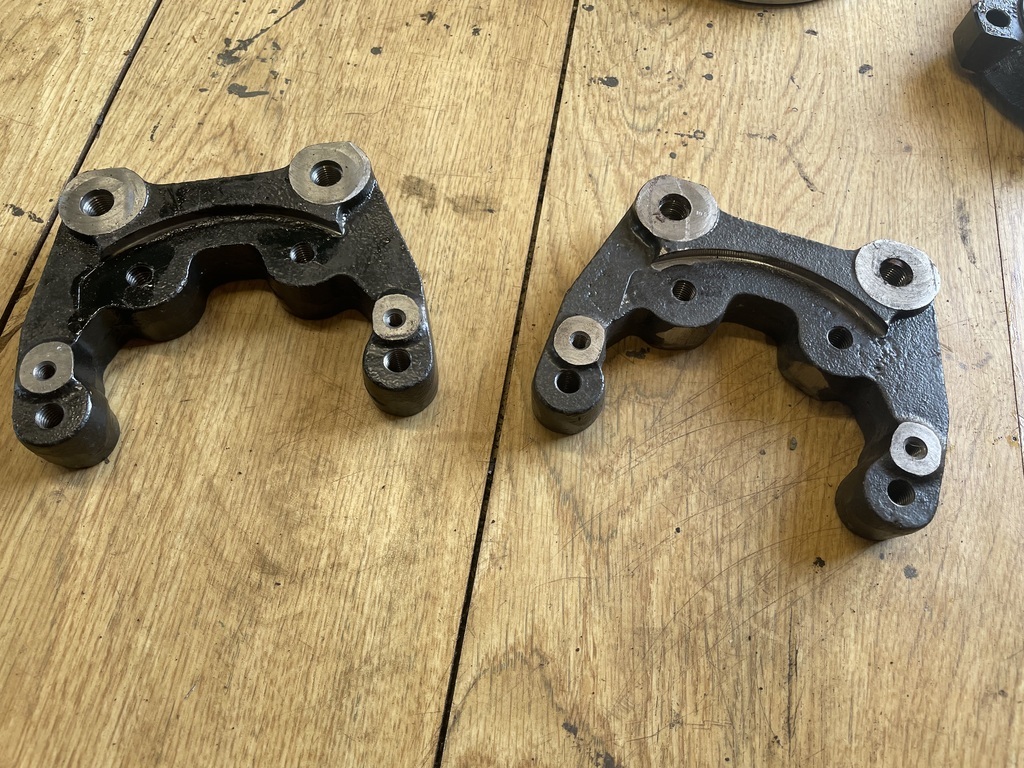 I mock assembled everything and measured how far the half shafts engaged into the rear diff. I calculated them to mesh at about 36mm. With everything removed, I measured the splines on the end of the shaft and fully engaged they are 40mm. I suspect that even on a standard set up they wouldn't be fully engaged as the end of the splines is tapered and they would have some "float". Everything assembled again, I measured the rear caliper to disc interference. I neglected to take pictures of this but I worked out the raer calipers needed to be spaced away from the rear discs by 3mm. So I rescued some 3mm plate from the scrap bin at work, made a CAD template and made two of these. 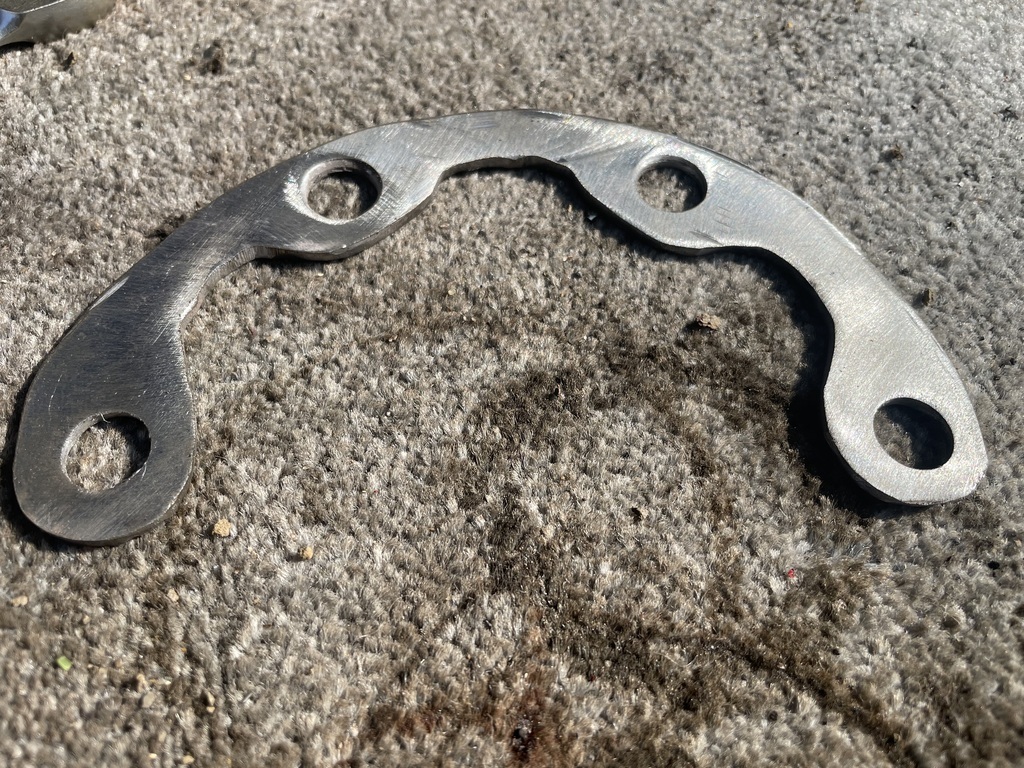 They have been left un-painted as I wanted a good fit to the axle flange and the caliper brackets. All mounted up and torqued, it looks like my measurements were good. The discs runs centrally to the caliper and turns without chaffing. 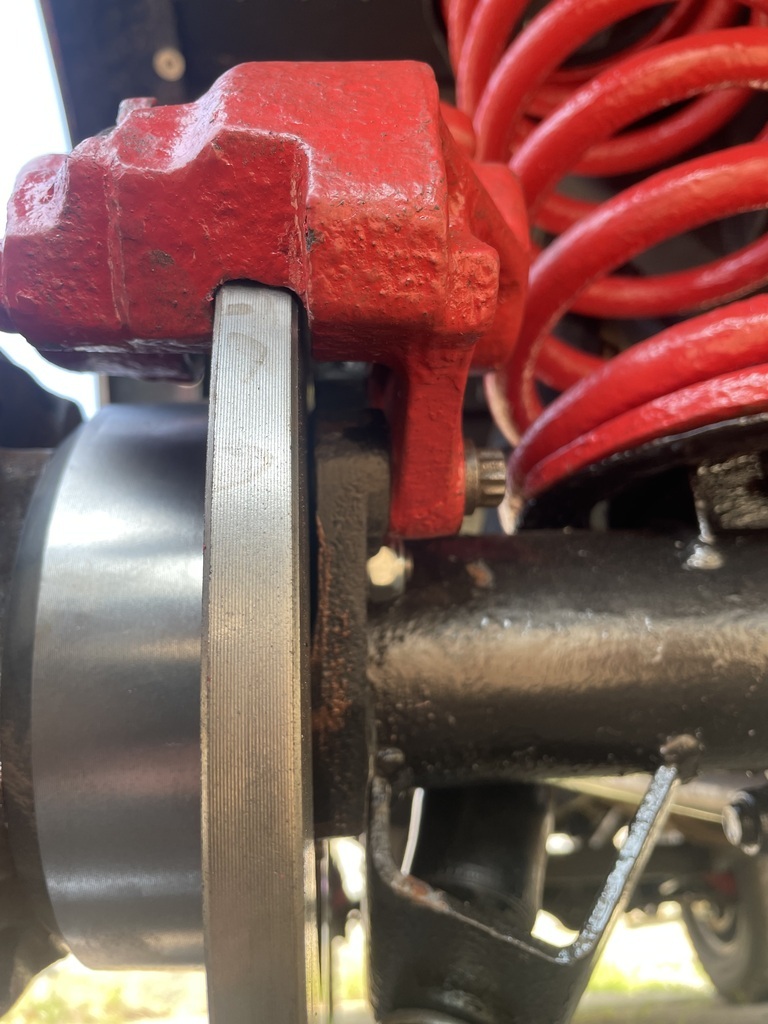 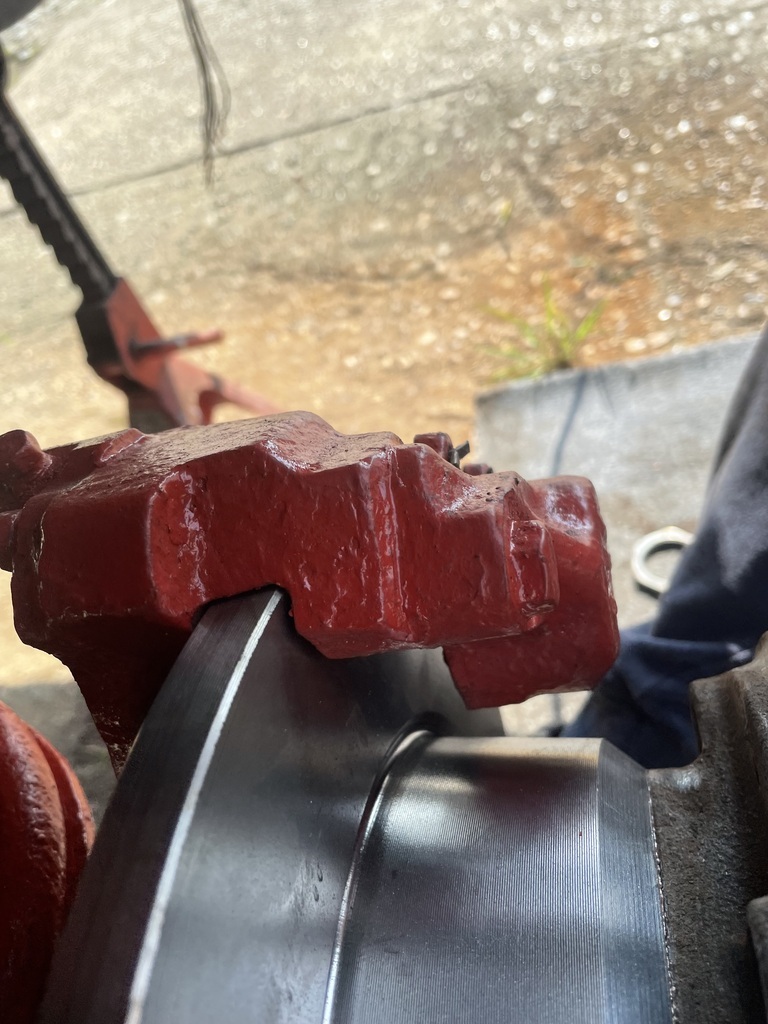 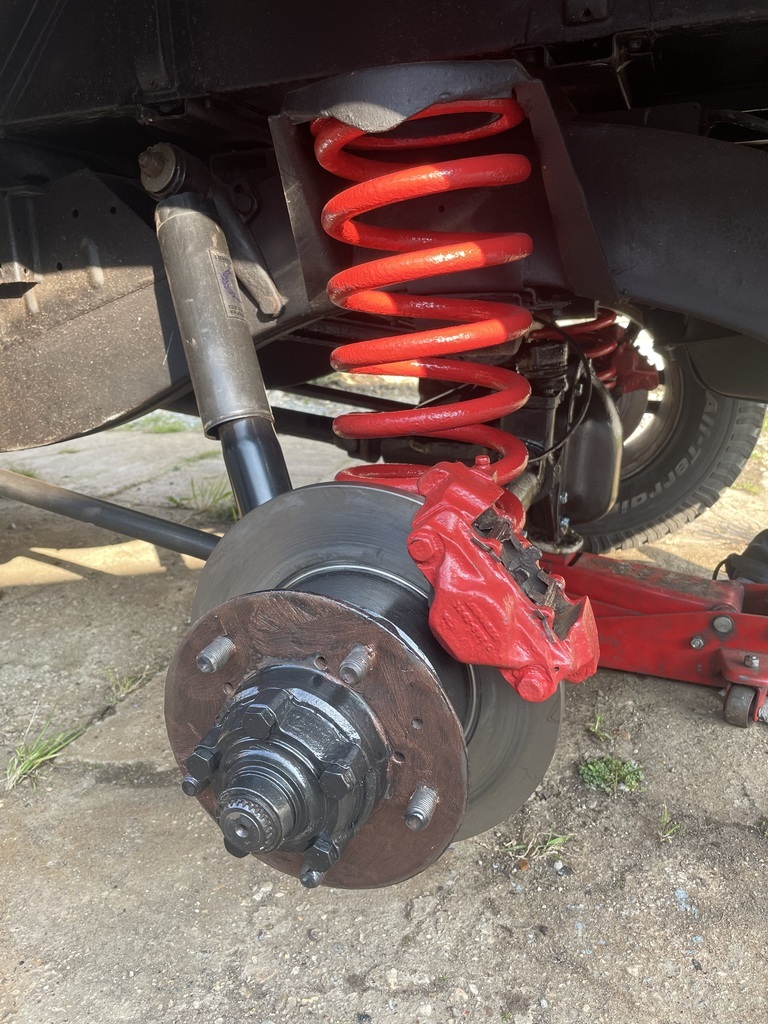 I took the gearbox/transfer box out of the Defender and put it up for sale. Standard method of using an engine crane through the doormade easier in this case due to the lack of interior fitted. 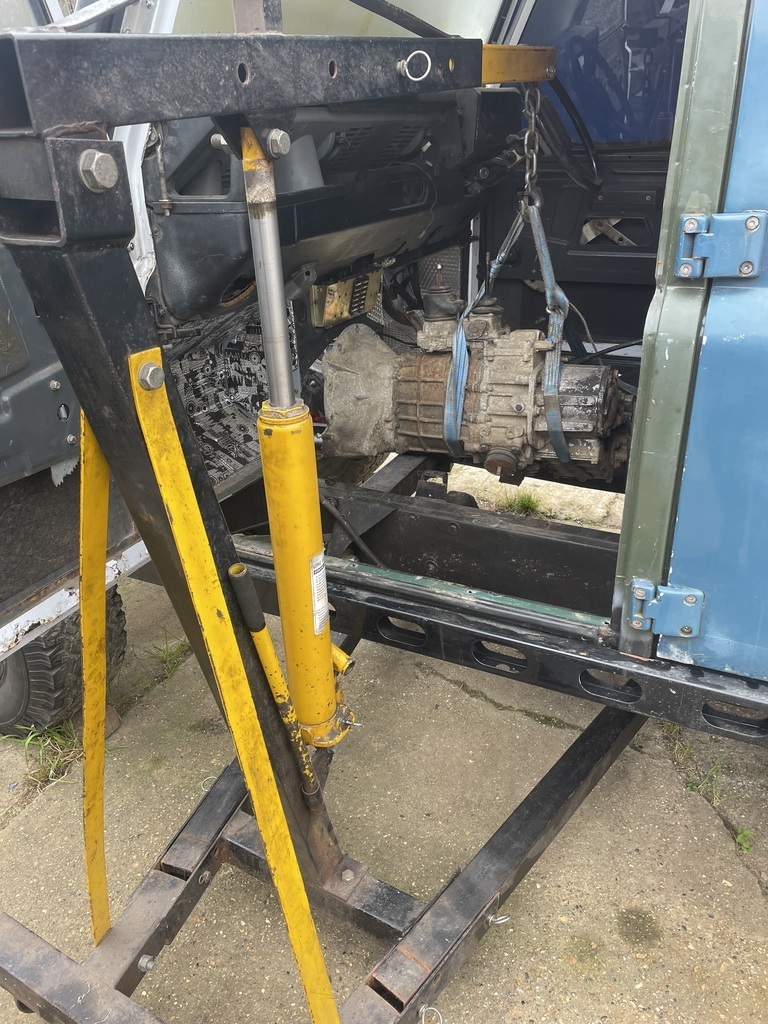 While I had the engine crane out, I mocked up the engine with the P38 bellhousing fitted, the Discovery R380 gearbox and the transfer box I rebuilt over a year ago. 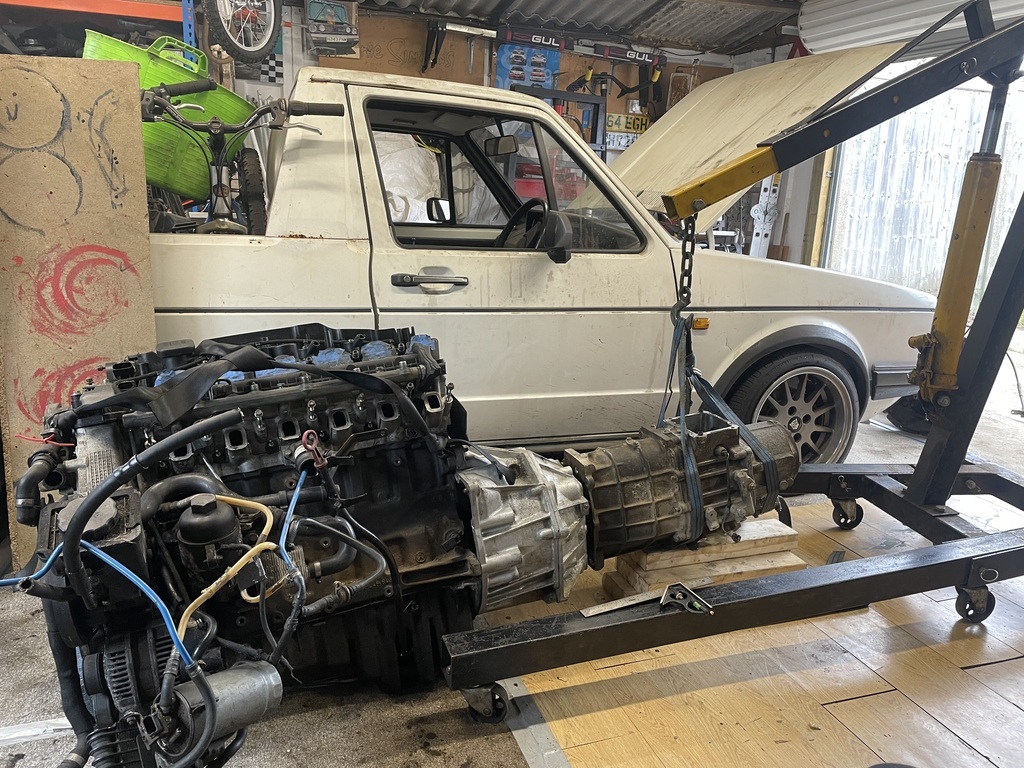 Because the input shaft of the Discovery R380 gearbox is longer than the one used in a P38, I will need to make up a spacer between the bell housing and the gearbox. I make it around 16mm. 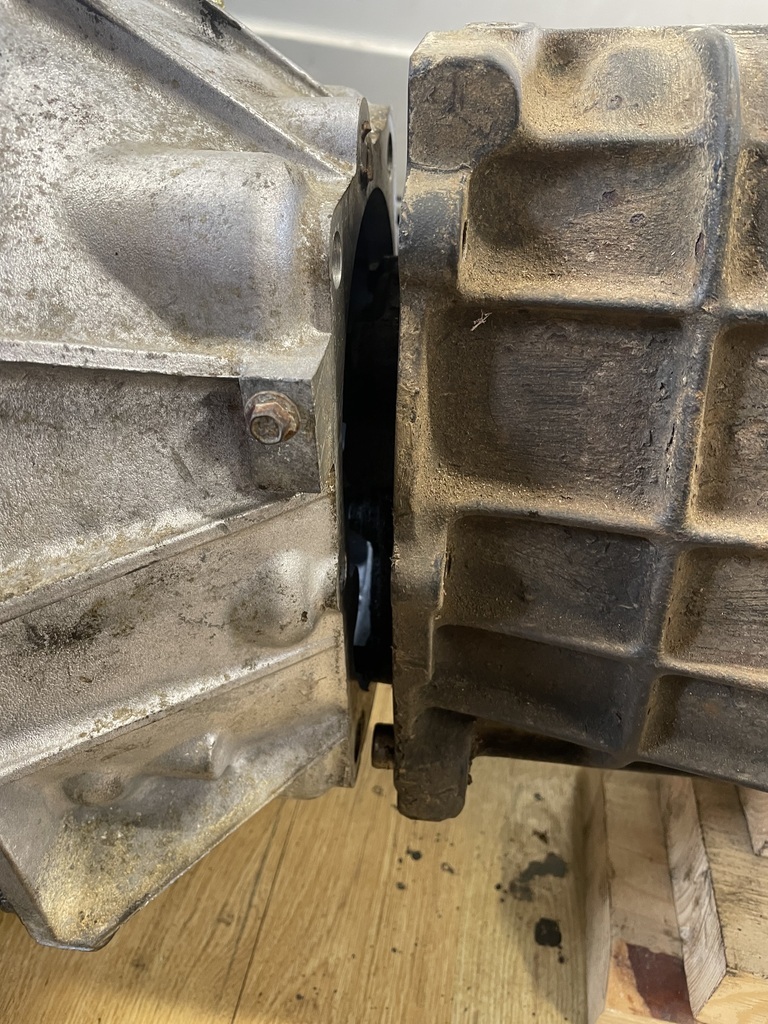 I have been reconsidering my gearbox decision and have been looking at maybe using a manual BMW 6 speed one. Apparently my engine is called a narrow block as it's from a 3 series. 5 series cars would have had a wide block so I need a HGA box which is a bit of a Unicorn or a GS6 37DZ which I think is from a 120d. The problem is, this code is printed on a white sticker which generally fades with age or get's cleaned with harsh chemicals which make it unreadable. There are numbers cast into the casing but no-one seems to be able to identify from them. It would be nice to have 6 gears and it would be able to handle the power from the engine. The Landy box is called an R380 because it's rated to handle 380 newton torques. The M57 will be delivering more than that. I don't want to feel like I need to hold back when driving for fear of killing the box. Also I have no flywheel or clutch for either box and I would prefer to only buy one once!!!! I would have to buy or make an adaptor to make the BMW box fit the transfer box (currently around £800!) My options are; R380 5 speed will possibly break P38 bellhousing (already bought) BMW flywheel and custom clutch (around £600) Will need to make a gearbox spacer BMW 6 speed should be good for the increased power Bolts straight up to engine Can use standard 330d flywheel and clutch (around £300) Will need expensive adaptor to use transfer box (I think I would make one) Would need to make a selector |
| |
|
|
|
|
|
|
|
|
OK. I think i've decided on the BMW gearbox option. I can sell my R380 and the P38 adaptor. I sold the LT77 today too so I should have enough overall to buy a BMW box and a clutch kit. I think I will make a gearbox to transfer box adaptor from steel as I just can't bring myself to spend £900 on an CNC aluminium one. I need to buy some engine mounts (the original ones from the E46 fell apart) so I can test fit the engine and make up mounting brackets.
|
| |
|
|
|
|
|
Apr 16, 2022 18:55:28 GMT
|
|
|
| |
|
|
|
|
|
Apr 16, 2022 19:03:42 GMT
|
I need some help with my nuts. 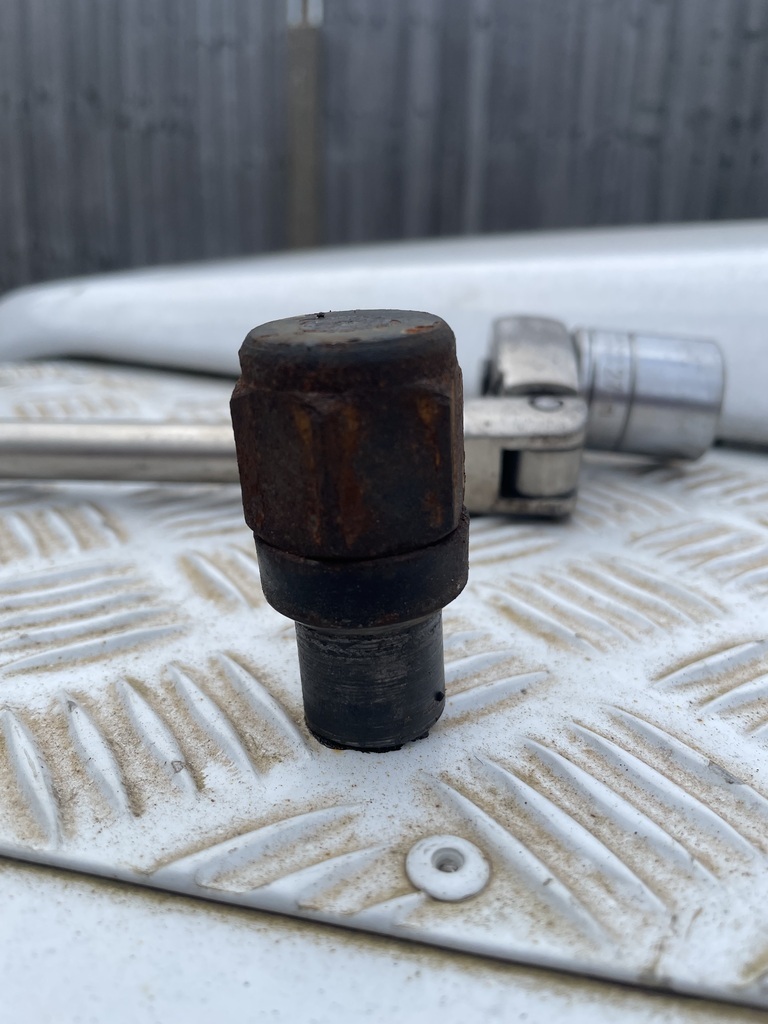 I don't have enough and i'd like some lockers. Anybody know where I can get some of these? I've already bought some which turned out to be wrong. None of the usual Landy dealers have them. The wheels I have are not the most popular but I have seen them fitted to some other Defenders. Can anyone identify them? 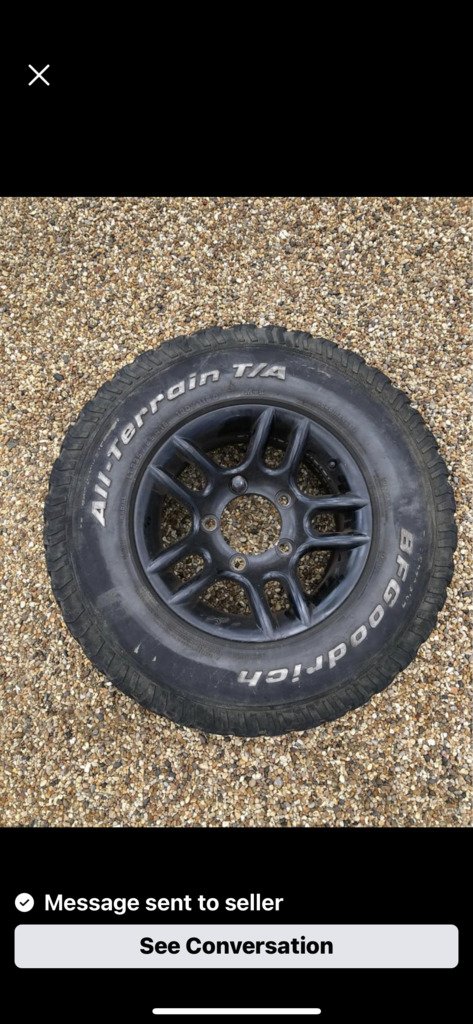 |
| |
|
|
MiataMark
Club Retro Rides Member
Posts: 2,971
Club RR Member Number: 29
|
|
Apr 16, 2022 20:53:18 GMT
|
|
What did you use to paint the Discovery bits? The wheel arch pieces on ours have faded and gone 'bobbly'.
|
| |
1990 Mazda MX-52012 BMW 118i (170bhp) - white appliance 2011 Land Rover Freelander 2 TD4 2003 Land Rover Discovery II TD52007 Alfa Romeo 159 Sportwagon JTDm
|
|
|
|
|
|
|
|
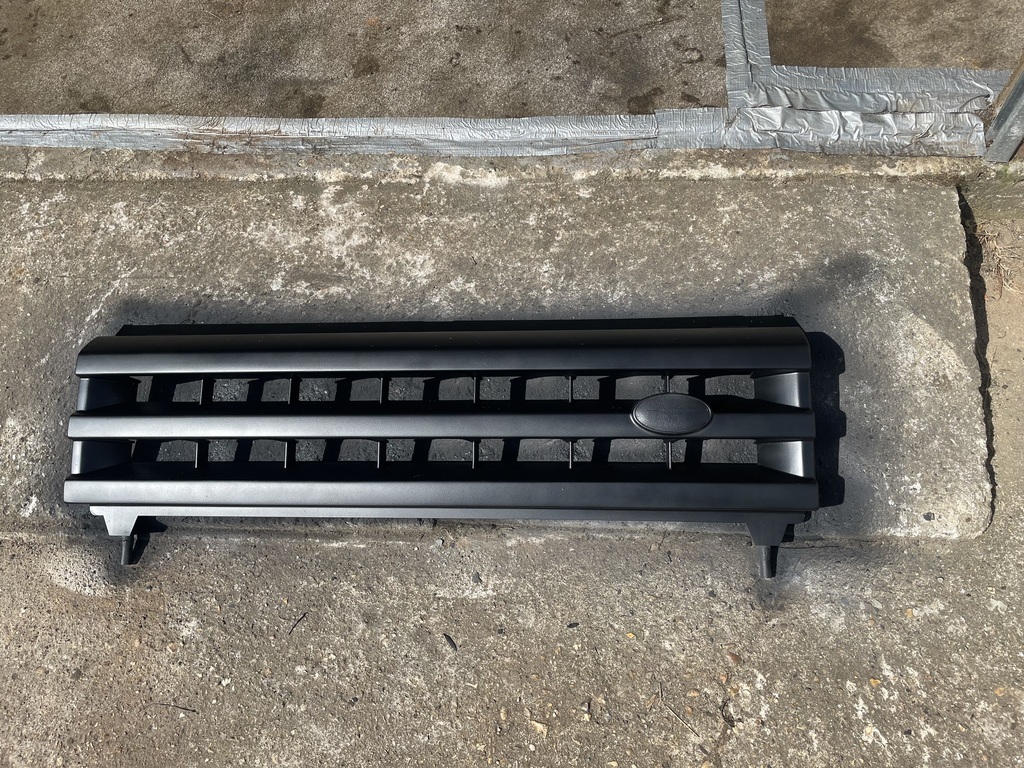
That's what happened to mine. I hand sanded them down first to take off all the high spots. I used plastic primer for a couple of coats and then used regular satin black.
|
| |
|
|
|
|
|
|
|
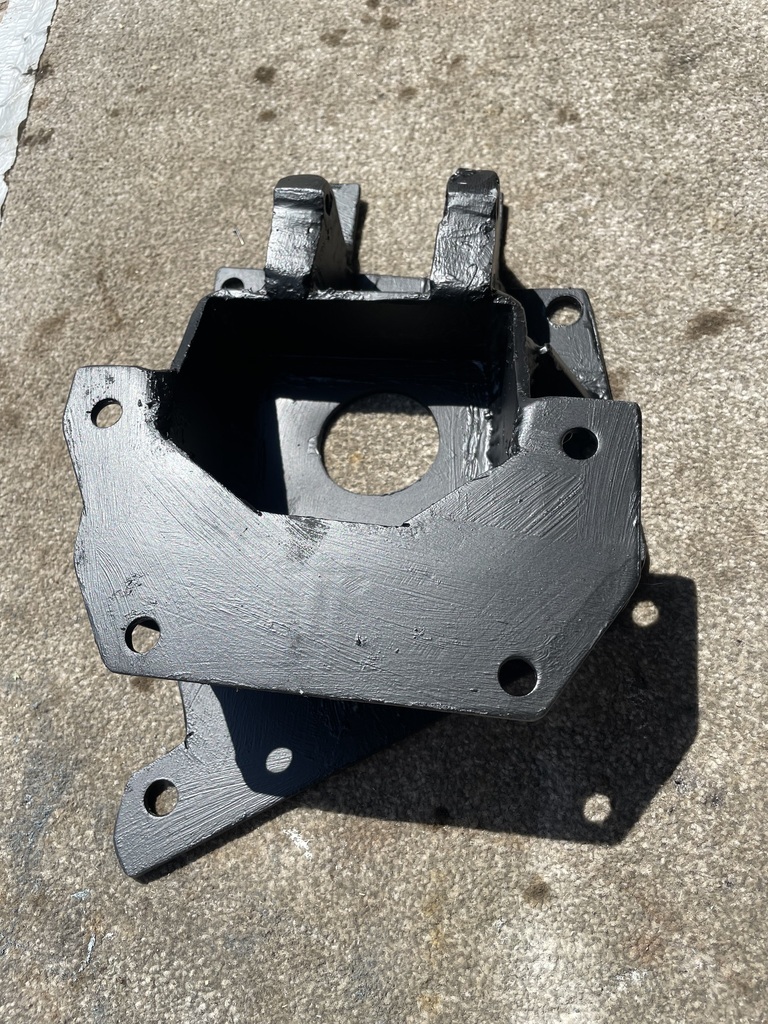
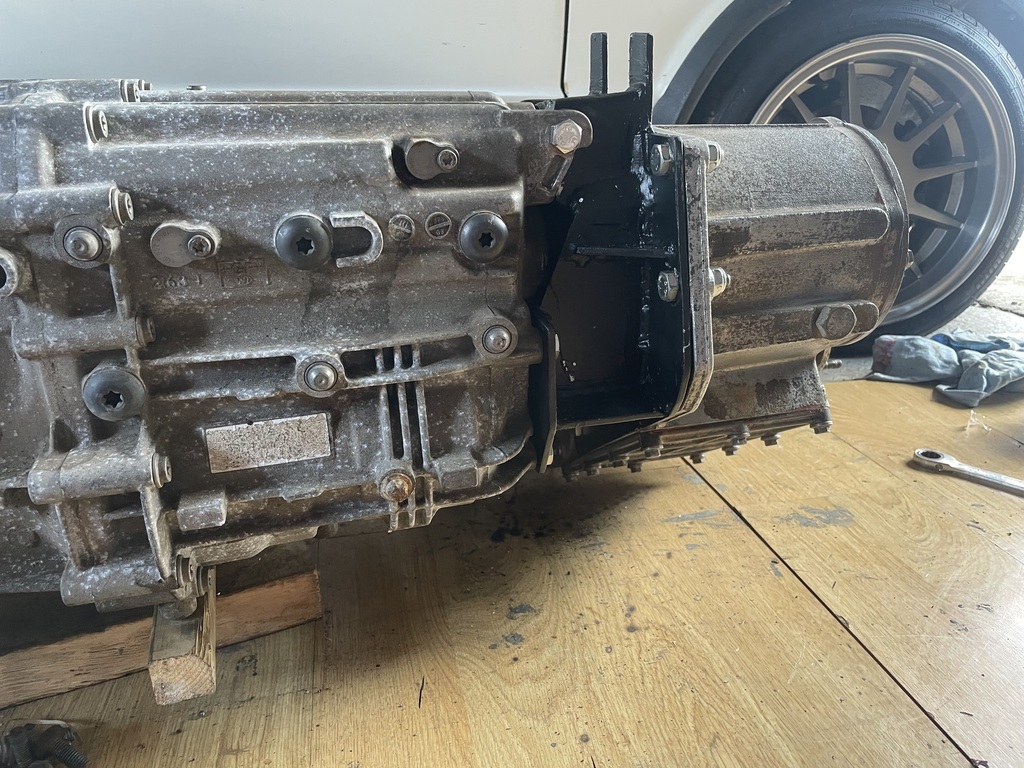
Still plodding along on this. I made the decision to swap to a BMW gearbox (specifically a GS6 53DZ HGA). One was found down in Portsmouth. The seller strapped it to a pallet and sent it up to Essex. The R380 Landy box was sold along with the P38 bell housing. The new gearbox was bolted to the engine and I mocked up the position of the transfer box on the box. 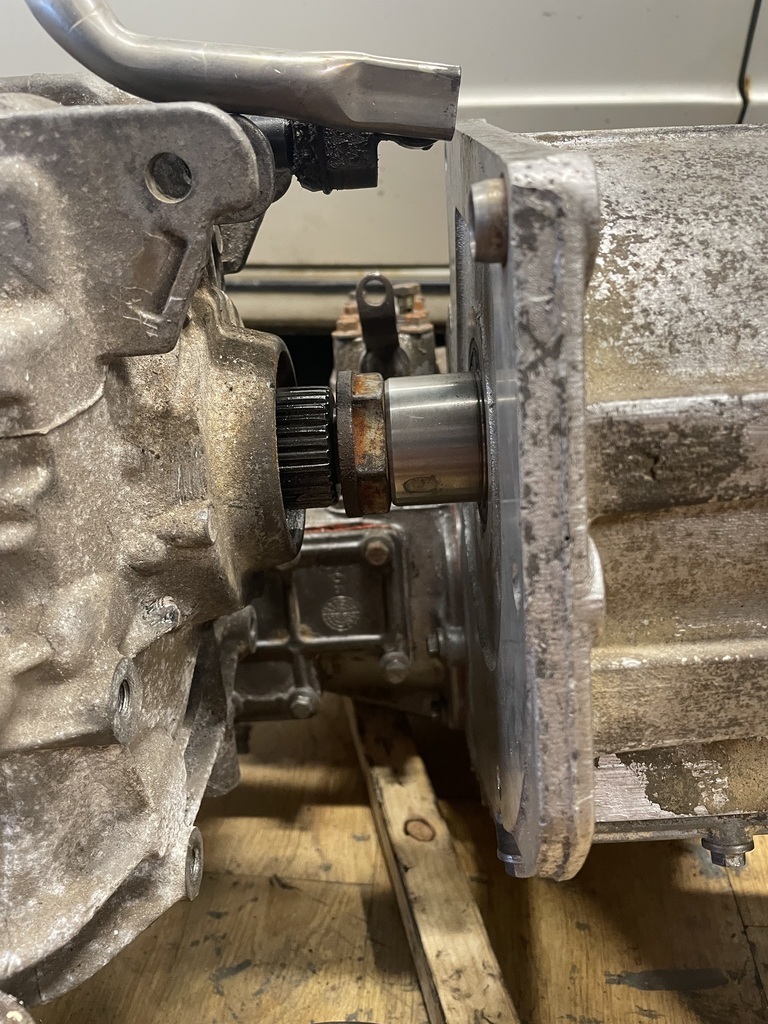 The BMW gearbox is on the left and the transfer box is on the right. I've butted up the input shaft to gauge the spacing. I've now dropped it round to a local Engineering company who are going to join the BMW output flange and the Landy input shaft together. 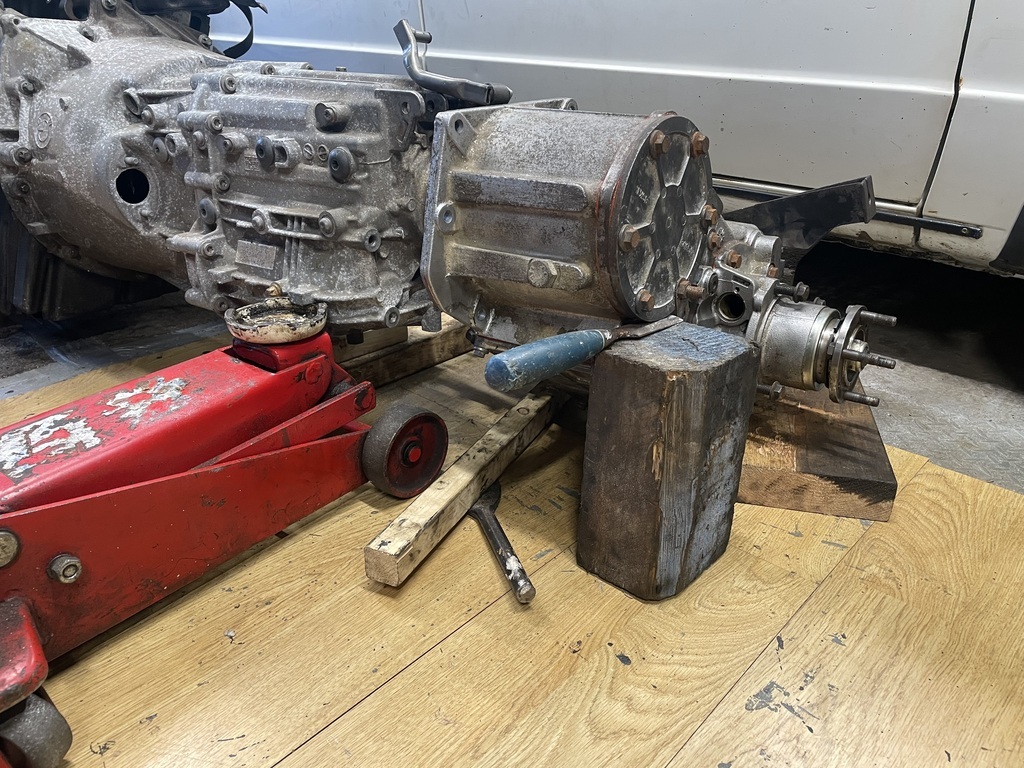 I've got it all balancing precariously in the air as the transfer box needs to be "clocked". It actually sits at around a 45 degree angle compared to the gearbox. I'm hoping to get it mounted back in the car around the standard position so I don't have to mess around with having new driveshafts made. Once the new gearbox shaft is made, I will be able to work out the spacing and make up an adapter from there. While the shaft is away being made, i've been tackling other jobs. Rusty door frames. 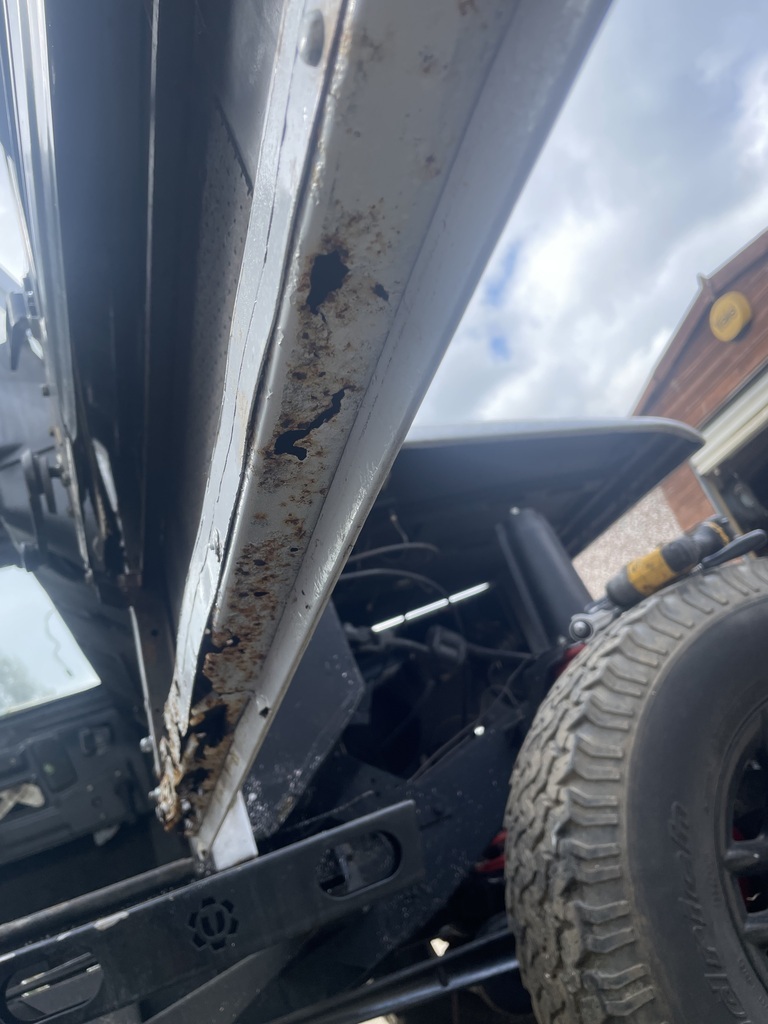 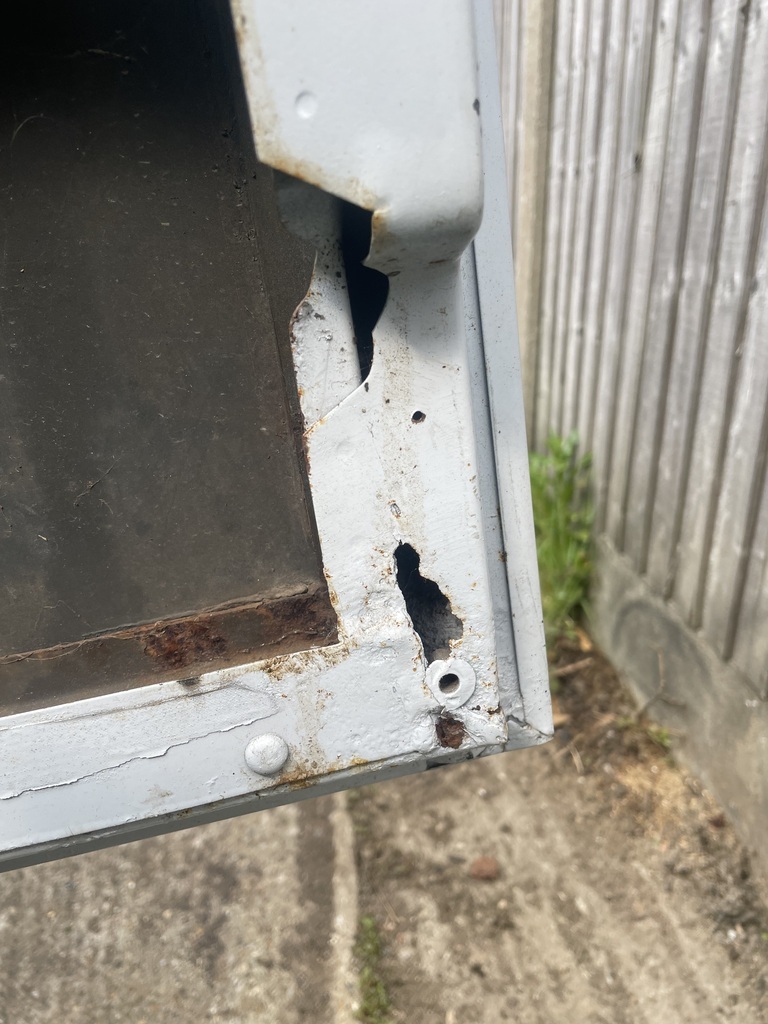 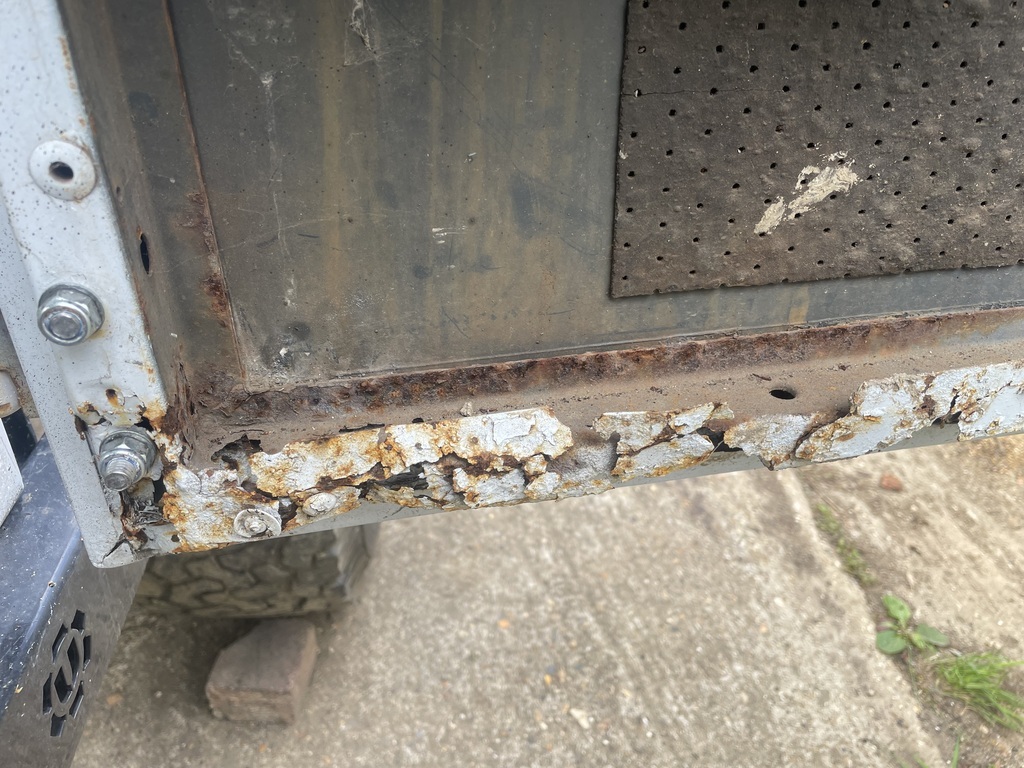 Carefully opened the folded over door skin, cut out the rot and welded in new repair sections before carefully folding the door skin back over the primer and seam sealer to protect it all. 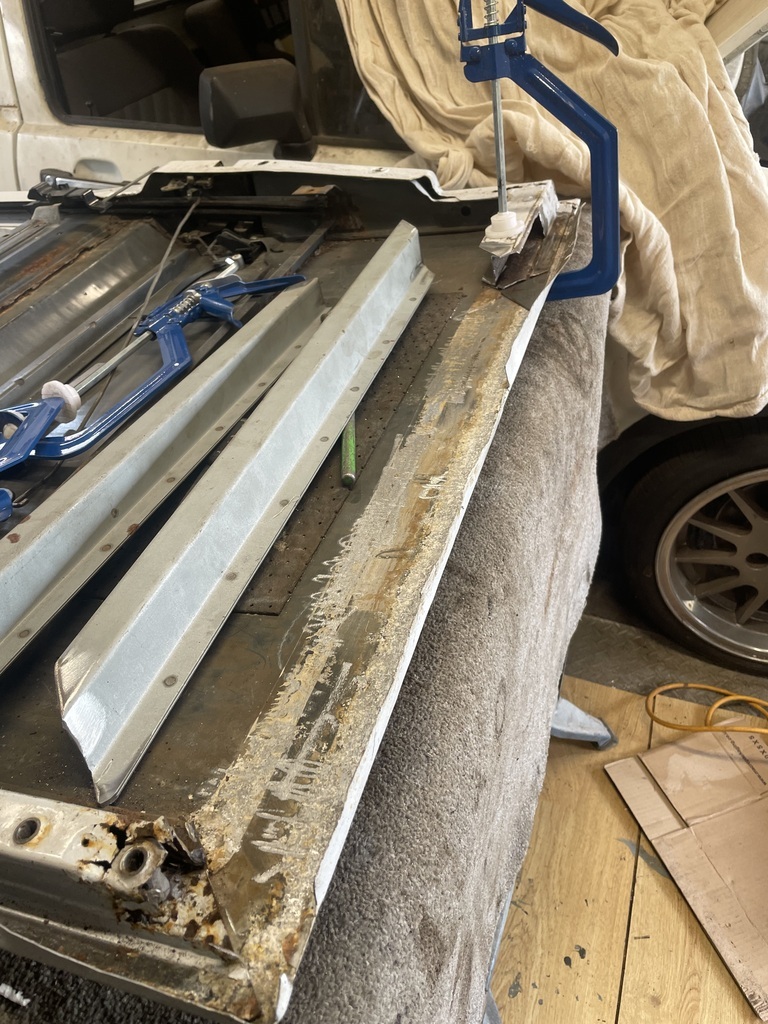 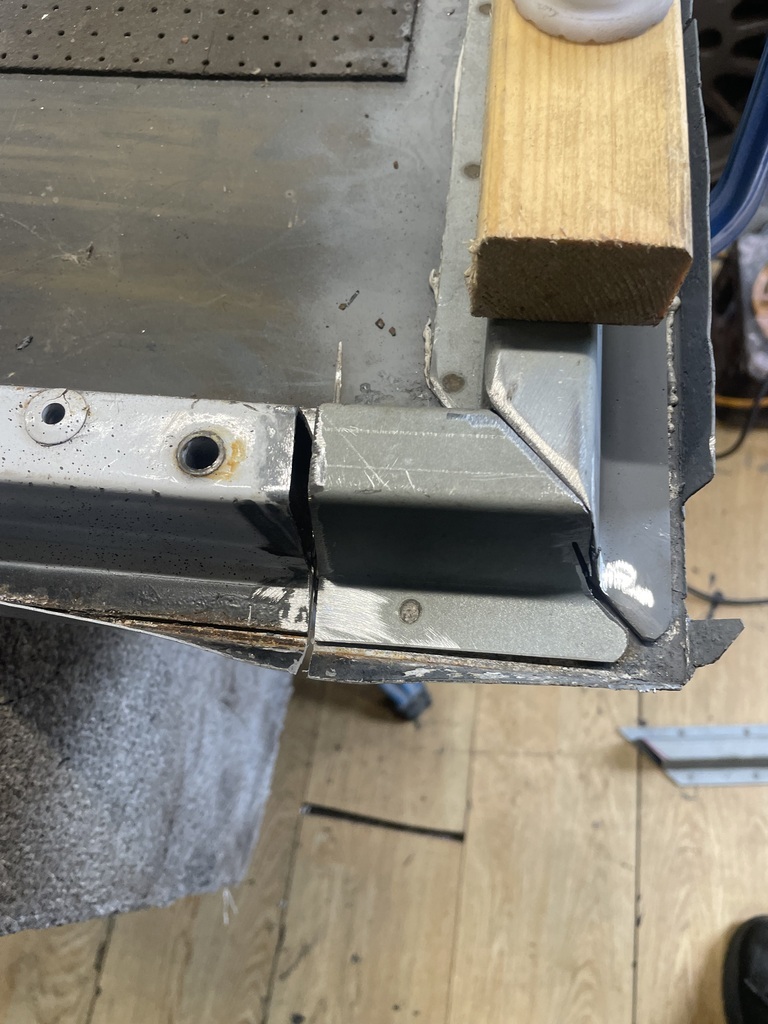 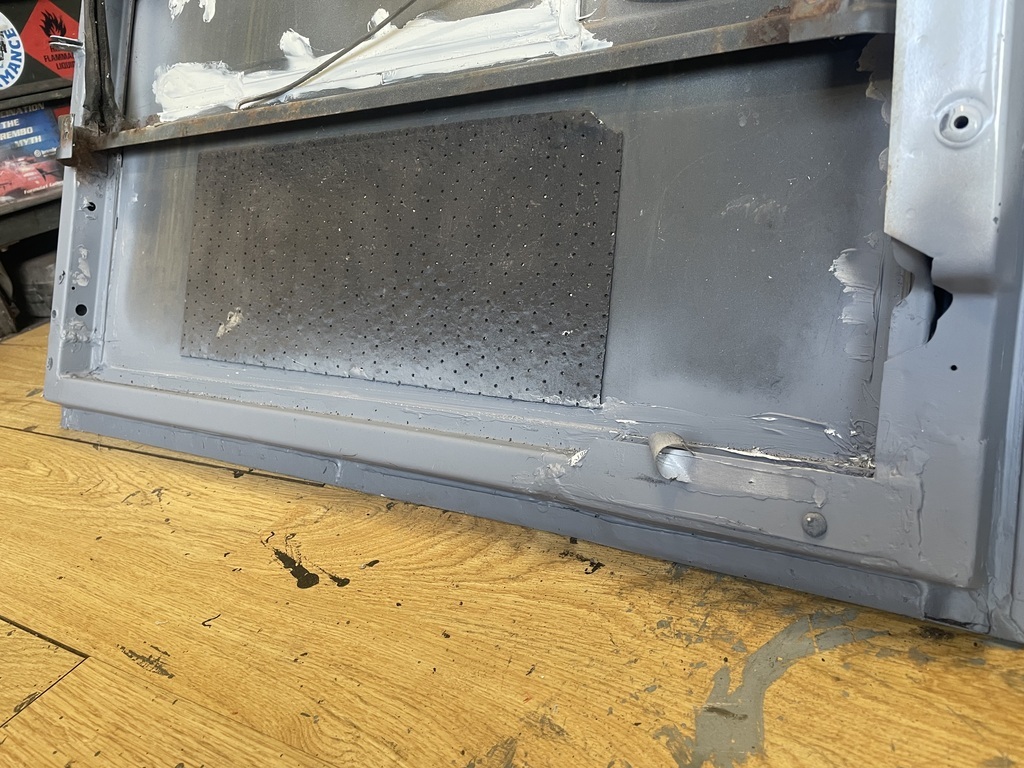 Unbelievably, this is the best door! I spent ages trying to get the panels gaps somewhere near acceptable. Then stepped back and saw this..... 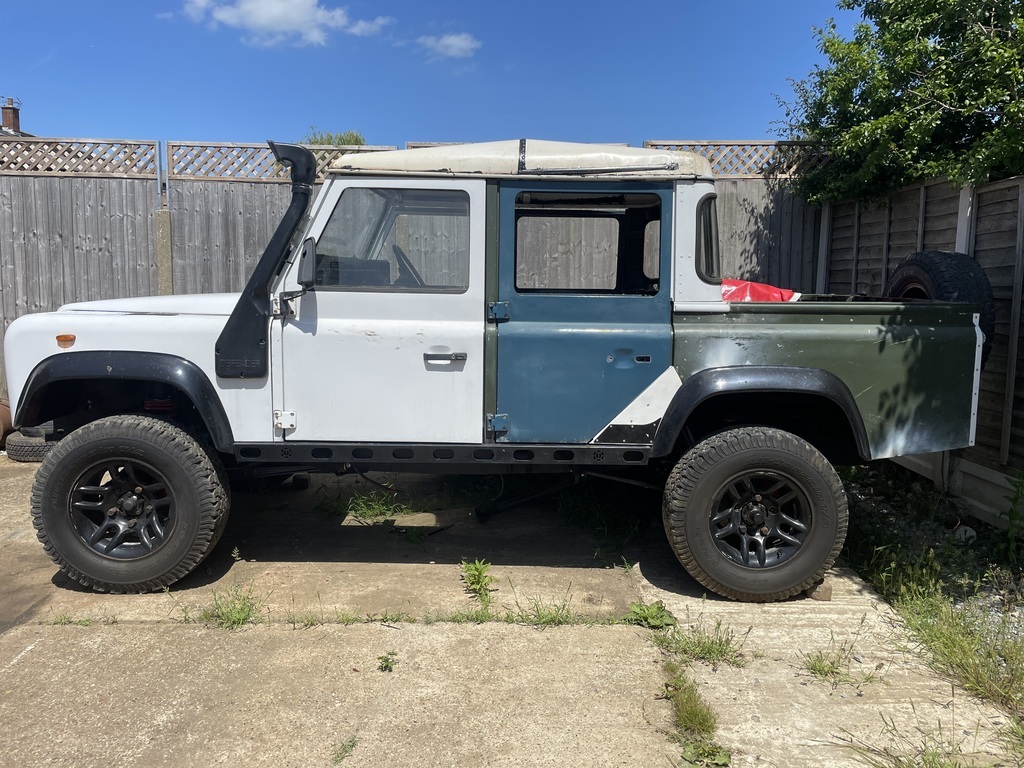 What an ugly duckling0  |
| |
|
|
merryck
Club Retro Rides Member
Posts: 480
Club RR Member Number: 9
|
|
May 30, 2022 12:05:44 GMT
|
|
Nice work! Where did you buy the repair sections from? I've got to do the same job on mine soon and I've seen a fairly wide range of prices advertised. I can only imagine that also leads to a wide range of quality.
|
| |
|
|
|
|
|
|
|
|
|
|
They came as part of a job lot of Landy parts I bought. I have just order some more from Ebay so we will see how good the quality is when they arrive.
|
| |
|
|
|
|
|
May 31, 2022 17:48:37 GMT
|
|
There's not a chance the zf auto box gearbox to transfer box shaft will work is there?
|
| |
|
|
|
|
|
|
|
There's not a chance the zf auto box gearbox to transfer box shaft will work is there? Do you mean from a Landy or a BMW? Many people use the engine and 4WD gearbox from the X5. |
| |
|
|
|
|
|
|
|
Picked up the new shaft from the Engineering company this morning. Very happy with their work. 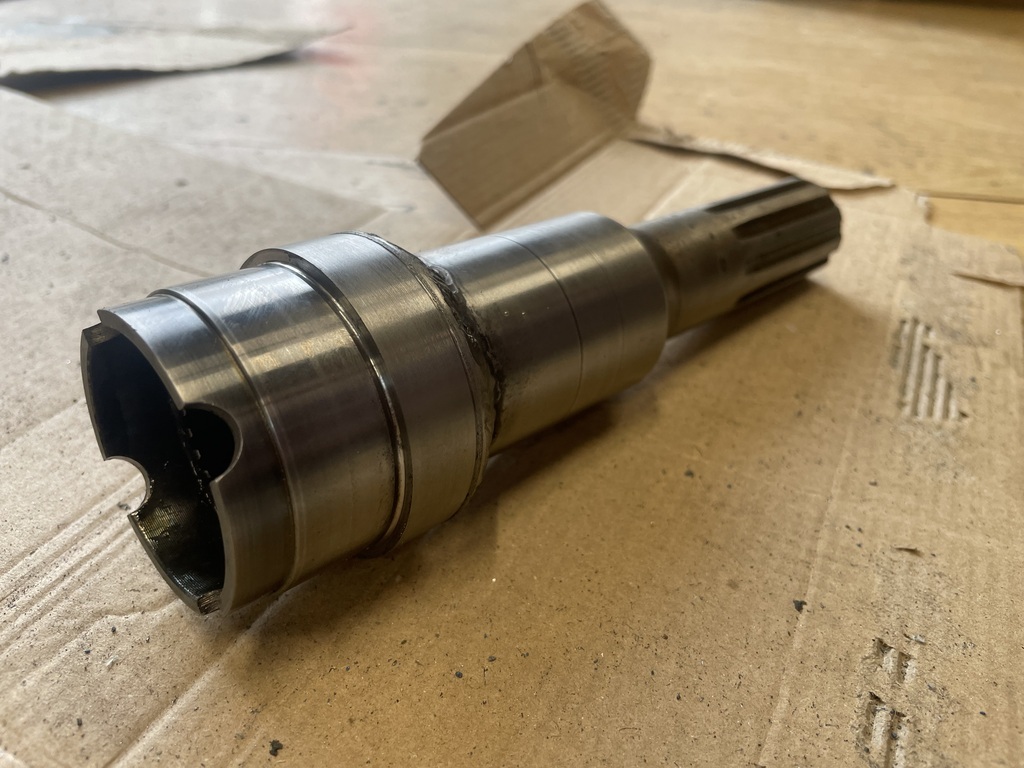 So I set about making a couple of plates from some 5mm sheet. One for the transfer box and the other for the BMW gearbox. 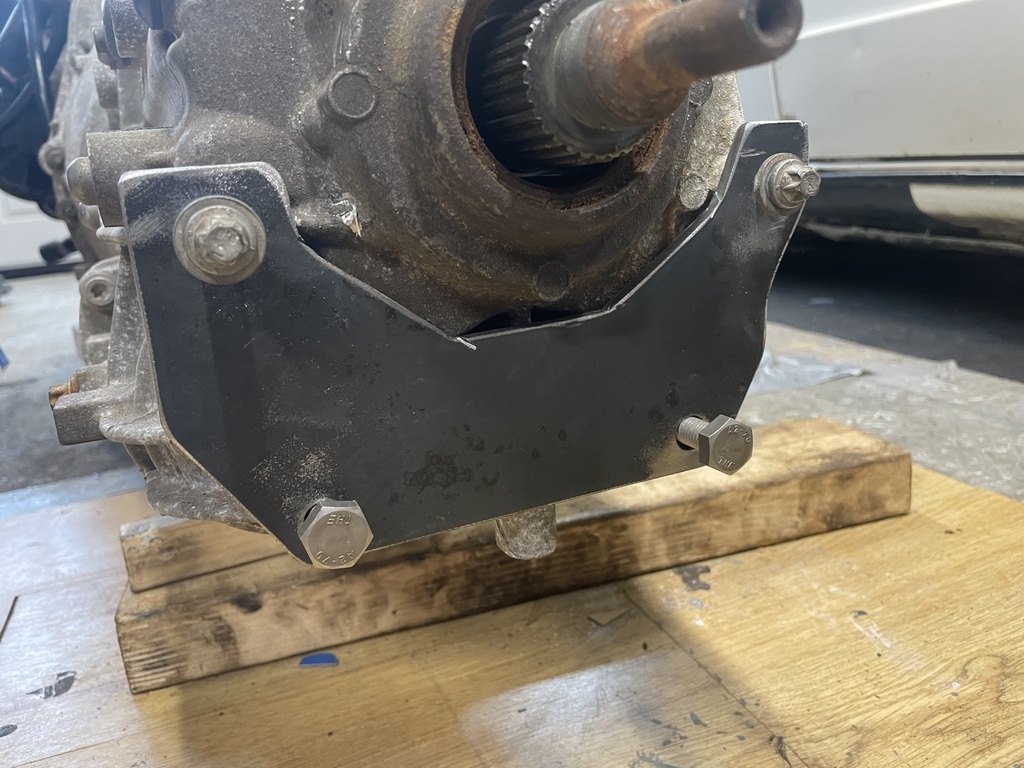 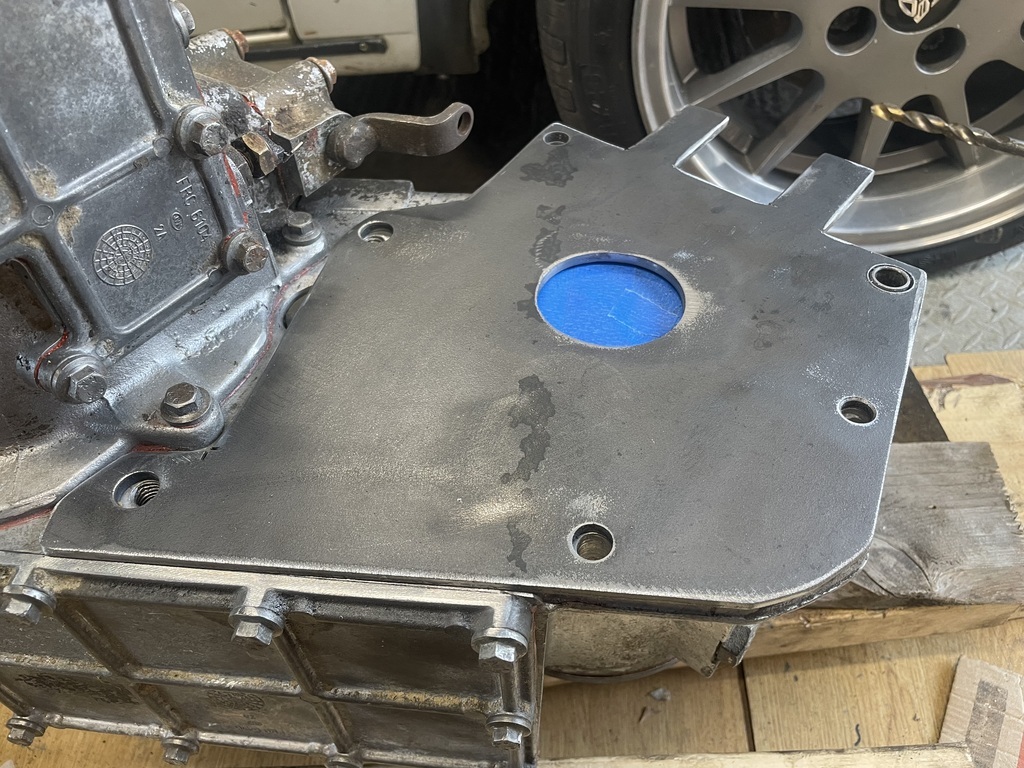 Once I had the shaft fitted and mated the two gearboxes together, that gave me the distance the two plates would be from each other. I measured it at 75mm. So I cut and welded in some plates to join the two faces. Both vertical ones first then capped off each end. Fully welded inside for now as I want to add strengthening ribs in between but I need to position them carefully so I can still access all 9 mounting bolts. I plan on also utilising the ears on the back of the BMW gearbox as extra fixings. 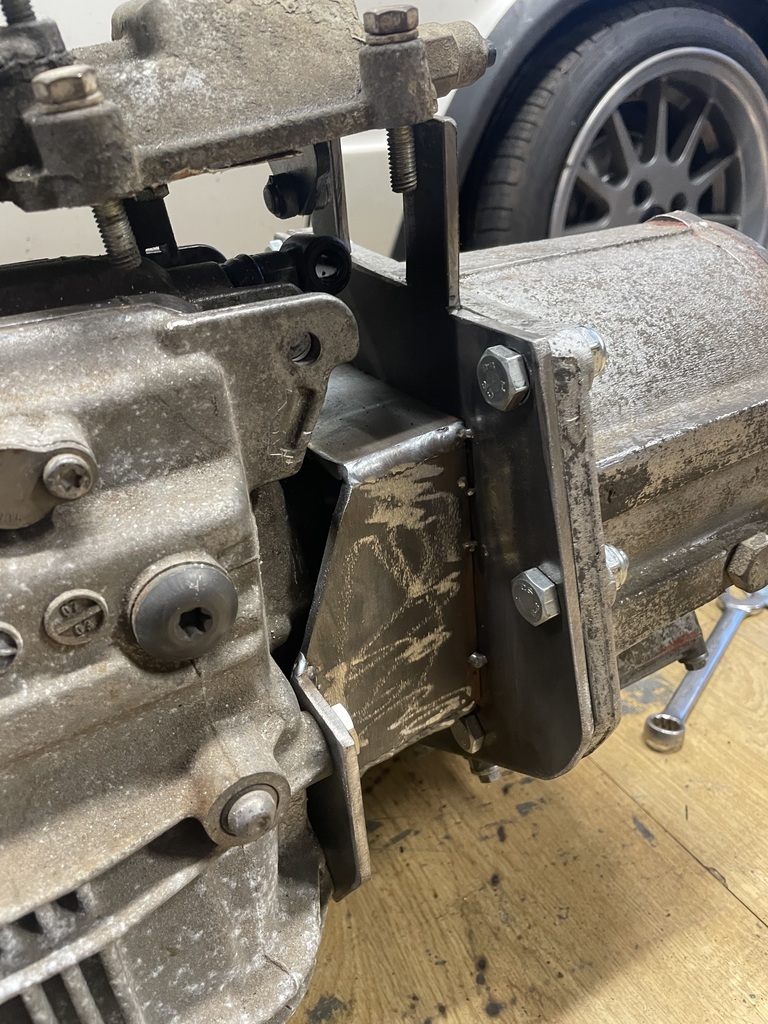 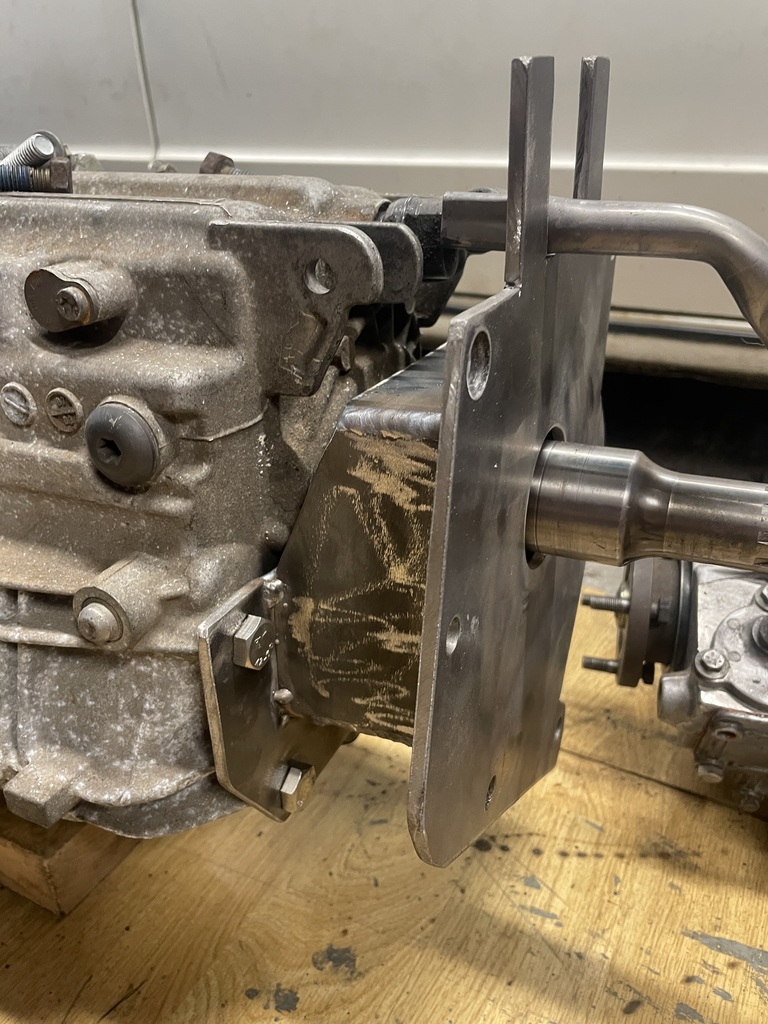 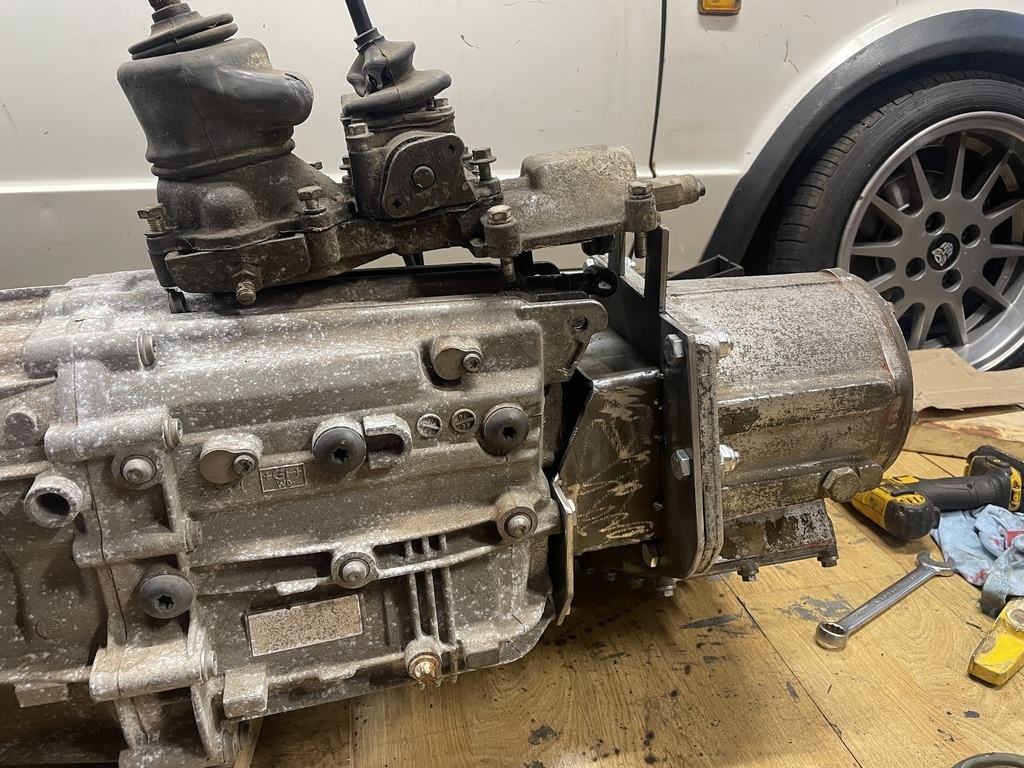 There will need to be a bracket for the gearbox mount on this side too. The other side has the mounting holes in the transfer box so I should be able to use the standard Landy mounts.I plonked the selector on top roughly in the right position, that's an issue for future Forkliftfred. |
| |
|
|
|
|
|
|
|
I wss thinking of one of these. 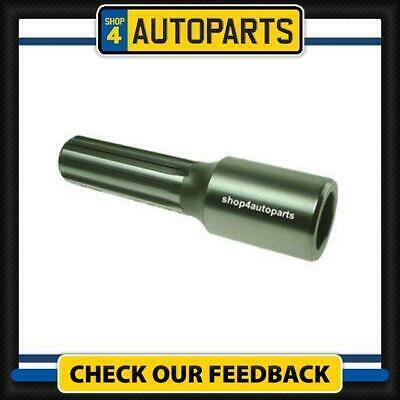 But looking at your recent pics the gearbox output shaft spline is larger. |
| |
|
|
|
|
|
Jun 24, 2022 15:22:23 GMT
|
I've decided I'd like a camper van in my life (probably reasonably modern) so the Caddy is for sale to make way for it. See for sale ad here. The Defender is not going anywhere!! |
| |
|
|
|
|
|
|
|
Aug 23, 2022 23:06:14 GMT
|
A while ago, I was gifted some Nissan 350Z front seats. They have some elaborate mounting brackets welded and pinned to the runners. These were dutifully cut off. 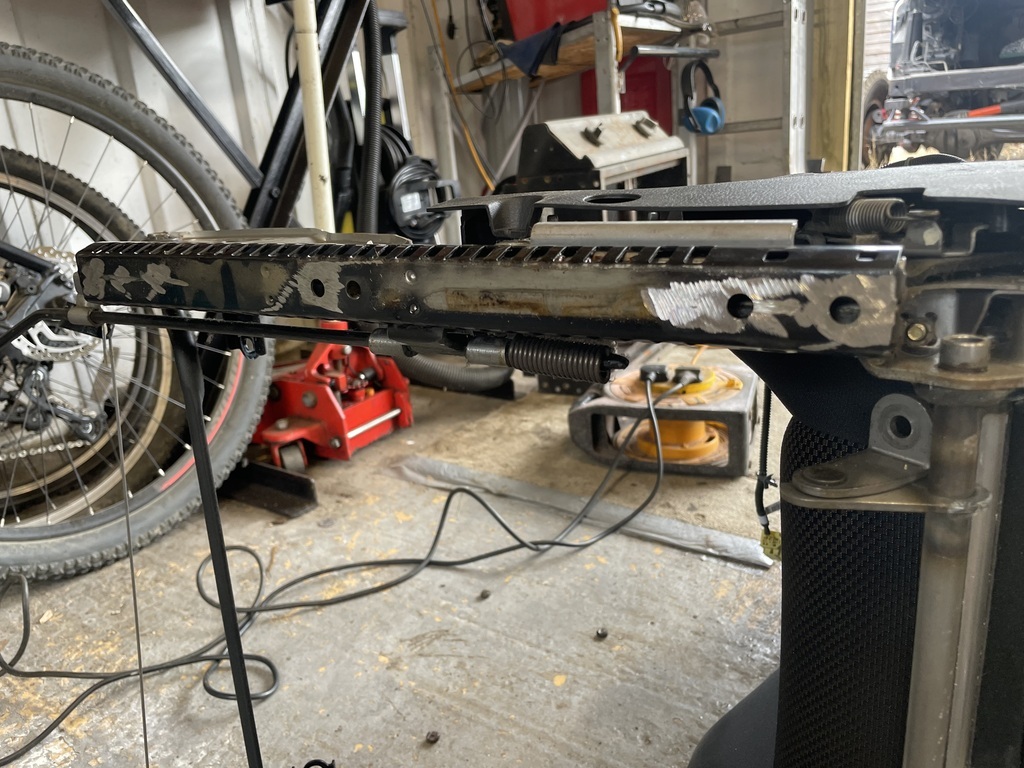 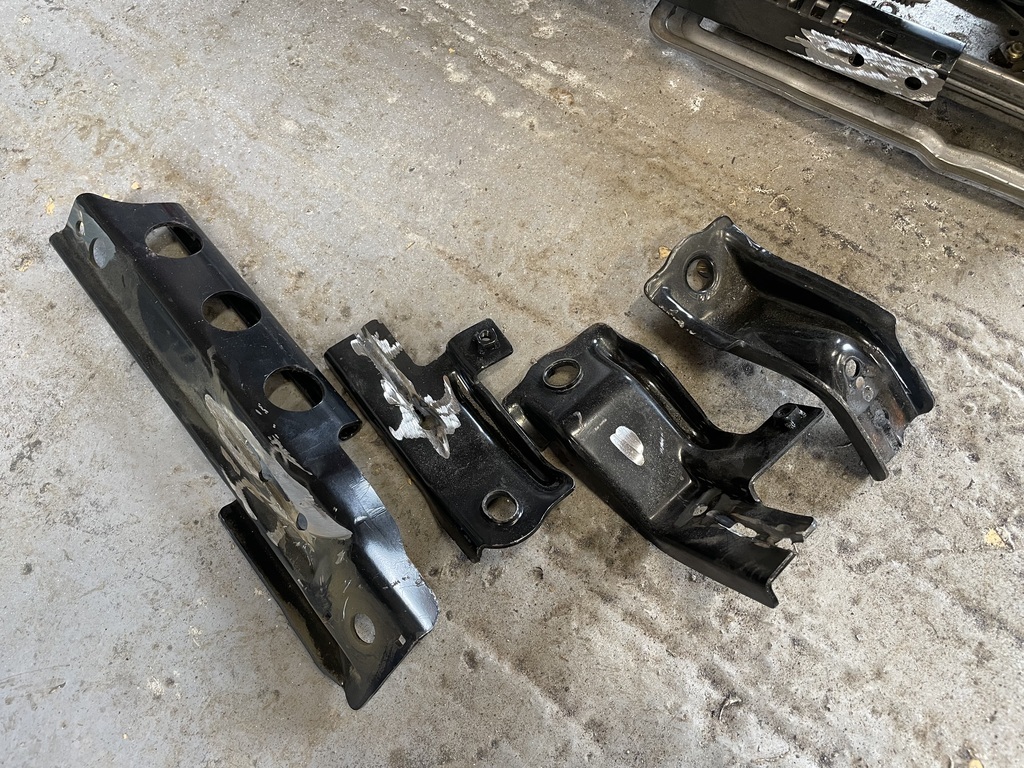 I made up a couple of spacers to lift the seats off the seat box a little to allow clearance for the adjustment mechanism and drilled some new holes to accept the Nissan seat bolt pattern. Then bolted both of them in position and sat the centre console in between. 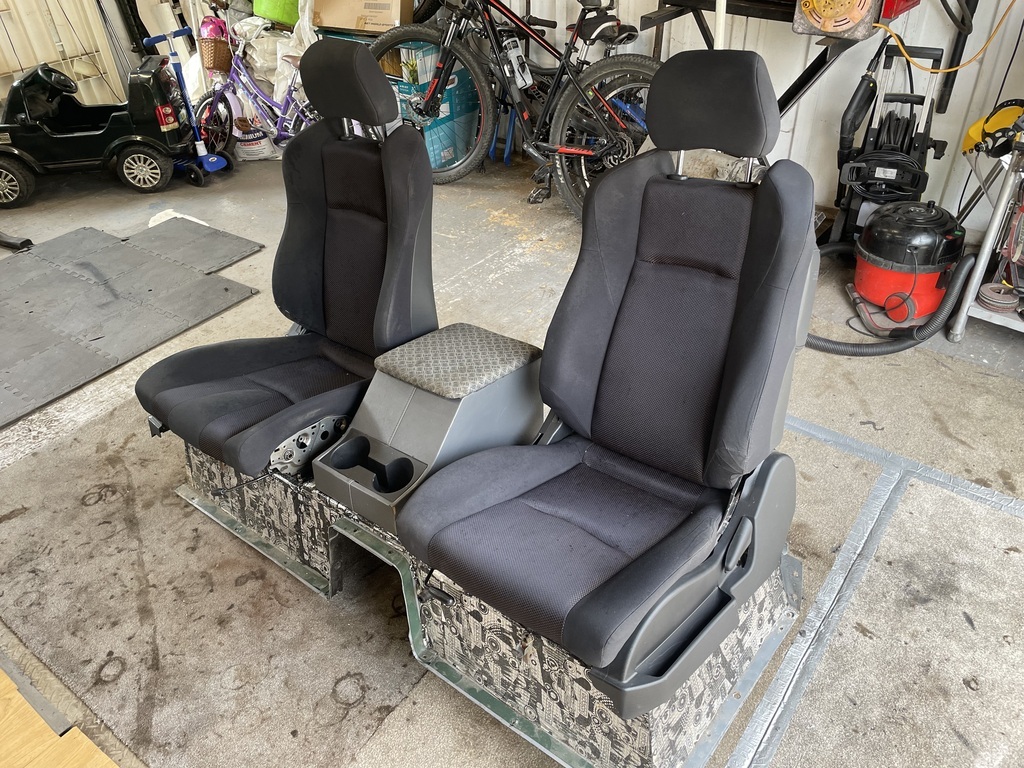 They are a massive improvement over the original Landy ones, look smart, very comfy and plenty of adjustment. Of course, I had to throw it all in the car and try it out. 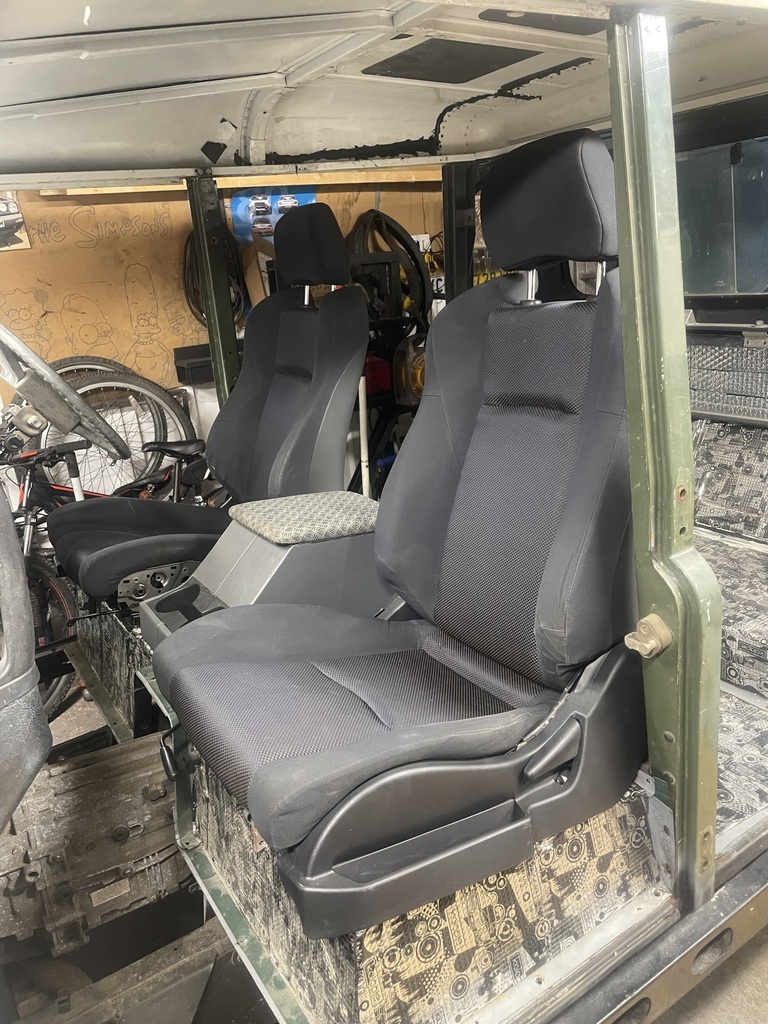 Now the Caddy has sold, there's a Caddy sized hole in the garage so I filled it with the Landy. I stripped off the doors, roof, windscreen and rear panel just so it would squeeze under the door. It's tight but it's in. Should make winter working a whole lot nicer now. 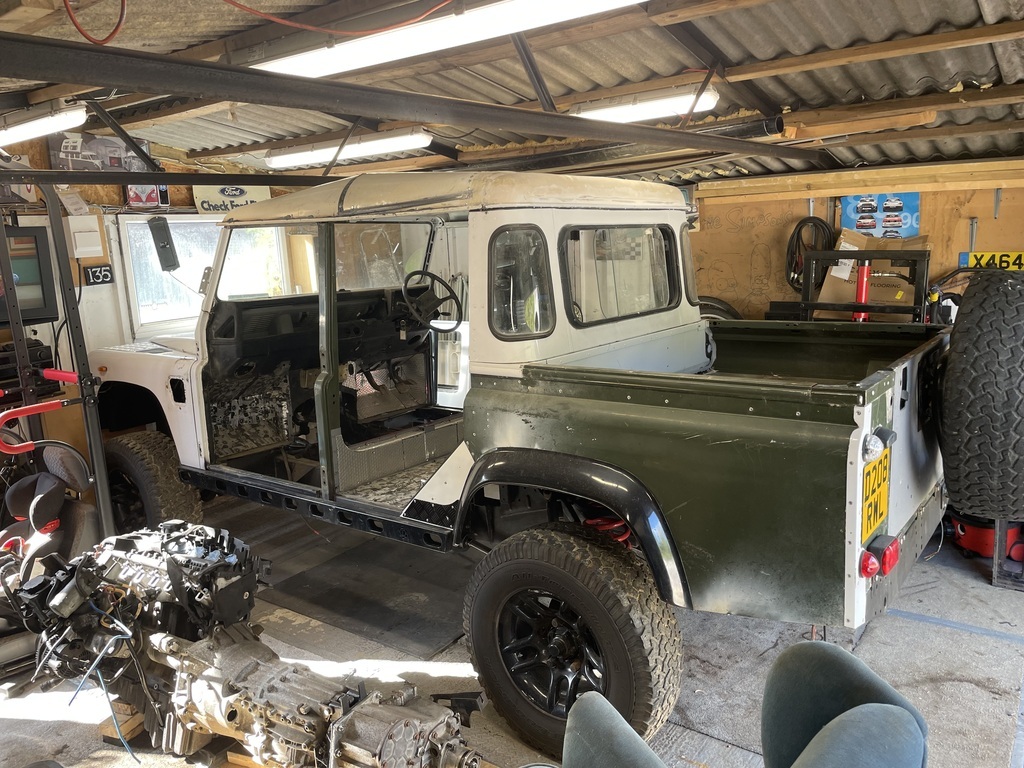 I enlisted the help of my neighbour to slot the gearbox/transfer box and adapter assembly into the transmission tunnel. I temporarily propped up the front on some wood and as planned the drivers side mount dropped back in it's original position. I need to make up a passenger side mount after the engine is in place so I can centre it all in the chassis and get it level. 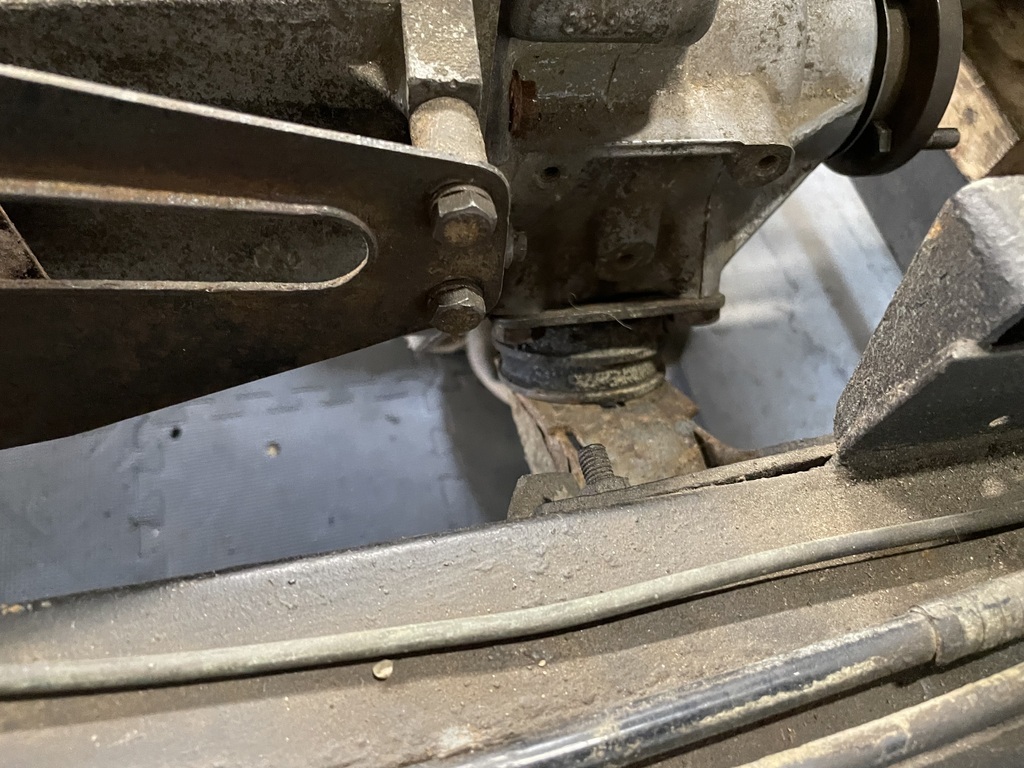 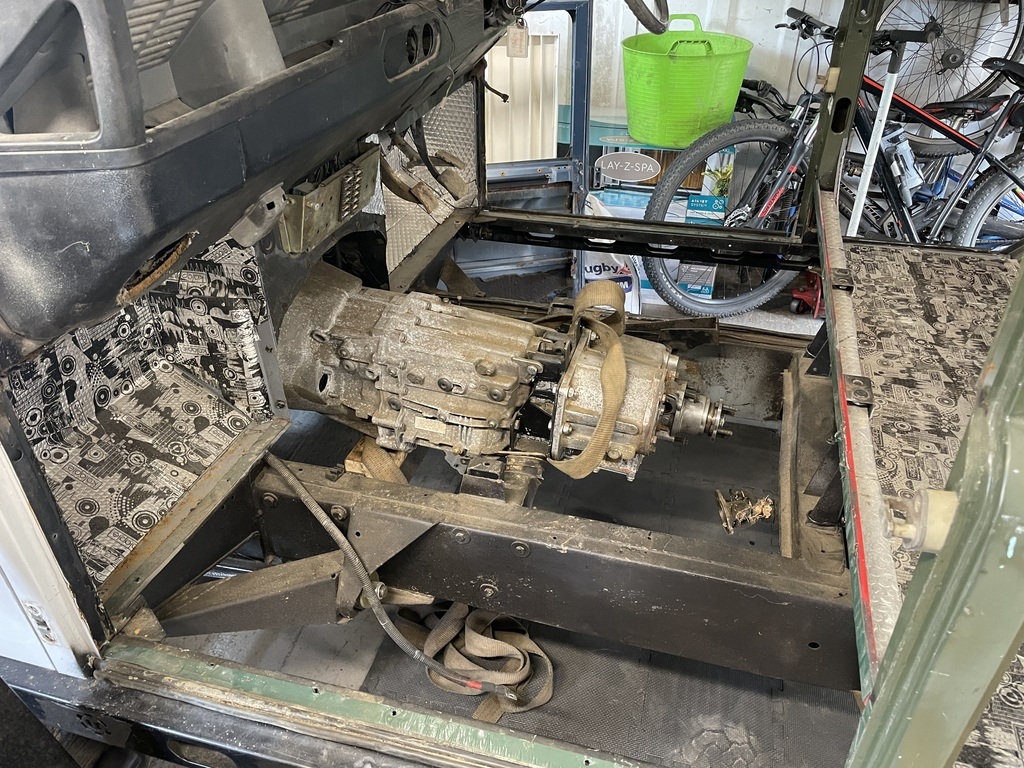 Land Rover show time again soon in Peterborough. They have a great auto jumble so i've started preparing a shopping list of parts to look out for. |
| |
|
|
|
|
|
Sept 15, 2022 15:13:23 GMT
|
|
Haven't read your thread for a while, some super updates - those seats look a marked improvement. Good to have her indoors too, as you say.
How much of your shopping list did you manage to get?
|
| |
|
|
|
|
|
Sept 16, 2022 18:32:06 GMT
|
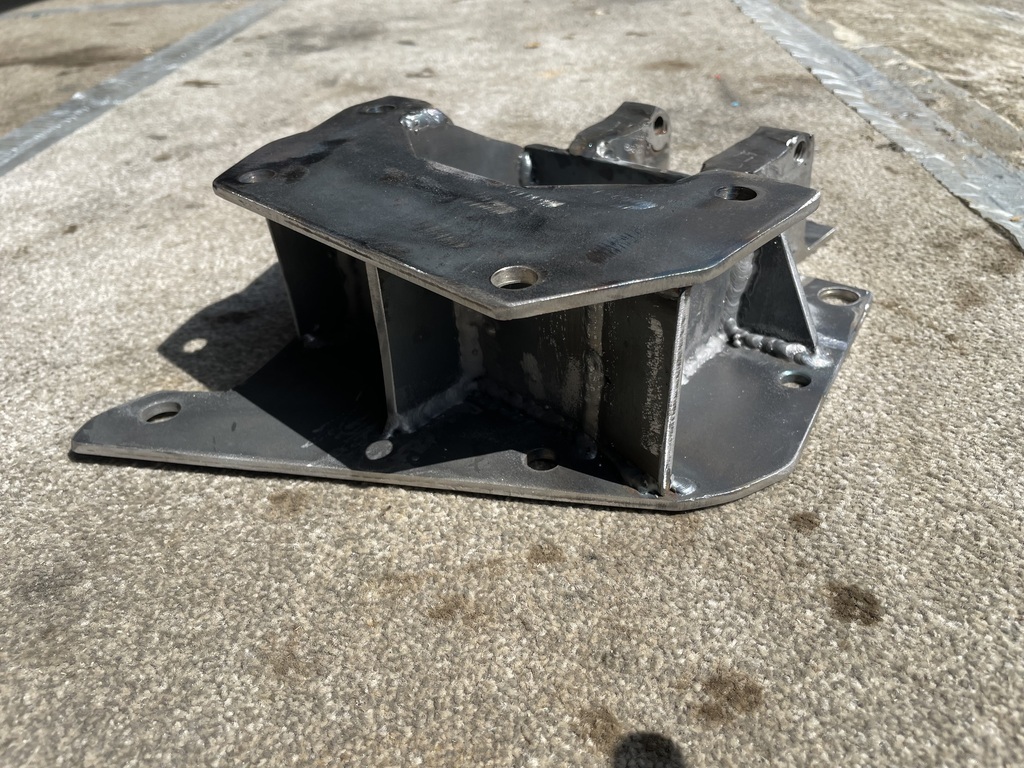
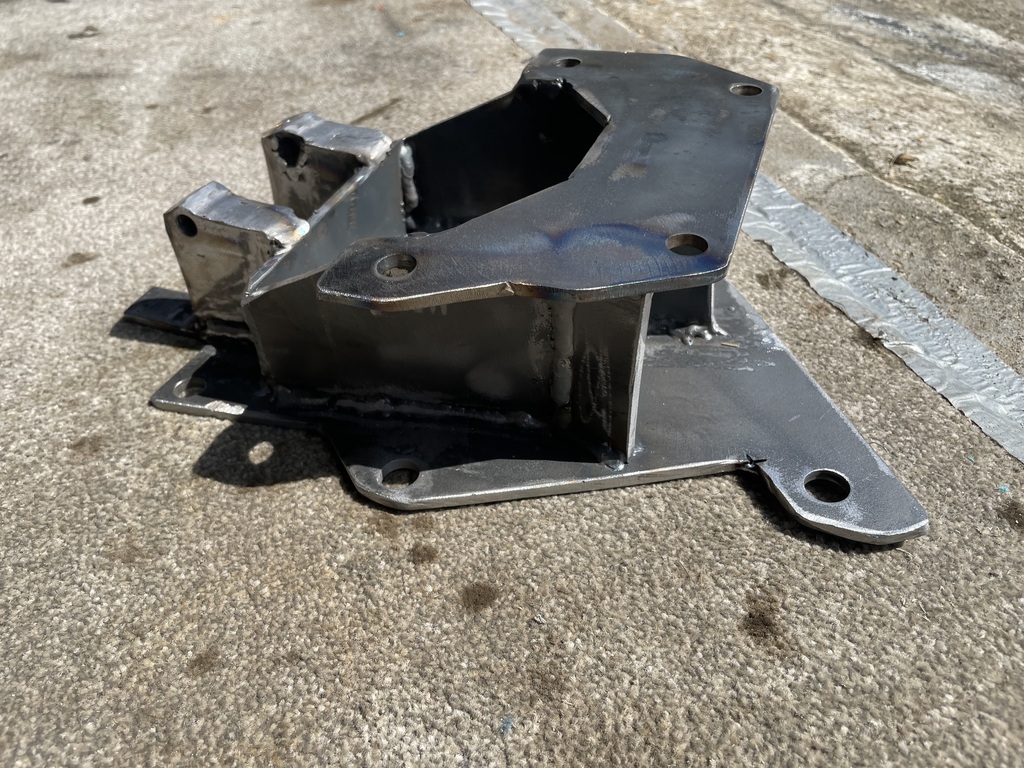
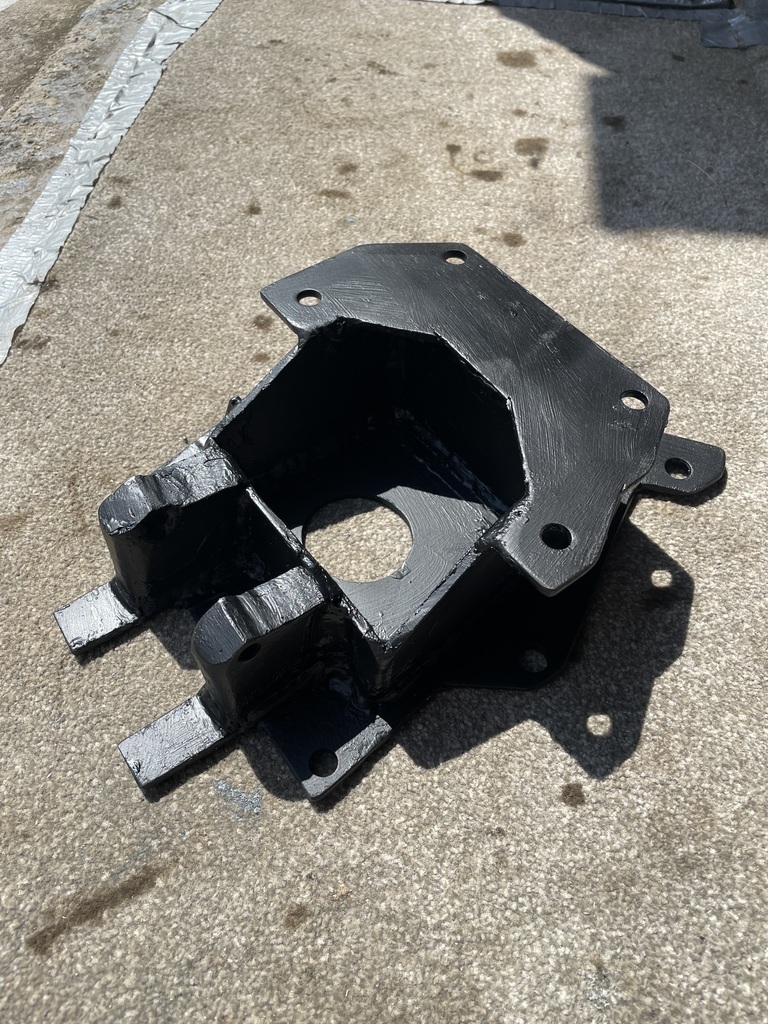
I picked up some rear some original Land Rover middle row seats minus their brackets and some inner panels to cover the wiring for the rear lights. I was on the look out for an NAS rear bumper. The few rusty ones I found were £240 so I declined. The inner rear light panels didn't fit. They were a little too tall. 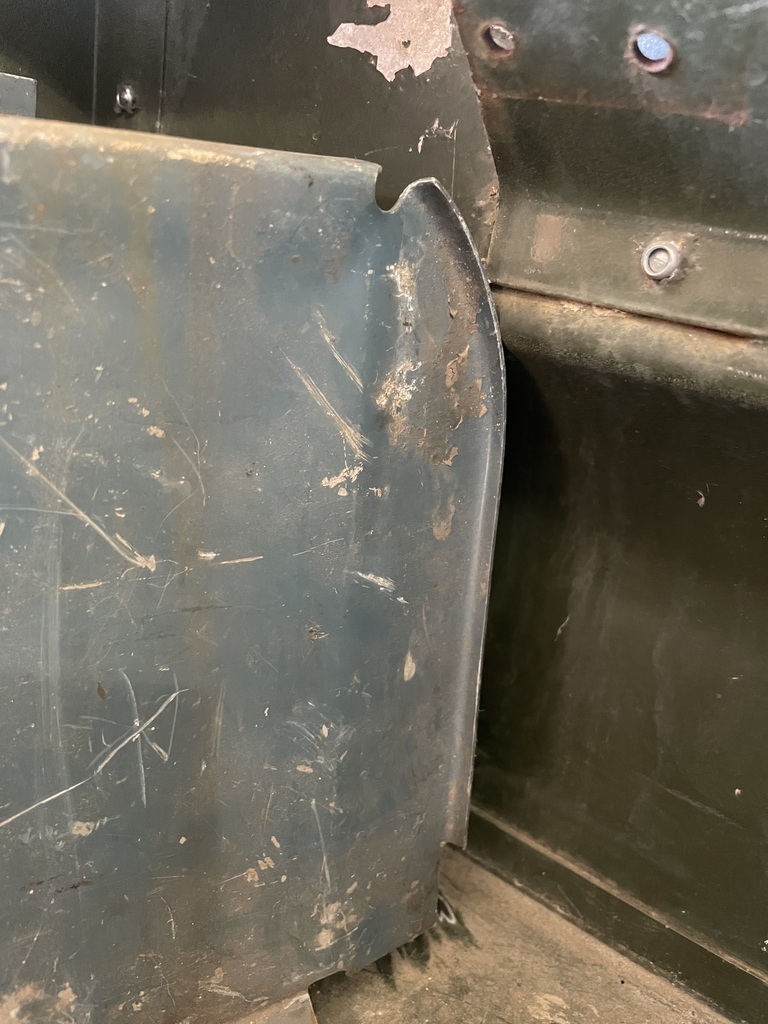 I'm not sure if my rear tub is different or if i've picked up Series panels? I flattened them out, measured up and re bent the lip so now they fit like this. 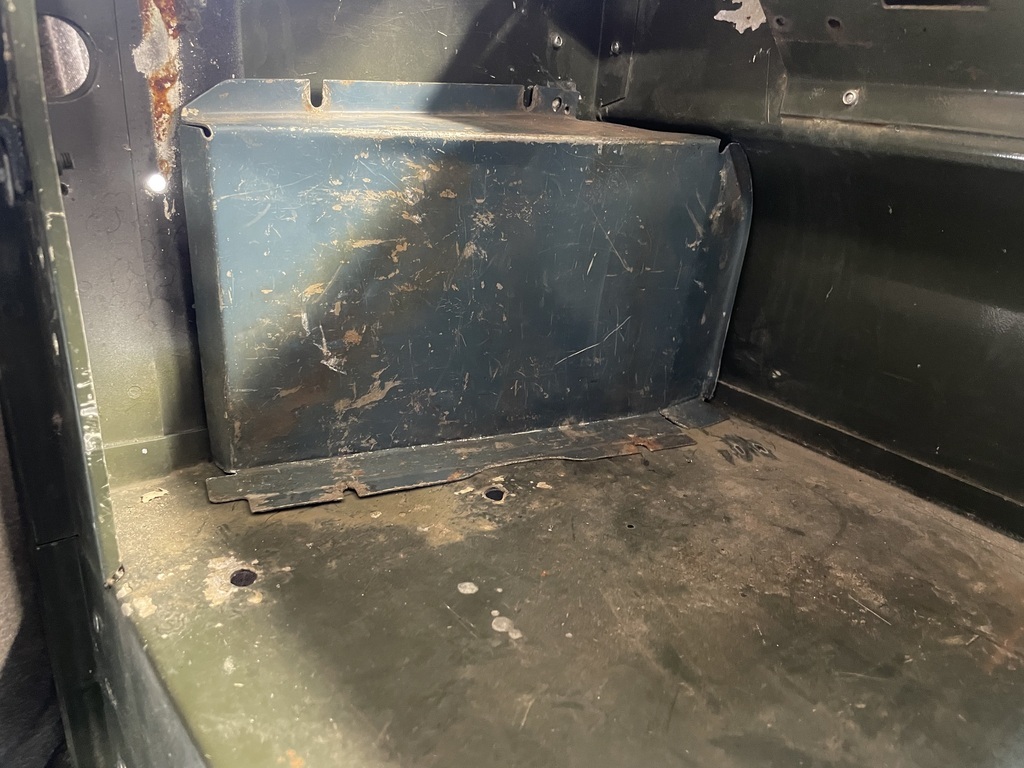 Left them loose for now until I finish the wiring. I finished making up the gearbox mount on the adapter I made so I stripped off the chassis brackets and took the opportunity to clean up the inner chassis, zinc coat and underseal them too. 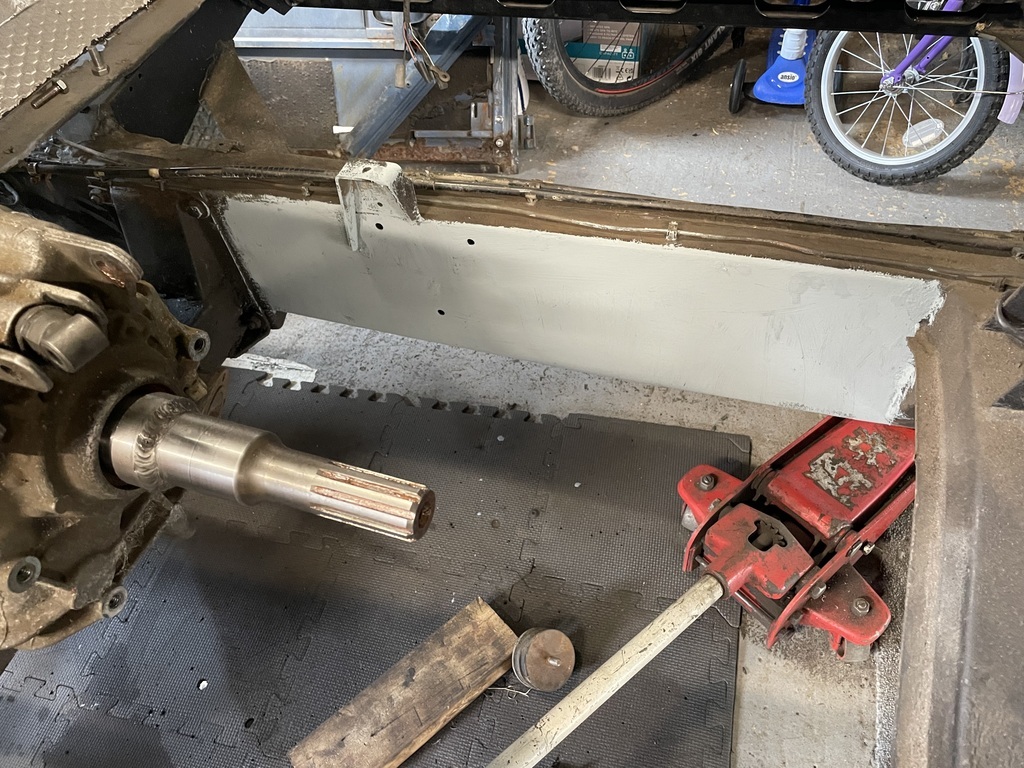 The engine, gearbox and transfer box are now all sitting on their own mount and not balancing on blocks of wood. 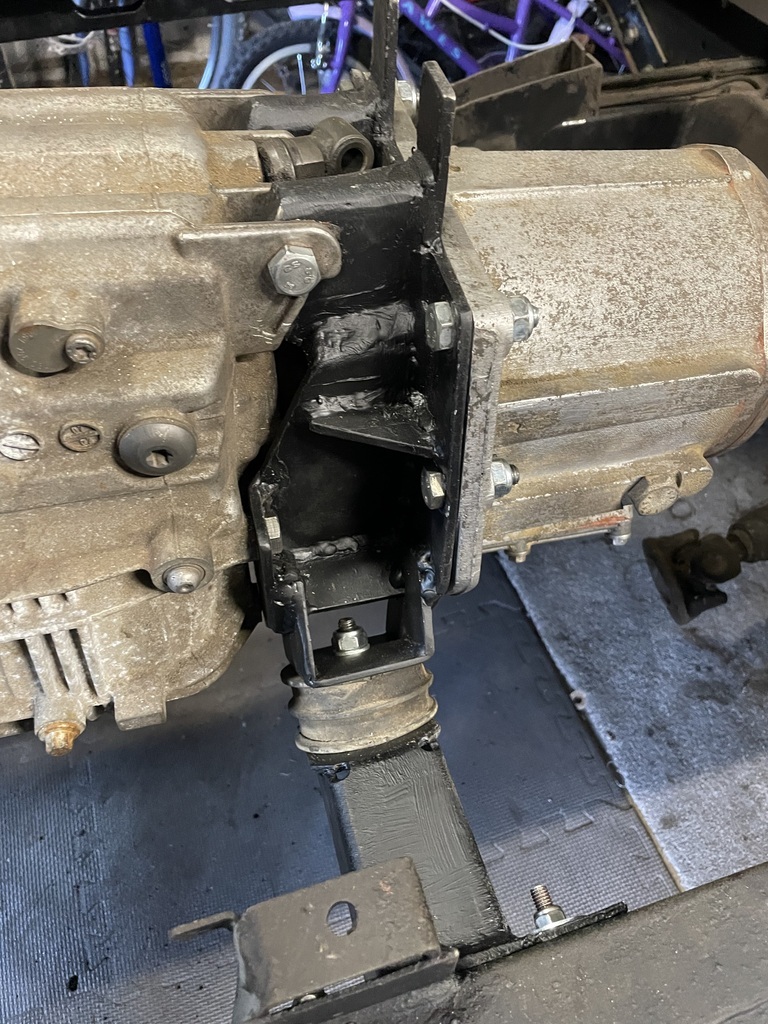 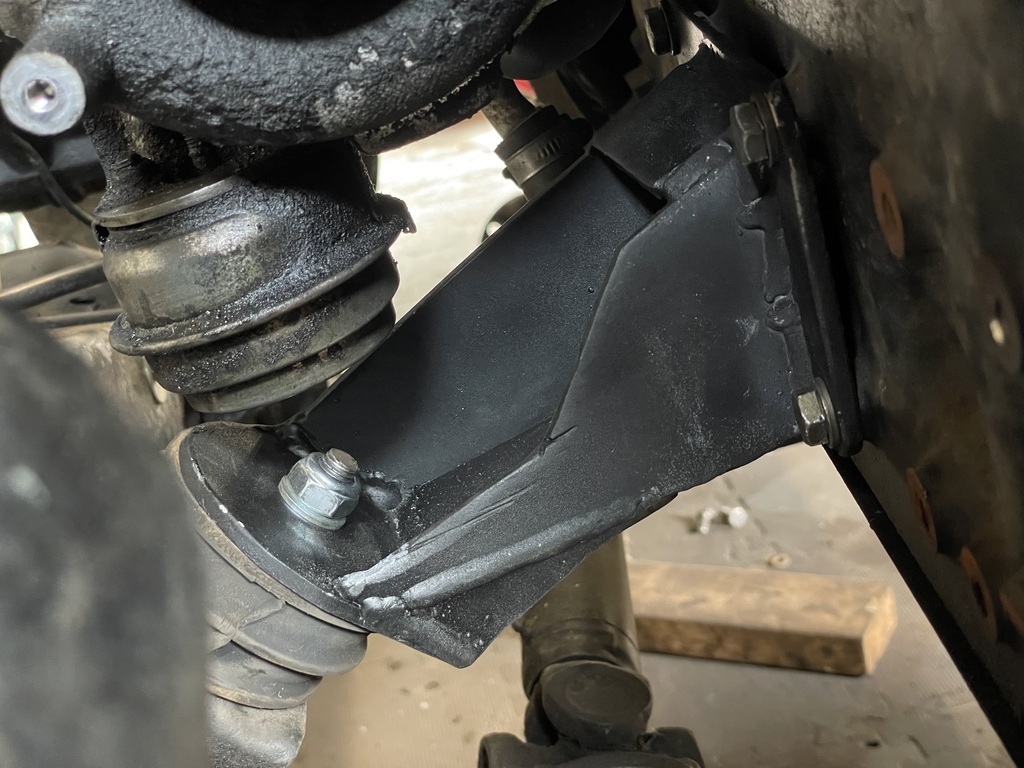 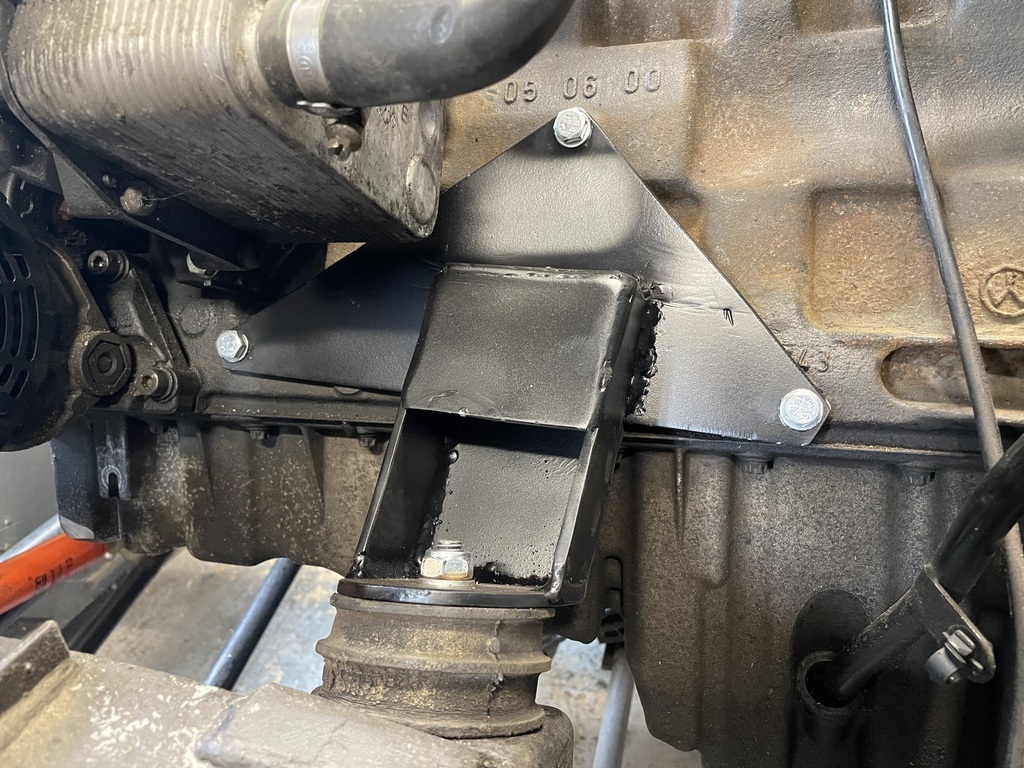 Feels great to finally have it all mounted and not balancing precariously. Some of my favourite pics from the LRO weekend. 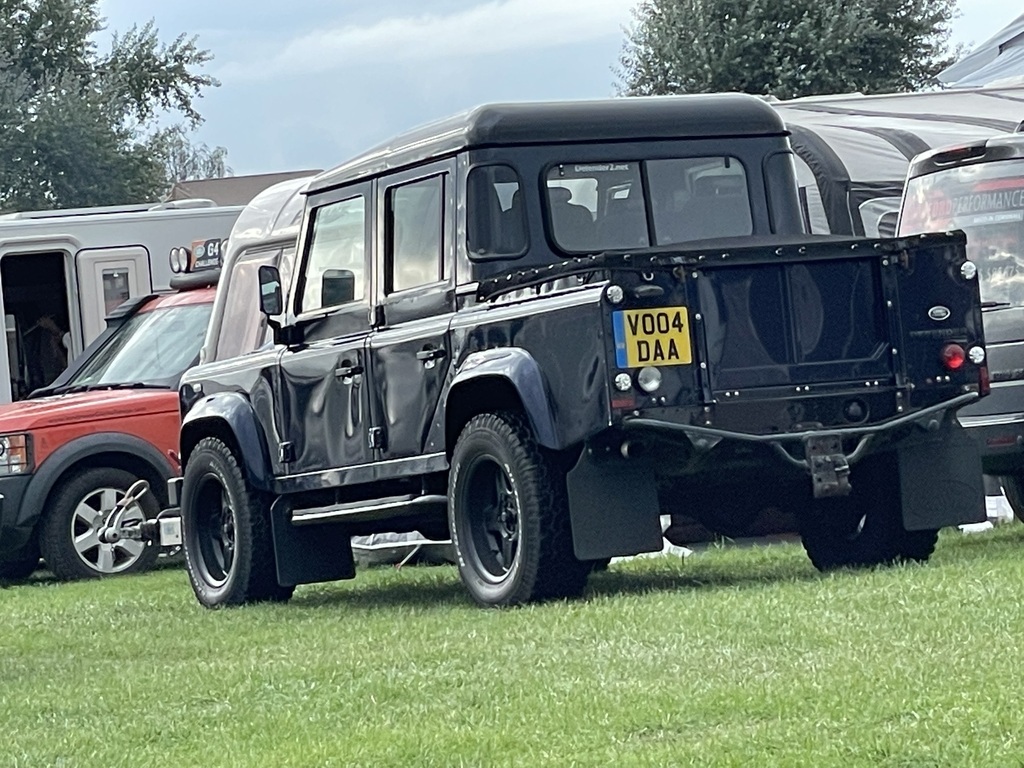 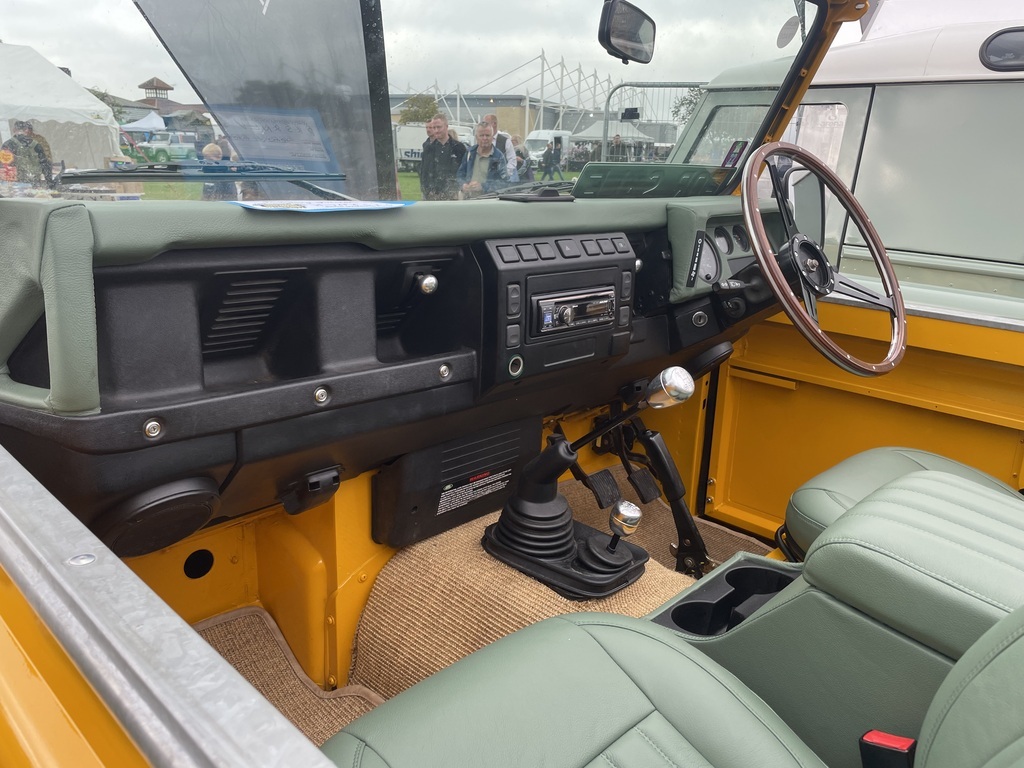 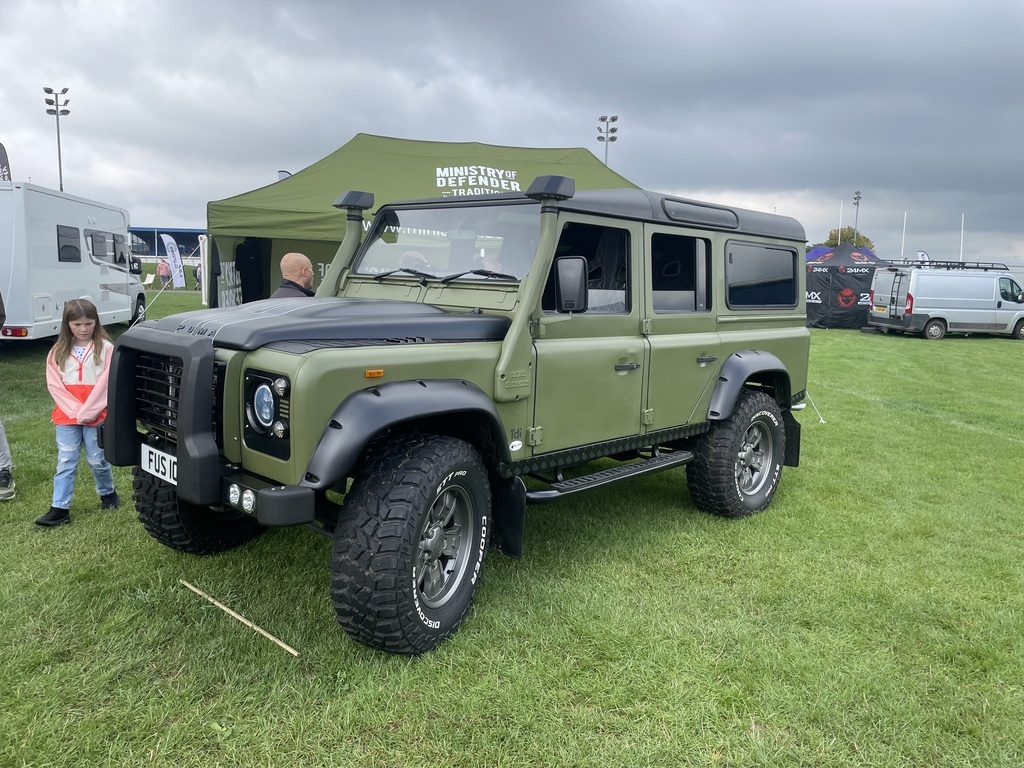 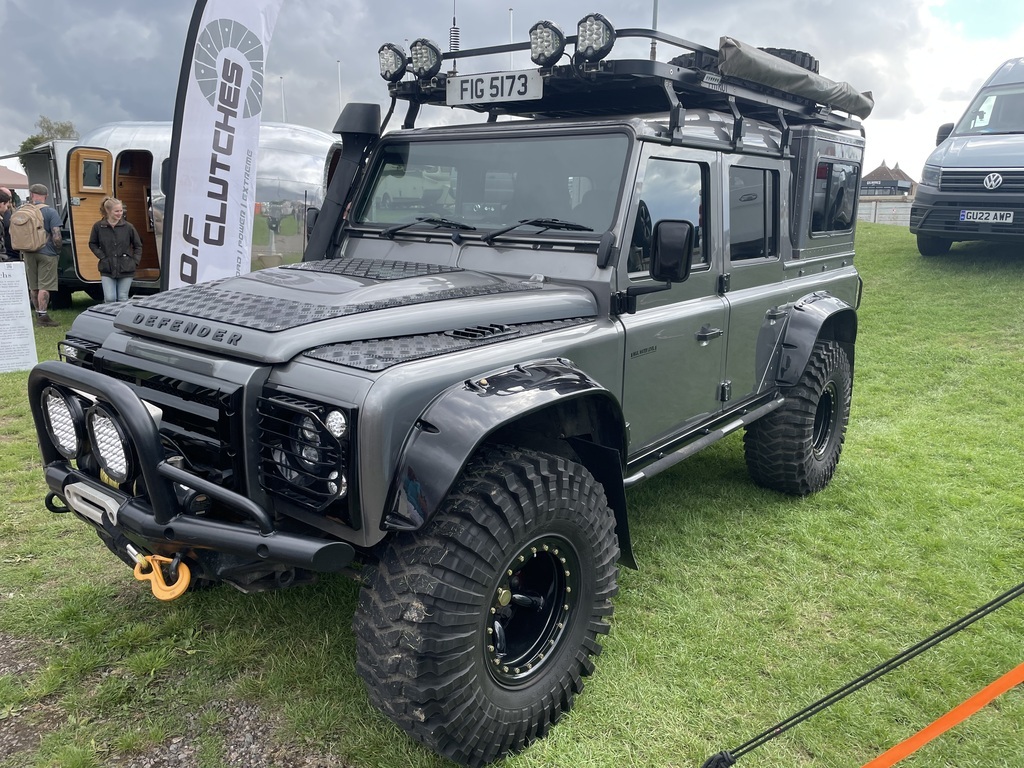 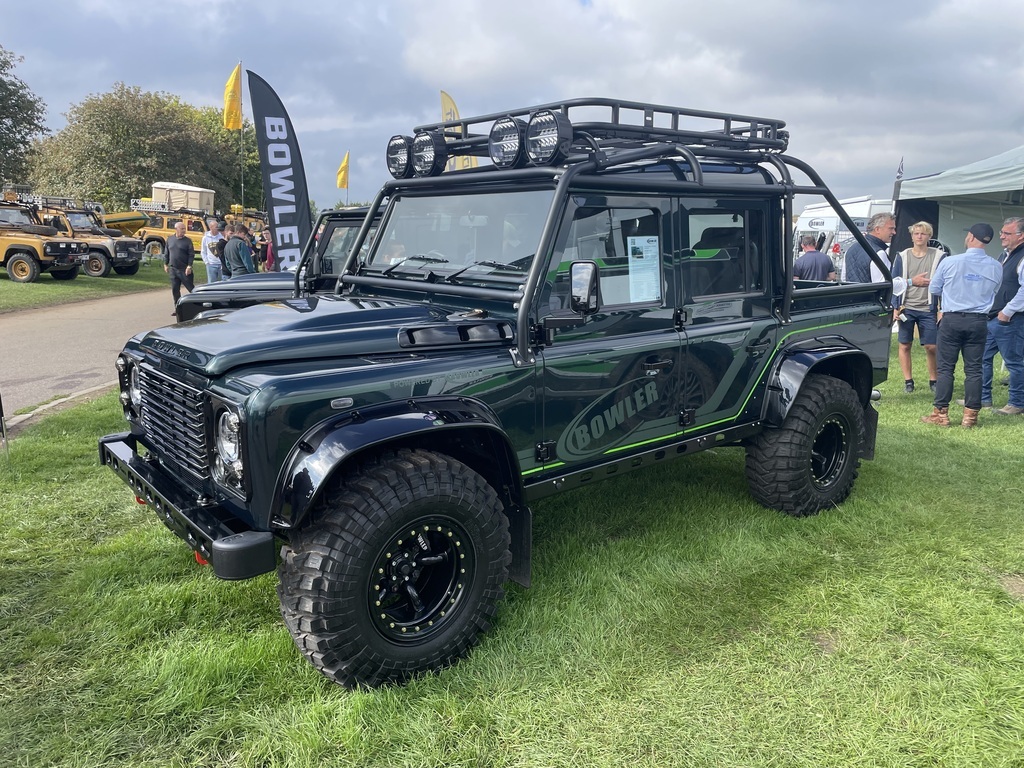 Thanks for checking in. |
| |
|
|
|
|


 ) and to try and hide the join.