|
|
|
May 13, 2020 18:44:27 GMT
|
So before lockdown was enforced, I bought a second hand transfer box for not alot of money with the intention of rebuilding it. I've never done one before and wanted to learn. Many videos are available on Youtube so I spent many of my lunch breaks binge watching them. Here it is after a good wash. 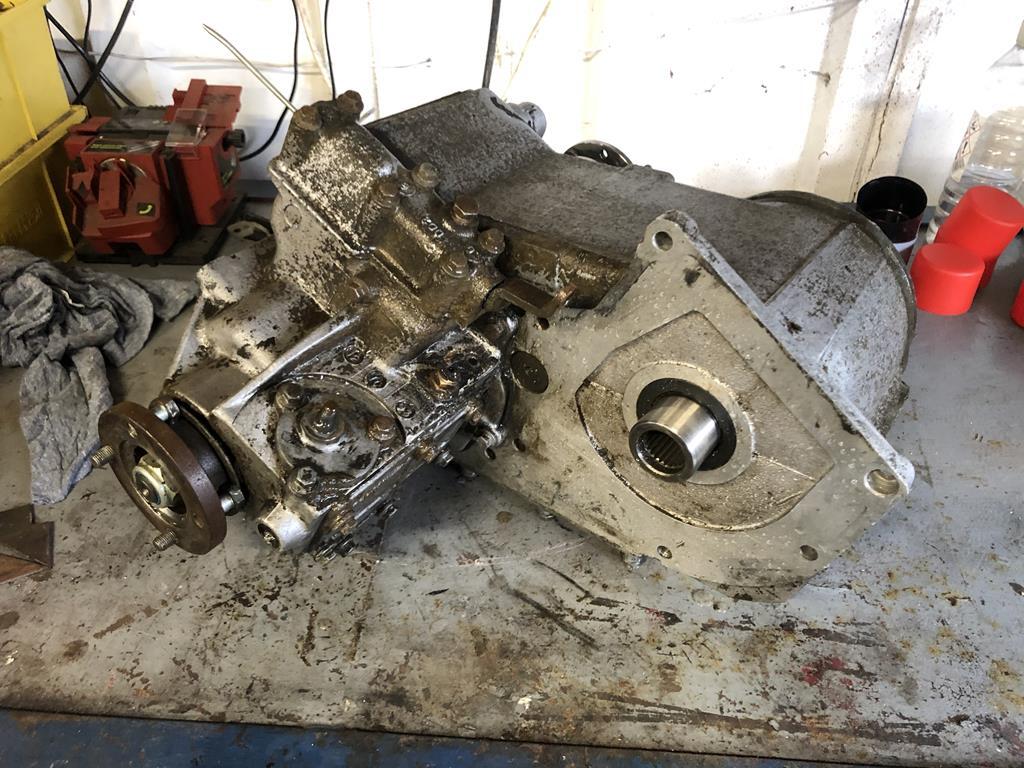 Stripped down so the inspection could begin. I think this has previously been rebuilt due to the monumental amounts of Loctite used to hold it together. I snapped two bolts trying to tear it down. 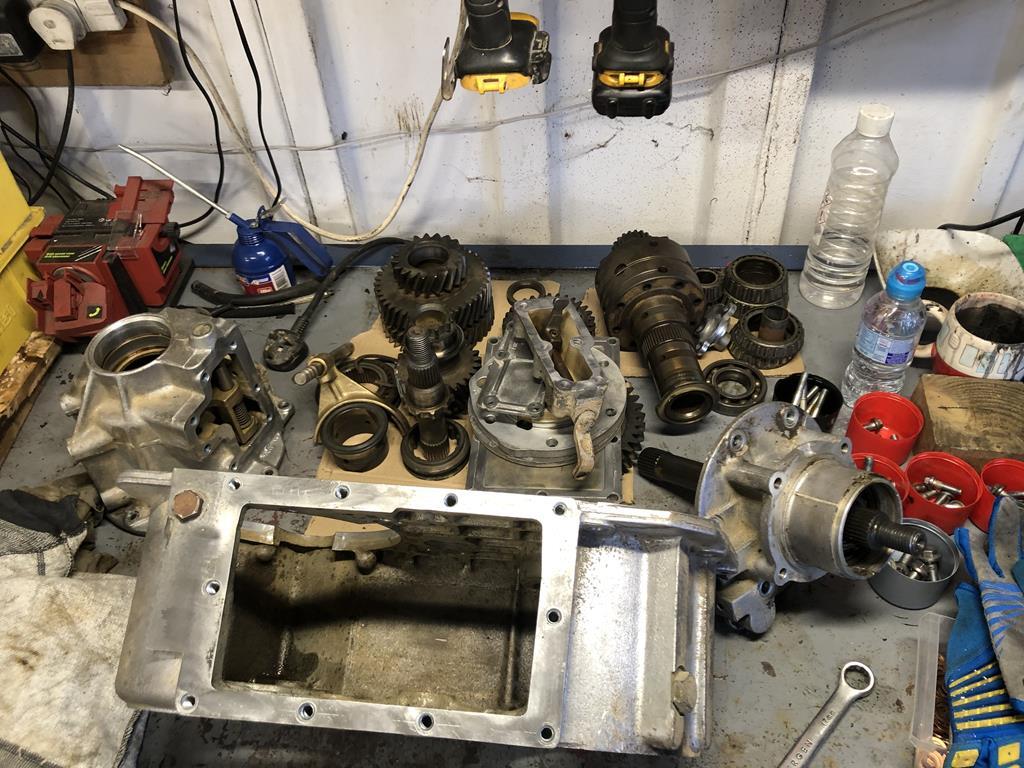 This peg is from the centre diff (you have three differentials on a four wheel drive). It holds the planet gears and so incurrs the most wear especially as these transfer boxes are prone to leaking so oil starvation doesn't help them. 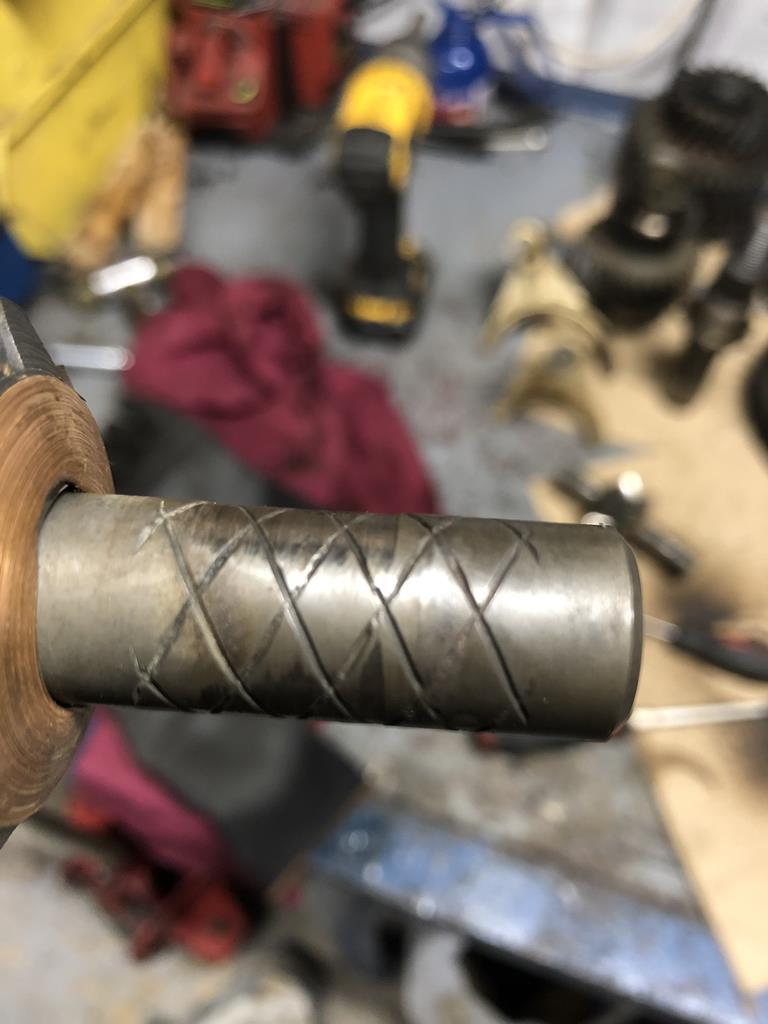 You can't really see in the photo, but there is a step worn on the shaft and the oil grooves have worn away. You can also just make out on the left the copper thrust washer which is conical shaped and runs behind the planet gears. These are almost entirley worn away. There are two of these pegs holding four planet gears in a cross. It's actually cheaper to buy a new uprated cross pin than the two standard ones so that's what I did. 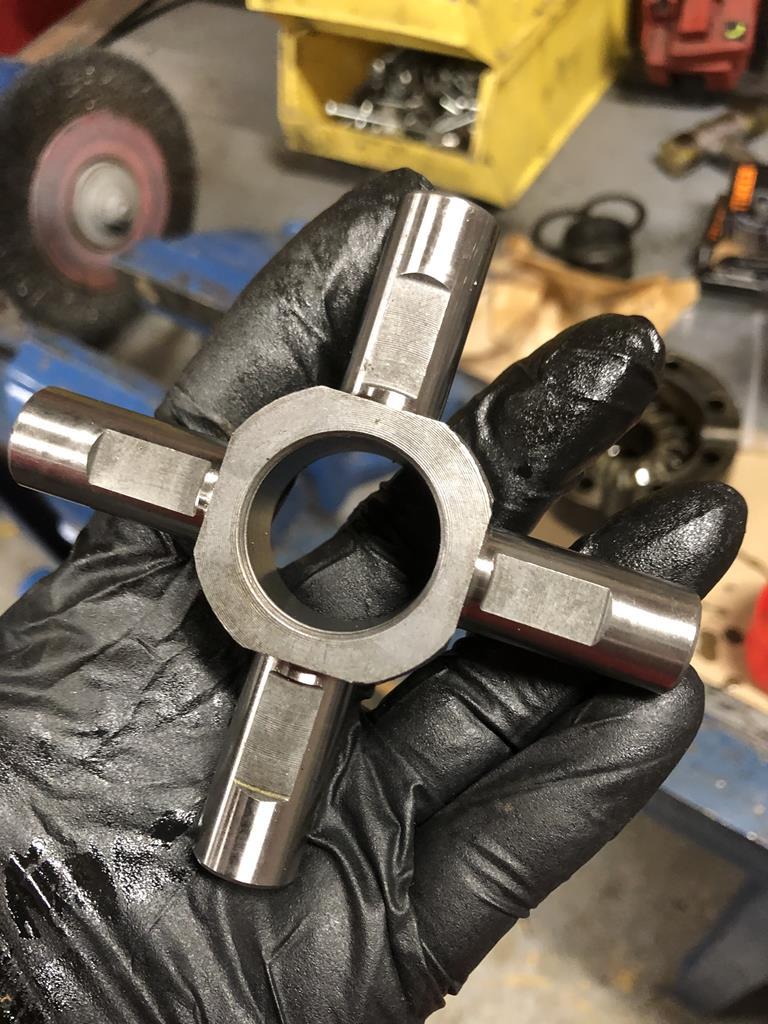 I don't have any pictures during the rebuild. I bought a master rebuild kit from Ashcroft Transmissions and swapped out all the bearings. They recommend not using gaskets as they decrease the preload on the bearings, and to use RTV sealant instead. I had to have the input shaft pre load shim machined down at a local Engineering shop but other than that it went to together fairly easily. With the large plate left off the bottom is very easy to see the high-low selector enagaging and also the centre diff lock operating. Here it all back together resplendent with red RTV sealant. 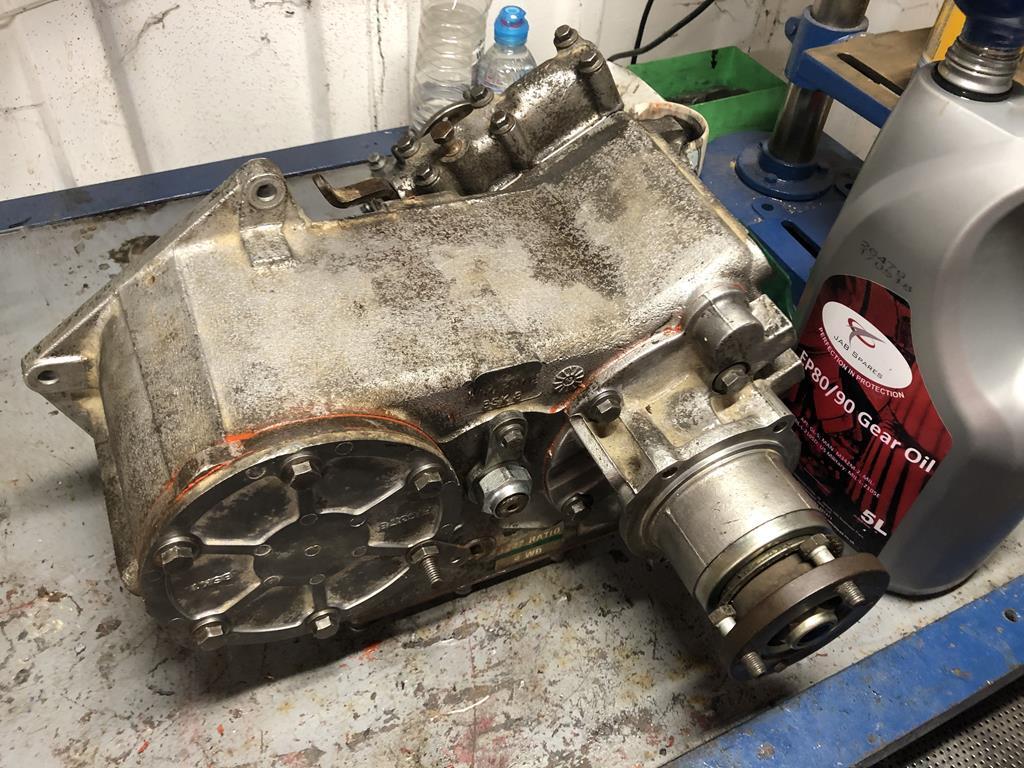 And the pile of parts that were changed. 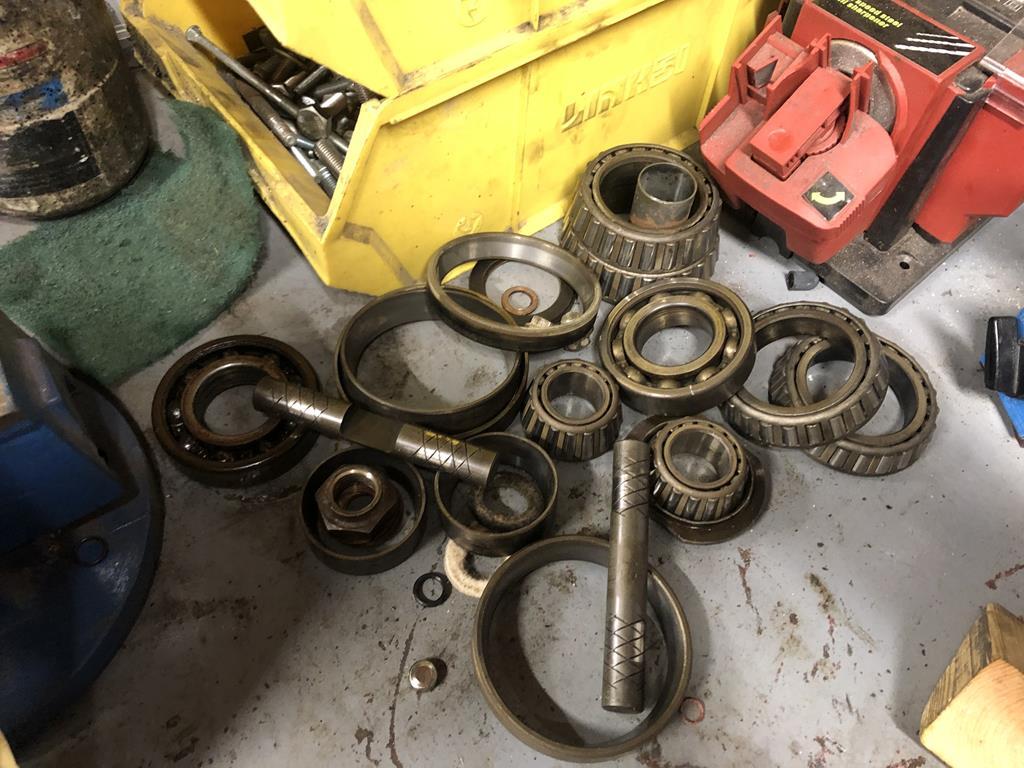 |
| |
|
|
|
|
|
|
|
May 13, 2020 19:08:52 GMT
|
So after lockdown began I needed a project to keep me active and stop my mental health from taking over. Forkliftfred Towers is an end of terrace building which means I have a small alleyway to the side. It's mostly used for storing all the essential curse word you just can't do without but never really need and bin bags. I had a plan brewing in my head for a while. I managed to order and get delivered some 50mmx50mm timber. My Brother in Law was having an extension built on the back of his house and had a lean to conservatory which was only a few years old. He said it was mine if I came and took it down. So that's what I did. It sat down the side of my house for months until our current situation has forced me to get on with it. Part of it will be attached to my fence but my neighbours garage borders part of it and I don't want to drill holes in his garage to fix it to that so that part will be free standing. I started by making some uprights to support the roof with room to hold some guttering too. 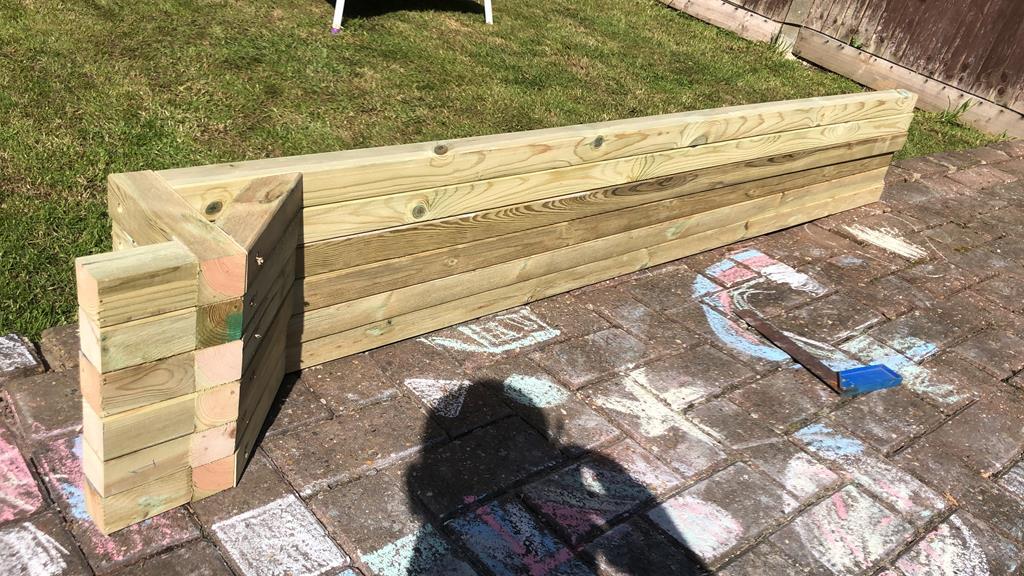 I've discovered that countersink and pilot holes make joinery assembly so much nicer!! Under construction. 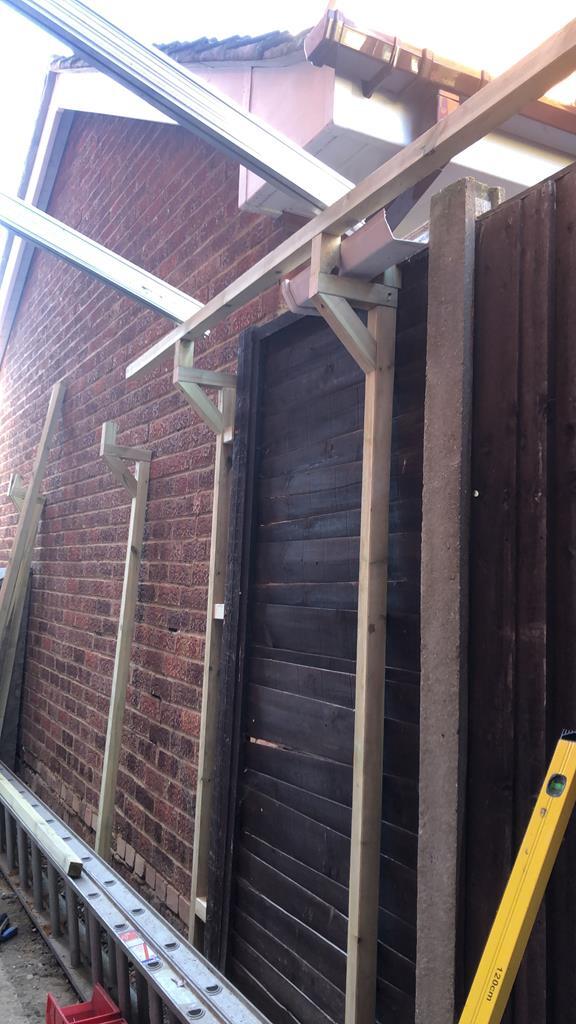 And built!! I bought a socially distanced door locally from FB Marketplace which had been used as an entrance for a letting agent. I have left the stickers on it on purpose. I used the cut offs from the roofing sheets to clad the end. The guttering is going to have strawberry plants in. A few weeks later and strawberries are planted along with three different types of tomato plants. I was given some Nasturtium seeds so they got planted along with some spring onions in the propagator. 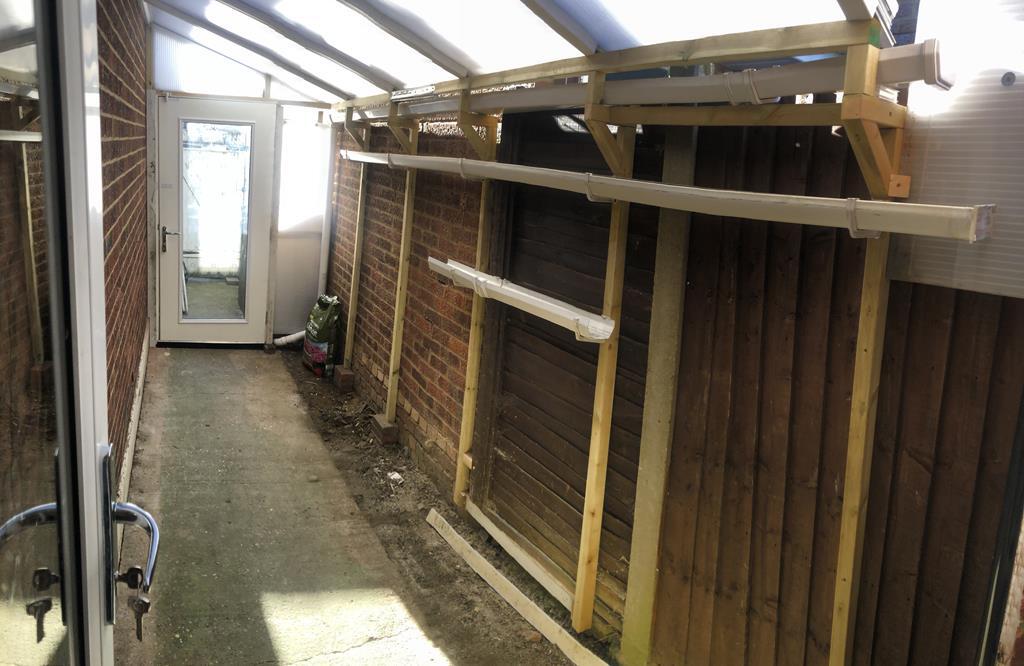 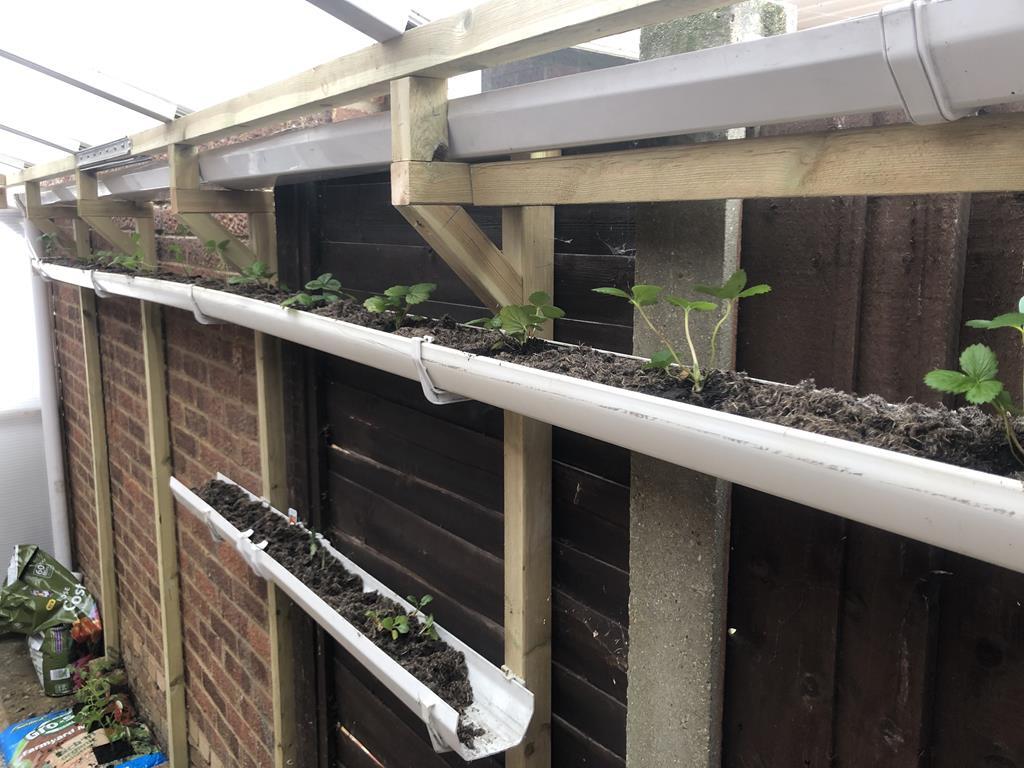 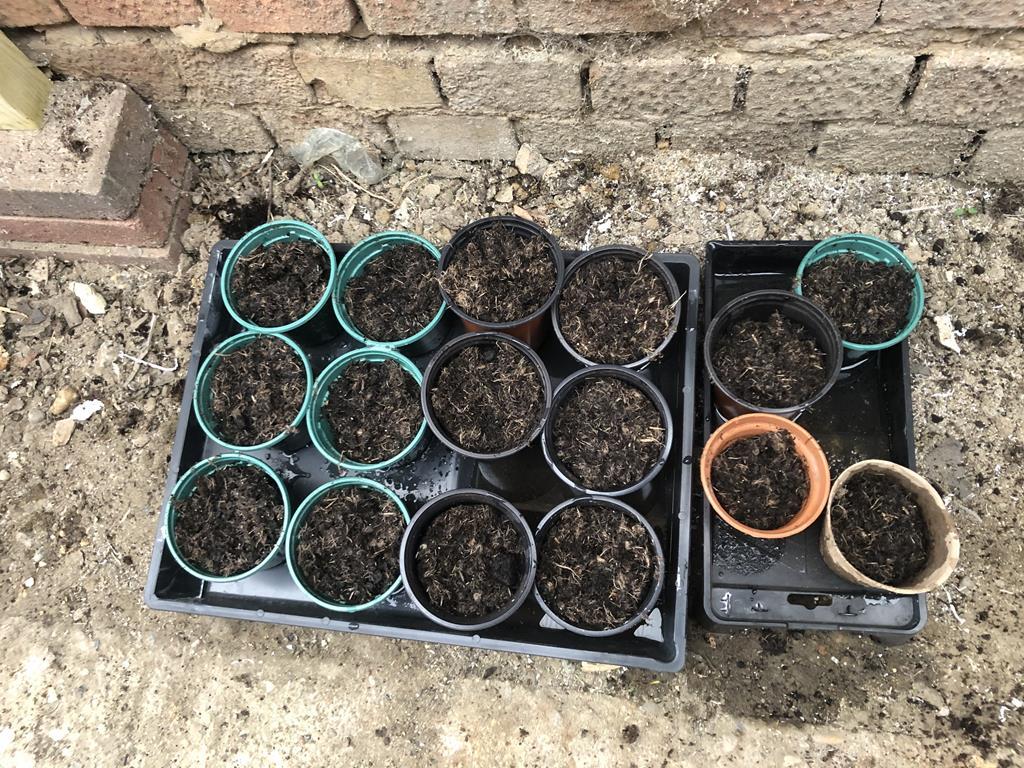 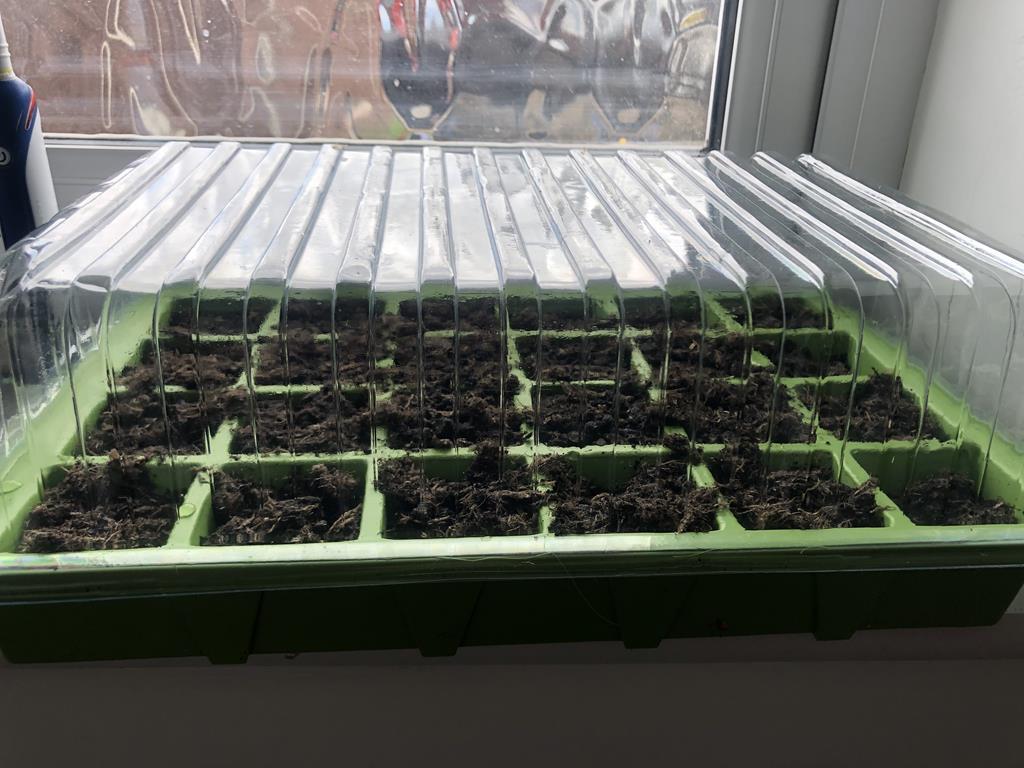 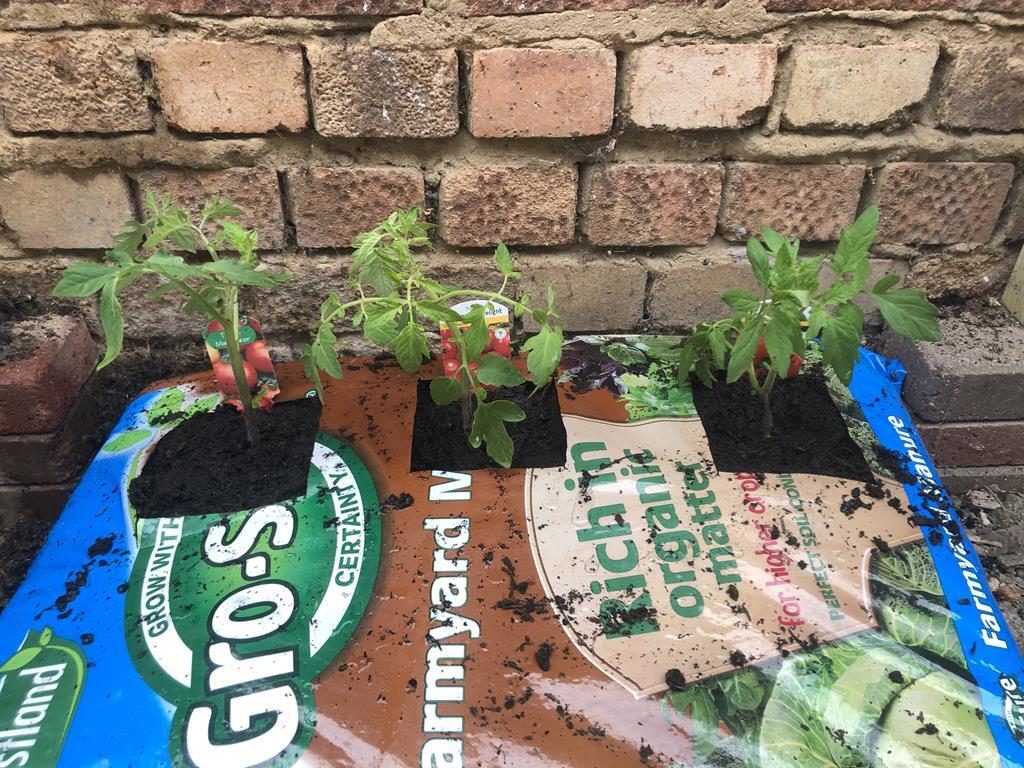 Total cost was £30 for the timber, £10 for the door and about £12 for some silicon sealer. I think i spent more money on the plants and compost!! My 3 year old daughter helped me with all the planting, it was my plan all along to get her interested. Hopefully she will get to eat some of the rewards too. |
| |
|
|
|
|
|
May 13, 2020 19:12:51 GMT
|
|
Oh and the Discovery passed it's MOT with no advisories!!! The tested said to me the only issue was a leak from the transfer box!! Better get it swapped over soon!
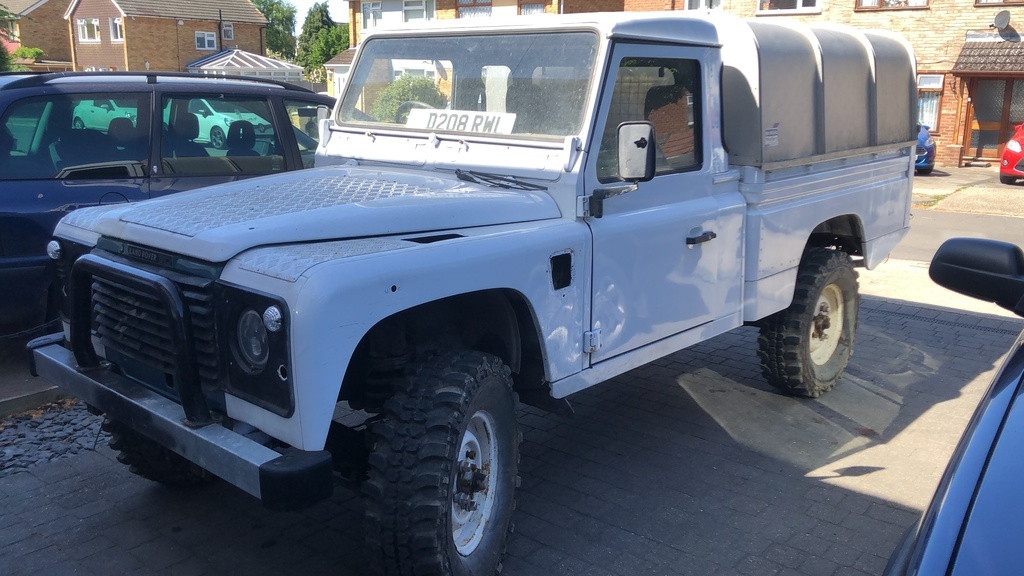
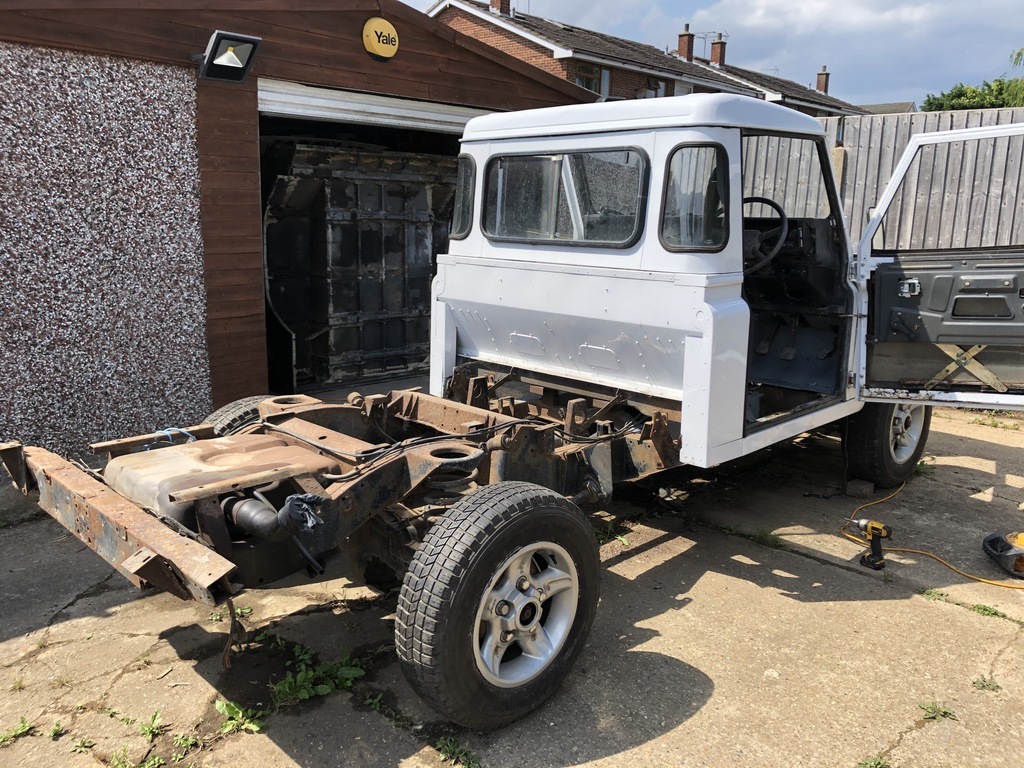
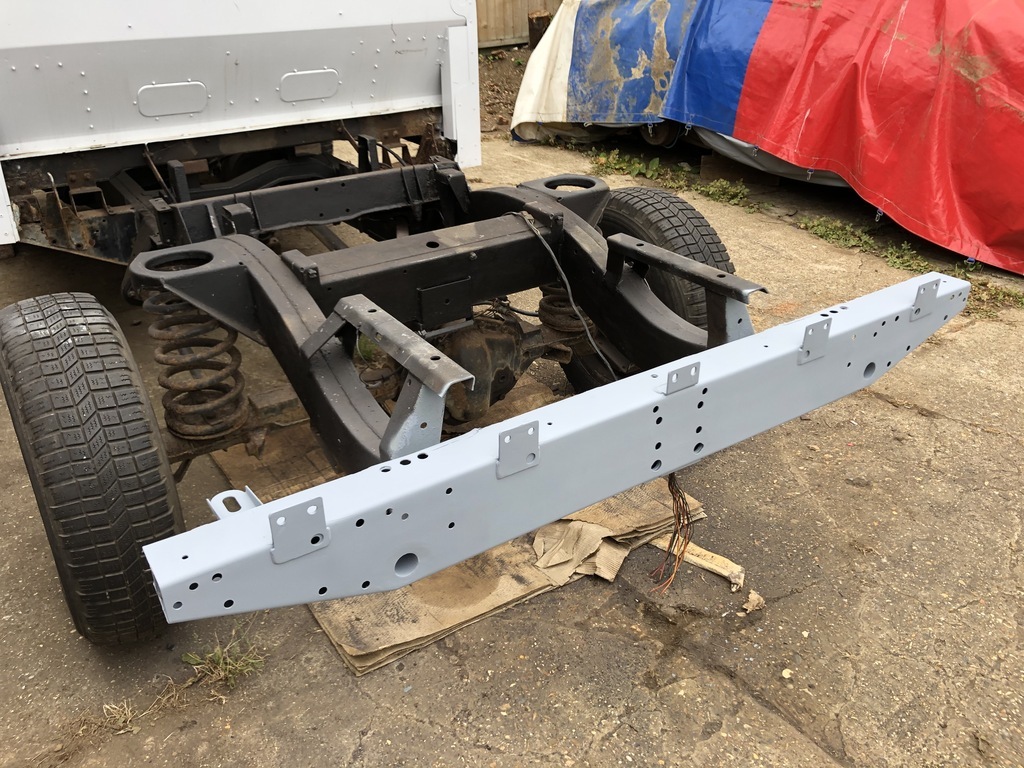
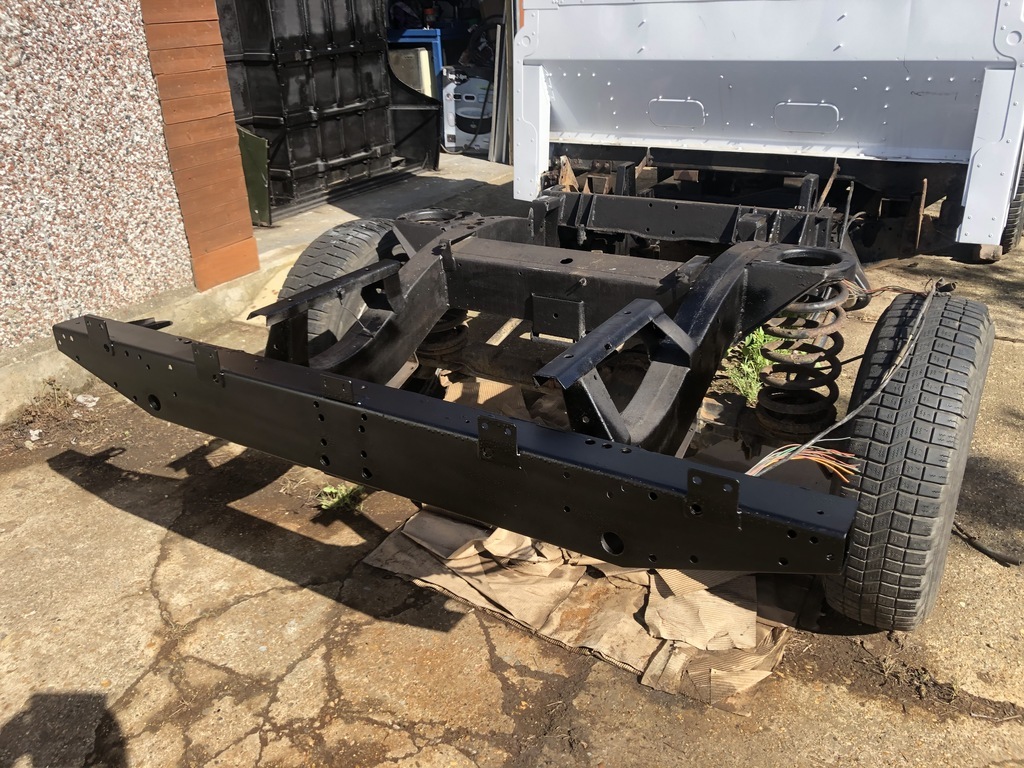
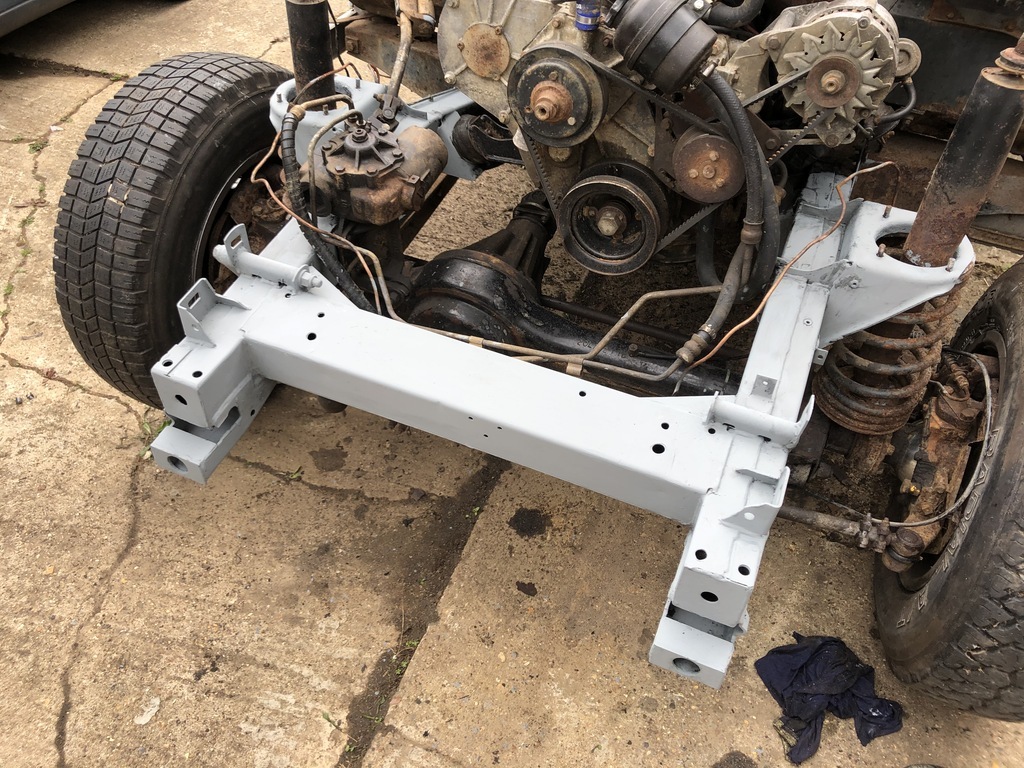
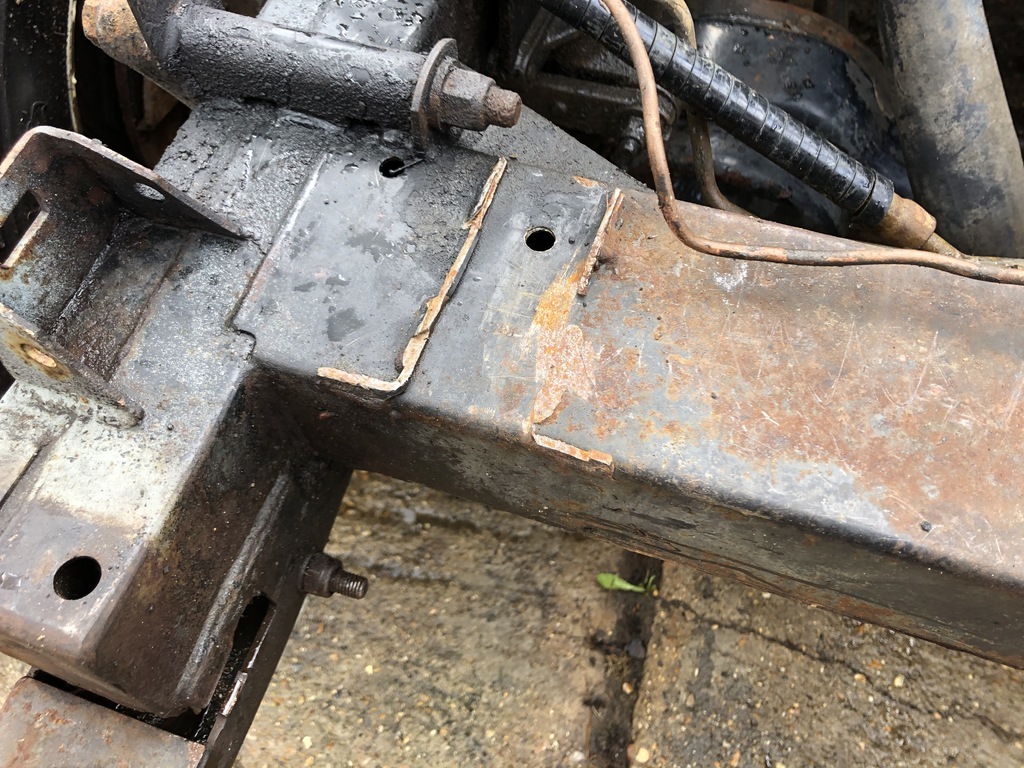
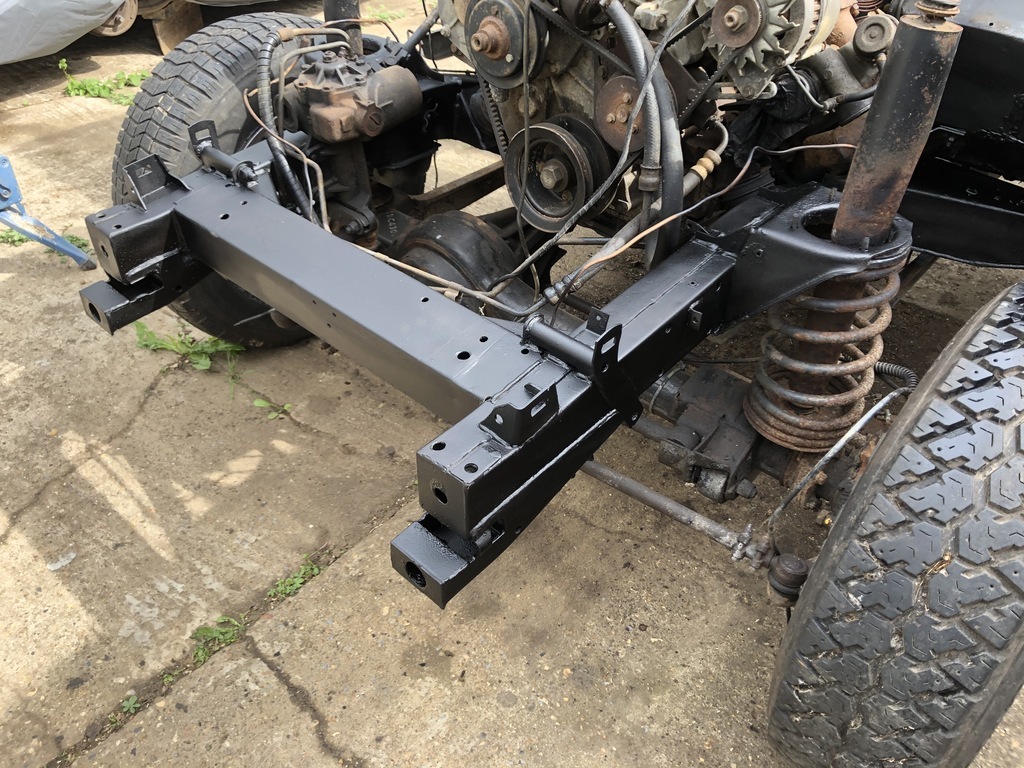
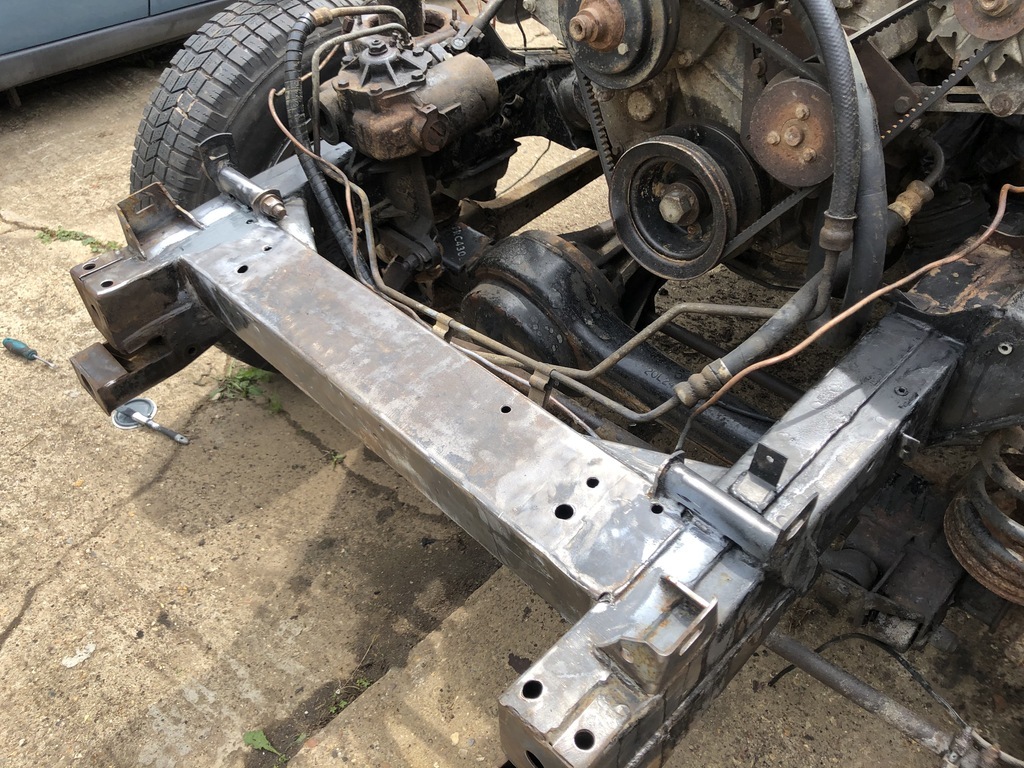
The green Mini has sold and been collected. I've been stashing away my pennies and i'm now on the look out for a Defender. Ideally I want a double cab 110 but if my budget won't stretch to that then a County station wagon and I will convert it. i plan on taking the body off what ever I buy and rebuilding the chassis with plenty of corrosion protection. I've seen a company that make a gear to add to the transfer box to make it two wheel drive selectable and I plan on either fitting a tuned TD5 engine or maybe a BMW V8!! watch this space.
The MK1 Caddy is still in the garage but the insurance runs out on the 25th. I can't make up my mind wether to sell it to fund my Land Rover obsession or keep it and actually use the damn thing!
|
| |
|
|
melle
South West
It'll come out in the wash.
Posts: 2,013
|
|
May 15, 2020 18:00:37 GMT
|
I've never done one before and wanted to learn. The best reason for any project! |
| |
www.saabv4.com'70 Saab 96 V4 "The Devil's Own V4" '77 Saab 95 V4 van conversion project '88 Saab 900i 8V
|
|
|
|
|
Sept 10, 2020 20:27:42 GMT
|
|
|
| |
|
|
|
|
|
Sept 10, 2020 20:44:53 GMT
|
|
|
| |
|
|
|
|
|
Sept 10, 2020 21:03:26 GMT
|
|
|
| |
|
|
|
|
|
Sept 10, 2020 21:12:56 GMT
|
|
|
| |
|
|
hopeso
Part of things
 
Posts: 349 
|
|
Sept 10, 2020 23:28:13 GMT
|
|
That's some amount of work done! Looking good too.
|
| |
|
|
|
|
|
Sept 11, 2020 18:30:37 GMT
|
|
Cheers bud!
|
| |
|
|
|
|
|
|
|
Sept 13, 2020 7:17:01 GMT
|
|
That's coming together nicely.
Could you slit the front part of the roof an inch or two up from the gutter, drop it over the inch or two left and seal/rivet it back together to get the right height?
|
| |
|
|
jamesd1972
Club Retro Rides Member
Posts: 2,922  Club RR Member Number: 40
|
|
Sept 14, 2020 8:16:20 GMT
|
|
Just caught up on your thread again. Nice progress on the new LR. Very easy to get very spendy on these so good to see some good 'built not bought' work going on.
Keep the updates coming.
James
|
| |
|
|
|
|
|
Mar 13, 2021 20:28:23 GMT
|
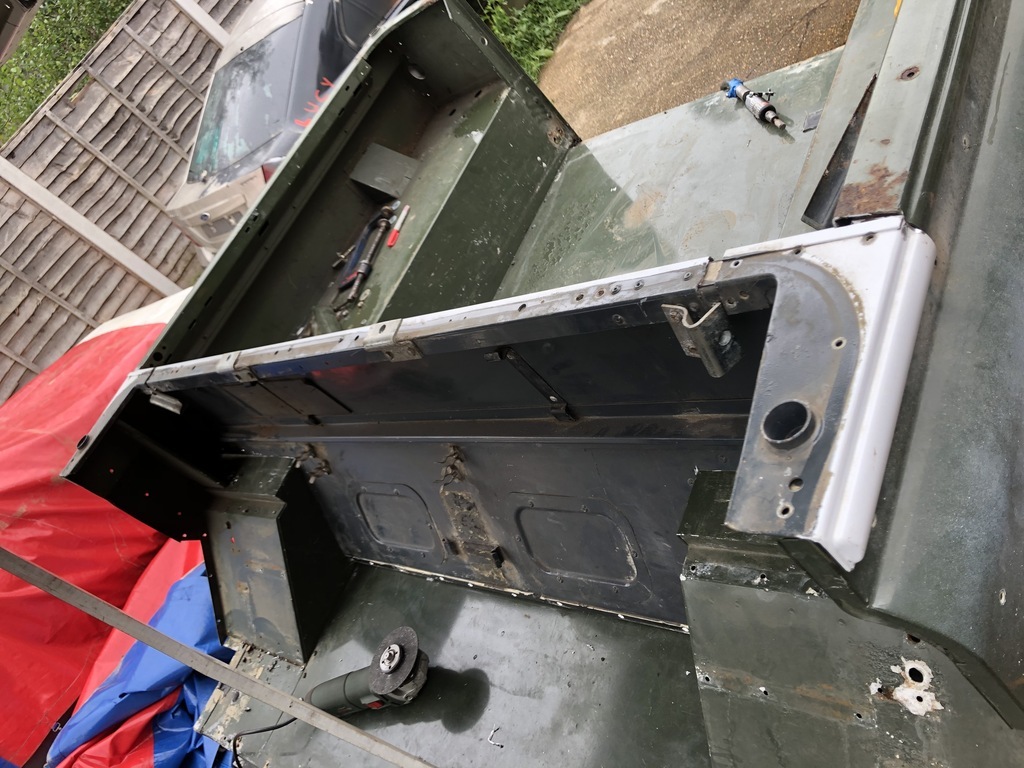
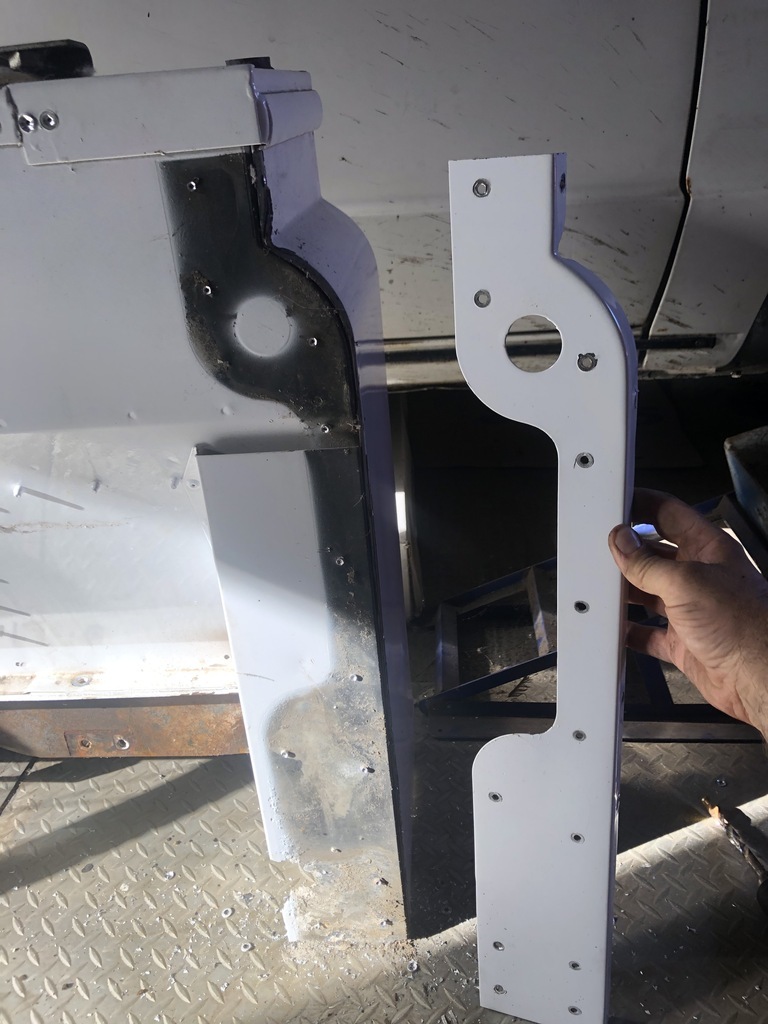
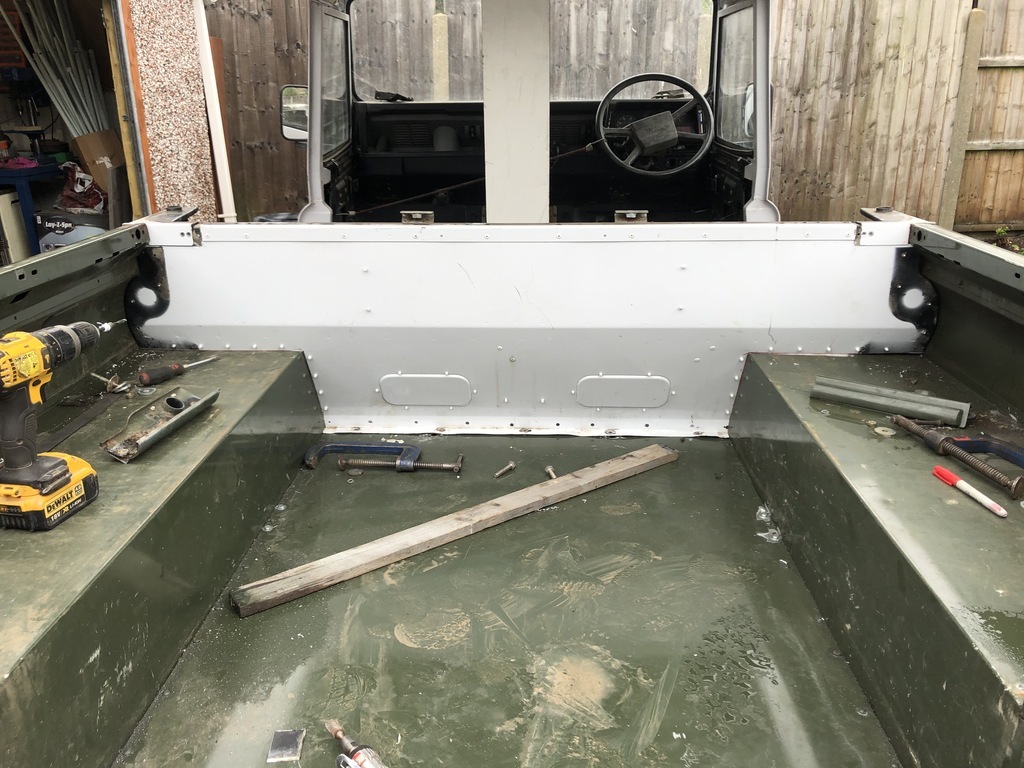
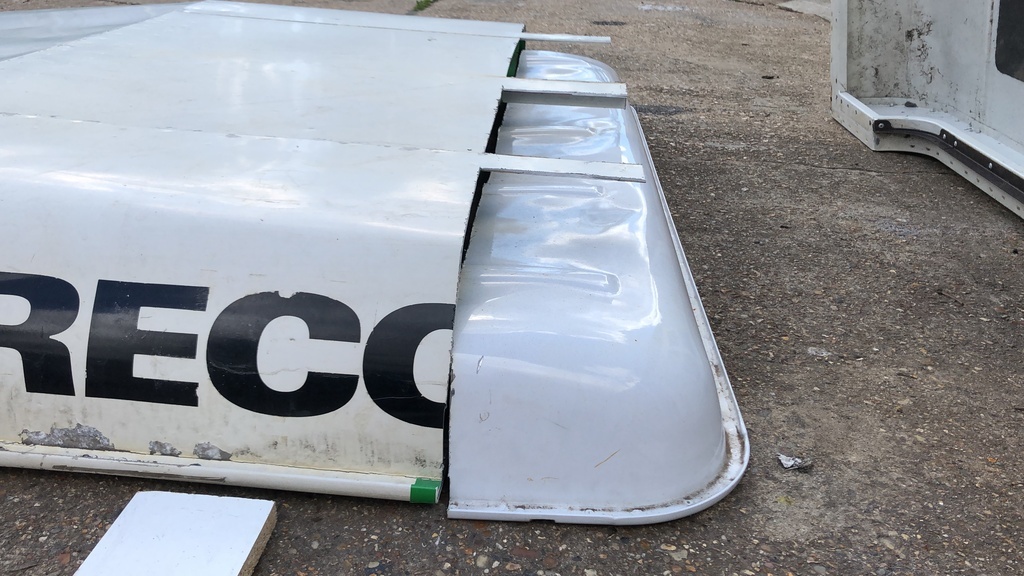
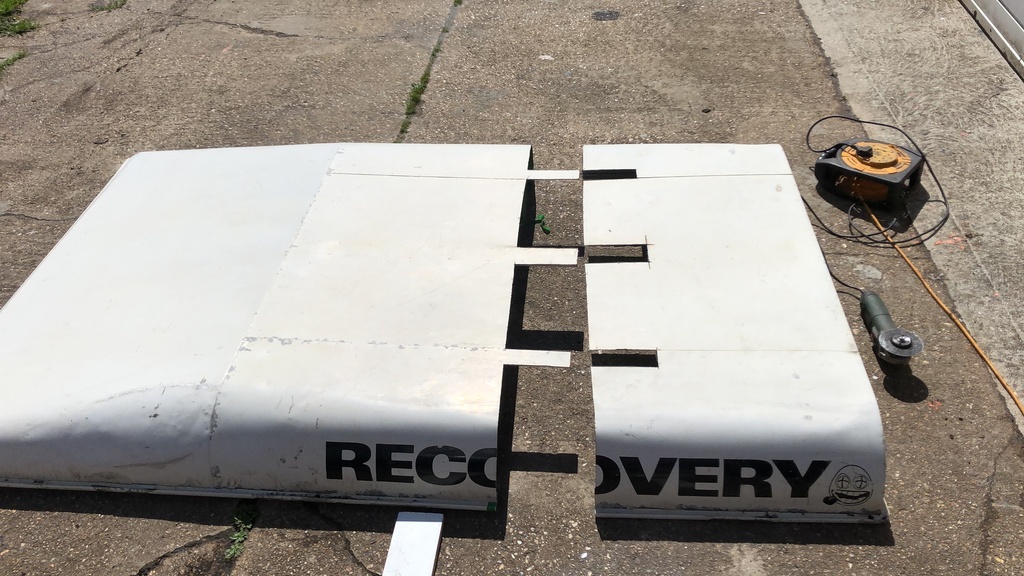
Wow it's been a long time since my last update. Still moving on with the Defender. So the roof conundrum continues but I have a plan. So I bought another roof, this time from a 110 utility so it's smooth (doesn't have the strengthening ribs on the outside) and it has a lot less damage. So I cut this one too, slightly longer so as to overlap the truck cab rear roof section. I measured the gap between the two, measured down from the top of the roof line and drew a line. The plan is to cut a slit along this line and lower the roof to meet the rear rounded section. There is a strengthening brace in the center of the roof where the green line ends which I don't want to cut into. I have ordered 200 rivets and two tubes of seam sealer. 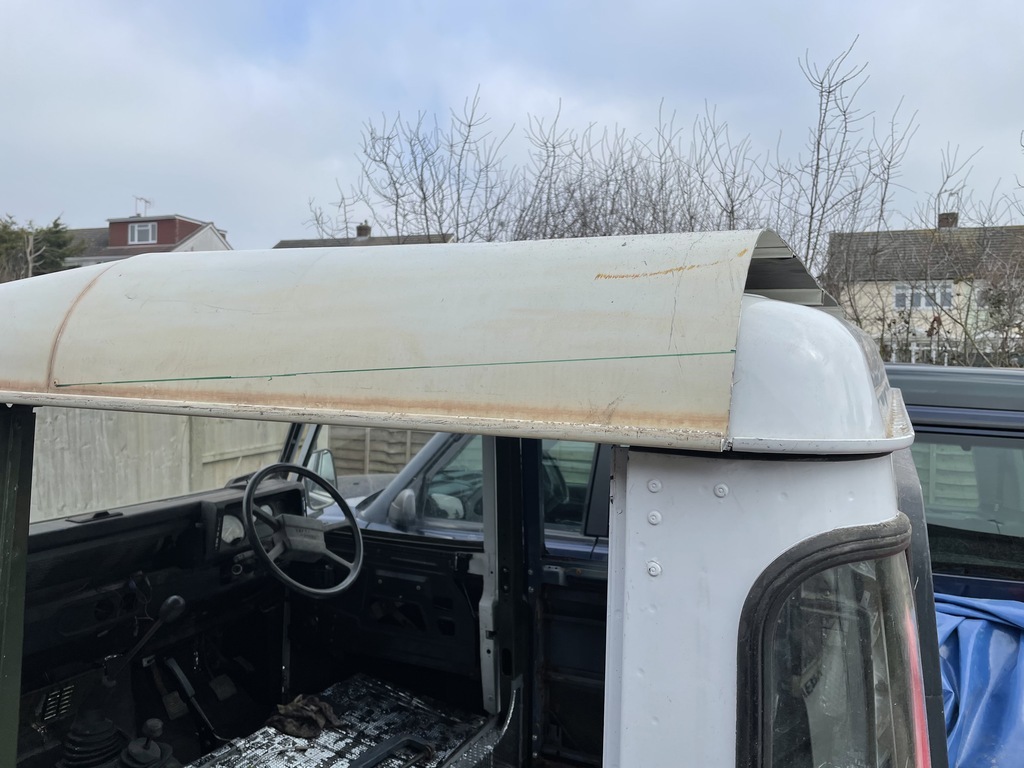 I ordered 40 sq. ft. of 80 mil Dodo mat sound deadening.... 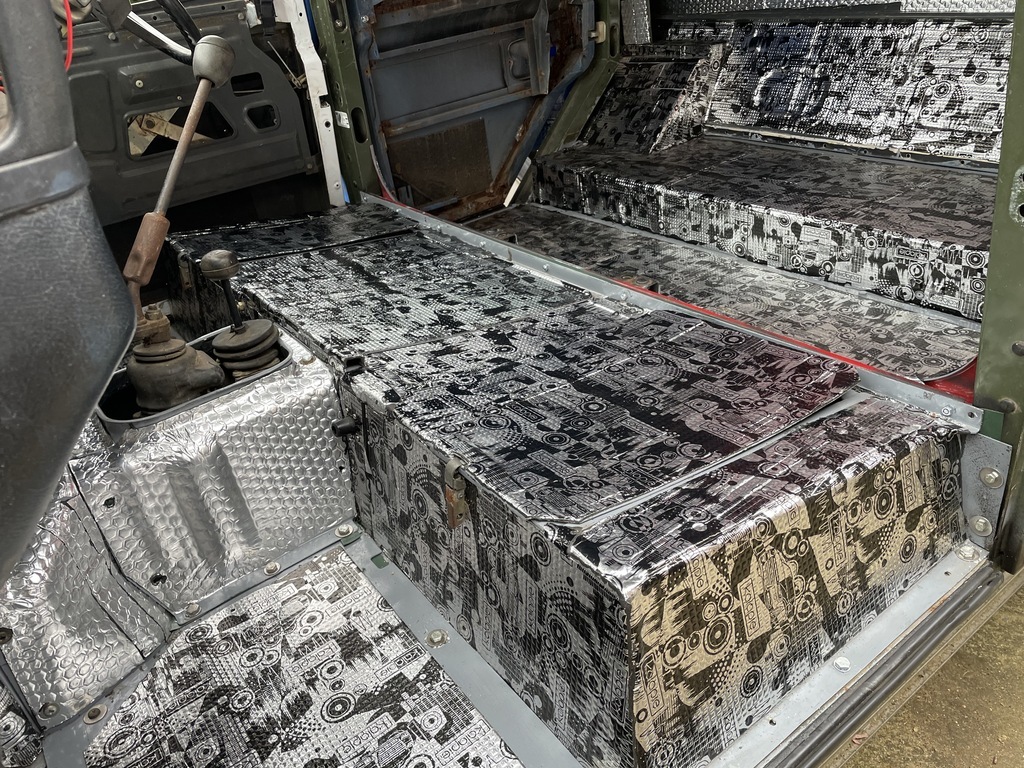 ...and used all of it. More needed for the roof and drivers footwell. I bought a rear door and lopped the top off to make a side opening tailgate. All the drop down ones seem to hit the tow bar and cause damage. 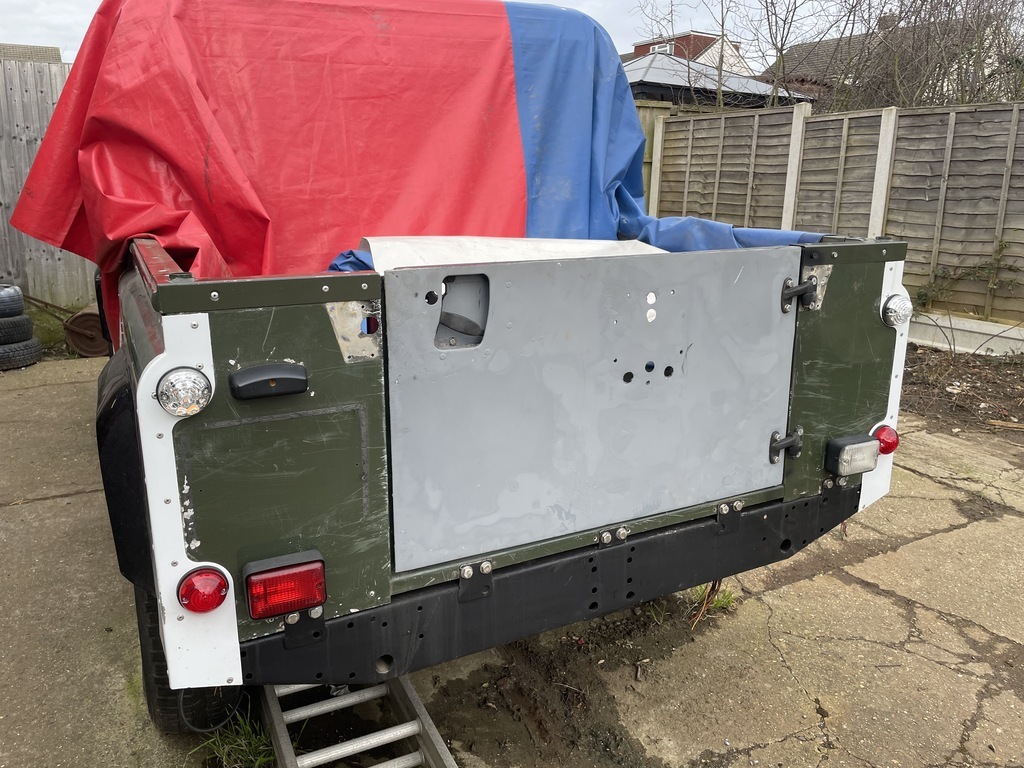 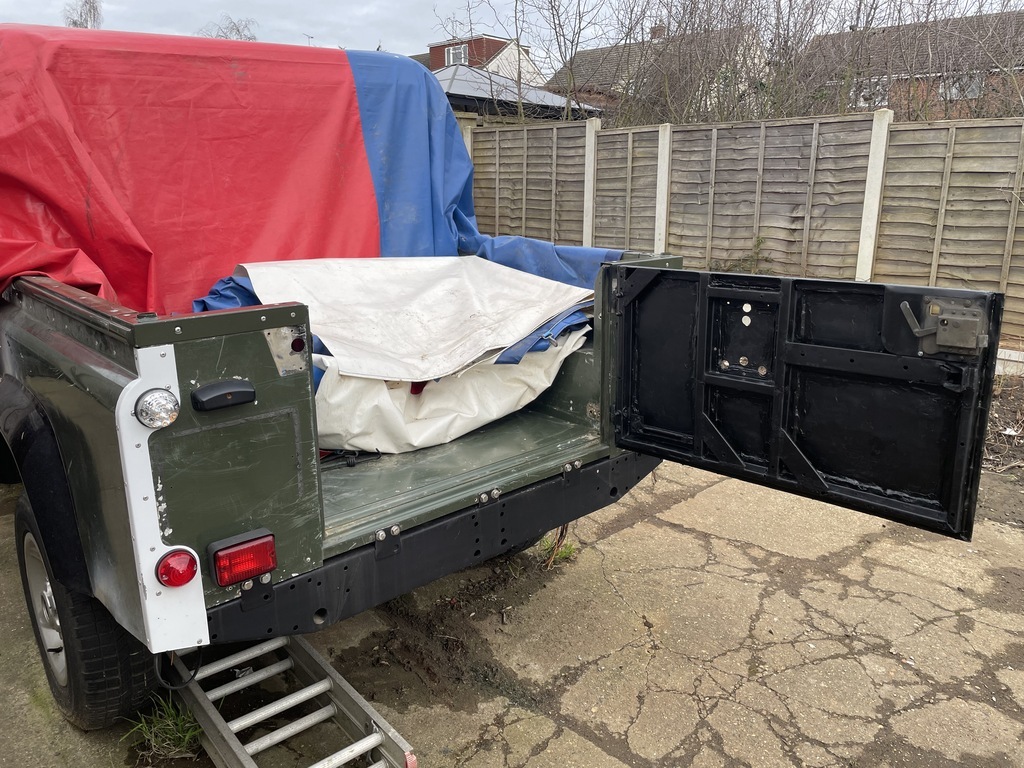 I welded in some angle iron from a damaged road sign I rescued along the top edge to put some strength back in. Seam sealer applied to all joints then clamped and left to dry, then zinc primered and under sealed. I'll make a trim panel to cover the inside but I have another cunning plan to make a swing away spare wheel carrier which will open with the tailgate (instead of having to open it separately) and need access to the inside before closing it in. My neighbour drives skip lorries and found an old circus tent in one. He brought it home for me. I have cut it into thirds. It's great, very heavy and even has rope loops along one edge to run the bungee straps through and it doesn't rustle in the wind like a tarpaulin. |
| |
|
|
|
|
|
Mar 13, 2021 20:33:29 GMT
|
|
This is where I got the idea for the spare wheel carrier from.
|
| |
|
|
merryck
Club Retro Rides Member
Posts: 480
Club RR Member Number: 9
|
|
Mar 15, 2021 20:44:35 GMT
|
|
That is a fantastic solution to the tyre on the rear door problem.
|
| |
|
|
|
|
|
Mar 18, 2021 19:51:03 GMT
|
|
I really like the fact you don't need to open the wheel carrier first. I've made some progress with it this week. I'll post some pictures up when it looks like i've actually achieved something. Very slow progress.
|
| |
|
|
|
|
|
Mar 19, 2021 22:01:43 GMT
|
150 rivets later, I have a one piece roof again! 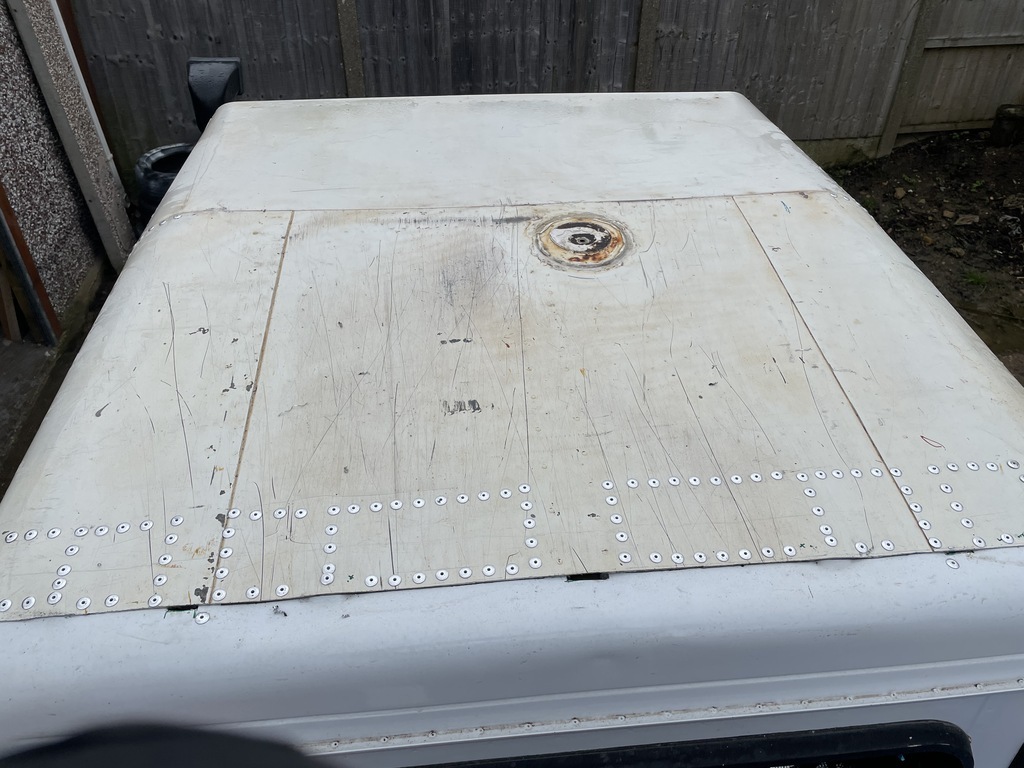 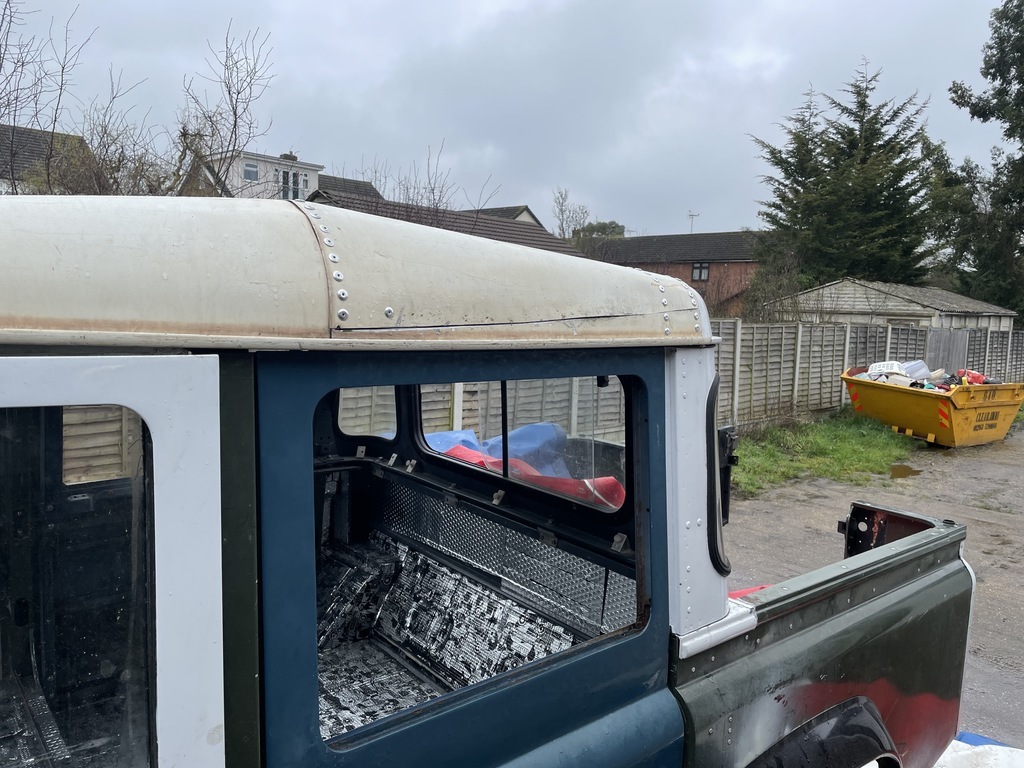 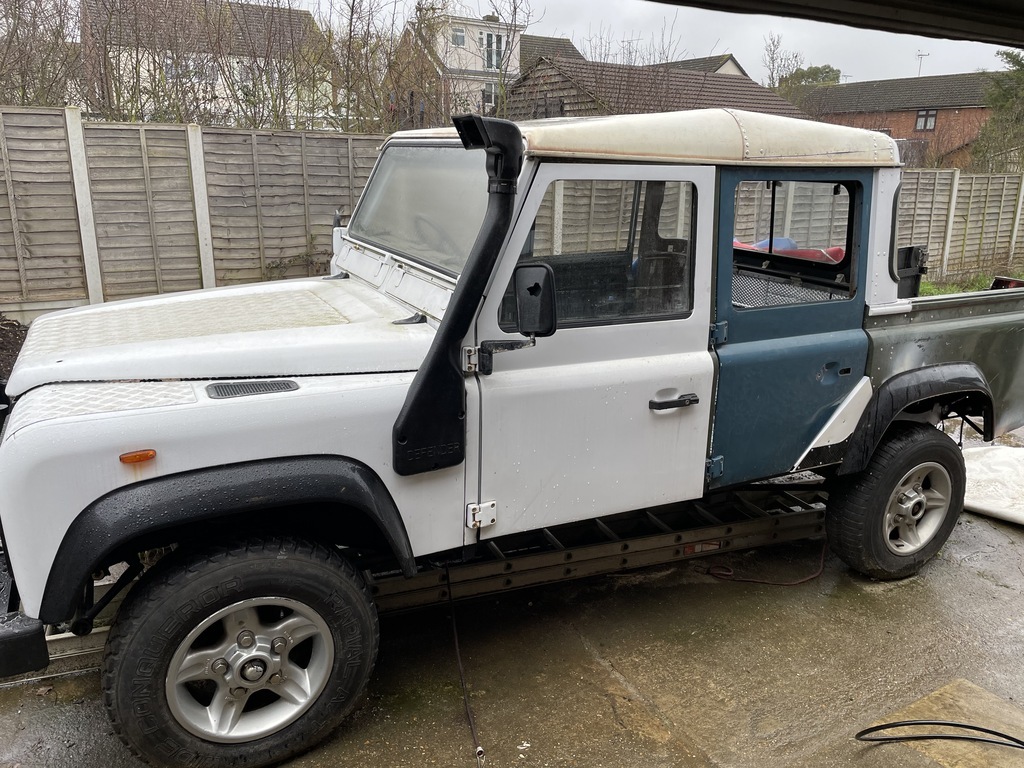 I still need to cover the scars along the sides, I have bought some trim to cover it. I need to seam seal along the joints and in each of the rivets. I'm going to fibreglass the joint and blend to the curve of rear of the roof. On to the swing away wheel carrier. Progress.... I had a dig about in my scrap bin and found some angle steel leftover from making the Quarantine garage roof trusses (one of them is actually two pieces welded together), and made the upper and lower supports which bolt to the rear of the body tub. 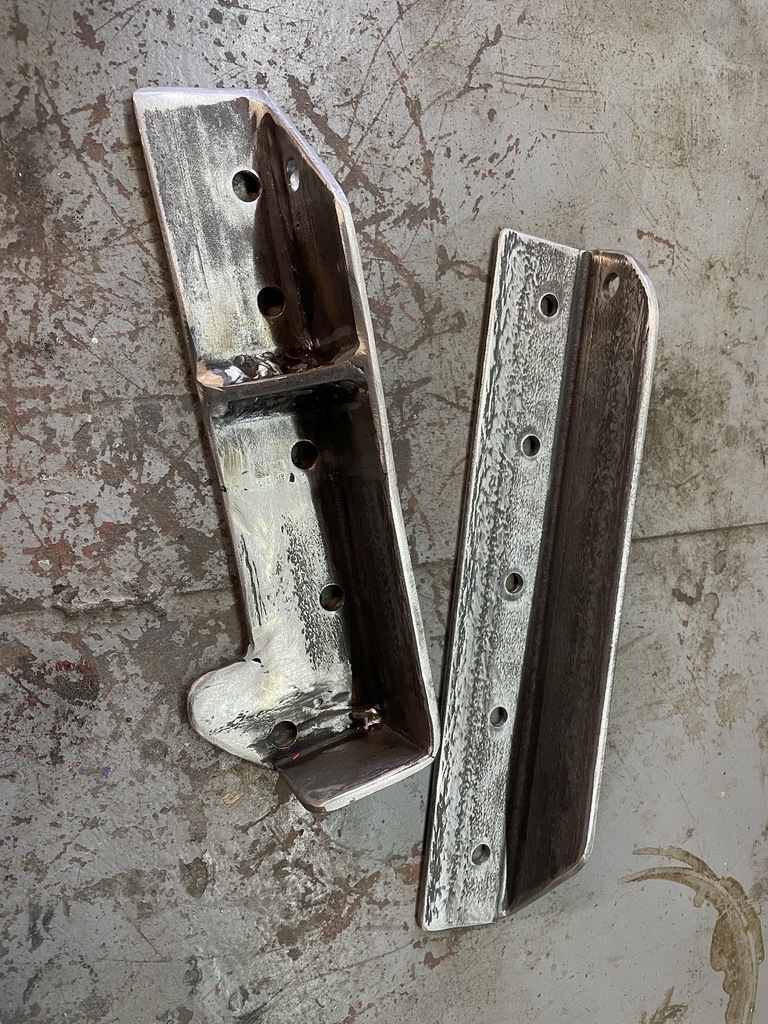 After some measuring, tea, swear words, a broken bolt, more measuring, head scratching, a spot of lunch and some action with the hot glue gun, this is where i'm at currently. I welded an M10 nut in the end of the box sections to screw the rose joint into, and positioned the end of the frame in the standard position where the spare wheel would be sitting. This should allow me to access the opening handle and shouldn't interfere with the lights. 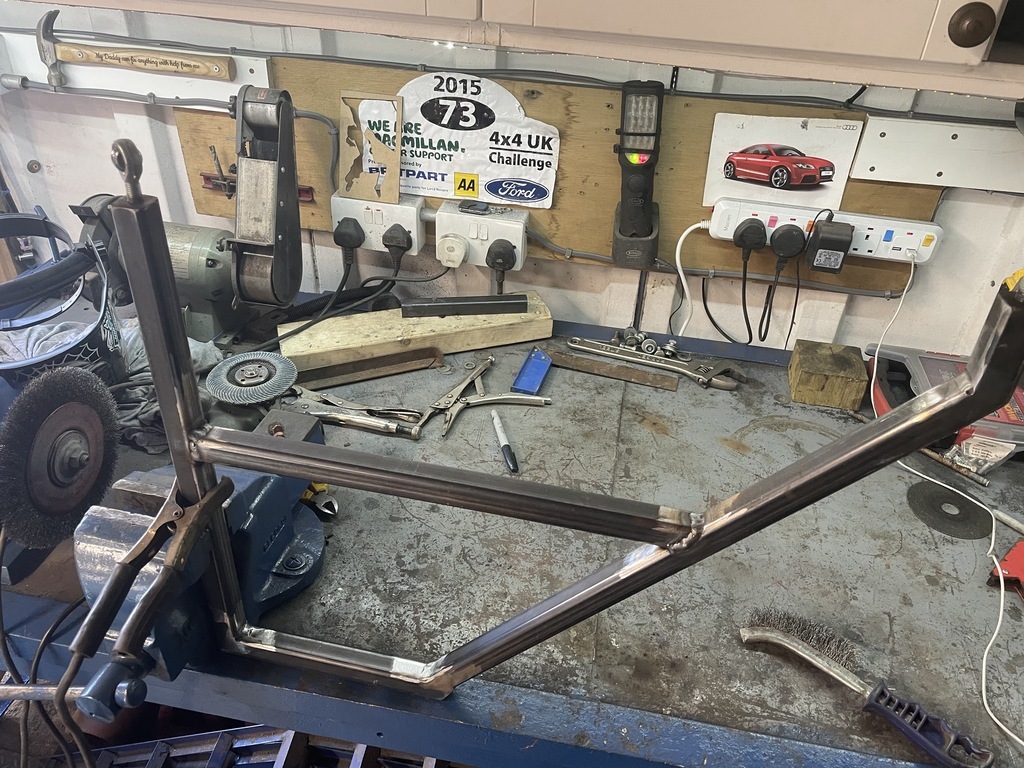 I'm going to order some sheet steel to fold up to fabricate the plate for the wheel to bolt to and also another to cover up and reinforce the original mount holes. 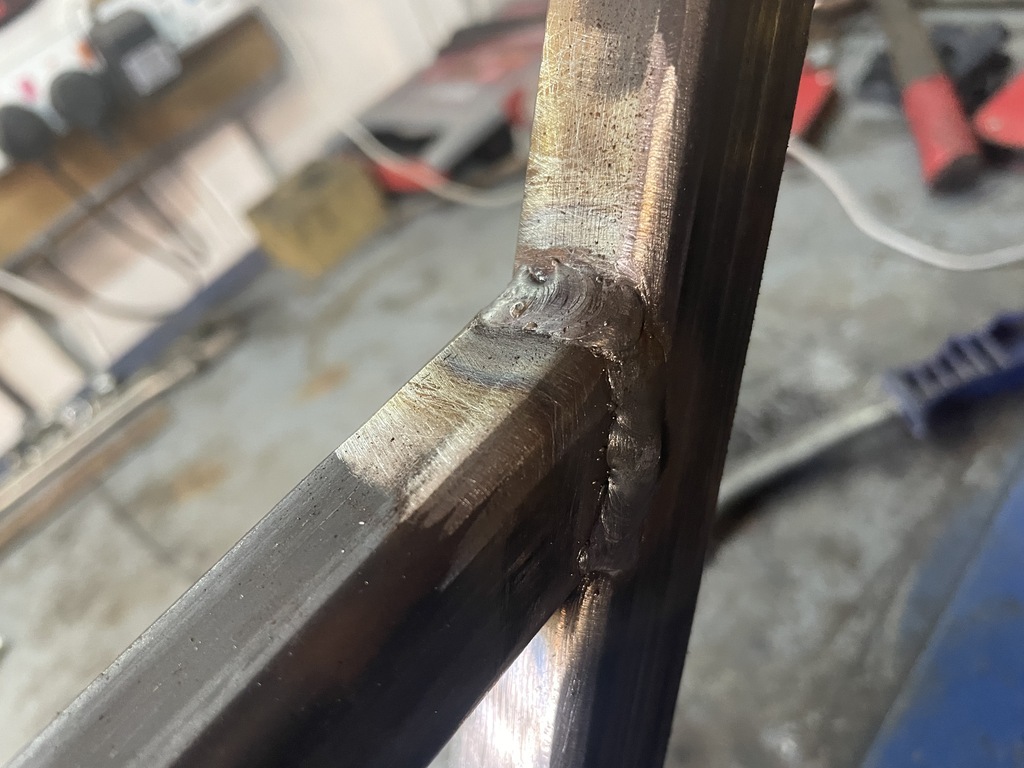 |
| |
|
|
eternaloptimist
Posted a lot
   Too many projects, not enough time or space...
Posts: 2,578
|
|
|
|
|
Not dropped in here for ages. Just re read the lot, thanks for posting. I need to crack on with my list of outstanding jobs and stop them weighing me down. Got an engine and engine crane to move out of one rental lock up into a storage bin later today, that will be another job crossed off the list. Love the Defender.
|
| |
XC70, VW split screen crew cab, Standard Ten
|
|
93fxdl
Posted a lot
   Enter your message here...
Posts: 2,019
|
|
Mar 21, 2021 16:15:24 GMT
|
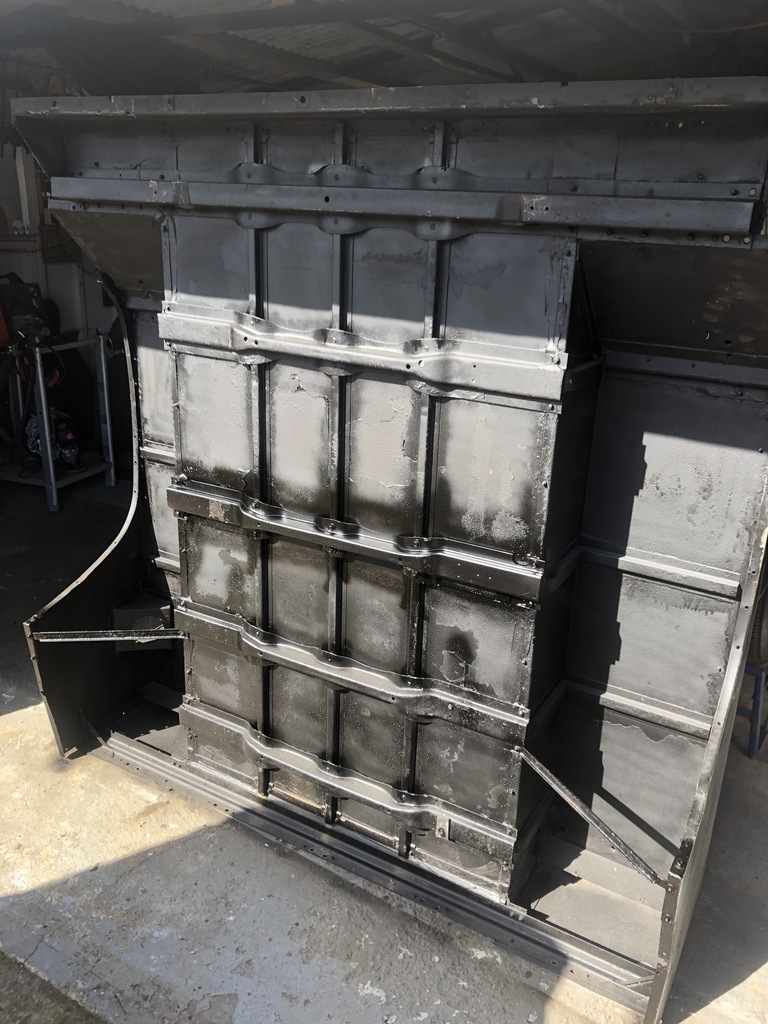
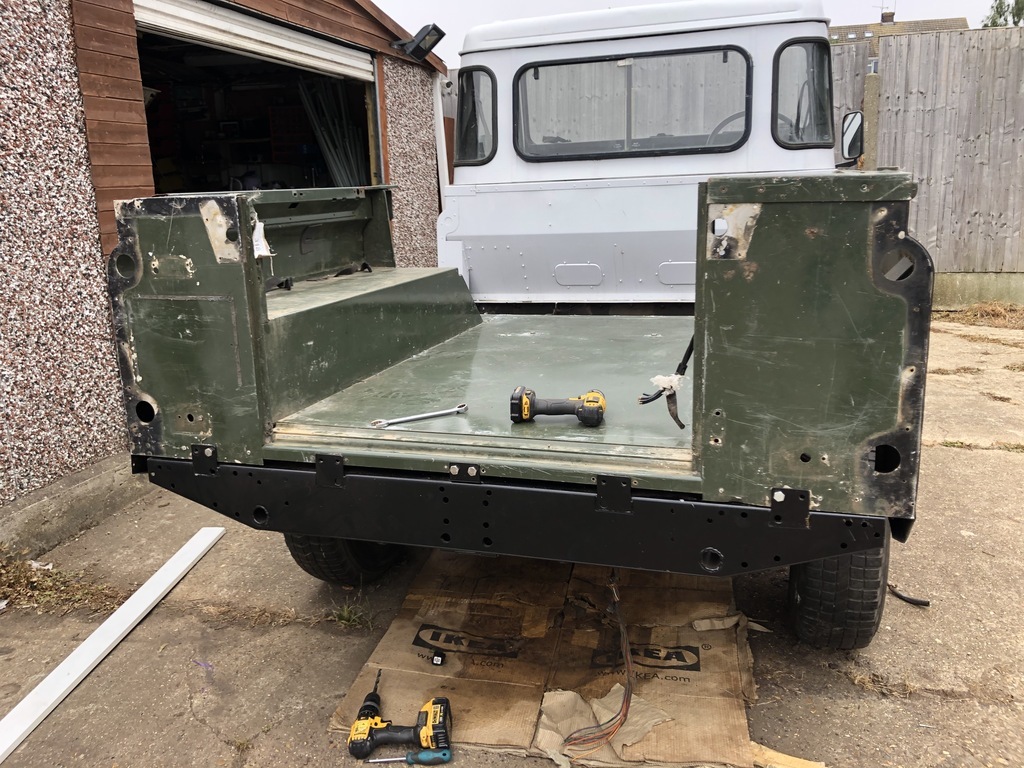
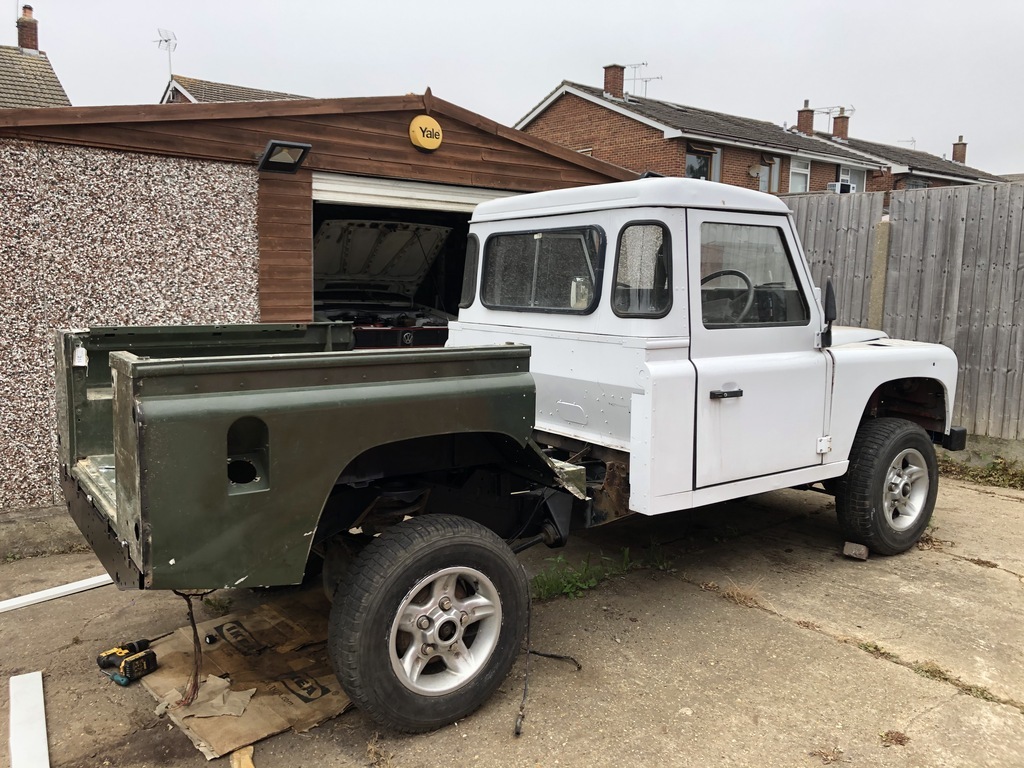
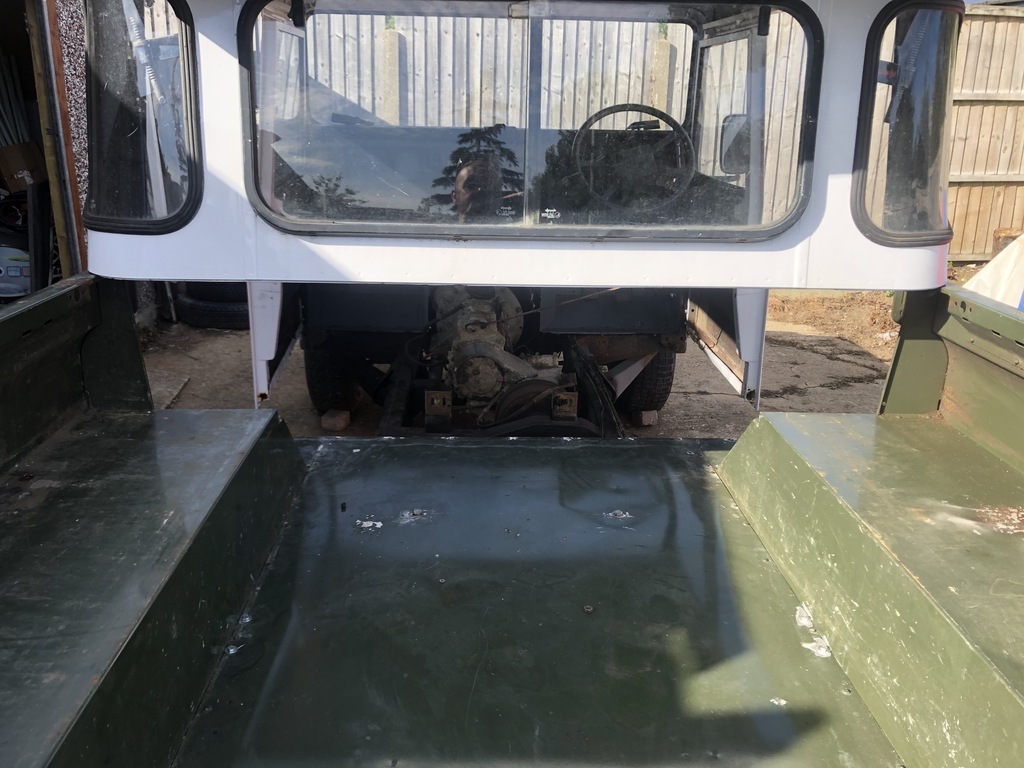
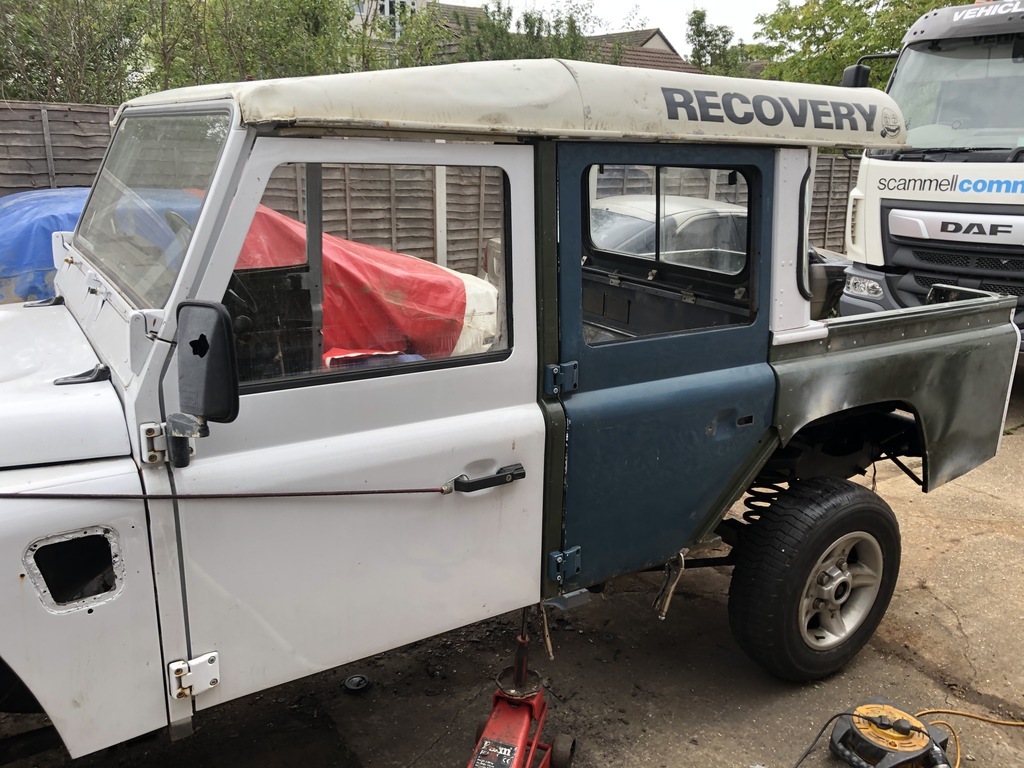
A friend is also into riveting land rovers back together, and is also a convert to a pneumatic rivet puller, slight difference with rivet choice though, countersunk cherry rivets, 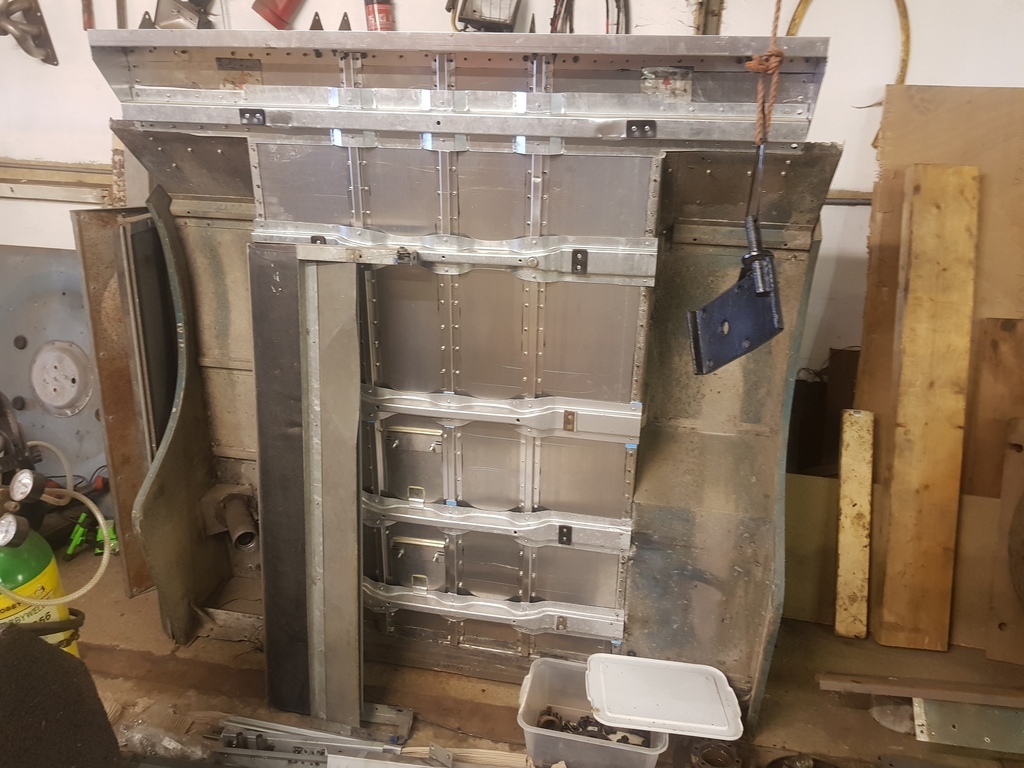 yes every single rivet in this tub is countersunk. Advantage of working in aviation is access to precision countersink cutters and other things for assembling aluminium structures Ttfn Glenn |
| |
|
|
|
|
|
Mar 22, 2021 17:09:44 GMT
|
|
Wow! That's dedication. Lovely clean and straight looking tub though.Thankfully, I did invest in an air rivet gun before embarking on my rivet crusade. I don't fancy pulling all of those by hand!! Thanks for the comments chaps.
|
| |
|
|
|
|


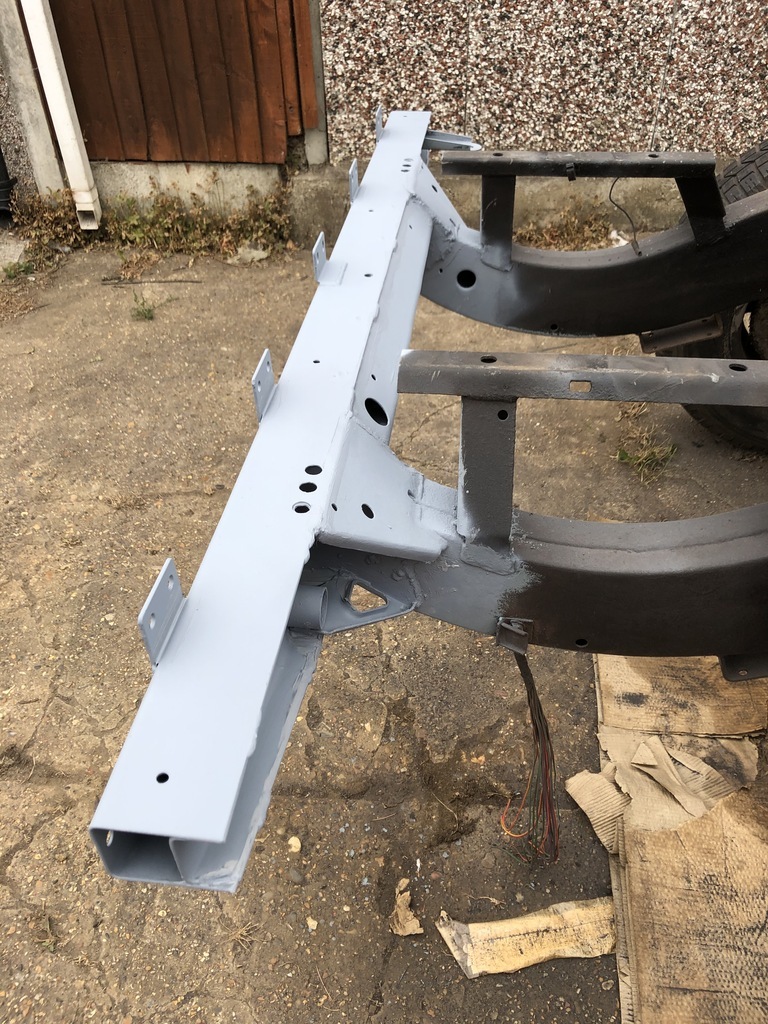
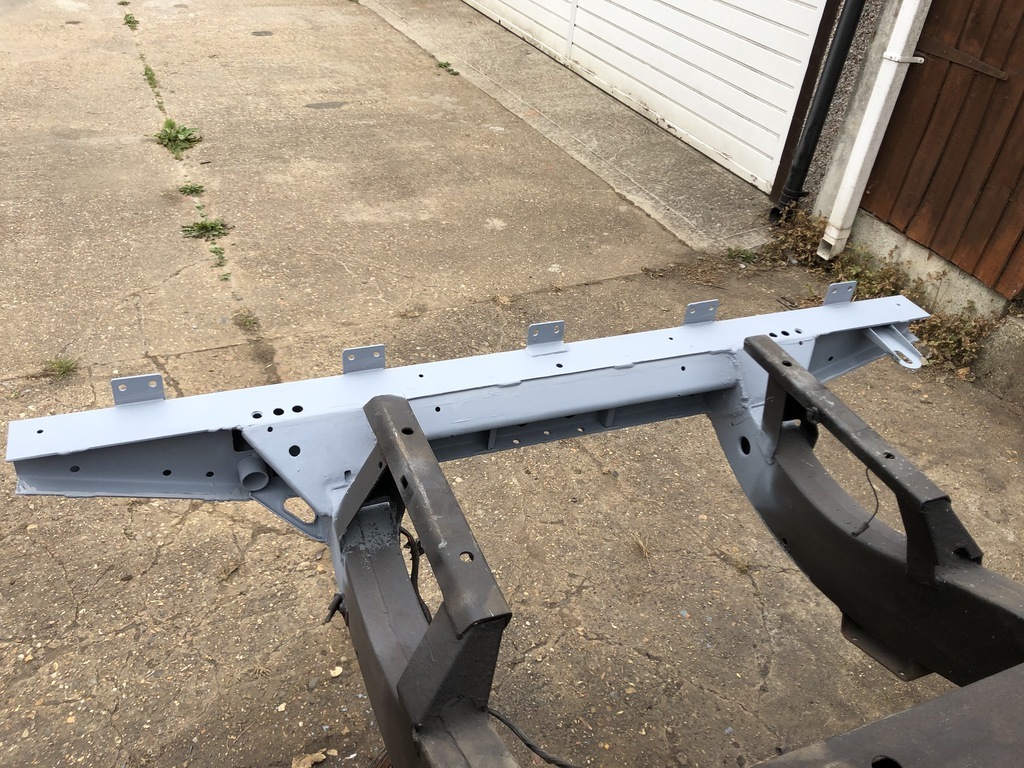
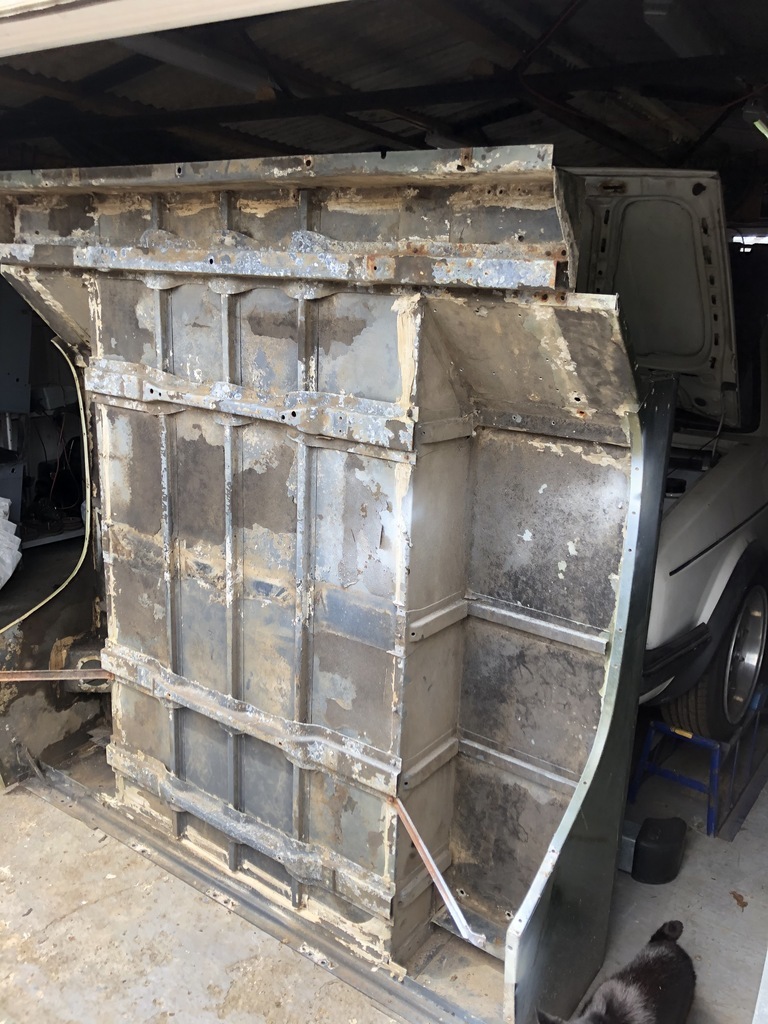
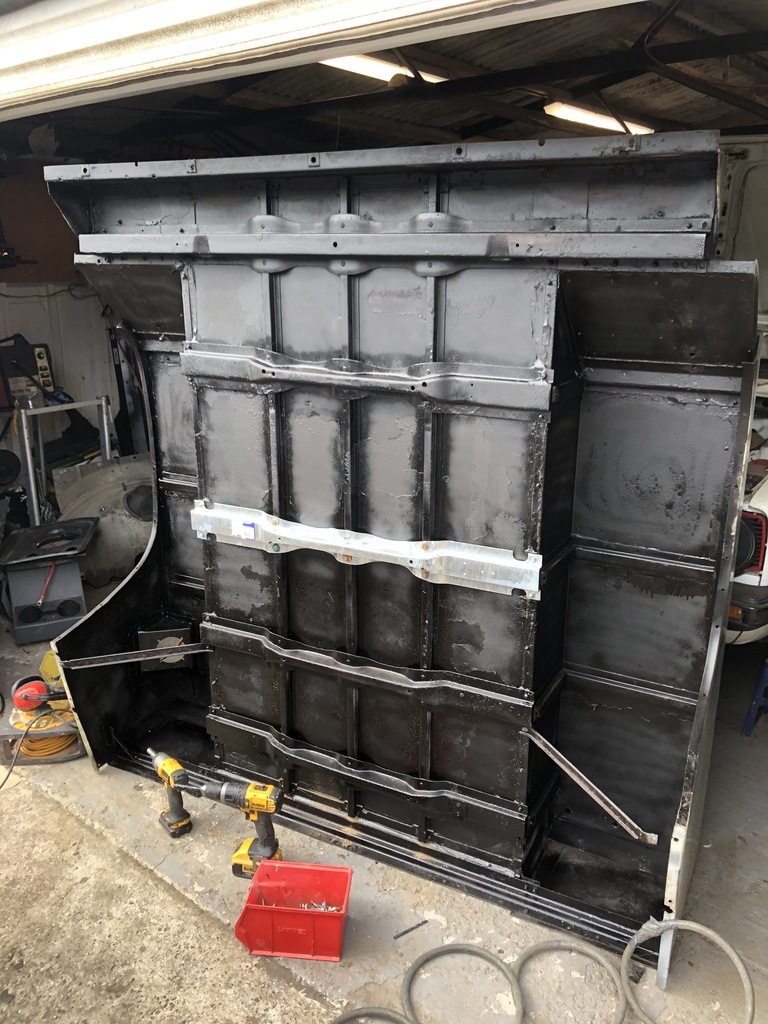
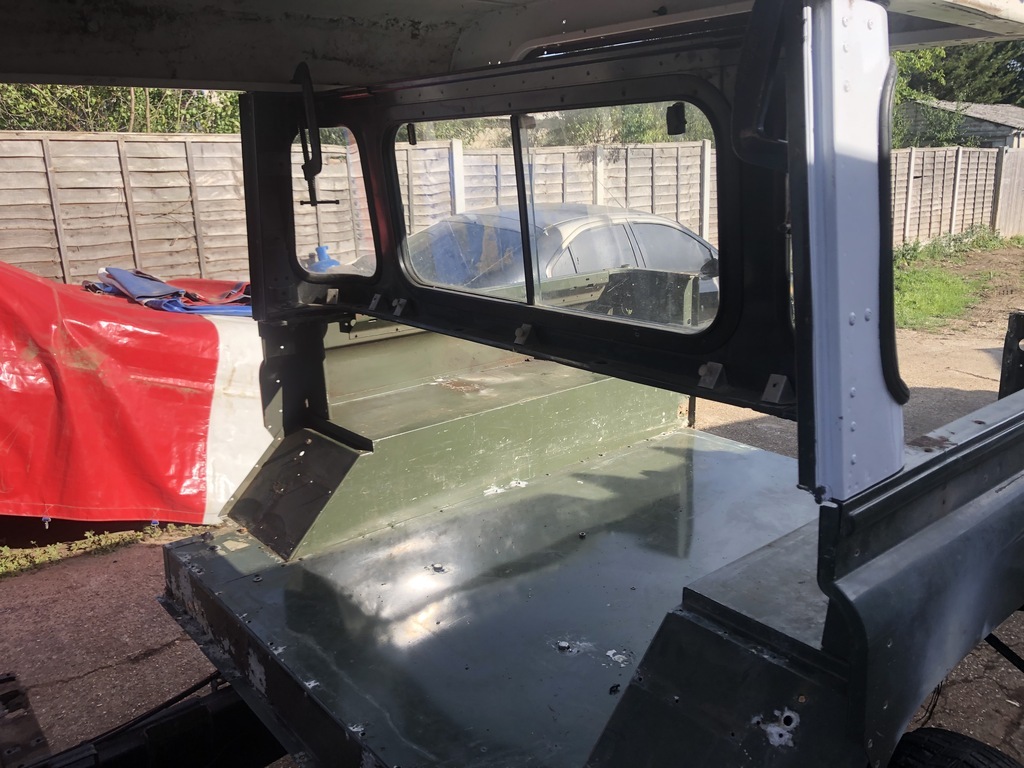
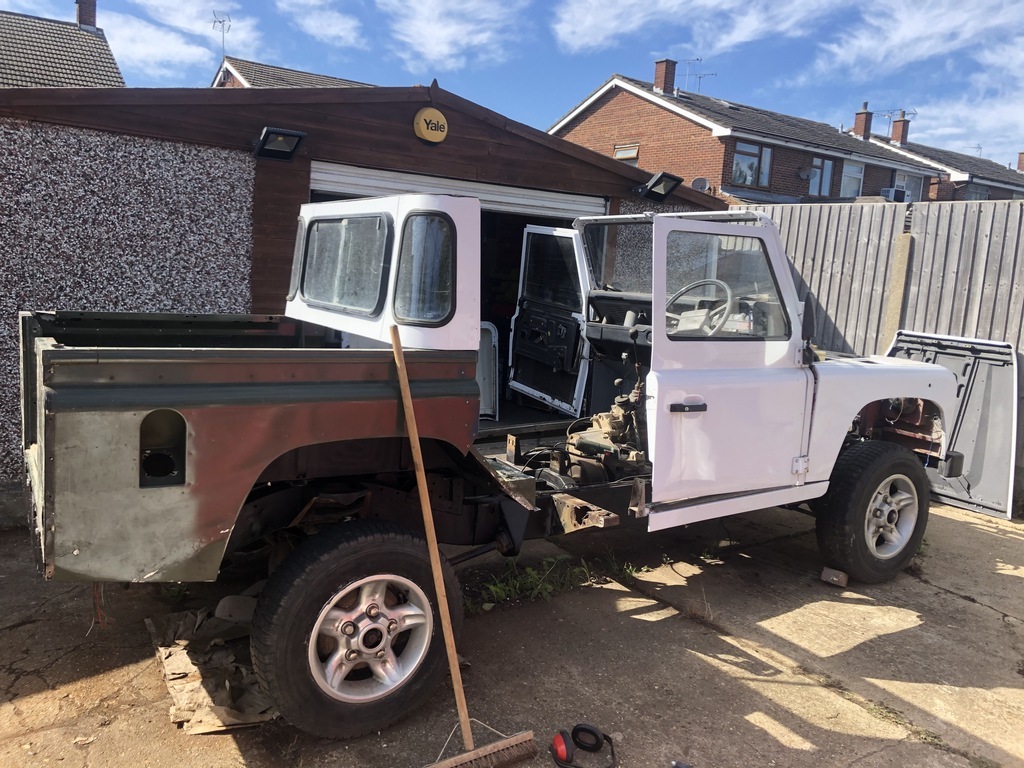
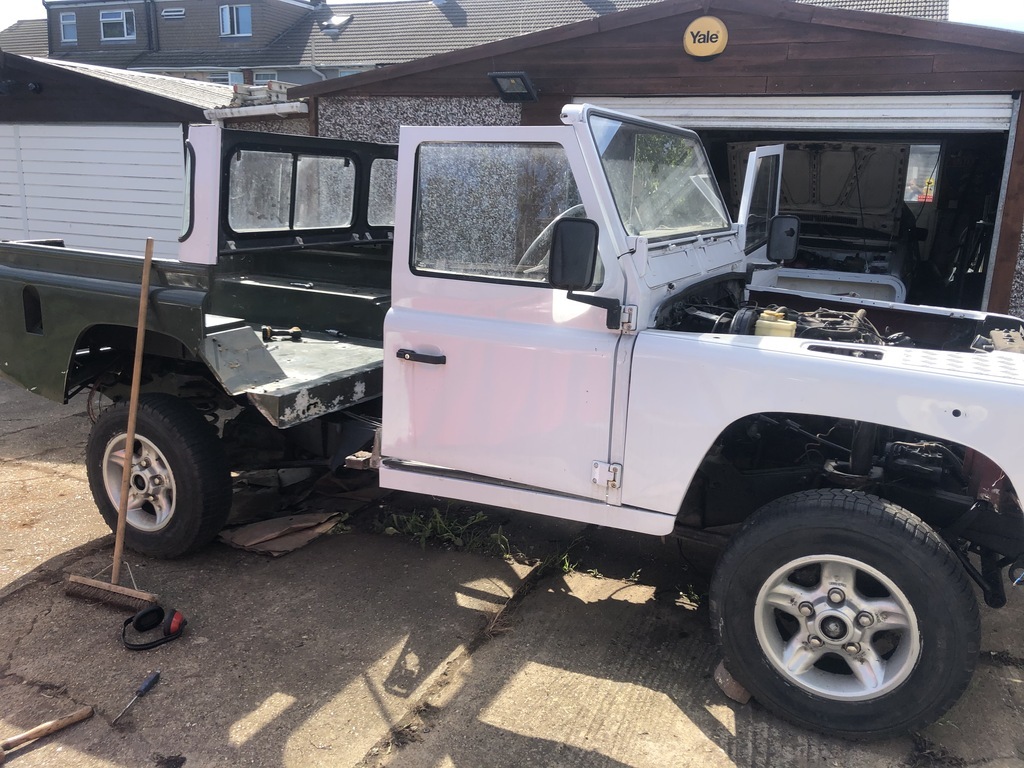
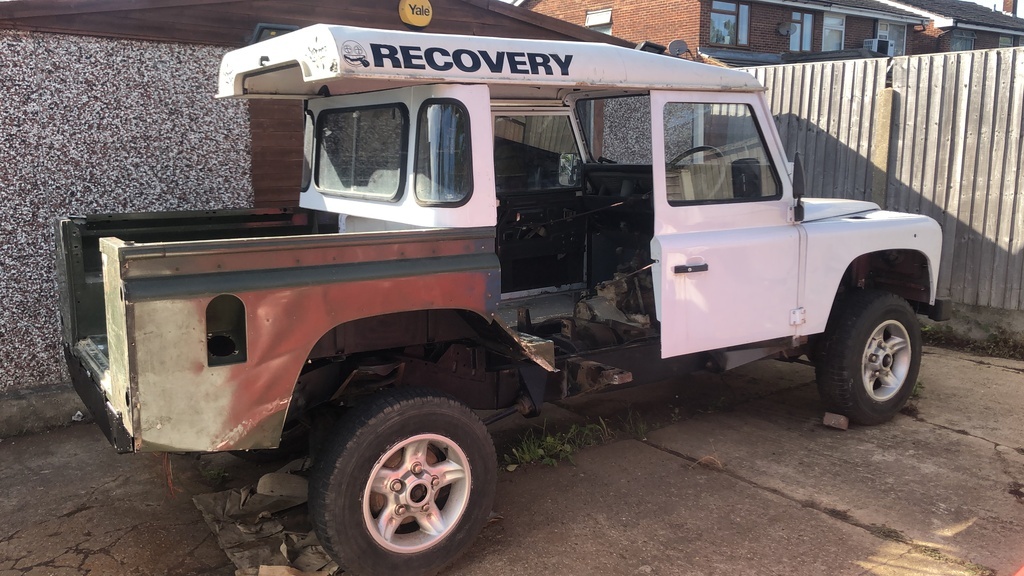
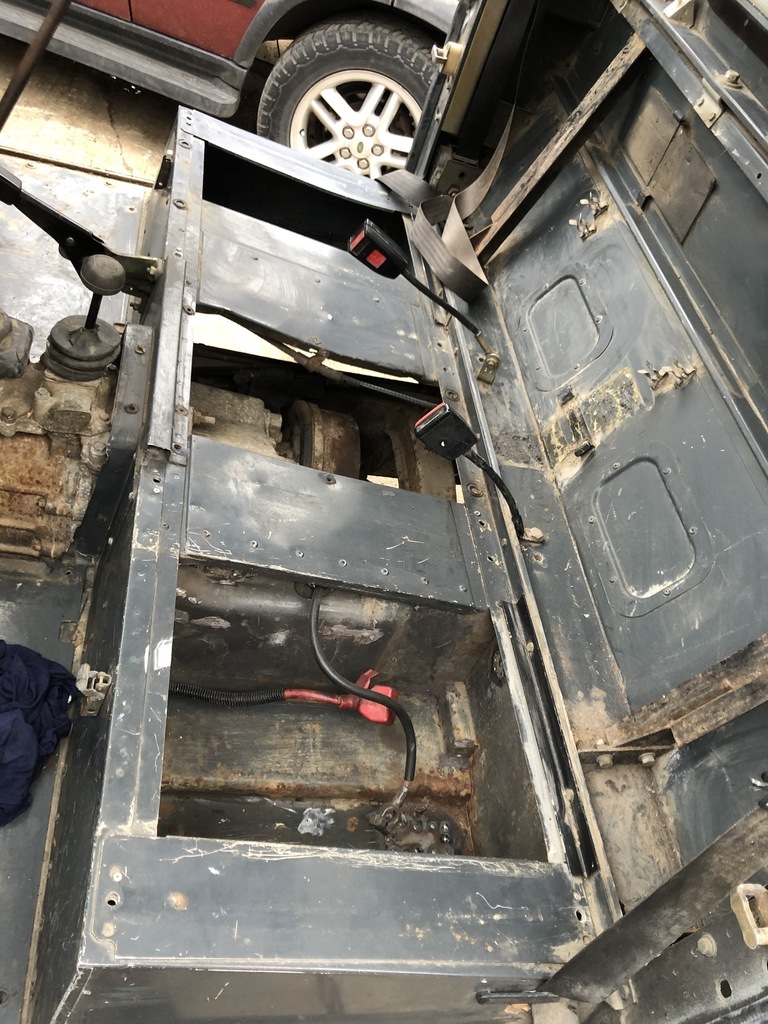
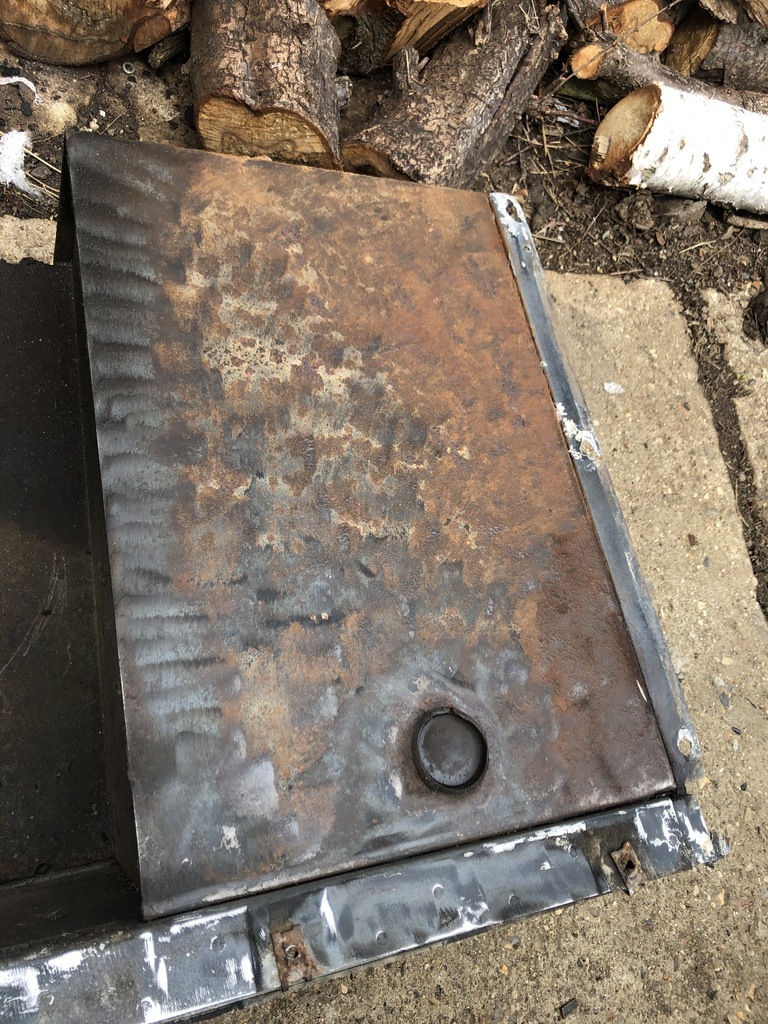
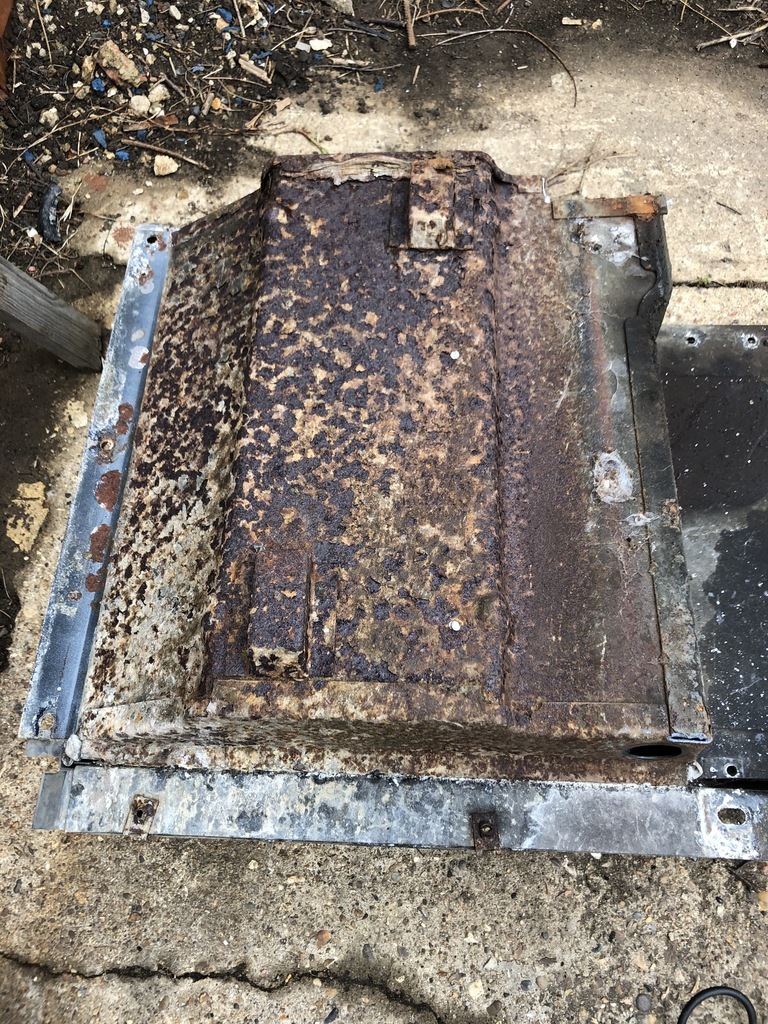

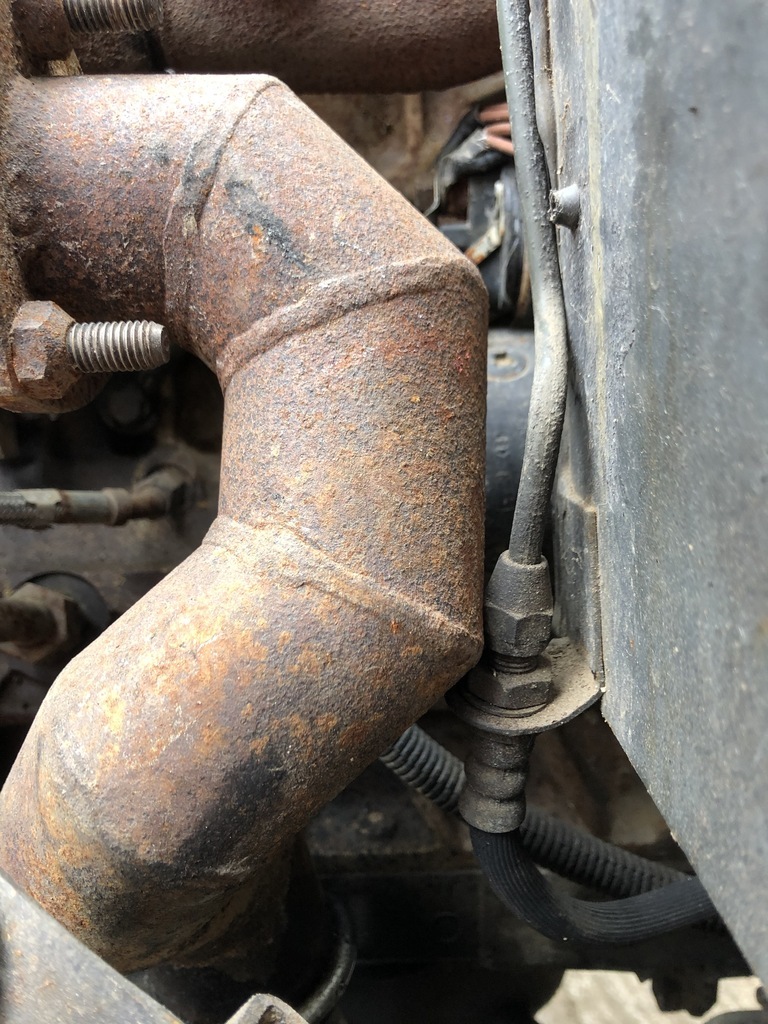
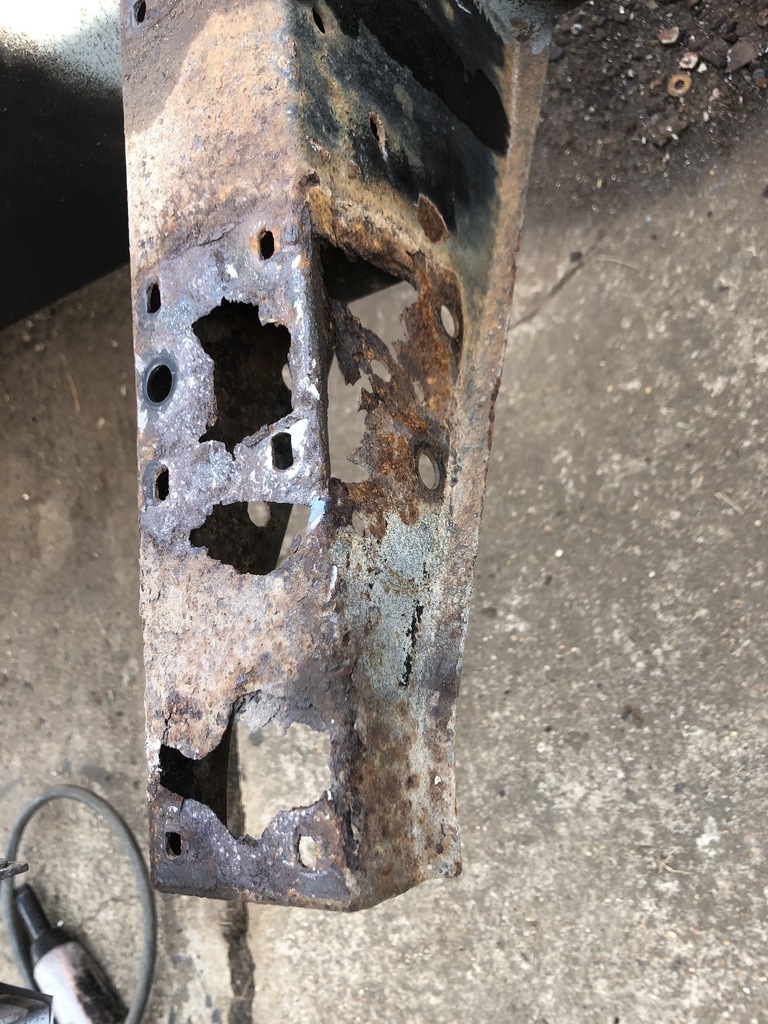
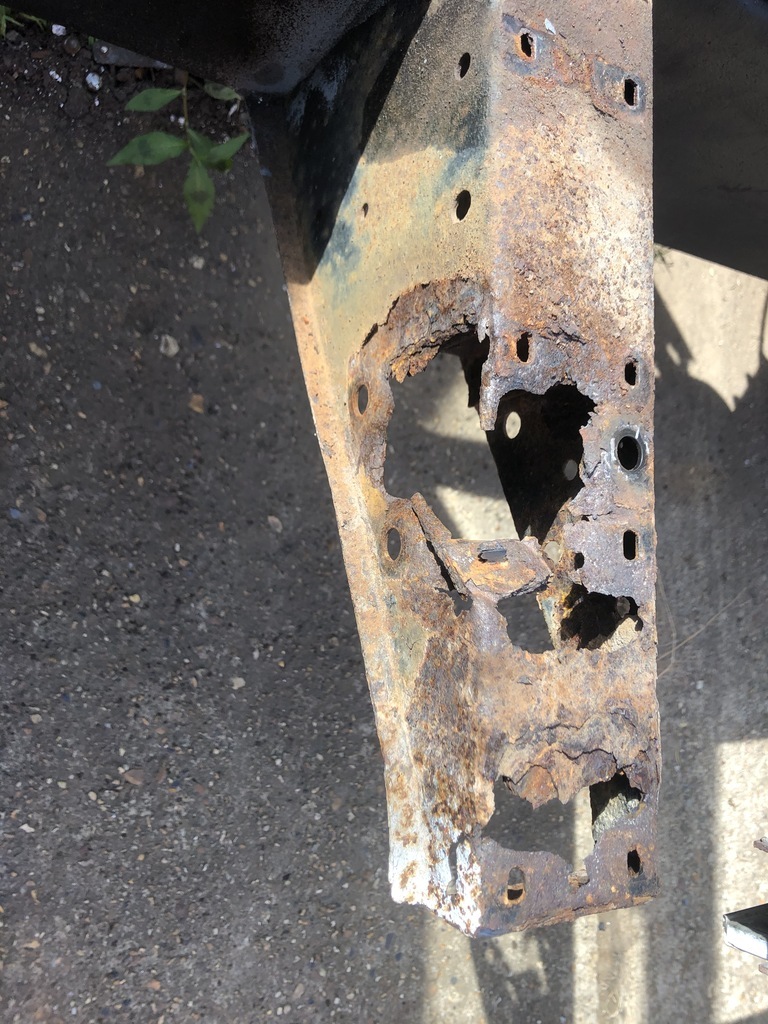
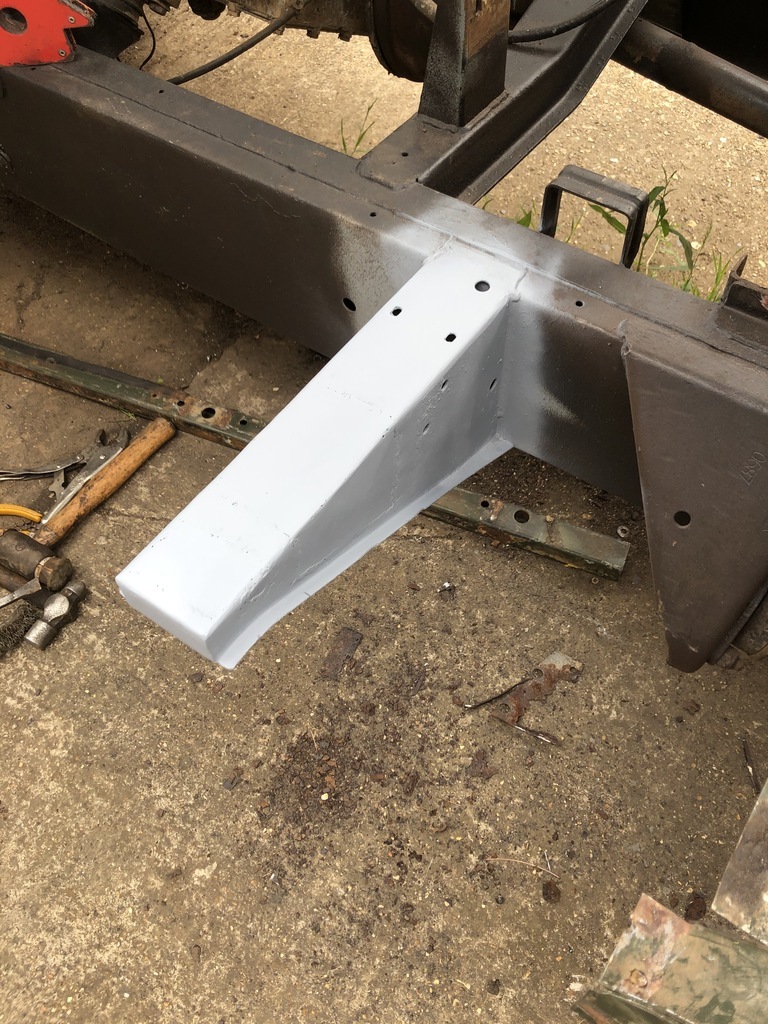
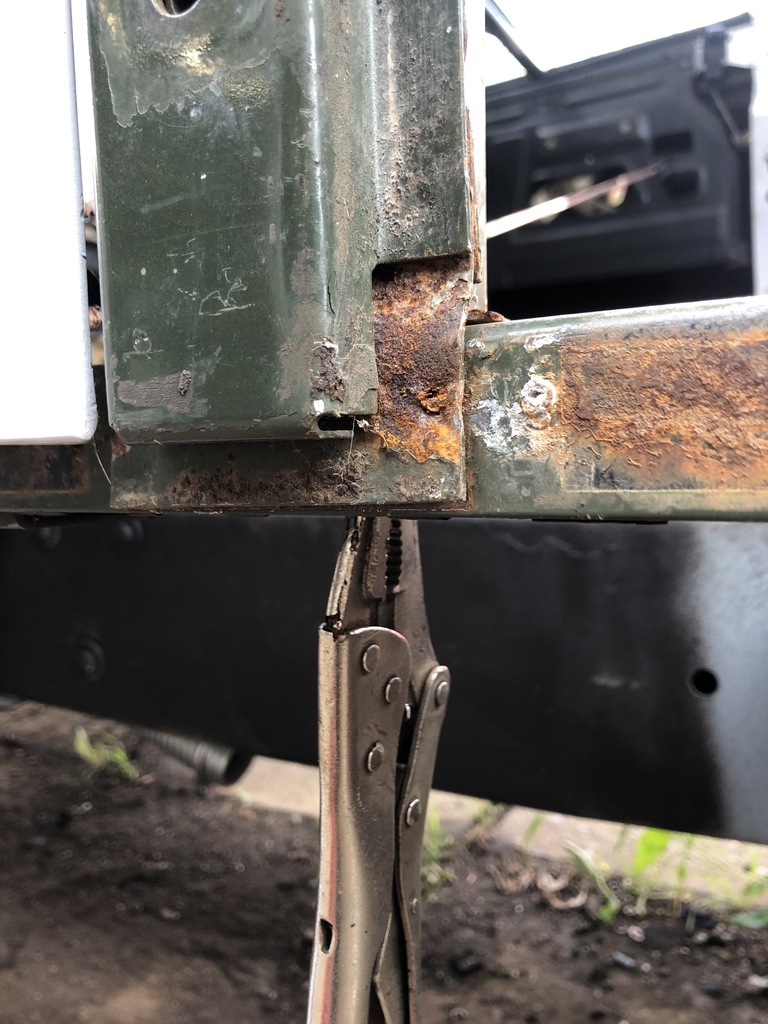


 yes every single rivet in this tub is countersunk.