|
|
|
Mar 18, 2019 21:18:31 GMT
|
|
|
| |
|
|
|
|
|
|
|
|
|
|
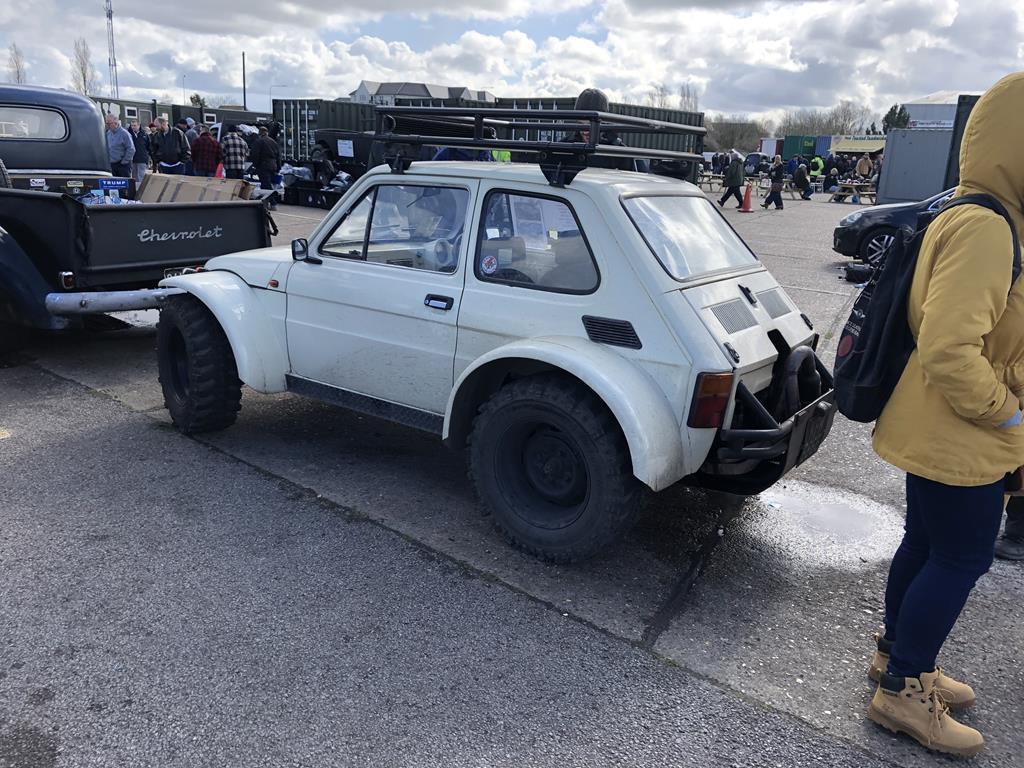
Love the 126 on the beetle chassis
|
| |
|
|
|
|
|
|
|
|
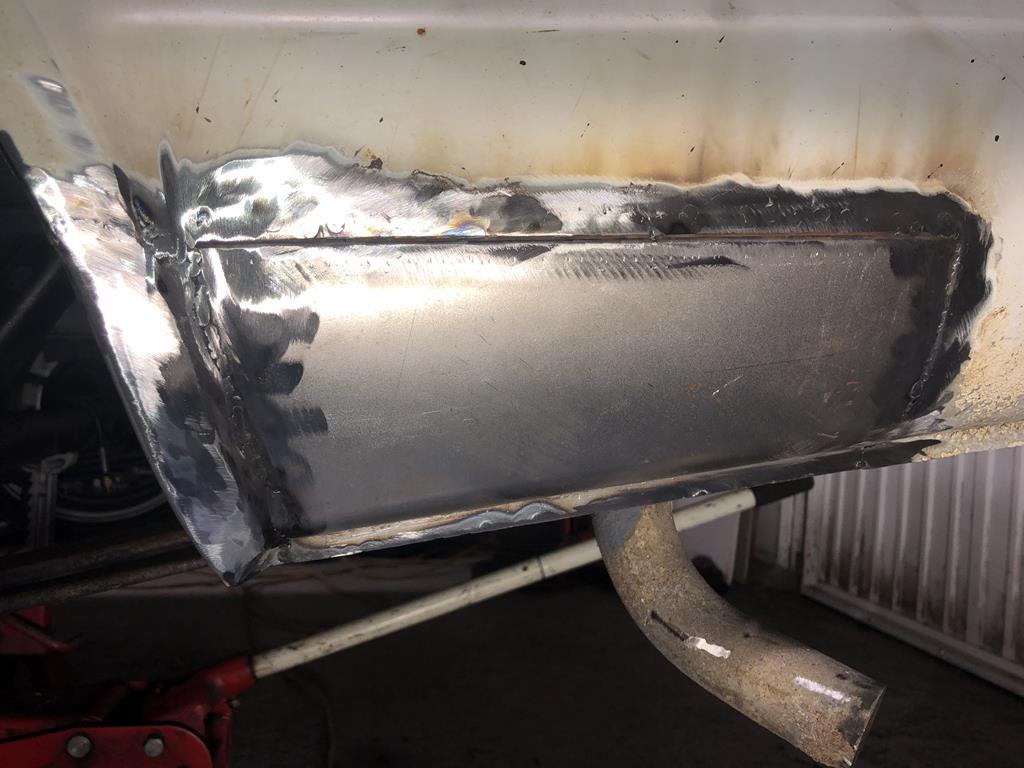
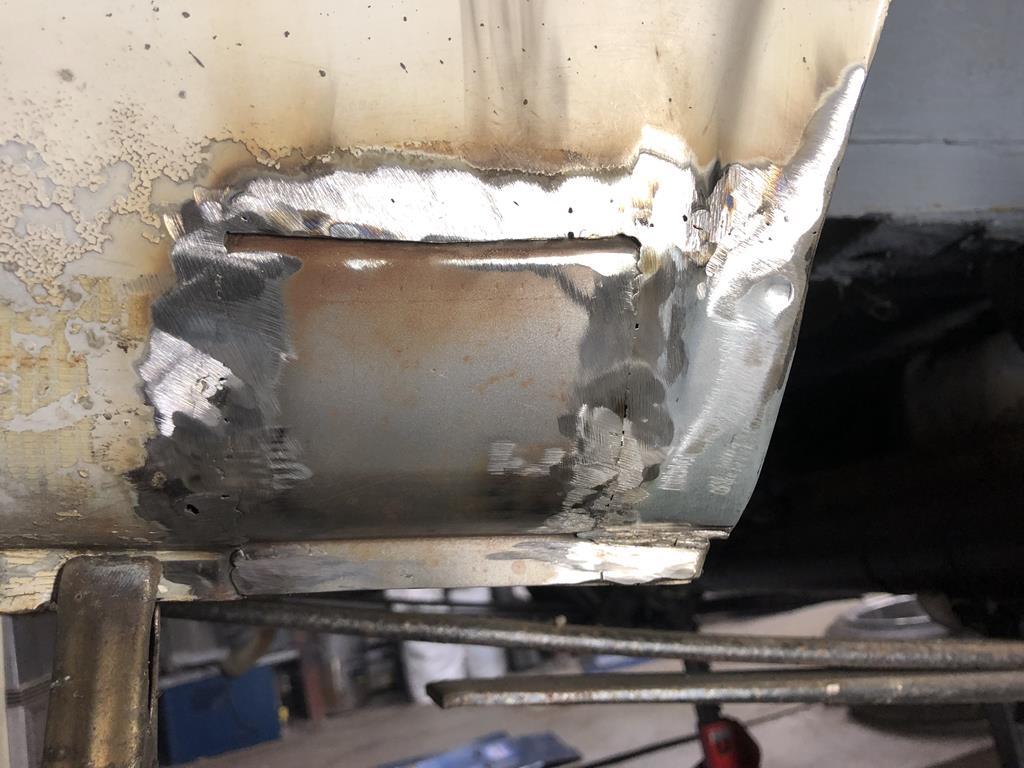
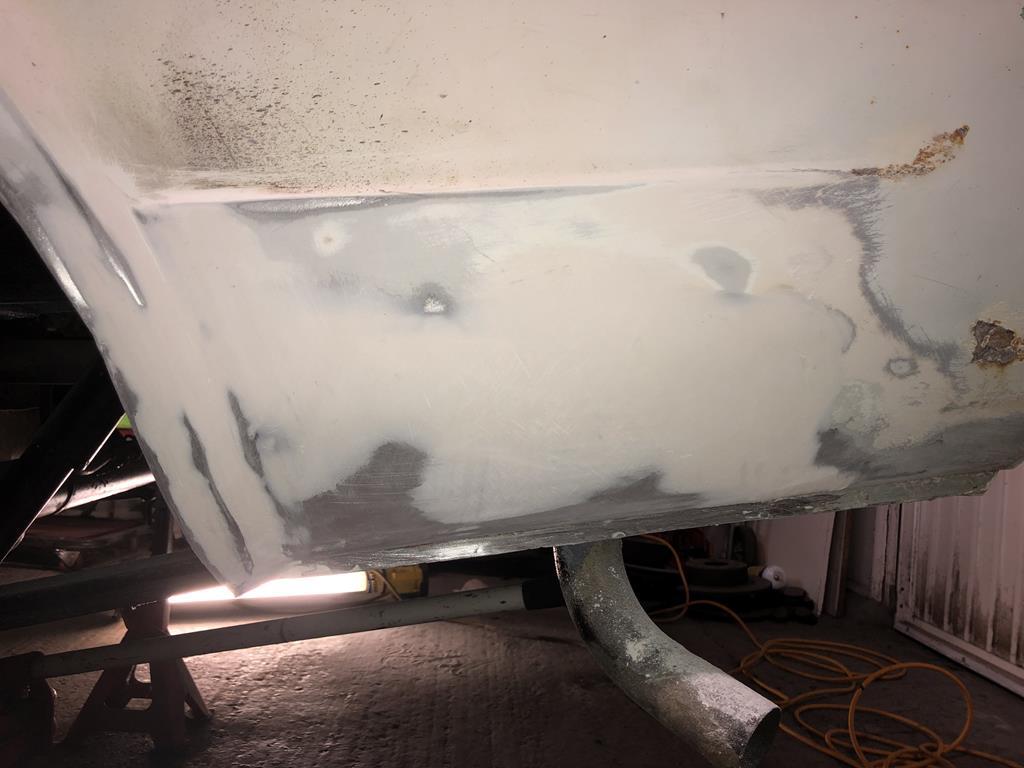
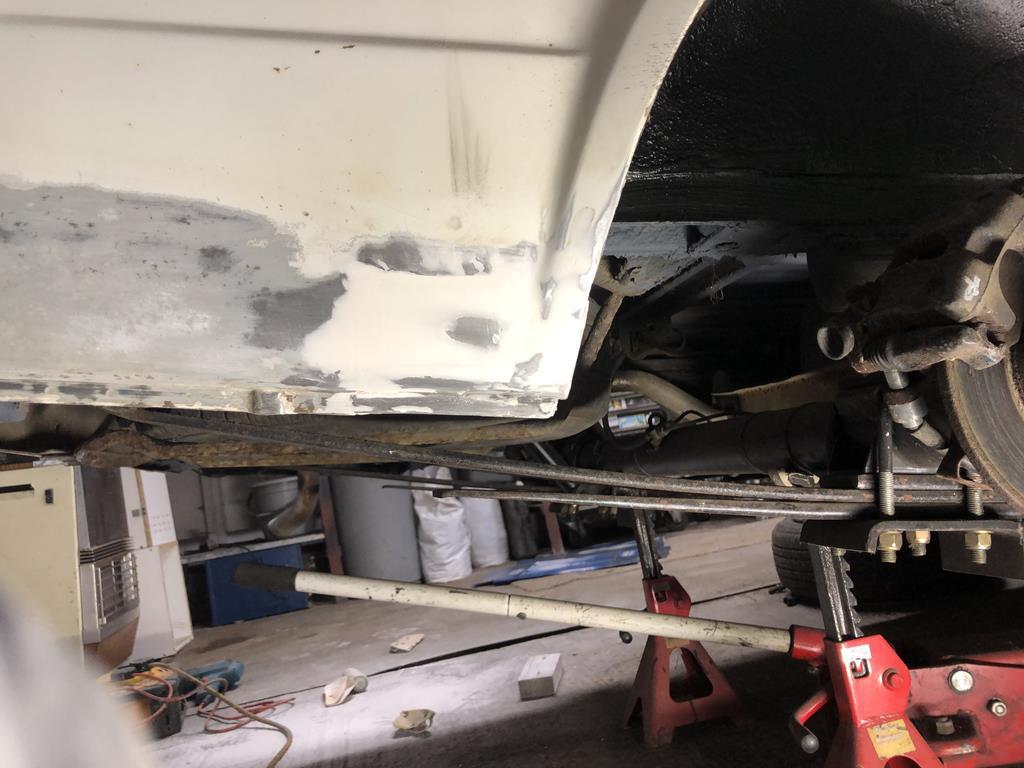
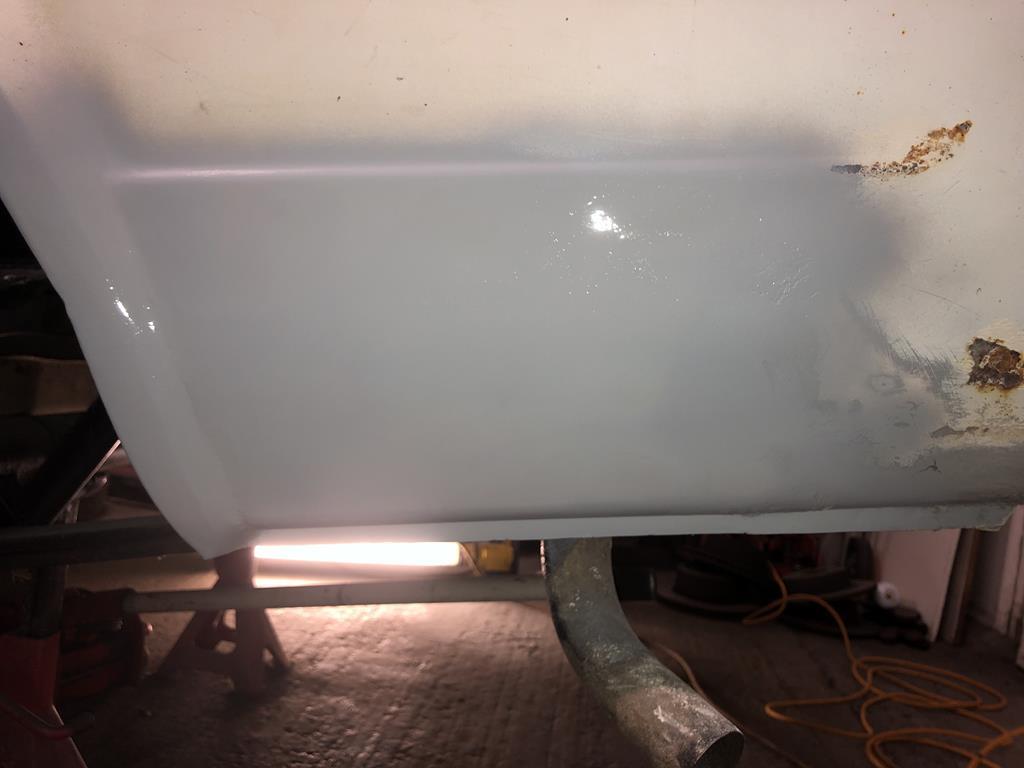
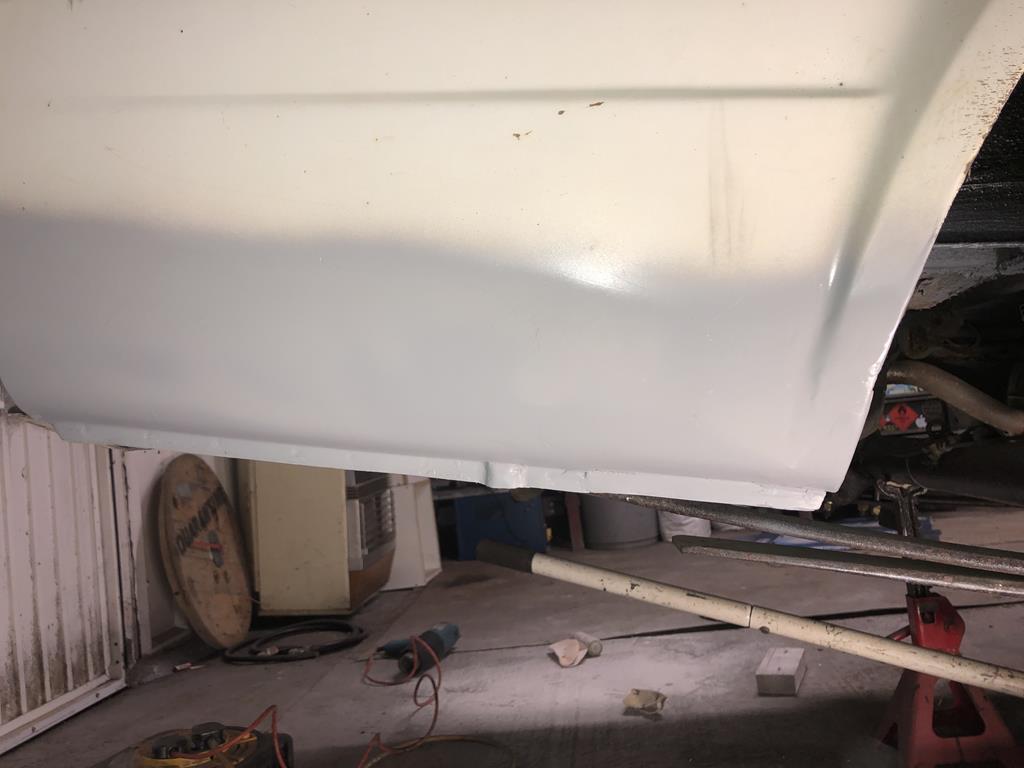
Nice repairs to the lower wings, the matt is a neat idea to blend in too.
|
| |
|
|
|
|
|
Mar 28, 2019 10:06:35 GMT
|
Nice repairs to the lower wings, the matt is a neat idea to blend in too. Cheers. I'm very pleased with how it turned out. |
| |
|
|
|
|
|
Mar 28, 2019 10:06:59 GMT
|
Love the 126 on the beetle chassis I never even noticed it was on a Beetle chassis! |
| |
|
|
|
|
|
Mar 28, 2019 10:15:27 GMT
|
|
After a bit of head scratching last night, over the sunroof conundrum, I've decided it is never going to seal properly. There is alot of flex in the roof skin and I can actually prise it open using just my fingers. Not at all secure or water tight. So I decided I have 4 options;
1. Try and find a better fitting seal - I've tried several and none are the correct size or consistency.
2. Seal it shut with black windscreen adhesive- Might be a tad warm in the summer - greenhouse effect. Would have to tint it.
3. Try and find a suitable replacement or make one fit from another vehicle - I can't have slide mechanism due to the short cab.
4. Find a roof cut or a sunroof filler panel and weld it on - Difficult to find a roof cut, even more difficult to fabricate a filler panel with the correct contours.
|
| |
|
|
glenanderson
Club Retro Rides Member
Posts: 4,368
Club RR Member Number: 64
|
|
Mar 28, 2019 12:17:50 GMT
|
|
I’d be looking for a roof cut, but I appreciate they’re not exactly growing on trees.
|
| |
My worst worry about dying is my wife selling my stuff for what I told her it cost...
|
|
|
|
|
|
|
|
Sorry I did not know, and missed you mate.
Would have been good to meet you.
|
| |
|
|
|
|
|
|
|
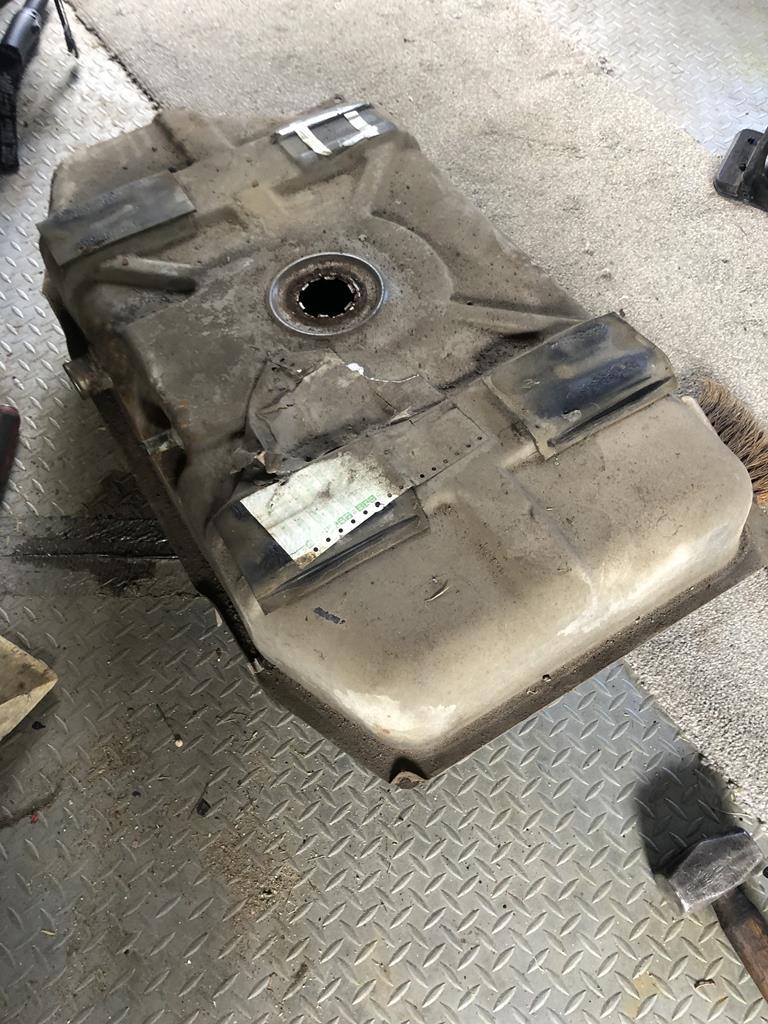
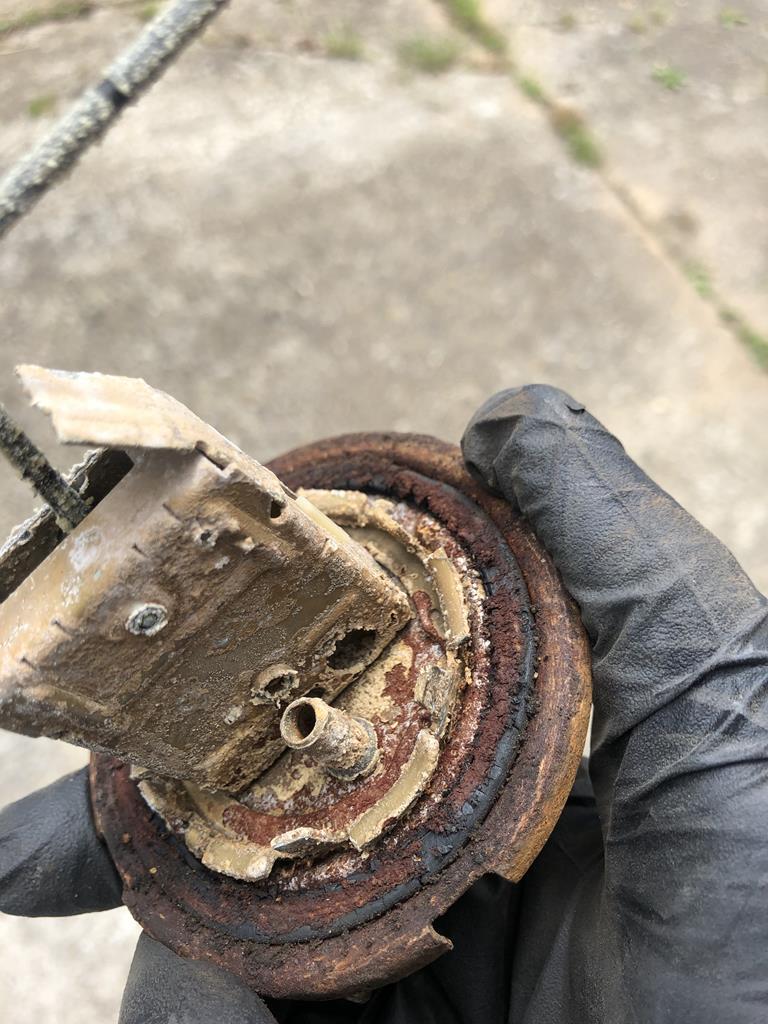
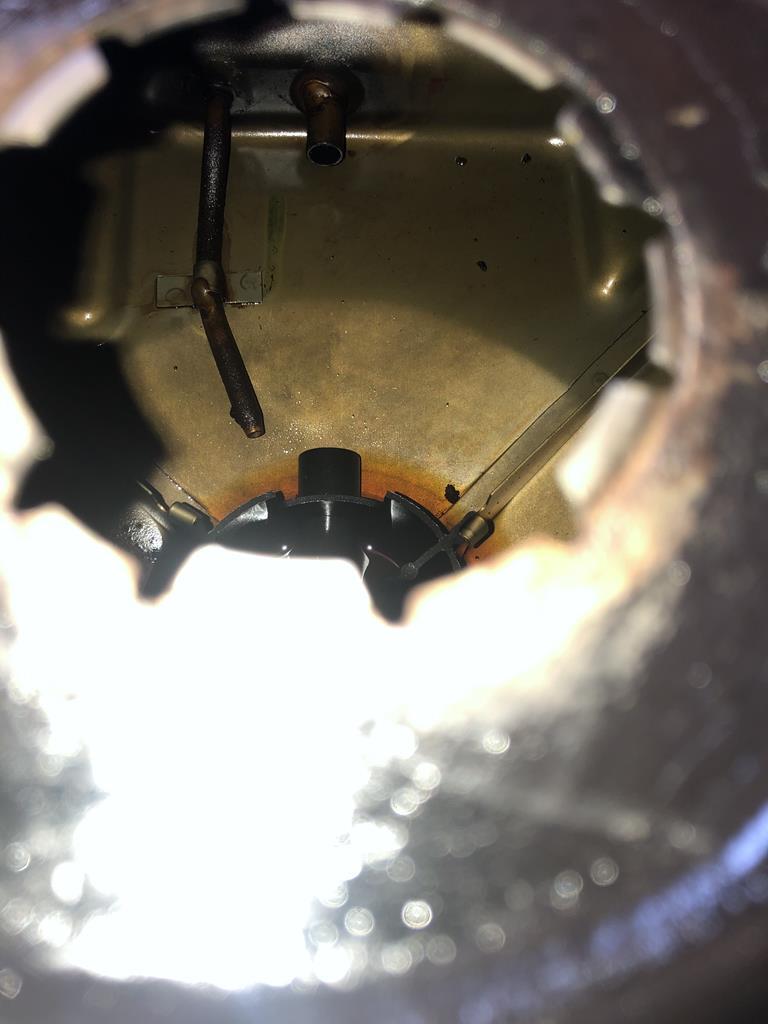
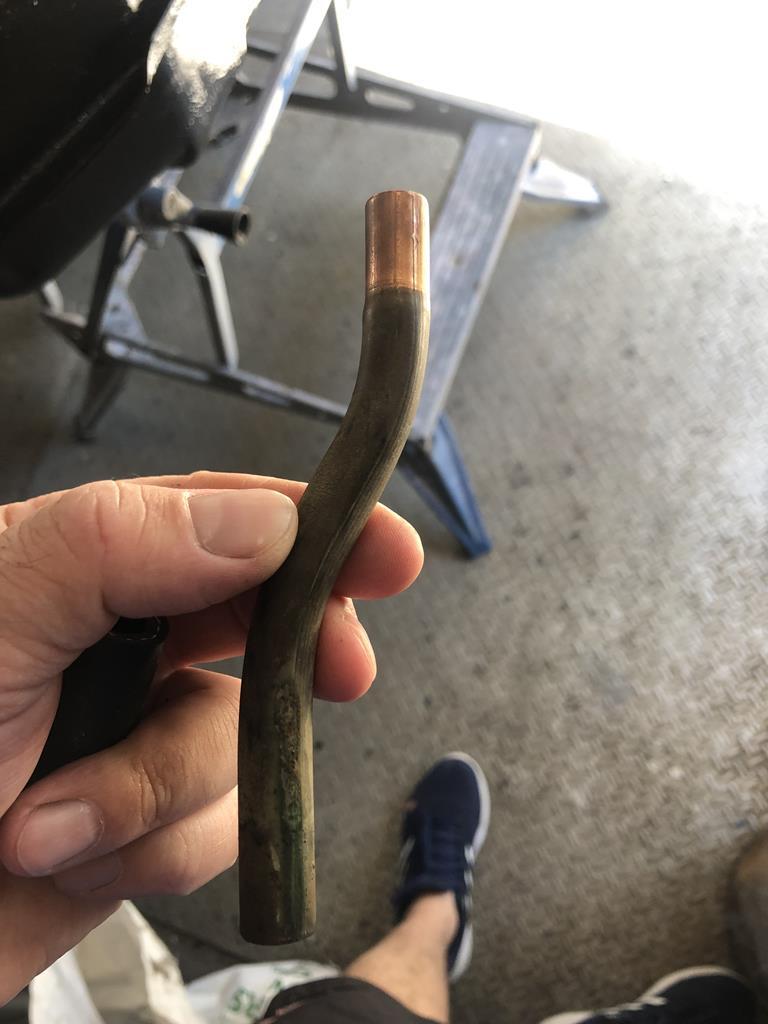
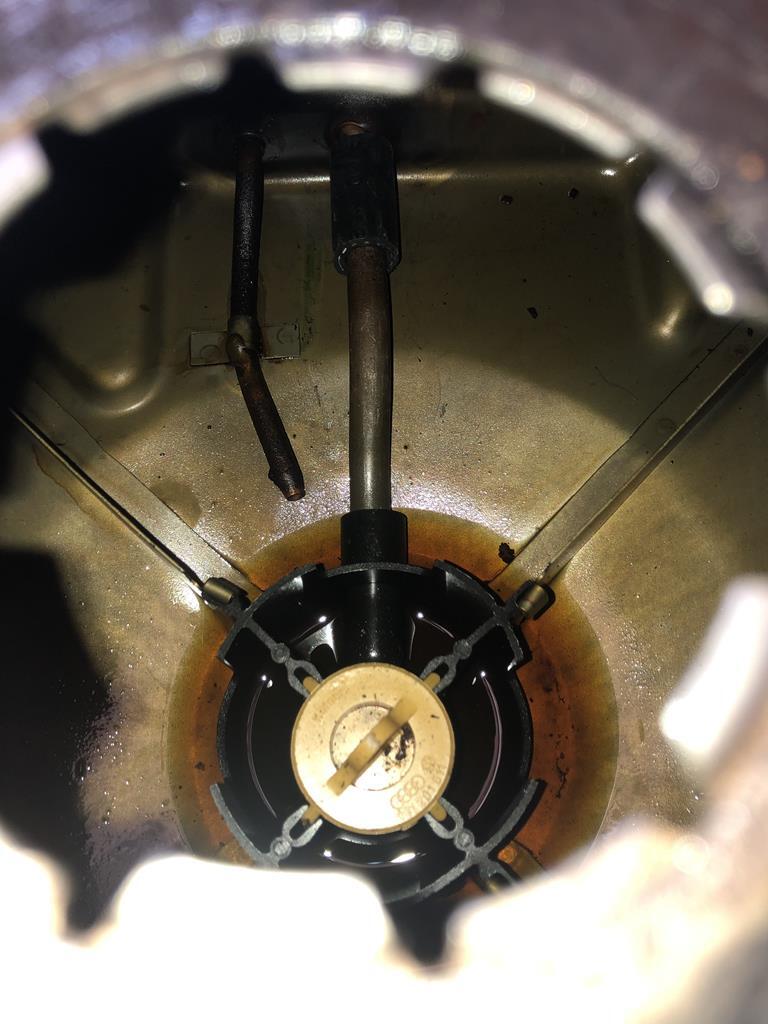
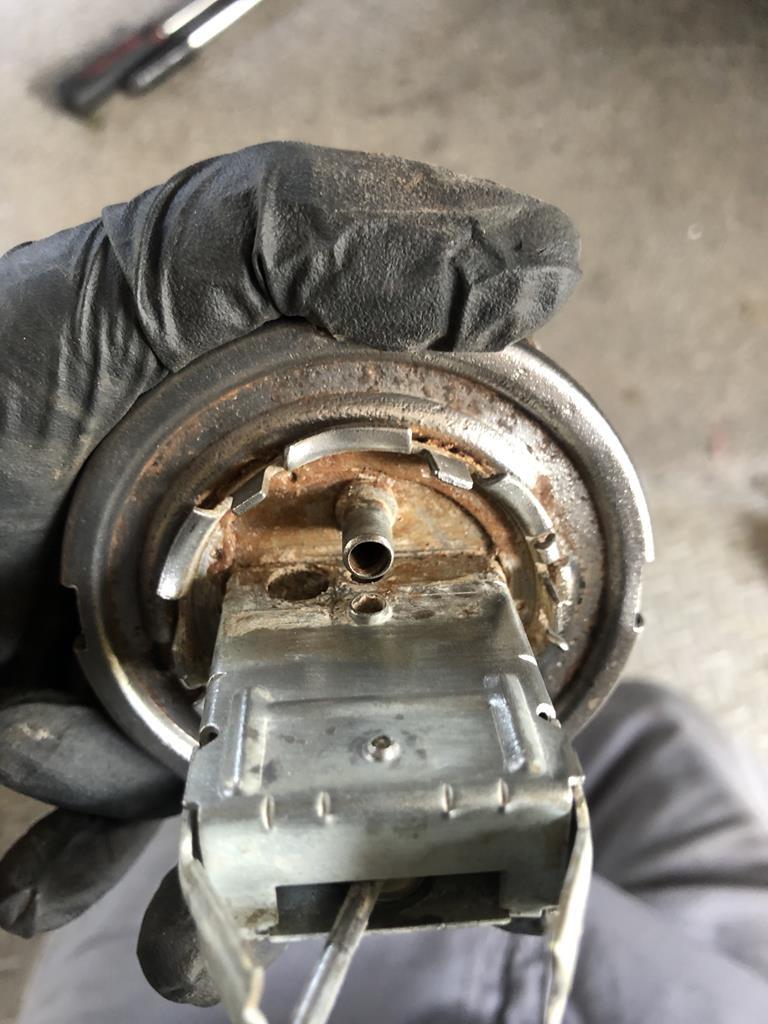
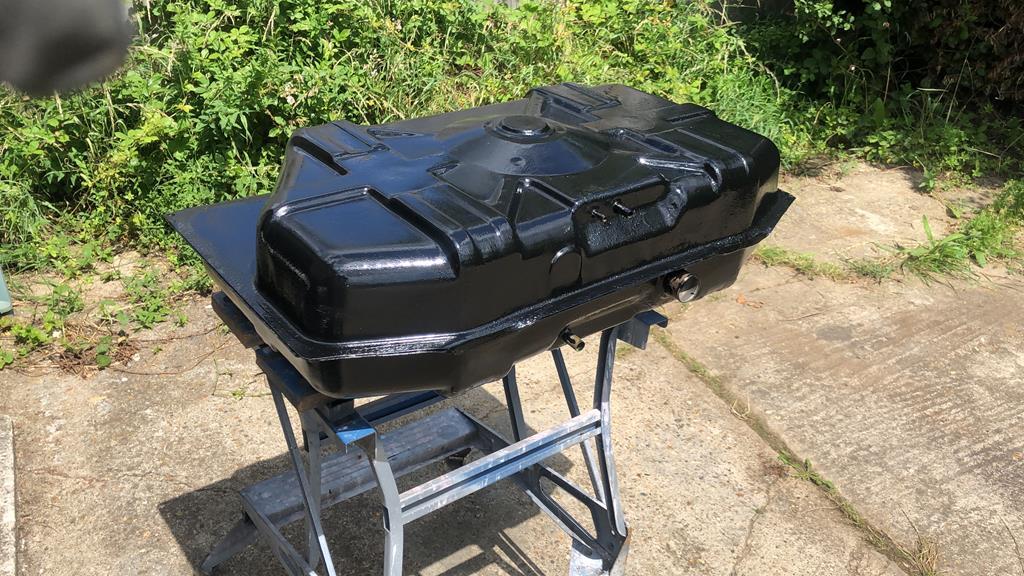
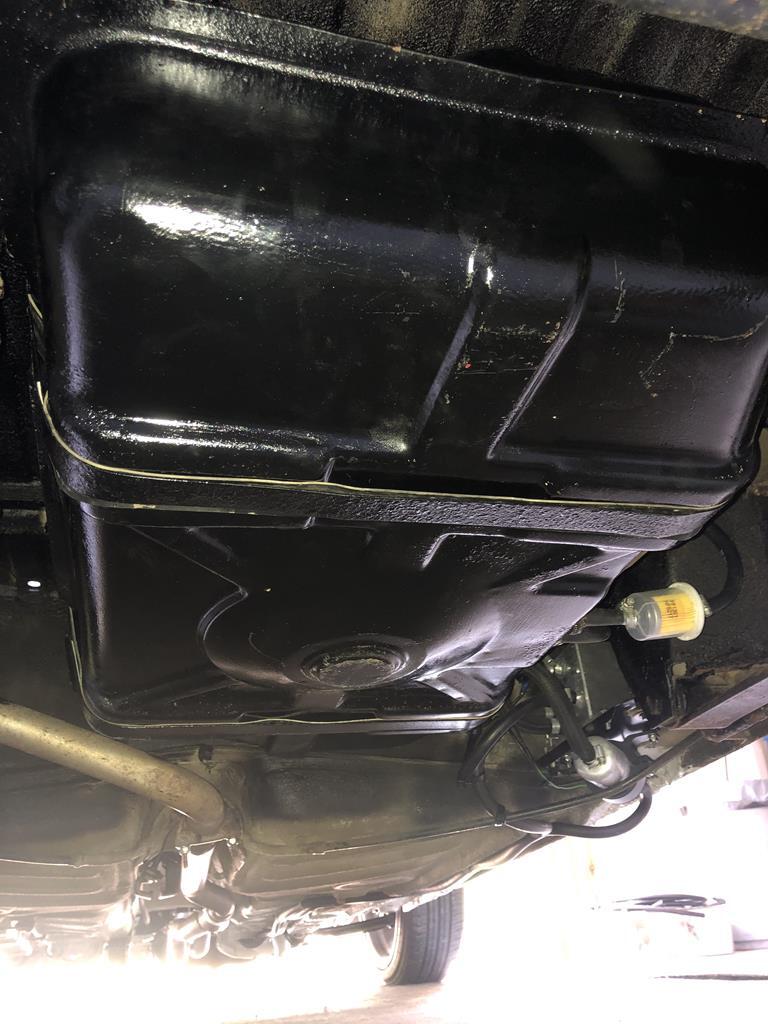
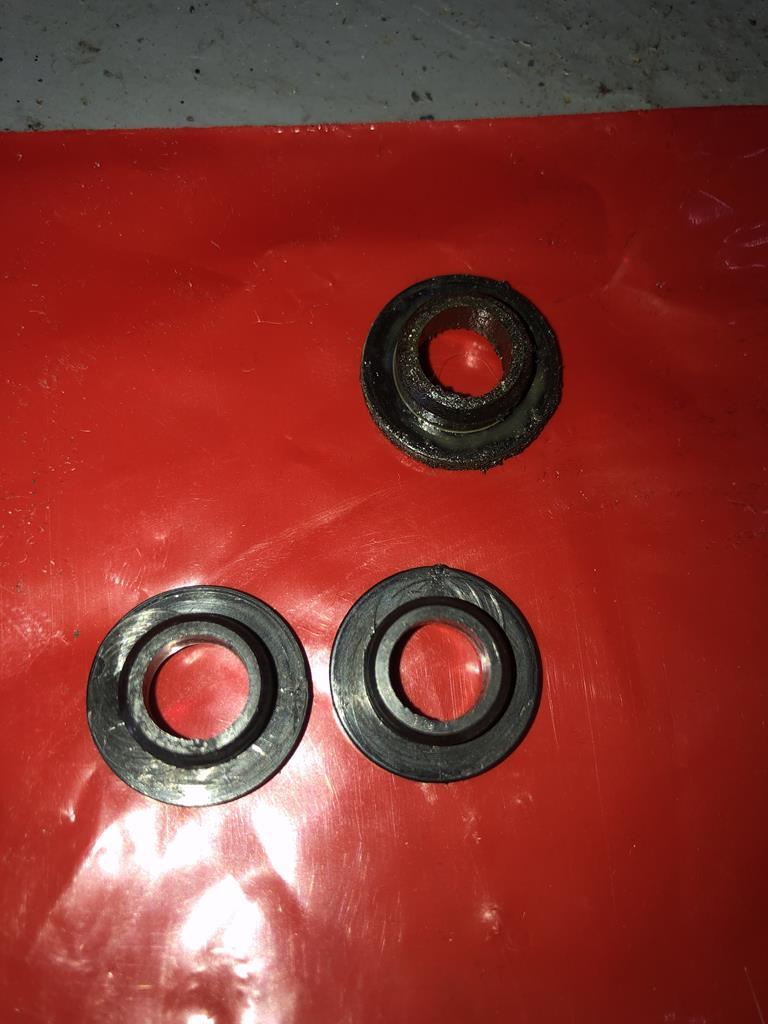
Yeah it's a shame we missed each other. Another time maybe? So, last Friday i'm sitting in the traffic on the way home when the car next to me attracts my attention and tells me there is fuel leaking from the back of my car. I managed to get home, jacked the drivers rear, took the wheel off and found this. 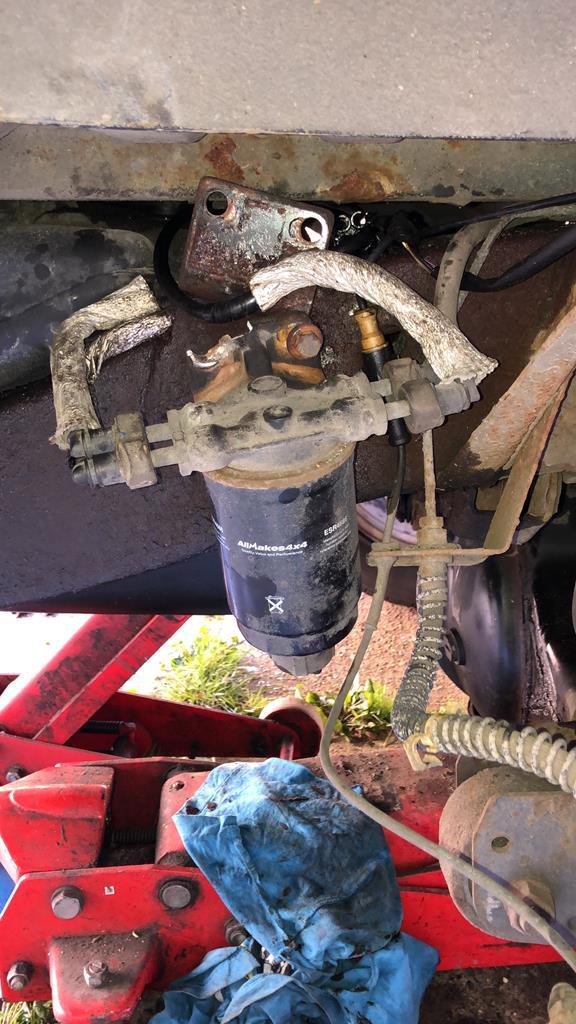 This wasn't the cause of the leak though. It seemed to be coming from between the tank and chassis. With not very much room to see, I had to drop the tank slightly. It would have been easier if my 120 litre tank wasn't 85% full! 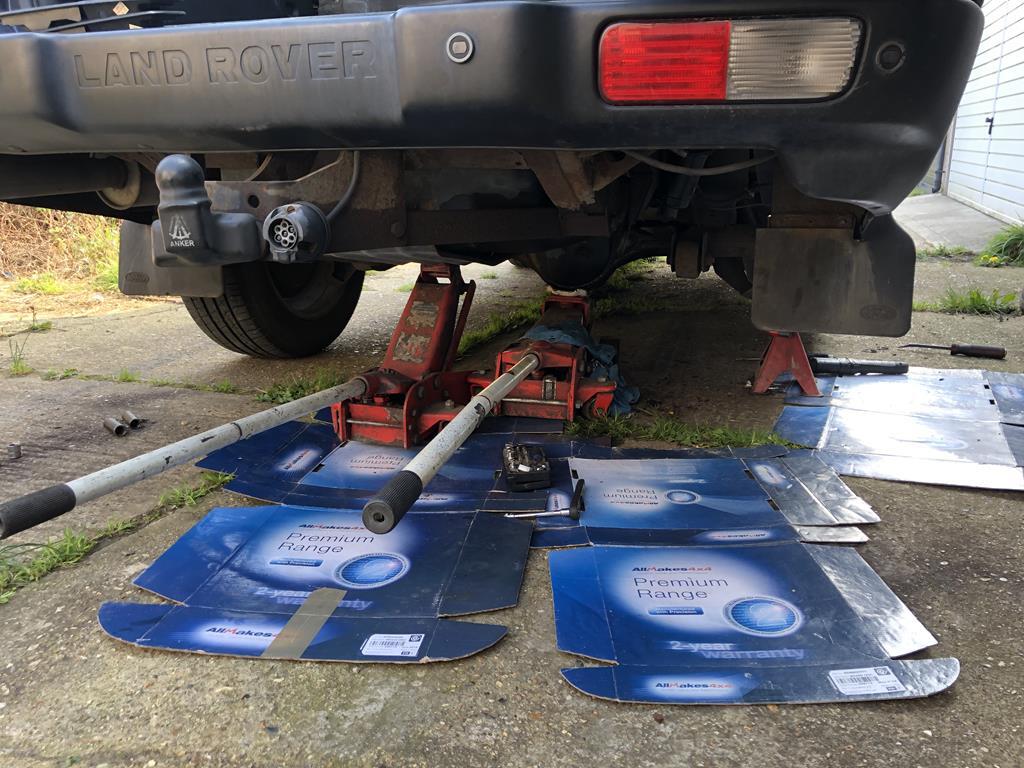 I eventually traced it to this chaffed pipe from the fuel pump. 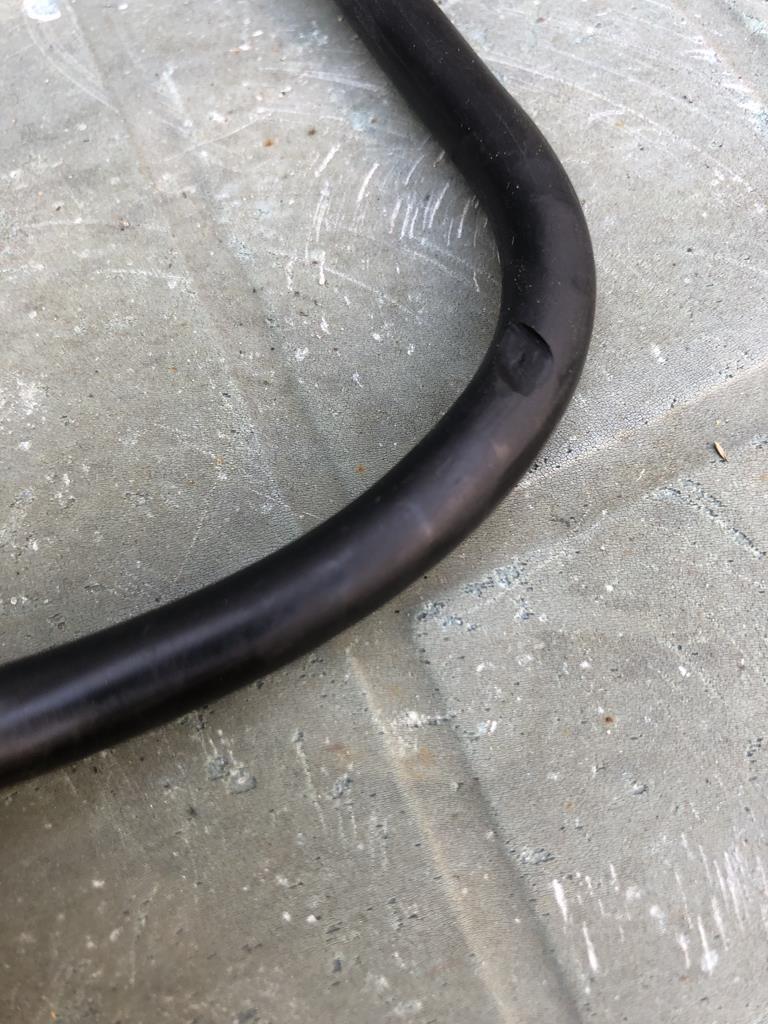 After some Googling it seems that this is a common problem. They even had a recall when they were new to resolve it. Mine must have been missed. £54 for a new one. While the car was off the road, I thought it a good idea to change the leaking rear hub. However, I dropped my daughter at nursery the following morning and thought I could smell gear oil. Some investigation and.... 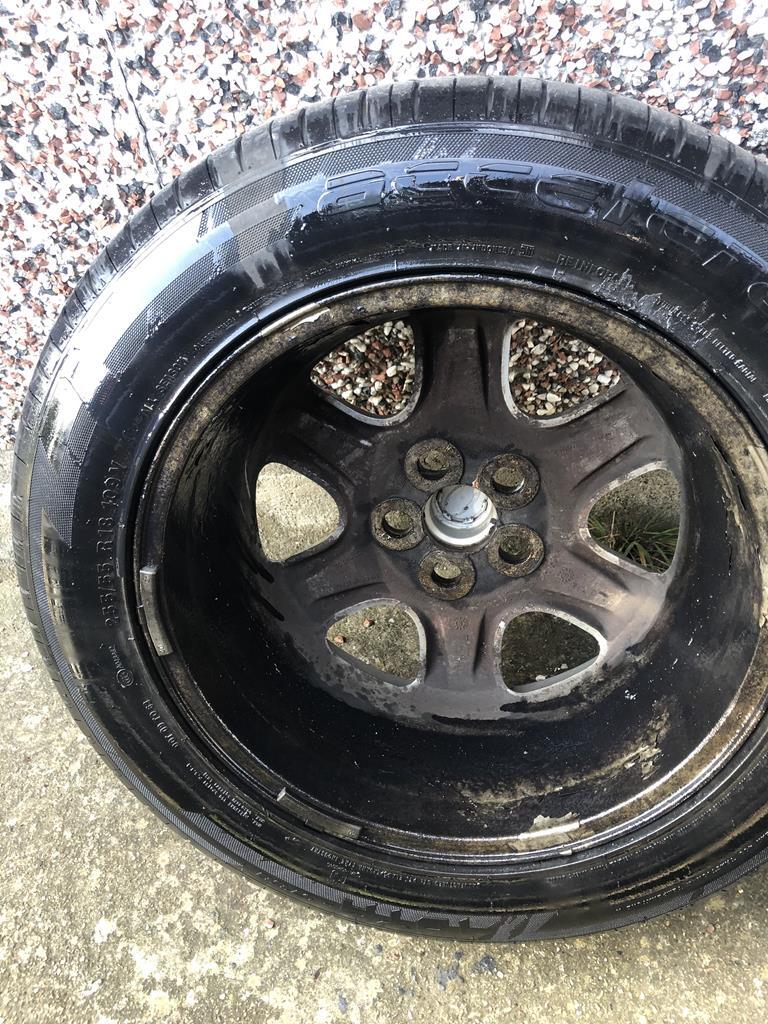 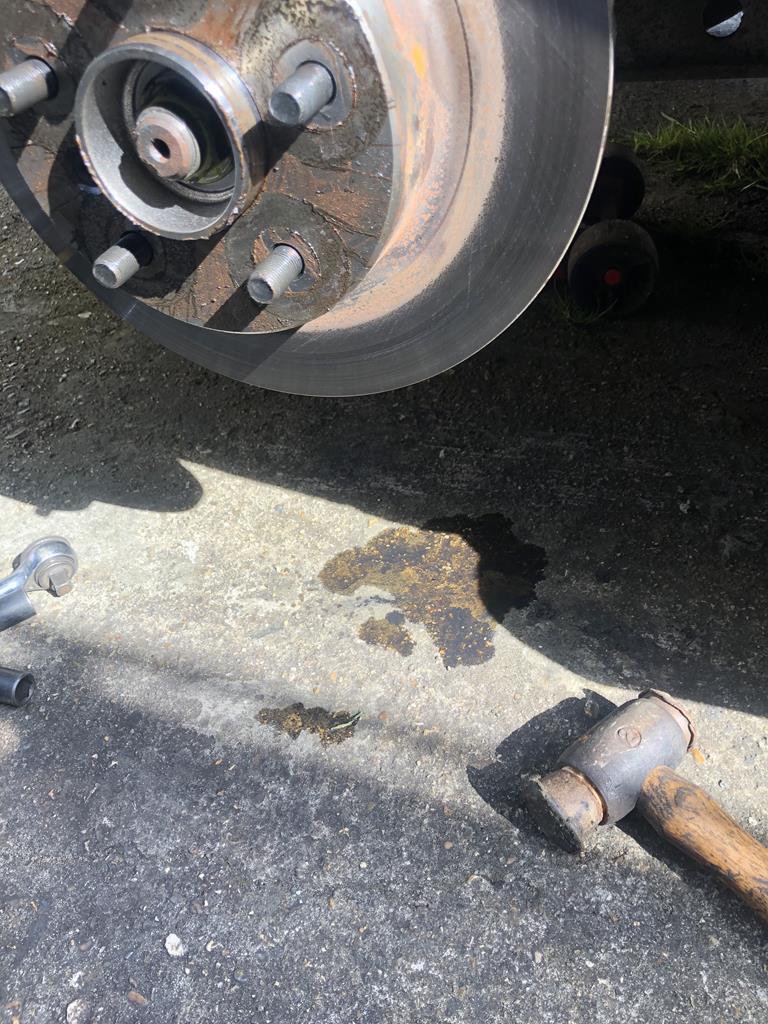 It seems I didn't notice the new hub didn't come with an O ring. Luckily the one from the original hub was in good condition so I fitted that and cleaned up the mess and two days later, all seems good. The center caps for the wheels on the Caddy arrived so I fitted them with a little adhesive to keep them in place.  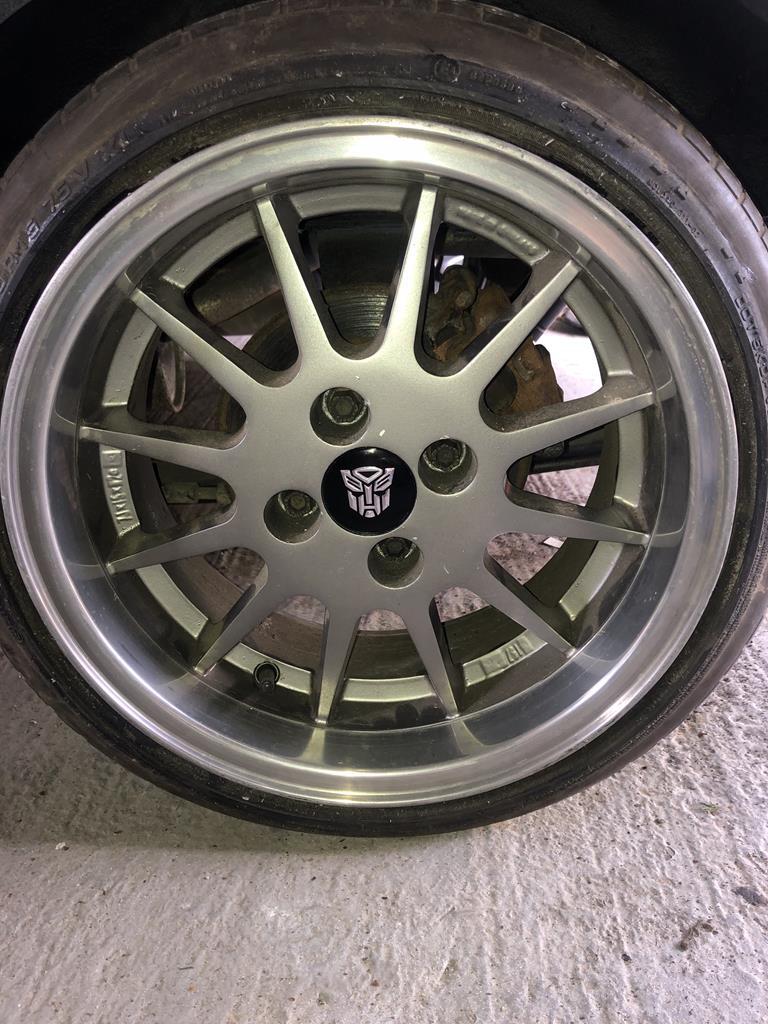 I likes them so they stays. I ran the engine for a little while and noticed a fuel leak! Why are all my vehicles leaking?  ? It turns out to be a hairline crack in the fuel rail. So if anyone has a fuel rail for a 1.8 8 valve PB engine from a Mk2 Golf Gti, let me know. |
| |
|
|
zook71
Part of things
 
Posts: 994 
|
|
Apr 17, 2019 15:17:00 GMT
|
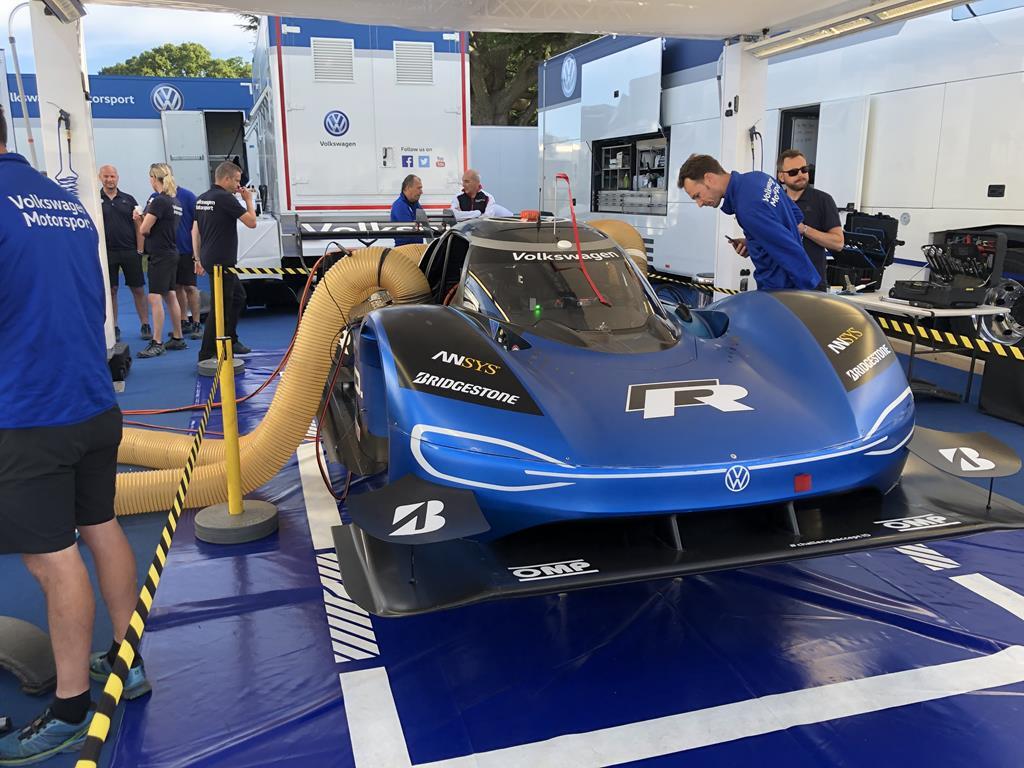
 DP World on the old Shellhaven site? |
| |
1974 Triumph 2000
|
|
|
|
domrr
Part of things
 
Posts: 41 
|
|
|
|
|
I'm guessing the delightful Southampton?
|
| |
|
|
|
|
|
|
|
|
Zook71 is correct. Domrr is wrong
|
| |
|
|
|
|
|
May 13, 2019 19:41:59 GMT
|
|
|
| |
|
|
|
|
|
May 13, 2019 20:03:02 GMT
|
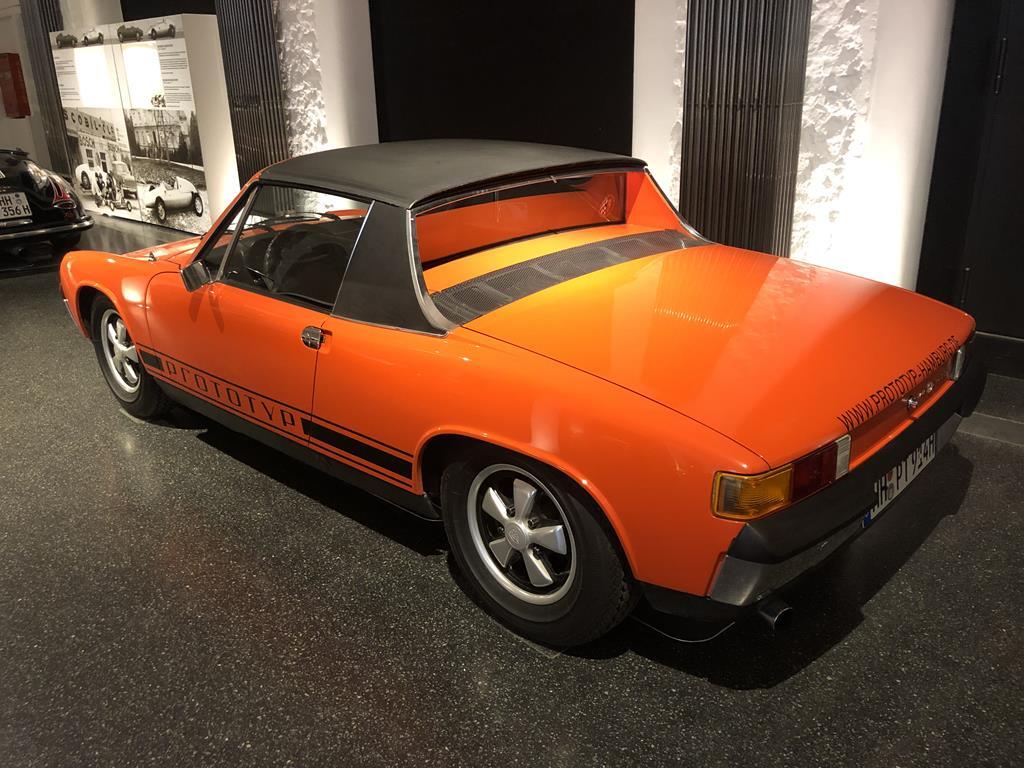  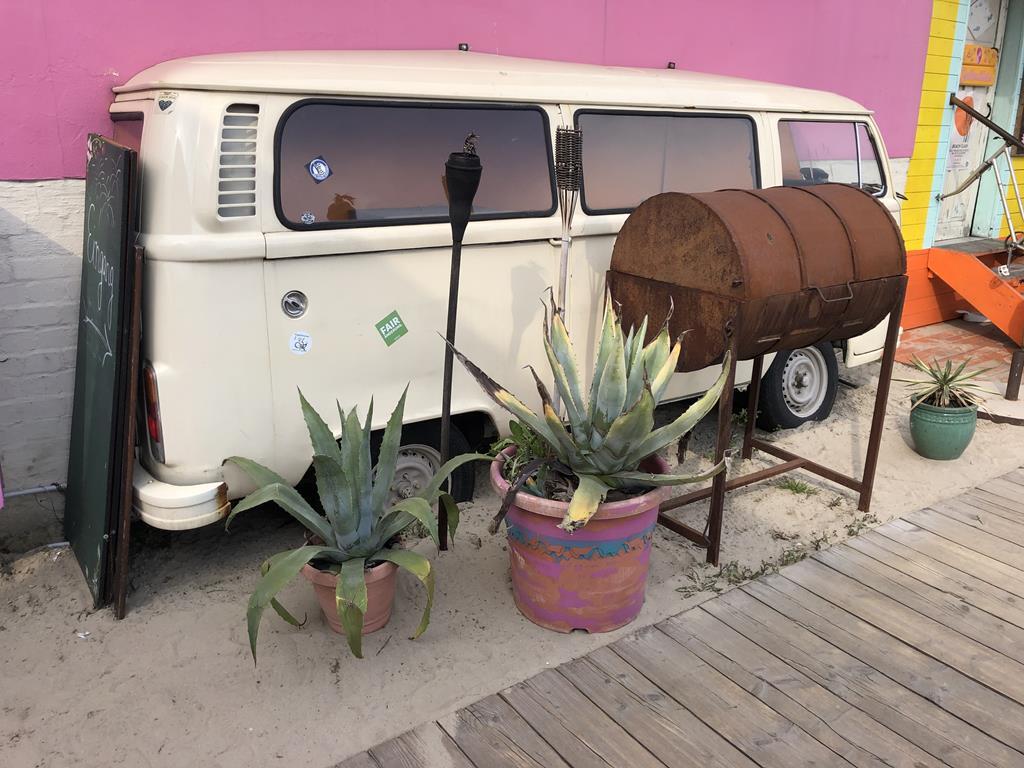 Some Smart parking 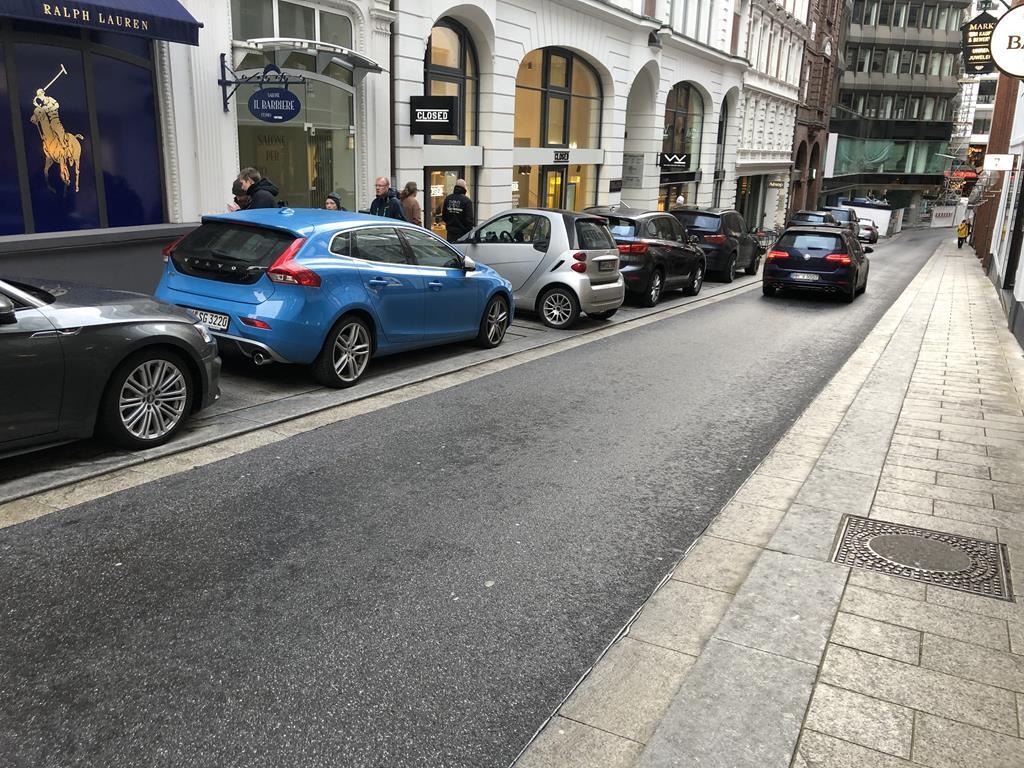 Mate Mavis had a 1950's Krankenwagen split screen (that's ambluance in German) that he swapped for this oval. 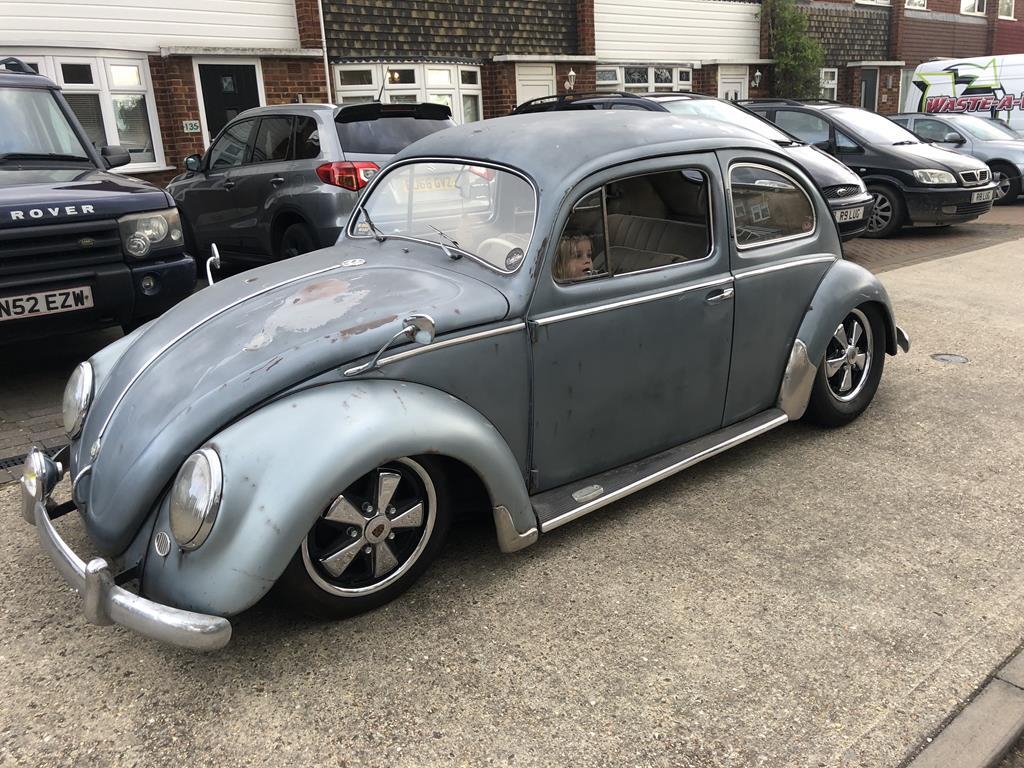 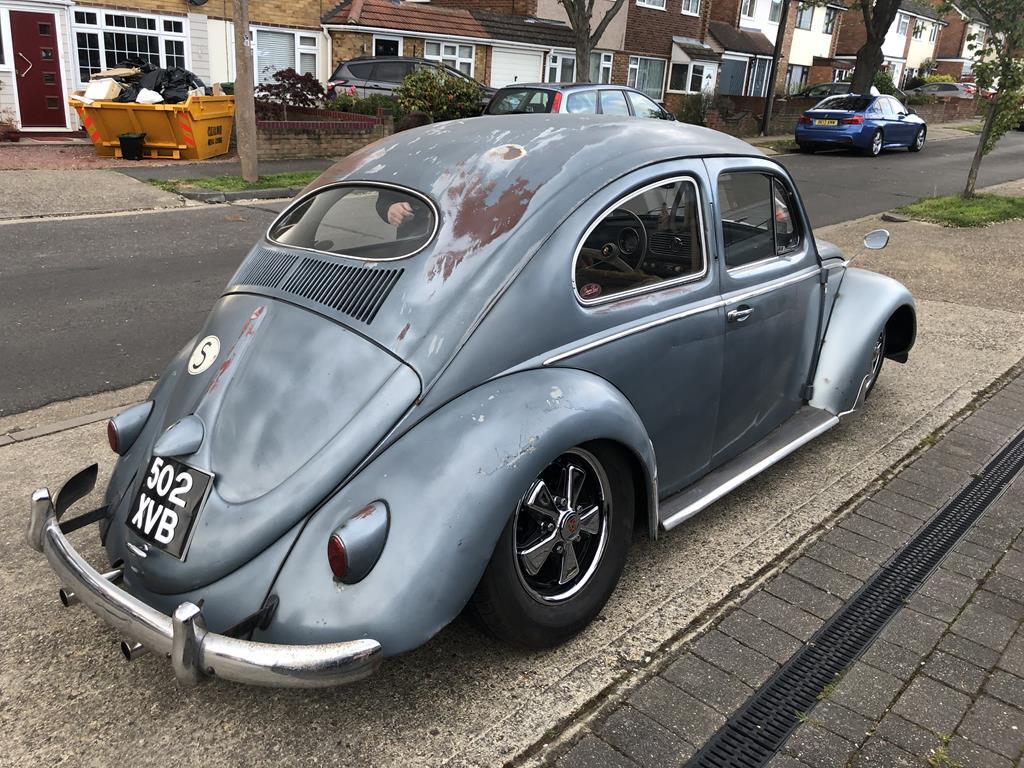 My Dad was walking around one of his clients warehouses and noticed a pile of these on the floor. Genuine porcelain signs being swapped out for modern plastic ones.  He asked what was happening to them. The guy said they were going in the bin but he was welcome to them if he wanted them. He picked up 6. Sold 5 of the and kept one for me. Cheers Pop! 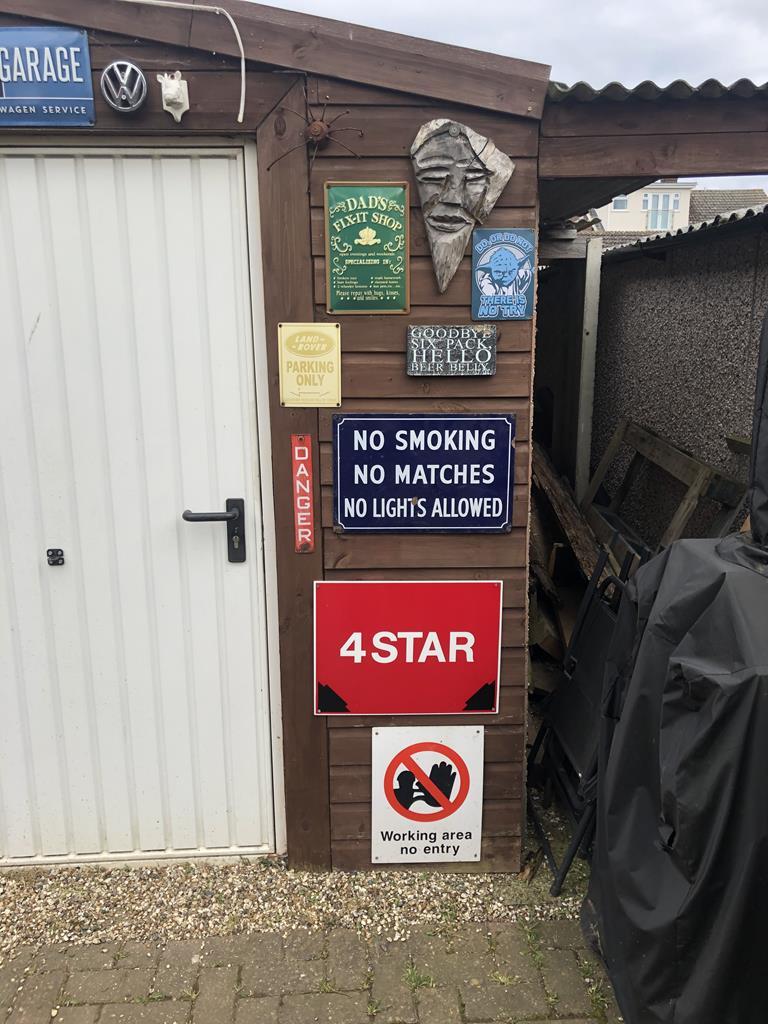 I finally got round to buying another fuel rail for the Caddy. I found some cracking in the insulation for the injector wiring. 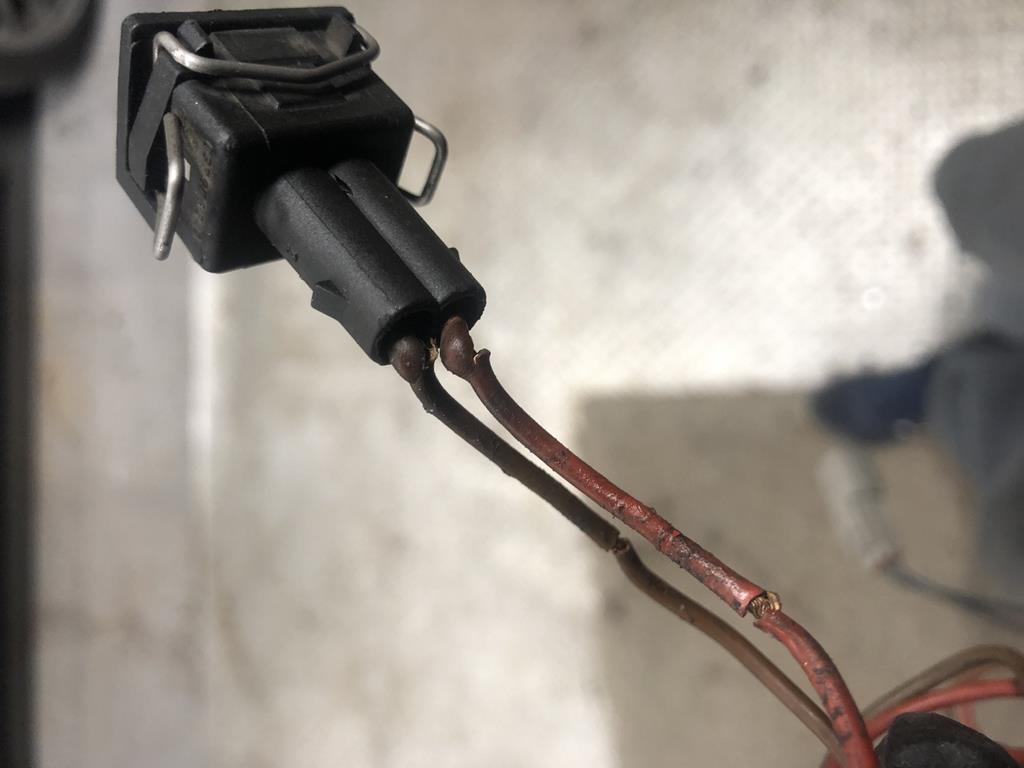 The new rail also came with the harness for the injectors and had some heat shield protection so I shouldn't have the same problem with this one. 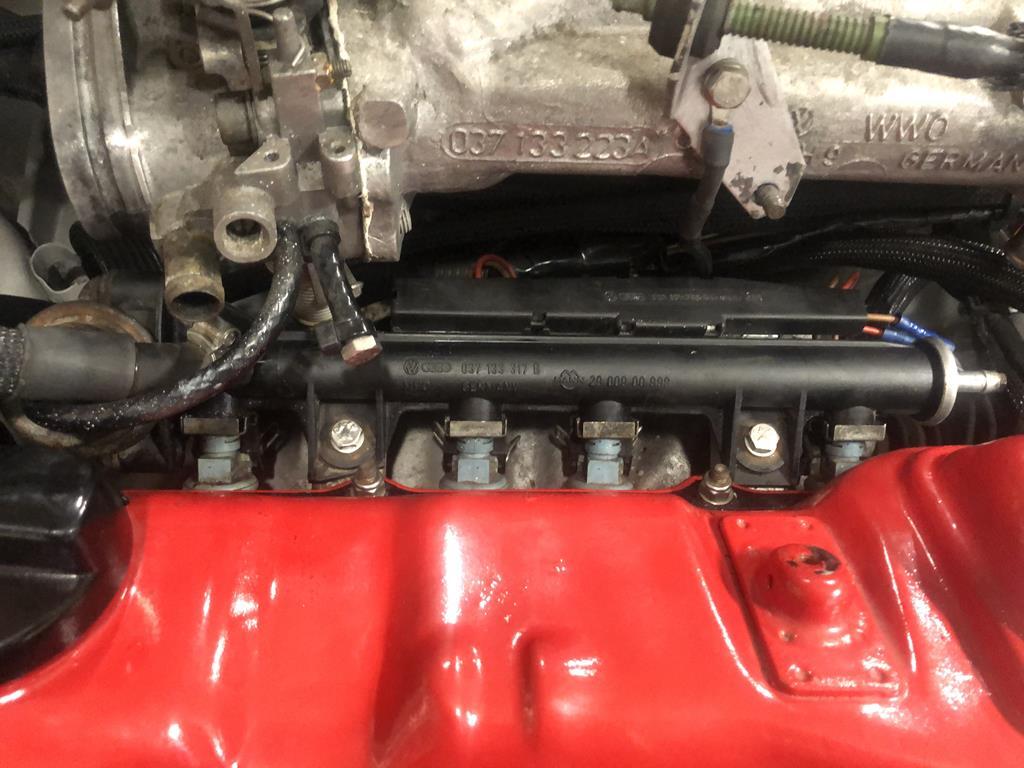 I've given up on the fantasy of ever sealing up the old 80's after market sunroof so i'm going to seal it shut with some panel bond. The MOT is booked for 25th May so now there is a deadline which is a good thing as it has inspired me to get it finished (are these things ever really finished?). I've had the leaking tyre fixed and I need to look at lazy side light issue. I think everything else should be OK. I'll keep you posted. |
| |
|
|
|
|
|
May 13, 2019 22:58:42 GMT
|
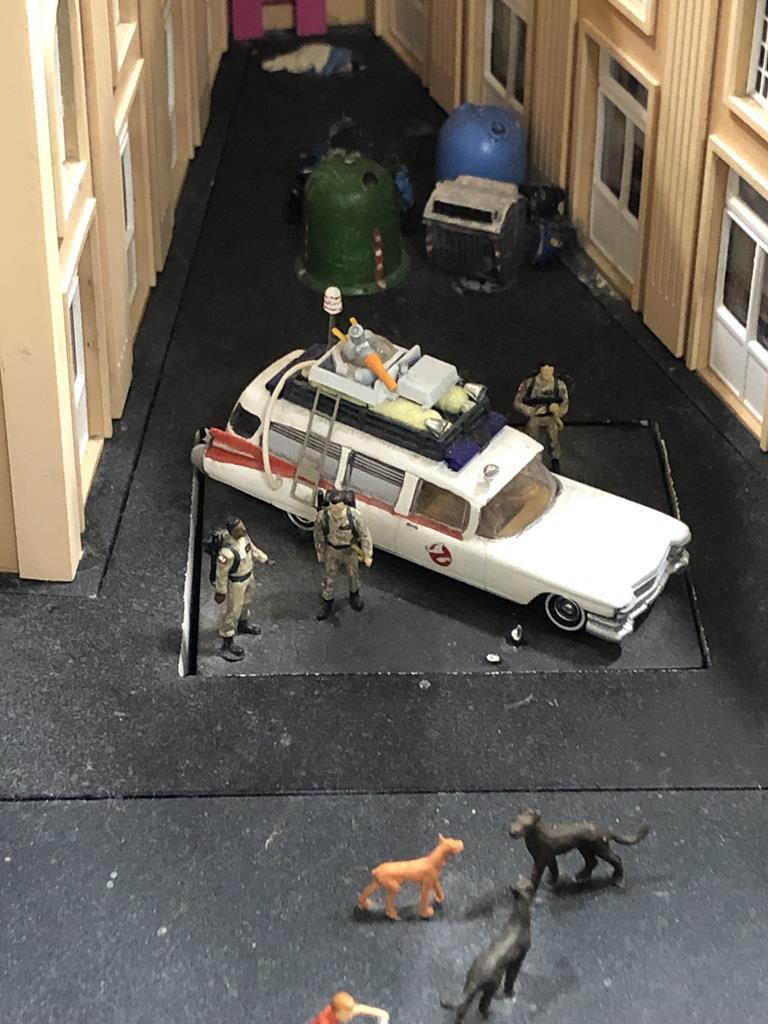
My travel buddy and I booked a weekend trip to Hamburg a while ago just to go visit this place. I can't recommend it enough. We spent 5 hrs there and still didn't see it all. Have some pics. I love miniatures and model trains, and really wanted to visit this place when I was in Europe. Sadly I didn't make it, so I will have to live vicariously through others videos. |
| |
|
|
|
|
|
|
|
|
It's a fantastic place. So many little easter eggs to find like the Ghostbusters. We found Mary Poppins, ET on Elliot on his bike lot's of risque couples too. We booked a behind the scenes tour and got to see some of the automation and controls. The airport stacking system is a work of art.
|
| |
|
|
|
|
|
May 31, 2019 22:24:05 GMT
|
Apologies for the woeful lack of updates. I'm not very good at keeping this thread up to date. I turned 40 in May so I treated the CarBQ to a wash and wax and took it for a test drive in preparation for the family descending. I am the eldest of 5. I have 4 sisters who all have husbands and kids so much food was cooked and eaten. 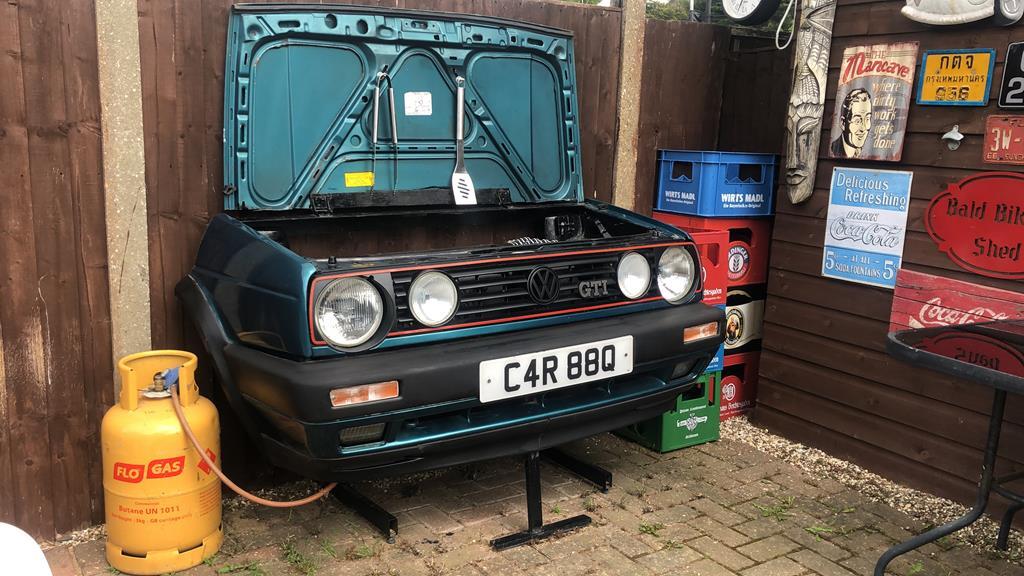 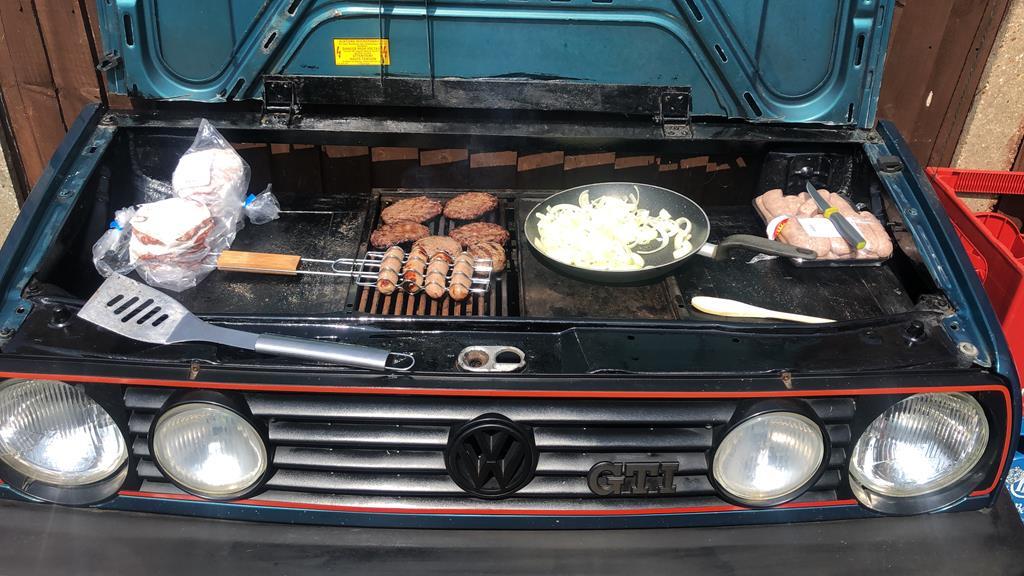 I got a shot of the solar powered LED lights later that evening. 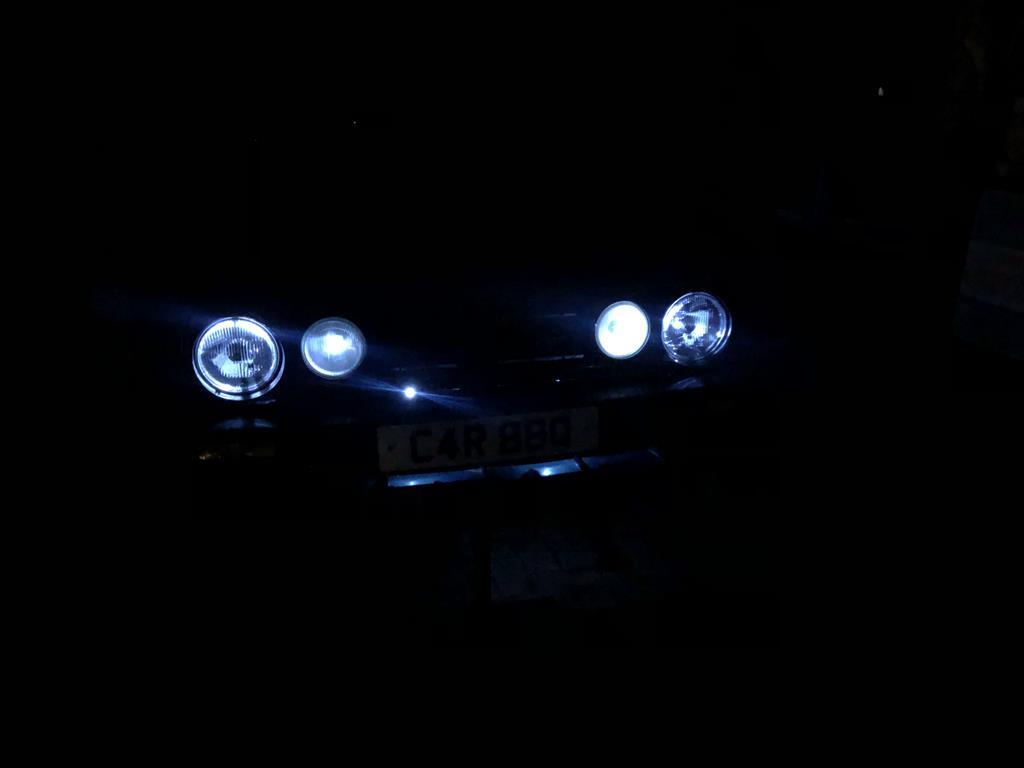 The stress of my 4th decade on this planet along with the family invasion was obviously taking it's toll so a blood vessel decided to burst in my eye.  I've had this vice for many years and it's been well abused and painted so I decided it could use a little spruce up. 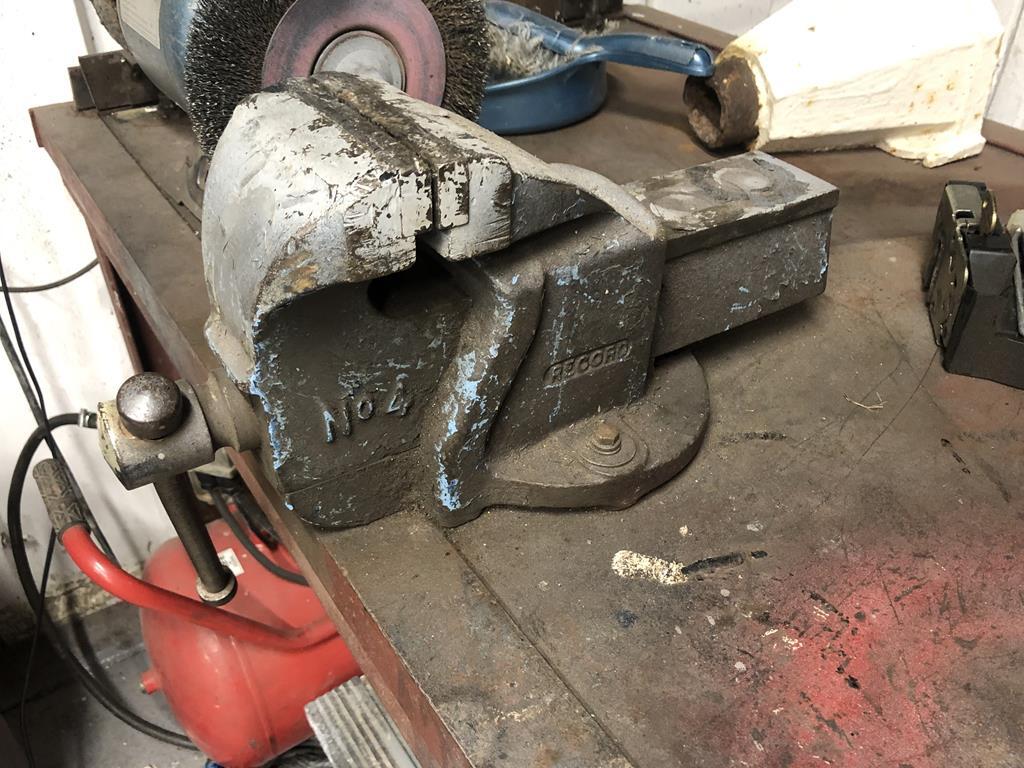 So I stripped it naked 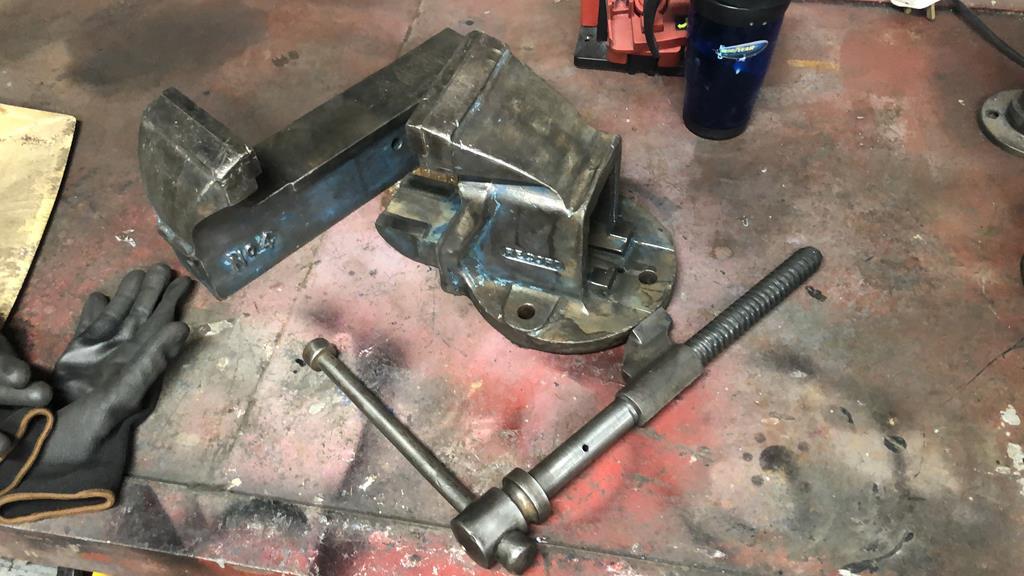 I've got this pillar drill that I inherited from my Grand Father (it's strange the things you have an emotional attachment to) so it got some of the same treatment too. 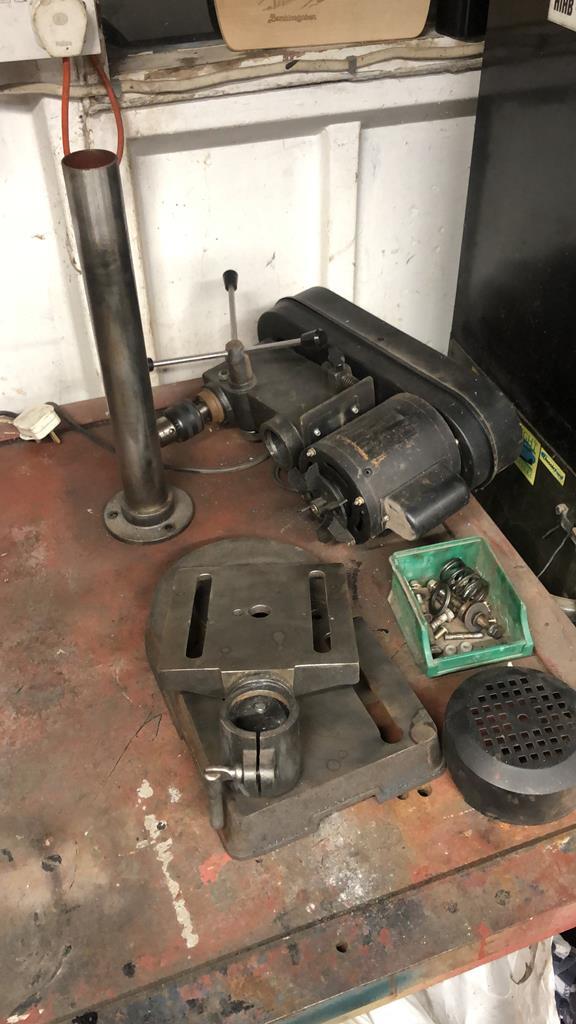 I'm a fan of Pintrest. It has loads of little ideas like this for garage storage and organising. I made a couple of power tool holders from some leftover soil vent pipe. 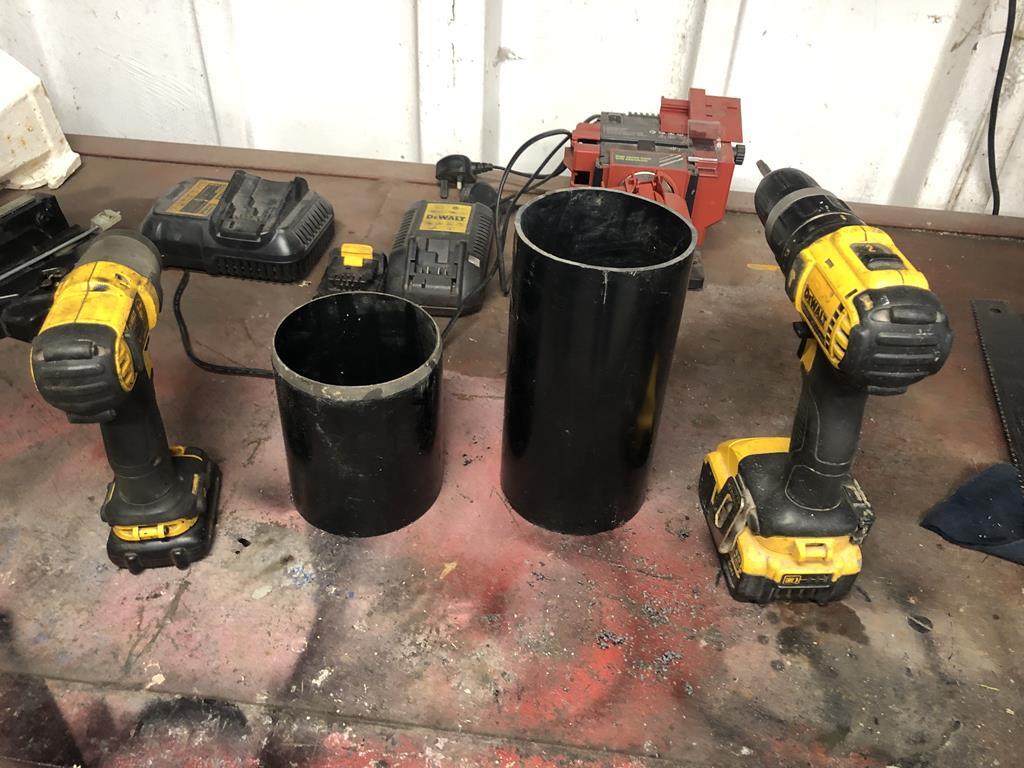 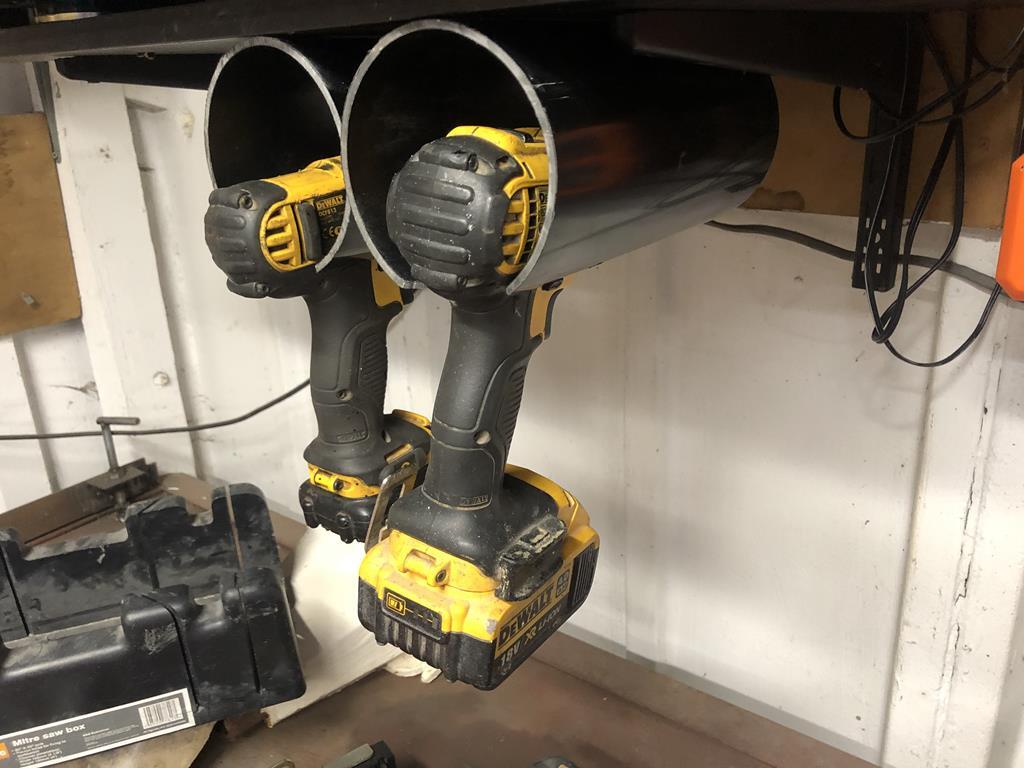 I made up a dedicated charger shelf from a kitchen off cut at the same time. 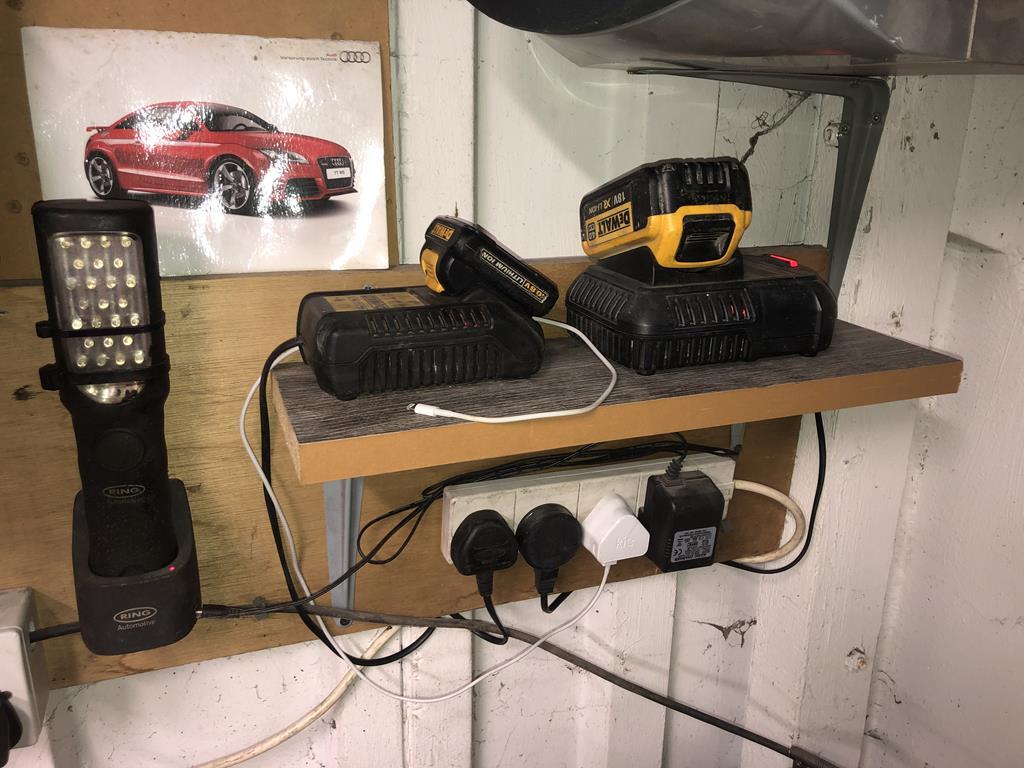 The workbench was now letting down the freshly painted drill and vice so it got some of the same treatment too along with the bench grinder. 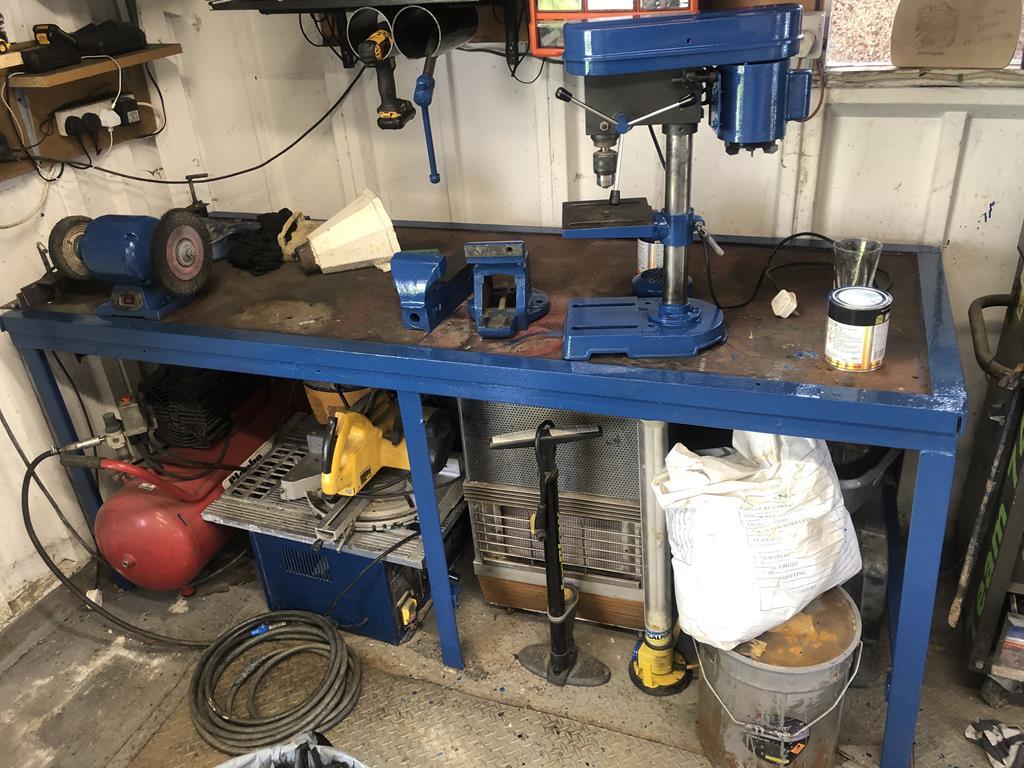 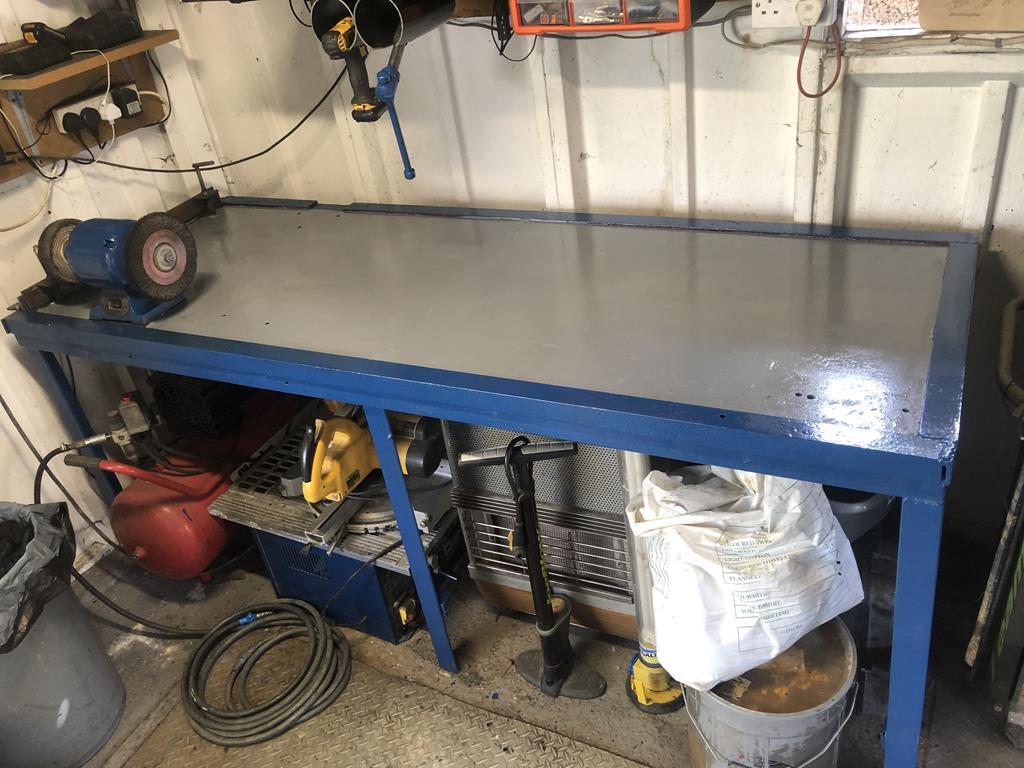 I plan on painting the welding cart and my toolboxes in the same colour. It's starting to get a little addictive! |
| |
|
|
|
|
|
May 31, 2019 22:38:49 GMT
|
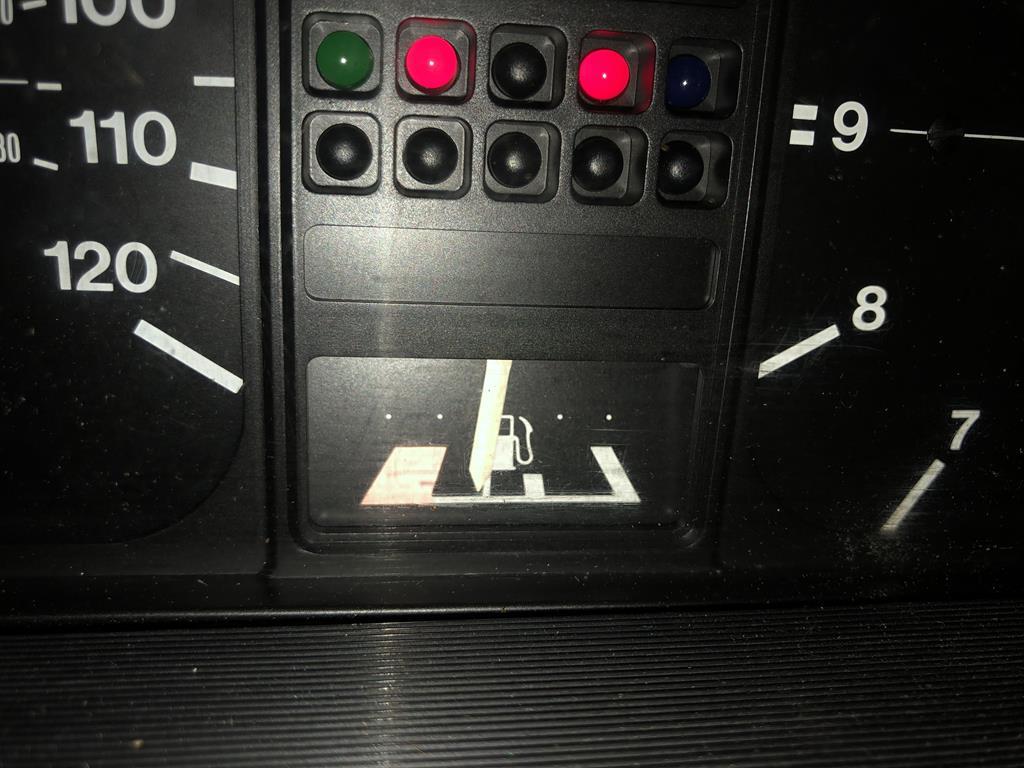
Work has continued on the Caddy. The front hubs were removed and stripped. I took them into work and, in my lunch breaks, managed to sand blast them and get the new bearings and drive flanges pressed in. 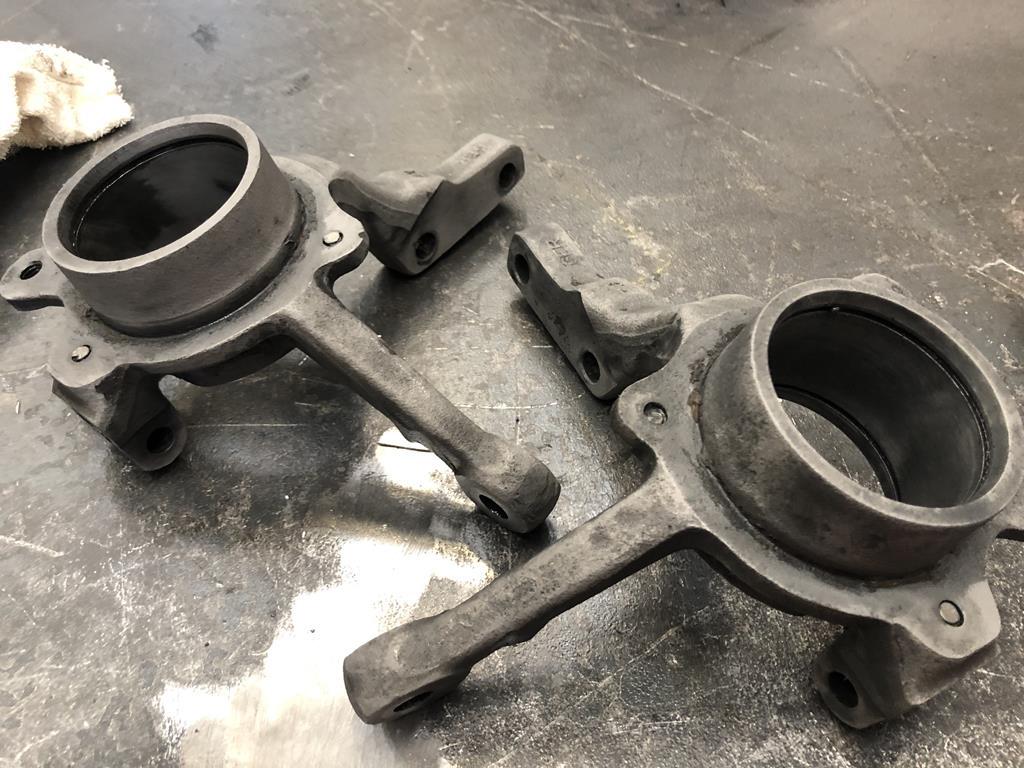 Painted them in Rustoleum gloss black along with the calipers and carriers. 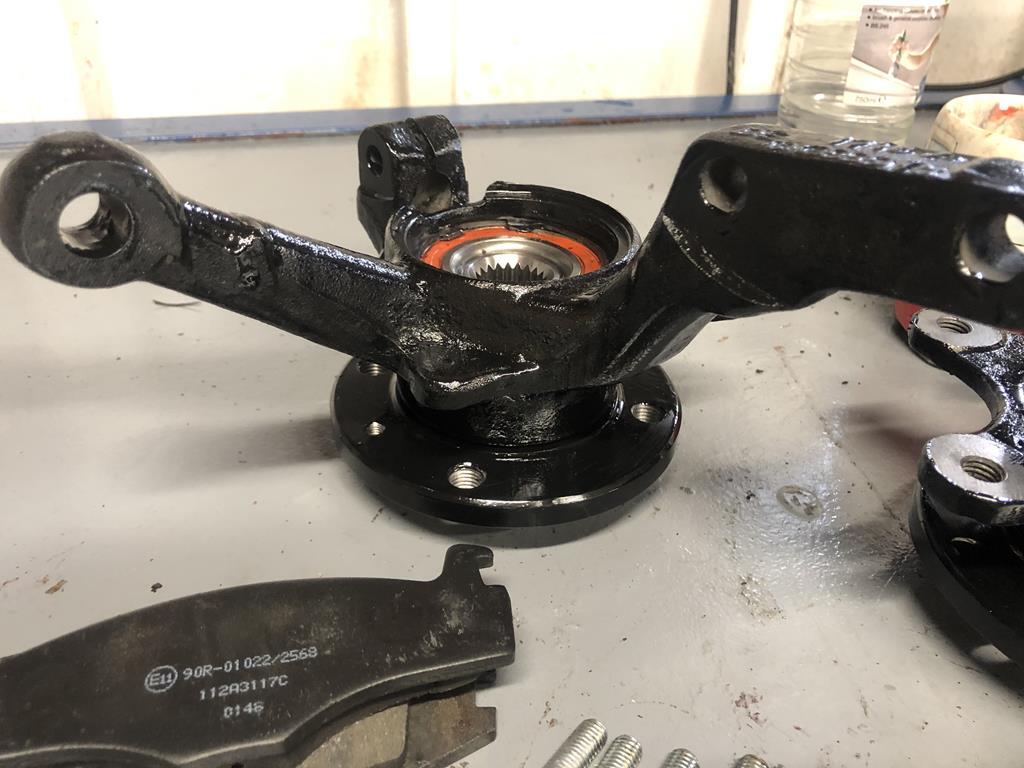 Then fitted new discs and pads for good measure. 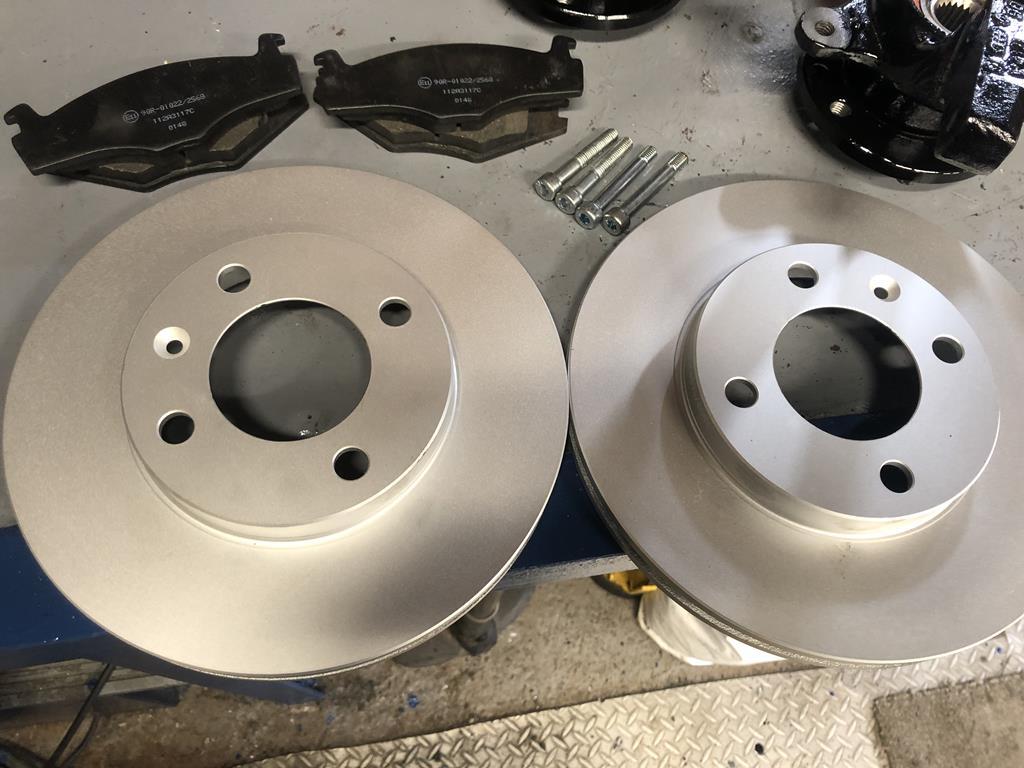 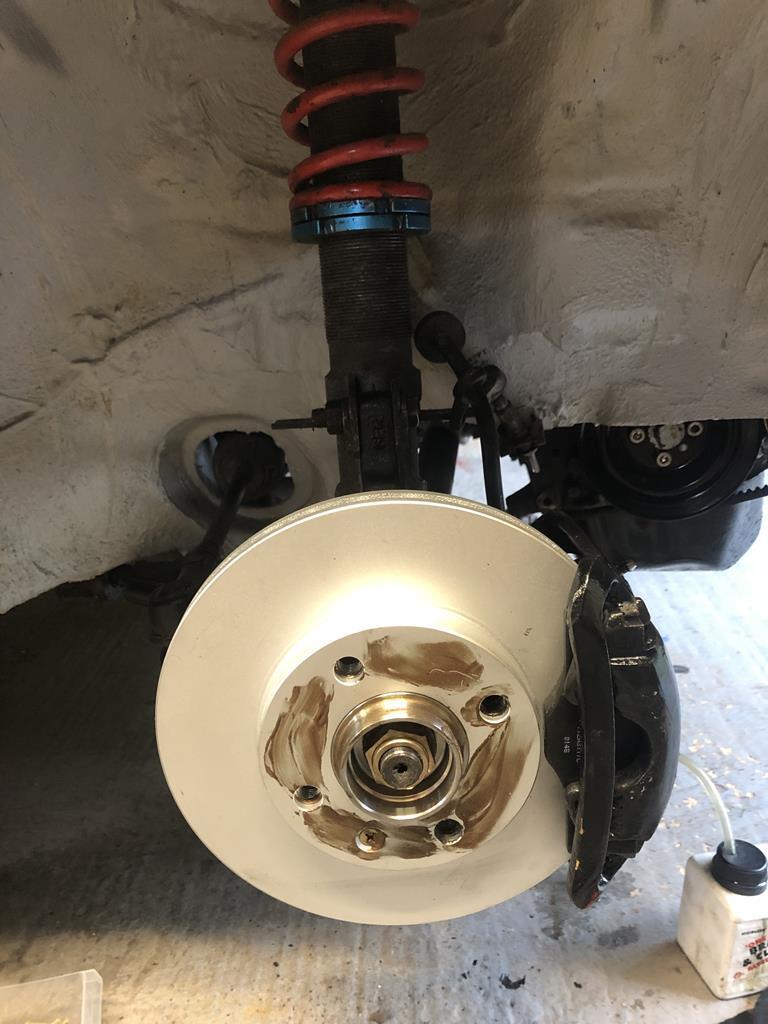 The tyres fitted are quite old and have lost some of their pliability and due to being stretched on, keep leaking around the bead. The passenger front tyre in particular refuses to hold air and it's a little egg shaped so i'm going to pop round to have a new one put on tomorrow. MOT happened!!! 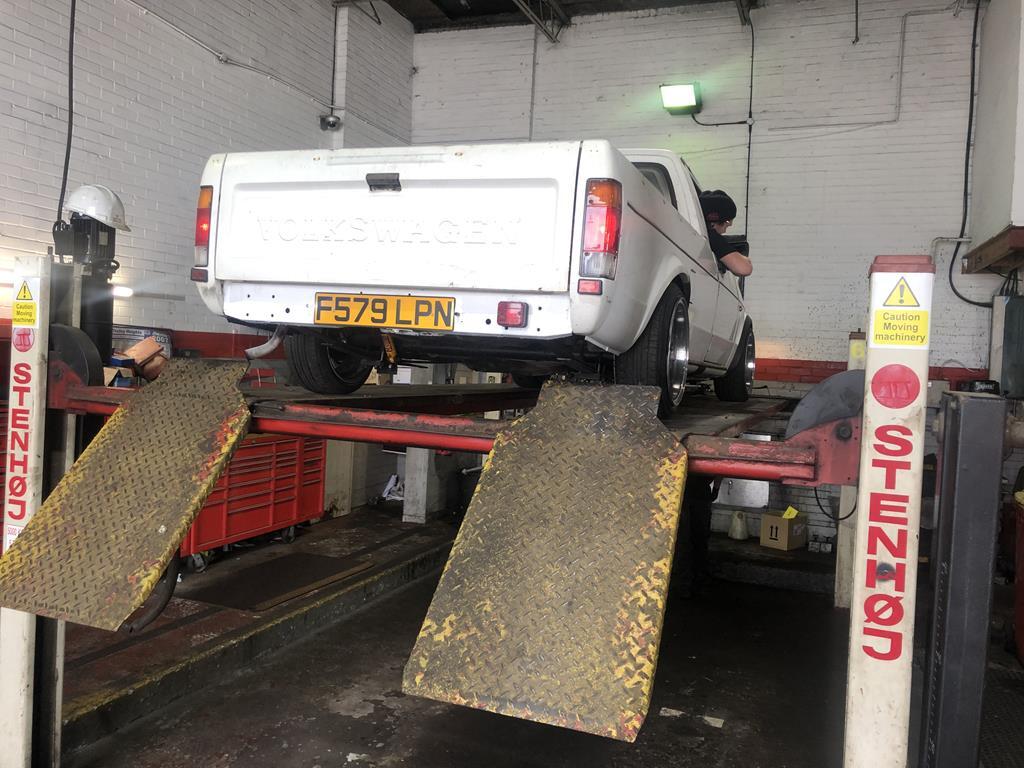 One advisory about the spare so i'll get that sorted. The steering wheel is about 45 degrees out when driving straight so that needs correcting and there was a grinding noise when turning left which turned out to be the drive shaft hitting the chassis. I've since wound the coilovers up a little. 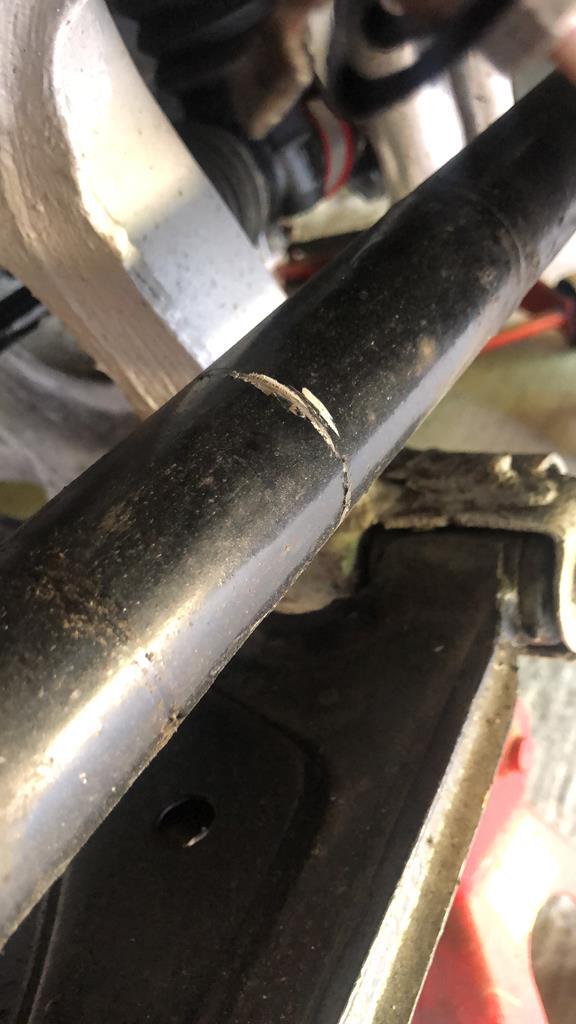 The fuel gauge doesn't seem to be working but i've put two jerry cans in so should be OK for a while. |
| |
|
|
|
|
|
Jun 27, 2019 20:05:28 GMT
|
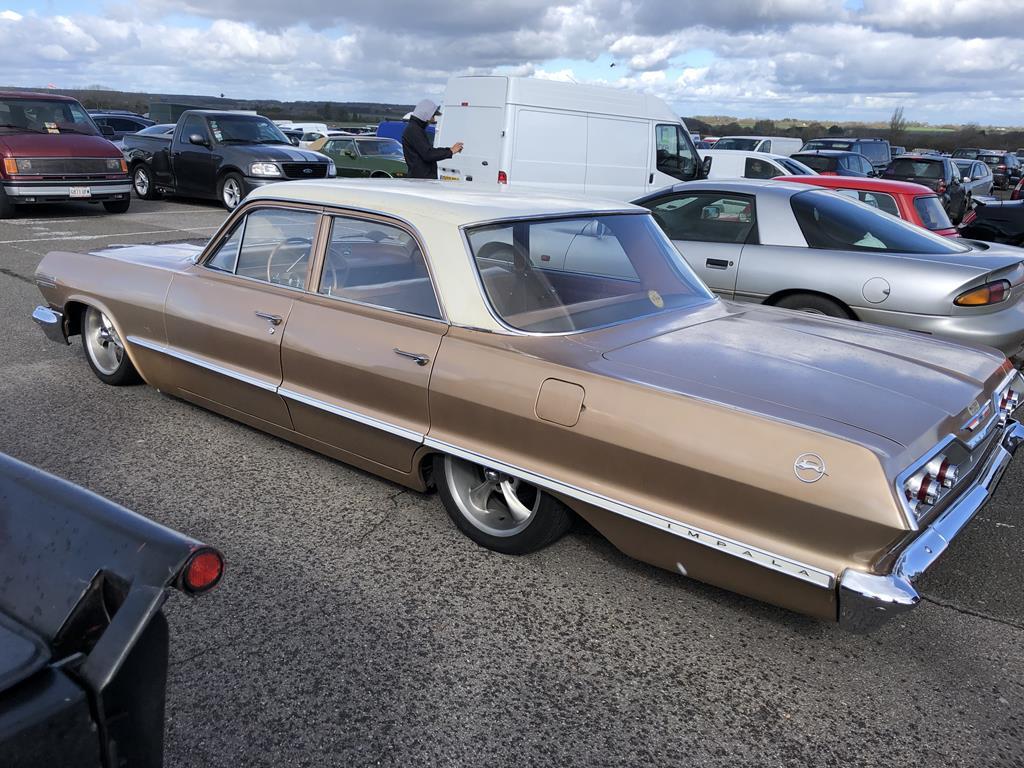
The Quarantine garage is at the bottom of the garden at Forkliftfred HQ and is accessed by a private road. I happen to be the end of the terrace so I have the luxury of not having to worry about blocking anyone in when I park round the back. The turning circle on the Caddy is surprisingly big. It has a wheelbase of 2625mm so some shunting to squeeze out of the garage without hitting the door frame is neccessary. I have a standard single up and over door which measured around 7ft wide. So I started looking for a wider door. Fitment of a wider door is reasonably simple as the Quarantine garage is pre cast concrete panels, so all I need to do is unbolt one panel and scew in a new wider door. I found a roller shutter door up near Cambridge, just the other side of Duxford museum.I decided to leave work early to collect it. It also happened to be the day of the D Day memorial fly past which took off and landed at Duxford airfield so the traffic was heavy. Got to the house, inspected the door, deal done and managed to squeeze an 8ft roller shutter door inside a Discovery Td5! So the weekend arrived and installation began by clearing the wall of shelves and general garage stuff. 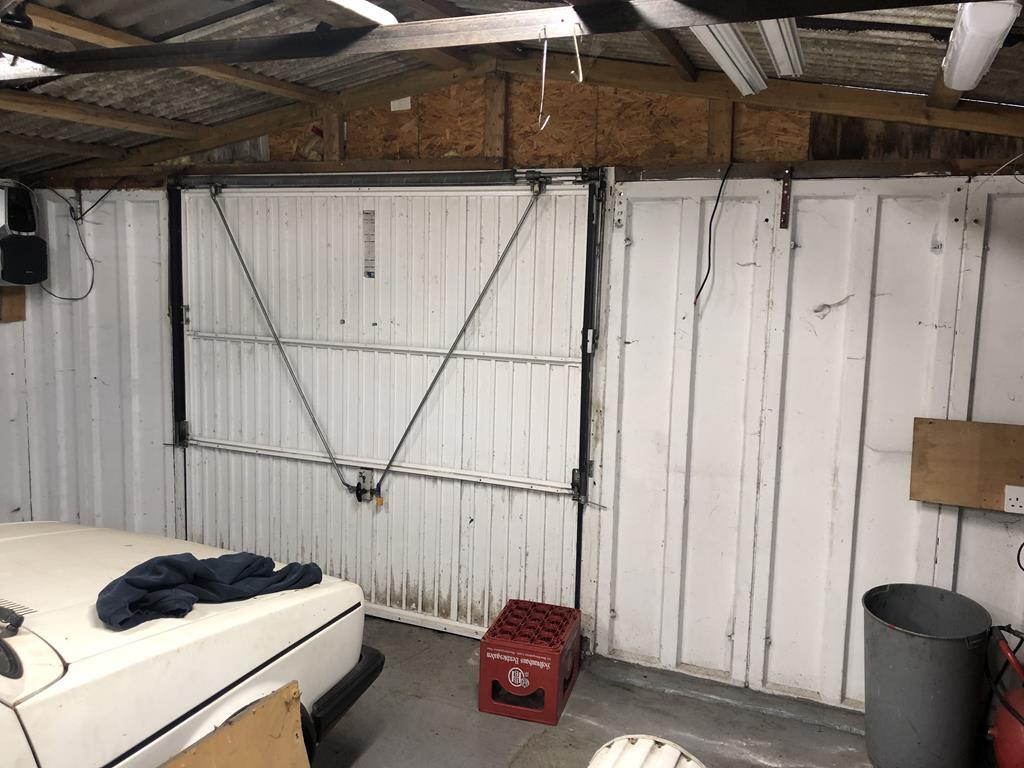 Panel removed and two 4x4 pressure treated posts are screwed to the wall to hang the new door on and also support the roof truss. 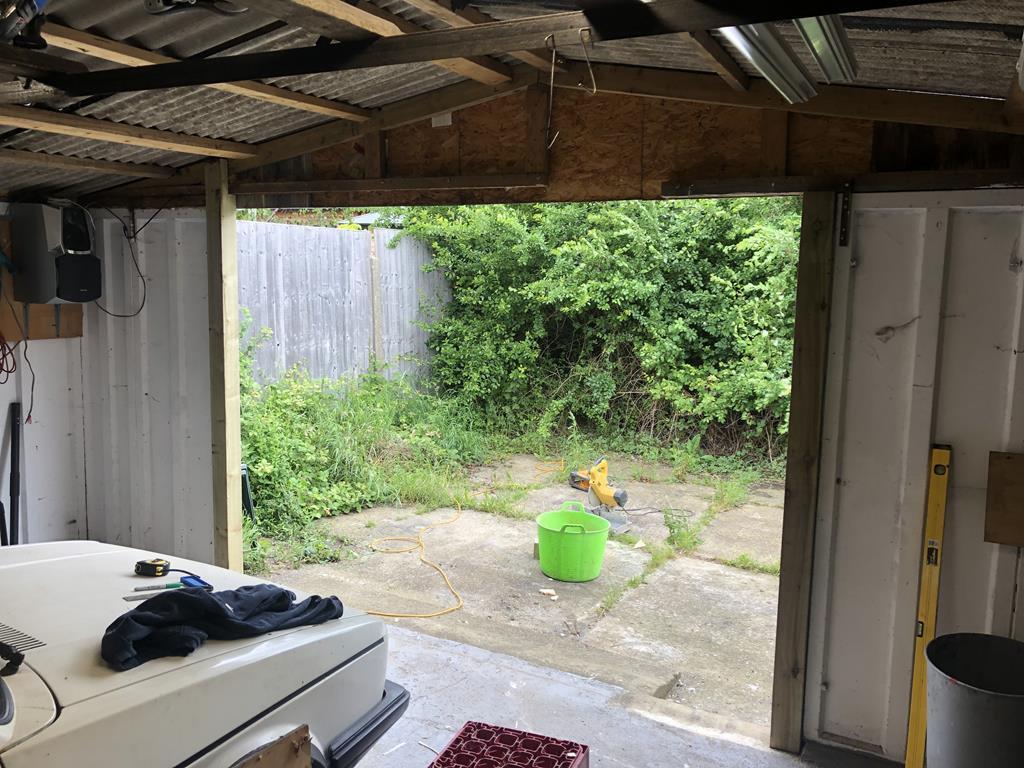 After a few hours we had the door mounted and the runners screwed to the posts and more 4x4 posts added to fill in the gap. You can see how much width i've gained by the paint on the floor. I've got about 13" extra. 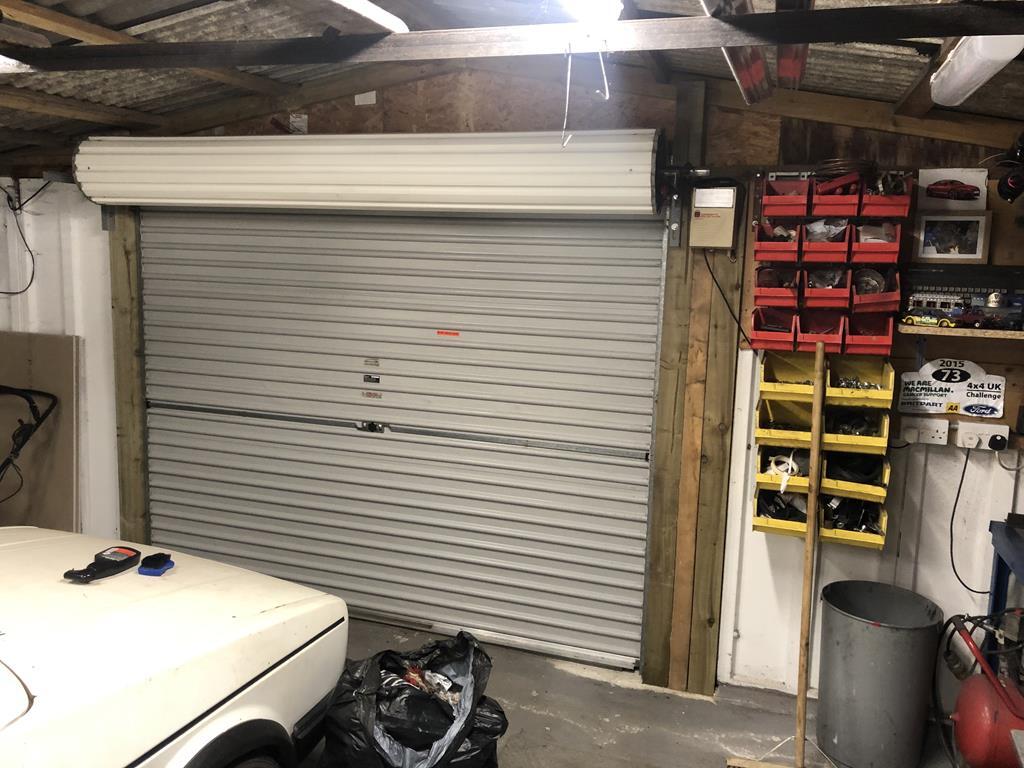 I added a shelf across the full span of the door which I plan to fill with 'mantiques' and stuff. I hid the shelf edge with some of my old number plates and gave "The Stig" pride of place. Door control module mounted and door limit switches set up. Couple of signs and the "Lin Bin" rack back up too. 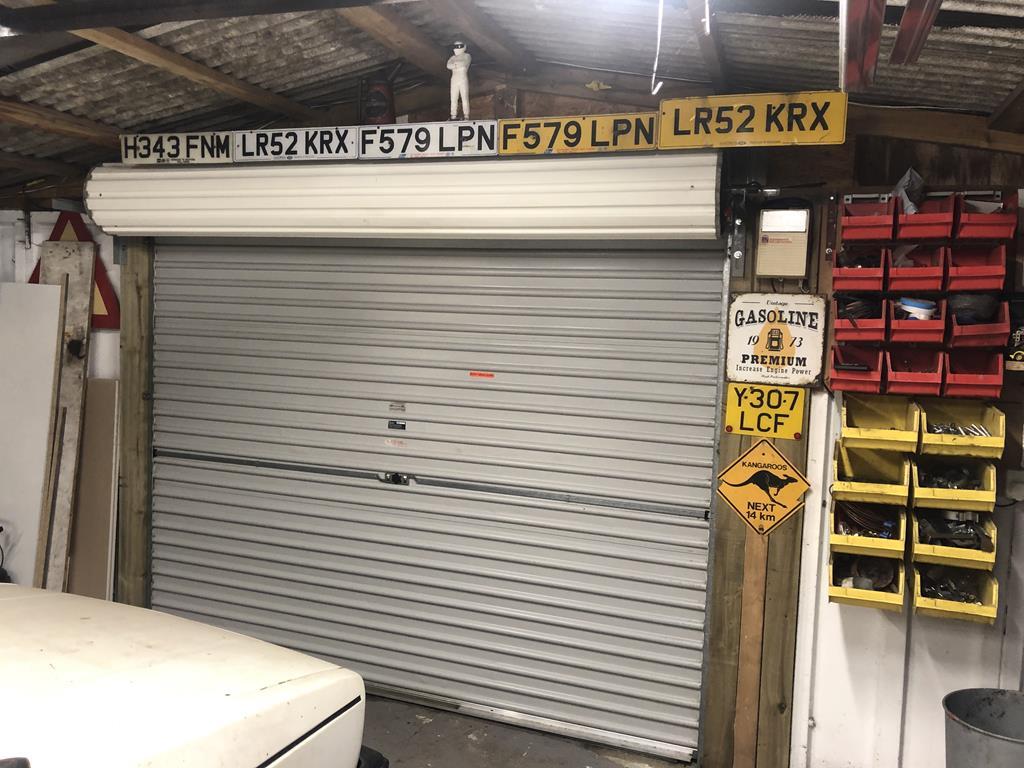 The old door is now on evilbay to help recoup some costs. The door cost me £150, three 2.4M 4x4 posts were £38. All the screws and fixings I had kicking around. Bacon sandwich and tea for mate Adam as payment for his help so total cost is around £200. Not bad at all. I put a new battery in the remote fob and it was working for a while but now I can't hear the relay clicking so it may need replacing too. The button on the control box works fine for now.I can pull in and out in one sweep without shunting plus it let's in more day light when opened, mission accomplished. I just need to extend the access ramp and fit some draft excluder brushes along the top of the door. Saw this as I was coming out of Dunton boot sale. Anyone know what it is?  |
| |
|
|
|
|
|
|




 ? It turns out to be a hairline crack in the fuel rail. So if anyone has a fuel rail for a 1.8 8 valve PB engine from a Mk2 Golf Gti, let me know.


