|
|
|
|
|
|
has sid ever brushed his tail past a wet panel
also, what percentage of sids gets sent away with each project, expressed as a percentage of his total hair coverage
|
| |
|
|
|
|
|
|
|
|
|
Do you think you could let me have all the photos in hi-res as I'm thinking of publishing a definitive guide to restoring early post-war vans   Ian - Not a problem - due to the huge potential of this (and the fact that you have an instant follow up in the waiting 'The definitive guide to period fire engine conversions including other uses) I take it that you will not have a problem with my 90% commission fee however, I am quite willing to take ownership of a V8 Healey on a full payment basis if that suits you better (I can arrange my own collection of it)  |
| |
|
|
|
|
|
|
|
Not a bad idea at all Lance - but its very tight has to where I would have to put that - just at the joint of where the two pieces of ash frame join and I would have to rebate quite a large hole in both pieces of the frame hence weakening the joint - I would have had to do the same for mirrors that I currently have which are more suited to wing mounting than door mounting - I have done a bit more research since and it looks like the vast majority of owners have opted to mount the mirrors either to the door or windscreen pillar - wing mirrors are too much of a compromise with both vibration from the engine bay & restricted vison from the small windscreen & windscreen pillar - so I have ordered a more period oblong style that will mount either on the pillar or the door and will make a decision once they arrive and have tried them in either position - Chris Just out of curiousity where are you ordering from? Holden - Bl**dy hell - period mirrors are £££ some of them for the vintage stuff £300 a side ! (don't worry Tim I've not spent that much) - link below www.holden.co.uk/displayproduct.asp?sg=2&pgCode=092&sgName=Hardware&pgName=Mirrors&agCode=0258&agName=Vintage+Mirrors&pCode=090.125Pics of them in the flesh are on the latest thread update Chris |
| |
|
|
|
|
|
|
|
Do you think you could let me have all the photos in hi-res as I'm thinking of publishing a definitive guide to restoring early post-war vans   Ian - Not a problem - due to the huge potential of this (and the fact that you have an instant follow up in the waiting 'The definitive guide to period fire engine conversions including other uses) I take it that you will not have a problem with my 90% commission fee however, I am quite willing to take ownership of a V8 Healey on a full payment basis if that suits you better (I can arrange my own collection of it)  Boys, Boys..... it’s obvious by this uncouth bickering that you really need someone in the know to deal with this stuff for you, may I introduce myself as johntheliteraryagent.... my fee is a paint job for the Fug and a racing snail   |
| |
|
|
|
|
|
|
|
Hey, Grumpy....wonderful detail work in all that trim...simple and very functional with a touch of elegance in it all.... do you anticipate having to reapply the cavity wax at any regular interval? (or is it a one time and worry free product?) JP The cavity wax is an apply and forget however the underside treatment of the wings Dinitrol 4941 underbody wax is recommended to be reapplied every 2 - 3 years - although this little van will get used it wont be doing big mileages so personally I recommend that it gets redone in 5 years time |
| |
|
|
|
|
|
|
|
has sid ever brushed his tail past a wet panel also, what percentage of sids gets sent away with each project, expressed as a percentage of his total hair coverage The workshop door gets locked & bared when I am painting or when there is wet paint in the workshop - I have been at this game too long to allow onlookers / visitors of any type including clients anywhere near the workshop when I am painting. |
| |
|
|
|
|
|
|
|
More progress - firstly I fitted the trafficator boxes which are internal and hidden by the millboard panels once they are fitted 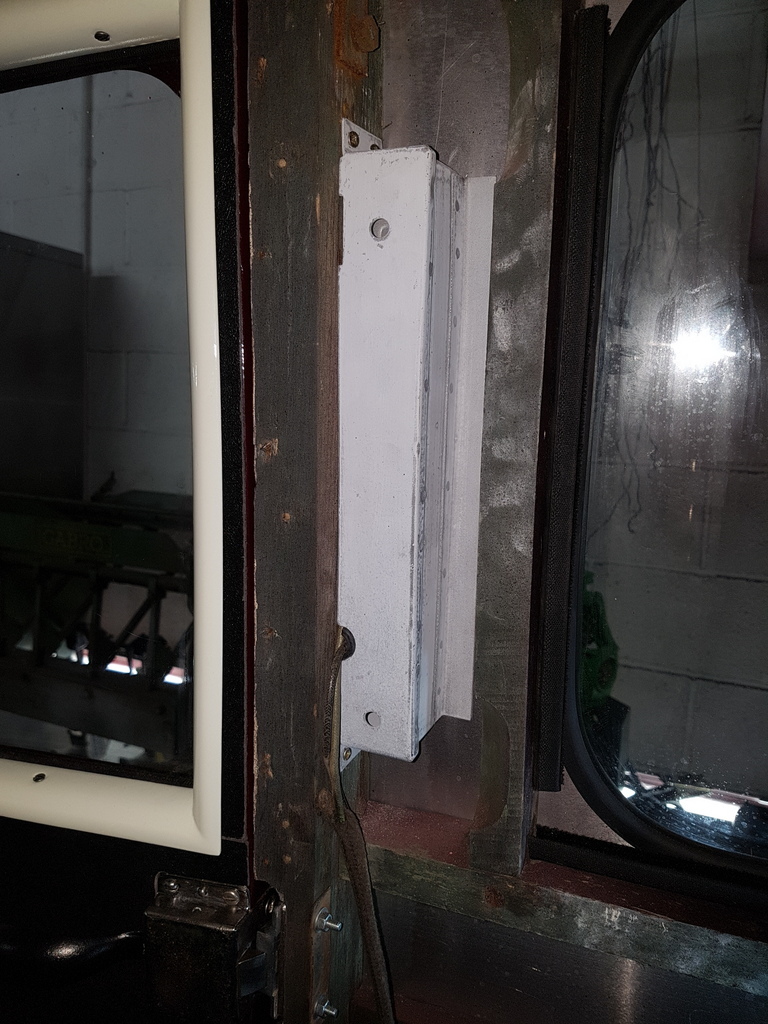 Then to sort the toolbox lid and rear brace out of which the originals were beyond use 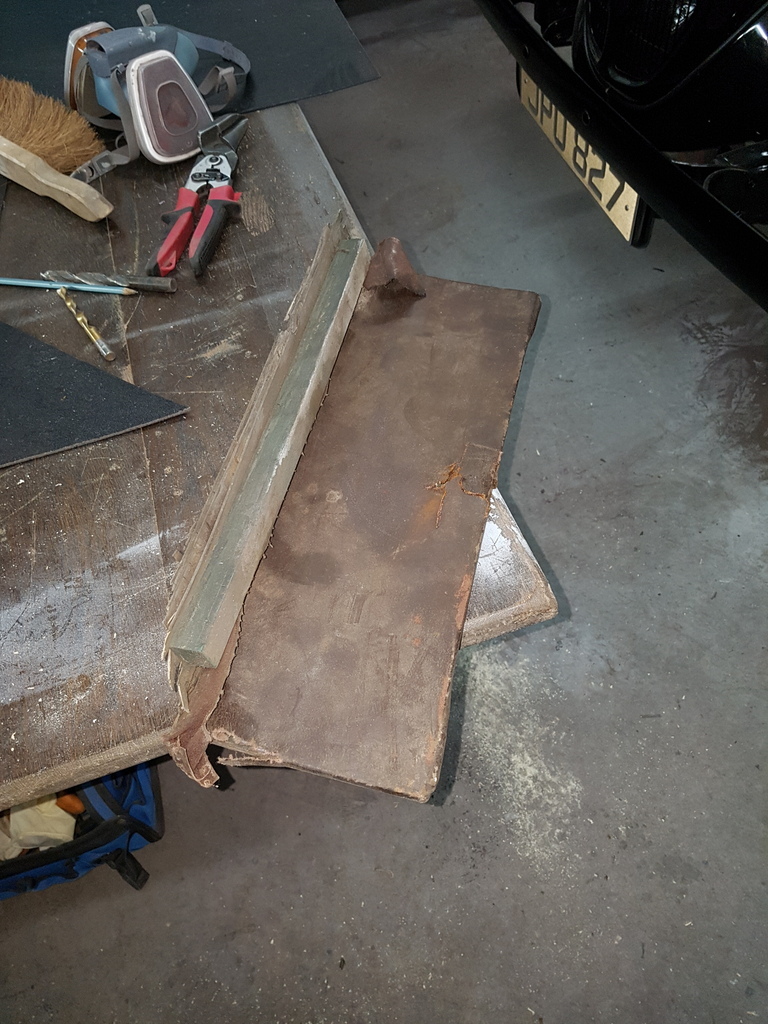 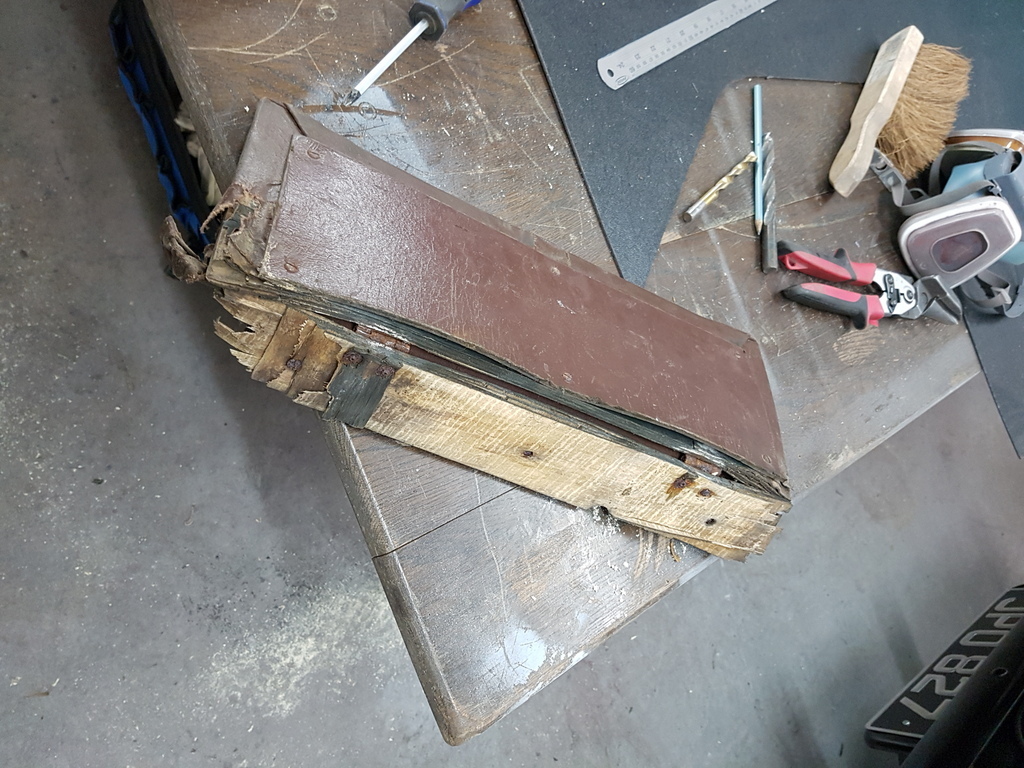 Rear brace made up and managed to salvage the batten which is utilised for retaining the millboard panel to 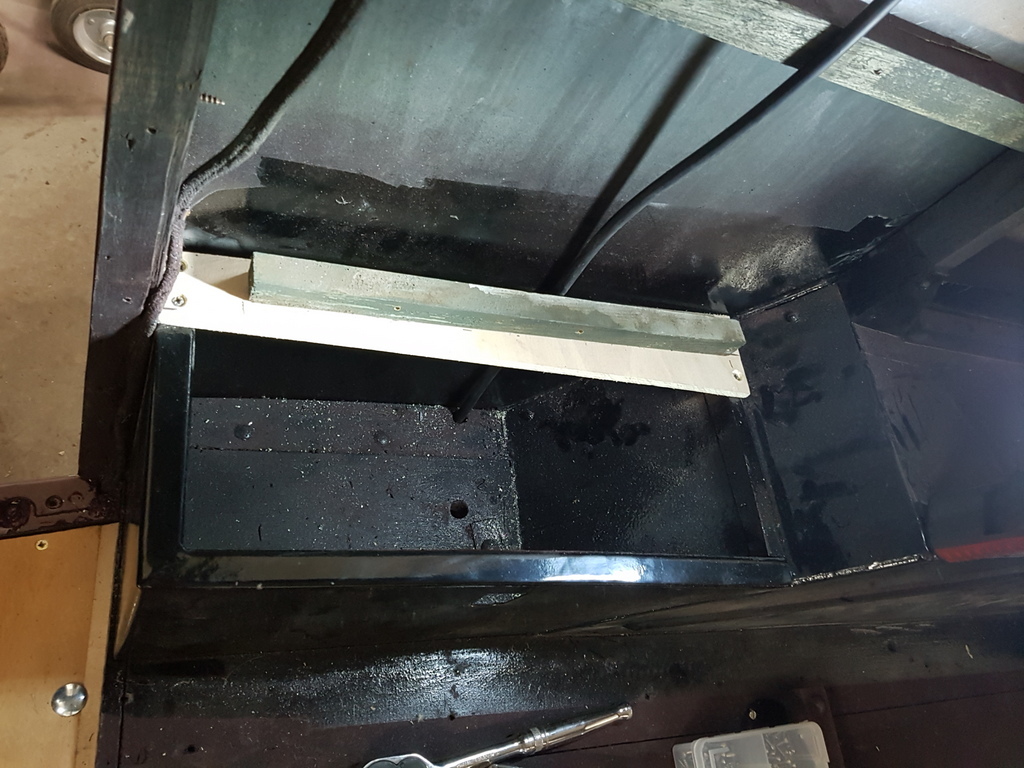 Tool box base made up 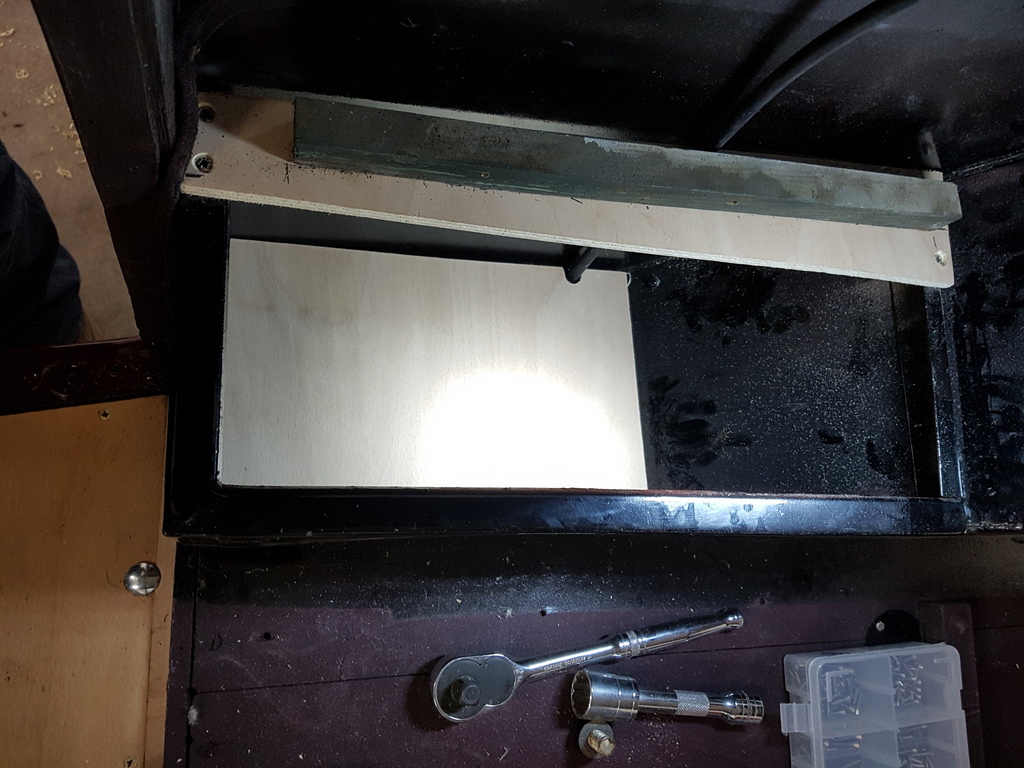 Along with the new lid - all in 9mm marine grade ply 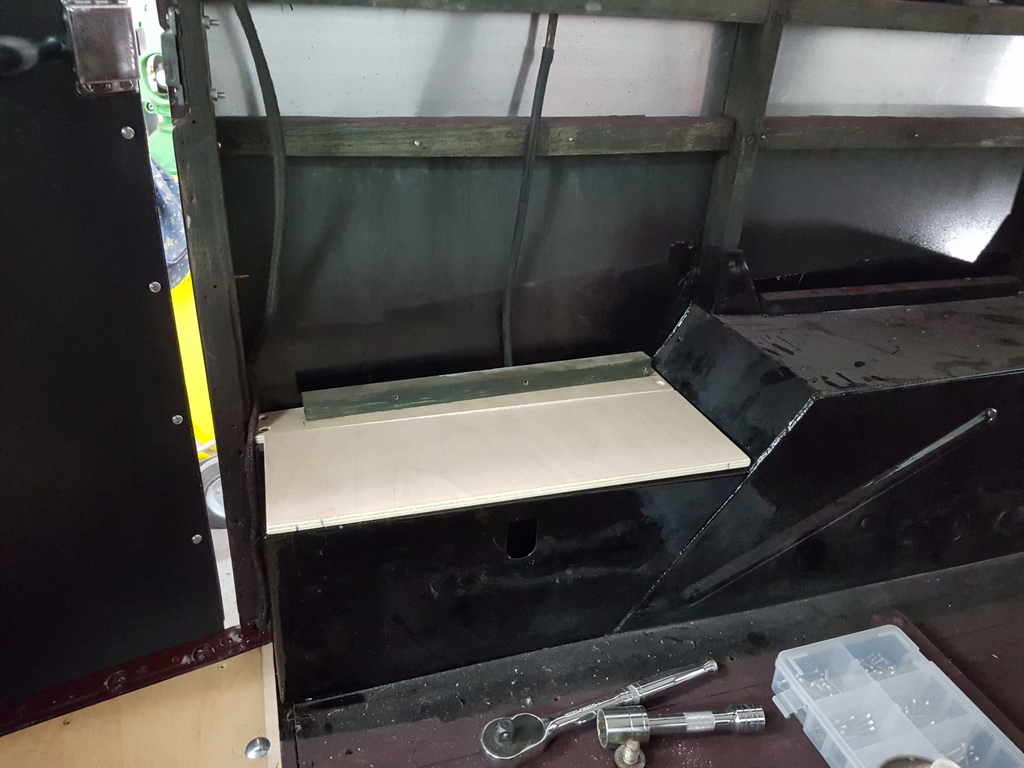 The lid, base & rear brace will get covered in the ribbed section rubber that I covered the steps in - top tip when gluing trim for a vehicle always use a automotive grade high temperature glue - most other glues will just let go when the vehicle gets hot in summer 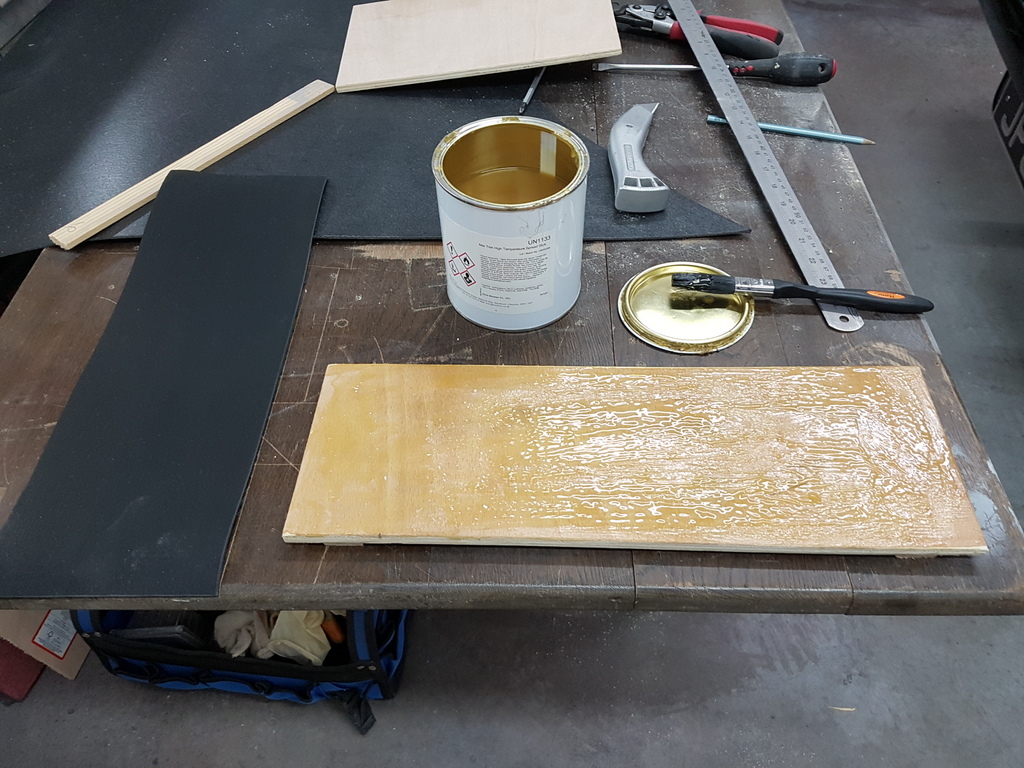 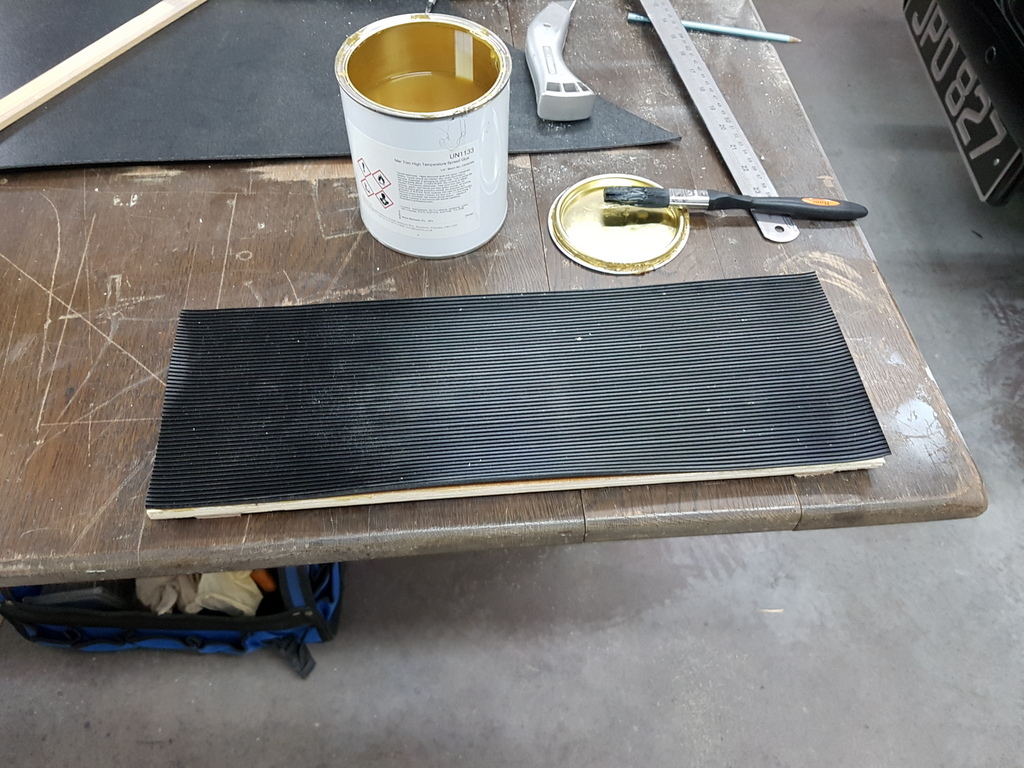 Then left weighted for a couple of hours 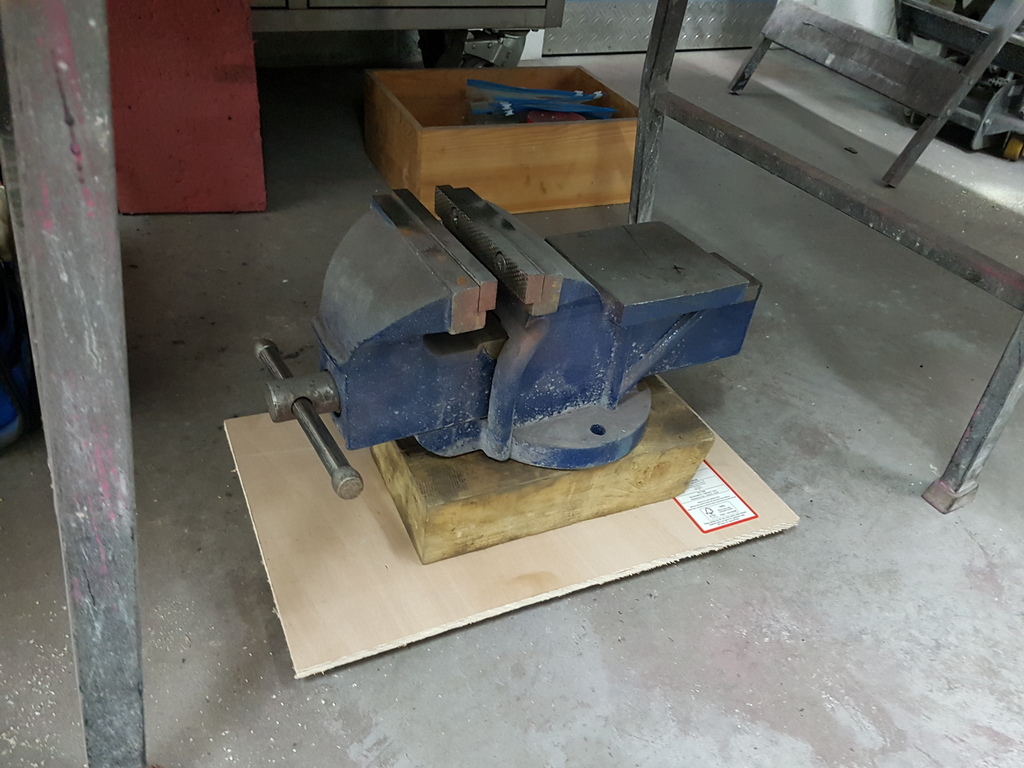 Has was the new floor for the toolbox 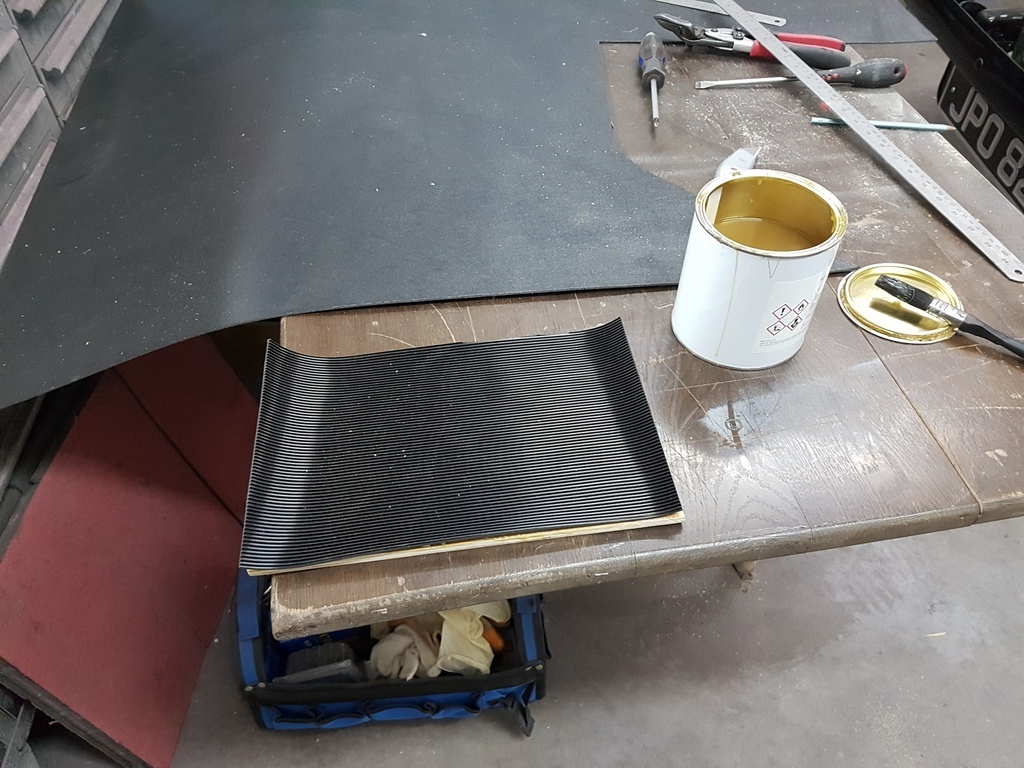 Then tried the original rear millboard panels for fitting / suitable templates - the masking tape is where I need to allow additional on the new panel 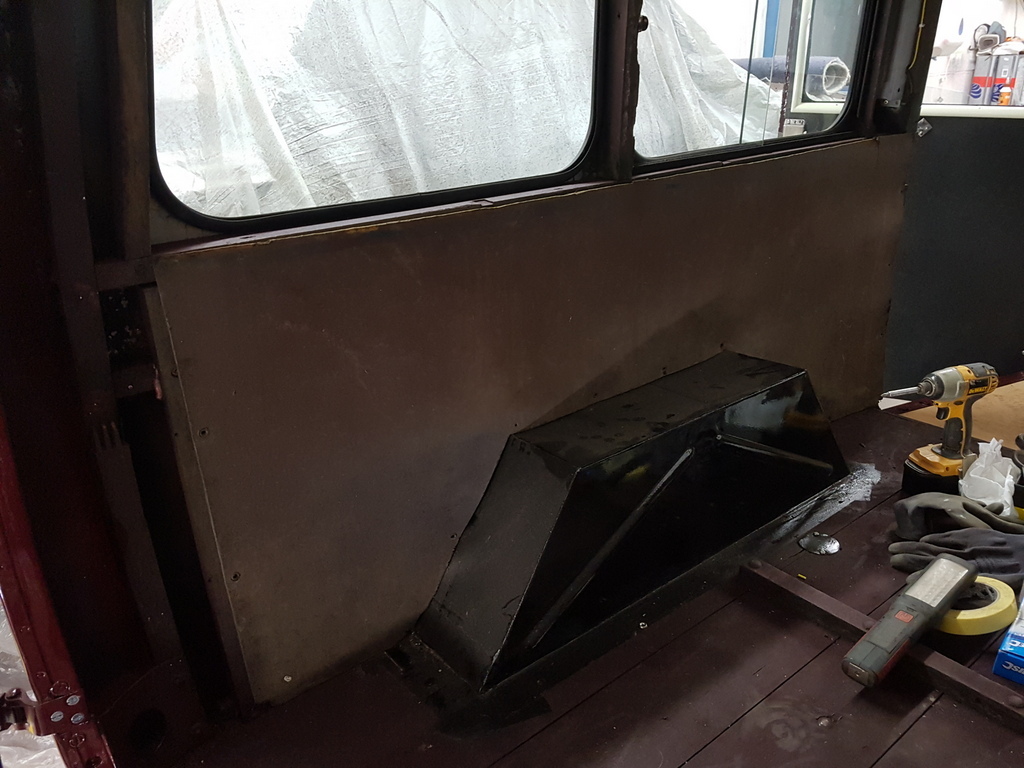 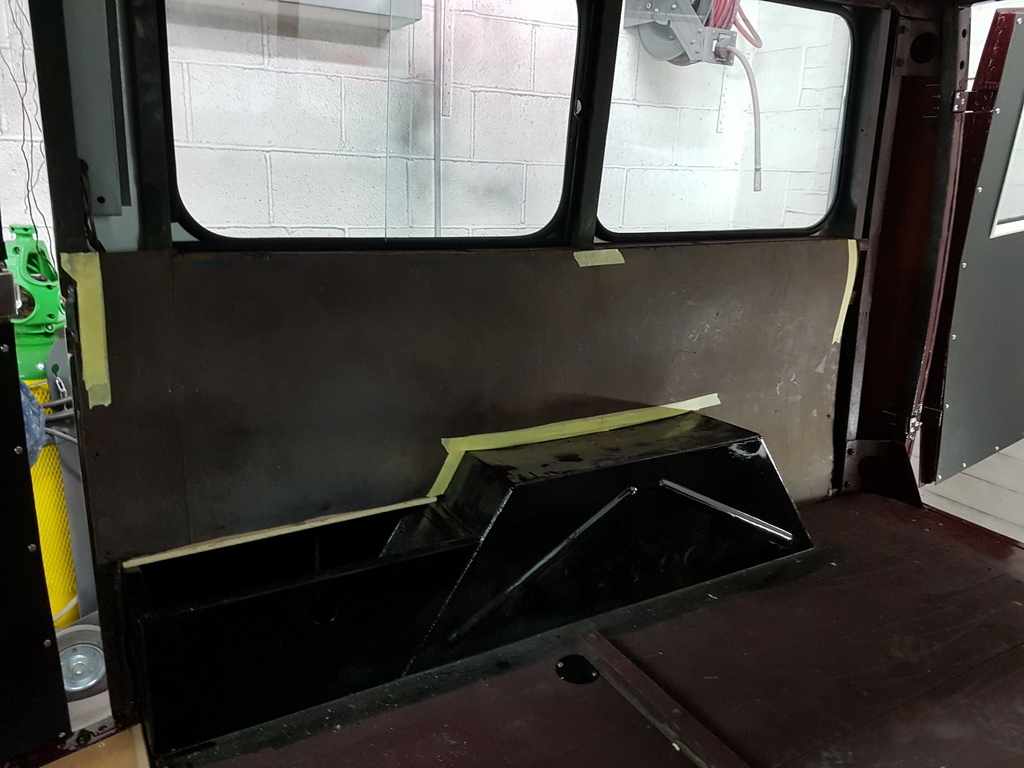 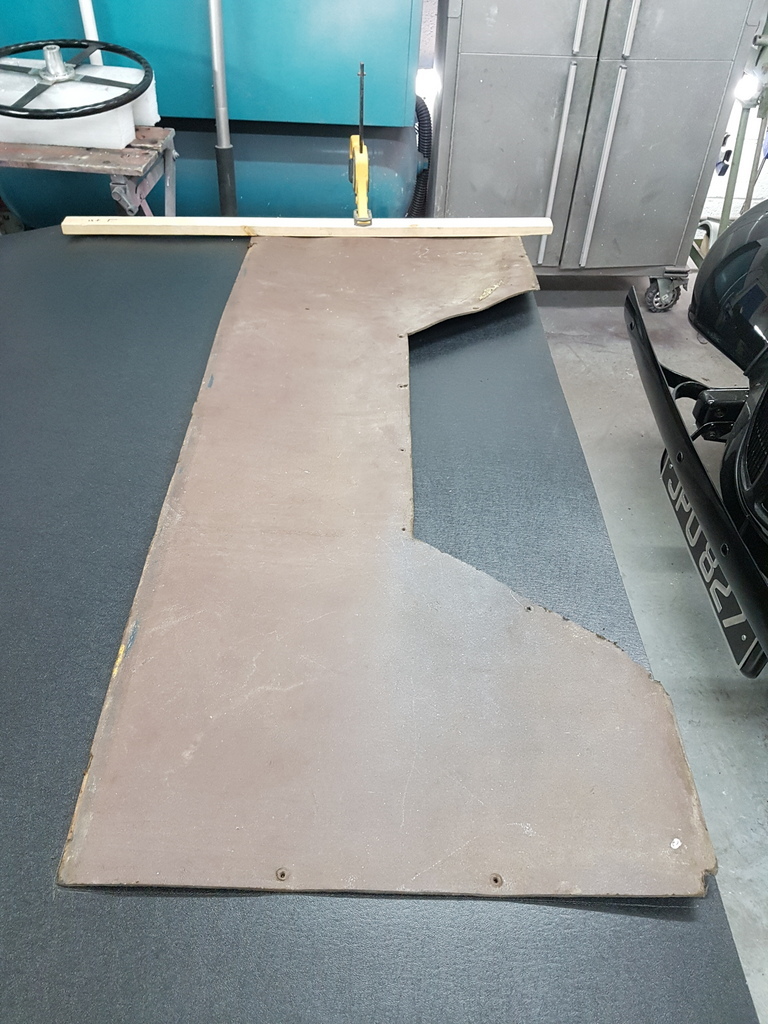 Furflex fitted to both front B posts prior to the fitment of the rear millboard panels 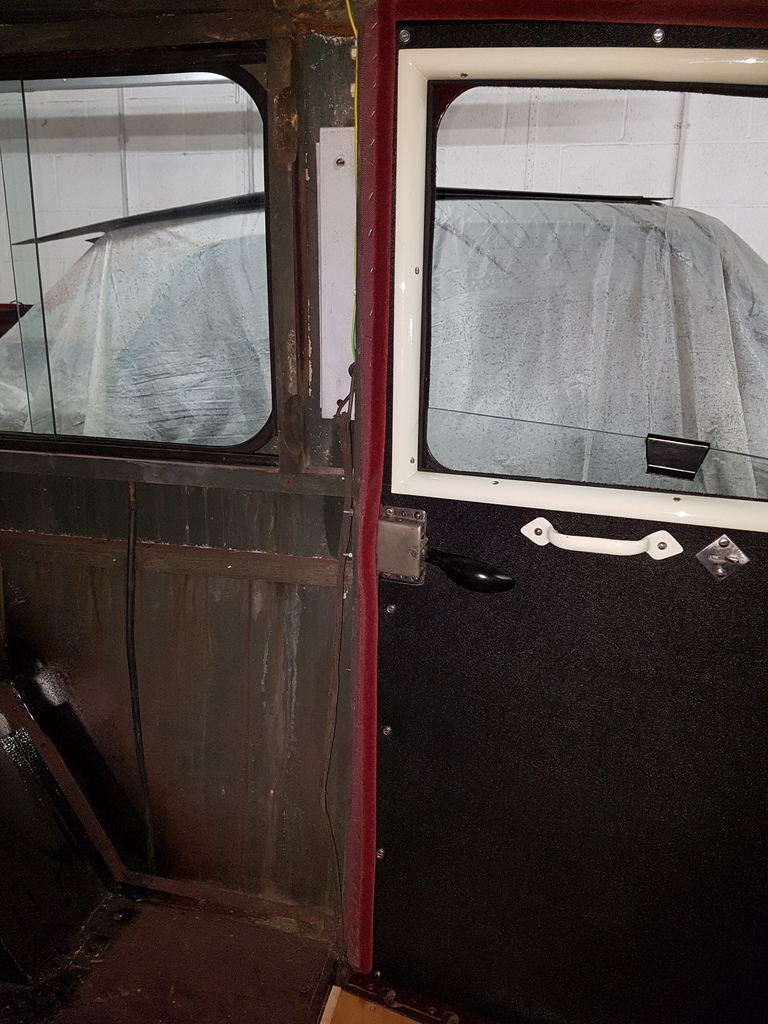 Both rear millboard panels now cut & fitted 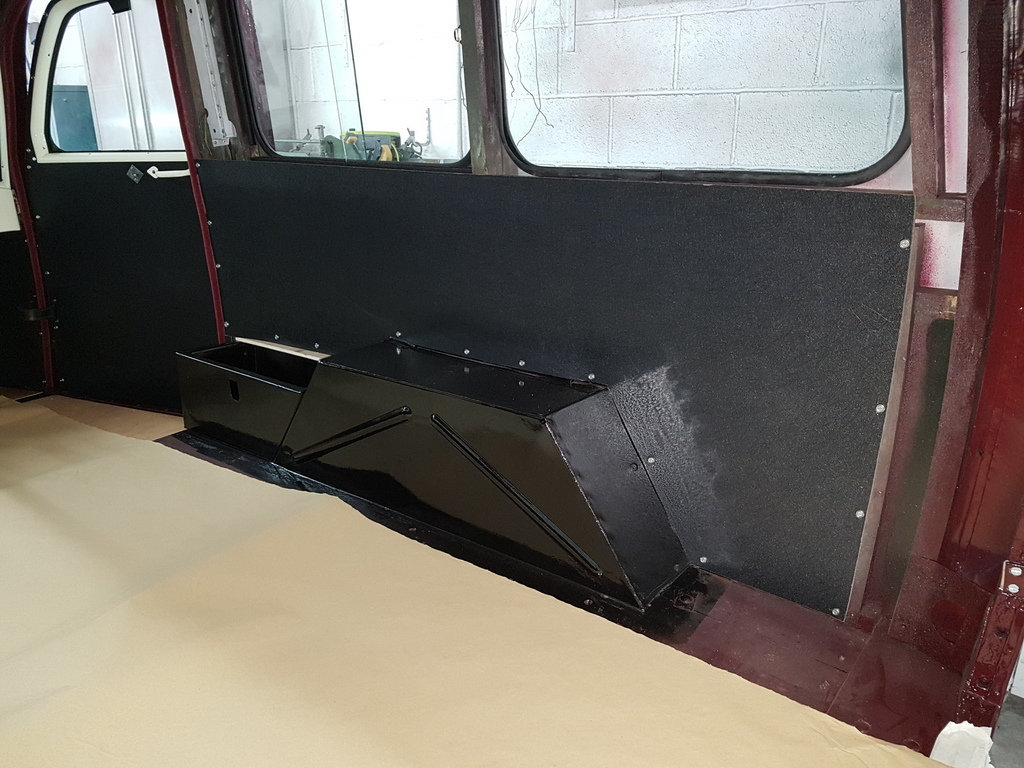 Then trial fitted the remaining original millboard panels 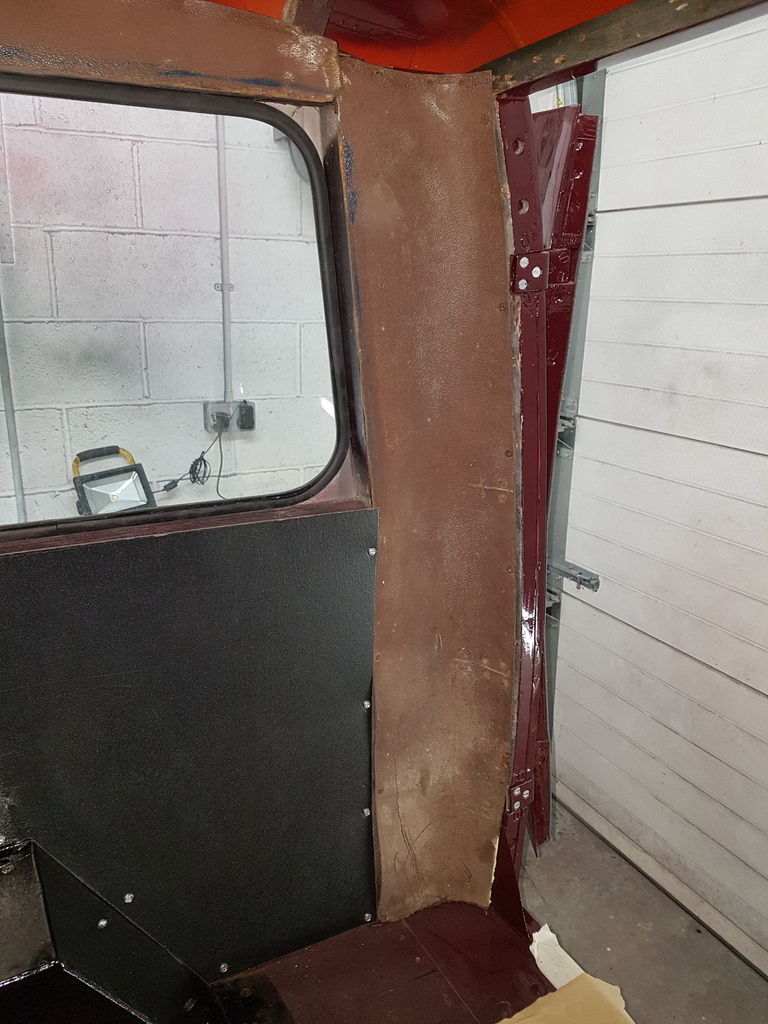 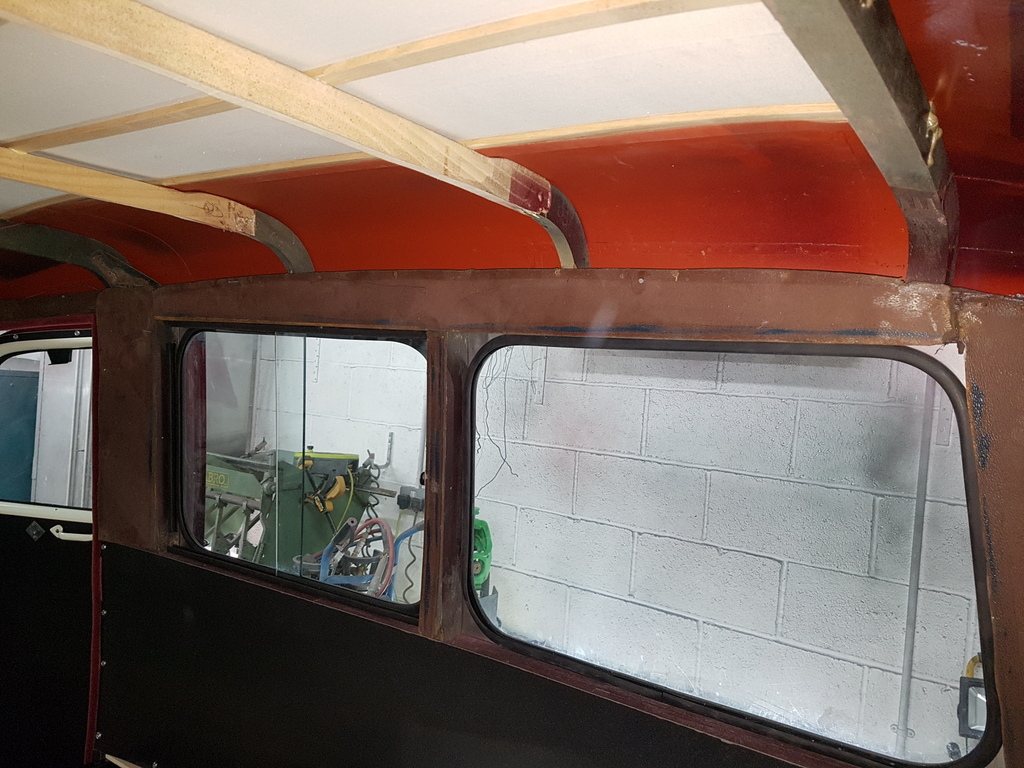 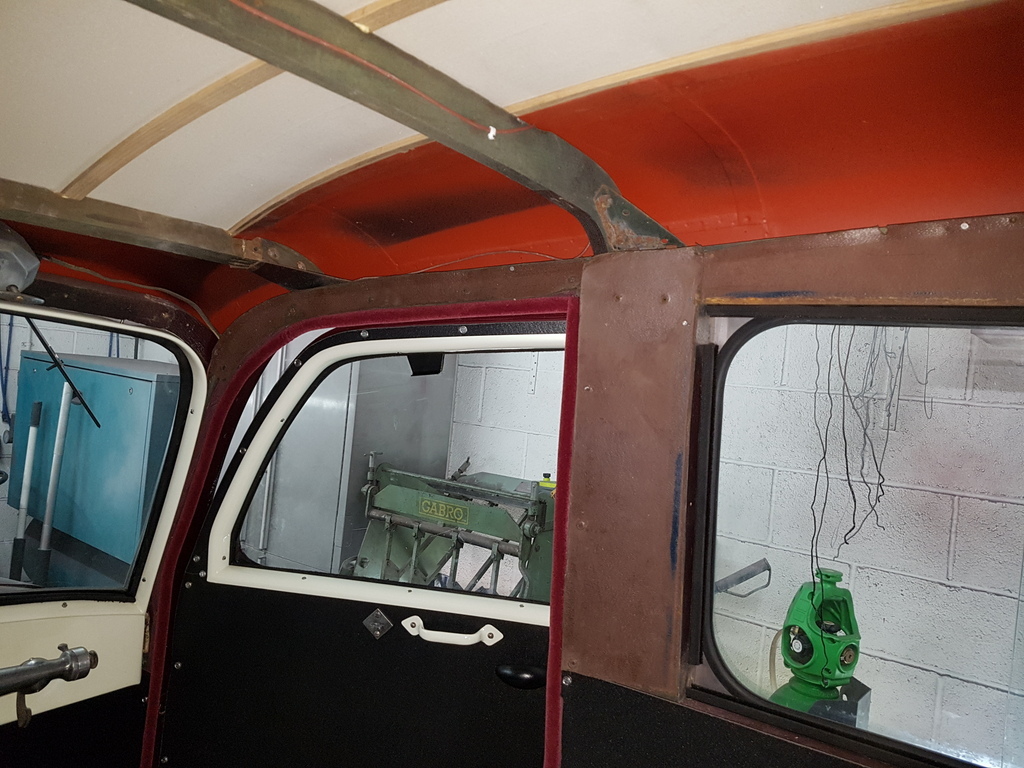 Along with the front headboard that abuts to the headlining 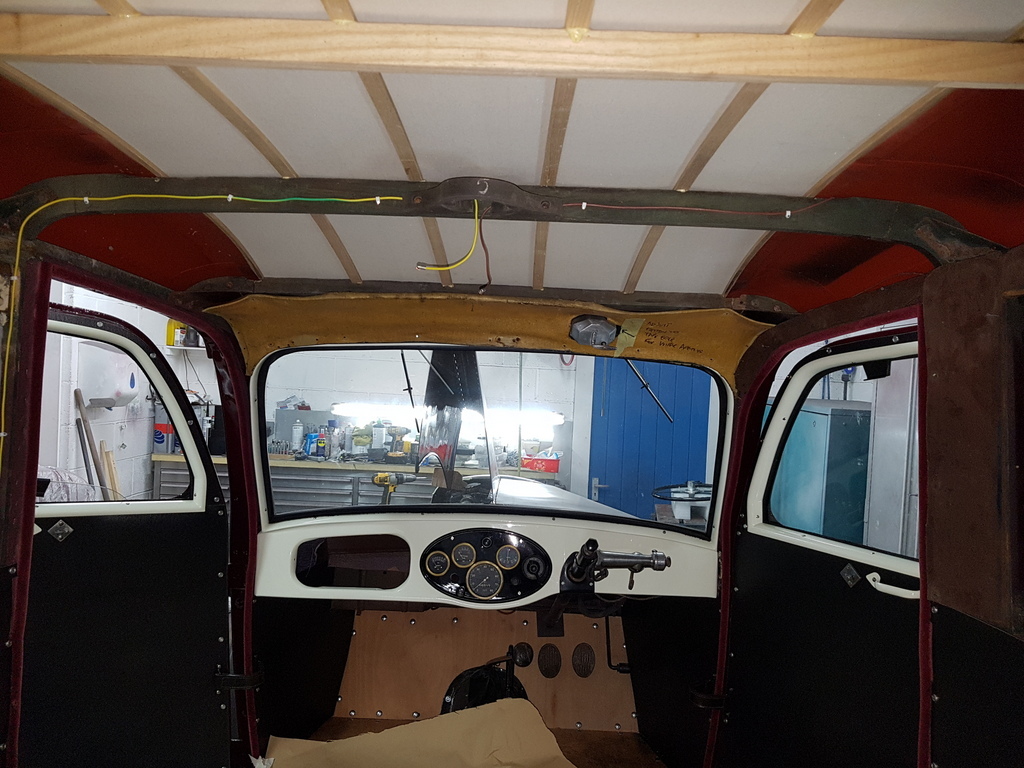 The headlining needs to be fitted before all these millboard panels can be fitted - however I wanted to get the bulk of the work done in making up a new headboard panel before I fitted the headlining to avoid damaging it in the process Its of a double compound curvature 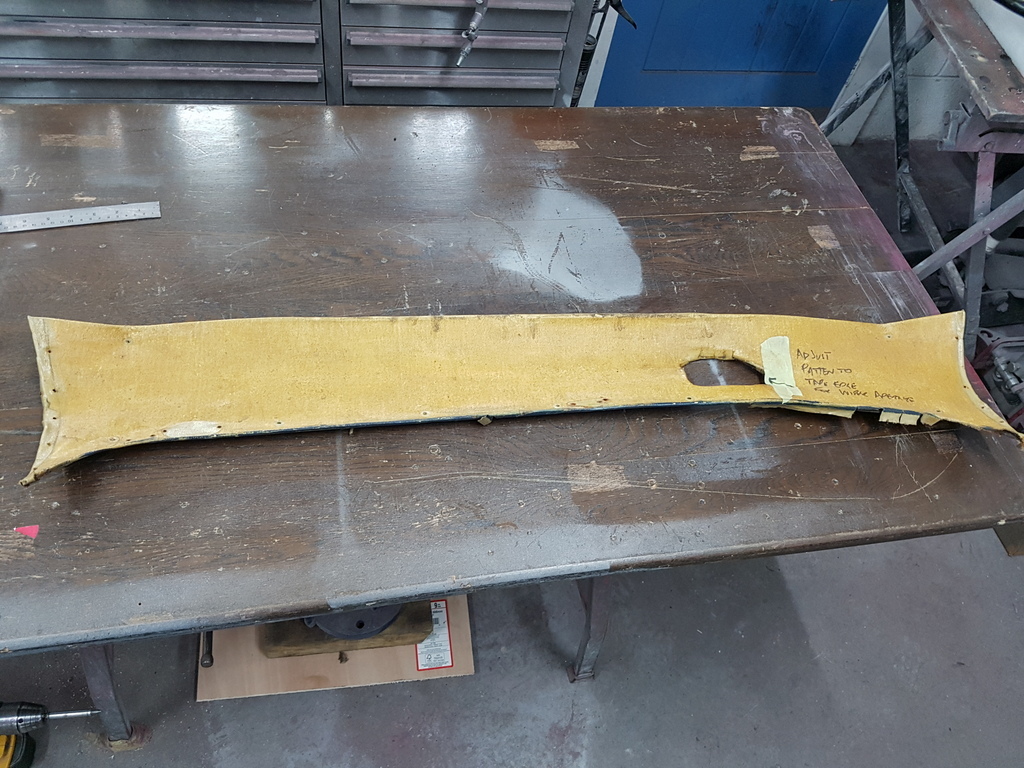 Fortunately the millboard is quite workable 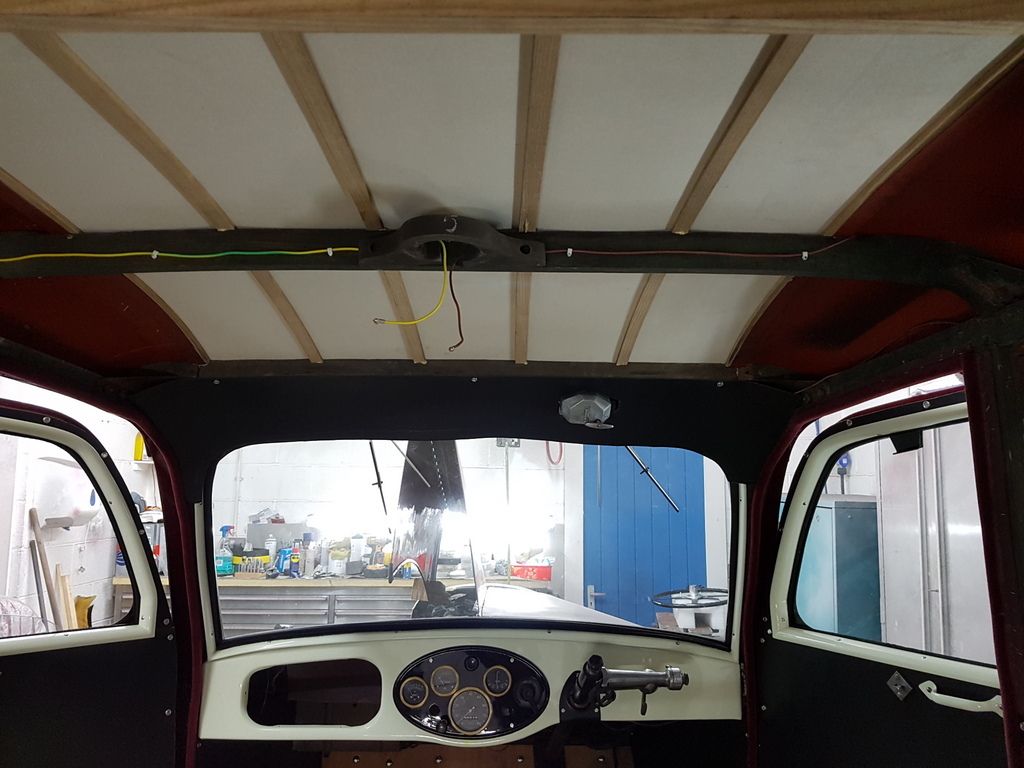 I will cover this in headlining material at a later stage Marked the centres up on the roof frame rails - the headlining tacks to these rails (unlike later production vehicles of a unitary construction that have steel hoops that you thread the headlining through) 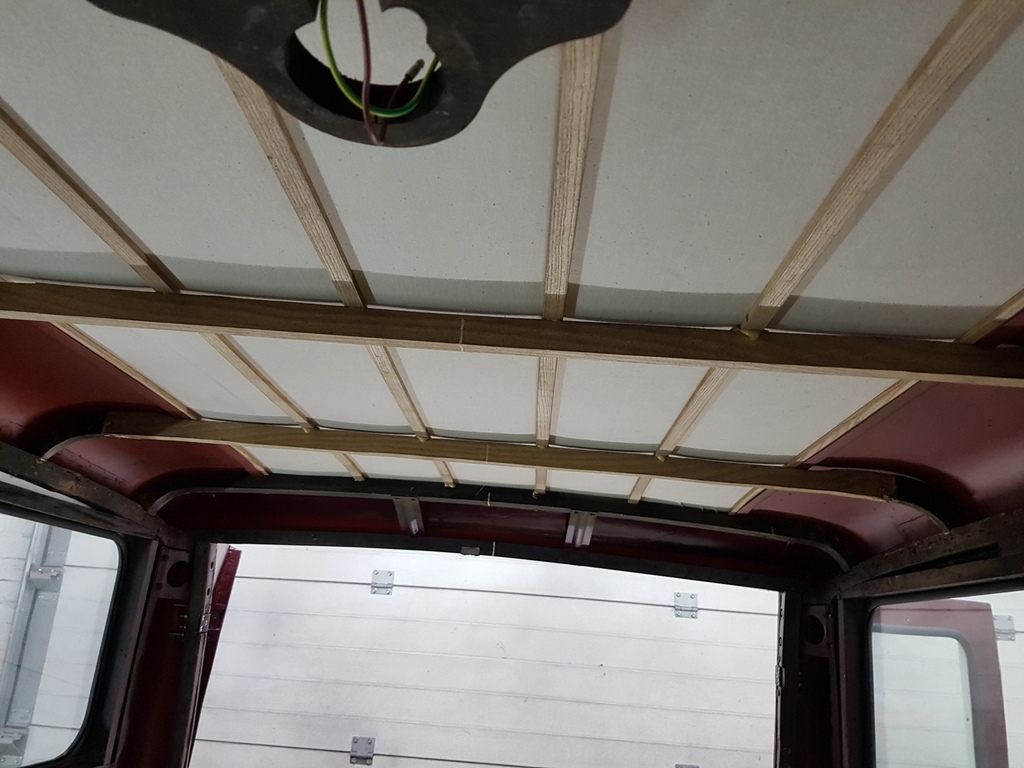 Sharon my lovely other half (grovel words just in case she reads the thread) who had made the headlining up for me had already marked the centres on the cloth 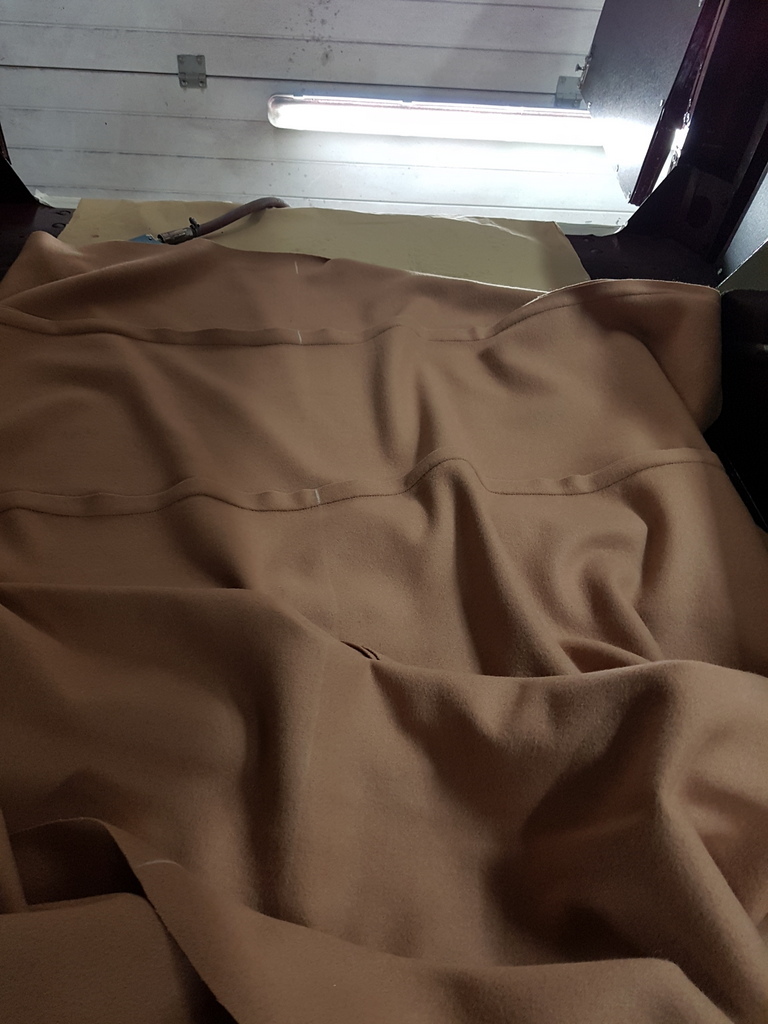 Then it's get tacking time - work from the centre of rail pulling slightly on the material - this is a wool fabric and is very forgiving 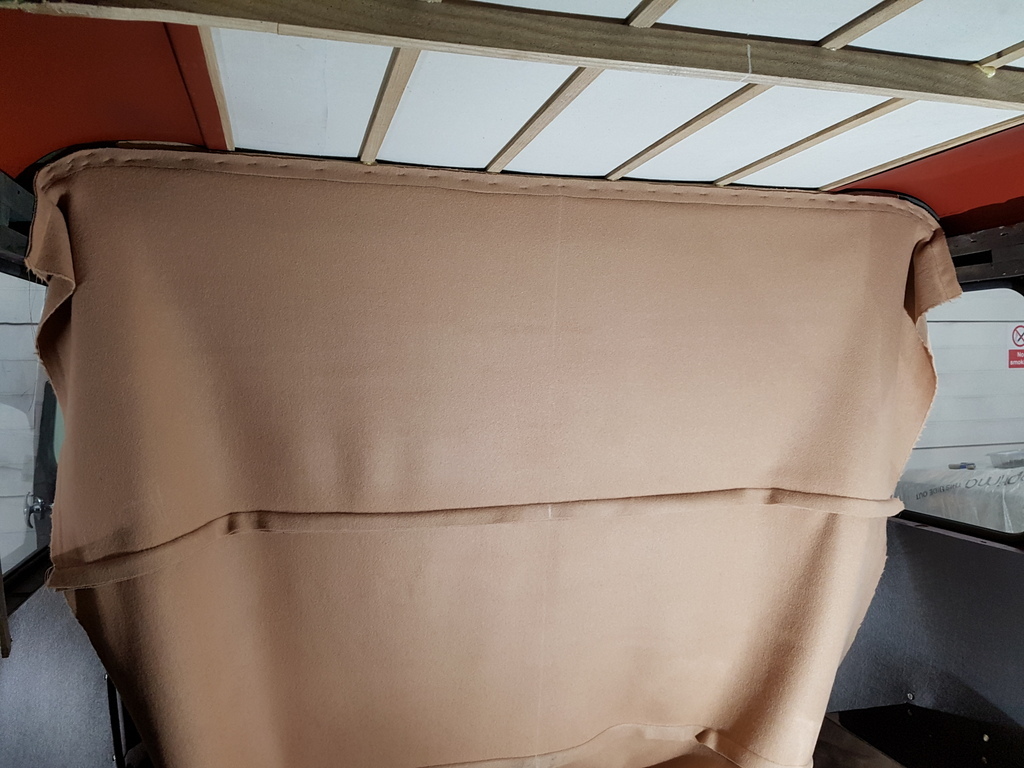 Just doing a rail at a time working from back to front 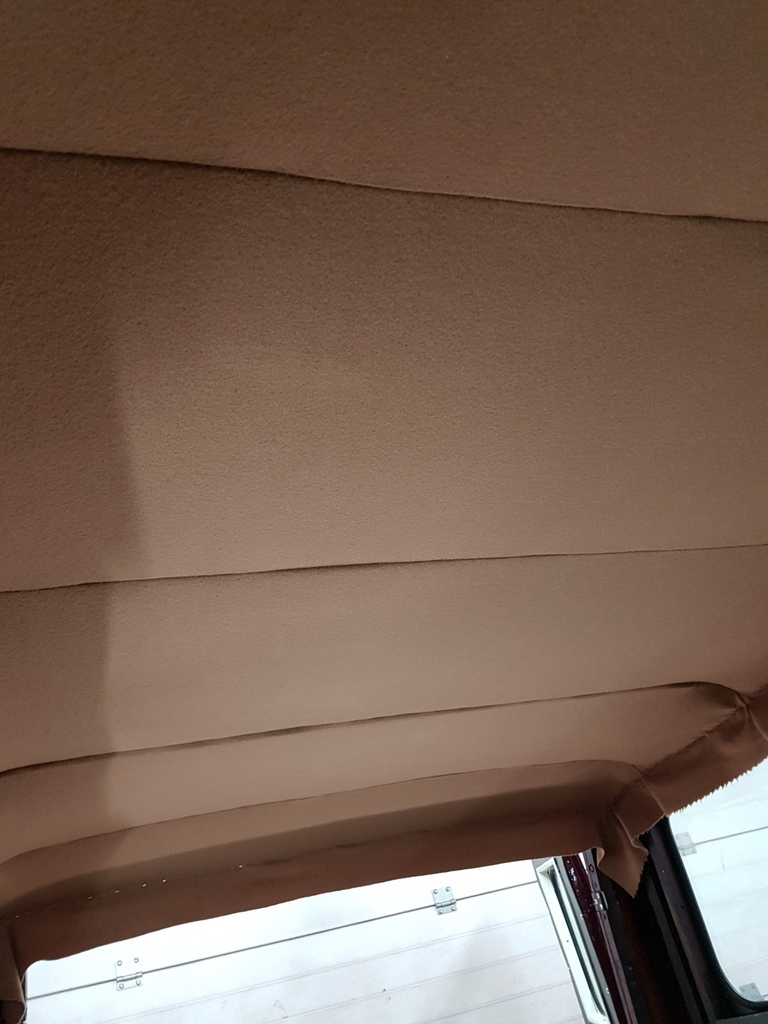 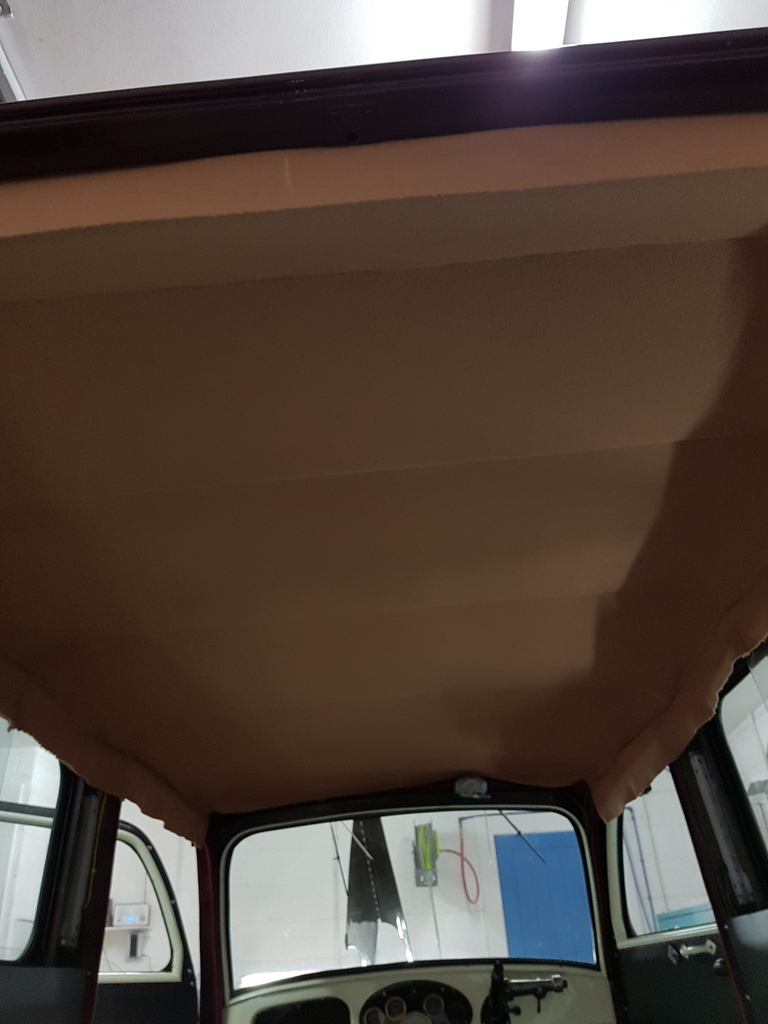 Then tack the sides up 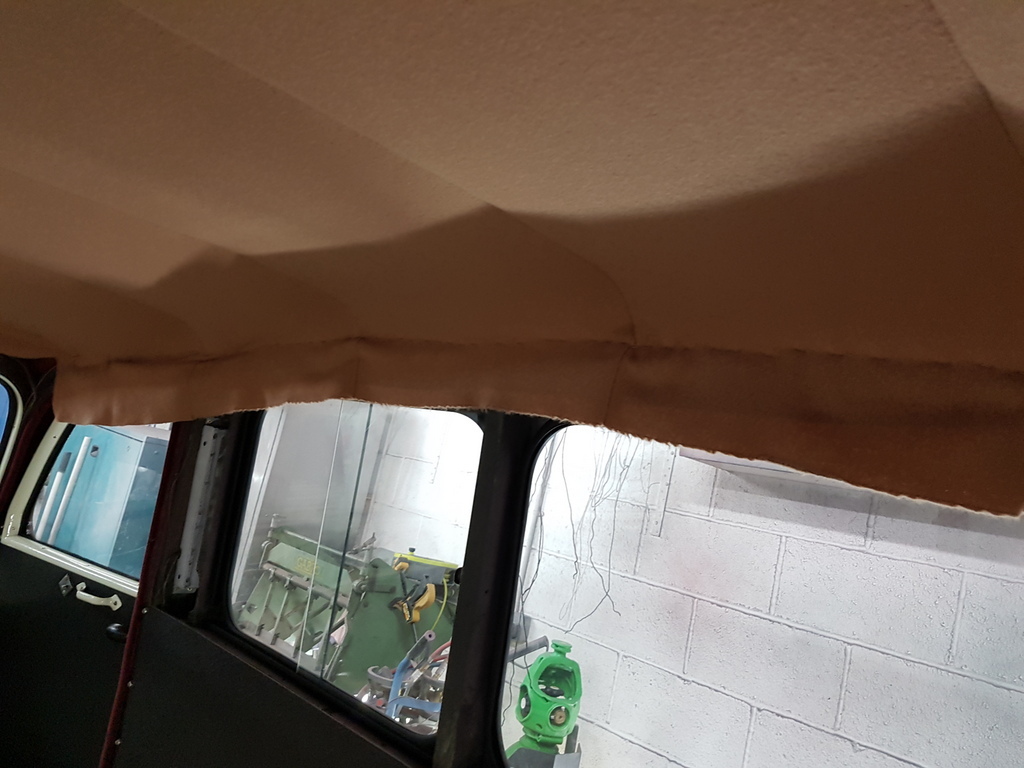 Trim any excess carefully - the millboard panels will cover the staples / headlining edges - further to this wool headlining's can be brought taught by steaming them - great for taking any fine wrinkles out of them - just stick an electric kettle in the van close the doors & windows - then leave the kettle boiling with the switch held down for 15 mins does the job (does not work on modern hard or vinyl headlining's) 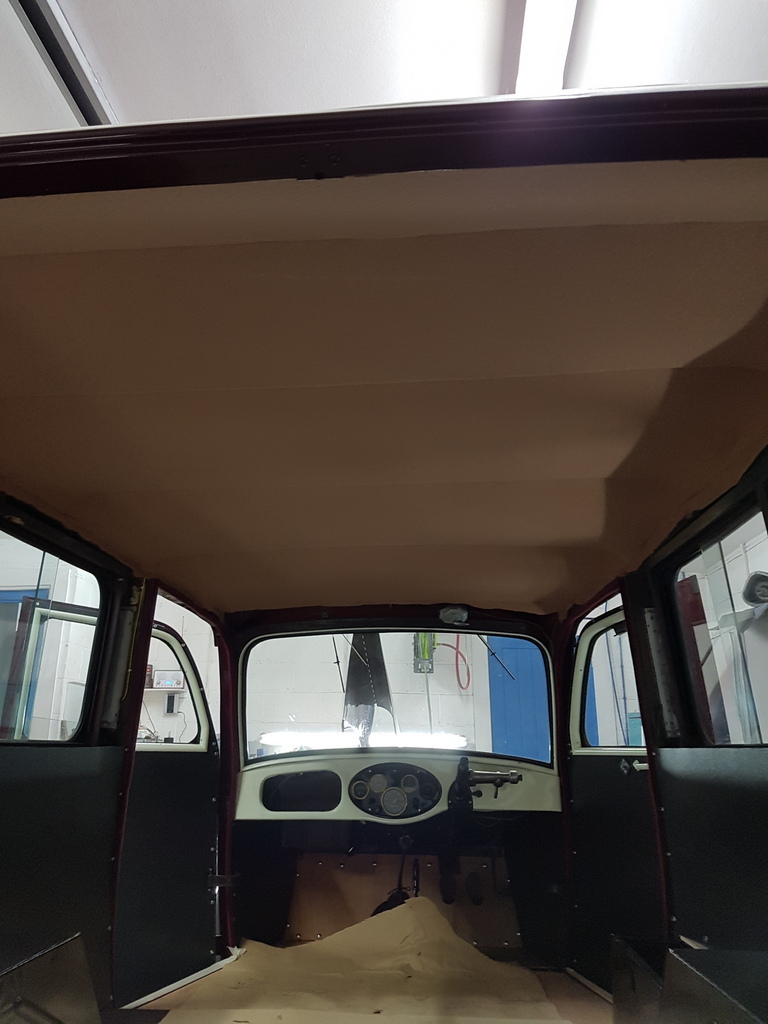 Furflex - fitted to the rear door apertures 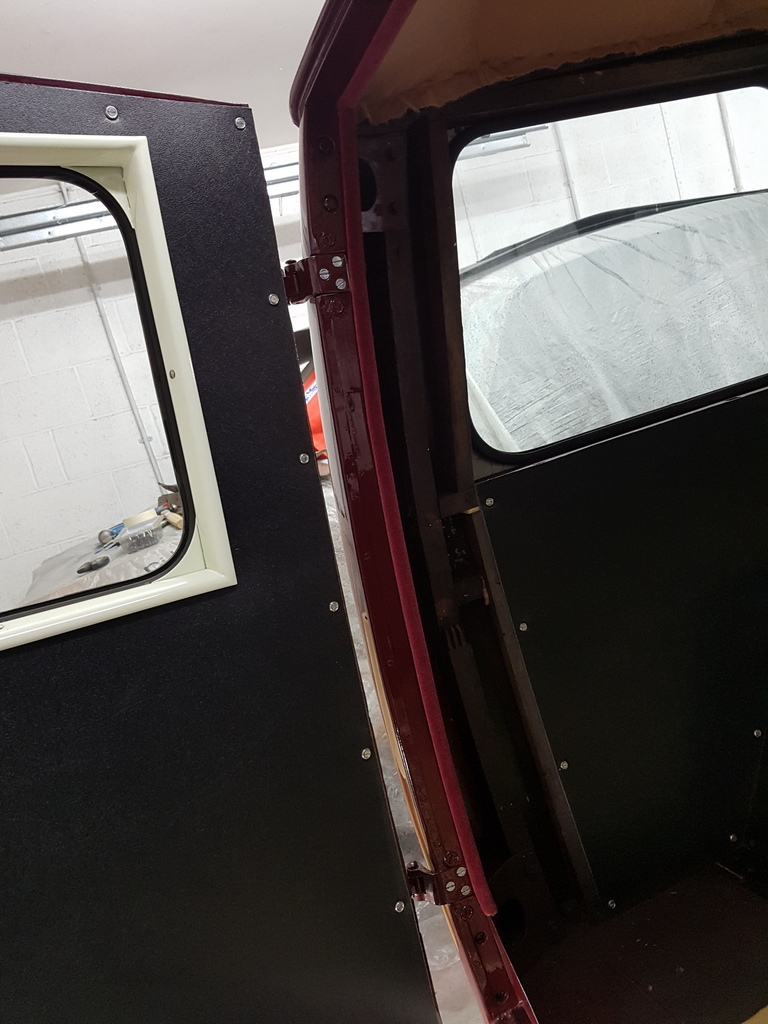 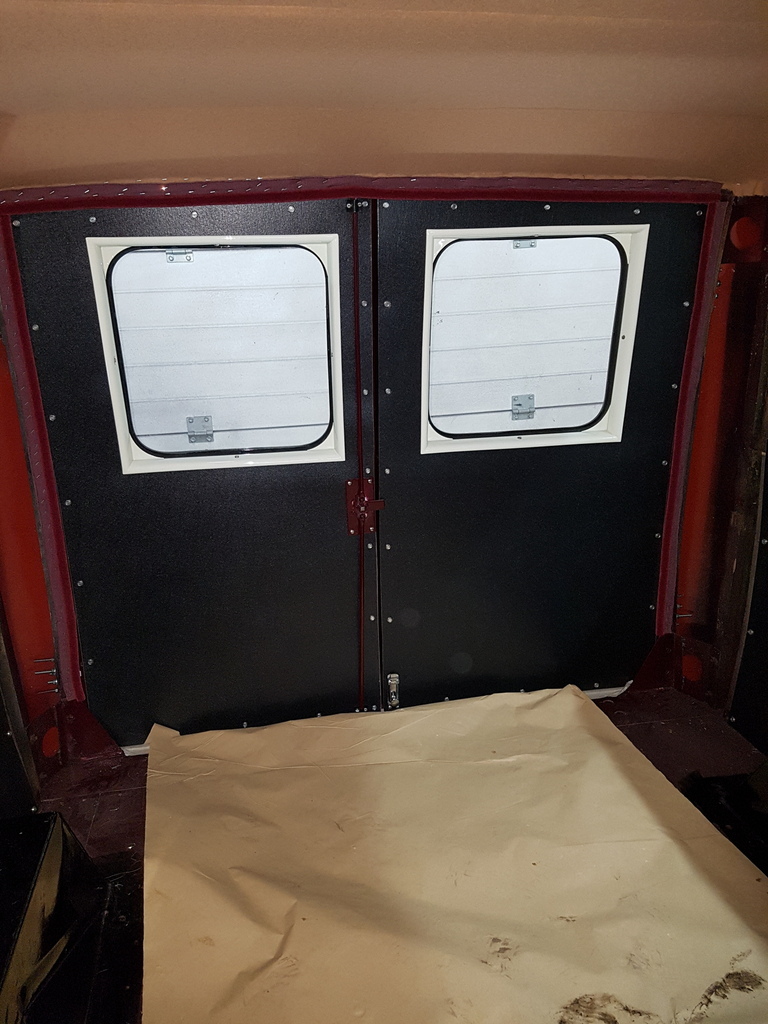 Toolbox cover now fitted - I will fit a equal angle alloy edge to the outer faces of this to smarten it up and the rear brace still requires a slither of the ribbed rubber mat fitting to it 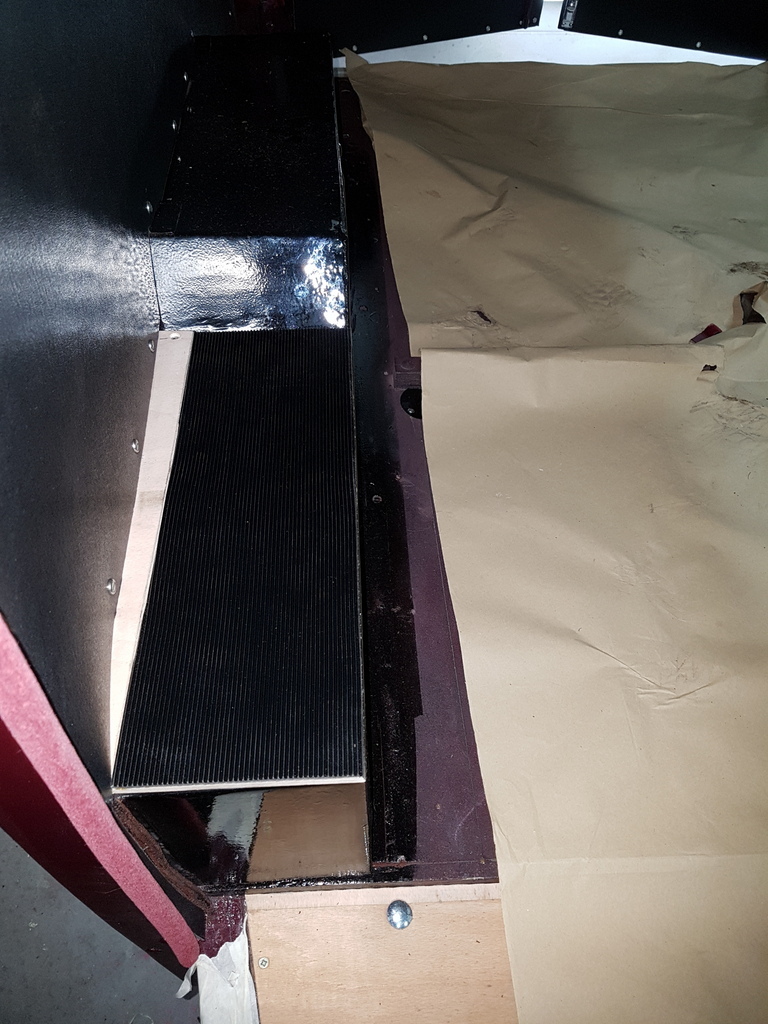 Mirrors have arrived 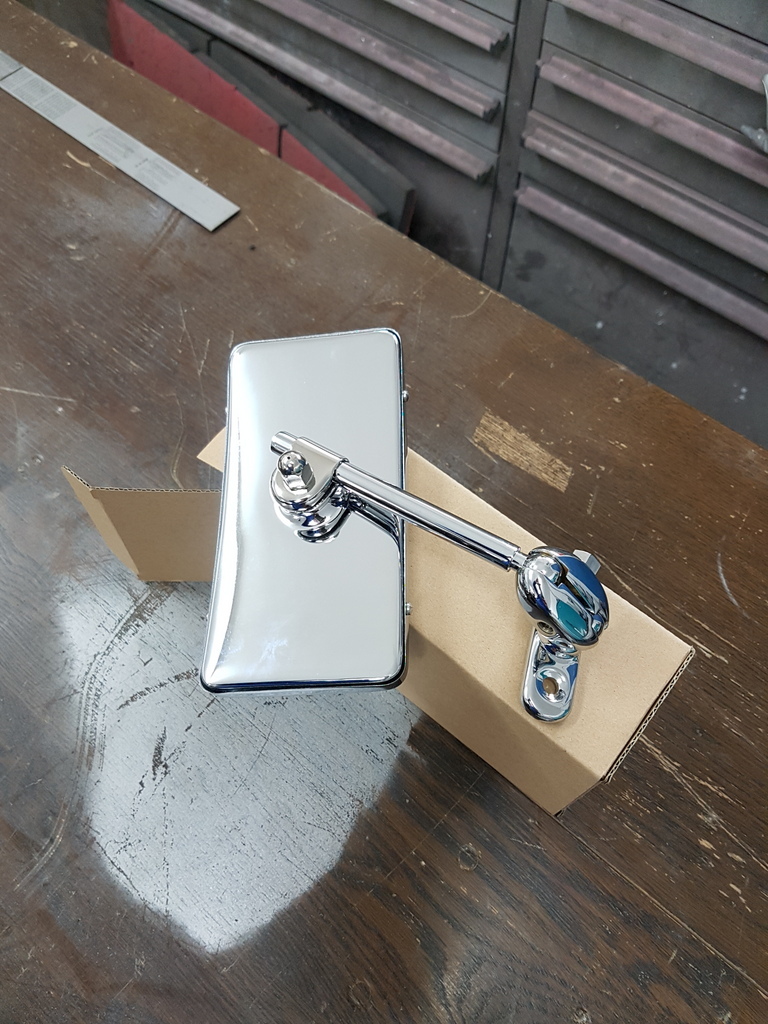 I just need to decide where to fit them - A post 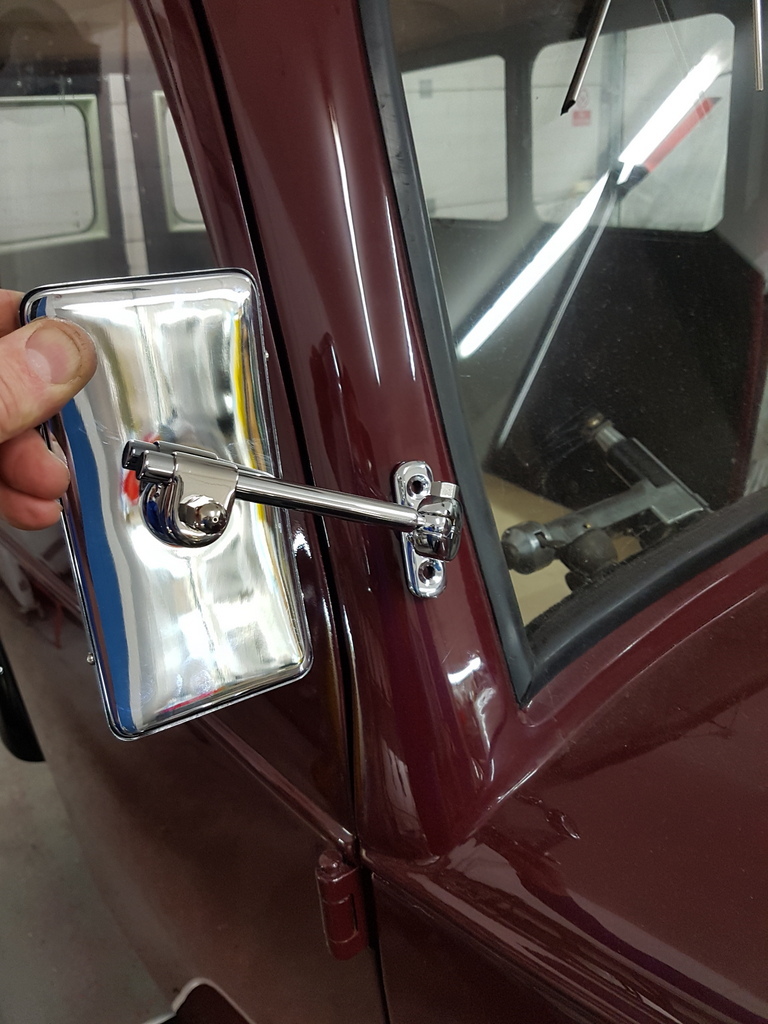 Or door - looking at the pics of other Bradfords it appear that most owners favour the A post and it looks like that is where the were when new from the factory too 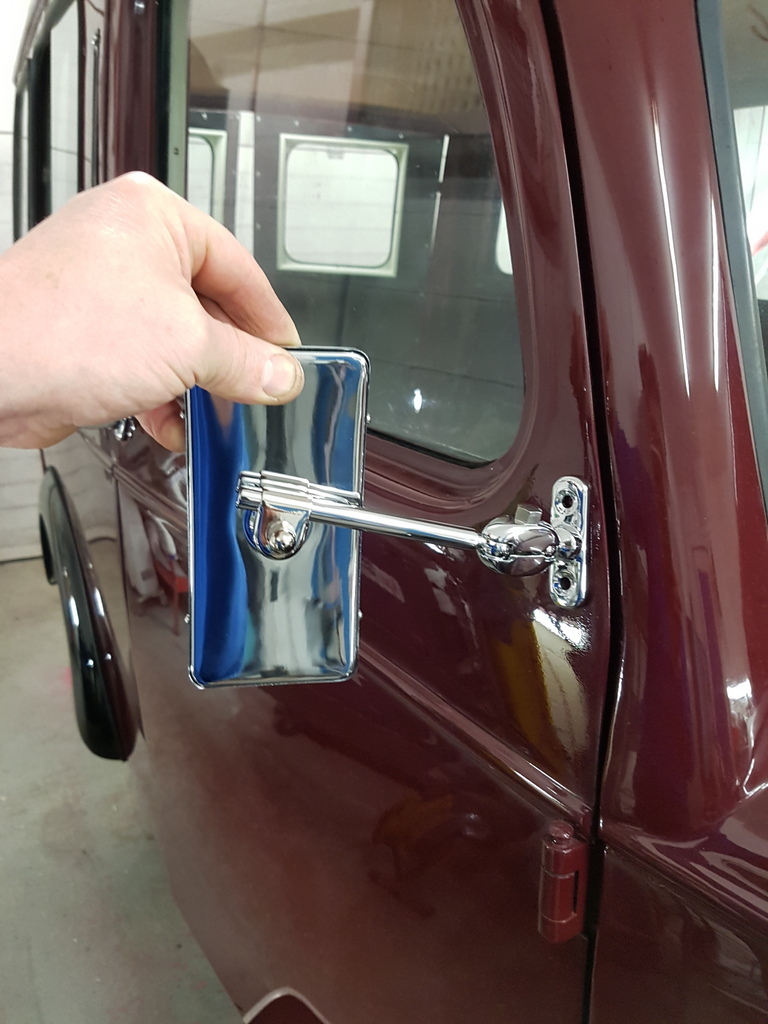 Finally I transferred the list in my head to paper 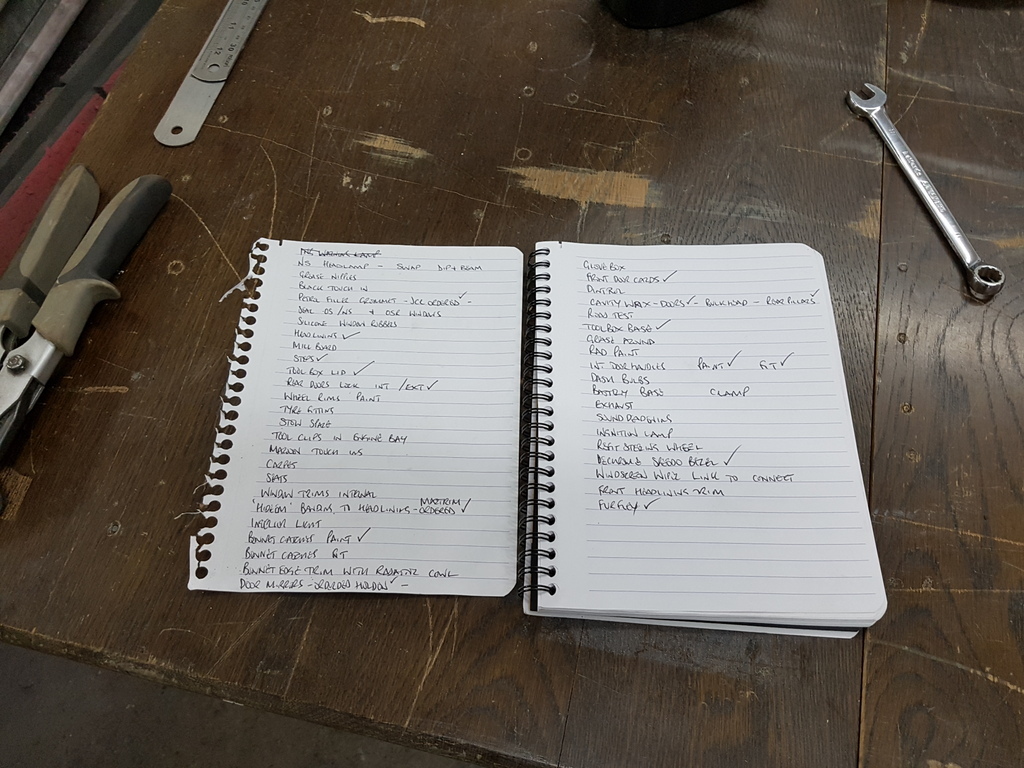 I now just to need to stop adding more jobs to the said list and start to get more crossed off and then there's the deadline 'DEADLINE' who's idea is that! |
| |
Last Edit: Apr 9, 2018 22:02:36 GMT by Deleted
|
|
|
|
|
|
|
Ian - Not a problem - due to the huge potential of this (and the fact that you have an instant follow up in the waiting 'The definitive guide to period fire engine conversions including other uses) I take it that you will not have a problem with my 90% commission fee however, I am quite willing to take ownership of a V8 Healey on a full payment basis if that suits you better (I can arrange my own collection of it)  Boys, Boys..... it’s obvious by this uncouth bickering that you really need someone in the know to deal with this stuff for you, may I introduce myself as johntheliteraryagent.... my fee is a paint job for the Fug and a racing snail      |
| |
|
|
|
|
|
Apr 10, 2018 15:12:27 GMT
|
Coincidentally, I saw a black one yesterday close to home (Stoke on Trent). If it wasn't for this thread I wouldn't have had a clue what it was. You (Grumpy) have previously mentioned the performance (lack thereof) and it was noticeable yesterday, due to the long queue of traffic behind it. I'm sure they wouldn't have minded though, I know I certainly wouldn't. Keep up the excellent work Chris, I'm another long time admirer with nothing to contribute. Other than to say that I am very grateful to you and the others on this forum who take the time to document their labours for us mere mortals to drool over. Even spookier - this was heading north on the A520 out of Weston Coyney (I live in Cheddleton and was heading south) in the morning.. , has to be the same one. I could well be mistaken on the colour, it was coming towards me and looked black but could easily have been dark blue. The one I saw was heading into Blythe Bridge from the direction of Cresswell. I remember it had a body coloured grill, surely has to be the same one and I just got the colour wrong? |
| |
|
|
Phil H
Posted a lot
  
Posts: 1,448
Club RR Member Number: 133
|
|
Apr 10, 2018 15:53:30 GMT
|
|
Sounds like it could have been the same one - probably gone through Blythe Bridge and Caverswall to keep off the A50?
It was a very dark blue - with modern indicators under the front bumper.
One you know of, GN? I’m thinking the Bradford owners are a reasonably close knit group?
|
| |
|
|
|
|
|
|
|
Apr 10, 2018 18:17:15 GMT
|
|
i'm coming to the conclusion, via observation, that the aerosol versions of high temp proper automotive super de facto ultimate trim glue, are also a load of junk (so far tried trim-fix via woolies, and livedale trimbond via ebay)
do you concur Dr Northerner ?
|
| |
Last Edit: Apr 10, 2018 18:17:39 GMT by darrenh
|
|
vulgalour
Club Retro Rides Member
Posts: 7,285
Club RR Member Number: 146
|
|
Apr 10, 2018 19:33:27 GMT
|
|
One advantage to being on the A pillar is that the mirror won't self adjust every time you shut the door and, unusually, it looks more 'right' in your pictures on the A pillar which I wouldn't have expected. Almost a shame to cover up all that work with the headlining really, except for the fact that the headlining is really rather handsome in its own right.
|
| |
|
|
melle
South West
It'll come out in the wash.
Posts: 2,010
|
|
Apr 10, 2018 21:00:57 GMT
|
|
Where do you get the ribbed rubber mat? I want to line the floor of my Saab 95 van (in the making) with something similar.
|
| |
www.saabv4.com'70 Saab 96 V4 "The Devil's Own V4" '77 Saab 95 V4 van conversion project '88 Saab 900i 8V
|
|
|
|
|
Apr 10, 2018 22:34:43 GMT
|
Sounds like it could have been the same one - probably gone through Blythe Bridge and Caverswall to keep off the A50? It was a very dark blue - with modern indicators under the front bumper. One you know of, GN? I’m thinking the Bradford owners are a reasonably close knit group? Pretty sure that I know who this is - it is has described a very dark blue van & Jowett Car Club member - most owners have fitted indicators in order to commute in modern traffic - they are a great fun to drive probably one of the fastest ways of slowing down that you are ever going to come across  |
| |
|
|
|
|
|
Apr 10, 2018 22:42:06 GMT
|
|
|
| |
|
|
|
|
|
Apr 10, 2018 22:45:38 GMT
|
One advantage to being on the A pillar is that the mirror won't self adjust every time you shut the door and, unusually, it looks more 'right' in your pictures on the A pillar which I wouldn't have expected. Almost a shame to cover up all that work with the headlining really, except for the fact that the headlining is really rather handsome in its own right. I think you are right with the A post assumption - checked some more images tonight and it looks like the majority of owners prefer the A post for the mounting point - headlining now completed apart from a quick steaming - see latest update - Chris |
| |
|
|
melle
South West
It'll come out in the wash.
Posts: 2,010
|
|
Apr 10, 2018 22:58:00 GMT
|
|
Thanks!
|
| |
www.saabv4.com'70 Saab 96 V4 "The Devil's Own V4" '77 Saab 95 V4 van conversion project '88 Saab 900i 8V
|
|
|
|
|
Apr 10, 2018 23:14:46 GMT
|
Long day in getting the remaining mill board panels cut & fitted - I had reserved the 2 most difficult ones for some of the last to do 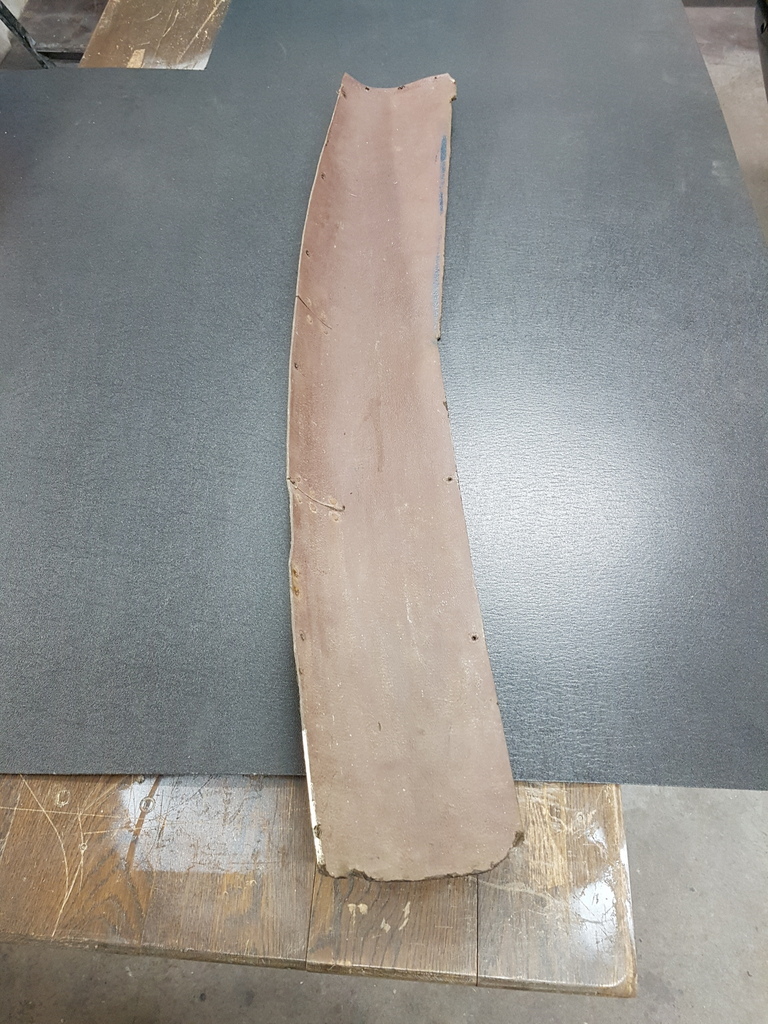 These being the rear pillar covers - multi compound curvature - I took them apart so that I could pattern them more effectively 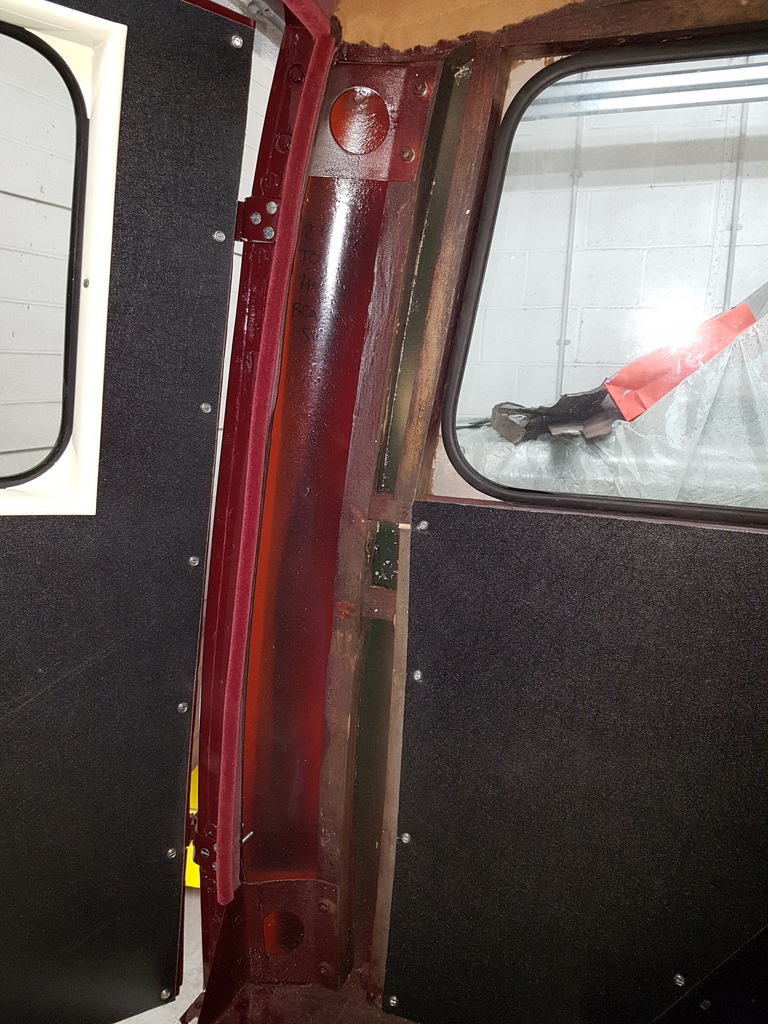 The rear pillars were sprayed liberally with cavity wax before being covered Cut the remaining millboard trims for the nearside 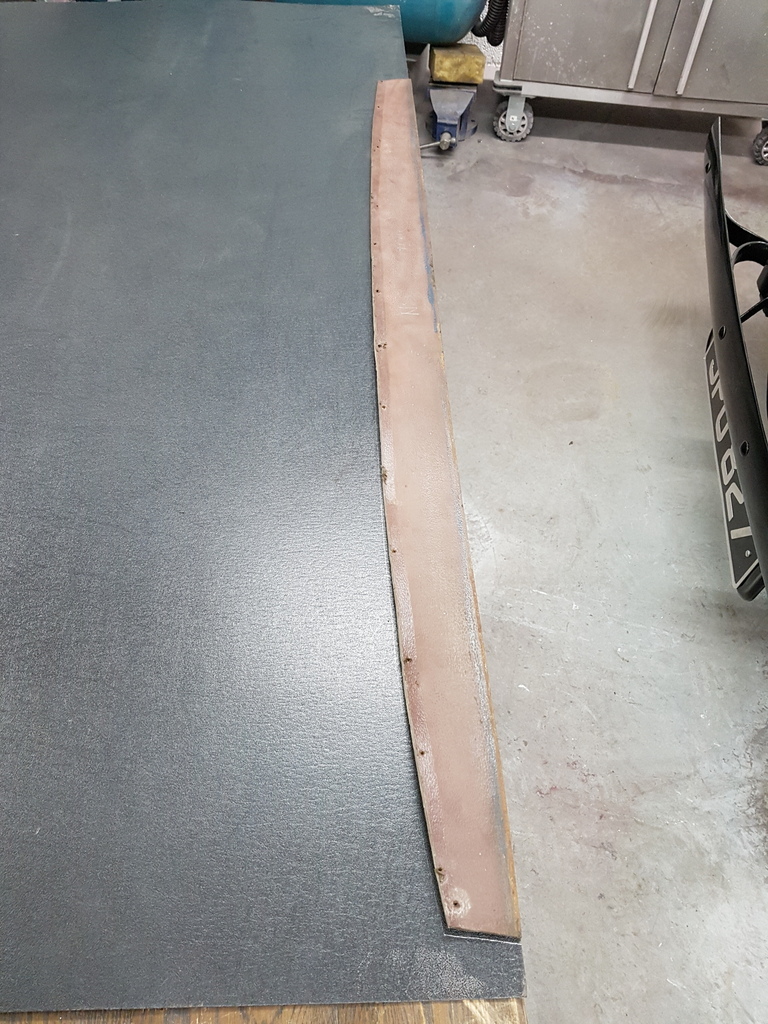 All fitted along with the window trims 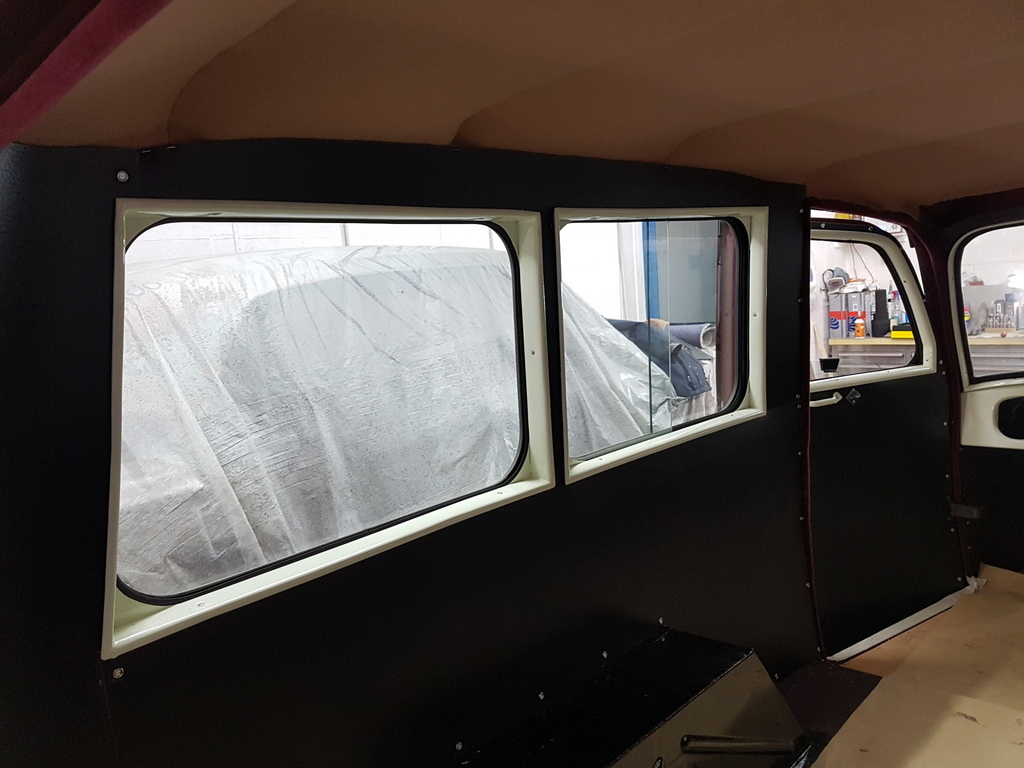 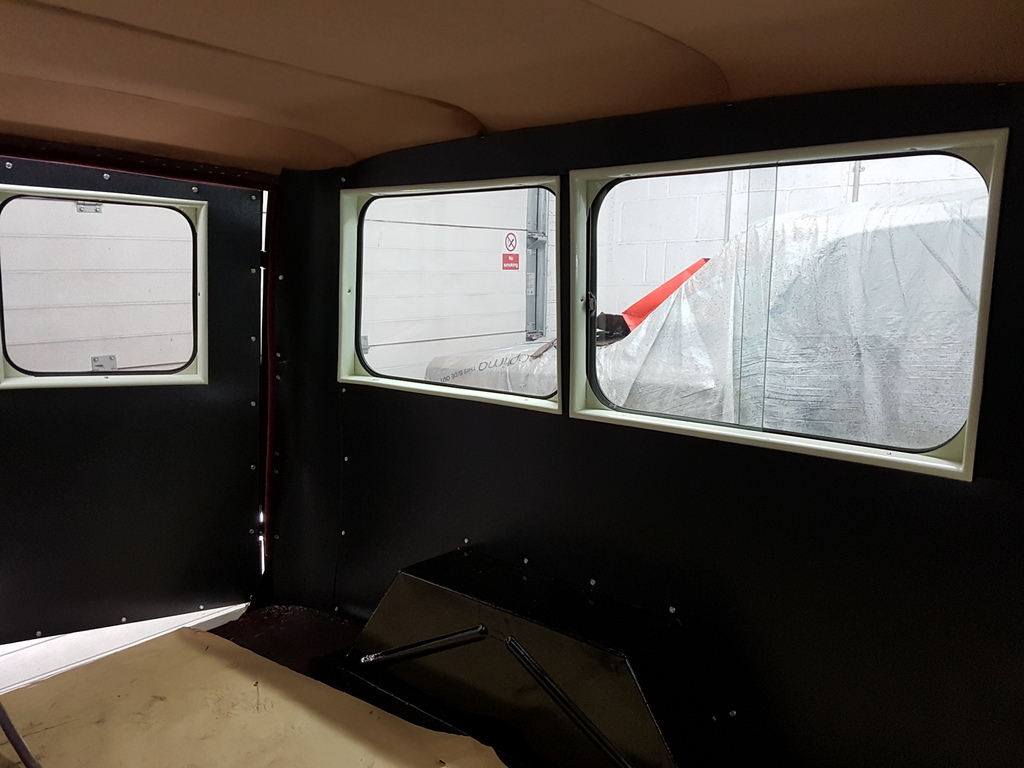 Then onto the offside 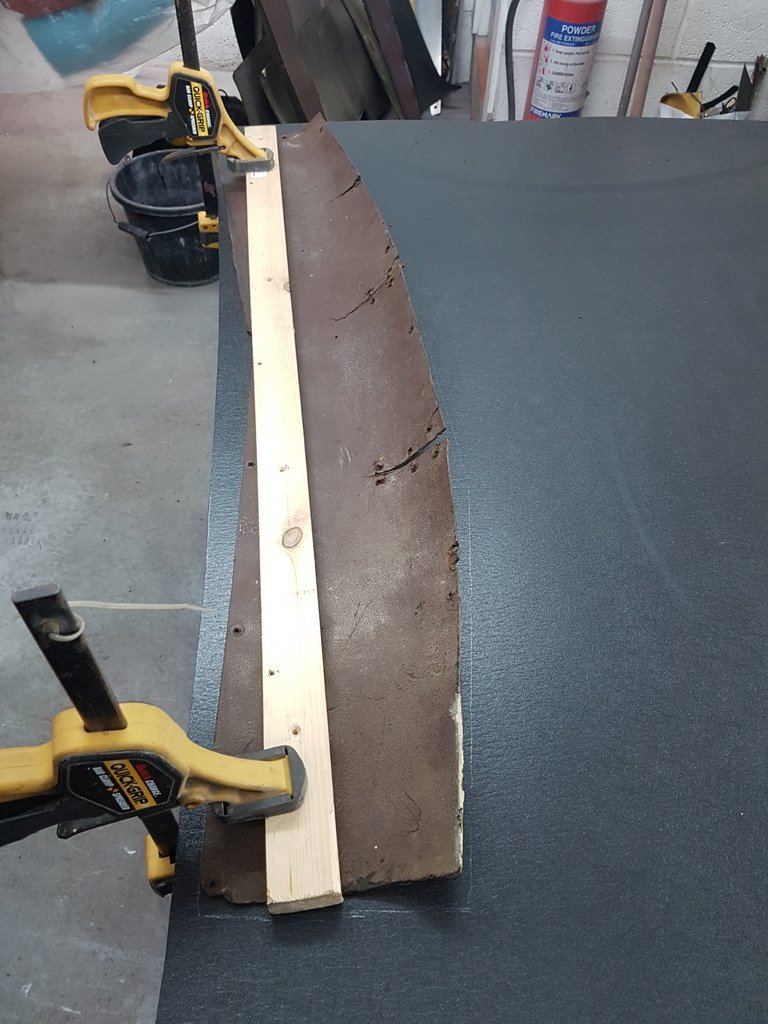 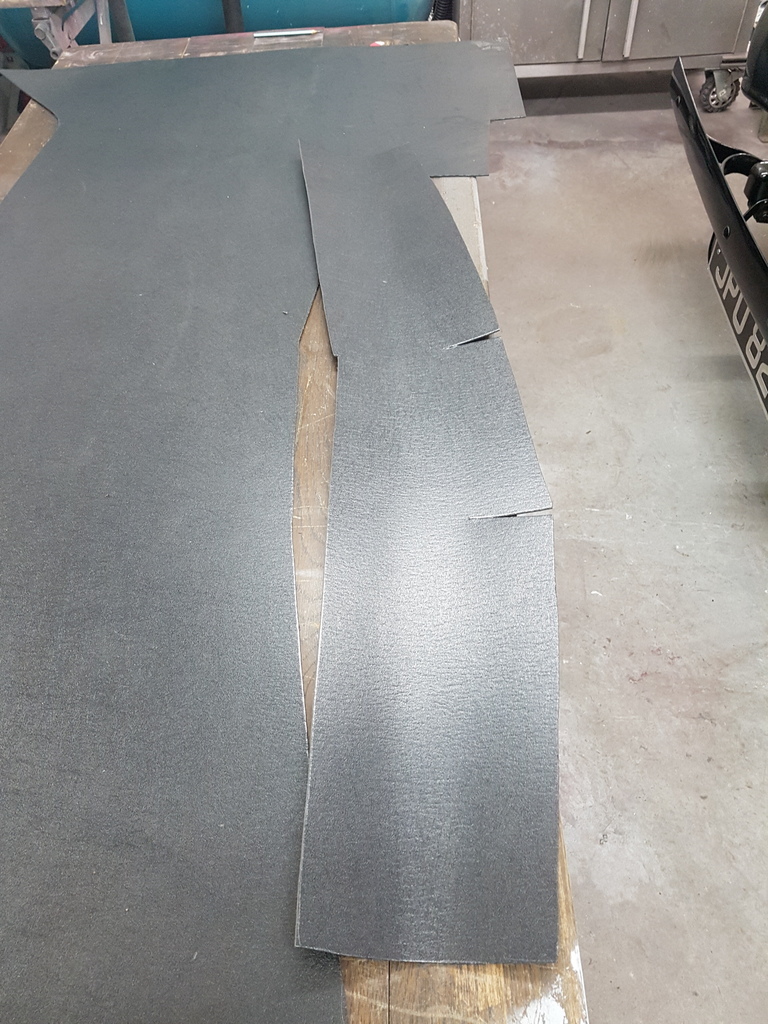 Again all fitted in conjunction with the window trims 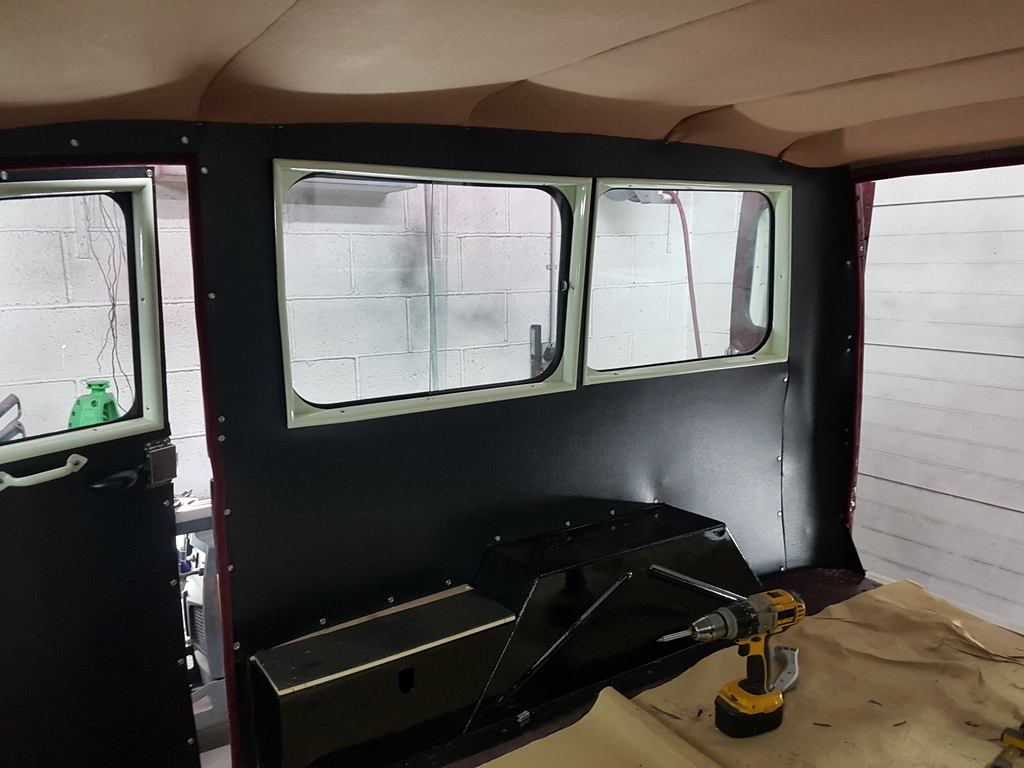 Just need the final trim to go between the headlining and the millboard 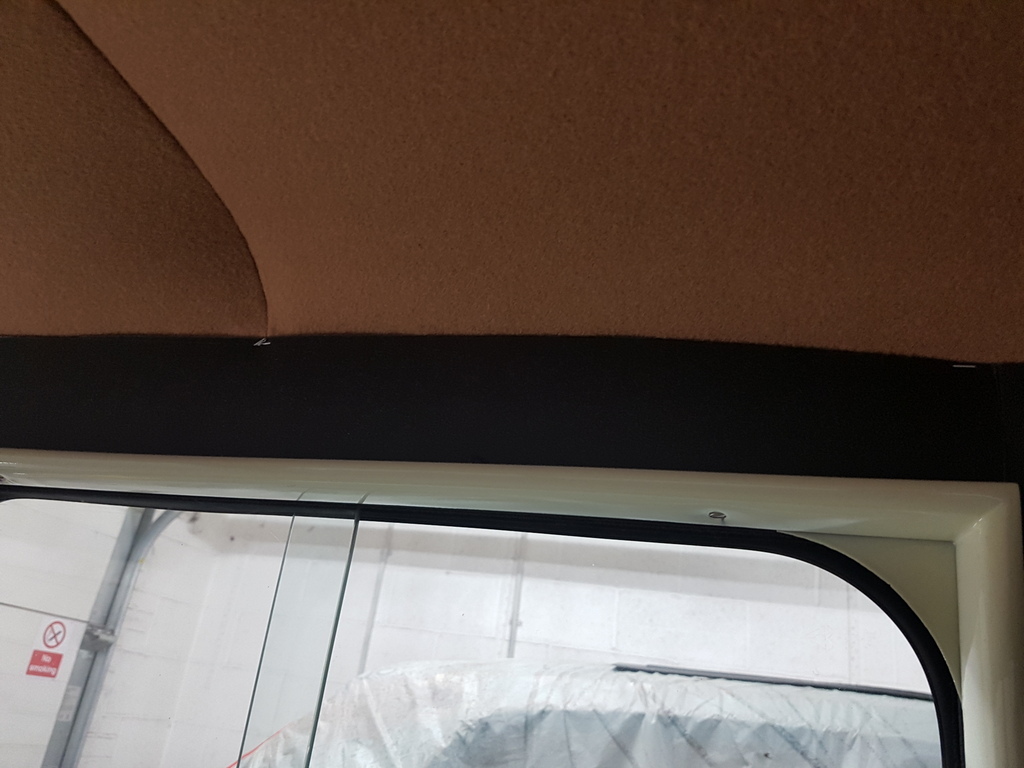 This is called 'Hidem Banding' - its been in the market since the 30's - available in a range of colours and a couple of widths 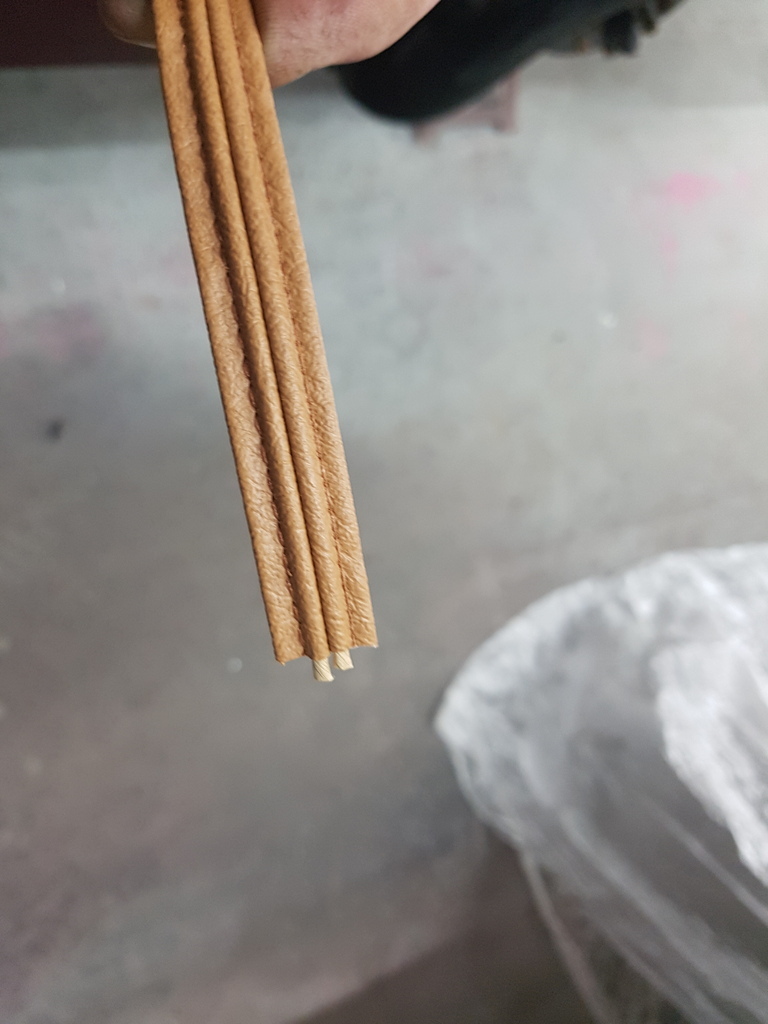 It's largely used for trim transition or termination points - the centre opens up to allow you to tack or staple through it then it's closed to hide the fixing 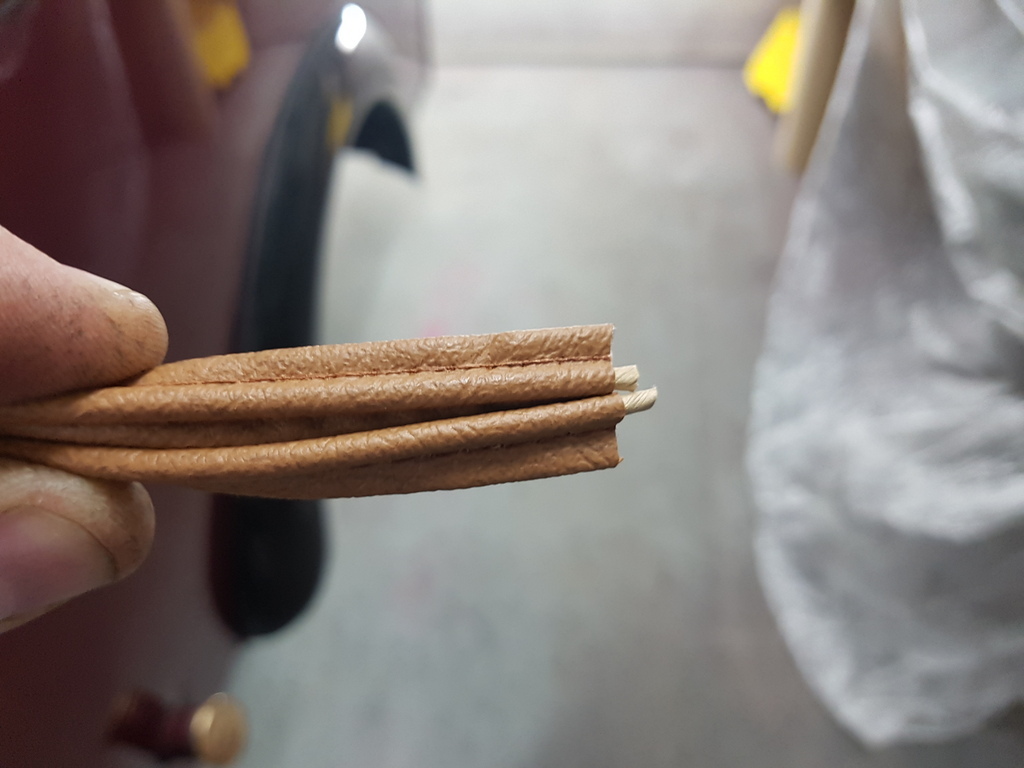 Fitted 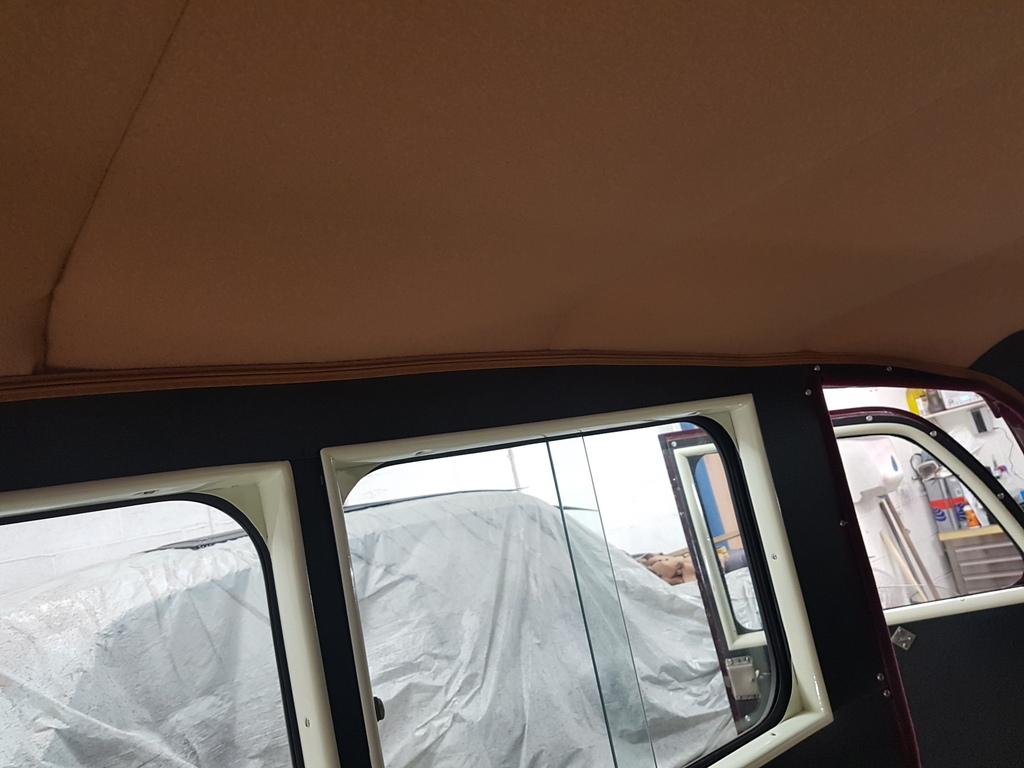 Headlining done, front headboard fitted (decided to leave it has black millboard) & rear view mirror fitted 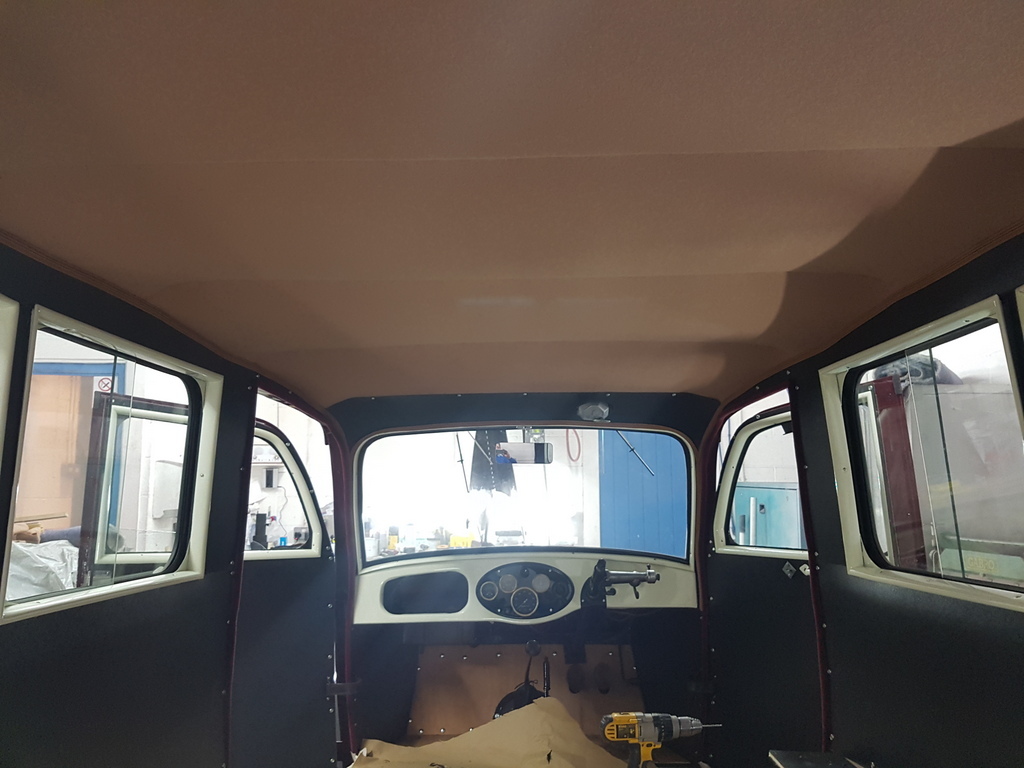 Then came point of virtual disaster with the headlining - Tim had supplied a interior light for the van - a used one - I fitted the baseplate and wired it in but the lamp switch is broken due a crack in the plastic base plate and will not switch off - further to this the lens will not stay retained on its clips - had a go at fixing it (I like to get most things to work) but this was having none of it and there comes a point after wasting over an hour on what should be a 5 minute fix - problem now is that I have the wires through the headlining and two screw holes in it at 100mm centres - I had to find another lamp that would cover this - found something suitable this evening and got it on order - it's more period and circular (has were the originals) - hopefully that will appear in the next few days 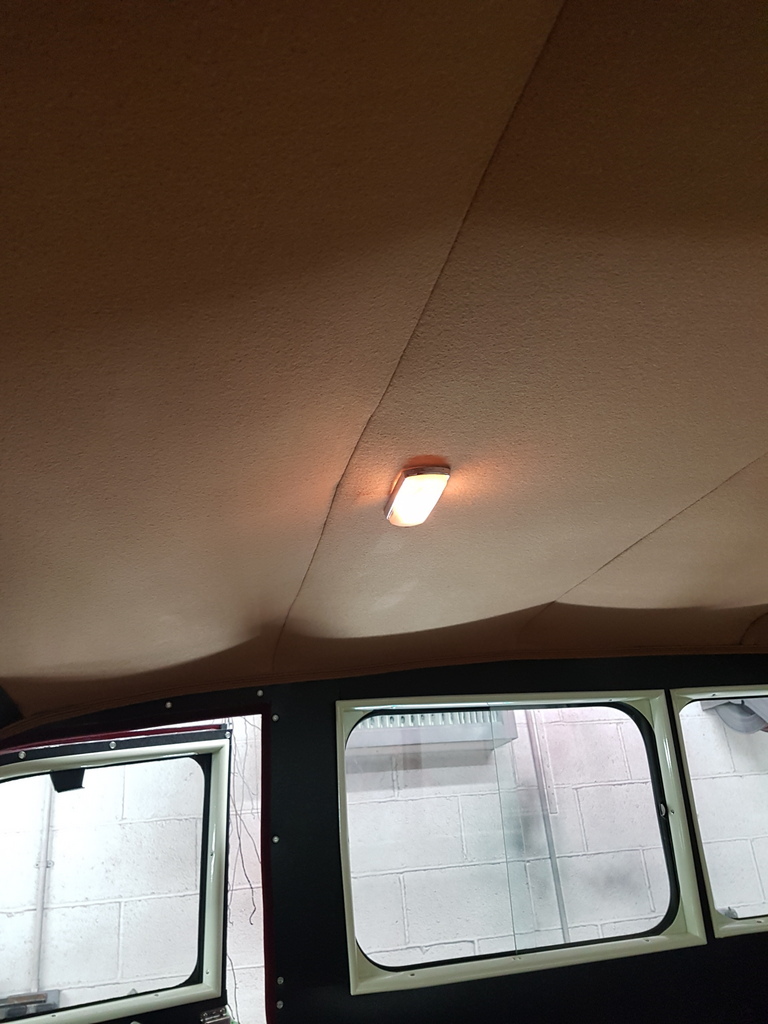 Meanwhile the new charge / ignition lamp turned up along with the 6 volt bulbs for the dash lamps 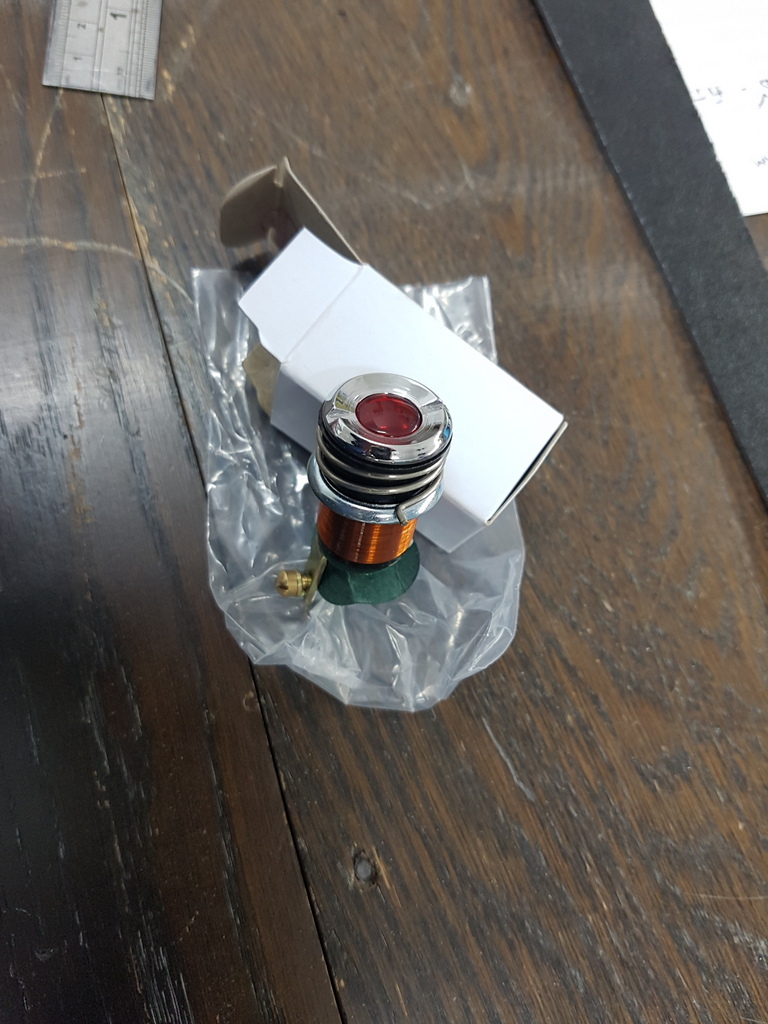 Some suitable grovelling under the dash later along with a new earth run in for the dash lamps and we have illumination 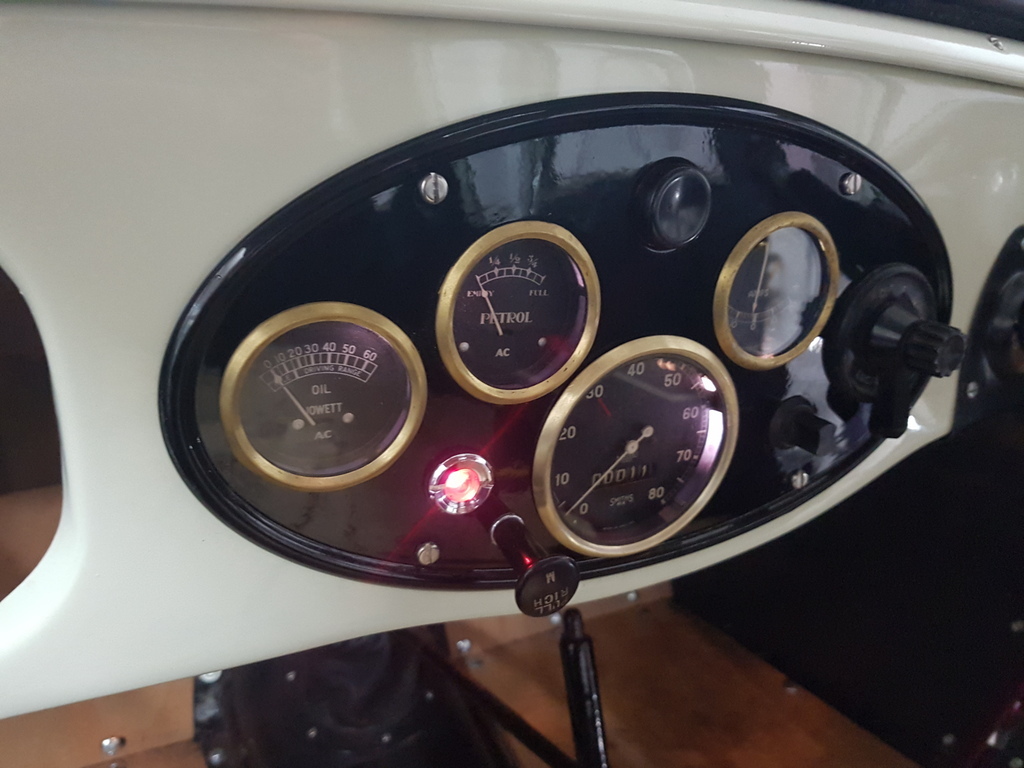 More tomorrow |
| |
Last Edit: Apr 10, 2018 23:23:25 GMT by Deleted
|
|
|
|
|
Apr 10, 2018 23:28:34 GMT
|
i'm coming to the conclusion, via observation, that the aerosol versions of high temp proper automotive super de facto ultimate trim glue, are also a load of junk (so far tried trim-fix via woolies, and livedale trimbond via ebay) do you concur Dr Northerner ? Darren - There is some rubbish out there - link below to my preferred supplier - they supply the majority of the UK classic car trimming trade - there stuff is pretty good and if it wasn't I would not be using it ! - Chris www.martrim.co.uk/car-trimming-supplies/glues-and-adhesives.php |
| |
|
|
samta22
Club Retro Rides Member
Stuck in once more...
Posts: 1,276  Club RR Member Number: 32
|
|
|
|
|
I can vouch for this stuff too - used on my other half's beetle headlining when we restored it and no peeling at all even when sat out in the sun for some considerable time.
|
| |
'37 Austin 7 '56 Austin A35 '58 Austin A35 '65 Triumph Herald 12/50 '69 MGB GT '74 MGB GT V8'73 TA22 Toyota Celica restoration'95 Mercedes SL320 '04 MGTF 135 'Cool Blue' (Mrs' Baby) '05 Land Rover Discovery 3 V8 '67 Abarth 595 (Mrs' runabout) '18 Disco V |
|
|
|


