MiataMark
Club Retro Rides Member
Posts: 2,971
Club RR Member Number: 29
|
Living the Dream MiataMark
@garra
Club Retro Rides Member 29
|
|
|
I keep looking (in Norfolk) but most stuff is rent only - there is an old garage (0.2 Acre plot with a good sized workshop) near me that is up for sale but it's in the middle of a residential area on a main road and the owner keeps trying for planning permission to build houses on it - every time it goes up for sale it's with planning application in for X houses or flats and it's daft money - soon as planning permission is refused it's taken off the market again - he will get planning permission eventually but it will only be for two bungalows max and he's constantly applying for way more than it's realistic to squeeze on the plot Just checked and he has finally secured planning permission for two bungalows on the 0.2 acre plot but it's not sold yet at £370,000 I think the petrol tanks are still under the forecourt....... I'm guessing that for anybody that develops that site there will be a big de-contamination cost. I'd love to have some workshop space if only for a few months. Nearest I can find is 40sqM and it's ~£400/month, which is too big and too expensive. |
| |
Last Edit: Jul 26, 2019 6:54:25 GMT by MiataMark
1990 Mazda MX-52012 BMW 118i (170bhp) - white appliance 2011 Land Rover Freelander 2 TD4 2003 Land Rover Discovery II TD52007 Alfa Romeo 159 Sportwagon JTDm
|
|
|
|
slater
Club Retro Rides Member
Posts: 6,390
Club RR Member Number: 78
|
Living the Dream slater
@slater
Club Retro Rides Member 78
|
Nov 15, 2020 21:11:55 GMT
|
So where did we get to? i cant really remember so lets recap! I bought the place in Feb 2016 so ive been in there nearly 5 years now. The 1st year saw a lot of progress but after a while i got sick of just working on the building itself and not being able to use the place for what i actually bought it for! For the next few years i more or less stopped making much progress on the building and just focused on collecting some of the kit that i wanted (and doing a few odd projects here and there!). Trouble is after a few years of collecting these various pieces of kit i was starting to get very short of space. Everything id accumulated had a place in the grand plan in my head but the grand plan required work on the building to be finished first! By 2019 i decided to change focus a bit and get things done. This was mainly prompted by the Mrs starting a new job with the local housing association and wangling me a cheap lock up garage where i could relocate some of my junk and make space to work, it was kind of now or never.. I got the keys in August and started the mammoth task of sorting, selling or moving as much as i could to make space. 6 months later and i was actually ready to tackle the first task at hand. Replacing the shoddy mezzanine floor! When i bought the workshop it came with this massive bodgery of a structure which not only wasnt really making best use of space it was also pretty unsafe! Certainly didn't want to be putting much weight on it! The plan had always been to totally replace it with a proper steel framed floor. At the same time i reckoned i could make it 3m longer (6x9m as opposed to 6x6) and move the toilets that occupied the corner of the ground floor upstairs. This would free up all of the ground level for cars! 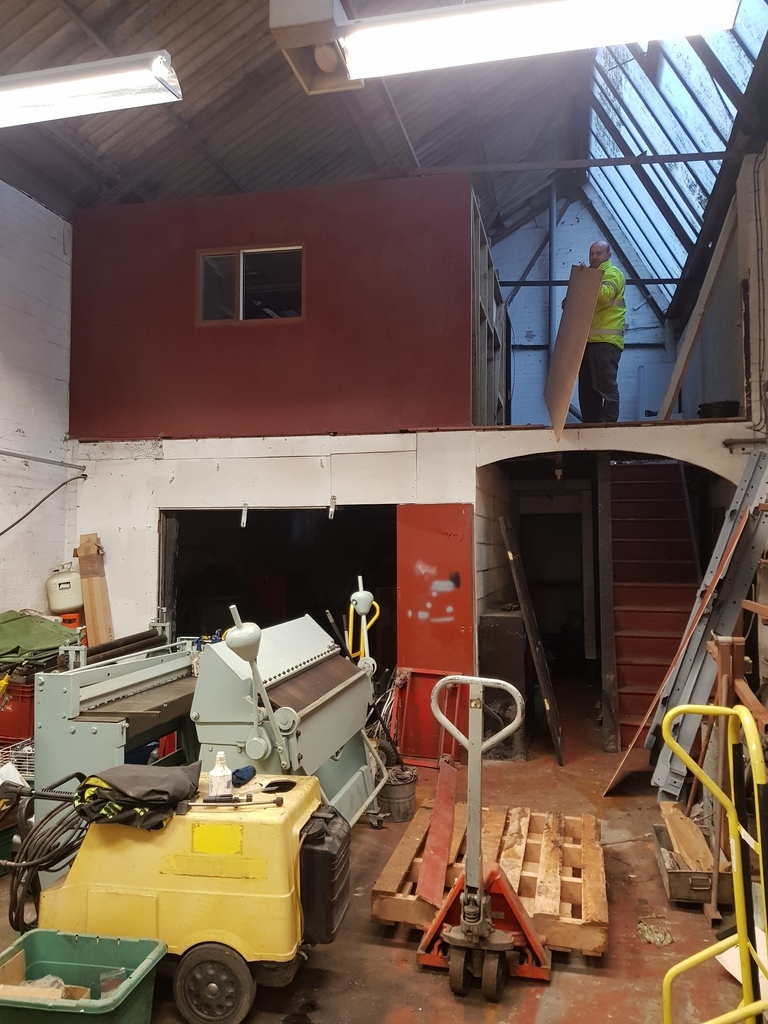 By January i had moved about all i was going to be able to move and i enlisted some help from my mate Demolition Dave to pull down the old floor. This went ok really. We allowed a weekend but had pretty much got it down by the close of play Friday! The next day was spent clearing the mess.. 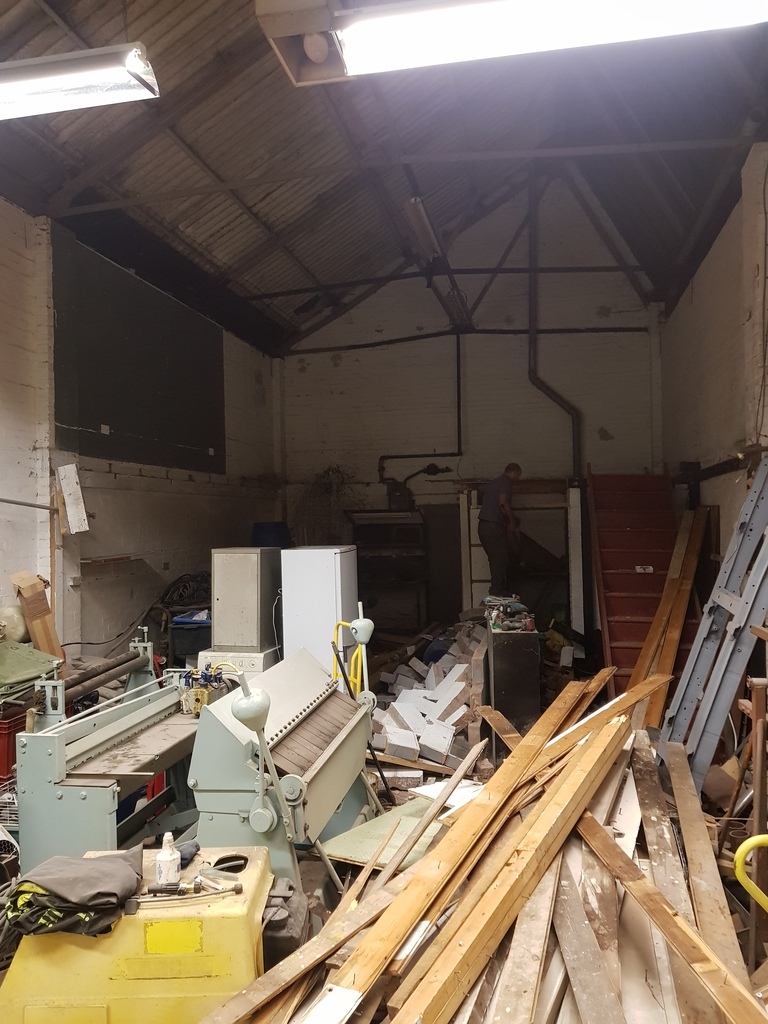 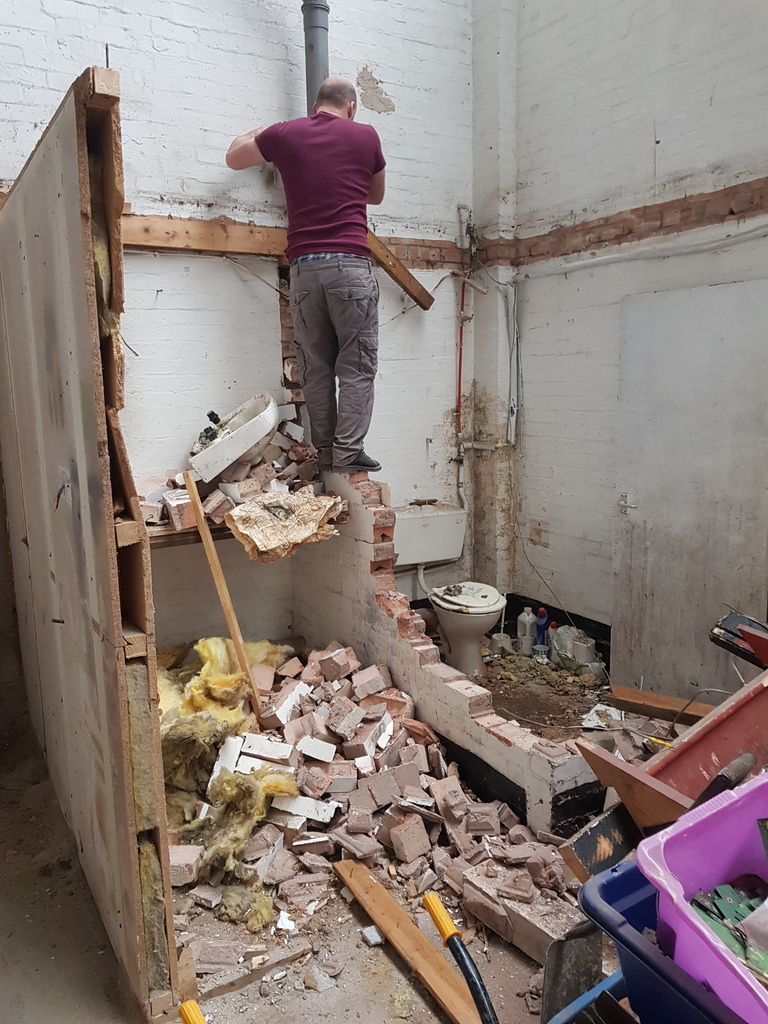 Next up came acquiring the new floor.. What a hassle. I had a list of 3 or 4 suppliers in my area that traded used mezzanines. You would think it would have been as easy as emailing them with specs, getting a price and choosing the cheapest. Well of course not! I only managed to get replys out of two of them. One wanted 2500 the other 3600.. Could i actually get the guy who had quoted 2500 to take my money tho? Nope! to weeks of constant phone calls and i only ever got through to the receptionist. After that i tried to knock down the 3600 guy but really they wernt interested in the business, order to small i guess! Eventually after 3 weeks of faffing about i managed to find a guy from Huddersfield that matched the 2500 quote and everything was delivered within two days.. Just like you would expect from someone running a business really. 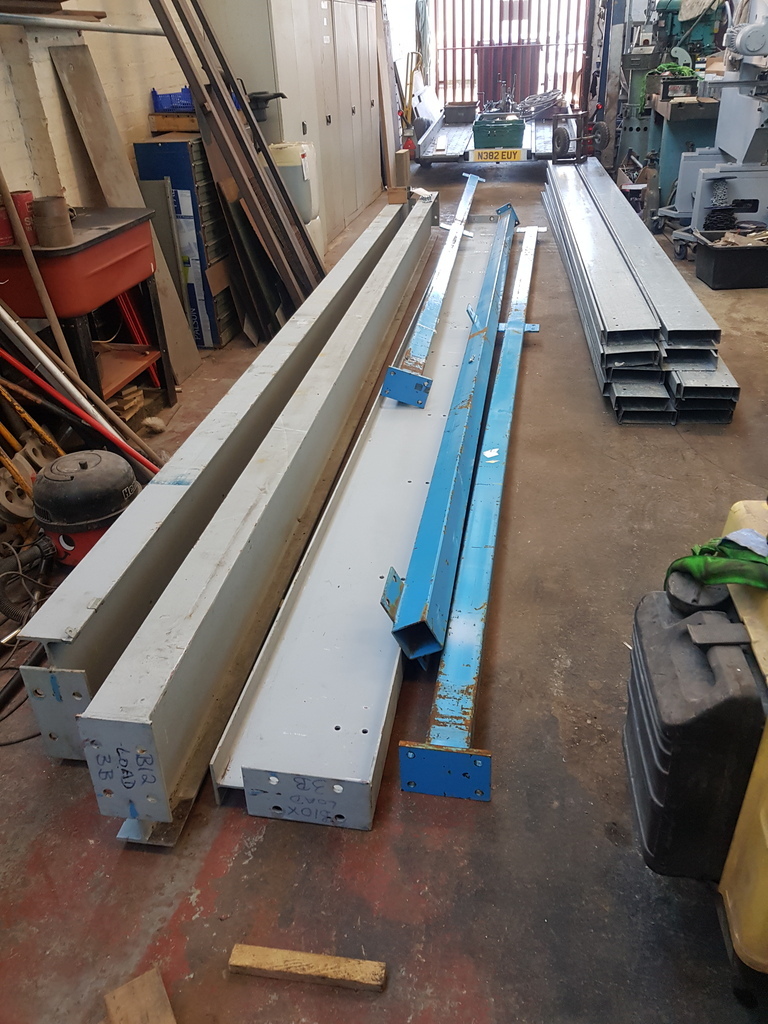 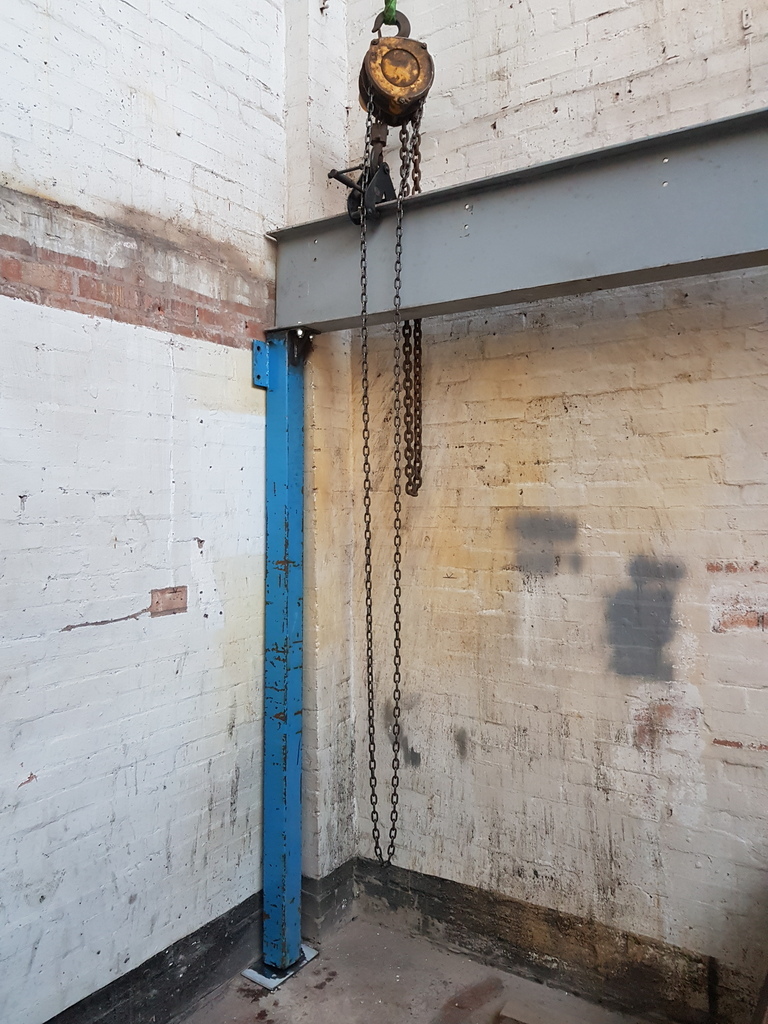 The parts that i ended up with were 2nd hand and needed some modification. I wasn't too worried about this tho as really i wanted to make sure everything was an exact fit. One of my pet hates with mez floors is when you end up with legs 6 inches from the wall and foot plates packed up with 2 inches to try and level the thing. It can make a 6m wide workshop into a 5m wide one if your not careful! The main beams were already drilled for the joists so i removed the necessary amount from each end so that i didn't end up with unsupported floor on one side. The legs had to be shortened and feet and flanges made up. This wasn't really an easy task as it turns out the workshop is neither square, level or anything else you would hope it would be. Each beam ended up 2 inches longer than the proceeding one and no i didn't get it right first time either. One needed cutting three times as although it fitted at ground level once i hauled it up where it needed to be i found that the walls tapered in or bulged or whatever and it just kept getting wedged.. (I must buy a laser tape for the next one!) 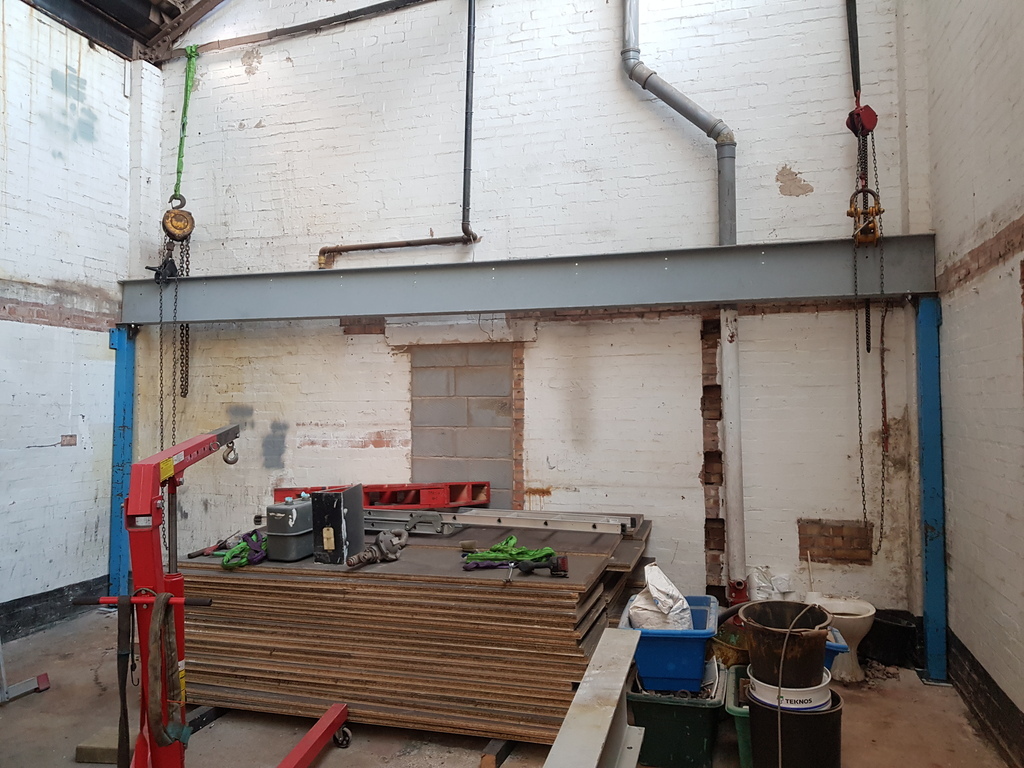 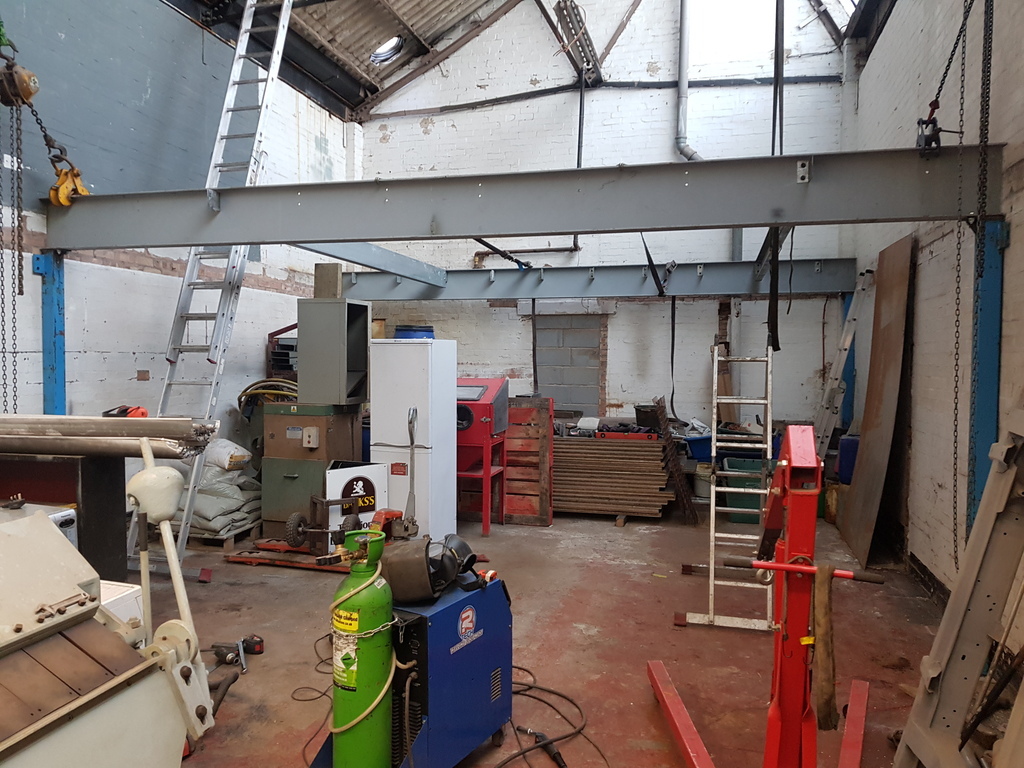 By mid March i was starting to get there but boy was it dragging. Luckily the announcement of 6 weeks of furlough saw progress jump from a snails pace to lighting speed and within a week, i had the remainder of the frame up, id cut and drilled the joists and bolted all those up and by the end of furlough week two it was done. Couldn't have been happier for the rona at that point tbh! 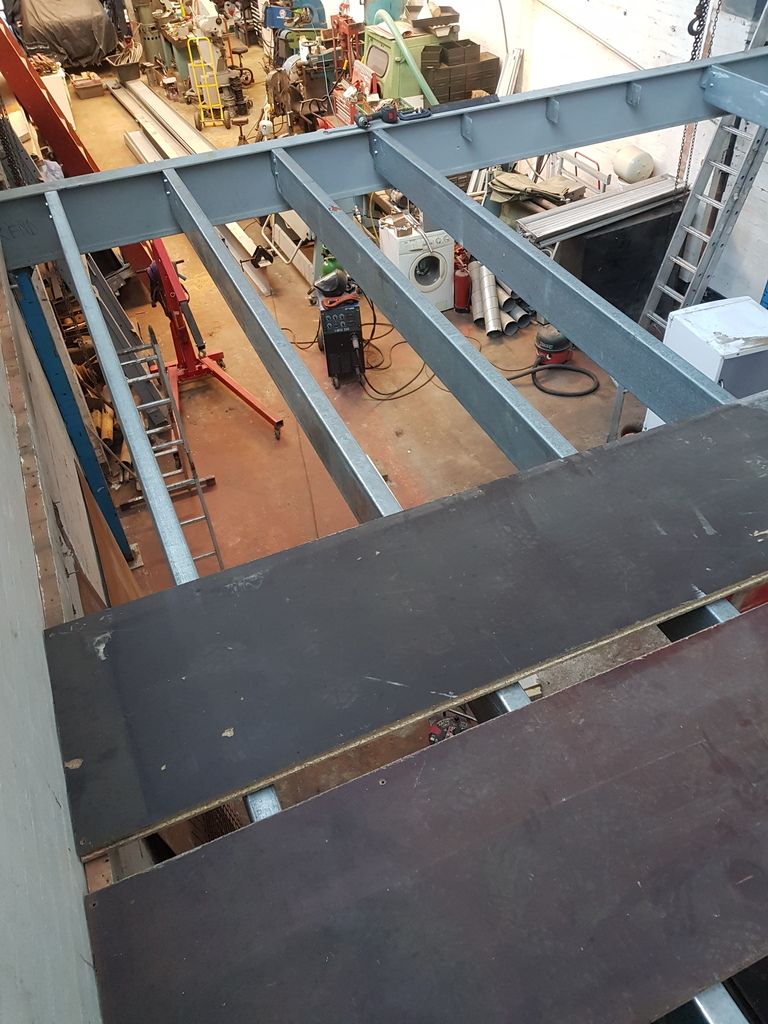 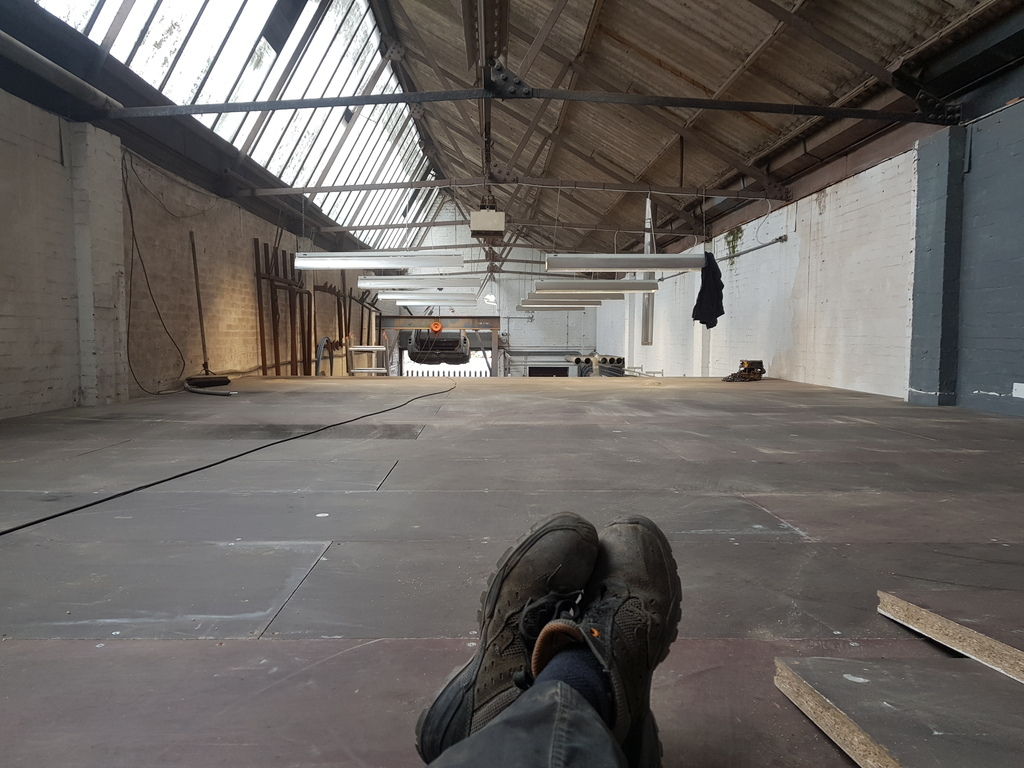 |
| |
Last Edit: Nov 15, 2020 21:15:09 GMT by slater
|
|
bstardchild
Club Retro Rides Member
Posts: 14,976
Club RR Member Number: 71
|
Living the Dream bstardchild
@bstardchild
Club Retro Rides Member 71
|
Nov 15, 2020 21:22:48 GMT
|
|
Good looking mezz and Looking at what was there I agree it was a bit shonk!!!
|
| |
|
|
|
|
slater
Club Retro Rides Member
Posts: 6,390
Club RR Member Number: 78
|
Living the Dream slater
@slater
Club Retro Rides Member 78
|
Nov 16, 2020 10:04:38 GMT
|
While lock down had been pretty useful for the first few weeks i soon ran out of materials for making major progress. I had to settle for spending the next 4 weeks mainly doing odd jobs here and there that id been (probably sensibly!) putting off for ages. Got a lot done but also ended up starting quite a few things that i was planning to leave until i finish (which is why I'm still plodding on with to project now). Not to worry tho, the next major task was tackling the roof. When i moved into the unit in 2016 the roof had a few leaks which i had mixed success in patching up. Over the next few years these leaks had defiantly gotten worse to the point that they were probably worse then when i started. I had decided before going any further i needed to spend the summer tackling them properly. The roof is a north light style with asbestos one side and glass the other feeding a cast iron gutter on either side which i share with the units next door. The unit behind mine (adjoining) had had a fire and they had replaced the whole roof with insulated cladding and clear GRP. I priced up doing the same with mine but it wasn't going to be cheap and far from easy either considering i needed to keep a roof over all my equipment the best i could. After a bit of thought i decided to go with a compromise. The asbestos section of the roof wasn't really too bad and that was by far the most expensive bit to replace considering it cost nearly as much to get rid of the old stuff as it did to buy the new! It would also probably have required a crane to get the long steel sheets up there in the first place. Instead i decided to keep all the asbestos. Only a few panels needed replacement so my next lockdown task was simply getting up there and cleaning as much of the crud off it as i could.. Boring as hell and probably a waste of time but after removing the moss and layers of old sealer and curse word at least i could see the wood for trees. 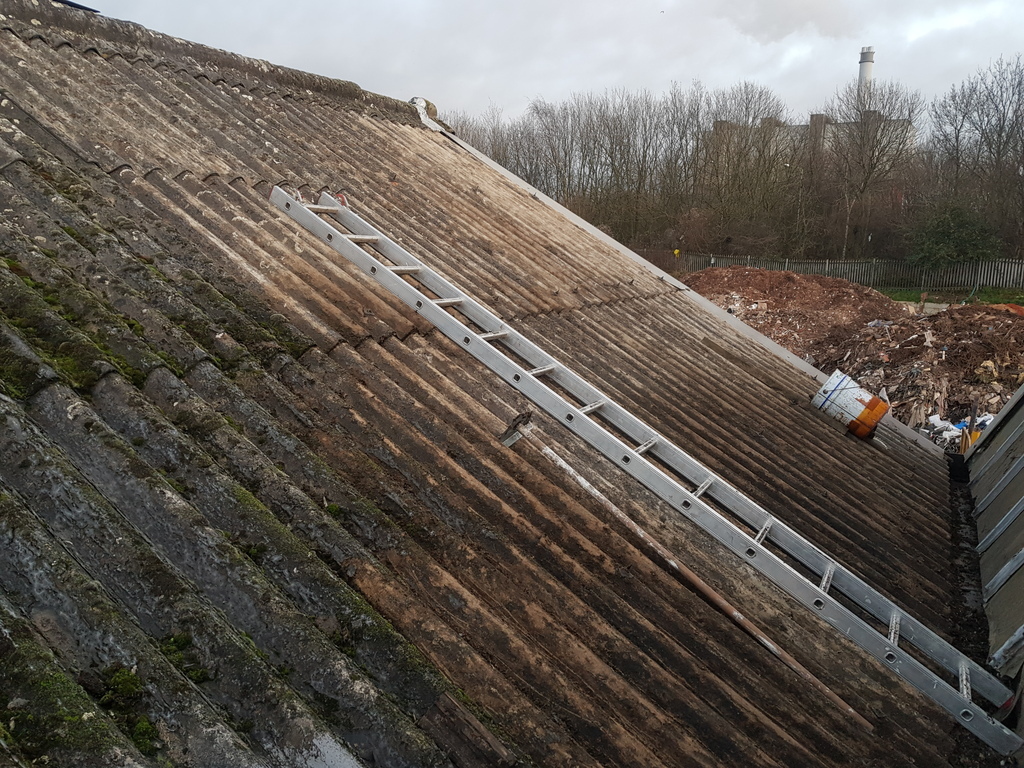 The main culprit for leaks on that side of the shop was actually the gutter. I had decided a while back to line it with plastic damp course but with time on my hands i went to town, 2 days with an air chisel chipping out all the layers of sealer and GRP that it had been badly repaired with before. A couple of sections had massive cracks in them which i had to repair as best i could and where water had been leaking though the steel RSJ underneath had corroded so badly it looked like puff pastry! I cleaned all this up and re-leveled the sections of gutter best i could so at least the water wants the drain away now rather than just sit there causing issues. With the liner in the workshop was suddenly 10 times dryer I'm just a little worried about it being fragile. One tiny hole could mean the whole lot needing replacing. For now it works tho! With lock down now over i managed to get the stuff ordered to do the glass side of the roof. Again it was a complete ball ache organizing it all. Essentially i may as well have been arranging something with a brick wall they were that unreliable but after 3 or 4 weeks of being told it was 'coming tomorrow' it eventually turned up unannounced and we could begin.. This side i had chosen to simply replace the whole lot with clear GRP. The original glass is a bit of a nightmare to repair so i opted to just rip it all off and start again. It was a lot more economical too. The materials was £1500 or so but i got back £300 in lead scrap to offset it! I enlisted the help of Dave again and we spent a extremely busy week manhandling the old stuff off, replacing the perlins, fitting the GRP and a new ridge. 12 hour days for 5 days in a row got it done and its made a massive difference to how watertight (and dust tight) the place is. Time well spent! 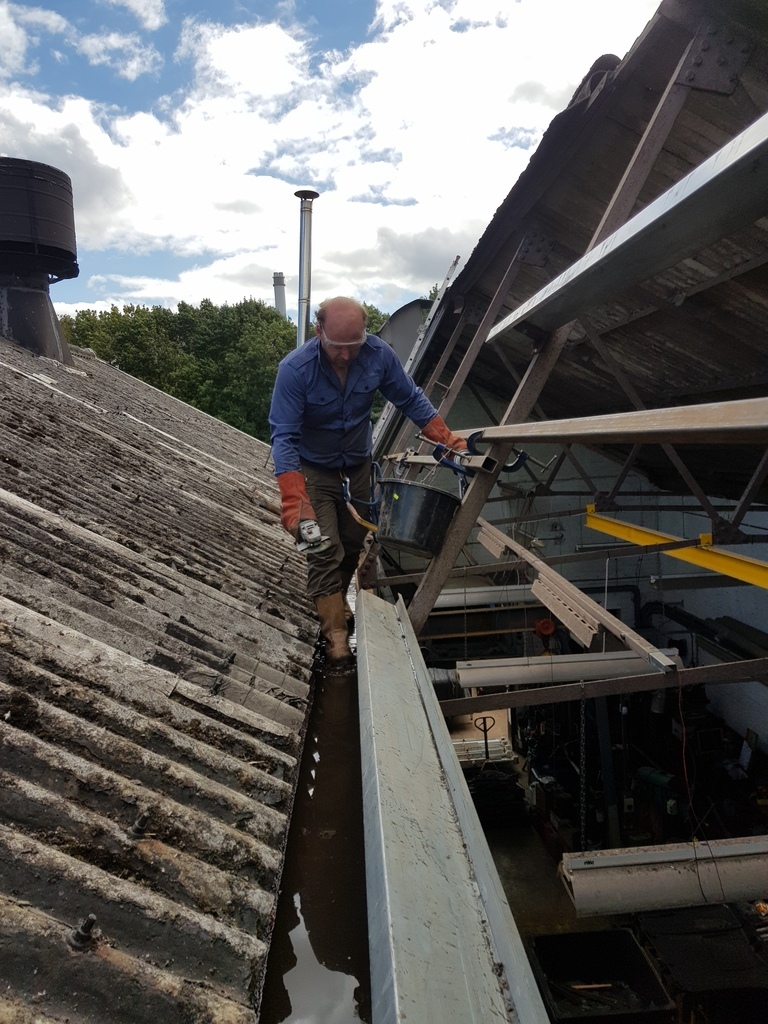 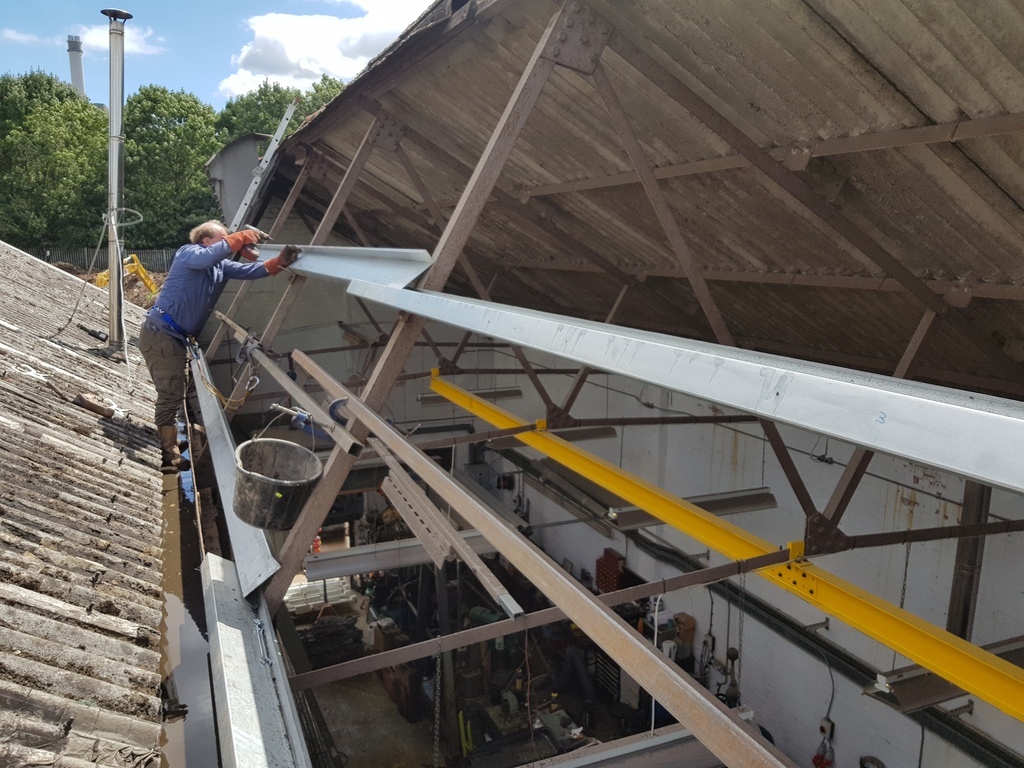 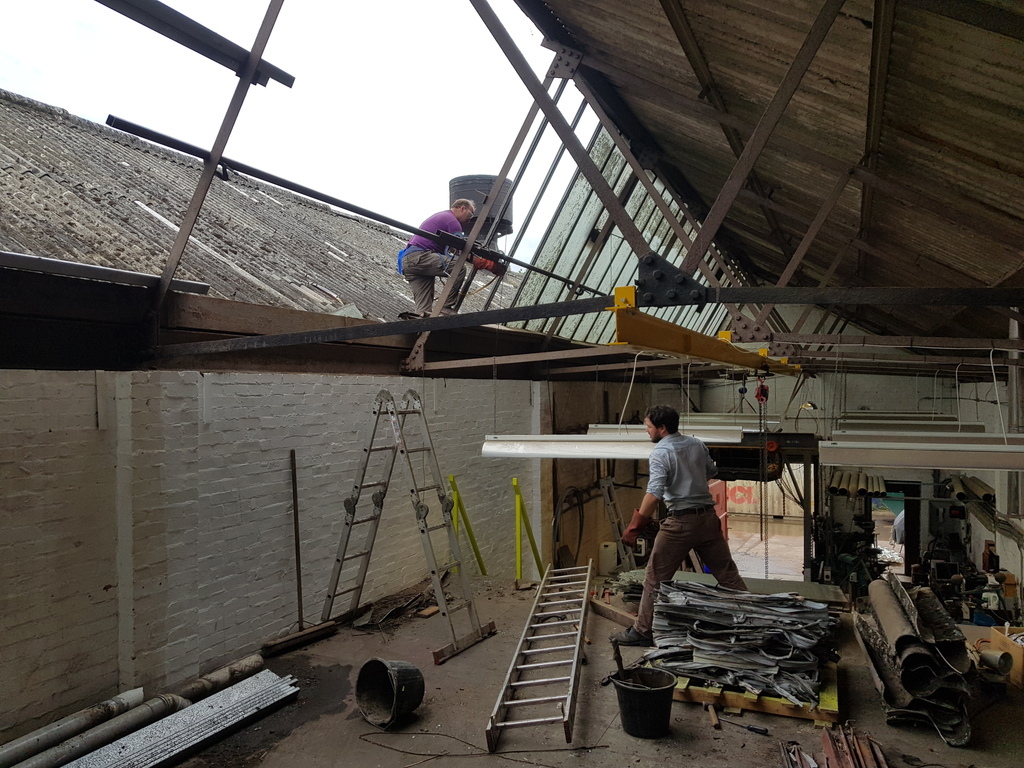 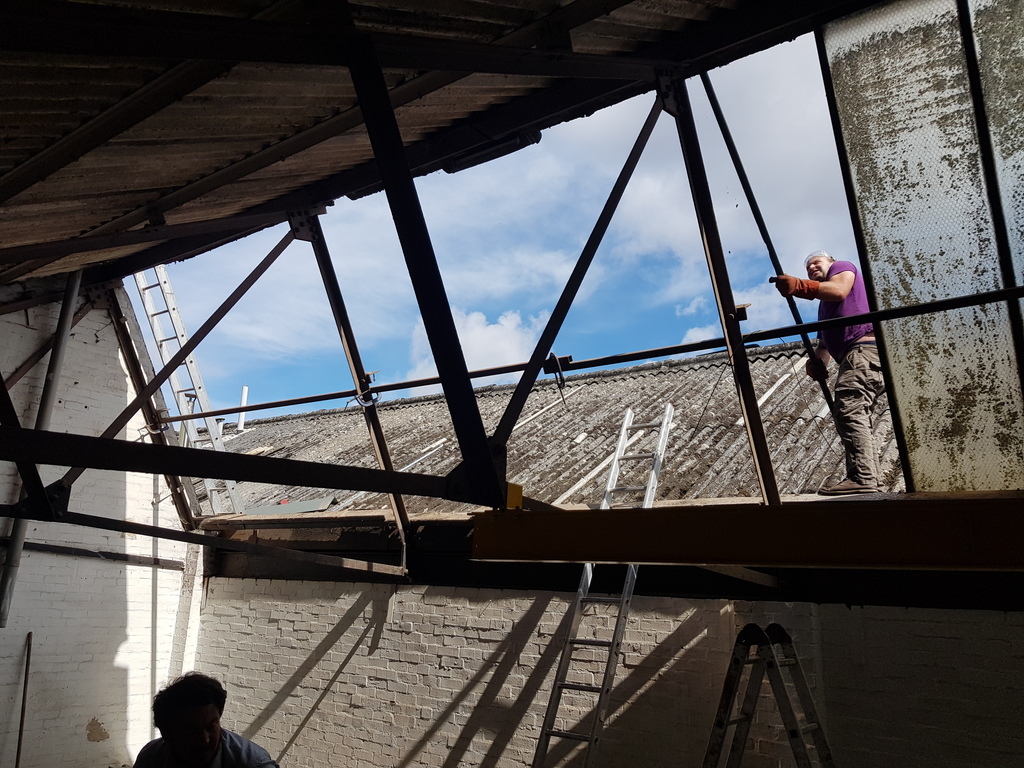 I don't have many pictures of it 'finished' but il get some for the next post. One other thing i tackled was the stairs. The original stairs had taken up a stupid amount of room so i designed my own this time, just steep enough to not take up too much space but also shallow enogh to still use like a proper set of stairs! I had considered just using a ladder style of stair but seeing as i will be up and down all the time i really needed something you could climb quickly. I made up the steel work myself and found the treads on eBay for £20quid each which was a bit of a bargain.. 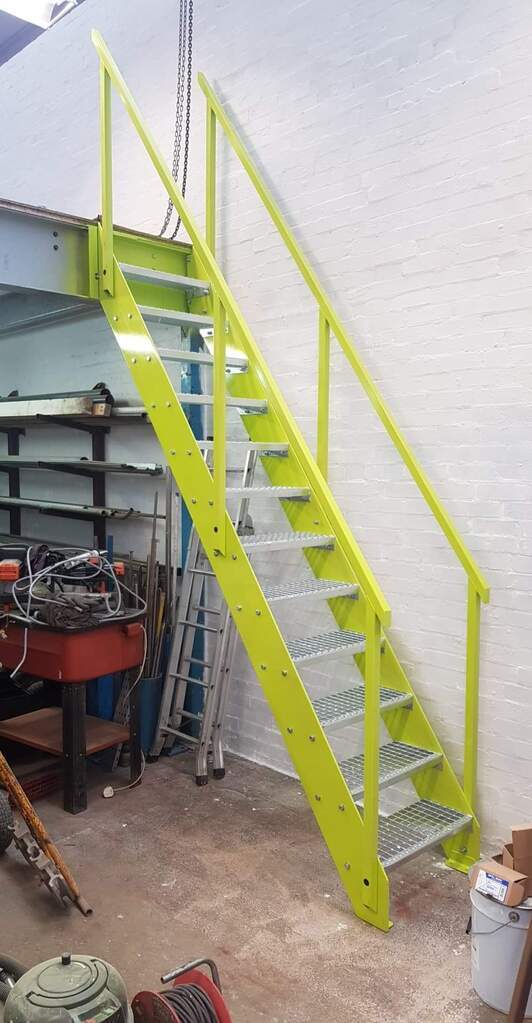 More soon... Maybe the mods might want to move this to the garage section?? |
| |
Last Edit: Nov 16, 2020 10:07:13 GMT by slater
|
|
|
|
|
Nov 16, 2020 10:40:47 GMT
|
|
Congratulations on your perseverance and work ethic; as we all know you only get what you work for. Long-term, the improvements will also reap reward, as and when you ever decide to sell up.
Keep on in there.
|
| |
|
|
bstardchild
Club Retro Rides Member
Posts: 14,976
Club RR Member Number: 71
|
Living the Dream bstardchild
@bstardchild
Club Retro Rides Member 71
|
Nov 16, 2020 11:16:21 GMT
|
More soon... Maybe the mods might want to move this to the garage section?? [/div] [/quote] I've reported the post and requested move |
| |
|
|
|
|
|
Nov 16, 2020 17:07:59 GMT
|
|
That’s a nice bright space.
|
| |
|
|
|
|
|
|
|
|
Awesome great read. Look forward to seeing more
|
| |
1973 MK1 2600 Capri - Located in Texas
1976 3.0S Capri - X-Pack long term Project
1978 2.0S Capri
1984 Transit County MK2 4x4 LWB 2.5DI
1985 2.8i Special Capri (v8 5.0L)
1986 2.8i Special Capri
1987 280 Turbo Technics Capri
1993 1.8TD P100 - Beater, parts collector
2008 BMW 320i Touring - Daily
|
|
slater
Club Retro Rides Member
Posts: 6,390
Club RR Member Number: 78
|
Living the Dream slater
@slater
Club Retro Rides Member 78
|
Jan 11, 2021 21:25:21 GMT
|
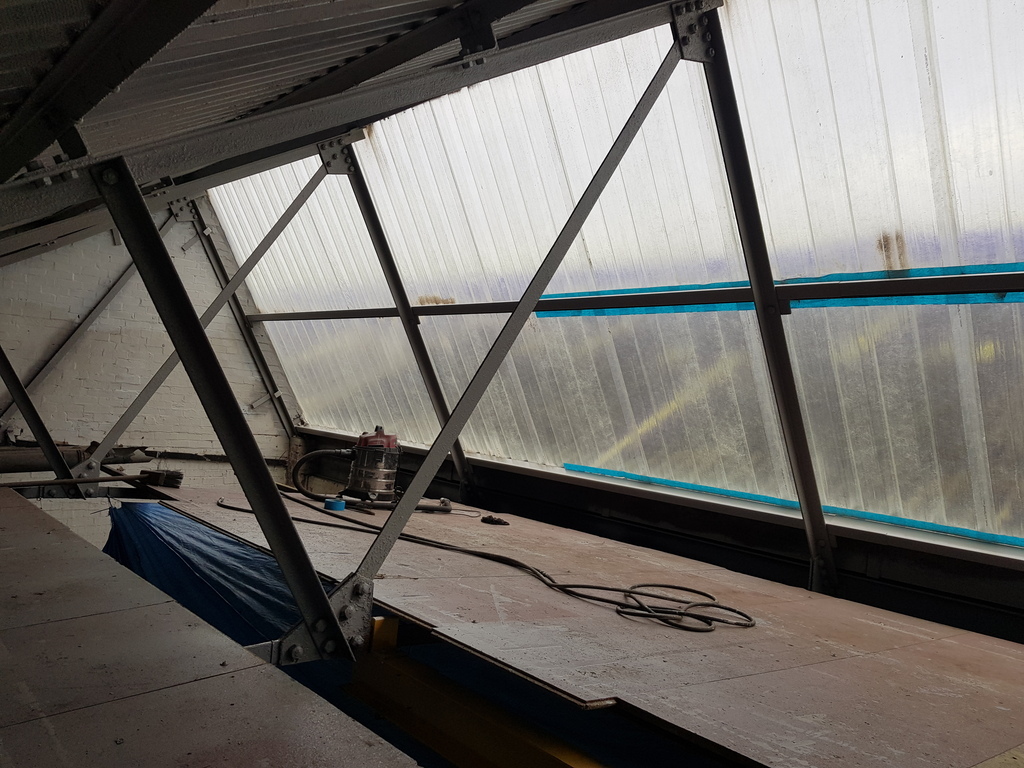
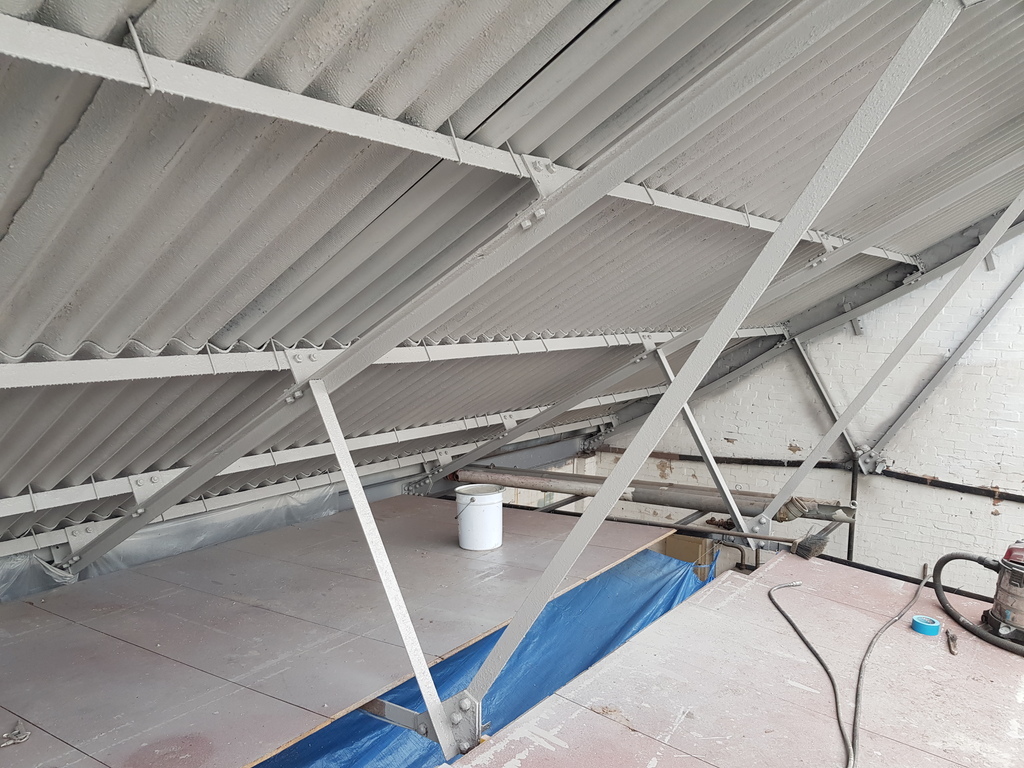
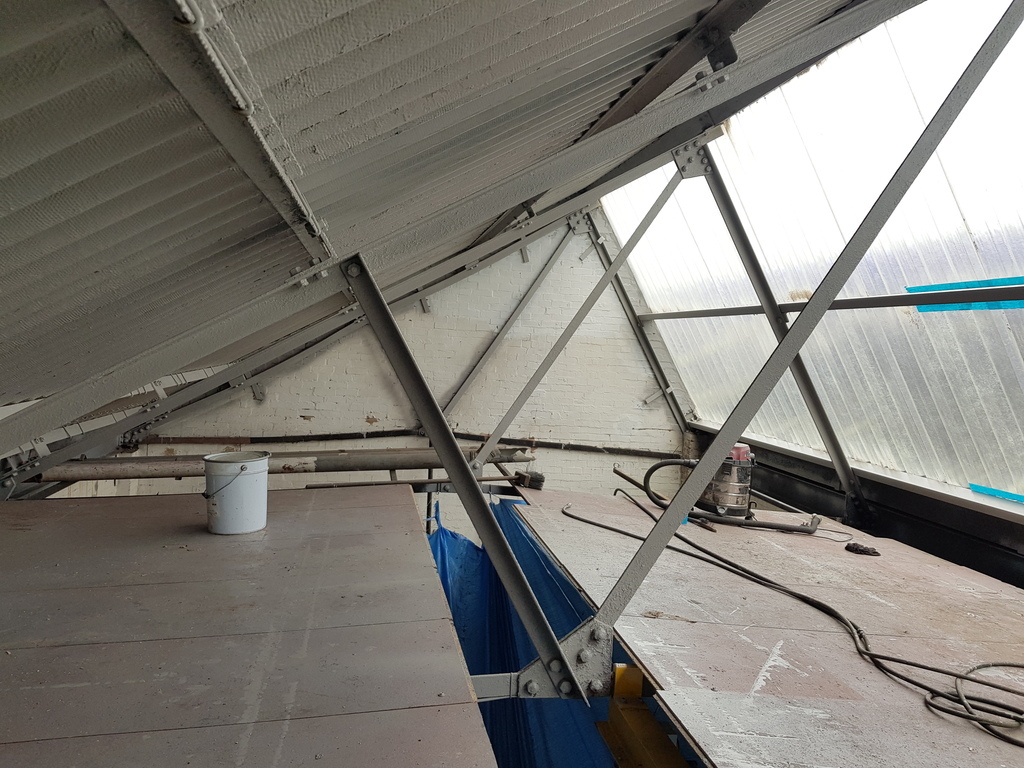
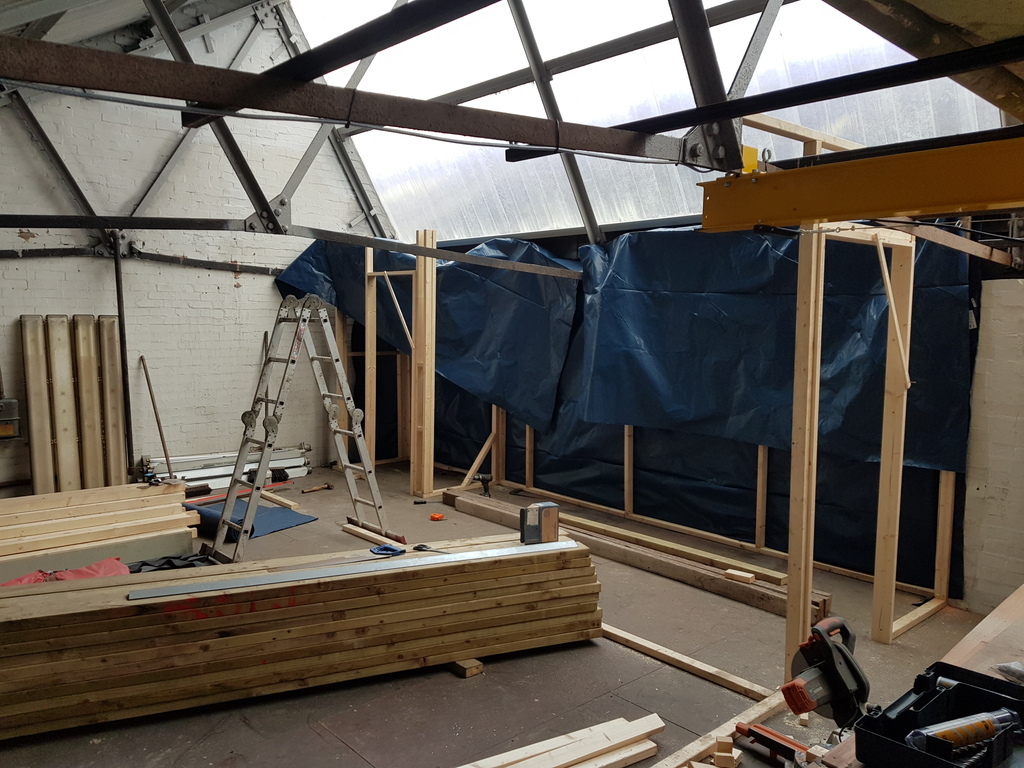
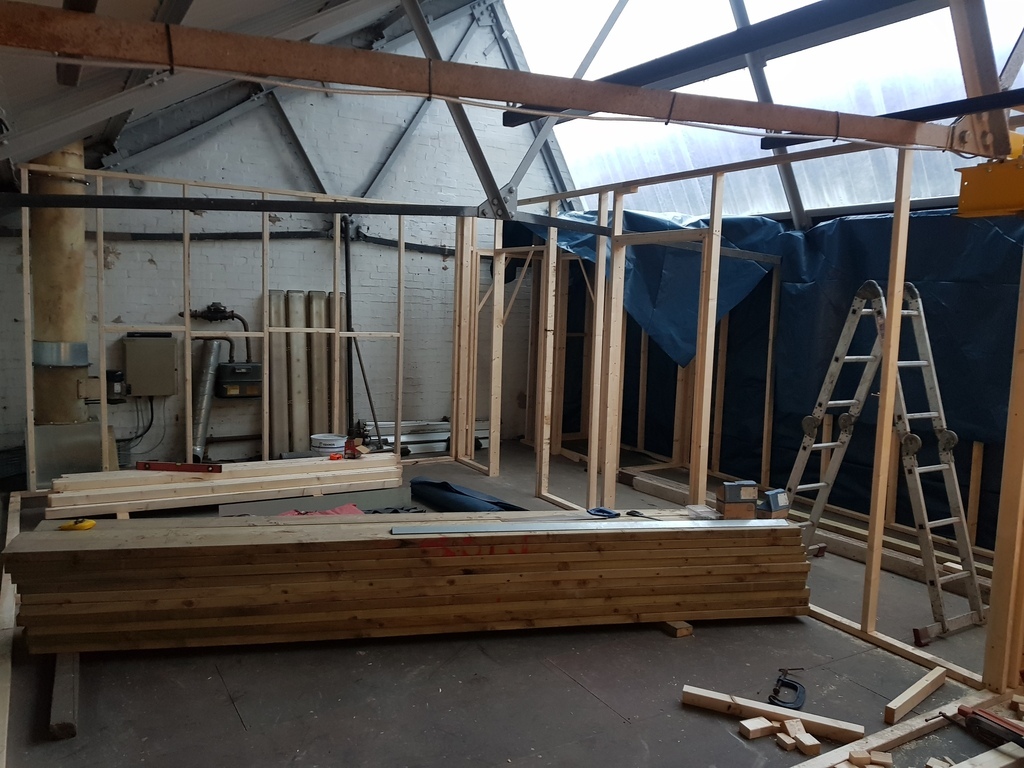
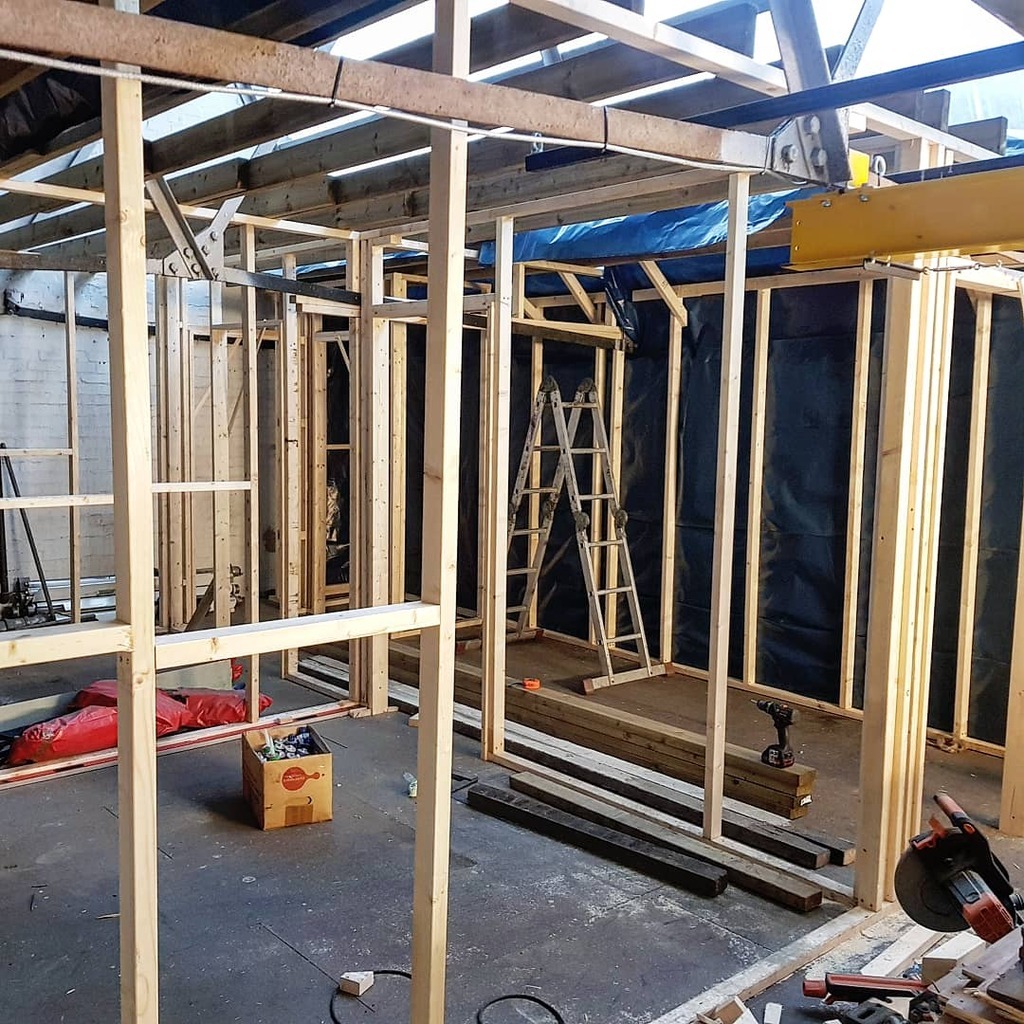
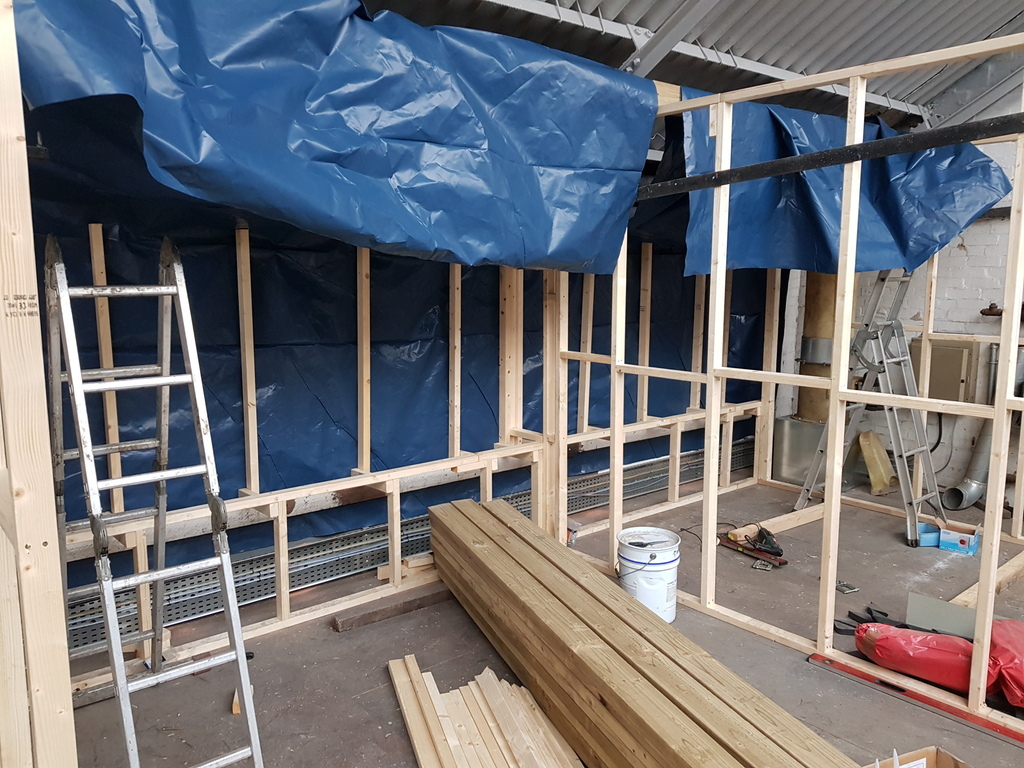
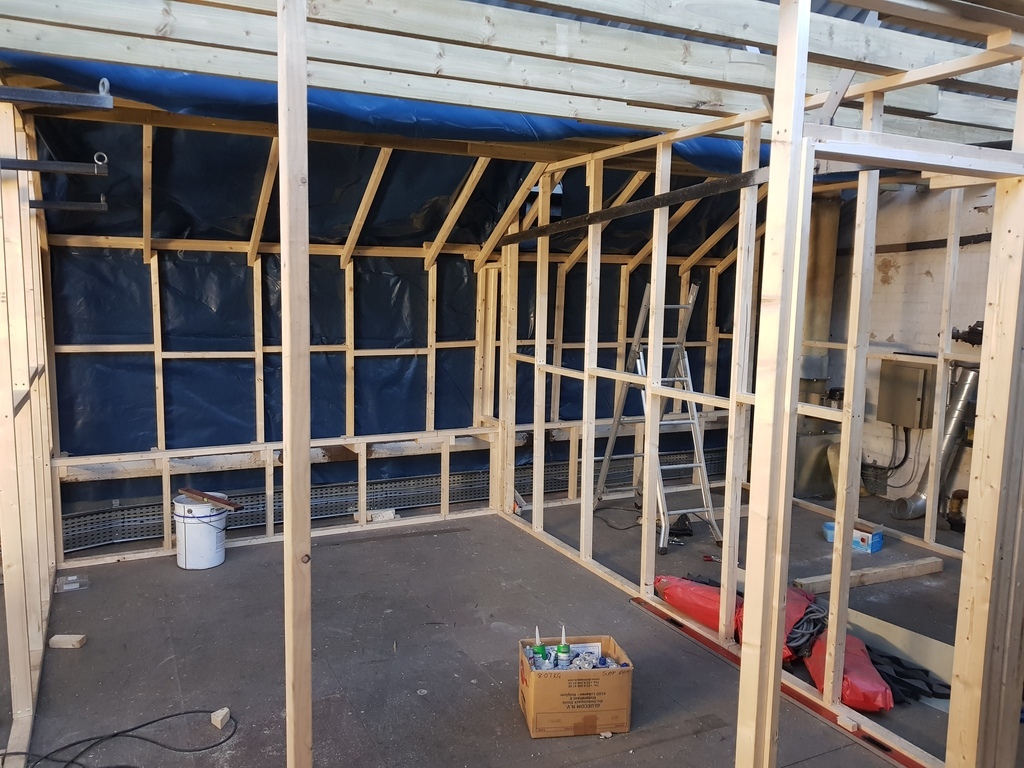
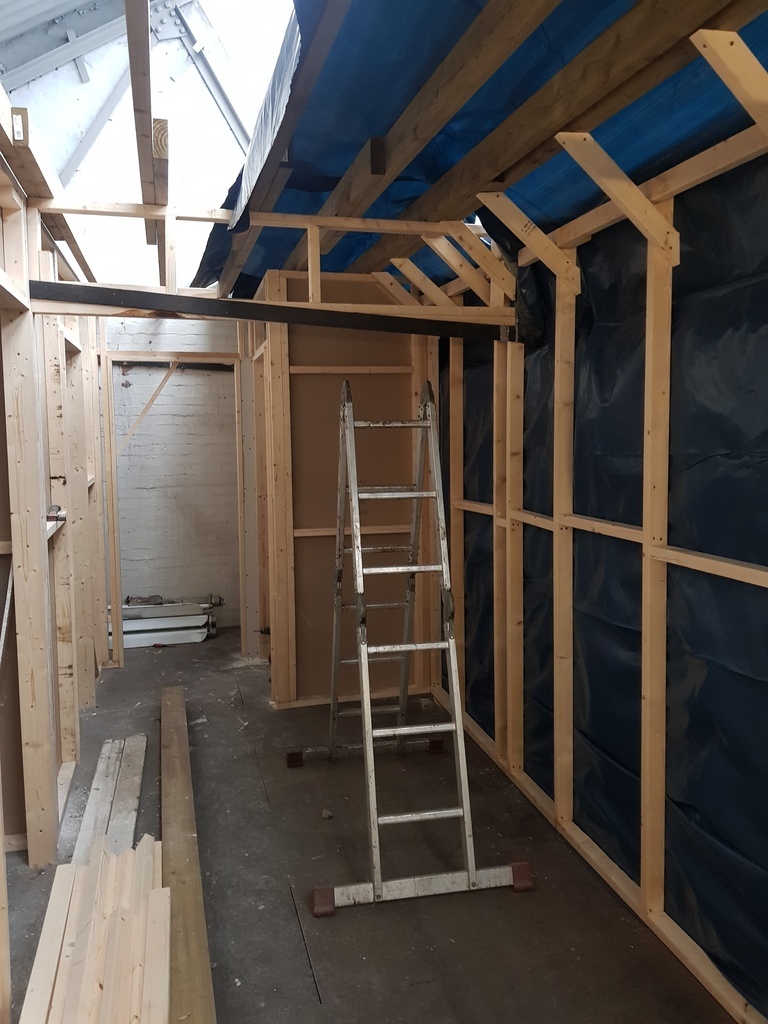
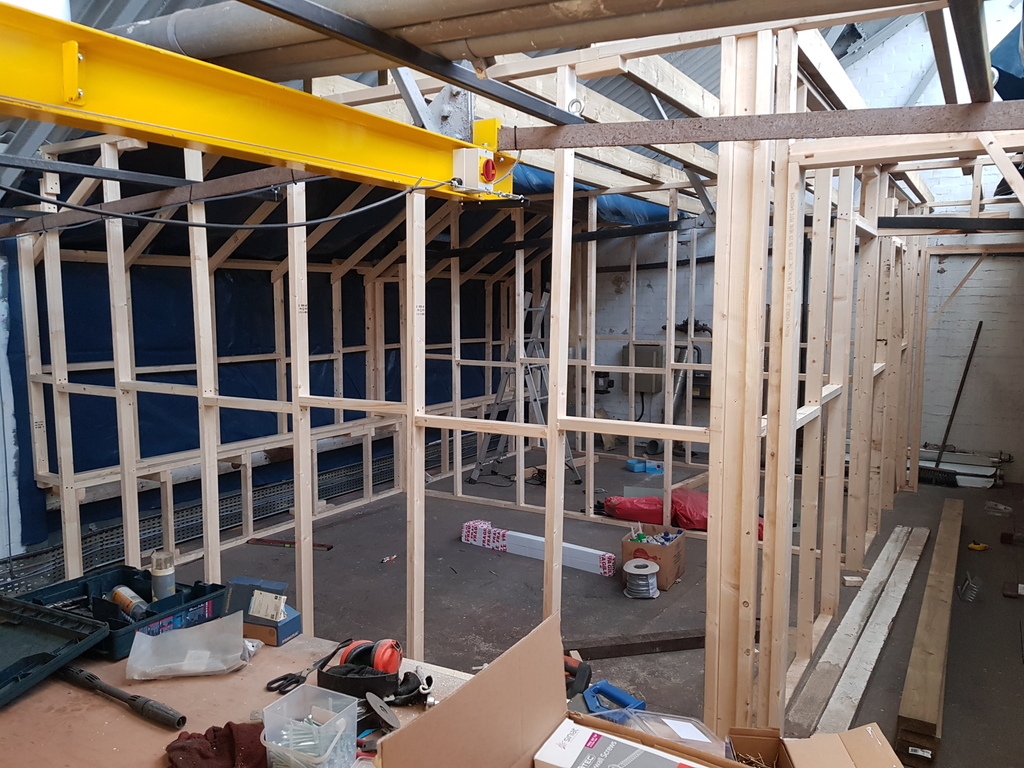
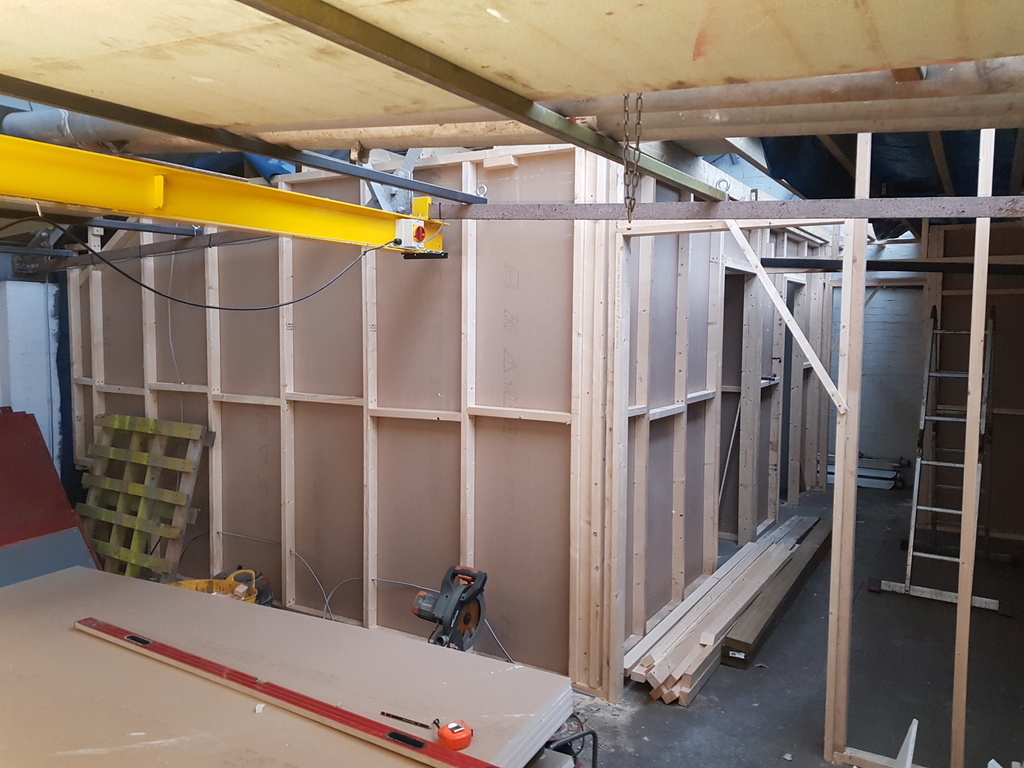
Time for a bit of an update i think.. The roof turned out really well, not perfect but we went from probably 80% weatherproof to a good 99% so happy with that! One issue i felt like i should probably address was corrosion protection on the perlins, i had expected these to come galvanized but they were more of a zintec type coating, they certainly had some resistance to corrosion but i didn't fancy relying on it for decades! We didn't have a chance to paint them before fitting so i was planning to just whip along them with a brush afterwards as belt and braces.. Well things escalated a bit as after chatting with the other lads they some how persuaded me that i should not only paint the new bits but also paint the entire inside of the original roof too.. Well i have to say i wasn't planning to do that for obvious reasons (time!!) but after it had been mentioned i just couldn't get the idea of a nice fresh looking ceiling out of my head so i started on collecting the bits to get it done. To start with everything up there was filthy. The only way i could see it could be cleaned efficiently was blasting or pressure washing. I decided blasting was a bit OTT but pressure washing would probably work to clean off the dust and knock off the worst of the previous layers of yellowy flaky paint. Then there was the issue of access, I considered a cherry picker but that idea went out the window when i settled on the pressure washing as that would involve draping a tarp underneath to catch the water and stop everything below getting drenched. In the end i decided to go with some makeshift scaffolding supported on the lower members of the trusses.. I needed to buy some decent lengths of box section to make some guard rails anyway and i had a pile of 2nd hand chipboard flooring from the old mezzanine going spare as well so it was essentially the free option. Just don't tell the HSE! Everything went more or less to plan, everything got a bit wetter than i intended but as i was doing the bit over the new mezzanine first there wasn't really anything that mattered underneath that bit anyway. I got the first three bays done over a couple of weeks. It was basically a case of washing a bay, leaving it a couple of days to dry then painting that bay (i used cheap floor paint sprayed with a Schultz gun), winching the shonky scaffold over one bay, repositioning the tarp and repeating. A bit of a faff but again apart from a bit of overspray on my new transparent GRP i was quite happy with how it all turned out. Certainly brightens the place up, i just hope it last a while! After the first three bays i decided to have break from the painting. I had a bit of news that essentially means i might be able to go back to plan A and use a cherry picker for the rest and i think that would save a considerable amount of faffing if nothing else so for now i have 1/3 of a nice clean painted roof and no 'money shot' of it all looking epic I'm afraid... We've got to around the start of November now on the backlog so getting more up to date. With the roof over the mezzanine painted i couldn't see any reason why i couldn't crack on with the 'main event' as it were. I mentioned before that i was going to relocate the toilet upstairs. Well i decided that it would also be good to have a decent kitchen area up there too. I also had always been planning to build myself a proper lab for doing my metal refining work (another sideline of mine i should probably elaborate on at some point!) and along side that i would like a office come clean room for well.. clean stuff! My dad has a nice clean room for building engines in but its 3 hours drive away so not ideal! The design came i up with to fit all this in will become apparent as we go but the long and the short of it is i was going to section off and area roughly 6x6m at the back of the mezzanine and build a building in a building.. For now the pictures can do the talking. This basically took me a month of all my free time including 2 weeks off for a non existent Christmas! |
| |
|
|
|
|
slater
Club Retro Rides Member
Posts: 6,390
Club RR Member Number: 78
|
Living the Dream slater
@slater
Club Retro Rides Member 78
|
Jan 11, 2021 21:37:49 GMT
|
Oh and of course i cant resist a side project or 6.. I installed a brazing hearth somewhere in there too lol 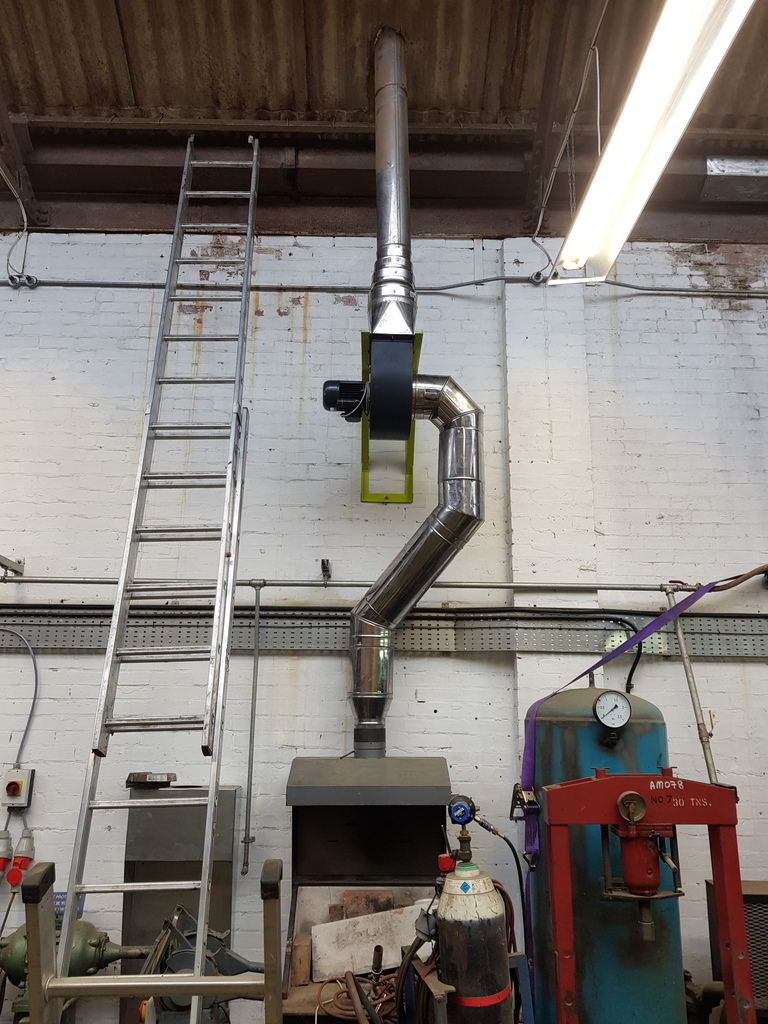 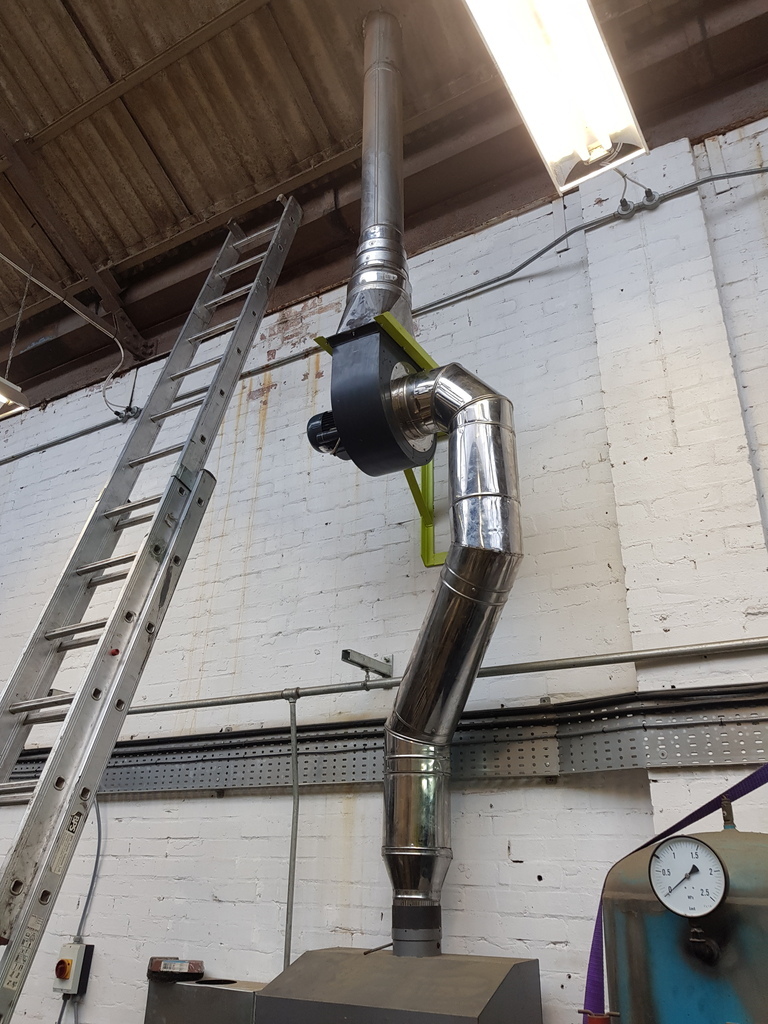 What a mess! 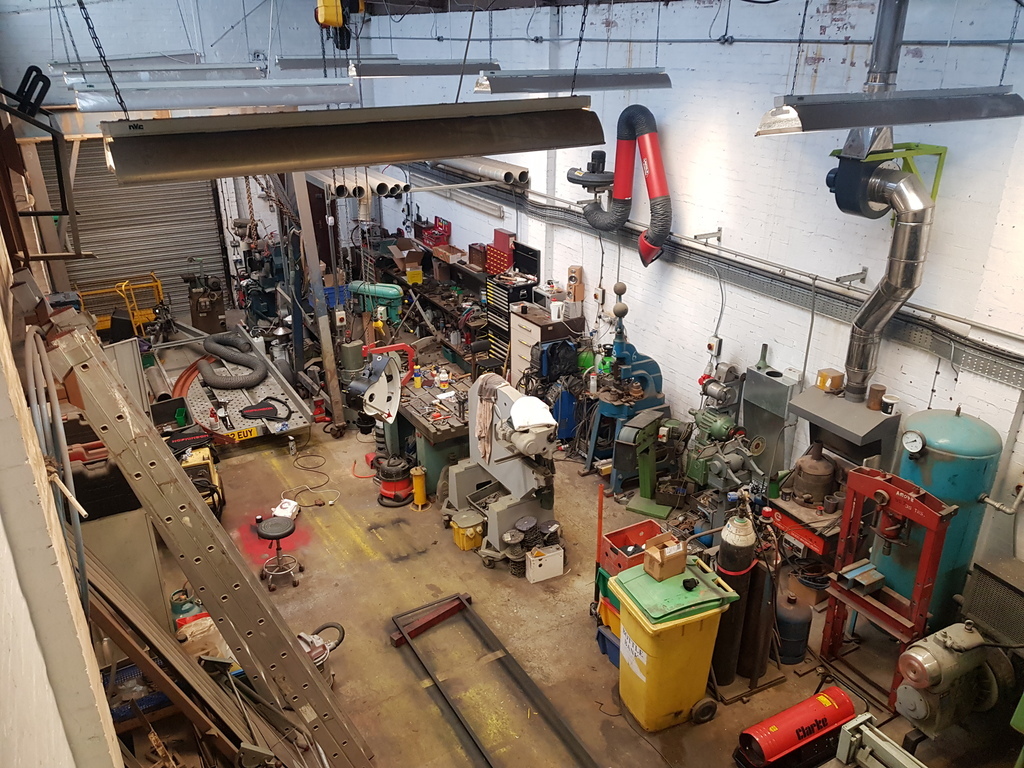 |
| |
|
|
|
|
Living the Dream fr€$h&m1nt¥
@freshandminty
Club Retro Rides Member 99
|
|
|
Good read, for some reason I’ve never clicked into this thread before so nice to see all progress in one hit. I thought you’d broken covid rules having a warehouse party until I saw it was the heady days of 2017 when you could party and touch strangers and all sorts!  Any way to get to my main point you mentioned your dad builds engines, is that what you do too? As in for other people job wise rather than a hobby? Reason I ask is I’m planning to get one of my spare Acty engines rebuilt probably next year now so on the lookout for places rather than picking at random from google. Cheers |
| |
|
|
slater
Club Retro Rides Member
Posts: 6,390
Club RR Member Number: 78
|
Living the Dream slater
@slater
Club Retro Rides Member 78
|
|
|
|
Yeh my dad runs a little engine building buisness over in Suffolk called Radco Engineering. Looks like the website is down (hes not massivly technological lol) but he's on insta and facebook as 'Radco Motorsport' if you want to get hold of him. He mainly does classic Ford stuff but would probably be up for somthing a bit different if you can get all the parts and stuff. For now this is just a'hobby' for me but should my employment situation change I should hopefully be able to jump stright into running my own business out of here. Thats the vauge plan anyway!
|
| |
|
|
|
|
Living the Dream fr€$h&m1nt¥
@freshandminty
Club Retro Rides Member 99
|
|
|
Yeh my dad runs a little engine building buisness over in Suffolk called Radco Engineering. Looks like the website is down (hes not massivly technological lol) but he's on insta and facebook as 'Radco Motorsport' if you want to get hold of him. He mainly does classic Ford stuff but would probably be up for somthing a bit different if you can get all the parts and stuff. For now this is just a'hobby' for me but should my employment situation change I should hopefully be able to jump stright into running my own business out of here. Thats the vauge plan anyway! Good news cheers for that. Full rebuild kits are available thanks to goldwing parts shares. Will contact you nearer the time and keep tabs if you plan to go professional |
| |
|
|
slater
Club Retro Rides Member
Posts: 6,390
Club RR Member Number: 78
|
Living the Dream slater
@slater
Club Retro Rides Member 78
|
Mar 23, 2021 21:28:50 GMT
|
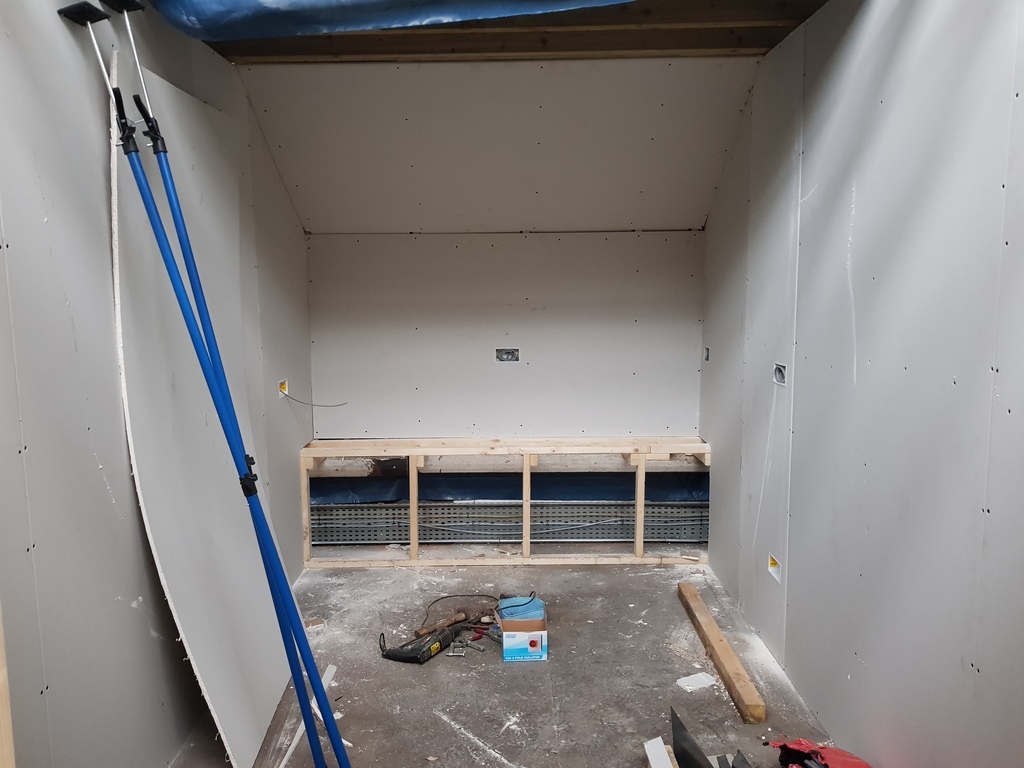
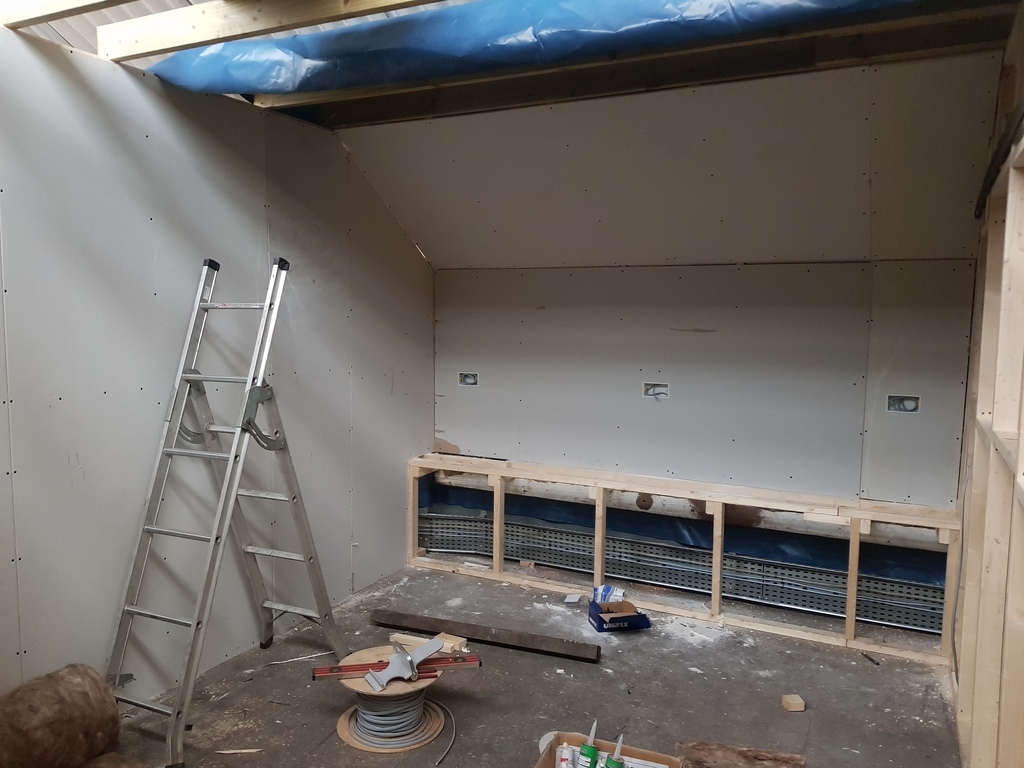
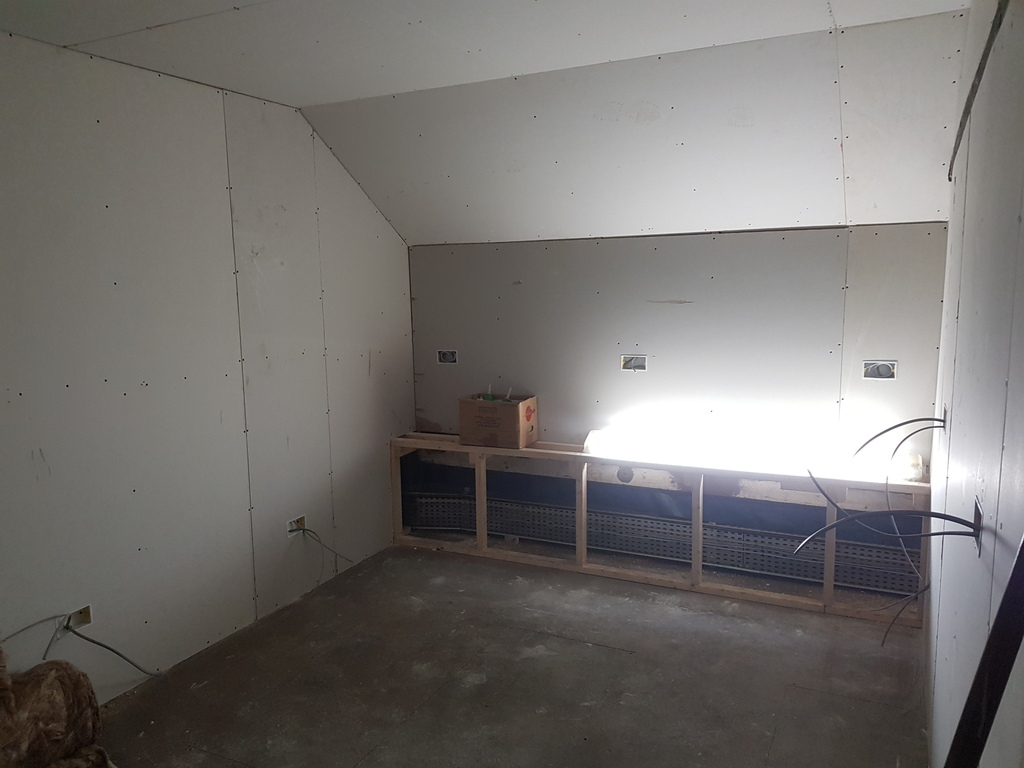
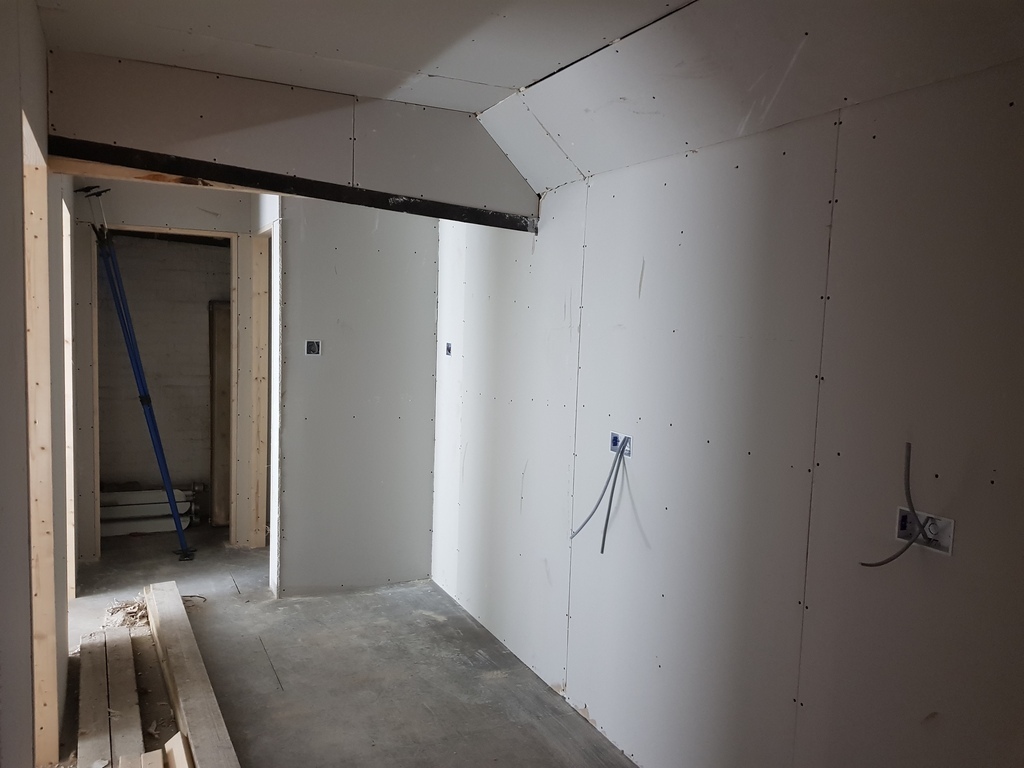
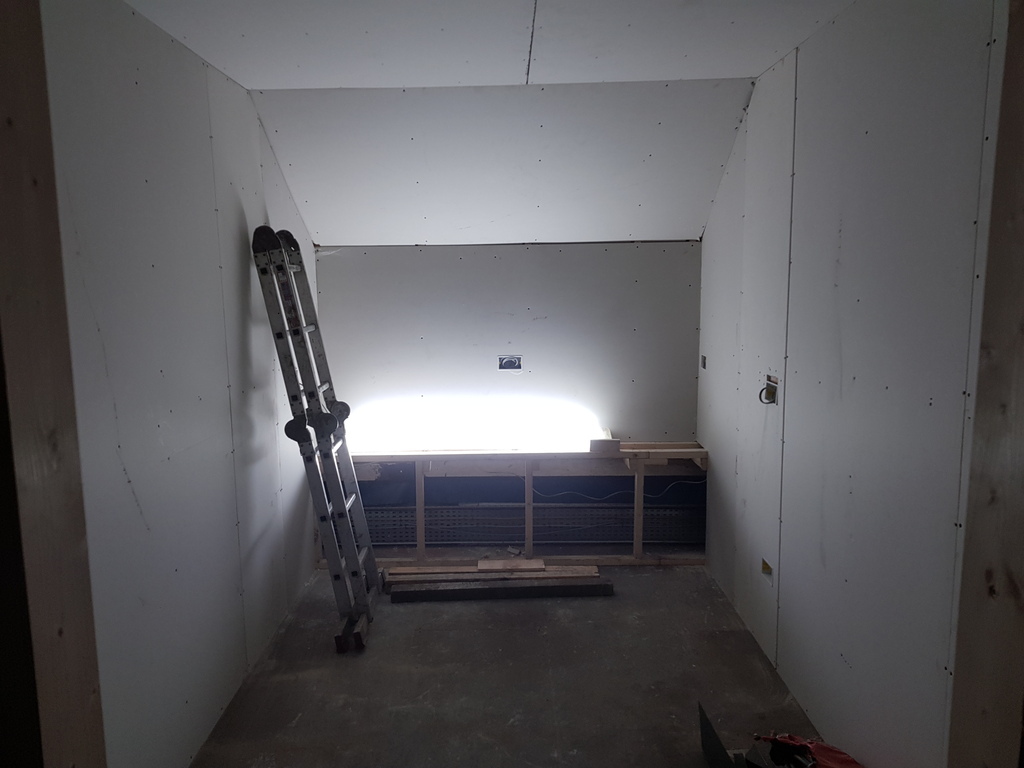
Ahh yes its time again to cram a whole 3 months work into one short post.. Depressing when you look at it like this! With the shell of the rooms built the first job for 2021 was to make good the plasterboarding. After a bit of consideration i decided to clad the lab room in PVC cladding. On the face of it this doesn't seem a cheap option but when you take into account money saved on dry wall filler and tiling or painting its actually not so bad. One of my main goals for the lab is to have it easily cleanable! No matter how careful you are theres always splashes and spillages and its usually not so nice chemicals either so it pays for everything to be 'wipe clean'.. even the ceiling! I'm not usually a massive fan of PVC stuff, It can look shoddy as hell if its done badly (which it usually is) but i think after taking my time it works ok, not bad for a first go anyway. What i will say is really its a two man job, especially if you want to put it on the ceiling!!! I have also done the toilet and have some left over to do behind the kitchen worktops and the lower half of the walls in the 'hallway' too. 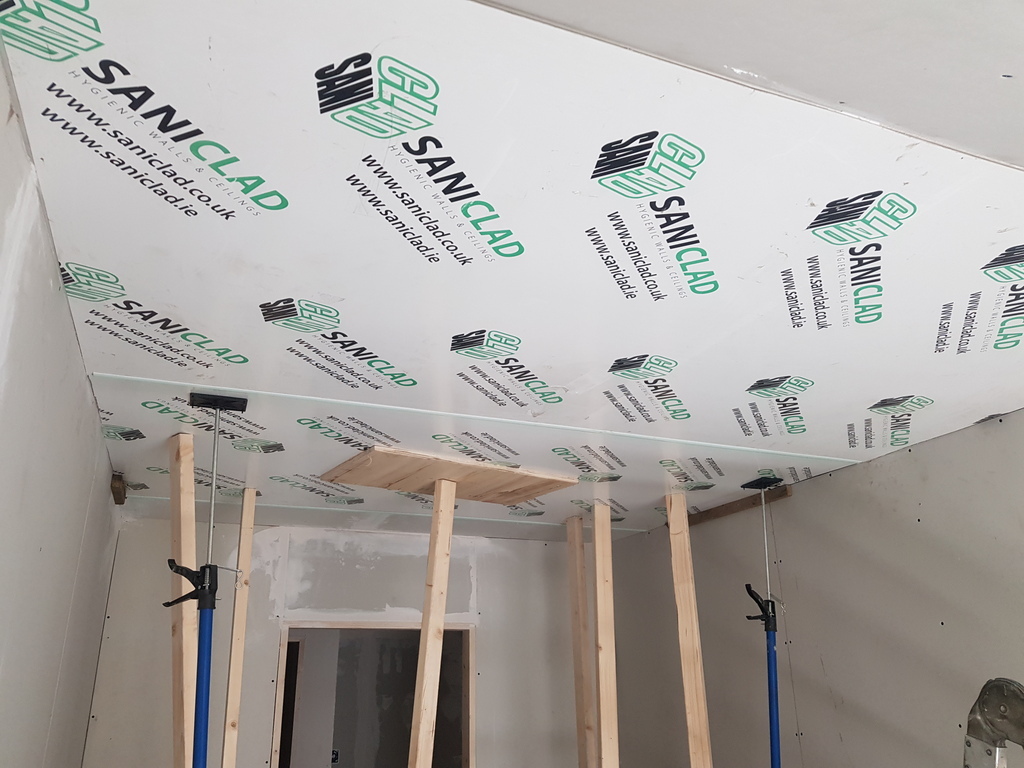
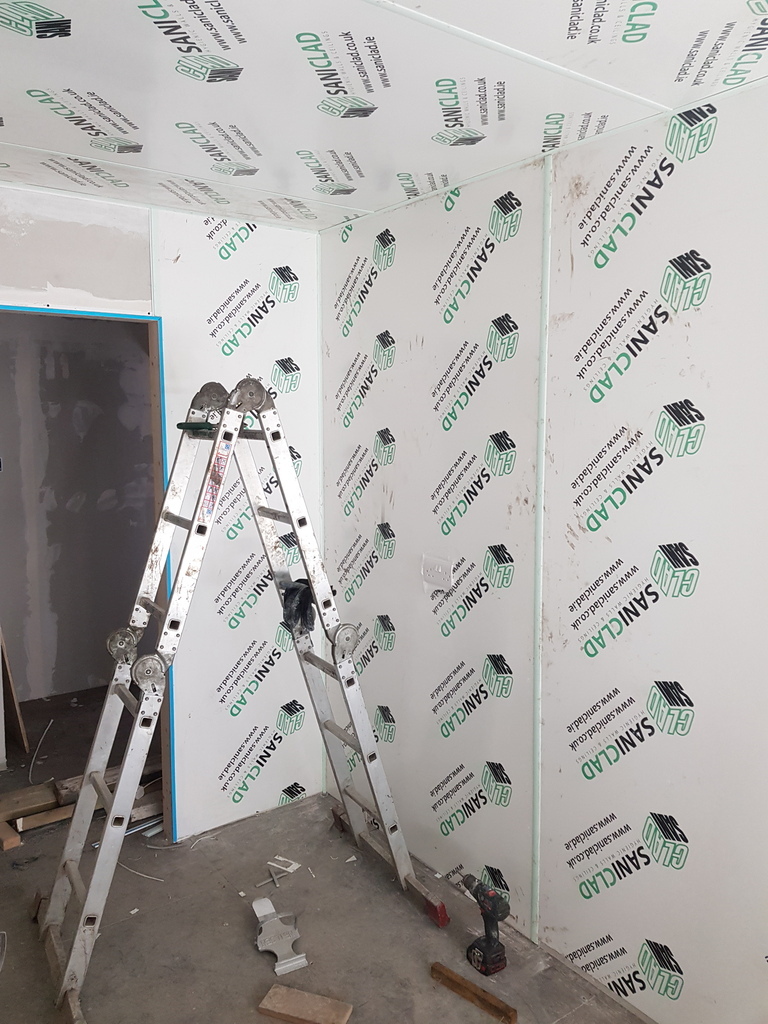
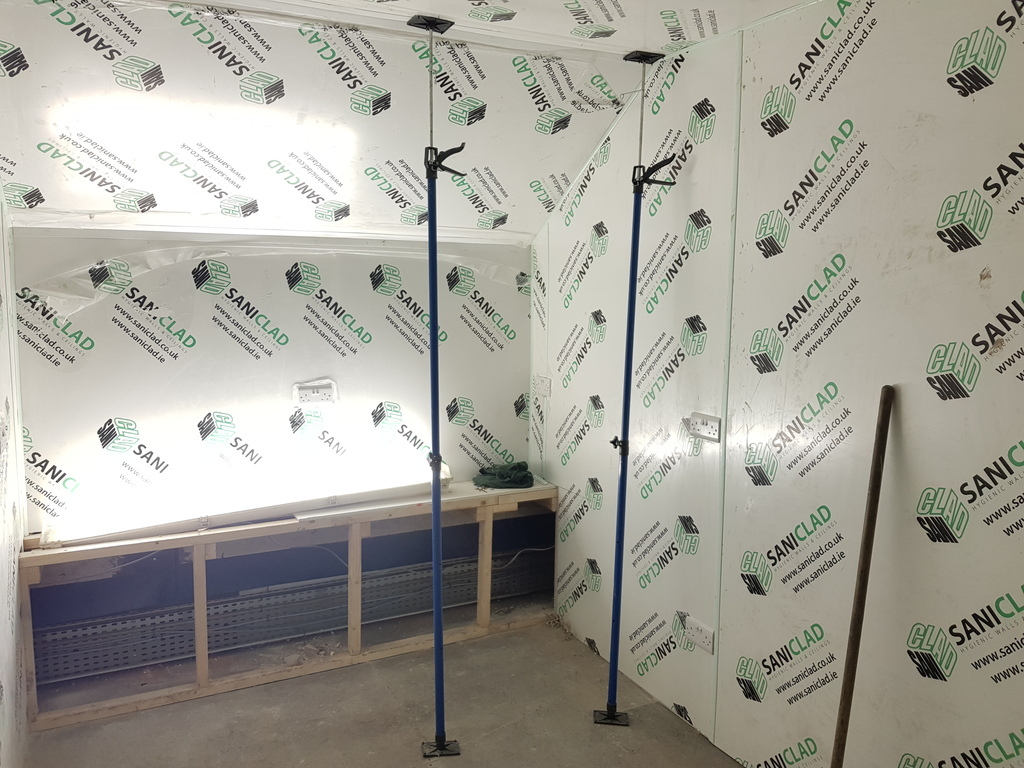
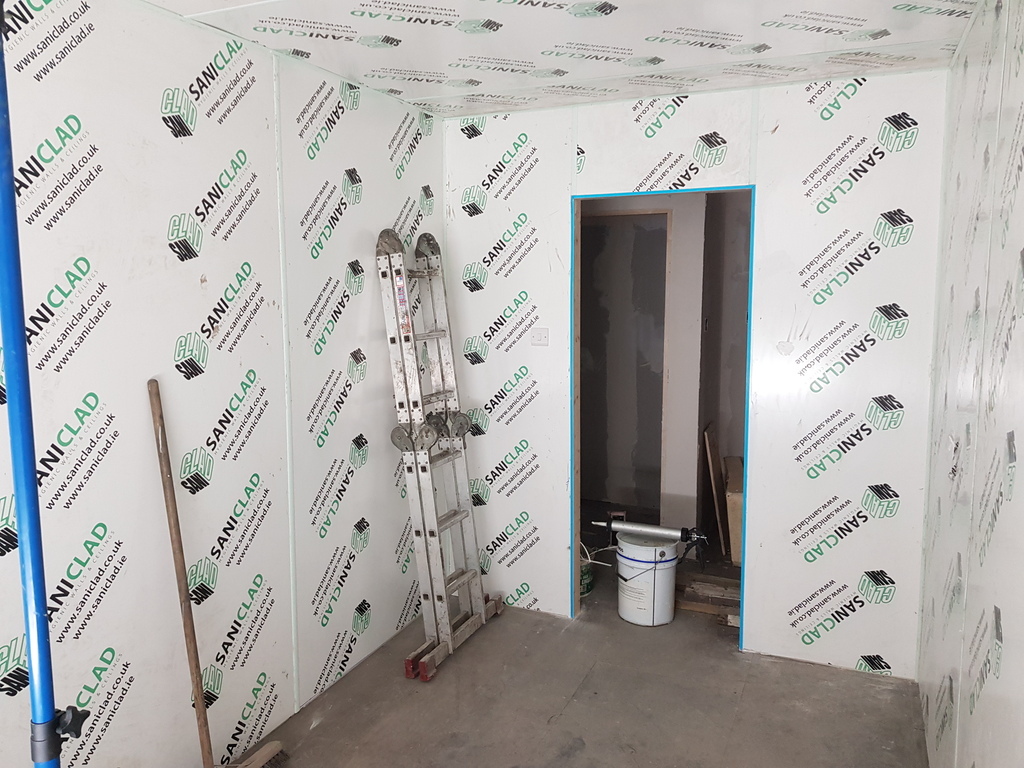
The rest of the walls were treated the traditional dry wall way. Taping and filling the gaps then sanding back. This was again something id not actually done before and after doing it i can say its something i will be avoiding doing again in the future! Not a pleasant job! I think maybe if youre a professional it might go a bit better but i found it just took way too long and made a massive mess. Taping, filling, filling again and then sanding.. Then realizing you had a few low spots and filling again and sanding again and then the whole shop being covered in horrid fine white dust. I definitely should have just got someone in to skim it all!
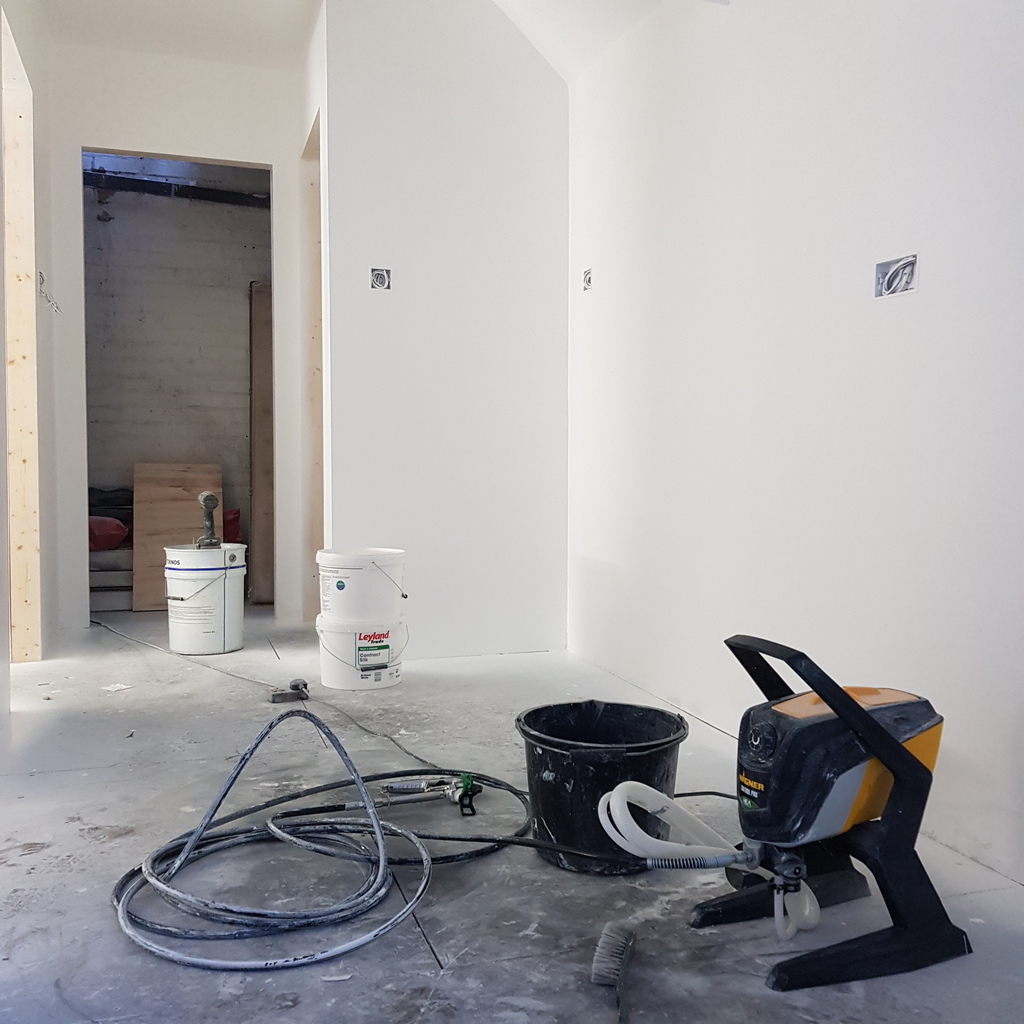
I did however redeem myself with my choices on the painting side of things. After investing in one of these airless paint systems it took me all of about 20mins to paint the entire lot! Literally these are so good it took 10mins to put a 15L tub of paint on the wall.. It probably took longer to clean the thing out afterwards! Honestly i cant recommend one of these systems enough. If you have any more then a couple of walls to paint spend the money! Saved so much time and effort and will save me days doing the rest of the shop when the time comes.
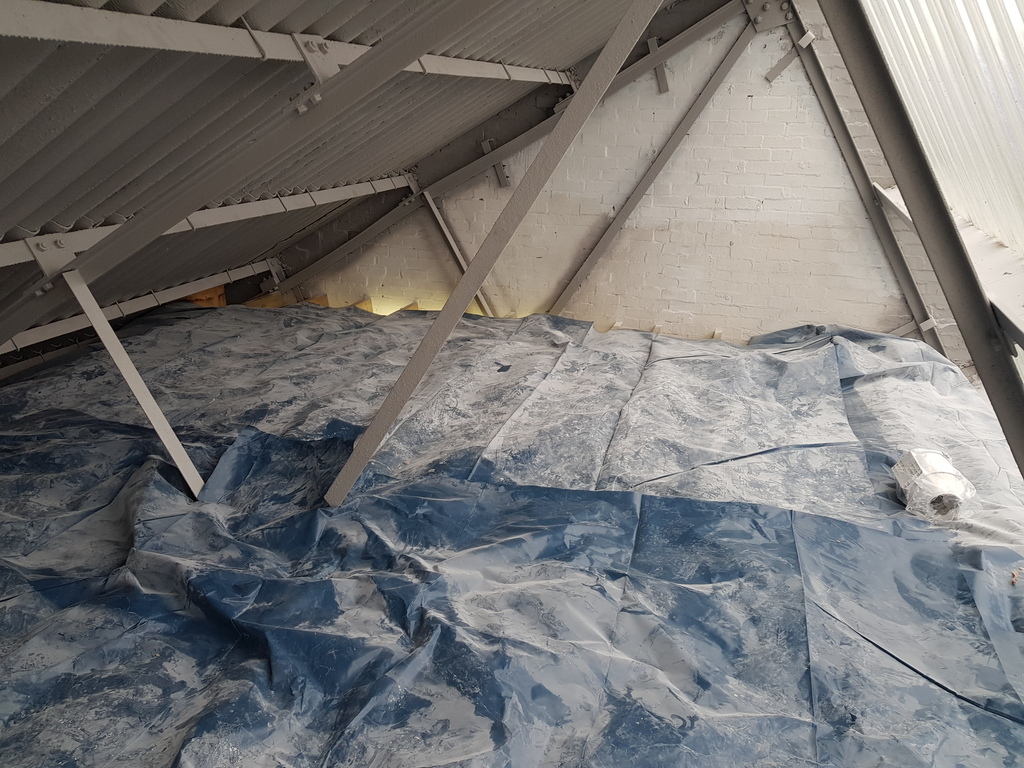
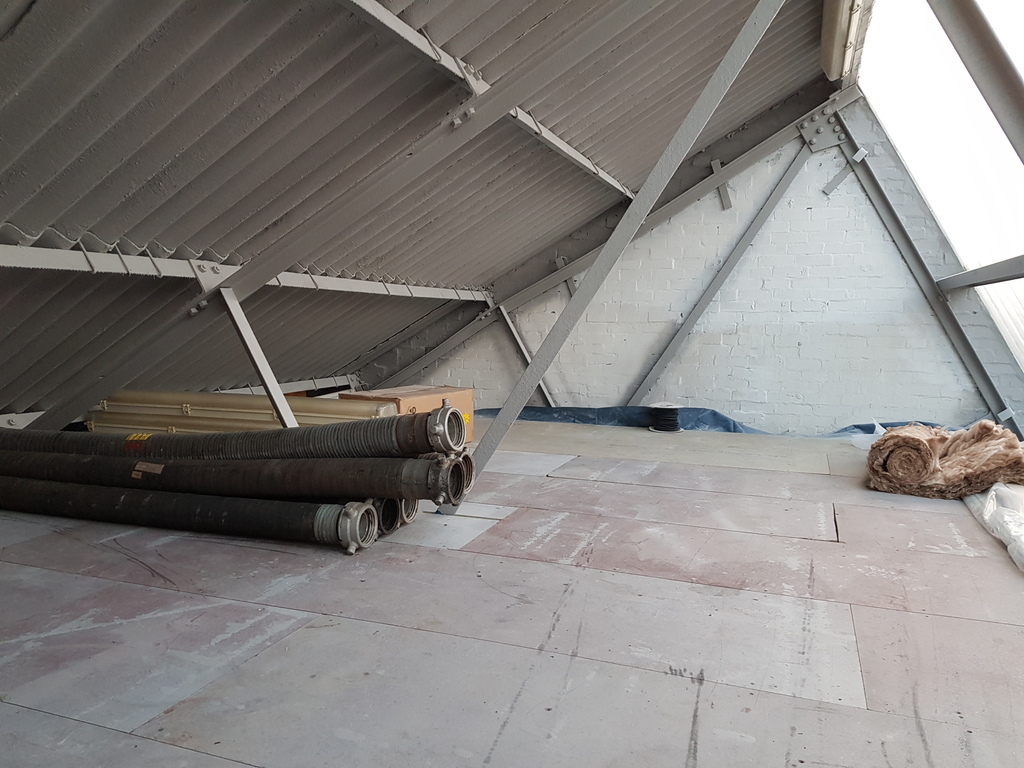
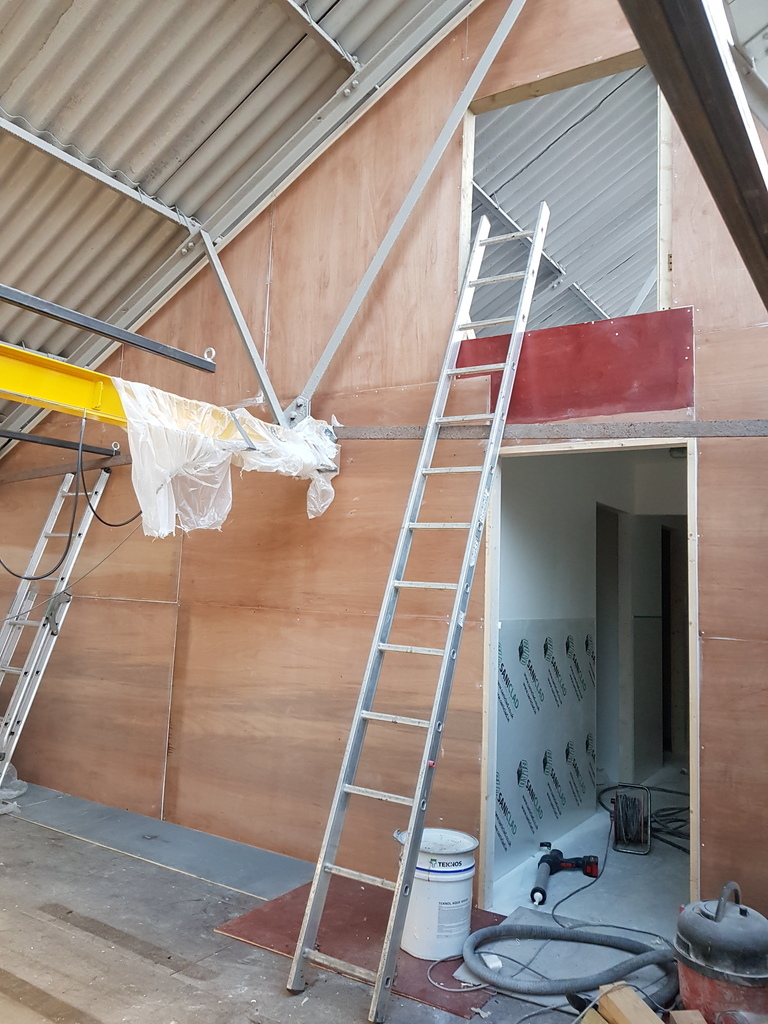
With the downstairs rooms cladded and painted i could do the 2nd fixing on the lighting circuit and after that finish laying the insulation and damp proofing on the ceiling. With all that in i could make use of the spare chipboard flooring i had left over from the old mezzanine to board out the new 'loft'. I'm not used to having a loft (my house has a loft conversion) so I'm looking forward to having somewhere to chuck all my junk thats out of sight and out of mind.. Of course tho for it to be out of sight here i also needed the wall to extend up into the pitch of the roof so thats what i did. I had a bunch of 8mm ply that came off the old mezzanine and it was perfect for the job. Started filling it with junk already!
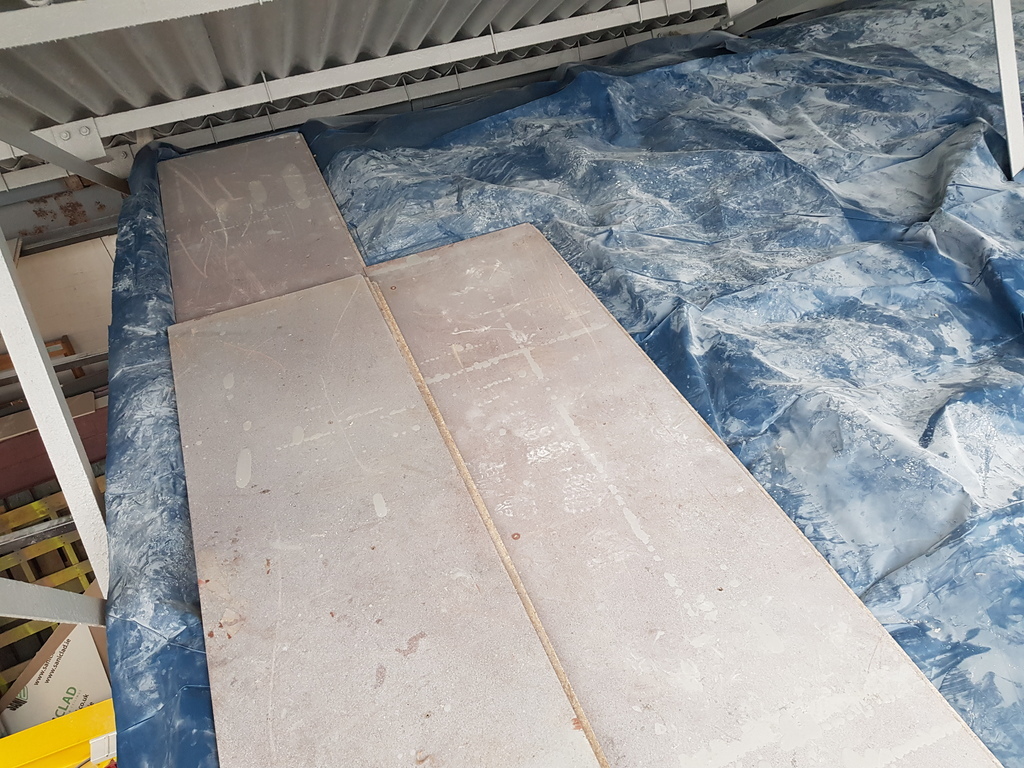
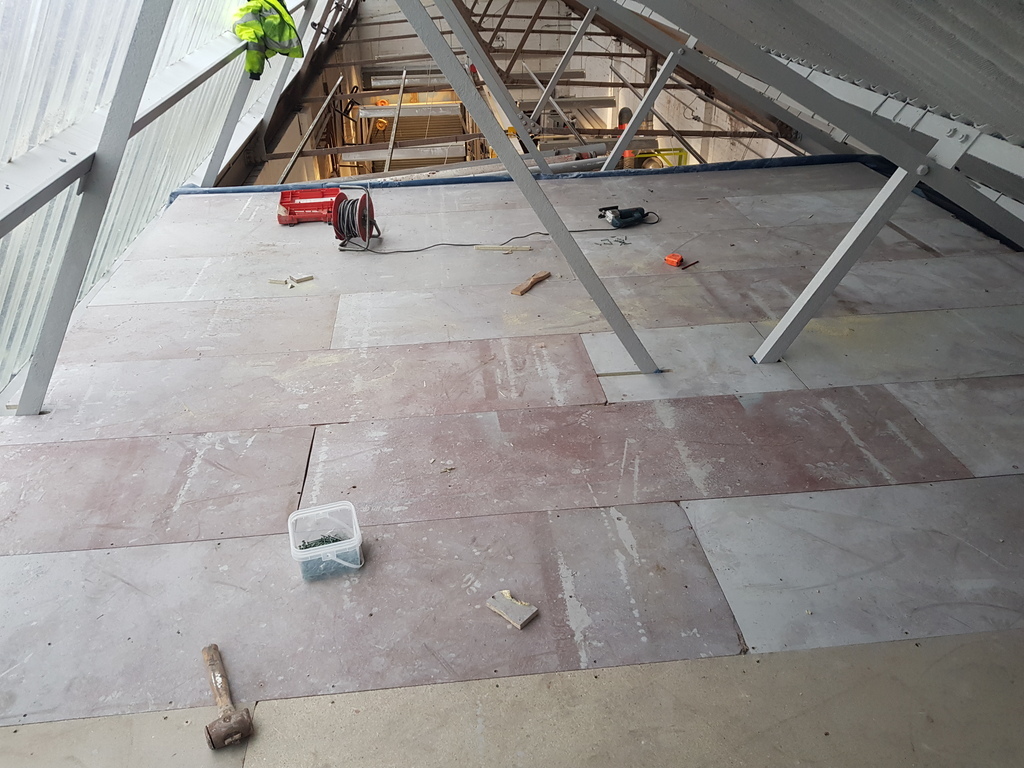
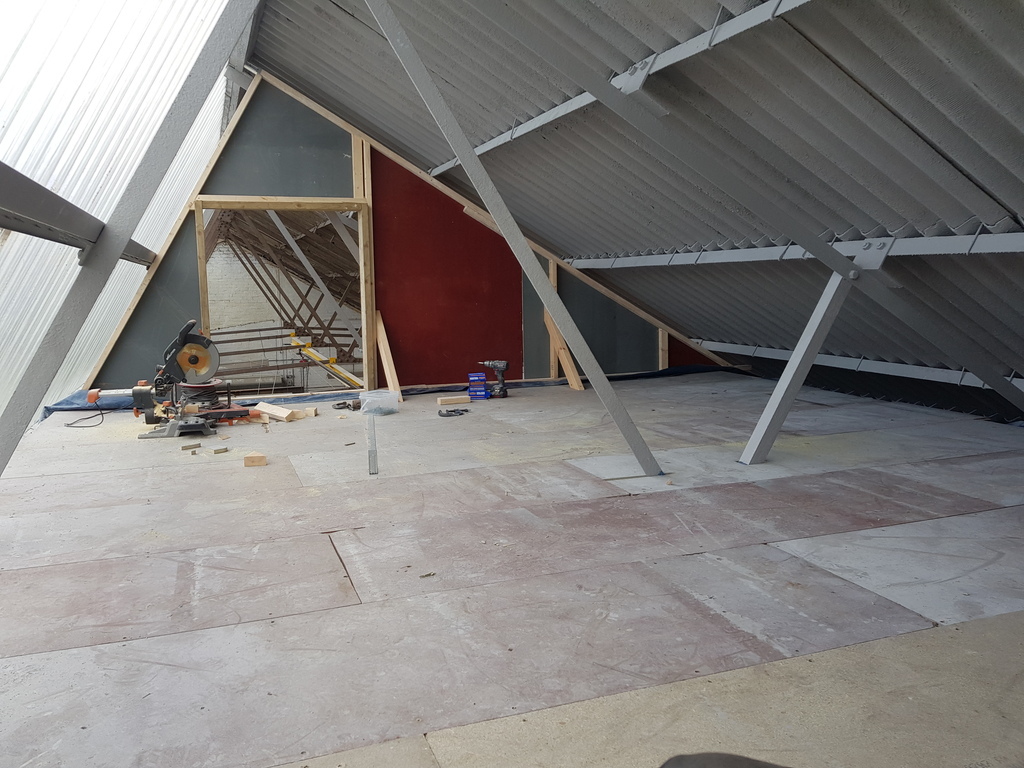
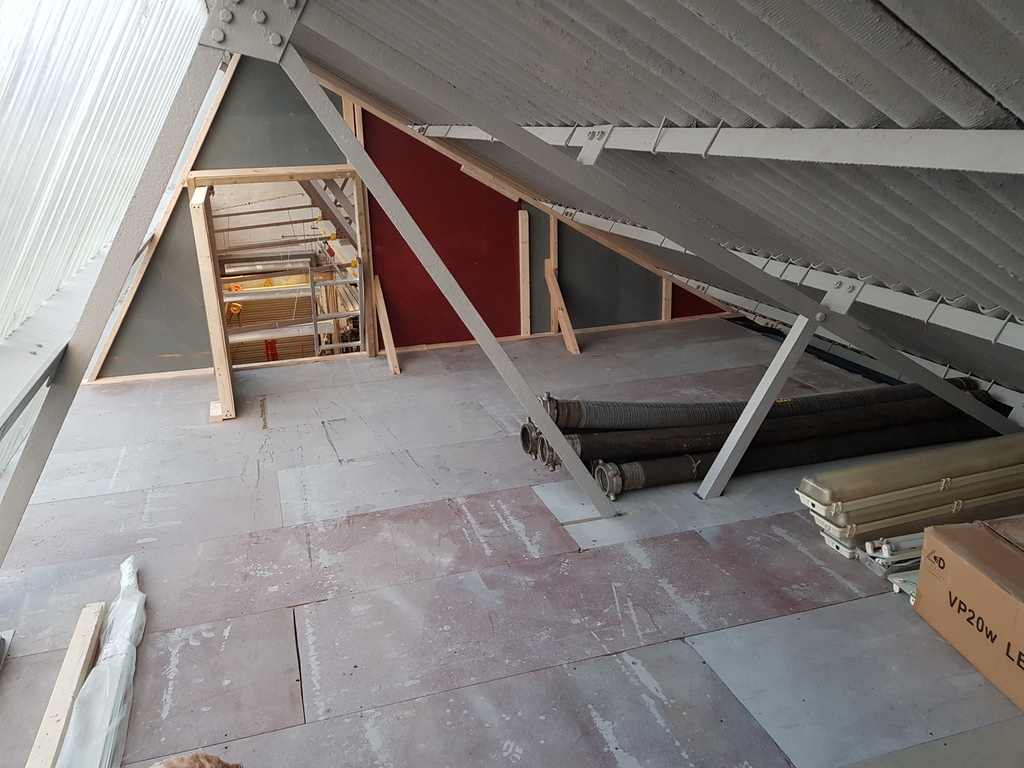
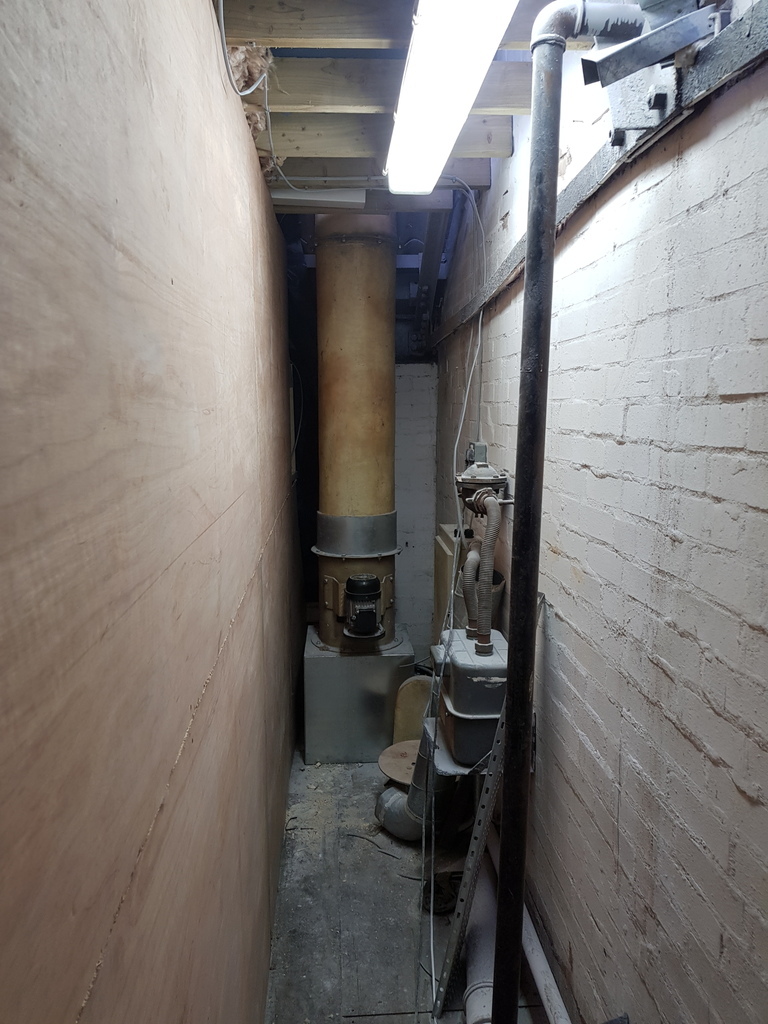
Last little bit was to tidy the 'crawl space' i had to leave down the back of the rooms. The plan is this will house all the various services both for the mezzanine rooms and whats going to go in below. (It should also double up as another 'out of sight out of mind' space too i should think!) So far its home to the extraction fan for the spray booth downstairs, the gas meter, electrical board and will soon be home to a combi boiler, fume hood extraction fan, auxiliary extraction fan and probably a load more stuff i will convince myself i need!
 Maybe see you in another 3 months? Just starting to get to the interesting bits now! With the pubs opening soon I'm not sure how much progress will have been made however..
|
| |
Last Edit: Mar 23, 2021 21:41:36 GMT by slater
|
|
jamesd1972
Club Retro Rides Member
Posts: 2,922  Club RR Member Number: 40
|
Living the Dream jamesd1972
@jamesd1972
Club Retro Rides Member 40
|
|
|
|
Lovely professional space you’re creating there. Nice ethos of doing a proper job now to save money / time / effort in long run.
James
|
| |
|
|
eternaloptimist
Posted a lot
   Too many projects, not enough time or space...
Posts: 2,578
|
|
Mar 24, 2021 11:38:00 GMT
|
|
Wonderful build. Very envious.
|
| |
XC70, VW split screen crew cab, Standard Ten
|
|
slater
Club Retro Rides Member
Posts: 6,390
Club RR Member Number: 78
|
Living the Dream slater
@slater
Club Retro Rides Member 78
|
Mar 27, 2021 20:25:02 GMT
|
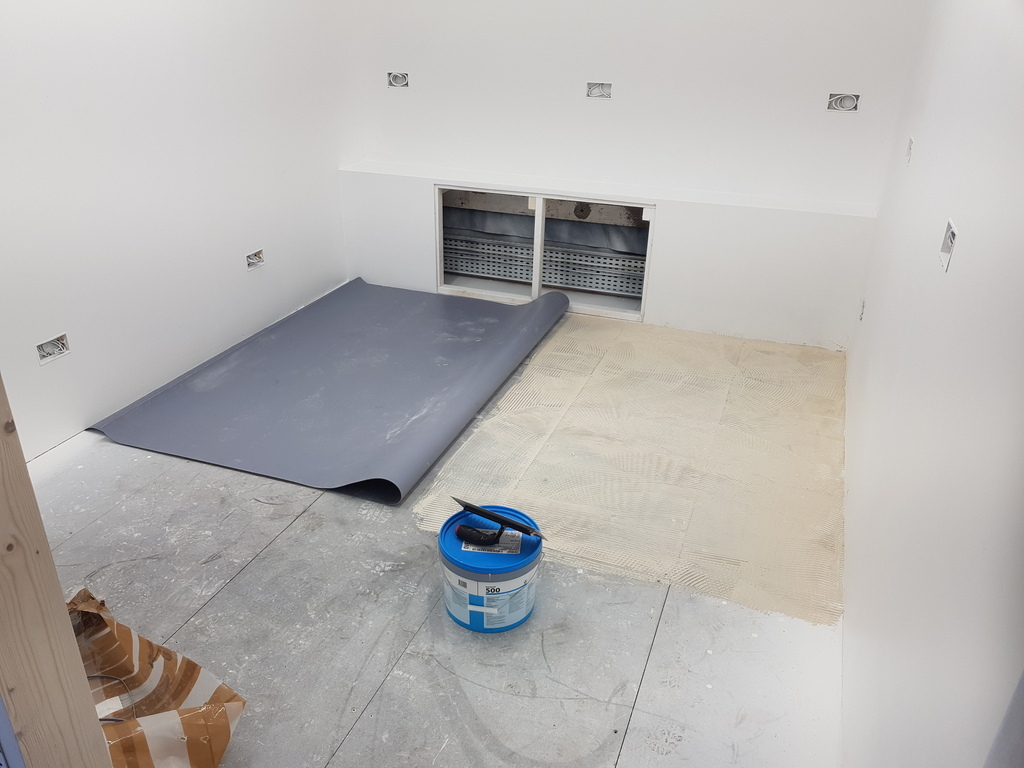 Started laying the flooring today, another thing ive not really done before so a bit of a learning curve but so far so good.. Probably used a bit too much adhesive but at least it should stick! 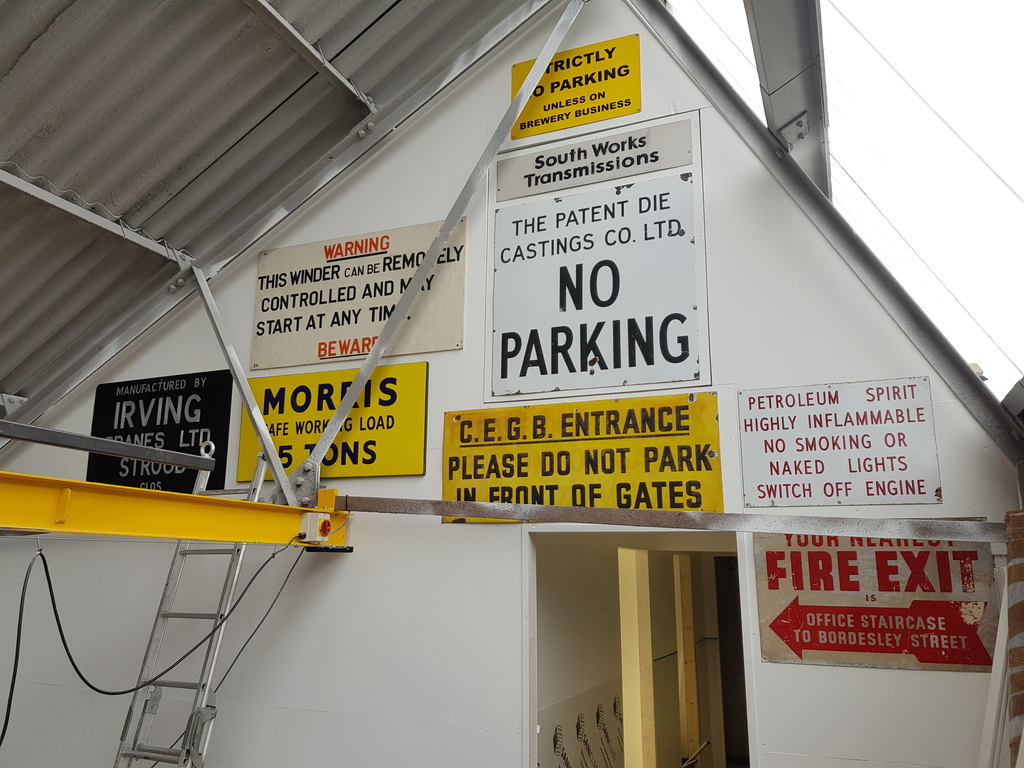 In between waiting for the glue to tack off i decided i needed another sign wall |
| |
|
|
|
|
|
Mar 29, 2021 12:14:24 GMT
|
|
Love the mezz floor, what size is the steel used for the RSJ and legs?
I fancy a mezz in my shed but need an 8m span with no central legs
|
| |
|
|
slater
Club Retro Rides Member
Posts: 6,390
Club RR Member Number: 78
|
Living the Dream slater
@slater
Club Retro Rides Member 78
|
Mar 29, 2021 13:30:32 GMT
|
|
Pretty sure they are 356x127 beams probably in the lightest weight you can get as they aren't very thick. The span is 6m so you might need to go to 406s for an 8m span. That said these are rock solid at 6m so it depends on loading. I think this floor should be good for 500kgm2 as thats the standard for most industrial mezzanines (I've not actually done the maths tho just relied on the guy sending me the right stuff)
The legs are 100x100 box 4mm thick iirc too.
|
| |
|
|
|
|


