Nathan
Club Retro Rides Member
Posts: 5,650
Club RR Member Number: 1
|
New workshop build - upgrades!Nathan
@bgtmidget7476
Club Retro Rides Member 1
|
Jan 20, 2022 11:22:53 GMT
|
|
Thank you guys.
Pretty much as soon as it became a secure structure I've spent more time in there than the house :-p. It was well worth the wait and the cost IMO.
I've been up to a lot, mainly giving the BGT a refresh etc but I'll pull all my photos together and post them up.
In terms of the structure, it's not quite done to how I want it. With a mate staying with us for a while and with him also being into classic landrovers a lot of space has been taken up with his stuff. However once he's sorted I'll then be on with the Mez and steel storage, also the outside frontage needs sorting (thinking a concrete pad) plus the installation of the Tire machine, and metal working machines.
There is also still a lot of tools etc to bring over from the other place, so still plenty to do.
Cheers.
|
| |
Last Edit: Jan 20, 2022 11:27:28 GMT by Nathan
|
|
|
|
Nathan
Club Retro Rides Member
Posts: 5,650
Club RR Member Number: 1
|
New workshop build - upgrades!Nathan
@bgtmidget7476
Club Retro Rides Member 1
|
Feb 23, 2022 14:11:49 GMT
|
Promised some images didnt I?. It's been used a lot now, so it should how much it cost HAHAHA. 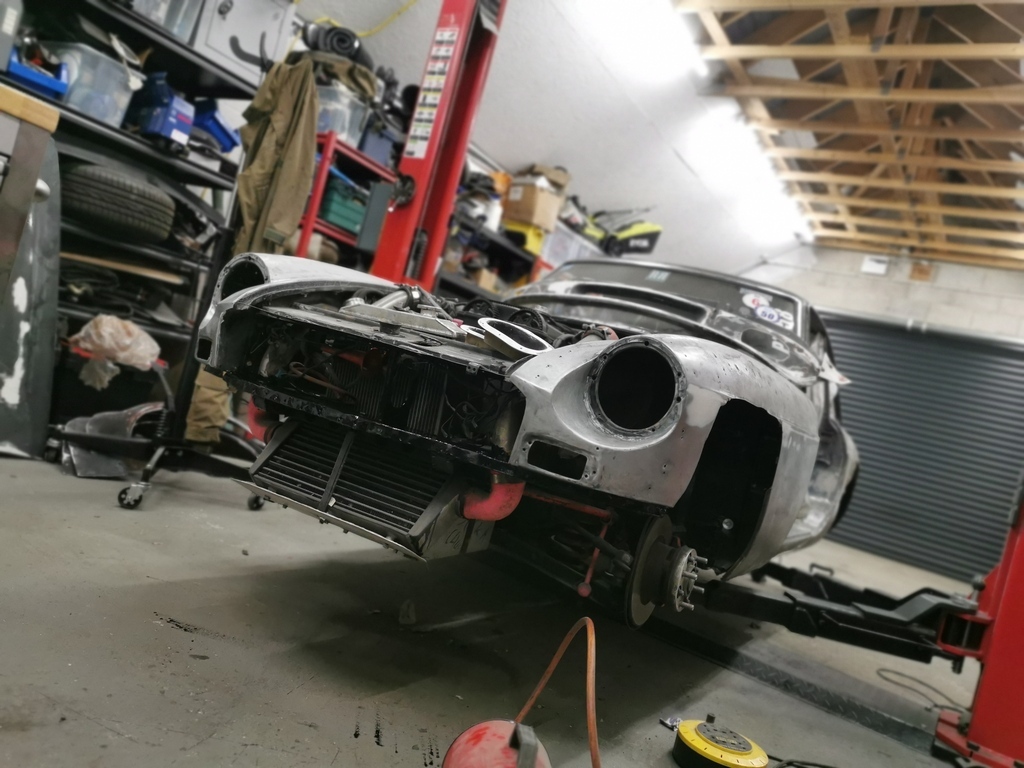 The inside is not quite how I want it, the Mez still needs to go in and I need to build various benches for the sheet folder and linisher etc. Outside though is now my focus, if you remember we placed the door on the righthand side of the structure. This was mainly due to the slightly wider access and as of the build start the path down the lefthand side was still owned by the council. Thankfully I've now got the full title to that strip of land (used to be and access path in the 60s), so that's a load off my mind. The issue I have with the side entrance is the ground is still soil, mostly compacted soil but not ideal. Image doesnt do the width justice, it's around 1.5m wide. 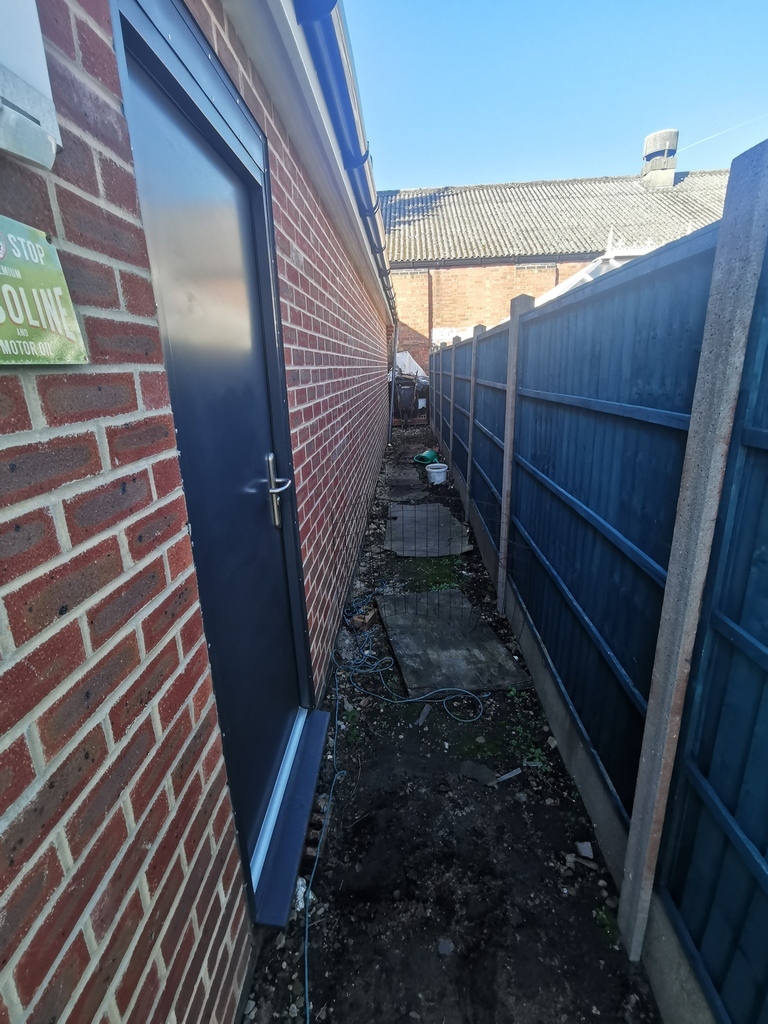 Now IMO I have spent far too much on building supplies and I still have 2x 1 ton bags of sand. At first I was just going to concrete it, but I've just landed some large slabs from a neighbours property. Around 80 in total, this should be more than enough to slab that area etc. 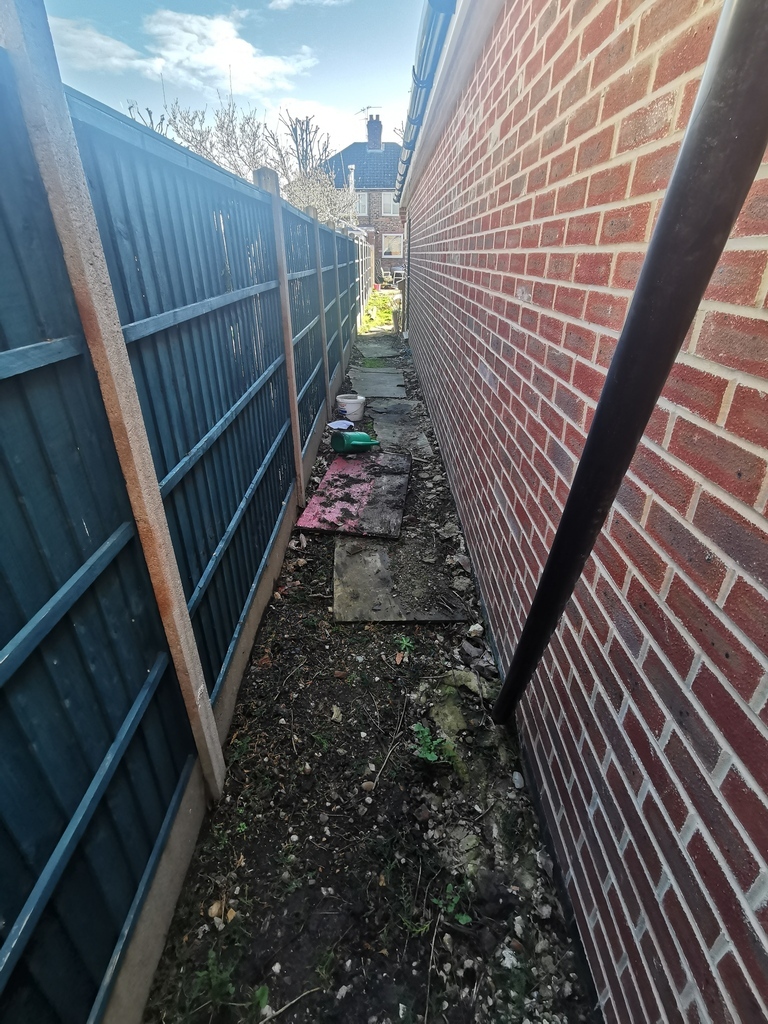 First I need to resolve the guttering issue, see downpipe :-) which is the same on both sides. So back to that path, when we dug the footings we noticed an old Victorian soakaway which was thought to be collapsed and blocked.....How wrong we were! Just befoe the rear area was filled with the remaining building supplies ( beleive it or not I have enough roof tiles, blocks and bricks to extend this another 4 meters HAHAHA, not that I will) the owners of the rear structure came to investigate why their guttering was leaking. Turned out the downpup had cracked below the surface, not that it caused issues etc. Anyway with that area dug up I asked where it went, the responded "Under that corner near your garage is a VERY large soakaway which feeds to a surface water drain. It was installed when the factorys were built and that alley was operational". They had to dig up the are and sure enough it's MASSIVE!!!. We knew there was a storm drain around there as the grate we unconvered when putting the fence up. So the idea is to feed into that drain as an overflow, I'm going to feed into water butts first ;-) 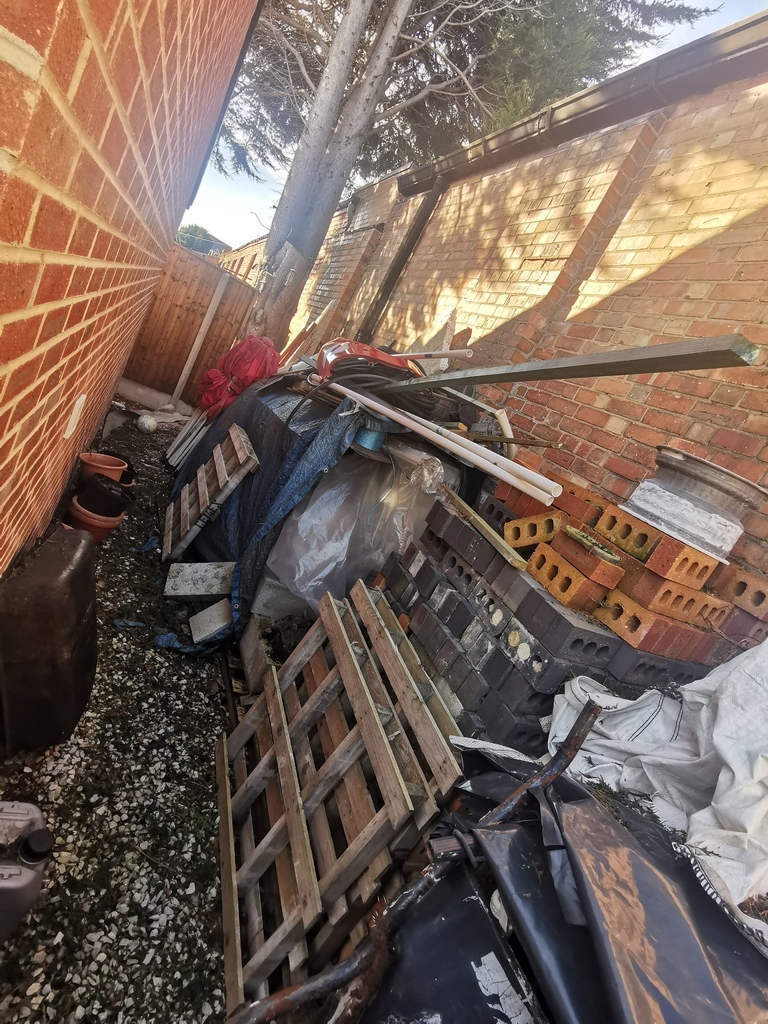 Then there is the Drive/entrance to sort......Yeah that's going to need some heavy equipment to sort again. 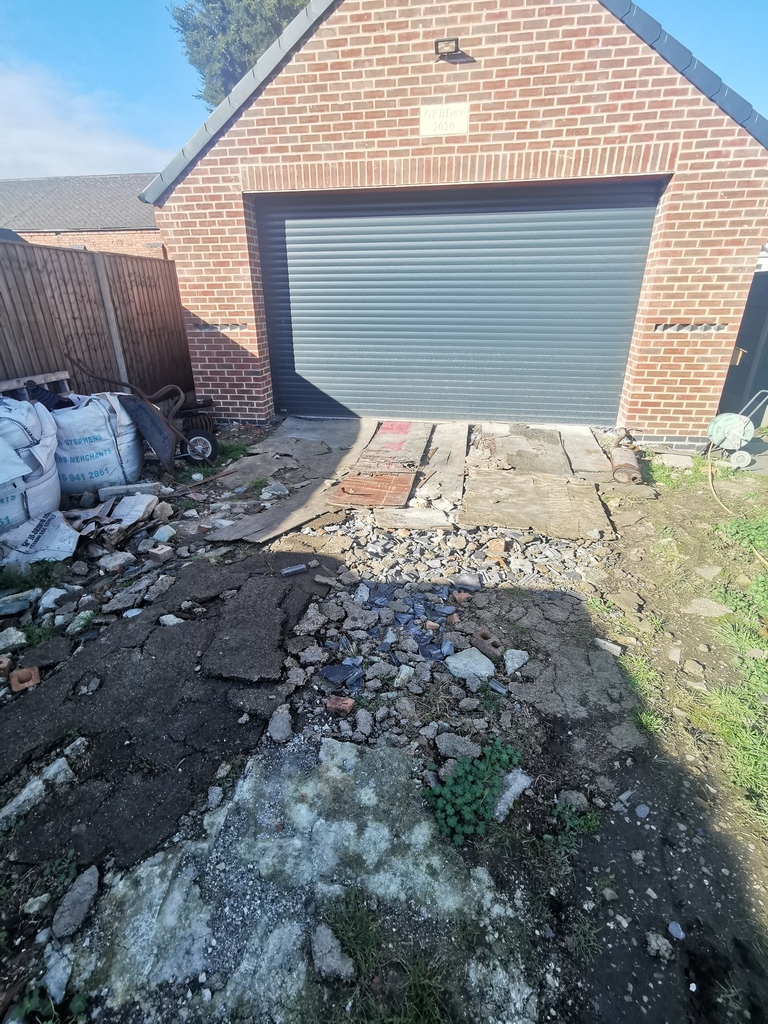 |
| |
Last Edit: Feb 23, 2022 14:29:14 GMT by Nathan
|
|
Nathan
Club Retro Rides Member
Posts: 5,650
Club RR Member Number: 1
|
New workshop build - upgrades!Nathan
@bgtmidget7476
Club Retro Rides Member 1
|
Apr 11, 2022 13:54:22 GMT
|
Small update. No movement on the driveway area but you'll see why in the moment. Thankfully (unsure if I mentioned this last time) a neighbour of my folks are having their whole house demolished, so I've scored the slabs from them to pave the side of the workshop.....another freebie. Due to the refresh and obvious repaint on the car the whole place was DITCHED! So as the car is pretty much build back up now I spent a bit of time hoovering and clearing the benches. Not exactly facinating I know :-p 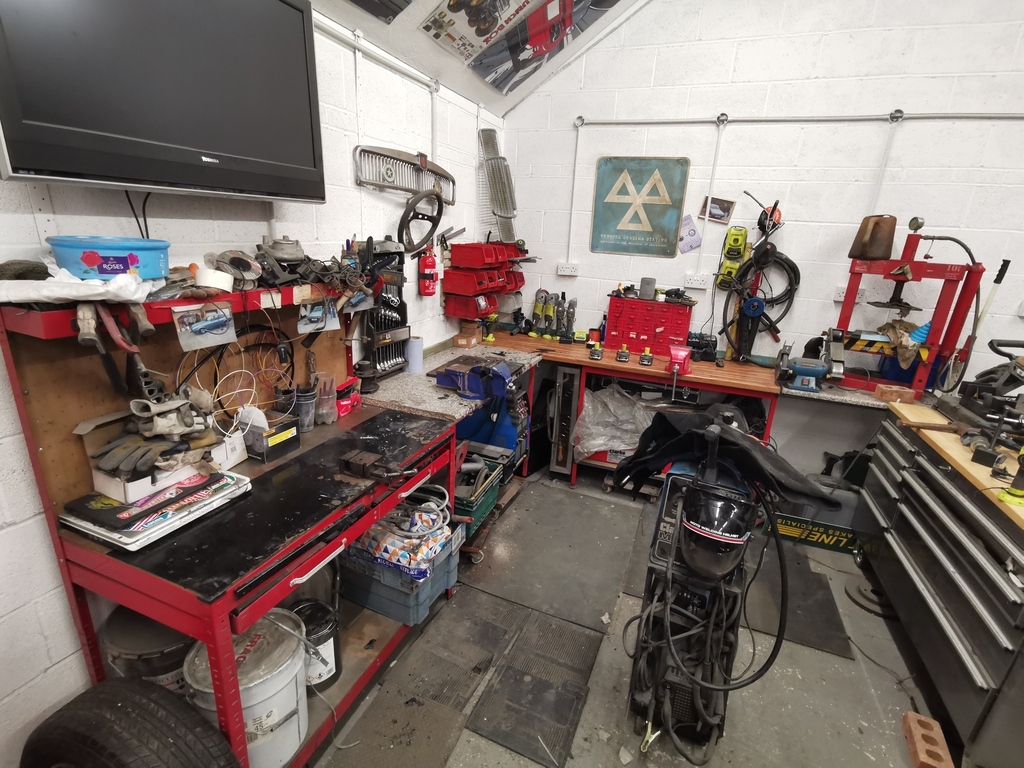 I've ordered the beams for the Mez today so that area above the toilet shall be extended the width of the place, it will mean a couple of extra tubes are required for lighting. 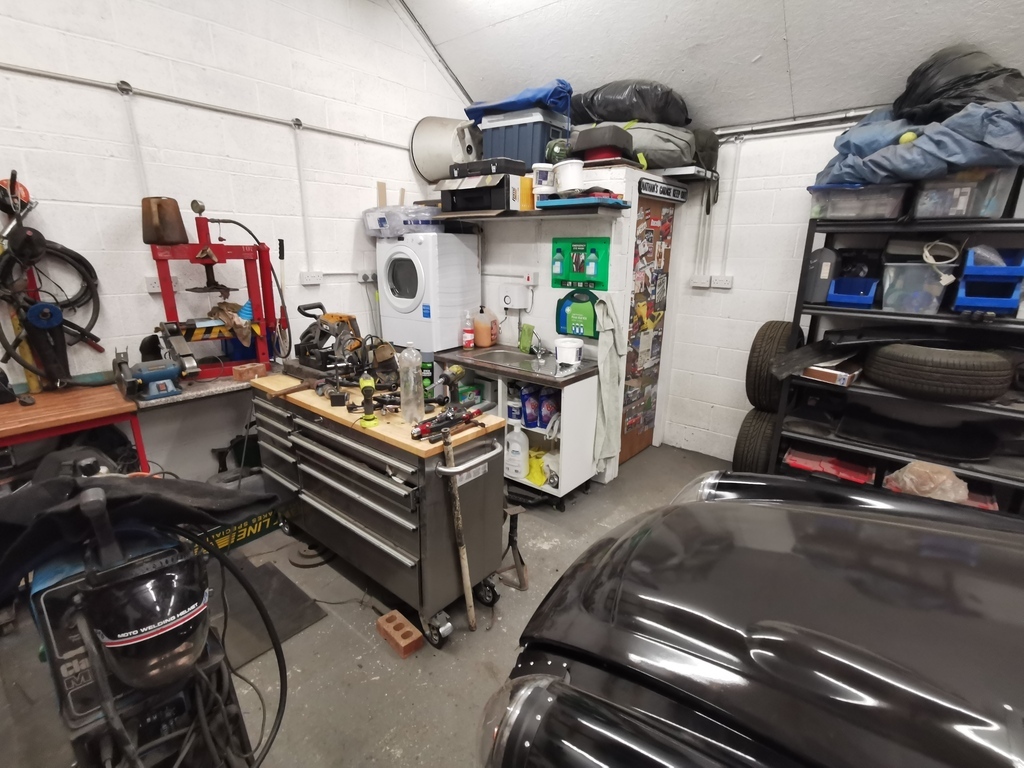 As I mentioned before, a lot of tools are still at the other garage and my folks are wanting to clear some space for builing work. So as of a couple of weeks ago I removed the sanding cab and the compressor (Needed so I could spray the car anyway). 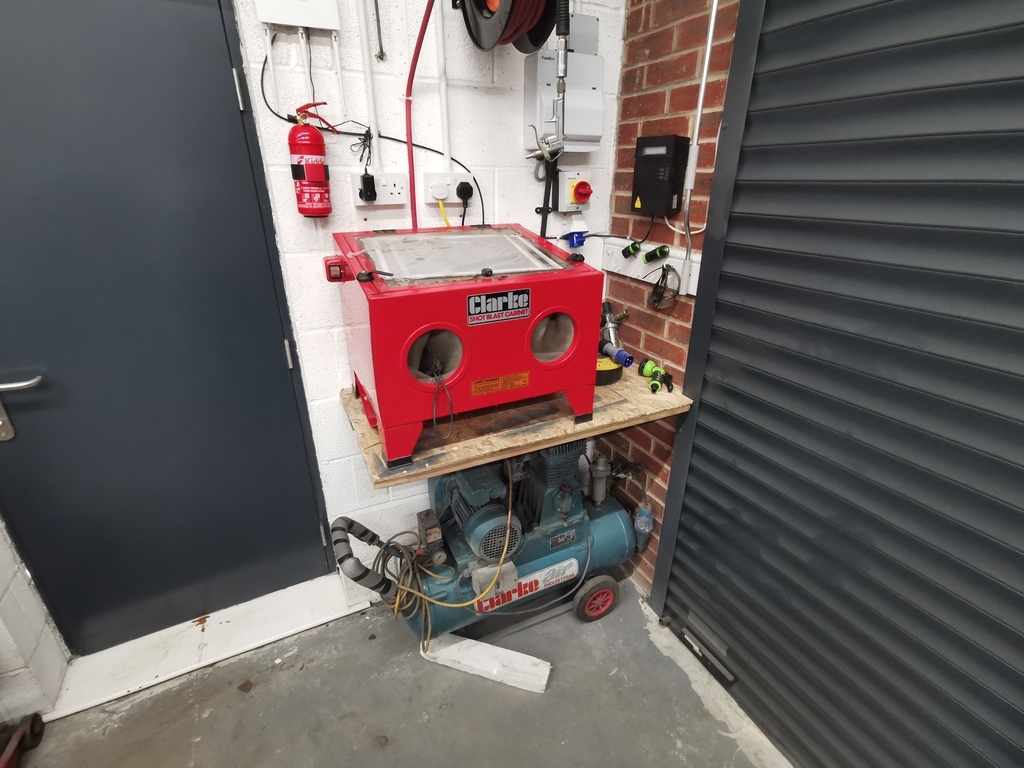 When the Sparky came to install the fuse box we did ask for a few Comman sockets to be installed. Mainly due to this compressor in all fairness, what didnt occur to me until we plugged it in....there was no switch. Sure it didnt need one but a mild OCD means I like things powered off so an overkil isolation was added. 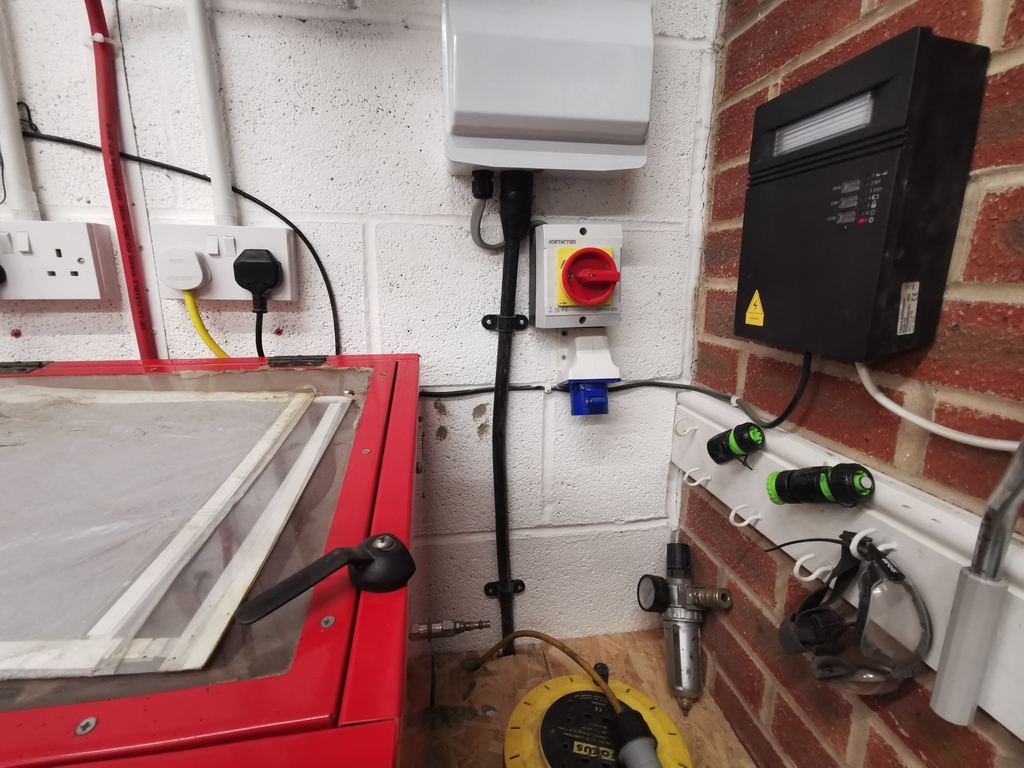 So as for the drive, I mentioned before I have a friend staying with me so his Series Landrovers are on part of it. Due to work commitments he's now found somewhere else so we should have the room to sort the driveway in the next few months. Honestly the state of the drive winds me up at the moment. Next up this: 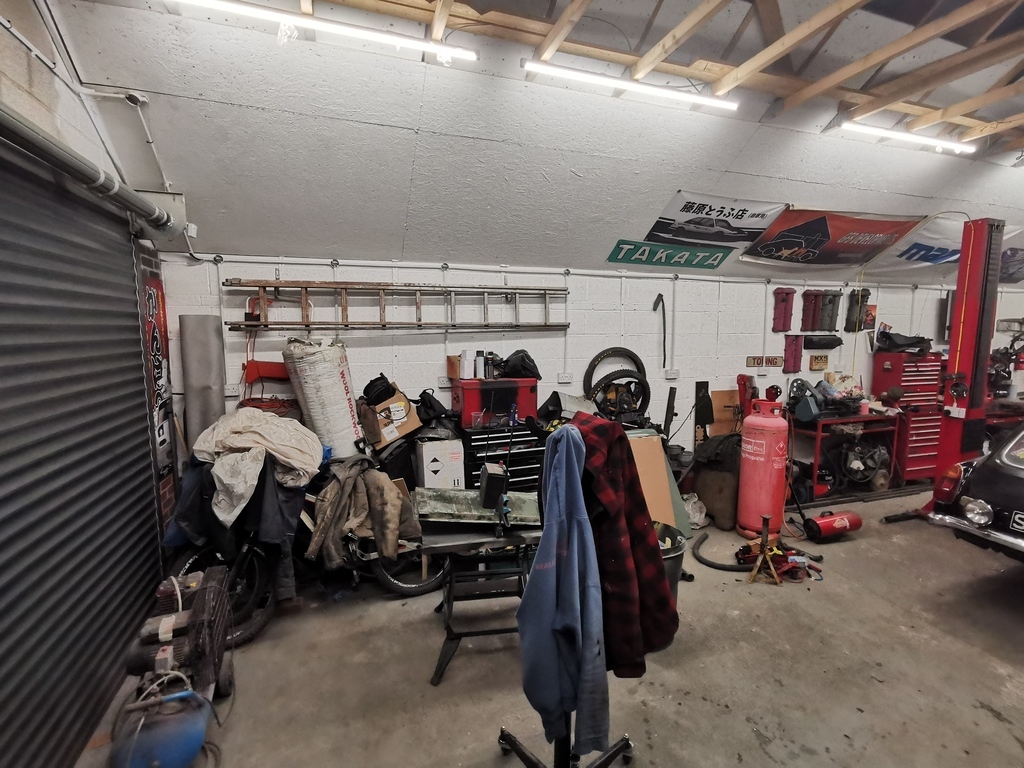 Most of what you see here is building supplies (there is even a bloody trench whacker under there), bike and the Lodgers tools. This are will need clearing somewhat as I have just ordered myself a CNC plasma for work! 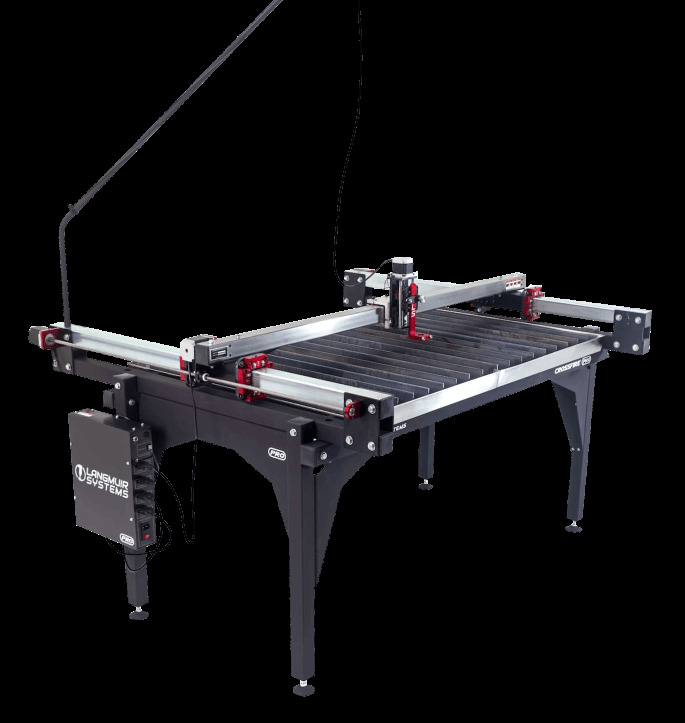 It should then start to look how I want it :-). |
| |
|
|
Nathan
Club Retro Rides Member
Posts: 5,650
Club RR Member Number: 1
|
New workshop build - upgrades!Nathan
@bgtmidget7476
Club Retro Rides Member 1
|
|
|
Update time! Building the Mez is paused at the moment due to work being rather busy, however one evening the missus said: GF "you've got a lathe havent you" Me "Yeah but it's only a small unit why". GF "Oh it's OK my Dad has one he wants rid of" Me "Well he's into woodwork it's not something I'd use" GF "No it's a metal one" Me "Really send me a photo" Anyway long story short, he's had a MyFord tucked away in his shed for decades that he hardly uses. I expected some rusted hulk......how wrong was I.......I'll not mention how much it didnt cost :-p right place right time I guess My old Perfecto which has done well over the years. 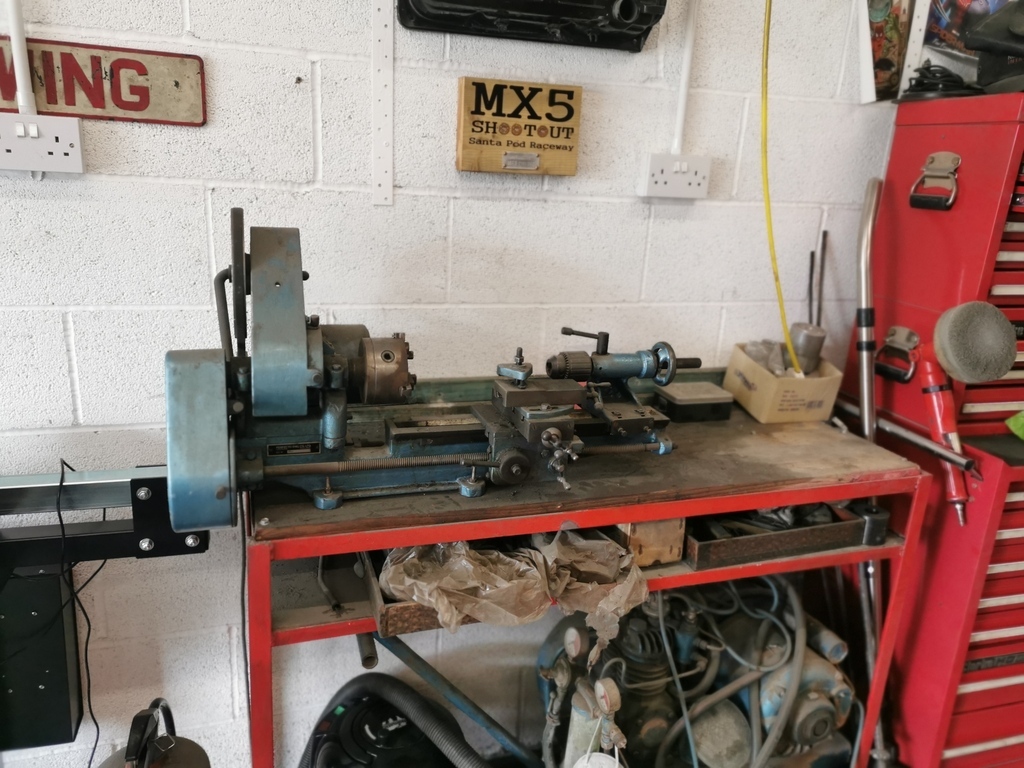 Day we collected: 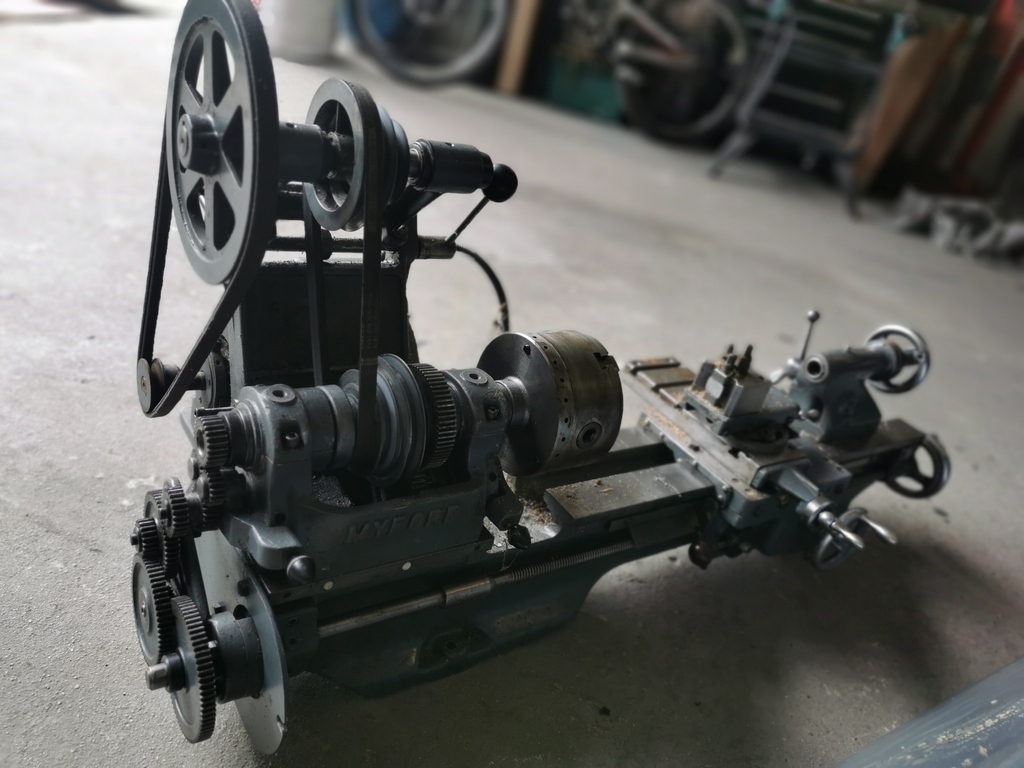 Assembly as it even came with the tray! 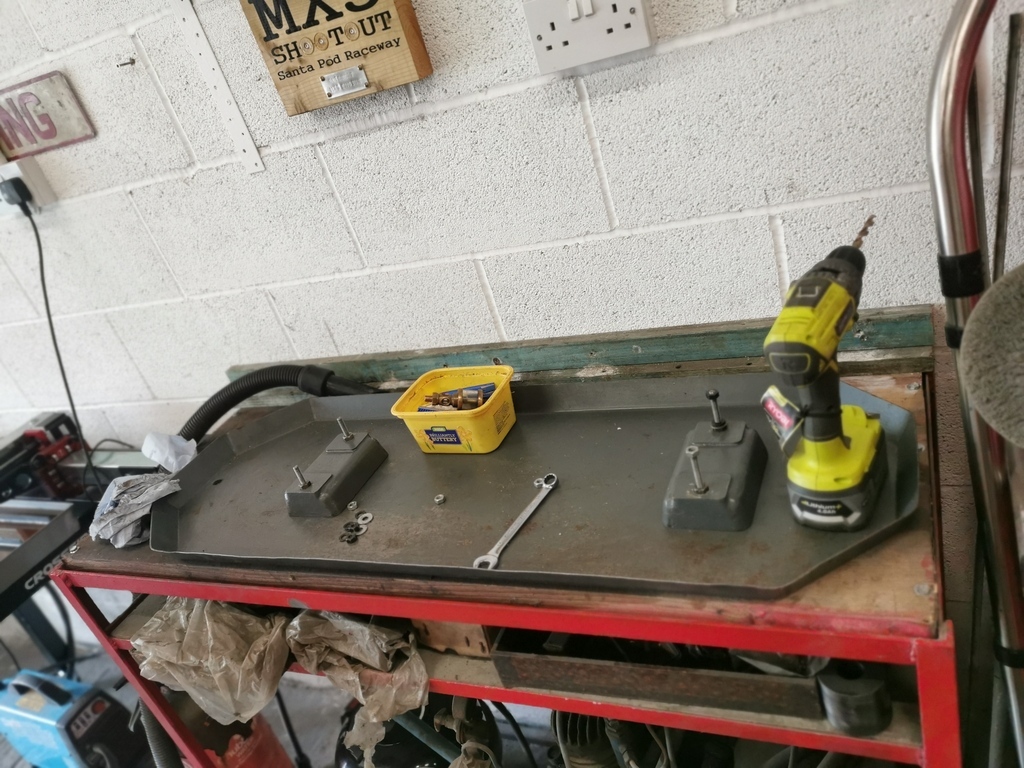 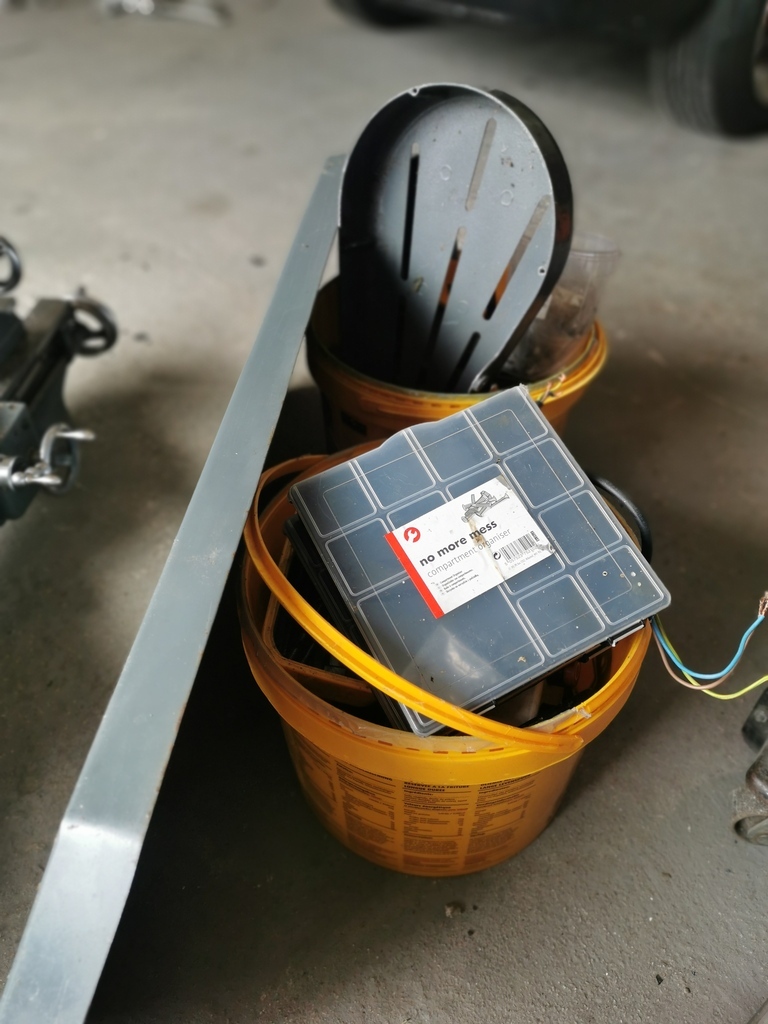 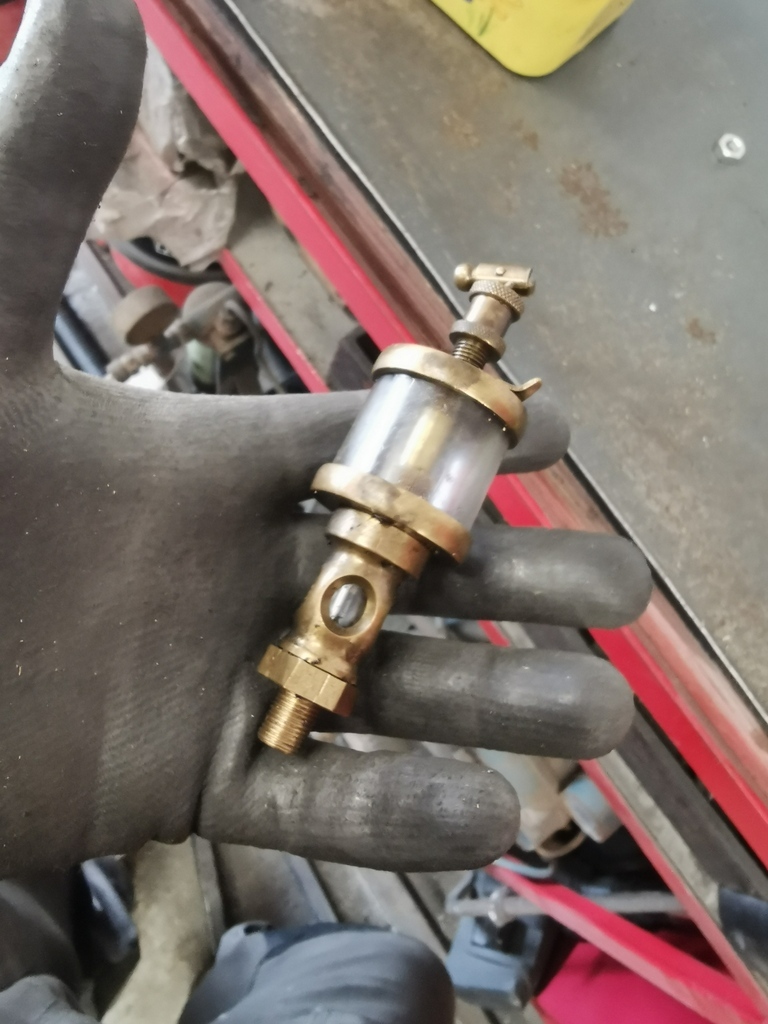 Installed, I still need to add the guards etc but that's pretty sorted. Even came with mountain of cutting tools etc. 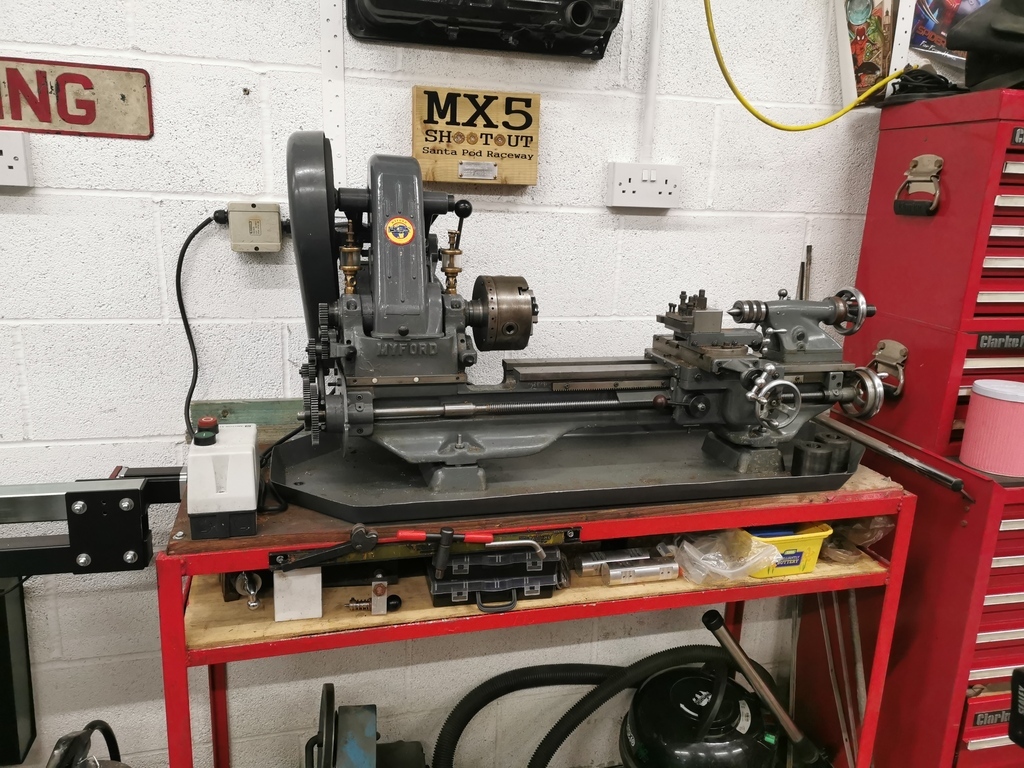 |
| |
|
|
Nathan
Club Retro Rides Member
Posts: 5,650
Club RR Member Number: 1
|
New workshop build - upgrades!Nathan
@bgtmidget7476
Club Retro Rides Member 1
|
|
|
Time for some upgrades! So I decided to take some time off to celebrate my 40th birthday and what way do I choose to pass the time...upgrading the place. Going for a vaulted ceiling was perfect IMO for the lift etc, but the drawback is the lack of loft space which if I am honest I'm not a fan of. However with work now using the workshop and my projects only getting bigger a Mez was needed. Overkill amount of trusses ordered, but at least we know it will be strong! 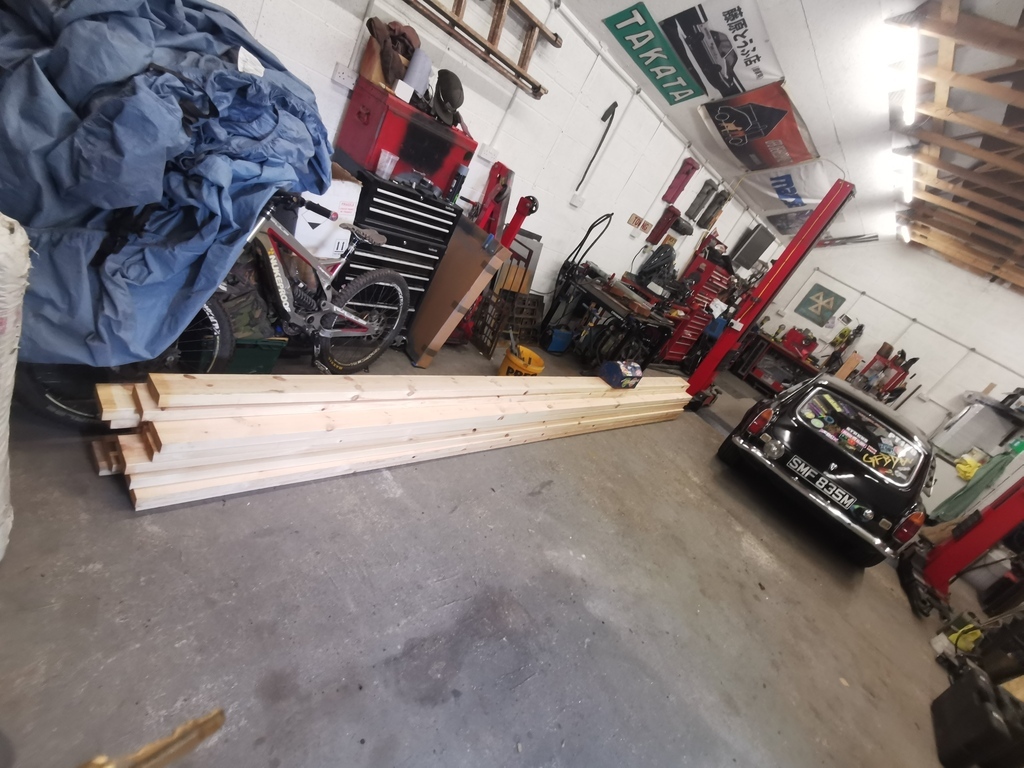 More OSB to board it out. 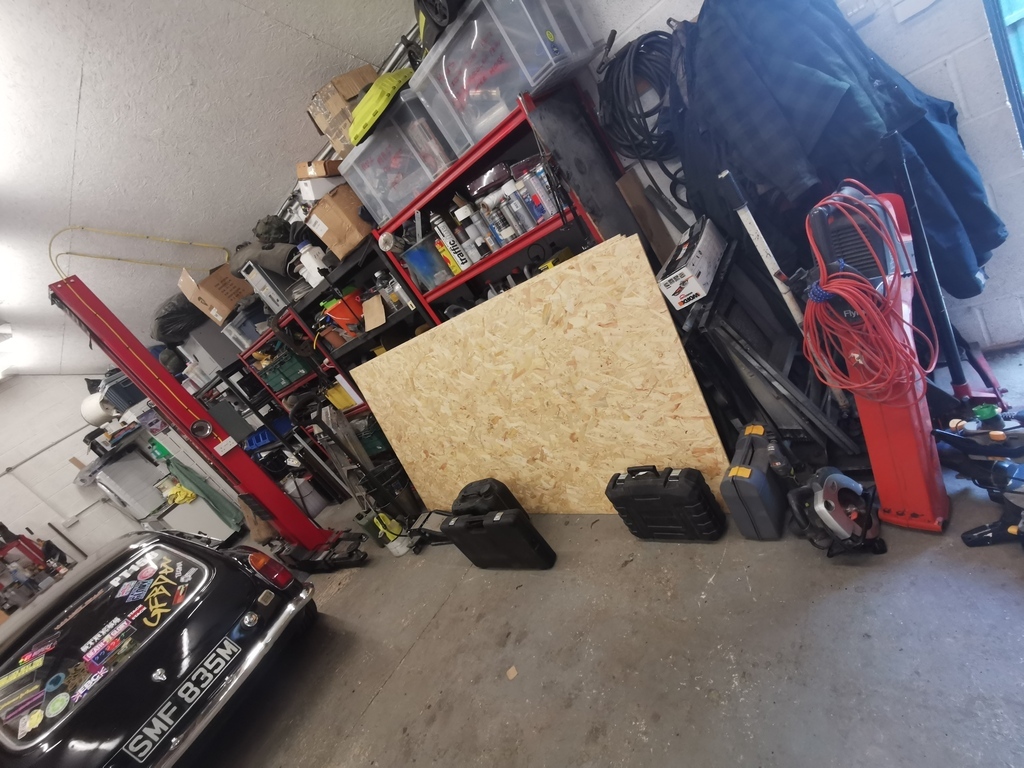 Now to mount the trusses we had two options: 1. use the typical hangers 2. mount into the wall. We decided to mount in the wall for obvious reasons! 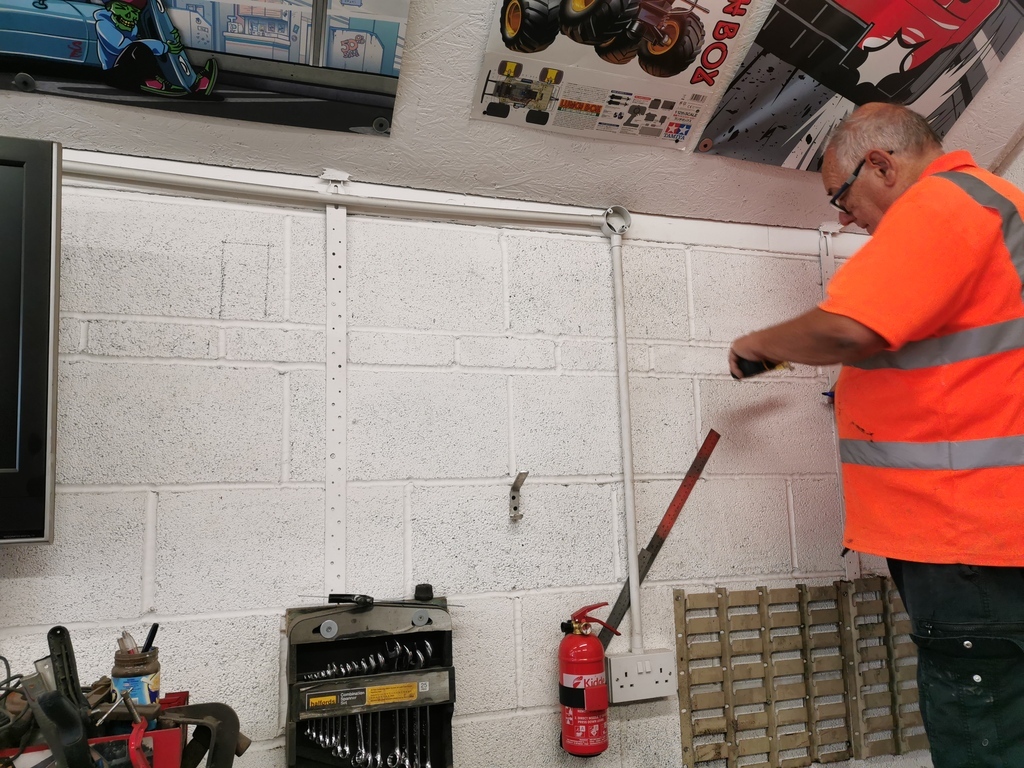 5 inch into the wall gives them a nice perch. Bloody messy work though.... 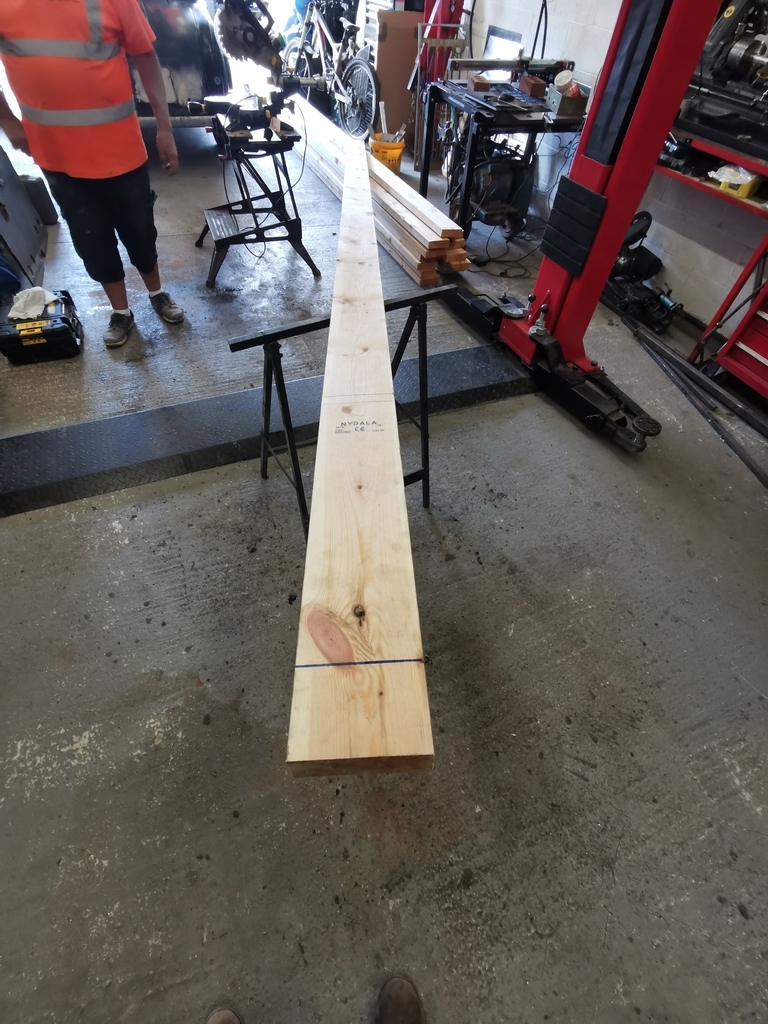 First one needed a few channels cutting out to miss the power, it then had another screwed directly onto it for added strength 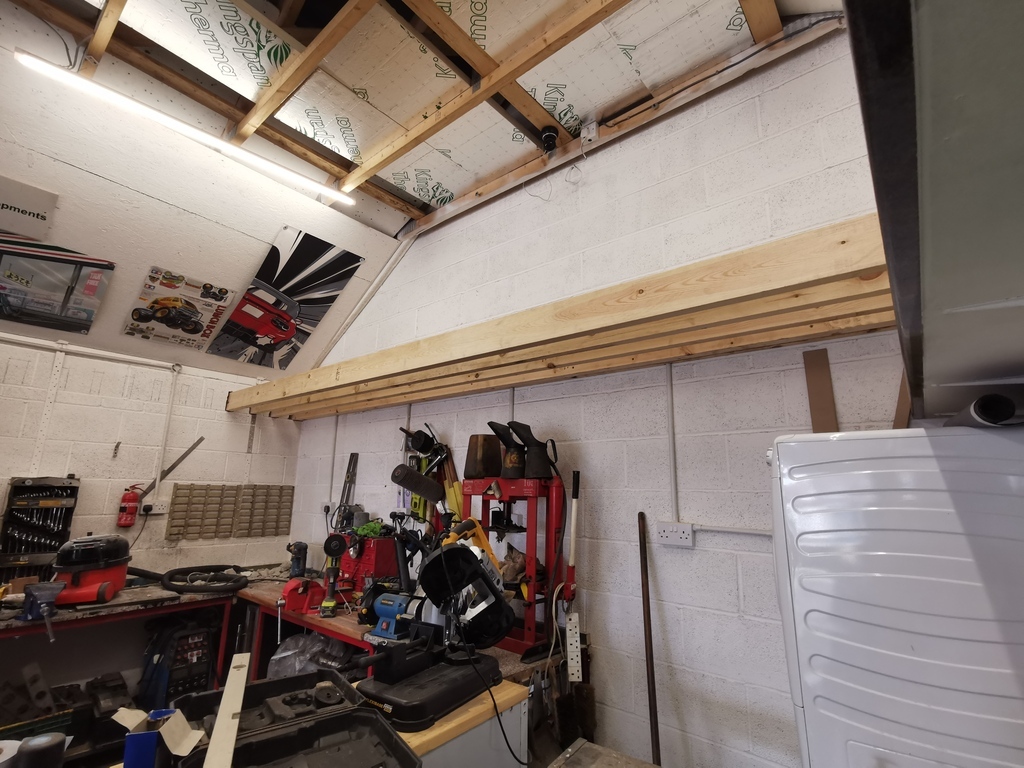 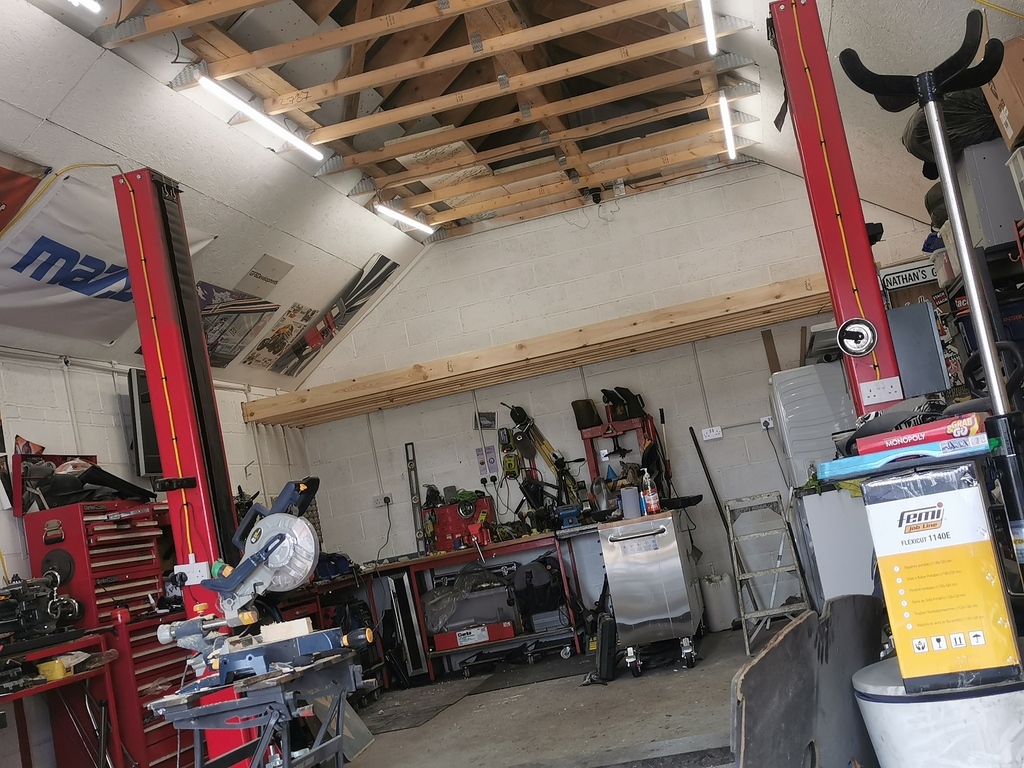 You get the idea.. 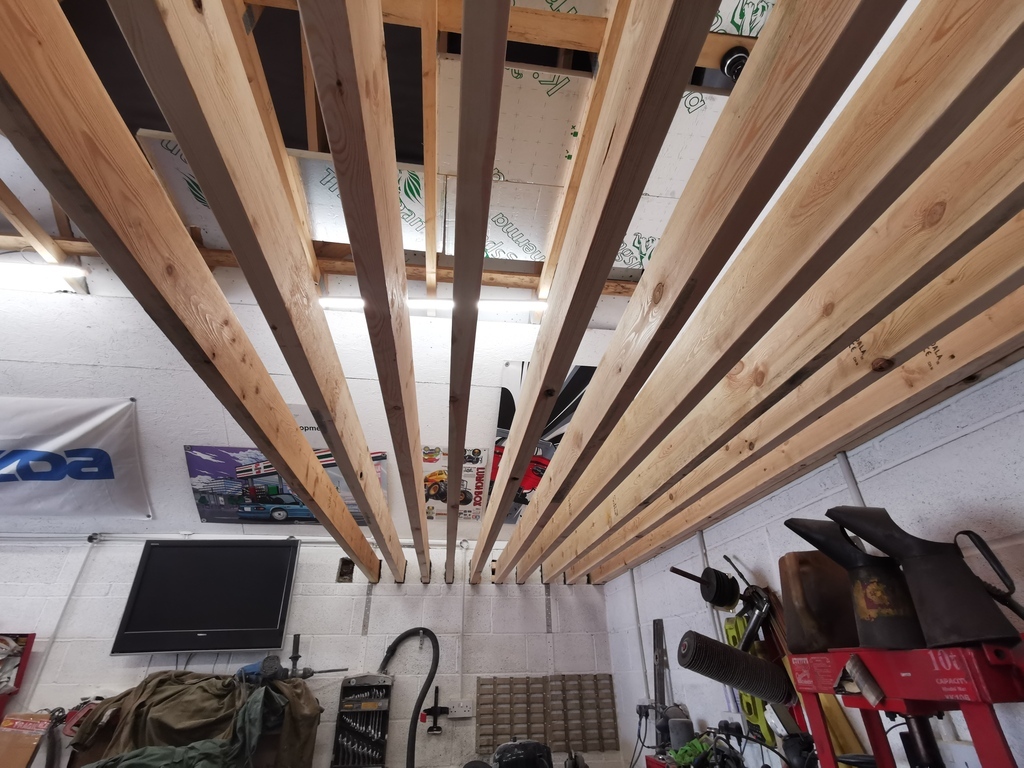 On with the boards 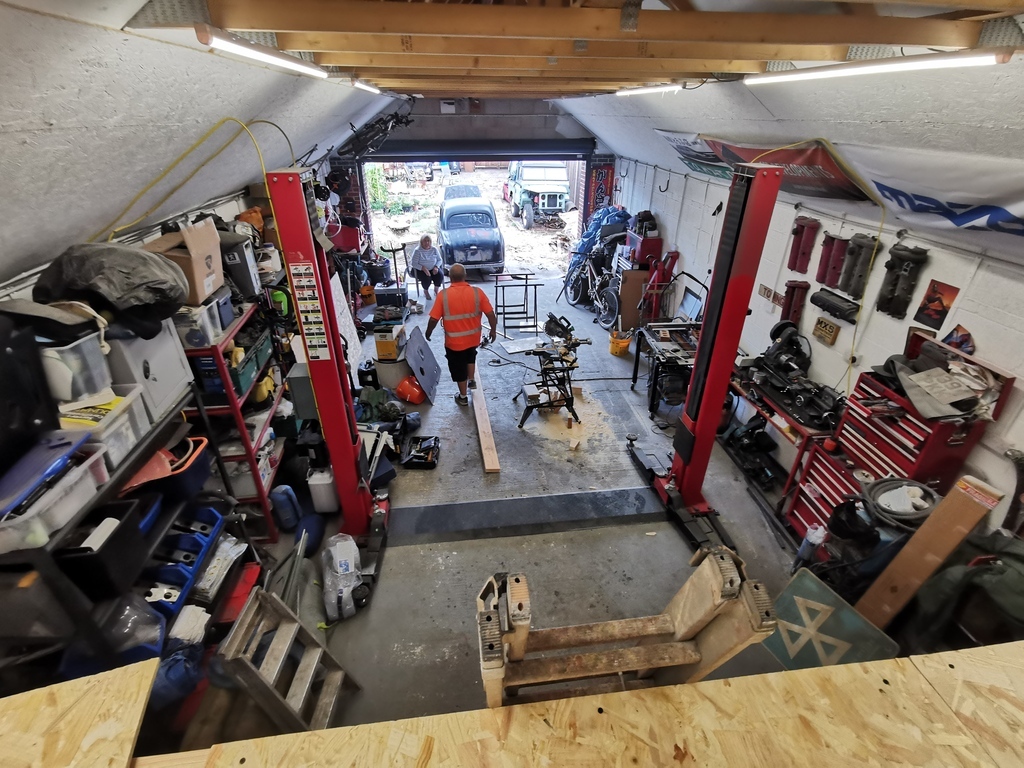 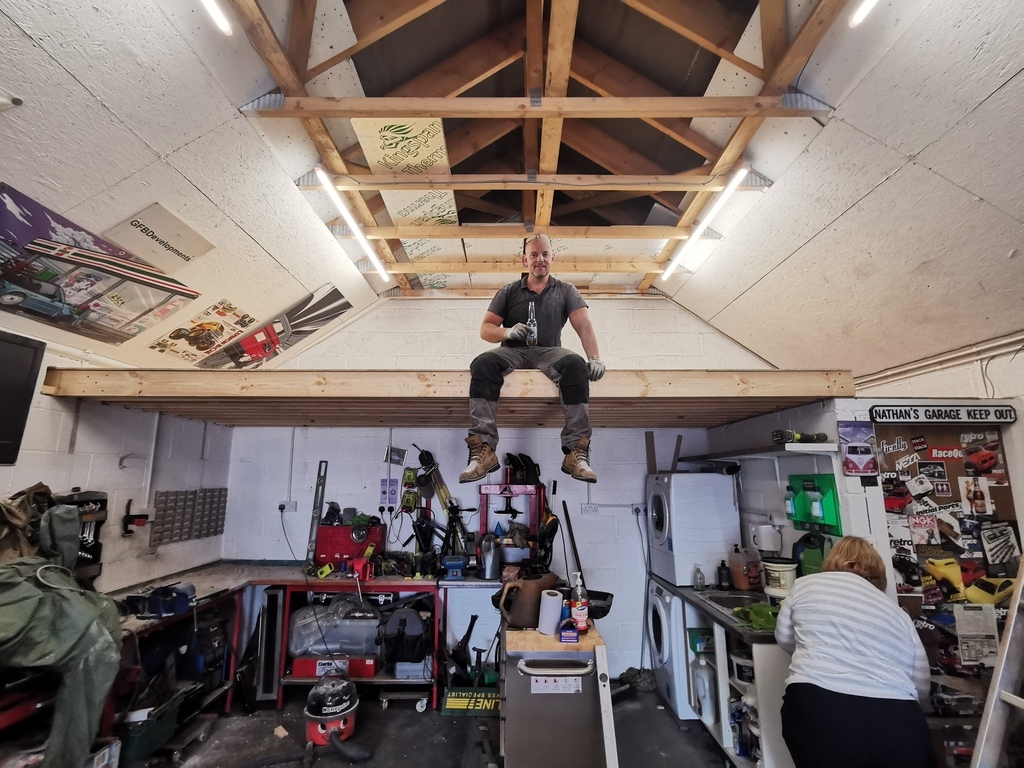 Beer time, the job without clean up took around 6 hours to complete. 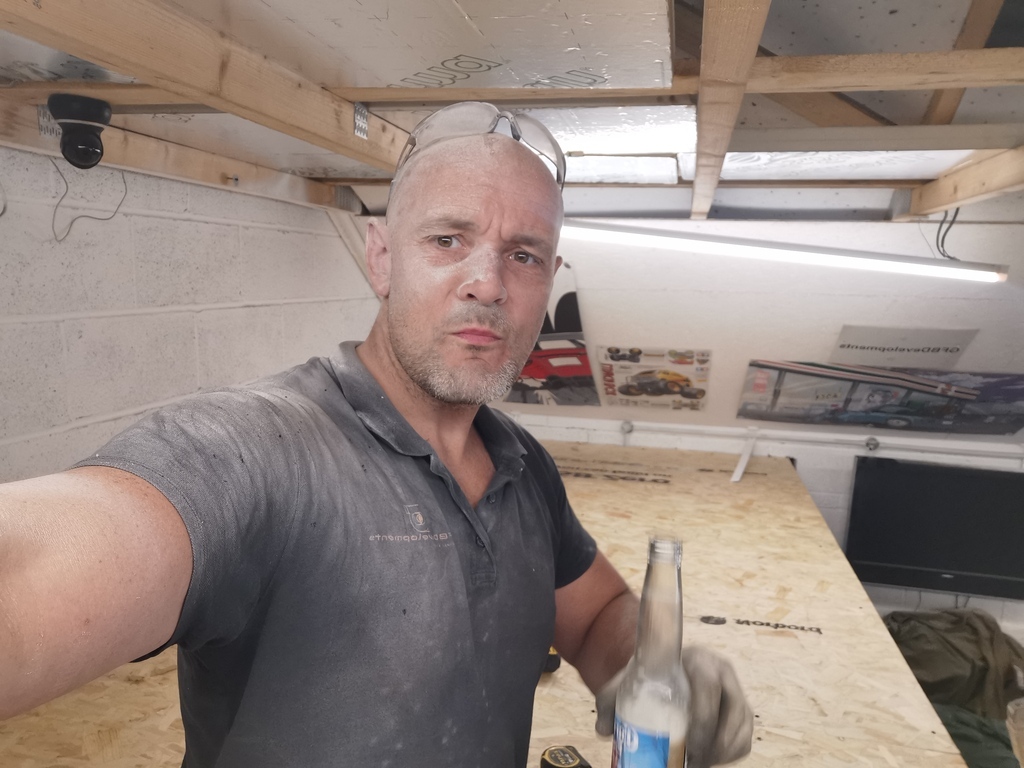 Last job to do yesterday was clean up and add a further 2 LED batons. 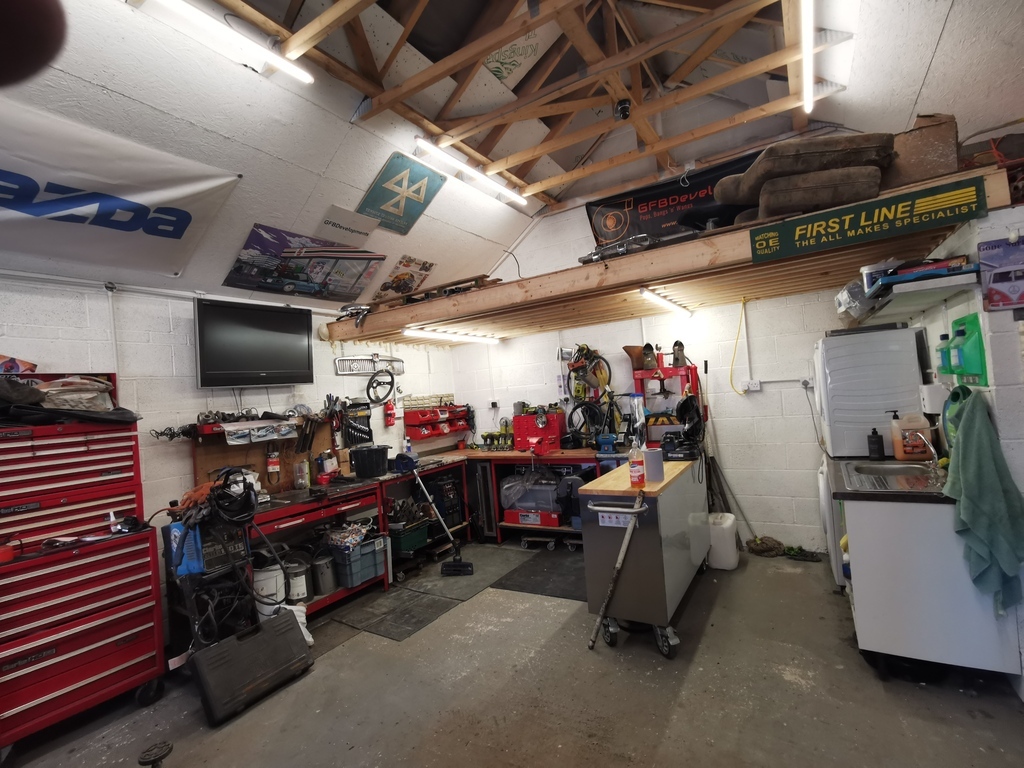 Cheers. |
| |
|
|
|
|
|
|
|
|
Jeez, how close are those battens? You planning on storing engines up there?
|
| |
|
|
glenanderson
Club Retro Rides Member
Posts: 4,353
Club RR Member Number: 64
|
|
Jul 27, 2022 10:53:36 GMT
|
Jeez, how close are those battens? You planning on storing engines up there? Plenty of strength, but you should really have put noggins in to stop them twisting. That's a useful space though, and makes use of an area that would otherwise be wasted.  |
| |
My worst worry about dying is my wife selling my stuff for what I told her it cost...
|
|
Nathan
Club Retro Rides Member
Posts: 5,650
Club RR Member Number: 1
|
New workshop build - upgrades!Nathan
@bgtmidget7476
Club Retro Rides Member 1
|
Jul 27, 2022 11:31:34 GMT
|
|
I'd sooner have it stronger from the off, that way there isn't anything to worry about later.
There are some noggins in there, prior to putting the boards on and the lights up a few were nailed in.
|
| |
|
|
|
|
|
Jul 27, 2022 11:43:41 GMT
|
|
Nice little myford ml7 there. I love mine but its the older mf74 and very knackered.
The shelf looks very sturdy and a perfect perch to sit with a beer and think.
|
| |
|
|
|
|
|
Jul 27, 2022 12:05:42 GMT
|
Well it wont fall down, lol! Not criticising, just a bit overkill  |
| |
|
|
|
|
glenanderson
Club Retro Rides Member
Posts: 4,353
Club RR Member Number: 64
|
|
Jul 27, 2022 20:52:07 GMT
|
I'd sooner have it stronger from the off, that way there isn't anything to worry about later. There are some noggins in there, prior to putting the boards on and the lights up a few were nailed in. I’ll let you off. 🤣😃 It’s only coz I’m jealous. 👍 |
| |
My worst worry about dying is my wife selling my stuff for what I told her it cost...
|
|
|
|
|
|
|
|
People like you do give me 1000% garage envy !! 😁😁
Seriously, beautiful garage and work area that is clearly being well thought out for maximum efficiency,
Brilliant,
Nigel
|
| |
BMW E39 525i Sport
BMW E46 320d Sport Touring (now sold on.)
BMW E30 325 Touring (now sold on.)
BMW E30 320 Cabriolet (Project car - currently for sale.)
|
|
|
|
|
|
|
|
What width are the purlins spanning on the mezz
|
| |
|
|
Nathan
Club Retro Rides Member
Posts: 5,650
Club RR Member Number: 1
|
New workshop build - upgrades!Nathan
@bgtmidget7476
Club Retro Rides Member 1
|
|
|
Suppose it's been a hot minute since this was updated what with work and the Standard taking up my time. I am still moving tools etc from the other place to this, but up in the loft was a box of the usual classic oils cans etc a family friend gave me well over 15 years ago... So with a little spare time the "Poo room" was made that little more interesting. 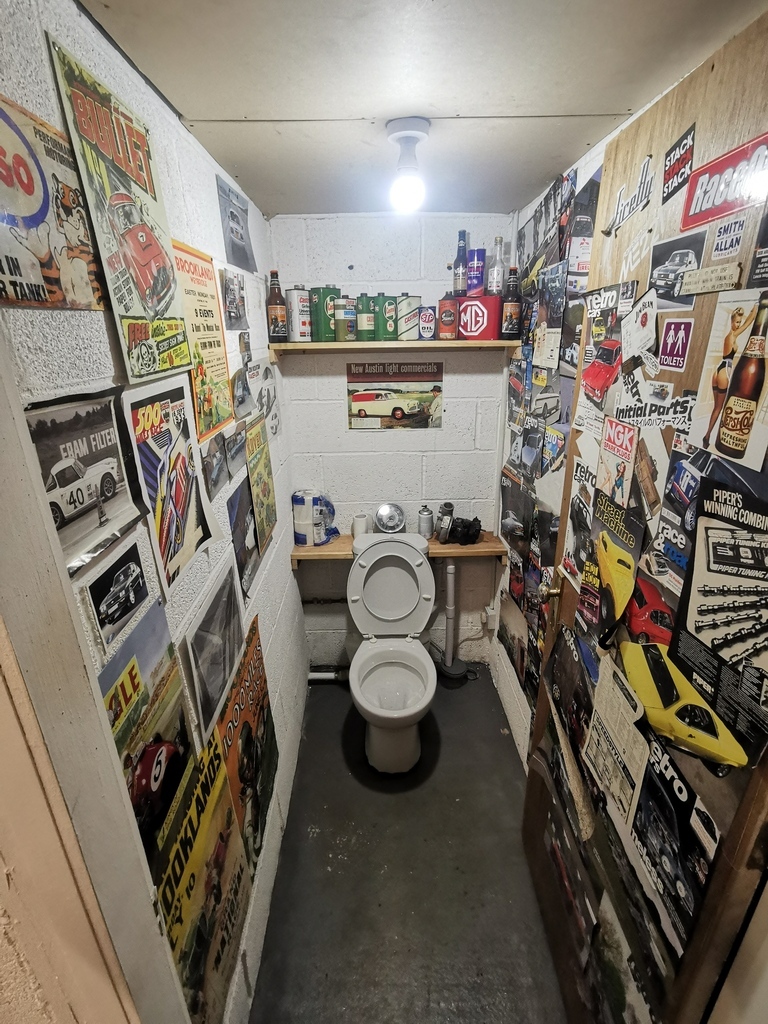 This full tin of old Gunk works perfectly as a toilet freshener :-) 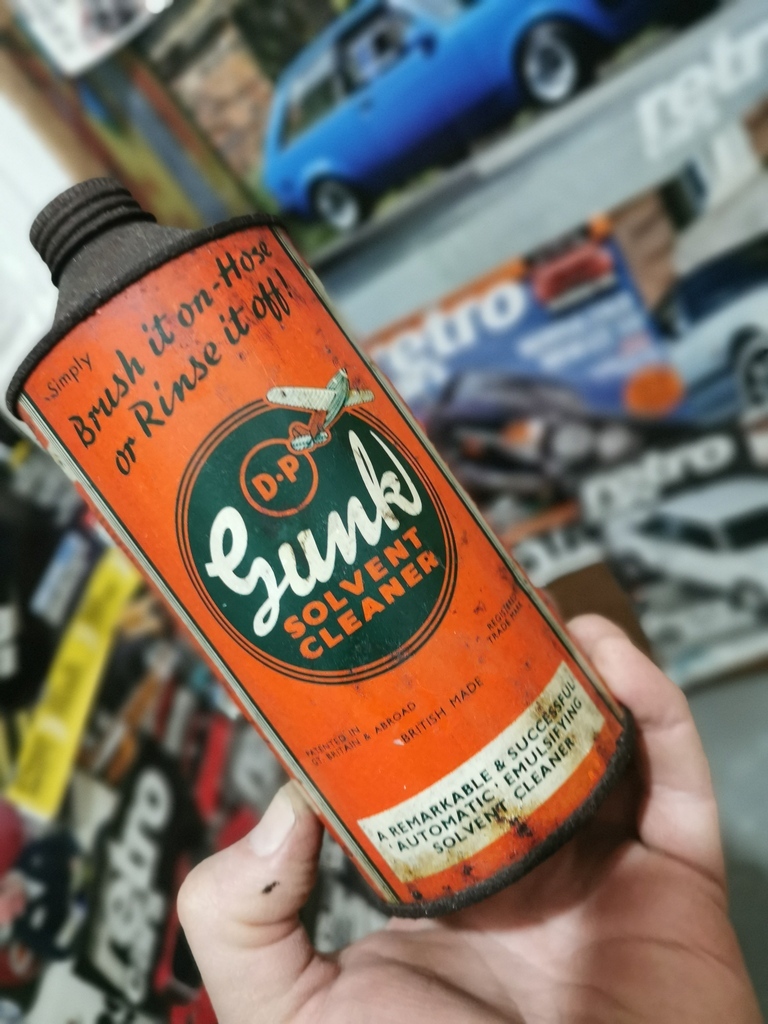 I need to scrap the old Standard panels which were too rotten to use and thus taking up mez space. 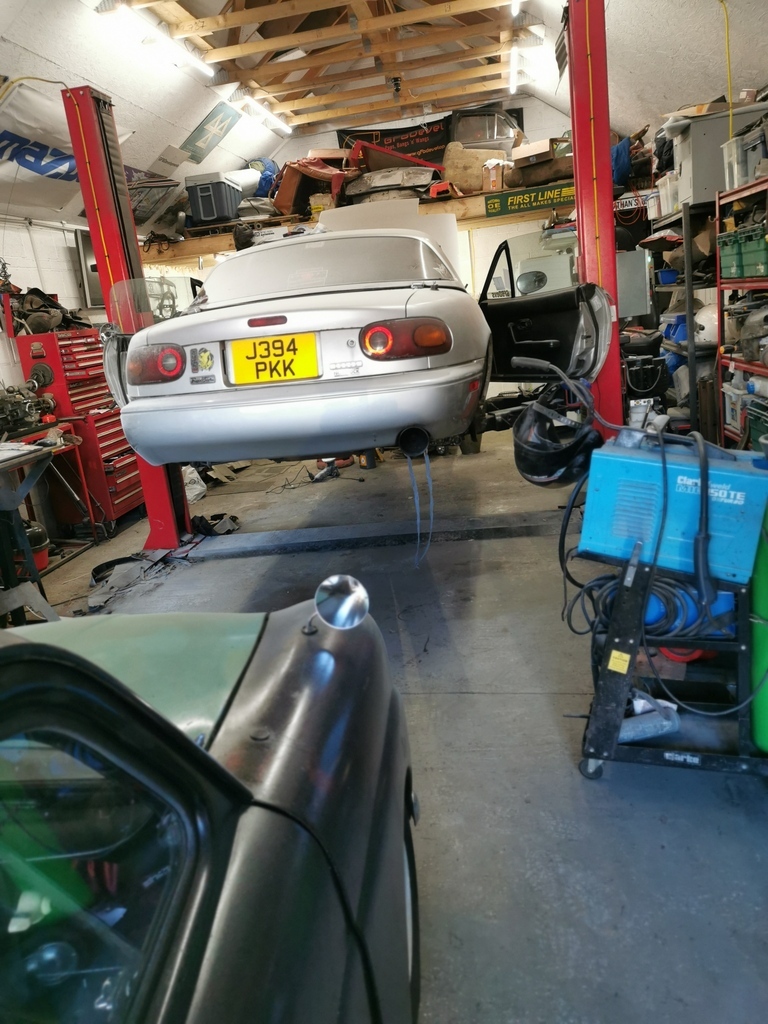 Apart from this the place is now more "lived in", we managed to score some paving slabs for the path down the side and now that my mates short series 2 is nearly done we can move it to put down the concrete pad outside. One thing I have noticed, with the lift a lot more "Could you just weld up my car" jobs have come in HAHA 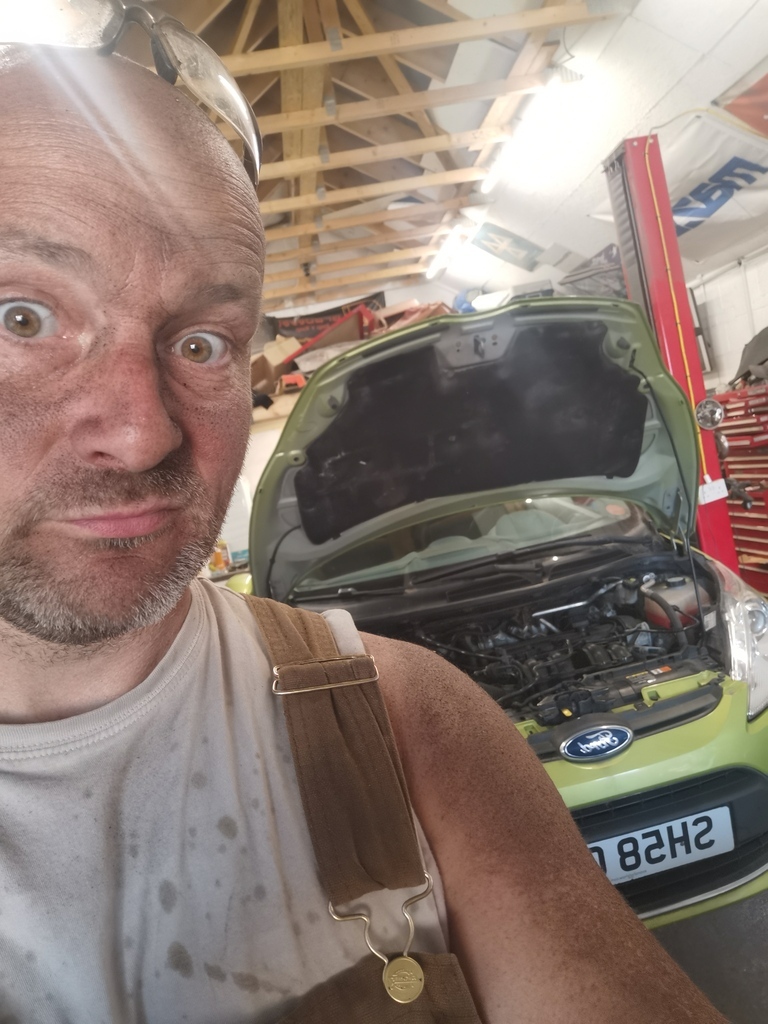 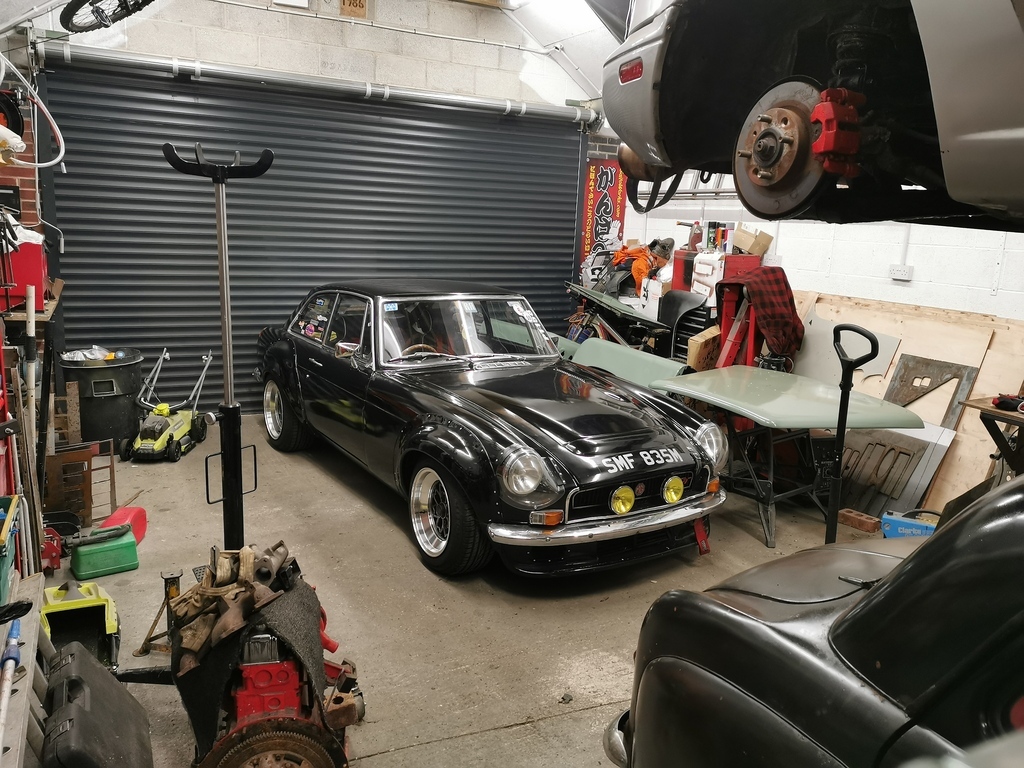 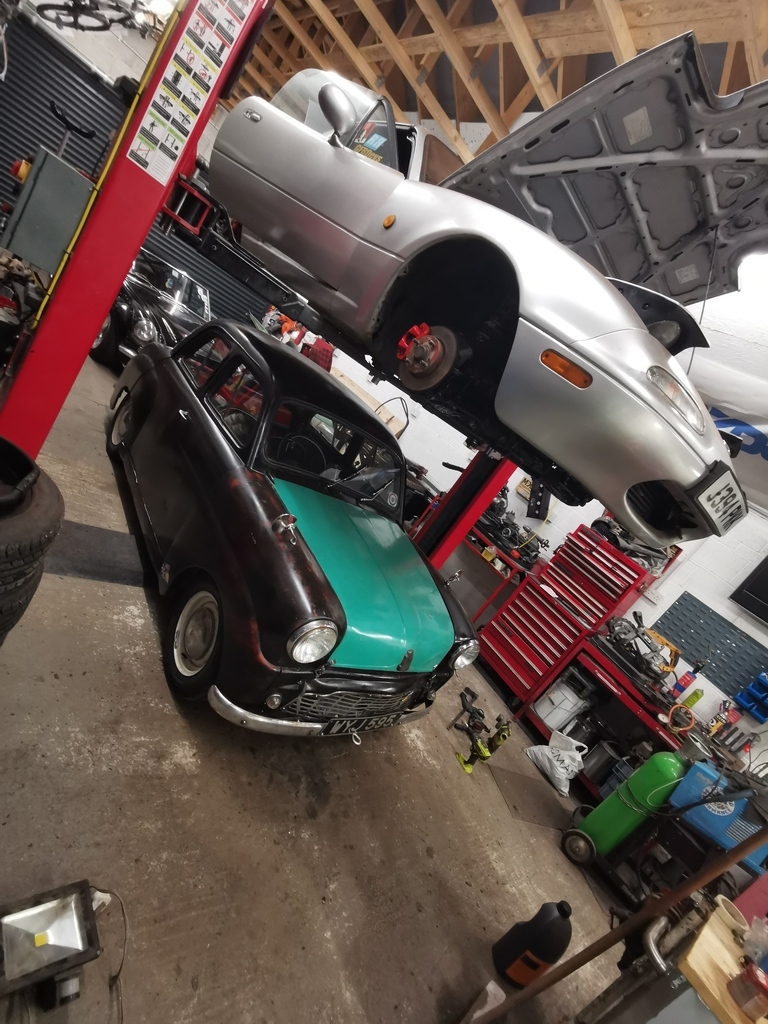 |
| |
|
|


