This was the last proper update.. I've got a bit to catch up on, then.
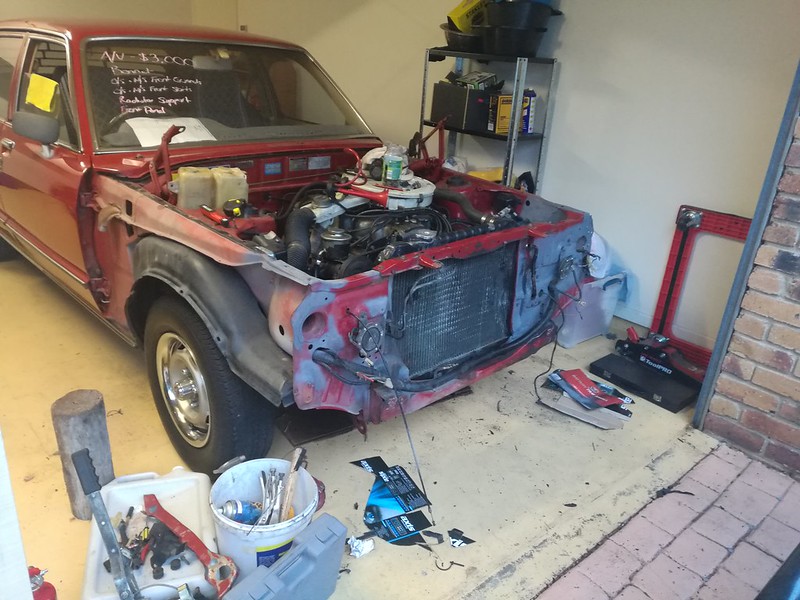
Right. So the front was mostly straight. This is what the radiator looked like:

But it still held pressure, except for here.

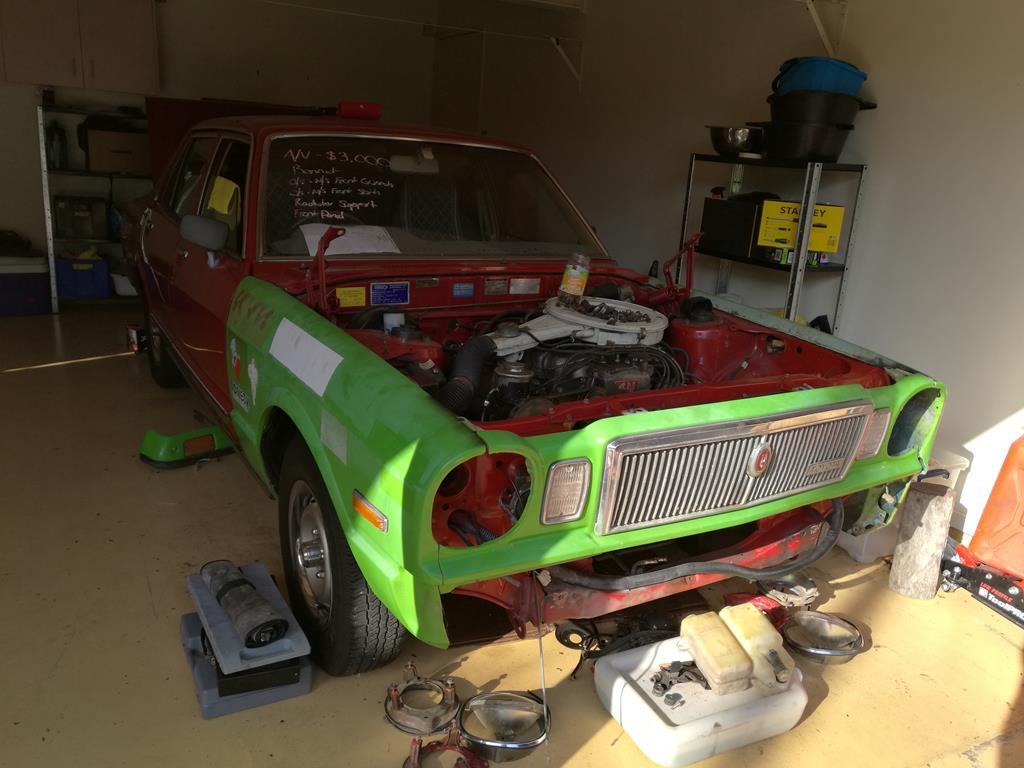
At this point, I stripped panels off the green one. Hopefully this works.

I found a key!

I'm not sure I mentioned it before, but I found a spare key for Seedy bolted to the fuel tank. (not there anymore)

Anyway, I decided not to risk the bent radiator, so I ordered one from the States, as it was way cheaper than getting one from here. Also available. -_-
In the mean time, I took a look at the panels that I took off the green one. They were pretty average in places. So I pressure washed all the curse word off, wire brushed them and gave them some rust converter treatment, and then painted everything (except for the nose cone, now that I think about it.

)
Nice patch on the wing.

This is why I want to reuse the red wings if I can. I may cut and join them together.


I also painted the body.

And ran some foam along the top of the wings to stop them rattling, as there was heaps of silicone originally. I will redo this in silicone or some better foam when I put the wings on painted.

Then I started hanging panels.

Took a bit of fiddling to get the doors to clear the wings.

The curse word patches and wobbly flange means the wings don't bolt in how they should, so the trim strip sticks out from the car.

For now, I used some radiator fan ties to hold it on so it doesn't bend or break more clips and fall off.
Trying to line everything up.


Close.
The nose cone and the wing were welded together with something weak on this corner for some reason.

The problem bit.

Sticks out about 10mm and is off by about 10mm as well. Ended up just forcing it back and mounting through only one hole.

This side didn't gap so well, which was to be expected.

Can see the trim sticking out on this side a lot more.
Other problem area. Front grill/oil cooler/valance support was really bent out of shape.

Tried to get it back in shape but was struggling because of the curves.
Then I realised that I had to remove it on the green one to get at the bonnet latch, which broke on the red one. So I was going to steal the green one, but in the end I made it submit to me!
That was it for a couple of weeks until I sorted some stuff out. Radiator arrived.

Made it leak.

Turned down a BBQ gas fitting to install a temp switch for the new fan.

Then I skipped some photos, but it got brazed in, and the radiator got a few more coats of paint as it was pretty thin.
But, it's a copper core radiator so works way better than the aluminium ones.
Speaking of new fans. Bought an electric fan before I quit my old job. Then looked at the specs, and it was slow as.
So bought a faster fan. But first, somewhere to mount it.

I screwed up the order in which I bent bits, so instead of doing three sides in the brake and then one side by hand, I ended up having to do two sides by hand and then fix up the other two sides by hand anyway.

But, it bent, I siliconed and pop-riveted it together. It holds.
Said faster fan.
See if you can spot the error.

Oh there it is.

Made holes, painted, mounted. Fell off saw horse and broke two of the mounting tabs, so had to pilfer some from elsewhere.


All mounted up. It juuuuuuust fits. And the radiator only just bolts in as the slam panel is still a bit bent. Also, the threads on the radiator were curse word so I pretty much had to rethread them.
There's not even 10mm between the fan motor and the bolts of the angry spinning wheel of the water pump. But it fits!
Next problem was the lights. Becasue the light brackets were bent, as was the slam panel, it didn't go together quite right.
So I lined it up and drilled some holes.

Hmm.

This bolt is too close to the inner guard to get the nut on.

I suppose that went as well as expected, haha.
So I tried a different approach, and used some washers to space things out a bit, and ended up here.

Close enough!
The other side went about the same, except that the trim surround doesn't fit in the hole properly for some reason. It's not going to some out, so it'll do until I work out what I'm doing with panels.
Fast forward a week, and we're 2/3 through February! So much for being back on the road before I went back to work, eh?
Although I had a fair bit of time (aside from being away for Christmas), I had very little money due to not having any leave from the new job. I ended up literally running out of money and maxing out my credit card by the time I got my first paycheck of the new year.

Excuses, I know, but I'm sure
sweetpea will commiserate.

Some of it went on bits that I figured were essential.
I thought that if the car came with an oil cooler, and was prone to overheating, it probably needed a new one.

So shiny. Took a while to find one that I was confident in using. There's heaps of cheap tube ones floating about, but they're for pretty low pressure, and I wasn't sure what I would be putting through it.
And as I now do mostly highway driving, I didn't want it to burst and dump oil at 100km/h.
So, how to mount it. It's obviously a bit larger than the original.
So, some of the remaining aluminium sheet from the fan shroud got used.

There is another similar bracket at the bottom. I've been meaning to add in a horizontal support to the top so it doesn't bounce around so much, but it's pretty sturdy.
And then I promptly forgot to take photos, as everything was filled with liquids, and a battery was inserted, and wires were attached correctly.
I got Jono to give me a hand with the wiring to make sure I put it all together properly and the fan did what it was supposed to do, etc.
And then I took her around the block! And nothing went bang!
Which leads to the most recent photo posted here.

That was Feb 20th. I took her on a couple of short trips to the shops and everything seemed to go relatively smoothly.
So, nothing for it, but to see if she'll make the journey to work! Nothing like a 72km round trip to see what breaks, right?

Nothing did!
However, the exhaust leak had gotten worse, and was trying to gas me. So a week later, some diagnosis with a piece of oil hose, and then some sparks.

Rusted bolts, of course.
Right under the downpipe bracket.

Twin wall, both busted. Inner wall more busted, but outer wall more or less patched.
It's rough. But the metal is pretty bad and we kept chasing holes. It'll do for now, until I can organise a new exhaust.

Which might have to be sooner rather than later. Also, the exhaust gasket disintegrated (it was new, too!), so we dodged another gasket on it but it didn't work, so a couple of days later the pipe was off again so I could fit new gaskets either end. Which stopped it leaking! Mostly.
It still leaks on the manifold at 5 and 6, but I don't think I can do much about that.
Anyway, the gf and I went to Download festival in Melbourne, and got to see Korn! Which was awesome! So were Limp Bizkit!
Which has nothing to do with this thread, except that I left Seedy at the airport over the weekend, so I parked her where she could dream big.

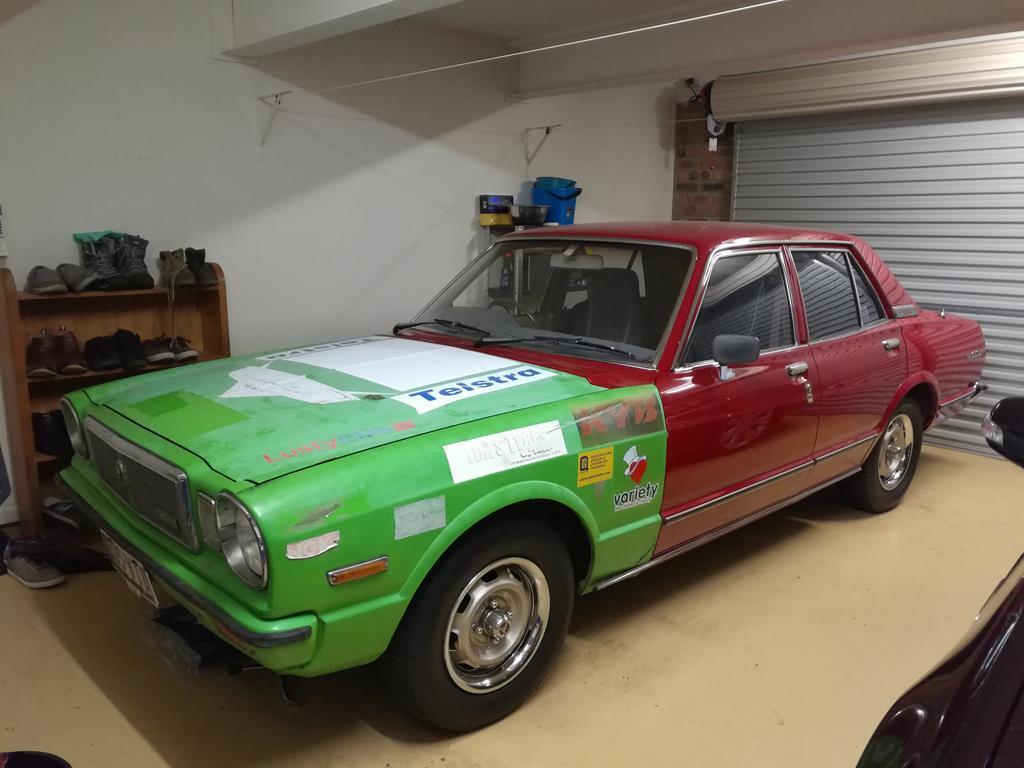
So that brings us to about last week, where I started to remove some of the stickers with a sticker removal wheel. Which is pretty effective, just slow going as the stickers are well old.

Some of them almost seem like part of the car!

Over the last week, I have been slowly dying a poisonous death from fumes and the car has been running really lumpy like it's missing or starving for fuel, which is at odds with the exhaust smelling rich. So maybe it's missing, hence fuel in the exhaust?
I don't know, needs more fiddling.
But! Since I've had Seedy, the vacuum lines have been old and curse word and haven't matched any of the three diagrams that I found, and then to top it off, we removed a bunch of them when we got rid of the smoke machine.
So on Thursday afternoon I parked up as close to the green one and copied all the vacuum lines across, because the green one runs really nicely.
It still has the smoke machine, so I had to ignore a bunch, but I ended up having four lines plumbing in incorrectly!
So long old lines!

She now is a little more responsive, but still has the lumpiness and lots of fumes!
I am unsure if those two are related, but I almost threw up on the way home yesterday because of how bad it was, so tomorrow I'm going to go assist in some shed relocation in exchange for trouble shooting time.
I think the pulley on the bracket we made is dying a noisy death, too. But it looks to be a little bit out of alignment since the crash, so hopefully a bit of leverage with a bar will fix that.
And that's about it!
Finally up to date! Phew!
Cheers,
Matt


