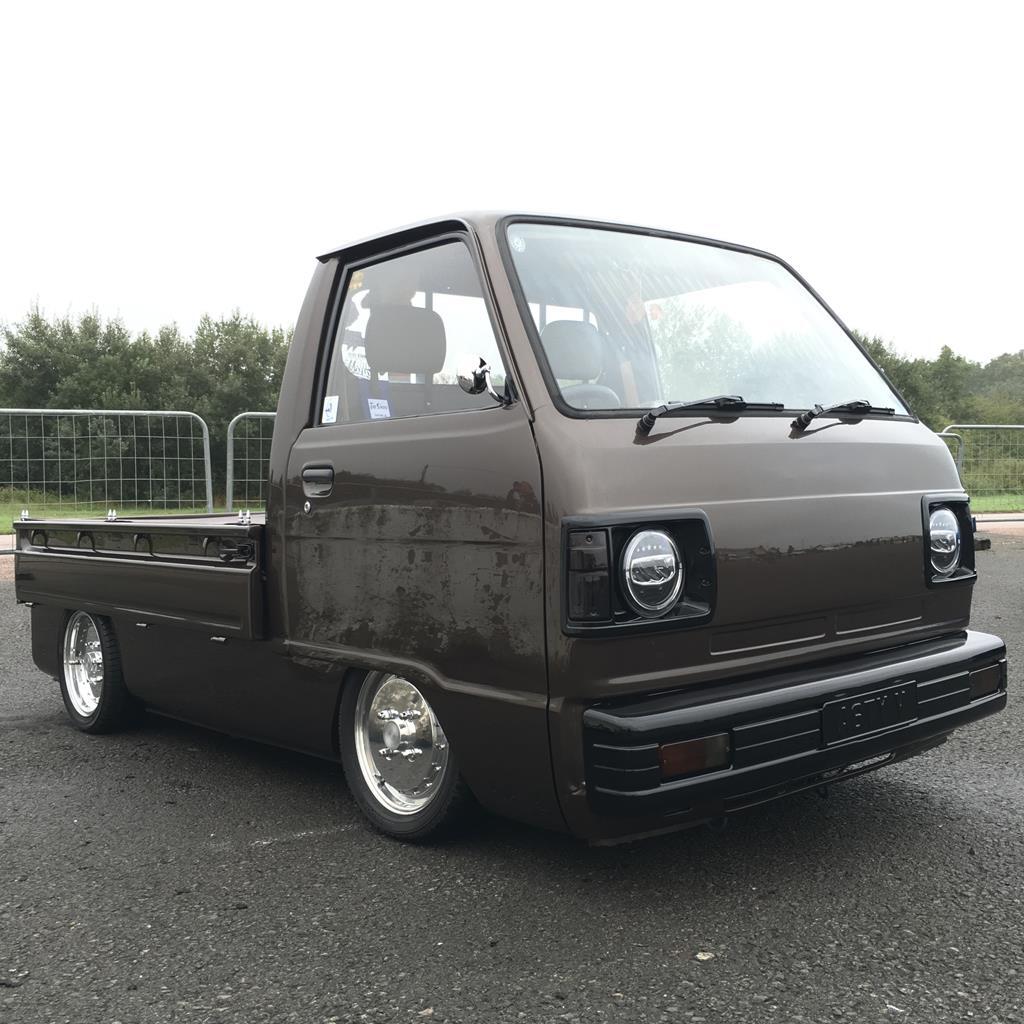
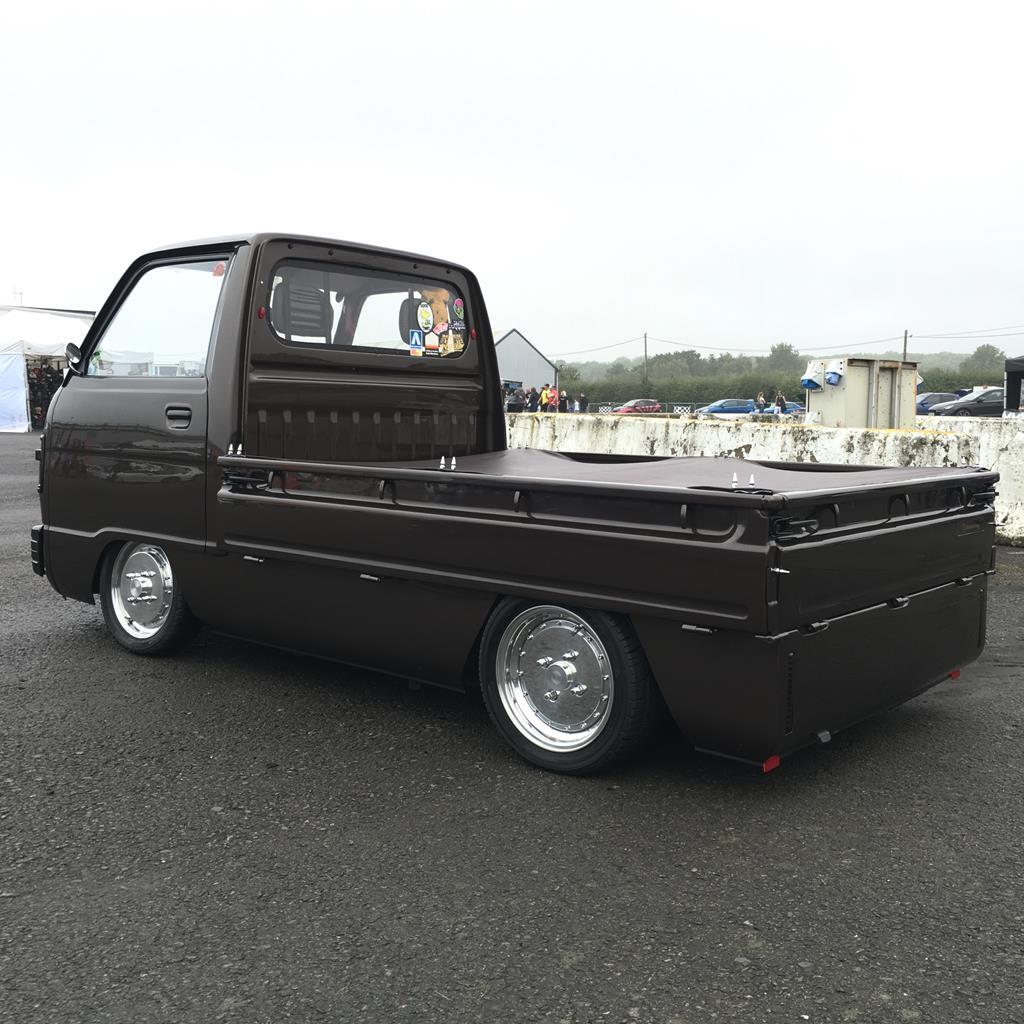
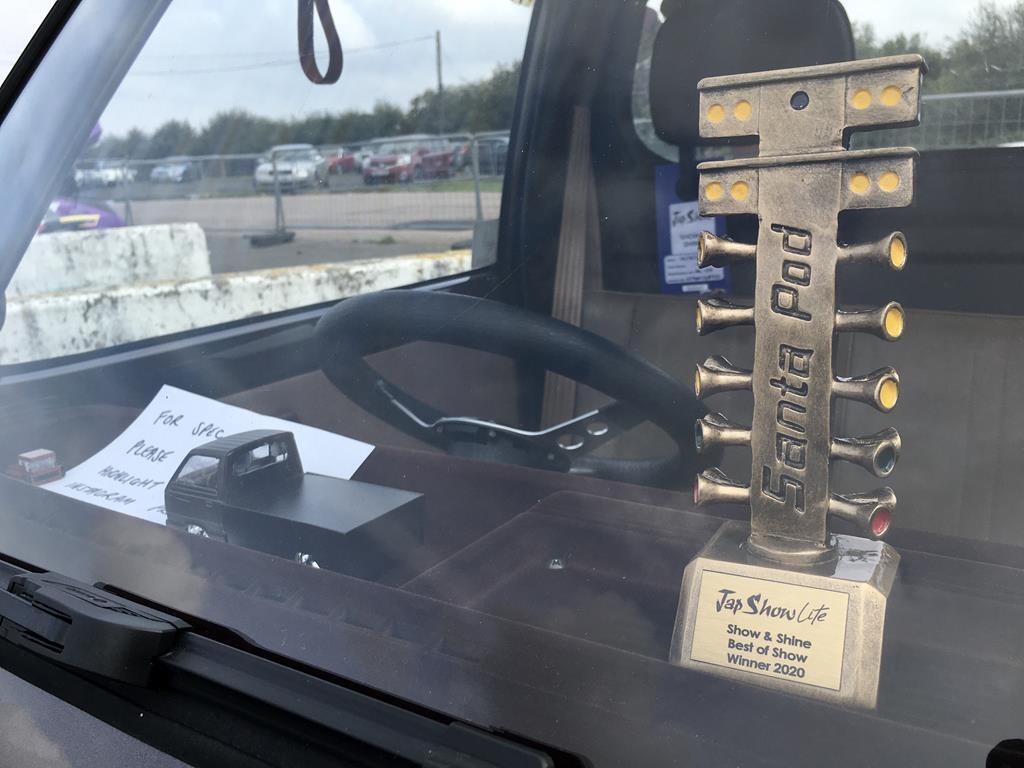
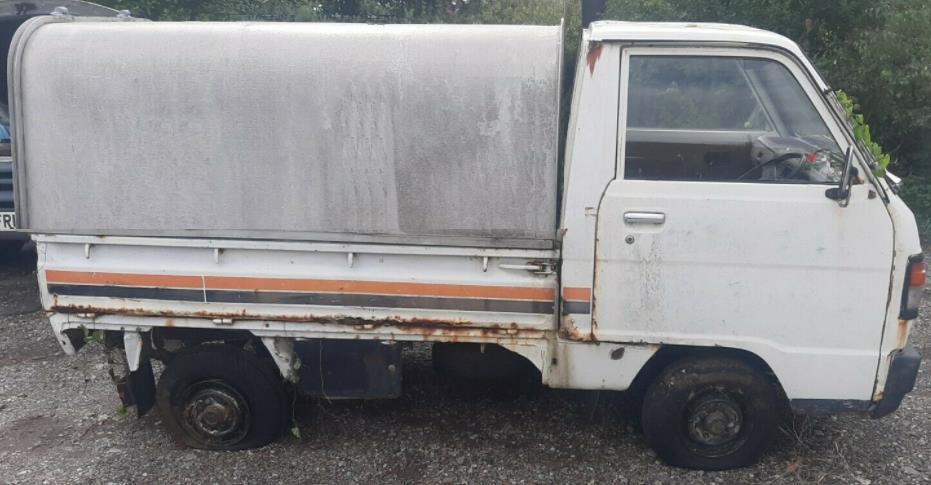
A few updates to be getting on with from the past week...
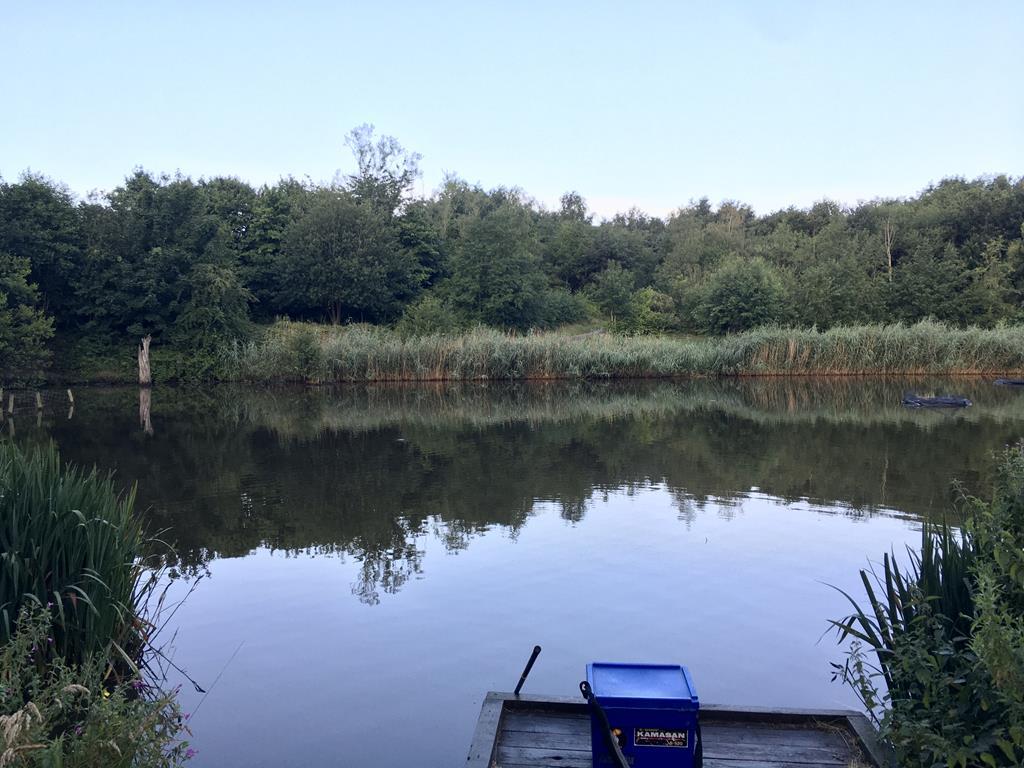
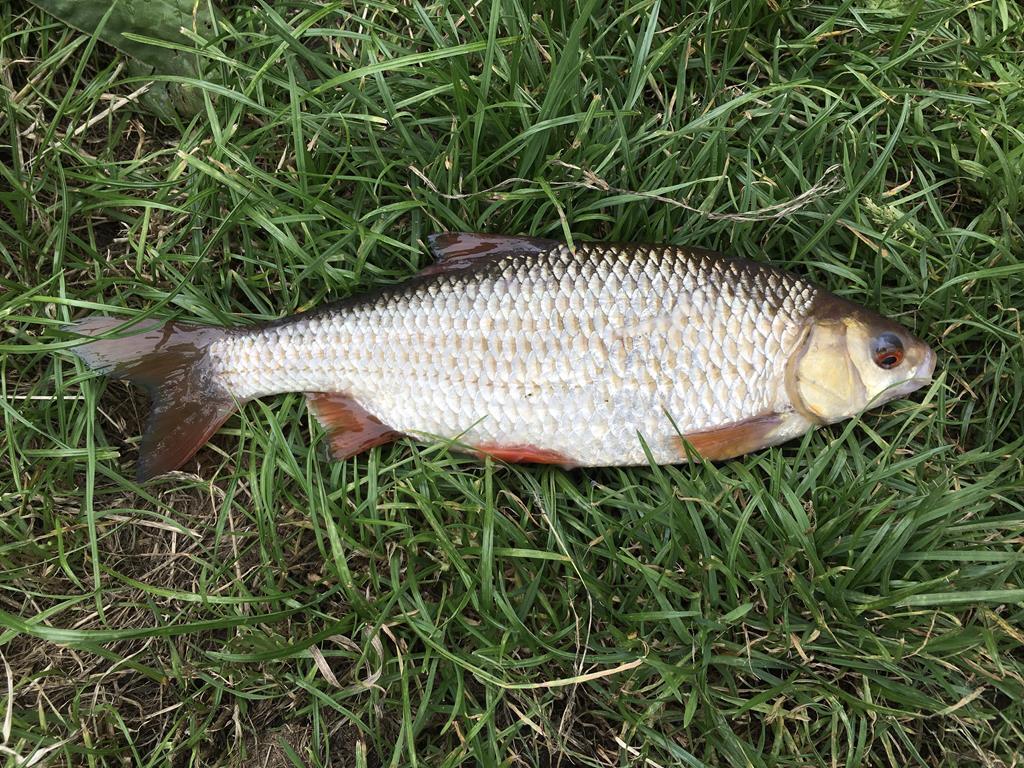
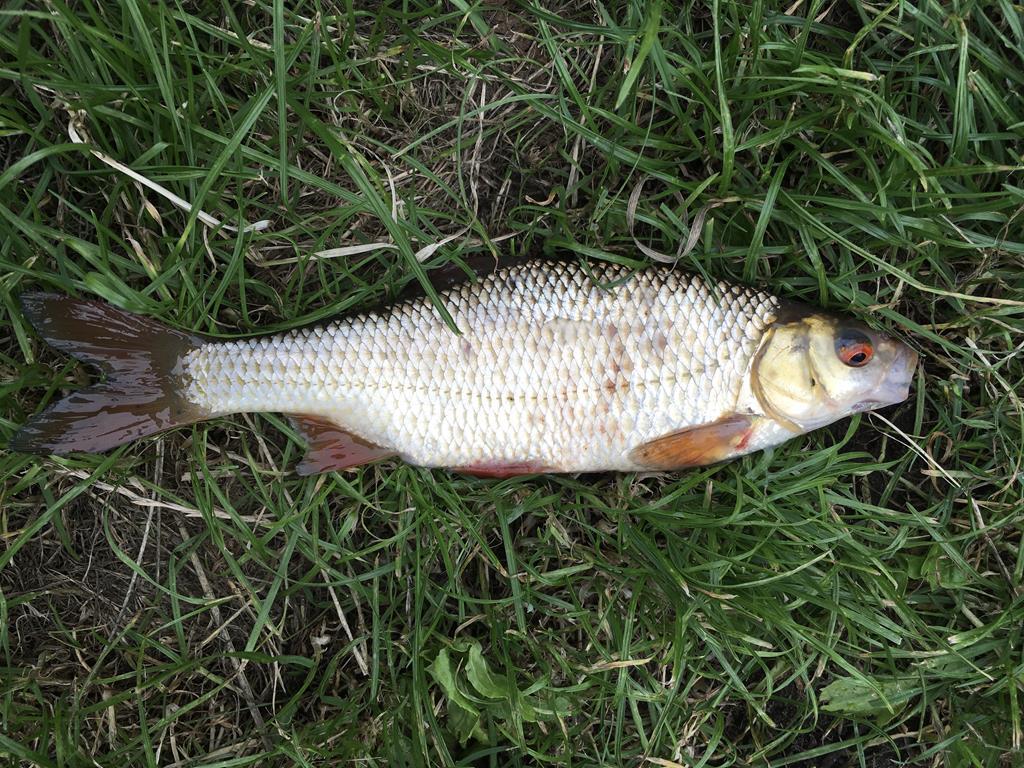
Went fishing twice, a few hours each time, catching about sixty fish altogether, a couple of the nicer ones photographed, not sure if I’ve mentioned it on here but that’s my escape now a few hours twice a week seeing as fishing was unlocked in lockdown quicker than car shows. I’ve not been regularly since twenty two years ago before this year. Twenty four years since I discovered cars and women!
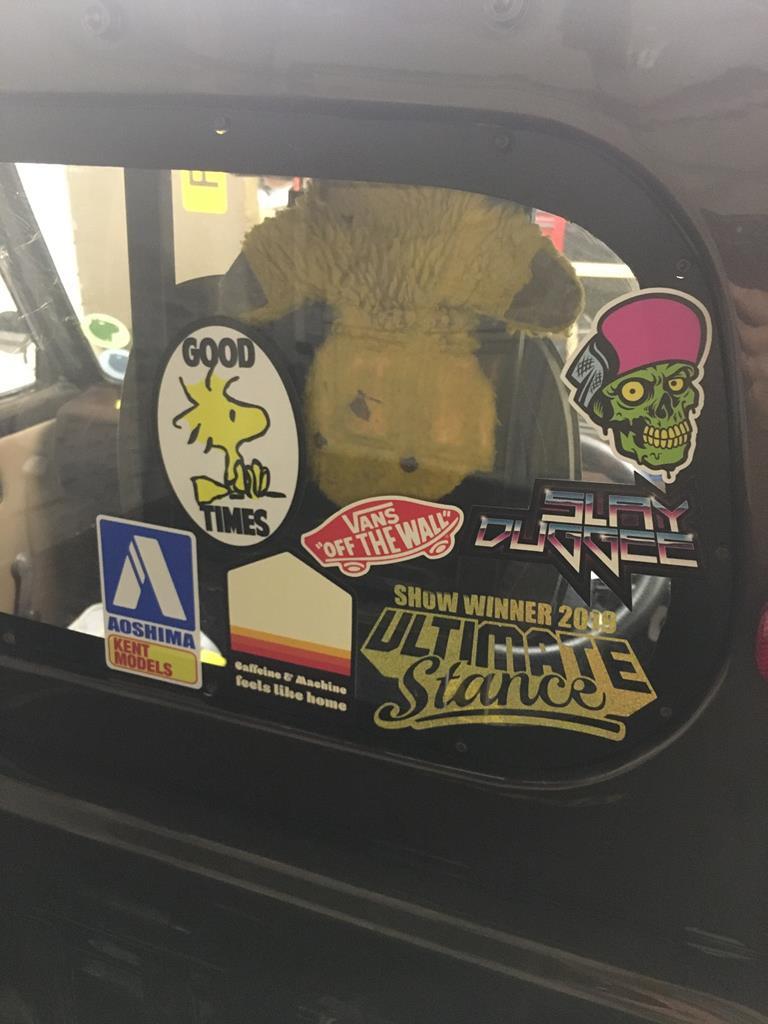
Woodstock good times Sticker arrived for the truck...
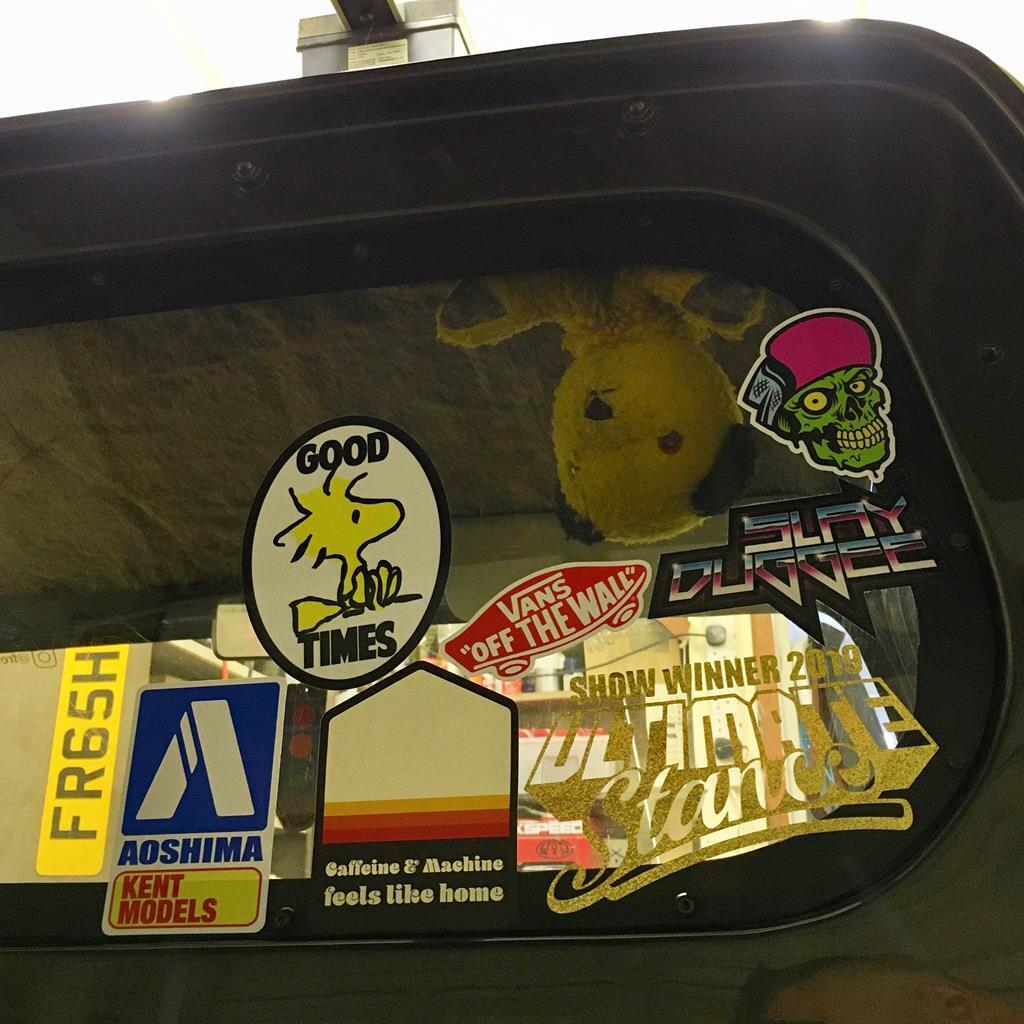
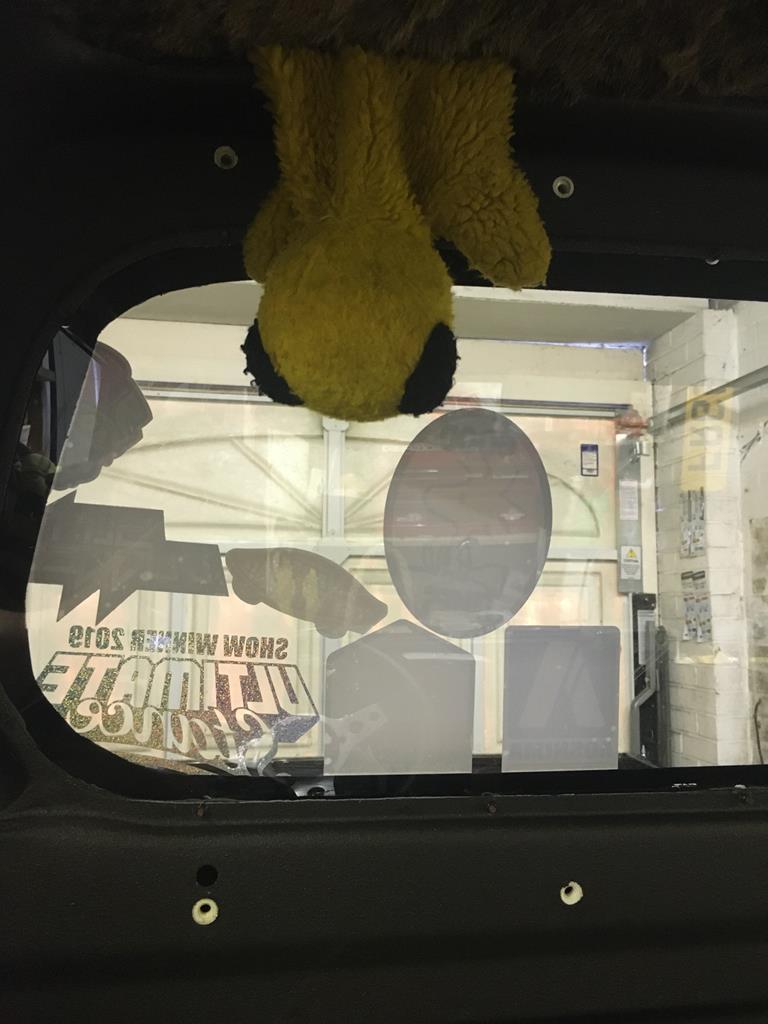
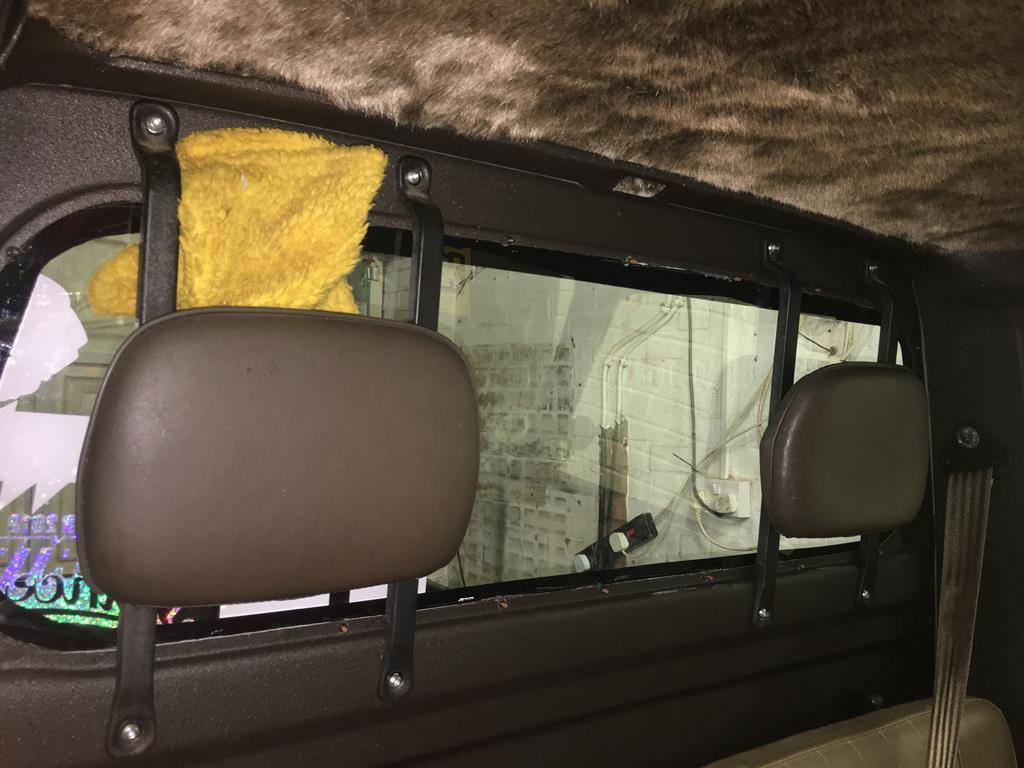
The vinyl came back and the hole punch and ringlet press arrived so I fitted those with rusty inspecting...
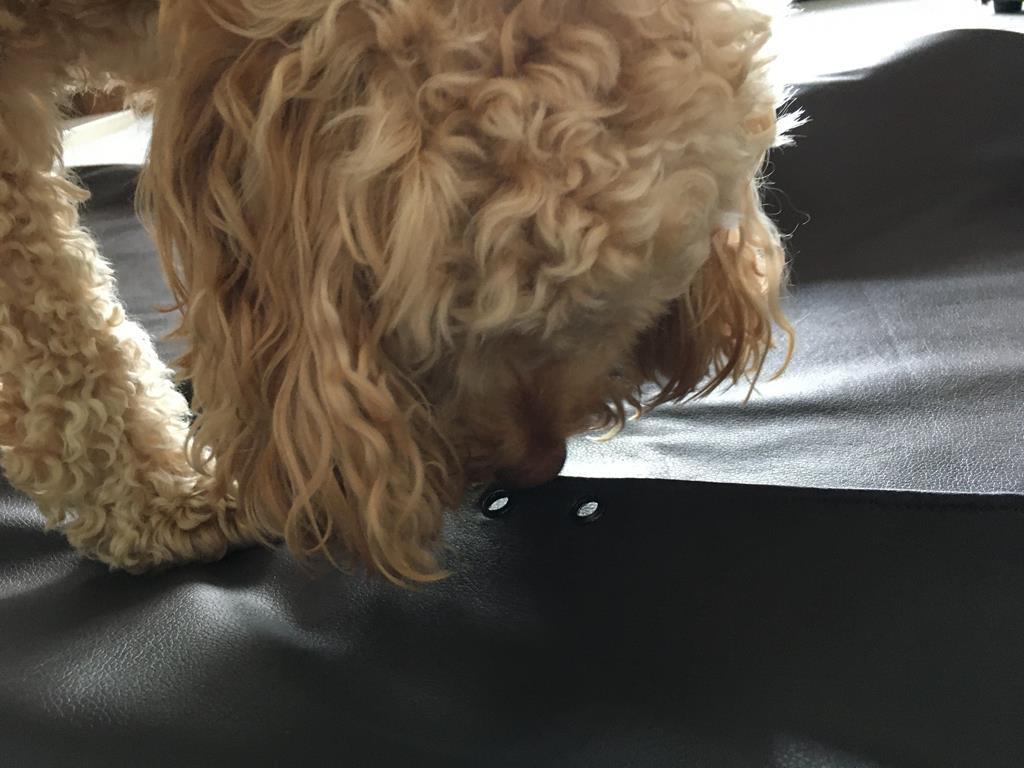
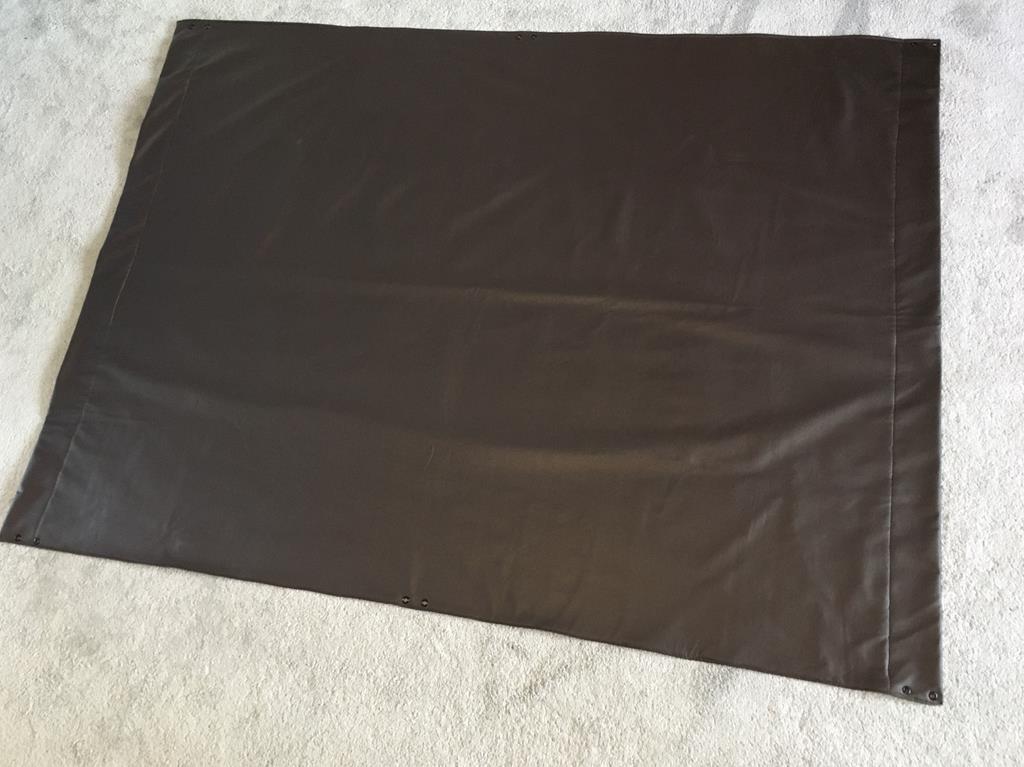
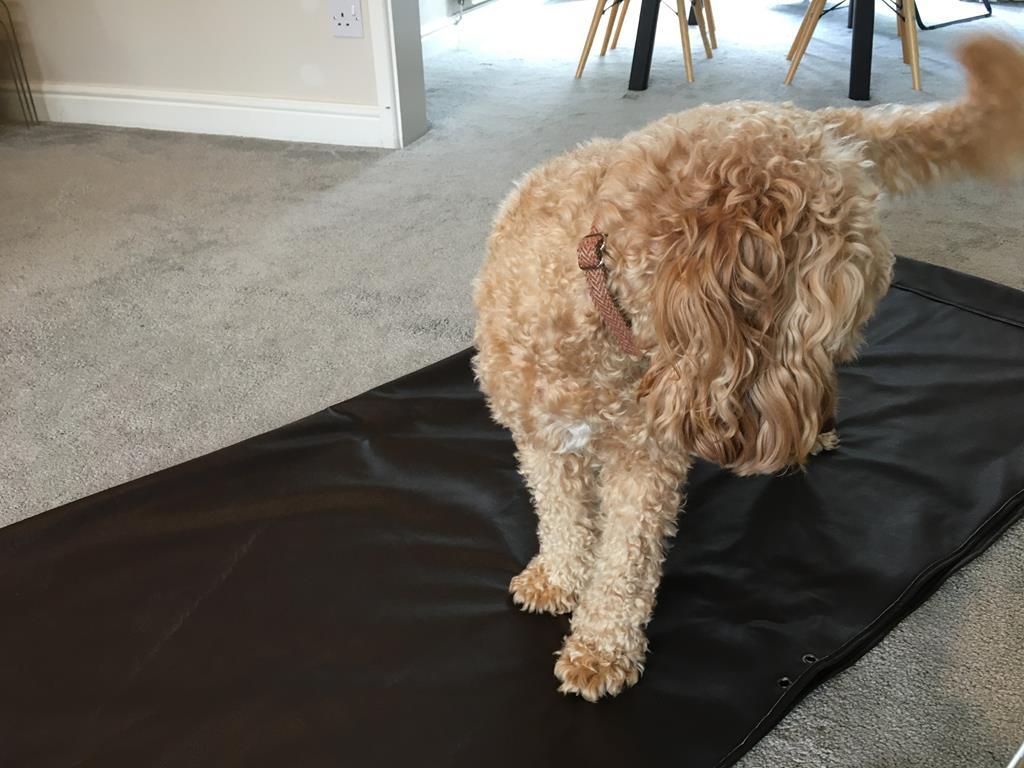
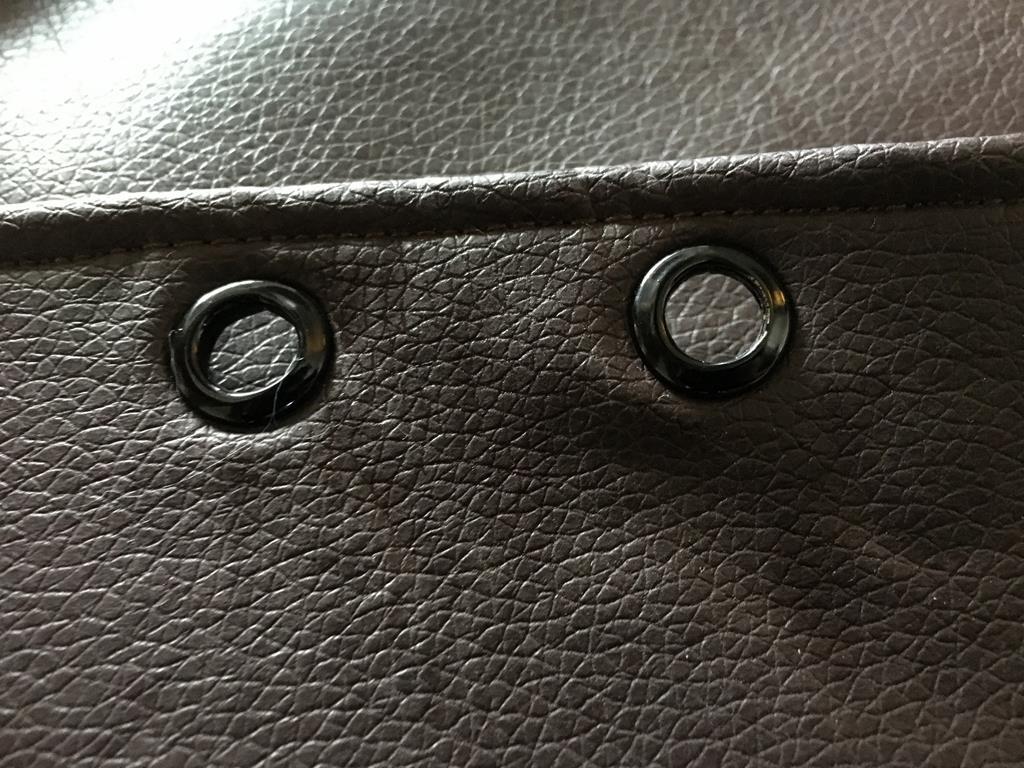

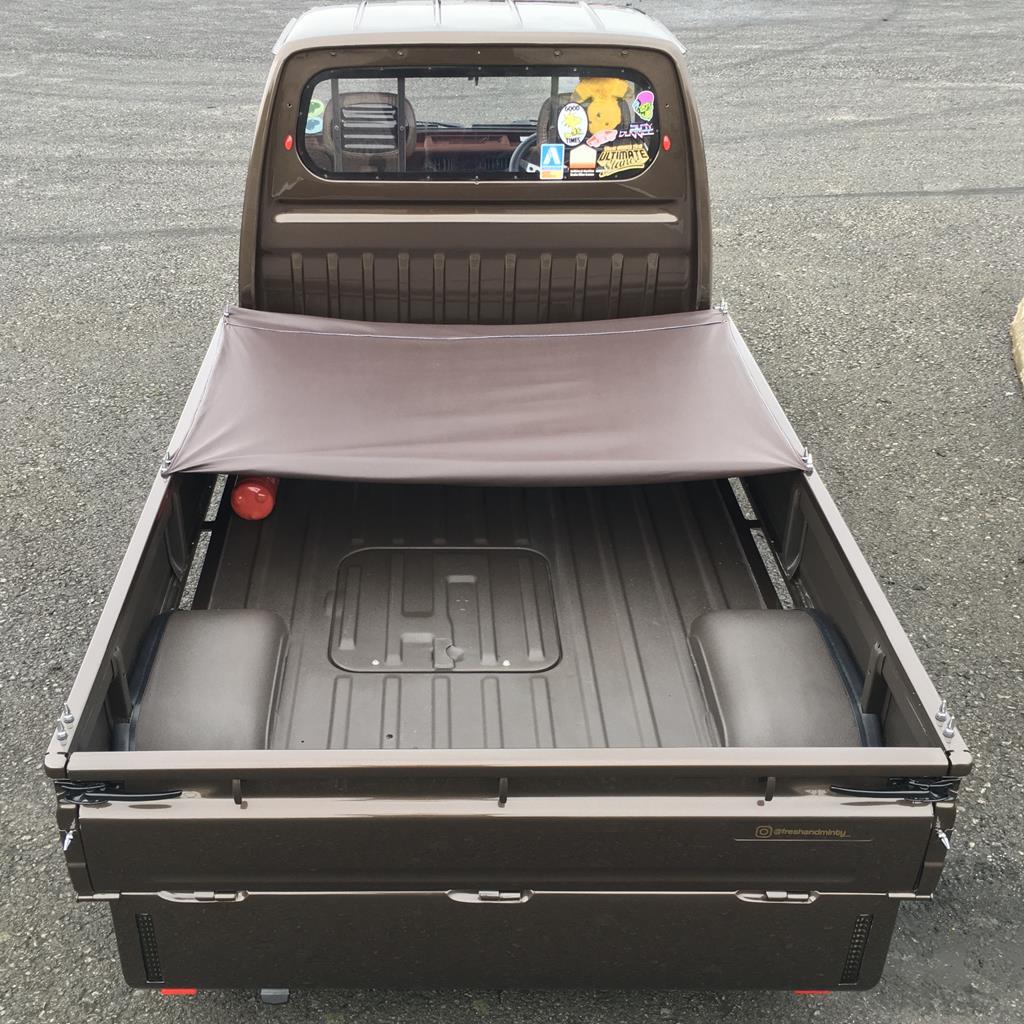
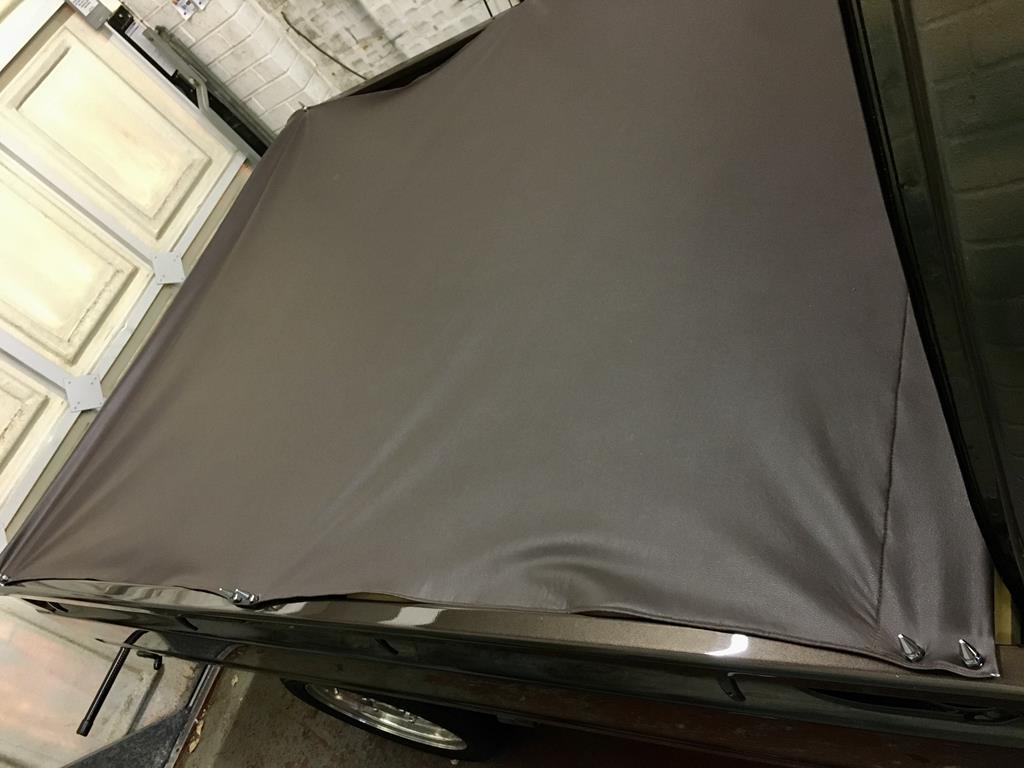
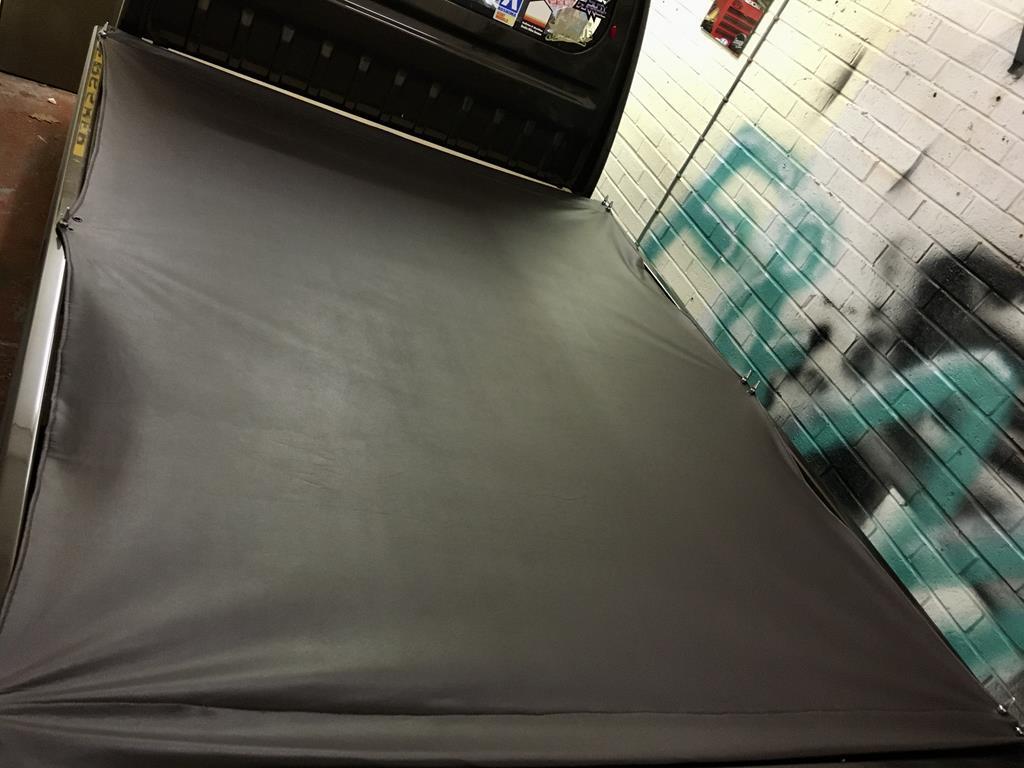
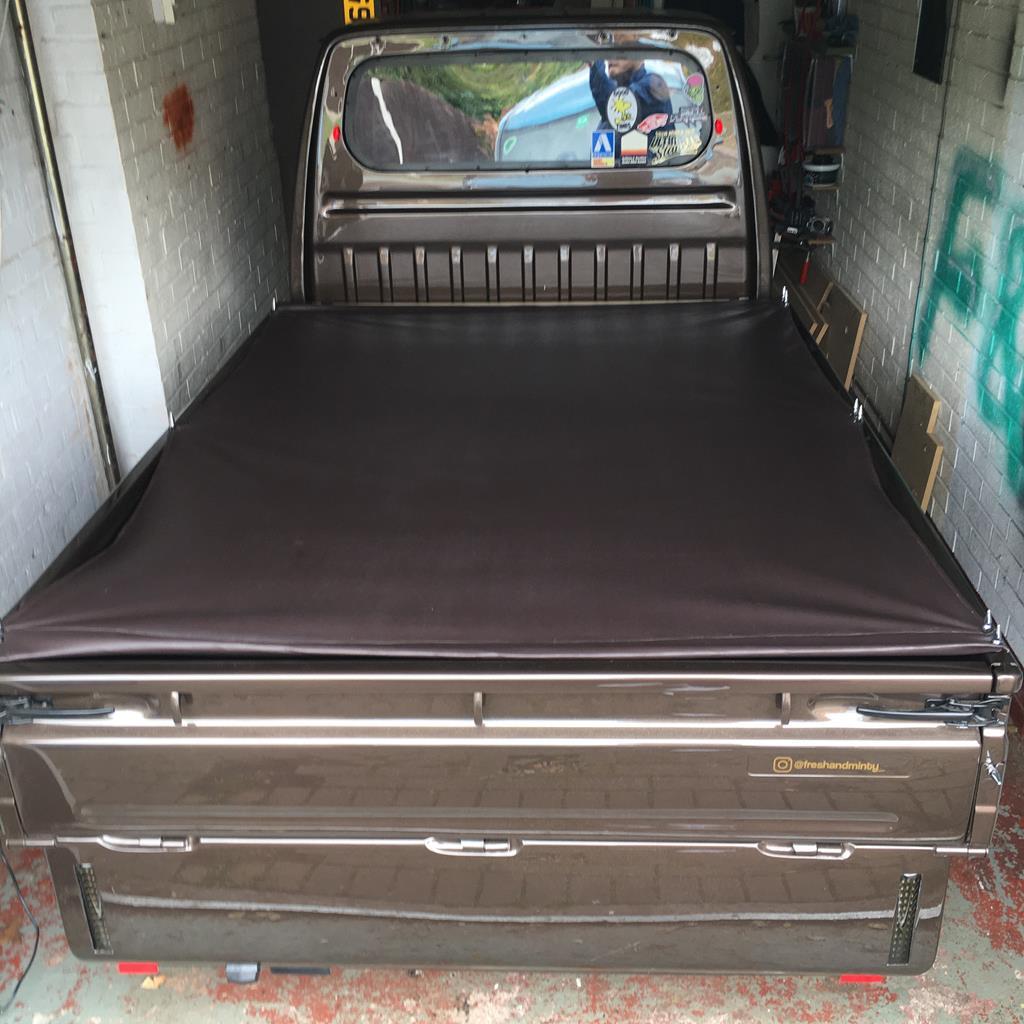
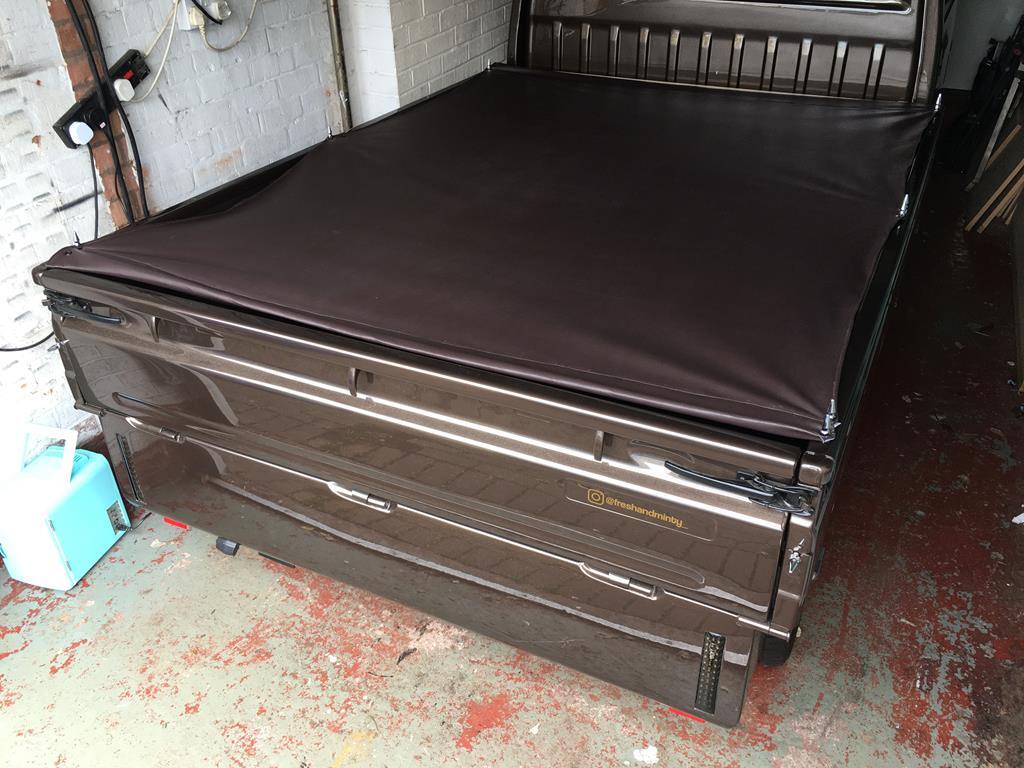
Fitted it to the truck, although I hadn’t thought about the fact that it would only stretch in the places it was fixed so version two will be a metal strip running down each side and I’ll make more fixing points so it will be fixed along the whole length rather than front, middle, and rear...
Custom car magazine in Japan is running a feature on my truck and they asked me to send a photo of me too. Here’s me, I should have opened the garage door at least really...

Yesterday a replica mk1 golf front splitter arrived in the post...
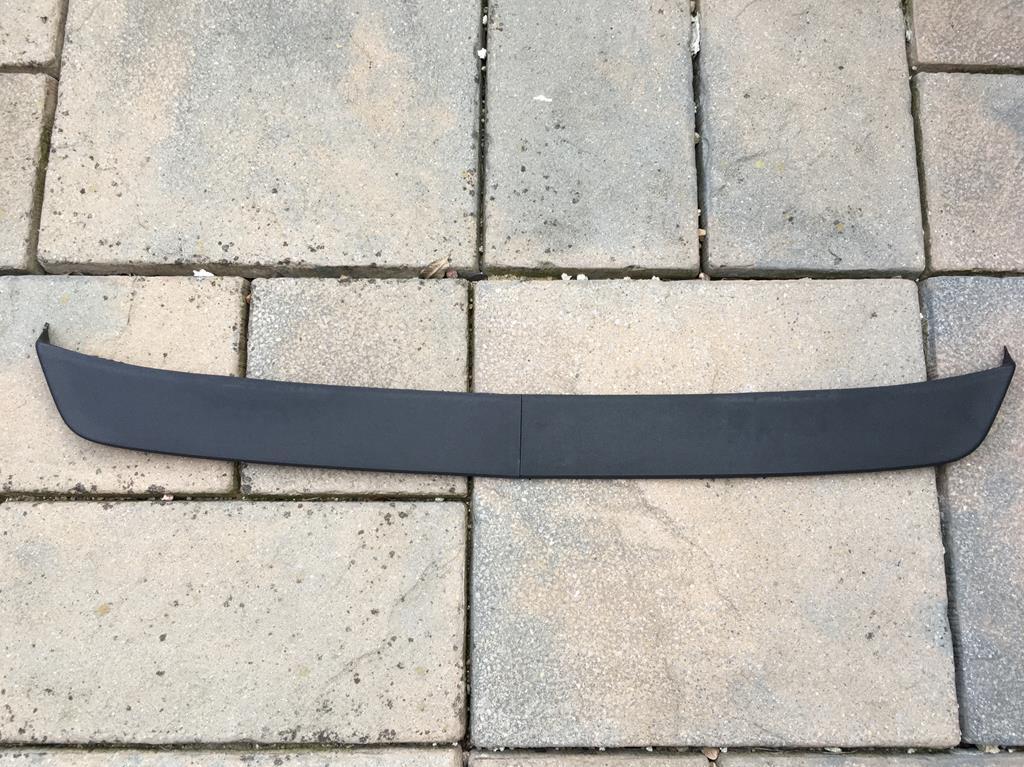
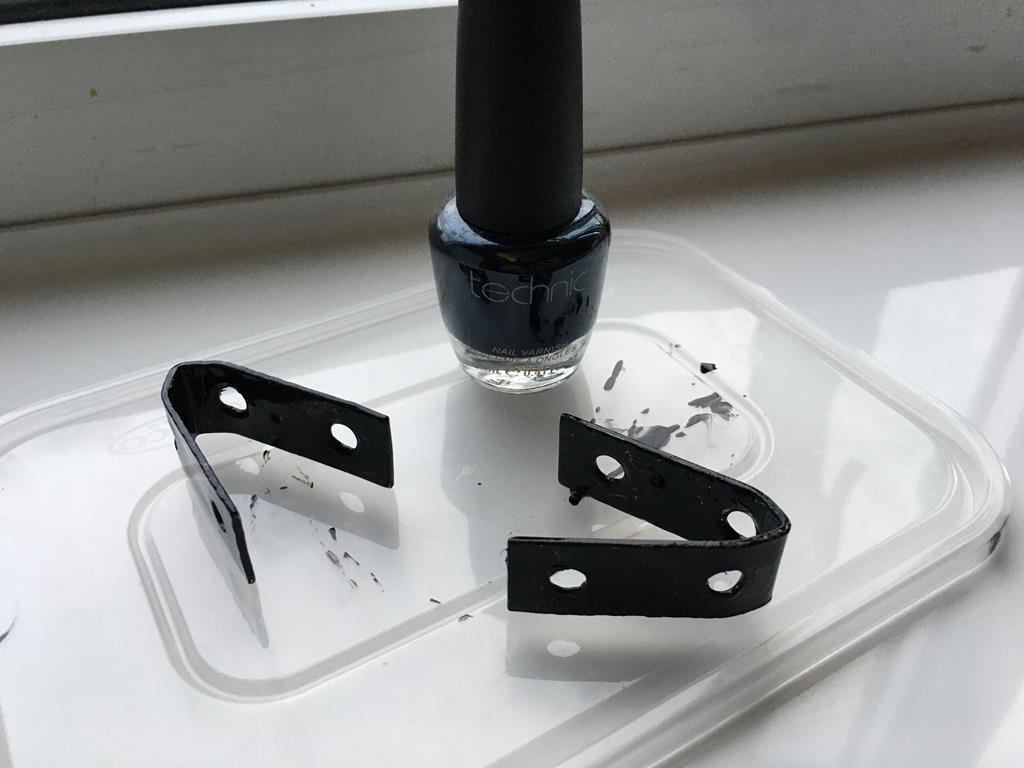
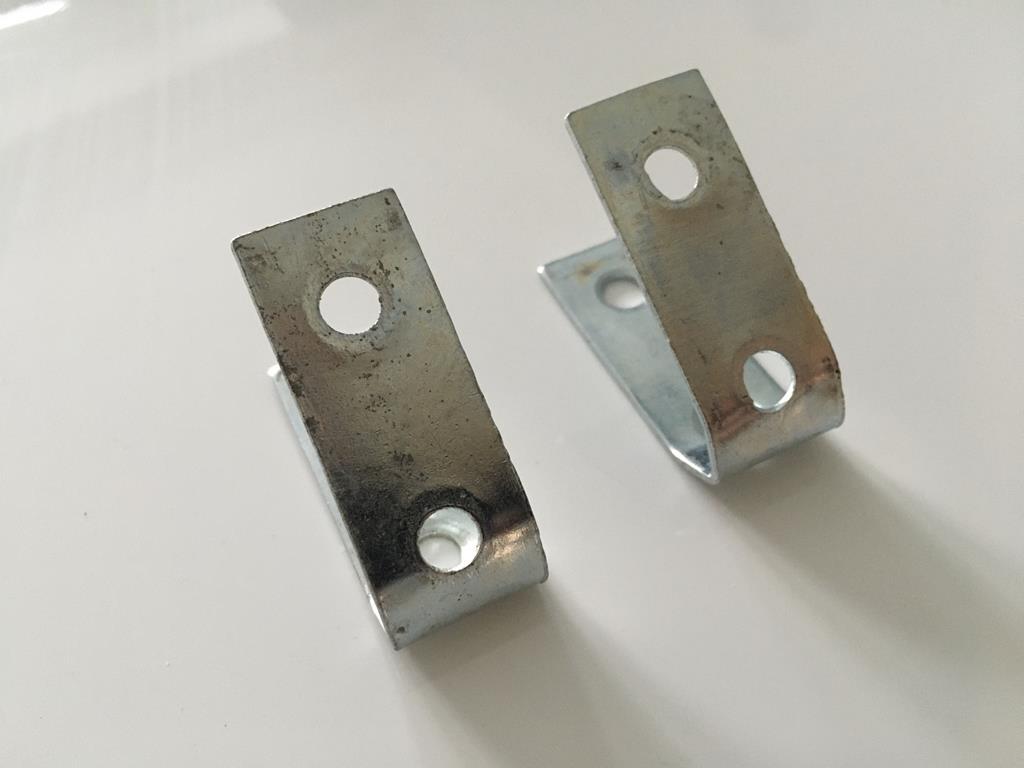
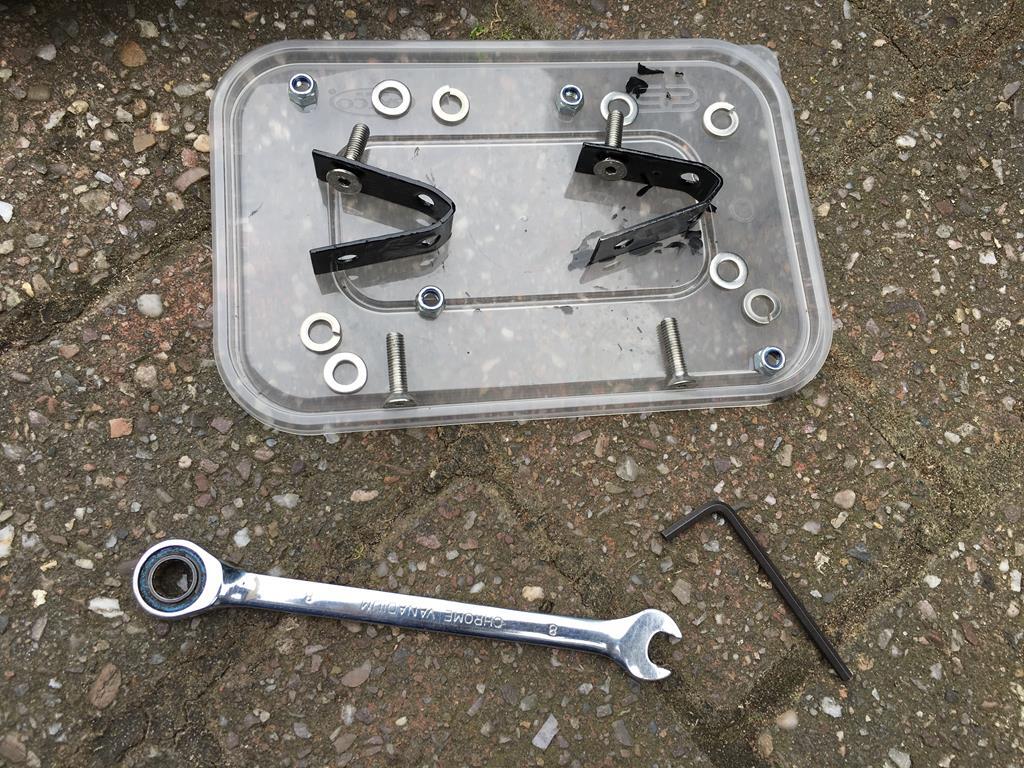
Last night I bent some angle brackets and painted them with my finest nail varnish...
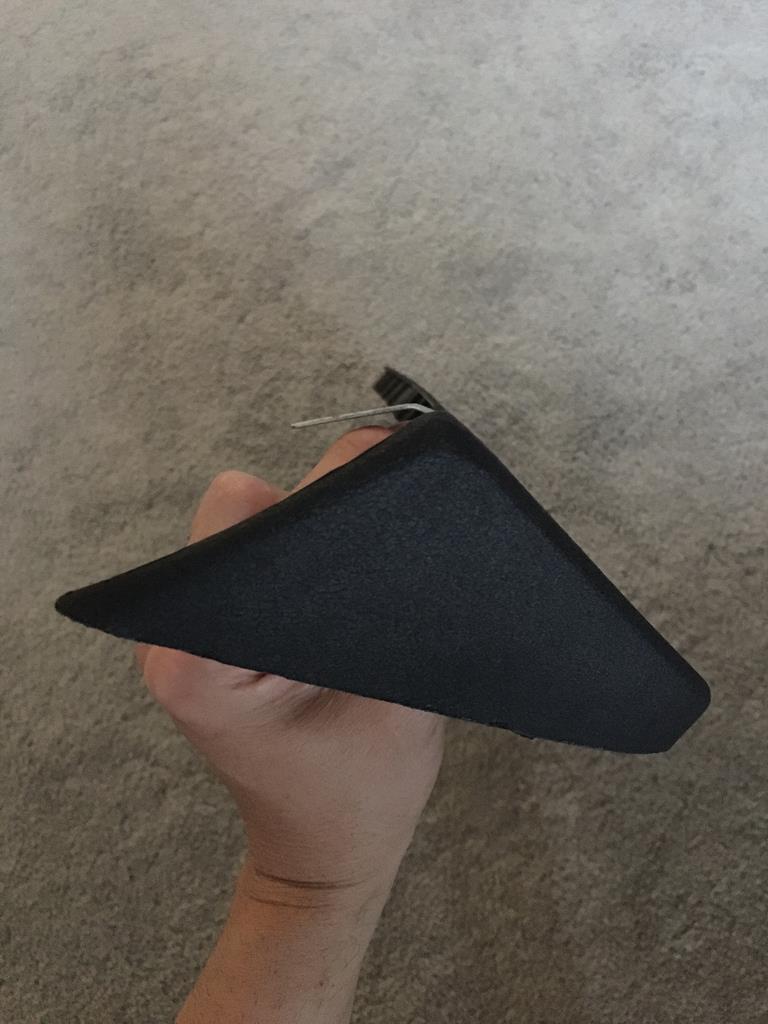
Had a few hours this morning...
Removed old front splitter / strip - 5 popper clips, easy...
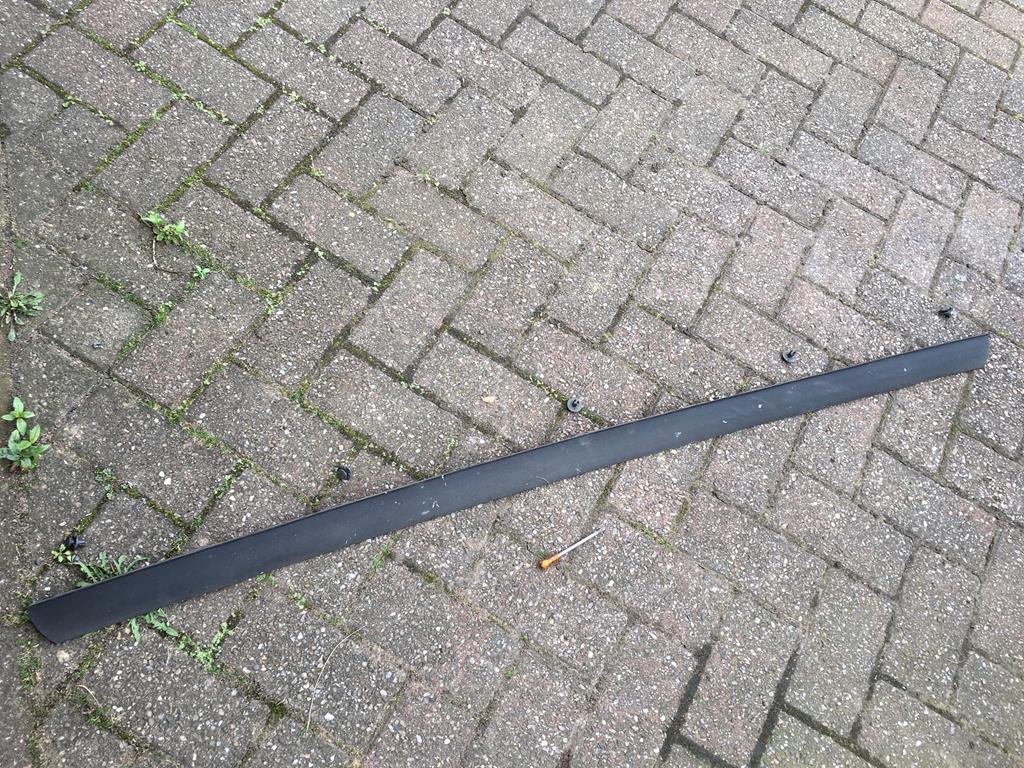
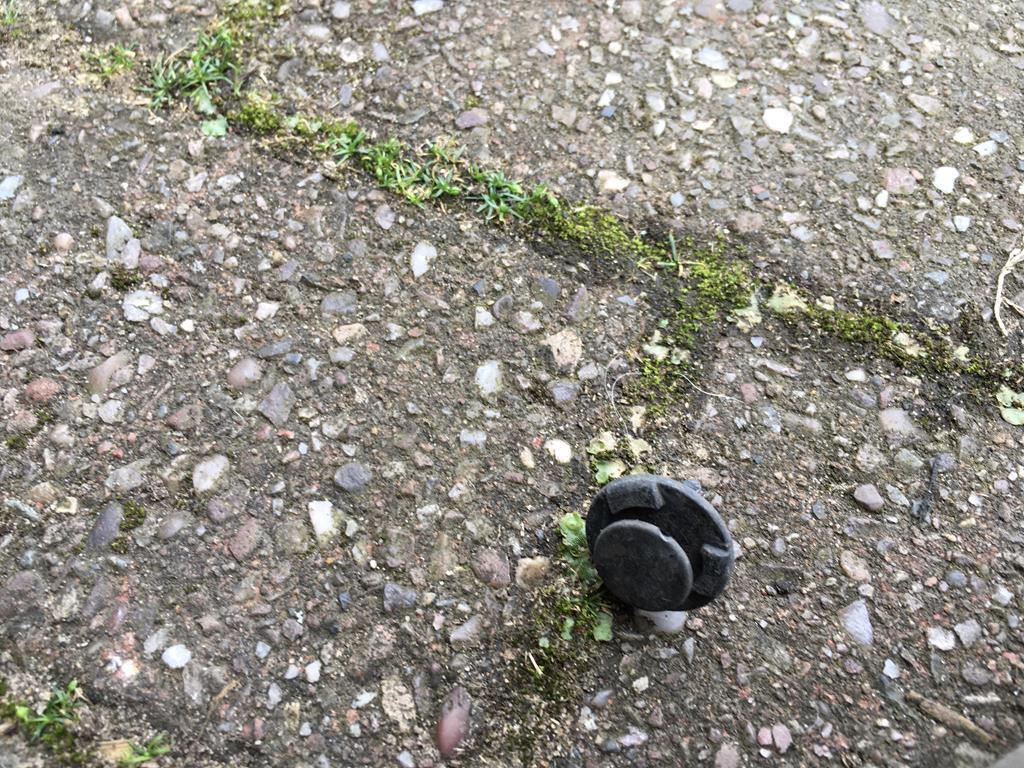
Just in front of where the original splitter fitted where a pair of unused holes, presumably where the optional extra official Suzuki front bumper trim bolts to so I decided to make use of those holes to fit the brackets to.
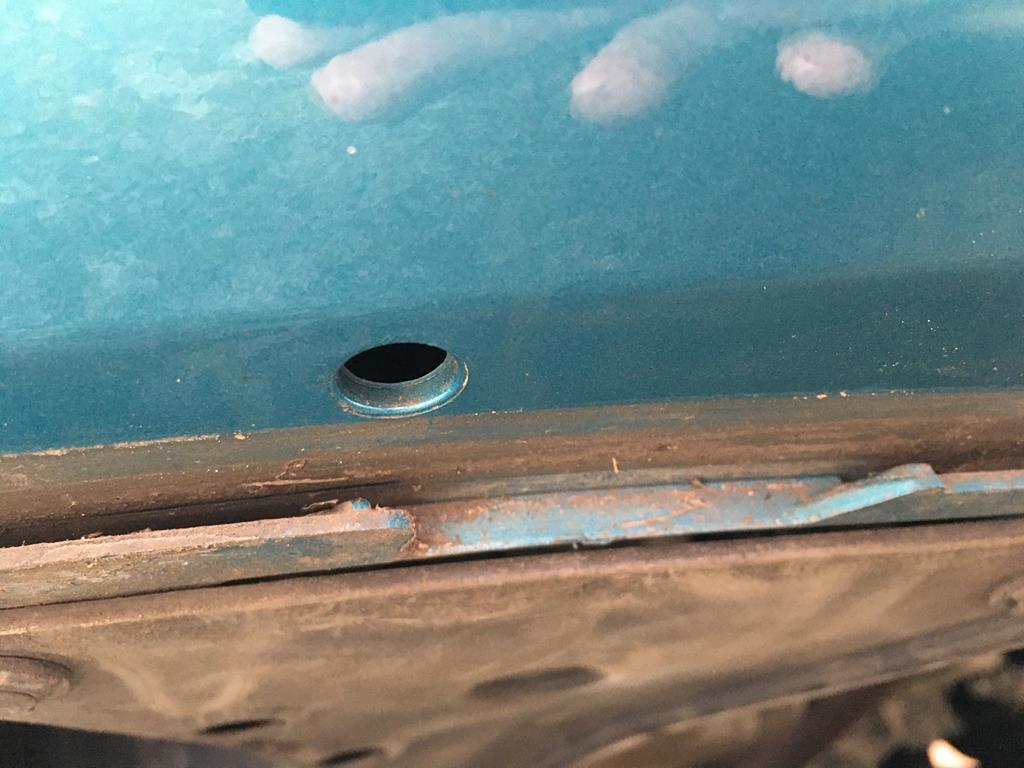
A bit fiddly on my own but I held the splitter so the straight end of the first side lined up with the middle of the car and then put my finger on the splitter in line with where the hole in the bumper was, very approximate but seemed to work in the end.
Scored a line and drilled a hole, measured it to be 37mm from edge of standard hole so I could replicate for opposite side...
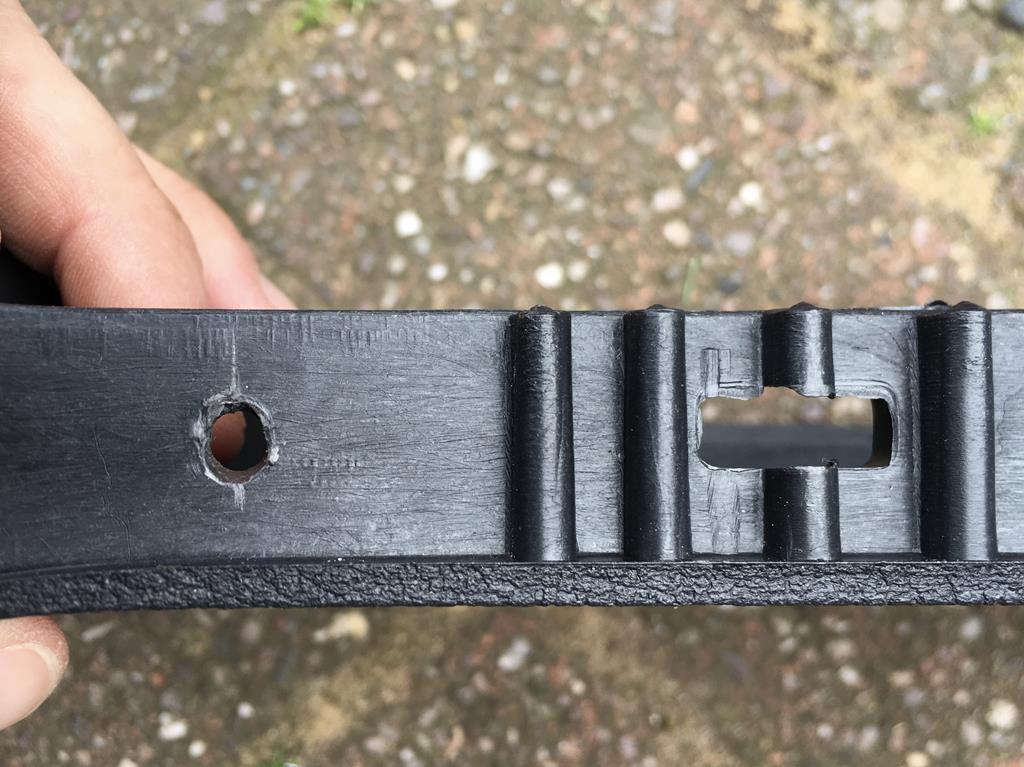
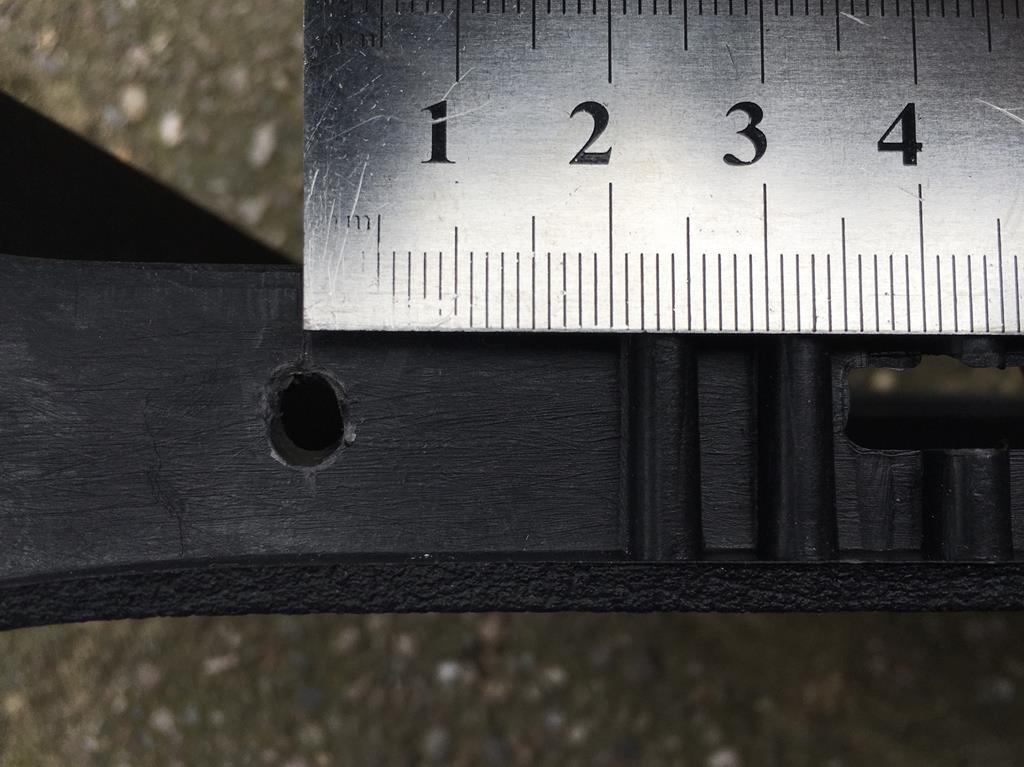
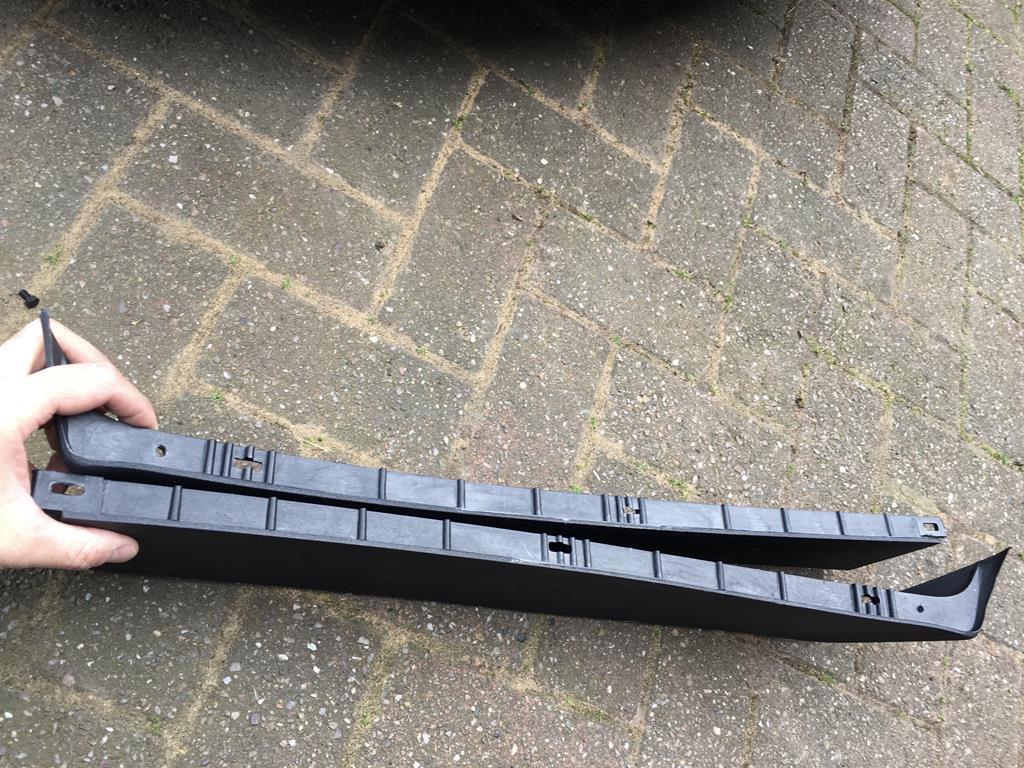
Fixings used, although I ended up using an extra pair of washers and nuts to hold the fixing bolt in the bracket to hold up to the bumper rather than trying to bring a loose bolt, splitter, two washers and a nut all in line together with only two hands whilst scrambling on the floor and holding an arch liner out of the way....
Brackets fitted to splitter and confirmed angle matched...
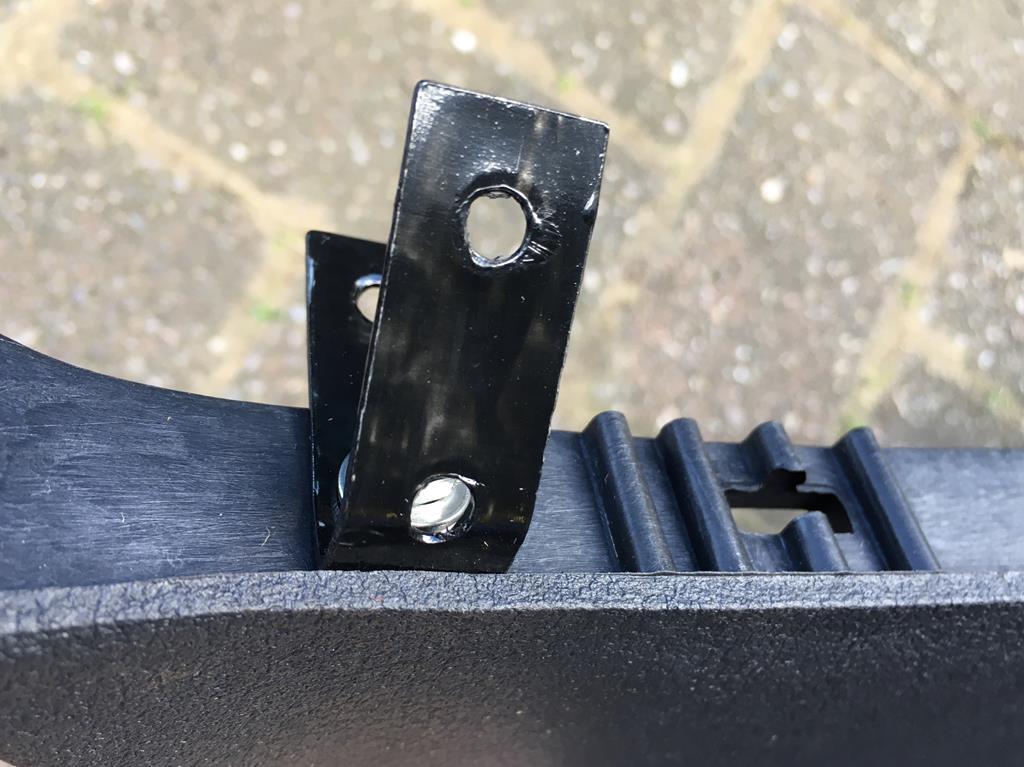
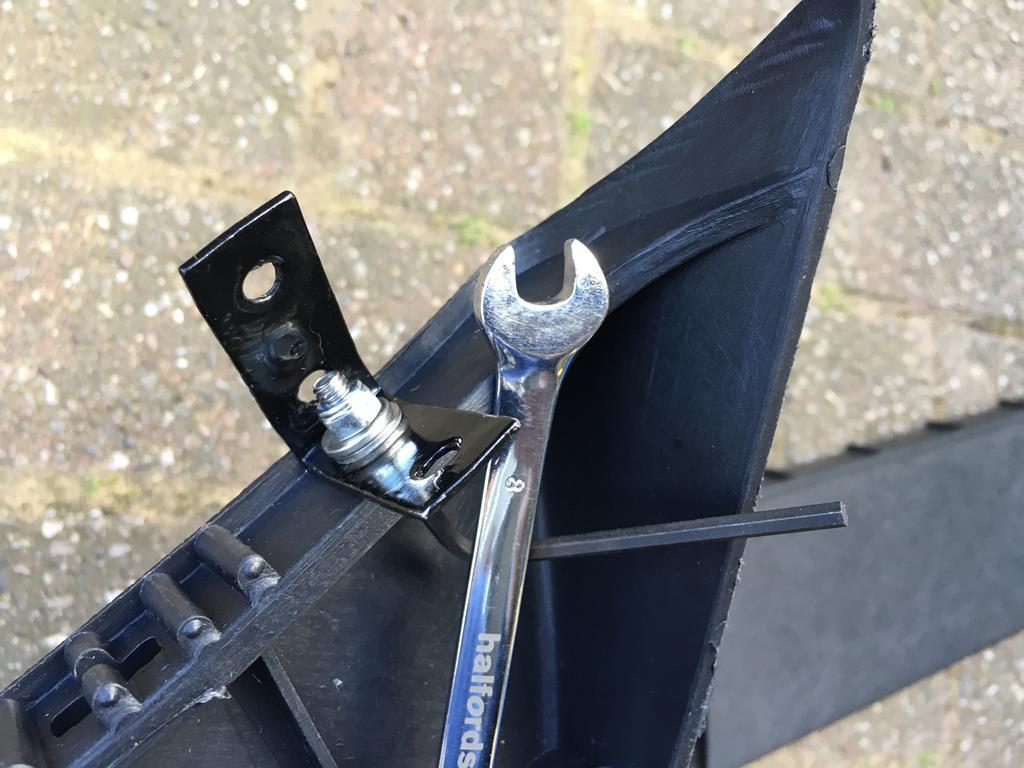
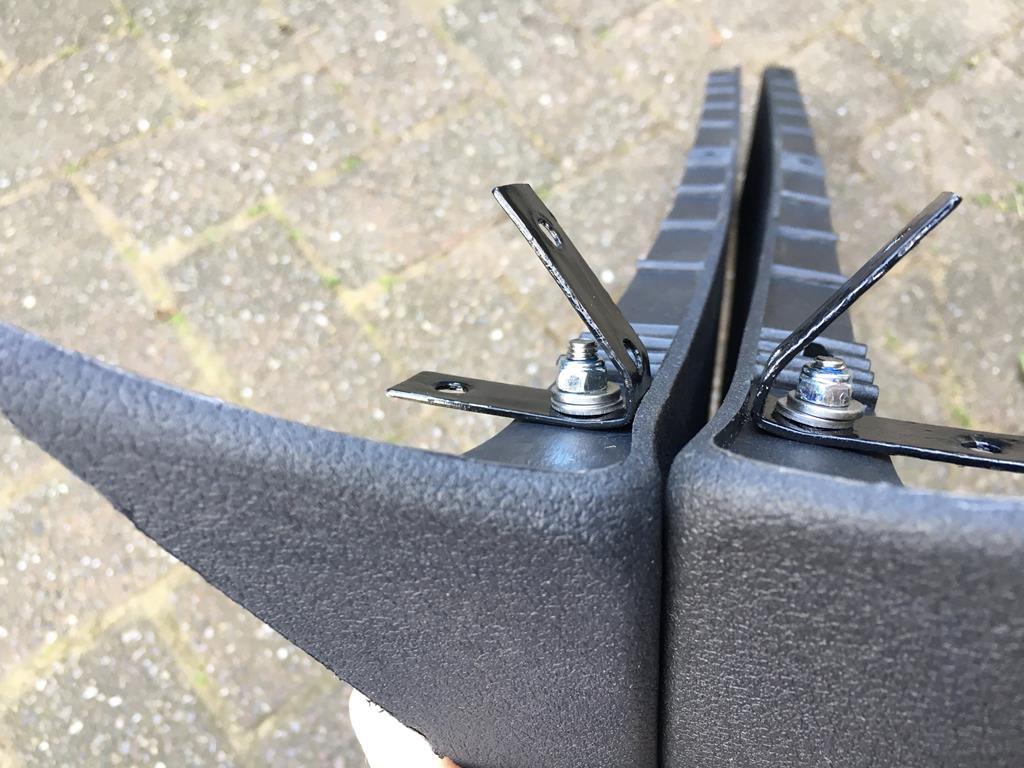
As per comments above, getting the nut tightened up was proving really tricky until I relented and spent less than a minute removing clips from the arch liner, should have just done that to start with but didn’t think it would impede me much. Photo of the nut through the peephole...
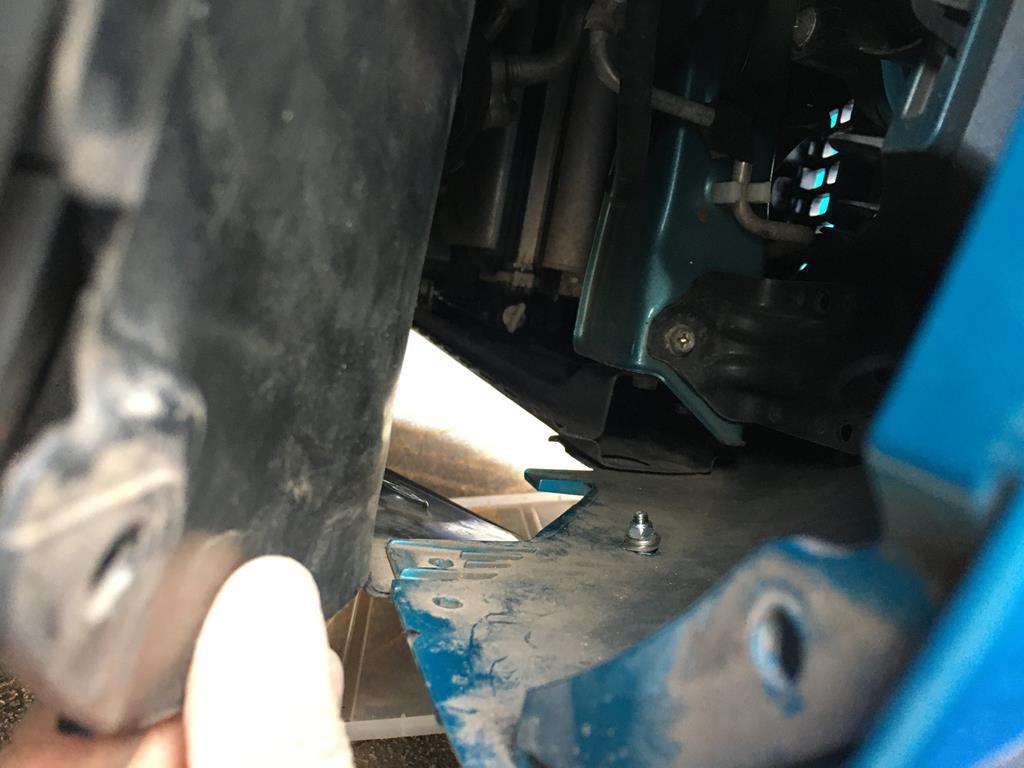
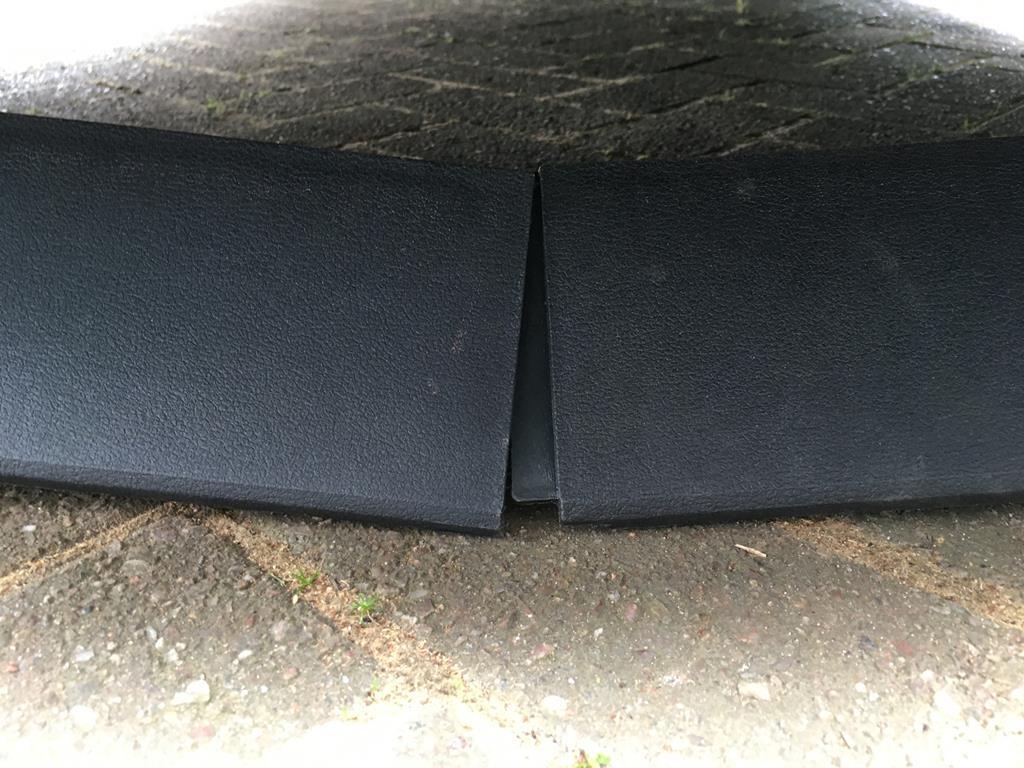
Then fitted the other side, and magically the two ends met up in the middle, slotted them together and rested on the floor while I investigated how to fix them in the middle...
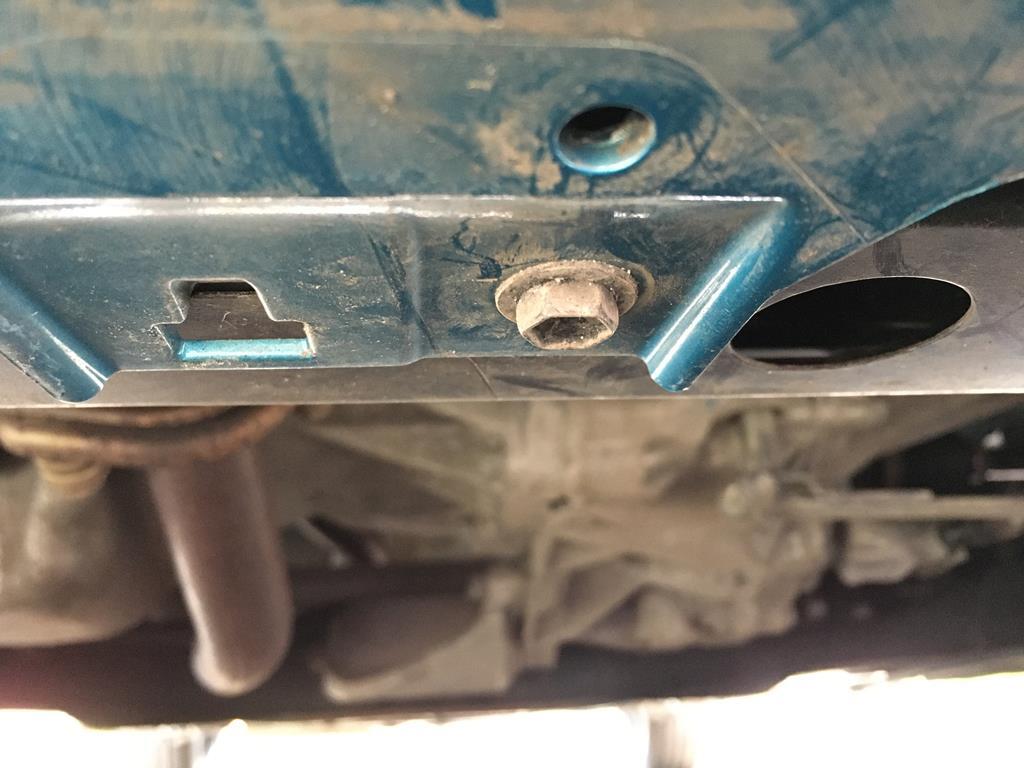
A standard fixing bolt for the bumper, that’ll just do nicely ...
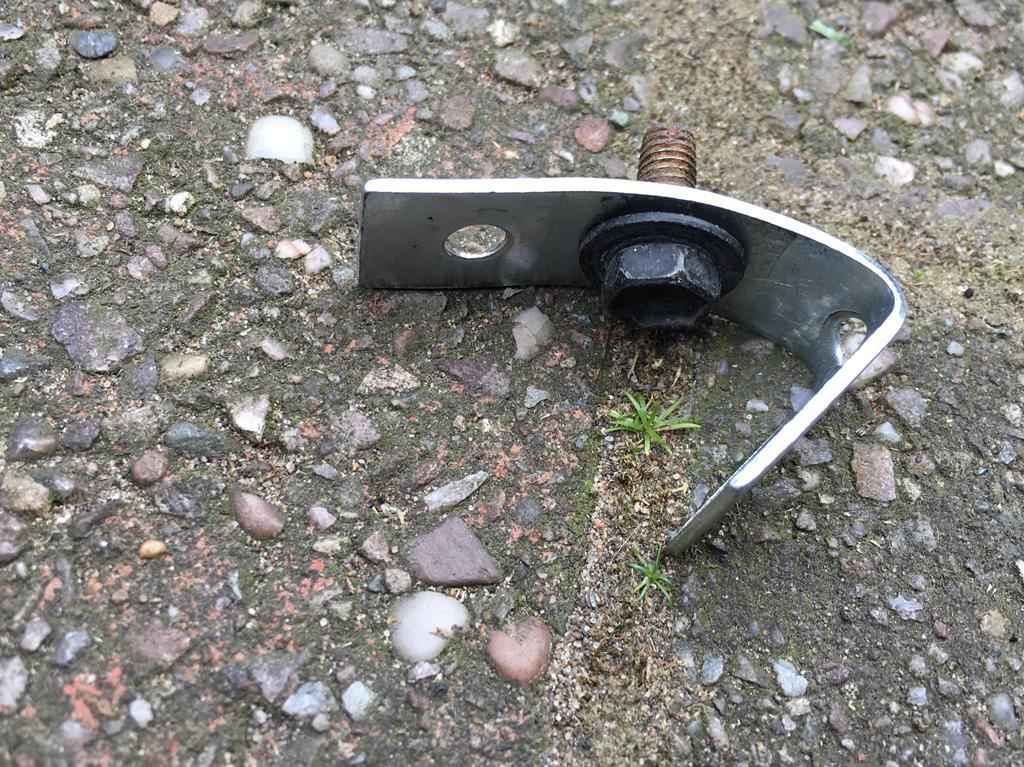
A third bracket bent and fitted to the bumper...
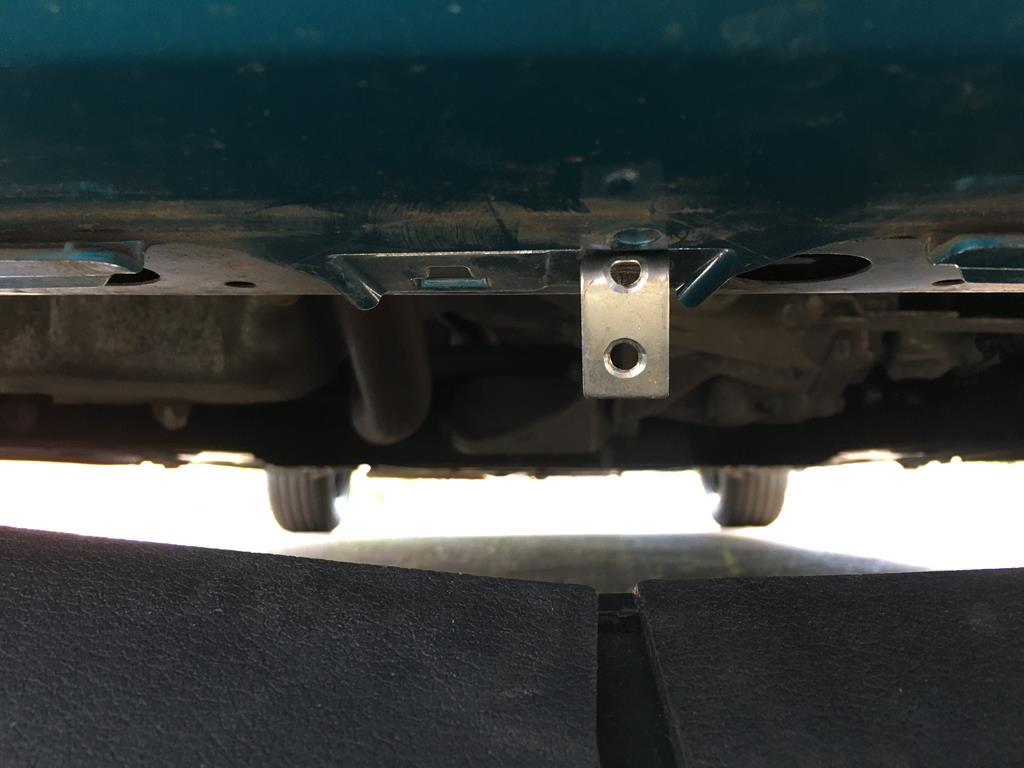
A 6mm bolt was fed through the hole that is in the overlapping tab that keeps the two ends aligned together and through the above bracket and nutted up.
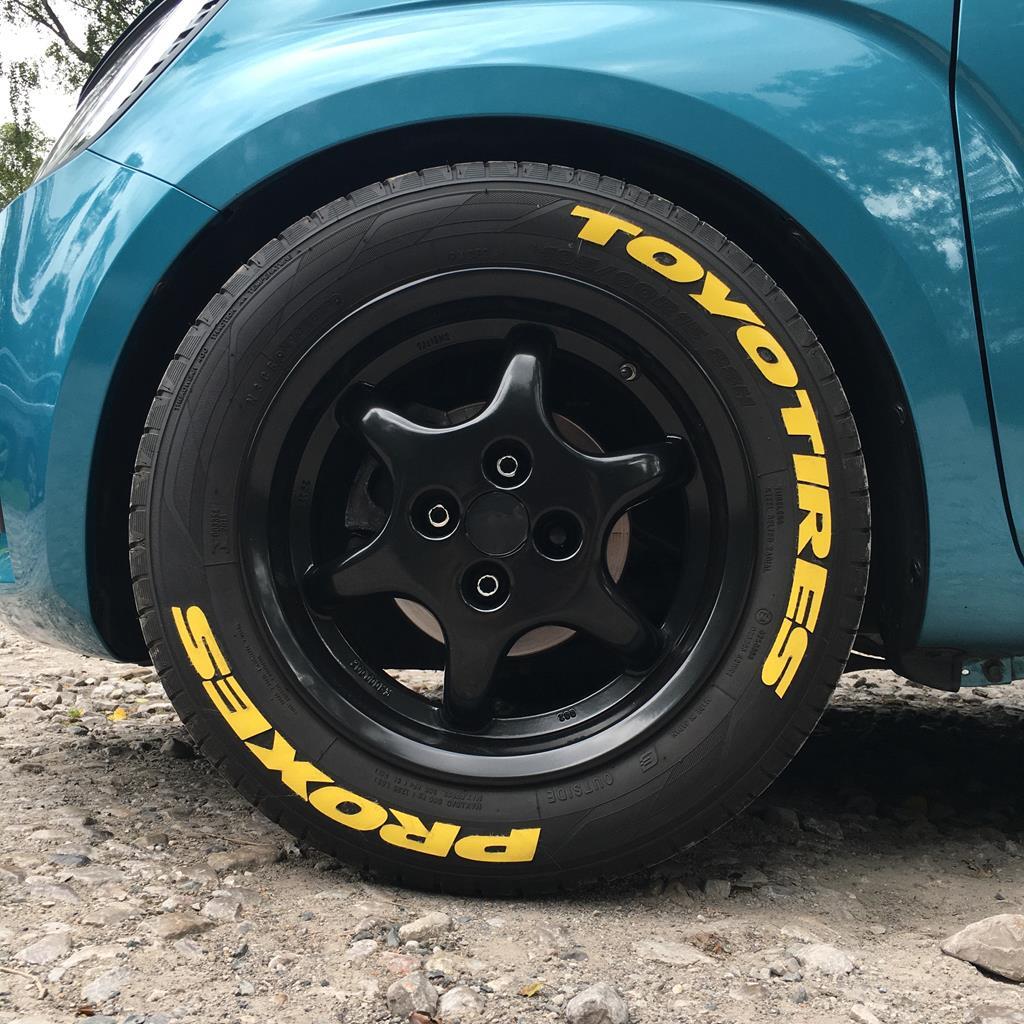
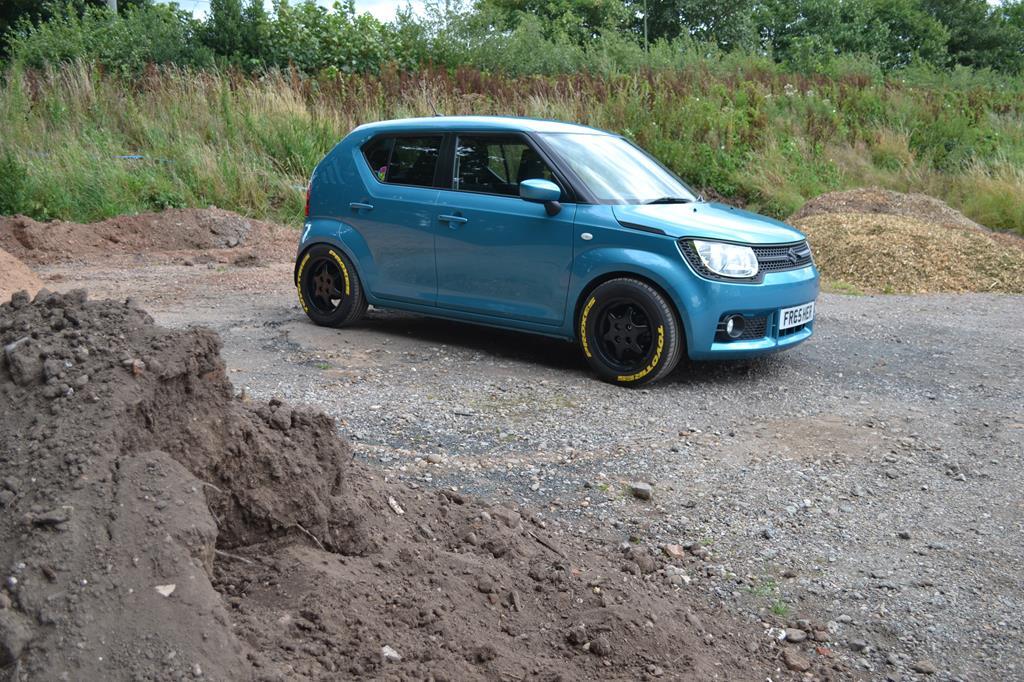
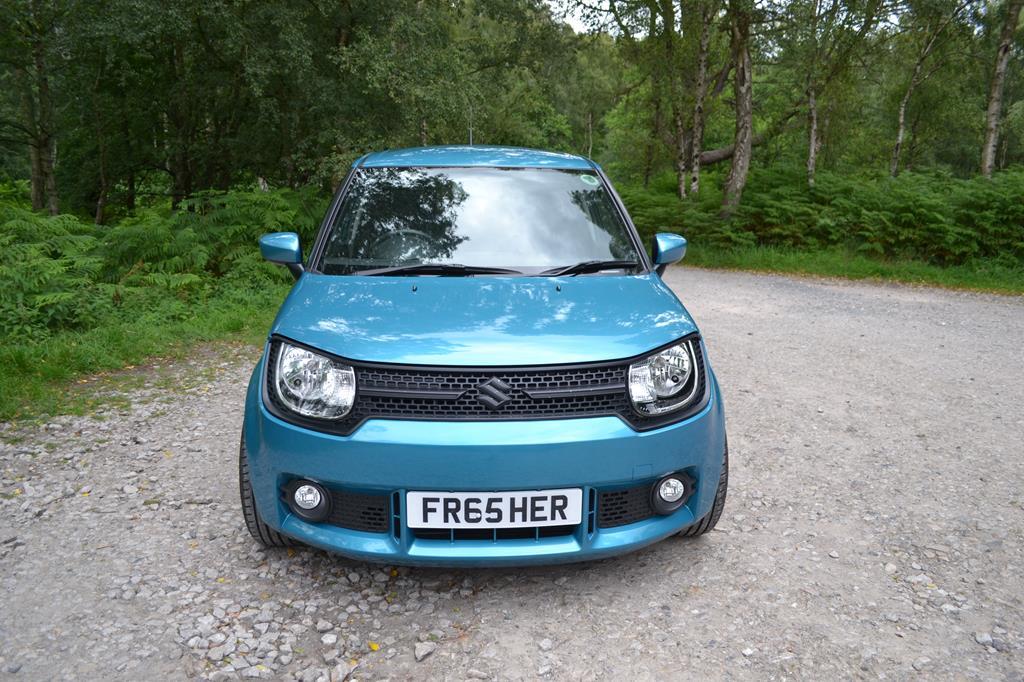
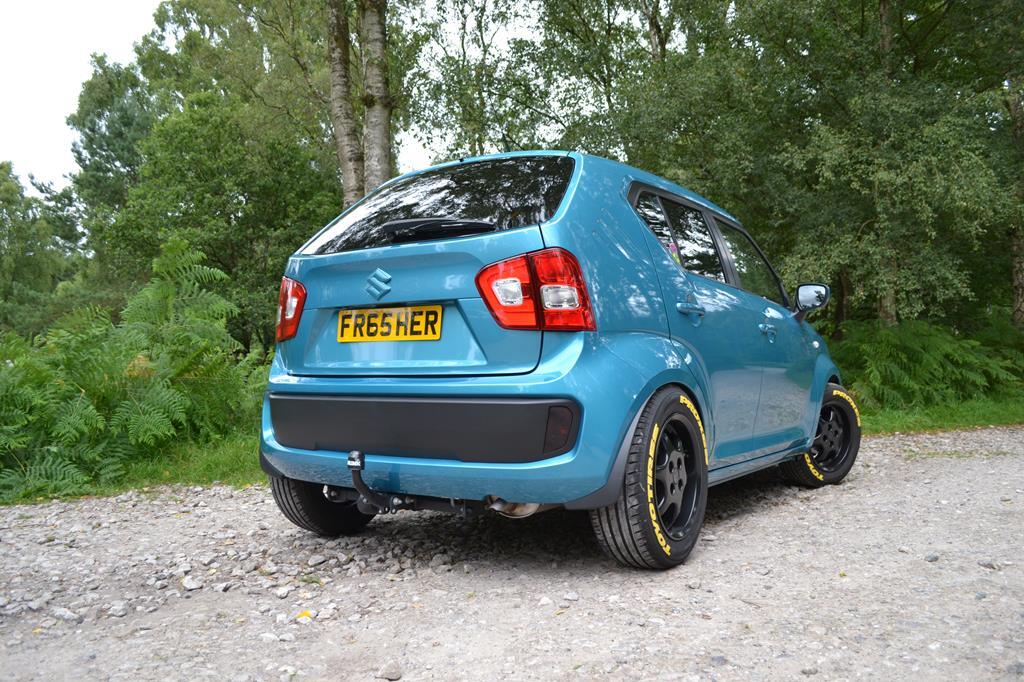
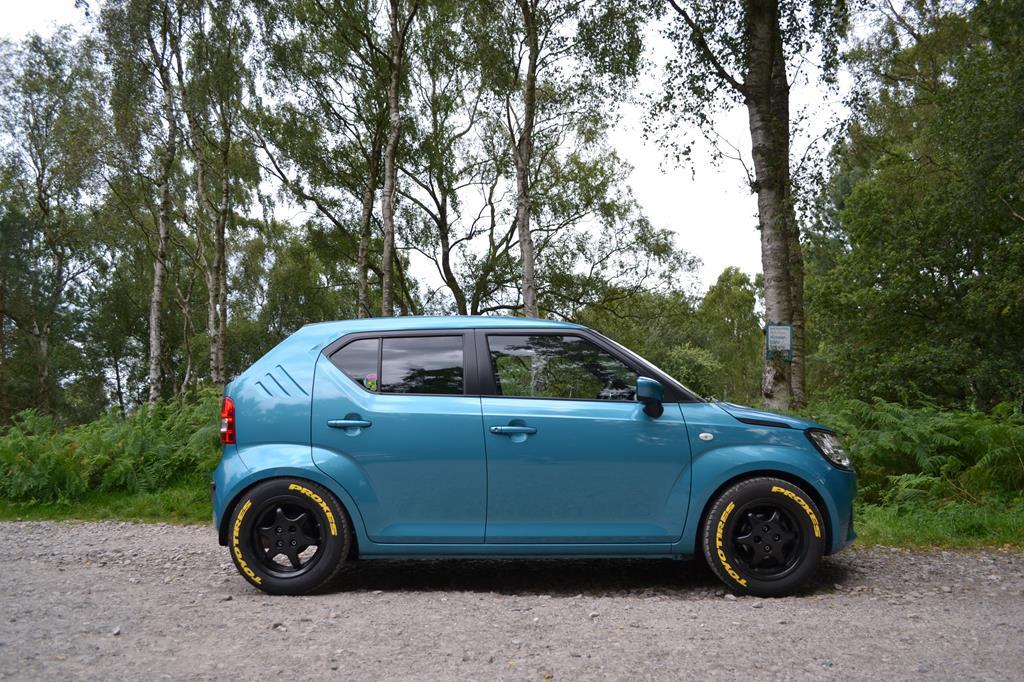
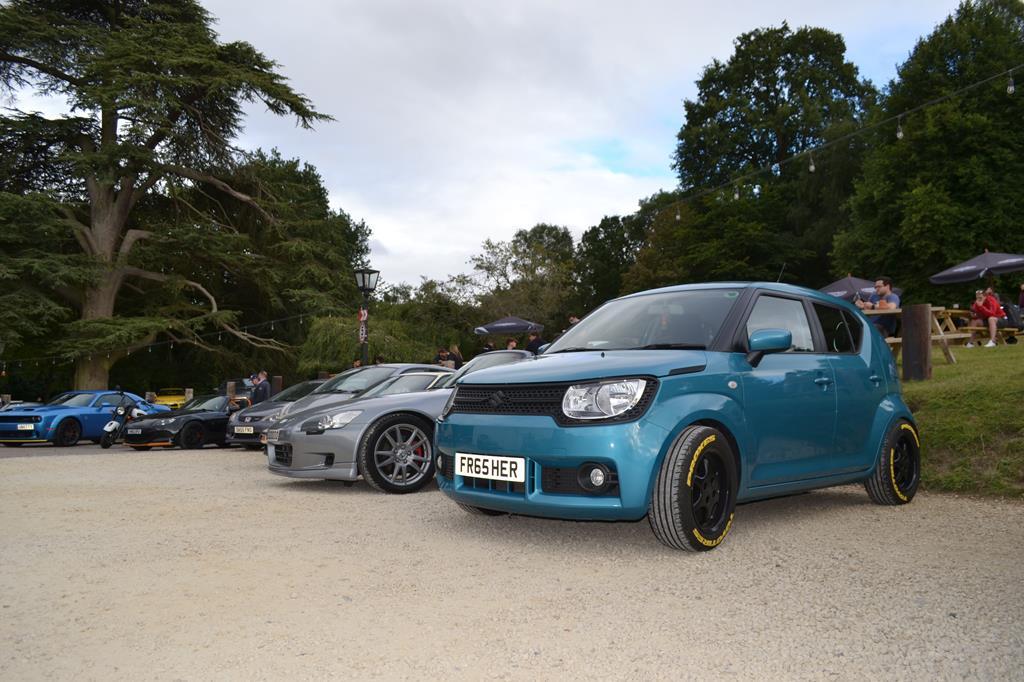
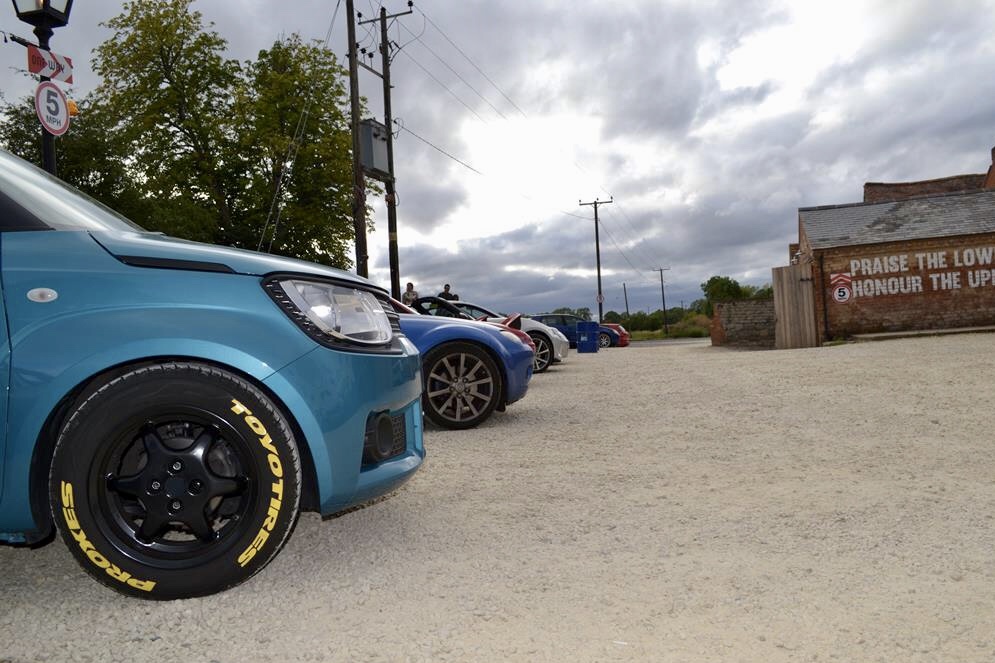
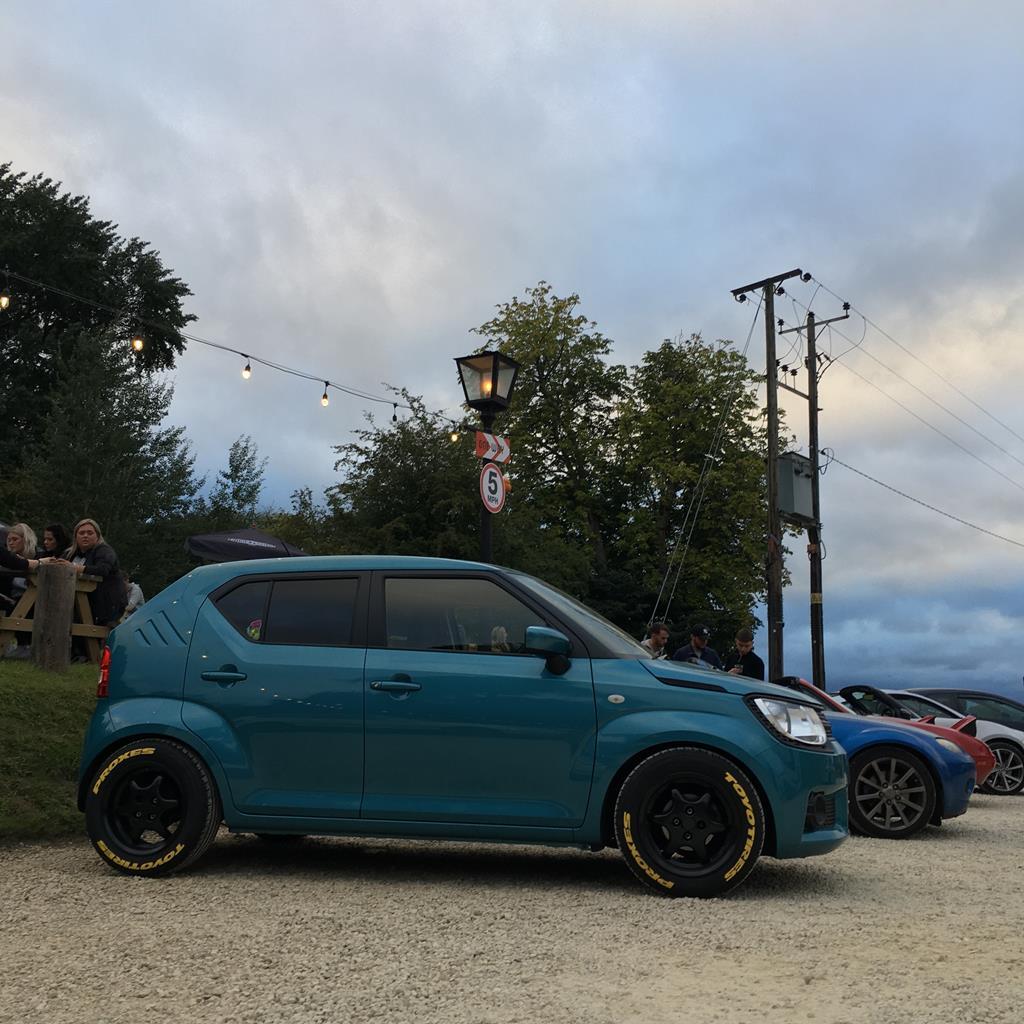
Various angles of success...
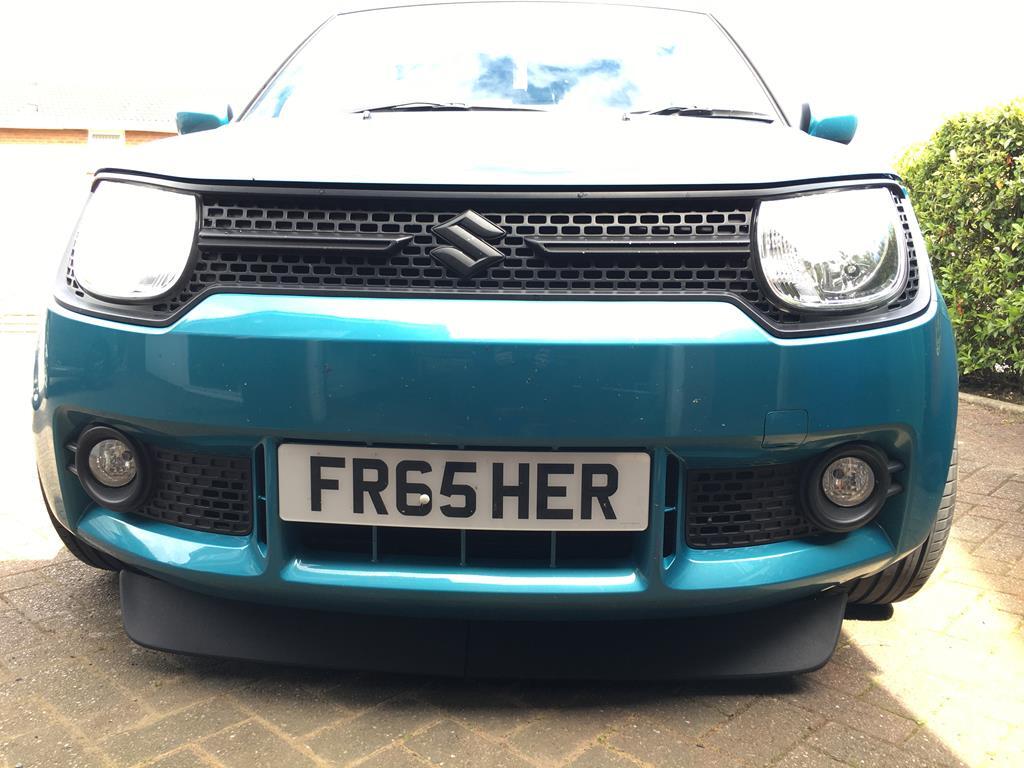
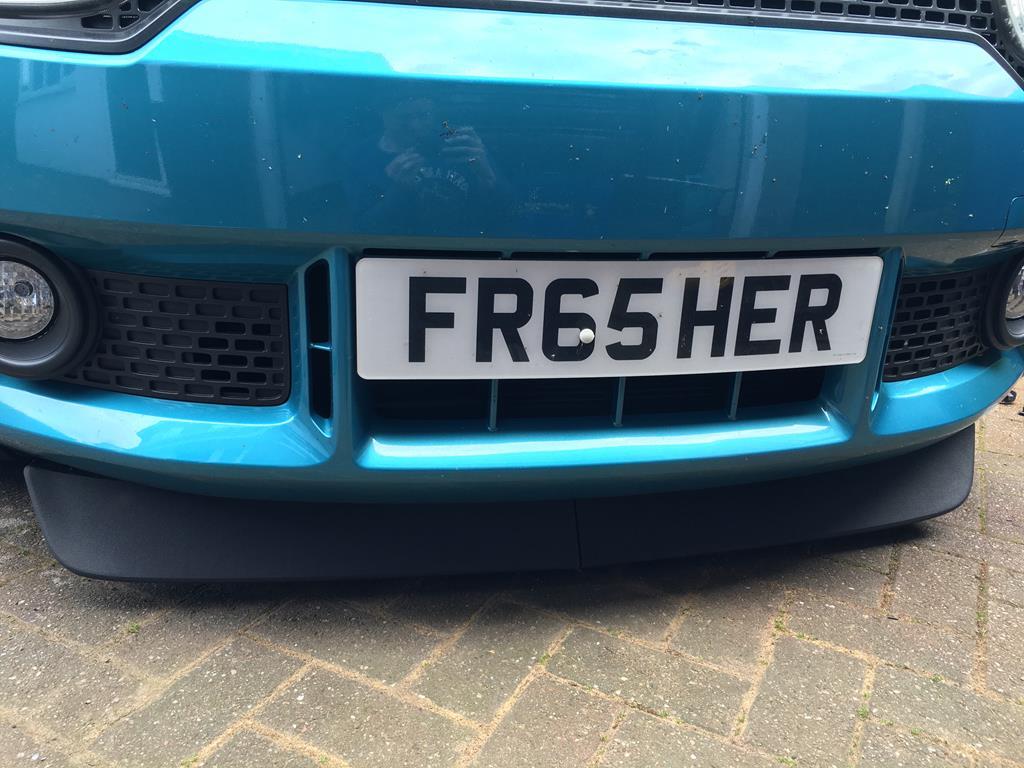
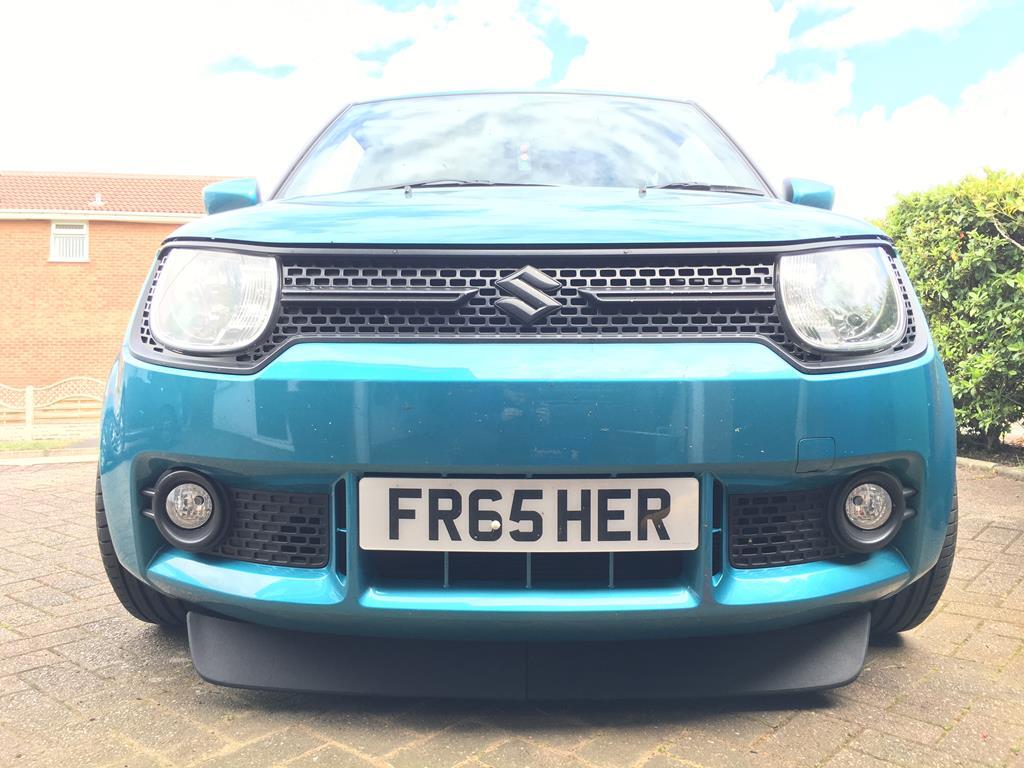
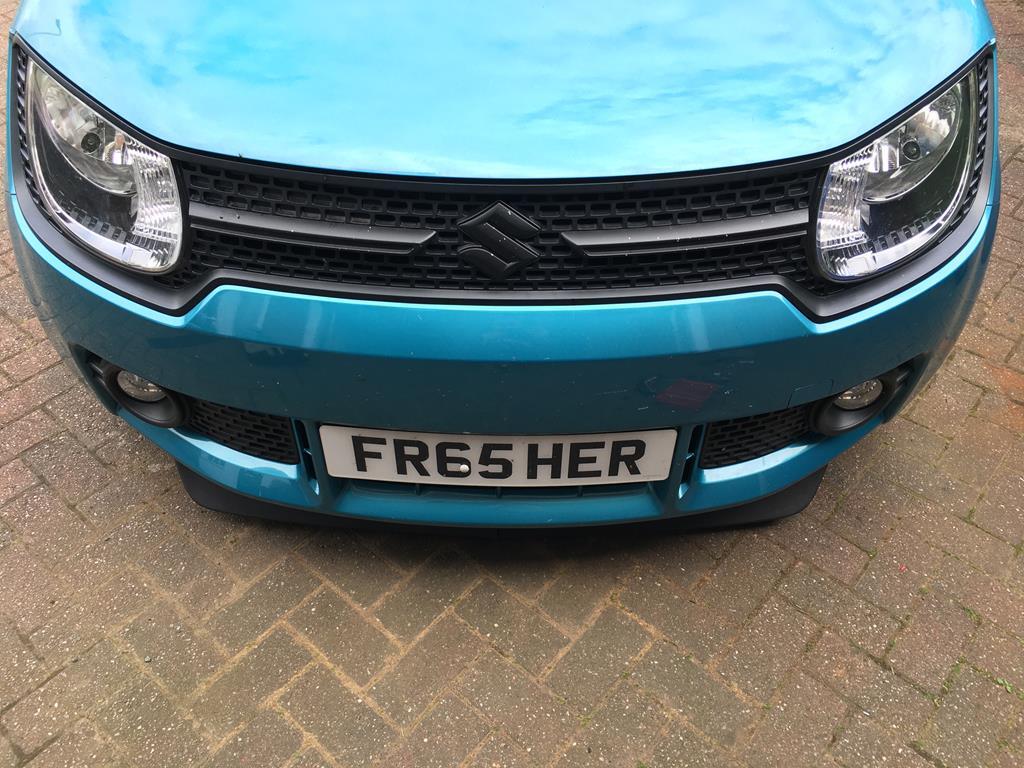
After the photos were taken I also painted the nuts that held the brackets to the splitter in black as they were visible at certain angles.
Really pleased with how that turned out.
Went fishing twice, a few hours each time, catching about sixty fish altogether, a couple of the nicer ones photographed, not sure if I’ve mentioned it on here but that’s my escape now a few hours twice a week seeing as fishing was unlocked in lockdown quicker than car shows. I’ve not been regularly since twenty two years ago before this year. Twenty four years since I discovered cars and women!


Woodstock good times Sticker arrived for the truck...

The vinyl came back and the hole punch and ringlet press arrived so I fitted those with rusty inspecting...


Fitted it to the truck, although I hadn’t thought about the fact that it would only stretch in the places it was fixed so version two will be a metal strip running down each side and I’ll make more fixing points so it will be fixed along the whole length rather than front, middle, and rear...


Custom car magazine in Japan is running a feature on my truck and they asked me to send a photo of me too. Here’s me, I should have opened the garage door at least really...

Yesterday a replica mk1 golf front splitter arrived in the post...

Last night I bent some angle brackets and painted them with my finest nail varnish...


Had a few hours this morning...
Removed old front splitter / strip - 5 popper clips, easy...


Just in front of where the original splitter fitted where a pair of unused holes, presumably where the optional extra official Suzuki front bumper trim bolts to so I decided to make use of those holes to fit the brackets to.

A bit fiddly on my own but I held the splitter so the straight end of the first side lined up with the middle of the car and then put my finger on the splitter in line with where the hole in the bumper was, very approximate but seemed to work in the end.
Scored a line and drilled a hole, measured it to be 37mm from edge of standard hole so I could replicate for opposite side...


Fixings used, although I ended up using an extra pair of washers and nuts to hold the fixing bolt in the bracket to hold up to the bumper rather than trying to bring a loose bolt, splitter, two washers and a nut all in line together with only two hands whilst scrambling on the floor and holding an arch liner out of the way....

Brackets fitted to splitter and confirmed angle matched...


As per comments above, getting the nut tightened up was proving really tricky until I relented and spent less than a minute removing clips from the arch liner, should have just done that to start with but didn’t think it would impede me much. Photo of the nut through the peephole...

Then fitted the other side, and magically the two ends met up in the middle, slotted them together and rested on the floor while I investigated how to fix them in the middle...

A standard fixing bolt for the bumper, that’ll just do nicely ...

A third bracket bent and fitted to the bumper...


A 6mm bolt was fed through the hole that is in the overlapping tab that keeps the two ends aligned together and through the above bracket and nutted up.
Various angles of success...


After the photos were taken I also painted the nuts that held the brackets to the splitter in black as they were visible at certain angles.
Really pleased with how that turned out.


