|
|
|
|
|
Hi, still alive and kicking :-) It as been a rather hectic 3 months since my last post and nothing has been done on the car. Getting of the floor due to Sciatic nerve damage was an issue as we do a lot of that working on cars :-) I have been able to get through a lot of the house and garden TODO list that didn't require crawling around so some good can be taken from the injury :-) We also splashed out, spending kid's inheritance, on a decent motorhome which ticked most of our wishlist boxes but cost twice as much as we initially budgeted for. Oh, well, cant take it with you. We have decided to follow the principle of "If not now, when?" so we are preparing for when the car is ready to go rather than waiting until it is. This has the added advantage of being able to enjoy it now. Had two shakedown weekends with fellow drag racing motorhome owning friends and came back with a list of little jobs to do and gadgets to buy. All of us at Broadhembury, just south of Ashford in Kent. We are furthest right in the photo' 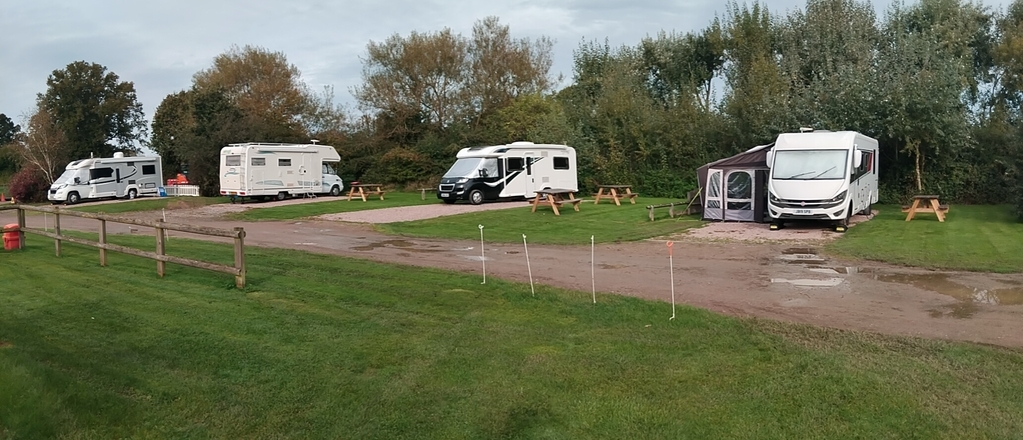  Yesterday, I finally got back into the garage. The car is covered in dust from all the other stuff have been doing in there so my first task is to clean it up. Started on the boot, it could really do with a complete strip down and rebuild but that can wait. 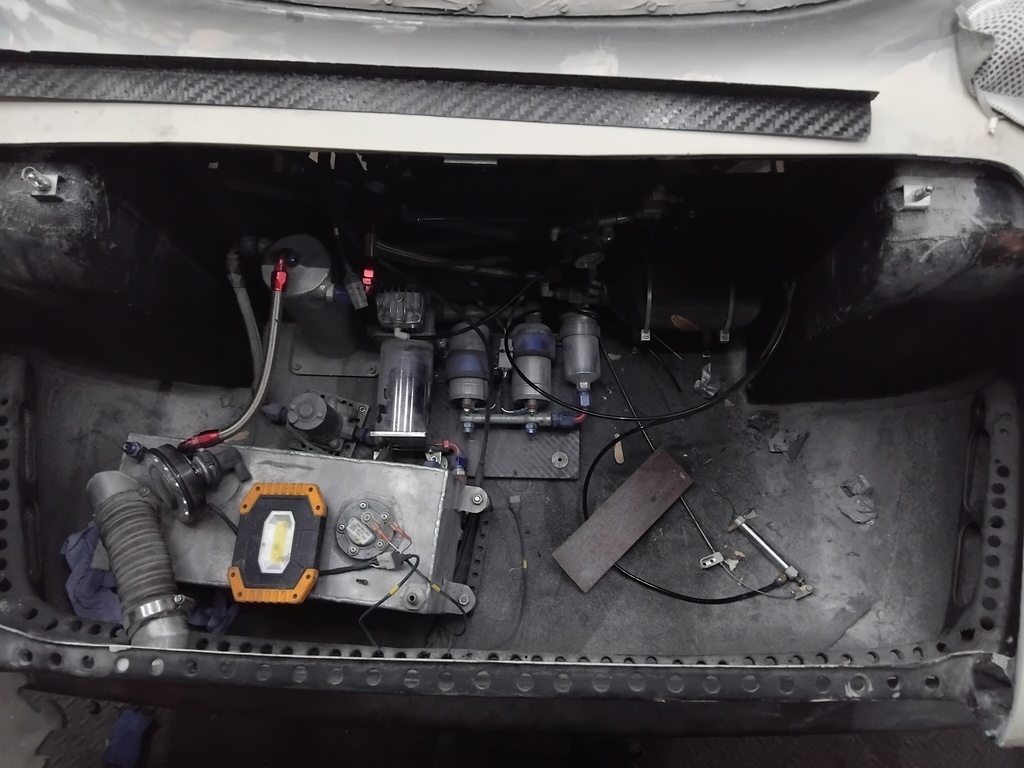 Plan is to continue with the clean up today as I have an extra hour :-) |
| |
Last Edit: Oct 26, 2024 9:28:29 GMT by nalesutol
|
|
|
|
|
|
|
|
|
|
This project is one that keeps me checking in on this site from time to time. Thanks for giving a SITREP even if it is " no real progress". At least I know it is not a dead project.
Pete
|
| |
|
|
|
|
|
Oct 27, 2024 22:15:12 GMT
|
|
|
| |
Last Edit: Oct 27, 2024 22:15:58 GMT by nalesutol
|
|
|
|
|
Oct 27, 2024 22:32:50 GMT
|
This project is one that keeps me checking in on this site from time to time. Thanks for giving a SITREP even if it is " no real progress". At least I know it is not a dead project. Pete Hi Pete No, still at it, albeit not for a while. However, with the weather turning resulting in outside projects on hold until the spring and my leg a lot better, it is time to get back into the car modding harness and crack on. Steve |
| |
|
|
|
|
|
Oct 27, 2024 22:34:47 GMT
|
|
Update - Son is going to 3D print me a couple of clamps for the nitrous bottle. Kids can be handy sometimes and actually SAVE you money :-)
|
| |
|
|
|
|
|
|
|
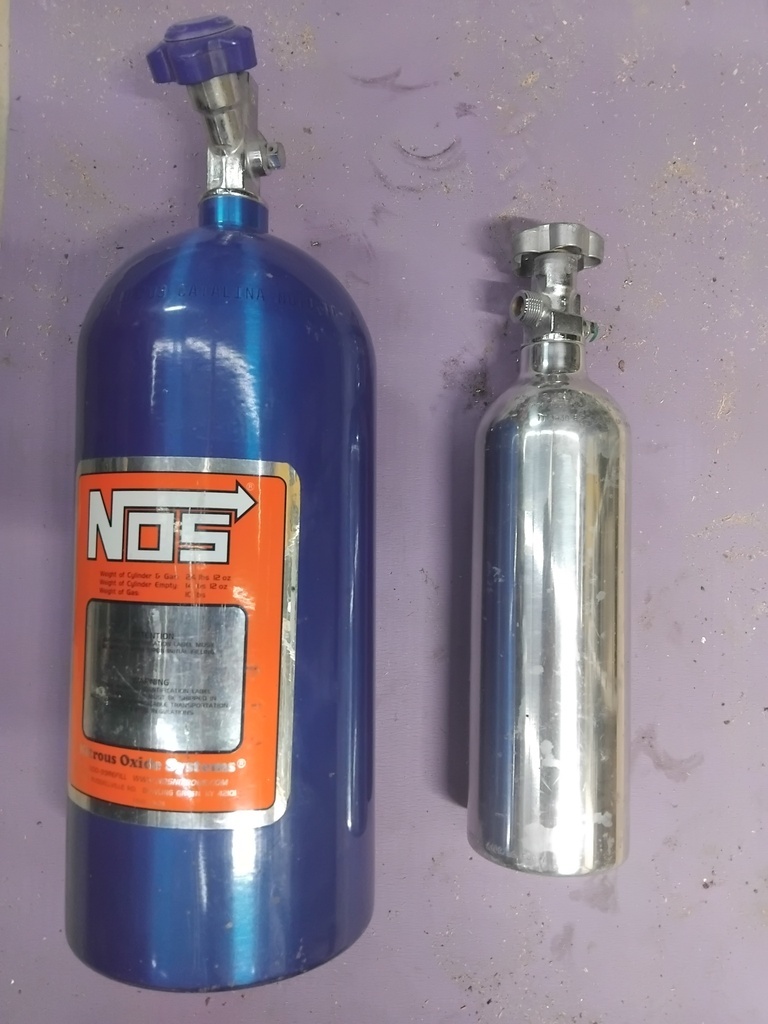
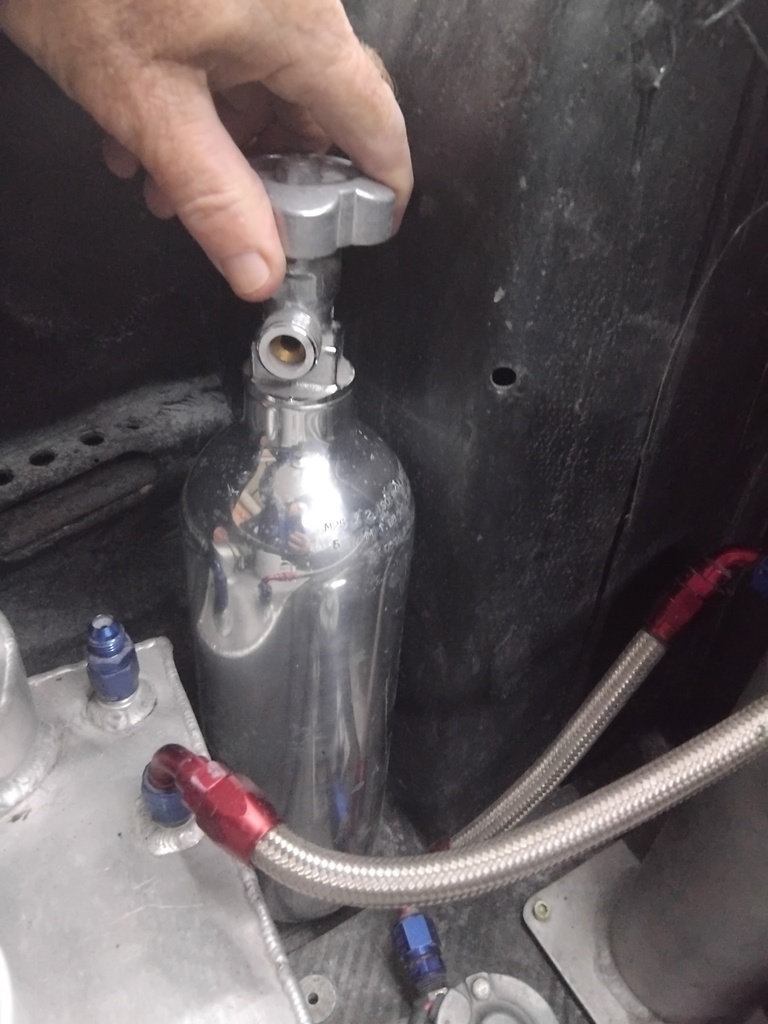
Anyone on here up on nitrous fittings? Trying to work out the correct fitting for this bottle. Thread is approx 22mm OD and the pitch is 2mm. There is a concave surface inside so I am assuming that that will be the sealing surface. 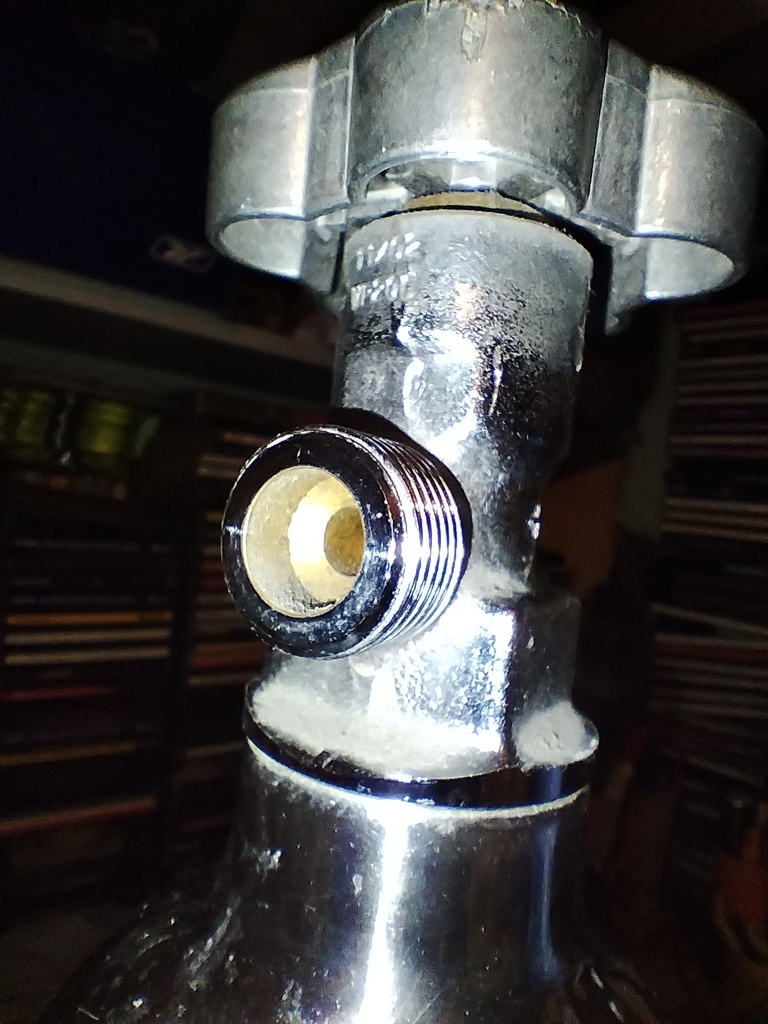 |
| |
Last Edit: Oct 30, 2024 12:02:35 GMT by nalesutol
|
|
|
|
|
Oct 30, 2024 19:18:42 GMT
|
Secured the fuel tank as it was just sitting in the boot held in place by the fuel pipes. Anal about weight warning! Whilst sorting out the rubber mounts I changed them for lighter ones :-) Removed approx 70gms. Original on left, replacement on right. 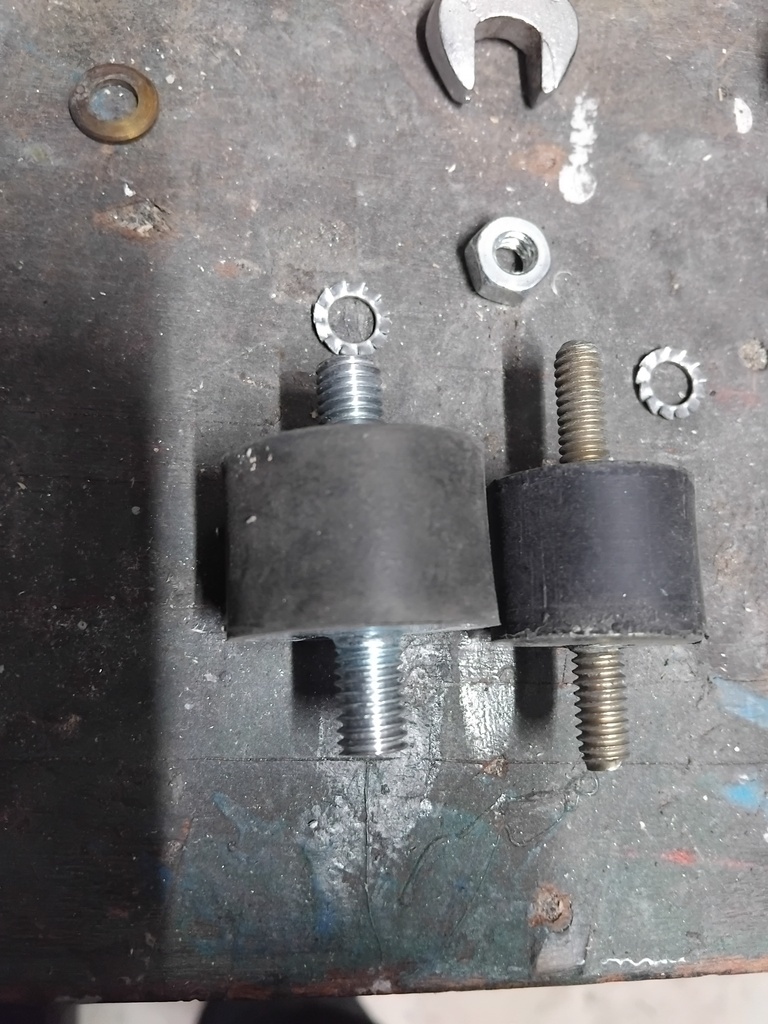 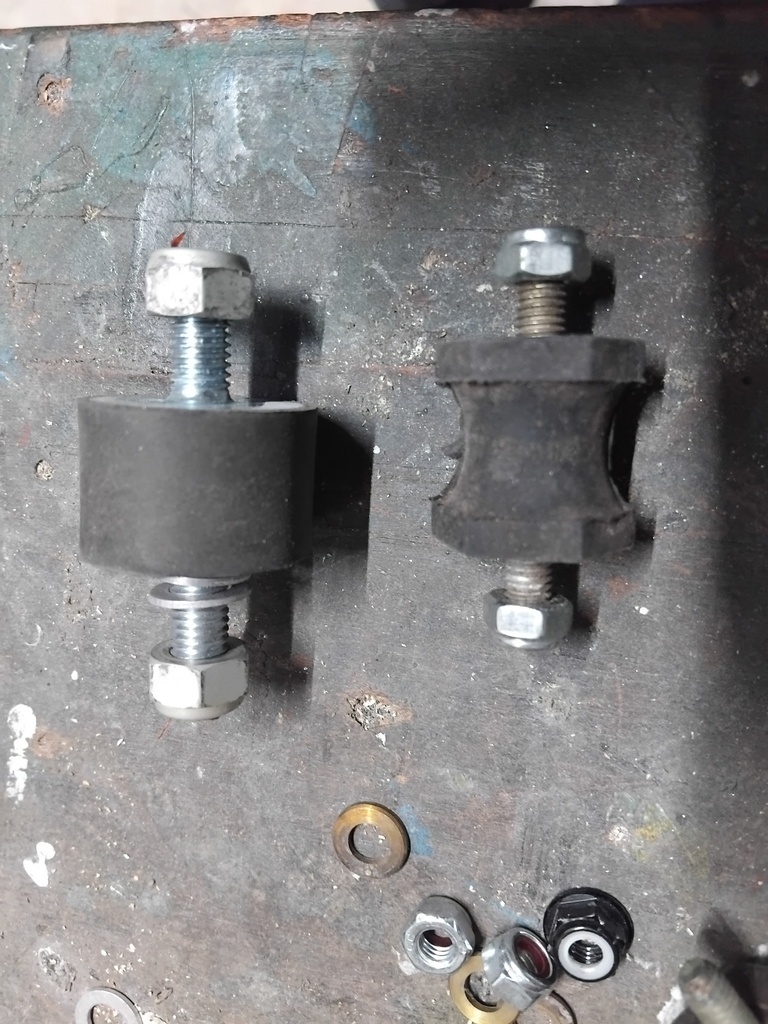 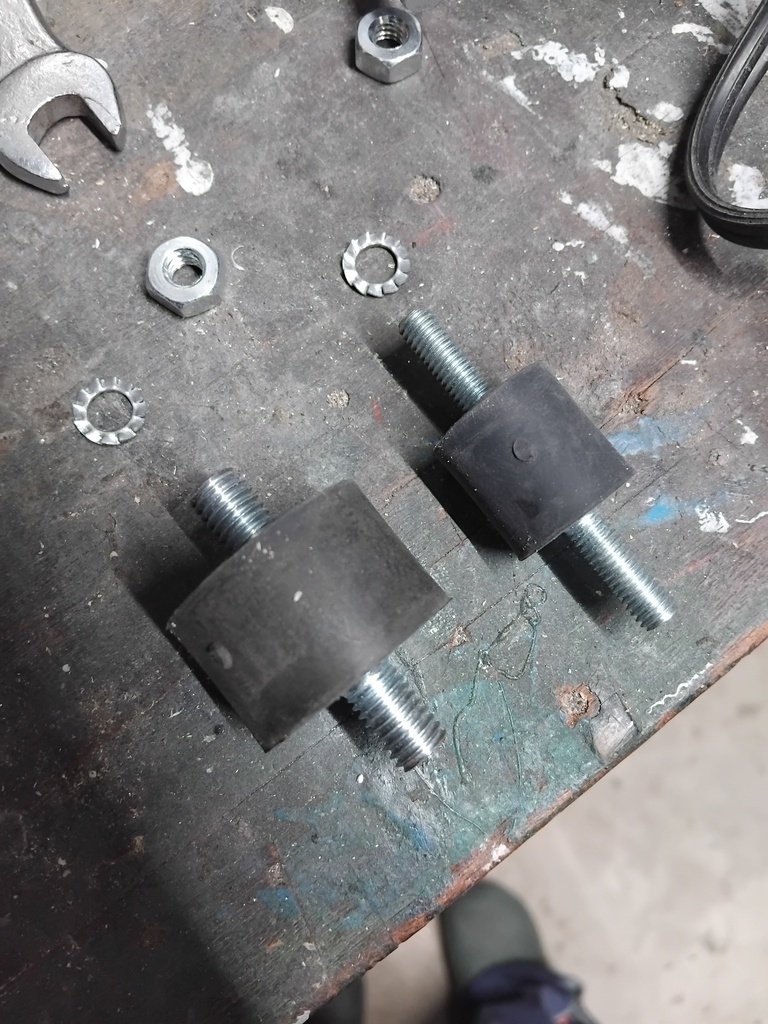 I then decided to start the installation of the diffuser. There will have to be some mods made to it as I forgot that the new wheels will be a couple of inches wider on the inside, but no big deal as it only affects the first 150mm. I will cut and shut once I have the wheels and tyres. It extends around 100mm past the bumper but less than the boot extension. The parachute frame will have to be lengthened so it clears the extension. 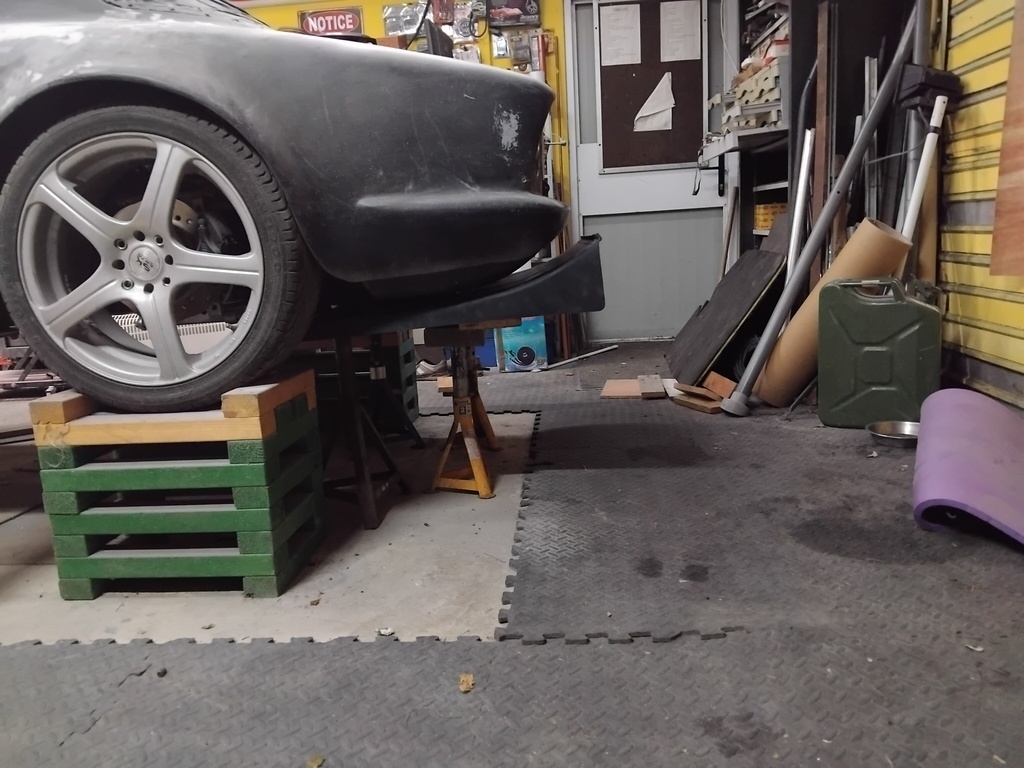 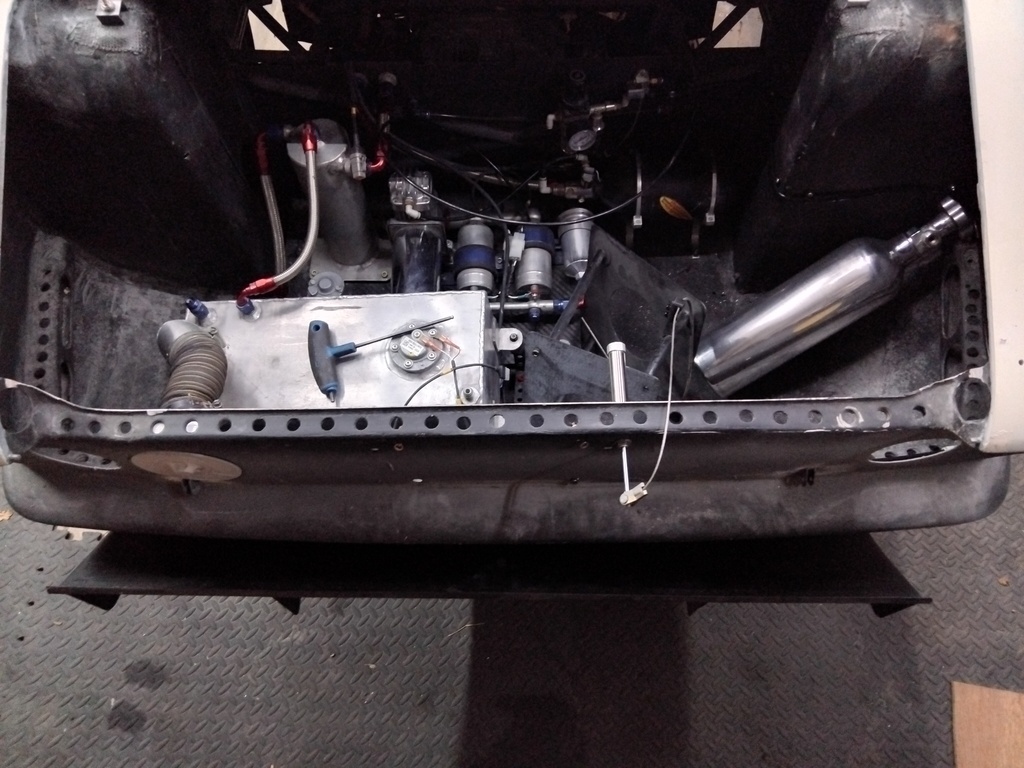 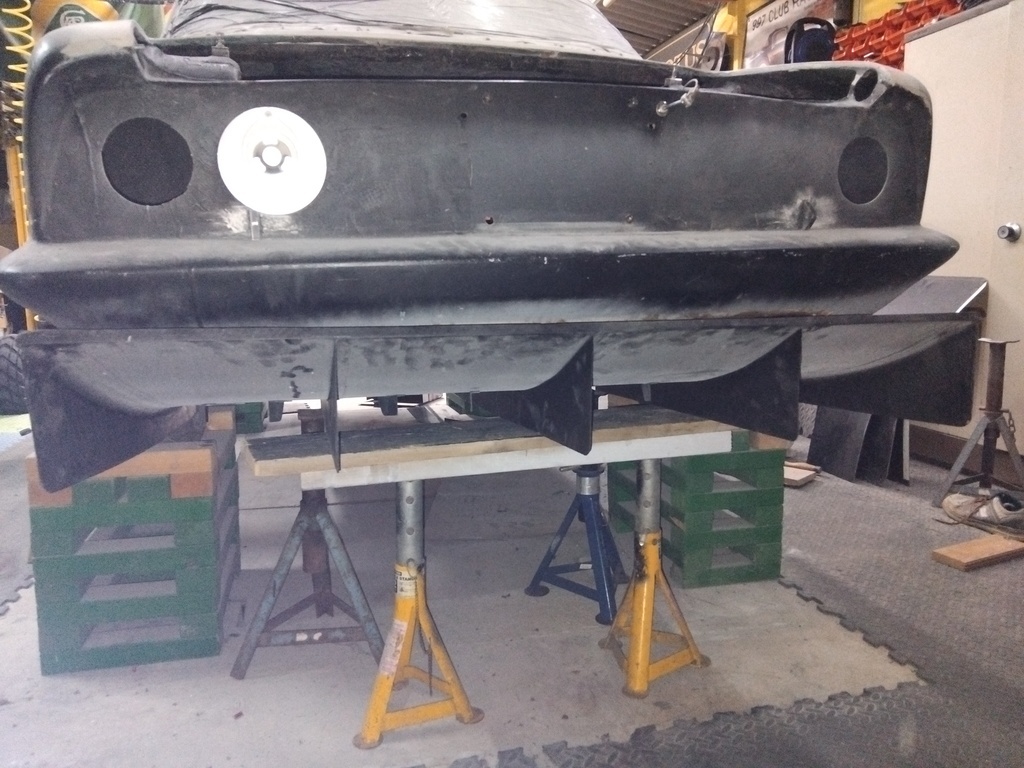 This may come as a bit of a shock to many YouTube 'aero tuners' but a fair amount of research went into the design of this diffuser to ensure that it works with the rest of the underfloor aero so actually has a positive effect on the downforce. Most are fitted because they 'look cool' but claim they are also aerodynamic. Well, I guess they are in that they affect the air flow, but not in the way claimed :-) They only look cool to 13-20 year old boys who know SFA about aerodynamics. They remind me of when I was 13 and fitting playing cards to the front wheel of my bike so they flapped against the spokes :-) Rant over. Feel much better now nurse, no need for the sedatives tonight. |
| |
Last Edit: Oct 30, 2024 19:28:09 GMT by nalesutol
|
|
|
|
|
Oct 31, 2024 18:55:42 GMT
|
|
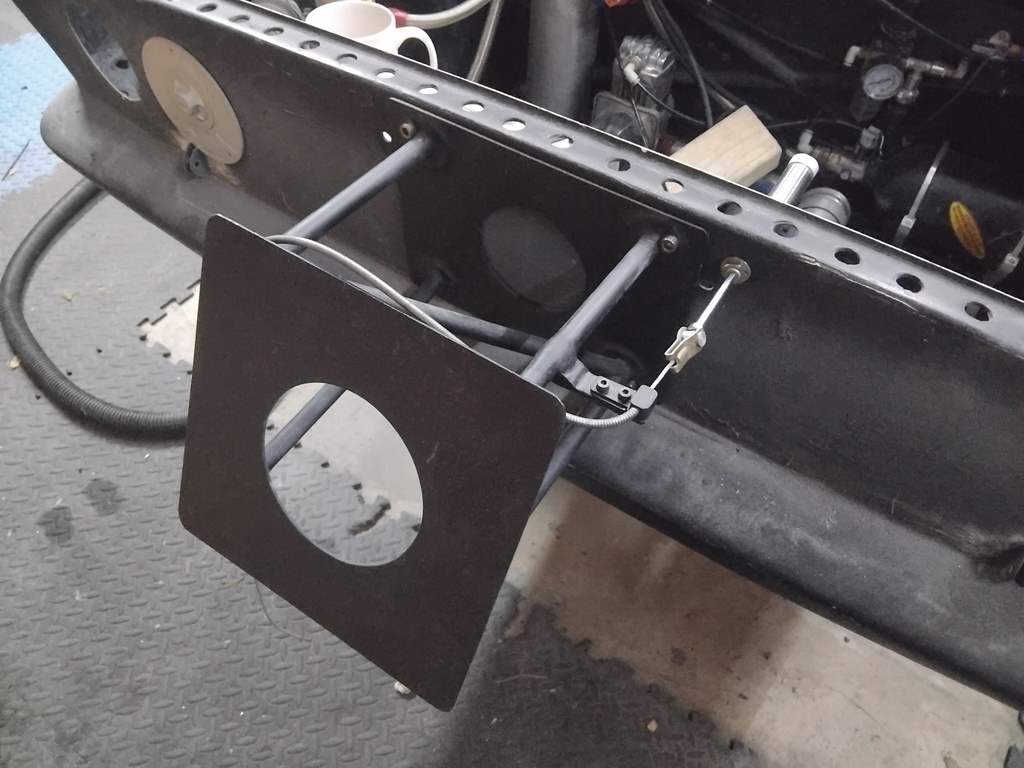
I know that it is Halloween, but I reckon that I have a mischievous poltergeist in my garage. I mislaid my box of small fasteners (not for the first time) last week and now I can't find the end plates and support struts for the rear boot tray/wing/spoiler. Tomorrow is going to be a serious tidy up day as they must be in there somewhere where I haven't looked yet.
|
| |
Last Edit: Oct 31, 2024 18:56:16 GMT by nalesutol
|
|
|
|
|
Oct 31, 2024 23:20:03 GMT
|
I needed a couple of clamps to hold the nitrous bottle on to the wheel tub. My initial thought was to use a pair of 102mm exhaust clamps, which I duly ordered. As soon as I had done that I thought, "damn, my son can 3d print me a pair!" So, if anyone needs 102mm clamps I have a pair :-) Son came up trumps, as usual, with a pair of 3d printed carbon clamps. They look way smarter than exhaust clamps and weigh in at 92gms the pair as opposed to 500gms. A win-win. 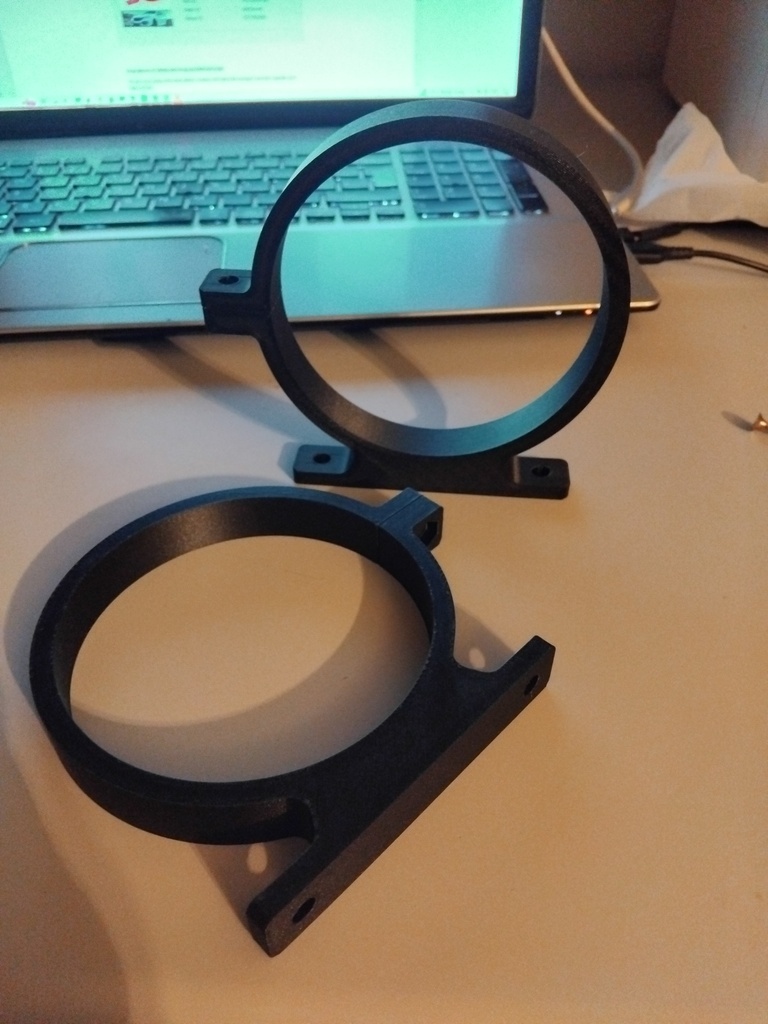 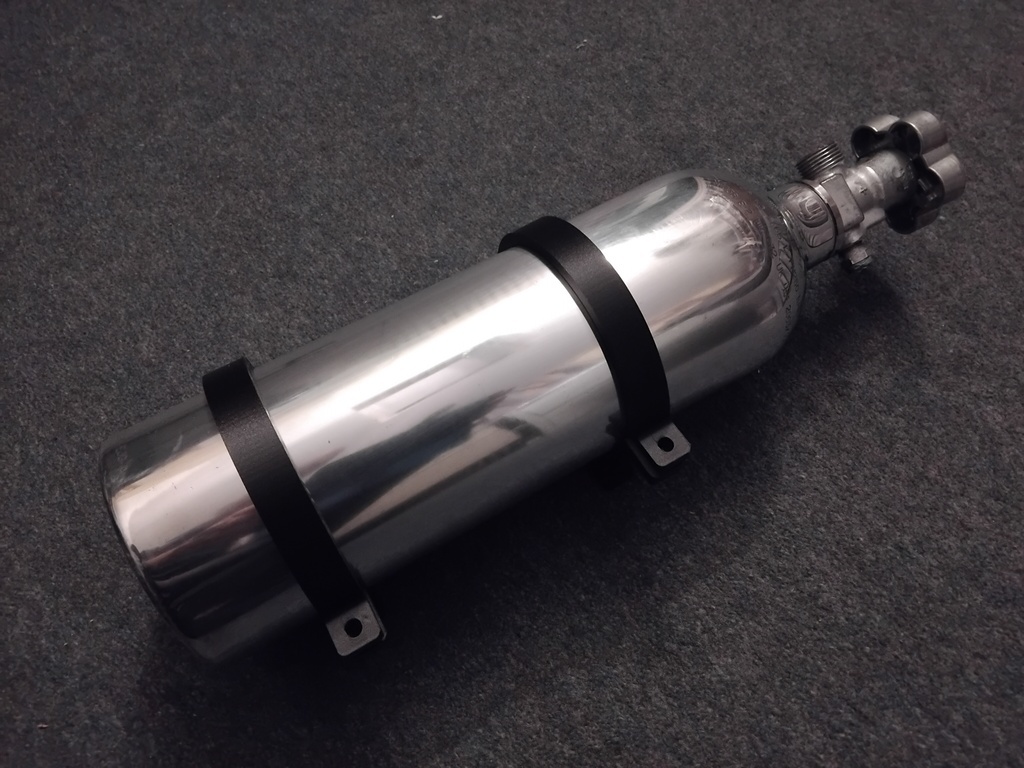 |
| |
Last Edit: Oct 31, 2024 23:20:29 GMT by nalesutol
|
|
|
|
|
|
|
First, progress report: Nitrous bottle fitted using new clamps. Bolts will be colour coordinated :-) 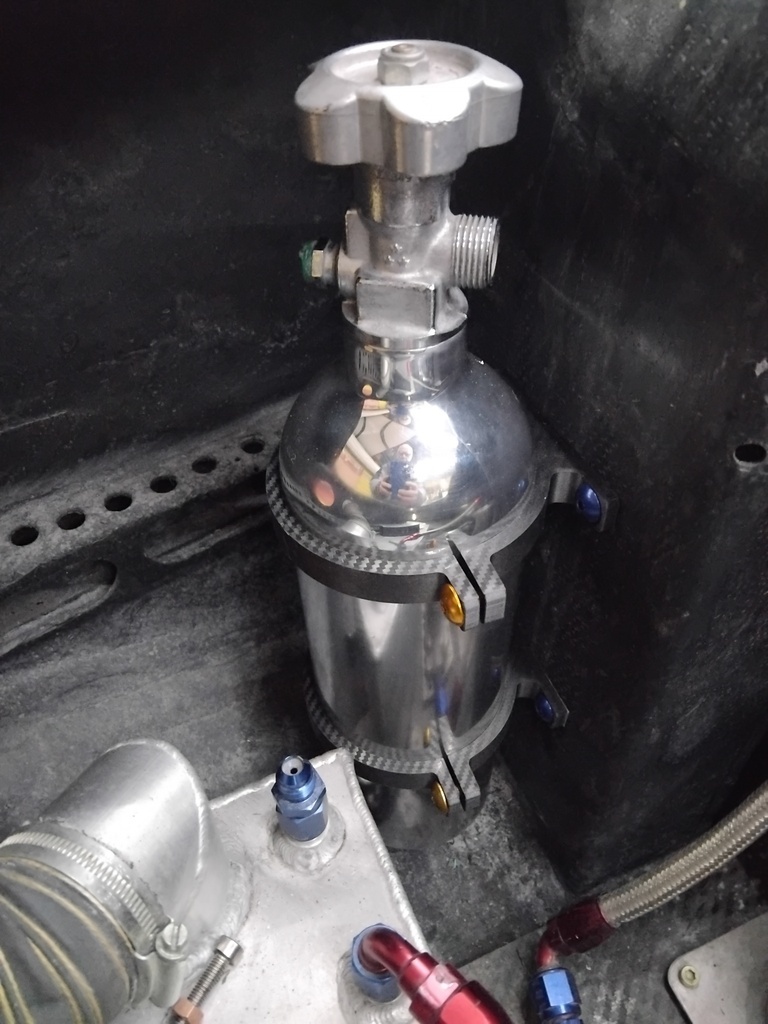 Second, opinions canvased: The parachute support was designed and fabricated pre-boot tray. The parachute now sits under the tray. Every other chute I have seen protrudes past the tray. However, this will require a redesign of the support and it will look weird and necessitate the strengthening of the boot panel. My question is, why does the parachute have to be behind the tray as it is sprung loaded? Is it to make sure it catches the air quicker? We are only talking about 150mm or so, will this make that much difference? One alternative solution is to cut the tray back in the vicinity of the chute. This will alter the effectiveness of the try slightly. There is no parachute fitted at the moment so the rear of the chute will be roughly in line with the end of the tray. Thoughts please. 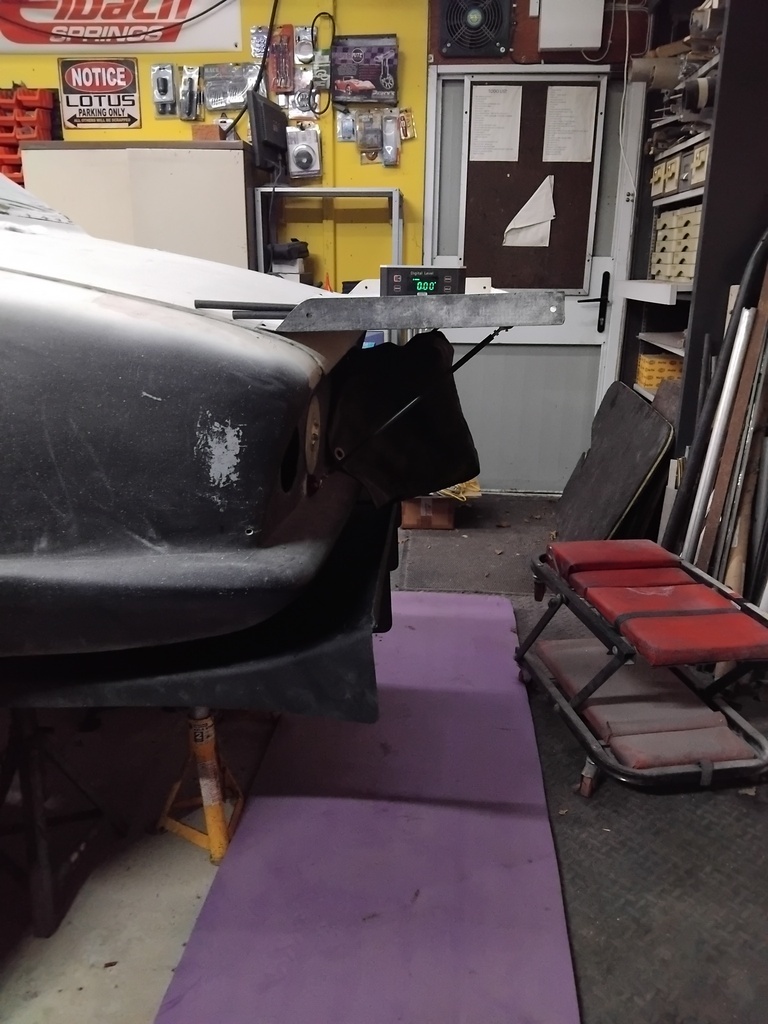 |
| |
Last Edit: Nov 1, 2024 20:55:05 GMT by nalesutol
|
|
|
|
|
|
|
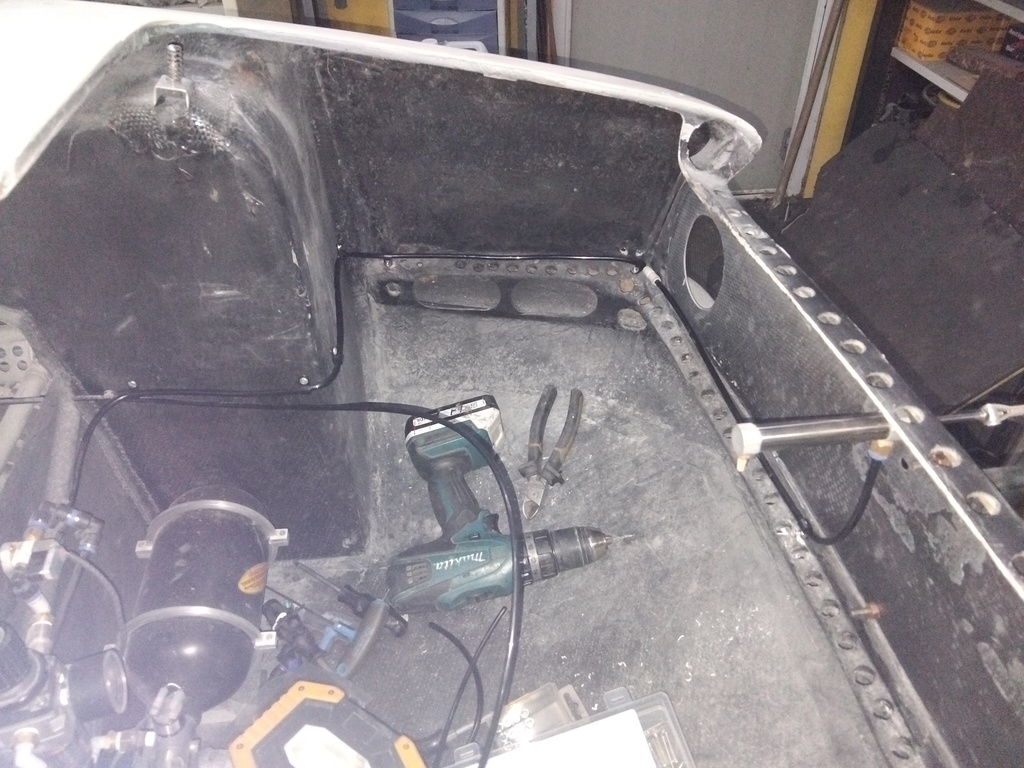
In order to get a better idea on parachute/tray alignment I decided to pack the chute for the first time. I have had the chute for a number of years but it has been out of the bag for most of that so as not to risk making the folds permanent or getting mold. Watched lots of videos and they were all slightly different so there appears to be no right way, with each chute style having different folding methods. Untangling the chute from where it was hanging was the first PITA. It had slipped many times with me simply hooping it back over the bar so it got into a right mess. 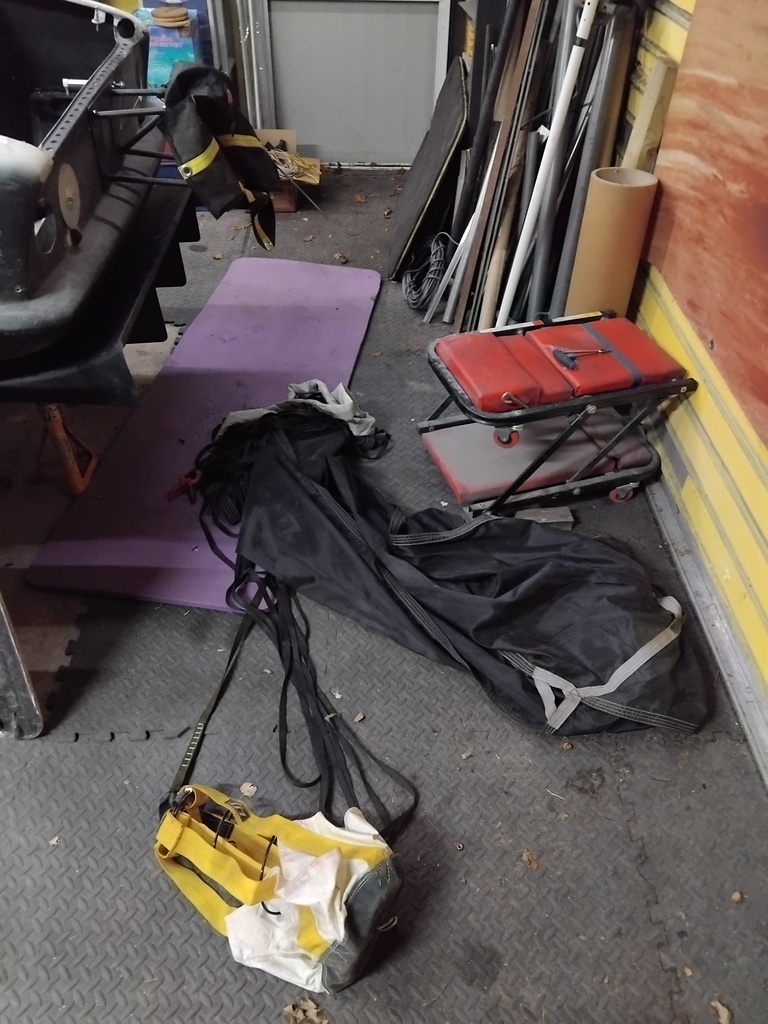 Once on the floor it was relatively straight forward to sort out the cords but how to fold was a different matter. The main part of the chute wasn't too bad but the top/middle bit just didn't want to lie flat. 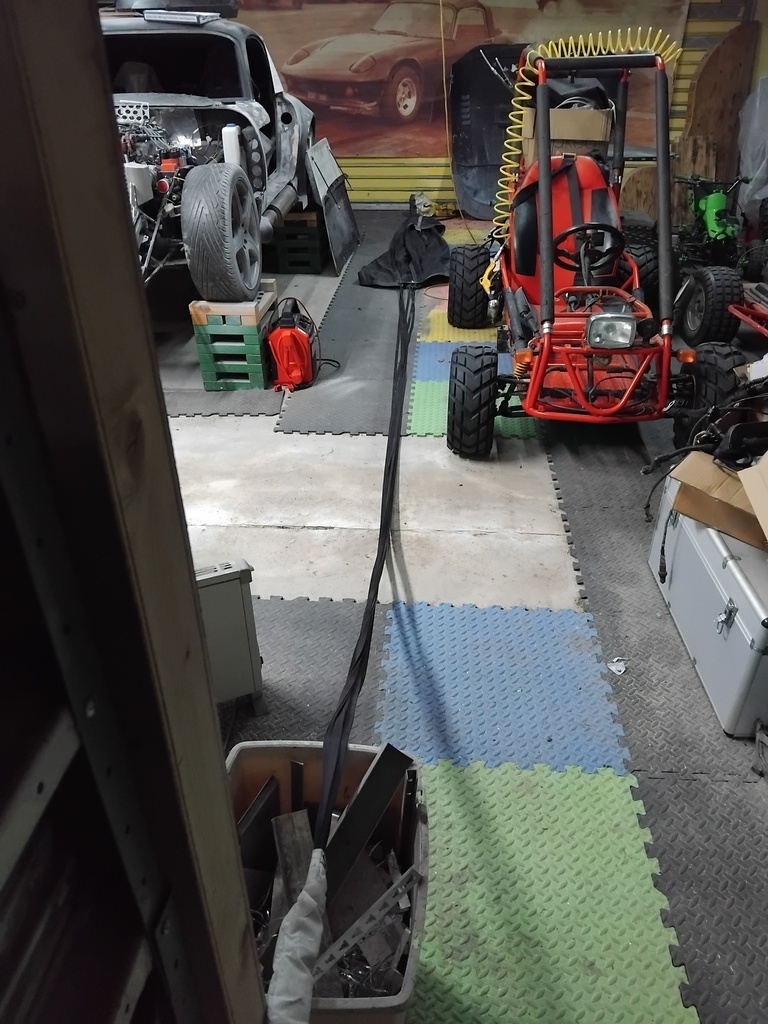 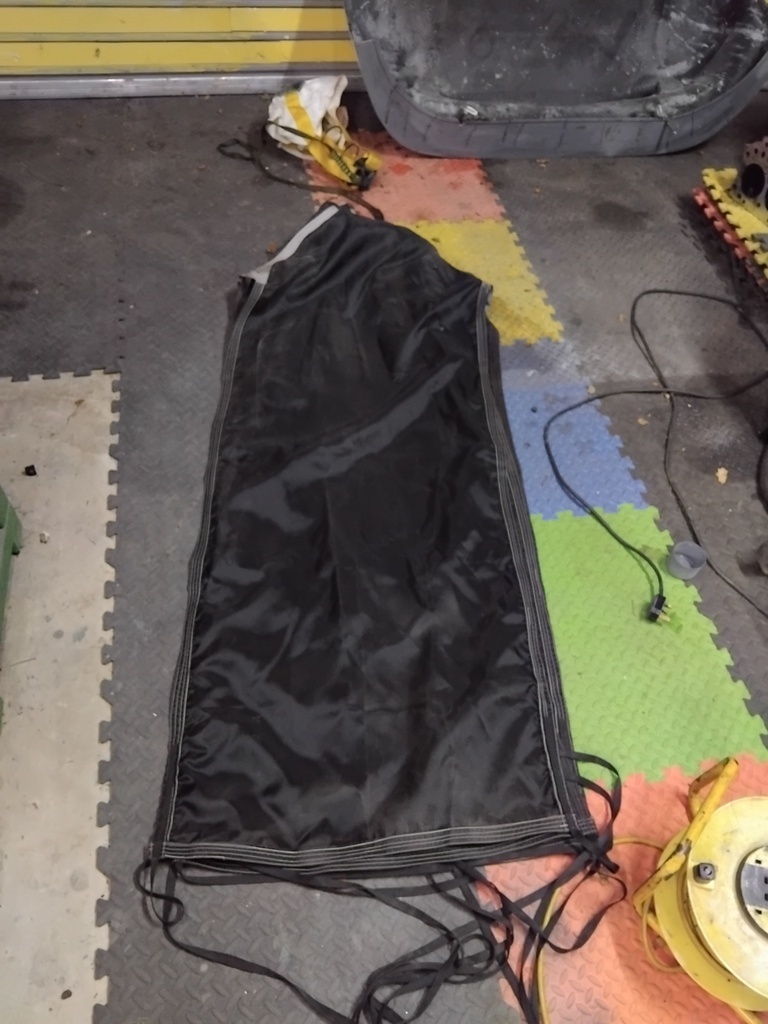 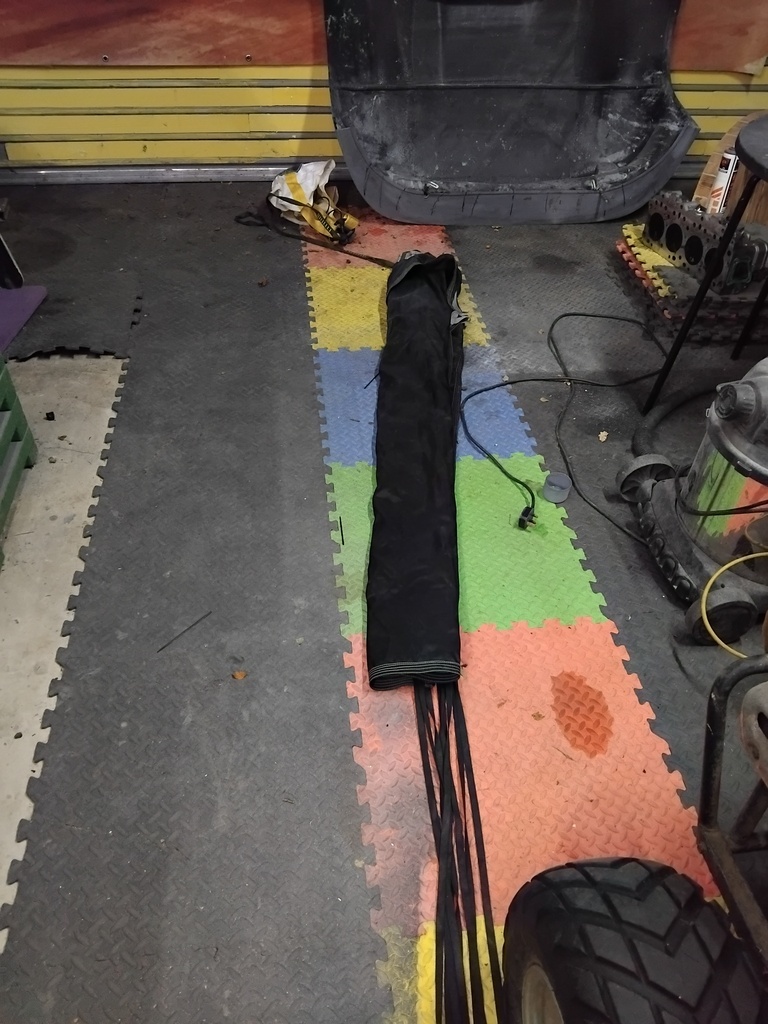 Anyway, I managed to fold it up using the most popular YT method as far the main chute, cords and drag line were concerned. Now to put it in the bag and that is where is all fell apart, both my packing skill and patience. This is realistically a two person job, at least for numpties like me. If you do this every run you will no doubt get good at it, but I hope to never use it as even at 150-160mph I have proper brakes as opposed to silly drag racing units so stopping isn't a problem. It's primary purposes are to satisfy race regs and get me out of the brown stuff if I get out of shape or have a total brake failure (with a duel system this is unlikely). A simpler way to pack the chute with the bag still attached to the car will be a great help. 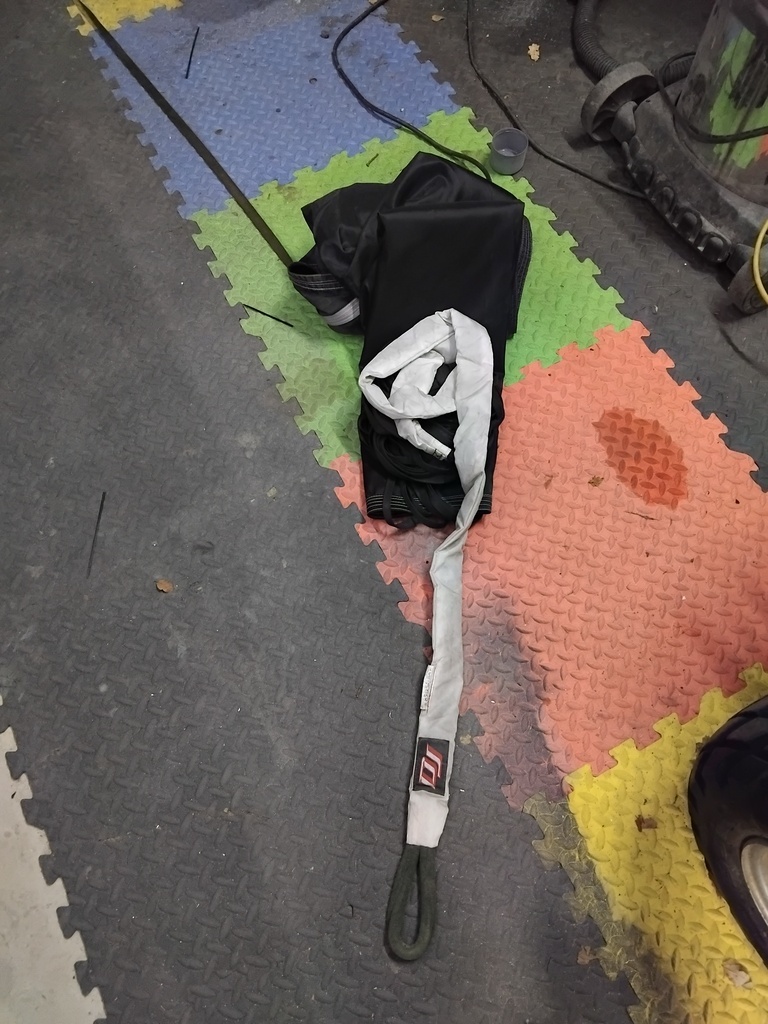 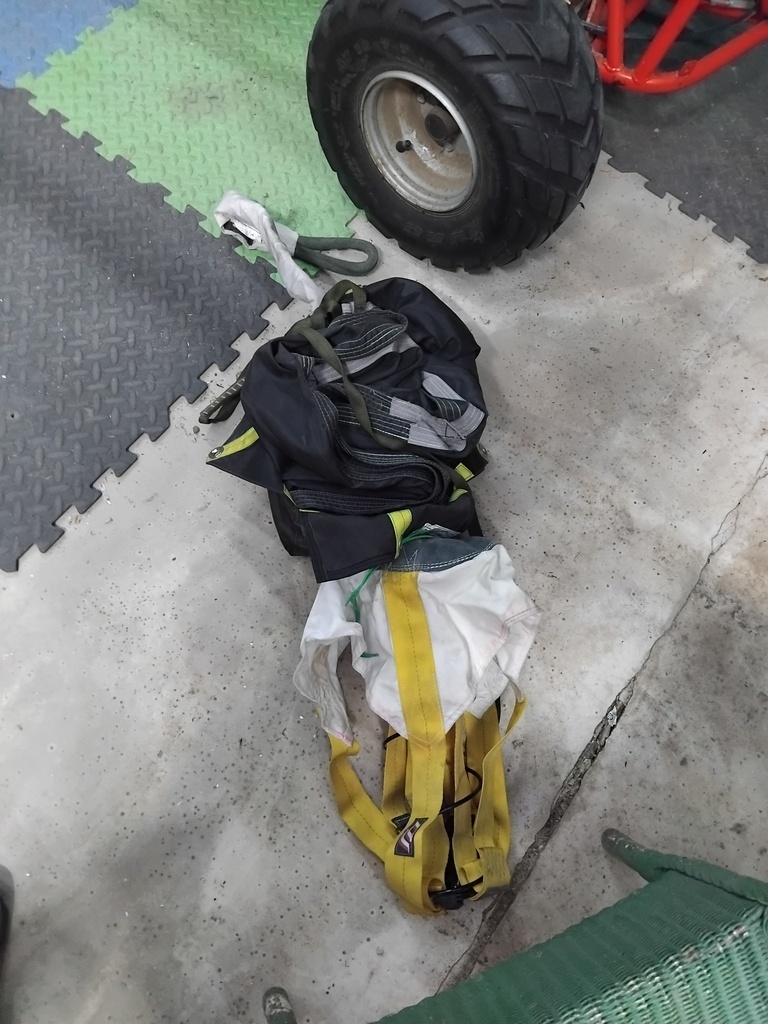 A LOT of force is required to push the pilot chute spring into the bag. The back of my car, being thin carbon fibre, isn't rigid enough to do this so I had to remove the bag and put it on the floor. This allowed me to lean on the spring with my knee but I still couldn't get it all into the bag. A slight movement of my knee and the spring would shift position and I would have to start again! It looks easy on the videos and I am sure that other people manage it easily but I gave up and had a rethought. I wondered if there was another way and, lo and behold, there is. Air launching the chute! Basically a pneumatic cylinder pushes the bag out instead of a spring pulling it out. Using this method also means that, as the chute is pushed out with more force and quicker than a spring can manage, the chute being under the tray shouldn't cause a problem. A win win. All the videos show the actuator being powered by a CO2 canister, but I already have an air supply so that is good. I have a suitable solenoid in my stash along with nylon tube and push fit connectors. I have a selection of actuators but none long enough so that will mean a trip to Ali Express for a 25m ID 250mm long actuator at around £10-15. The biggest expense will be the deployment bag which replaces the spring powered pilot chute. No luck in finding a supplier in the UK so far. I will keep looking but we are in the States in a month or so, so I will get one there if necessary for around £75. I will make the push plate. I have a spare switch on the dash for arming the actuator and I added extra wires to the loom spec just in case I needed extra stuff in the boot and that has paid off. 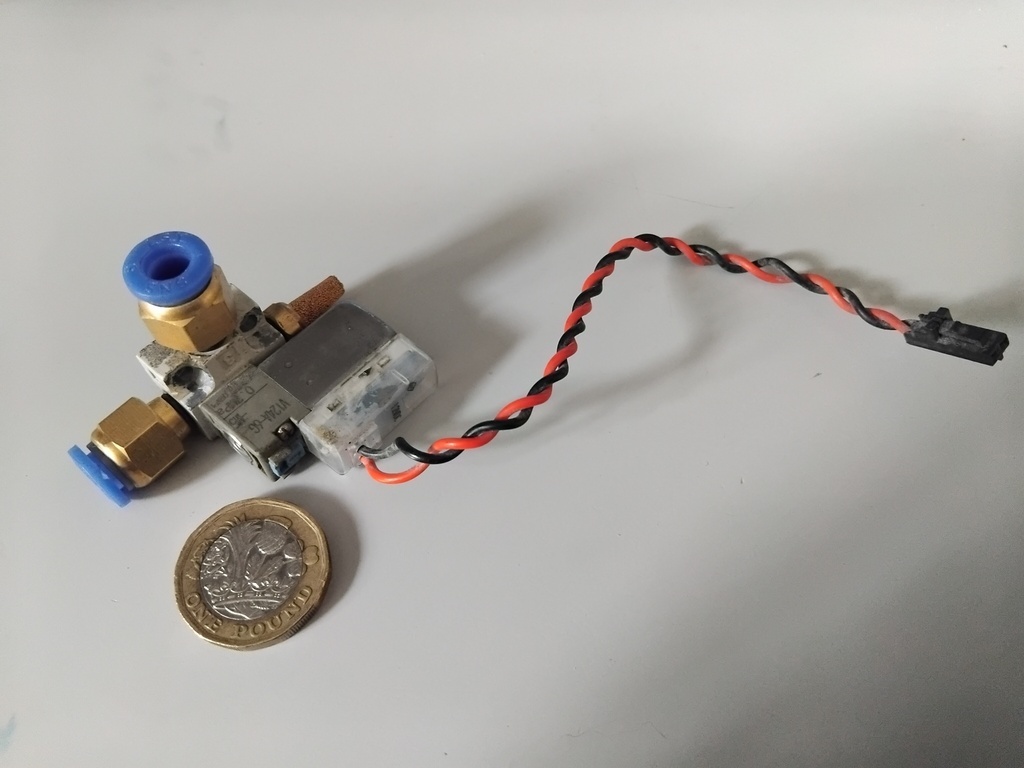 To buy an off the shelf kit would cost £4-500. I just need to buy the actuator and deployment bag for less than £100, that I can justify to myself. |
| |
Last Edit: Nov 4, 2024 12:17:49 GMT by nalesutol
|
|
|
|
|
|
|
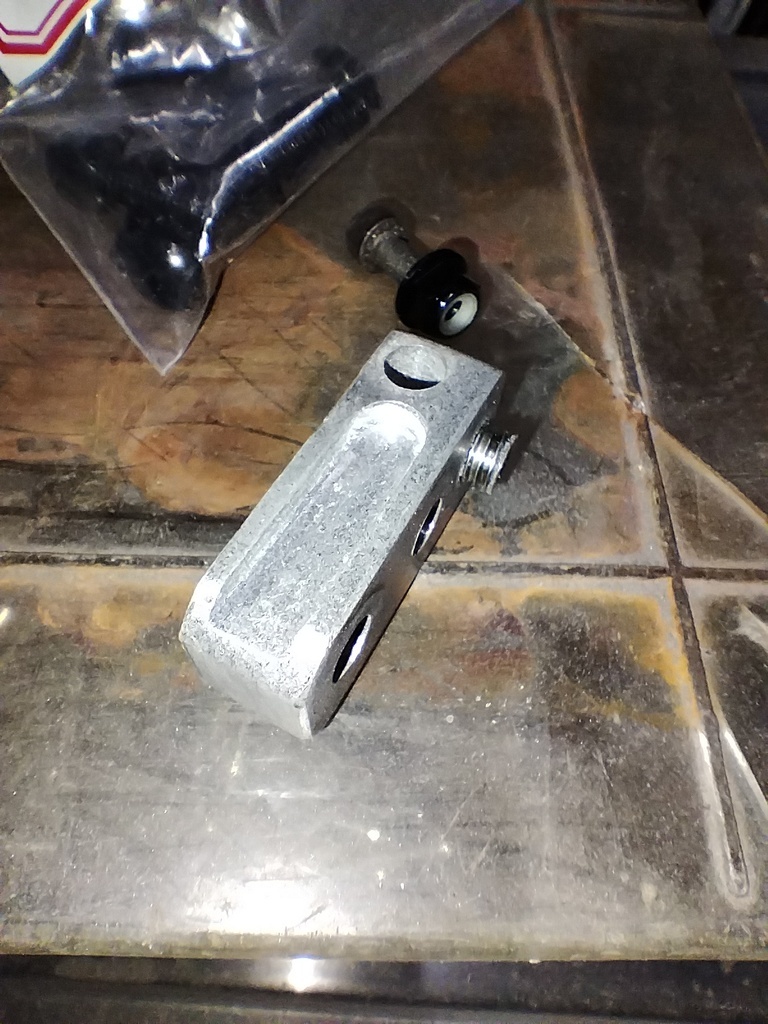
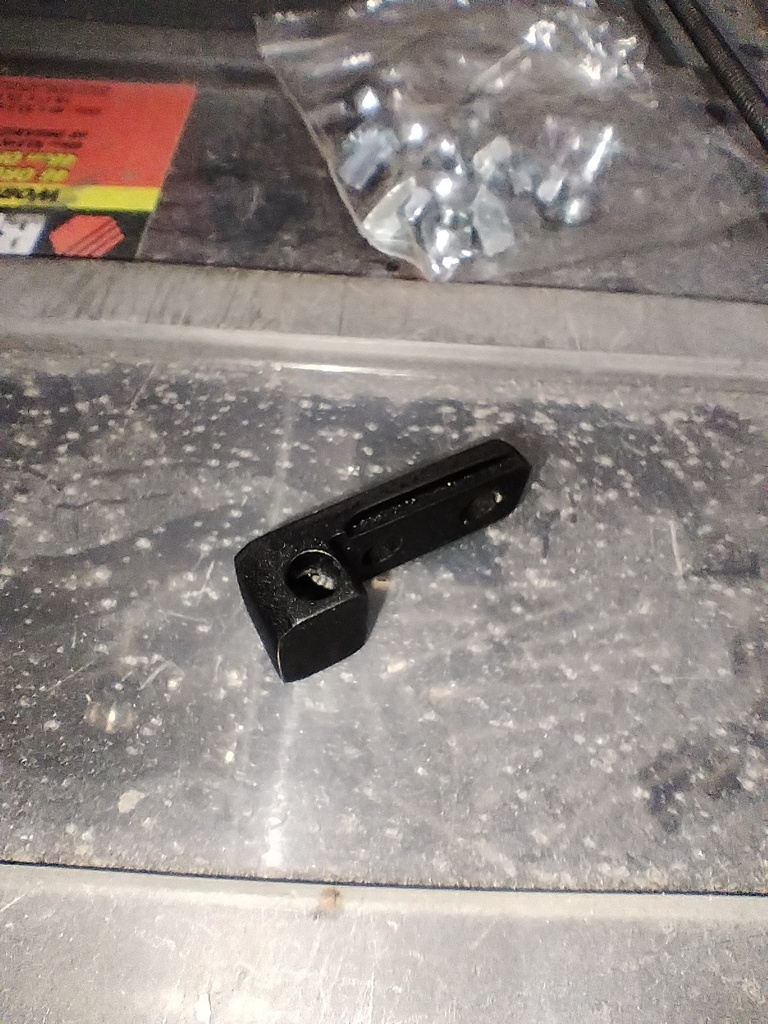
Ordered the actuator, 25mm bore x 250mm stroke. The bore is probably overkill so I might try both 20 and 16 as these will also be lighter. At £9.50 each it won't break the budget. However, I will wait until the first one arrives so I can ascertain whether the overall length will fit or not. Bolting the piston to the disc would result in a nut and part of the piston protruding on the chute side, thereby possibly damaging it over time. A $204.99 plus tax and shipping gets you one like this from Quarter Max. 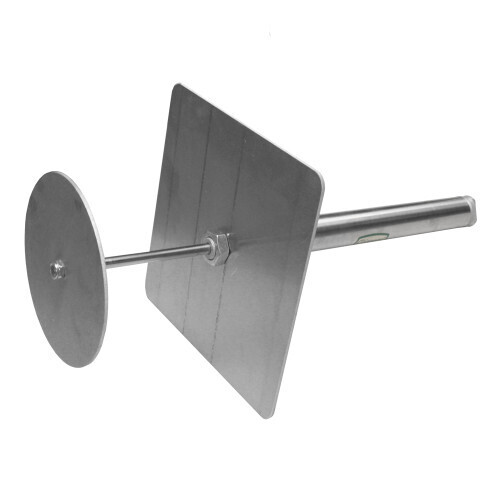 Simply welding a threaded lump of aluminium to the back side solves that problem. As soon as I know what thread I am dealing with this will get done. I can build and check that the system works prior to getting the deployment bag. Oooo, I love designing and making stuff :-) 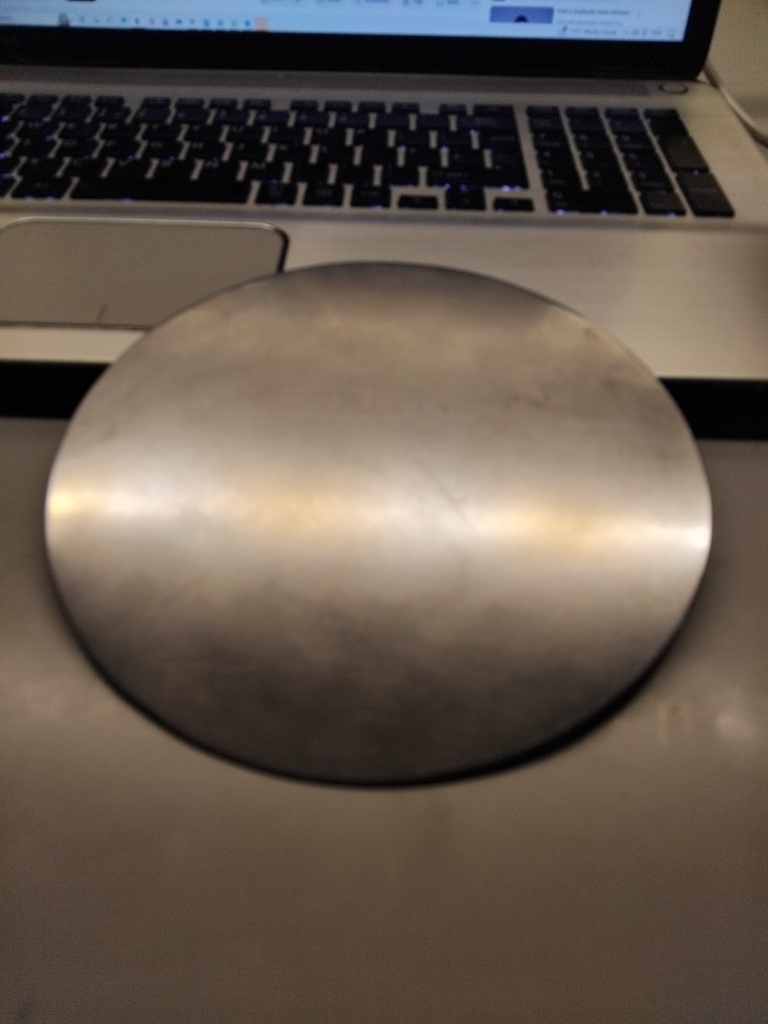 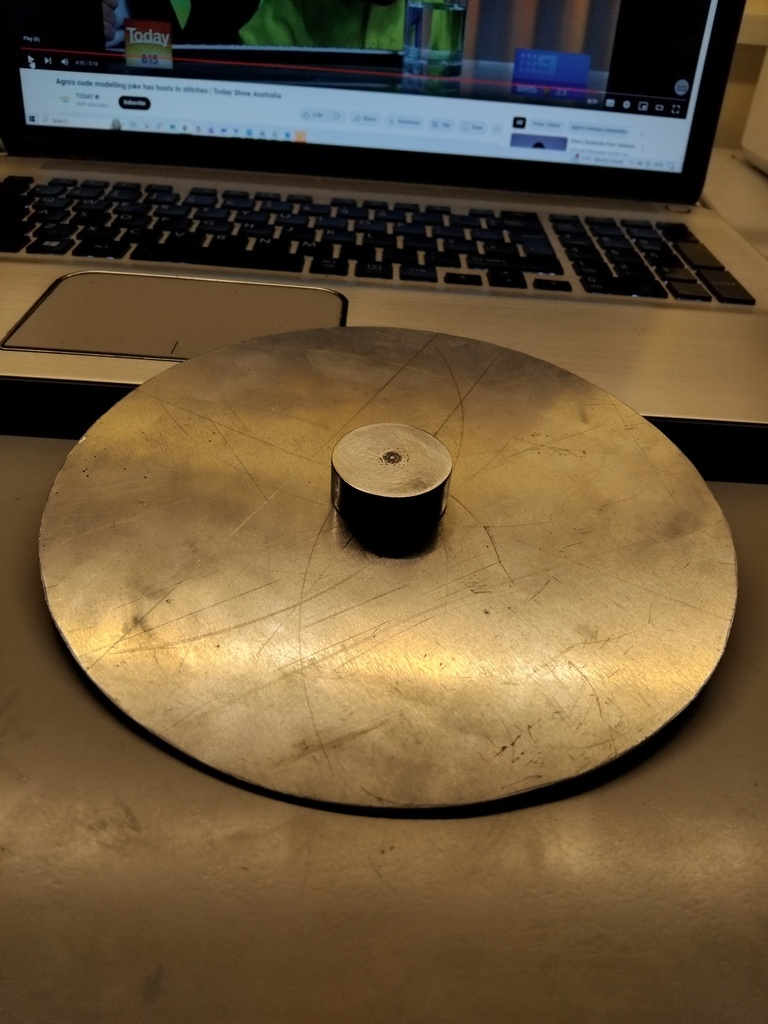 |
| |
Last Edit: Nov 4, 2024 22:26:42 GMT by nalesutol
|
|
|
|
|
|
|
|
Still watching with fascination!
|
| |
|
|
|
|
|
|
|
WHAT!? You are not going to build the chute ejector out of carbon? What has happened to your principles!?  |
| |
|
|
|
|
|
|
|
WHAT!? You are not going to build the chute ejector out of carbon? What has happened to your principles!?  Don't, for one minute, think that it wasn't considered :-) Carbon doesn't like repeated shock loadings or extreme stress (See Titan), which will occur with 150+psi being instantly released against it. The disc would have to be a lot thicker than the car's body panels as it mustn't deform under pressure, which would increase the risk of structural failure The area around the shaft would have to be even thicker as this will take the brunt of the force. On the other hand, an aluminium plate can be thinner as some deformation will be acceptable and the area around the actuator shaft can be easily strengthened (as can be seen in the photos above). Therefore, the weight difference would be marginal. Also, making it out of aluminium is easier, less messy and quicker. Horses for courses :-) I believe that my principles are intact :-) |
| |
Last Edit: Nov 5, 2024 21:52:49 GMT by nalesutol
|
|
|
|
|
|
|
Fitted main chute back into the bag sans pilot chute, easy peasy so going air launcher is a no brainer. Also the bag opening is out from under the tray so I don't think there is an issue with its location' especially with the chute being pushed out with 150psi. Sometimes things work out without any extra work, not often but sometimes :-) 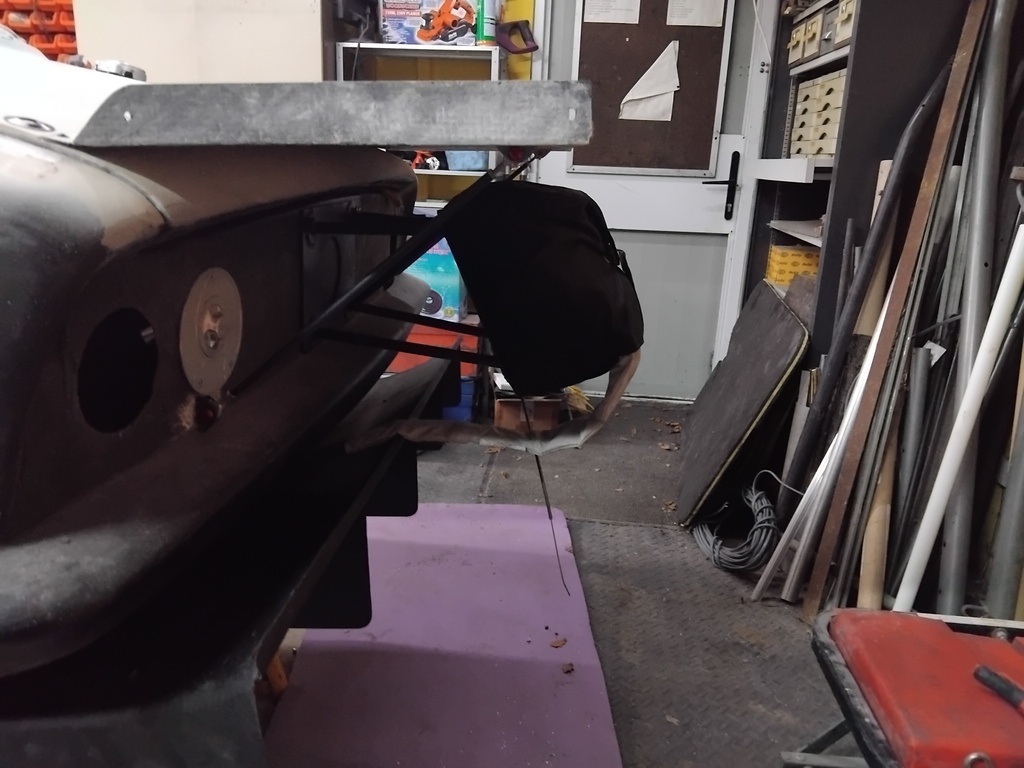 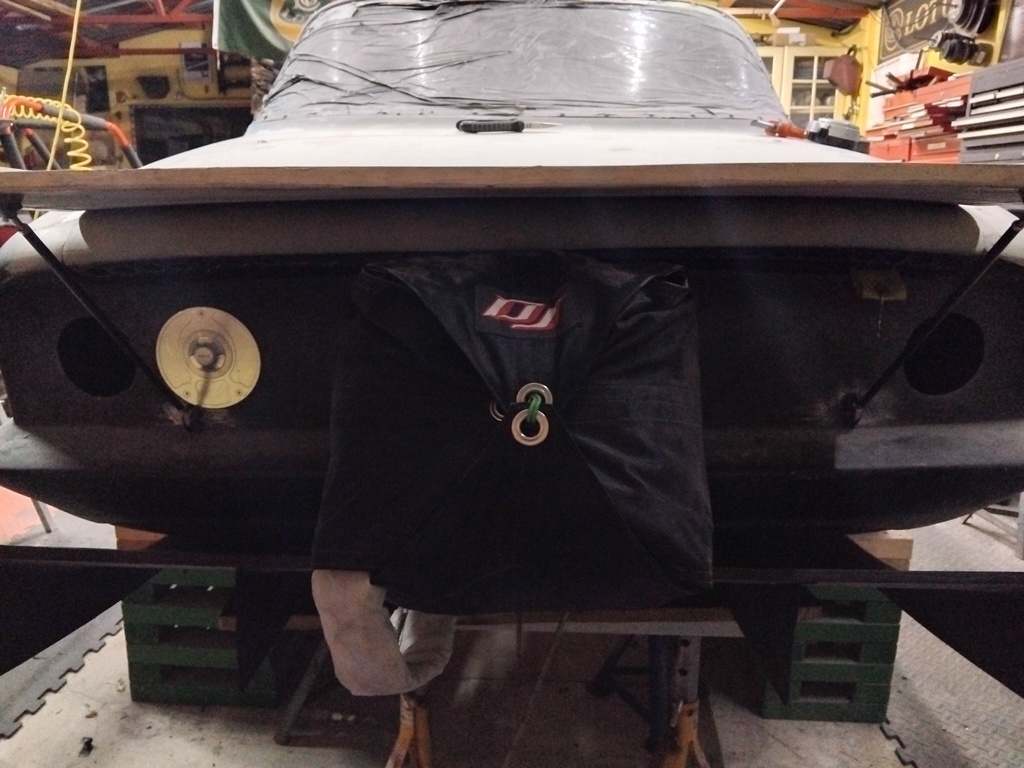 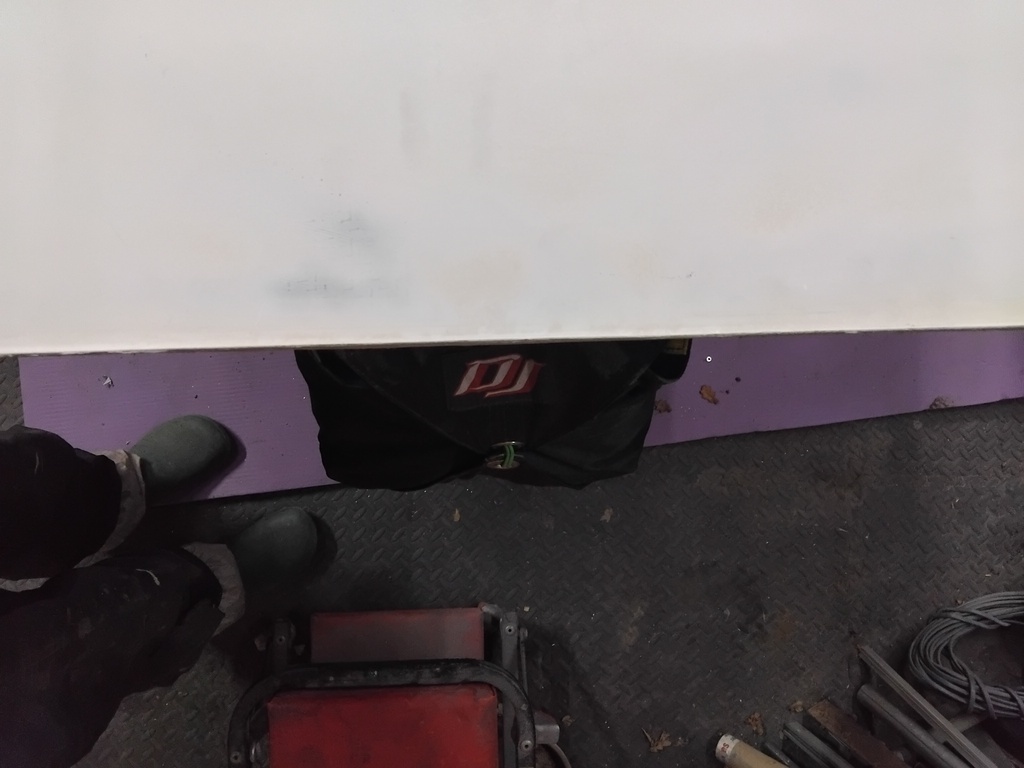 |
| |
|
|
jimi
Club Retro Rides Member
Posts: 2,201 
|
|
|
|
|
I know little bit about parachutes (did a few static line jumps many years ago) but nothing about them when used as a brake. Is there any way of testing it and the air launcher? is there a minimum speed for it to be effective on deployment ?
|
| |
Black is not a colour ! .... Its the absence of colour
|
|
|
|
|
|
|
I know little bit about parachutes (did a few static line jumps many years ago) but nothing about them when used as a brake. Is there any way of testing it and the air launcher? is there a minimum speed for it to be effective on deployment ? Well, you have more parachute experience than me :-) Testing in the workshop will confirm whether the chute actually comes out of the bag. Testing at the track will be done at ever increasing speeds so I can get used to it and there are no nasty shocks. The faster you go the more effect the chute has. |
| |
|
|
|
|
|
|
|
|
Further research has revealed that a deployment bag isn't essential, so I will not buy one until I have tested the chute on the track. Saves a little weight and £75.
|
| |
|
|
|
|


