|
|
|
Feb 18, 2016 21:34:20 GMT
|
Note related to images in this thread: Images are currently only visible in desktop mode. If viewing this from a portable device, you will need to tap the desktop mode button at the bottom of this page. Chapter 1: A Nissan Whatsit? Ok, so after being on here for many years of complete silence, I am now on a roll and starting a second build thread within a week of the first one. So apologies in advanced to those who suffered my first thread. On a plus side, this one if of a different nature of the Porsche's one as it is more of a recommissioning one than a full on restoration job, and therefore SHOULD be shorter in the long run. The idea is to put the car in a roadworthy condition and get it through a MOT as quickly as possible so that it can serve as a commuter for the next 12 month. Over those 12 month of daily use, I will carry on with the remaining of refreshing job on rolling project basis. Then when the insurance is due for renewal, I will attempt to sell the car and get my money back to fund the next overdue project. So where to start? Well perhaps an introduction to the car as it is probably not a model that most people would have heard off. The Maxima 3rd Gen J30 as it is known was sold in the UK between 1989 and 1994, with the face lift commercialised in the last two years of production. The car was Nissan's answer to the BMW 5 series and quite frankly, it was a flop, at least in Europe and certainly in the UK judging by the number of those left on the road. On the other hand the J30 had some success in the US and has a fair bit of a follow-up over there. Beside probably its original high price tag, it is actually not a bad car. So how did I come to acquire this specimen? I purchased the car back in 2006, when I was moving out of London to relocate in Lincolnshire for work. I needed a reliable car of any type or make with relatively low mileage due to anticipated frequent trips back to London, preferably auto but on a limited budget because I was basically broke. I did a filtered search one evening on eBay with my requirements and this puppy came out on the top of the list with a few hours to go, 50k miles on the clock, FSH and no bid. 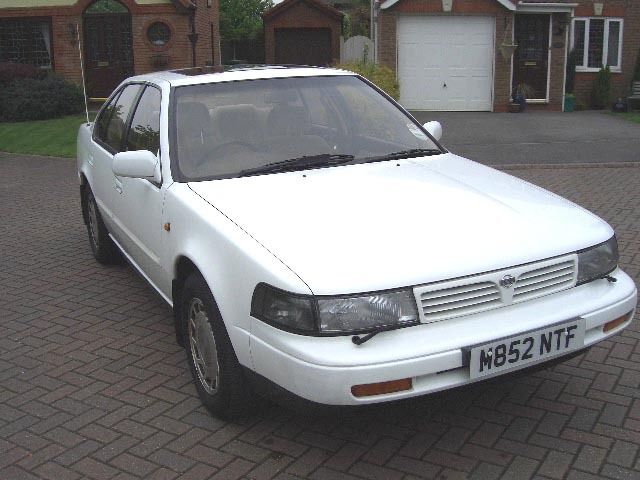 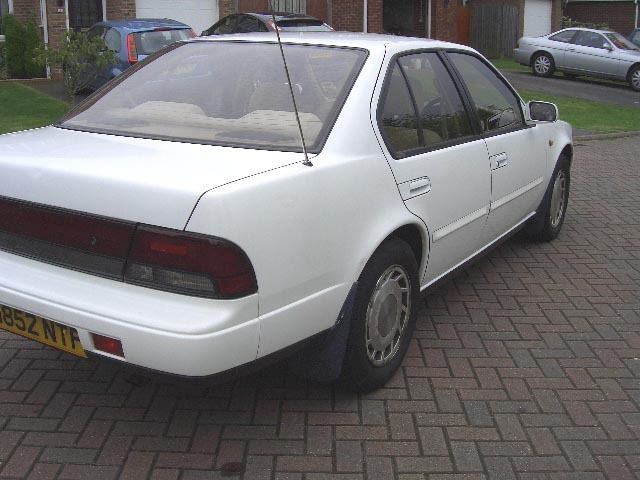 So I placed my bid and won the car with the starting bid. Bargain! Then I realised that the car was located near Manchester, and that the train fare to get there would be nearing £50. Suddenly it became less of a bargain. But I had committed to buy the car and , after all, it was my own fault for not checking the location on the first place. A few days and long train ride later, I met with the vendor who kindly offered to pick my up from the local train station in her Lexus Soarer. Following this was a some enthusiastic driving on the local country lane back to her house where the car was waiting. I was pleasantly surprised by the condition of the car although I was equally taken by the performance of the Soarer. As the vendor was clearly not going to let me have the Lexus for the agreed price on the Nissan, I took the Maxima home. The long journey back to Manchester was smooth and trouble free. Here are some pictures of the car after its first wash. Note the brown interior and velour seats. Could a mid 90's car be more retro? 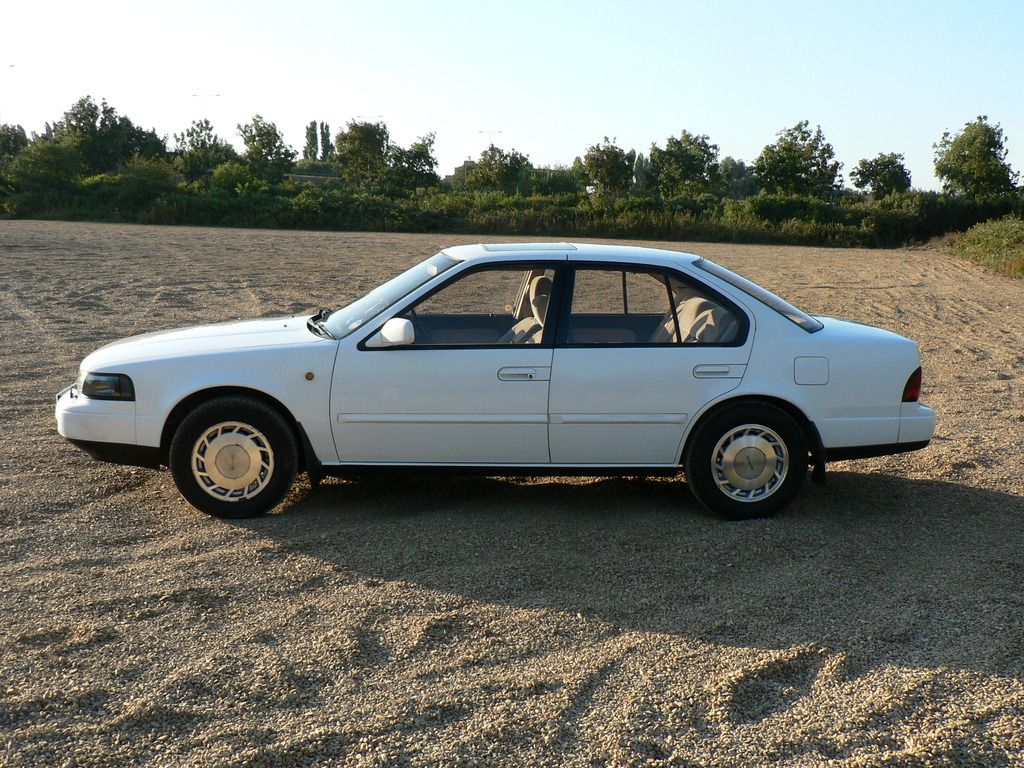 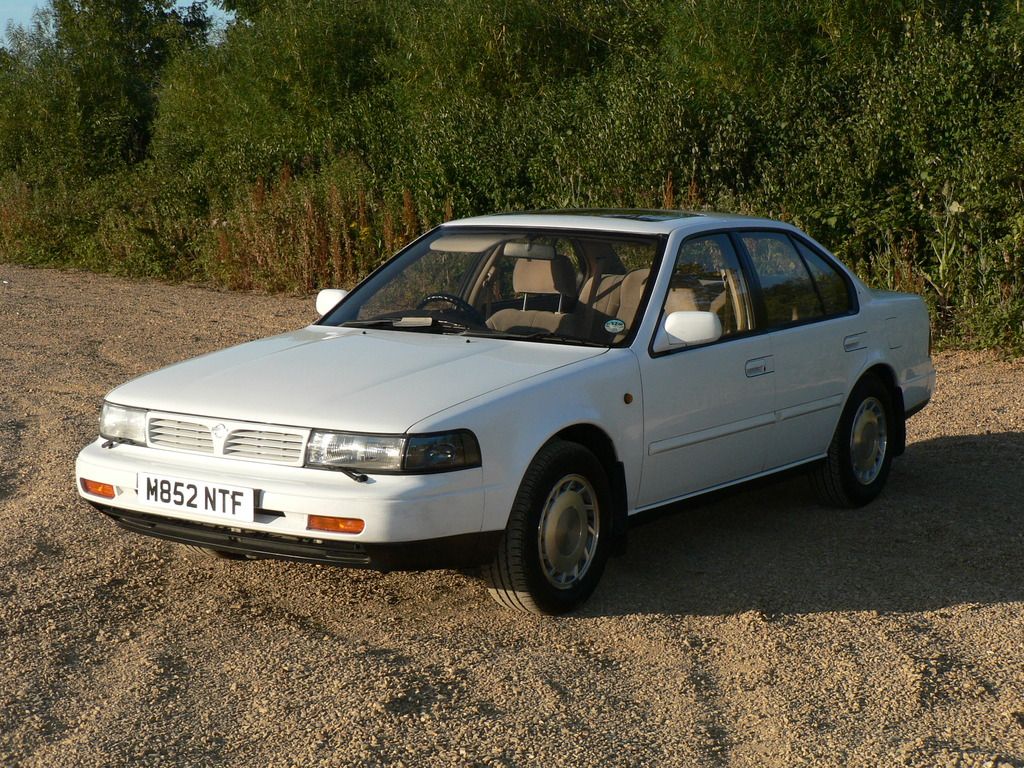 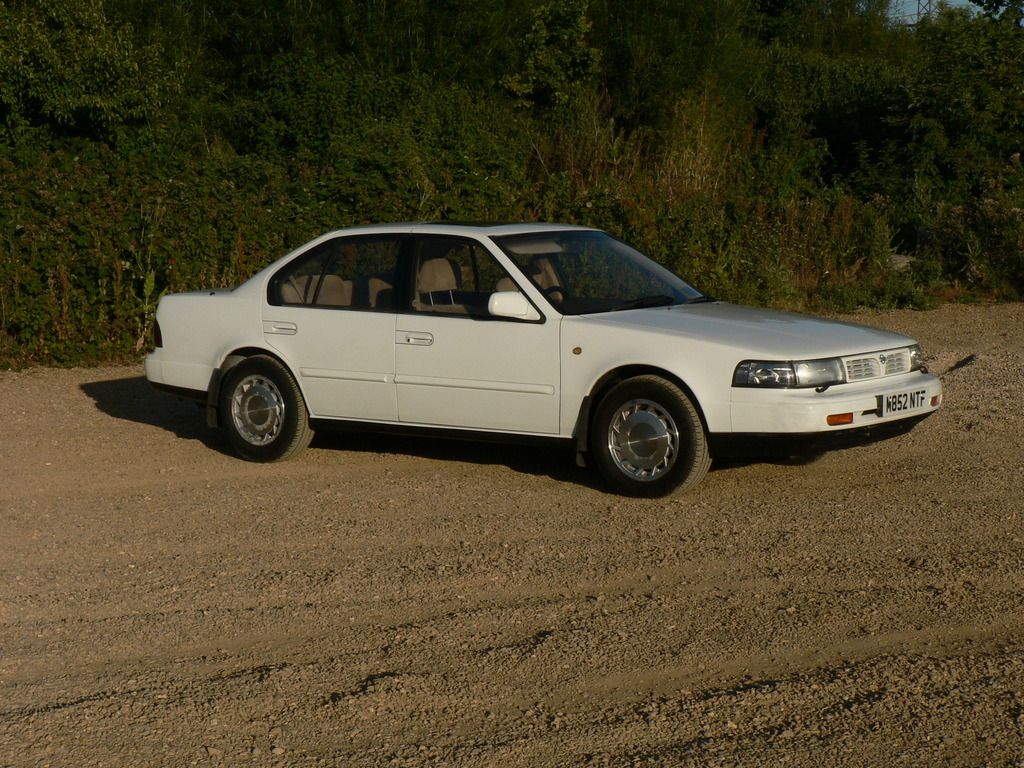 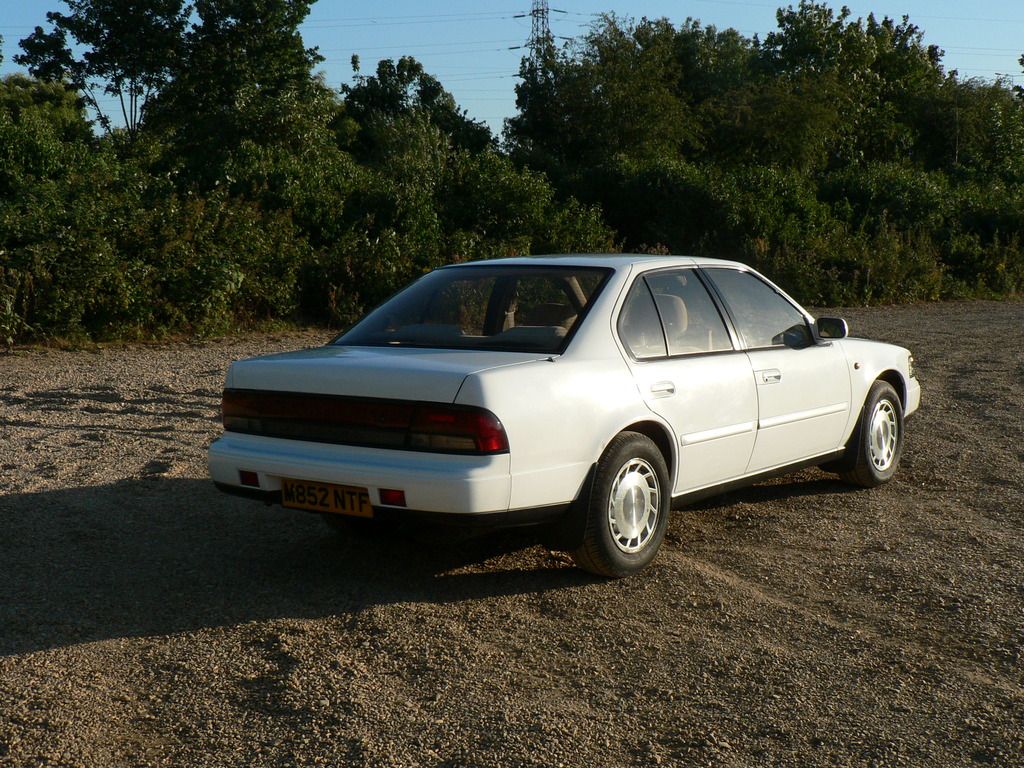 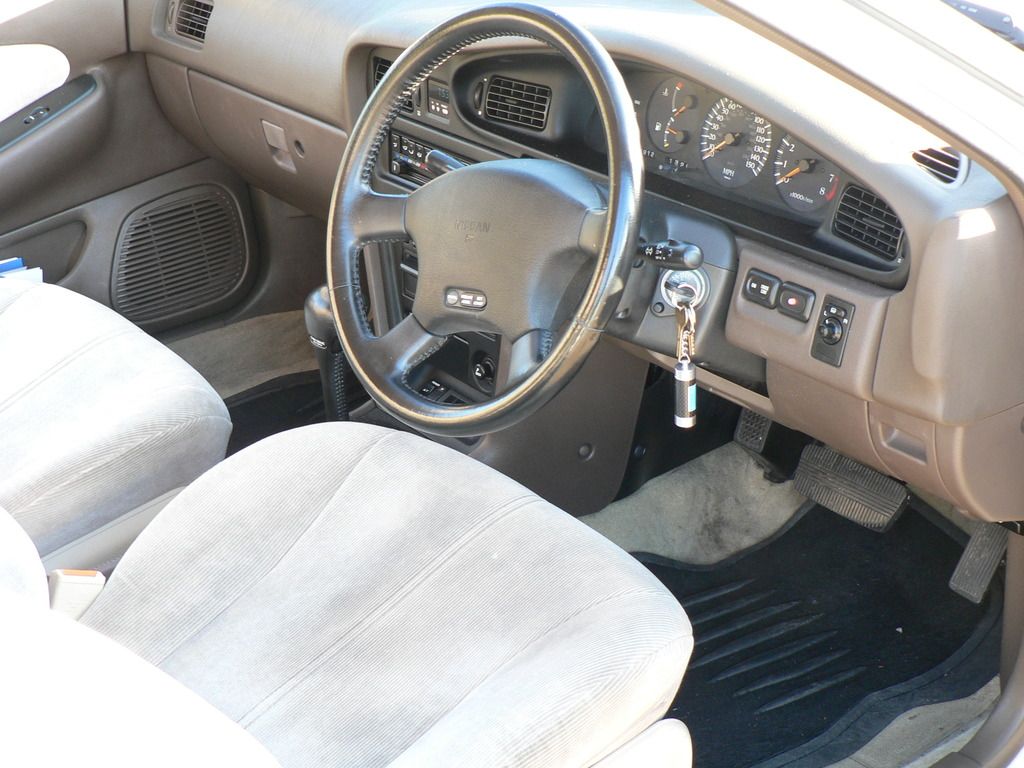 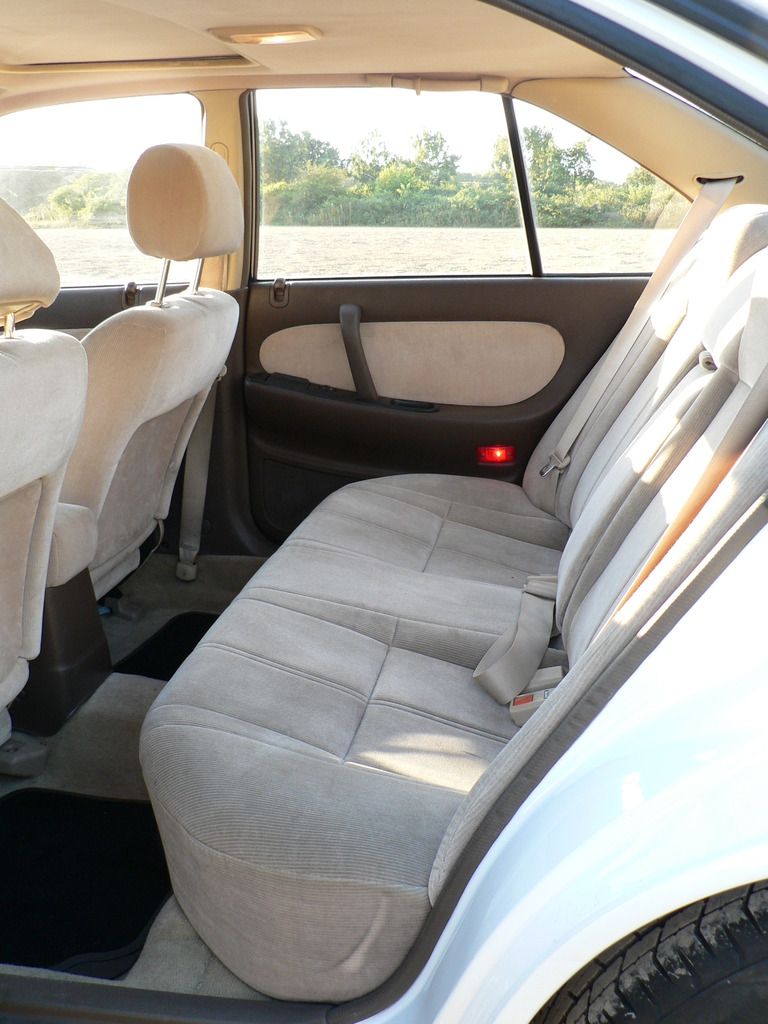 Fast forward three years later, having covered 40k miles with little more than regular service, a new alternator and a second hand window actuator. Being a little richer, I decide to upgrade to an old Jag. However I am still not rich enough to afford two lots of insurance and road tax, so the Maxima get parked up in a barn , until my parents find use for it a year later as a towing car, only to be stored away once again and this time gets forgotten about... until recently.
|
| |
Last Edit: Aug 4, 2017 9:03:04 GMT by nick0303
|
|
|
|
|
|
|
Feb 18, 2016 21:46:43 GMT
|
|
That looks in great nick. I wouldn't mind one of those myself.
|
| |
1988 Ford Fiesta Popular Plus Daily
1978 Triumph Spitfire Project
2002 Nissan Almera Tino Budget Build!
|
|
|
|
|
Feb 18, 2016 21:48:20 GMT
|
Chapter 2: the long awaited wash. By now the car is showing signs of unlove. Several years stored in a barn followed by several months parked at the back of my drive are showing their toll the poor old Nissan. Before starting any work on the car, time for a good wash top and bottom. This is how the car looks before the wash. 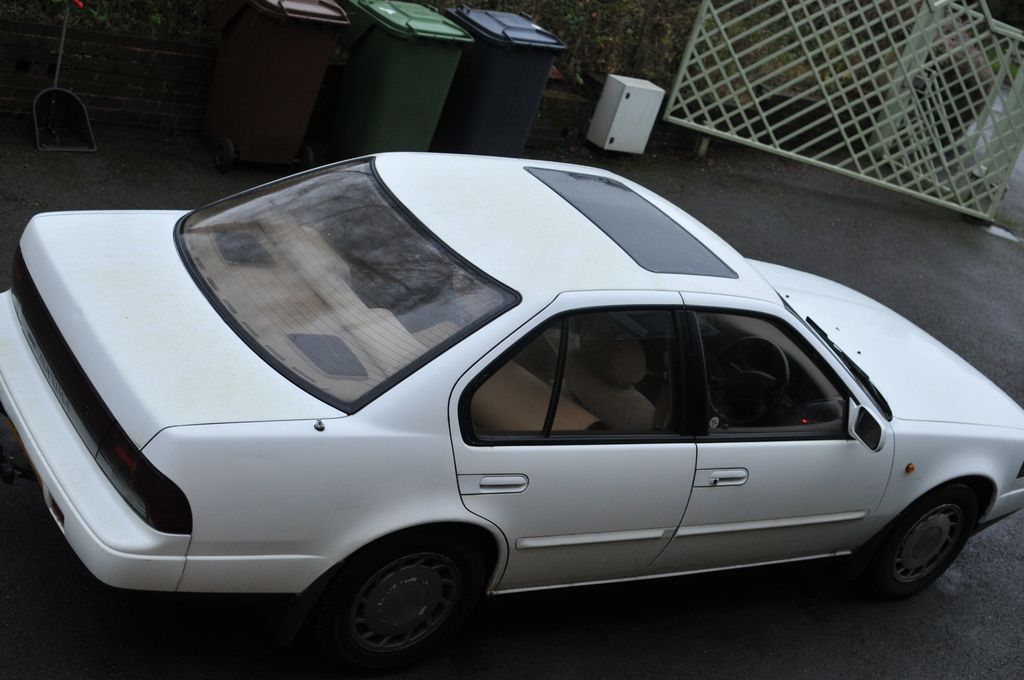 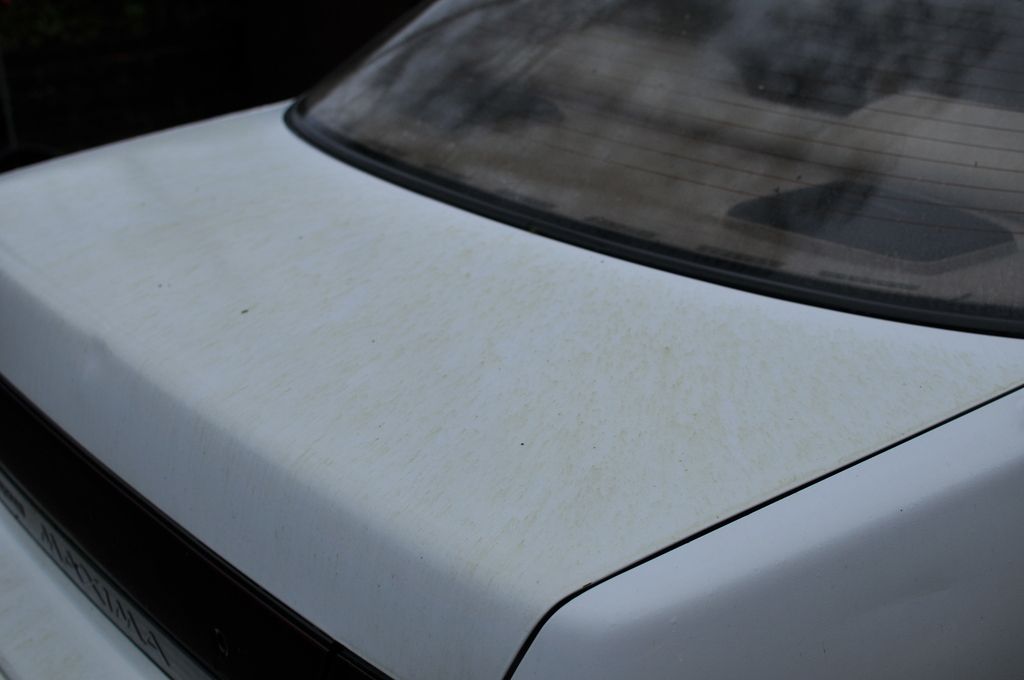 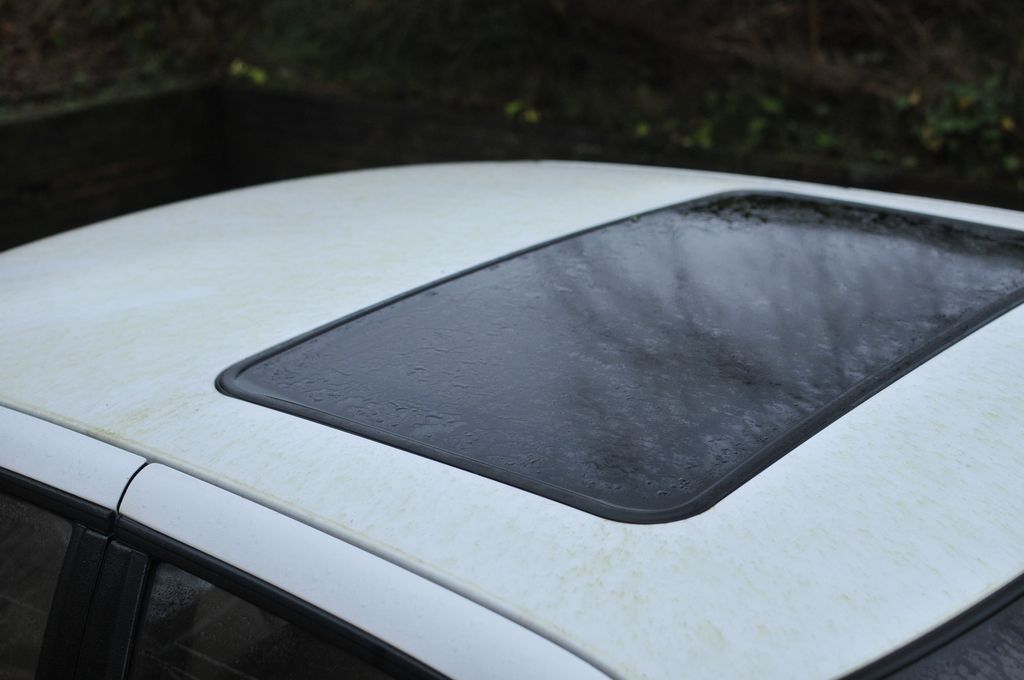 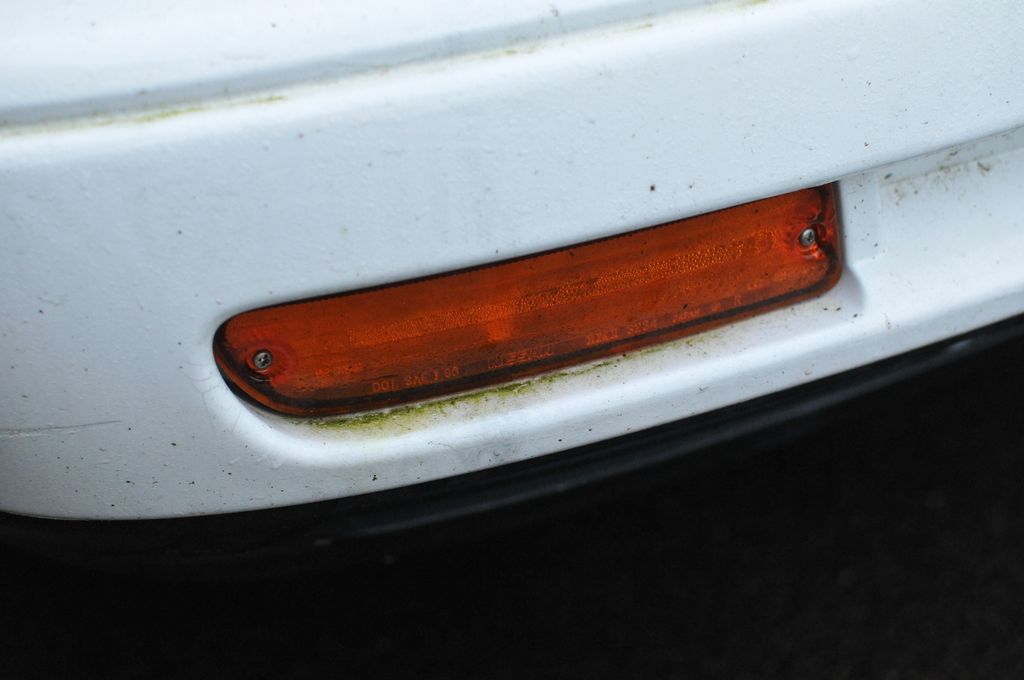 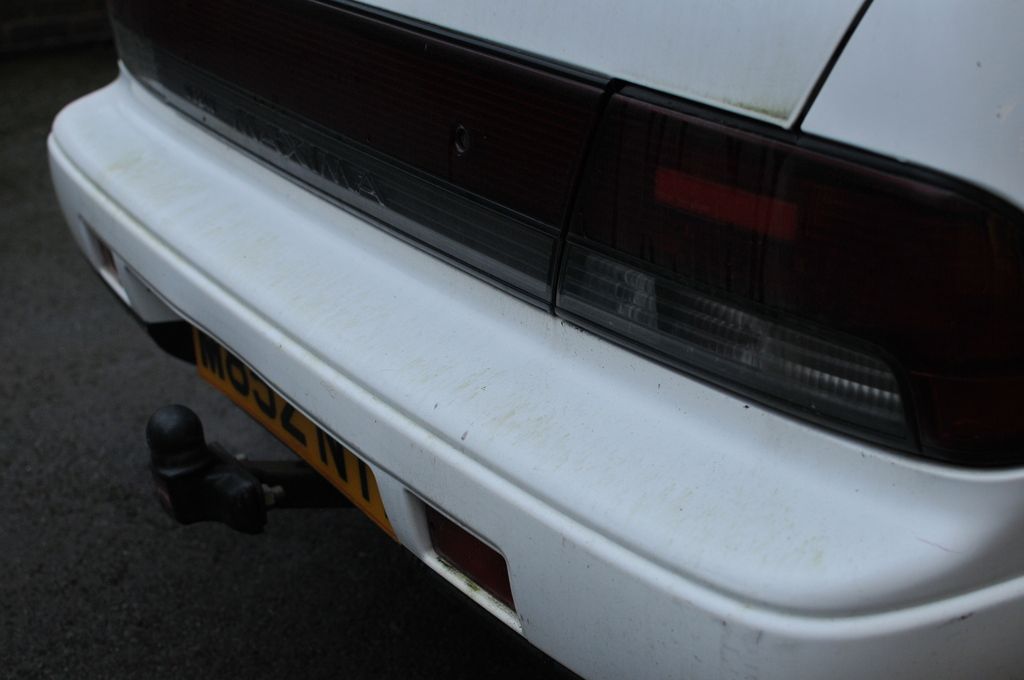 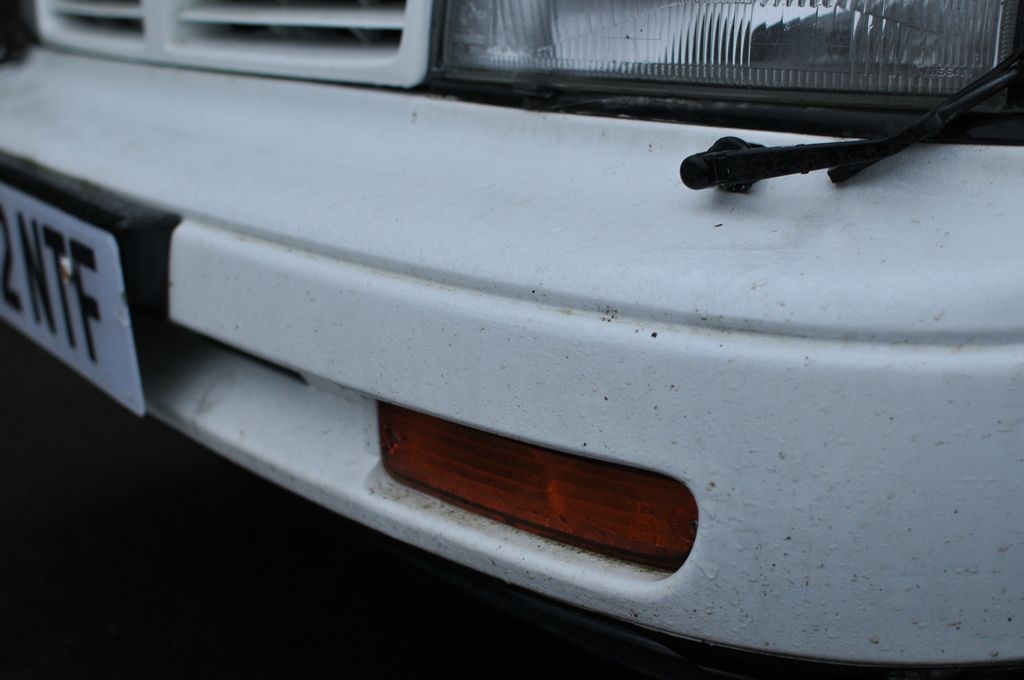 At this point I do feel very guilty of having abandoned the car for so many years, after provided me such a good service so many years ago. Wash complete and time to roll the Maxima into the garage where it is likely to spend several weeks as I prepare it for the MOT. 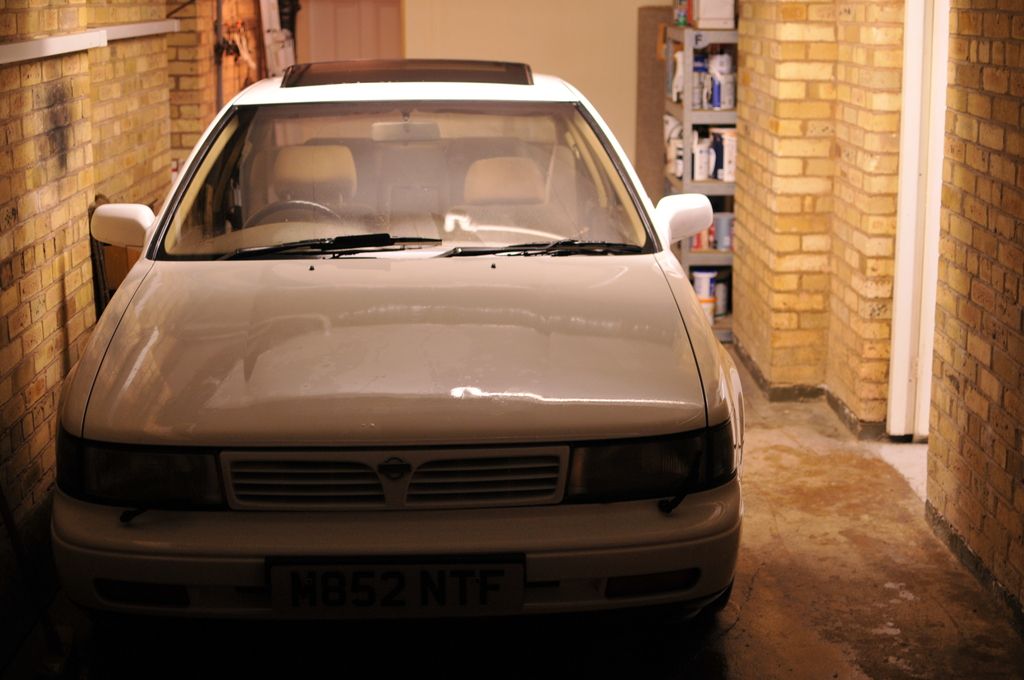 |
| |
Last Edit: Feb 26, 2016 8:54:49 GMT by nick0303
|
|
|
|
|
Feb 18, 2016 21:49:54 GMT
|
That looks in great nick. I wouldn't mind one of those myself. Thanks mate. Unfortunately that was then, not as gleaming these days. |
| |
|
|
|
|
|
Feb 19, 2016 23:06:05 GMT
|
Chapter 3: the bad and the ugly. Next day was time to have a proper look at the car. I first checked for any rust in the boot compartment, both in the inner wheelarches and the spare wheel well. It all looked reasonably clean with some very slight surface rust where the spare tyre was in contact with the shell. 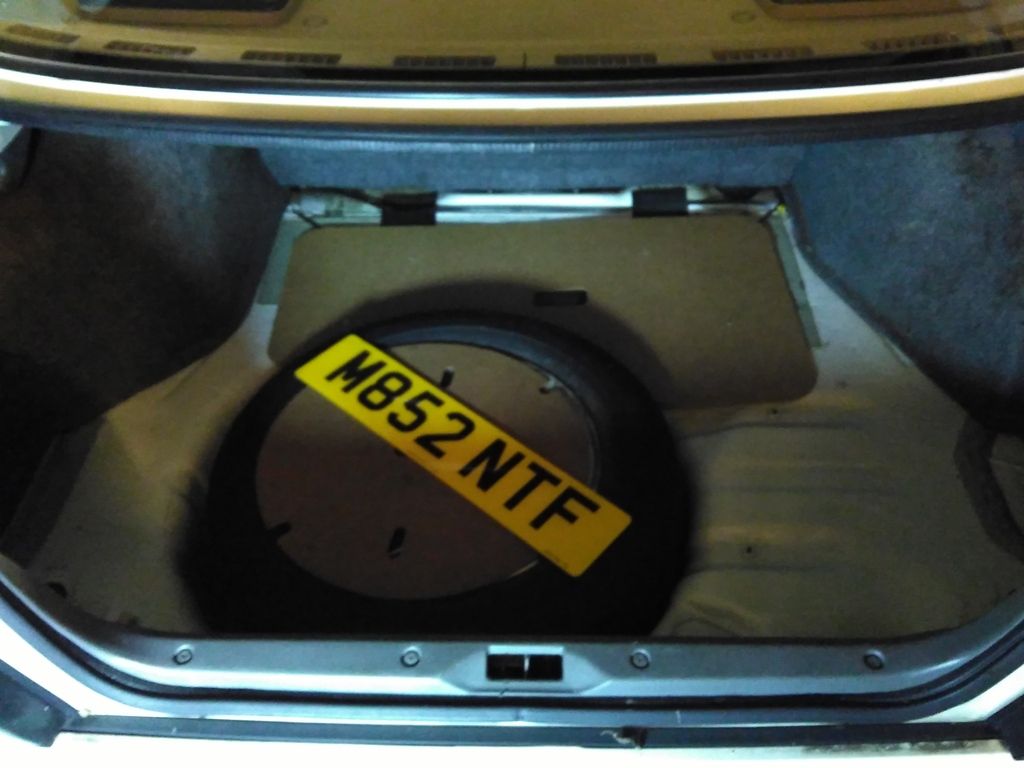 A reminder of the car's last usage: spare number plate for a trailer. A reminder of the car's last usage: spare number plate for a trailer.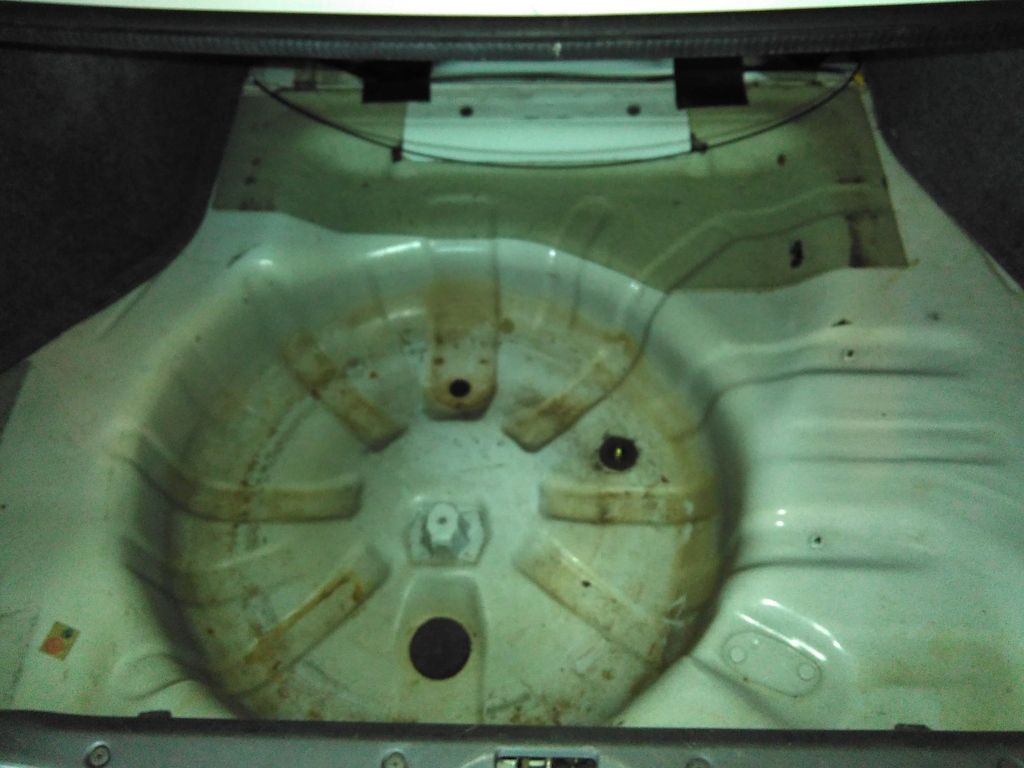 Some mild surface rust, otherwise it's just dirt accumulated over the years Some mild surface rust, otherwise it's just dirt accumulated over the years
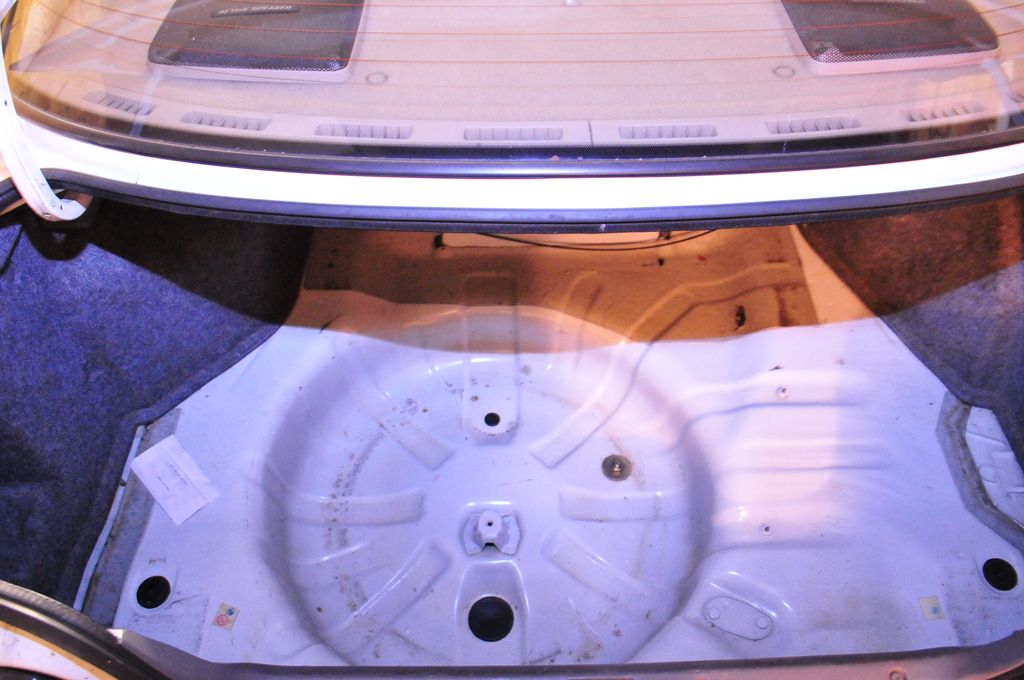 Spare wheel well after a quick wash Spare wheel well after a quick washI then proceeded with a quick body inspection. Overall the body is good, apart for couple of areas that will need attention. First, there is a stone chip on the os headlight lense, 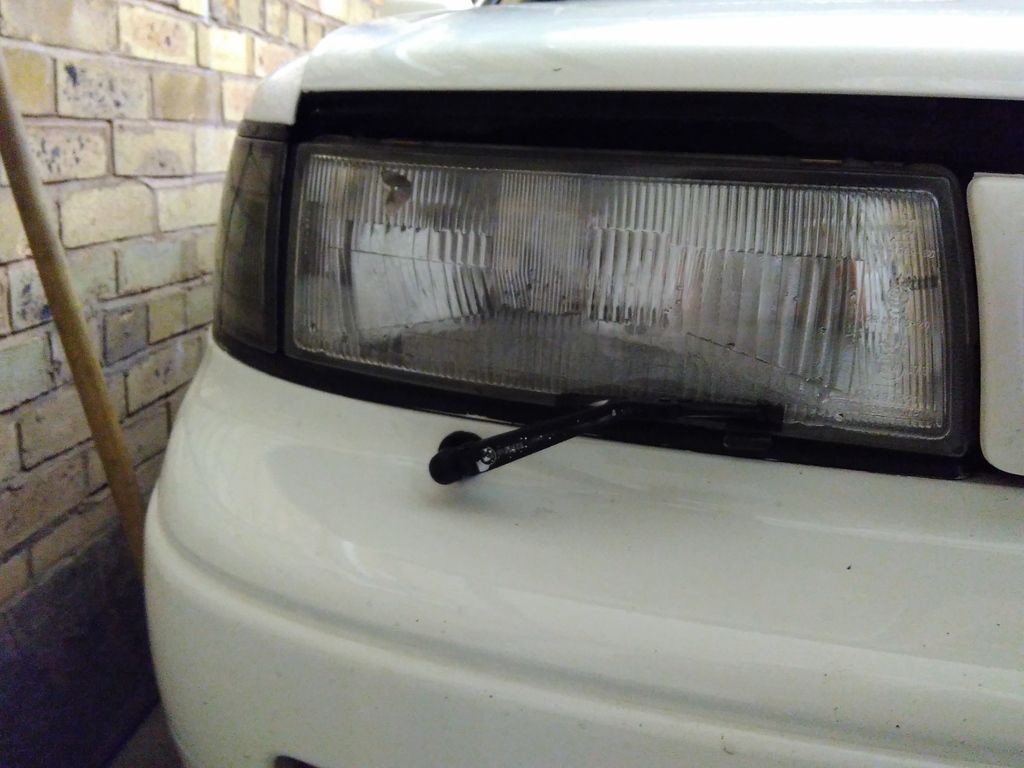 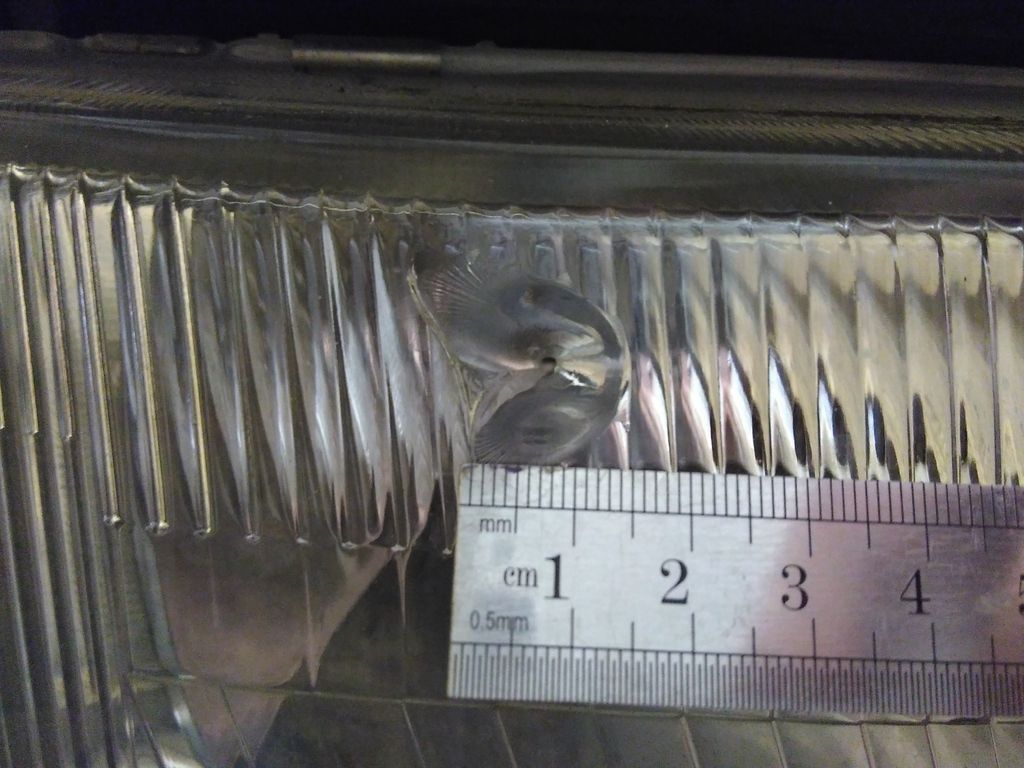 I used to be able to pass the MOT with the damage to the headlight, but this may now fail with the latest MOT requirements. In any case I do have a spare set of headlight so I won't chance it. Second, the body is showing some surface rust at the rear end of both sills. 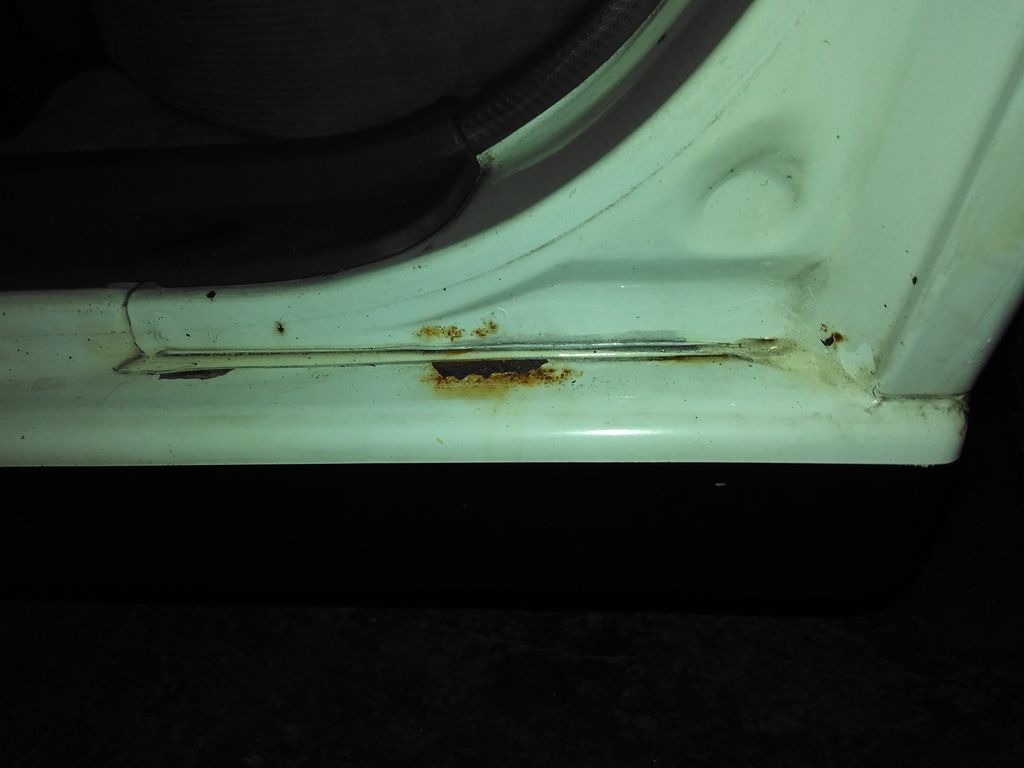 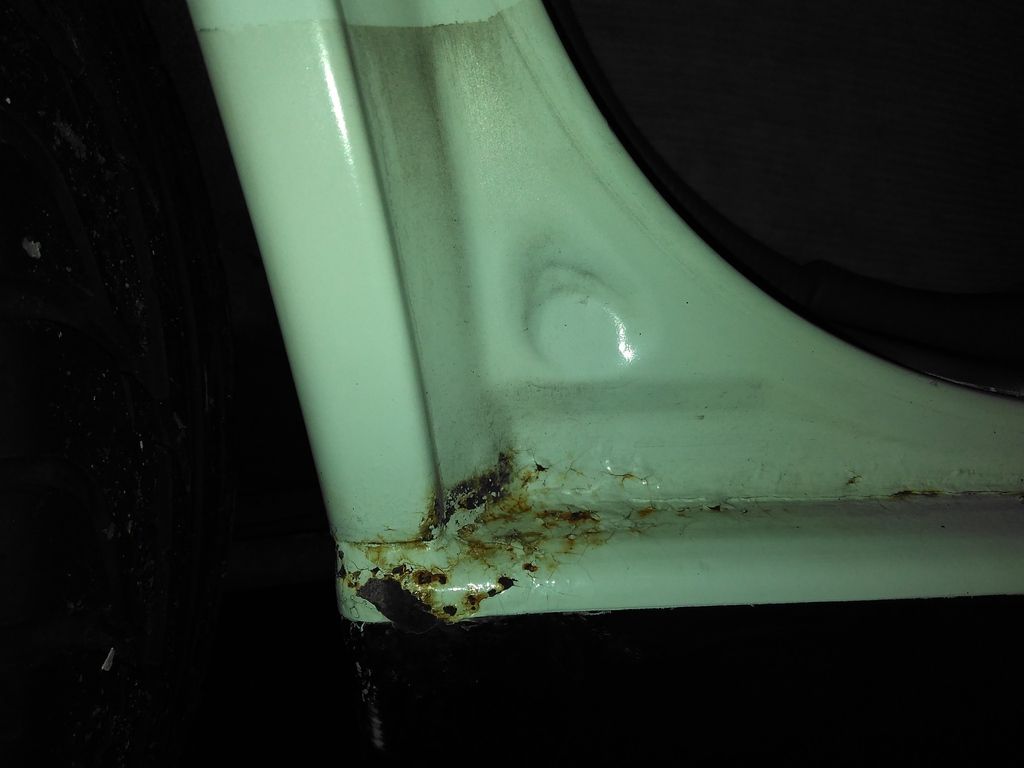 Pocking a screwdriver around, it appears that the rust is only on the surface. In fact the os sill was once attended to, which shows from the poor attempt at blending in the subsequent local respray. So those will also need to be looked into with hopefully a better effort at inhibiting the rust followed by a better paint job. Next was to check the wheelarches. Due to the limited space in the garage, I decided to work on one side of the car at the time. So I will be focusing on the nearside for now. The front wheel arch doesn't look too bad but there is a large plastic wheel arch liner which has the potential to hide unsuspected rusty bits. There is also a copious amount of overspray from one of my poor effort at doing body repair on the wheel arch lip many moons ago. 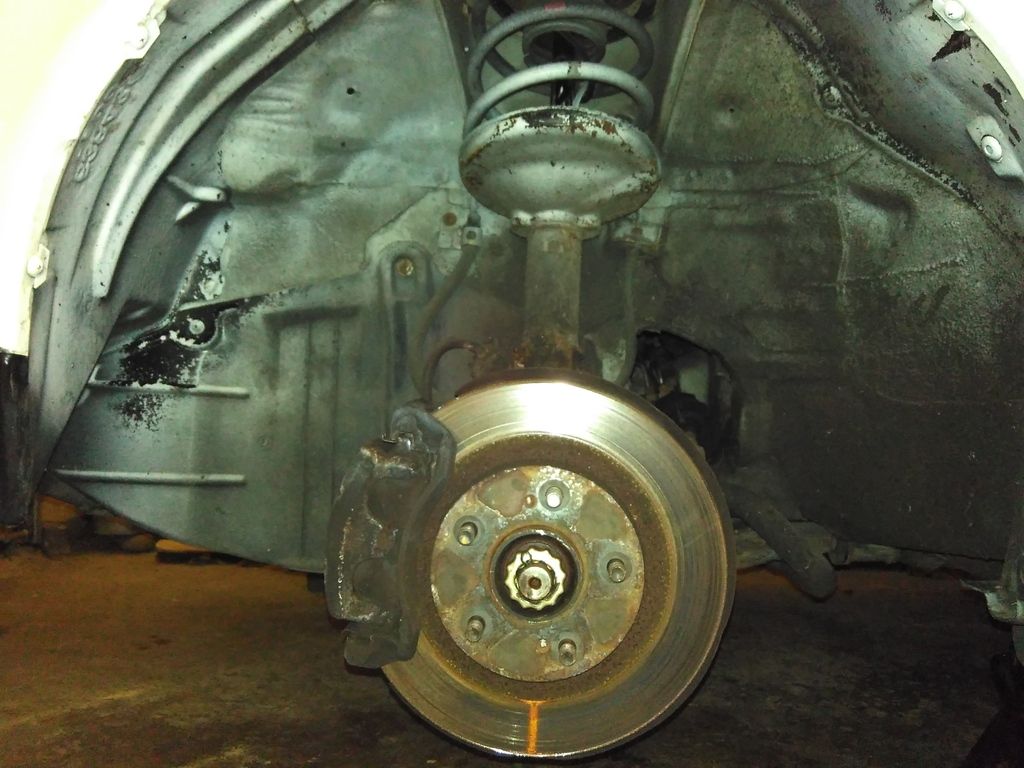 Behind the wheelarch liners, thanksfully not much to report. There is however a damaged rubber boot on the ball joint which could potentially be an MOT failure. 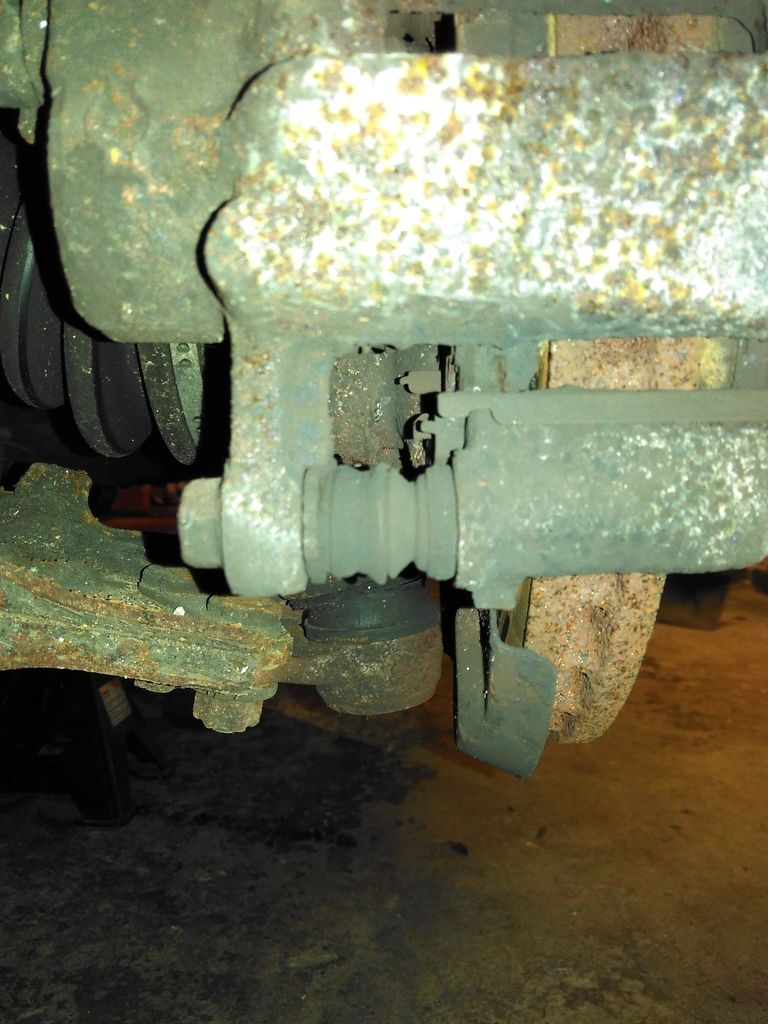 Luckily, I do also have a spare new ball joint which will be fitted for good measure. Moving on to the rear, things were slightly worse. The brake caliper was seized as I had suspected. 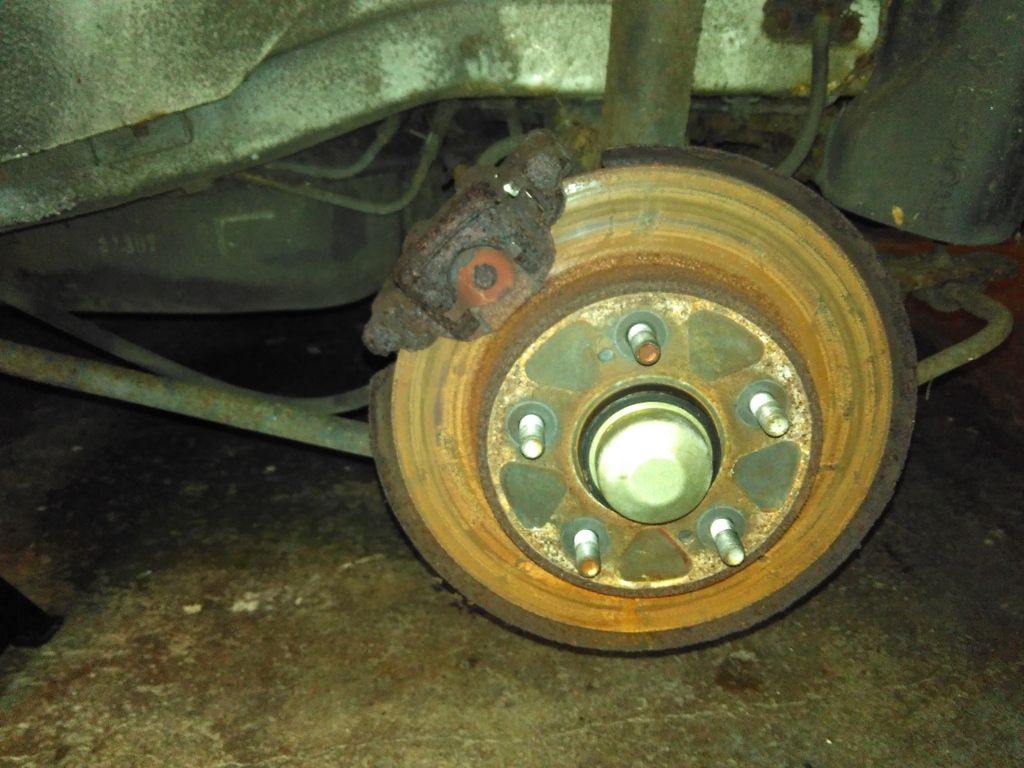 There is a small patch of rust where the original stonechip paint lifted. And a large amount of stone chip rust on the top of the wheelarch where, somehow, Nissan decided that stone chip paint was not required. And some more overspray on the spring due to, yes you guess it, another poor attempt to do a body repair. 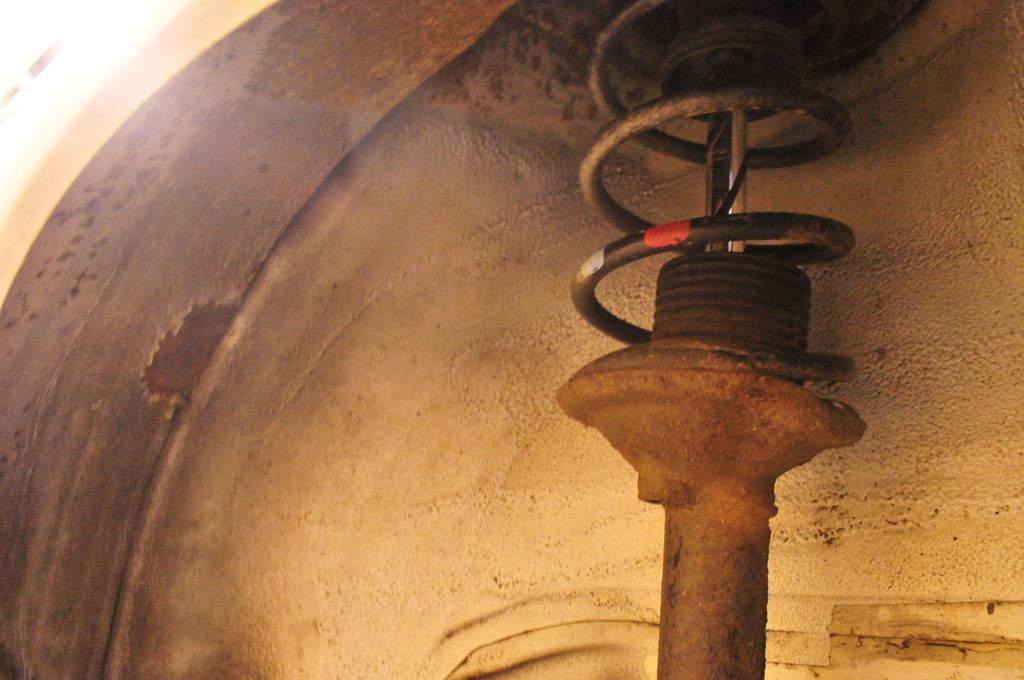 There is also another dreaded plastic cover (more overspray  ) which could hide the worst. 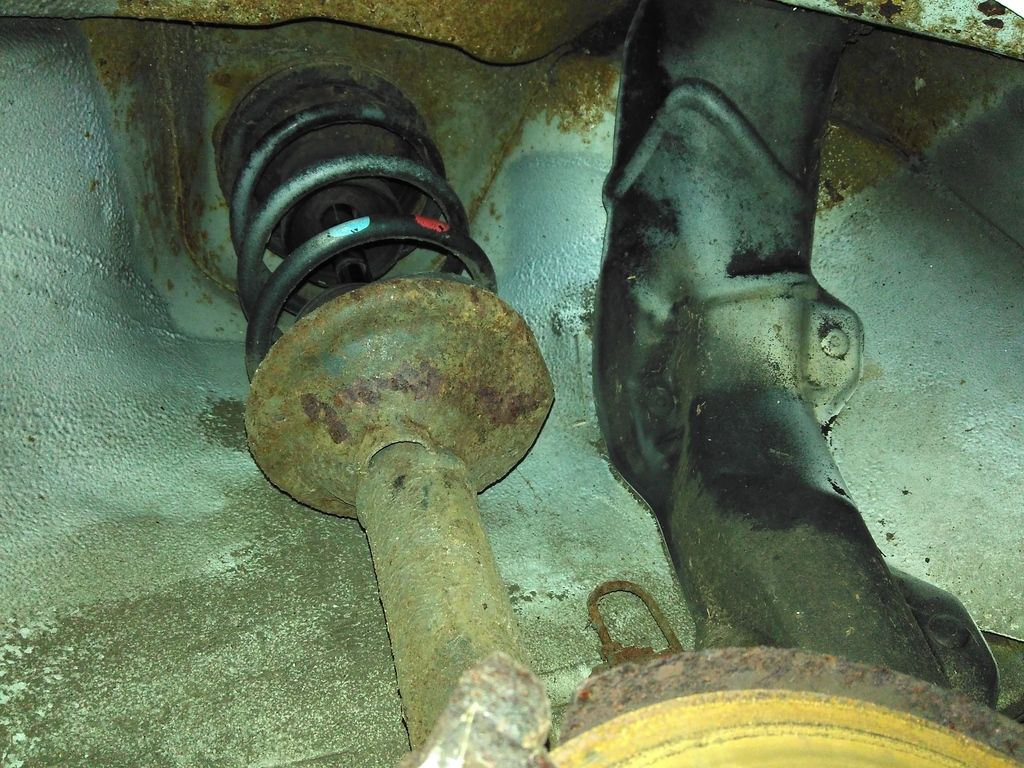 I took the trim off, to see I would be as lucky as at the front..... The answer is no 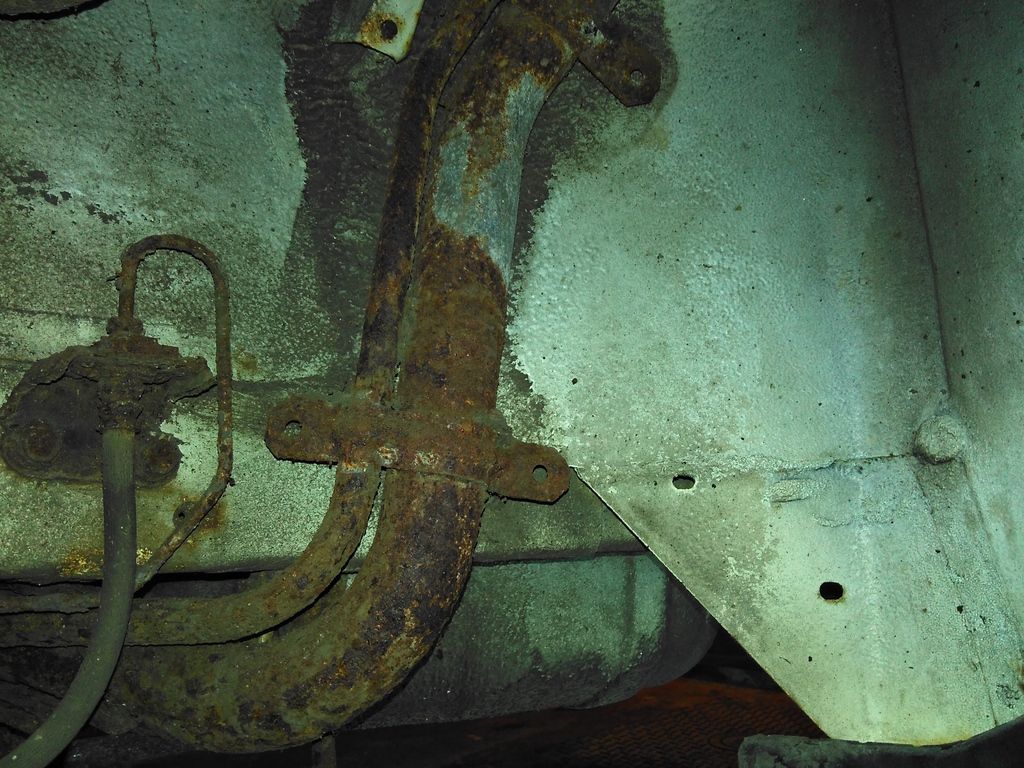 There is some serious rust on the fuel filler pipe, which I must say compliment quite well the brake pipe. Another two issues to add to the list then. Following the bad surprise from the fuel pipe cover, I took a brave pill and proceeded to remove the front and rear mud flaps . Rear mud flap 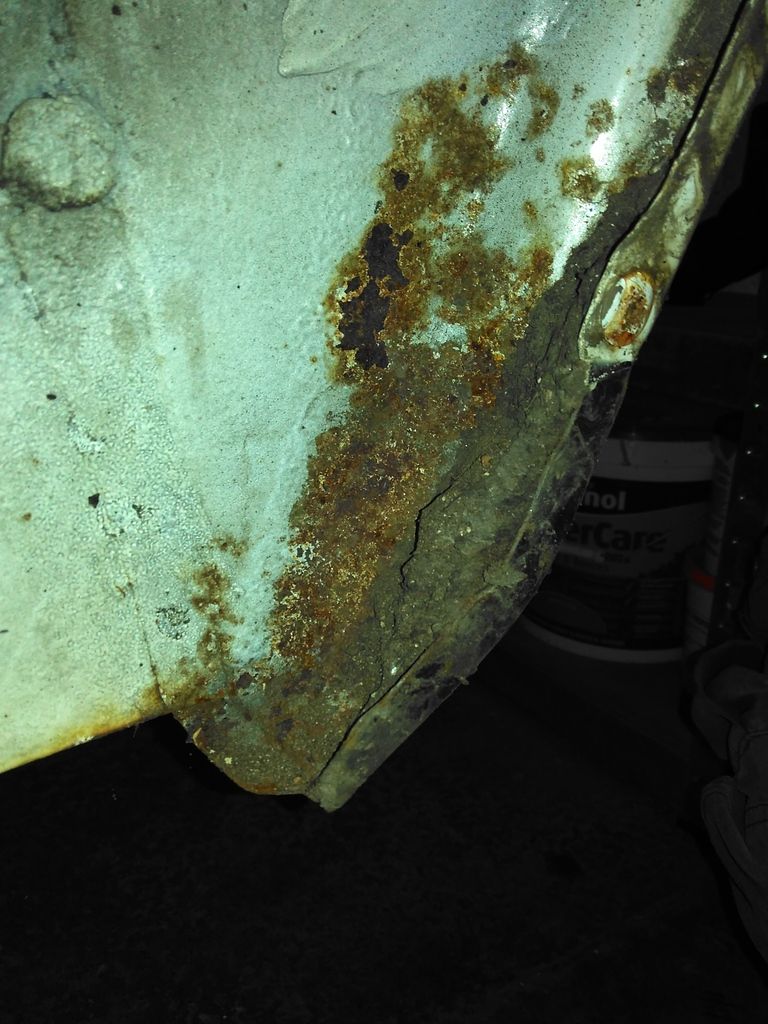 Surface rust only, thankfully. Surface rust only, thankfully.Front mud flap: 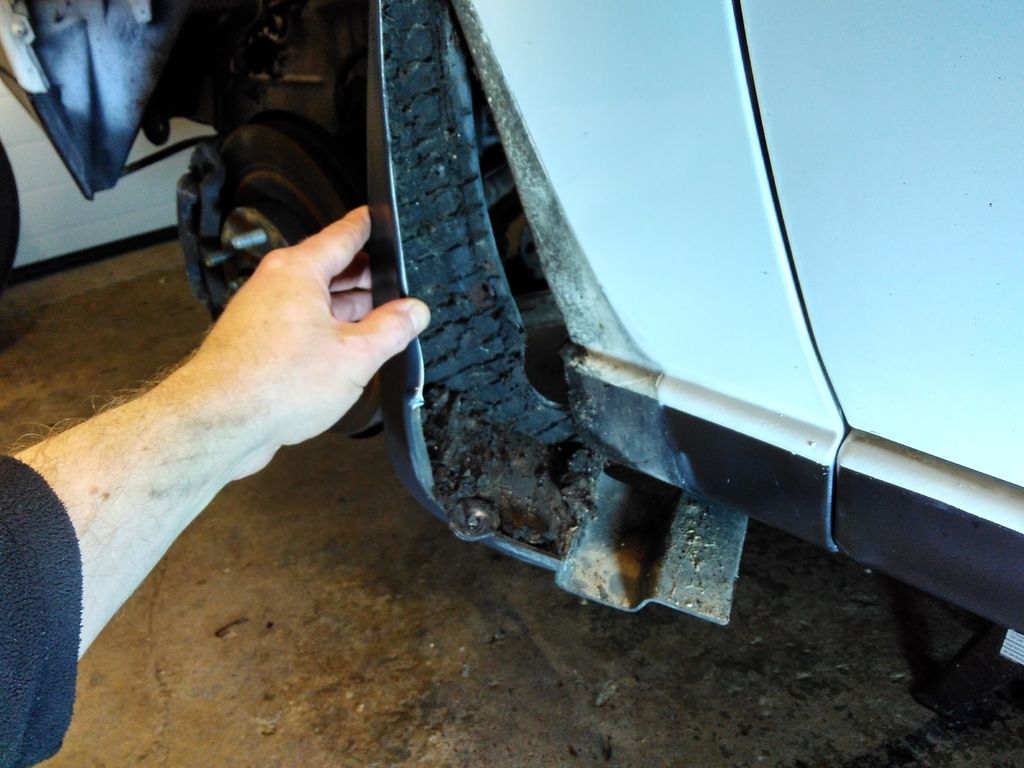 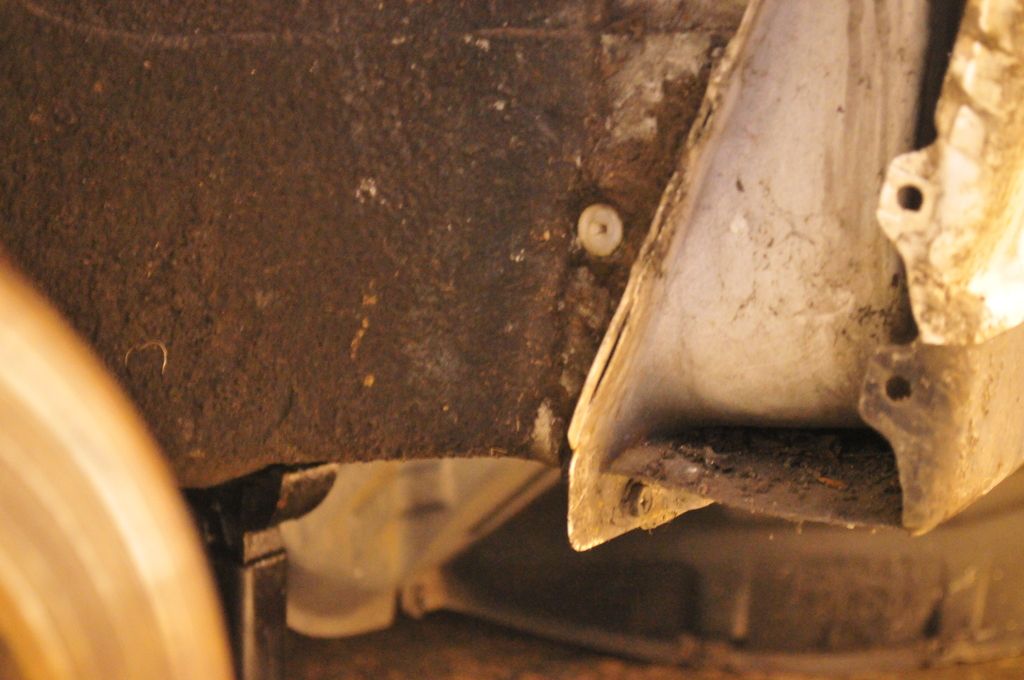 Behind the front mudflap, there is cavernous front section of the sill where lots of dirt had accumulated overtime. A deep clean and cavity wax will be required in this location. This is what had collected over the years behind the rear mudflap, fuel pipe cover and every nook and cranny around the rear wheel arch: 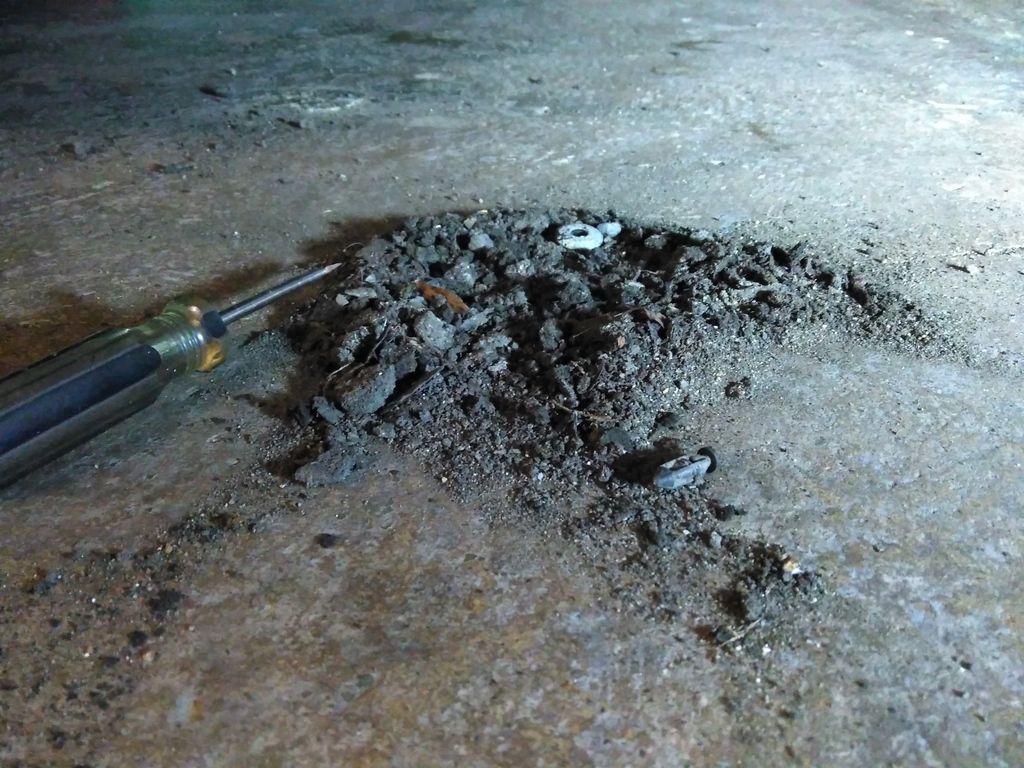 And that was what I brushed off the floor from both the front and rearleft wheelarches, bearing in mind that the wheelarches had been pressure washed the day before: 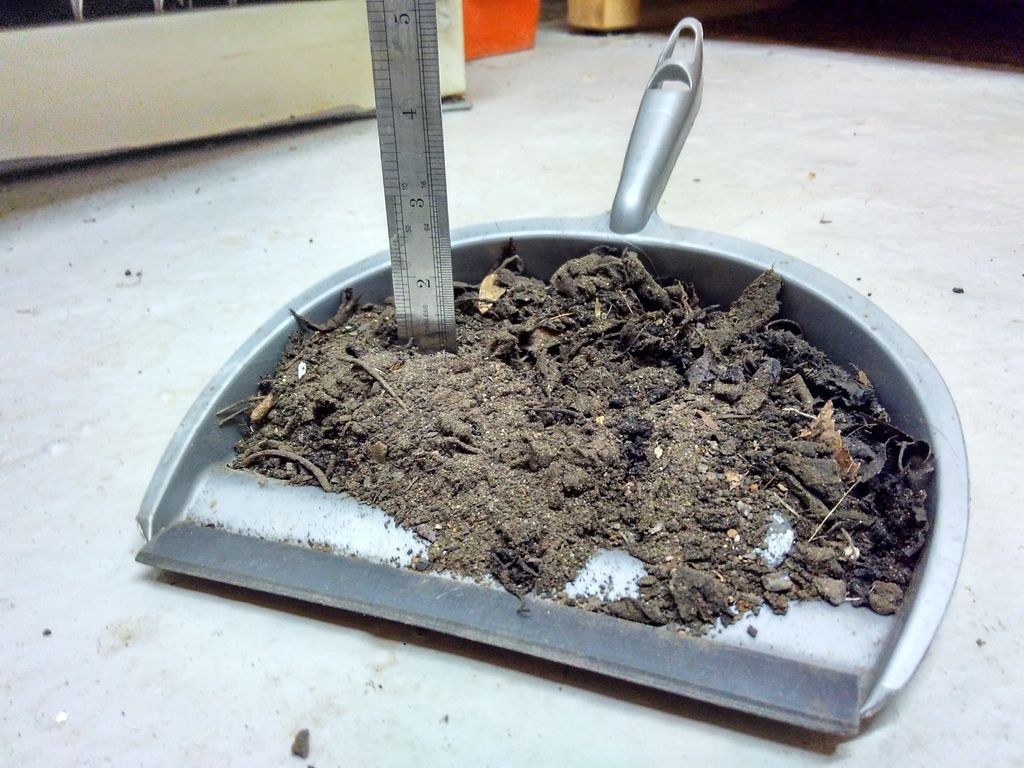 Lesson of the day then: Lesson of the day then: Nissan Maxima's were good for collecting corrosion accelerating materials in the wheelarches. So far, pre-MOT job list is: - Repair seized caliper,
- Replace ns ball joint
- Rustproofing the wheelarches
- Replace a heavily corroded brake pipe
- Assess condition of the fuel filler pipe
- Replace os headlight
Post-MOT to-do list (that list is likely to grow significantly over time):
|
| |
Last Edit: Jan 28, 2017 8:02:57 GMT by nick0303
|
|
Geordie
North East
Course I'm out of my mind...........it's dark and scary in there!!
Posts: 2,520
|
|
Feb 21, 2016 17:31:16 GMT
|
Looks like this Max is in good hands Nick. They're great cars. Good work so far diagnosing what needs doing. I'm looking forward to seeing how you progress towards the MOT. Are they your cruise control buttons in the middle section of the steering wheel? Mine are off to the right hand side. Your rear tails and centre section look more smoked than mine...  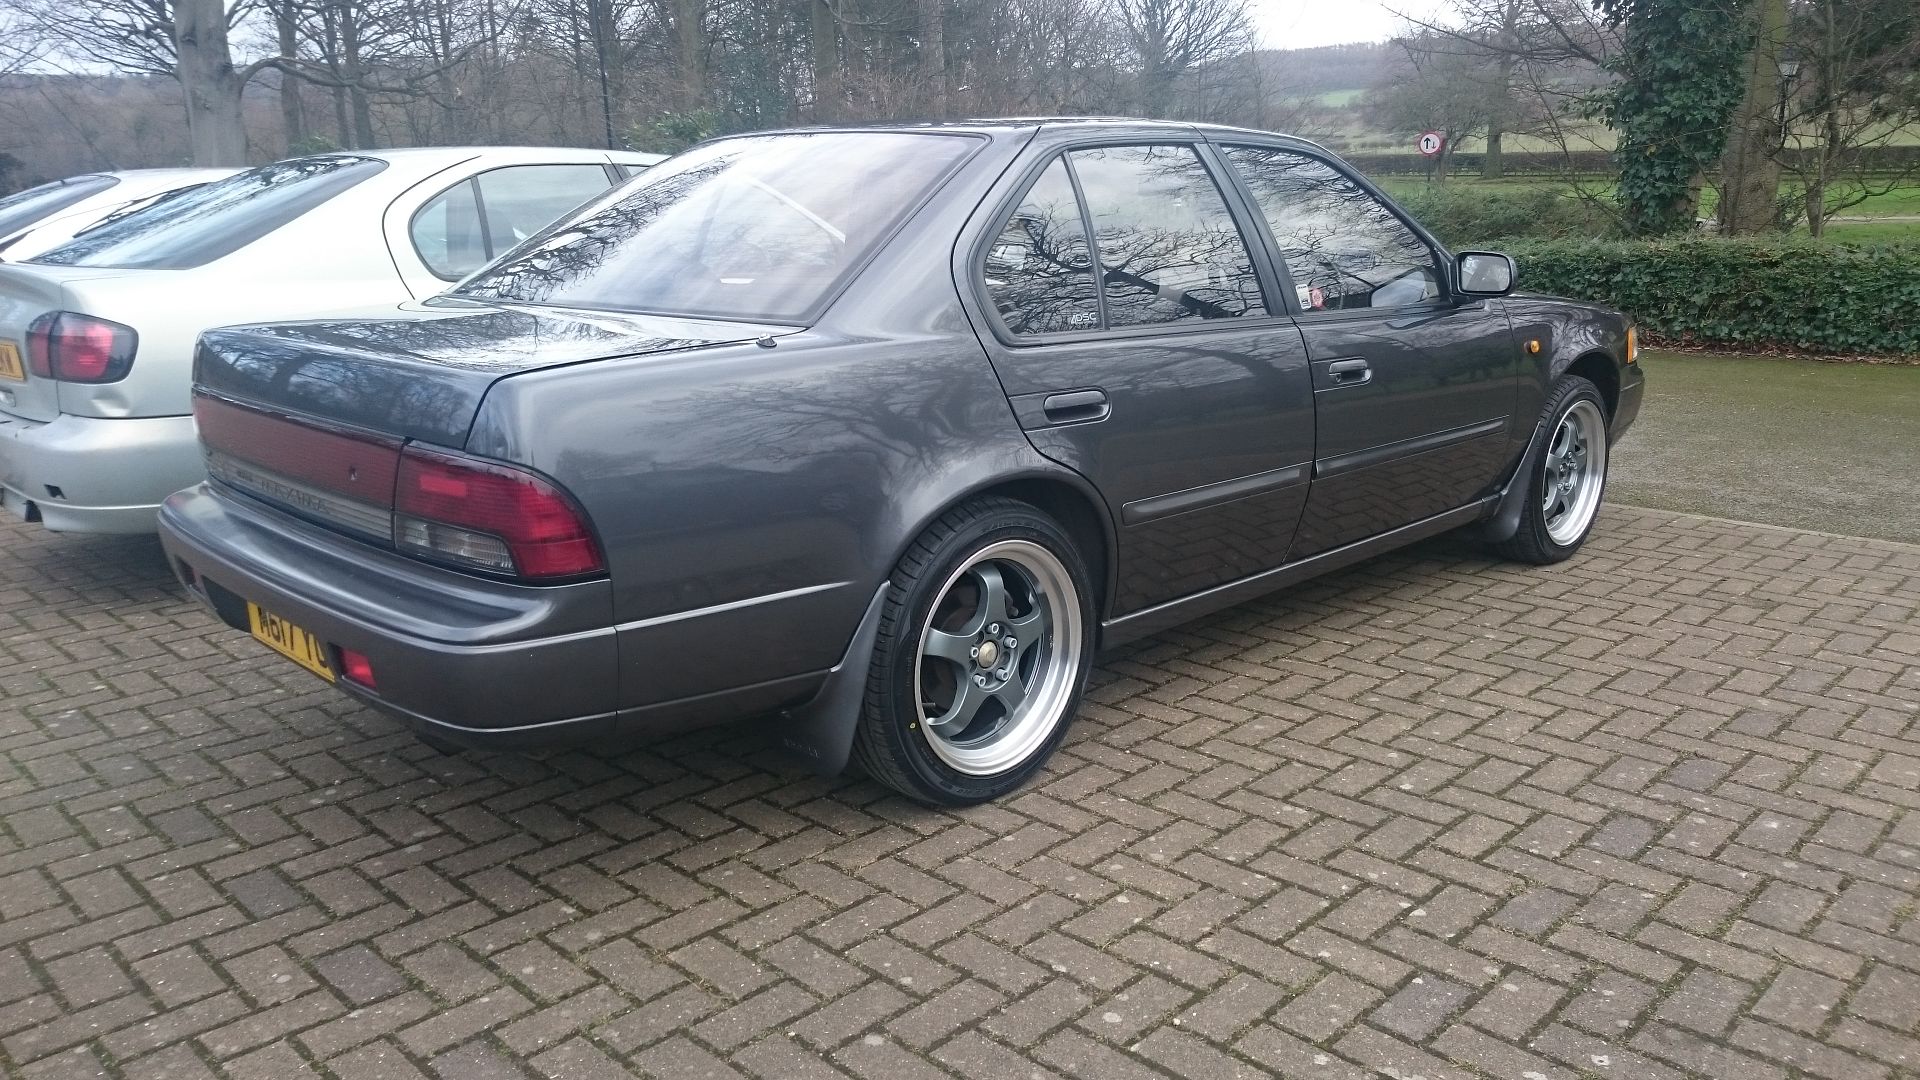 Is it just a trick of the light/camera, or maybe because it's more of a contrast against the white? By the way, is that the pearlescent white, like this 'pearler'?  |
| |
Last Edit: Feb 21, 2016 18:03:16 GMT by Geordie
CURRENT FLEET
'95 Rover 623SLi (65k miles)
'99 Renault Laguna Executive
'55 BMW 318i (52k miles) for sale
'06 Audi A6 (18 year old 'modern' daily)
|
|
|
|
|
Feb 21, 2016 21:58:45 GMT
|
Looks like this Max is in good hands Nick. They're great cars. Good work so far diagnosing what needs doing. I'm looking forward to seeing how you progress towards the MOT. Are they your cruise control buttons in the middle section of the steering wheel? Mine are off to the right hand side. Your rear tails and centre section look more smoked than mine... Is it just a trick of the light/camera, or maybe because it's more of a contrast against the white? By the way, is that the pearlescent white, like this 'pearler'? Hi Geordie, Thanks mate, I think the progress is going to be slow on that one due to work around the house and our little one requiring constant attention. But I will try to get it ready for Japfest. To answer your questions: - The button on the steering wheel are for the cruise control. Perhaps you have a different trim variant as I do, mine being the lower trim level with the SOHC engine
- My tail lights are the same colour as yours, just a trick of the camera plus the fact the picture was taken at dusk.
- It is standard artic/Zanussi white, plus the fact it is very matt at the moment.
Taking about tail lights, I have also another set of rear clusters from a pre face light J30. I can't remember when I got them or why but I might see what they look like on the car at some point. 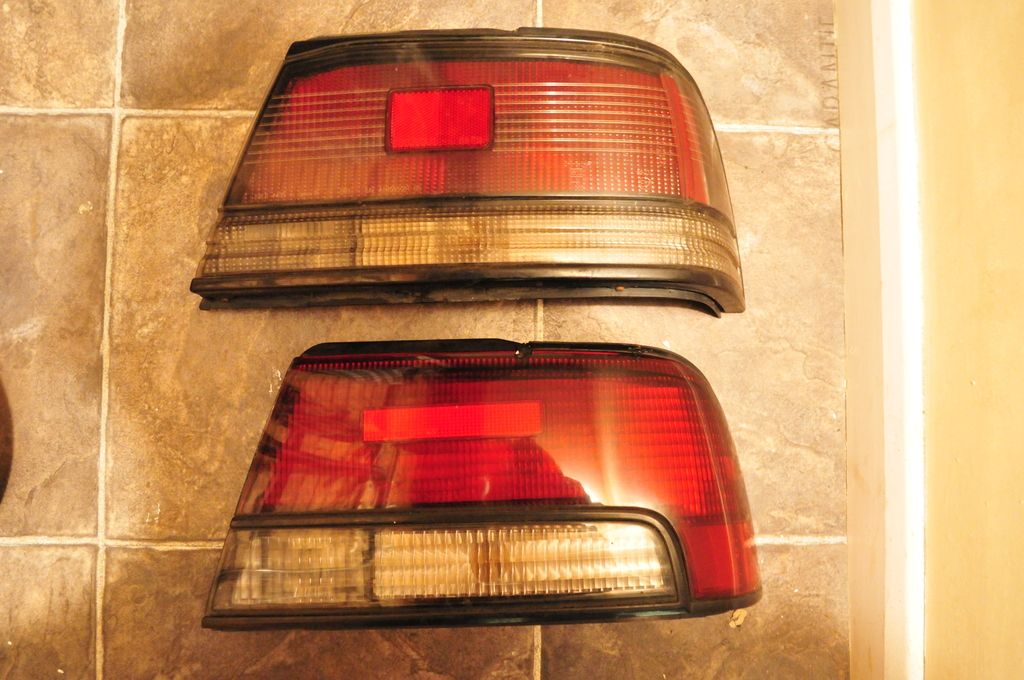 Nick. |
| |
Last Edit: Feb 25, 2016 9:18:56 GMT by nick0303
|
|
|
|
|
Feb 21, 2016 22:24:09 GMT
|
Chapter 4: A sticky situation Following my initial assessment, I decided to tackle the seized caliper first. Sliding the caliper and pads of the disc was somewhat interesting. I believe it is safe to say that the near side rear pads are FUBAR. 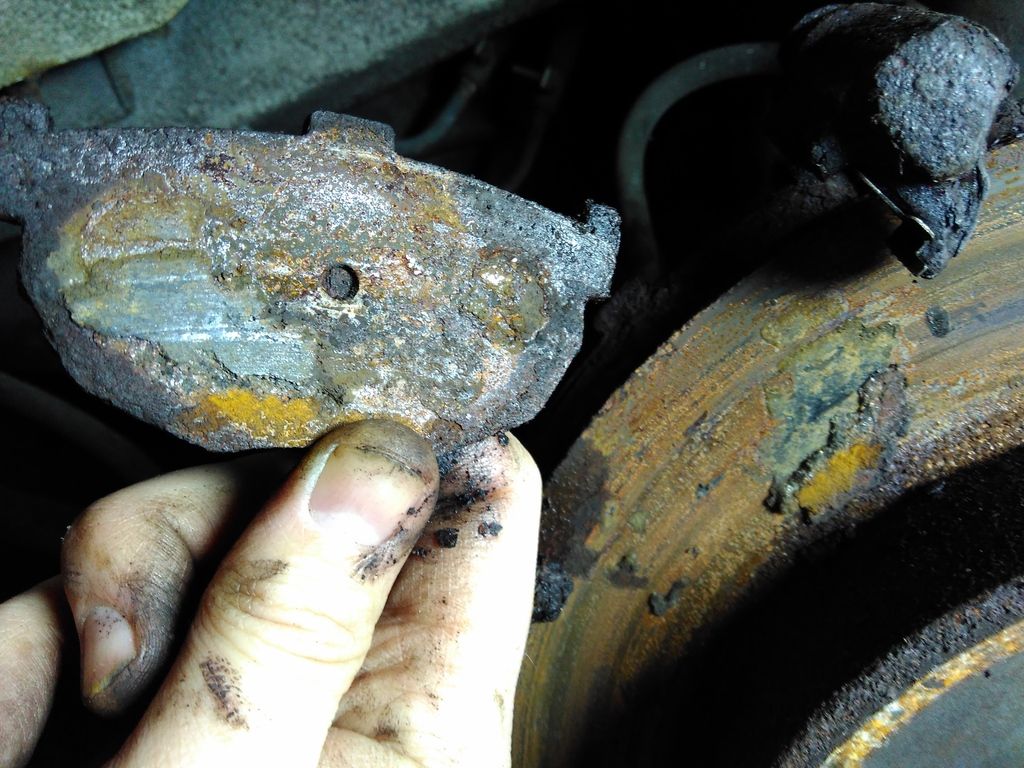 Note the bit of material stuck to the disc. Comedy! Then I attempted to unwind the piston off the caliper, which came out easily enough with some, erm, gentle persuasion. 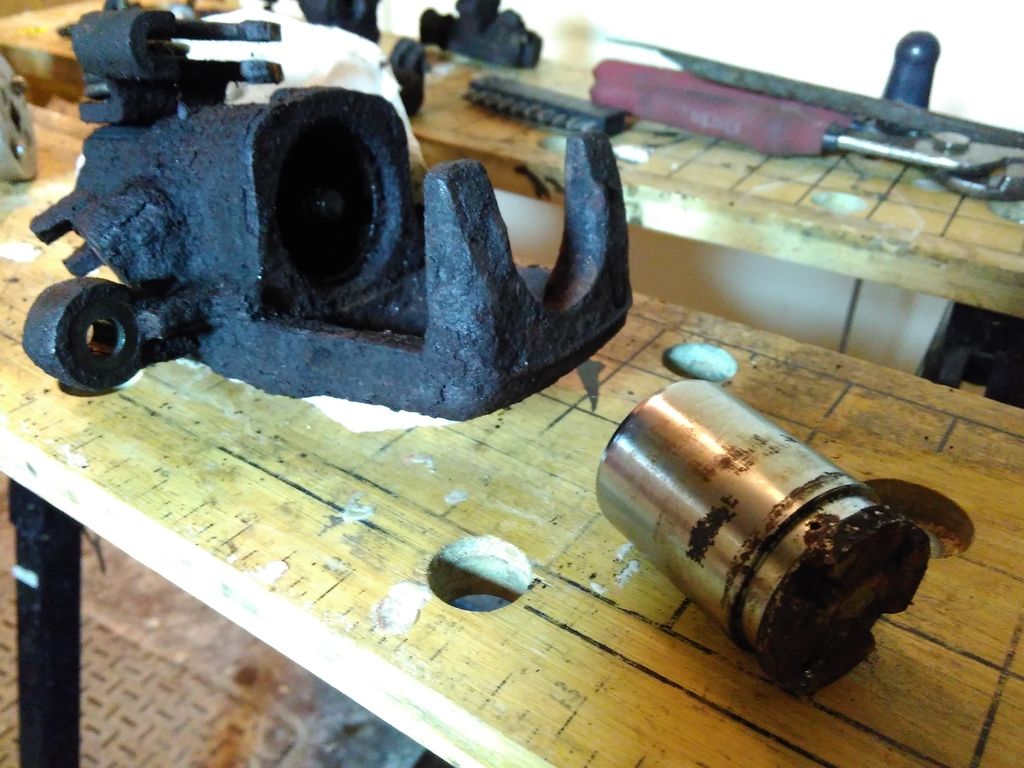 Status of the piston: also FUBAR 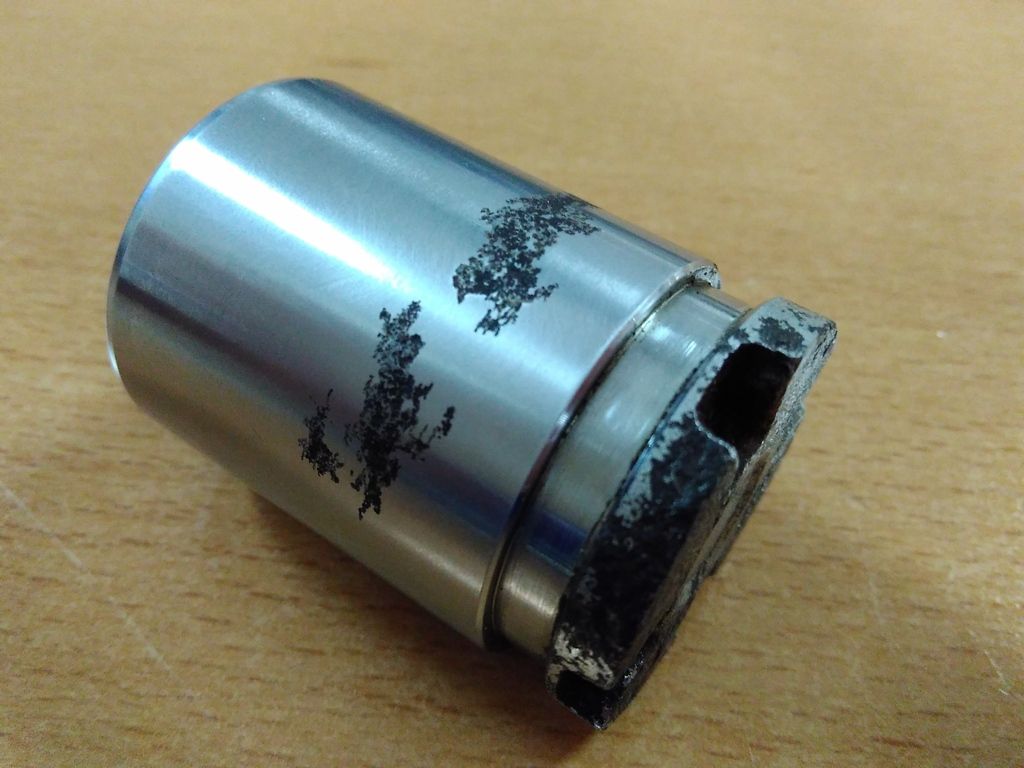 So, that's a new piston on order. Thankfully the cylinder looks in better condition but I have ordered a new seal kit nonetheless. 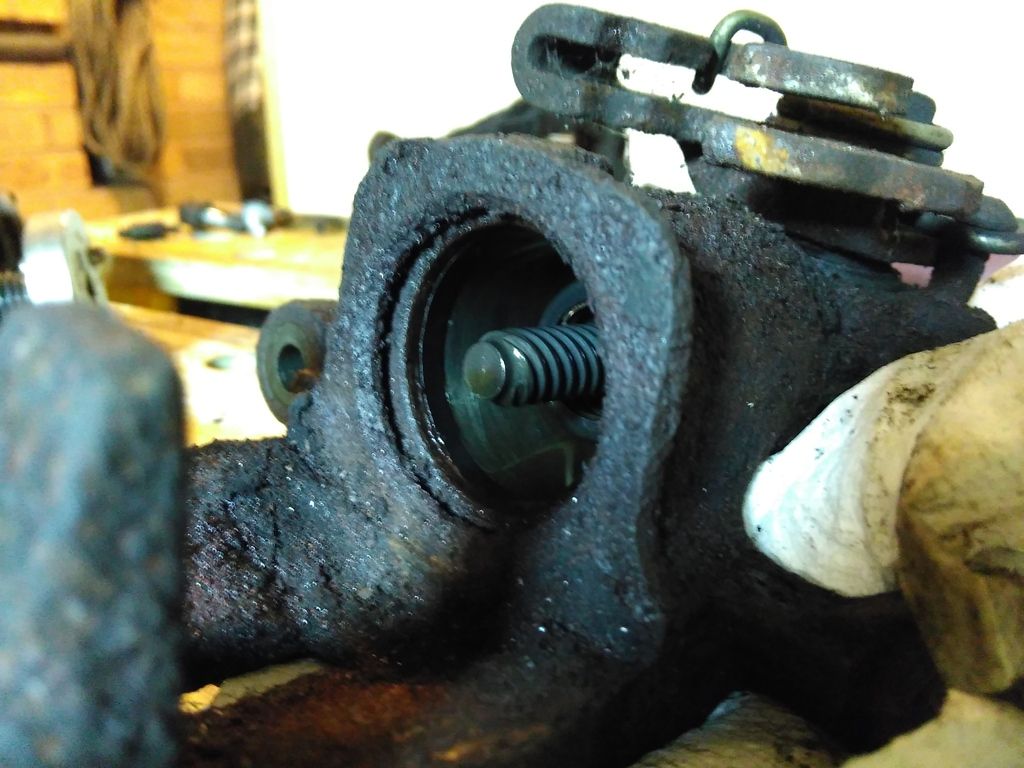 Then I had a play at removing the rust from the capiler and support bracket with a wire wheel attachment. I was pretty please with the results so I applied some rust inhibitor followed by some good old Hammerite that I had on shelf. 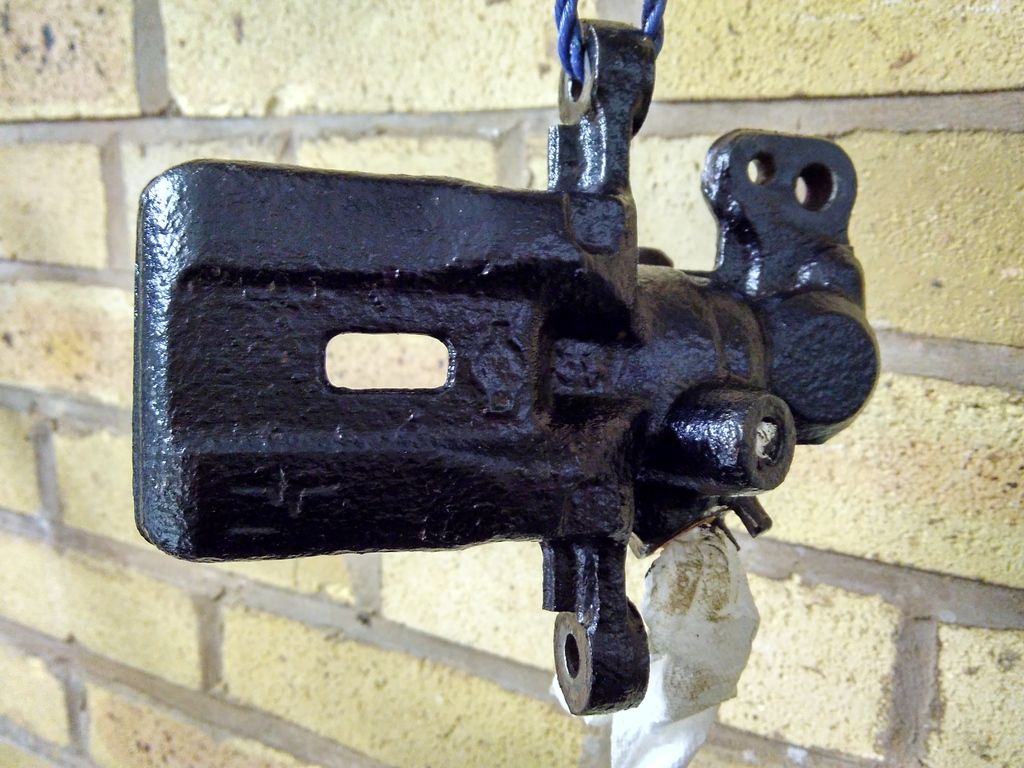 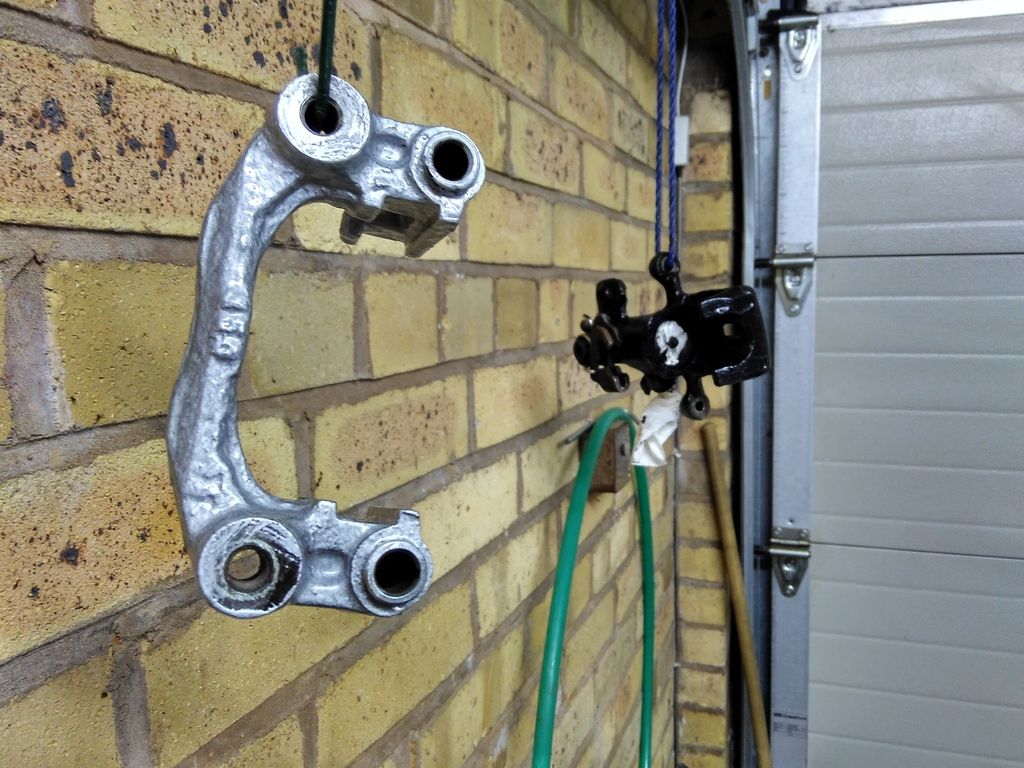 All I need now is the new piston and seals for the rebuild. In the meantime, I feel more wire brushing to come. |
| |
|
|
|
|
|
Feb 24, 2016 22:58:54 GMT
|
Chapter 5: Some rusty pipework. While waiting for the caliper refurbishing kit to arrive, I decided to tackle the rusty fuel filler pipe and assess the extend of the damage to it. This is what the pipe looked like before I got my trusty wire wheel out. 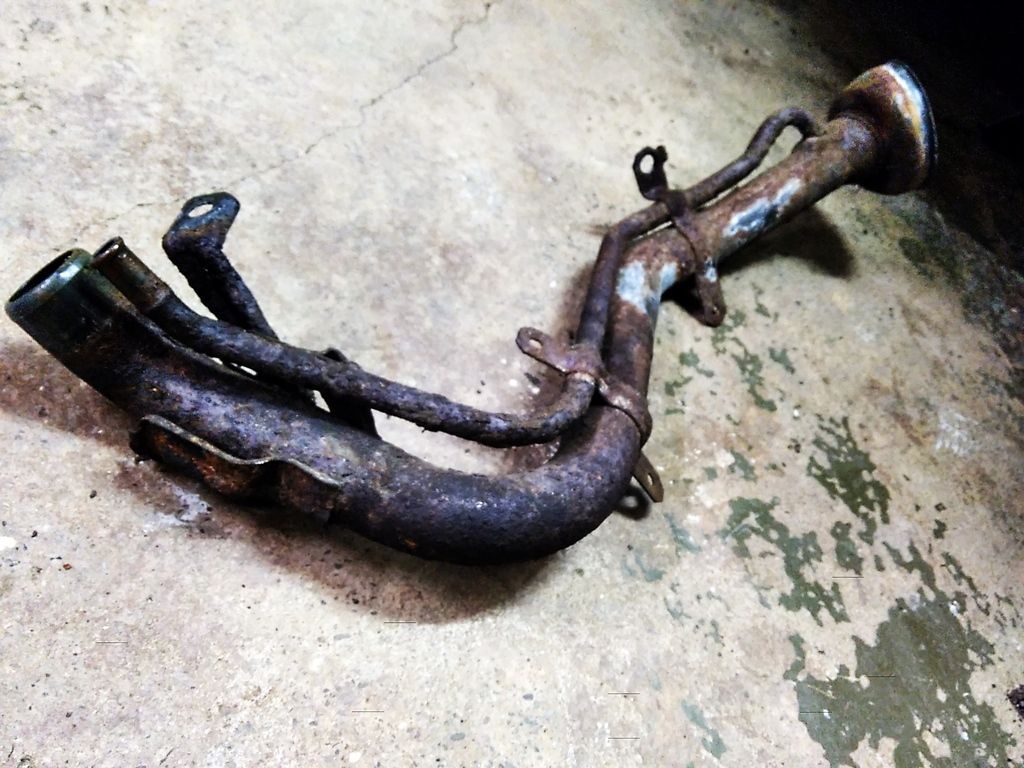 The more advanced rust was at the bottom of the pipe which was the part exposed under the car. After about an hour of wire brushing: 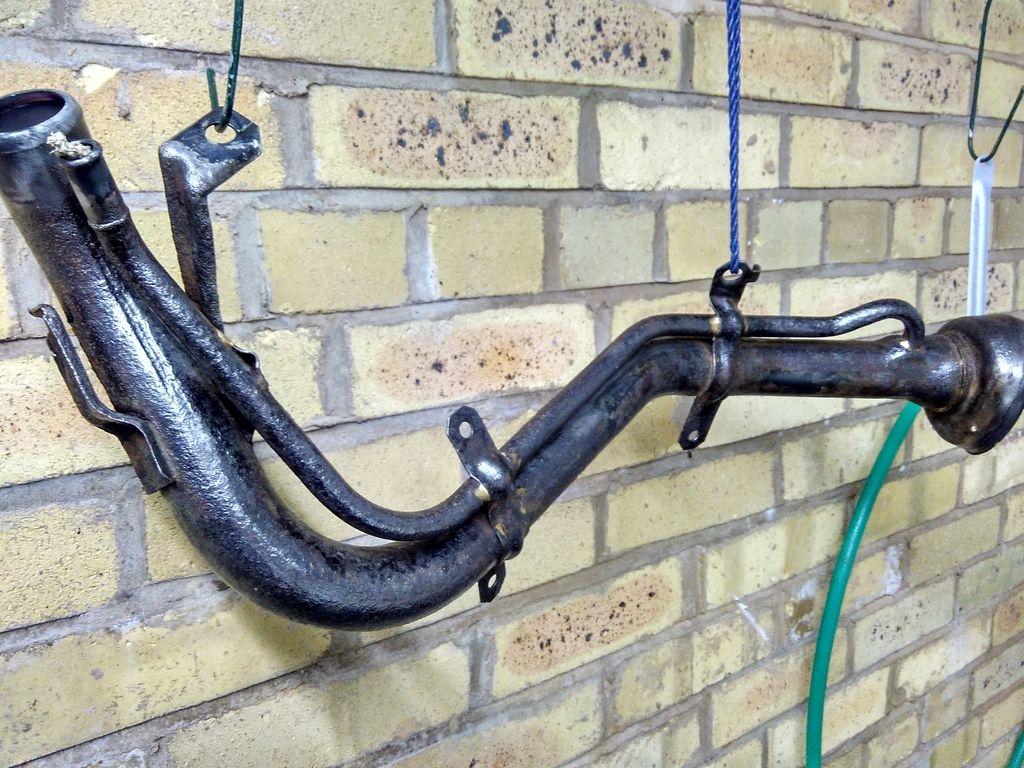 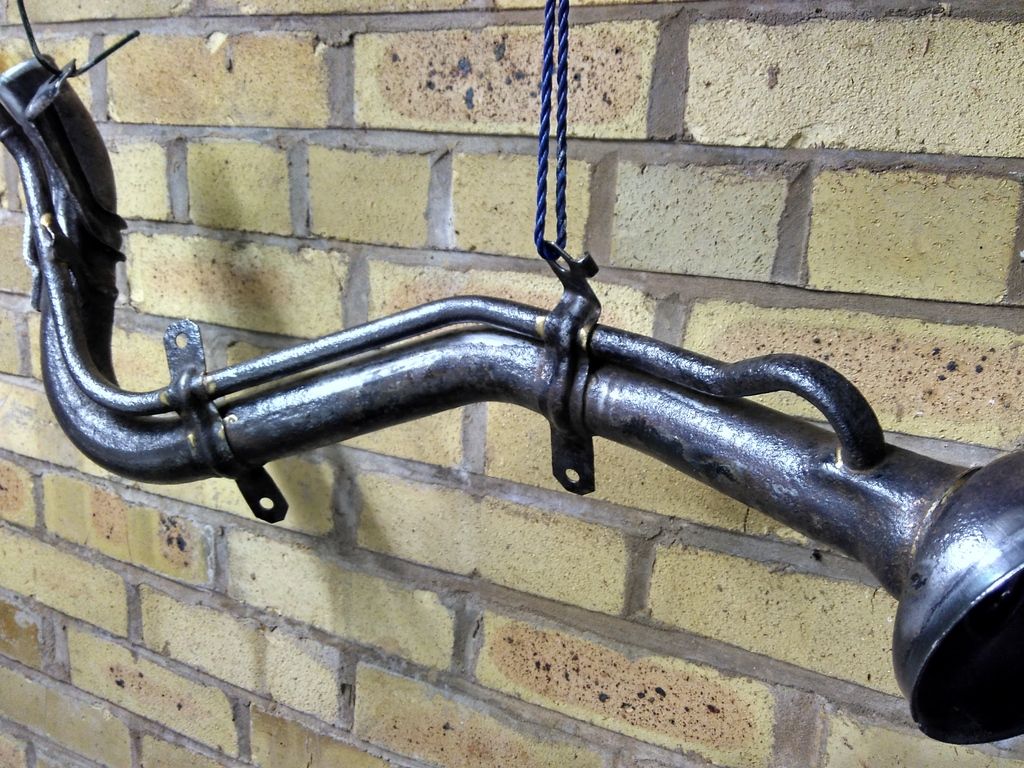 The rust wasn't as bad as it initially appeared. There is obviously some surface pitting but it is still far from going through. So some rust inhibitor: 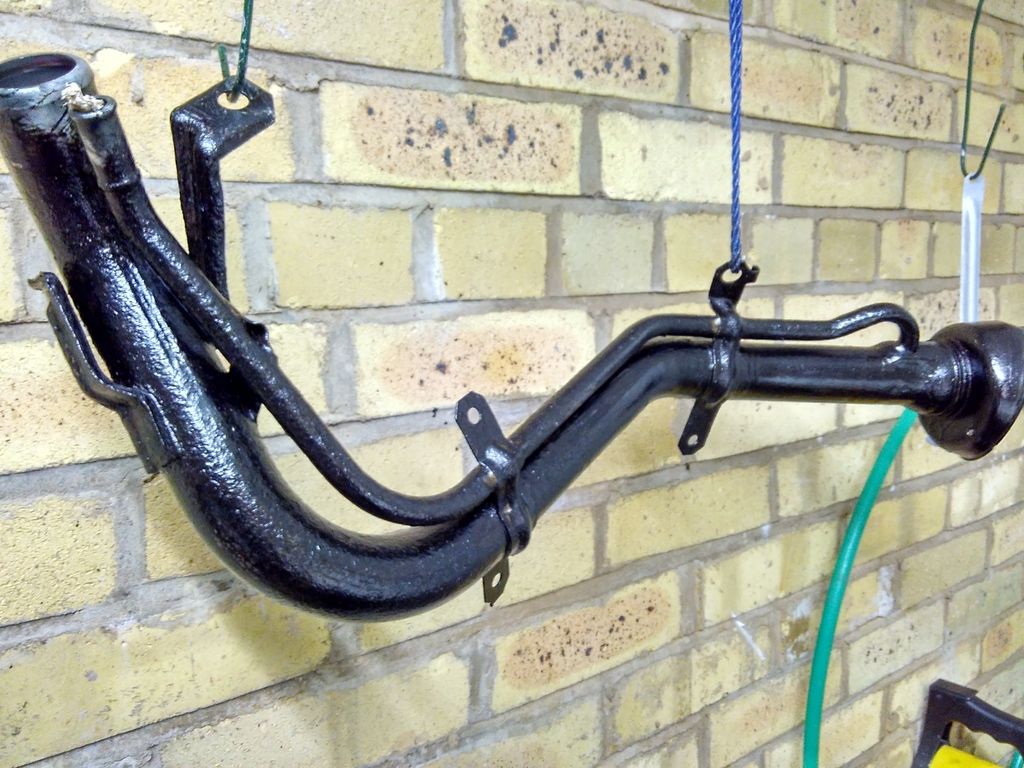 ...followed by two coats of Hammerite satin black (because that's what I had in the cupboard), et voila: 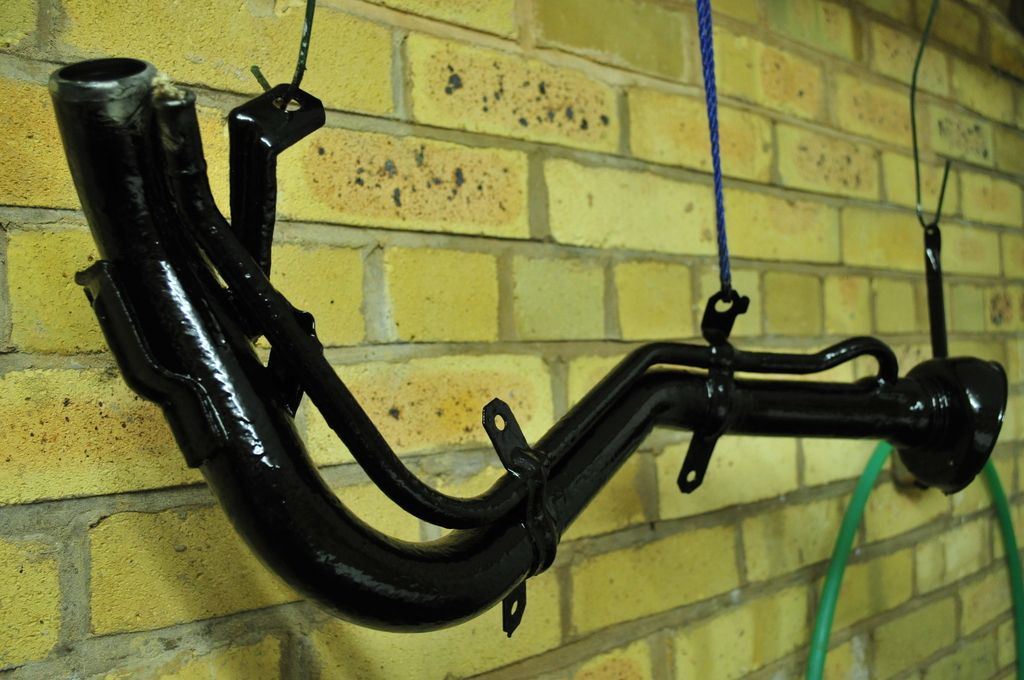 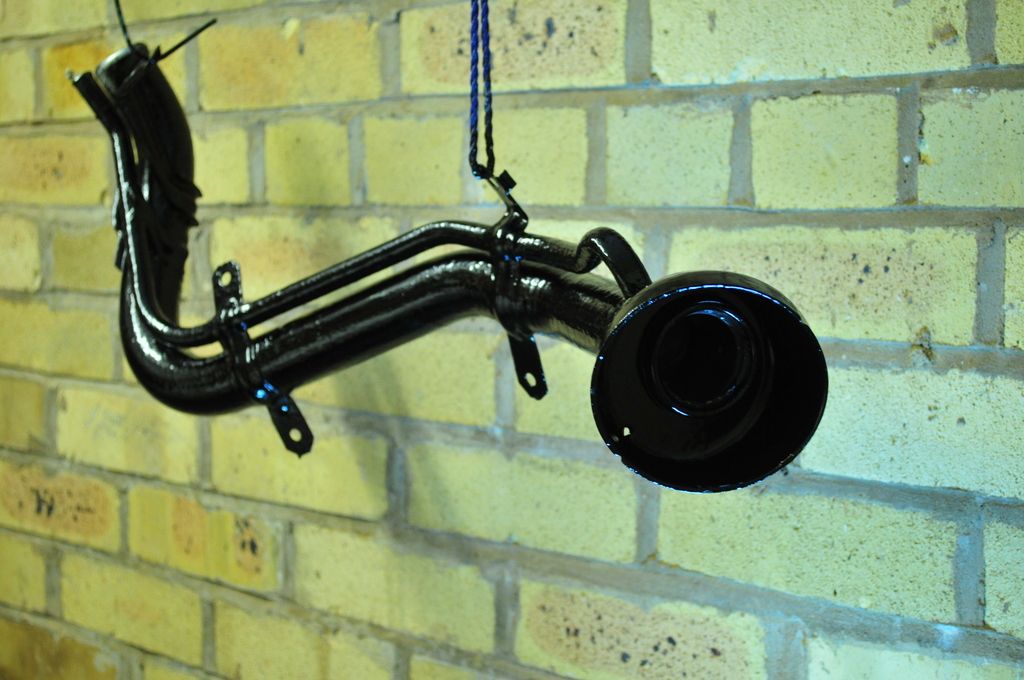 Again, not the best paint job, but this is really to prevent the rust from coming back. The fuel filler pipe being now out of the way, I can remove the remaining dirt inside the wheelarch ahead of rustproofing. I am amazed at the amount of cr4p still left in this damned rear wheelarch. 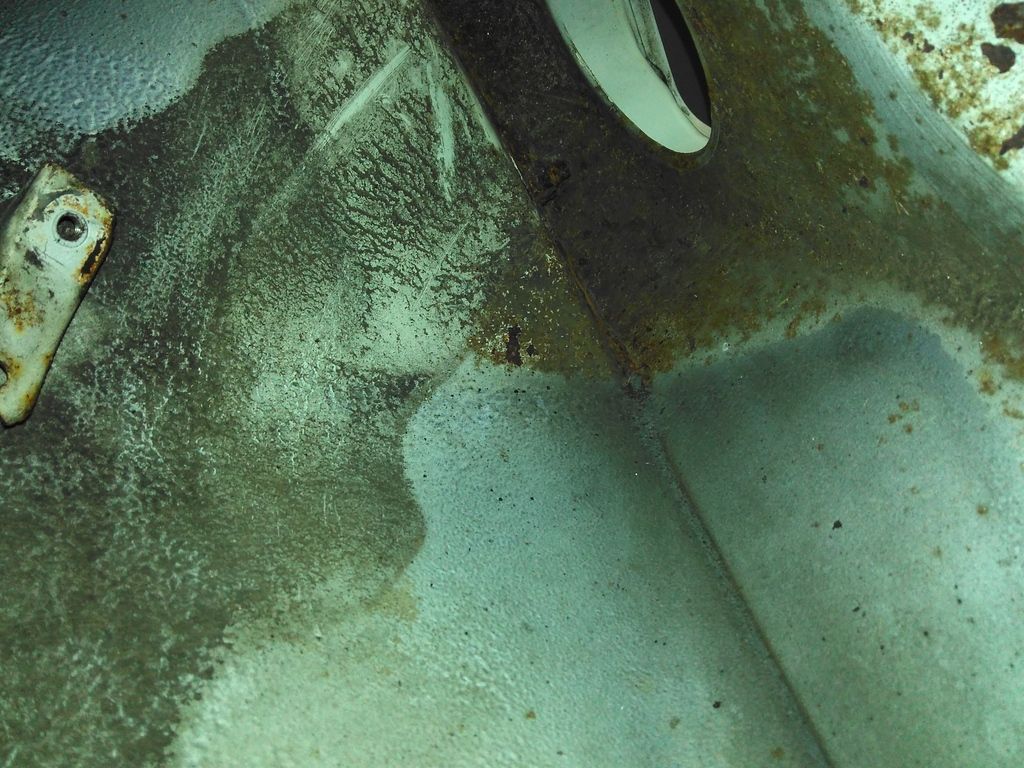 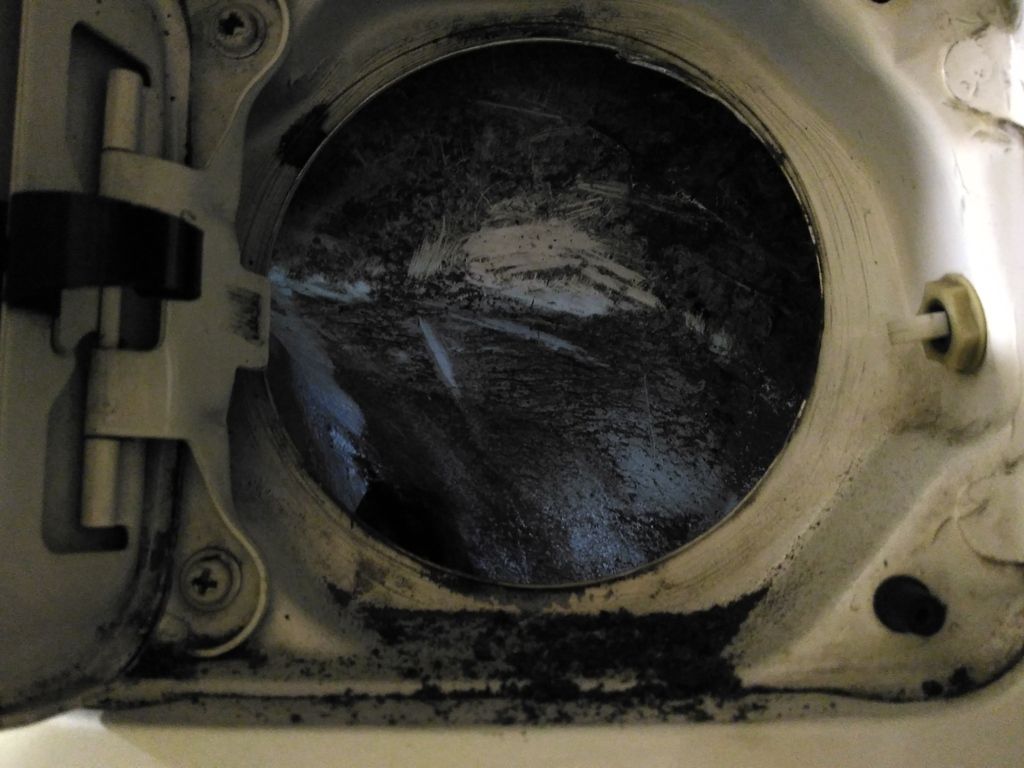 Finally, took the VERY rusty break pipe out to use as a template for the new copper one. 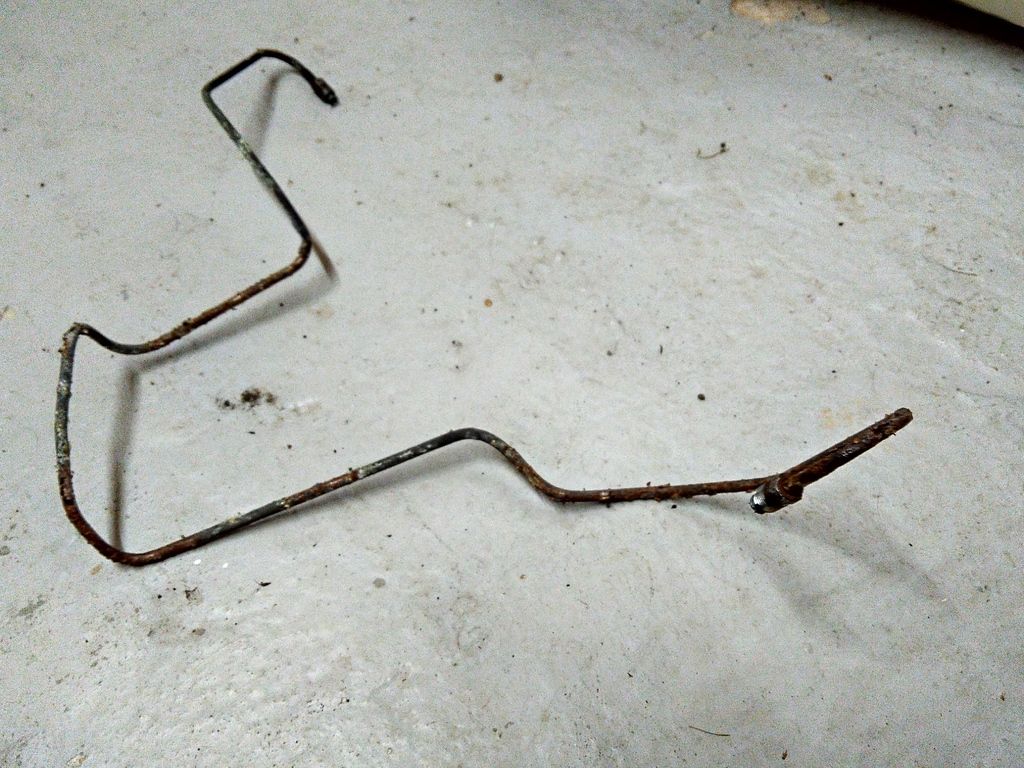 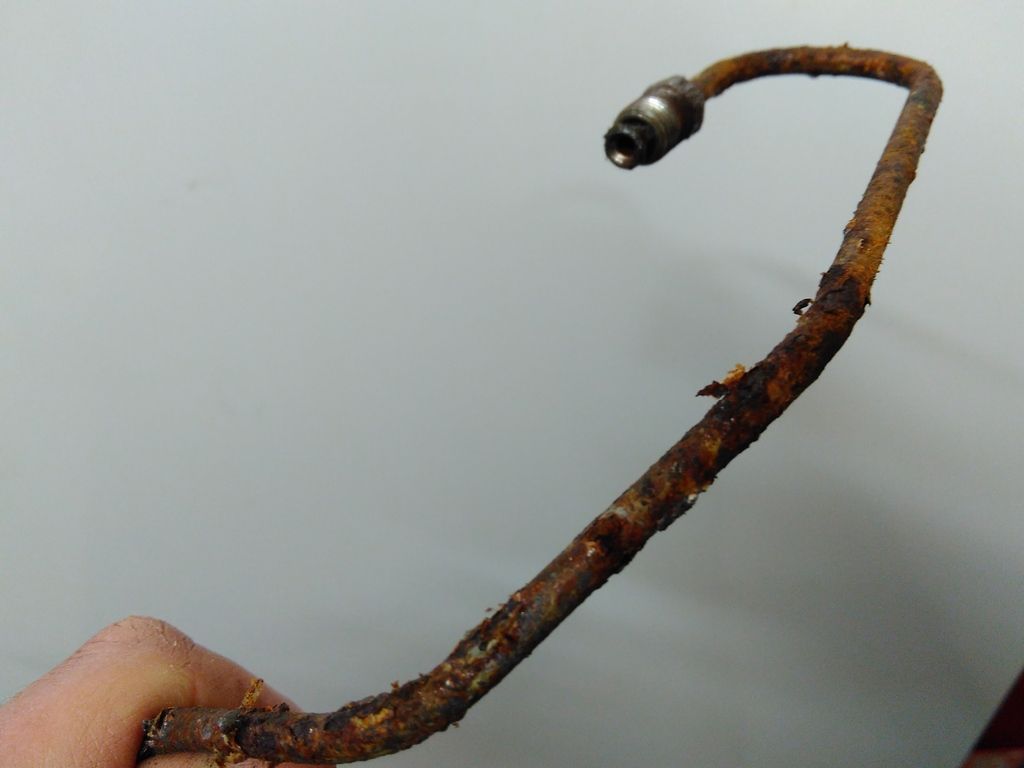 I hate rust!  |
| |
Last Edit: Feb 24, 2016 23:35:53 GMT by nick0303
|
|
|
|
|
Feb 28, 2016 22:42:22 GMT
|
Chapter 6: Have a brake! With the seal kit and piston received, it was time to tackle the rear caliper and give it a second life. All the parts for the caliper were sourced by Bigg Red from Worcester (www.biggred.co.uk). The items were received within 2 days of placing the order and for £19.00 all in, it seems to be good value. All the seals supplied were laid up to one side and I proceeded with taking the old piston apart, which went smoothly enough. 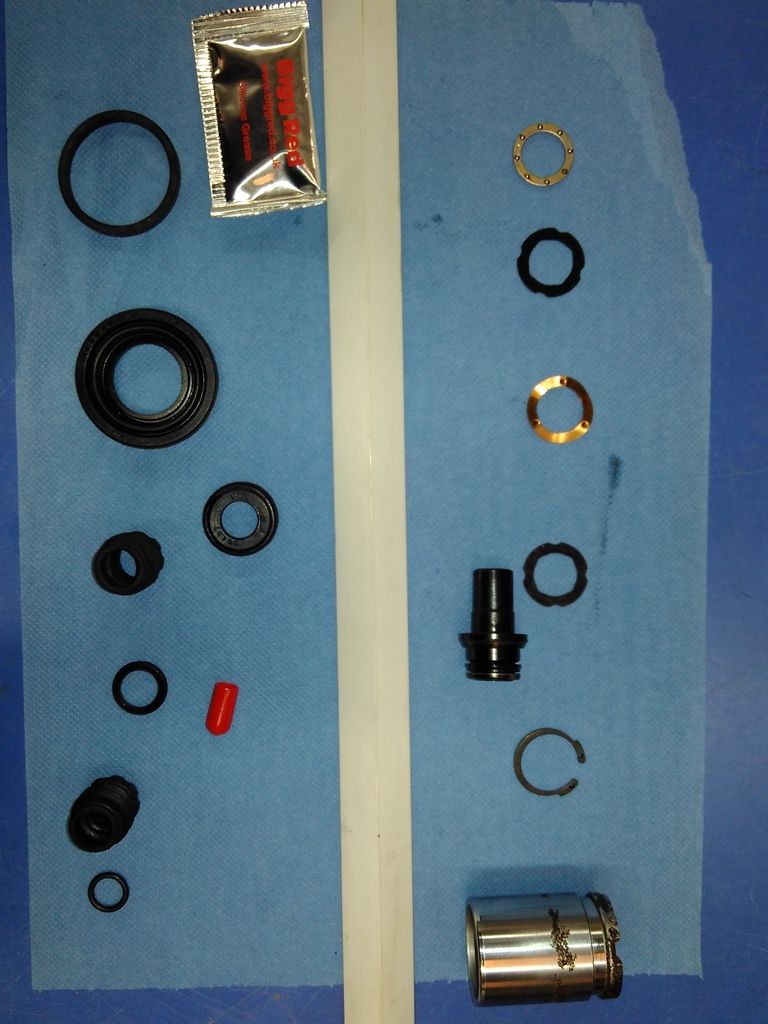 With all the gubbins and new seal now back into the new piston, it was time to replace the seals inside the caliper. 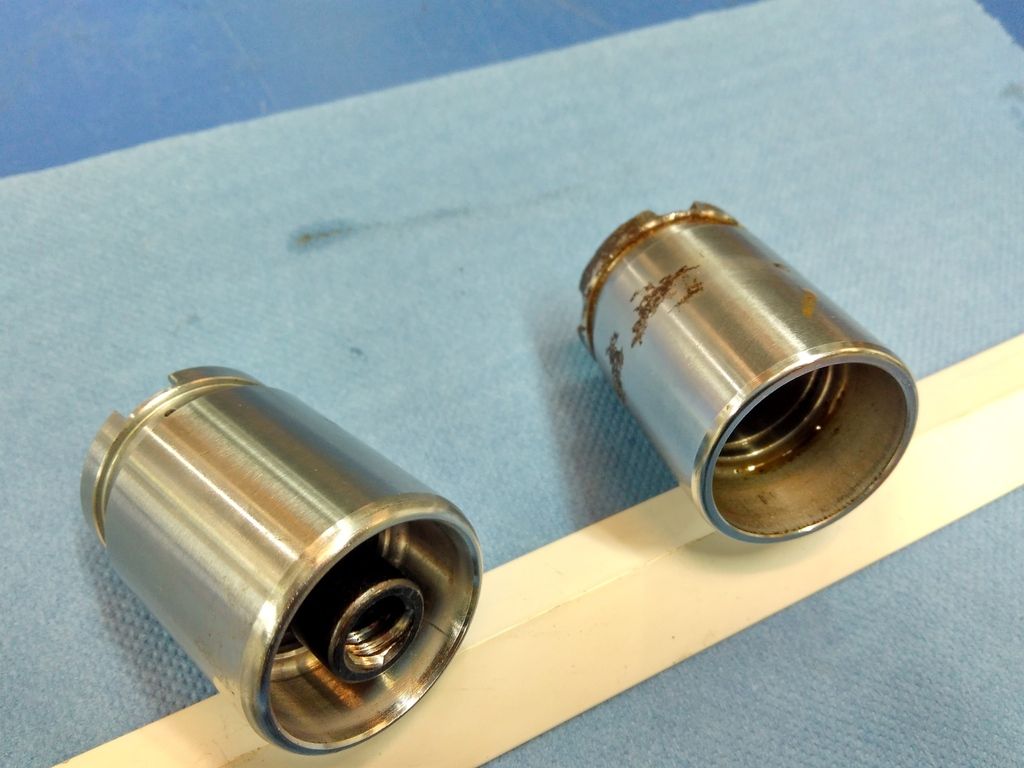 The caliper assembly has 2 circlips that need to come off to get to the last seal. Circlip number 1 came off easily enough but number 2 was out of reach with my circlip pliers. Beside this, the circlip 1 was spring loaded, and there again my circlip pliers would be of no use during reassembly, once I get something to press the assembly down to fit the circlip. So I thought I'd share this piece of information: 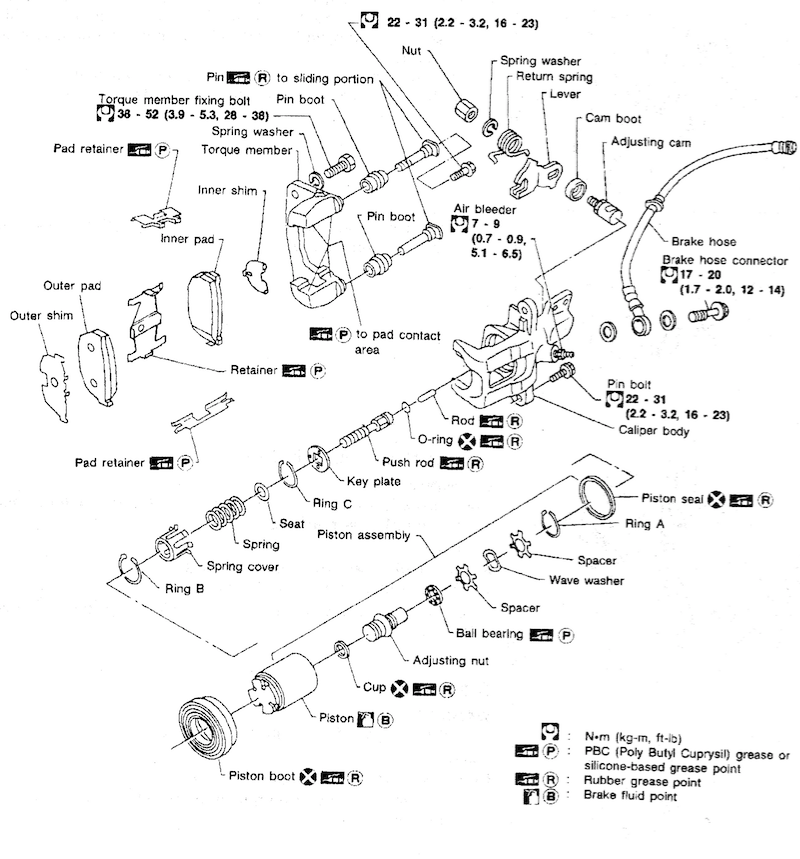 First, I went and get some more suitable circlip pliers, 65mm long reach 90deg bend type to be more exact: 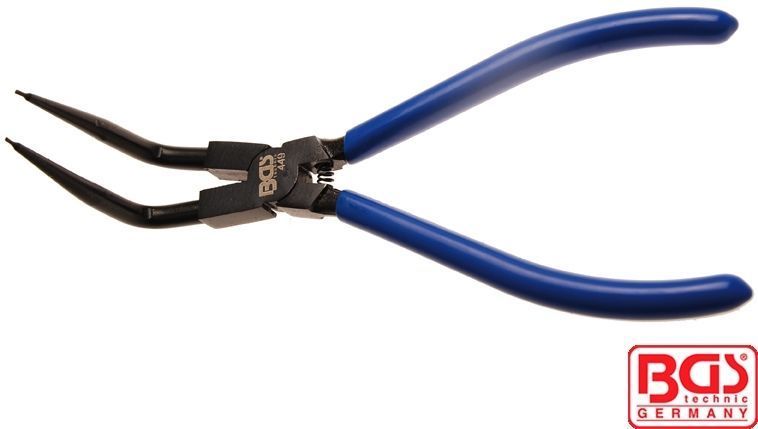 Those particular ones were eBay specials, at £17.54 all in. Not cheap but then again I could not find then anywhere else in the UK and again the goods were received with 48 hours. Ace! With the suitable pliers in hands, I was able to remove the second circlip and replaced the o-ring on the piston push rod very easily. The reassembly process was more exiting as I had to tackle the spring loaded circlip. So this is how I managed to get the spring cover back in place: a nut and a length of pipe of the correct diametres, a G-clamp and some washers and there you have it: a very precarious balancing act which took 3 attempts and a broken ceiling light bulb to perfect! 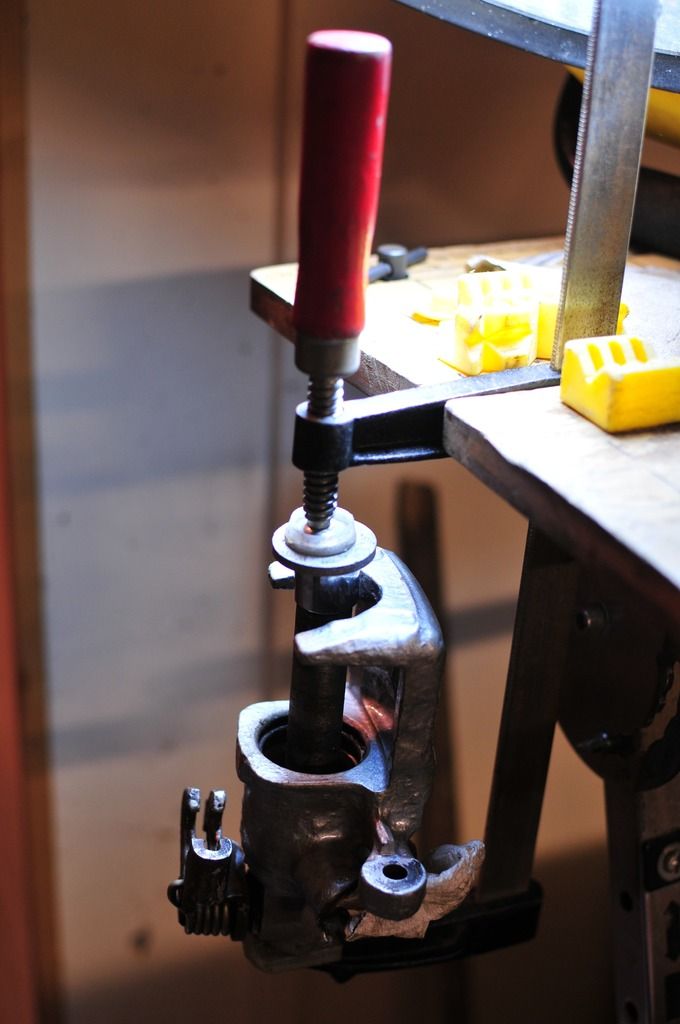 Putting the circlip almost first time in with the new pliers made their money worth as I was a bit weary of looking down the bore, with my face between the spring loaded assembly and the new ceiling light. Finally, the caliper is now fully reassembled and looks much more presentable than when it came off the car: 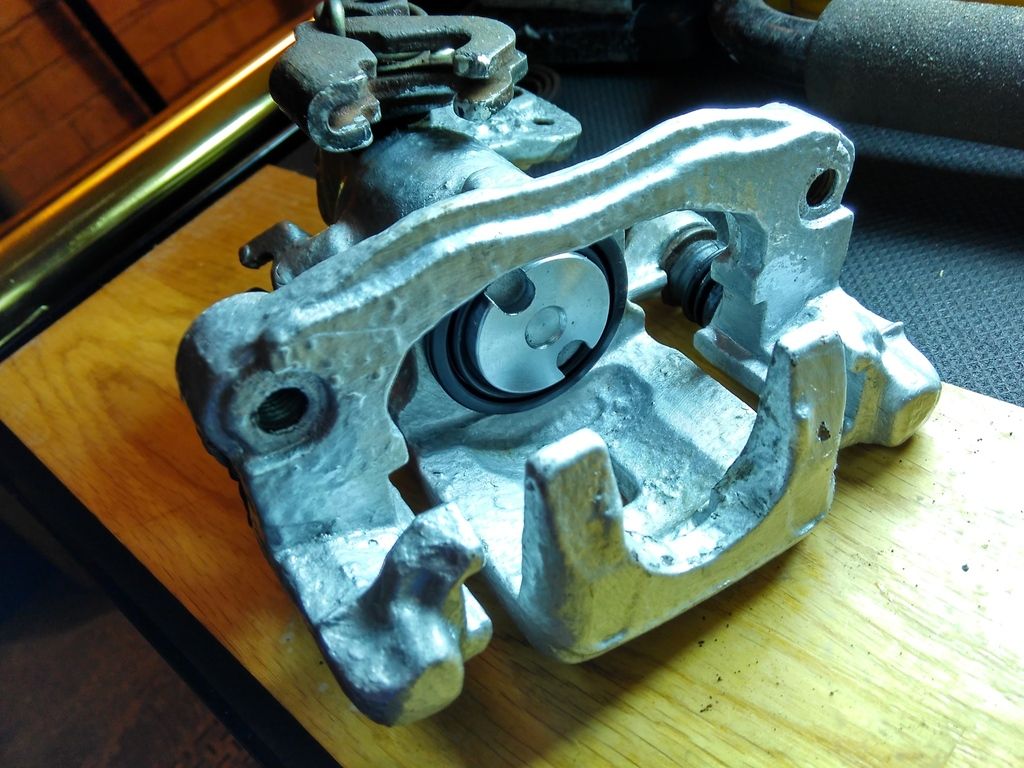 ![]() 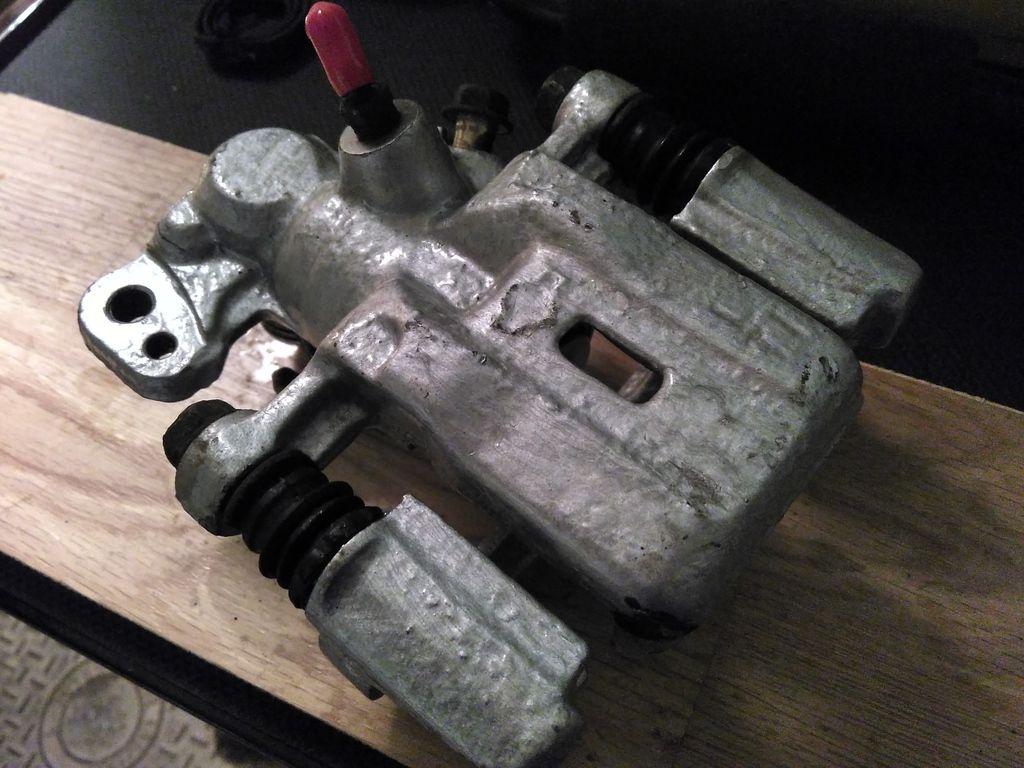 So with this done, I can now focus on removing the rust from the wheelarches and getting the new brake pipe ready. And I will gladly dispose of the remaining of the old caliper seals and piston. 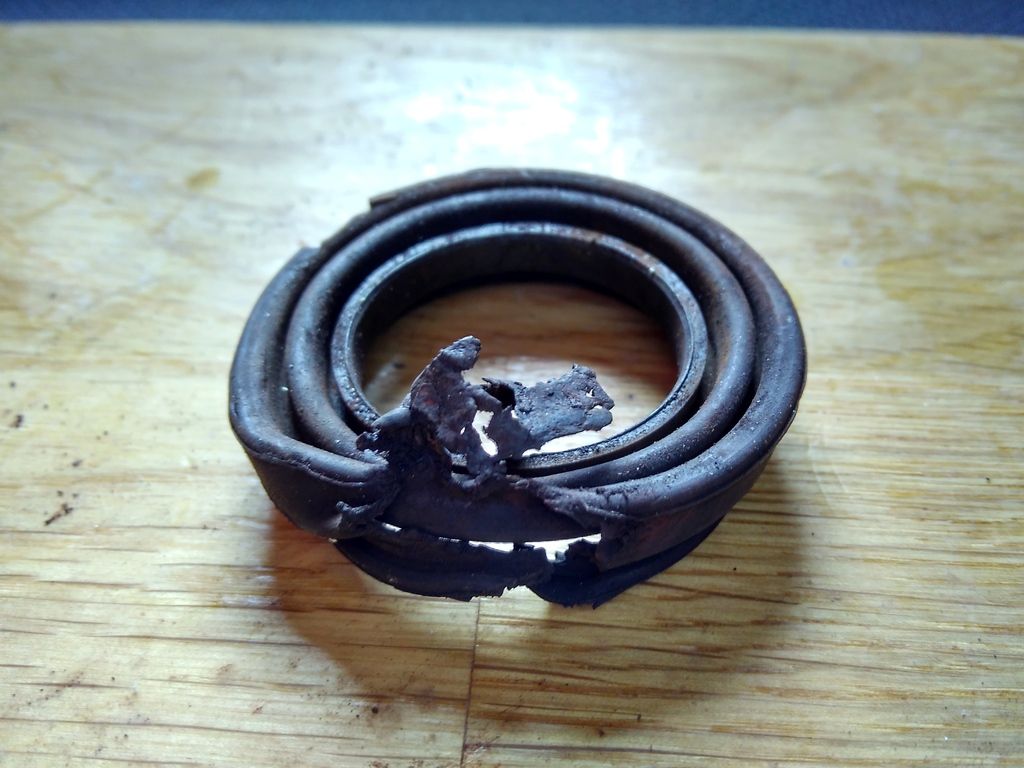 |
| |
|
|
|
|
|
|
|
|
|
Chapter 7: A clean slate So progress has been slow due to work, family, house and general life commitments. But I have managed to move at a steady pace with an hour here and there in the evenings. So with the rear brake caliper sorted, and whilst waiting for the new set of rear pads to arrive, I decided to tackle the rear wheelarch rust. The original wheel arch paint suffered a considerable amount of stone chipping whilst the plastic trim covering the fuel filler pipe did its very best to keep the moisture nearby. So this is what the wheelarch looked like after a good wire brushing: 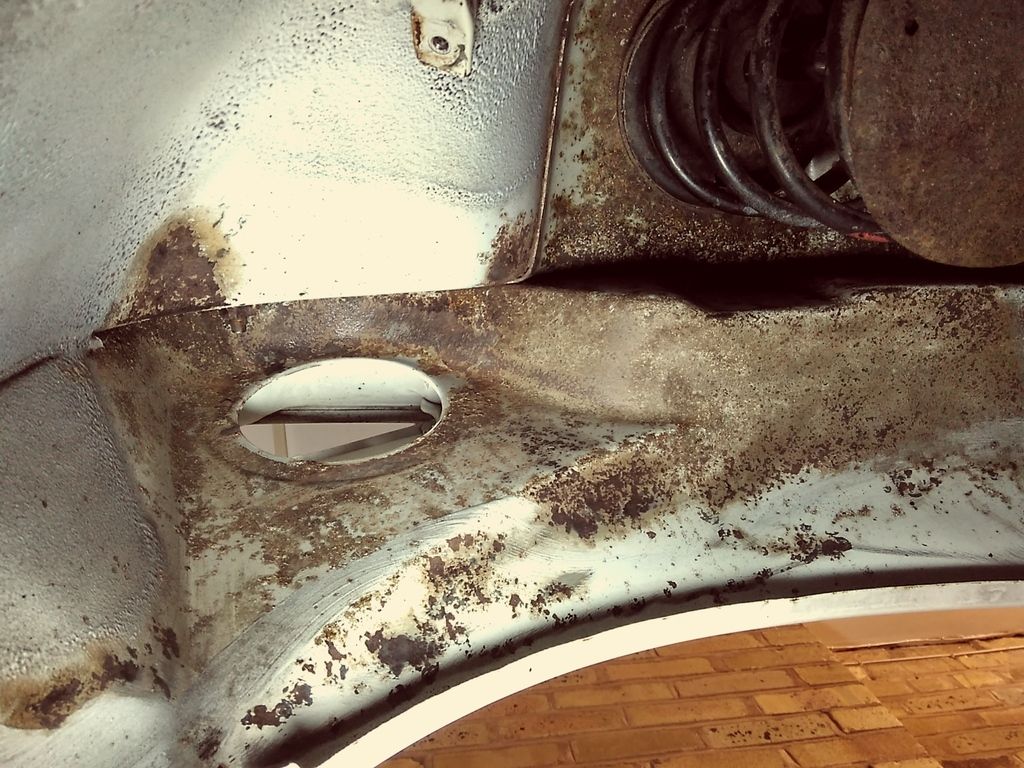 Surprisingly the wheelarch lip was relatively rust free, and certainly looked must better that the surrounding areas: 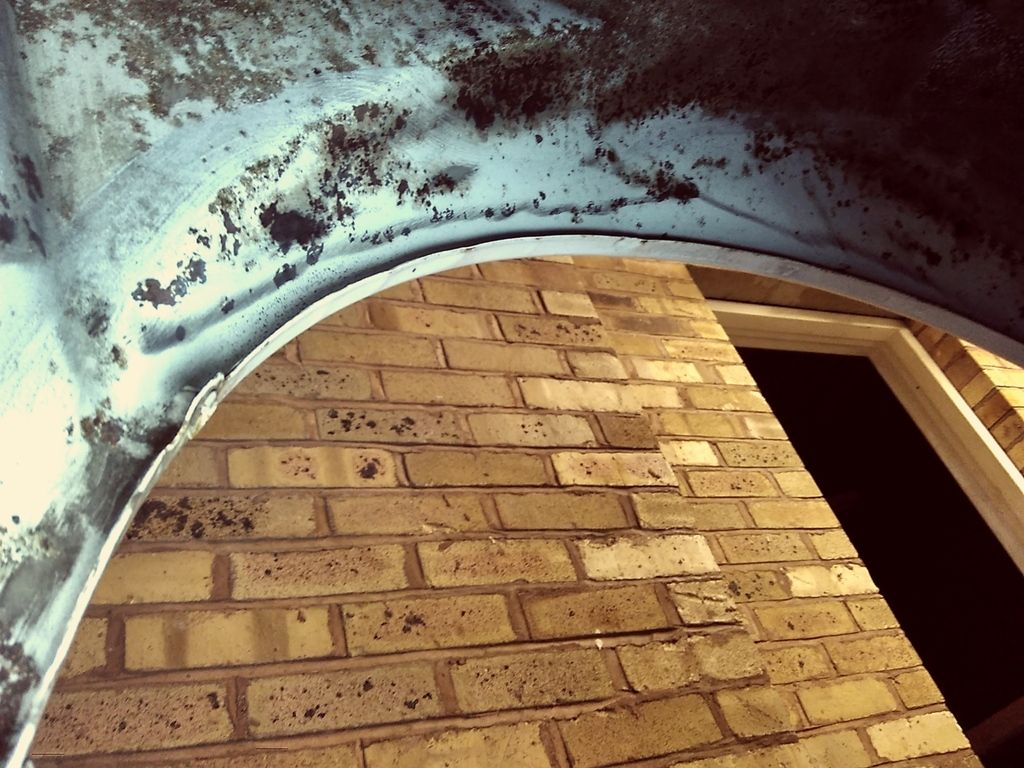 And then there was the bit were the original stone chip paint had lifted. The initial inspection suggested some heavy rust. This is what was left after the wire brushing: 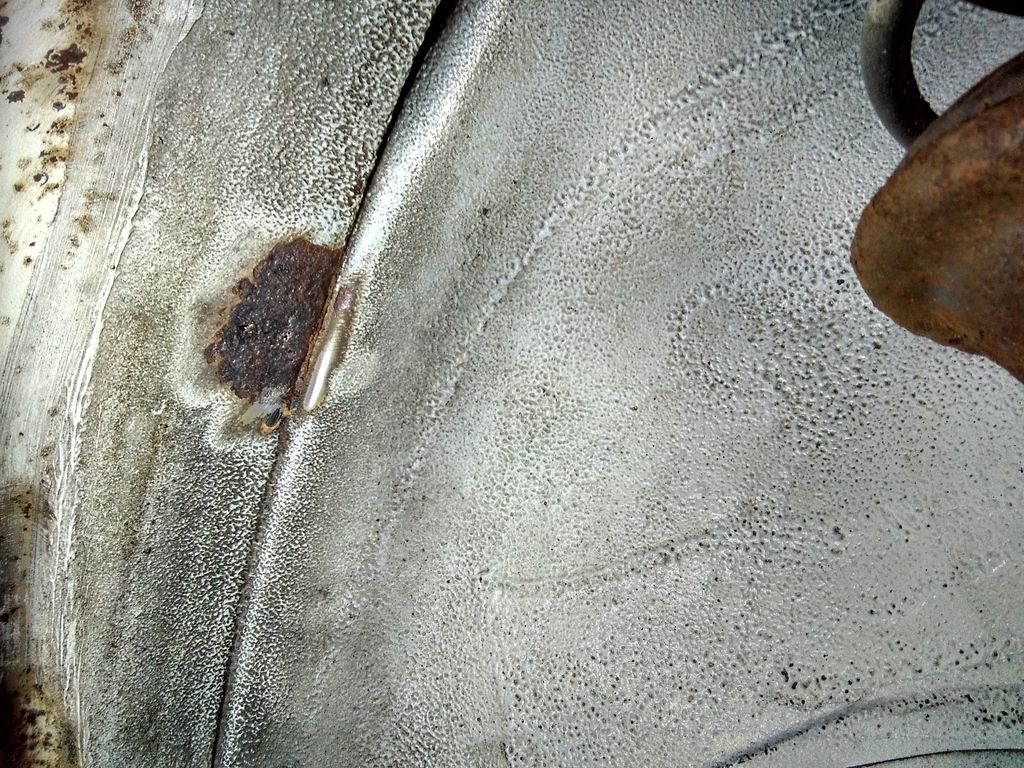 The rust had started going through but the damage was only limited to a few small holes and the integrity of the panel was not compromised. Some metal repair was applied in this area while the remaining of the exposed metal in the wheel arch was treated to more rust inhibitor followed by some cold zing galvanising paint to hopefully keep the rust away. 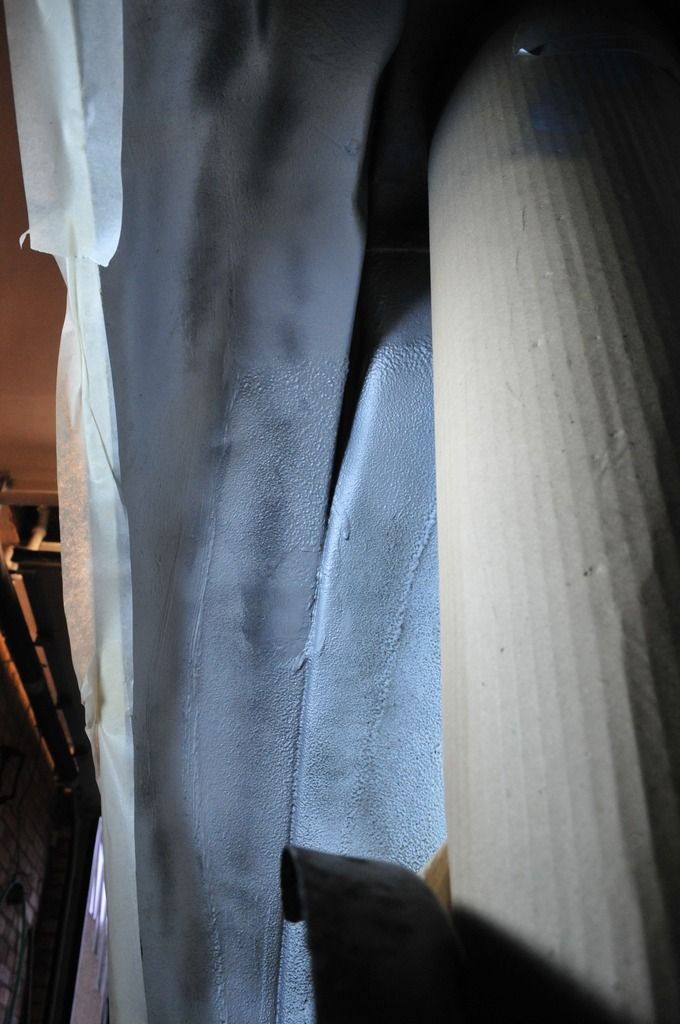 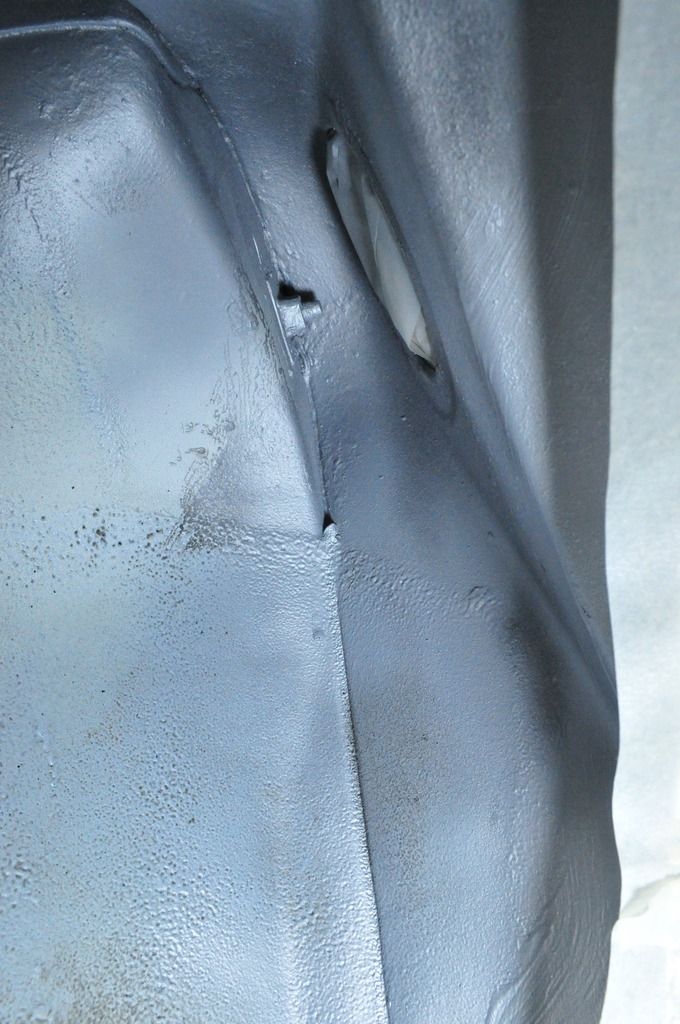 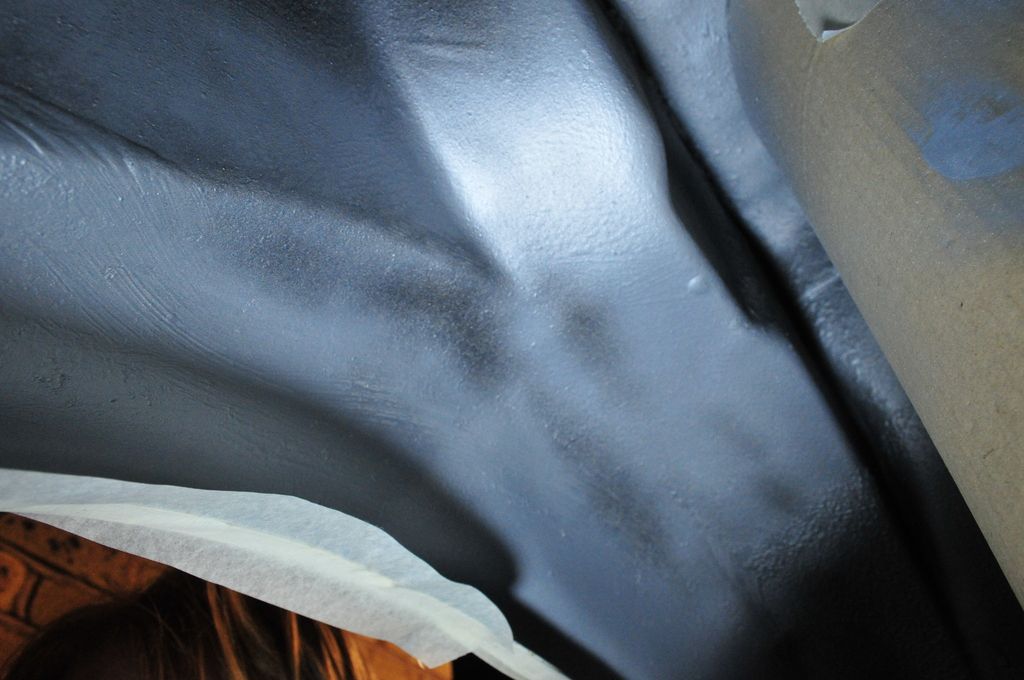 Finally the wheelarch was treated to a new coat of stone chip paint. 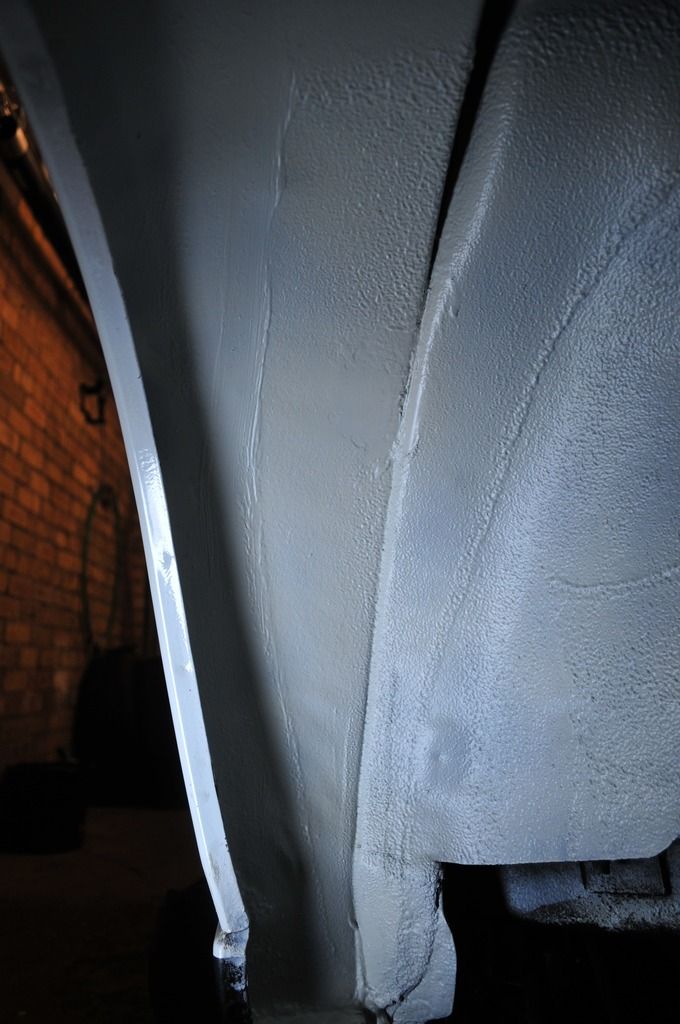 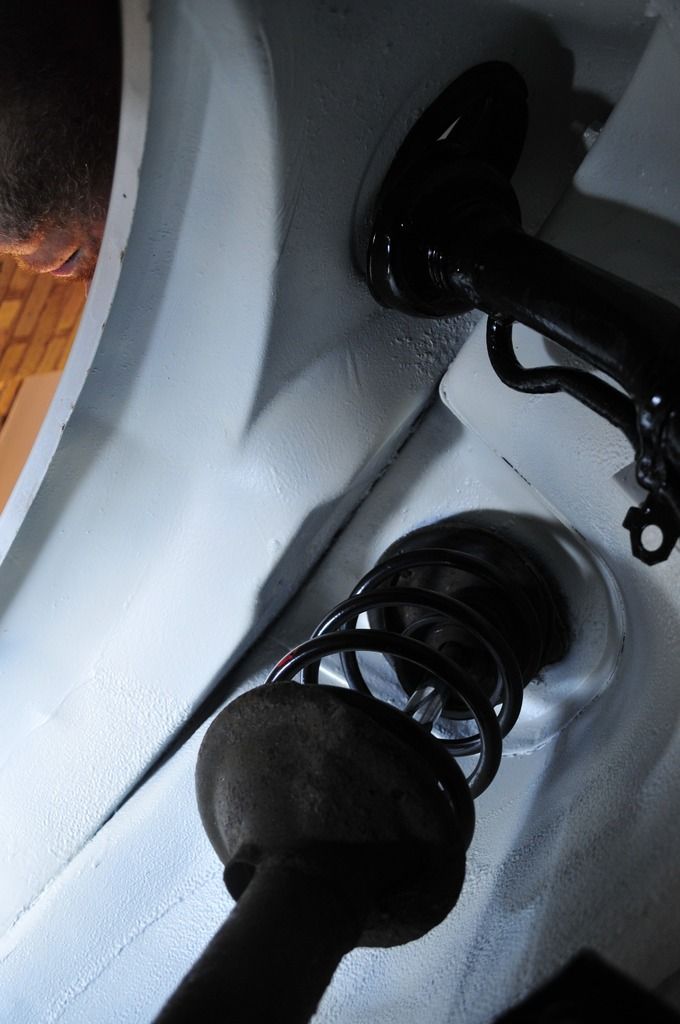 Next step is to make a new brake pipe. In the meantime I had to do a quick dry fitting to see how everything looks: 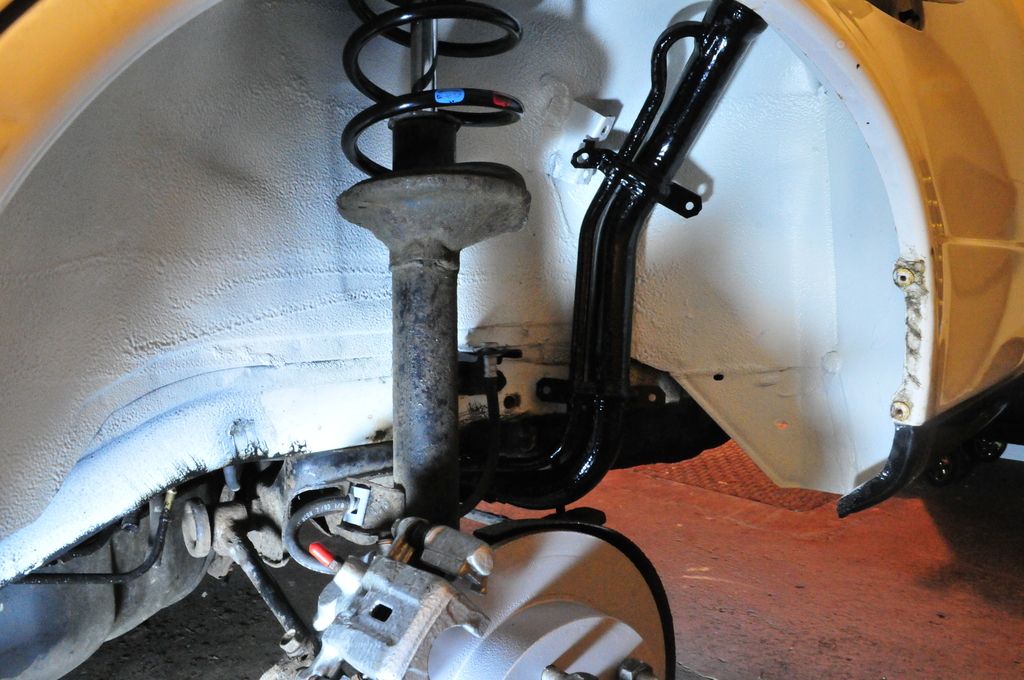 I am quite pleased with the results. I have managed to get rid of the overspray on the coil using some polish. I was also able to get ride of the overspray on the plastic cover for the fuel pipe using cellulose thinners. I am looking forward to put everything back together and move on the front ns arch, which is luckily virtually rust free. So it will just be a refresh of the brake caliper plus bleed and a new ball joint. Then it will be time to move to the other side. |
| |
Last Edit: Mar 6, 2016 22:24:14 GMT by nick0303
|
|
|
|
|
Mar 15, 2016 22:48:53 GMT
|
Chapter 8: the half way point OK, so progress is still being slow on this, but I eventually managed to complete the nearside brake overhauls and wheel arches.
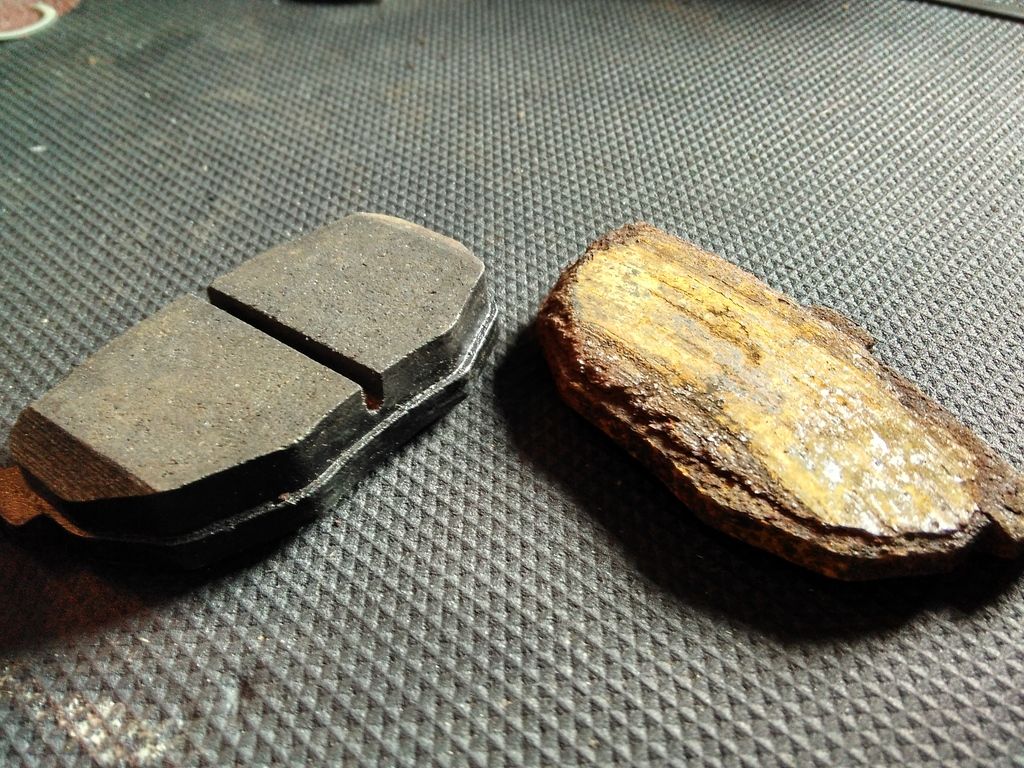
First the new rear pads arrived and it didn't take a degree in automotive engineering to realise that a new set of pads were long overdue.
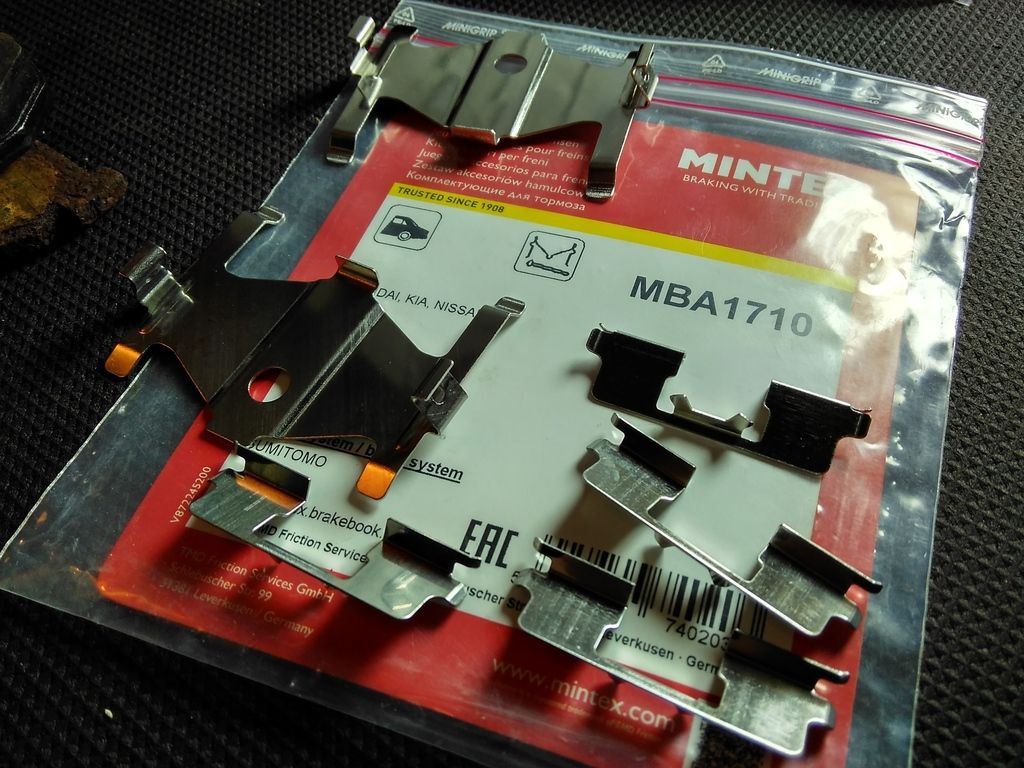
I also order a set of genuine Mintex pads accessories to go with the above at a bargain price of £5.90 inc delivery from fleabay, because the original ones had seen better days.
With all my new shiny new parts back in the caliper and a newly formed brake pipe, courtesy of yours truly, I could move on the the front arch.
A good cleanup and a basic brake overhaul was all was required as the front arch was virtually rust free. And a bit more polish got rid of the overspray on the spring.
So I was left will two new looking wheel arches, which quite frankly started to look out of place with the remaining of the car.
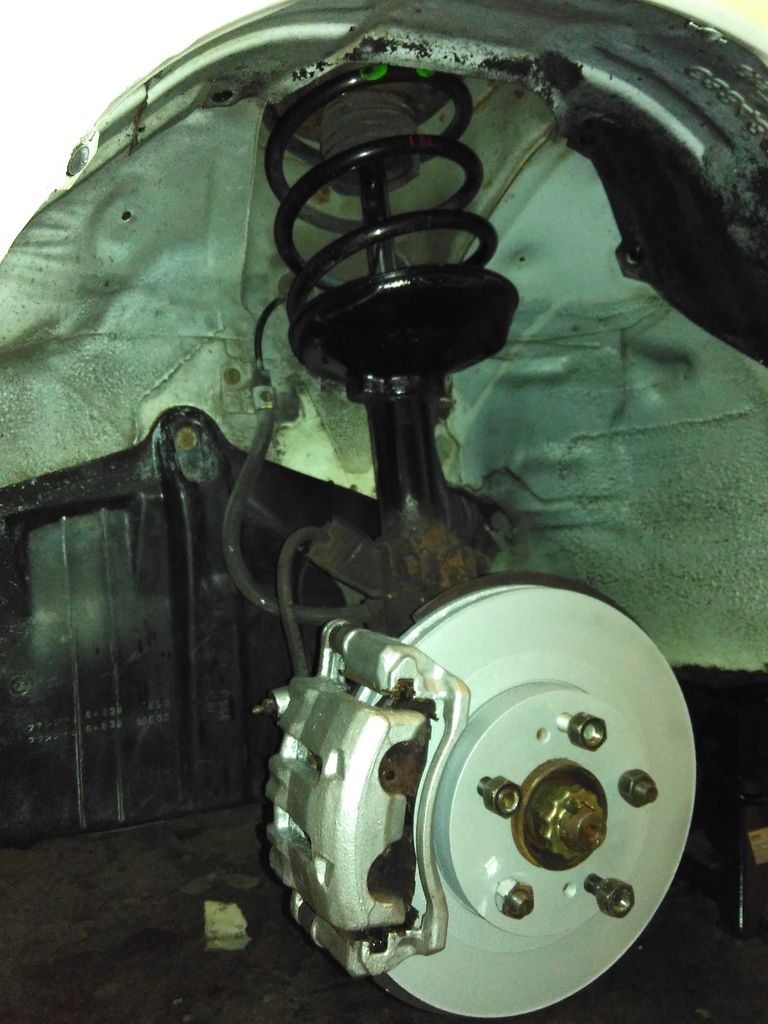 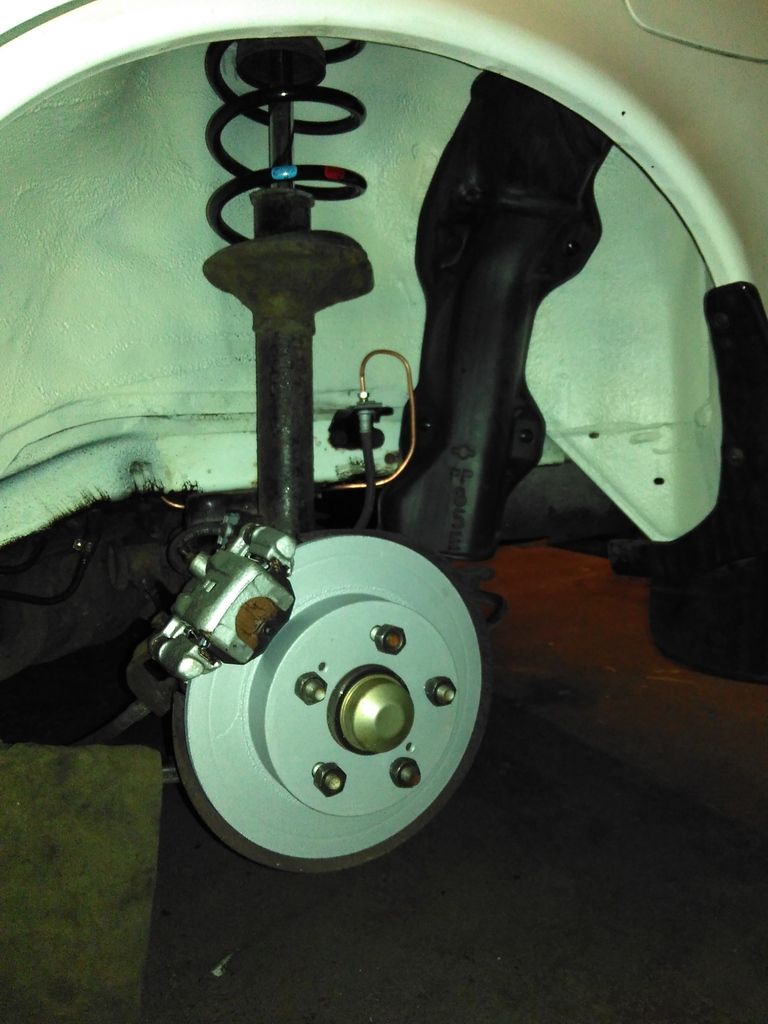
With the brakes bled and the car back on his wheels it was going to be time to turn the beast around for Part II of the recommissioning process.
However before I moved the car I thought it was probably a good time to fit another fleabay bargain that I acquired earlier on.
The car had always had trouble starting on cold damp mornings and had the tendency to flood the cylinders if left cold idling for too long. A quick search on the owners forum suggested that the ignition module could be a likely culprit. As it happened there was at the time an old new stock of ignition modules on eBay, and at the cost just under £15 inc. delivery (instead of the usual £70+ from the dealer) it was certainly worth a punt.
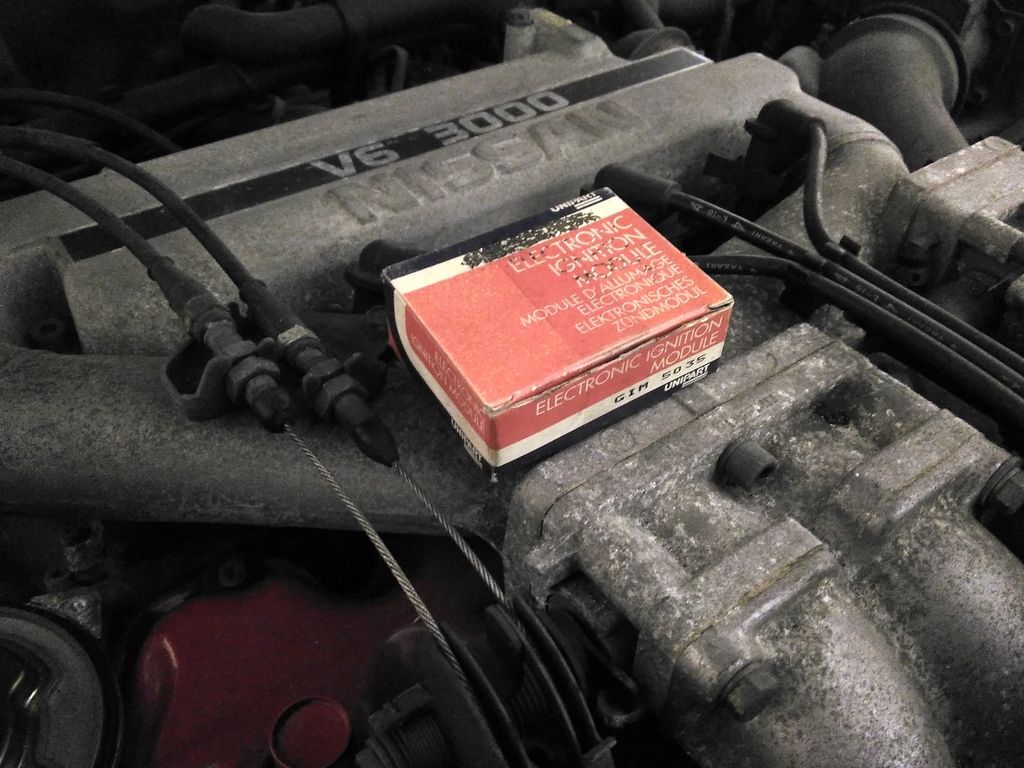
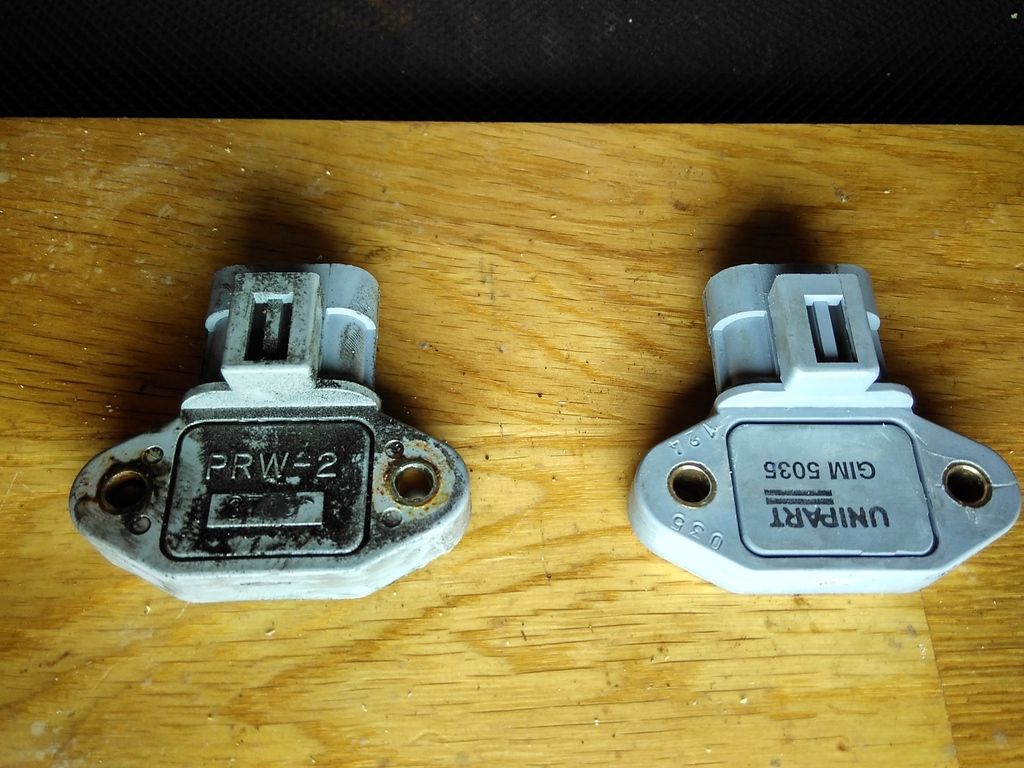
So we'll have to see if this solve my cold start issue on the long run.
And so after just shy of two and a half months since it was dragged out of its storage, the car went from this:

to this:
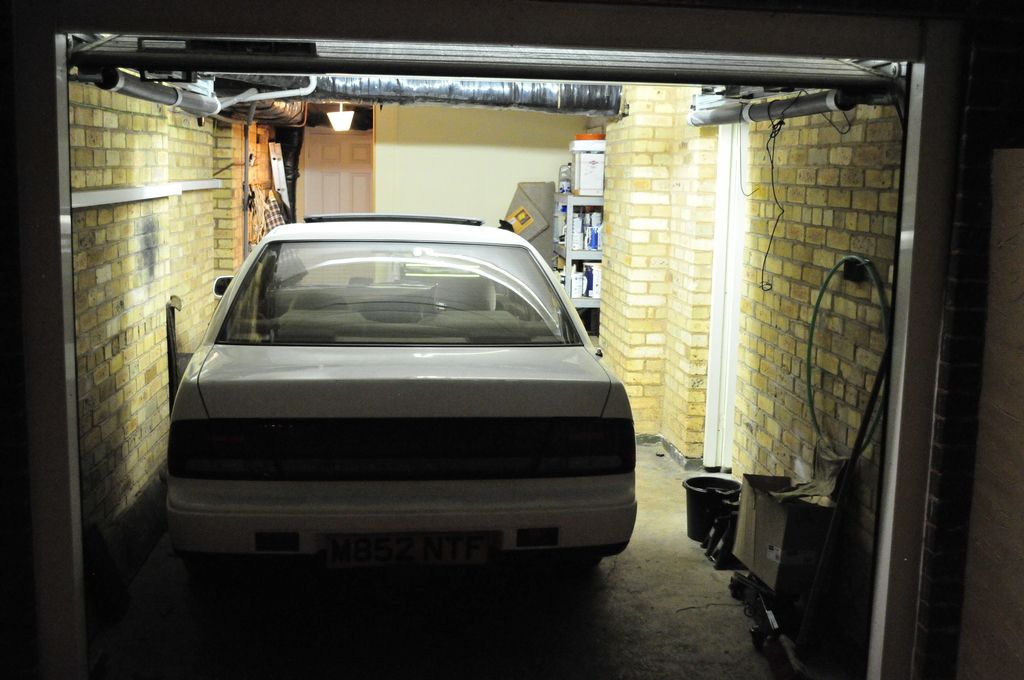
If I reflect over what has been done over this period, apart from boring you with this thread, well not a lot really. But then again the amount of time available to me was very limited and at least I am more confident about the rust situation on the nearside of the car and that I now have some operational brakes.
As I am writing these lines, I have no idea of the conditions of the offside wheelarches or brakes or the amount of works that await. But I sure hope that the offside is not as bad at the nearside if I want to be able to take the car to Japfest in April.
|
| |
Last Edit: Mar 16, 2016 12:26:29 GMT by nick0303
|
|
Geordie
North East
Course I'm out of my mind...........it's dark and scary in there!!
Posts: 2,520
|
|
|
|
|
Enjoying your progress Nick
|
| |
CURRENT FLEET
'95 Rover 623SLi (65k miles)
'99 Renault Laguna Executive
'55 BMW 318i (52k miles) for sale
'06 Audi A6 (18 year old 'modern' daily)
|
|
|
|
|
Apr 14, 2016 18:50:12 GMT
|
Enjoying your progress Nick Thanks Geordie. And more progress there has been. And I should be able to make it to JapFest, providing I get an MOT on time. Nick. |
| |
|
|
Geordie
North East
Course I'm out of my mind...........it's dark and scary in there!!
Posts: 2,520
|
|
Apr 14, 2016 20:09:54 GMT
|
Enjoying your progress Nick Thanks Geordie. And more progress there has been. And I should be able to make it to JapFest, providing I get an MOT on time. Nick. Good stuff. Will be good to get the two of them together at Japfest. |
| |
CURRENT FLEET
'95 Rover 623SLi (65k miles)
'99 Renault Laguna Executive
'55 BMW 318i (52k miles) for sale
'06 Audi A6 (18 year old 'modern' daily)
|
|
|
|
|
Apr 14, 2016 20:17:08 GMT
|
Chapter 9: The home run... to the MOT station So it's been a while since I have last bored you all with an update. I have actually been progressing the car in the background but since I was only going to repeat the same activities on the offside of the car I thought I'd save you the details and give you the short version. First, for those of you who were dying to find out if the offside rear calliper was in the same condition as the nearside (I know, that's unlikely, but still...), well here is your long awaited answer: 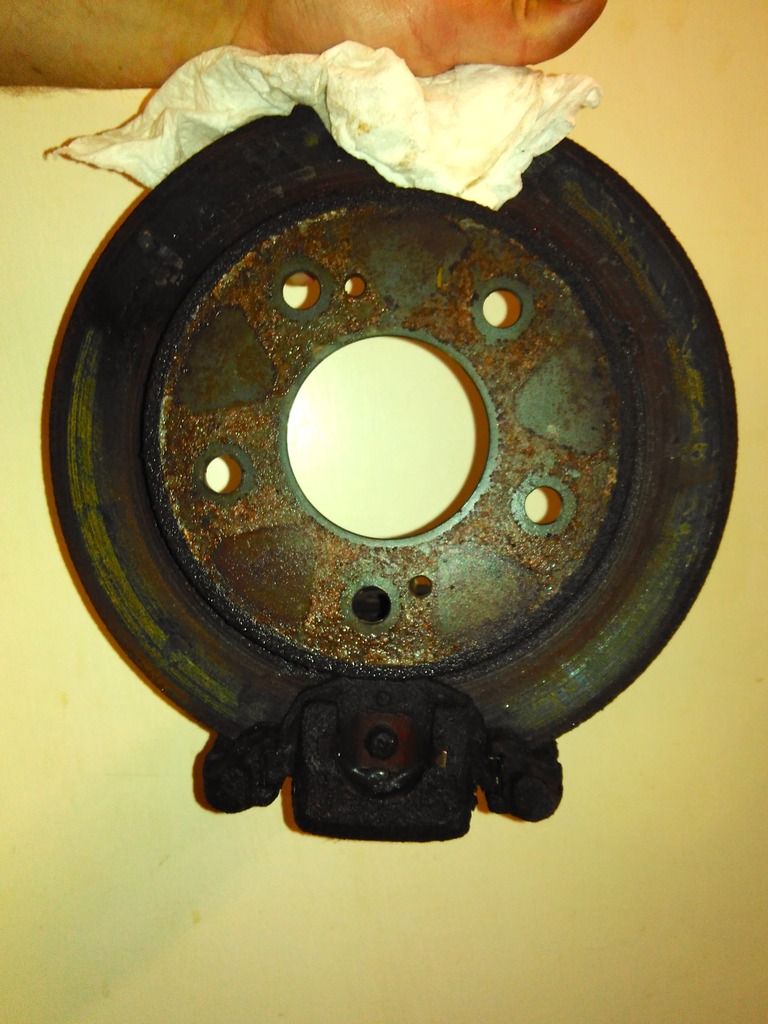 Yes it was properly seized up. So another order for a refurbishing kit from Bigg Red was placed, and together with the now familiar process of wire wheel, rust inhibitor and Hammerite it went from this: 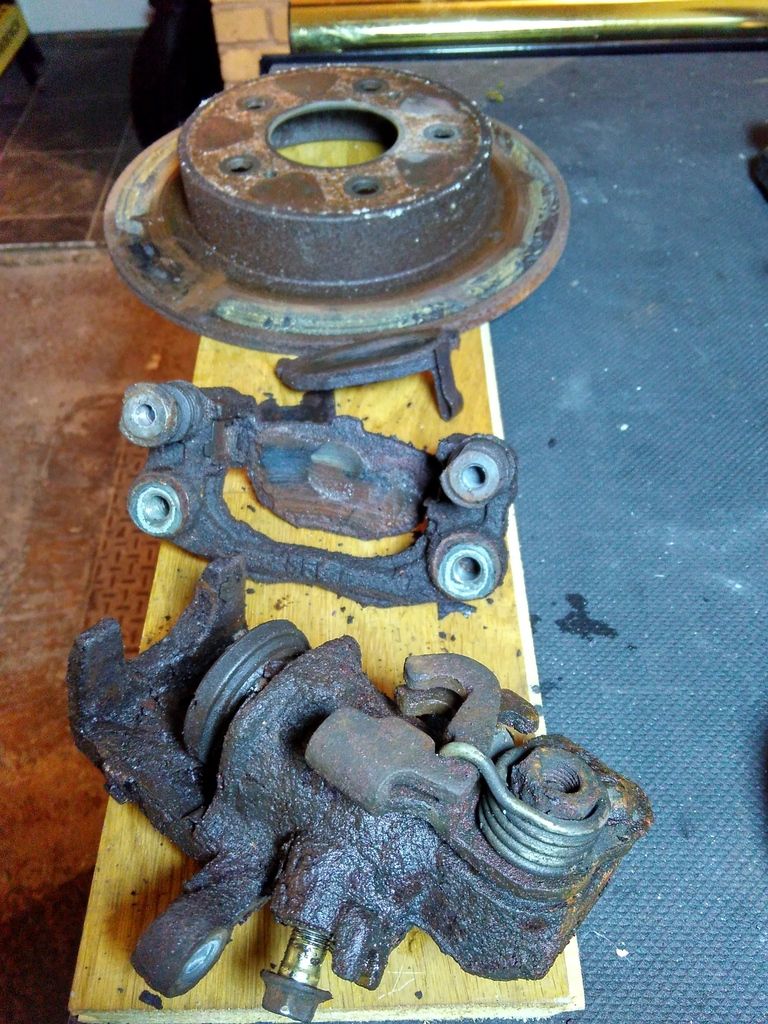 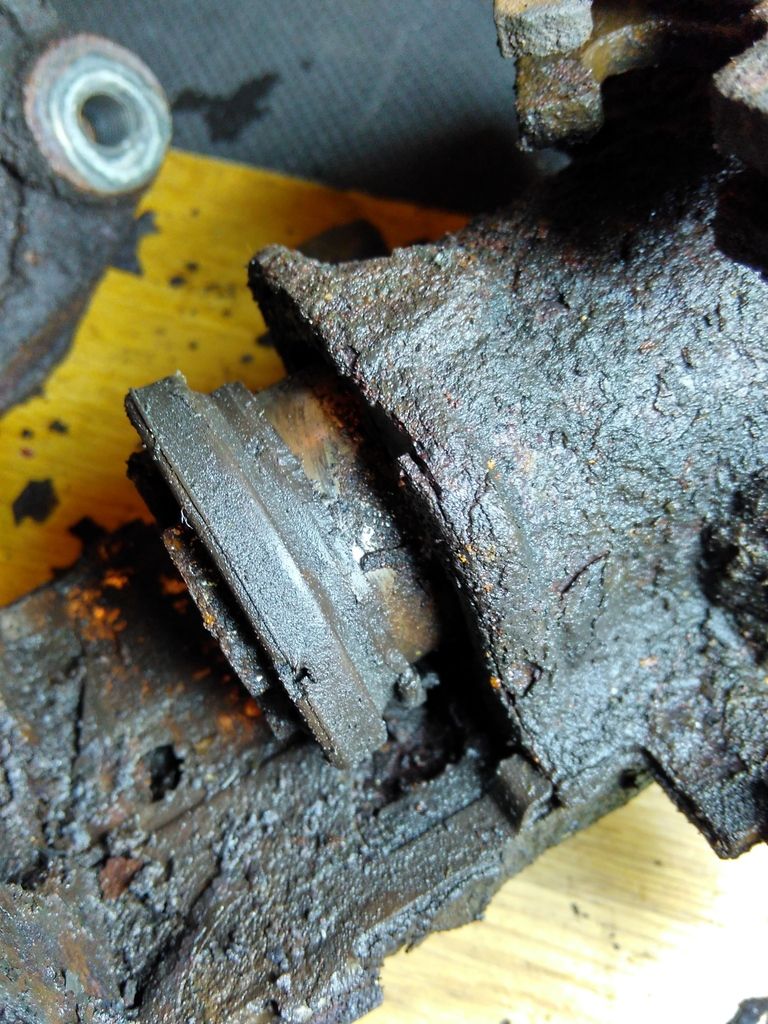 to this: 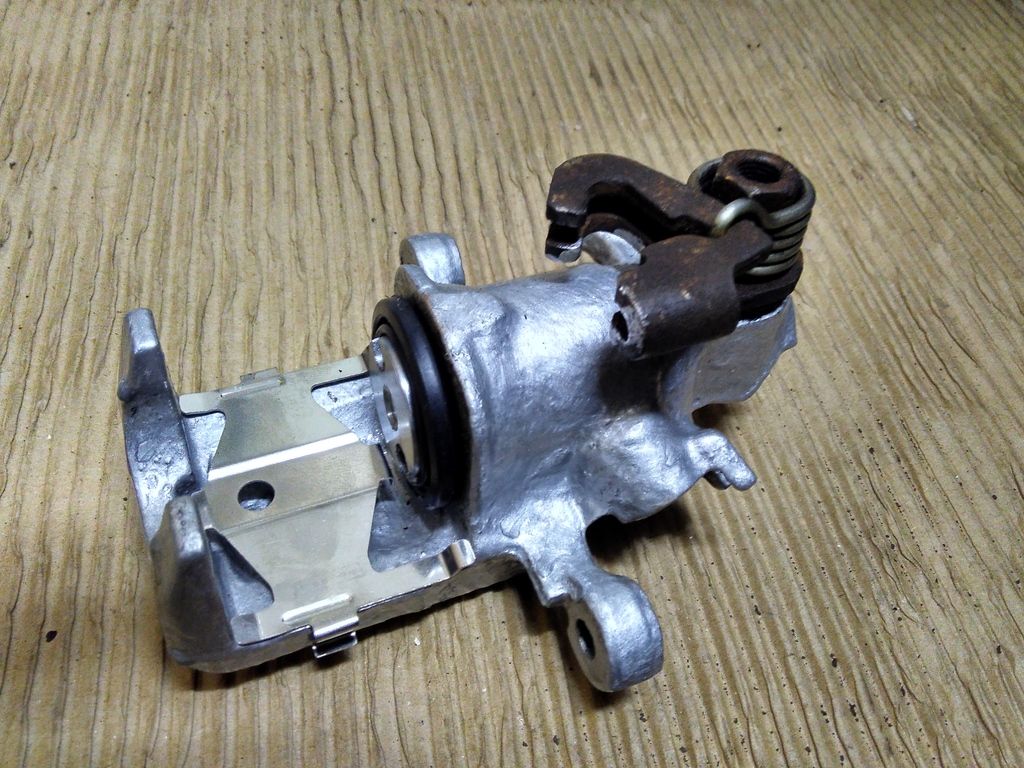 Here are some before/after shots, Front wheel arch before: 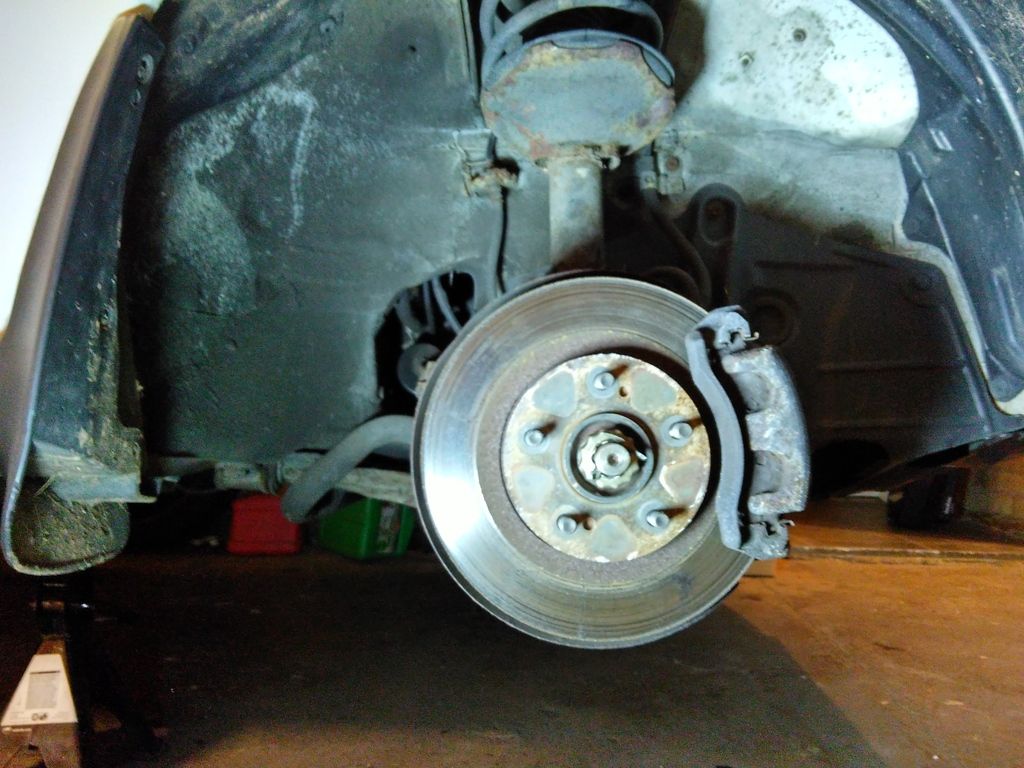 Front wheel arch after: 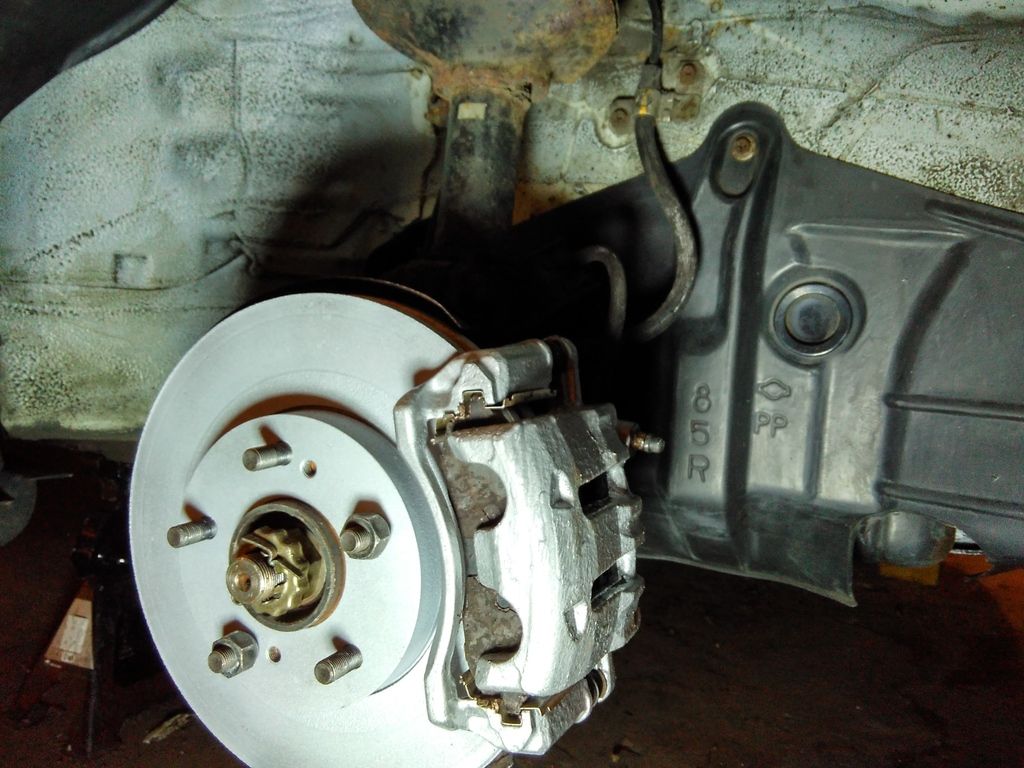 Rear wheel arch before: 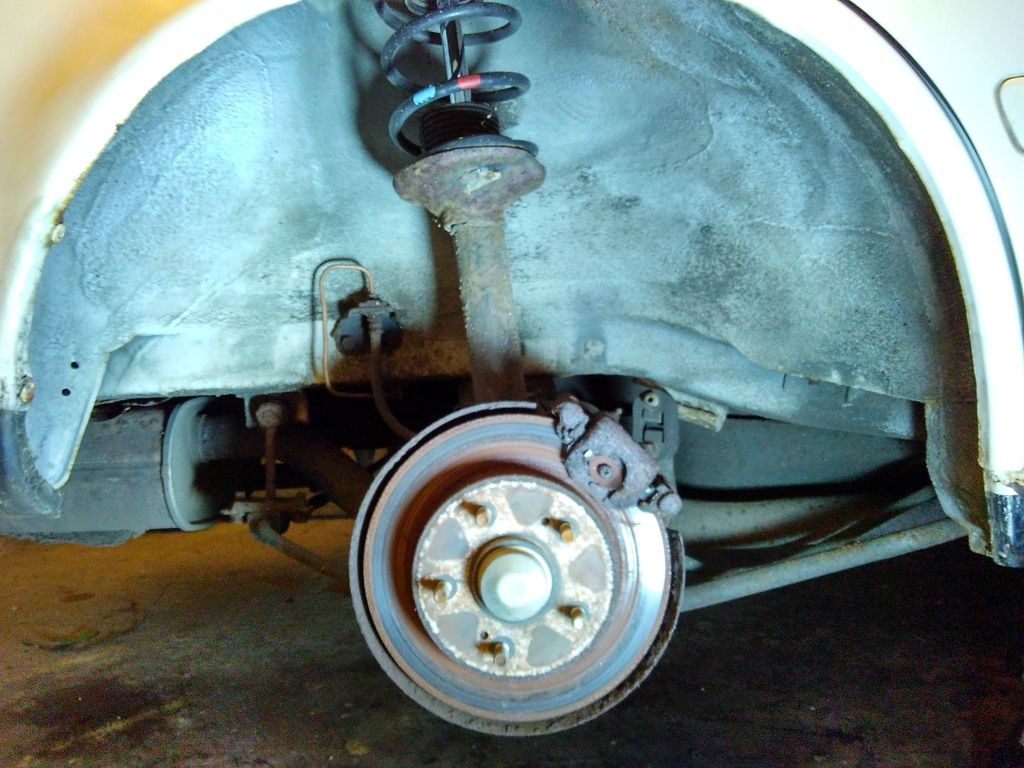 Rear wheel arch after: 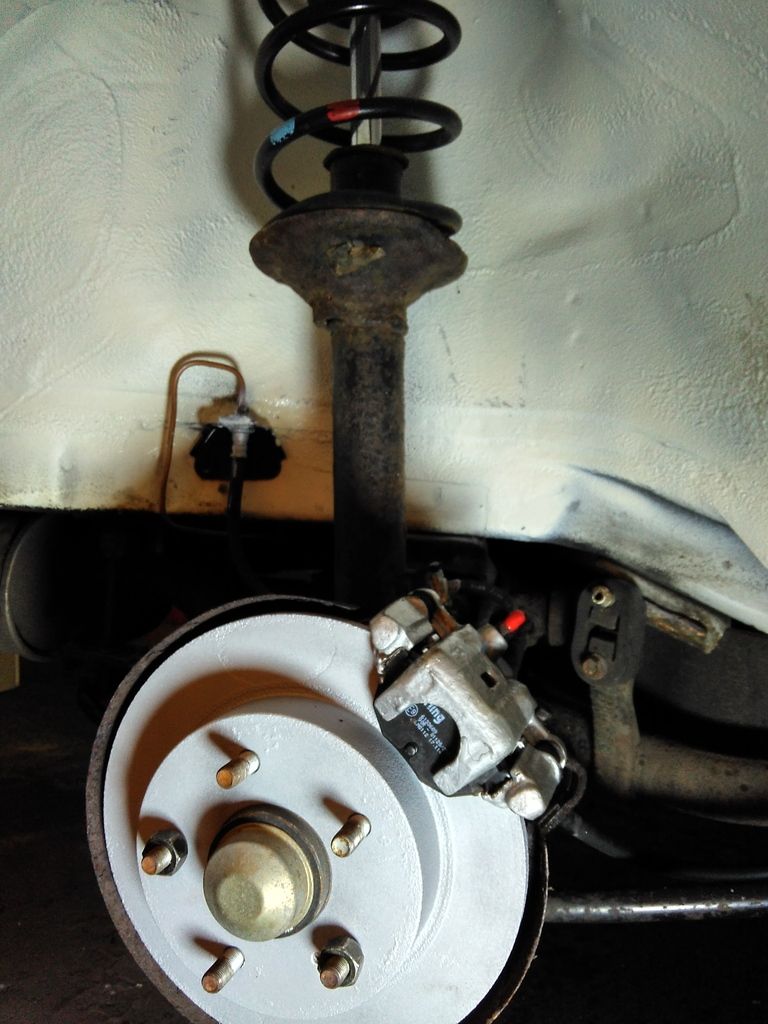 On a side note, it is worth mentioning that both rear wheel arches needed some repair due to advanced corrosion in pretty much the same location, where the inner and outer wheel arch meet. So any Max' owners would be well advised to check those areas before it is too late: 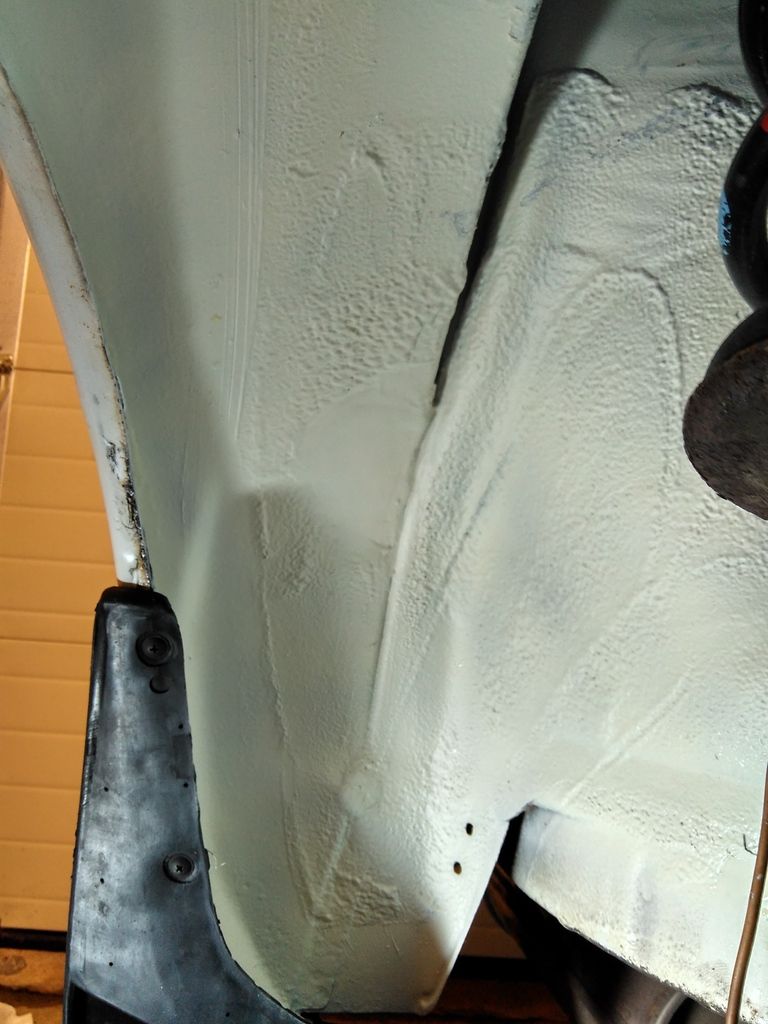 The other area that was worth noting behind the mud flap were mud to accumulates, particularly the front ones: Before: 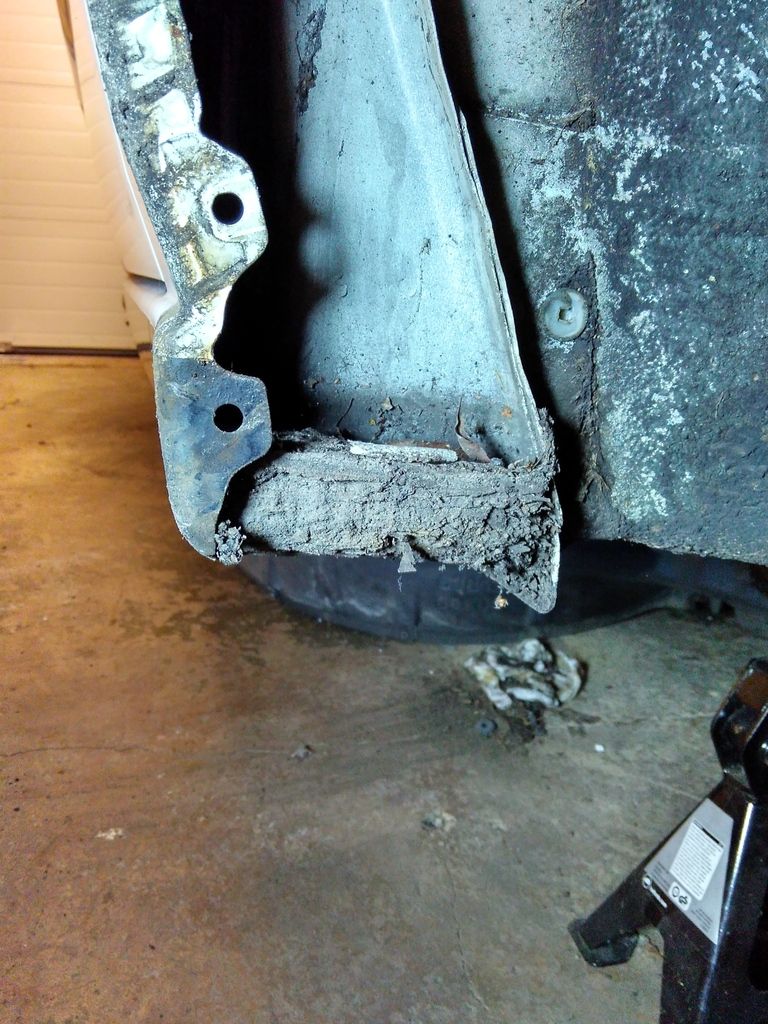 After: 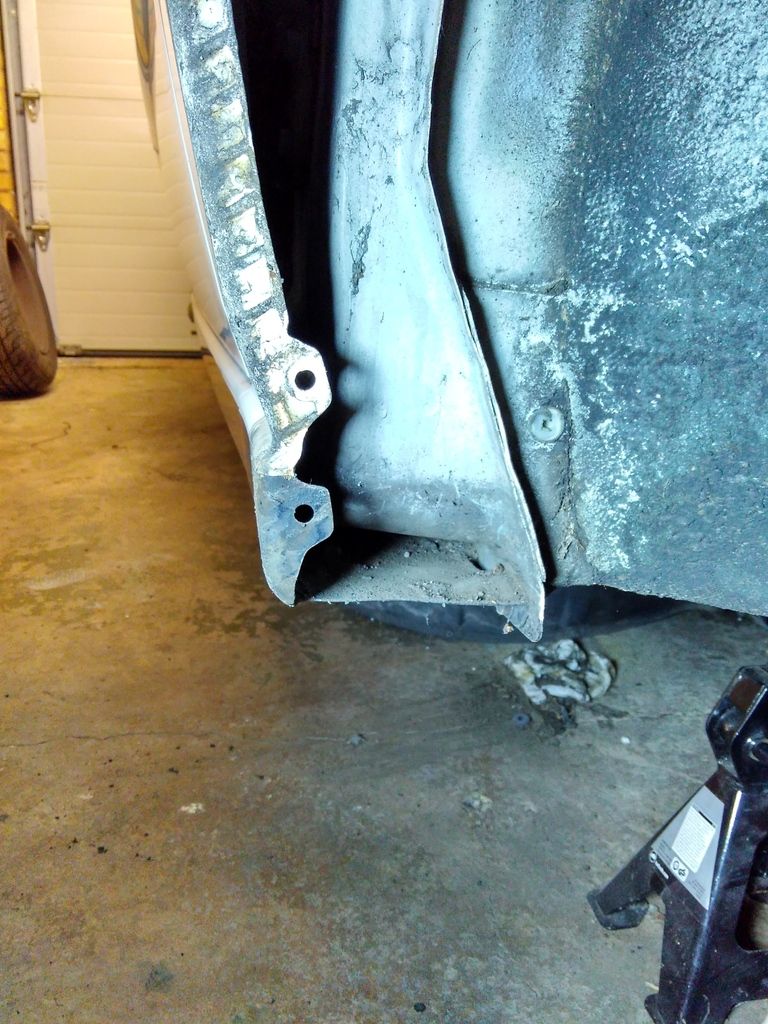 mud sandwich anyone? 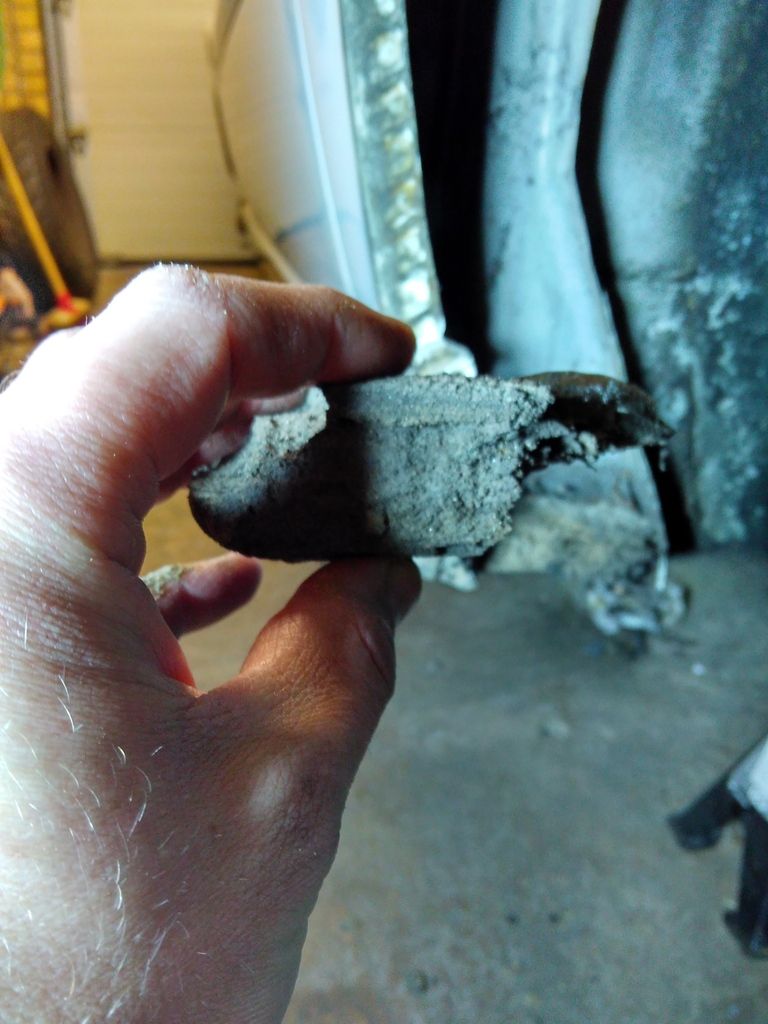 So now with both side wheel arches sorted and some operational brake, it was time to book the car in for an MOT. I have completed all the item on my original MOT job list apart from the O/S headlight, due to the limited time I had available. But since the headlight has been in this condition since I got the car in 2006, there is no reason why it should fail the MOT this time, right!? So far the re-commissioning job has cost me £85 in bits and bobs, excluding paint and other products that I already had on shelf and the oil and filter change that I did prior to moving the the car to the new place. I do anticipate having to fork out on 4 news tyres in a near future, but not before I get around to refurbishing the somewhat tired rims: 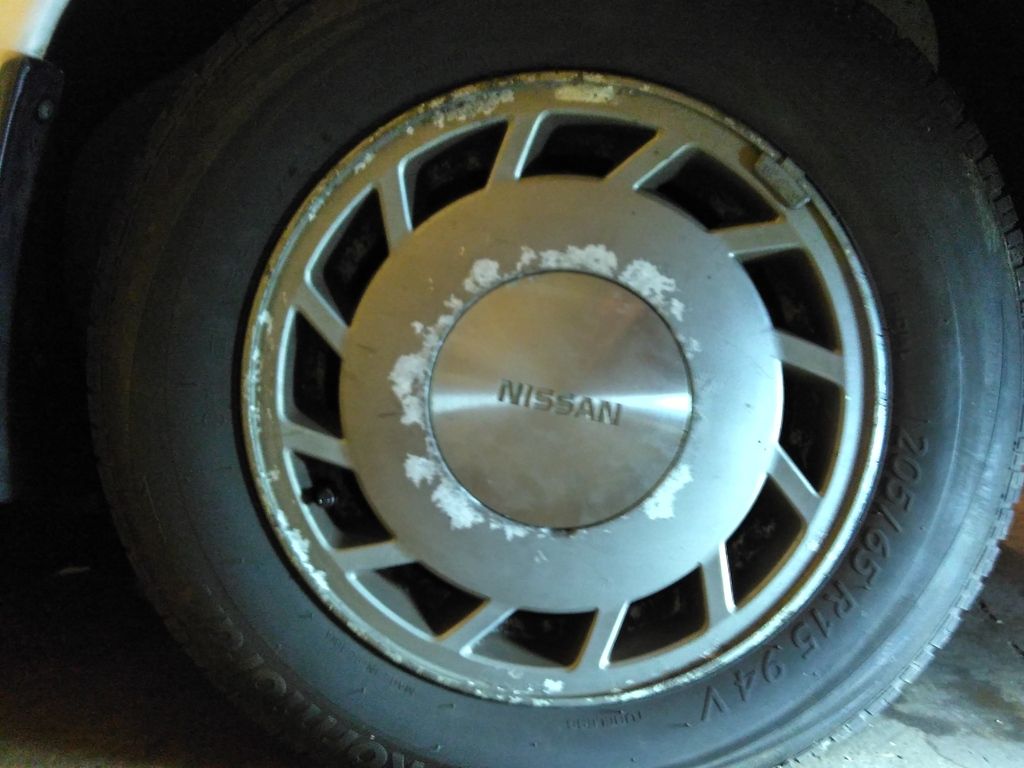 MOT day is tomorrow, so I shall be keeping all digits crossed. |
| |
Last Edit: Apr 14, 2016 20:44:29 GMT by nick0303
|
|
|
|
1994 Nissan Maxima 3.0fr€$h&m1nt¥
@freshandminty
Club Retro Rides Member 99
|
|
|
|
Nice to see you putting effort and money into a car at this make or break stage in it's life.
Good luck with the mot and look forward to seeing the wheels refurbed- I like standard wheels like that - they remind me of a set I like off a late 90s Honda Accord / Insight
|
| |
|
|
|
|
|
|
|
The car will be going for its MOT later today. The car came out of the garage yesterday and spend its first night outside since January. Luckily the rain rinse off the dust accumulated over the weeks of wire brushing the rust off. The trip to the MOT station will be the car's longest journey in years so hopefully it will play ball and will get to the test station. I am slightly exited about driving the car again, which should take me back a few years. 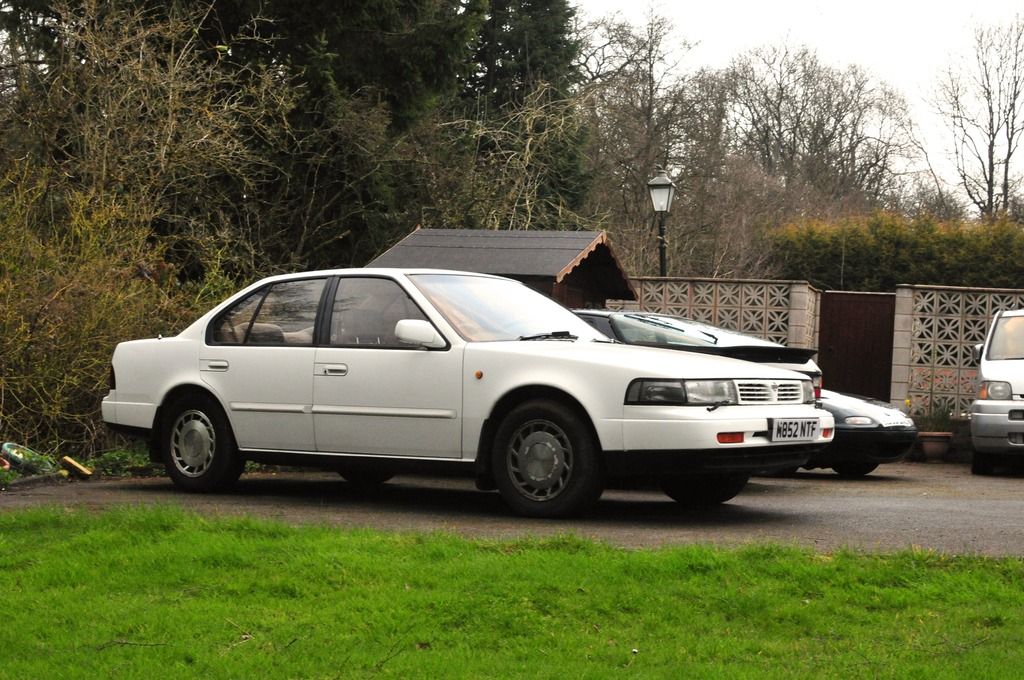 |
| |
|
|
|
|
|
Apr 15, 2016 18:59:28 GMT
|
Happy days! 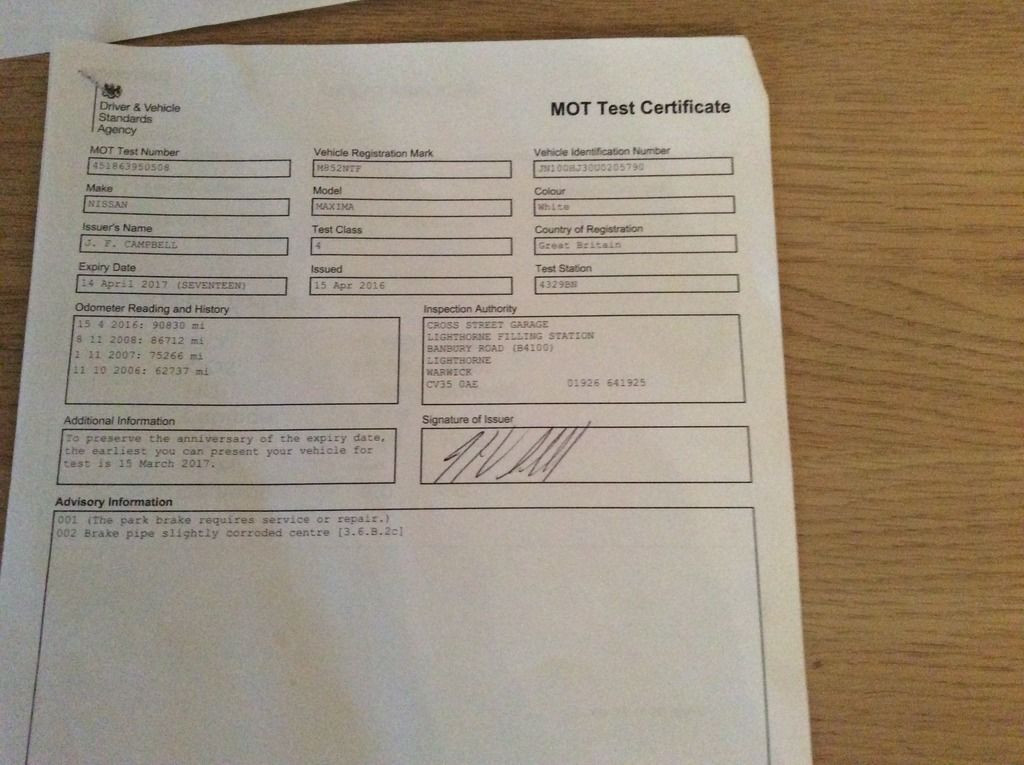 Only a a couple of advisories on the centre section of a brake line and a slightly weak handbrake which the tester attributed to the rear pads still needing to bed in. I was very chuffed with this result, so much so that I went out afterwards and got the car some nice new shoes. 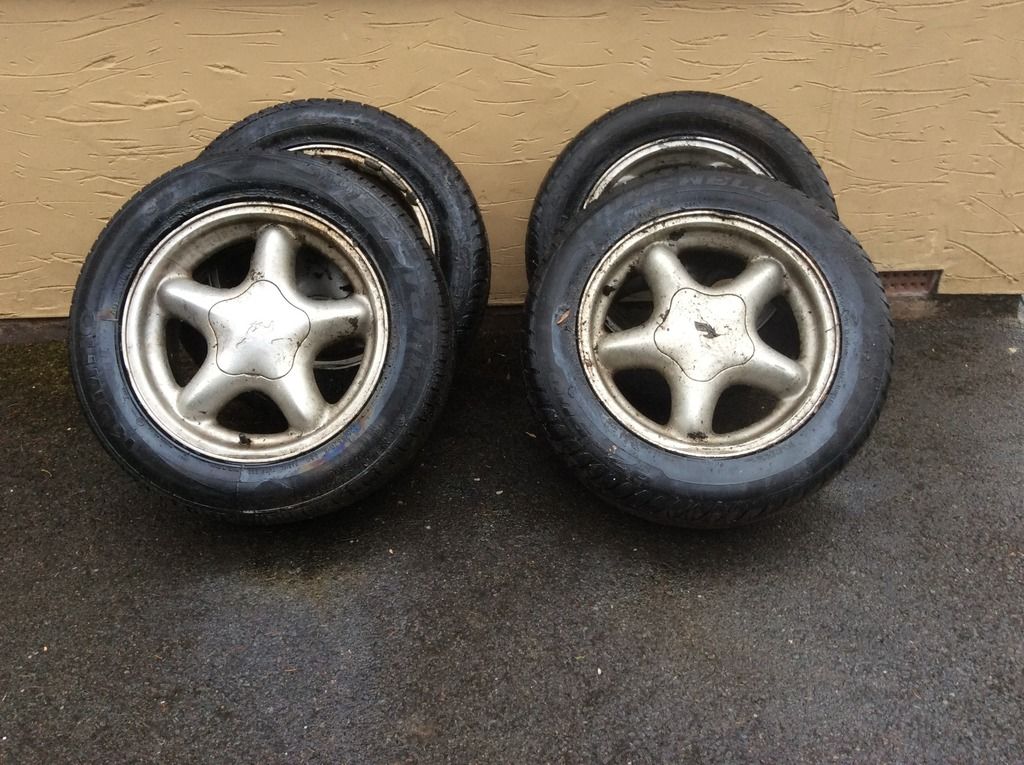 Well maybe not that new (or nice for that matter) but they were cheap and they will come handy if I take the current one off to refursbish them. Plus I think with a good clean and they might actually come out alright. Next step is to make the car more presentable for Japfest. Busy evenings next week then... |
| |
|
|
|
|
1994 Nissan Maxima 3.0fr€$h&m1nt¥
@freshandminty
Club Retro Rides Member 99
|
Apr 15, 2016 19:07:21 GMT
|
Good news, hope they're only temp wheels as I much prefer the originals but that's just my humble opinion  |
| |
|
|
|
|


 ) which could hide the worst.


