|
|
|
Jul 14, 2017 18:51:08 GMT
|
|
Ally welding is a bit like trying to melt 2 candles together, as soon as they are hot enough to join they melt and drip away!
It's far different from welding steel, but practice will get you there.
|
| |
|
|
|
|
logicaluk
Posted a lot
   Every days a school day round here
Posts: 1,373
|
|
Jul 14, 2017 20:09:16 GMT
|
|
I got to have a go on a mates tig today, first practiced just laying beads accross some 2mm stainless then butt wealding them together, i found controlling the filler rod to be the problem for me. But i did manage to do some good looking wealds, much more practice required.
Dan
|
| |
|
|
Darkspeed
Club Retro Rides Member
Posts: 4,867
Club RR Member Number: 39
|
|
Jul 17, 2017 10:52:33 GMT
|
I got to have a go on a mates tig today, first practiced just laying beads accross some 2mm stainless then butt wealding them together, i found controlling the filler rod to be the problem for me. But i did manage to do some good looking wealds, much more practice required. Dan Getting the whole filler rod feed torch angle and distance etc. etc. all working in unison is a challege which is just practice practice and more practice. I had a rest from the welding this weekend and focussed on a few other tasks.
G15 I had splashed out on a tube beading machine. I had made my own for a few beads on the Orange G15 and it did the job well, but after I had then done some for the G32 more beads with my homemade rig, and the number of car needing coolant tubes increasing, I gave in and bought one especially as the G15 owner put the money he was going to spend on joiners toward it. 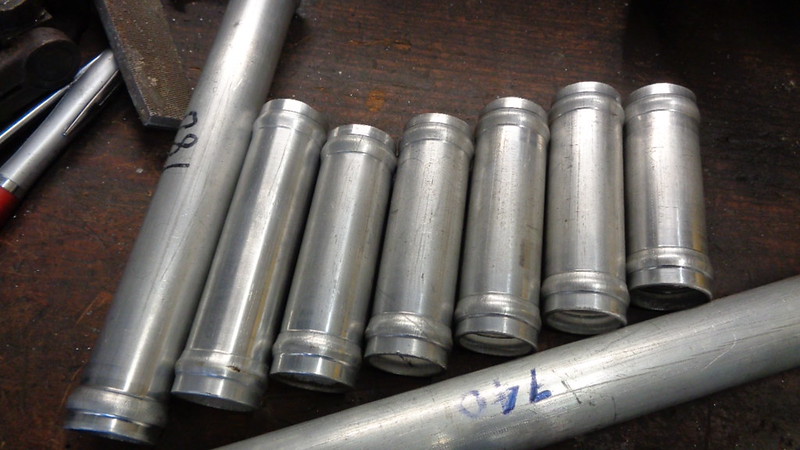 DSC01069 DSC01069 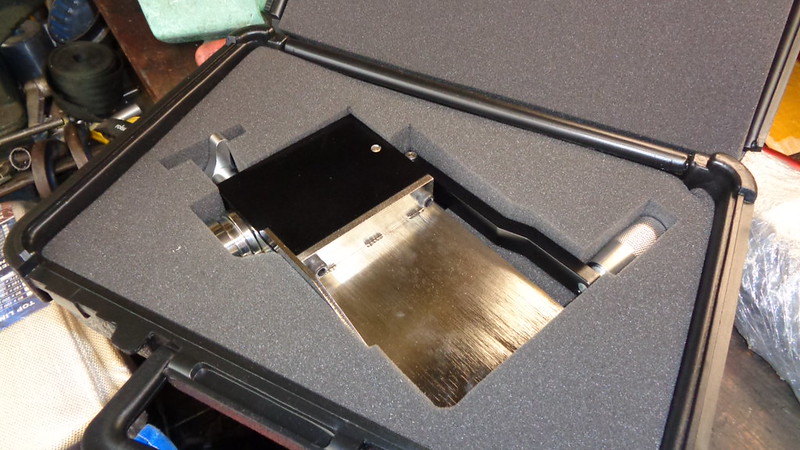 DSC01050 DSC01050 On the G21Which is where most of the weekend was spent on turning up a front wishbone assembly kit. Sleeves needed boring to correct ID for the bushes - Dummy alloy bushes for mounting in the fabrication jig - Turning down the OD of the threaded sleeves for the upper ball joint - this was originally supplied with an OD of 32 mm which is silly large and heavy and I turned it down to a more realistic 23mm OD which more than halved the weight. Just the lengths to calculate and the jig to make. 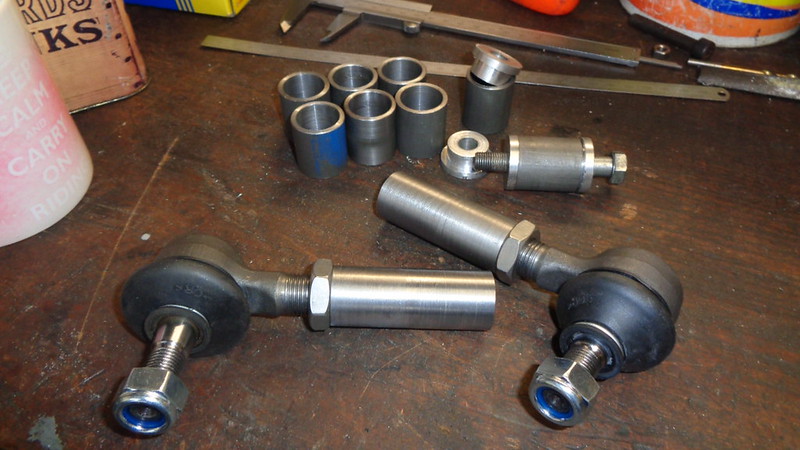 DSC01080 DSC01080 The G27 did get the bolt mounting counterbored and I shaved the head on the bolt to get the fit I wanted rather than keep on removing metal from the block. 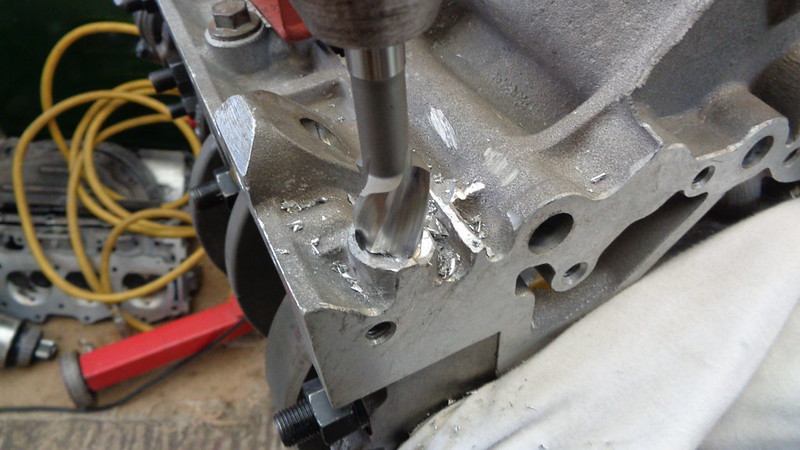 DSC01074 DSC01074 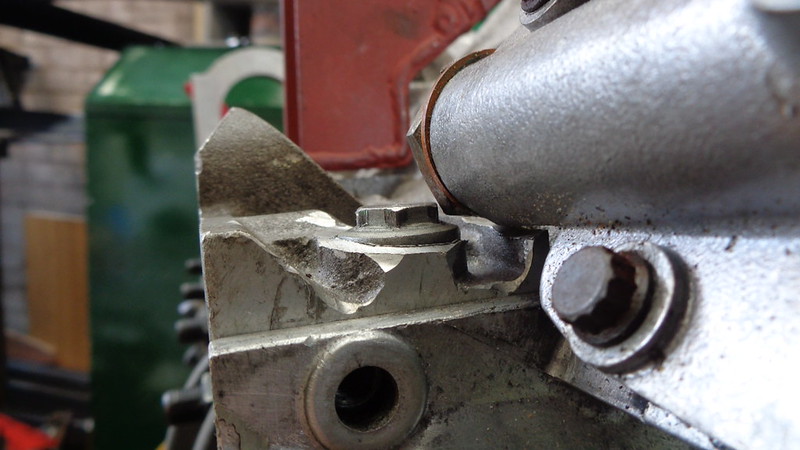 DSC01075 DSC01075 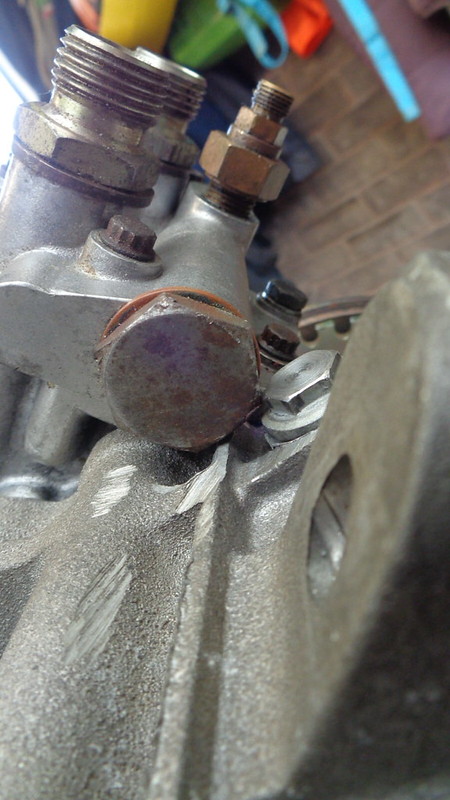 DSC01077 DSC01077 The Strato's got some black stainless button head bolts ordered for it. |
| |
Last Edit: Jul 17, 2017 10:55:39 GMT by Darkspeed
|
|
|
|
|
|
|
I got to have a go on a mates tig today, first practiced just laying beads accross some 2mm stainless then butt wealding them together, i found controlling the filler rod to be the problem for me. But i did manage to do some good looking wealds, much more practice required. Dan I've not done a great deal of TIG, but spent a few hours having a play with a half decent machine zapping some thinner bits of steel together. I found that with the machine set somewhere near, the ability to gas weld to a good standard made it relatively intuitive to get started on the TIG. Some decent welds, but more practice needed. |
| |
|
|
Darkspeed
Club Retro Rides Member
Posts: 4,867
Club RR Member Number: 39
|
|
Jul 20, 2017 22:17:11 GMT
|
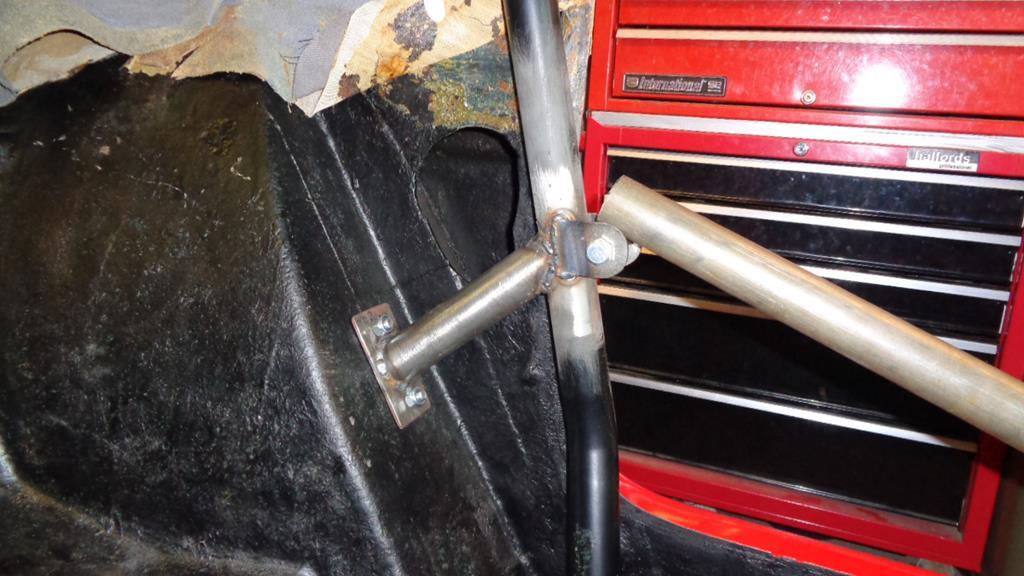
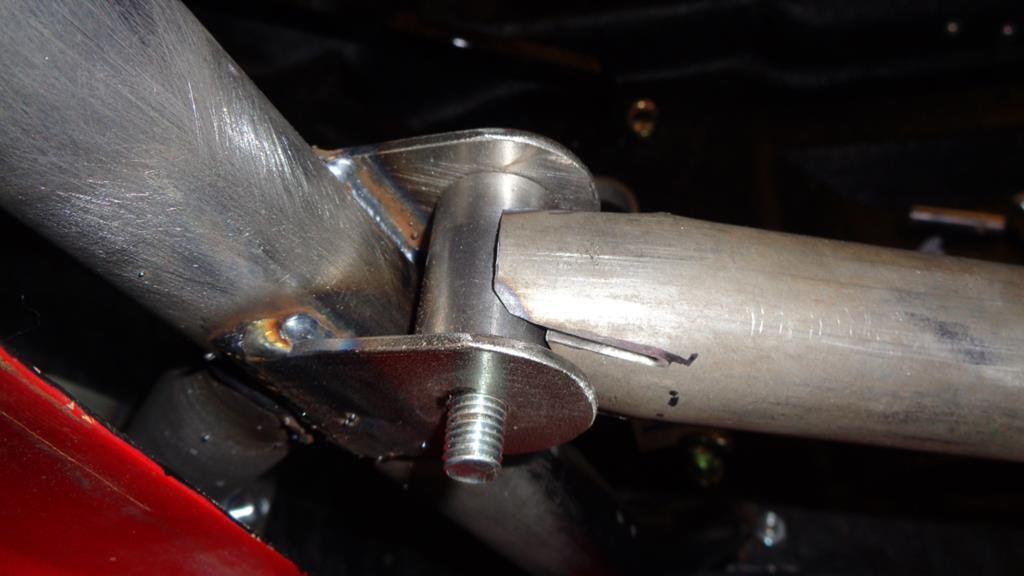
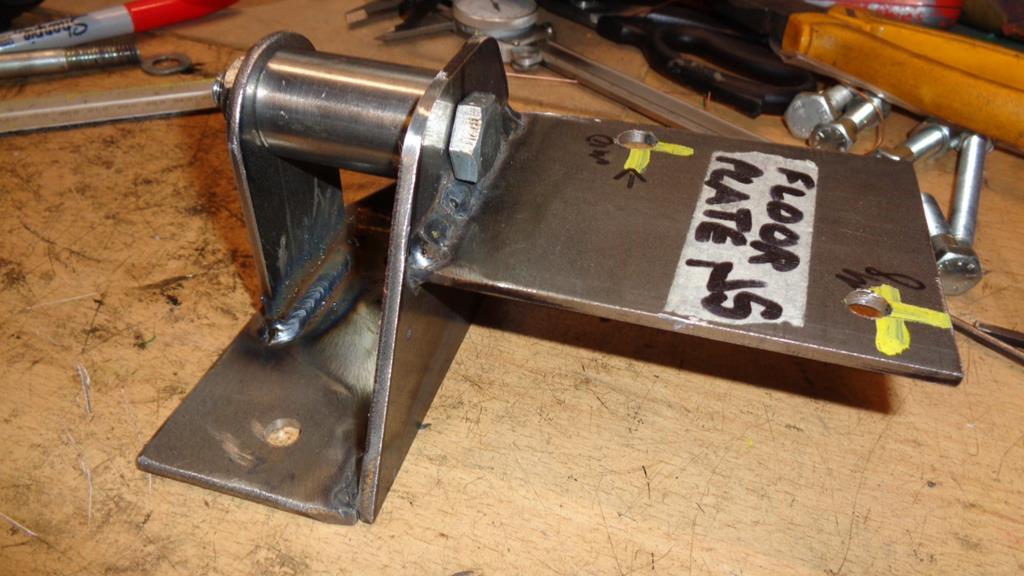
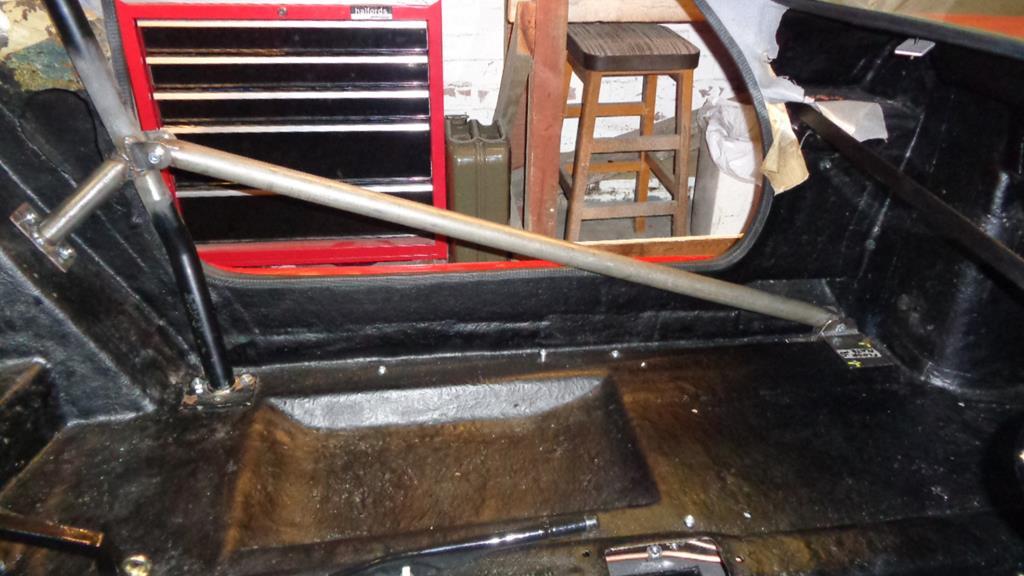
Got a bit of TIG practice in this evening after completing some work on the lathe to produce some mounting bobbins for the door bars I am fabricating for the Rally G15 I had a go at my first T joint in 1mm mild steel- started off with the current not high enough but after adding a bit more range to the pedal it started flowing quite well. 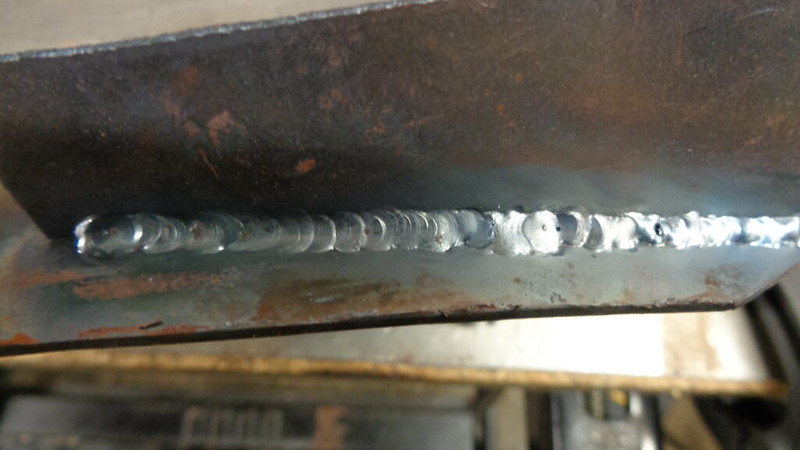 DSC01122 DSC01122 Starting to get the hang of it and having an eye to what's happening in the weld pool as well as getting the knack of feeding filler rod. Evenings spent watching YouTube welding vids are paying off and I already have a few - "Glad you got that TIG, I have a job for you" LOL |
| |
|
|
Darkspeed
Club Retro Rides Member
Posts: 4,867
Club RR Member Number: 39
|
|
|
|
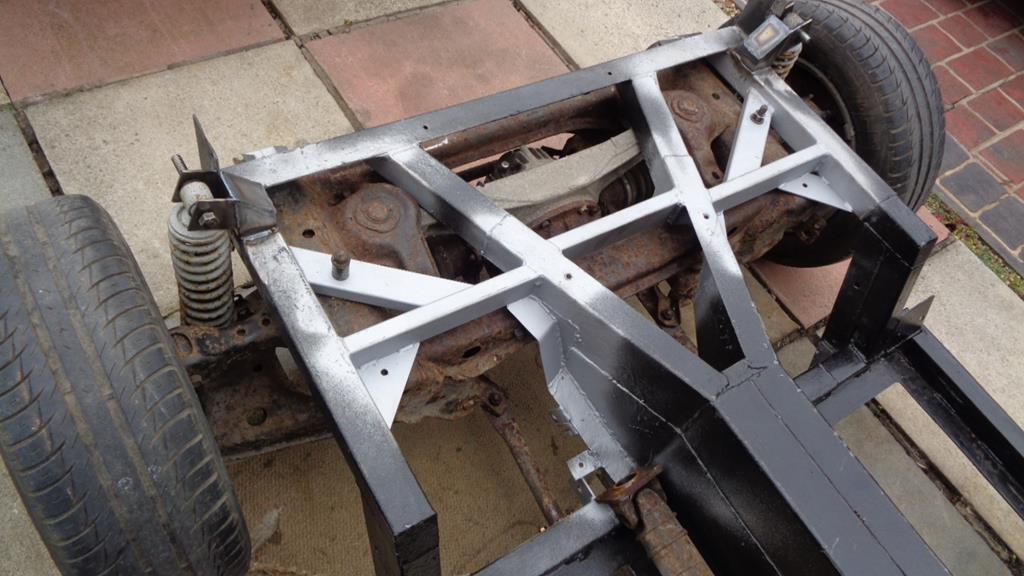
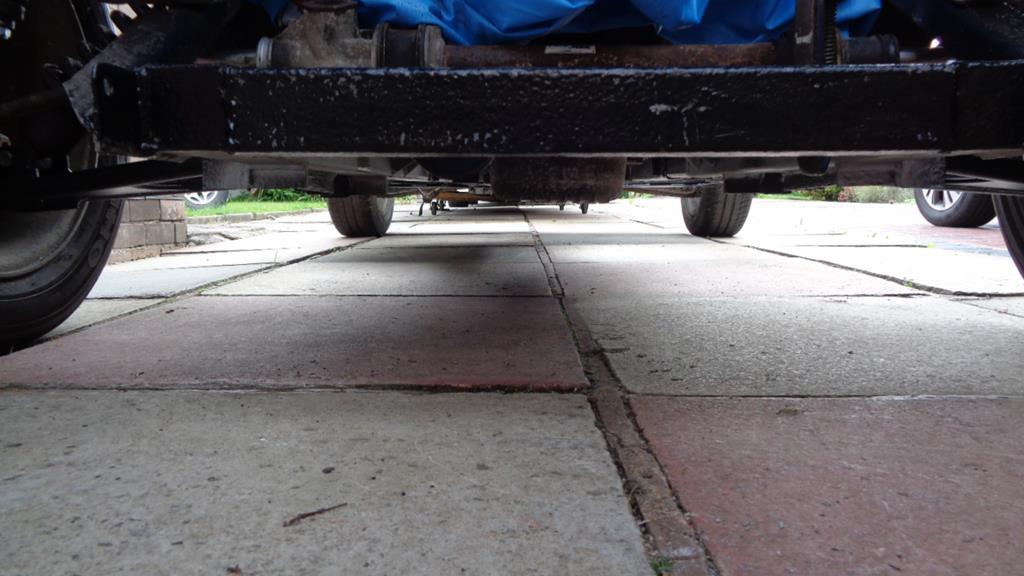
Ginetta G21The task is to get this to rolling chassis stage over the next few days so stage one was getting some mounts fabricated for the rear coilovers. As usual this takes far longer than I think due to all the calculations necessary for ride height coil over length, bump stop positions, leverage ratio's etc. With my best guess sorted the coil overs required turn out to be only 1/2" shorter than the originals. The Mazda has a 1.25 leverage ratio, and a 15" shock has 5" of travel, 4" of clear travel then 1" on the bump stop rubber. The 1.25 ratio gives 4 x 1.25 on the wheel travel = 5", then the bump stop. The bump stop will not compress completely so I assume 1/2" compression which = 0.625" wheel travel. So 5.625 total wheel travel. We have a prefered rear ride height of 6" loaded as this car has the exhaust running under the chassis at 2" bore, 2.5" with hangers and clearance to underside. The coilover needed to be positioned for 3" droop and 2.625" of bump. From my calculations on this car it should all work with 225lb springs with a nip of preload. So from my calcs at full bump the exhaust should still have .5" from the road surface. 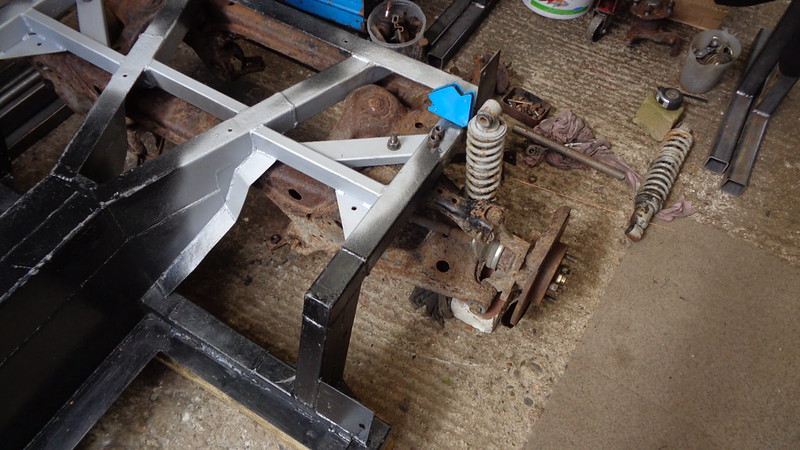 DSC01128 DSC01128All getting very technical - Bricks, blocks and an uneven garage floor  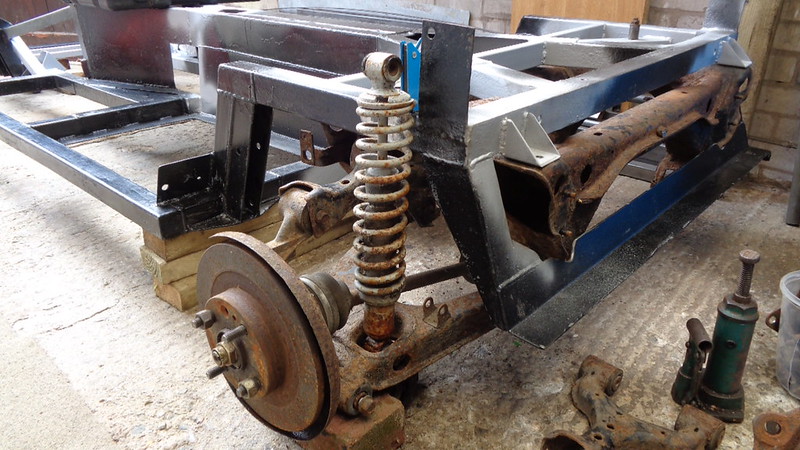 DSC01130 DSC01130 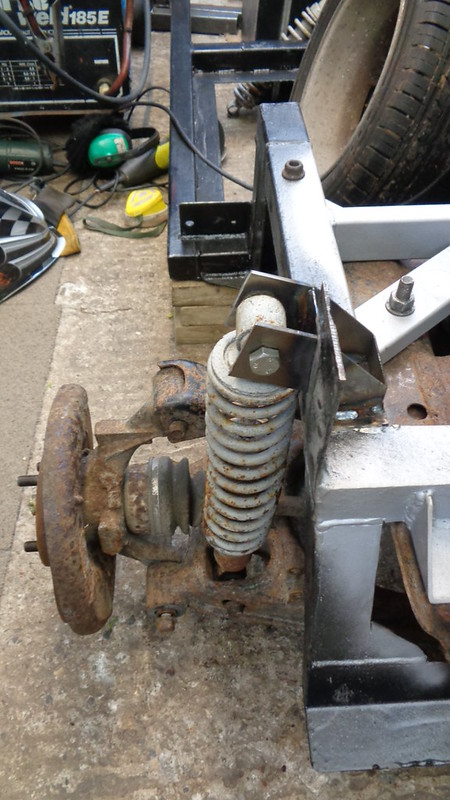 DSC01134 DSC01134 The new mig - 0.8 wire and 10L/min Argoshiled gas flow setting A Max and a mid point wire feed.  DSC01136 DSC01136
|
| |
Last Edit: Jul 23, 2017 8:52:00 GMT by Darkspeed
|
|
Darkspeed
Club Retro Rides Member
Posts: 4,867
Club RR Member Number: 39
|
|
Jul 23, 2017 22:48:42 GMT
|
VW PoloWhat on earth was I thinking encouraging the lad to have a Retro as his first car  All it does is slow down progress with my projects - Today was wheel bearing.  DSC01149 DSC01149 And this is where having MIG TIG and Lathe come in as essential tools cos this thing was not playing ball. 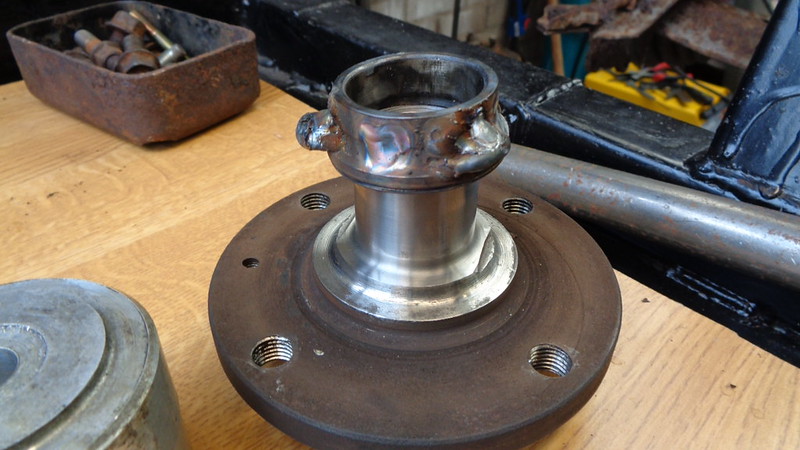 DSC01151 DSC01151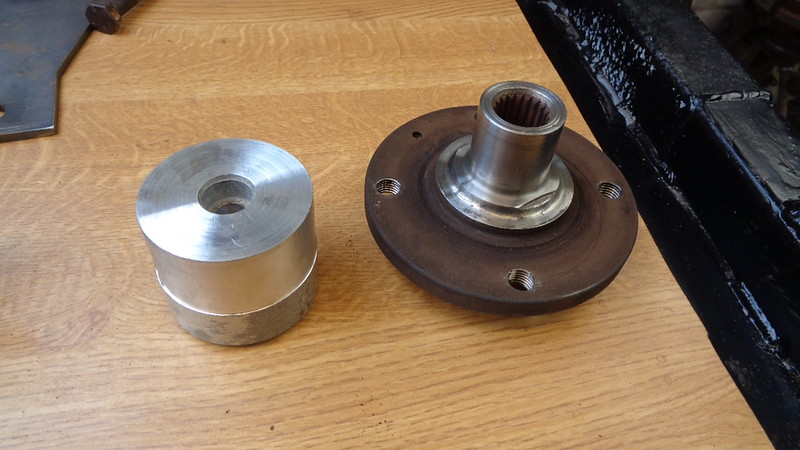 DSC01150 DSC01150 And that is as far as it got because the new bearing he bought is the wrong one ! Well, we all have to start somewhere ..... Ginetta G21So having had a little break messing about with VW Polo bearings it was back to the G21 time and completing the suspension mount on the O/S. I decided to try some TIG on capping off the mounts - it was a bloody task I tell thee - not sitting comfortably when trying to TIG is a PITA still its non critical but pretty sure they are well glued. 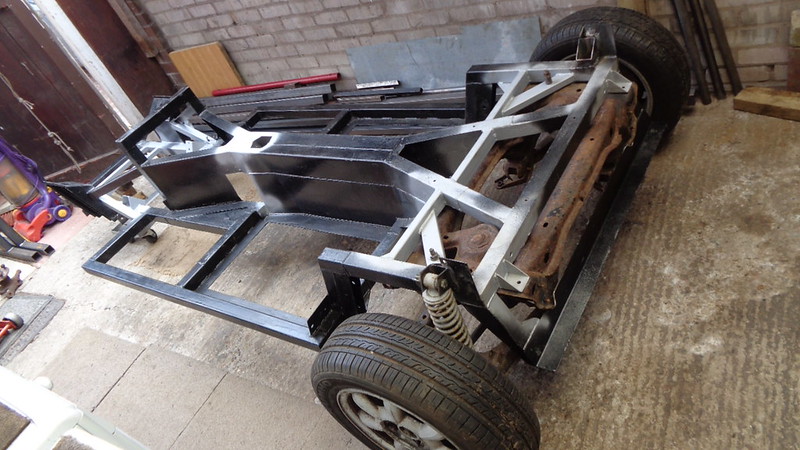 DSC01139 DSC01139 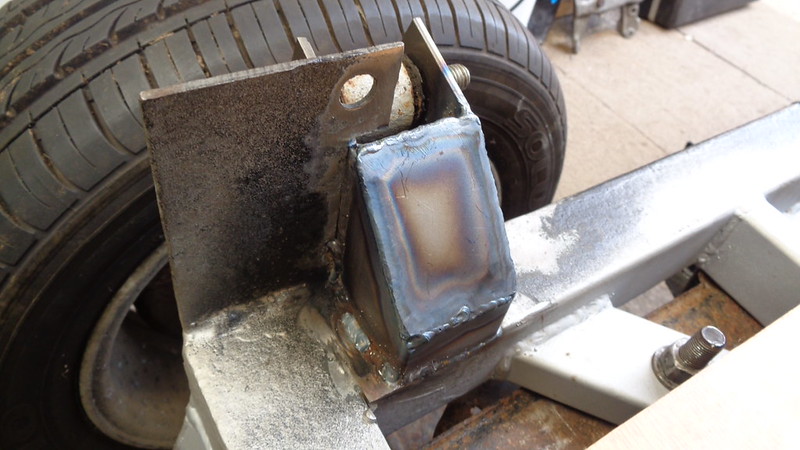 DSC01142 DSC01142 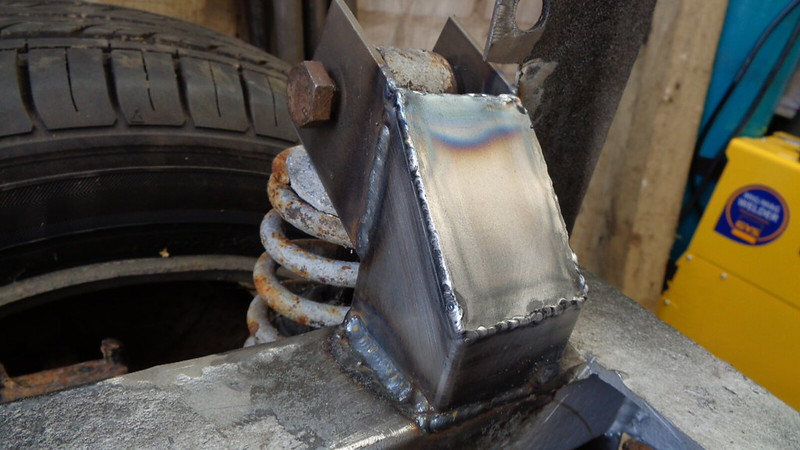 DSC01143 DSC01143 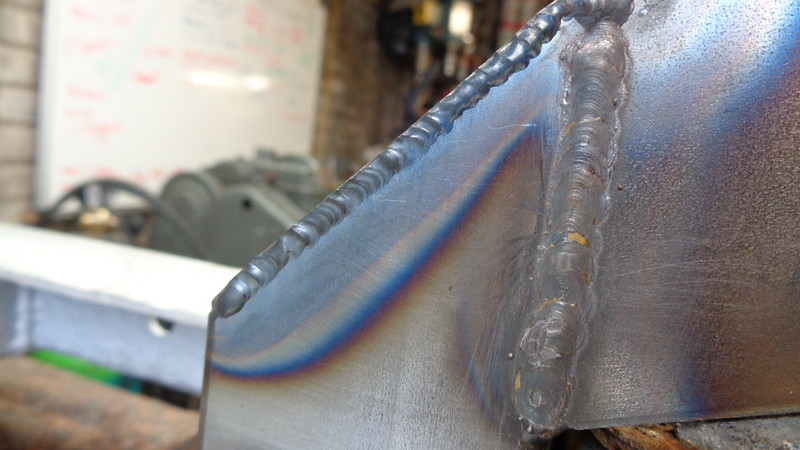 DSC01144 DSC01144 So then it was a onto looking at the front wishbones and the initial works to produce a jig - measure measure measure. 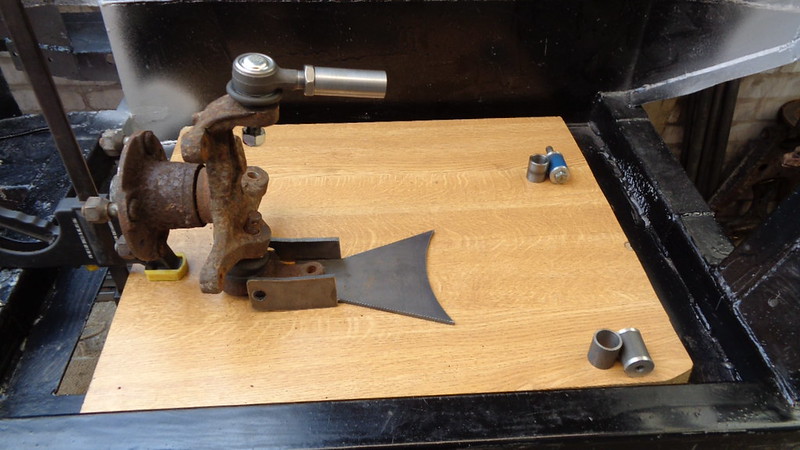 DSC01145 DSC01145 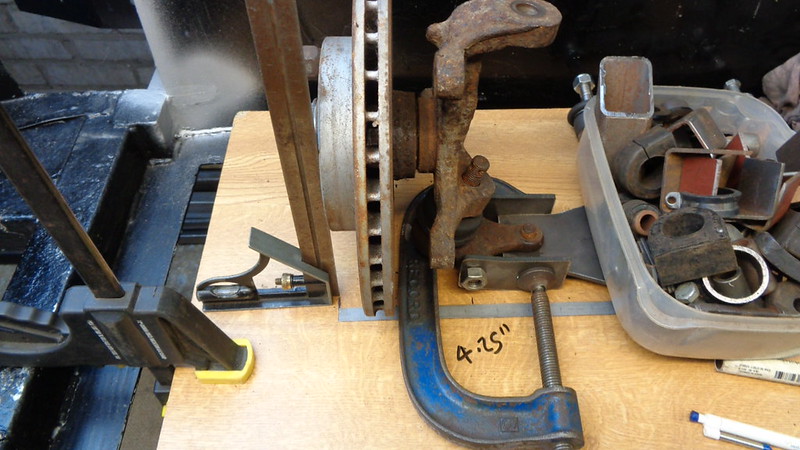 DSC01153 DSC01153 And in the morning as we have a couple of days off, its build the jig and make some wishbones day.
|
| |
Last Edit: Jul 23, 2017 22:50:08 GMT by Darkspeed
|
|
Darkspeed
Club Retro Rides Member
Posts: 4,867
Club RR Member Number: 39
|
|
Jul 24, 2017 22:28:32 GMT
|
|
Well the lad is rolling in silence again - Now, I have seen some damaged wheelbearings but that one was pretty worn and a right pain in the 'arris to change - then again, the smile on his face when returning from his little test drive was worth all the messing about.
Progress was not what it should have been today as a mate came round with his GasGas trials to have a repair done on the exhaust - oh boy, welding an old dirty alloy two stroke exhaust was a challenge and no photo's of that mess at all but a good few lessons learned in how important having clean material is - I guess it's akin to trying to weld rust together with a mig. Upside is that it all fixed and the repair work is out of sight.
Did managed to get the foundation work done on the wishbones so hopefully some pictures tomorrow of the finished articles.
|
| |
|
|
Darkspeed
Club Retro Rides Member
Posts: 4,867
Club RR Member Number: 39
|
|
Jul 26, 2017 21:29:42 GMT
|
|
Well the plan to finish fabricating the wisbbones went to pot.... On measuring the caster on the chassis I found 1.5 degrees! I had decided to build in some adjustability into the lower wisbones that would give around 2.5 degrees of adjustment +- of the standard - well 4.0 postitive to 1.0 negative was not what I was planning as I expected to find 4-5 degree's and not 1.5 - so a re-think was required.
Decision made to produce offset top wishbones to give the expected 4.5 degrees of standard caster allowing adjustability between 2 and 7 degrees positive
Lots of checking and double checking required that just eats up time. Oh well maybe rolling next weekend.
|
| |
|
|
Darkspeed
Club Retro Rides Member
Posts: 4,867
Club RR Member Number: 39
|
|
Jul 29, 2017 18:55:01 GMT
|
In the week I picked up an LT77 box from a mate of mine for another mate of mine to sit behind a mildly tuned 4.0L V8 - the box was just for spares so we can try and make one good box from two. The reason this was a spares box was that no gears could be selected and it was locked up solid. The box is a 17A which is a 2600 box, but I have run these behind V8's with reasonable power in the past and never had an issue. First off I drained the oil out, which although dirty was devoid of any lumps and bumps of metal or shiney brass filings, which was a reasonable sign. Next I popped off the rear cover and it was quite clear that 5th was engaged even though the gear selecter shaft was not in 5th! What I should have done is had a look at where the 5th gear selecter location pin was before I removed it to take the rear cover off. I suspect that what had happened is that this pin was removed previously and the gear stick waggled, it had selcted two gears at once and the pin put back in the wrong place locking 5th in place. Anyhow, 5th had also been over thrown and the synchro needed to be reassembled. After that all gears selcted fine, but whilst in there I decided to have a look at the clusters and see what the condition was. All good news eveything looked fine albeit a bit dirty, so, gaskets ordered and then re-assembly. The lads Polo also needed a look at for an oil leak - Turns out that the oil pressure switch has started to weep, a constant small weep, so a new one will be ordered and fitted in the week.
Ginetta G21We have a front lower wishbone. 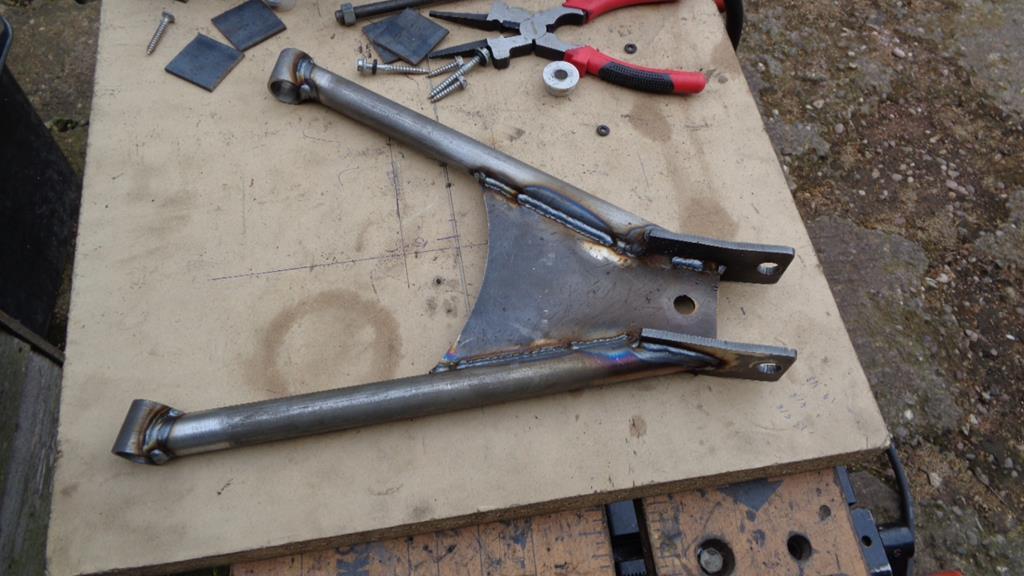 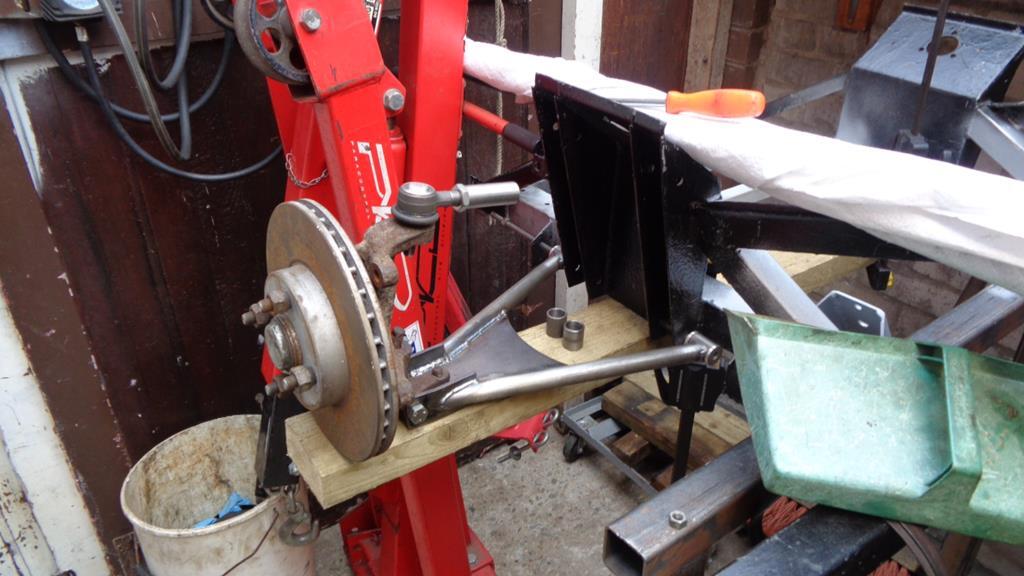 Tomorrow we shall have two, and maybe even a couple of upper wishbones - Again the geometry will need to be looked into as the MX5 uprights are shorter than the Triumph ones so now we have parallel unequal length wishbones and I prefer the geometry to give a bit more camber in roll and a higher front roll centre. |
| |
Last Edit: Jul 30, 2017 8:09:48 GMT by Darkspeed
|
|
jamesd1972
Club Retro Rides Member
Posts: 2,916  Club RR Member Number: 40
|
|
Jul 29, 2017 20:05:00 GMT
|
|
Been busy !
|
| |
|
|
Darkspeed
Club Retro Rides Member
Posts: 4,867
Club RR Member Number: 39
|
|
Jul 29, 2017 23:22:59 GMT
|
Need it rolling so I can roll it out of the way so I can get on with with the Strato's.. Be nice to start having this tread back with the correct bias. |
| |
|
|
Darkspeed
Club Retro Rides Member
Posts: 4,867
Club RR Member Number: 39
|
|
Jul 30, 2017 23:23:28 GMT
|
We now have two lower wishbones and after a lot of measurements and checking we have a jig for the upper wishbone, took a bit longer than expected as these things tend to do, but one offs.. 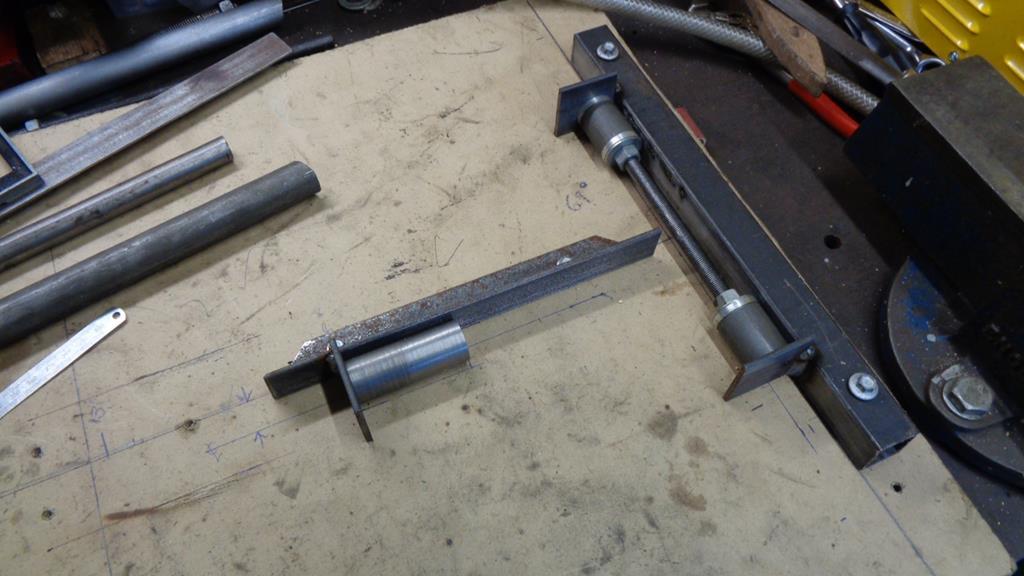 A couple of evenings should see this completed. |
| |
|
|
Darkspeed
Club Retro Rides Member
Posts: 4,867
Club RR Member Number: 39
|
|
|
|
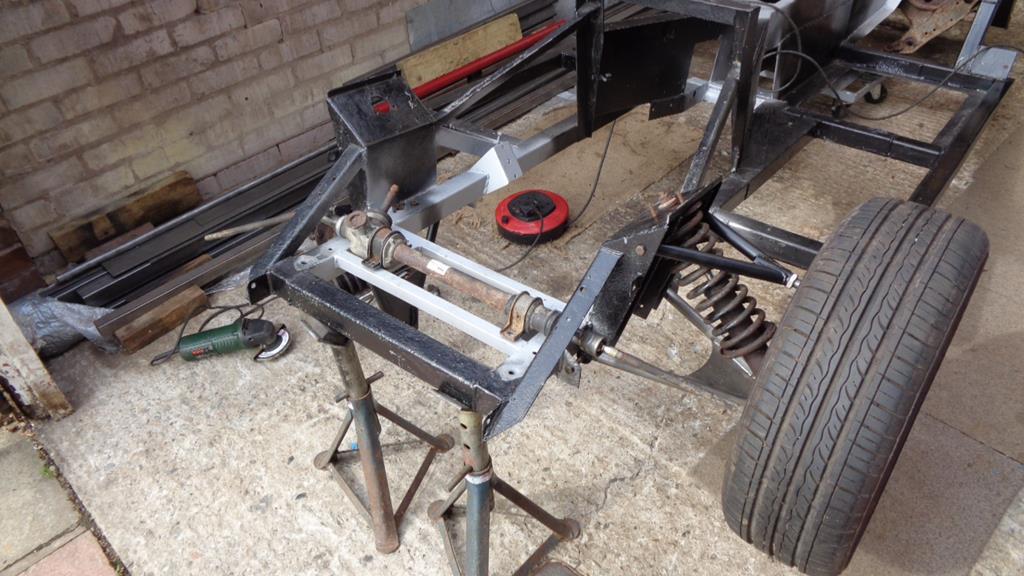
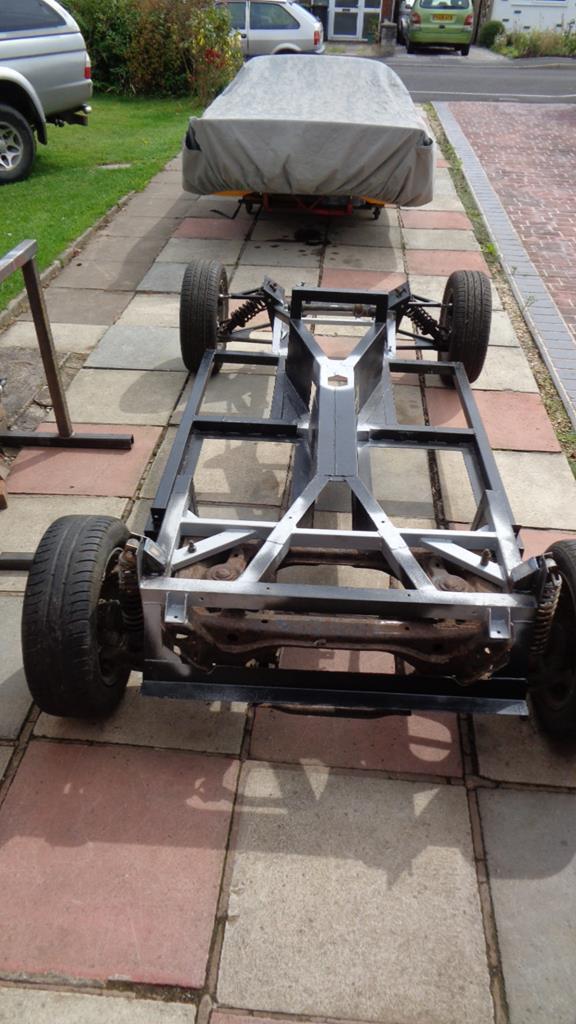
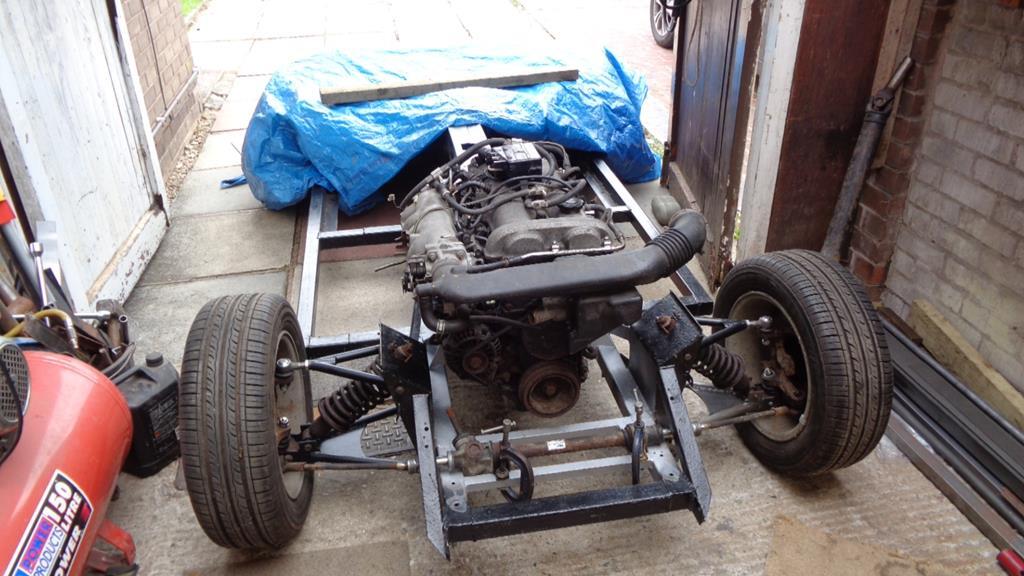
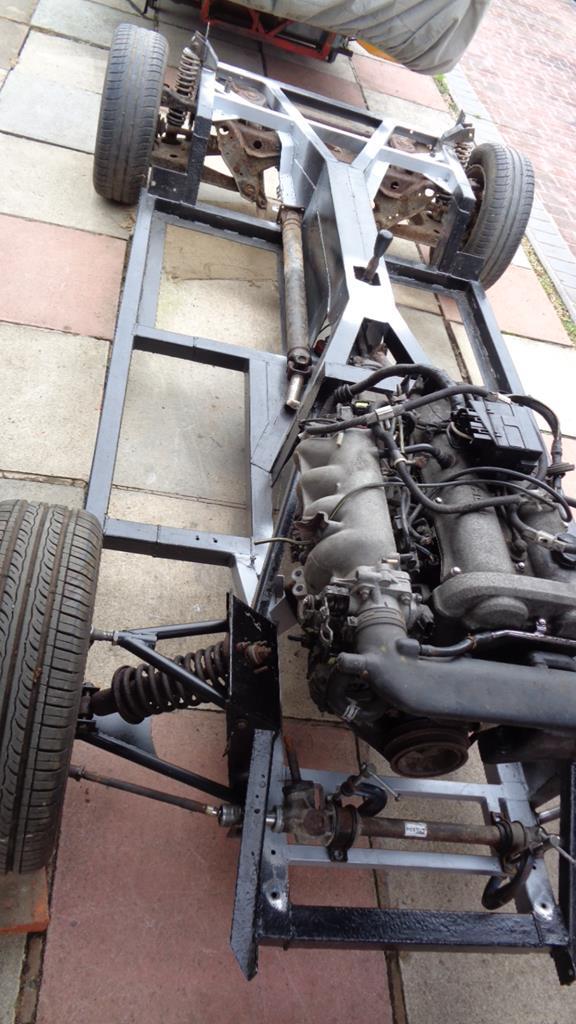
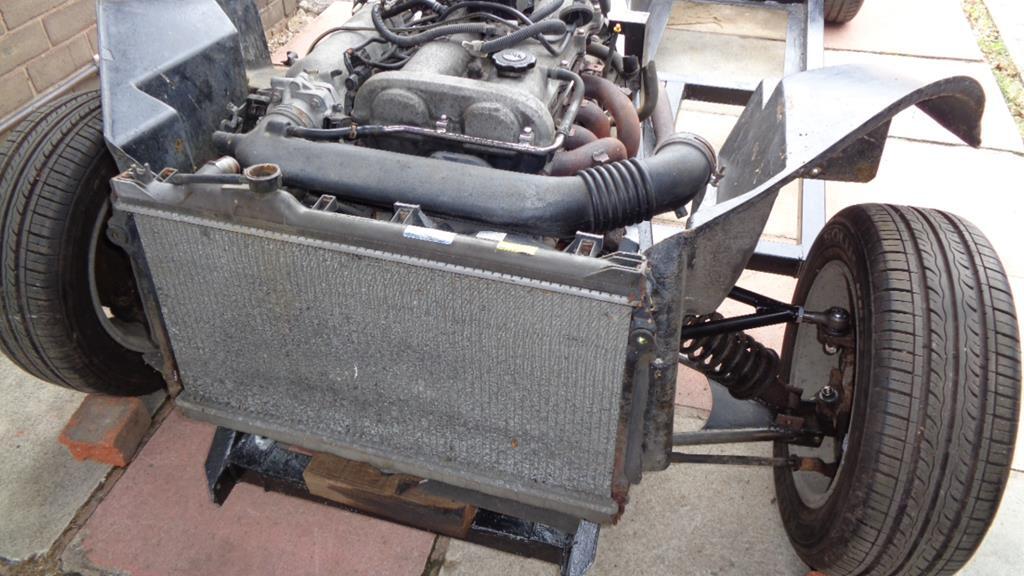
Ginetta G21Slightly longer than anticipated but finally completed the wishbones and three have a couple of coats of paint. Still need to round off all the sharp edges on all the brackets but its at a stage where it can roll. The coilover angle will be improved a little when the upper mount is changed but a bit off ideal. 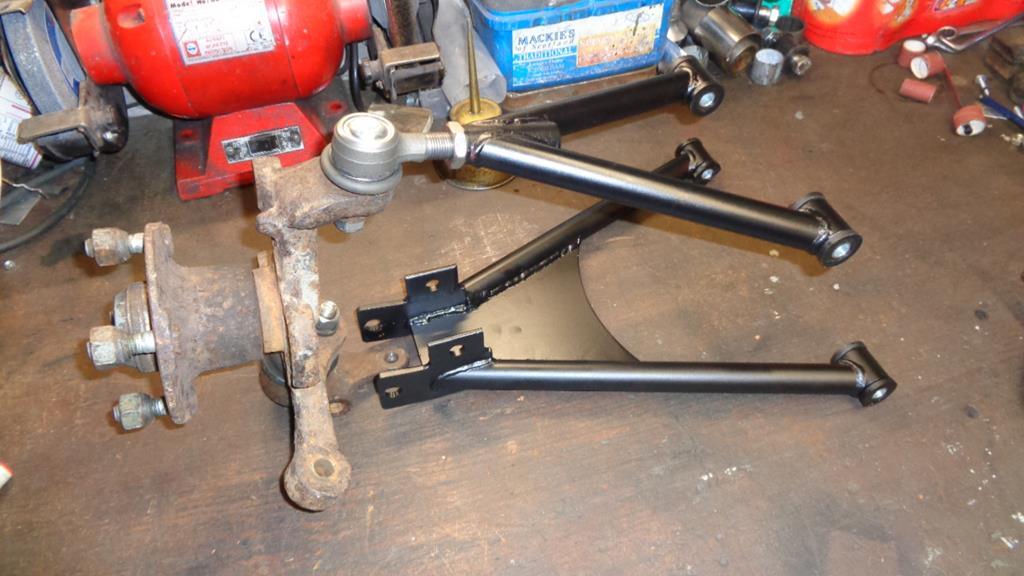 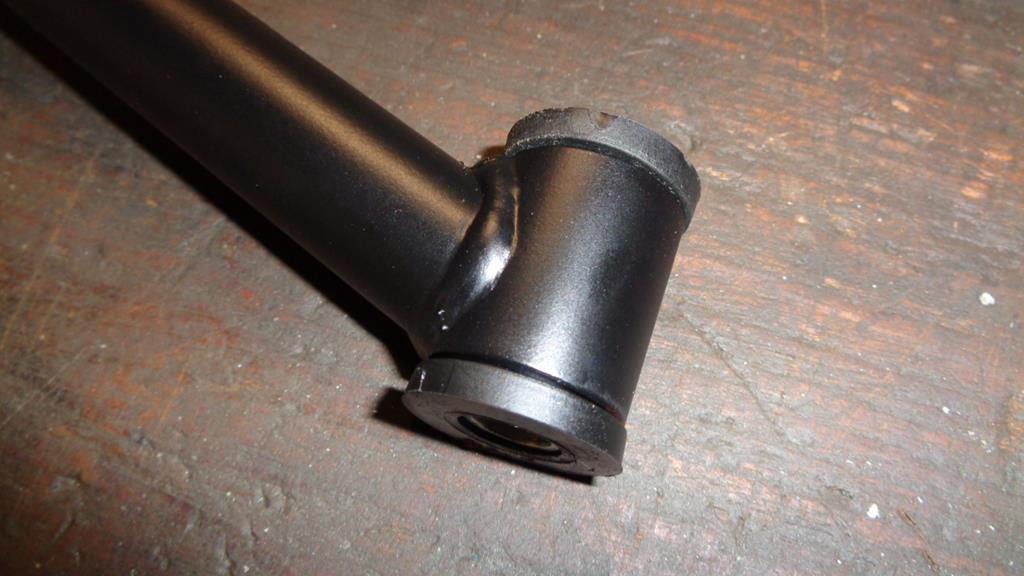 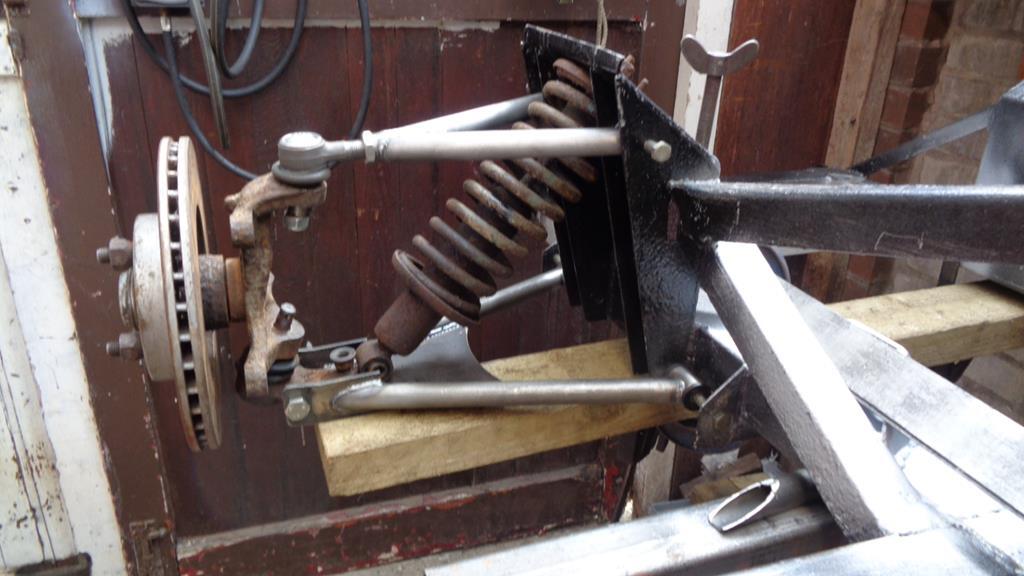 See how we get on tomorrow with dropping in on the deck 
Strato'sI had a bit of a result with selling off the bits of gearbox which has resulted in the Honda Engine IDF Carbs and Manifold all ending up FOC from a bit of graft splitting it all, and I still have a clutch and a radiator to sell off - Plus the extra space comes in handy.
|
| |
|
|
Darkspeed
Club Retro Rides Member
Posts: 4,867
Club RR Member Number: 39
|
|
|
|
|
|
| |
Last Edit: Aug 6, 2017 20:47:02 GMT by Darkspeed
|
|
Darkspeed
Club Retro Rides Member
Posts: 4,867
Club RR Member Number: 39
|
|
Aug 12, 2017 22:31:48 GMT
|
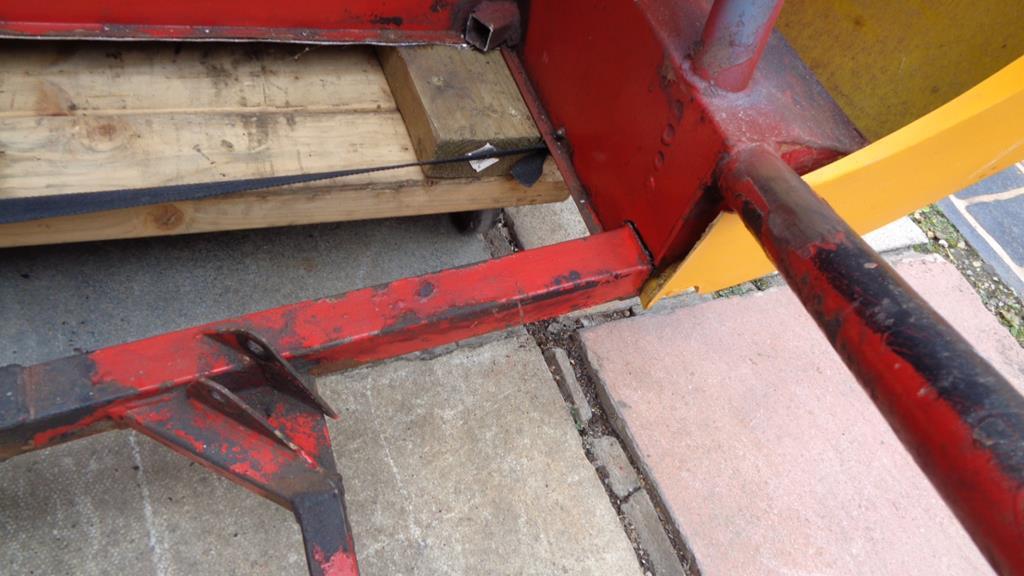
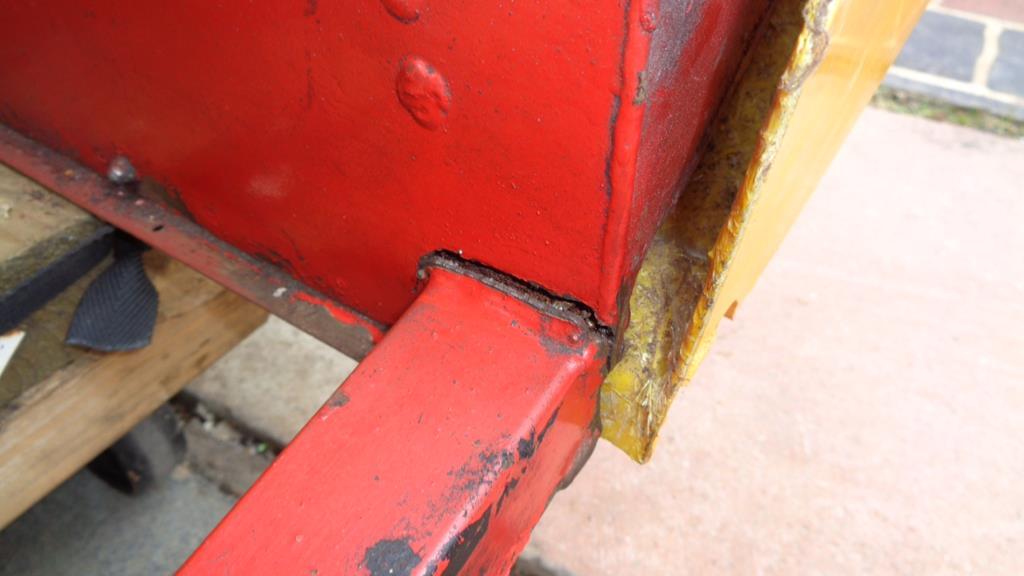
Strato'sSpent quite a lot of time today just staring at this - 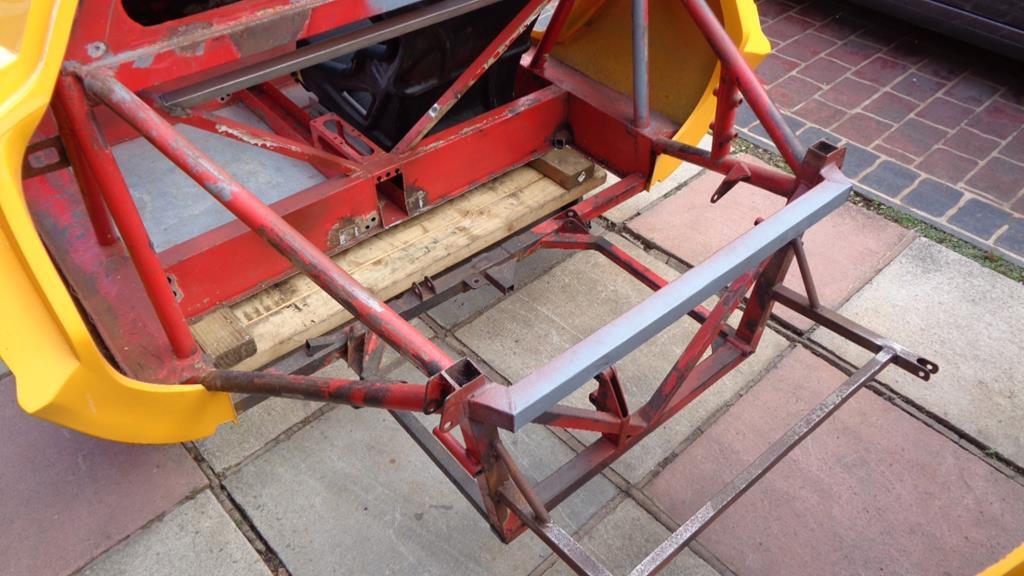 - trying to decide on the best method of repair. After a great deal of consideration I took a diversion and fettled the dash. 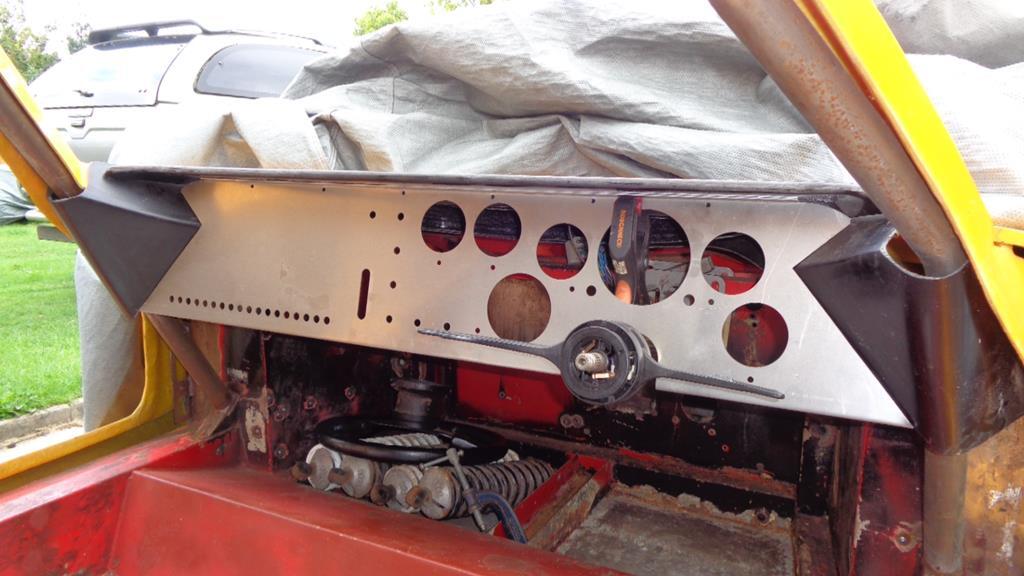 And then fitted the black stainless bolts into the door cards. 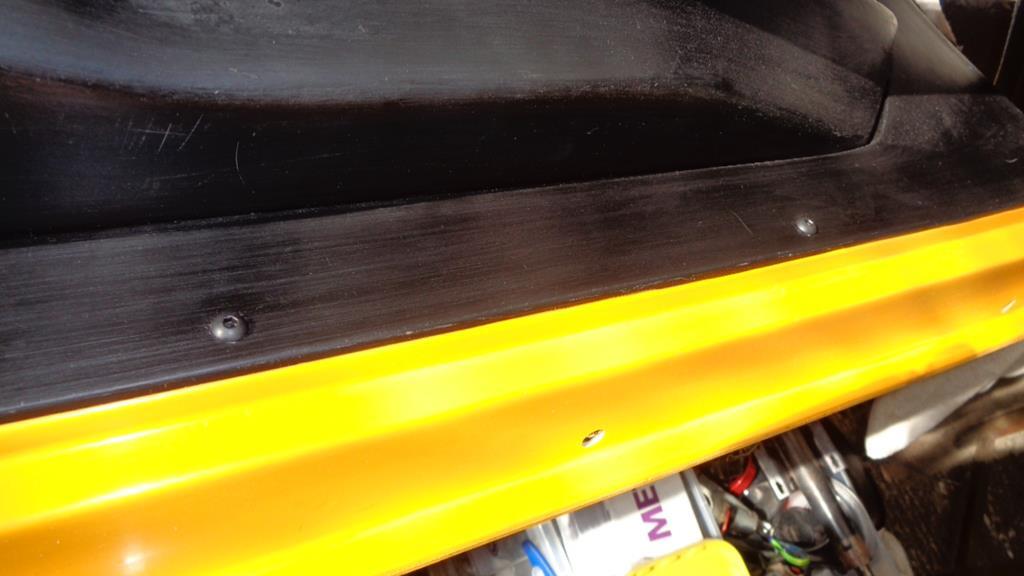 Cutting the lawn and then more sitting staring at the rear subframe pondering on the best way to progress, finally decided that chopping it out in one - four neat cuts - and then build the replacement off the car and then weld it in. Plan decided so execution next.
|
| |
|
|
Darkspeed
Club Retro Rides Member
Posts: 4,867
Club RR Member Number: 39
|
|
|
|
|
|
| |
|
|
Darkspeed
Club Retro Rides Member
Posts: 4,867
Club RR Member Number: 39
|
|
Aug 15, 2017 19:30:50 GMT
|
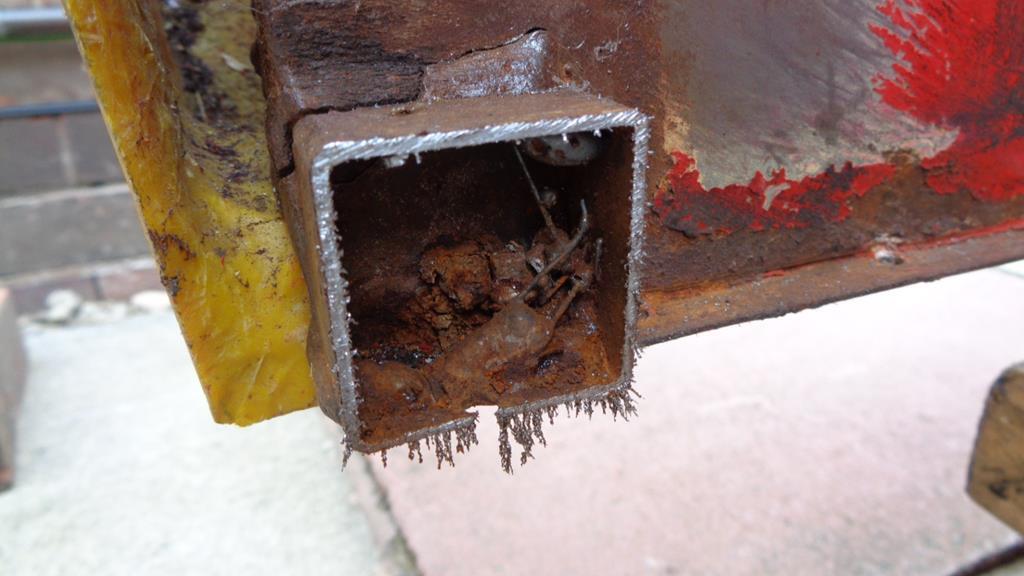
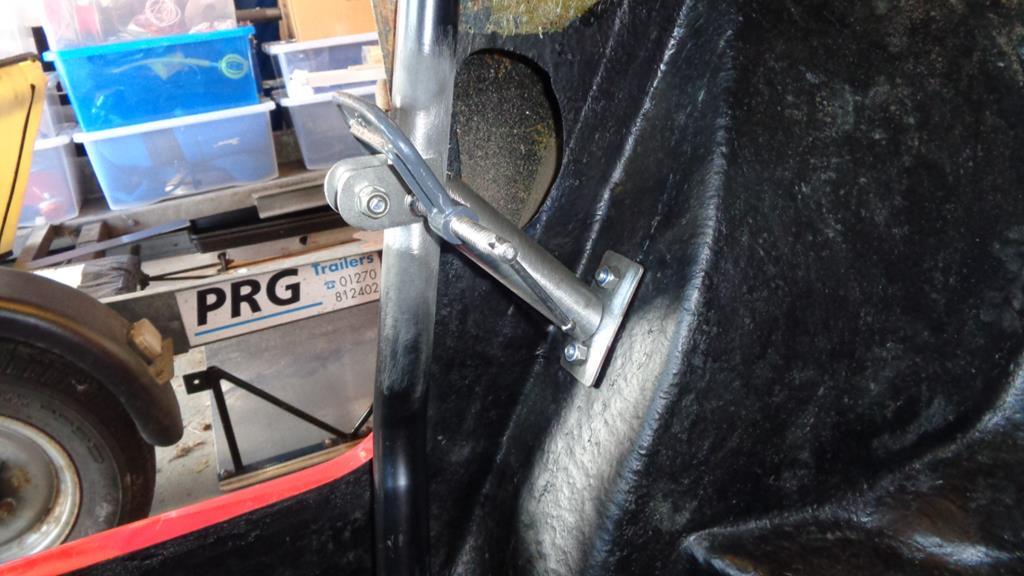
Strato'sThis will be a far easier job than the G15 door bars - a few brackets and mounting spacers should have that seen to, and a darn sight better finish than the dreadful things that were in there previously. 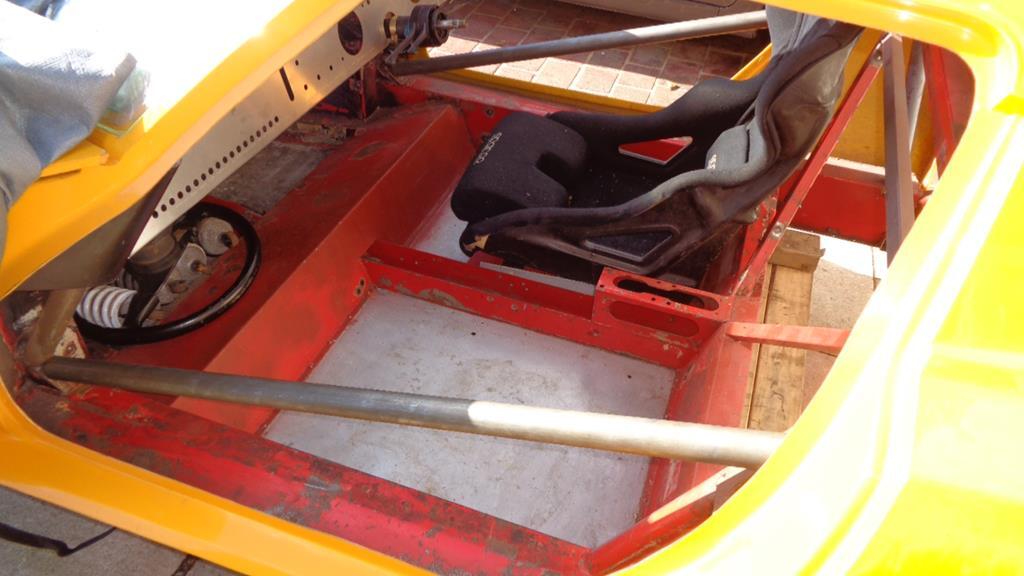 I was not looking forward to the task of grinding back all the shockingly poor weld efforts that were the previous repairs to the lower engine cradle, and I was correct in my assumption that it would be a pretty grim task. Still, it needed to be done as I cannot stand ugly bad work no matter how hidden it may eventually be. This bit, I knew was going to be particularly difficult to clean up. 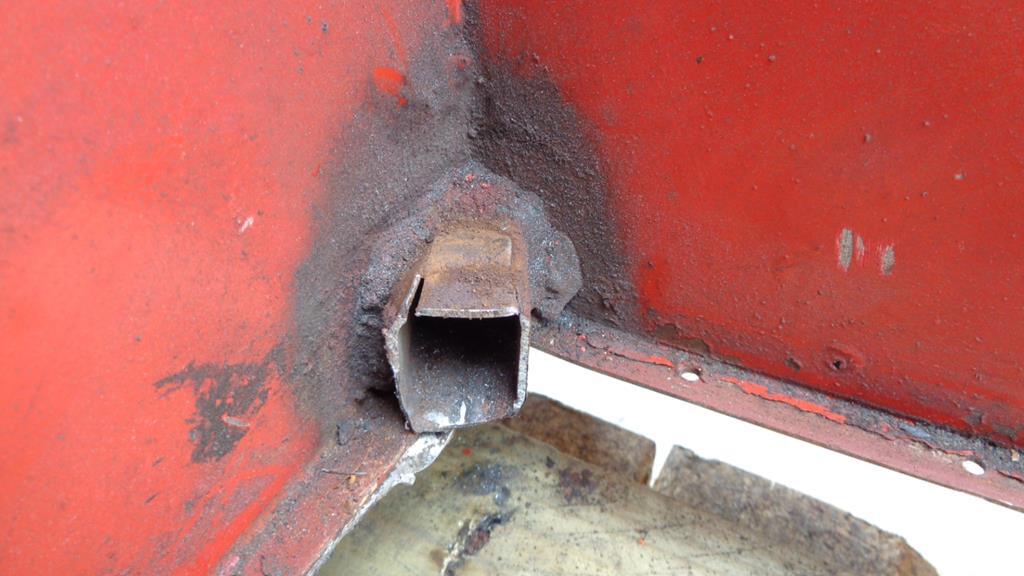 And it was. 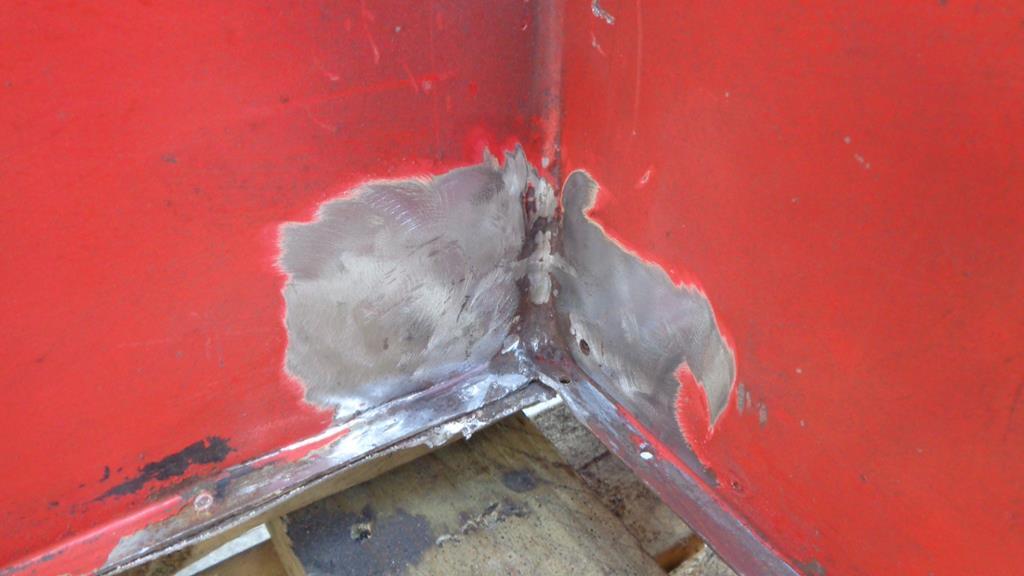 More cracks starting around the upper wishbone mount. How could it not crack looking at how poor the design is. 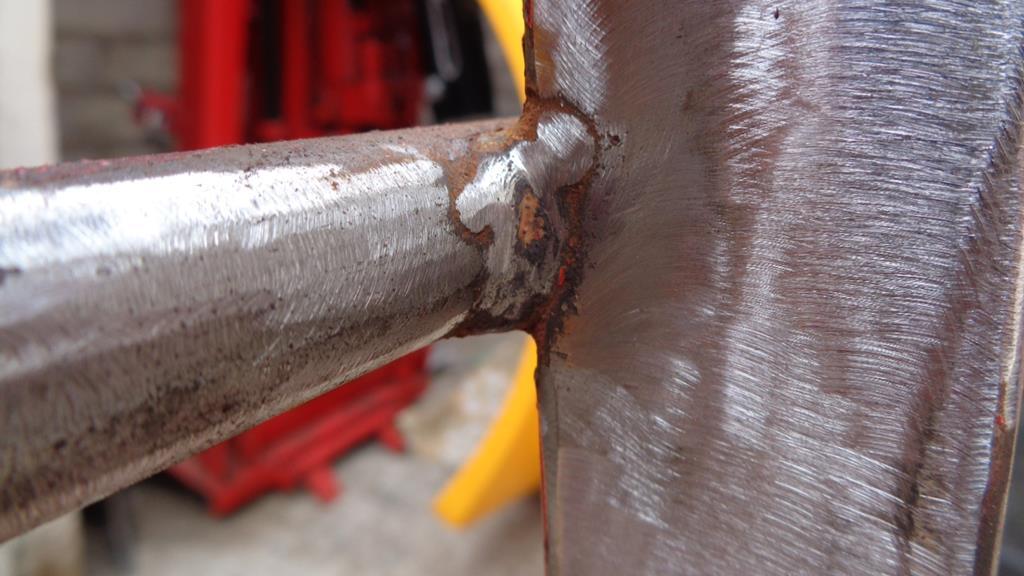 And the other naff bit of design. The main crossmember is welded to a 16SWG skin but actually pivots around the lower return. 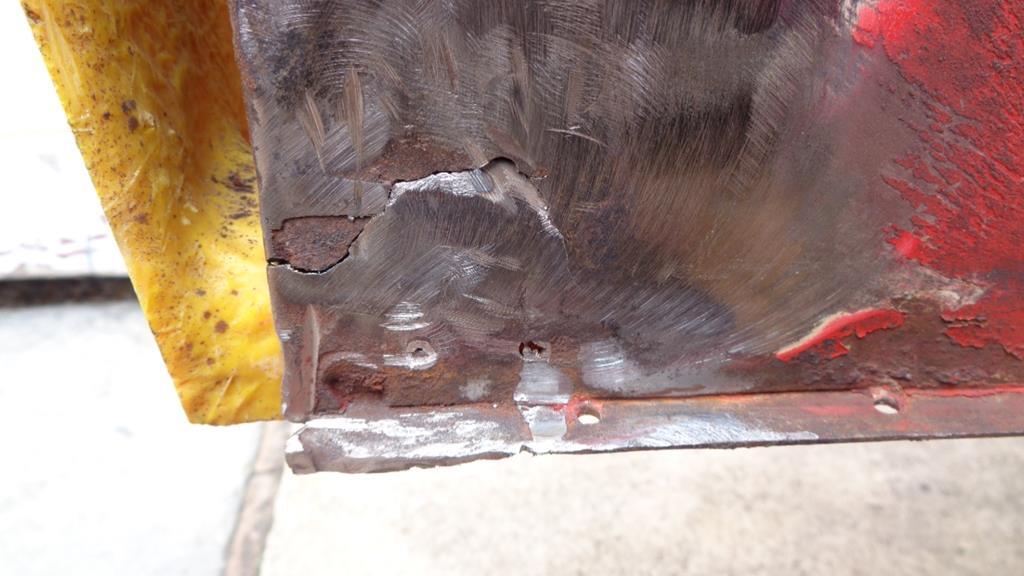 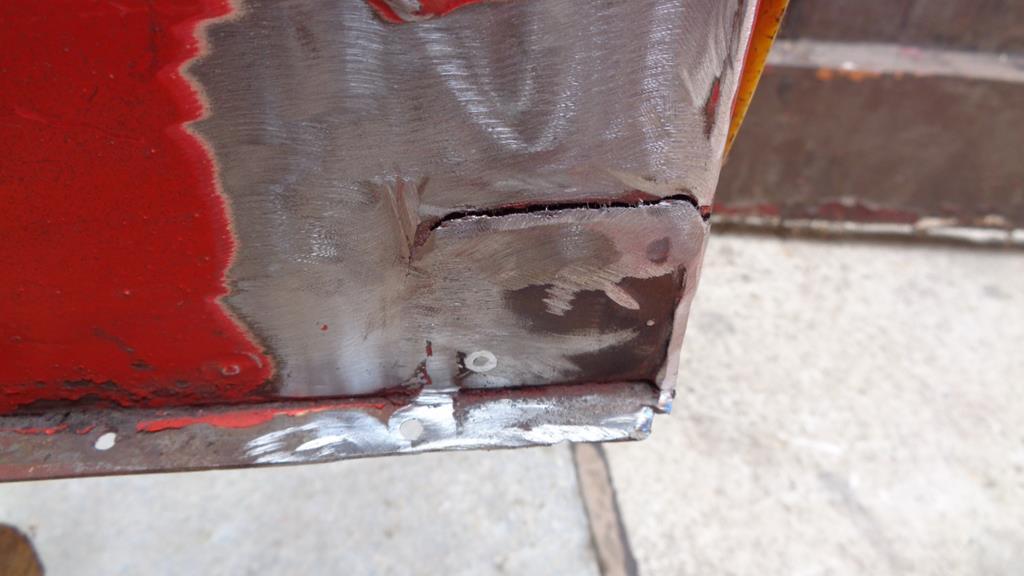 So the next task is to finalise the design of the repair - Thoughts are to chop out the cracked sections of the main outer chassis rails and let in some large 3.2mm thick sections in this area, a 100% increase in thickness. Between these pads mount a 52mm main chassis rail increasing the section over the existing 38mm crossmember by 37%. Run two 52mm sections back to the main cockpit crossmember. Link the 38mm rear crossmember to the new 52mm main rail with 38mm sections to replace the existing 25mm sections. 50% increase in section. I will also be looking for a better/stronger solution to the use of the 45 degree kink and brackets to provide clearance for the wishbone lower inner mount. Lots to do.
|
| |
|
|
Darkspeed
Club Retro Rides Member
Posts: 4,867
Club RR Member Number: 39
|
|
Aug 19, 2017 19:21:37 GMT
|
|
|
| |
|
|
Darkspeed
Club Retro Rides Member
Posts: 4,867
Club RR Member Number: 39
|
|
Aug 20, 2017 17:17:01 GMT
|
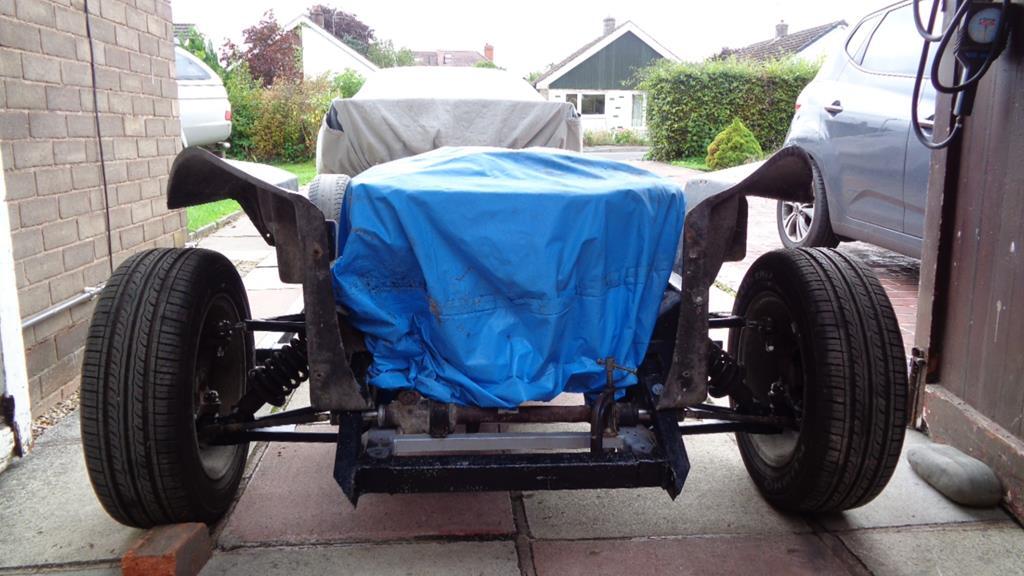
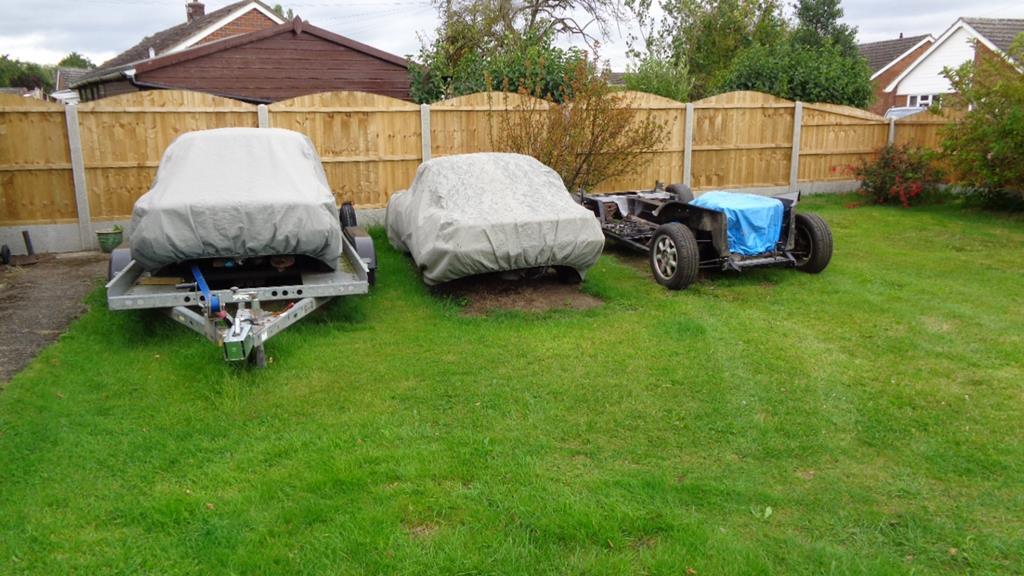
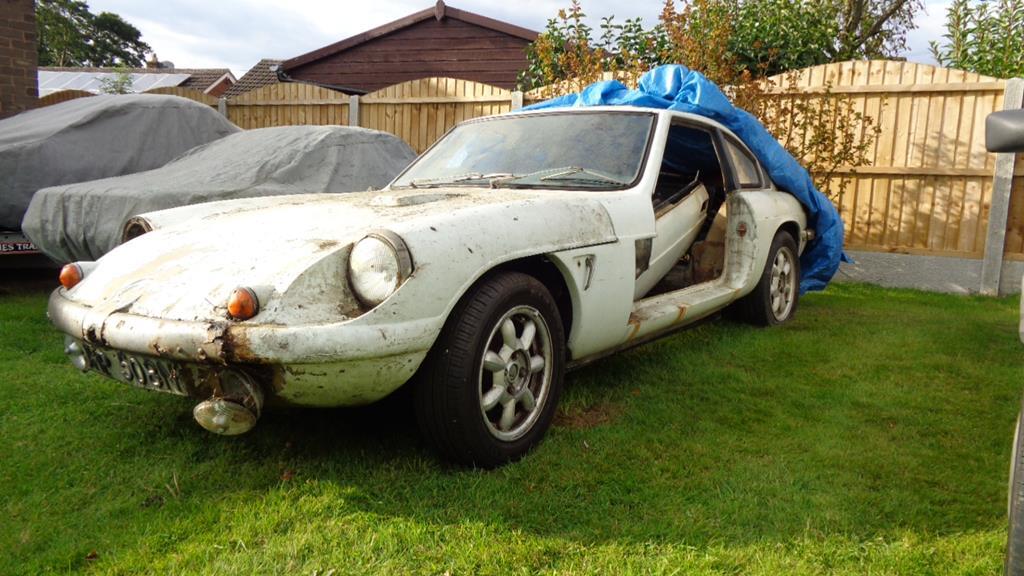
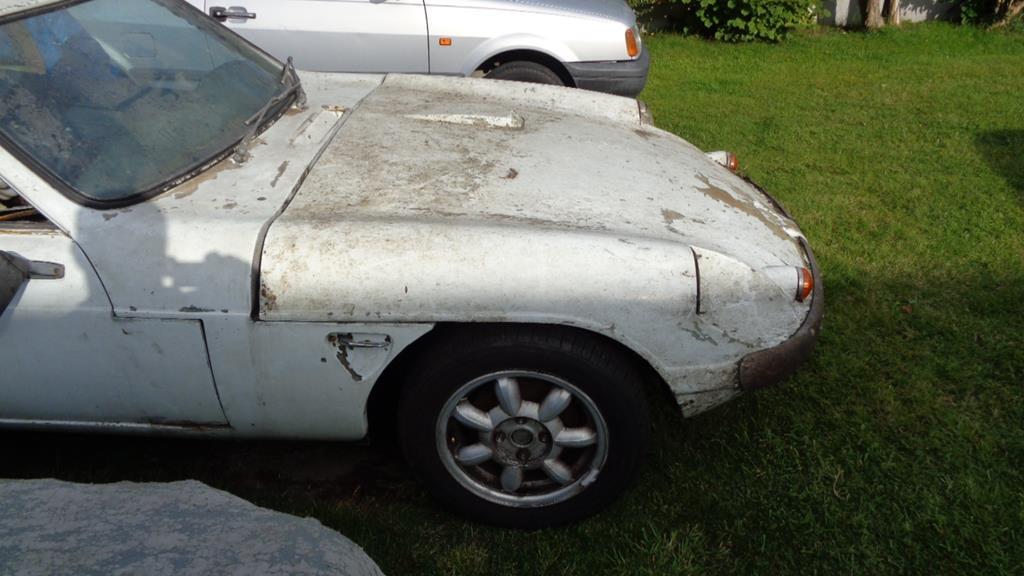
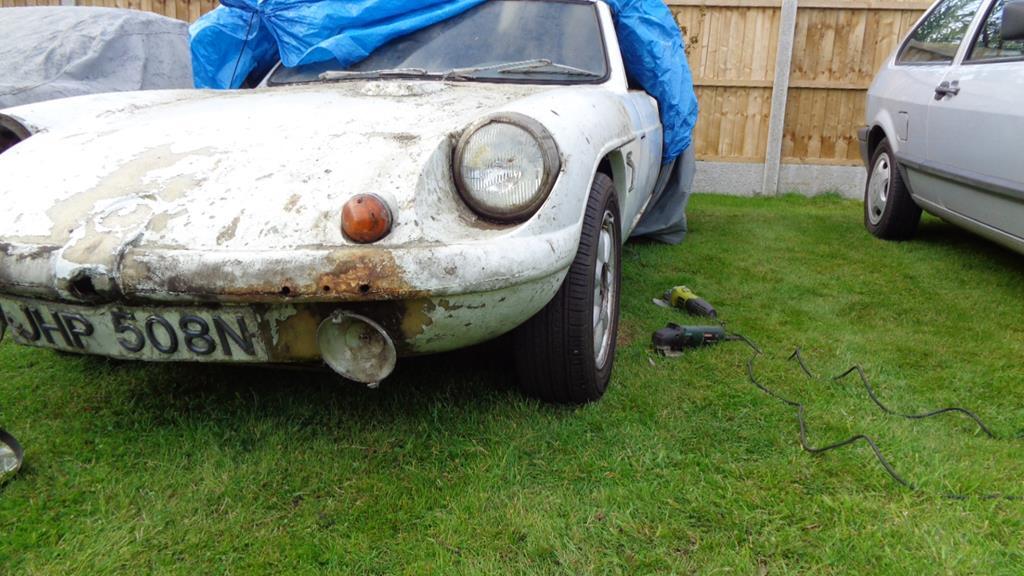
Ginetta G21This will now be taking a back seat as the body is on and the Strato's and the Ginetta G27 will be priority projects going forward. I may Start a new thread on the G27 so to not divert this thread further than it already has been. So final few prior to tucking it away until I get bored with work on the Strato's 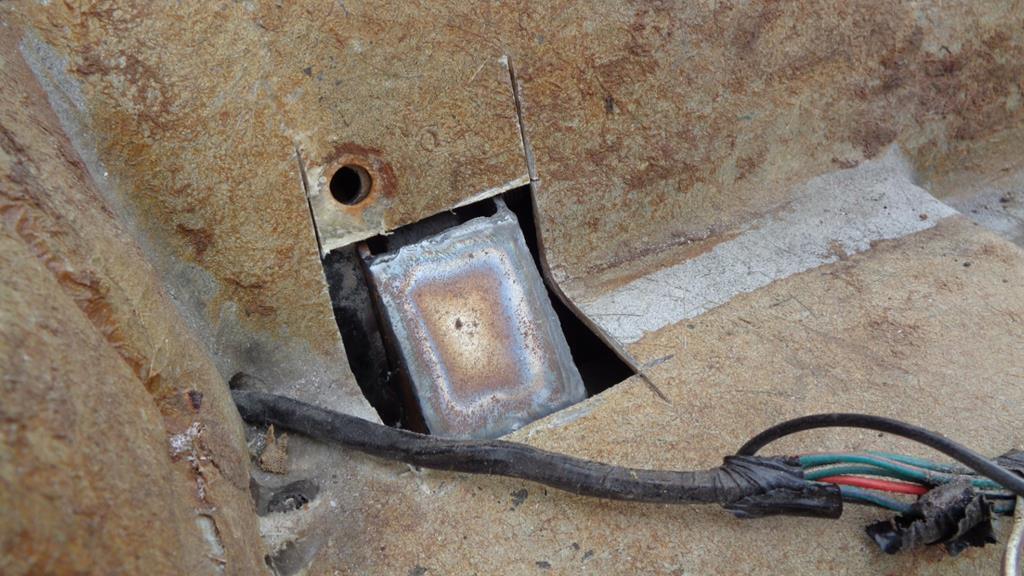 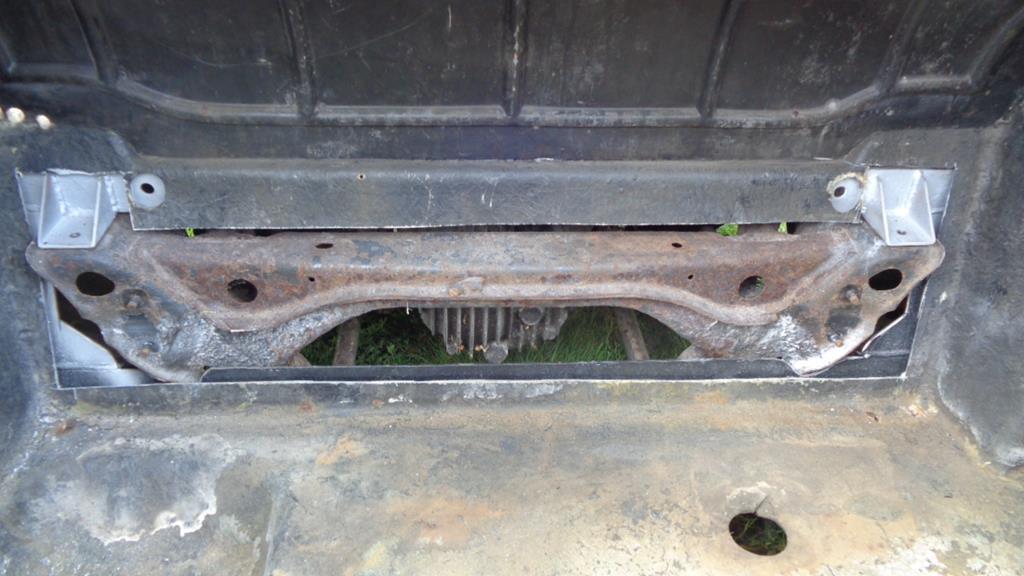 Happy that the wheels are all central 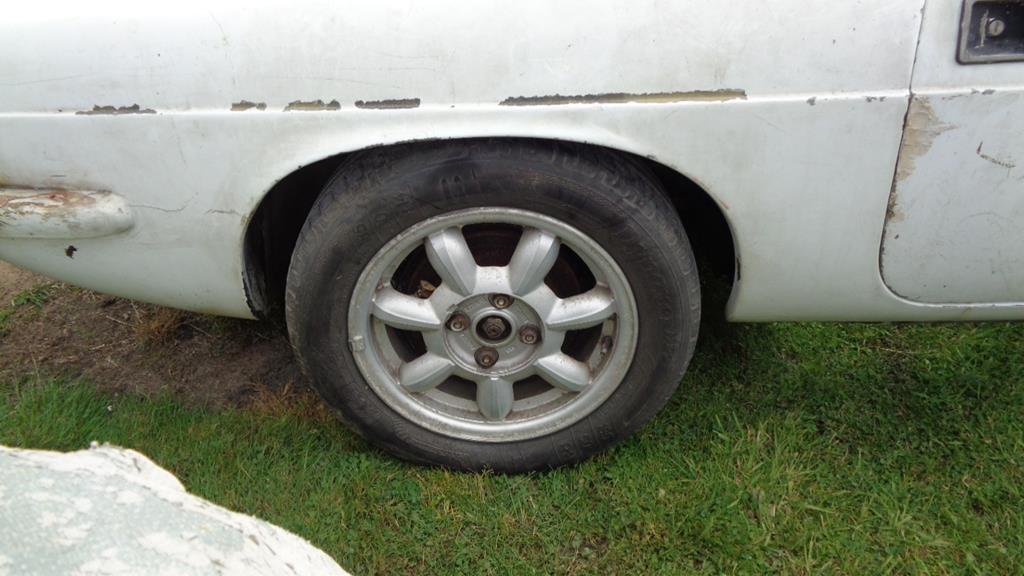 Threw a sponge at it and then covered it up. 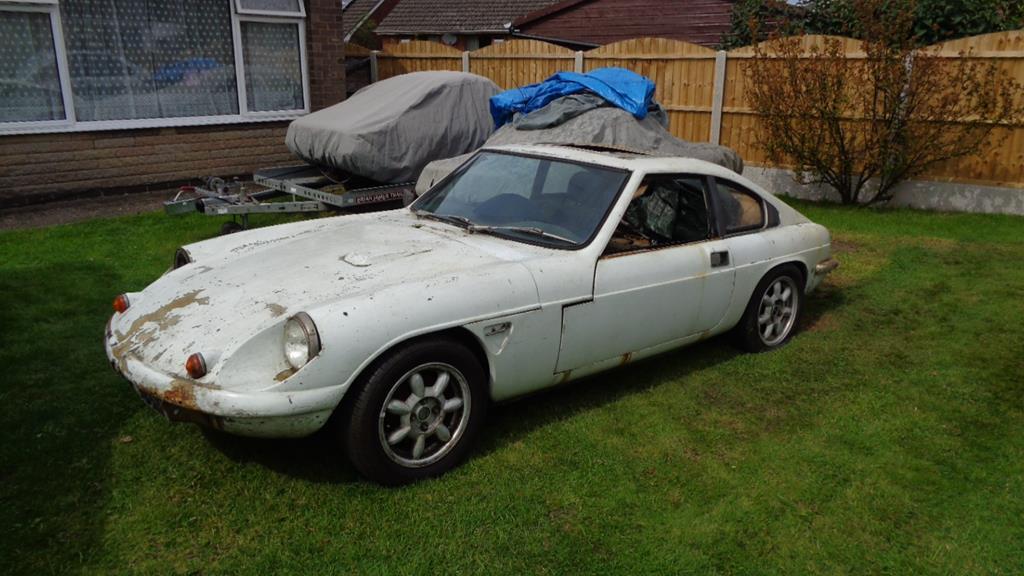 Low mileage 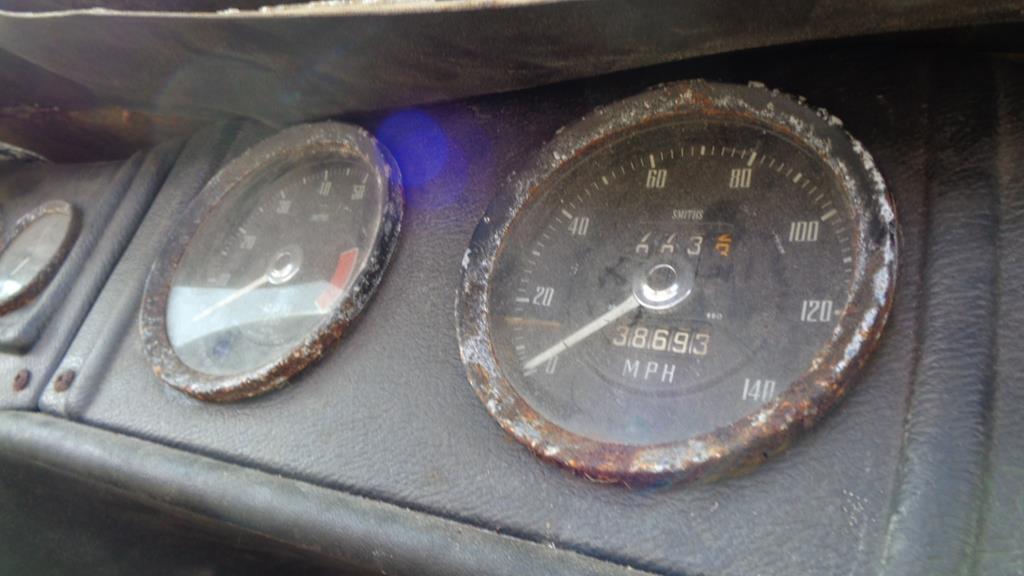 A door hinge - and what's left of door frames and brackets inside the door - Just think what this car would have looked like if it was steel body. 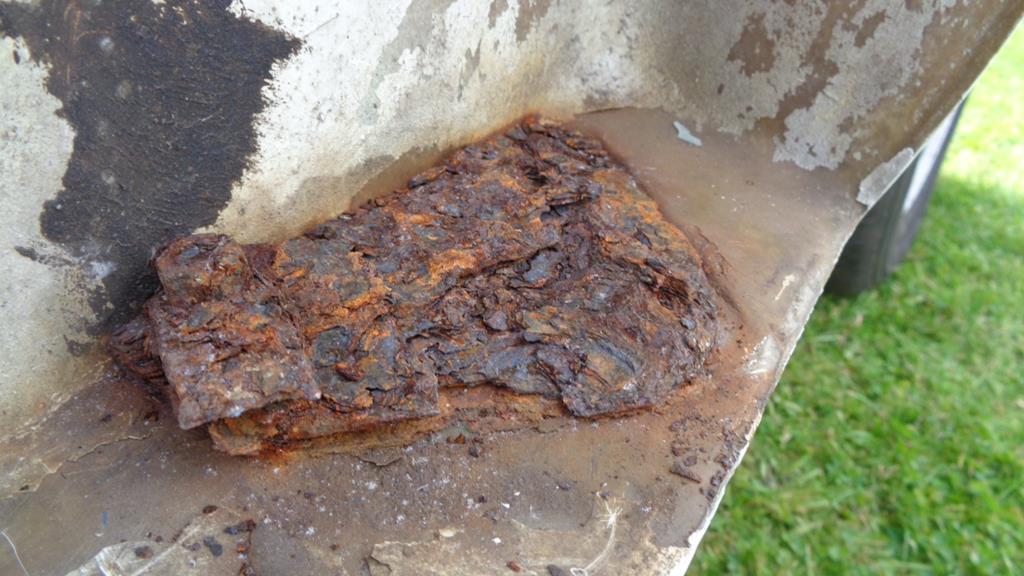 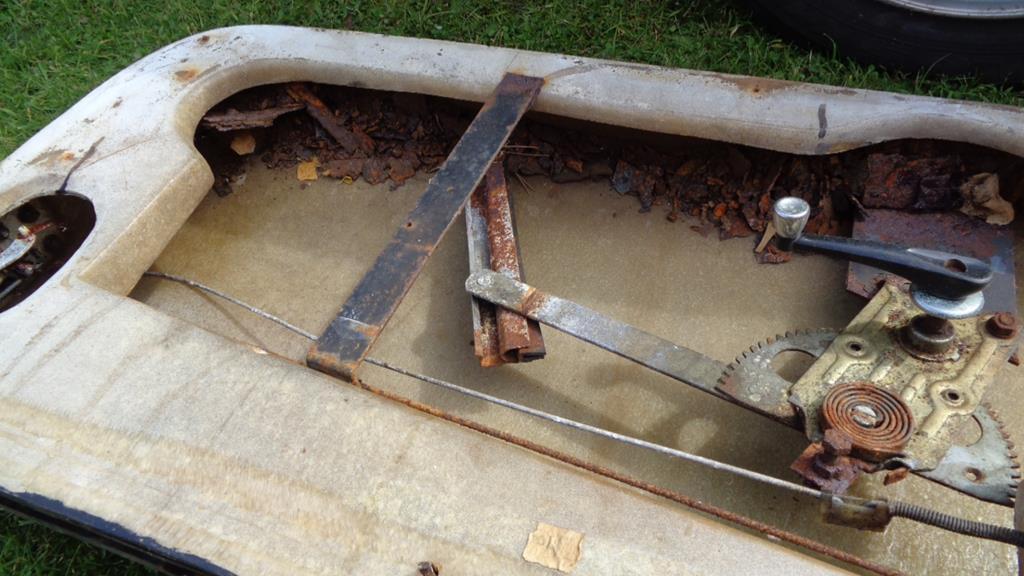
|
| |
|
|


