|
|
|
|
|
|
|
| |
Last Edit: Oct 2, 2015 21:12:20 GMT by bjornagn
|
|
|
|
|
|
|
|
|
|
|
|
jpsmit
Posted a lot

Posts: 1,268
|
|
|
|
|
Amazing! Great skills and a mad project!
|
| |
|
|
|
|
|
|
|
|
Condensed or not, some brilliant work going on there!
|
| |
|
|
bstardchild
Club Retro Rides Member
Posts: 14,937
Club RR Member Number: 71
|
|
|
|
That's because the bonnet was a total mess. I bought a second bonnet that was less of a mess, but still a total disaster. You can see the original one in the rafters  They have the happiest face of any car I have ever seen - just that makes me want one |
| |
|
|
|
|
|
|
|
That's because the bonnet was a total mess. I bought a second bonnet that was less of a mess, but still a total disaster. You can see the original one in the rafters They have the happiest face of any car I have ever seen - just that makes me want one The story concludes with the car being gifted back to her original owner. You should have seen the smile on her face! |
| |
|
|
|
|
|
|
|
By now, I was almost ten years into this project. It was time to finally get to that bodywork that I wanted to learn. Take note of how clean the shop is at this point, because it is about to get messy.  The bonnet was solid and rust free at this point, but far from smooth. The filler bit took a long time, not because there a deep layer, but putting it on and making it smooth and properly contoured is an art.  Then I started to get picky and block sanded the bit I had already done. Amazing what the Durablock sanding pads will show up. Remember that clean dust free shop?  Polyester high fill primer and a set of Durablock sanding blocks are your best friend when trying to get a good smooth flat surface to paint on. I obsessed for weeks on this trying to get it perfect. My buddy finally said he would hit me with a spanner if I sanded and sprayed any more.   |
| |
|
|
|
|
|
|
|
|
|
|
This is cool, I eagerly await the next instalment...
|
| |
|
|
|
|
|
|
|
|
Good work! Frogeye/Bugeye Sprites are so rewarding to work on - and even more fun to drive! The bonnet has so many curves you have done an amazing job!
|
| |
|
|
|
|
|
|
|
Amazing! Great skills and a mad project! You need to keep in mind that this was the start of a great journey. When I started, I had no experience, no skills and no tools. I have never done anything like this. To anyone contemplating restoring such a wreck, I would advise not to start, but if you do, I will be happy to help any way possible. |
| |
|
|
|
|
|
|
|
|
Nice save!
|
| |
194? Willys Jeep MB 1965 Volvo 544 Special 1968 Opel Rekord 1975 Opel Kadett Estate 1985 Mercedes-Benz 230E 1985 Datsun 720 King Cab 4x4 diesel 1997 Volvo S70 2.5SE (ex. "Volvo544special65" - changed to more reader friendly username.  ) |
|
|
|
|
|
|
|
|
So the next thing to learn was painting. Two pack to be exact. This required agonizing over a spray gun purchase getting rid of all the dust that I had made in the shop. Bought a Devilbiss gun to squirt the paint and used a couple of leaf blowers for the later. Some pictures as I went along. First coat of base   Just so that people realize that this is s learning experience. Not all goes well the first time. I had these blemishes in my first effort that required that I stop, let the car dry overnight, then re-sand the entire car with 600 grit wet paper. If there was a silver lining, it would be that it allowed me to go over half a dozen spots that could have been sanded a bit better in the first place. The reason I had these blemishes was because I cheaped out. Instead of buying a dedicated wax, grease and silicone remover, I was using laquer thinner to wipe the car down before paint. Lesson learned. Alsom you cant have too many water and oil traps in your air-line.  Anyways, people seem to get too worked up over paint mistakes. It is just paint and you just do it over. Not really such a big deal. Second time seems to always be better than first, go figure. So, we resprayed and added the clear. Spraying the clear on is like magic.     |
| |
|
|
|
|
|
|
|
|
excellent work hats offffffffffffffffffffffffffff
|
| |
|
|
|
|
|
|
|
Looks like I did not take a lot of pictures of the final assembly. A this point, I had been at the project for about 10 years and I was in a hurry to get the car back to its original owner. I had decided that due to a Heroic gesture from her husband, I would gift the car back to her. (She did pay me for parts). In total, I drove the finished car for maybe 2 miles. That was three years ago and she has been enjoying ever since. Sadly I missed getting the car done before her husband passed away since the car was was a gift to her from him.     Proof that I did actually take it on the road. 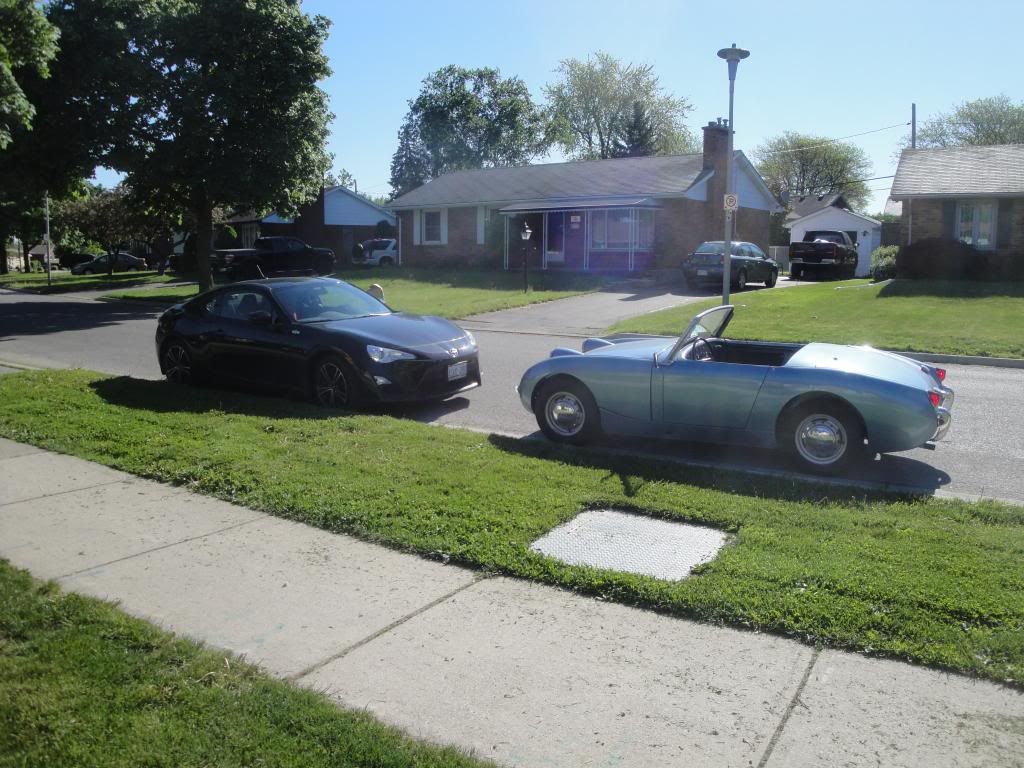 If we look back ten years, here is is leaving her original owners house. 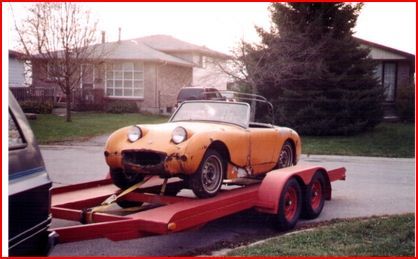 And here we are ten years later on the same trailer headed back. Looks a bit better I would say. 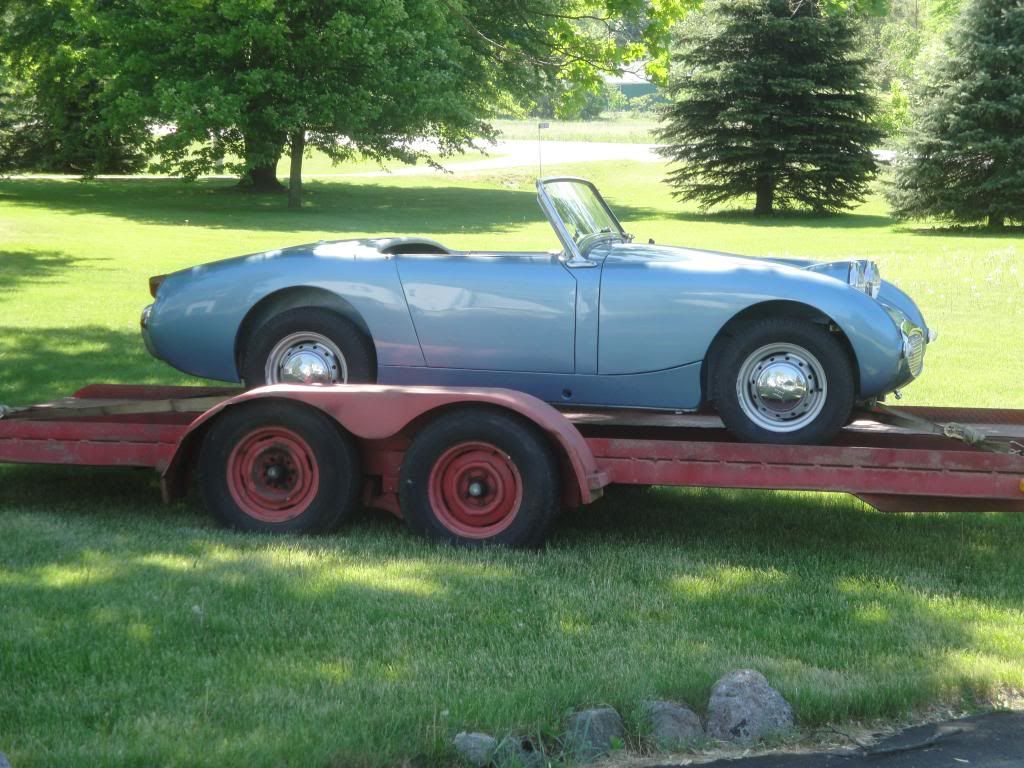 While technically I did buy the car from her, and had originally planed on putting it in my name, I never did change the ownership into my name. So if ever looked into, this remains a "One Owner" car. Car and owner re-united in 2012. Car had not been on the road since 1972 that I could determine. 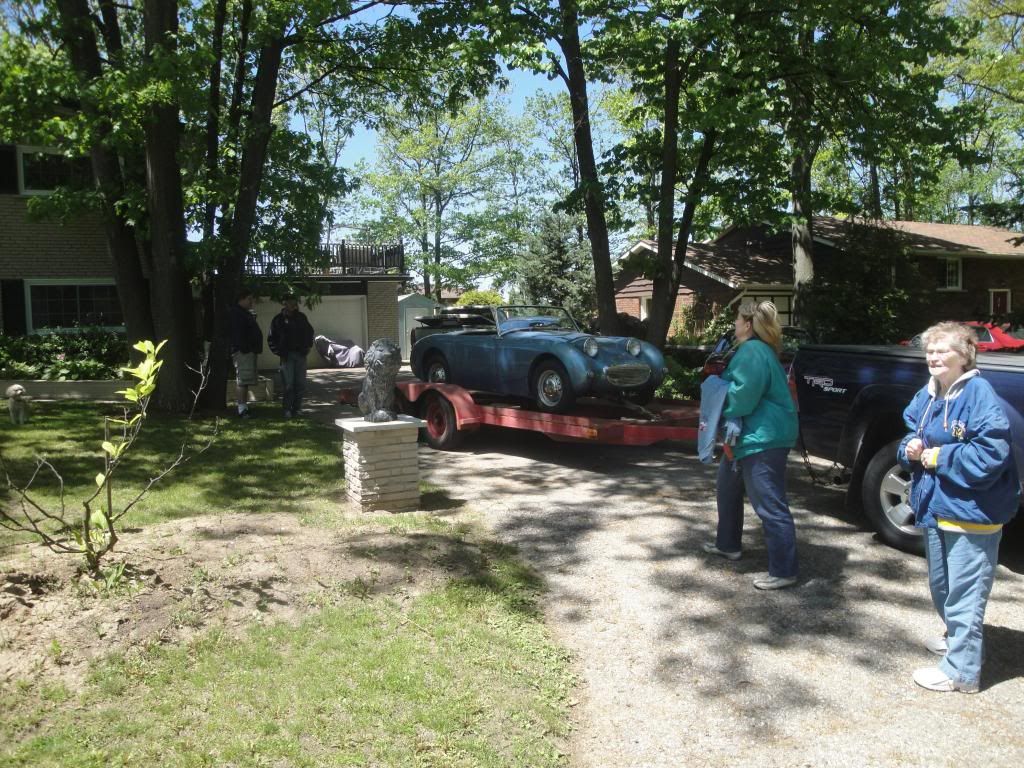 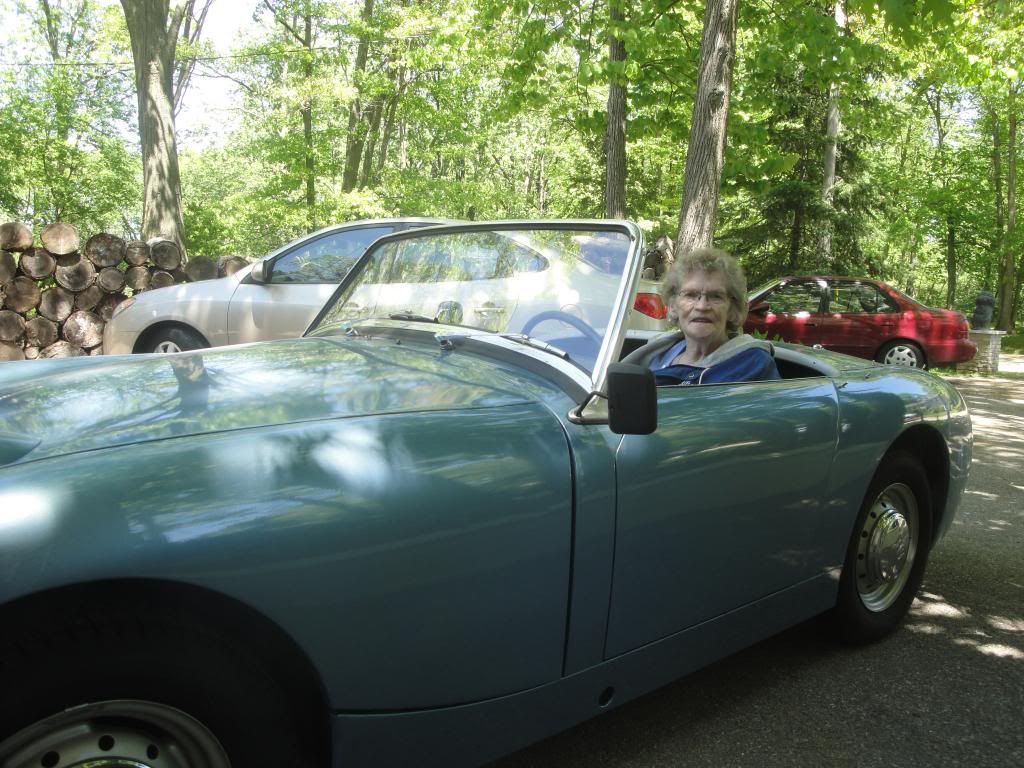 Not often in life I will get to make someone this happy. It was a great journey and the skills I picked up are mine to pursue. See the Volvo P1800 ES thread for where I am off to now. retrorides.proboards.com/thread/179752/volvo-p1800es-conversion-mx5-chassis. Thanks for joining me on this trip down memory lane. The END. Edit: That horrible ugly outside rear-view mirror was only there to get the car past the safety inspection. The new owner did not want a mirror and it was removed shortly after the picture was taken. |
| |
Last Edit: Oct 4, 2015 14:09:17 GMT by bjornagn
|
|
|
|
|
|
|
|
My late father had one of these in baby blue when he was in his 20's. He always regretted selling it. Got a photo of him in it on the kitchen wall.
|
| |
Last Edit: Oct 4, 2015 14:11:41 GMT by jonsey
|
|
|
|
|
|
|
|
A ten year labour of love - and the "back story" is wonderful - Well done....... and thank you for sharing it with us
|
| |
|
|
|
|


 )
)


