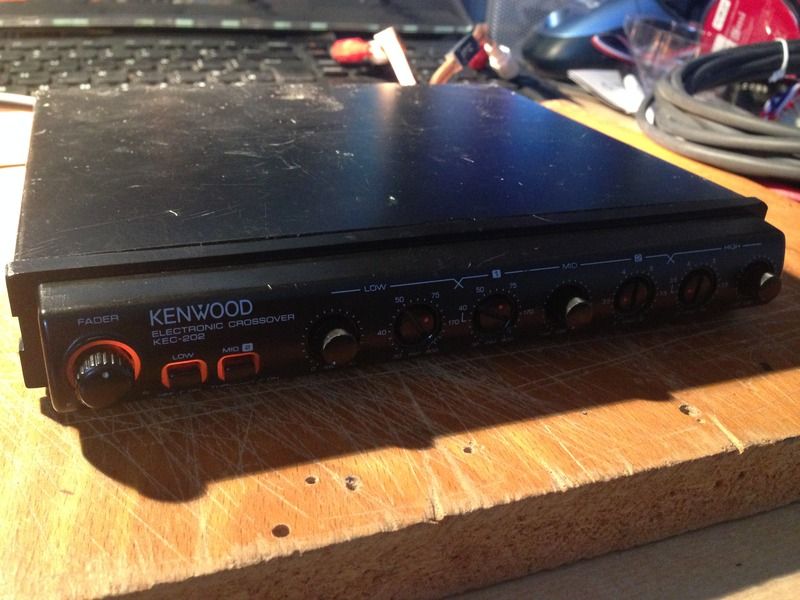
I though I'd share this little repair task on this Kenwood active crossover unit.
I was advised by Bruce (Mystery Machine) some time ago that one of these is a good starting point for a retro car audio setup. He even linked me to one for sale on eBay at the time, which I won but got messed about with by the seller so didn't end up receiving it. Anyway eventually another one came and went without any bids so I contacted the seller and bought this one. When it arrived it wasn't quite in the condition I had expected from the advert but hey ho it wasn't worth the hassle sending it back.
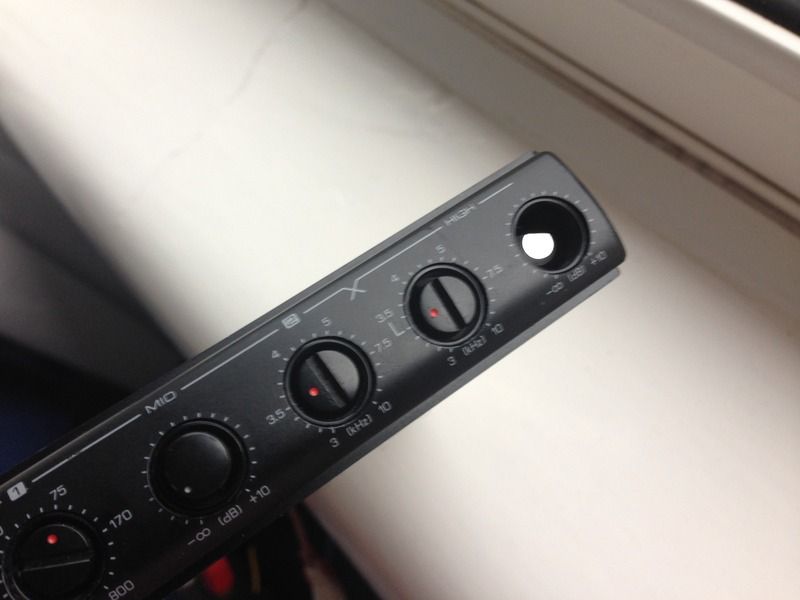
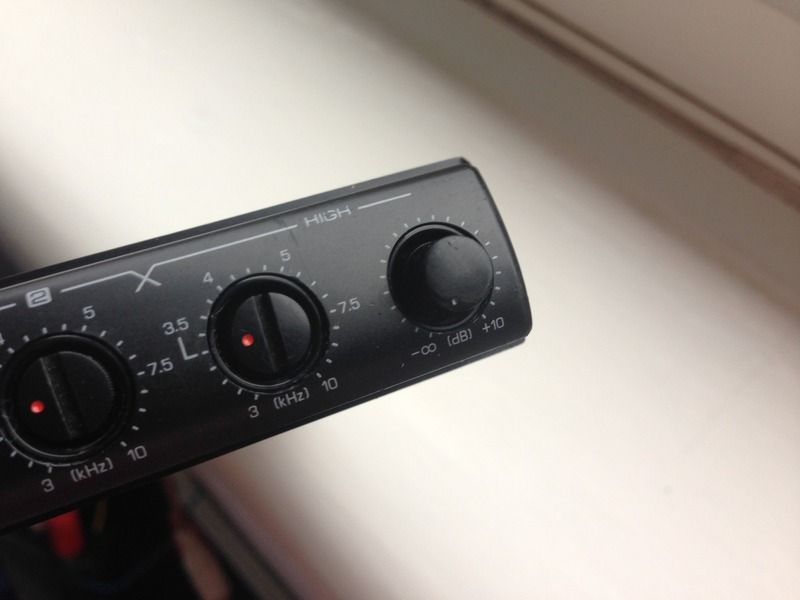
Firstly a knob was knocked off in the post due to bad packing...

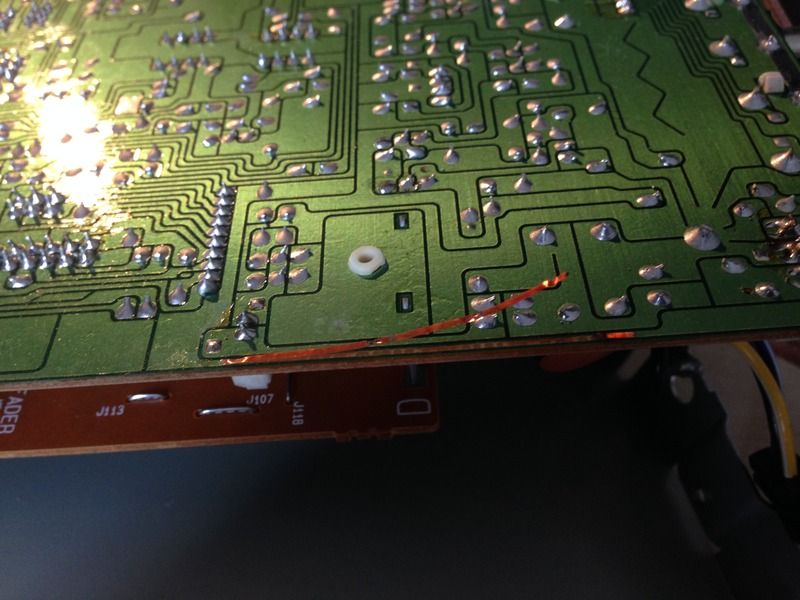
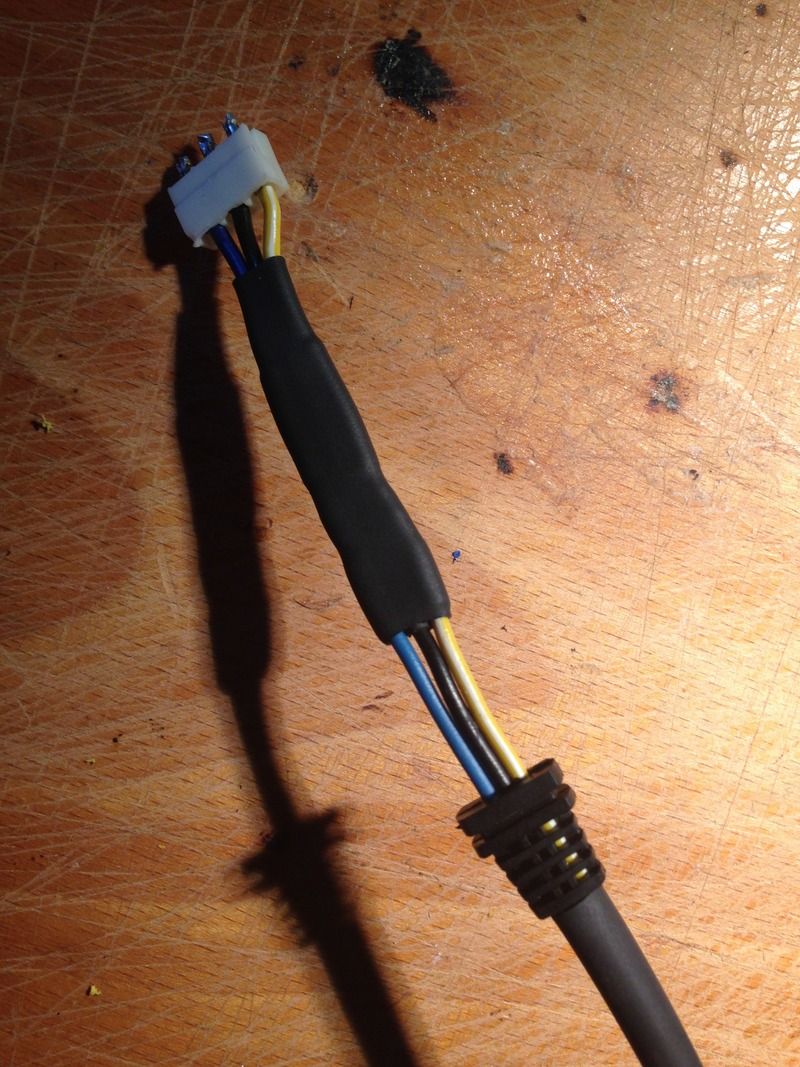
Then there was this odd bodged wire...

...and it also turned out the power wires were intermittent/broken at the strain relief bit (as arrowed above), so not a great start.
Getting inside the unit the need for the 'bodge wire' became clear...
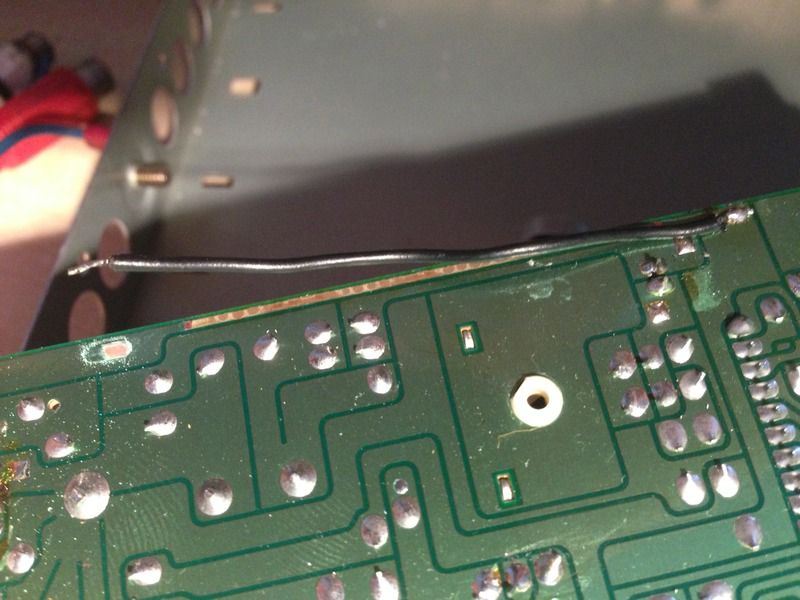
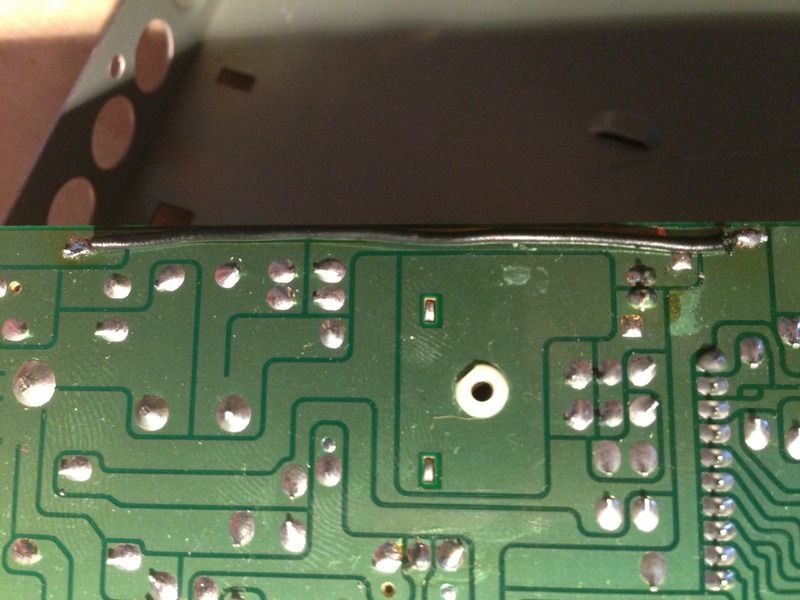
... a burned out track. So I replaced that with a link wire...
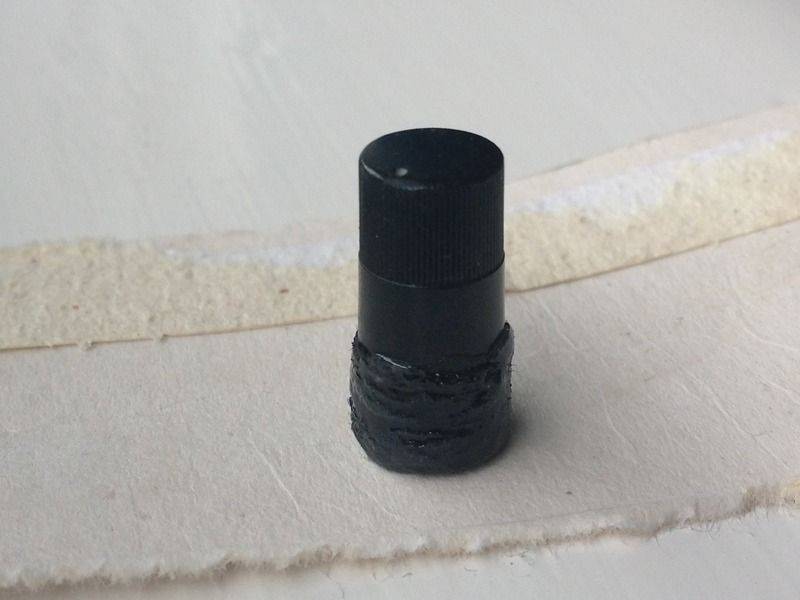
Next up was to fix the knob, I had come across this method some time ago but never tried it out...

... First I stuck the fragment in with Araldite. Then I soaked a bit of thread in the Araldite and wrapped a turn on and let it set. With the first bit set you can pull the thread on nice tight as you continue to wrap it with soaked thread. It doesn't look too messy and is completely hidden once fitted...
That just left the broken power wire to deal with. I de-soldered the connections inside the unit, which in hind sight I needn't have done as I decided to bridge on to the wires after they come out of the internal plastic mount (Which I originally though was a plug but isn't). I wanted to reuse to wire bendy strain relief thingy so I drilled and picked the remains of the old wires out from that...

Soldered the wires back together...

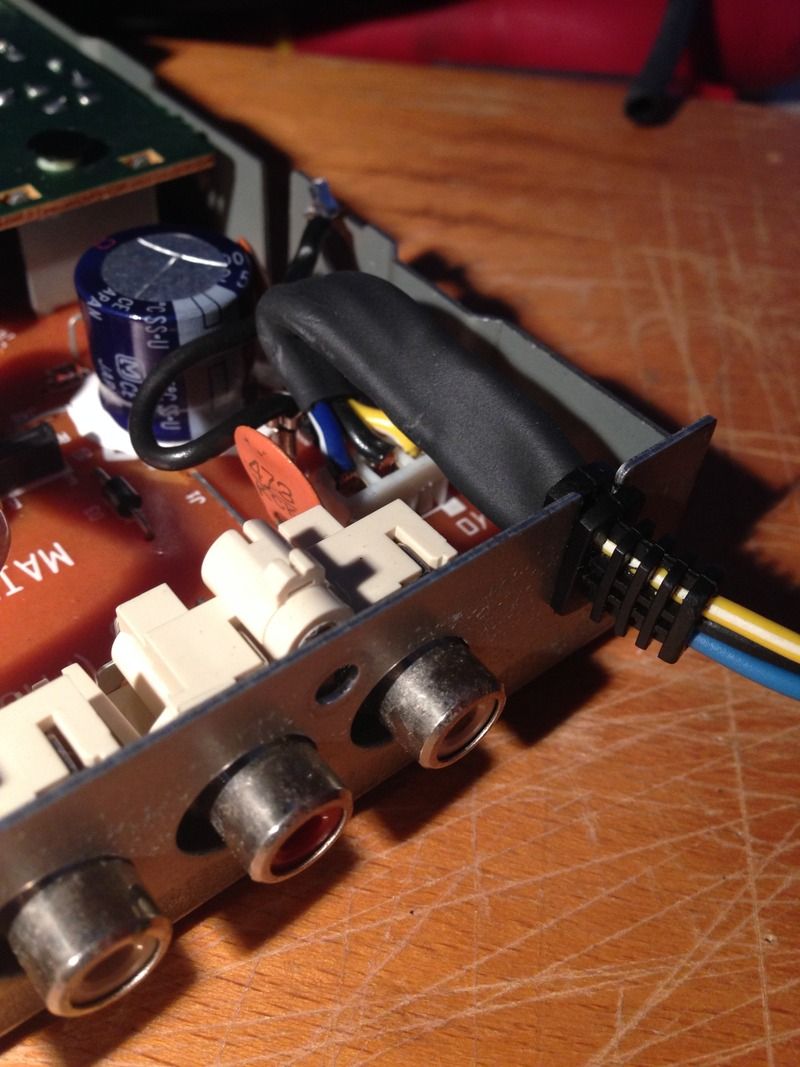
I individually shrink wrapped the wires and also put a cover wrap over them all to ensure it was fattened up enough so that it would block up behind the strain relief thingy...
I soldered the connectors back to the PCB and reassembled it all...
It feels like the wires are held nice and firm and more importantly it has lights...
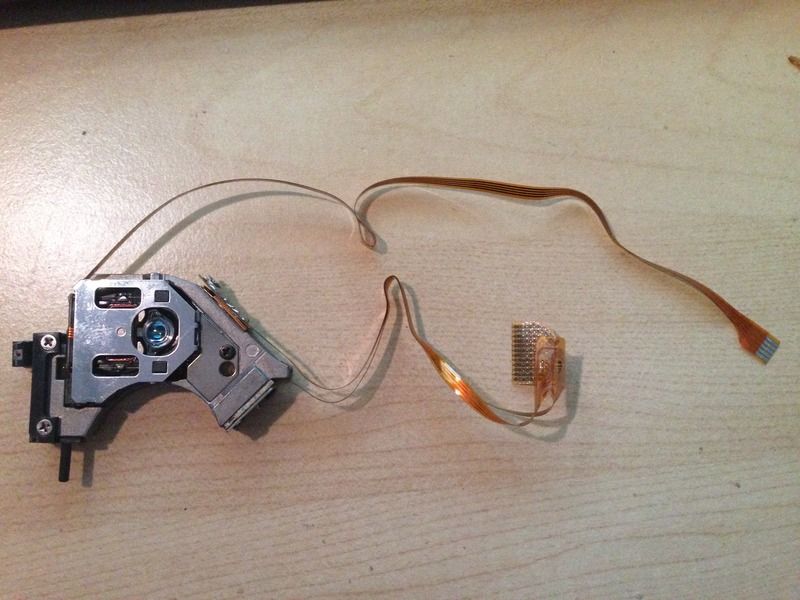
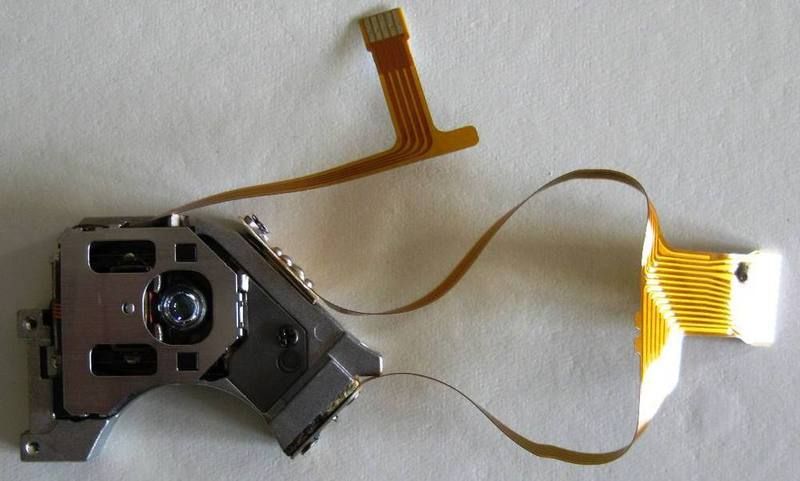
I have just tested it and it all seems to work as it should Now if only I could fix my Pioneer CD head unit, but that has a failed laser which I cant find a replacement part for.
-Steve-
I was advised by Bruce (Mystery Machine) some time ago that one of these is a good starting point for a retro car audio setup. He even linked me to one for sale on eBay at the time, which I won but got messed about with by the seller so didn't end up receiving it. Anyway eventually another one came and went without any bids so I contacted the seller and bought this one. When it arrived it wasn't quite in the condition I had expected from the advert but hey ho it wasn't worth the hassle sending it back.
Firstly a knob was knocked off in the post due to bad packing...

Then there was this odd bodged wire...

...and it also turned out the power wires were intermittent/broken at the strain relief bit (as arrowed above), so not a great start.
Getting inside the unit the need for the 'bodge wire' became clear...

... a burned out track. So I replaced that with a link wire...


Next up was to fix the knob, I had come across this method some time ago but never tried it out...

... First I stuck the fragment in with Araldite. Then I soaked a bit of thread in the Araldite and wrapped a turn on and let it set. With the first bit set you can pull the thread on nice tight as you continue to wrap it with soaked thread. It doesn't look too messy and is completely hidden once fitted...


That just left the broken power wire to deal with. I de-soldered the connections inside the unit, which in hind sight I needn't have done as I decided to bridge on to the wires after they come out of the internal plastic mount (Which I originally though was a plug but isn't). I wanted to reuse to wire bendy strain relief thingy so I drilled and picked the remains of the old wires out from that...

Soldered the wires back together...

I individually shrink wrapped the wires and also put a cover wrap over them all to ensure it was fattened up enough so that it would block up behind the strain relief thingy...

I soldered the connectors back to the PCB and reassembled it all...

It feels like the wires are held nice and firm and more importantly it has lights...

I have just tested it and it all seems to work as it should
 Now if only I could fix my Pioneer CD head unit, but that has a failed laser which I cant find a replacement part for.
-Steve-