meltedcheese
Part of things
  Please, Don't Sqeeze the Volvo!
Posts: 403
|
|
May 27, 2016 13:13:09 GMT
|
|
So, had a chance over lunch to run a quick FEA, sadly no photos due to time but the outcome was pretty interesting. Same corner loading test as above, I was looking at the deflection Based upon the dynamic shock loadings I got the results were as follows::
Without diagonal: 80mph/28.5T would deflect/distort in the load direction 49.57mm
With diagonal I repeated the test: 80mph/28.5T would deflect/distort in the direction of load direction 7.1mm
|
| |
|
|
|
|
|
|
|
May 27, 2016 20:54:38 GMT
|
That would be a full cage but obviously the loadings will be the same either way - the floor doesn't check to see if you have a full cage or just a bar before it decides how hard to hit you  The latter test is quite interesting as you say, two inches of deflection might be bringing your head close to damage in an MX5 with a bar that fits under the hood! Edit - wall thinning rule of thumb is between 5-15% of the wall thickness, but it depends a lot on the dies, machine and setup. |
| |
Last Edit: May 27, 2016 22:13:45 GMT by phillipm
|
|
|
|
|
Aug 31, 2018 20:21:20 GMT
|
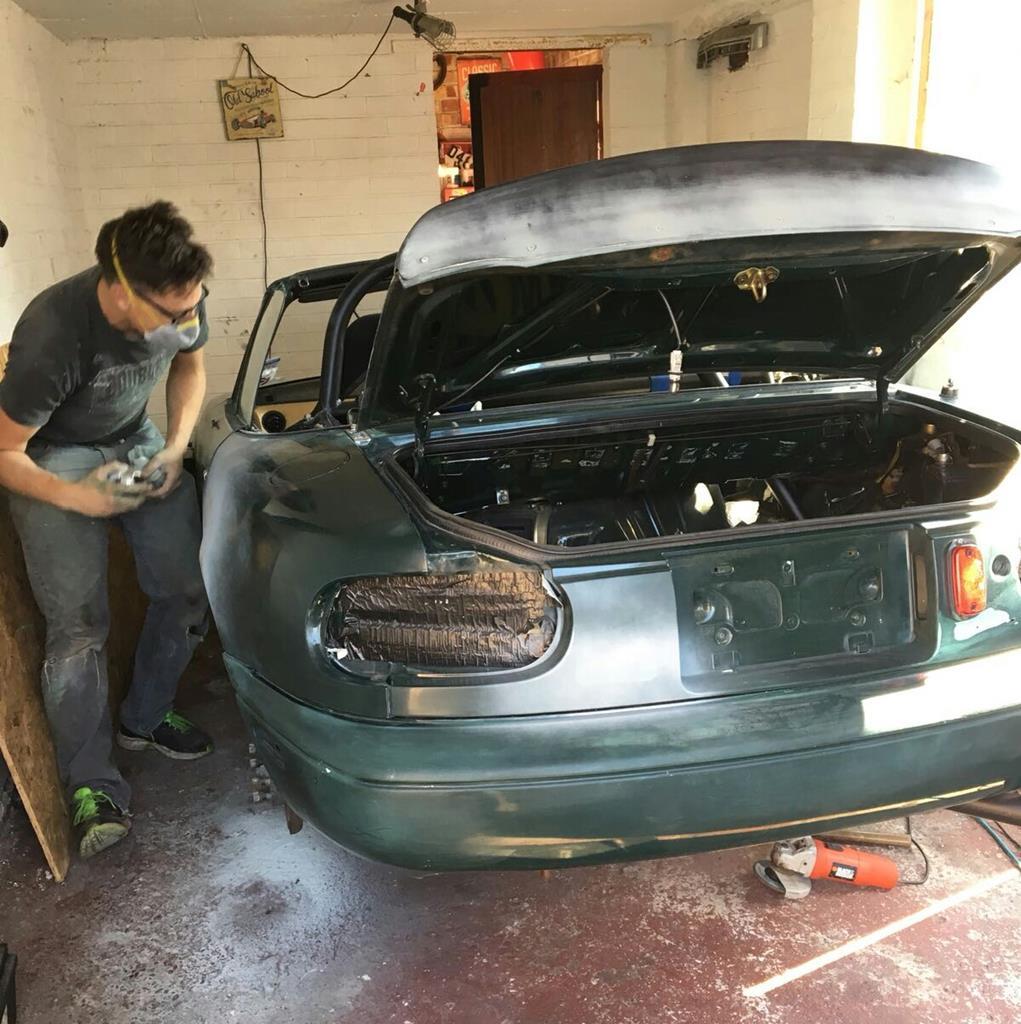
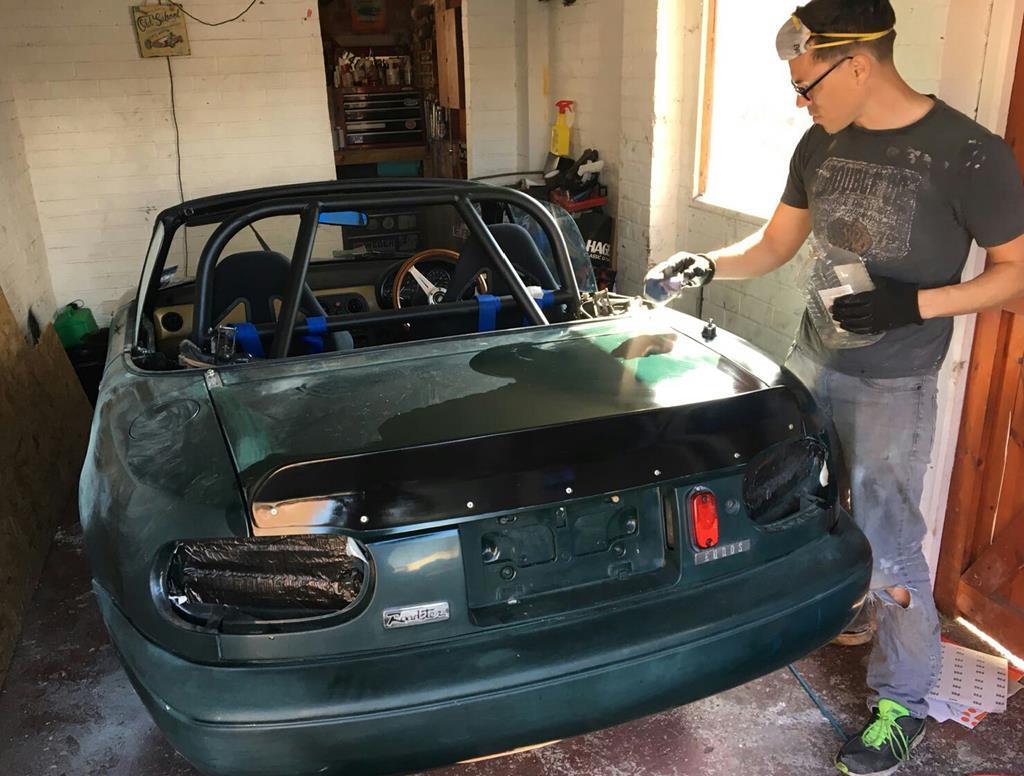
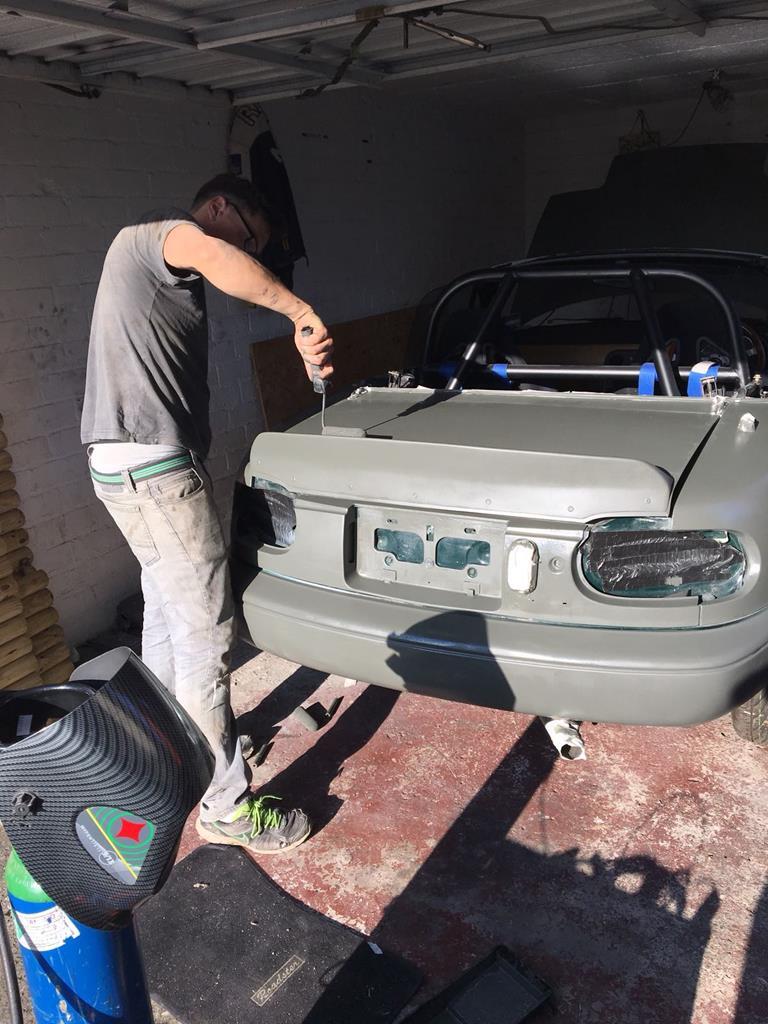
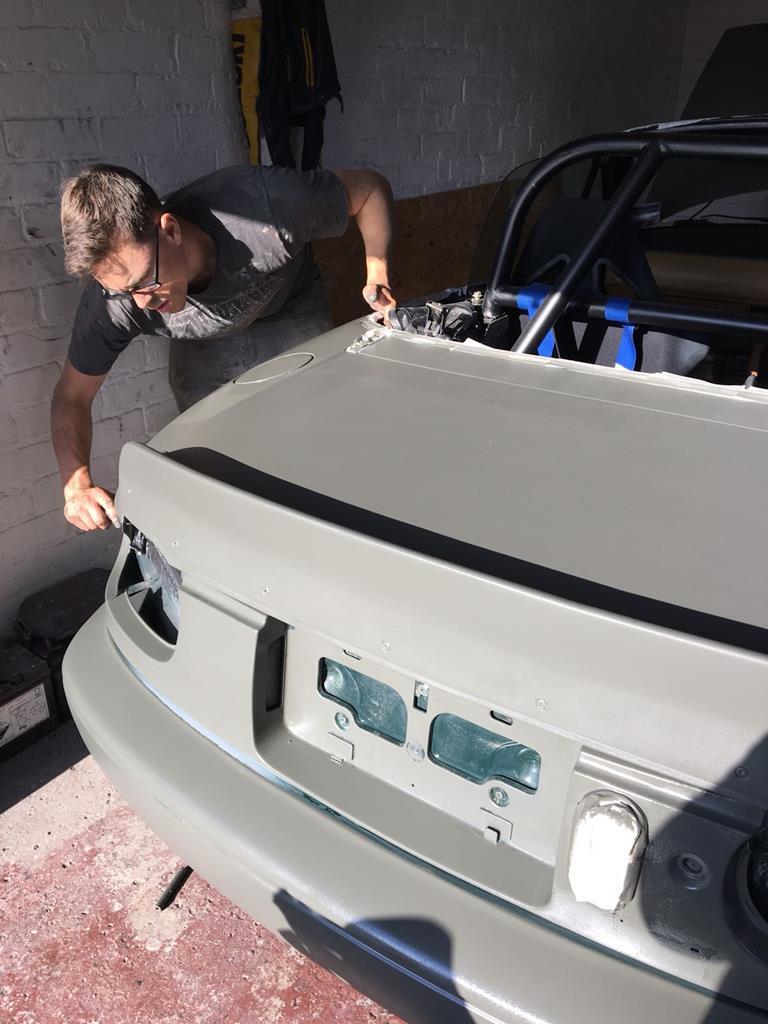
Finally! We've made some progress on the track Eunos! Neither Meltedcheese nor myself have any free time at the moment due to all of the small people in our lives. We managed to book a day in the garage today and tried to thoroughly make the most of it! It's been sat for a little while outside and many of the bodywork repairs had gone a little rusty. It was looking pretty sorry for itself- although still fairly badass. Since the last post we've replaced the clutch, cambelt, waterpump, stat, plugs and leads. 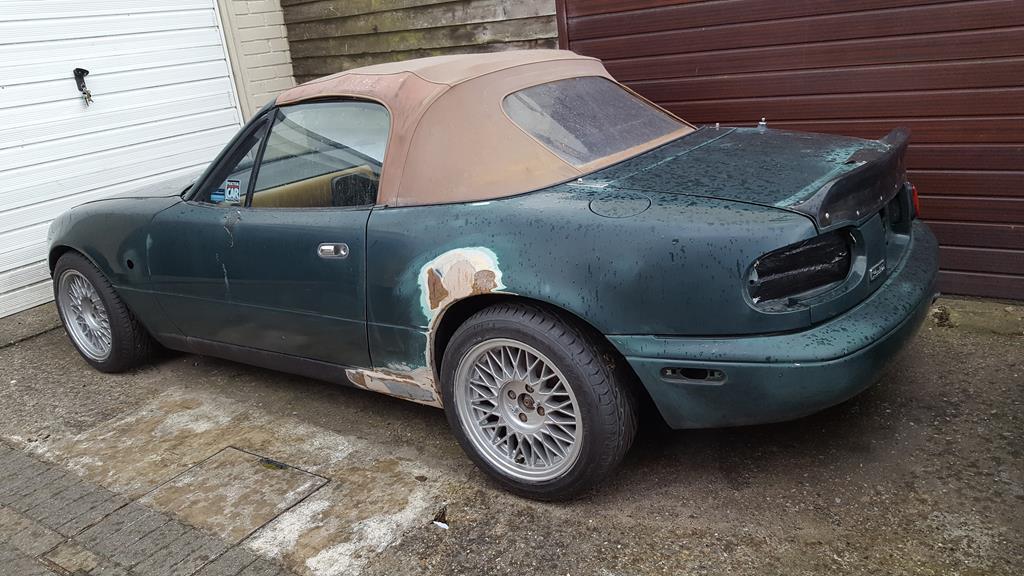 We had a list of things we wanted to do today: Modify exhaust Change oil/filter Fill gearbox Fill cooling system Drill and weld seat plates Drill and weld cage plates Finish bodywork and paint Investigate sloppy gear change Fit bonnet/boot pins and tow straps A lot to do! |
| |
|
|
|
|
|
Aug 31, 2018 20:51:37 GMT
|
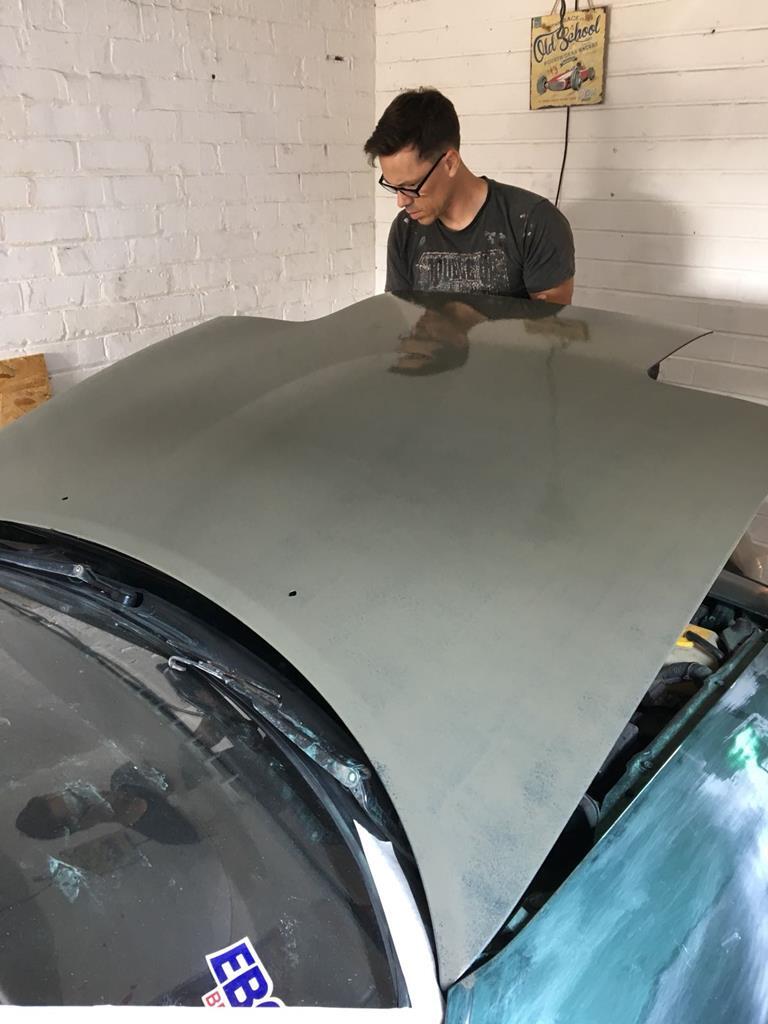
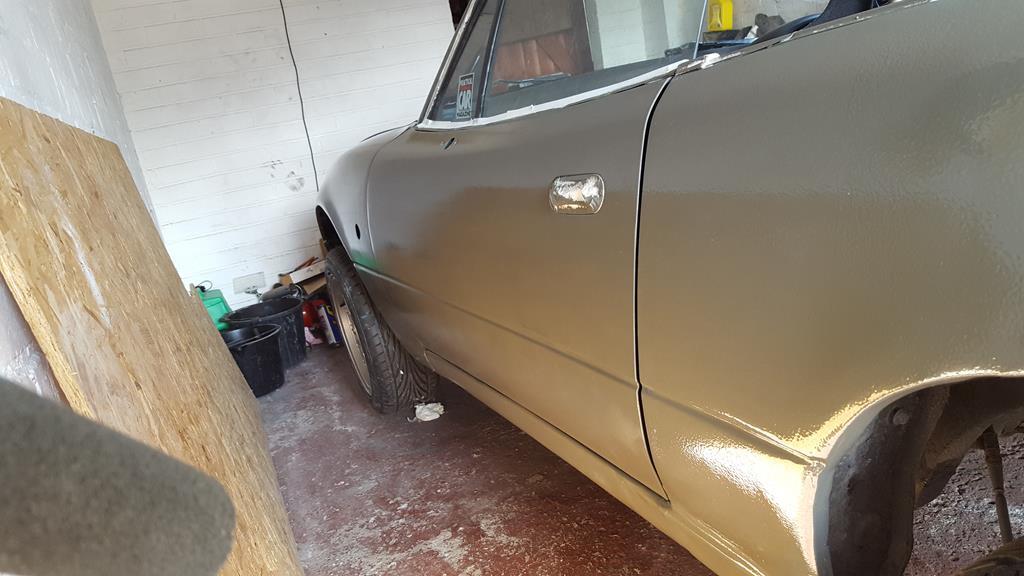
Pulled the Capri out the garage and lobbed the Mazda back in - but not before a couple of pics: 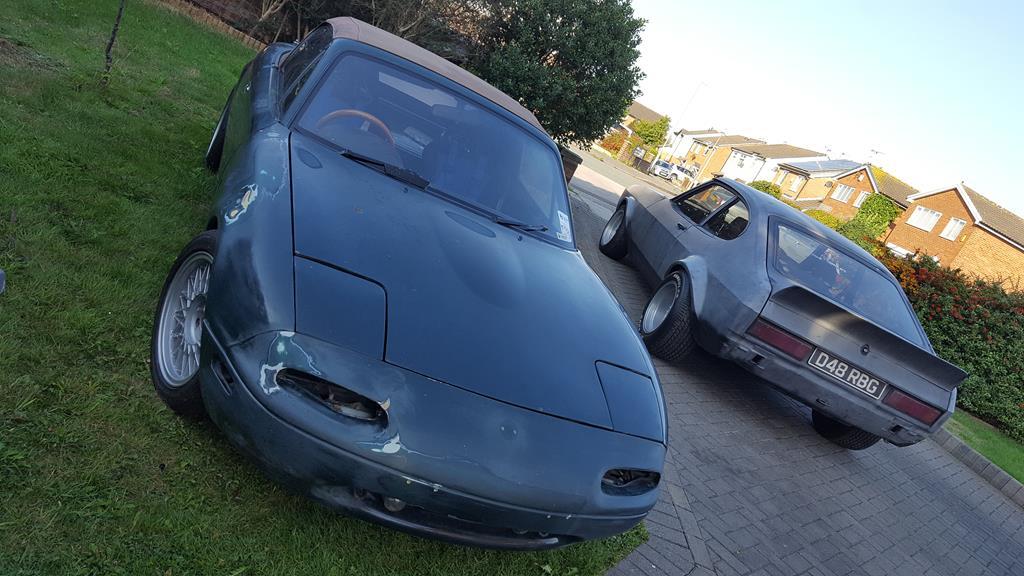 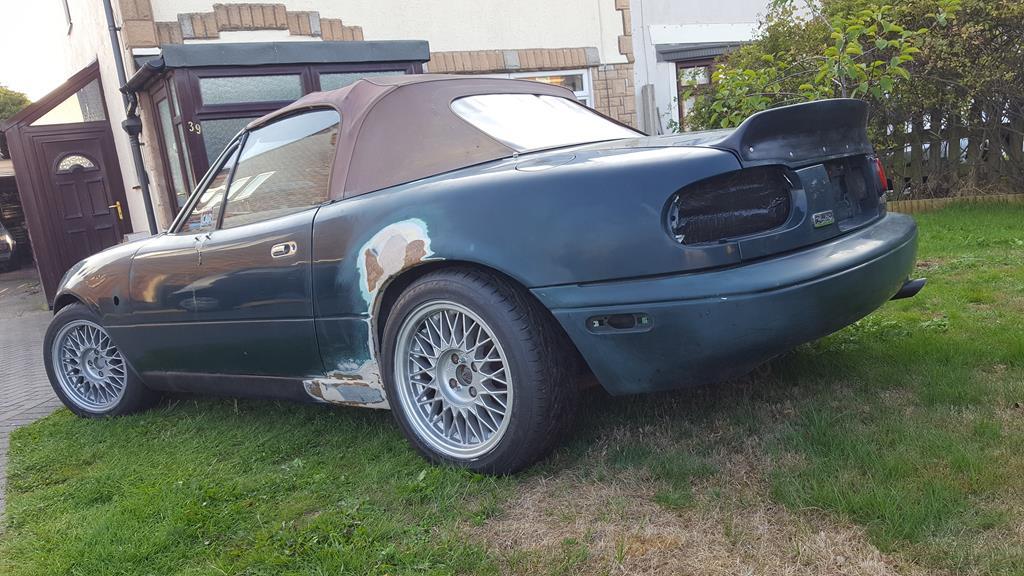 First things first - sort the exhaust out. It needed another box putting in it as the custom system we made caused ears to implode. 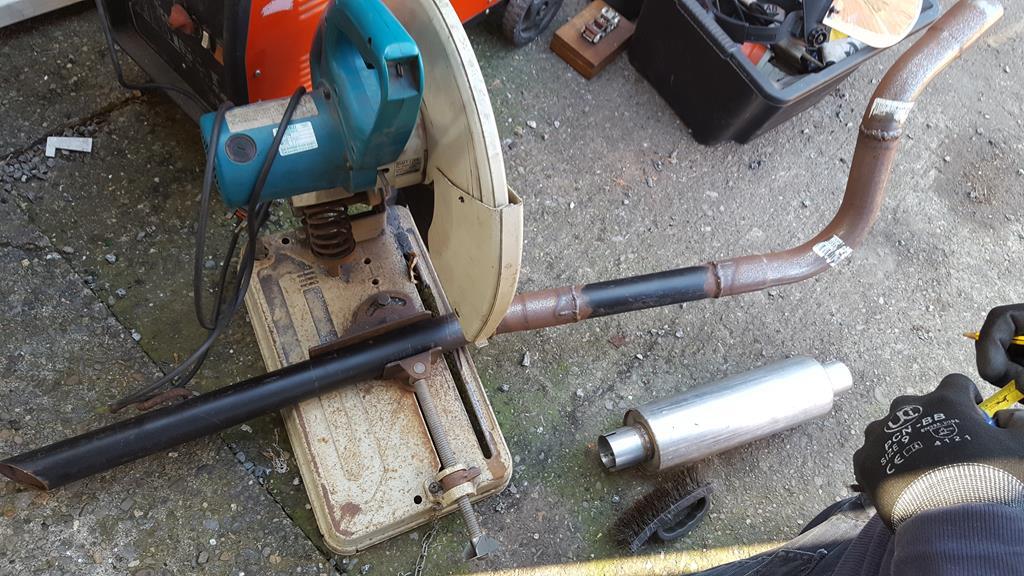 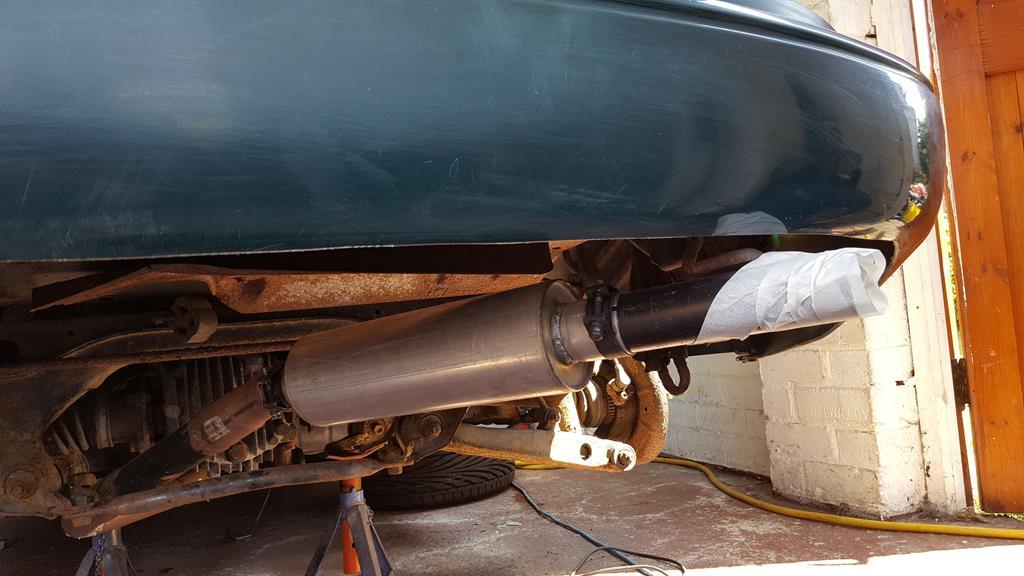 Next, we needed to drill the cage and seat plates: 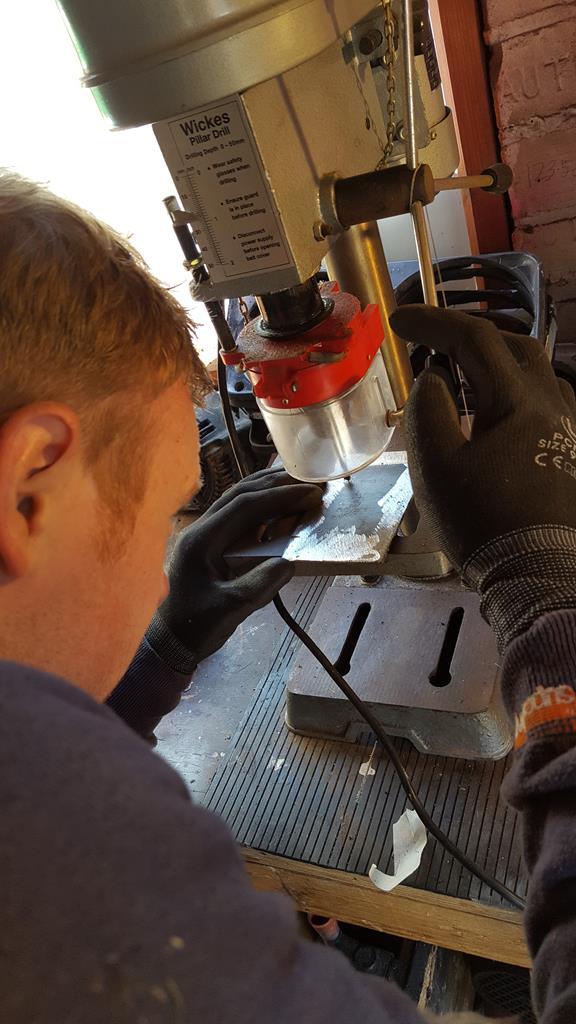 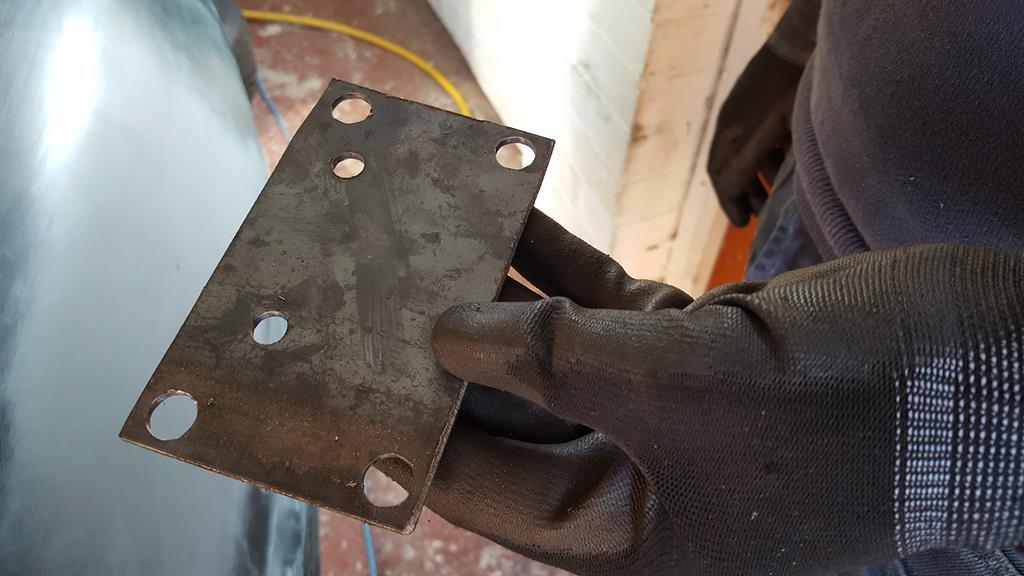 Attempt to flashy-stick them on: 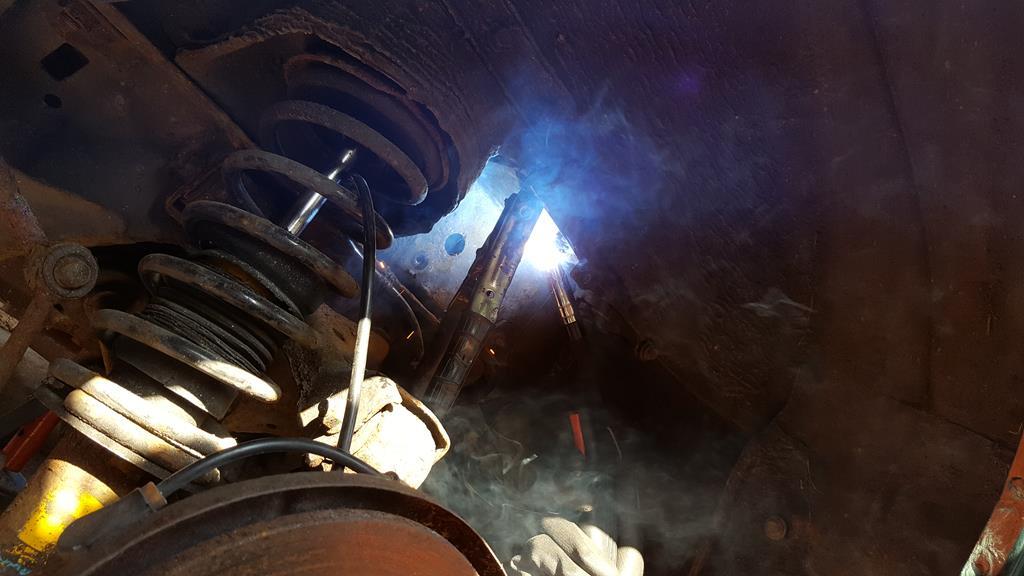 Sadly, the welder died. So they've been bolted in place and are ready for some weld as soon as she's back in action. Managed to fix the sloppy change. Turns out the gearstick bushing had slipped over the ball end. A little bit of jiggery pokery and she was back to having a lovely snicky change. Next, it was time to sort the bodywork. Now - I'm a bit of a perfectionist, which can be incredibly frustrating when you can't get things perfect! It's the main reason why I hate decorating - it never looks as good as I want it to, but still takes all sodding week. Anyway, same goes for bodywork.. we made a bit of a deal though; due to our lack of free time, good enough is good enough. I wasn't to get carried away in a pursuit of unobtainable perfection. I was to imagine hurling it through an apex at over a ton and not worrying about some sanding marks or the occasional wavy repair! So onward with some repair work then: 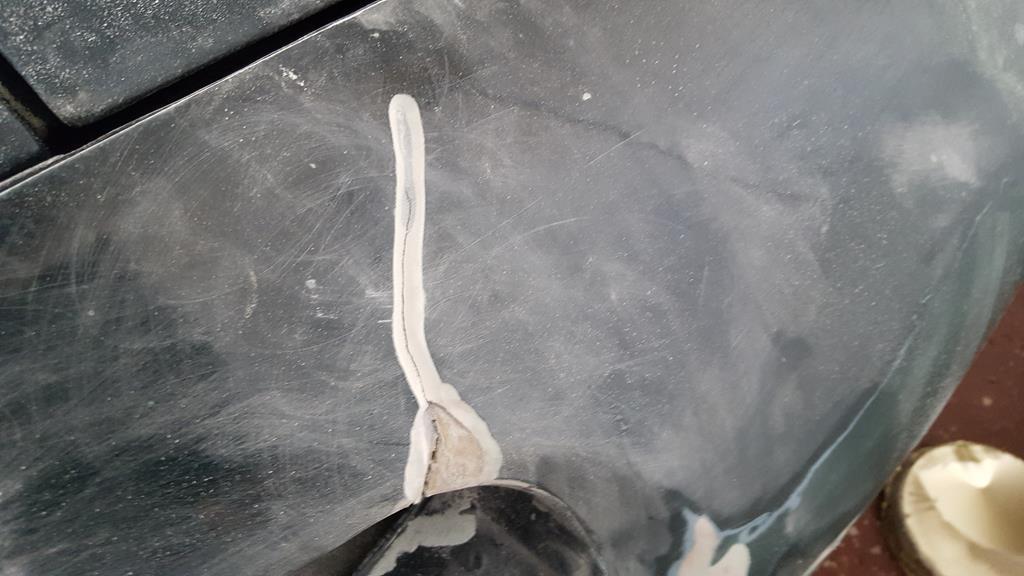 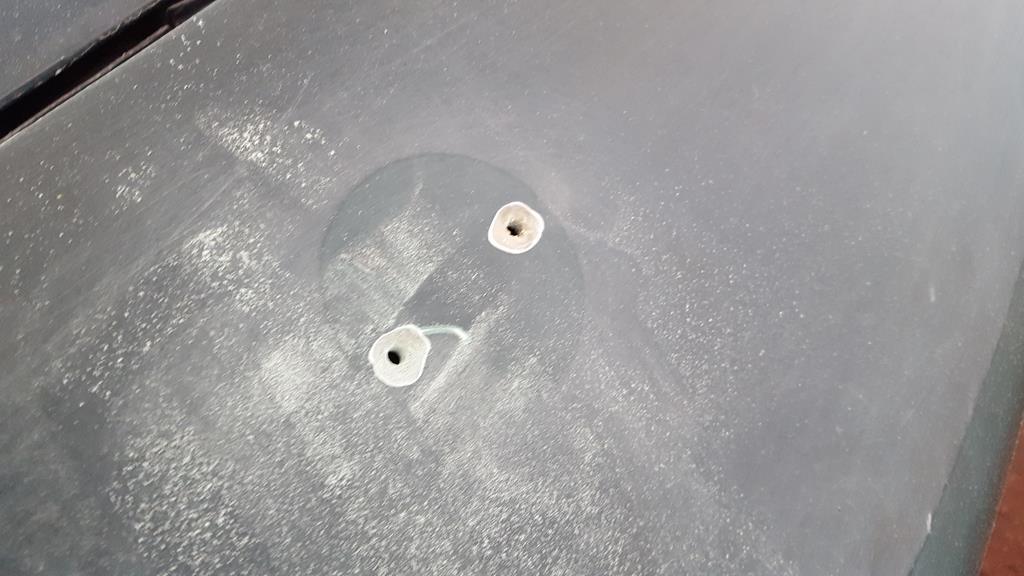 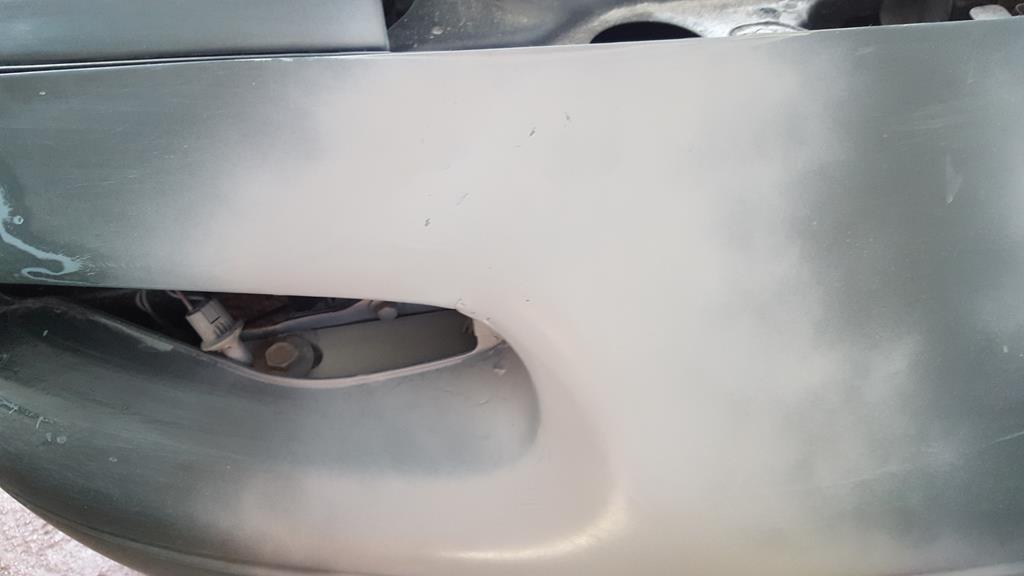 |
| |
|
|
|
|
|
Aug 31, 2018 21:11:50 GMT
|
|
|
| |
|
|
|
|
|
Sept 1, 2018 15:10:10 GMT
|
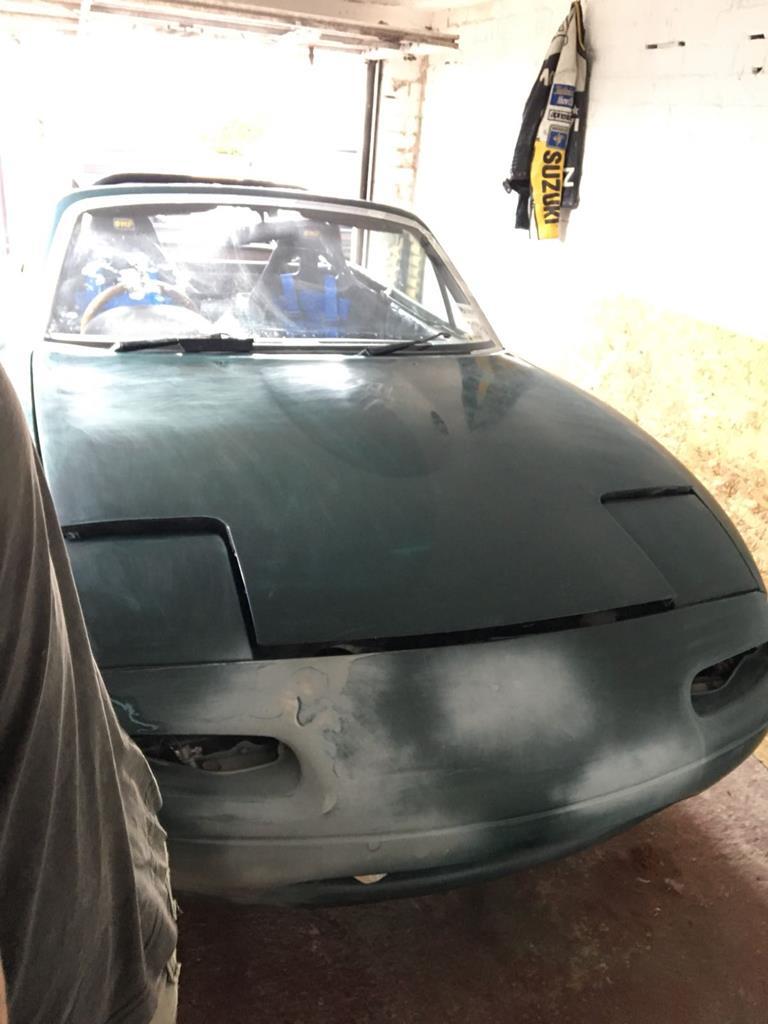
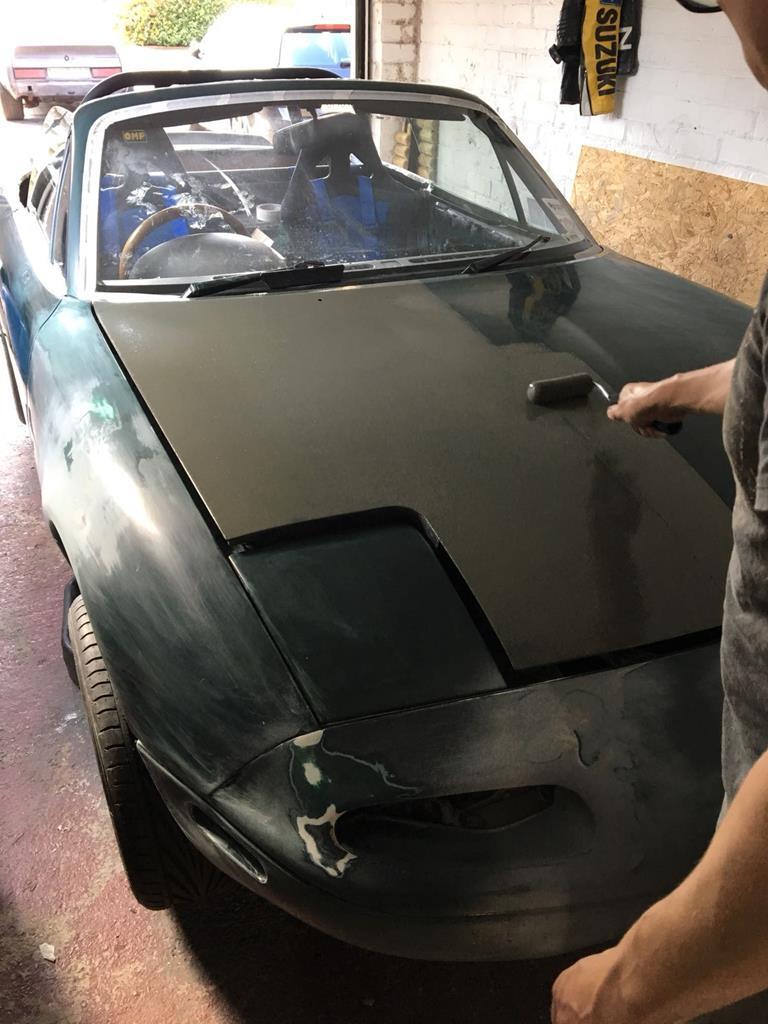
Popped into the garage to see how she looked today. It's a bit stripy here and there, but on the whole I think it looks cool. Excuse the horrendous mess in there - it's not how I like to keep it. It makes me sad. On to the car pics... 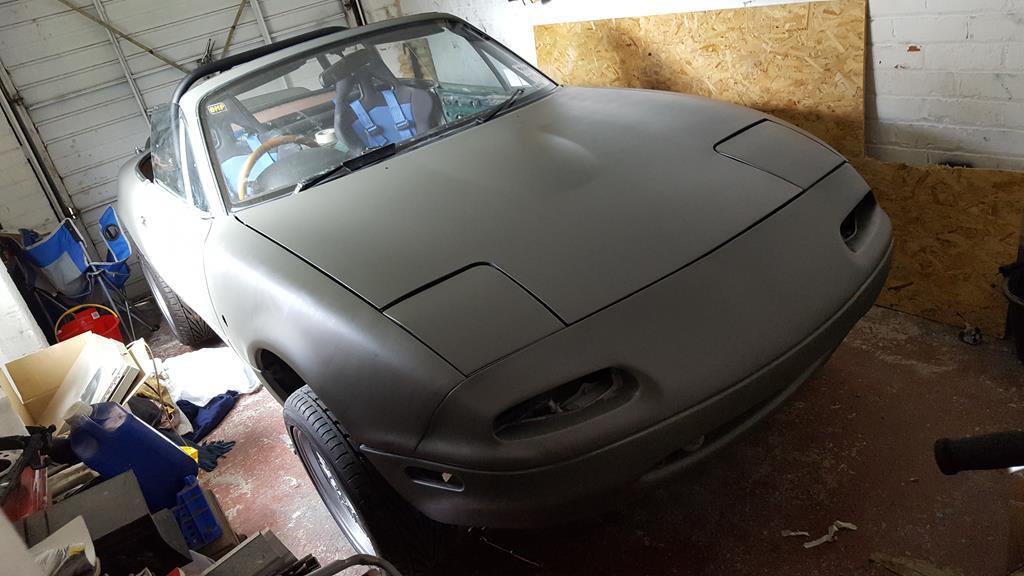 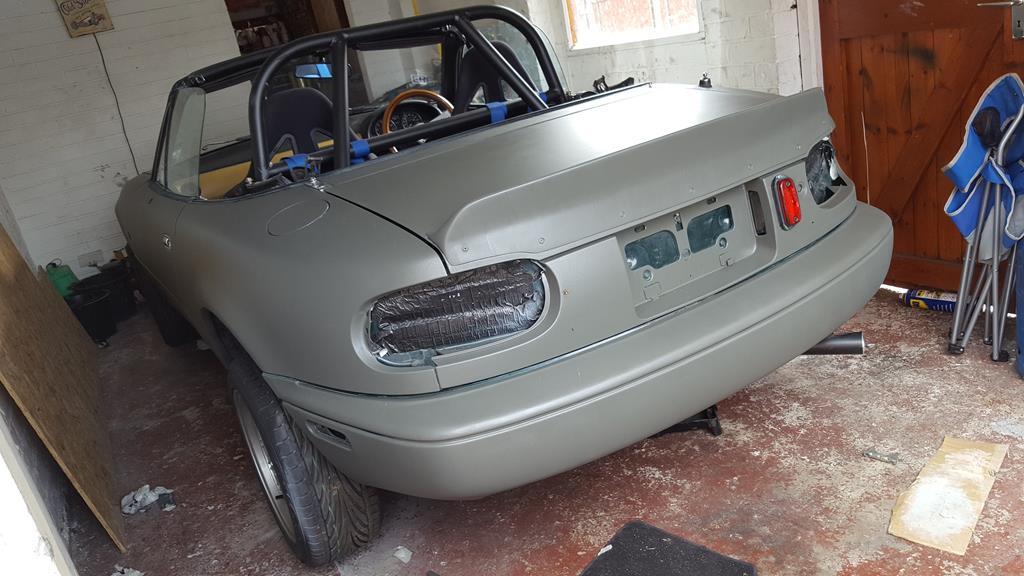 De-badge and crack repair've come out fairly well, too. 🖒 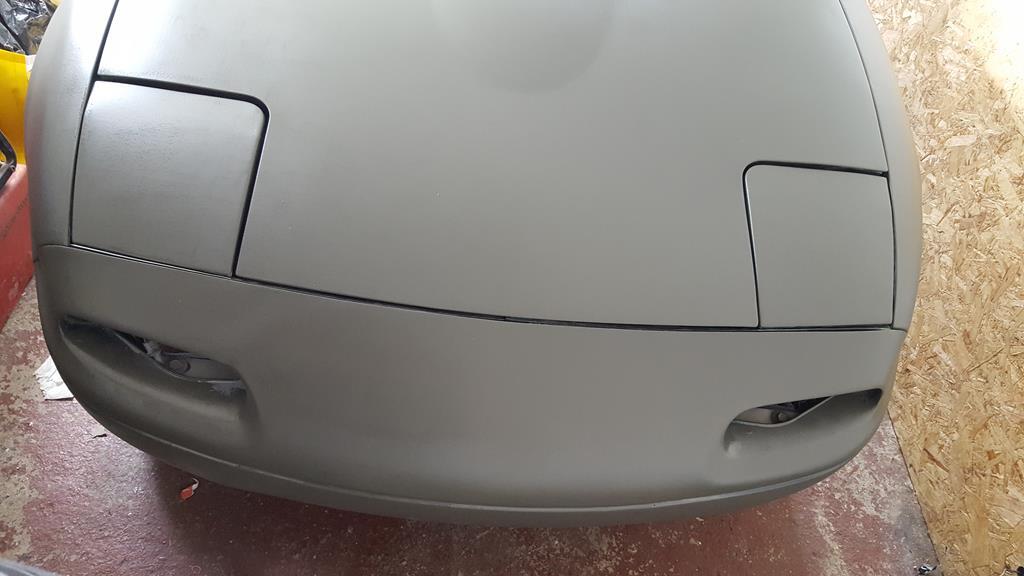 |
| |
|
|
meltedcheese
Part of things
  Please, Don't Sqeeze the Volvo!
Posts: 403
|
|
|
|
|
Don’t you just love the smell of singed skin, burnt hair, oil and a bit of progress! 😄
|
| |
|
|
|
|
|
Oct 19, 2018 21:06:10 GMT
|
|
|
| |
|
|
|
|
|
Sept 1, 2019 20:37:13 GMT
|
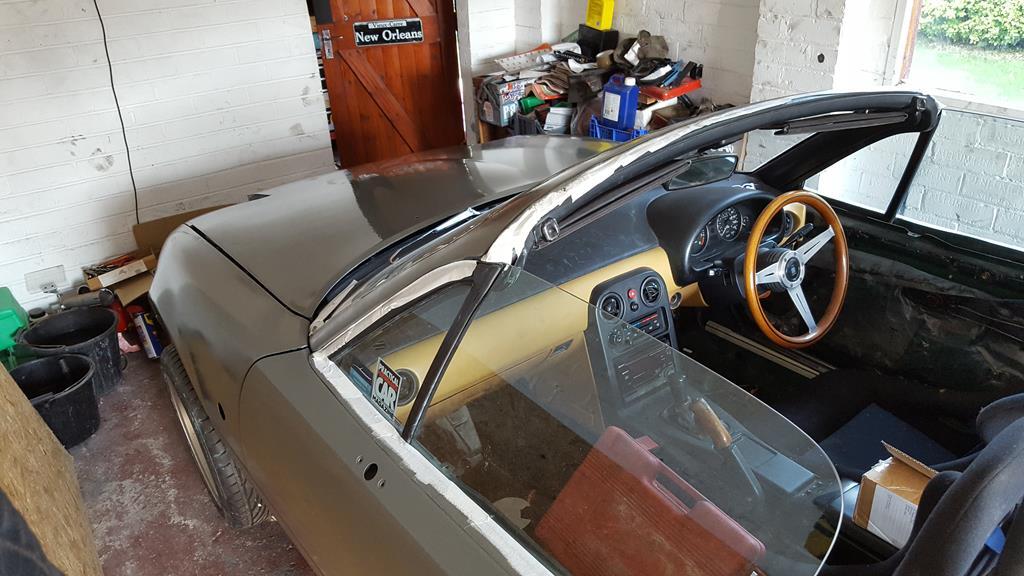
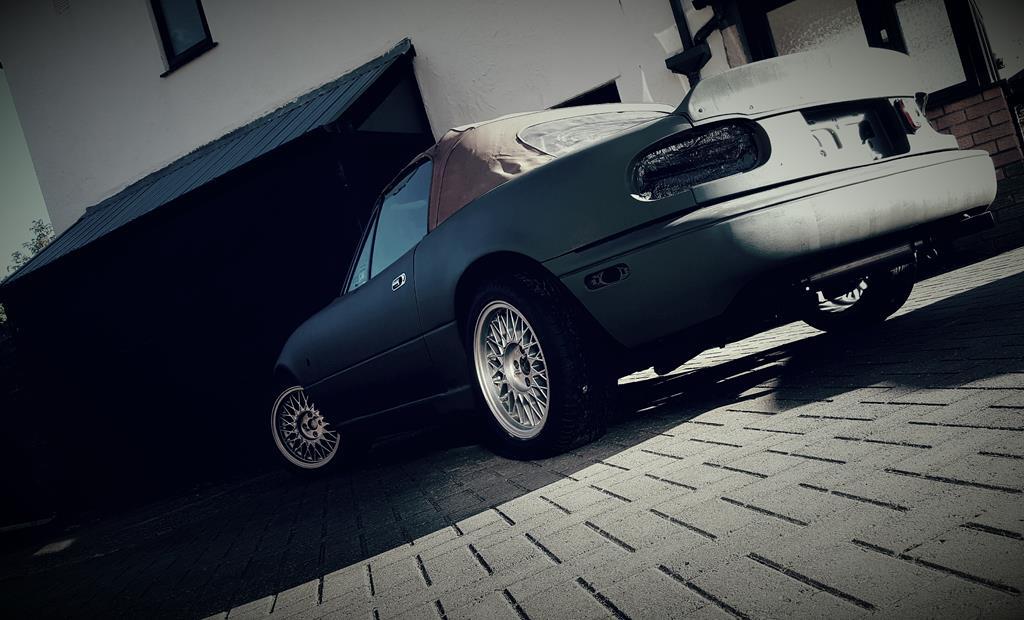
Well, it's been sat on the lawn for quite some time as we've been having work done on the house. Jump started it today and it fired up like a charm. Really enjoyed driving it back to its preferred spot. Sounds bloody great! No progress still - apart from breaking the roof (rear window fell out). But here's a fresh pic.. 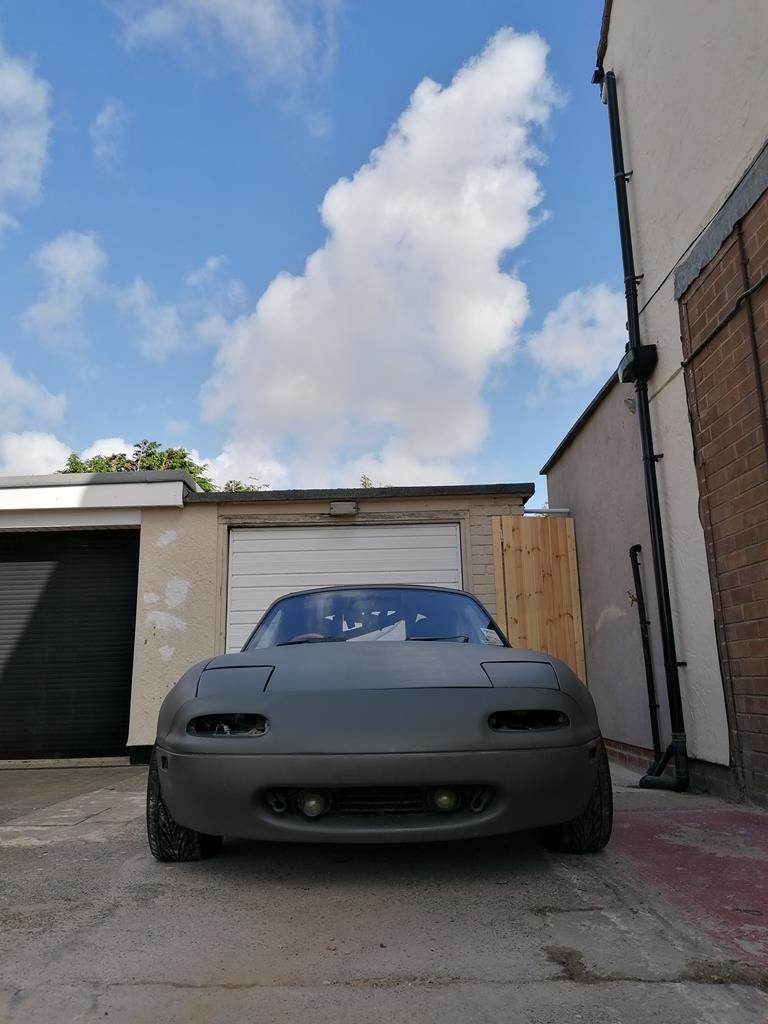 |
| |
|
|
|
|
|
|
|
|
Holy thread resurrection, Batman! Sooooooooooo. My much loved daily Lexus LS400 has decided to smash her pistons into her valves (so to speak) in the outside lane of the motorway last week. While it's laid up in its stricken state, I've decided to try and bash this onto the road - at least that's the plan. I won't be able to do the kids' pickup runs, obviously, but I'll be able to get to work. I think it's the cheapest option to get me back on the road but it also has the bonus of getting this sorted at last which means there could finally be track days on the horizon.
I'm trying to stay positive and hoping to get something good out of the upset of destroying my much-loved (indestructable..) daily.
|
| |
|
|
|
|
|
|
|
|
|
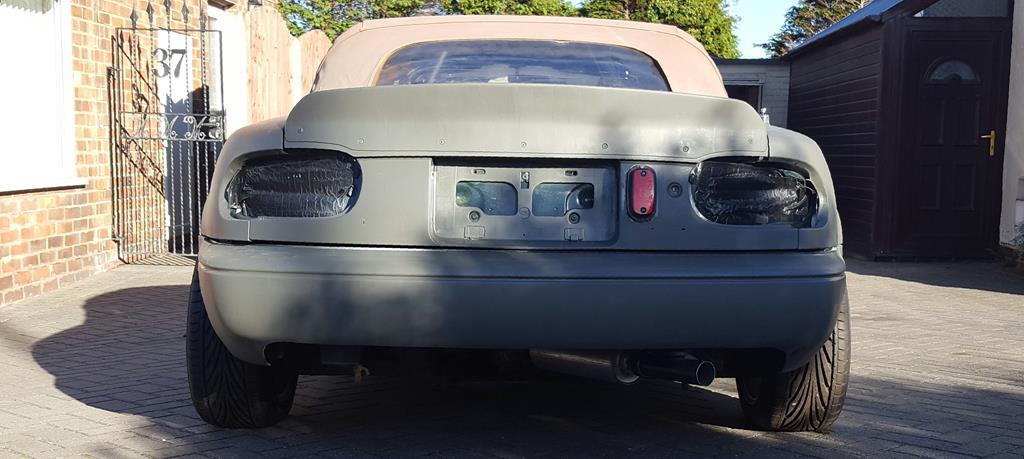
OK - so the window fell out a few months back and I covered the roof with an old shower curtain. Since painting it, all of the lights have been in the boot awaiting fitment. So, this afternoon I went to fit them - they were all completely submerged in water. Good start!! 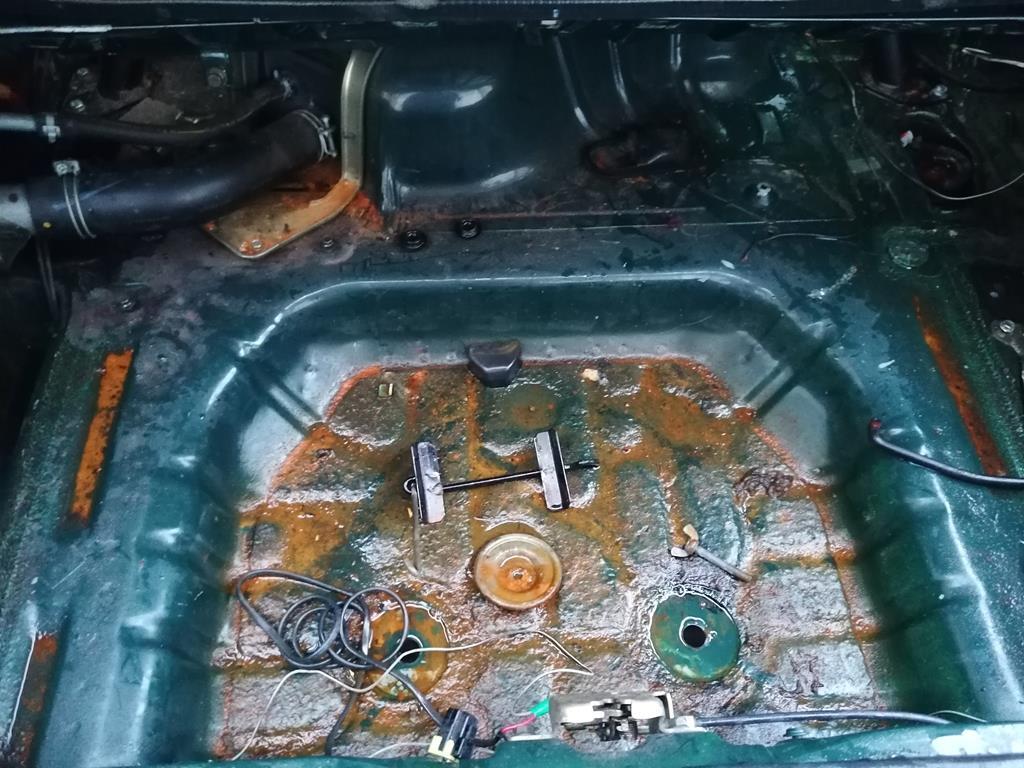 That was after I emptied it and pulled the drain plugs out.. Managed to dry off most of it and refitted a lot of bits and bobs. 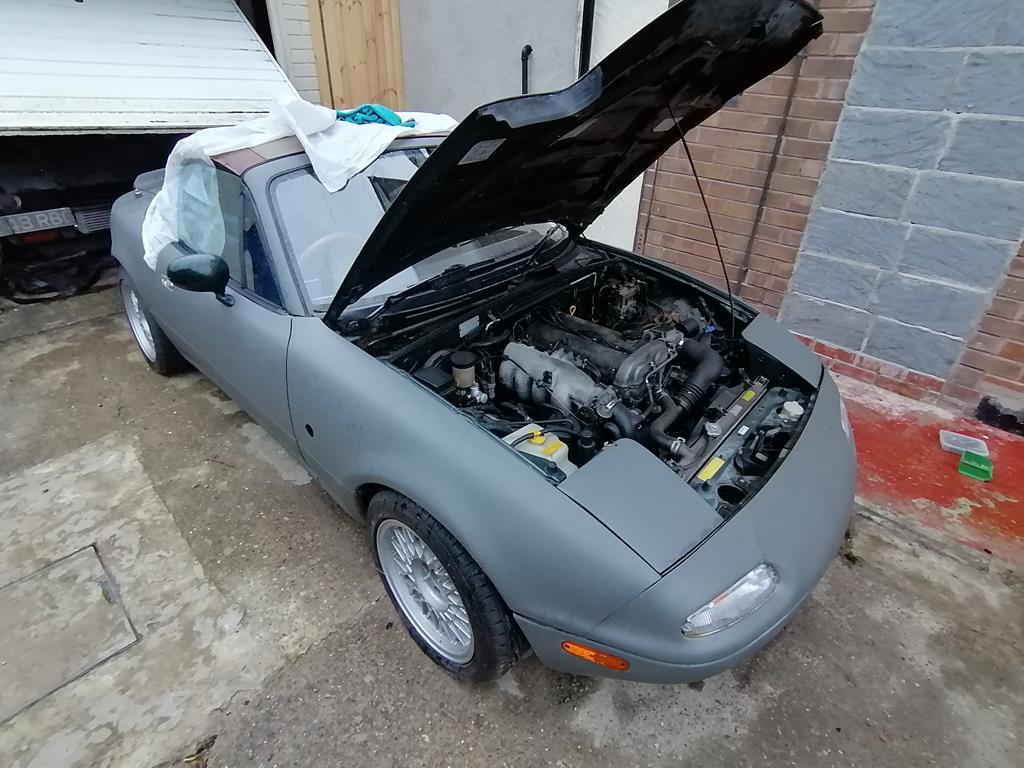 |
| |
|
|
|
|
|
|
|
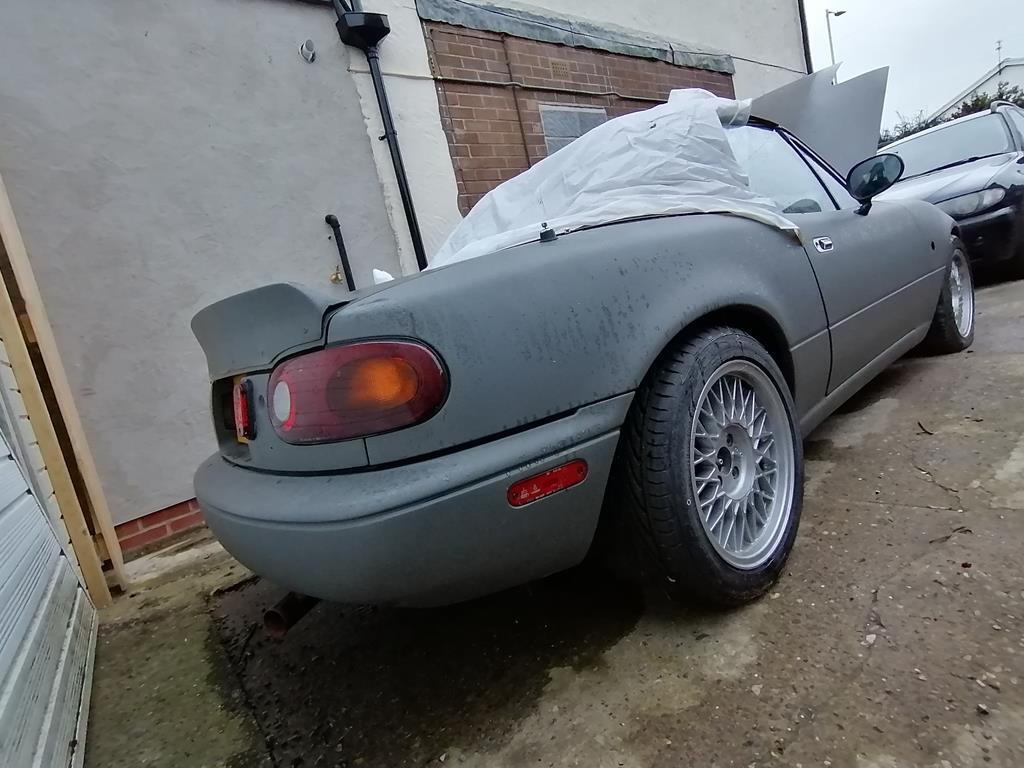 It's great seeing it looking like a car again. 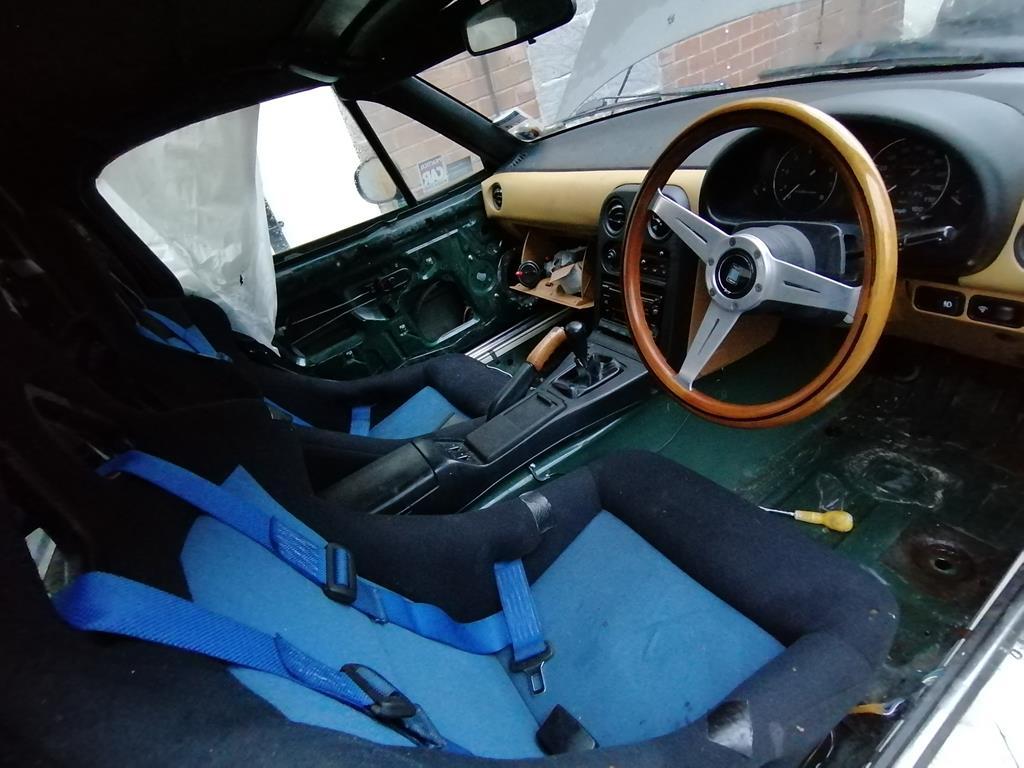 Could be an interesting winter daily.. |
| |
|
|
|
|
|
|
|
Anyone got any cost-effective, non-time-consuming solutions for this little issue? I'm thinking waterproof, extremely strong, double sided tape or something? 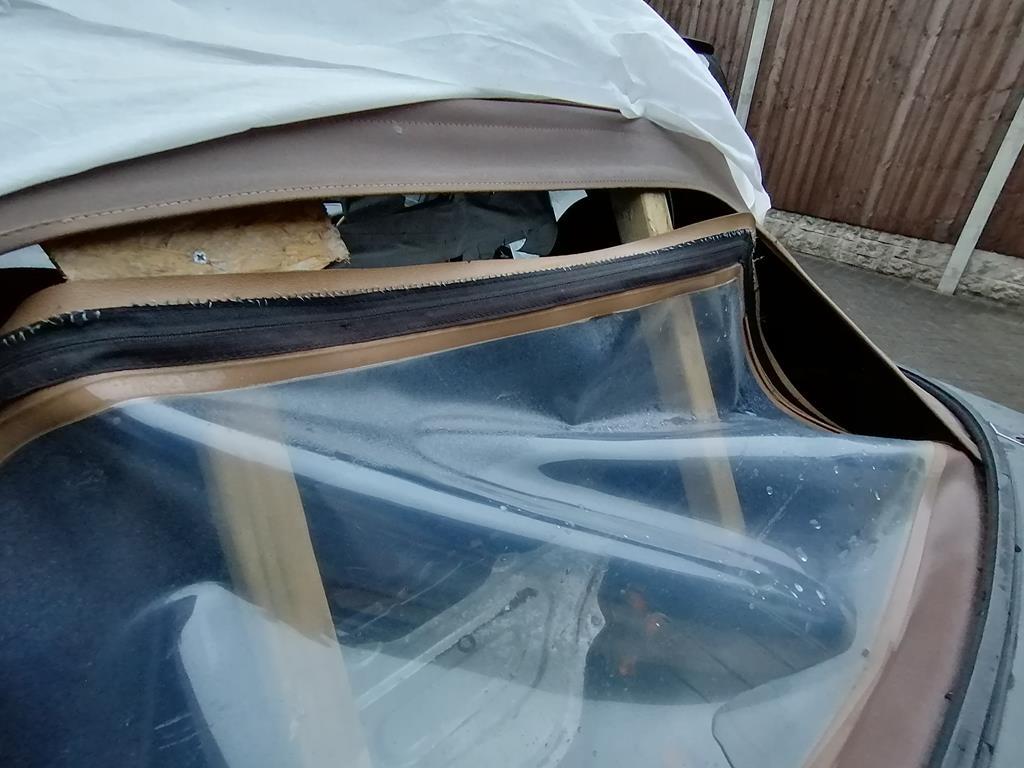 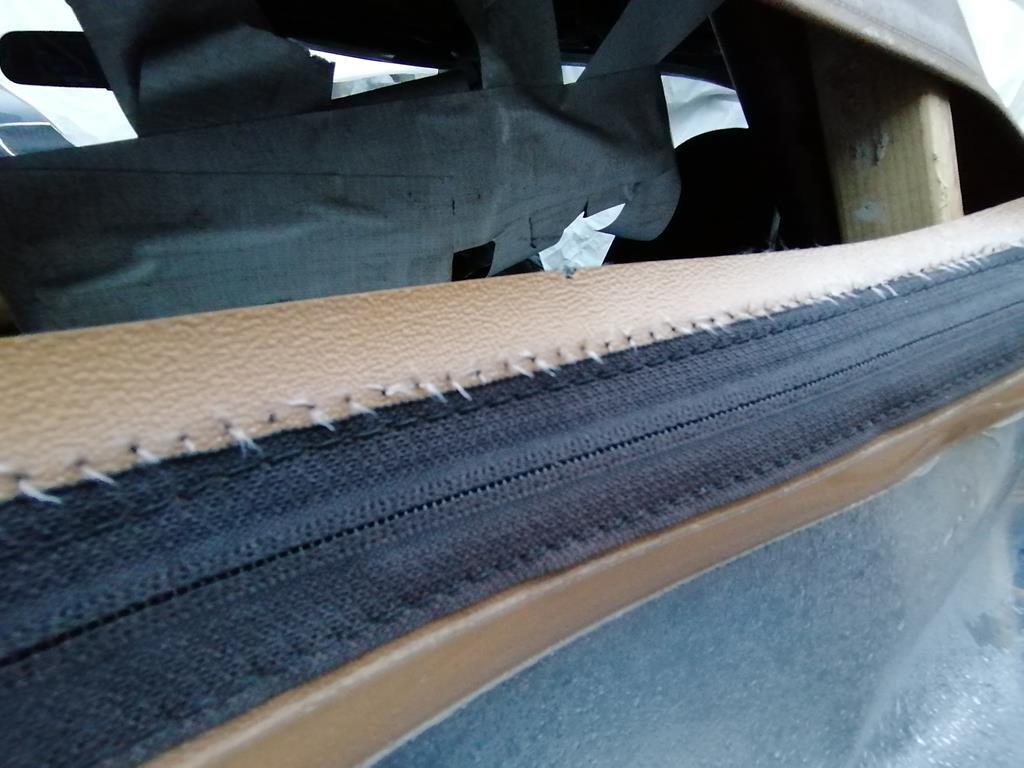 |
| |
|
|
|
|
|
|
|
|
gorilla tape should hold that, available from most supermarkets
|
| |
|
|
|
|
|
|
|
|
Battery isn't charging after 12 hours hooked up to the charger.
Got every light working bar one sidelight. Not checked repeaters as the wires have fallen the the wing.
So...
1. New battery
2. Fix sidelight
3. Coolant
4. Fit repeaters.
5. Fit front adhesive plate when it lands.
6. Mot?
|
| |
|
|
heathrobinson
Part of things
  Broken everything
Posts: 848  Club RR Member Number: 111
|
|
|
|
|
Could you not yank the roof off sharpish and take it to a sailmaker/tentmaker/yurtmaker and ask them to sew it up? I'd imagine they'd knock it out fairly quickly and cheaply.
As a winter daily I'd imagine it'll warm up pretty fast in such a tiny cabin!
|
| |
|
|
MiataMark
Club Retro Rides Member
Posts: 2,971
Club RR Member Number: 29
|
|
|
|
|
Many years ago I repaired a Triumph Herald hood by sewing in a new rear window, I did have the advantage of using my grandads sail-makers needles. Some thick cotton, big needles and clear sealant should do the trick, but tedious doing it though.
|
| |
1990 Mazda MX-52012 BMW 118i (170bhp) - white appliance 2011 Land Rover Freelander 2 TD4 2003 Land Rover Discovery II TD52007 Alfa Romeo 159 Sportwagon JTDm
|
|
|
|
|
|
|
Could you not yank the roof off sharpish and take it to a sailmaker/tentmaker/yurtmaker and ask them to sew it up? I'd imagine they'd knock it out fairly quickly and cheaply. As a winter daily I'd imagine it'll warm up pretty fast in such a tiny cabin! I just haven't got the time any more. It's a rush job! I've got a loaner for 10 days but after that I'm carless. You're probably right about it warming up quickly! |
| |
|
|
|
|
|
|
|
Many years ago I repaired a Triumph Herald hood by sewing in a new rear window, I did have the advantage of using my grandads sail-makers needles. Some thick cotton, big needles and clear sealant should do the trick, but tedious doing it though. This sounds great but I just haven't got the time at the moment. 😔 I've had a go with gorilla tape - it looks pants but should keep the weather out for now. |
| |
|
|
|
|
|
|
|
|
See if you can pick a mk2 hood and frame assembly, they fit straight on and it doesent take long to change the whole lot, you also get a heated glass rear screen which is a great bonus in the winter.
|
| |
|
|
|
|


