|
|
|
|
|
|
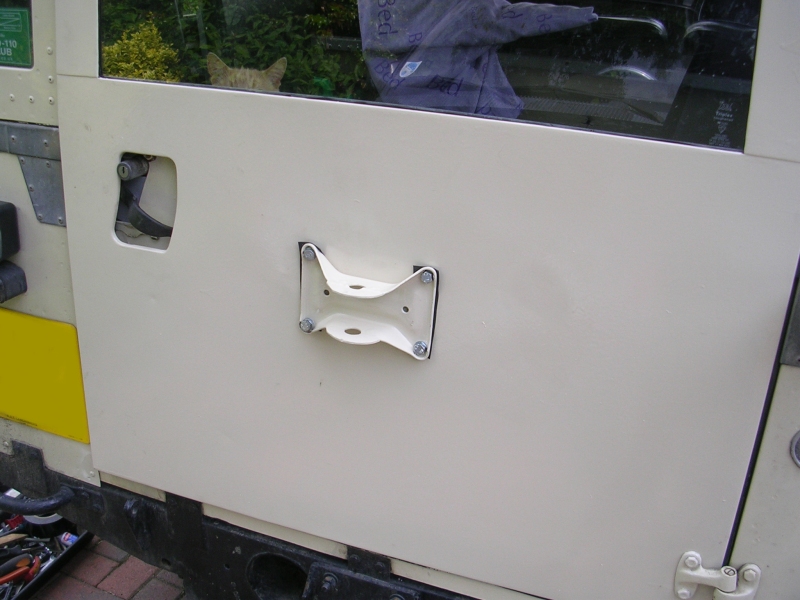
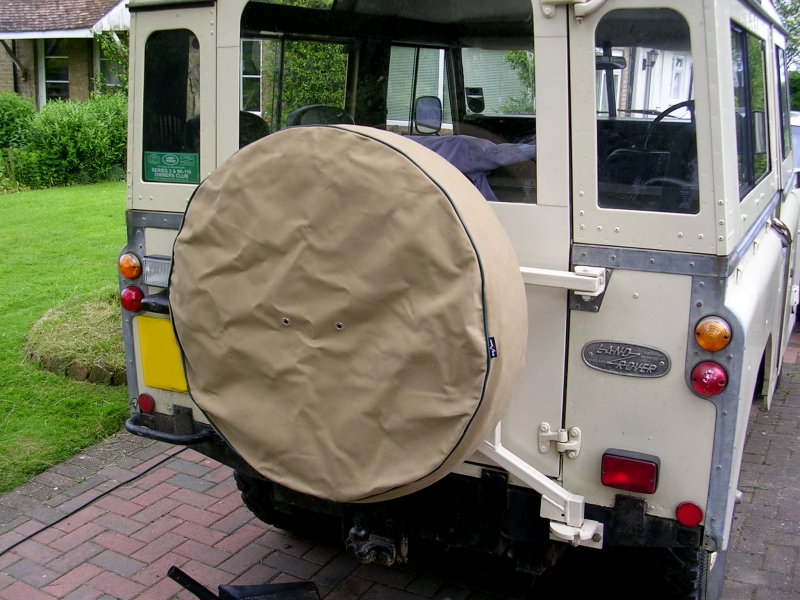
You want a big beefy plate behind the door skin and onto the frame for the door end of it.
I've seen them start moving in the door, wearing the holes oval and then the carrier starts rattling about. Big ass plate is the best solution.
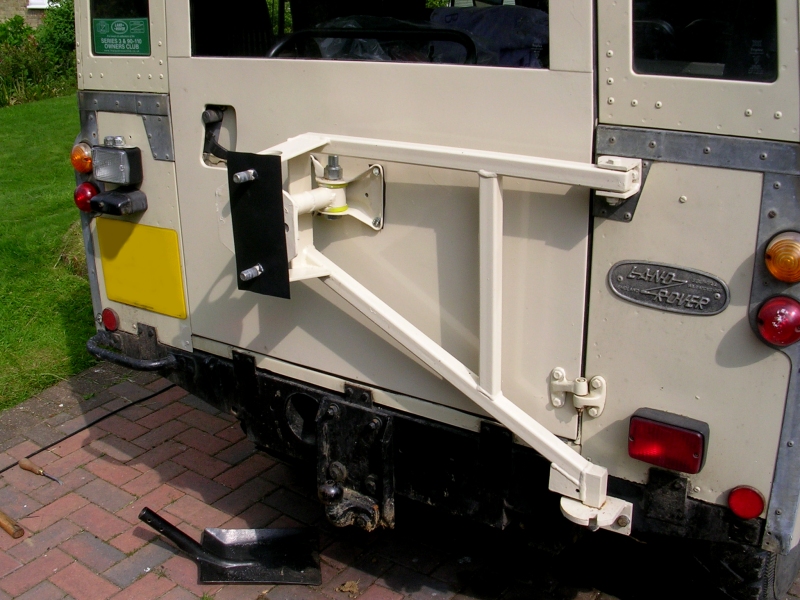
I've got one of the Mantec type ones on my 110, the hinges are close to the ones on the door then a flat plate with a damper of some description on it which extends as the door opens.
Brilliant thing, the hinges on the back door are rattly as a washing machine full of bolts, but the wheel carrier stops it from making any noise!!!
|
| |
|
|
|
|
|
|
|
|
|
You want a big beefy plate behind the door skin and onto the frame for the door end of it. I've seen them start moving in the door, wearing the holes oval and then the carrier starts rattling about. +1 on the door reinforcements. its kind of necessity anyways as 3 out of 4 of the base plate holes only go through the alloy skin. gonna transfer the dovetail brass wedge above the door striker, and add the safari triangulation/reinforcement which is missing from the new door. |
| |
Last Edit: May 9, 2016 17:17:24 GMT by darrenh
|
|
|
|
|
May 23, 2016 16:41:52 GMT
|
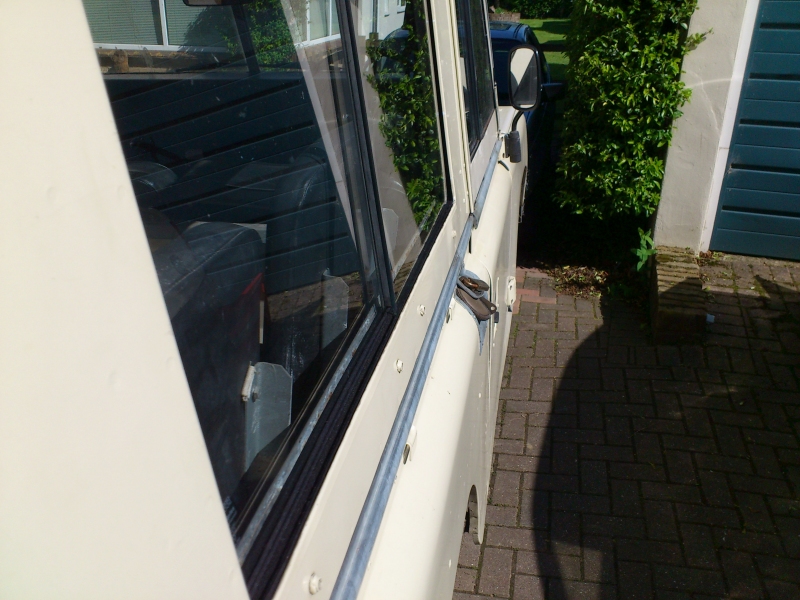
finished the planned mechanical modifications to the rear door. Triangulation to the third door hinge (copied from the old safari door) brace bars added where the swing away mounting plate only passes through the door skin. Transferred the bracket from the old safari door which the anti-rattle dovetail thing bolts to (bit below door latch) 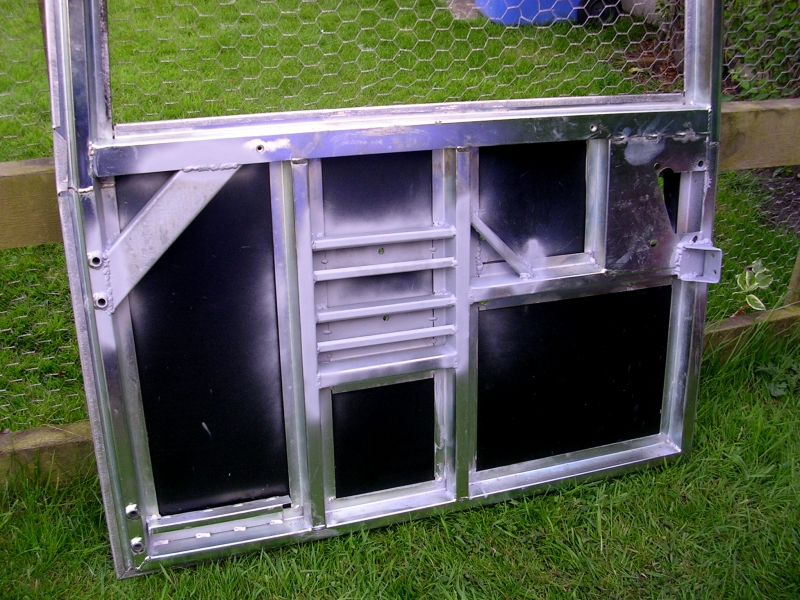 the door is hanging from the rafters in the garage and getting daily coats of limestone then i started to have a poke around the bulkhead top corners, "mr gloss white" has been here too and i could see some bubbling under it. I could also see a line of weld down near the wing top, suggesting old repair work, and lets be honest land rover never made body colour vent seals did they !! well, that escalated quickly !!! 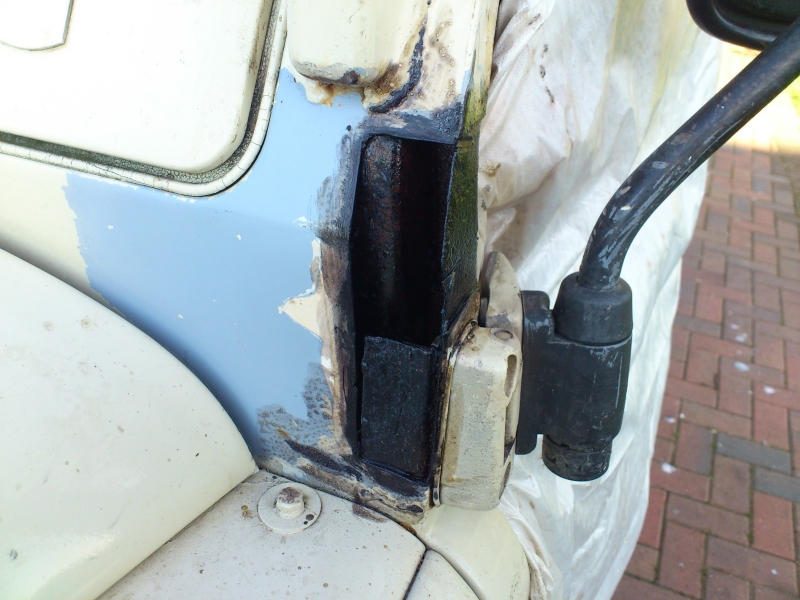 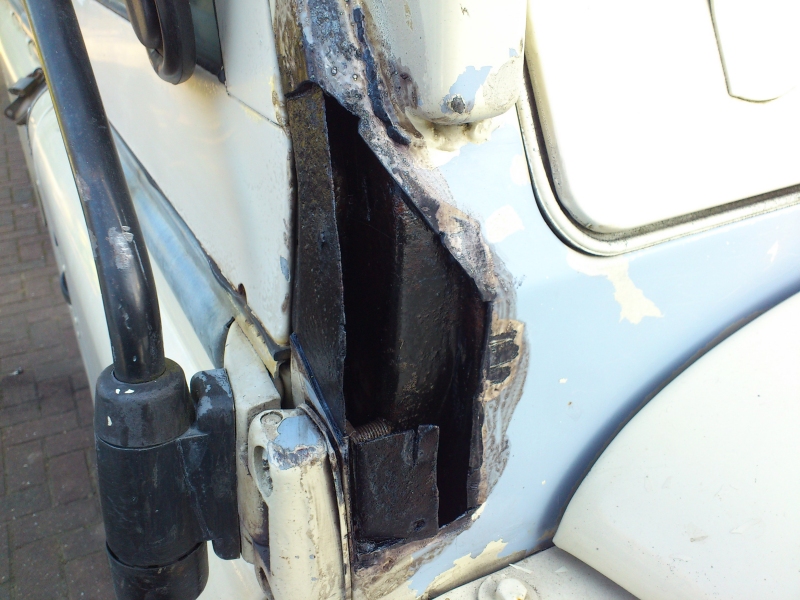 patchy patch 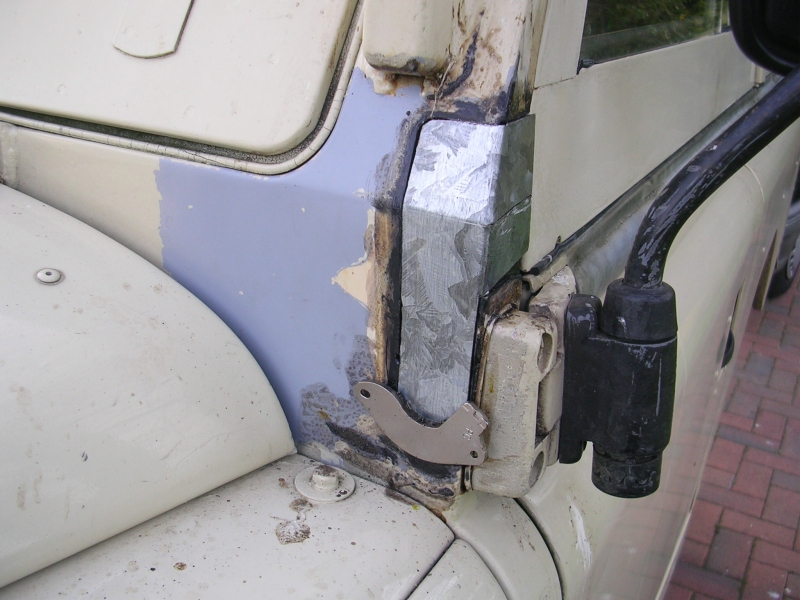 weldy weld 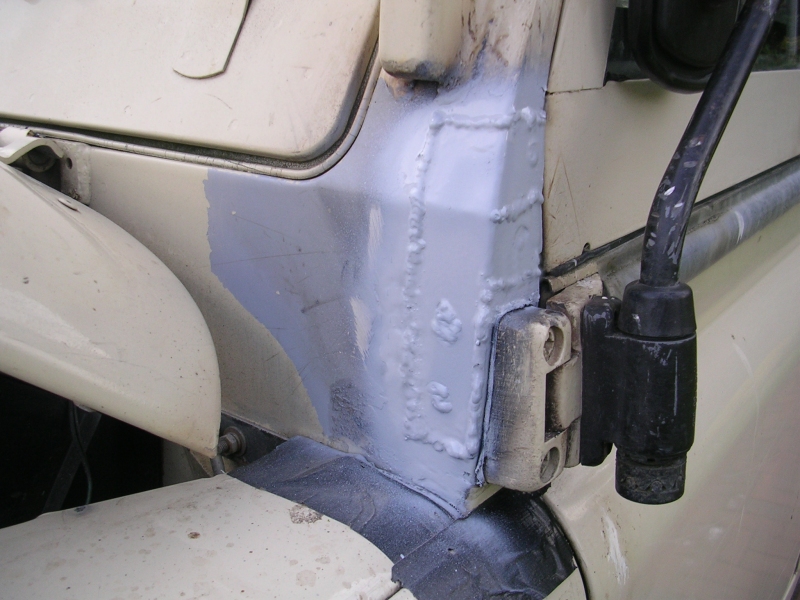 flappy flap disk and allot of sanding 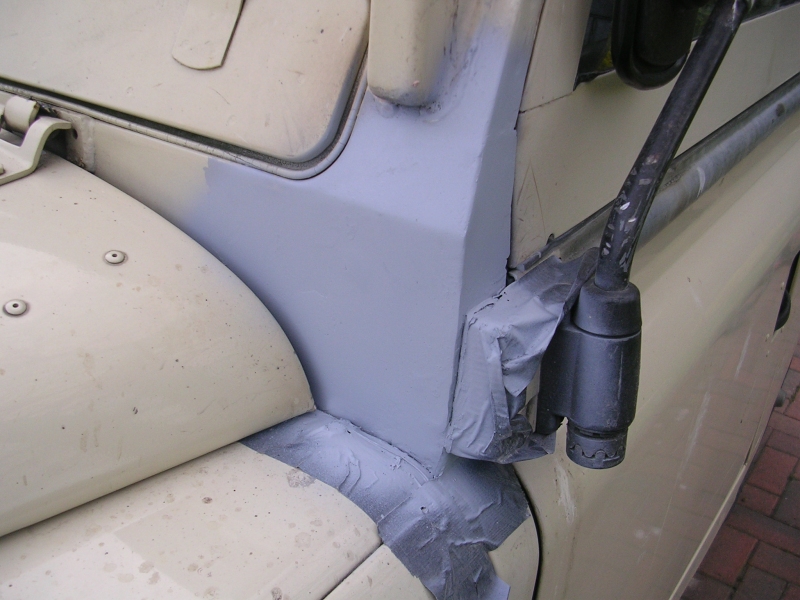 similar job on the drivers side 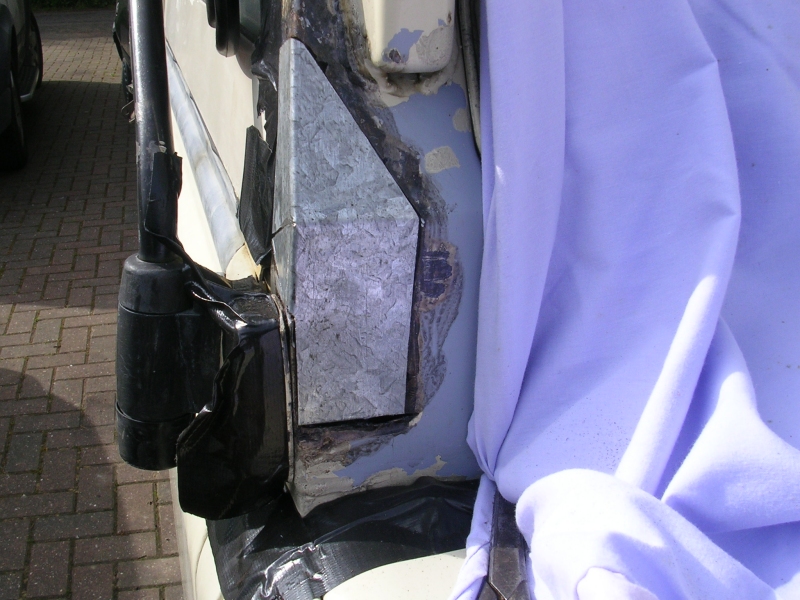 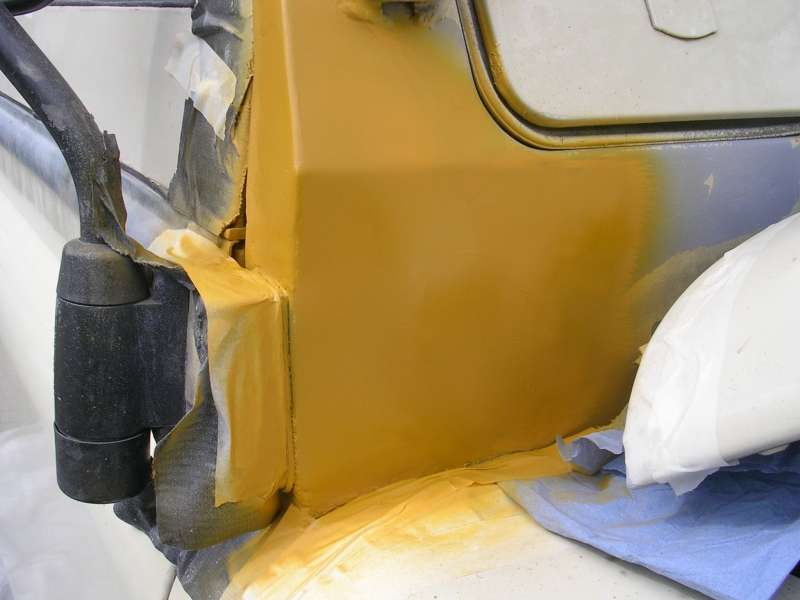 so they are now both ready for top coat, so i can run round and give everything a coat every day. inbetween paint drying i've also started stripping the rear station wagon windows, which look allot like this ! 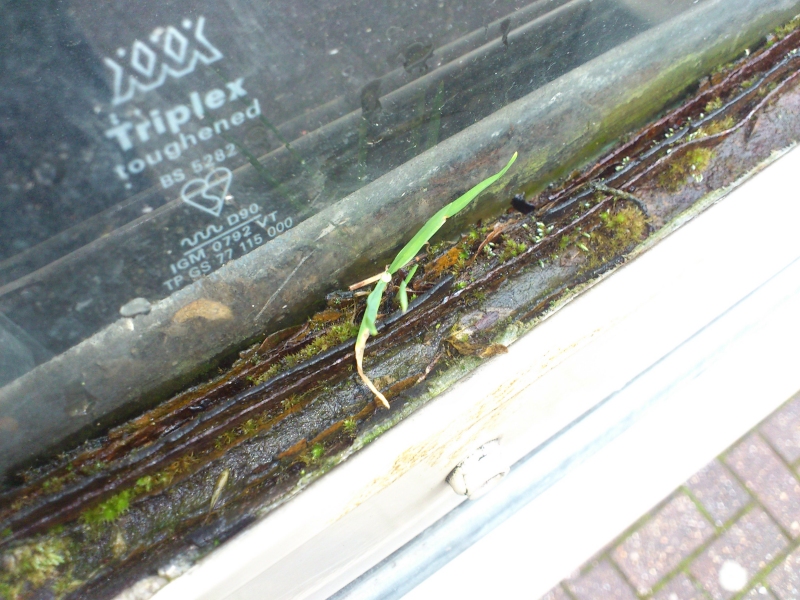 took the guide rail and lock off the tops of the glass, then went fishing for screw heads in the felt runners 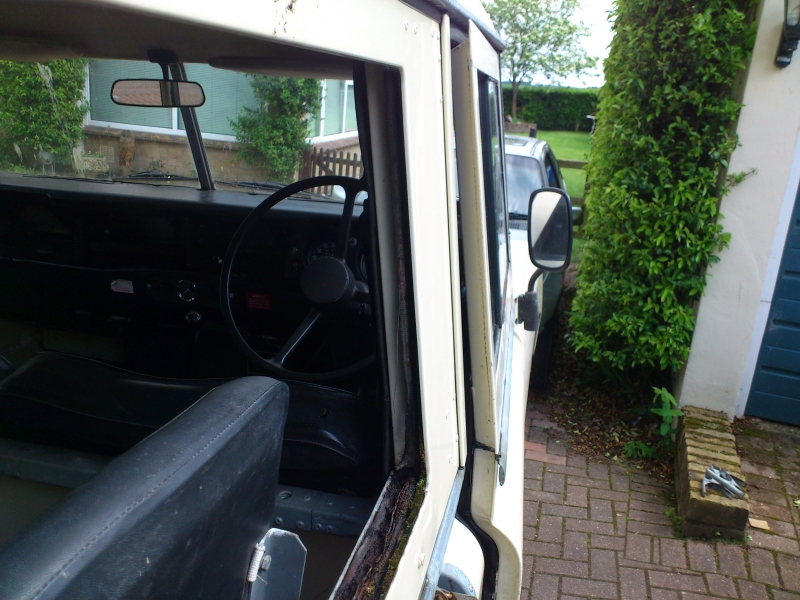 the bottom felt runners took bloody ages to strip, they had turned to mush and screw heads were just mangled mess 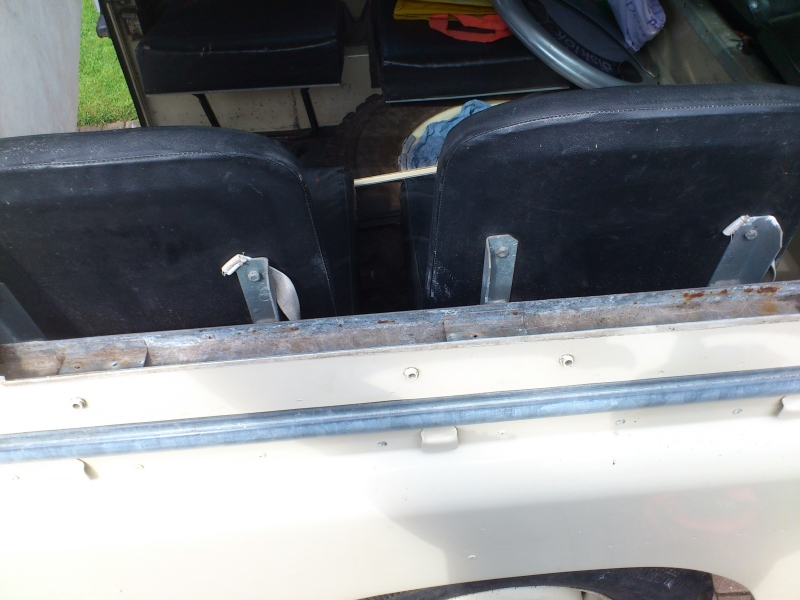 |
| |
Last Edit: May 23, 2016 16:43:59 GMT by darrenh
|
|
|
|
|
May 23, 2016 21:25:47 GMT
|
Nice work on the bulkhead and lets be honest land rover never made body colour vent seals did they !! And also being honest, I can't remember the last time I saw a Land Rover with black seals!  |
| |
Last Edit: May 23, 2016 21:26:01 GMT by georgeb
|
|
|
|
|
May 24, 2016 16:57:03 GMT
|
|
|
| |
|
|
|
|
|
May 28, 2016 19:51:09 GMT
|
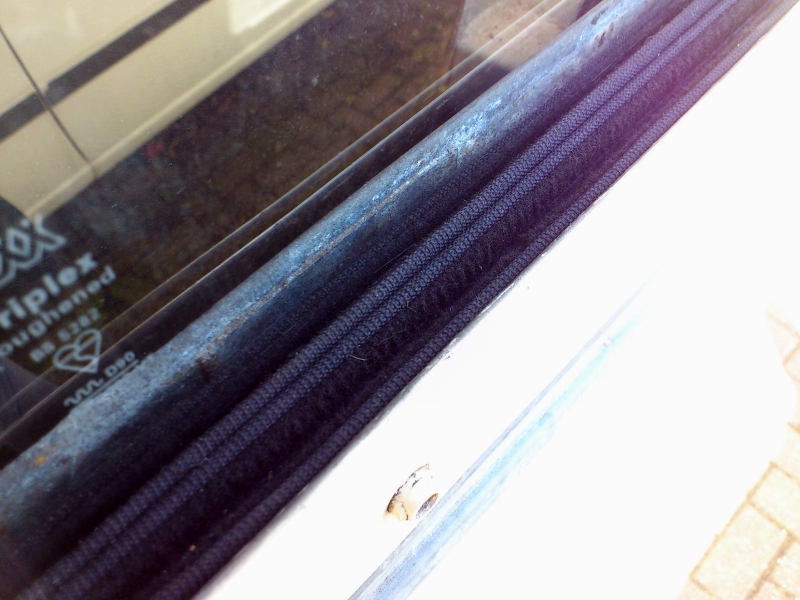
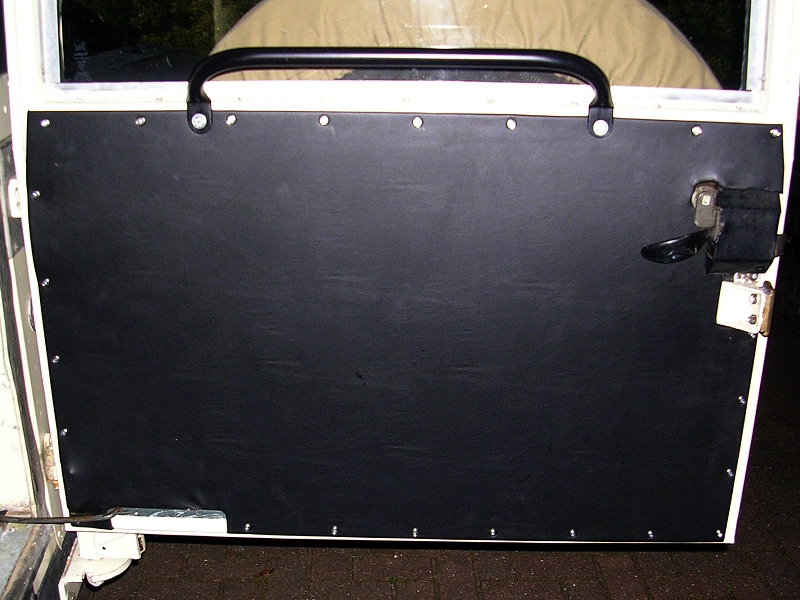
passenger side station wagon windows rebuilt with new felt runners  laarvly 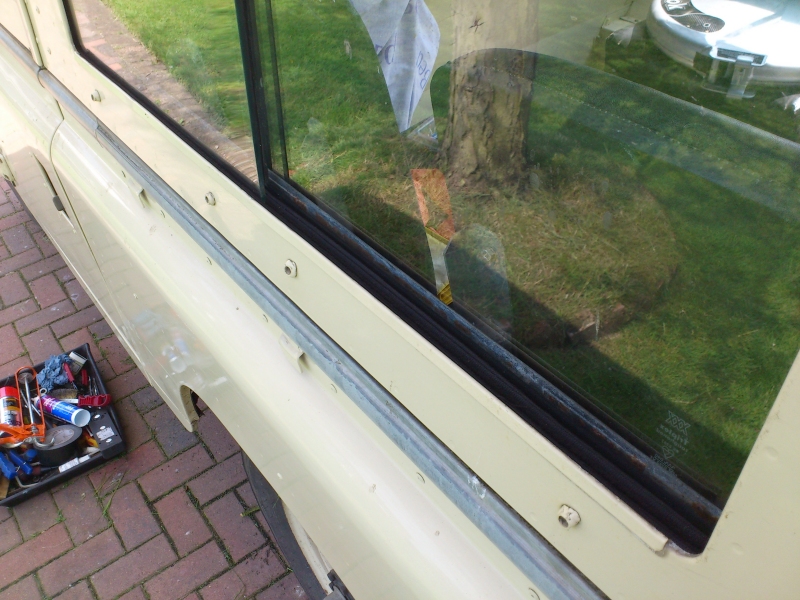 also kitted out the rear door, swapping the latch and glass from the old one. added some bitumen pads to the door skin to help with sound deadening / drumming. The door will get a special new door card but i need to leave access to those 4 bolt holes at the min 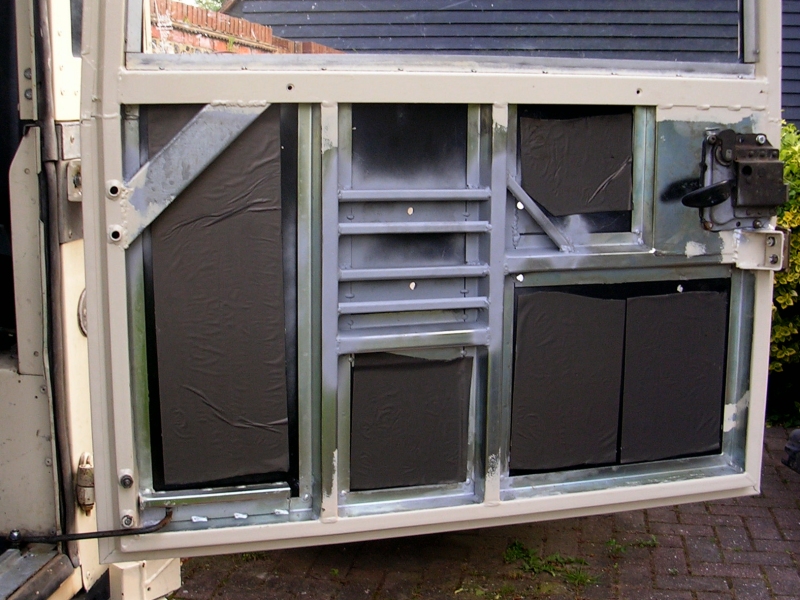 looks something like this! the paint is still a bit too soft to rectify yet, so will leave that a couple weeks then cut/polish the door. Tomorrow i'll carry on with the the swing away brackets for the wheel carrier 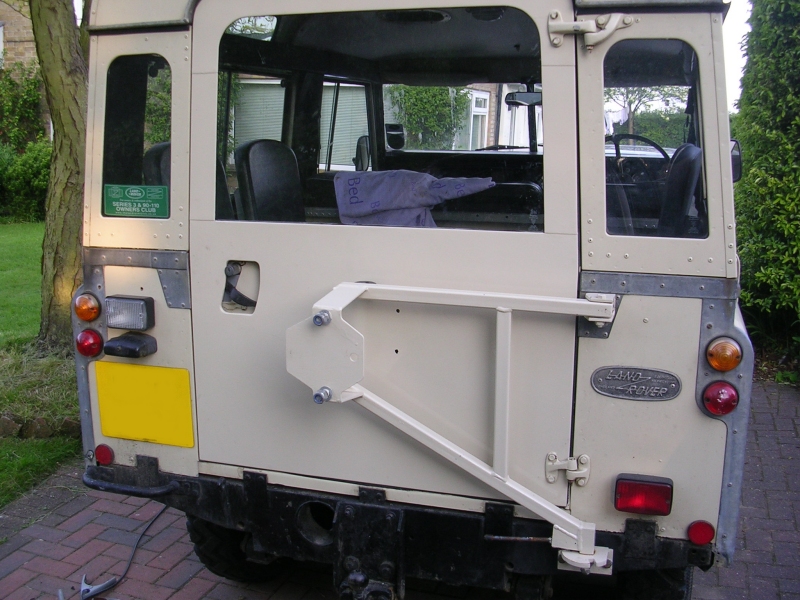 |
| |
Last Edit: May 28, 2016 19:54:30 GMT by darrenh
|
|
|
|
|
May 29, 2016 21:40:36 GMT
|
|
|
| |
Last Edit: May 29, 2016 21:41:25 GMT by darrenh
|
|
|
|
|
May 29, 2016 22:28:57 GMT
|
|
Nice work on the carrier.
It's amazing how much better the whole vehicle looks with new runners. A small thing that makes a big difference.
|
| |
|
|
|
|
|
May 31, 2016 12:18:33 GMT
|
Nice work on the carrier. It's amazing how much better the whole vehicle looks with new runners. A small thing that makes a big difference. thanks G  couple other bits done yesterday the series 3 spec book said that they didnt bother putting station wagon badges on station wagons after about 1980. i thought that was a shame so got this one from dunsfold museum, added a bit of fake patina basically "polished" it with satin black paint. fairey one is repro from ebay 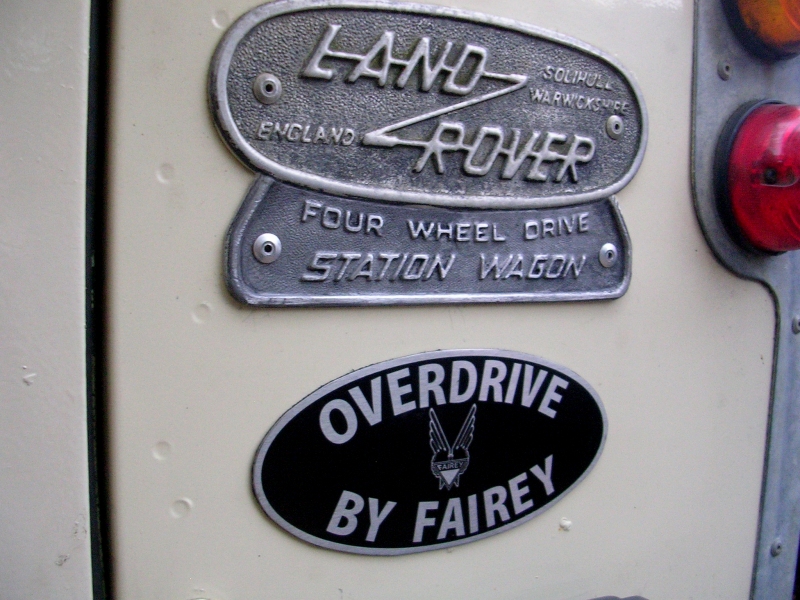 due to the wheel carrier stealing its mounting, i shortened the little overrider/tie down hoop thing. chopped the middle out and clocked the left hand end 180 degrees (well actually 175.6 judging by the photo LOL) 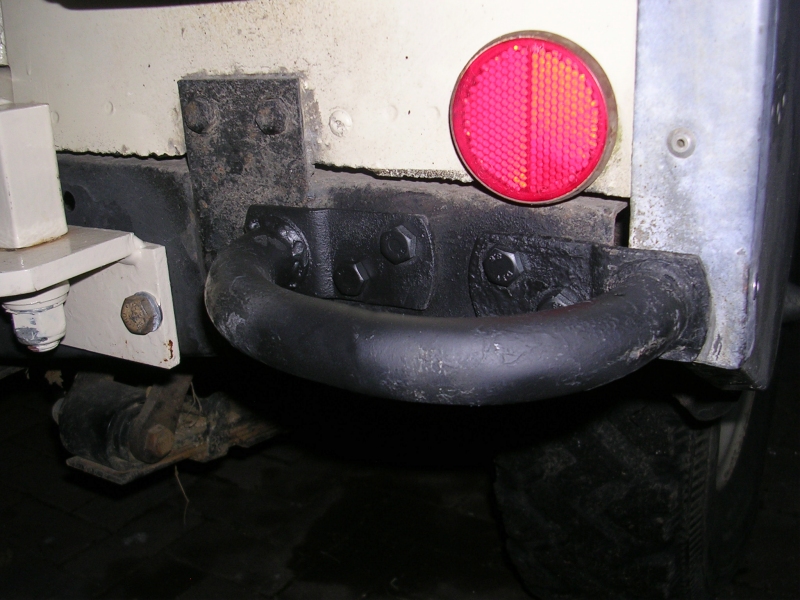 added these tie down D rings to the load space for camping/offroading 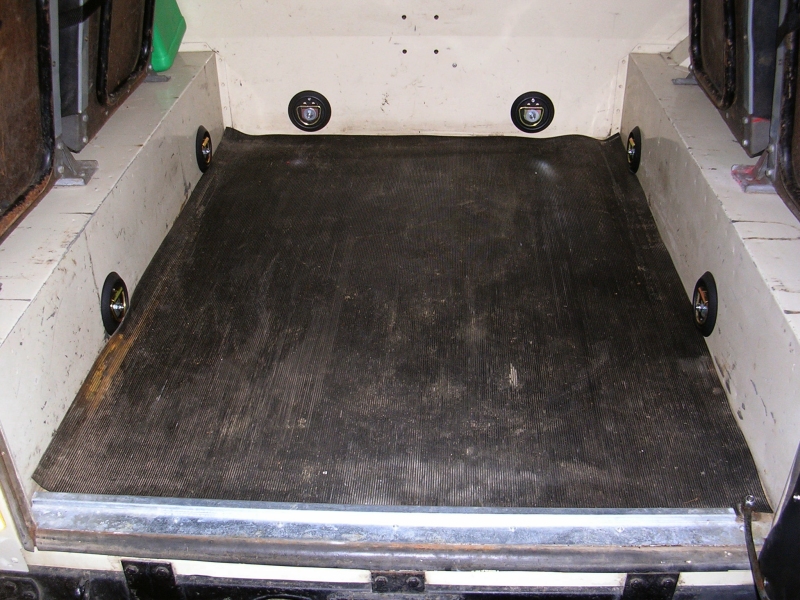 |
| |
|
|
logicaluk
Posted a lot
   Every days a school day round here
Posts: 1,373
|
|
|
|
|
Nice job looks perfect.
Dan
|
| |
|
|
|
|
|
|
|
|
|
cheeky picture from the weekend, we drove over to france and camped at parc du marquenterre, then spent all day saturday offroading   |
| |
|
|
|
|
|
|
|
And bloody lovely it looks too.  You should be seriously chuffed with that. |
| |
|
|
|
|
|
|
|
thanks again G  another cheeky action shot  |
| |
|
|
|
|
|
Jun 27, 2016 18:46:54 GMT
|
i've been working on the roof lining as a side project for a couple of weeks. the main issues are that its stinking mouldy and filthy, plus has some damage on the cab section. the metal finishers which go round the pop up vents are also rusting. 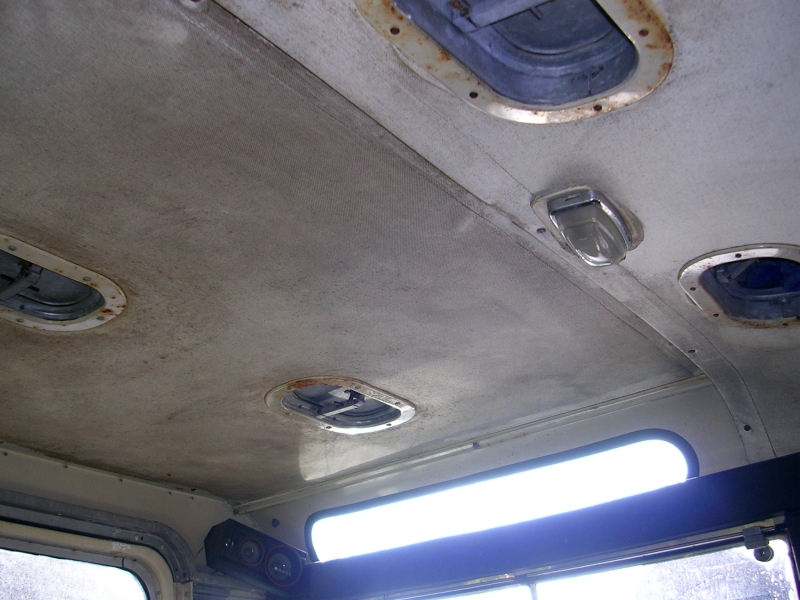 this is the rear cabin section, great condition, just a bit mouldy and has rust stains from the metal finishers round the vents. 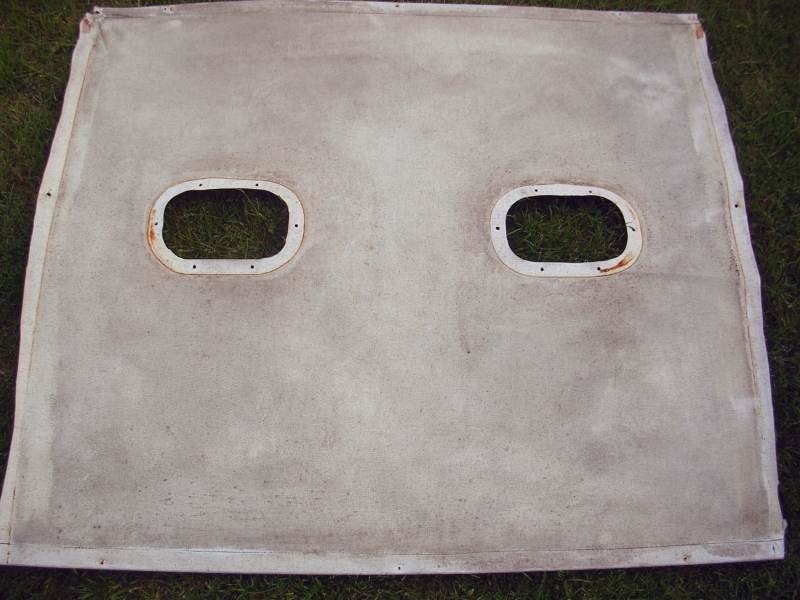 soft brush and plain water did this  it also has two metal strips that fit down tubes at either side of the lining. these had rusted inside but just about freed off 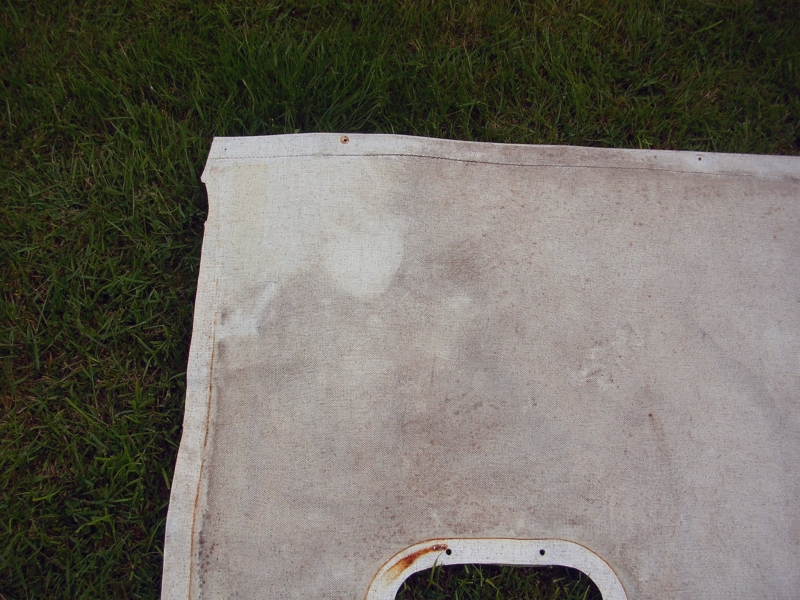 heres me scrubbing it in the bath with clothes washing liquid  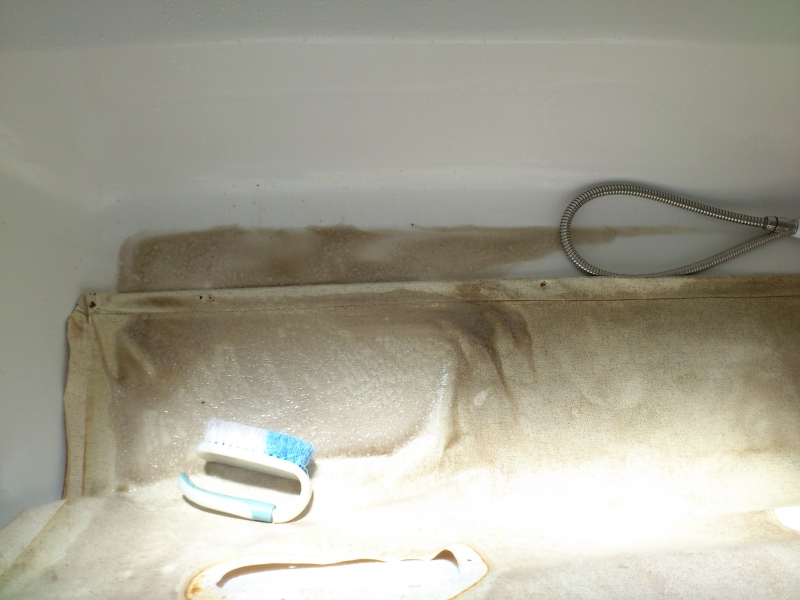 front cab section is in a pretty bad shape. 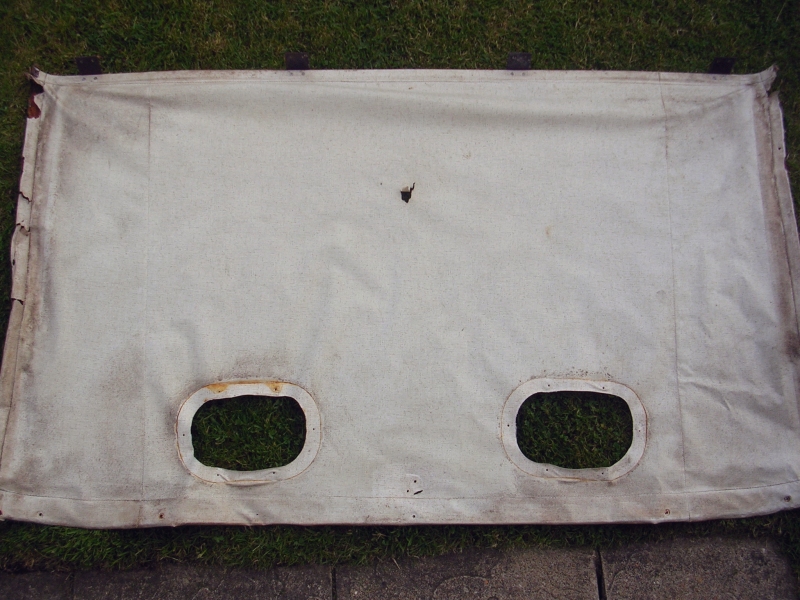 this has metal strips down all 4 sides, the front one is ok, back one was missing at the outer ends, the side ones had vaporised, it just felt like gravel in a plastic bag!!! i managed to manipulate some of the solid bits out of the ends of the "tube" of vinyl. other bits i had to slice it and pour the rust out  the vinyl is also very crispy and brittle. i think i will be able to save it with some leather restorer, these side sections are also tucked into the gutters, plus have 6 inch wide black vinyl head boards covering it. 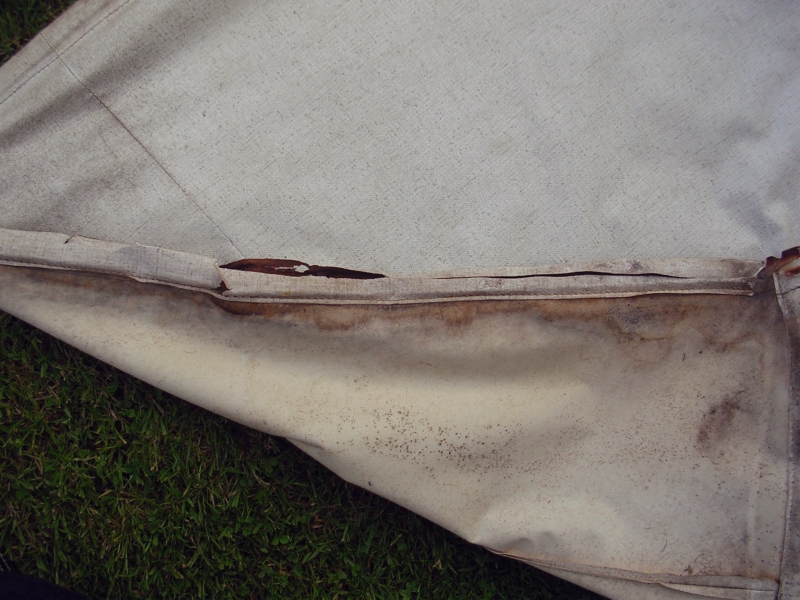 i also have this to contend with, a hole about the size of a 50p which was there when i bought the truck. to me it looks like the kind of puncture wound you'd get if a length of 1x2" timber lanced it while doing an emergency stop on the way home from wickes !! i've got a plan for this, i can cut a repair section out of an unseen unused fold round the back of the head liner, then cut same size hole in the roof lining, then back it with muslin and stick from behind the headlining. the repair will be flush, the vinyl is textured plus geometric so should blend ok (he says) 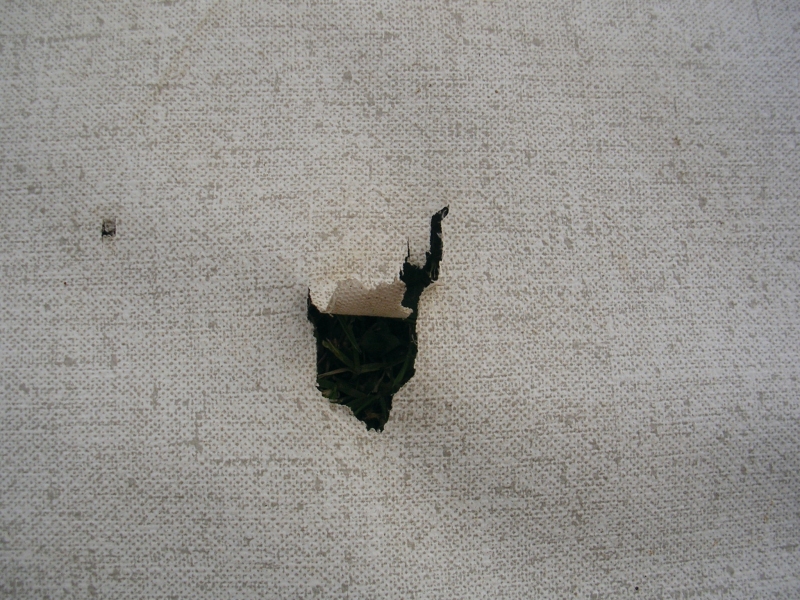 in other news, also scrubbed the sun visors  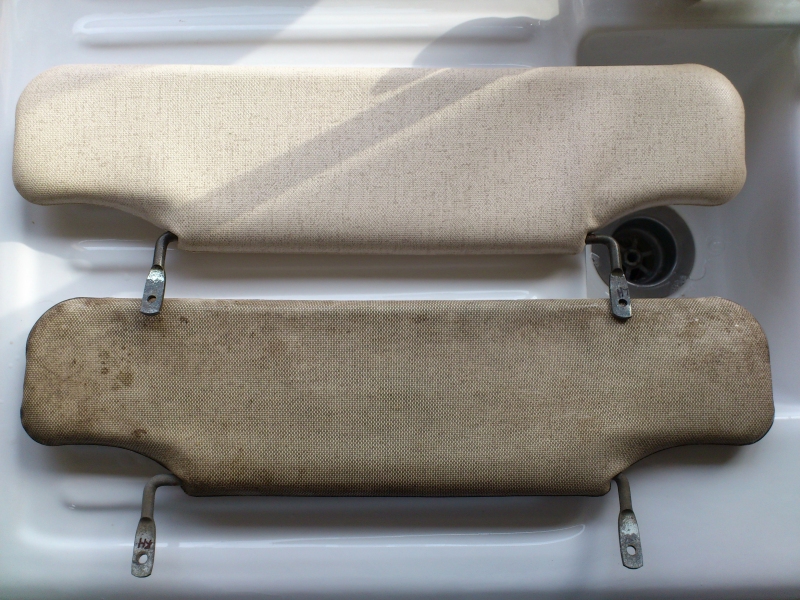 |
| |
Last Edit: Jun 27, 2016 18:48:56 GMT by darrenh
|
|
|
|
|
Jun 27, 2016 21:17:29 GMT
|
|
Vanish is amazing for jobs like this
|
| |
|
|
Carlosfandango.
Part of things
  Now with added Suffix B Range Rover classic - another bucket list car acquired.
Posts: 145 
|
|
Jun 27, 2016 22:51:24 GMT
|
Top work darrenh. It's so nice to do those jobs, improving the overall vehicle as you go. The ceiling cloth will really make a difference and those sun visors look great man. Keep up the good work, LOVE this Safari :-) CFD |
| |
1966 Fiat 1500 fast road/race conversion
1967 Porsche 912
1968 Fiat 124 Spider
1973 Range Rover Suffix B
1993 Series one Discovery 200TDI
1997 Jaguar XJ6 3.2 sport
2001 P38 Range Rover 2.5 TD
Brace of Triumph bikes
|
|
|
|
|
Jun 28, 2016 12:33:01 GMT
|
|
|
| |
|
|
|
|
|
|
|
more work on the cabin section of the roof lining, started with scrubbing the whole thing in the bath and then tried to repair this....  i cut a square of vinyl from a fold on the top side (unseen when fitted to vehicle) then cut round the rip the exact same size as the patch, backed it all with high temp trim adhesive and muslin 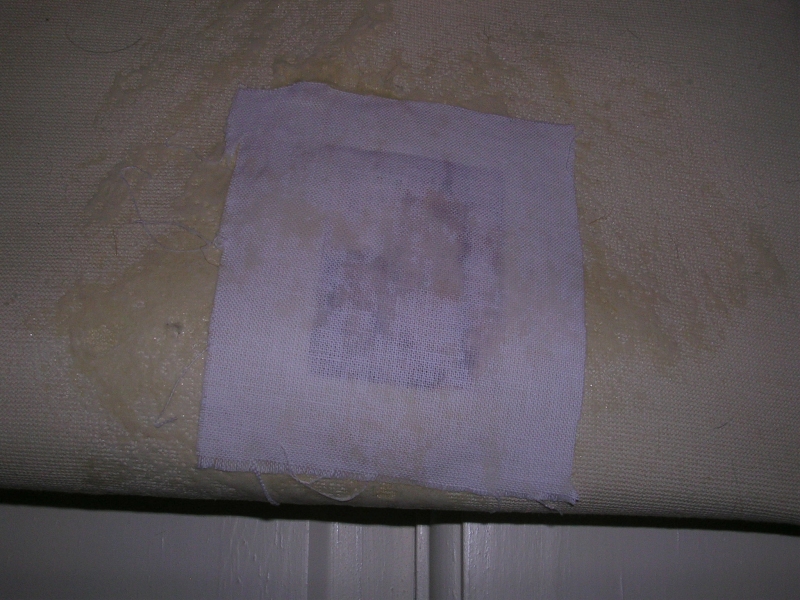 this is from the front side, i'd not call it seamless, but definitely "adequate", not sure how to do a better job other than a full retrim from scratch 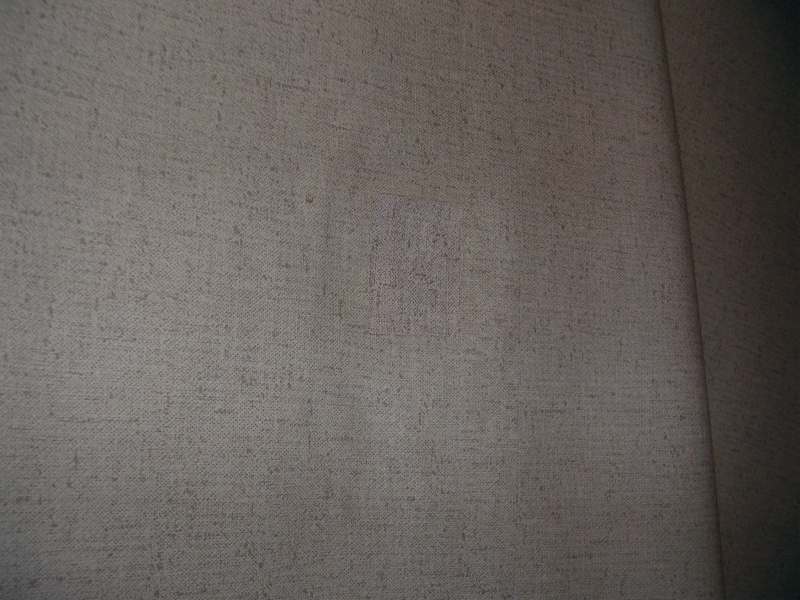 before and after, it looks a bit puckered but will pull taught once the metal frame is back in each side  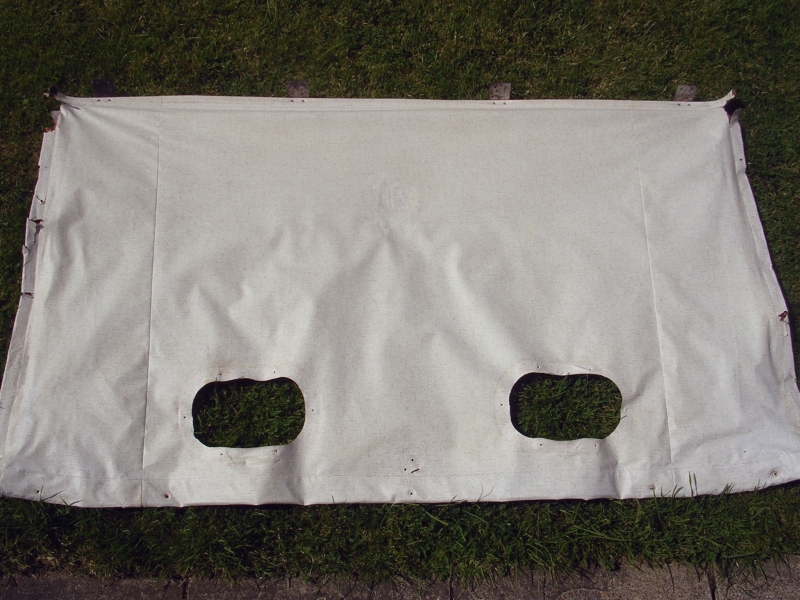 |
| |
|
|
|
|
|
|
|
guess what? yeah! more cabin headlining. first job was to remake the rear hoop which had vaporised at both ends, decided to make it in alloy extrusion instead of steel. 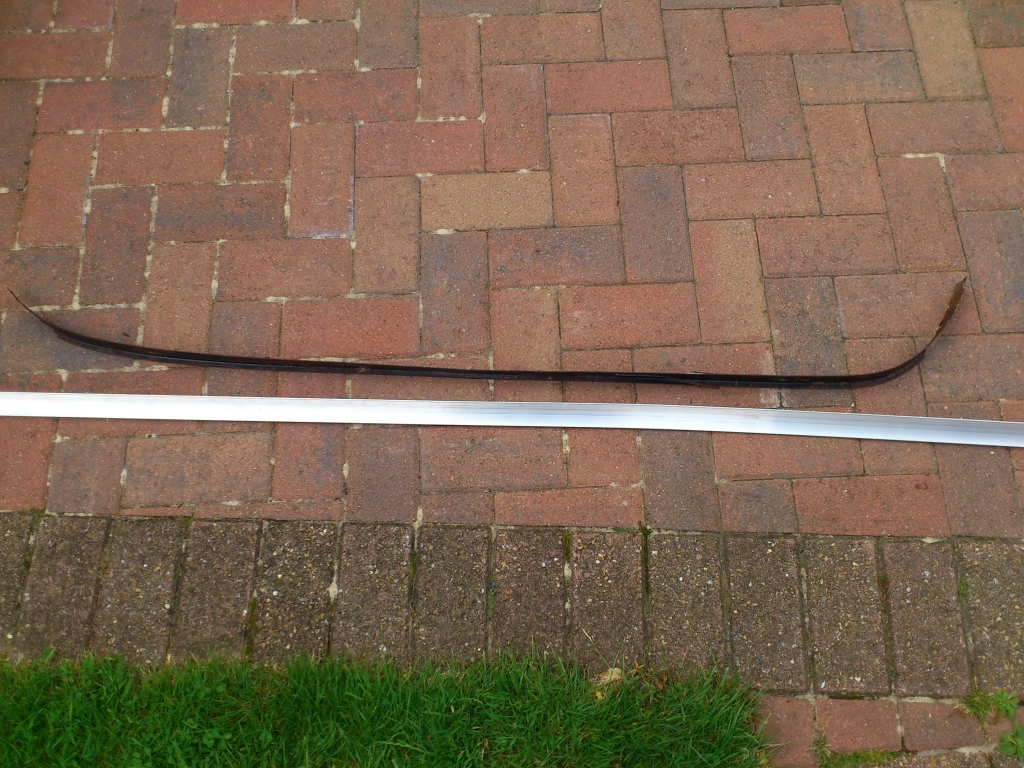 like so! if you are wondering what the rivets are for, thats where i measured three times cut once, and still got it wrong. bizarrely my tape measure goes up to 100 centimetres then carries on in millimetres. so basically i marked it at 100cm + 56mm (105.6cm) instead of 156cm :rolleyes: this is the second time the tape has caught me out, its now in next door but one's hedge. 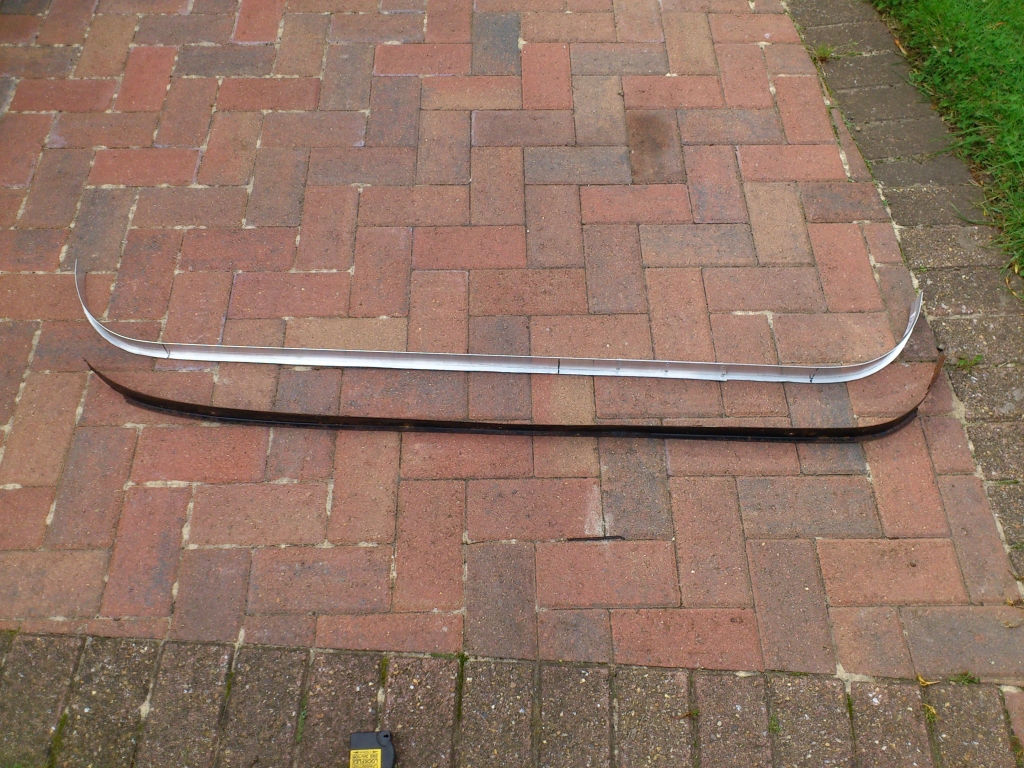 after that i threaded the hoop through the "tube" down the back end, then 2 lengths of flat alloy down the sides, riveted all 4 corners then repaired the side "tubes" with contact adhesive and cloth. the sides are passable, but 4 or 5 inches of it are hidden by the gutters and black vinyl head boards anyway little smiley face at the bottom is legit, the vanity light screws and wiring go through there ! before  after ! 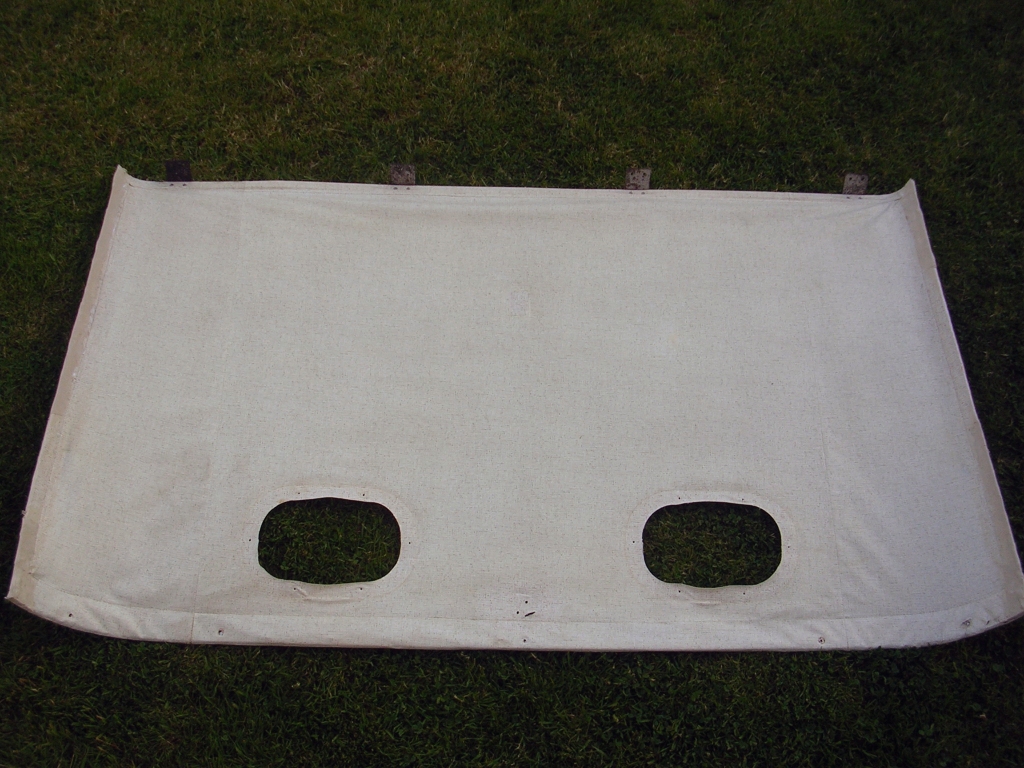 |
| |
Last Edit: Jul 10, 2016 18:25:48 GMT by darrenh
|
|
|
|
|
Jul 25, 2016 23:10:11 GMT
|
finally finished the roof lining and refitted  before and after  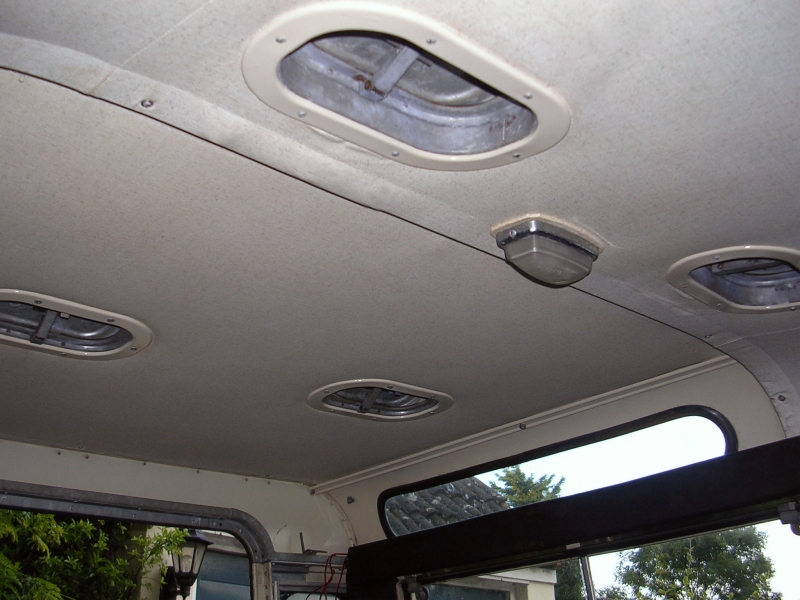 |
| |
|
|
|
|


 laarvly




 it also has two metal strips that fit down tubes at either side of the lining. these had rusted inside but just about freed off


 the vinyl is also very crispy and brittle. i think i will be able to save it with some leather restorer, these side sections are also tucked into the gutters, plus have 6 inch wide black vinyl head boards covering it.


