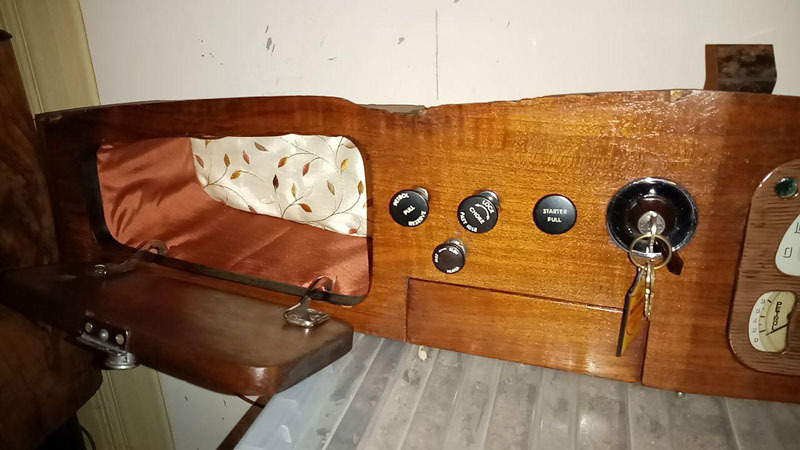
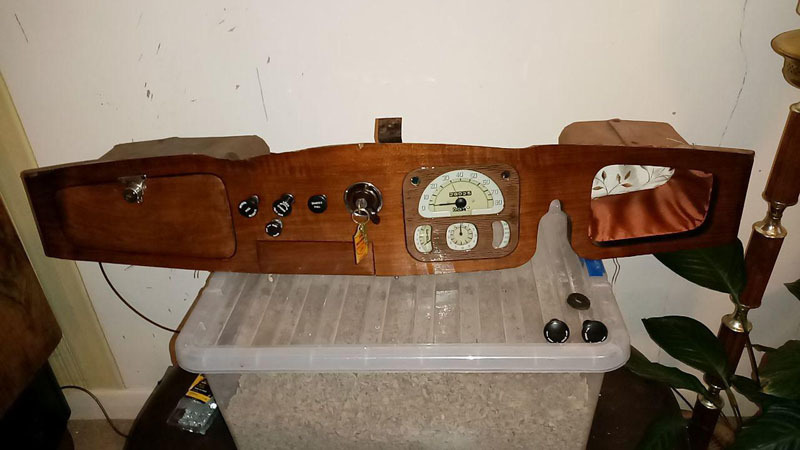
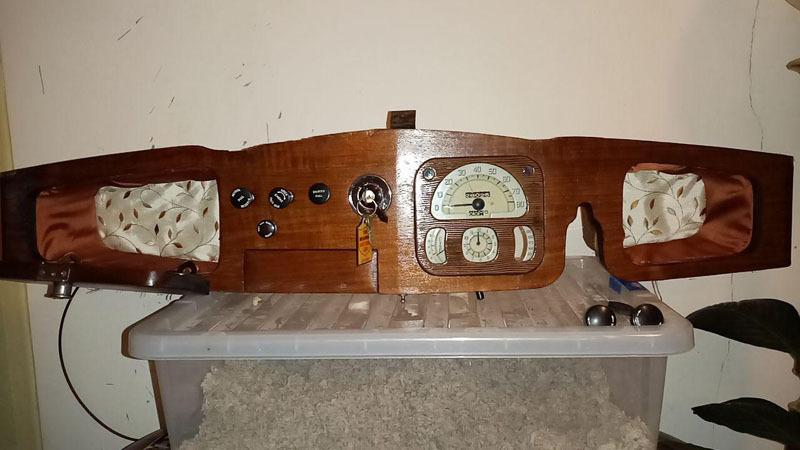
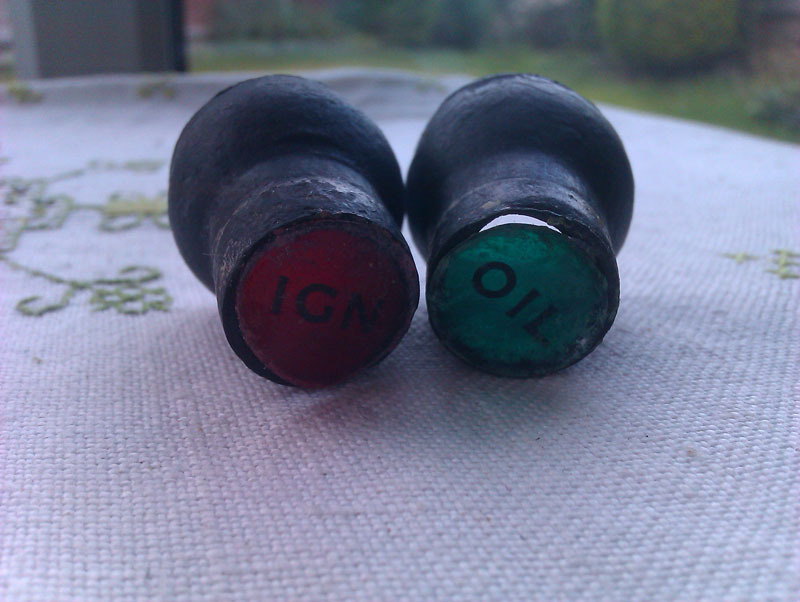
Today's update begins with a mishap. I'd put the back portion and the intermediate panel of the instrument binnacle in the paint stripper pot while we went out to get supplies, it was in there for about 2 hours which was enough time for the slow stripper to remove the very thin layer of paint. Unfortunately, what I hadn't done was remove the rubber and plastic telltales themselves when I did this so they too spend a couple of hours in paint stripper. This was particularly galling as these items were pristine. Fortunately, a good rinse off to neutralise the paint stripper and then leaving them telltale down on the tiled mantlepiece meant the plastic cured back to close to flat again. The rubber seemed totally unaffected, it just came out clean thankfully, but the plastic is now less than perfect which is a shame. Still perfectly legible and once reinstalled you can't really tell there was an issue but still, an annoying and stupid mistake especially given that I usually take so much care.
A generic chrome aerosol paint was used on the inside of the binnacle (with the instruments etc. removed), and on the back of the intermediate panel. Tests showed much better light distribution so we've opted to go for this rather than the pure white. It also shows just how varied the colour of the dials is.
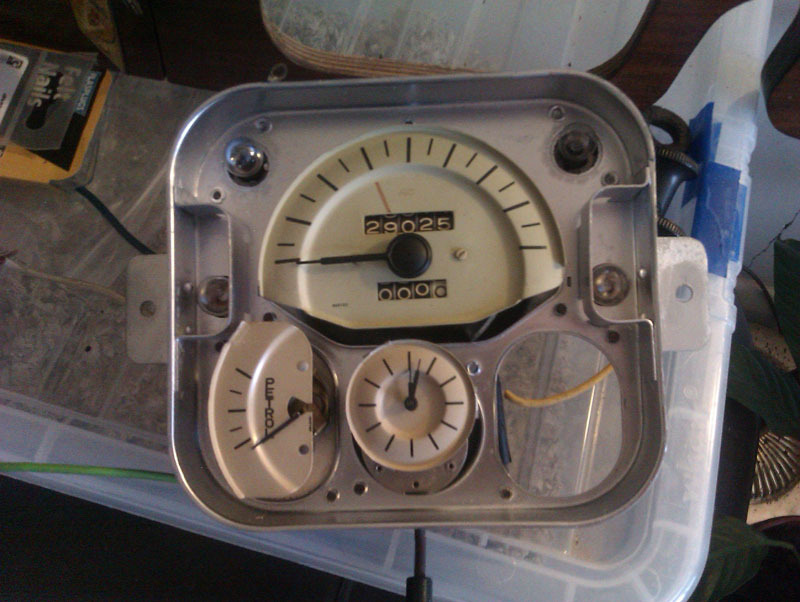
Our first attempt to match the colour for the face of the intermediate panel didn't go as well as we'd hoped, the colour matches the lid of the paint bought really well, it just looked far too bright against the dials once everything was mocked up.
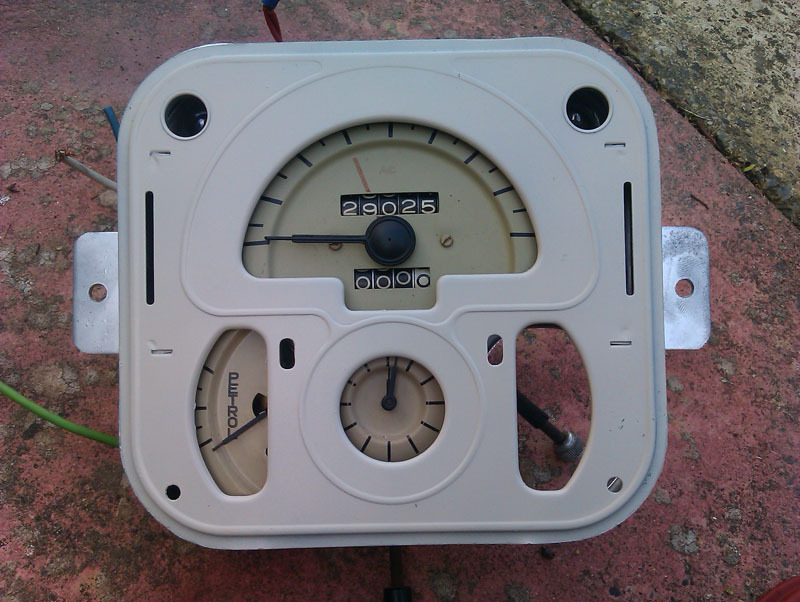
The face of the binnacle was scraped clean of the old scumbled paint and then sanded as carefully as possible so the glass doesn't get damaged. It was then masked off and given a dose of red primer. You can see even more clearly here just how much too bright that first colour guess was.
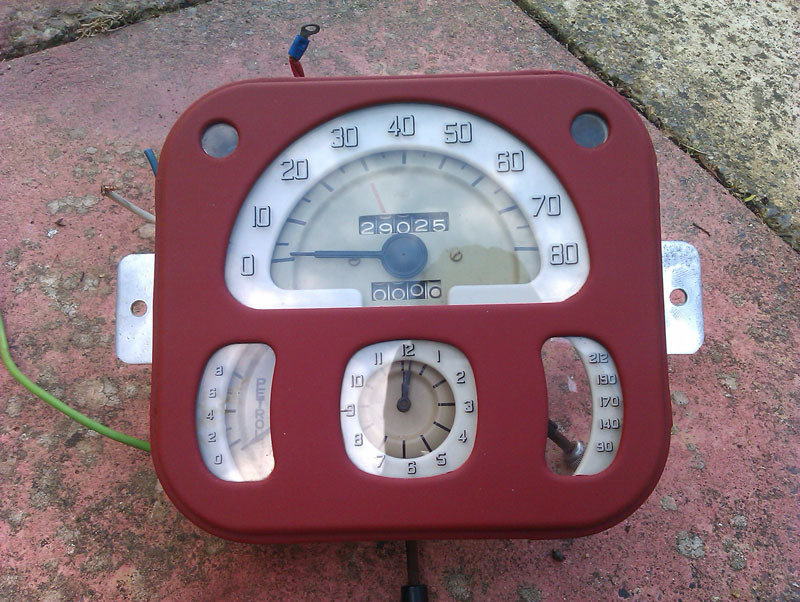
Armed with technology, we used the colour scanning app on the other half's phone to find out a best guess for the RAL code for both the intermediate panel and the base coat of the scumbled panel, and then placed an order for some paints. We had to make a best guess on the dials because the colour actually varied a lot, presumably because it's faded over the years. Eventually we ended up with RAL7032 for the intermediate panel, and RAL8025 for the base coat of the scumbled panel. Rustoleum (RAL7032/Pebble Grey) we've used before, it's proven sound long term and would give us the finish we were after. The brown from Evolution (RAL 8025/Pale Brown) is one we've not used before, it goes on very heavily and takes a bit longer to dry but does level out to quite a nice finish and was a very close match to the original brown on the back of the panel. The scumble paint is from Polyvide and is Walnut, again the closest we could find to what was on the panel originally.
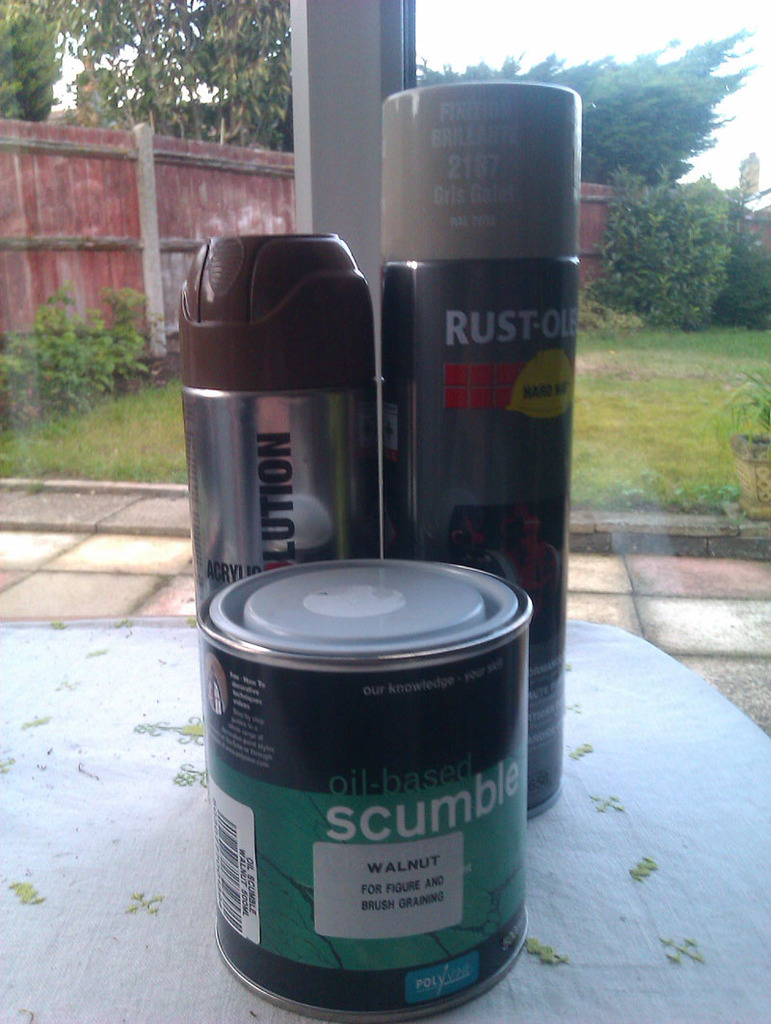
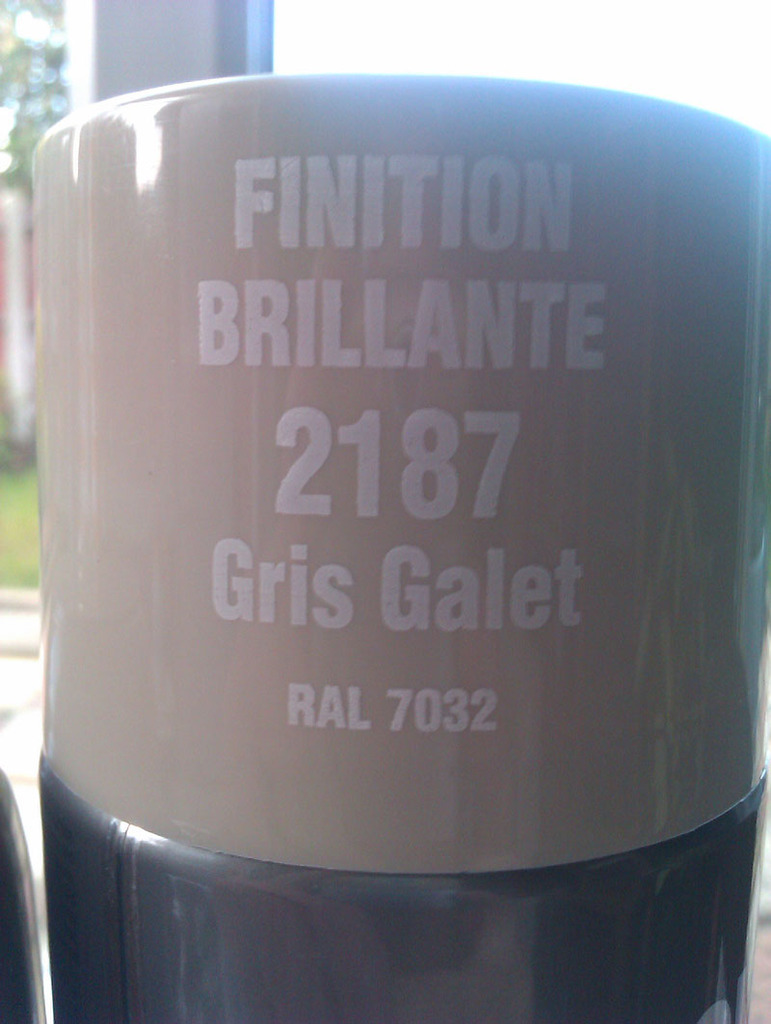
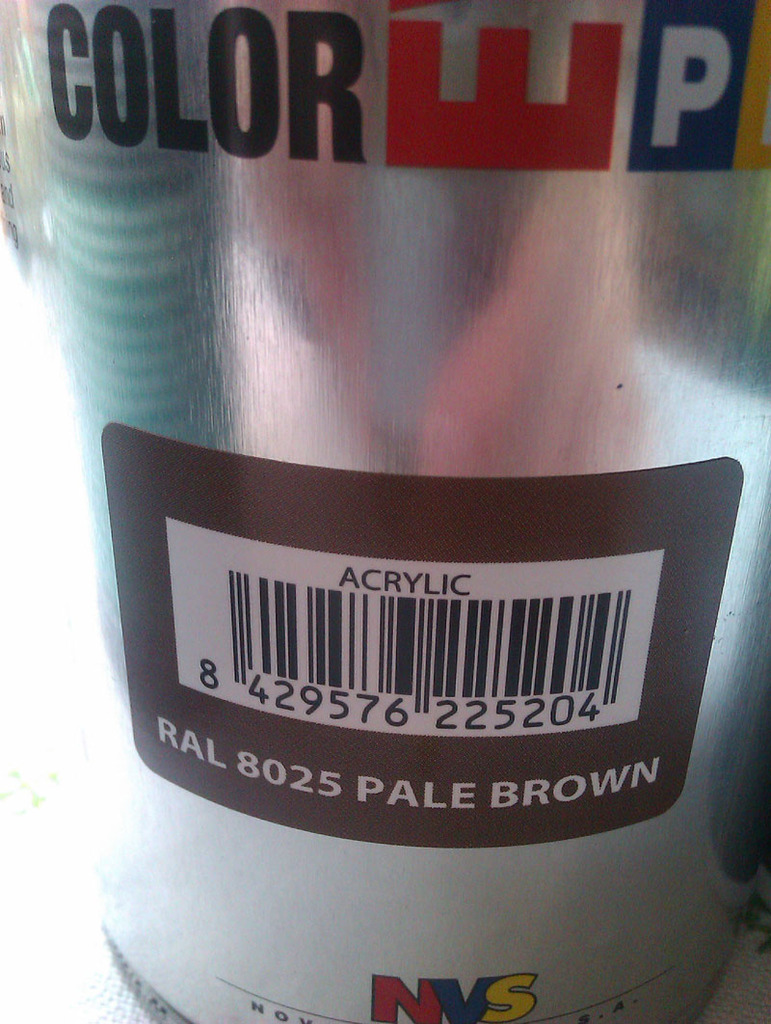
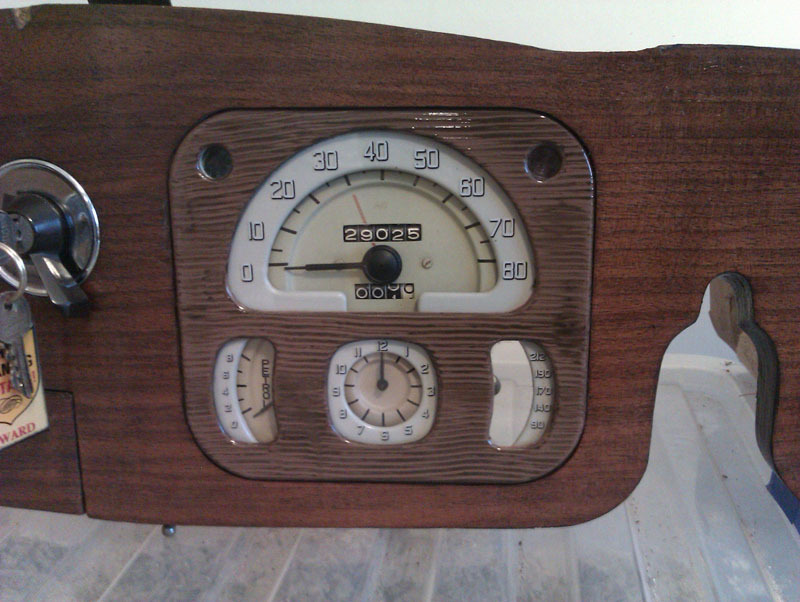
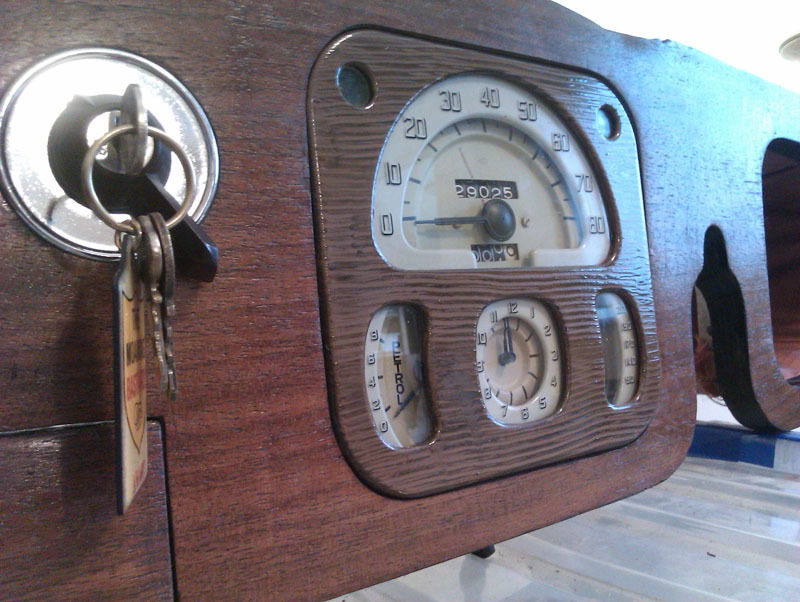
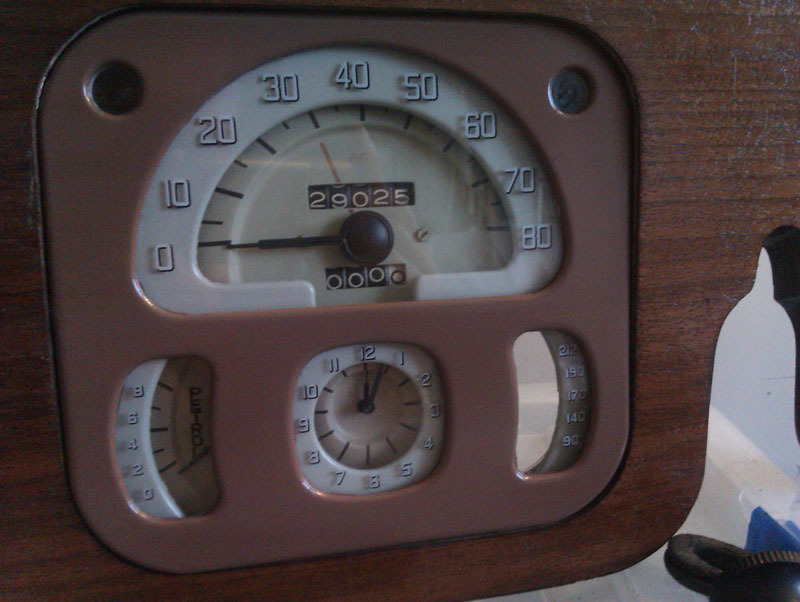
As you can see, the Pebble Grey is a much better match for the dials, not perfect, but close enough. It's mellowed down a bit more than in these photographs and in person the difference isn't so obvious as it is on camera, it looks very similar to how it did originally. The pale brown would be sufficient on its own against the dashboard too, it's really not that out of place in just plain gloss.
Once that had all dried, the new Scumble tool arrived, it's a soft rubber triangle with a comb on each side that has different thickness teeth. Of the various tools on the market, this one made most sense since the original finish was just straight lines, no fake knots or anything of that sort, so a simple comb style tool seemed most appropriate. A few samples were run over the Pale Brown on some cardboard to get a feel for how much Scumble to use, and how to get the look we wanted. It's tricky stuff to work with, the tutorial videos make it seem much easier than it is. The paint has a very long open time, with a 24 hour drying period. This long open time is good for getting the look you want since you can play about with the finish quite a bit. After a few passes with the comb and a brush, we eventually got something approximating the original look. Depending how this dries, I may go back with a fine brush and add some extra variation to the strip thicknesses just to make it match the dashboard a bit better. Of all the items on the dashboard, this one thing has been the most difficult to do. I'm also left with a lot of scumble material and nothing to scumble (currently) because even the smallest quantities I could acquire were far more than was needed. Given just how far the materials go it's very easy to see why this was such a widely used finish, it's fairly quick to apply and I expect with practice and slightly differently shaped tools, an even more convincing wood grain could be achieved.
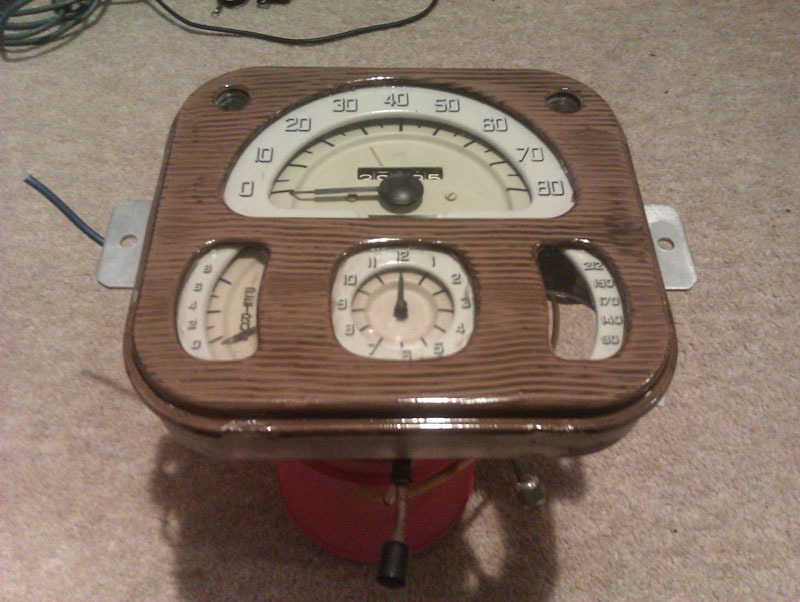
So there you go, my first attempt at scumble work. Apologies for the quality of the photos in this update too, my camera has really not wanted to play nice lately.

A generic chrome aerosol paint was used on the inside of the binnacle (with the instruments etc. removed), and on the back of the intermediate panel. Tests showed much better light distribution so we've opted to go for this rather than the pure white. It also shows just how varied the colour of the dials is.

Our first attempt to match the colour for the face of the intermediate panel didn't go as well as we'd hoped, the colour matches the lid of the paint bought really well, it just looked far too bright against the dials once everything was mocked up.

The face of the binnacle was scraped clean of the old scumbled paint and then sanded as carefully as possible so the glass doesn't get damaged. It was then masked off and given a dose of red primer. You can see even more clearly here just how much too bright that first colour guess was.

Armed with technology, we used the colour scanning app on the other half's phone to find out a best guess for the RAL code for both the intermediate panel and the base coat of the scumbled panel, and then placed an order for some paints. We had to make a best guess on the dials because the colour actually varied a lot, presumably because it's faded over the years. Eventually we ended up with RAL7032 for the intermediate panel, and RAL8025 for the base coat of the scumbled panel. Rustoleum (RAL7032/Pebble Grey) we've used before, it's proven sound long term and would give us the finish we were after. The brown from Evolution (RAL 8025/Pale Brown) is one we've not used before, it goes on very heavily and takes a bit longer to dry but does level out to quite a nice finish and was a very close match to the original brown on the back of the panel. The scumble paint is from Polyvide and is Walnut, again the closest we could find to what was on the panel originally.


As you can see, the Pebble Grey is a much better match for the dials, not perfect, but close enough. It's mellowed down a bit more than in these photographs and in person the difference isn't so obvious as it is on camera, it looks very similar to how it did originally. The pale brown would be sufficient on its own against the dashboard too, it's really not that out of place in just plain gloss.

Once that had all dried, the new Scumble tool arrived, it's a soft rubber triangle with a comb on each side that has different thickness teeth. Of the various tools on the market, this one made most sense since the original finish was just straight lines, no fake knots or anything of that sort, so a simple comb style tool seemed most appropriate. A few samples were run over the Pale Brown on some cardboard to get a feel for how much Scumble to use, and how to get the look we wanted. It's tricky stuff to work with, the tutorial videos make it seem much easier than it is. The paint has a very long open time, with a 24 hour drying period. This long open time is good for getting the look you want since you can play about with the finish quite a bit. After a few passes with the comb and a brush, we eventually got something approximating the original look. Depending how this dries, I may go back with a fine brush and add some extra variation to the strip thicknesses just to make it match the dashboard a bit better. Of all the items on the dashboard, this one thing has been the most difficult to do. I'm also left with a lot of scumble material and nothing to scumble (currently) because even the smallest quantities I could acquire were far more than was needed. Given just how far the materials go it's very easy to see why this was such a widely used finish, it's fairly quick to apply and I expect with practice and slightly differently shaped tools, an even more convincing wood grain could be achieved.

So there you go, my first attempt at scumble work. Apologies for the quality of the photos in this update too, my camera has really not wanted to play nice lately.


