|
|
|
|
|
Its alive mwuahahaha After re-routing the wiring for the crank position sensor, then moving it again so that there wasn't any electrical noise  the car fired straight up  If i wasn't bothered about upsetting the neighbours with the noise, i could have got it fired up last night! Hurrah, At least ill be able to make it down to the meet on Wednesday. Inside Out are filming an article on "Boy Racers" and want to have some young car enthusiasts down, so now there will be 1 more to add to the list. Look out for me on the telly  James |
| |
Too many projects, not enough time.
|
|
|
|
bazzateer
Posted a lot
   Imping along sans Vogue
Posts: 3,653
|
|
|
|
|
Great stuff!
|
| |
1968 Singer Chamois Sport
1972 Sunbeam Imp Sport
1976 Datsun 260Z 2+2
1998 Peugeot Boxer Pilote motorhome
2003 Rover 75 1.8 Club SE (daily)
2006 MG ZT 190+ (another daily)
2007 BMW 530d Touring M Sport (tow car)
|
|
|
|
|
Dec 18, 2014 21:10:57 GMT
|
Once again its time for an update and this time its after two showers! The second being in the house, but the first was lying under the fuel tank. Doh. A previous repair to the tank had given way, making the paint on the tank come away and the tank look damp. It also explains why I only got 30 mpg on my last run, whilst I last got 37 mpg with the turbo on the same run! After taking the scraper to the flakey paint I ended up with a nice little trickle down my arms and a puddle under my back. Lovely. Anyway, Here is the offending hole: 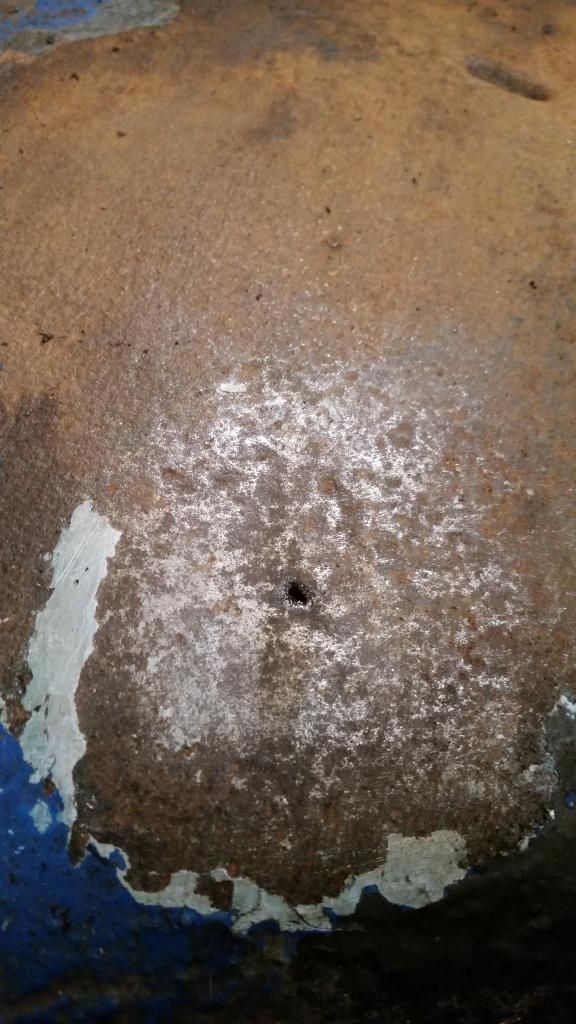 To sort it out i drained the tank into period correct fuel tanks: 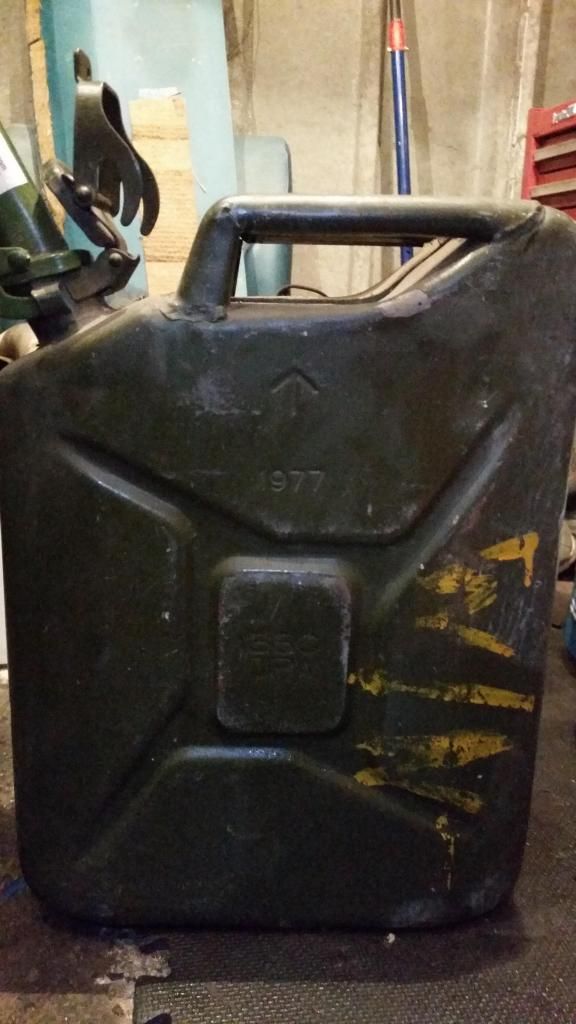 Removed the tank, filled with water then welded the hole up on the lowest setting I had. It was still a pain to weld and lit the garage up with a nice WHOOOOMF as soon as it arked up, but it was only little so I carried on  After a quick spray I ended up with this: 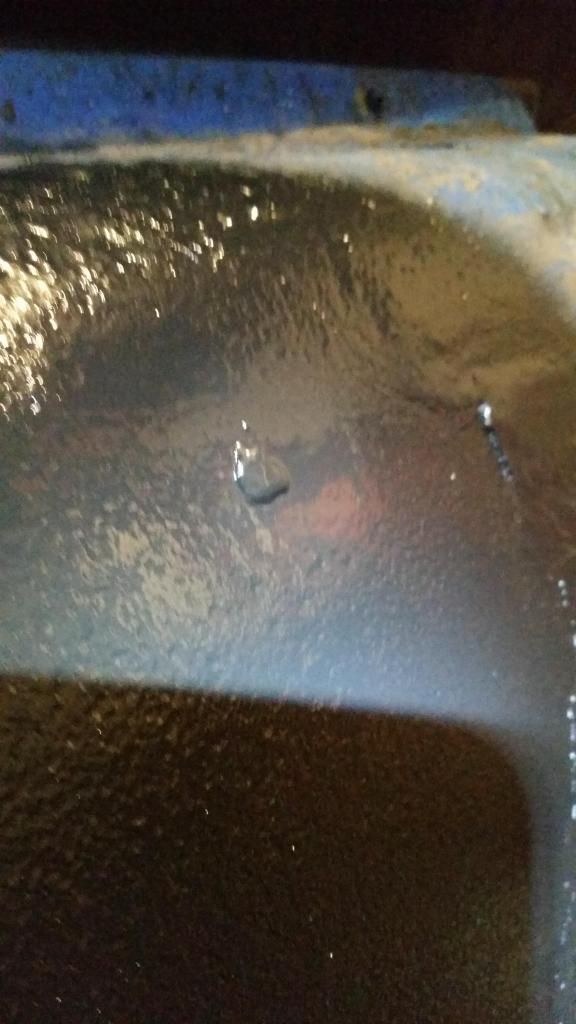 Hopefully after Christmas, buying the new house, buying myself an Xbox and building a garage at the new house i will be able to afford an Alloy fuel cell to replace this tank. I might even have a working fuel gauge  James. |
| |
Too many projects, not enough time.
|
|
marinacoupe
Part of things
  Marina Coupe, Triumph Stag
Posts: 178 
|
|
Dec 19, 2014 11:41:22 GMT
|
|
There was a 'Wheeler Dealers' on the telly the other night where, a specialist soldered a patch onto a Triumph TR6 petrol tank.
|
| |
|
|
|
|
|
Dec 19, 2014 13:55:44 GMT
|
|
i've done it myself, only difference is after filling with water i purged the remaining space (around the weld) with argon. also lead caulked the line of weld afterwards with plumbers blow lamp
|
| |
|
|
|
|
|
Dec 21, 2014 12:15:47 GMT
|
|
I'm glad I didn't go to too much effort with it.
On the way back from my parents last night i had a nice big lump of fire wood fall off the back s trailer in front of me and rattle along under the car. There's a nice big dent in the fuel tank now!
James
|
| |
Too many projects, not enough time.
|
|
|
|
|
Jan 24, 2015 18:30:57 GMT
|
Just over a month since the last update and the car is still going strong  Theres been a bit of work done though, Starting off with a new fuel tank! The original one has given up and decided to turn to dust, i found this out when i jumped in the car after college and found i had no fuel in it! When it was parked up however, it have just over half a tank so i drove it home with what was left in the swirl pot and found lots of little holes in the bottom of the tank once i had scraped off the paint. The knock with the lump of wood i mentioned last time must have dislodged some of the rust and sped it up a bit. So the search for a new tank was started and i ended up with one out of a speed boat! 6 gallon plastic jobbie so that shouldn't rust any time soon  I fit in in the boot holding it down with pair of metal straps like some of the ford tanks are held up by, and chopped the bottom off the old fuel tank to make a bit more space underneath the car. There was also a bit of snow the last few days, so as you do you go out drifting. The car was spot on, welded diff worked wonders, never letting me get stuck and keeping it nice and controllable for some good long drifts  (bleedin' hooligan) 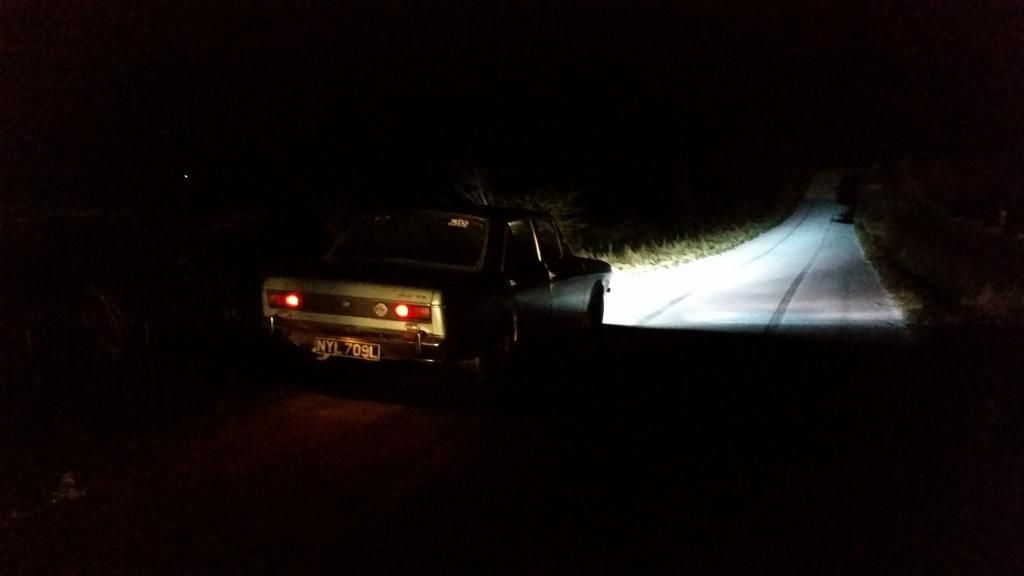 There was one little mishap when i stuck the back end into a dyke and couldn't get out  , I wasn't stuck for long though as my mate in his miata pulled me out in about 5 mins with my stretch tank tow rope. No damage to the car as well so i was happy. A few days after, i noticed a blow coming from the exhaust, turned out to be a cracked weld which was an easy fix, but i also found today's job whilst i was under there having a look. 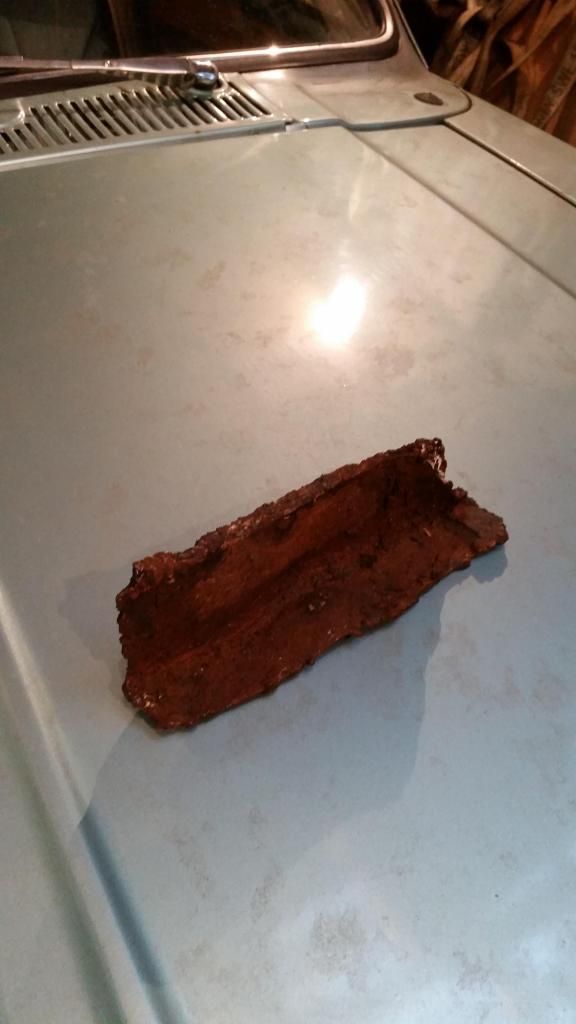 Nice. Thats meant to be one of the frame rails! During a curious moment of "the paint has cracked around that weld and it looks a bit damp lets poke it with a screw driver moment i founf that a previous repair wasn't particularly substantial. Substandard more like. The peice pictured above was welded around the edge (by Stevie wonder as it wasn't to the rest of the car) and then held on with body filler and undersealed over. After chopping all the curse word out i ended up with a decent sized hole (fnarfnar) and some solid steel to weld onto 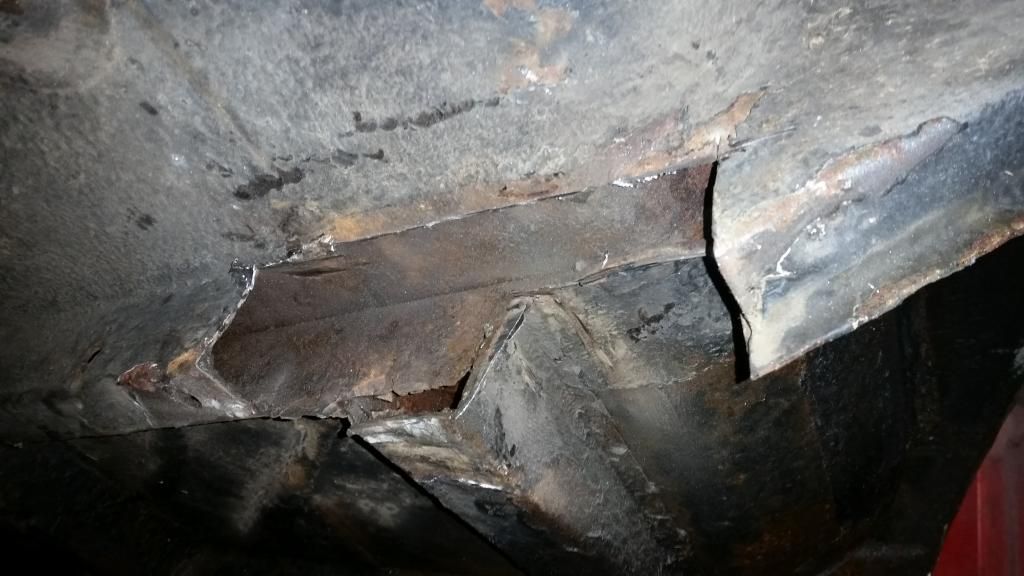 Following a bot of CAD i made up a repair piece and stuck that in: 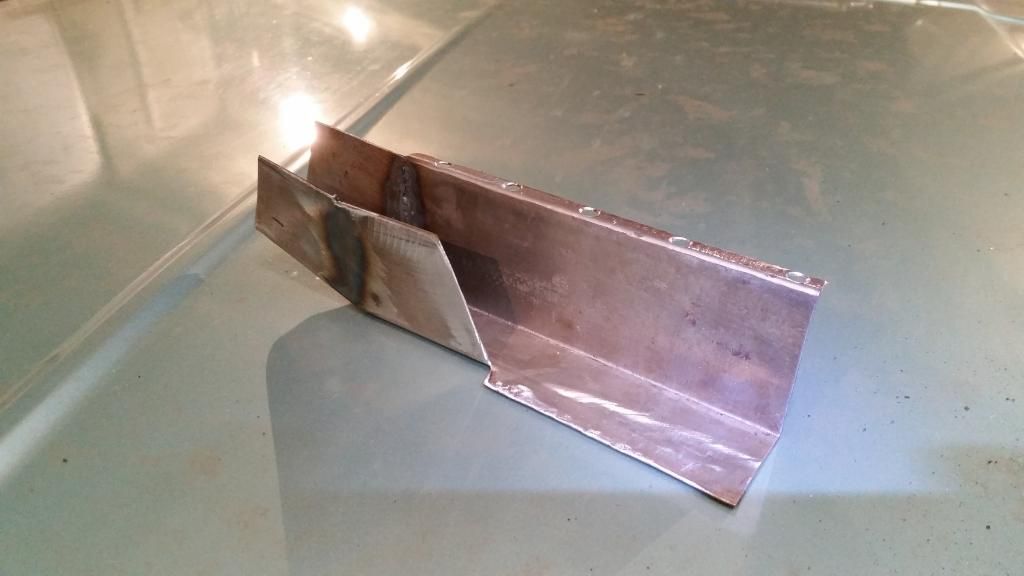 Now that that was stuck in i can seam seal over all the joins and then under seal it. Oh, wait, the seam sealer has frozen in the tube as its so cold in the garage. 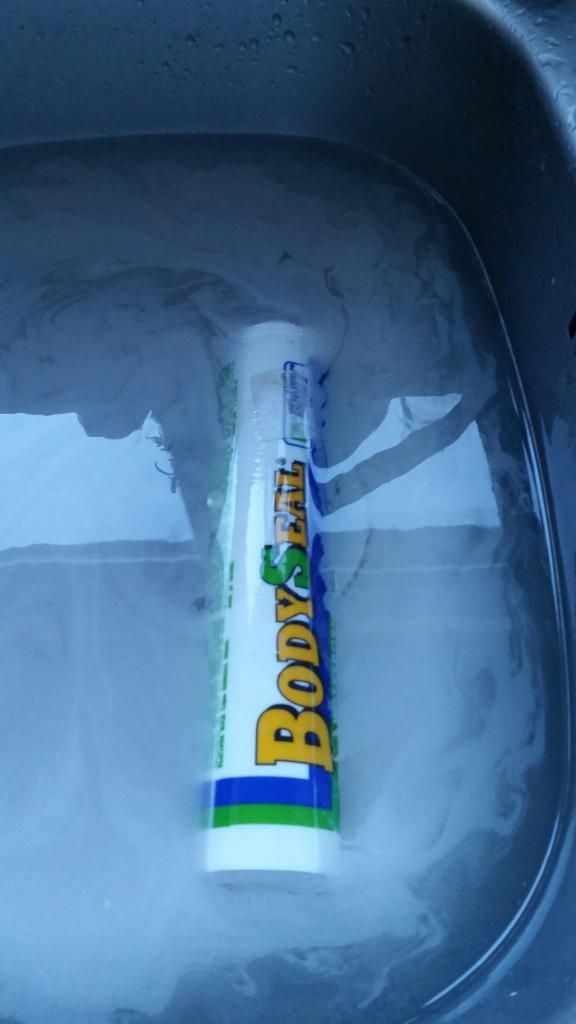 Best stick it in the sink to warm up ( along with my hands for a while too  ) Once it was then seam sealed and painted i stuck plenty under-seal on and let it dry with the help of the fan heater, I found out when i was sticking the petrol tank in that the garage is too cold to allow paint to dry! sorted (prior to undersealing) 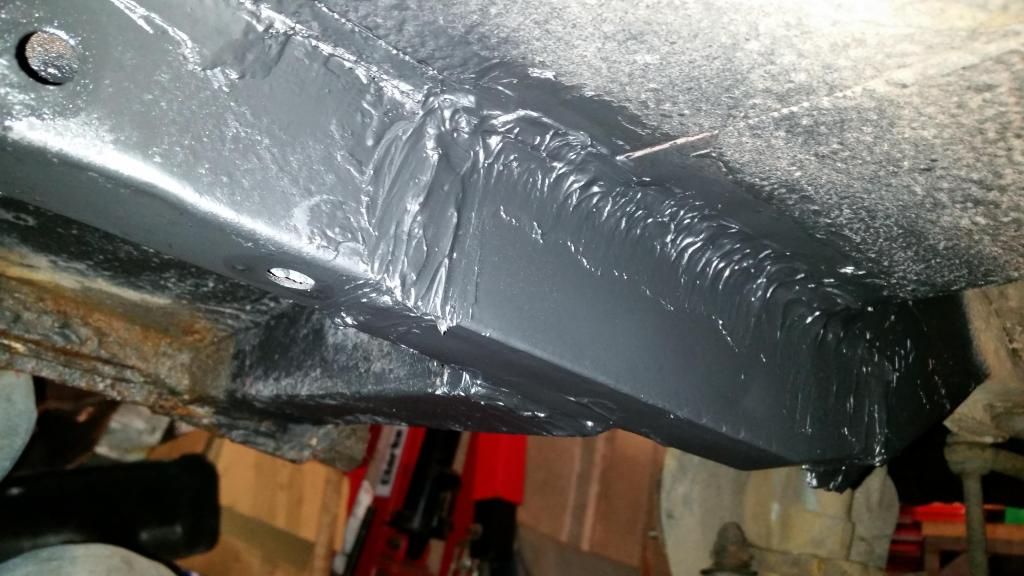 Sweet, the car should be a bit less death-trappy now  James. |
| |
Too many projects, not enough time.
|
|
|
|
|
Feb 13, 2015 10:56:39 GMT
|
Whoops. The Hillman was going nice and strong, doing the run to work and back every day, blasting through the snow as if it wasn't even there due to the permanent 2wd from the welded diff. It was great fun sliding it around, big sweeping drifts on the snow covered roads  That was until i came over a crest, sideways and found a foot deep ridge of snow going halfway along the road which cough the front of the car, spinning me round, leaving me sliding downhill, backwards and into a hedge slightly faster than walking pace. Doh! Luckily the guy following me stopped to give me a tow out (always carry a tow rope, they come in handy all the time!) Real nice fella he was, even said he was enjoying the show up until then! When i got home, scraped all the snow out from under the arches and emptied it all out of the boot i could inspect the damage: 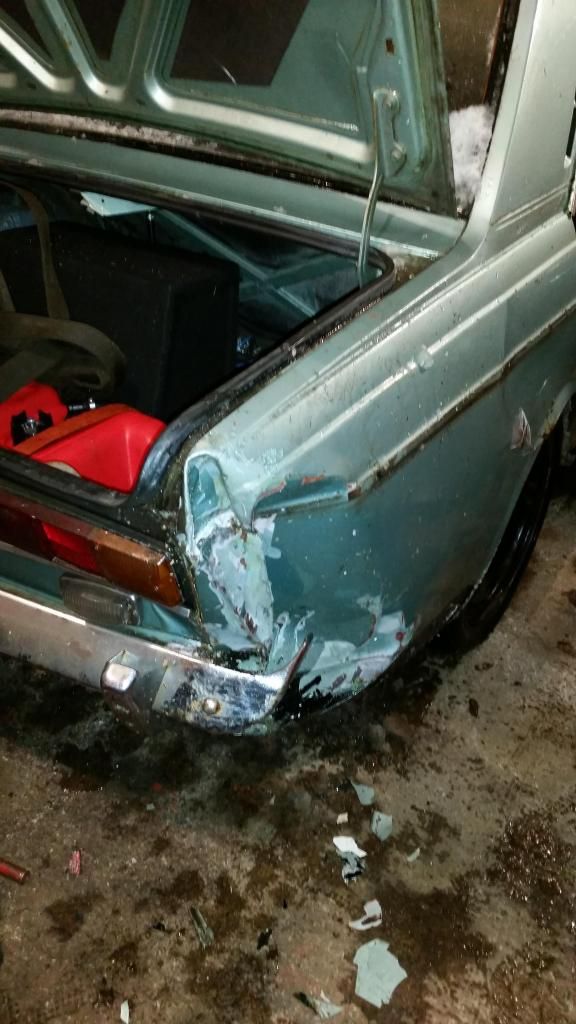 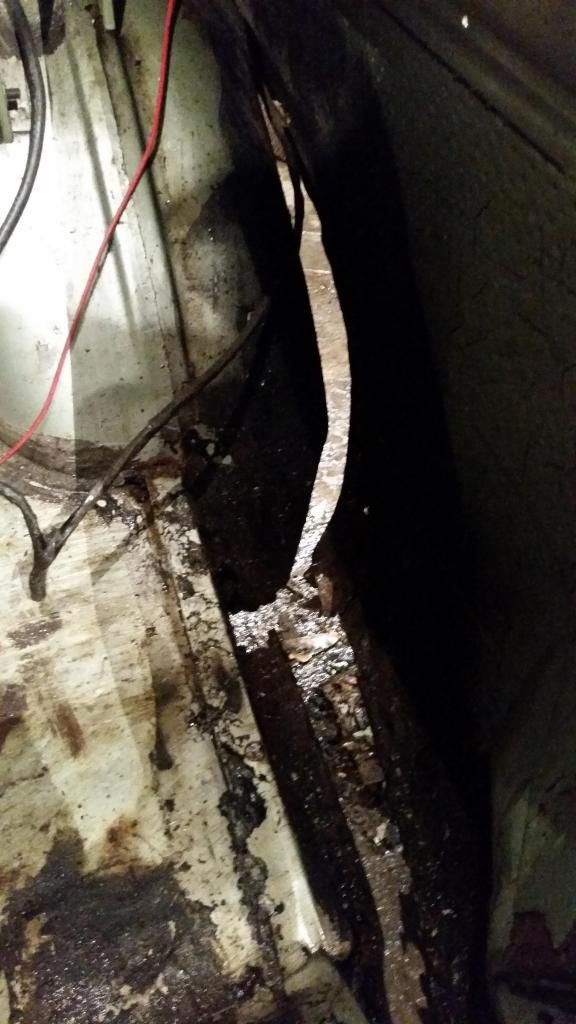 It was quite a bit worse than i expected, due to the rust, but also not as bad in some areas which was also due to the rust. The whole seal along the bottom of the quarter had rusted away, basicly leaving the bottom attached solely by paint, filler and silicone (no wonder everything kept getting damp in the boot) When i've hit the hedge, there was only either end of the wing holding it to the car so its crumpled up rather nicely, leaving a big old dent and a knackered bumper. The good thing though is that none of the force from the crash seems to have affected any of the rest of the car. The spring mounts are in the same place, all the door jams are the same, the car drove perfectly straight and even the boot still shut! phew! I was now carless seeing as i decided it was best not to keep driving it around, so i bought a Van for £600 (that's the Capri fund back to zero) and started taking bits off the Hillman, leaving me with more work to do: As well as the bottom of the wing being all rusty, the bumper mounting point was also none existent when i dug into it. I initially though that the bracket for the bumper had bent, but upon closer inspection the bracket had just pushed back into the car, taking the mounting point with it. The mount was just a sheet of metal, with a nut on the back and held in with filler to a big rusty hole where the original mount once was :@ 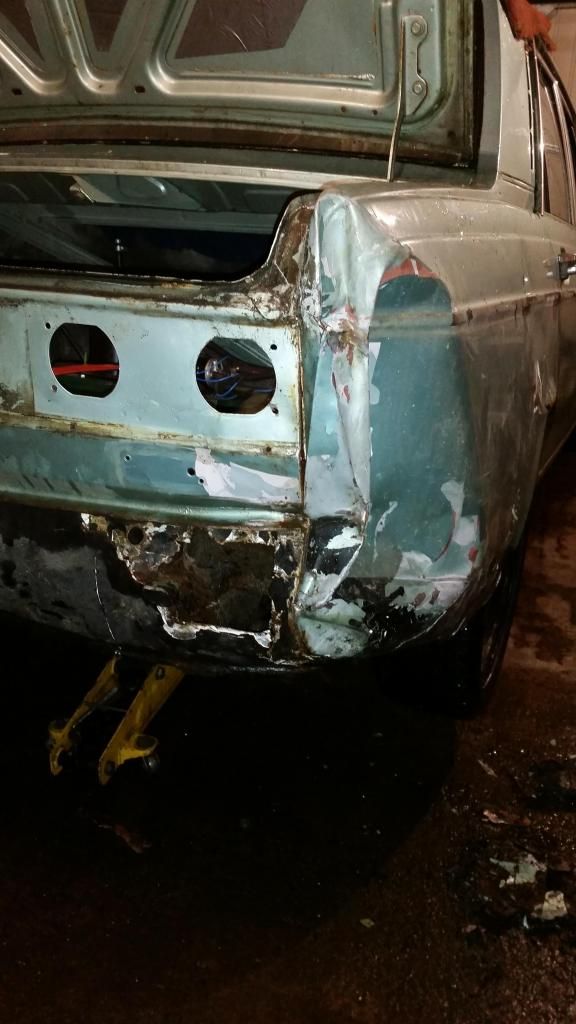 A few days later i was searching eBay and other sources for a rear quarter and one had just been listed, I messaged the guy, made him an offer, and then picked it up  It was a bit worse for wear, but being just surface rust and a NOS panel, i had to get it. It will also replace the base of the door where one of my previous repairs is, so it'll be nice to have it all as one panel and not a patch work. 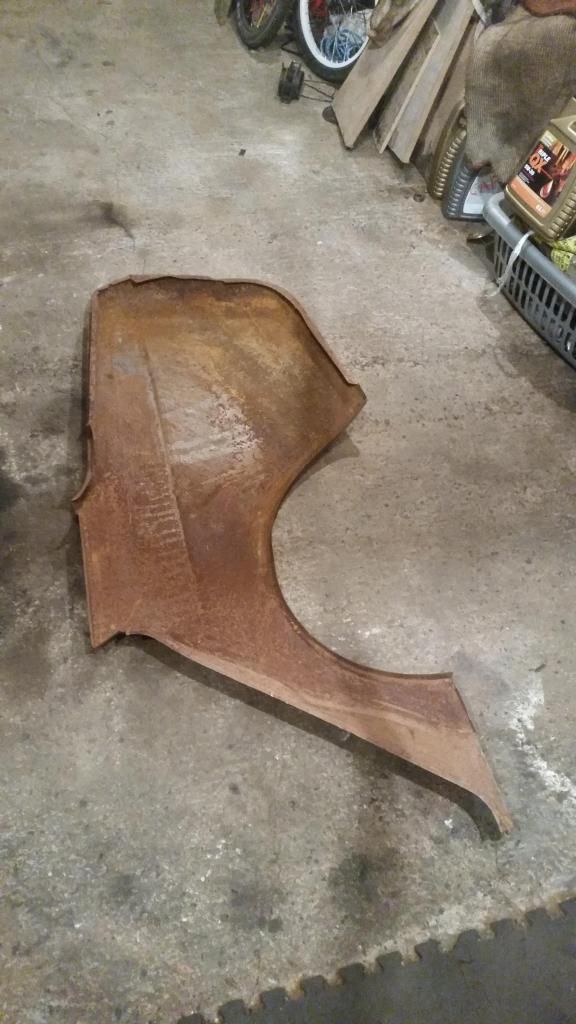 Came out pretty nice after a lot of wire brushing, knot wheeling and sanding (once the dust had settled leaving everything brown). I Covered it in a layer of weld through primer to stop it rusting again aswell: 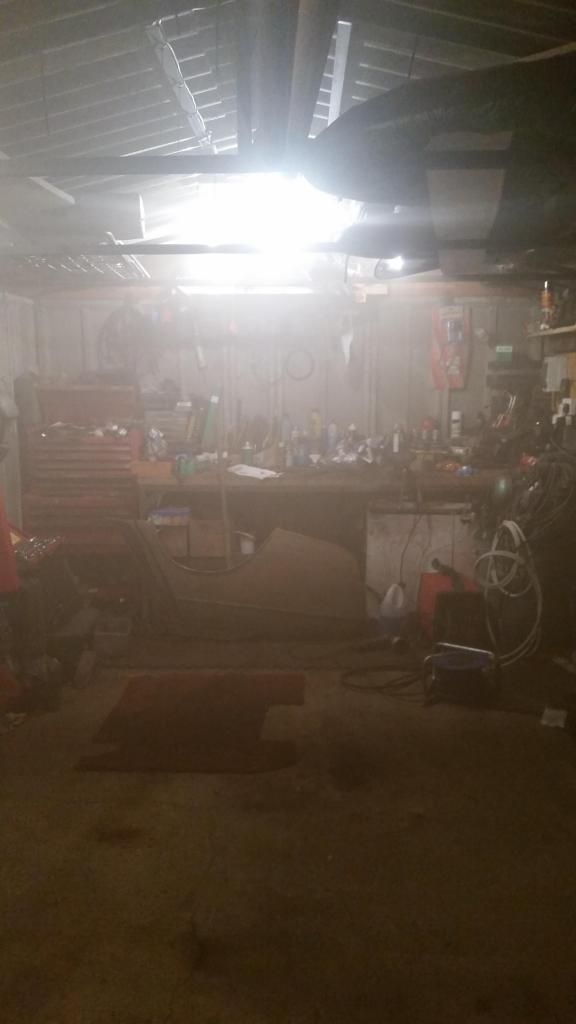 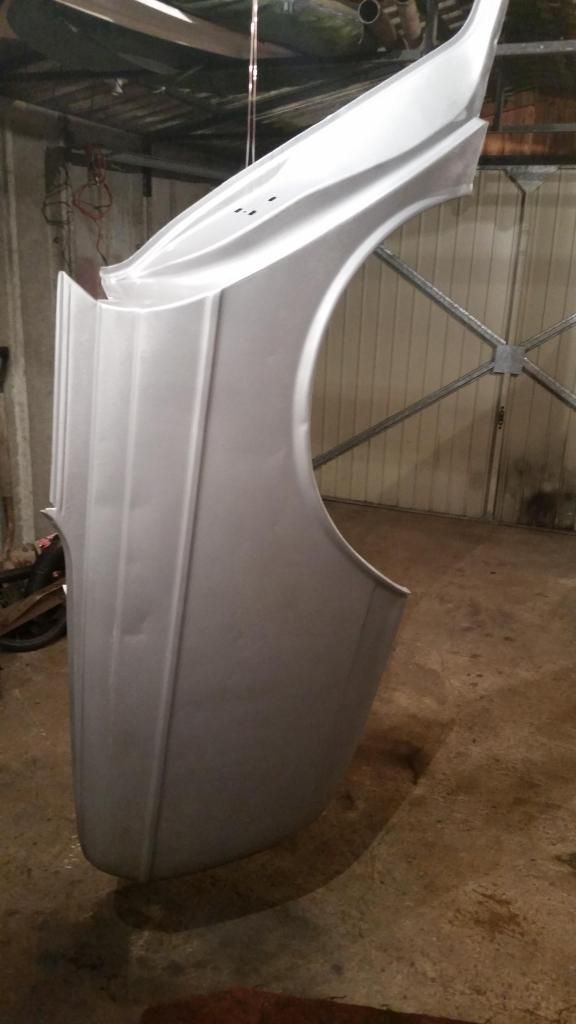 That's all for now folks. I should be moving house at the end of the month, which also means ill be garage-less (until i can afford to build one at the new spot) So updates may be even slower than they currently are! James |
| |
Too many projects, not enough time.
|
|
djefk
Part of things
 
Posts: 844
|
|
Feb 13, 2015 11:20:36 GMT
|
|
How lucky are you with that panel!!!
It seems Hunters are pretty bad for bodge repairs, probably because they've been worthless for so many years!
|
| |
|
|
|
|
|
Feb 13, 2015 12:41:33 GMT
|
|
Yeah, they seem to be becoming worth something now as I can only think of about 6 that are on the road!
|
| |
Too many projects, not enough time.
|
|
|
|
|
|
|
Feb 14, 2015 16:08:02 GMT
|
Managed to get the old wing off today. It didn't take too long as it was mostly off anyway, just needed the remaining spot welds drilled out then a good pull. 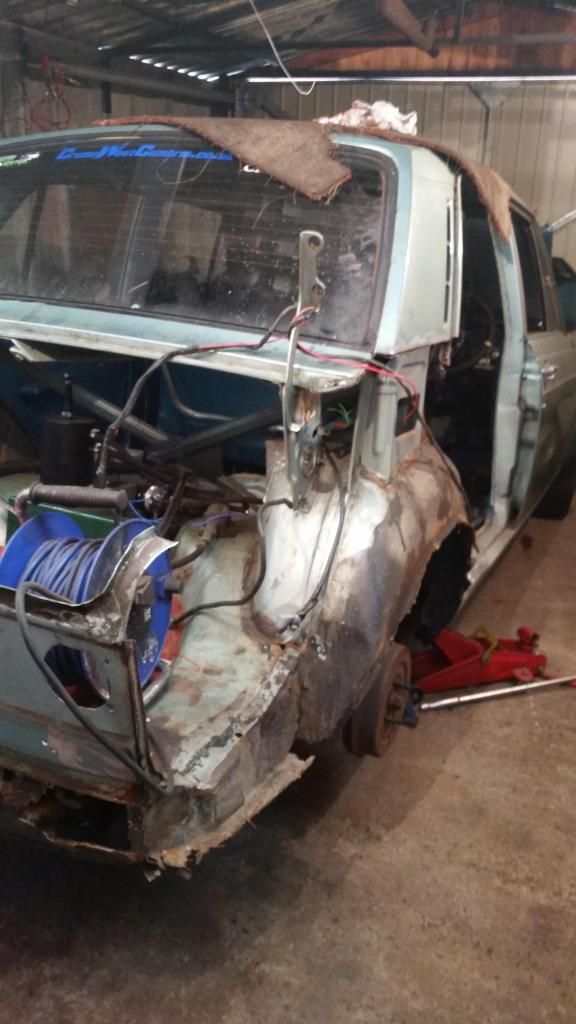 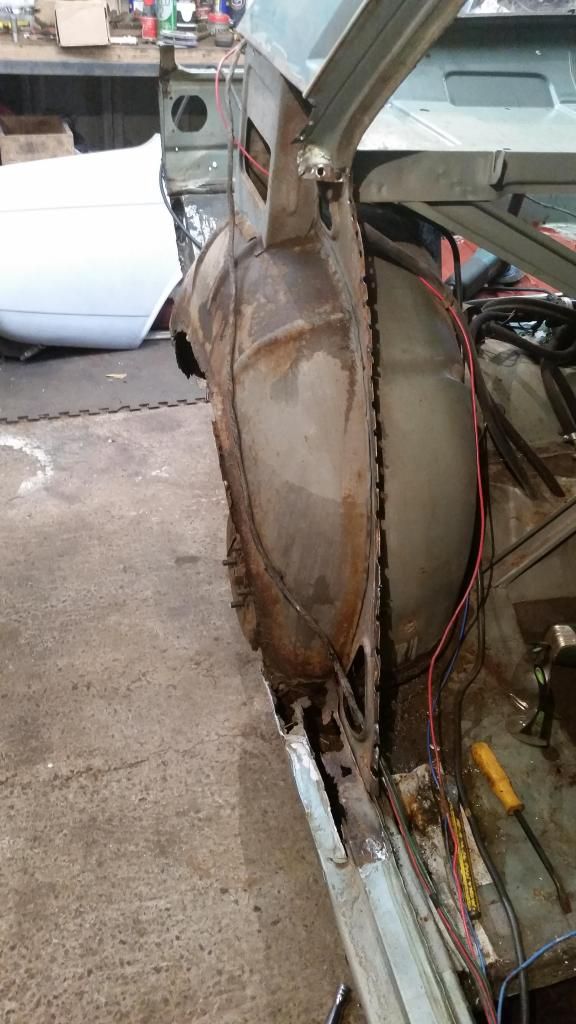 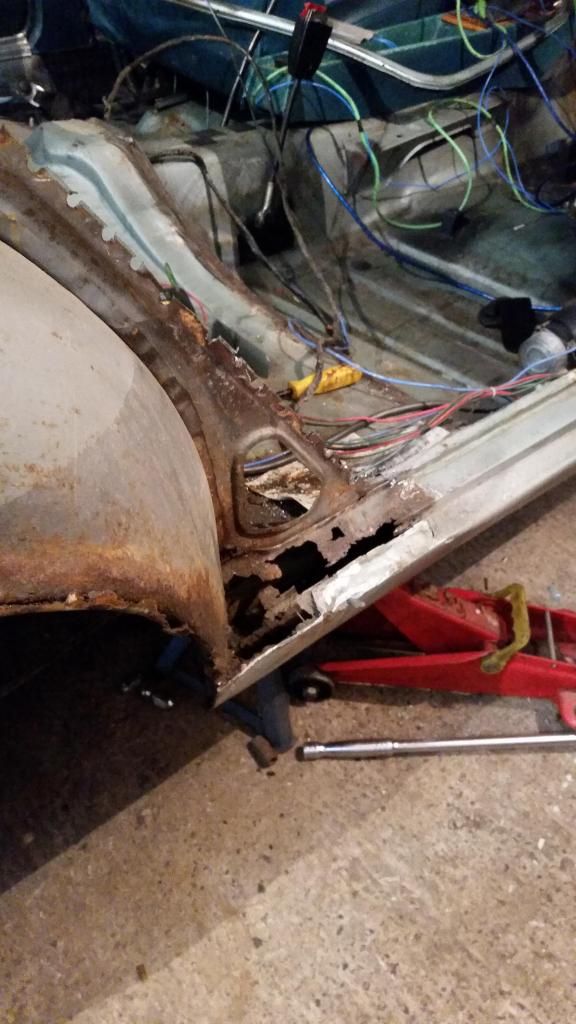 Once it was removed, I could see where I needed to patch up the rust and also what extra damage there was. There wasn't very much really, just bits missing that had rusted away, so I gave it all a clean up and started straightening it out. I got the rear valance pretty straight which went OK. 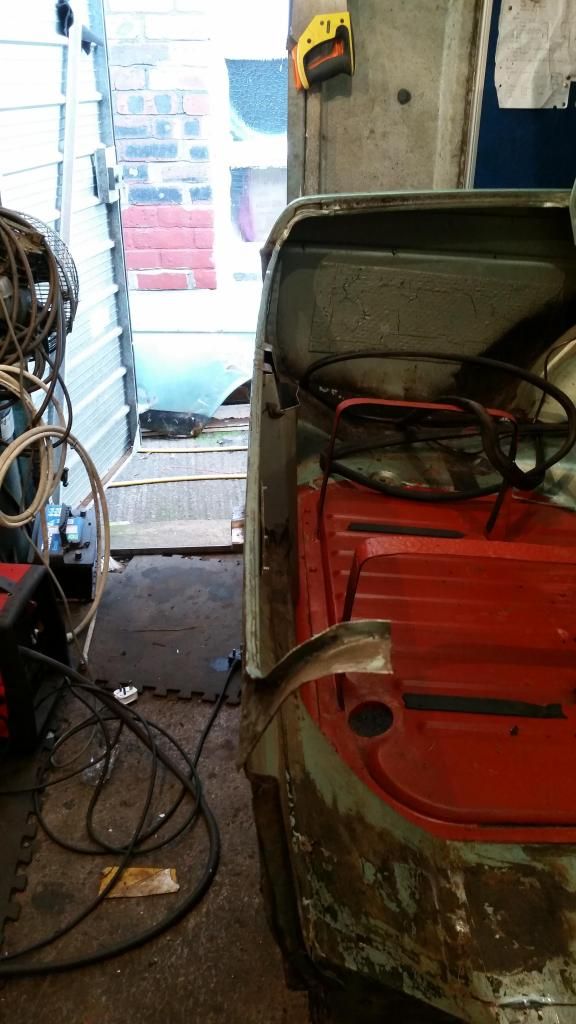 At this point I ran out of cutting disks for the grinder so I have called it a day as everywhere I can get them from is shut! More updates will come when get some work done. James |
| |
Too many projects, not enough time.
|
|
|
|
|
Feb 14, 2015 16:26:08 GMT
|
^ and here's me putting off changing a front wing 'cause it looks complicated  Good & brave work - looking good  Nice to see another RWD retro daily being used the way it should be* (sideways in the snow, driver grinning like an idiot  ) |
| |
|
|
|
|
|
Feb 14, 2015 16:48:01 GMT
|
Now you know why i'm in no rush to come get that dash off you Nomad! My Idiot grin was at 100% in the snow  |
| |
Too many projects, not enough time.
|
|
|
|
|
Feb 16, 2015 17:57:21 GMT
|
Tonight's progress isn't massive but its a step in the right direction! I started by shopping the abomination out of the car: 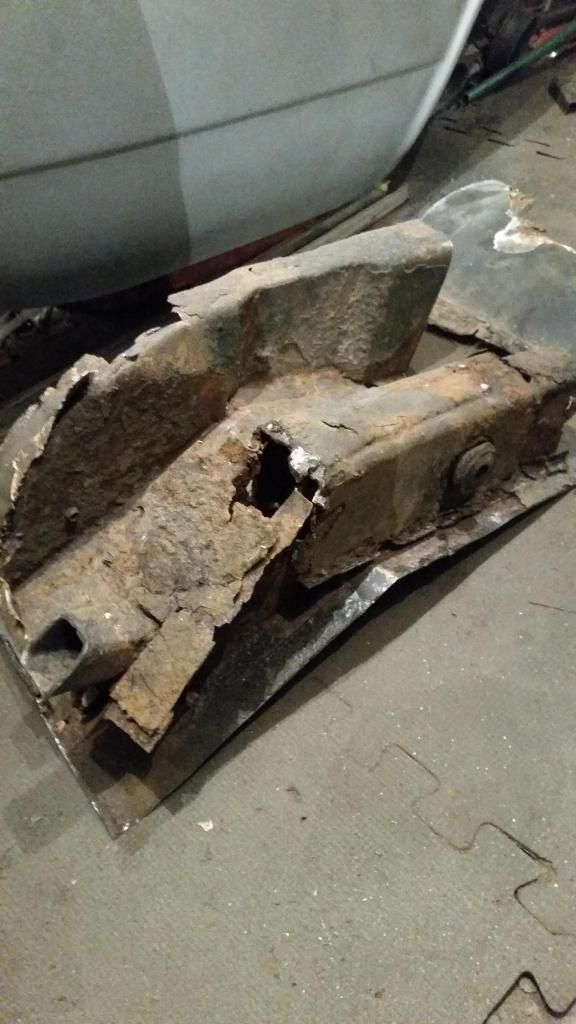 Yeah.... that was the old spring mount. I'm amazed the spring hadn't fallen off! So i put this in its place: 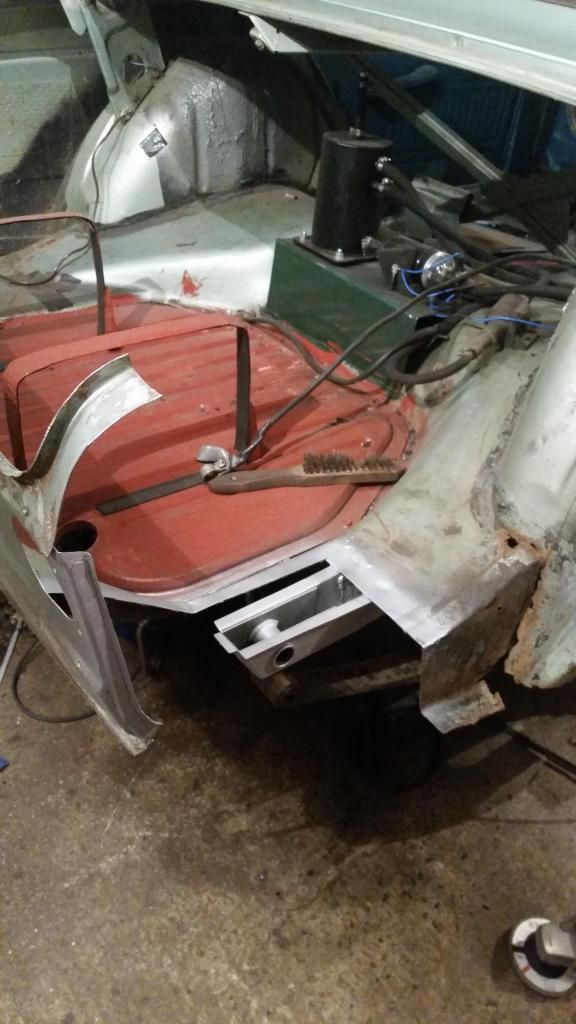 And neatened up the arch ready for the wing, along with the top of the sill: 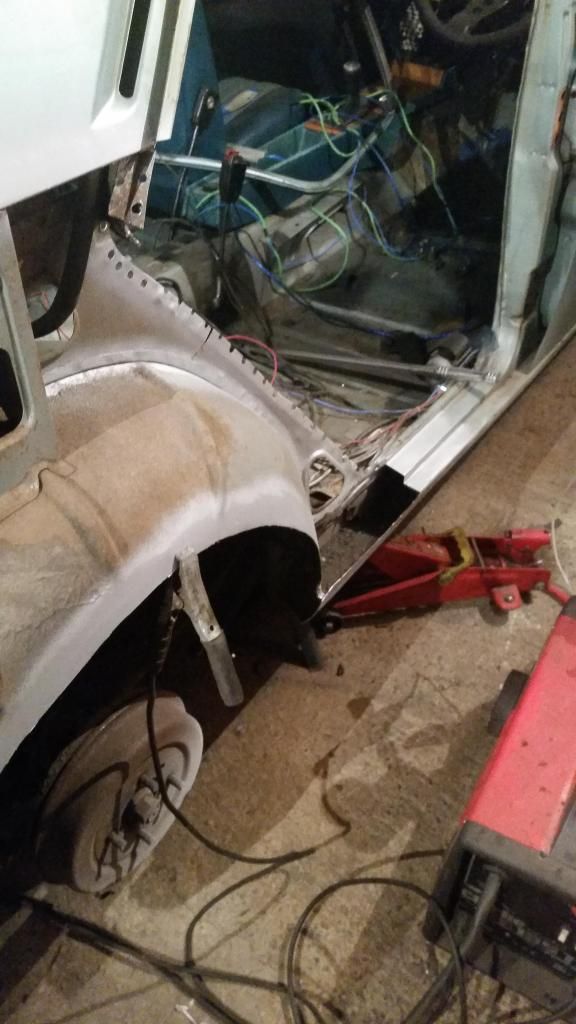 And then i stopped. All i can taste/ smell is the body filler i have ground off. The Weld through primer i have used is brilliant. If anything its made the welds nicer! The stuff i used is: U-POL Weld #2James |
| |
Too many projects, not enough time.
|
|
|
|
|
Feb 16, 2015 21:26:57 GMT
|
top work james  I haven't been on here in ages now, but good to see you've been busy I'm still extremely jealous of your turbooooo!!!!!! haha also your fabrication work looks excellent  |
| |
|
|
|
|
|
Feb 17, 2015 17:59:58 GMT
|
Cheers Code109, I'm not running the turbo atm after the mishap with the last engine, but I have some throttle bodies that will be going on it when I have the gear to make up the manifold  Hopefully once we have moved, old house sold and garage built, ill be able to afford an AC/DC TIG setup so that I can do aluminium. I've been on with some more fab work tonight, but this time I've been putting bits back in. Just to prove that you don't need any special equipment, all my sheet bending was done with this. just a bench vice and 2 bits of angle: 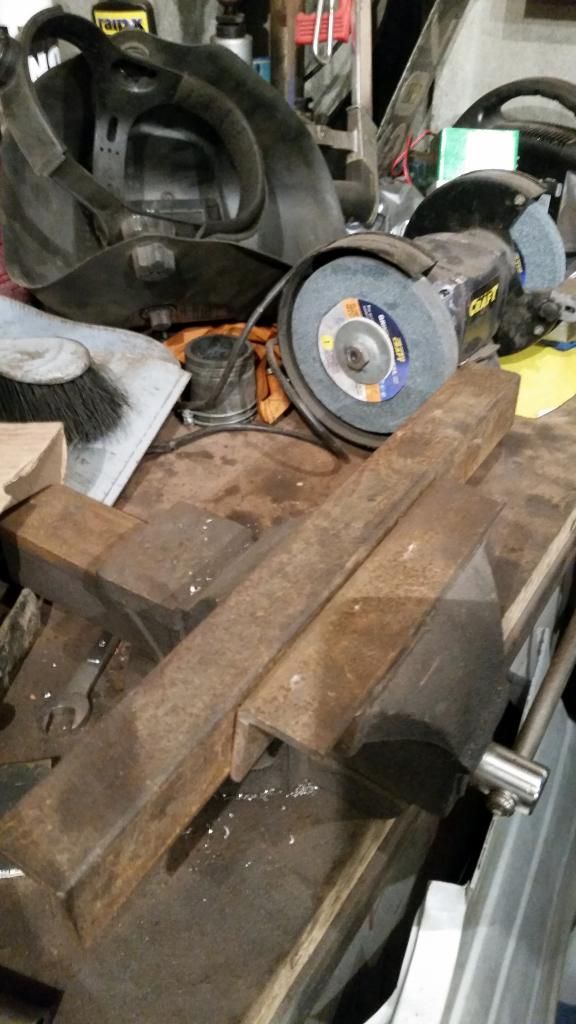 First bit was the boot floor, I plug welded it to the chassis rail/rear spring mount and then seam welded it to the rest of the boot/rear valance 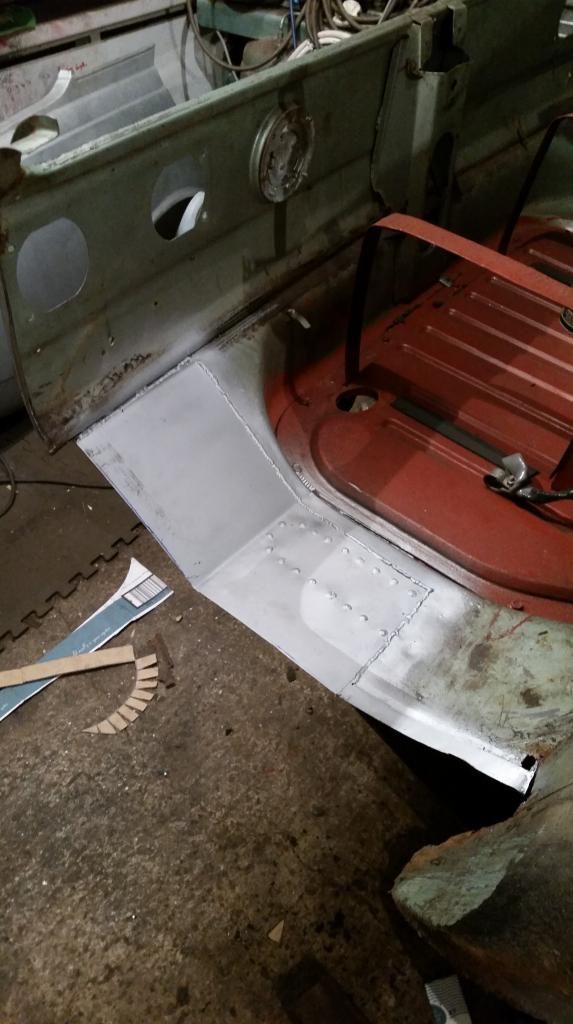 Once that was done, i started bending up the side piece that makes up the channel along the base of the 1/4 panel. 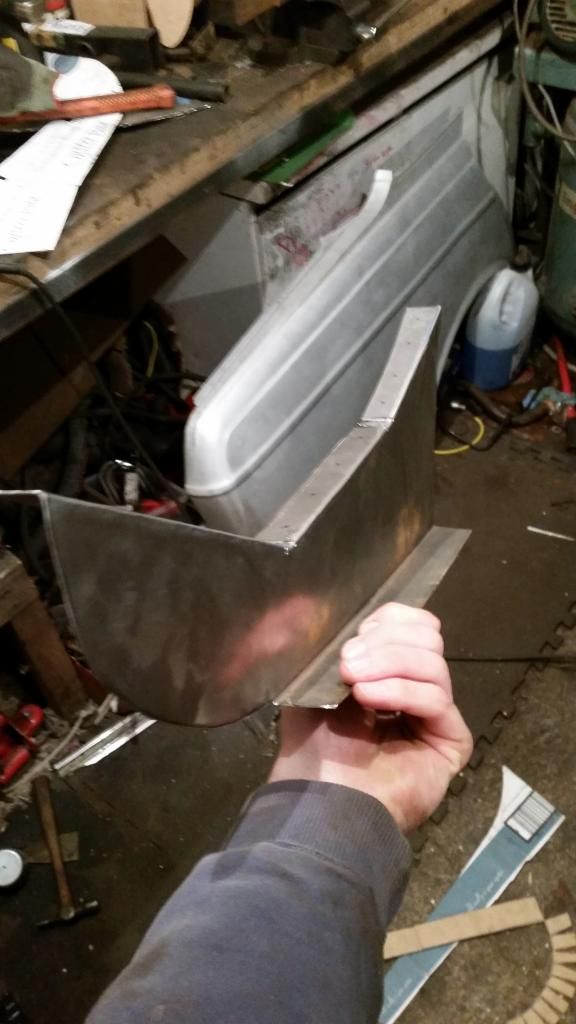 I havent stuck that on yet. Its time for pancakes  James. |
| |
Too many projects, not enough time.
|
|
|
|
|
|
|
|
Brilliant read. Those repair panels look perfect, and very inspiring to see your sheet metal bending facility (!) and top welding skills - hope for us all. Keep at it.
|
| |
|
|
|
|
|
Feb 18, 2015 14:52:21 GMT
|
What sort and size of flange is on the turbo manifold you made? Fancy selling it?  Haha I've got a turbo coming from eBay on Friday now  |
| |
|
|
|
|
|
Feb 18, 2015 21:57:34 GMT
|
|
Sorry man, I sold the whole setup to fund the replacement engine!
I made my Manifold out of 1-3/4 steam pipe elbows from the bin at work, a flange from the old manifold and an eBay flange to suit the turbo. I think it was 10mm thick, but I'm not 100% certain!
The manifold eventually cracked, but I just kept grinding it out and welding again.
Are you running megasquirt?if so I'll have a look and see if I have my old tune if you want it.
|
| |
Too many projects, not enough time.
|
|
|
|
|
Feb 18, 2015 22:01:27 GMT
|
my plan is to run it on mega squirt yeah  but that wont be for a while as there is no wiring in the car atm haha I also need to properly research how to use it and program it lol but the base map for a turbo would be very helpful thanks  |
| |
|
|
|
|
 the car fired straight up

 the car fired straight up


 Good & brave work - looking good


 Haha I've got a turbo coming from eBay on Friday now