|
|
|
Nov 21, 2014 15:22:46 GMT
|
Ooh that's looking good. All the hard work painting bits pays off when it goes back together looking shiny!  Very therapeutic to put it all back together and see the finished result. and it's the attention to detail that makes all the difference. Now... what have i been doing the last couple of weeks? well, doors bonnet and bootlid are still in various stages of Prep. and i'm running out of new parts to put on the car  Had an issue with the rocker cover moving about when the engine was cranking, turned out that it needed a thicker gasket, bought one, sorted. need some more spray paint to finish the fuel tank as it's sitting there all primed and half painted! 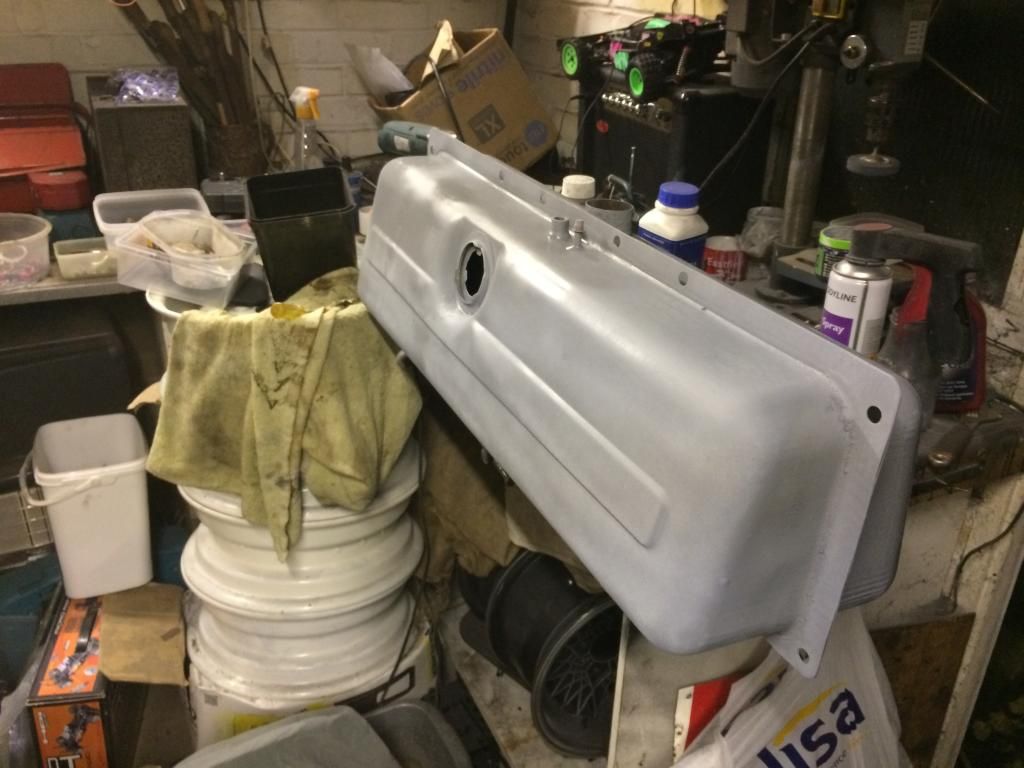 Trial fitted the radio in the new rapped dash support, couple wrinkles that we sorted out, looks ace now. 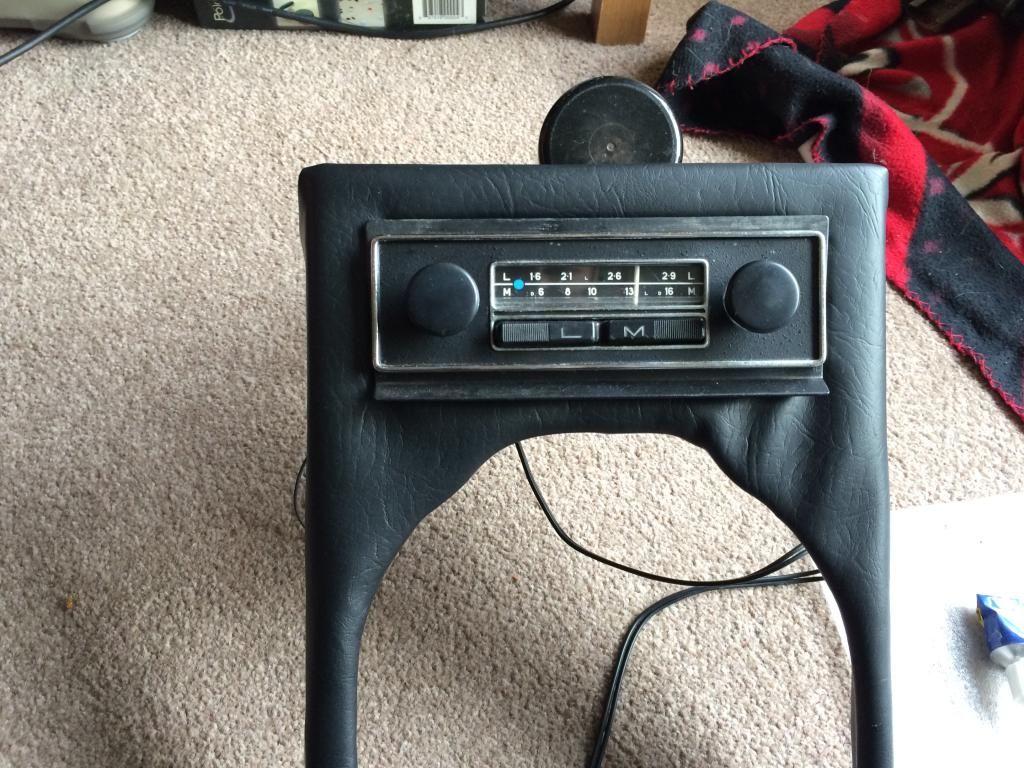 Other small bits have been tidied and cleaned. Horns fitted, clutch system filled and bled, gearbox tunnel is a project in iteslf, and i don't wan't to fit it unless i know i don't have to take it out again! |
| |
|
|
|
|
|
|
|
Nov 23, 2014 21:16:01 GMT
|
Little update as i'm on a high from some retail therapy, and i'm going to be doing an experiment fitting a gear stick from a different car. The sloppy gearchange has always been a bit of a downer on an otherwise lovely car, and locating an overdrive replacement is a pain in the bottom. Noticed while reading the mini forums that the gear selector mechanism is very similar between the two cars and prompted some investigation, and the mechanism seems to be a complete match! opened up the option for a quickshift unit, which is something these cars could do with for a more sporty feel. Here's the mini selector. 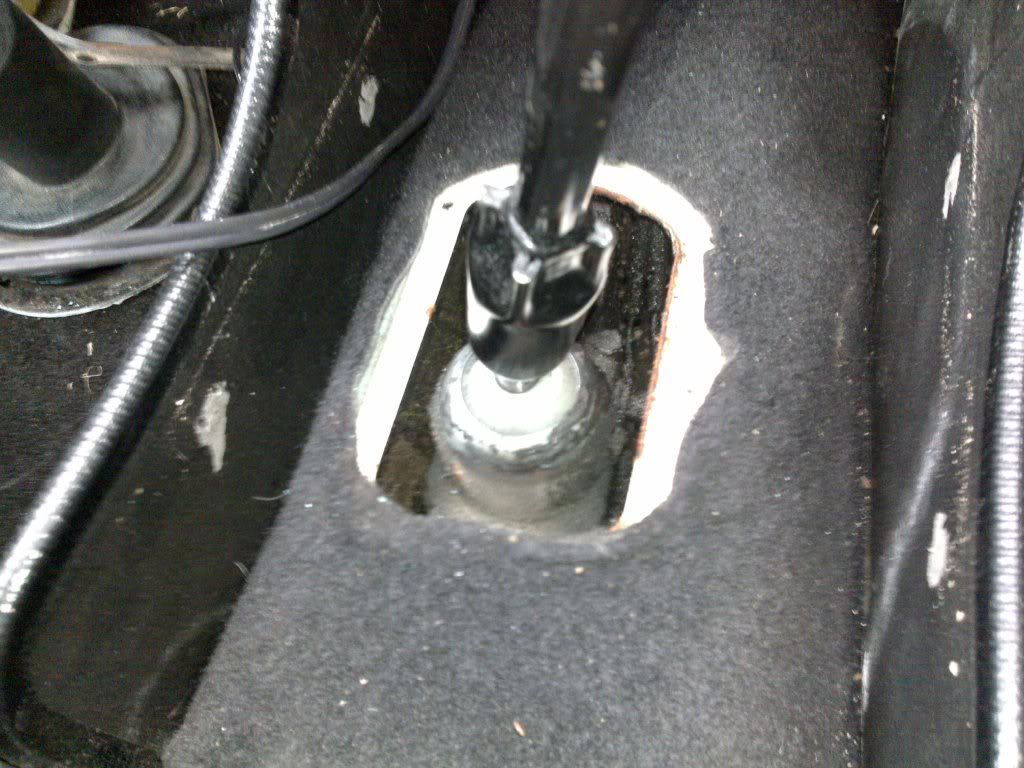 and here's my worn one, 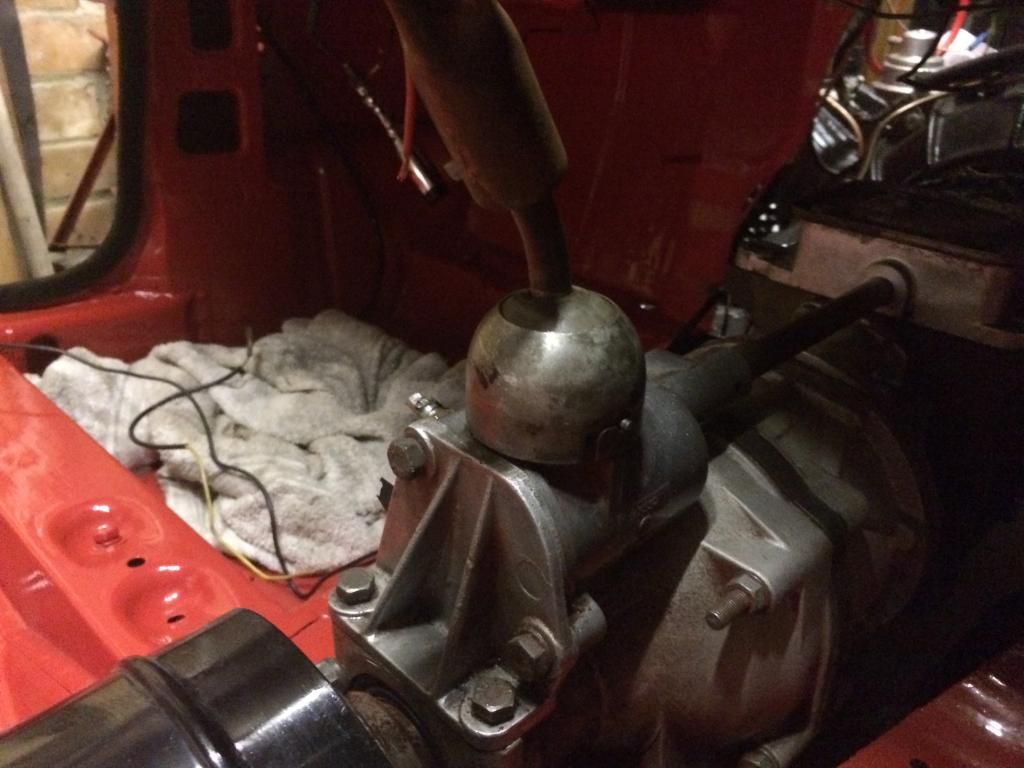 Found a quickshift one on ebay for £36 and snapped it up, it's also got the lift reverse feature as a collar rather than the stick lift... modern  Think it's a clone of a KAD item. 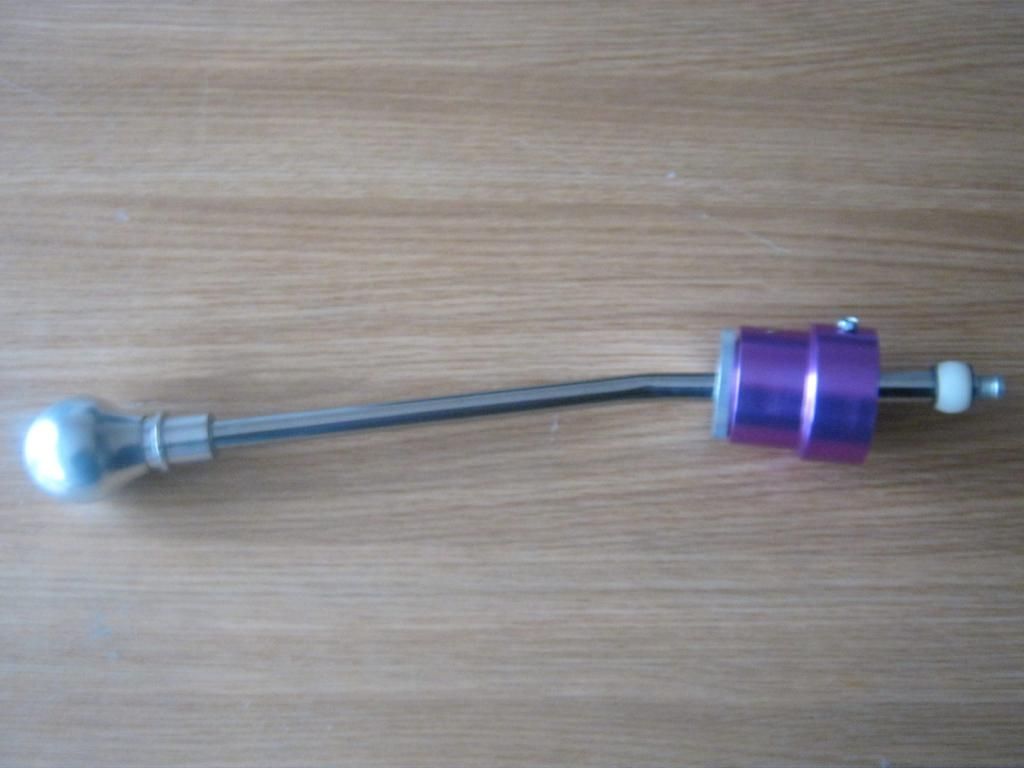 Also got some new Compomotive centercaps to match the mesh wheels. 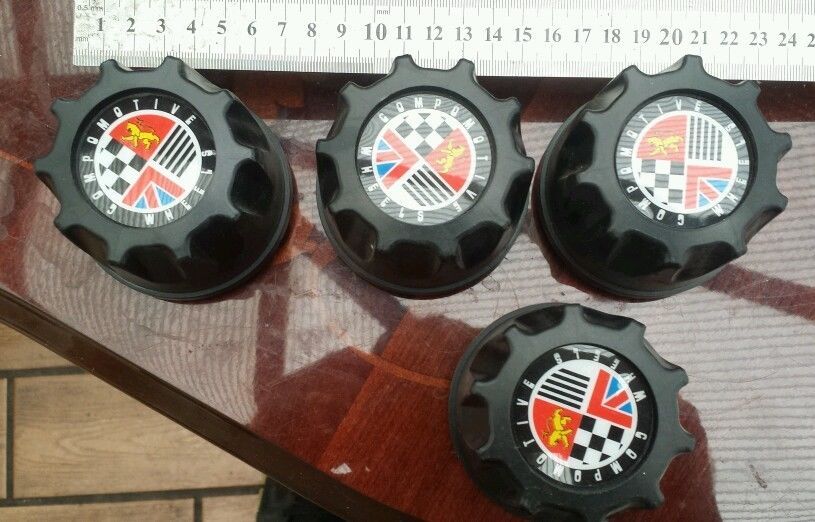 some other little bits too, like a new indicator flasher, rear view mirror mount, fuel pipe and exhaust mounts. Should keep me busy for a while. |
| |
|
|
|
|
|
Nov 27, 2014 15:44:37 GMT
|
Time for another update, i've received a few items in the post like an excited child. and set to work fitting the mini quick shift.  (Tortoise for scale) I tried to fit it with no luck, the collar was too tight on the original bayonet as well as the nylon ball at the end being too big for the nylon collar in the selector. The solution was to remove the original collar, and file/sand down the new nylon ball so it fit snugly into the selector. Then i had to remove the lift reverse restrictor, meaning the new collar lift reverse would work. then i lightly sanded down the housing for it all so it would slip over. and hey presto! all 4 gears with lift reverse. and a damn sight more positive than the old shifter. Unfortunately i was so engrossed with getting the thing to fit i didn't take any pictures.  But here's the finished product, Next job is to cut the rod down, re drill some holes, thread the end and make it a little shorter. as at the moment it's a little silly. 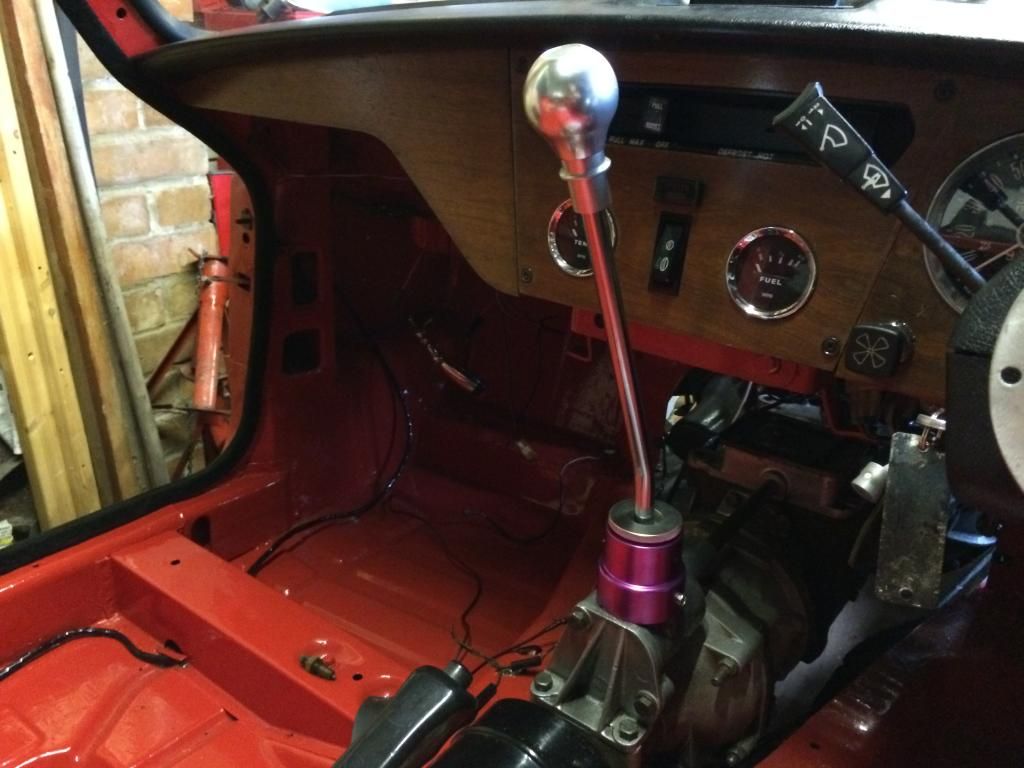 |
| |
|
|
bstardchild
Club Retro Rides Member
Posts: 14,965
Club RR Member Number: 71
|
|
Nov 29, 2014 16:37:11 GMT
|
|
Try it before you shorten it....
Really is coming along nicely
|
| |
|
|
|
|
|
Nov 29, 2014 20:16:01 GMT
|
|
I am really enjoying this thread and I love the bizarre randomness of using a tortoise as a size comparison.
What we really need is a British Standard Tortoise, by which all things could be measured.
|
| |
|
|
|
|
|
|
|
British Standard Porpoise is already a measurement for pipes, isn't it? How large of a porpoise can you fit down this plumbing, and all that? I was wondering if maybe the soup can had come in the mail as well, but I didn't think pet shops would deal with live freight.  |
| |
|
|
|
|
|
Nov 30, 2014 11:58:22 GMT
|
I am really enjoying this thread and I love the bizarre randomness of using a tortoise as a size comparison. What we really need is a British Standard Tortoise, by which all things could be measured. British standard tortoise would be a tricky thing to regulate, you should see the size of his companion! |
| |
|
|
Clement
Europe
ambitious but rubbish
Posts: 2,095
|
|
Nov 30, 2014 12:40:31 GMT
|
You sir have a huge TV remote! 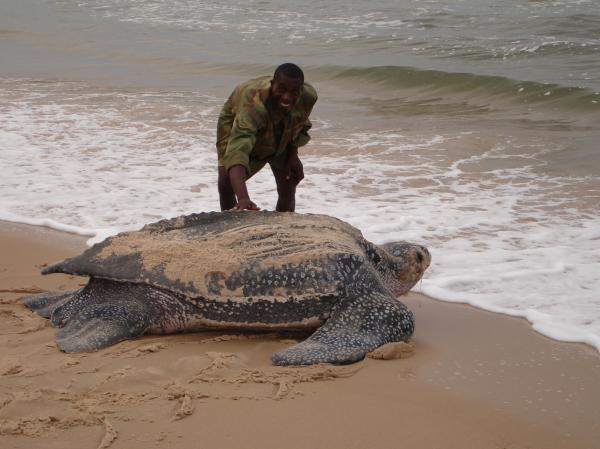  More seriously though, this is coming along really nicely, shiny parts are sexy aren't they! I do agree with bstardchild (his words not mine) on not shortening the rod before trying it as it is, after all rally cars do have a similar gear shifter placement so it must be for a reason. |
| |
|
|
bstardchild
Club Retro Rides Member
Posts: 14,965
Club RR Member Number: 71
|
|
Nov 30, 2014 19:36:19 GMT
|
|
If you lengthened a std gearshift to the same you would be moving it feet not inches between gears, short shift linkages shorten the throw but increase the weight required to shift, shorten a short shift may dramatically increase the effort needed to change gear.
Oh and at the height it is now should mean the gearshift is nice and close to the wheel so minimum time spent away from it (which is why rally or race cars have it like that)
That's why I thought it better to try it first.
|
| |
|
|
|
|
|
Nov 30, 2014 19:36:38 GMT
|
You sir have a huge TV remote!   More seriously though, this is coming along really nicely, shiny parts are sexy aren't they! I do agree with bstardchild (his words not mine) on not shortening the rod before trying it as it is, after all rally cars do have a similar gear shifter placement so it must be for a reason. haha! And i get what you mean about the rally gear shifters, they are quite similar, and i think the shorter ones are more for convenience in the cockpit of normal cars. this one still needs to be bent a little more towards the cabin as you hit your knuckles on the dash top in 3rd. so i'll have to find someone with a press to bend it. but i'm growing used to it now  |
| |
|
|
|
|
|
|
|
|
|
So another little update to keep you on the edge of your seat. It's come to the time to make the carpets. we decided against a bought set as we thought we could do better. So down to carpet right to pick up some remnants, 10x2m of black carpet for £10, bargain! so out with the old carpets for basic templates, then dropped in place and trimmed to fit. 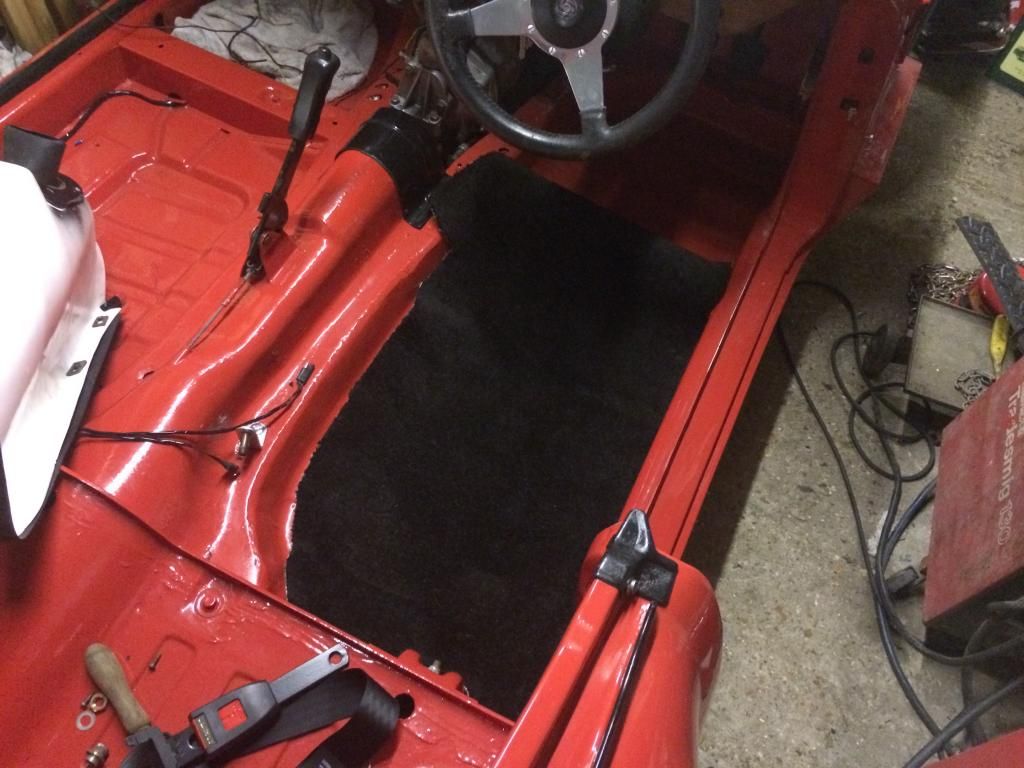 These both came from the inner sills, seems half the carpet was replaced at soe point, but he was too lay to do the rest.  Which one to use as a template 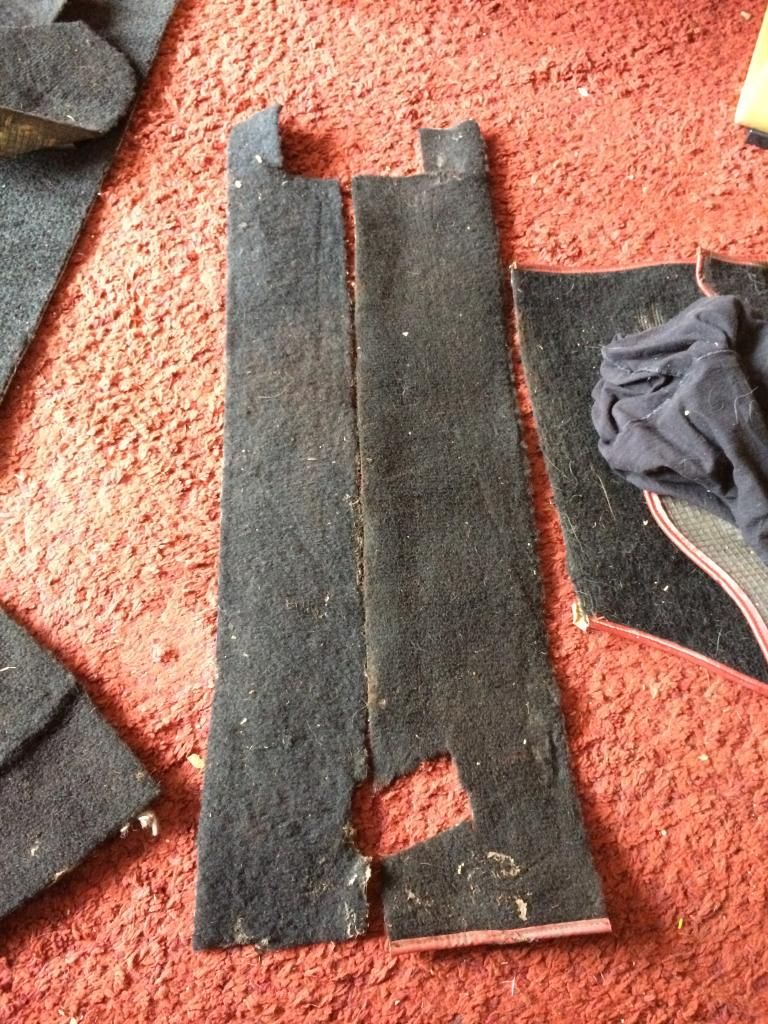 Same issue with the a post covers 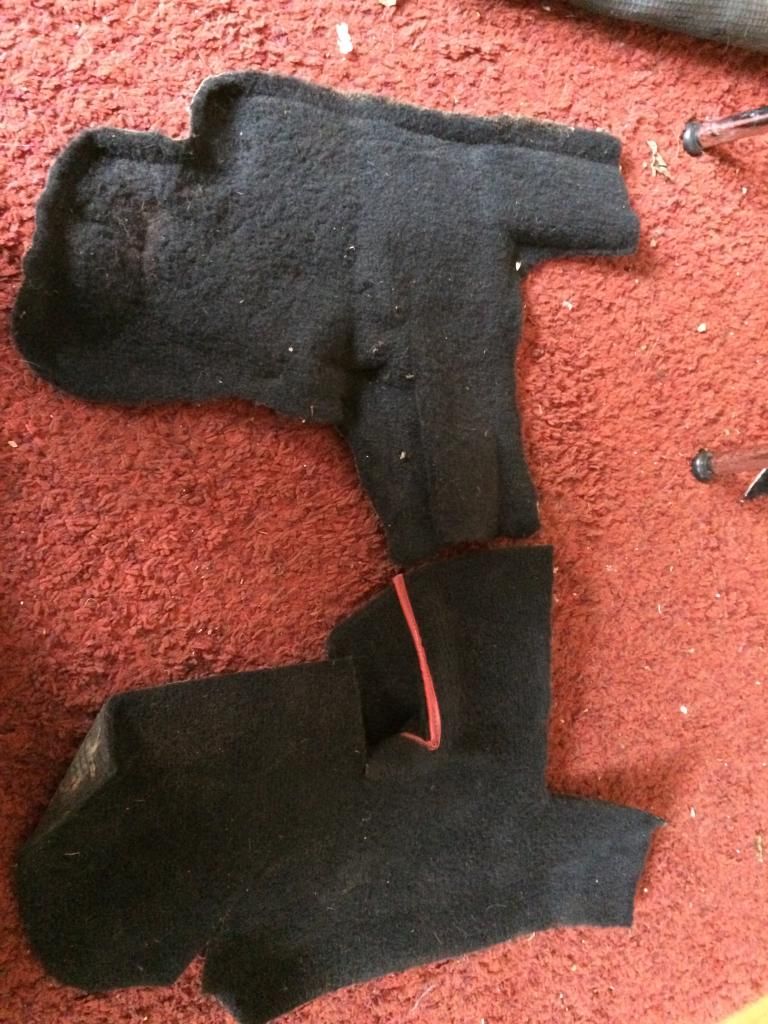 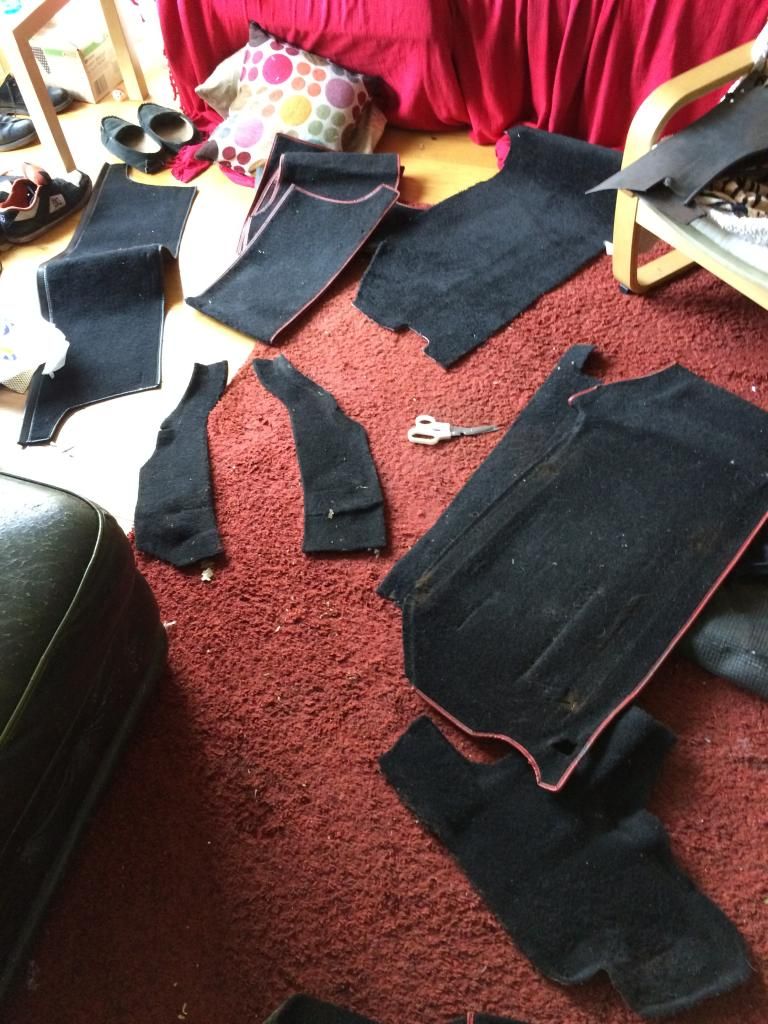 Using some of the vinyl from earlier we can keep the edges neat 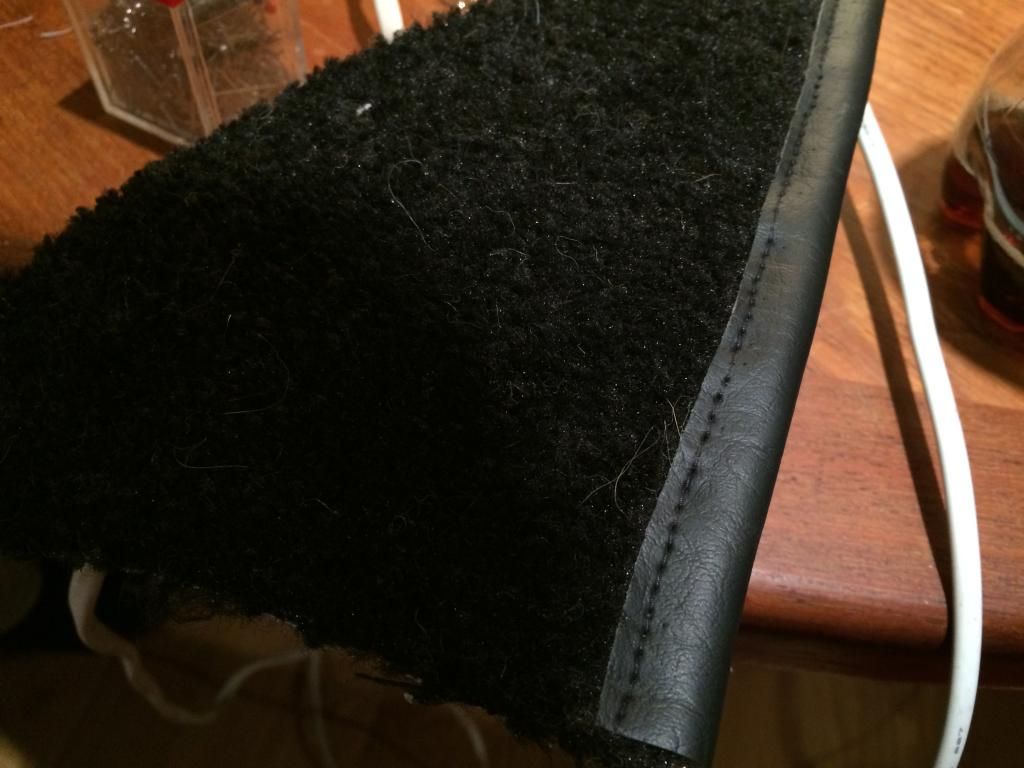 Here's some i made earlier  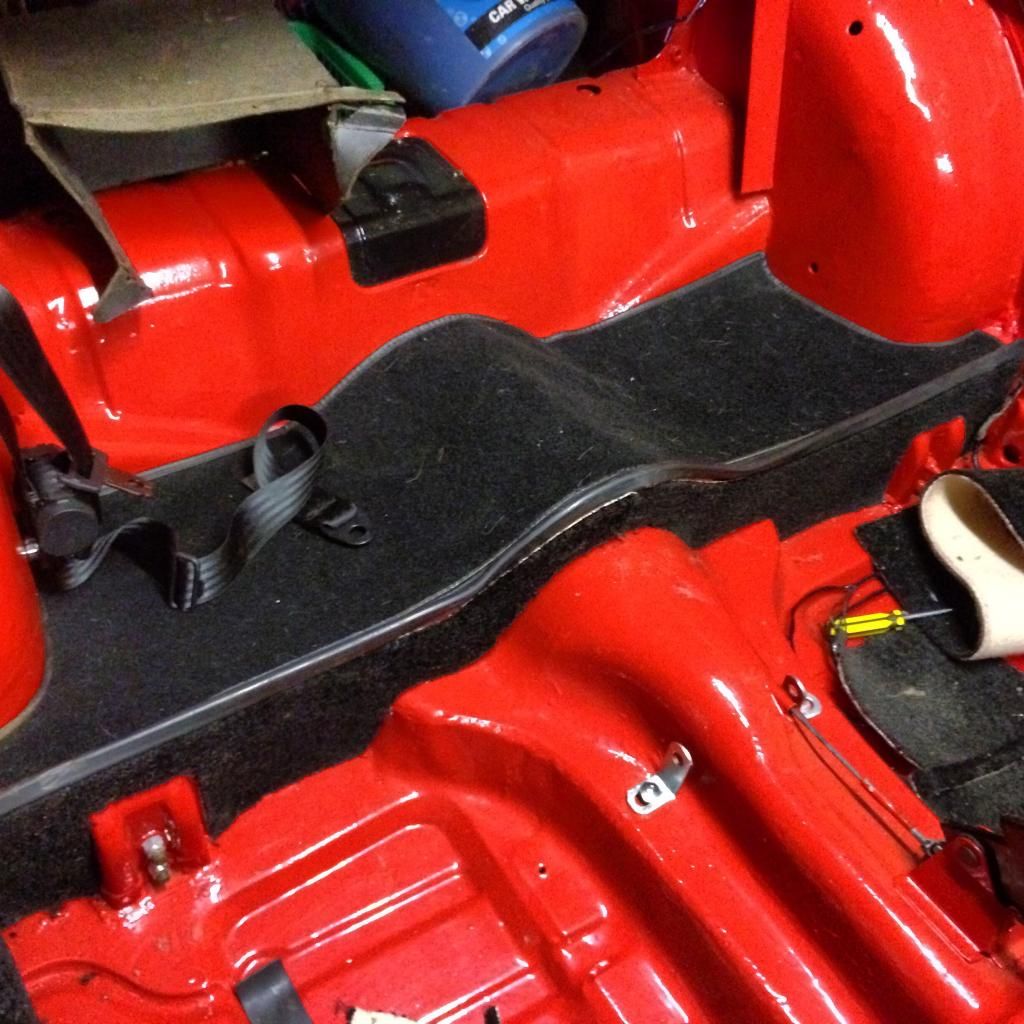 And i finally got the gearbox tunnel fitted. can't really recommend this as a purchace, bit wibbly wobbly and difficult to make fit. go for a plastic one instead. 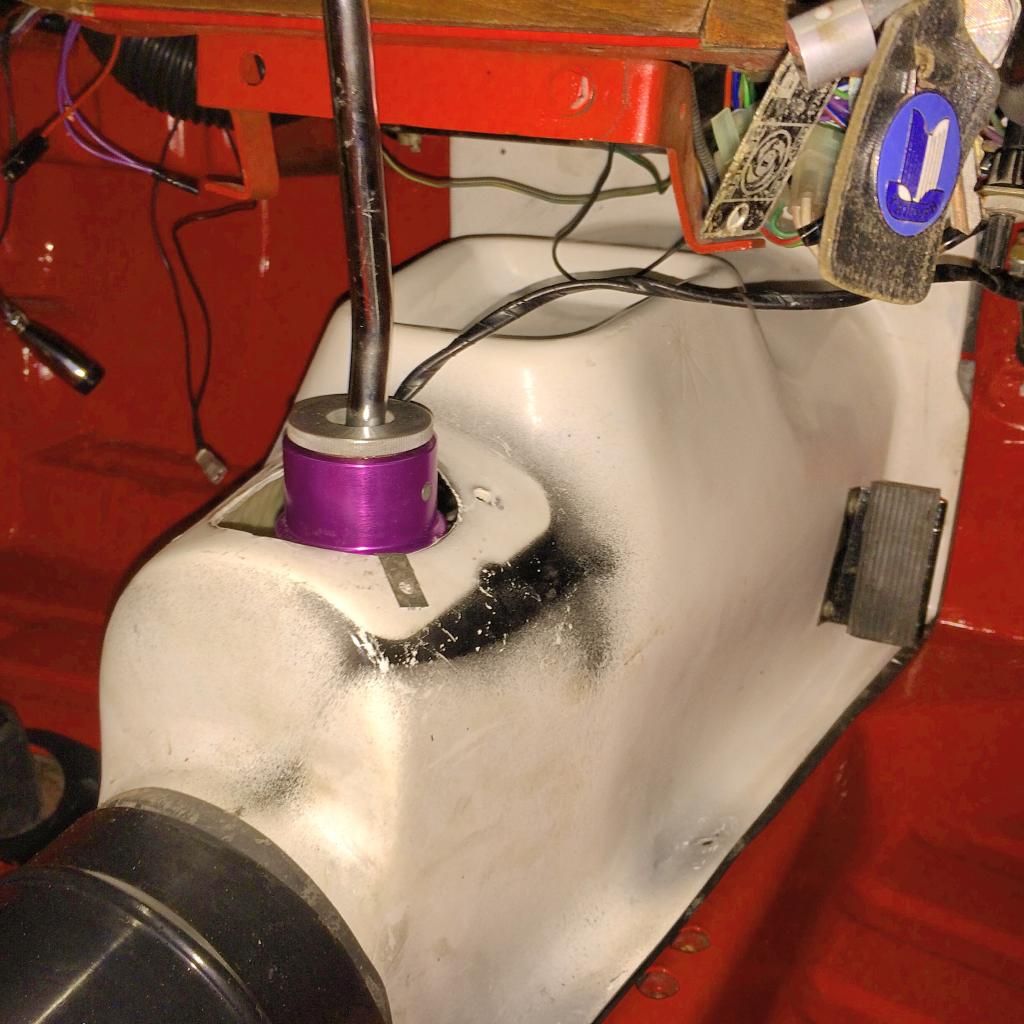 And that's as far as it goes. But wait..... There's more. |
| |
|
|
|
|
|
|
|
Waiting in the wings is the basis for my next long term project. Here's a teaser. 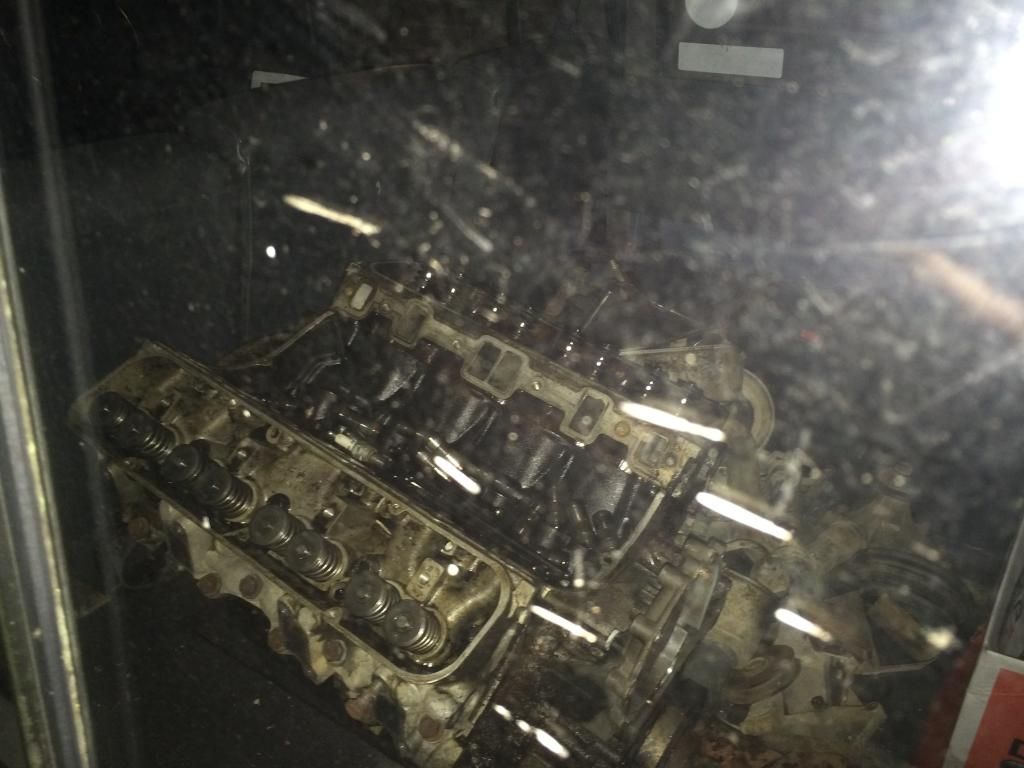 |
| |
|
|
|
|
|
|
|
Waiting in the wings is the basis for my next long term project. Here's a teaser. Looks to have just about the correct number of cylinders. Approved! |
| |
|
|
|
|
|
|
|
More of the carpet bits are going in now i've got more contact adhesive, the main floor carpet will remain loose unless i need to get water out of the car. 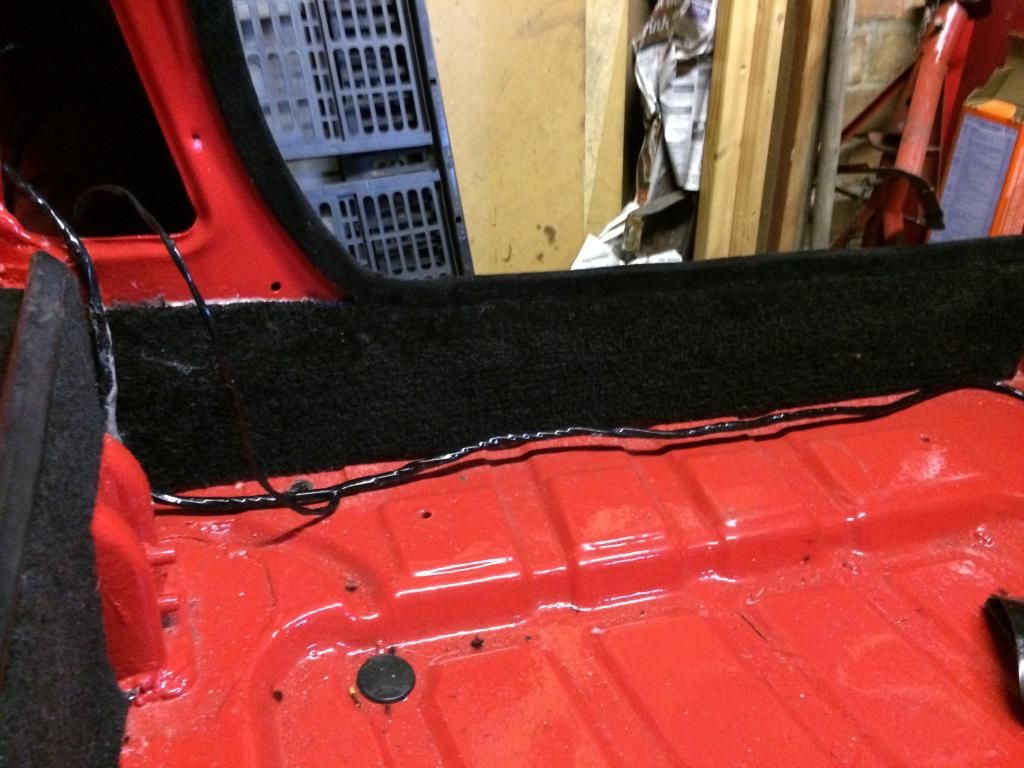 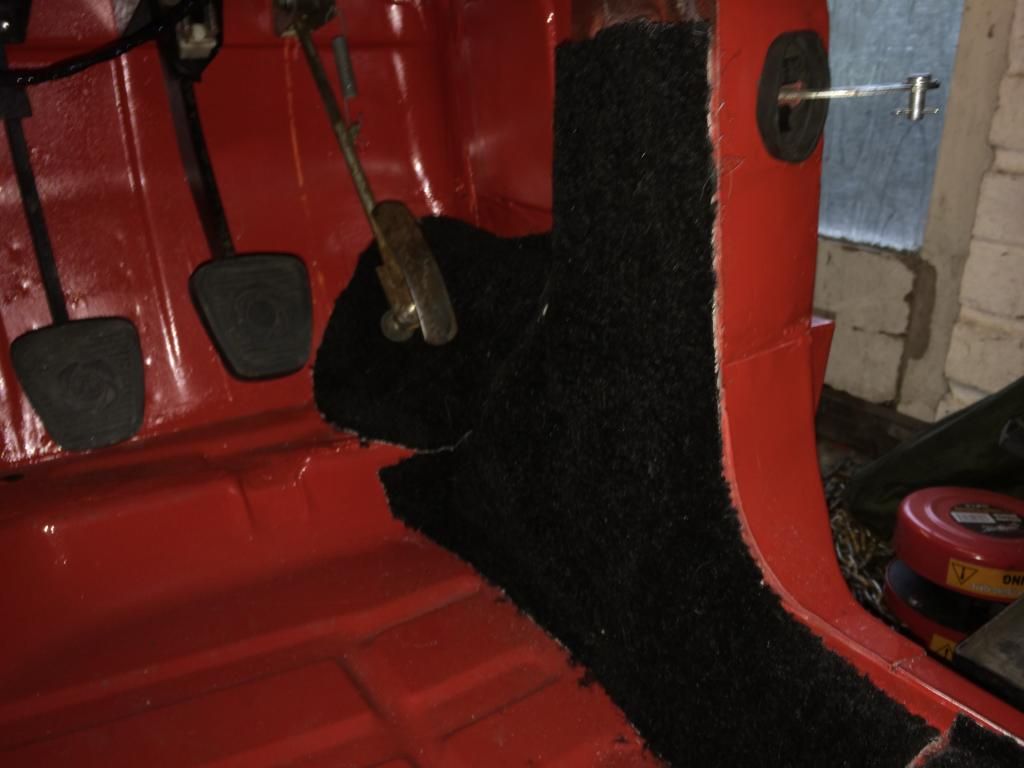 And i got some more paint to finish up the fuel tank. 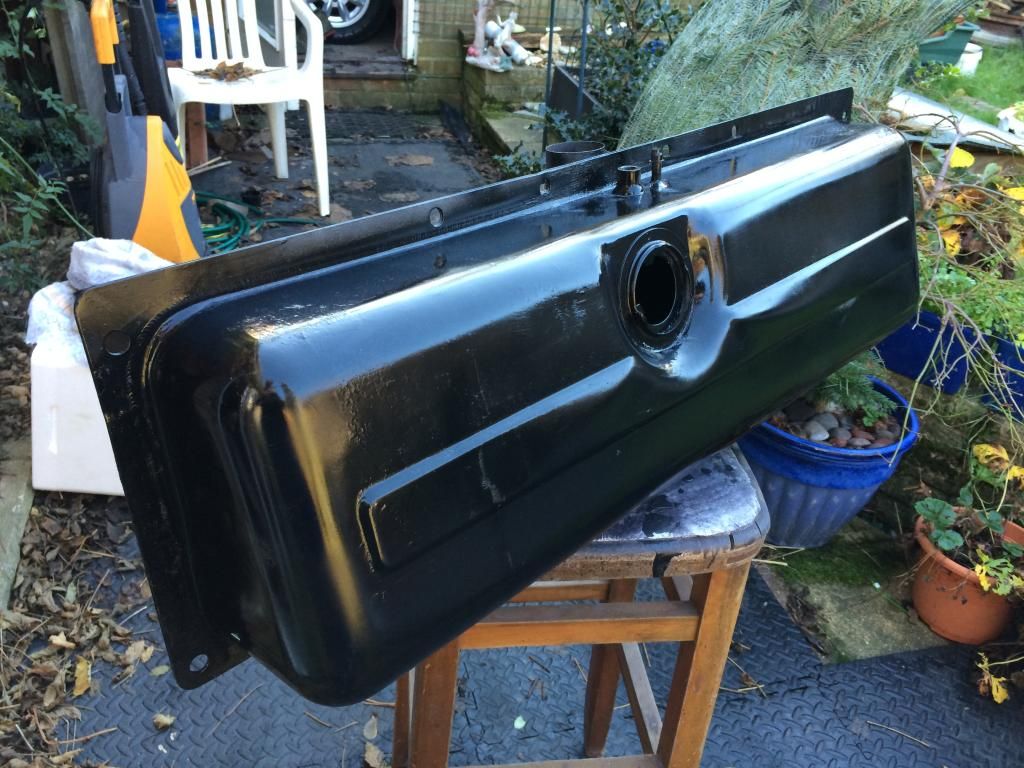 Progress is good and i'm excited to get the panels back to carry on. 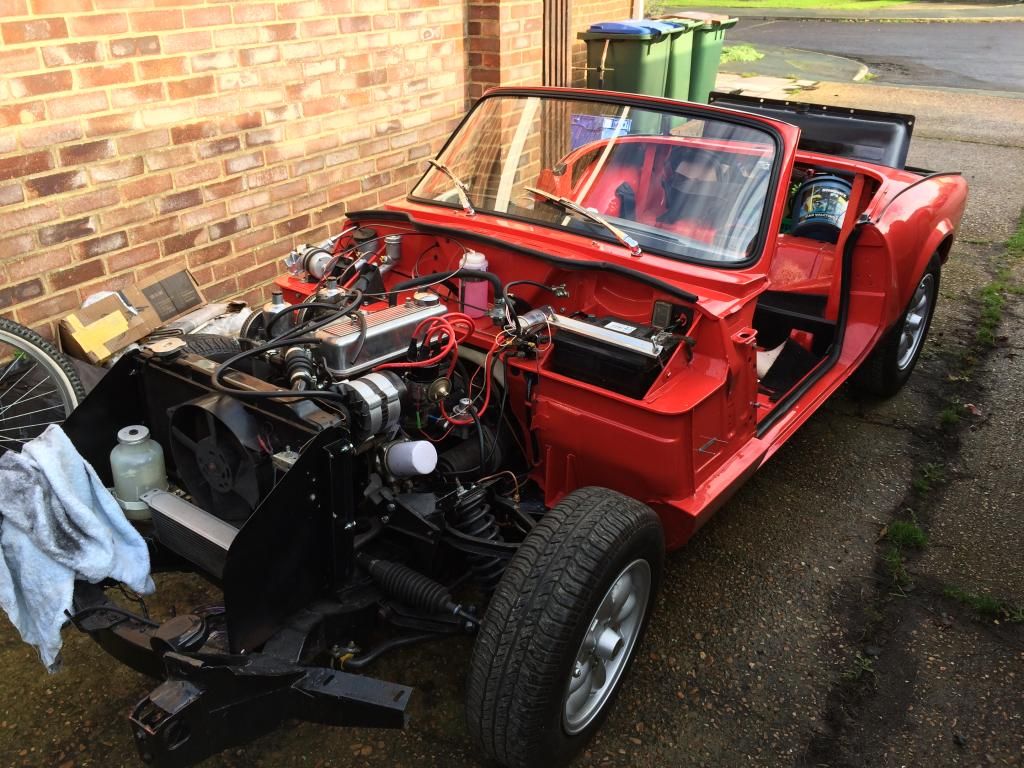 |
| |
|
|
|
|
|
|
|
Fuel tank dried and built up, then fitted. what a pain. 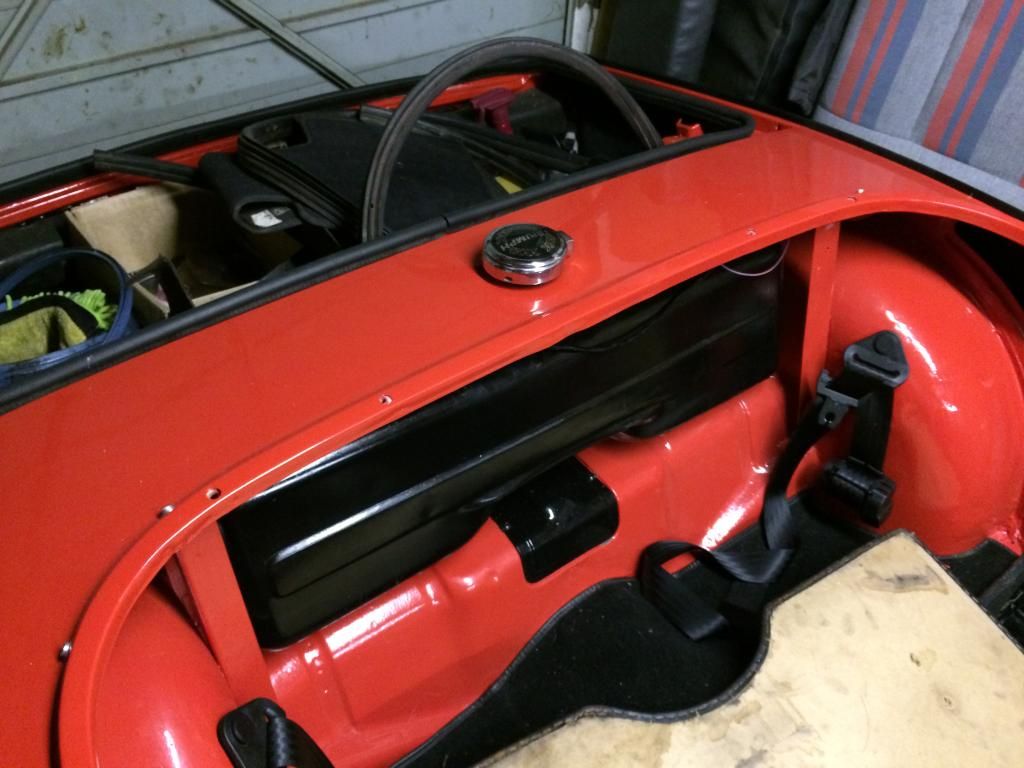 |
| |
|
|
|
|
|
|
|
After getting the tank in I made a start cleaning the trim panels that cover it, the boot carpet is a nice set but I doesn't fit worth a damn. But I'm not worried about that for now. lets look at the victories, i finally got the dash support panel fitted with the radio in place, unfortunately the 'tested working' radio doesn't work, so it's just an ornament for now. 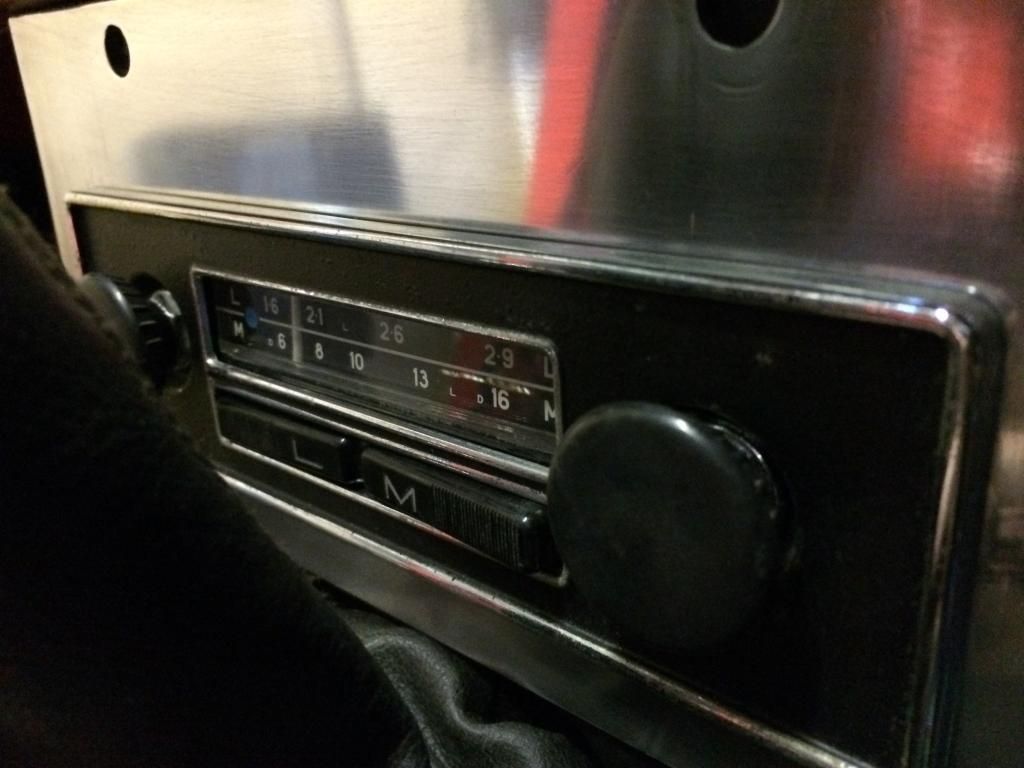 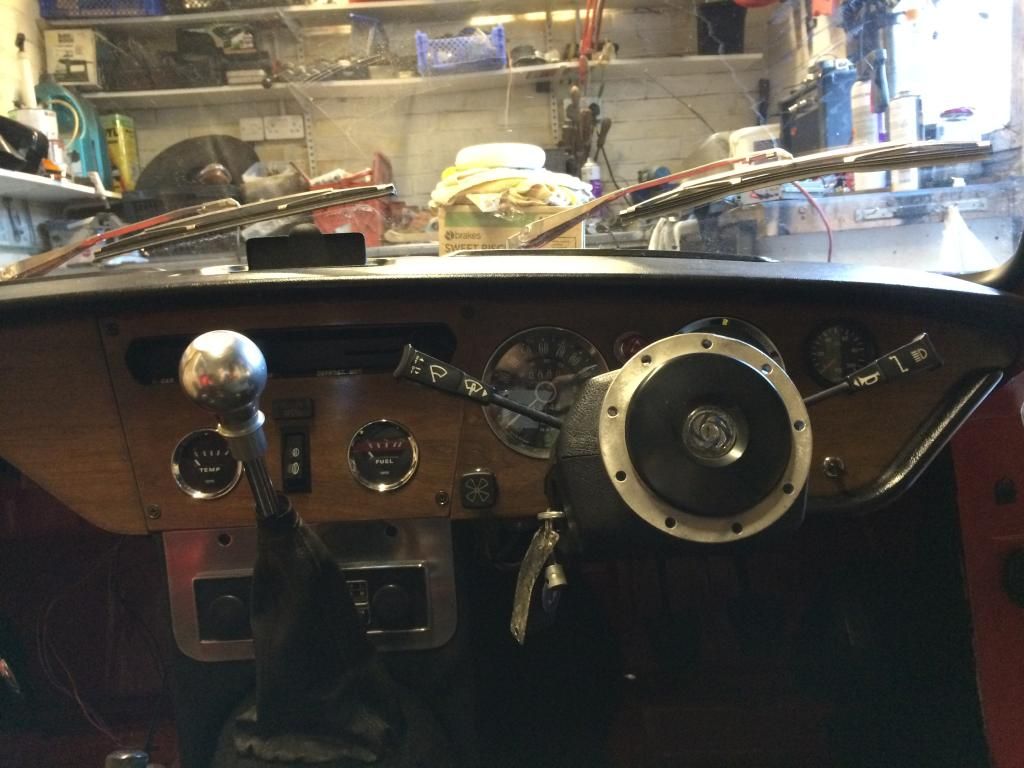 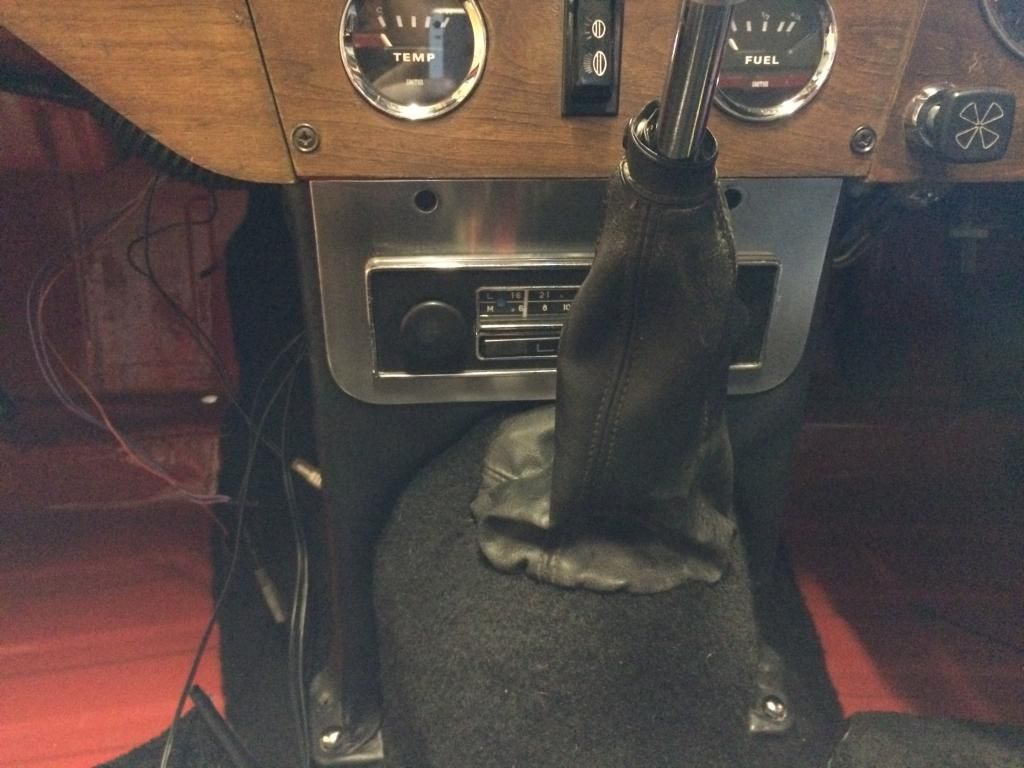 Got tired of having so little space so i rolled the car outside, the hommeade carpets fit 100x better than the stuff they're replacing, and look much more quality too. not bad for £10  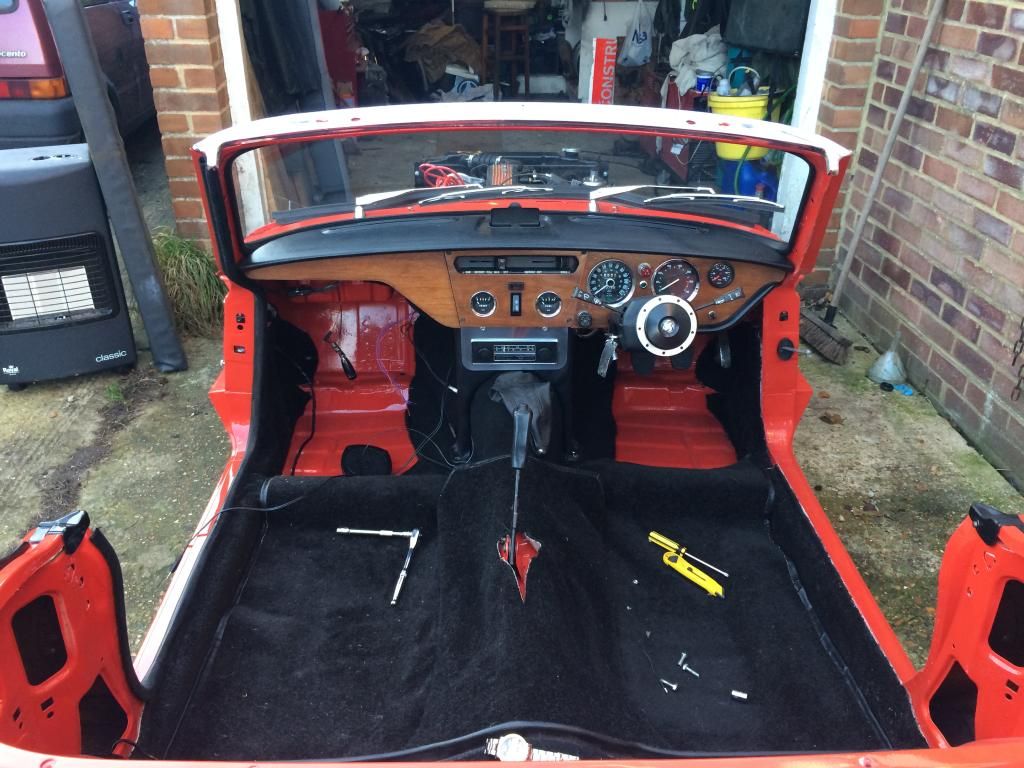 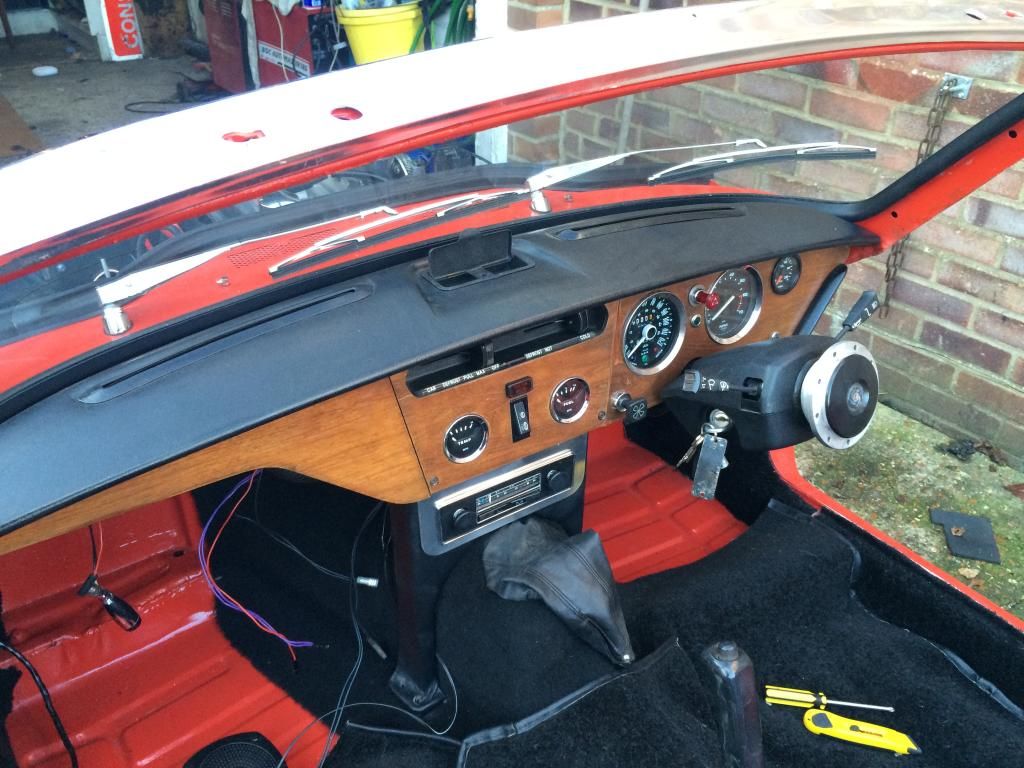 The dash support bolts put up a fight, eventually got all the bottom ones in, but one of the top ones is too short, but i'll sort that in future. Then my phone ran out of battery and i got a whole boatload done (go figure) 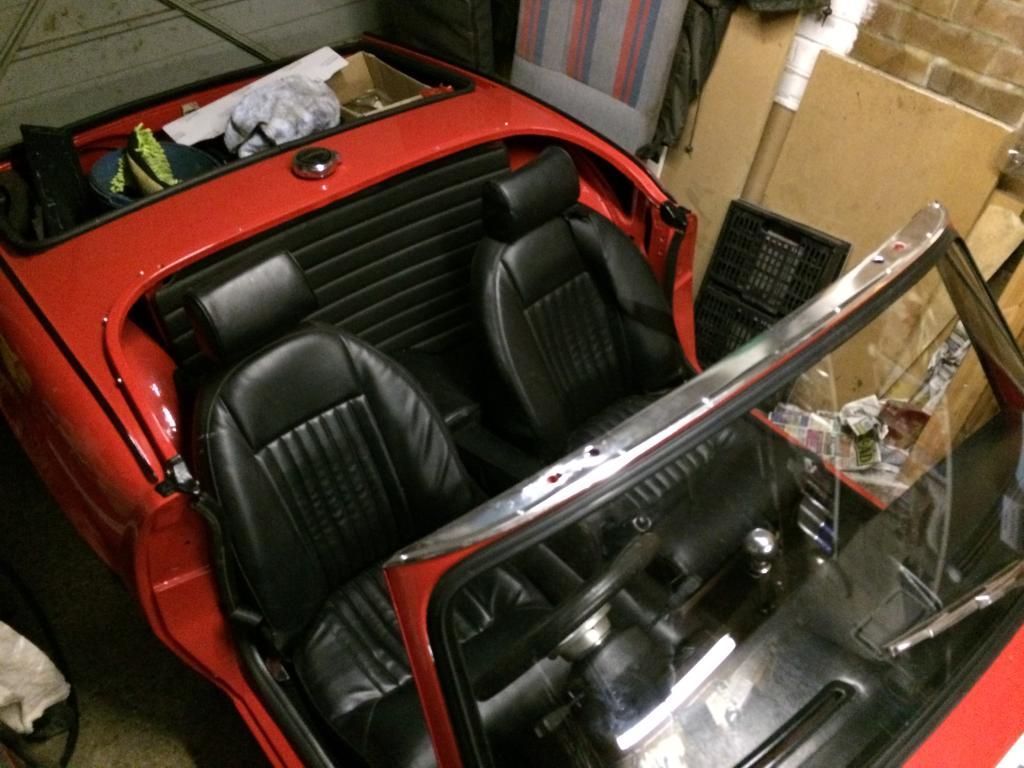 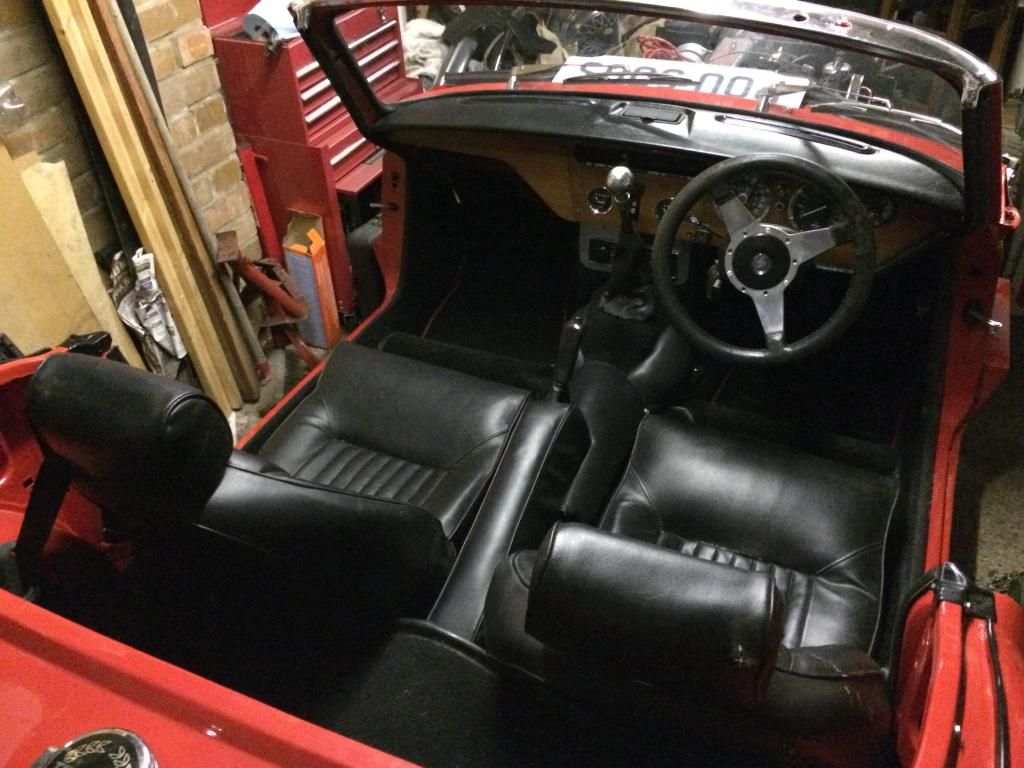 Now feels like a car with bits missing rather than a shell, waiting on the rest of the panel work now. |
| |
|
|
adam73bgt
Club Retro Rides Member
Posts: 4,991
Club RR Member Number: 58
|
|
|
|
One thing I've always wondered about the Spitfire and GT6 is how do you operate the radio with the gearstick right in front of it? Is it as awkward as it seems to look in pictures?  Car is looking great btw  |
| |
|
|
|
|
|
|
|
One thing I've always wondered about the Spitfire and GT6 is how do you operate the radio with the gearstick right in front of it? Is it as awkward as it seems to look in pictures?  Car is looking great btw  You're right it is a little awkward, used to accidentally change my old radio to radio 2 if you were enthusiastic about changing into 3rd  luckily this radio (if i can get it working) has the controls either side so nothing is blocked by the gearstick. |
| |
|
|
|
|
|
|
|
Took a trip down to the restorers today to get some more work done on the final bits and pieces, mainly wanted to go and pick up the exhaust but some other stuff needed doing first. the front valances were a thing i wanted to get prepped but they are a double skinned piece that likes to trap water, so i've decided to submerge the things in deox-c to try and de-rust the insides. The light surrounds need a crack filling up but it's going to be a tricky fix as they're cast ally. Not sure on how to go about fixing them really. And the door latches need cleaning/degreasing then possibly replating. we'll see how we get on with those later. 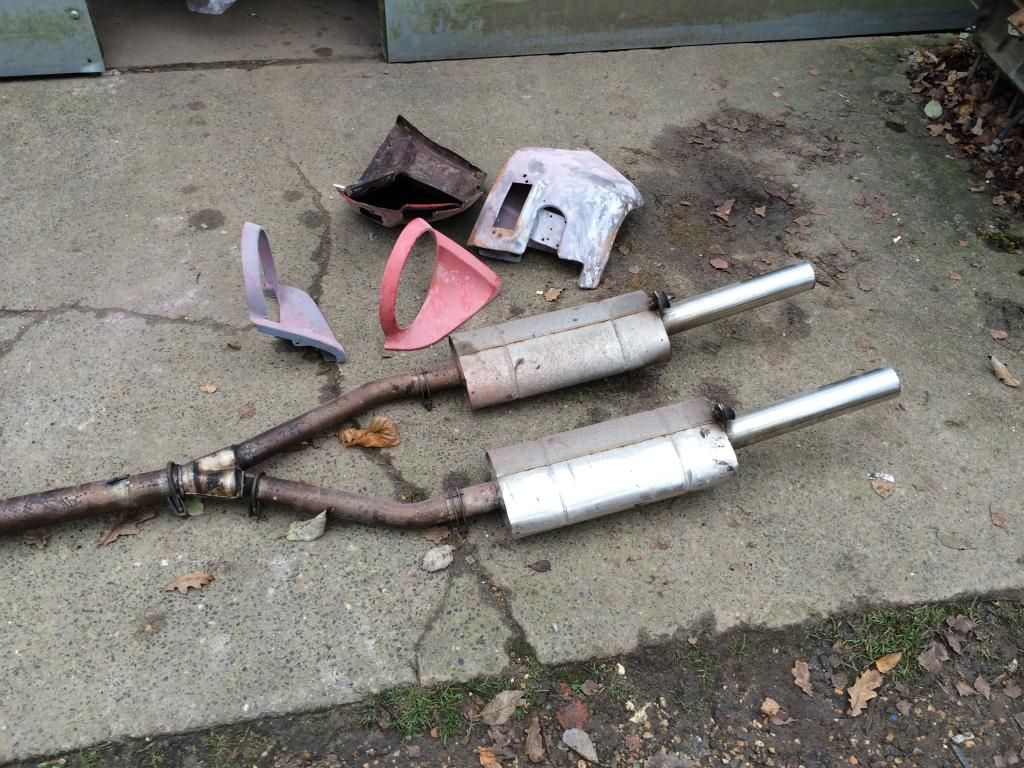 The exhaust is in much worse condition than i'd expected so that will need a good few hours of sanding and polishing to get it back to it's former glory. 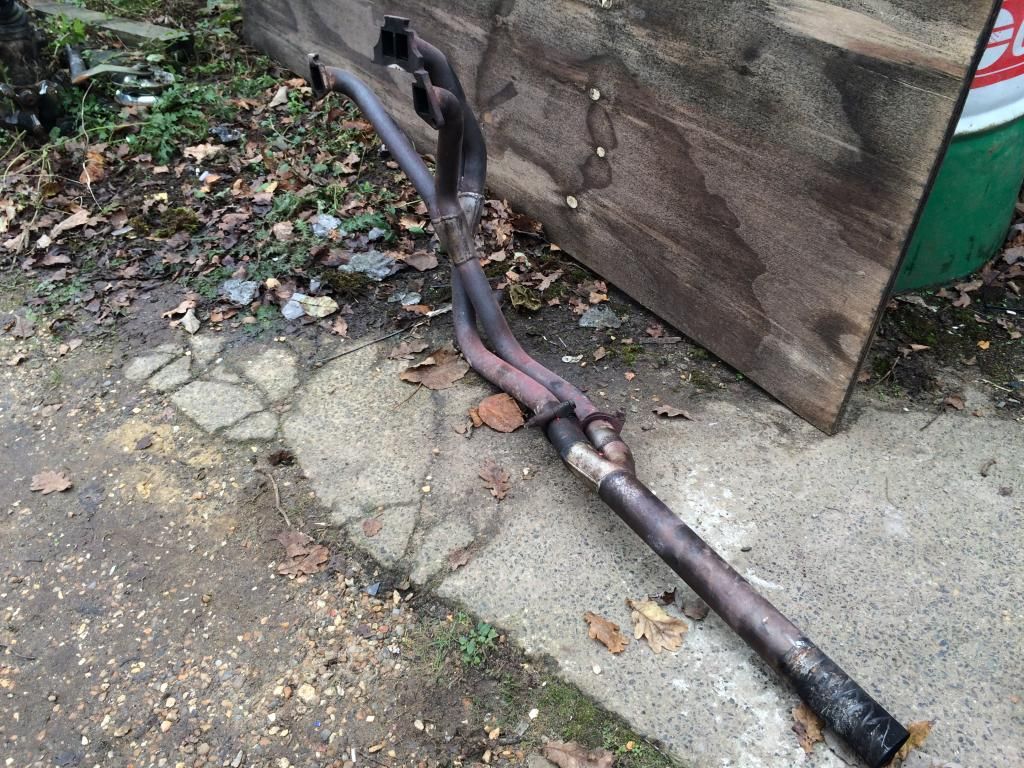 Then i got started on the doop prep, let's get rid of those nasty fillered over tunneau cover holes. so start by locating then and digging out all the filler. (the three white dots on the leading edge) 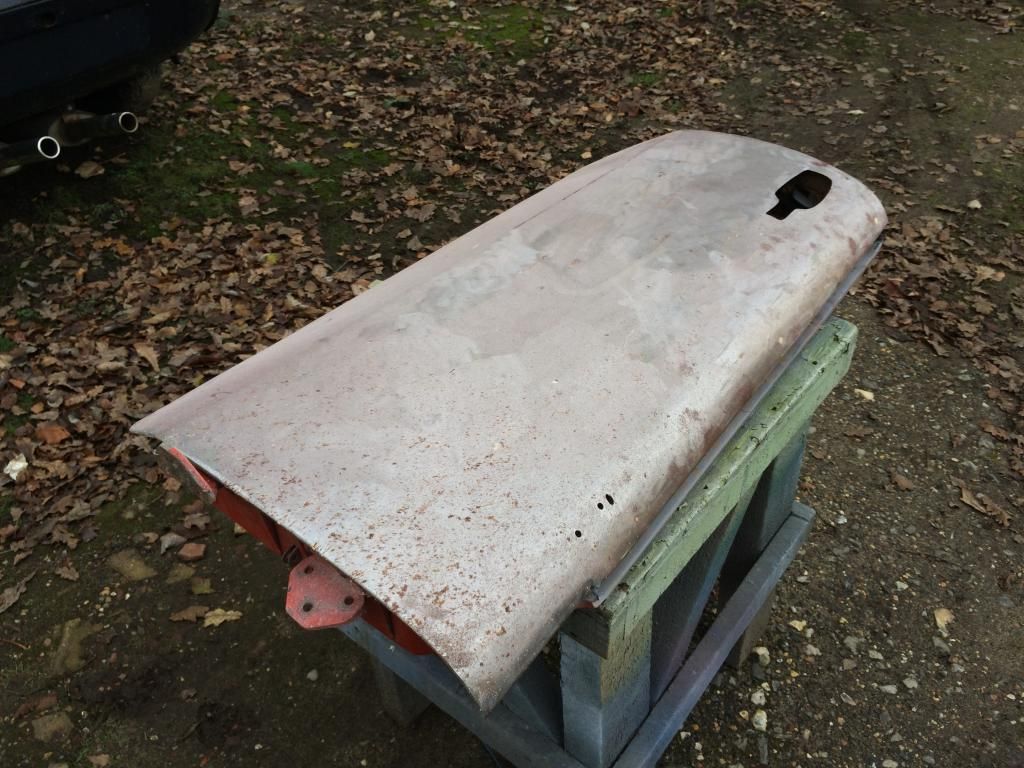 Spot of welding  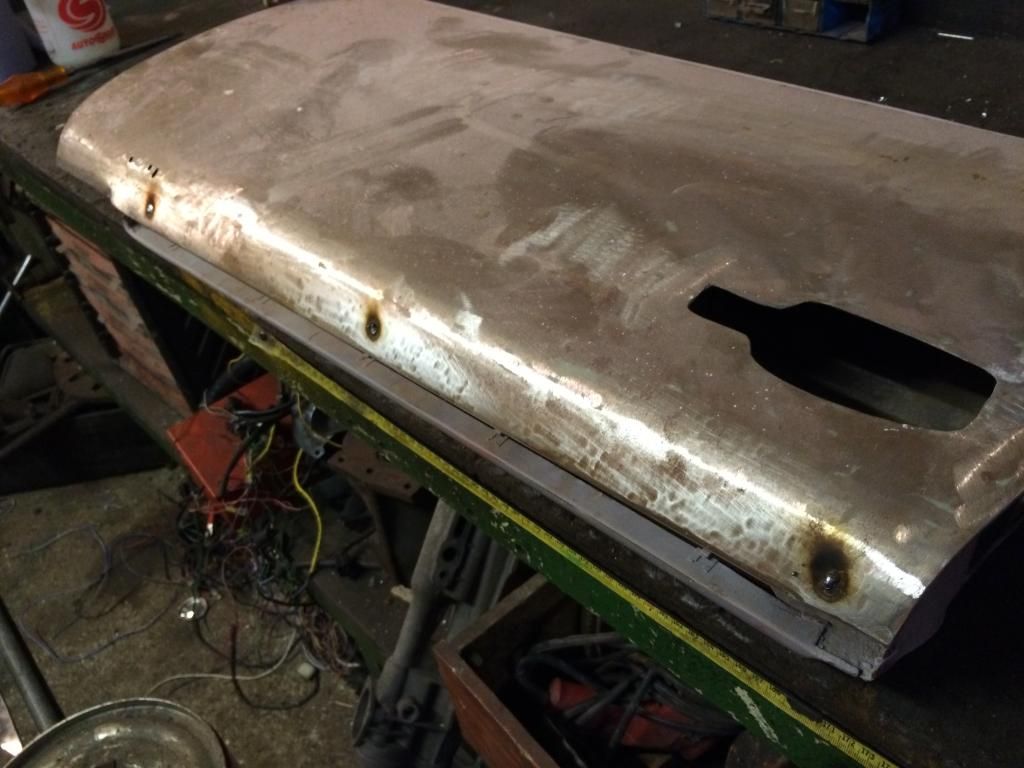 Grind them back and Finish them off with a flap disk. 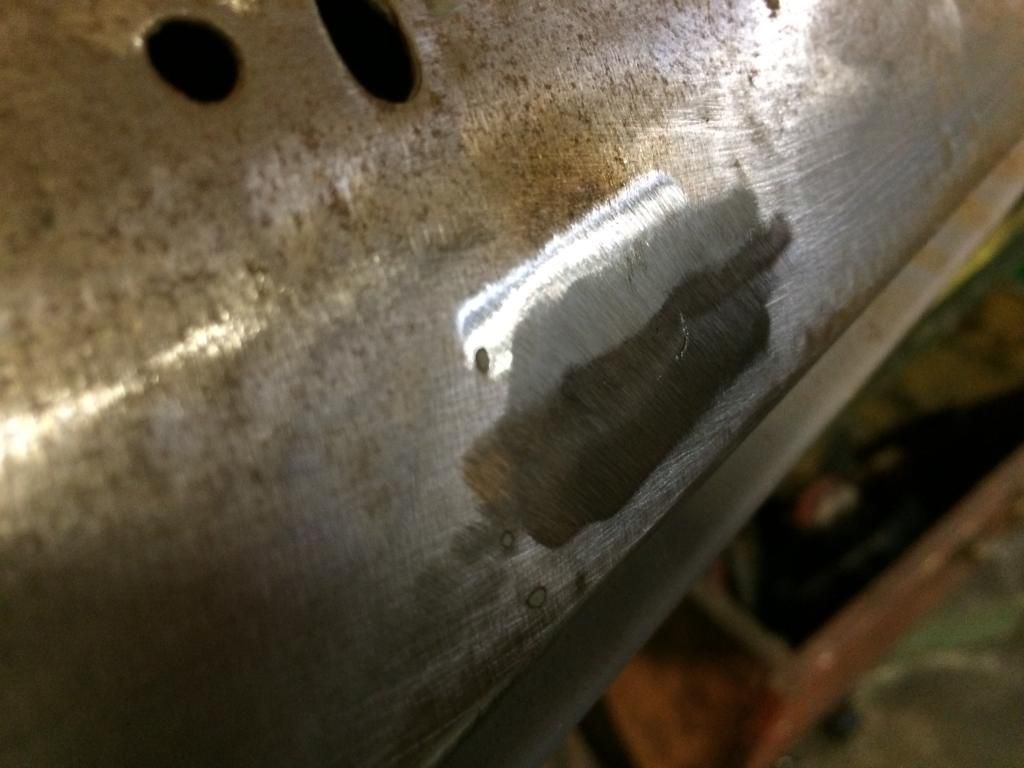 It's like they were never there! 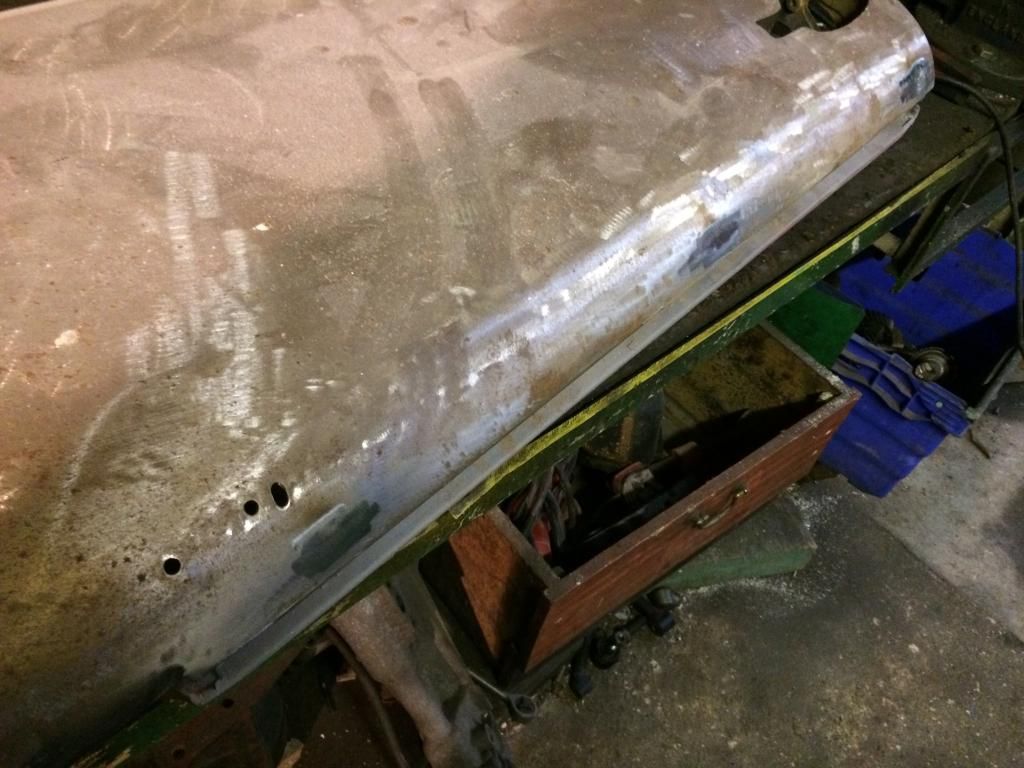 Small imperfections in the surface meant i had to filler over them. but most of it should sand off. 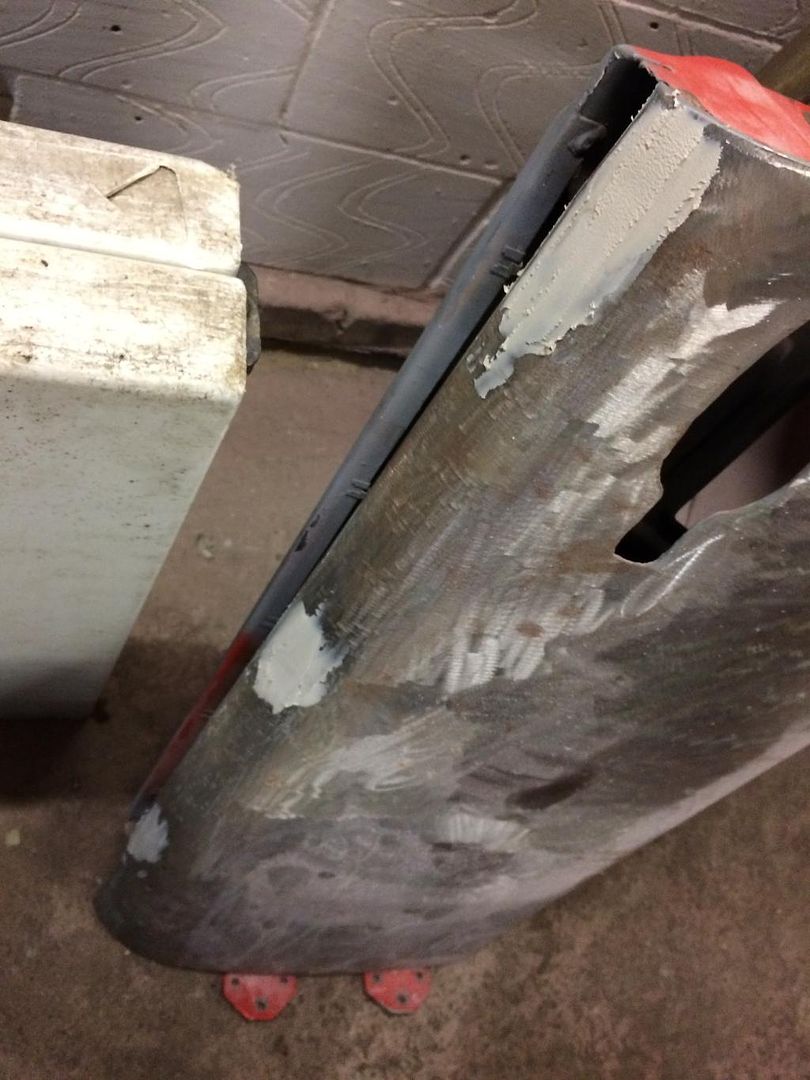 |
| |
|
|
|
|
|
Dec 10, 2014 17:47:31 GMT
|
After getting the exhaust home i was excited to see how it would come up with a bit of spit and polish. never have i underestimated a task as big as this. Having a stainless exhaust is great, you don't have to worry about it rotting away anywhere near as fast as a mild steel system, and it can polish up nicely if you put time and effort into it. but rejuvinating an exhaust that's been left to tarnish on a car for 10+ years is a totally different story. so what did we start with? After a quick wipe the backboxes came up ok, as they'd been regularly polished in the cars life, but that's where the care stopped. 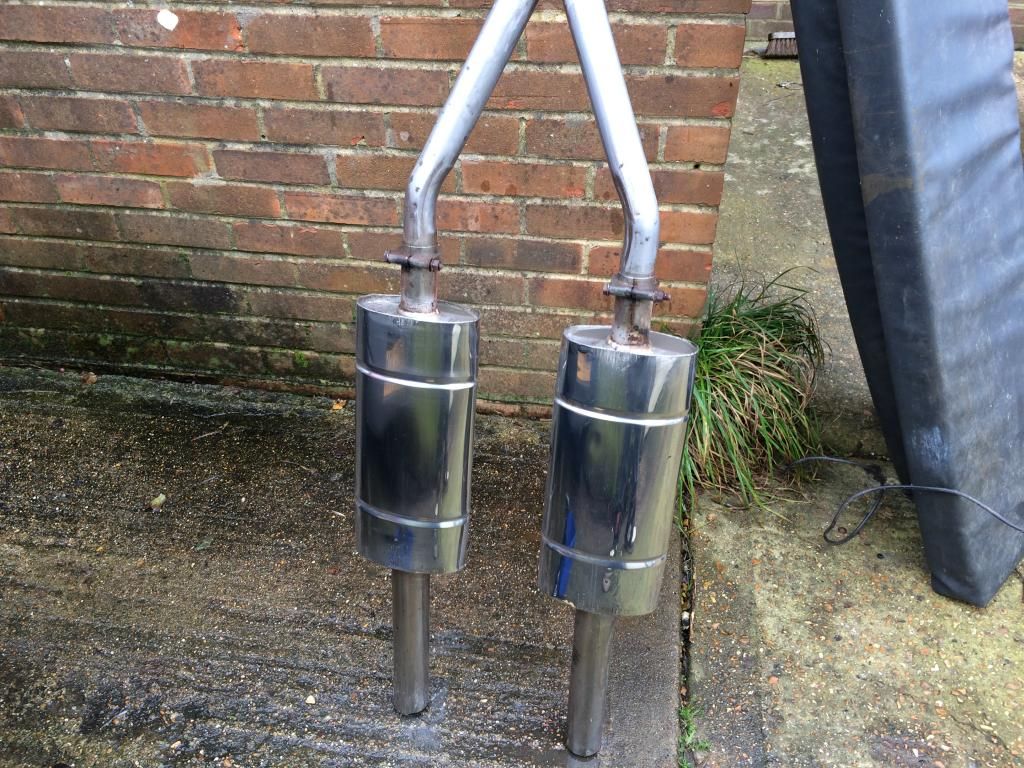 Bit of road rash at the lowest parts of the boxes, enthusiastic b-road blasts may be to blame. 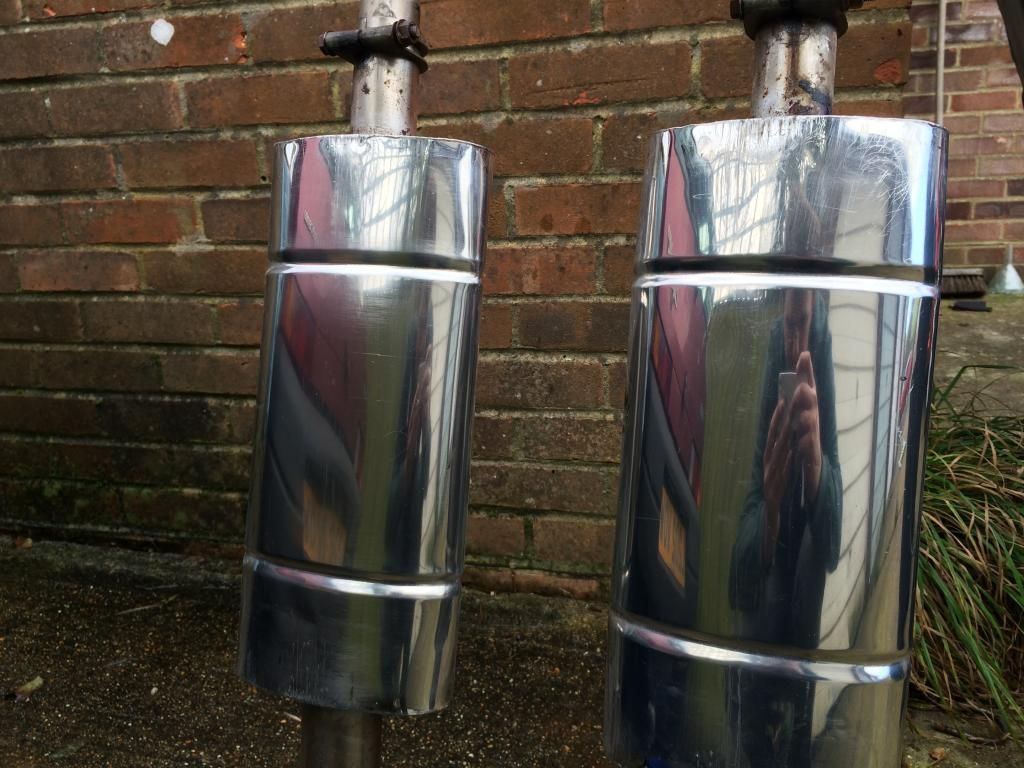 Small areas of surface rust as the stainless isn't the best quality, it'll clean up ok though, the clamps i have replacemnts for as most have been hit or scuffed in the past. 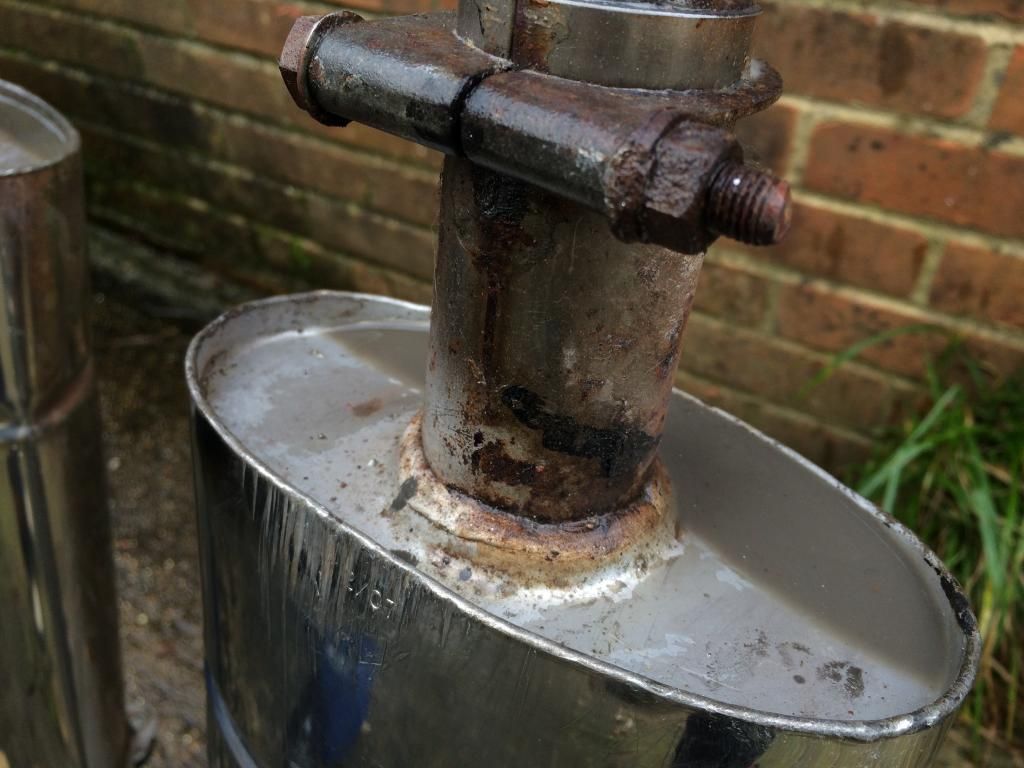 Failed attempt at seperating the back and mid sections, no worries as there isn't any leaks in the joint and it cleaned up ok. 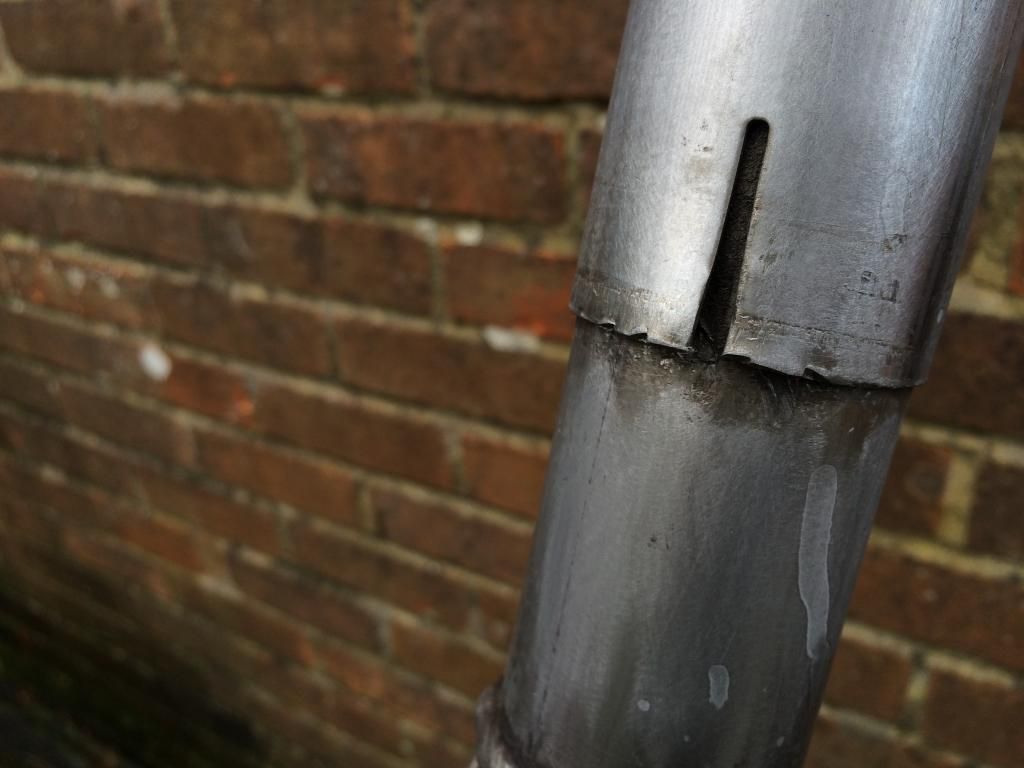 Then after 3 hours of sanding/scrubbing/buffing 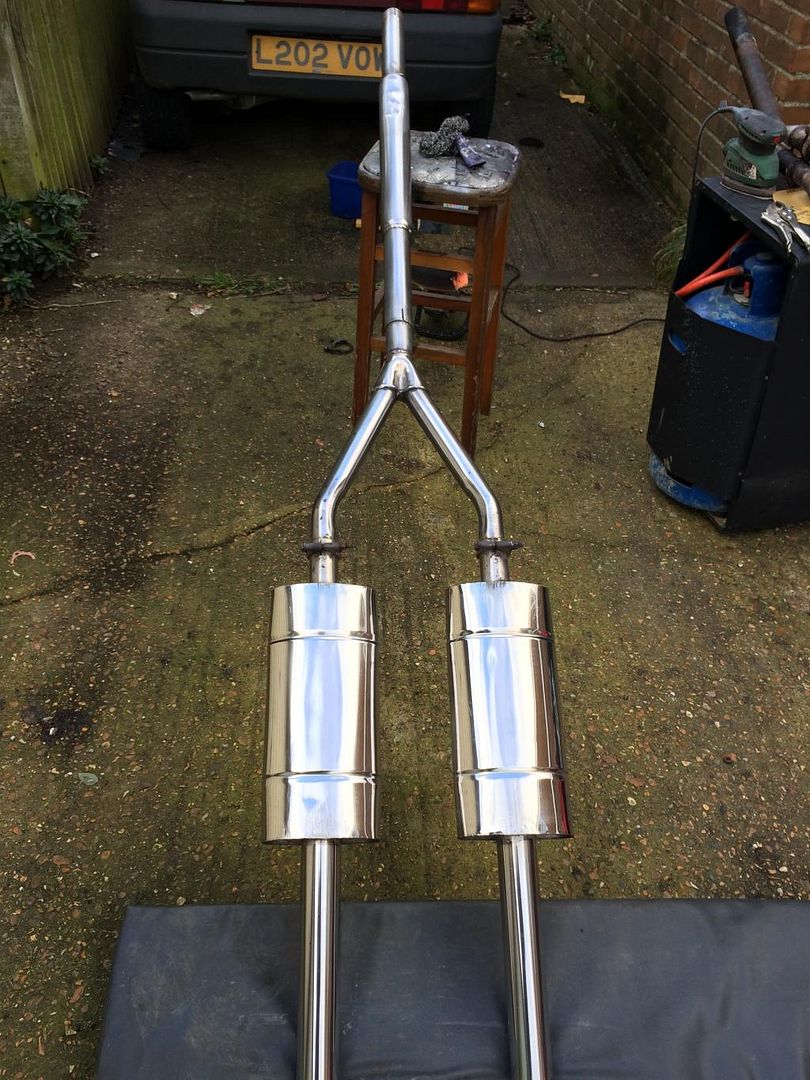 Nice one. started on the manifold next, and after doing the staright sections i was dreading trying to polish all the nooks and crannies on this one. 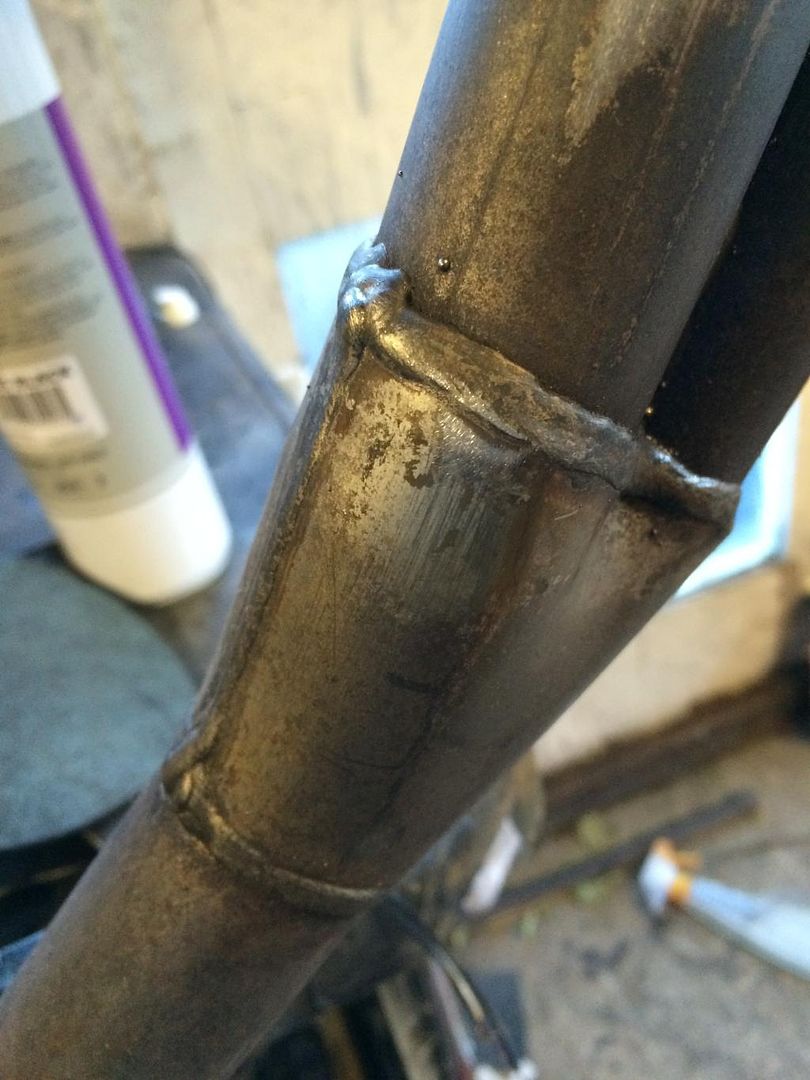 Mandrill marks from when it was made trap the dirt/grime  And yet again after a fair bit of time.  Also while i'm updating i'l, show you some better pictures of the interior that weren't taken in a dingy garage. 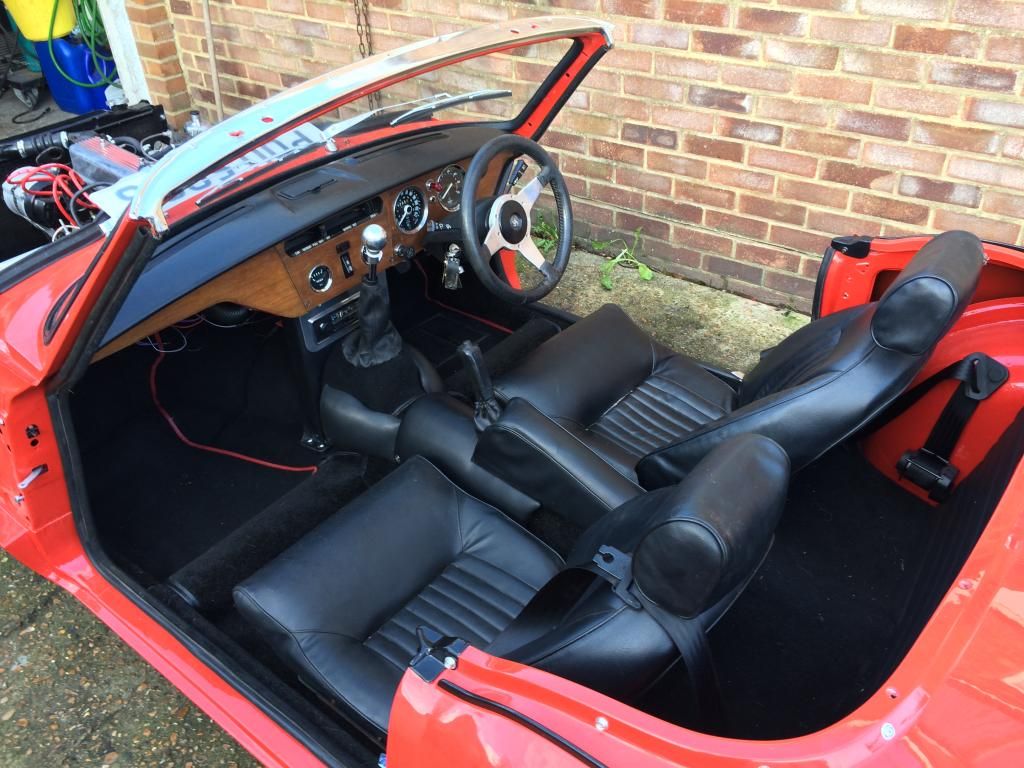 I'll finish off the manifold tomorrow and let my fingertips recover  |
| |
|
|
|
|


 luckily this radio (if i can get it working) has the controls either side so nothing is blocked by the gearstick.


