lowen
Part of things
 
Posts: 50 
|
|
Sept 2, 2014 23:31:22 GMT
|
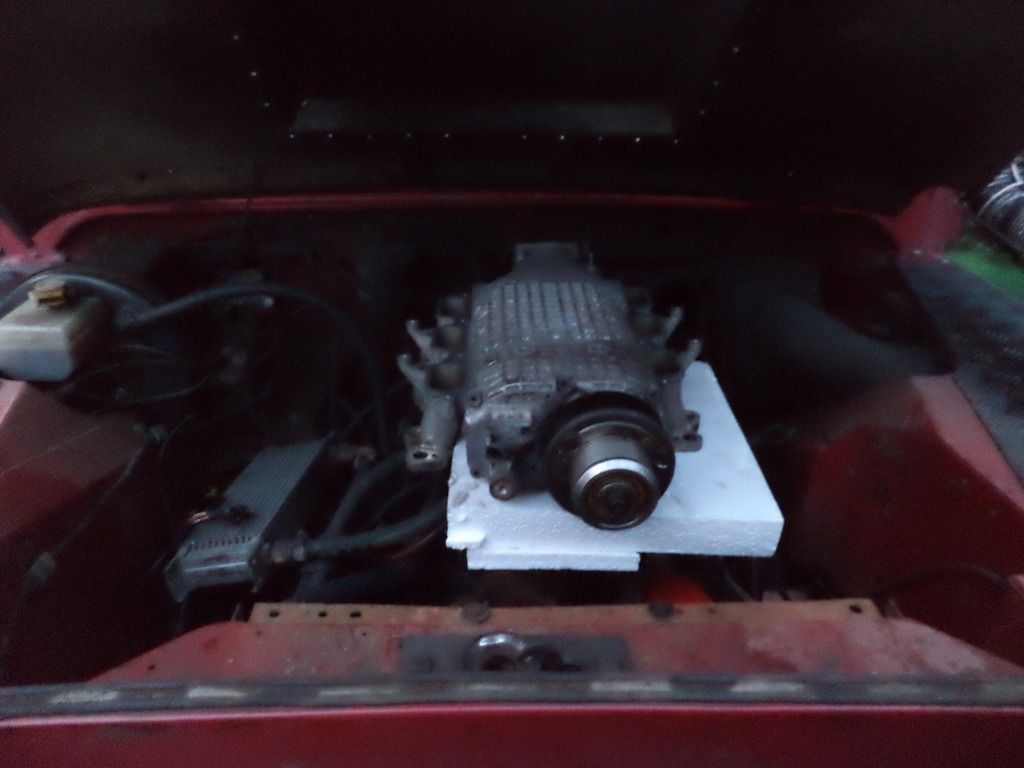
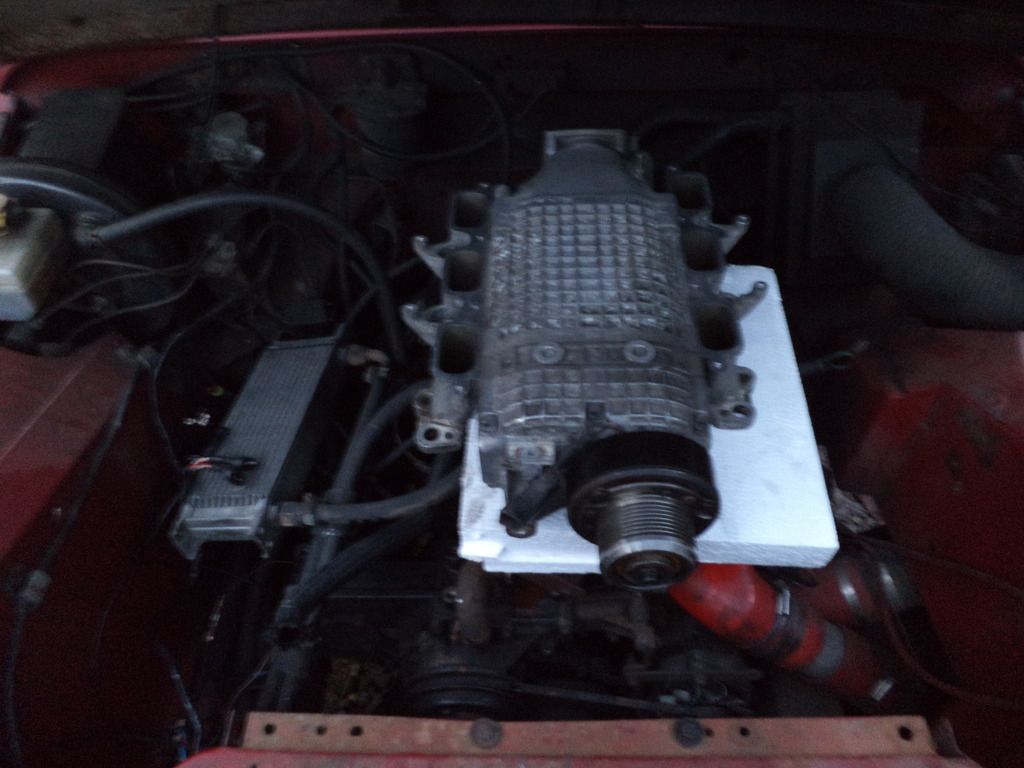
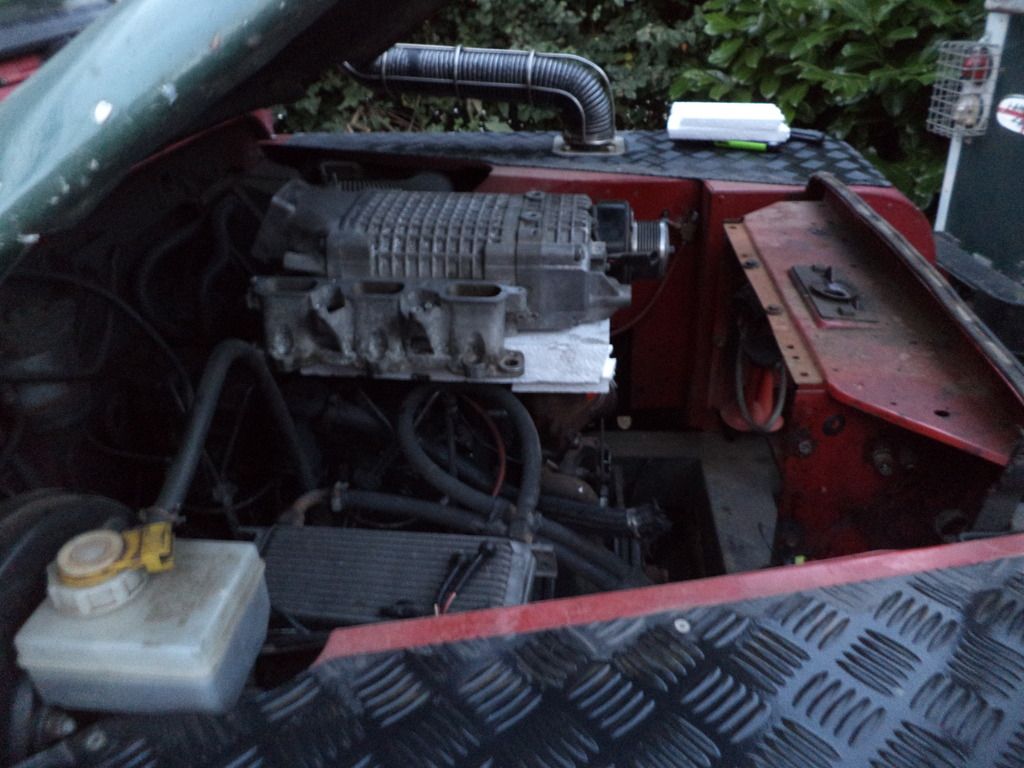
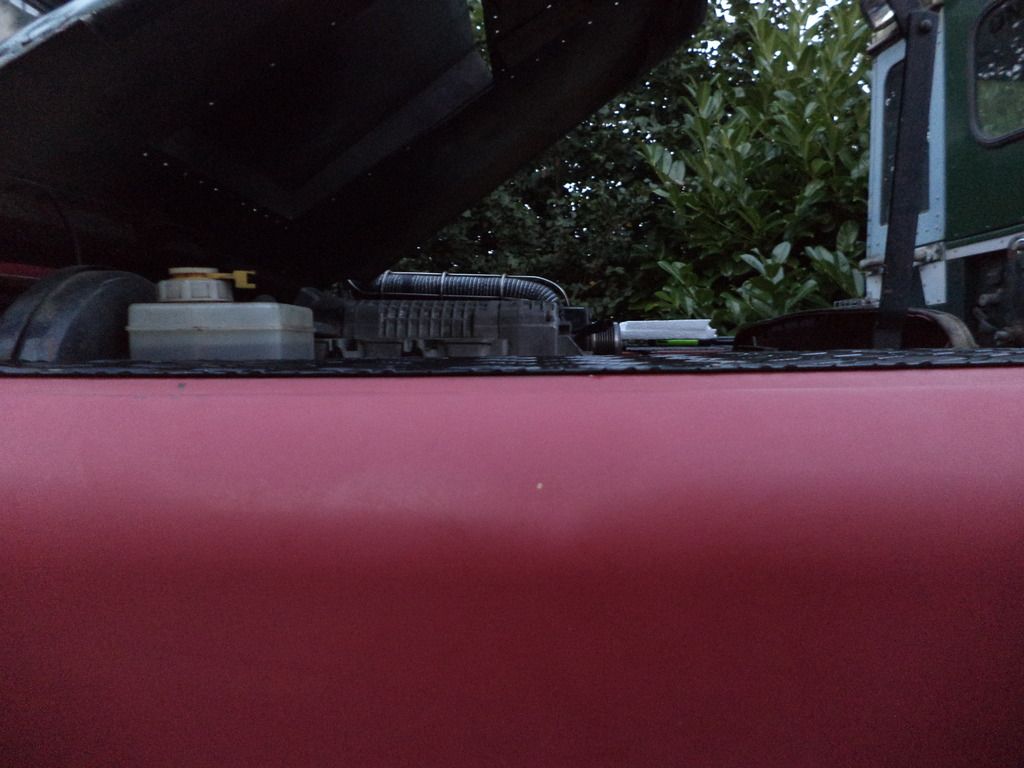
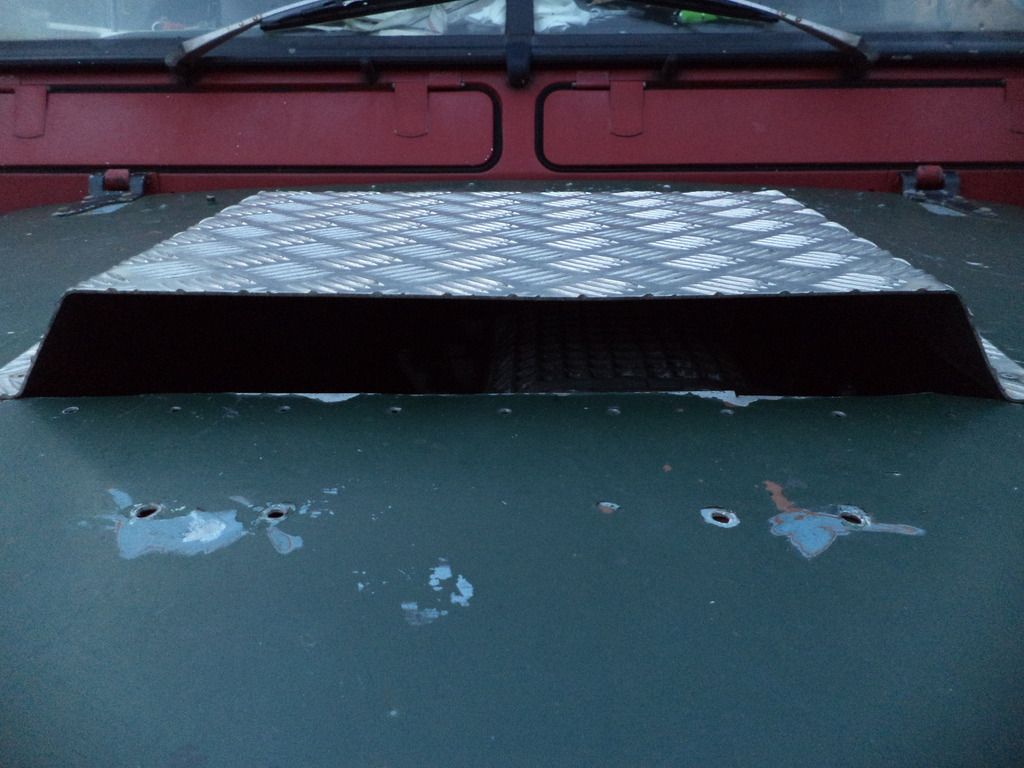
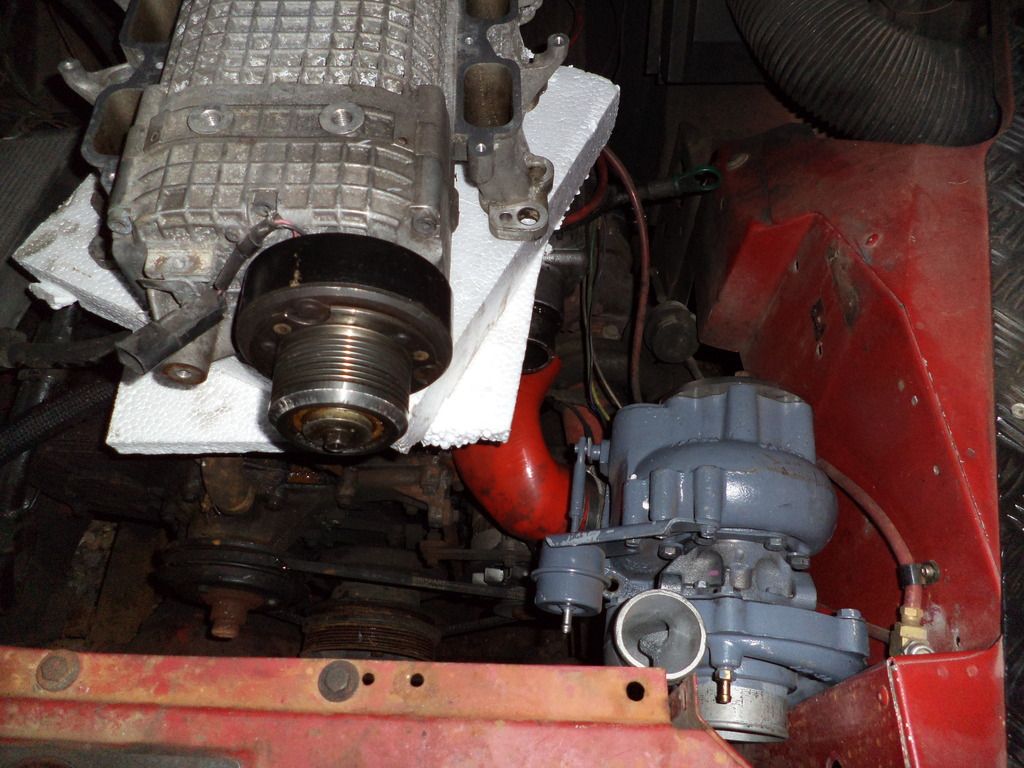
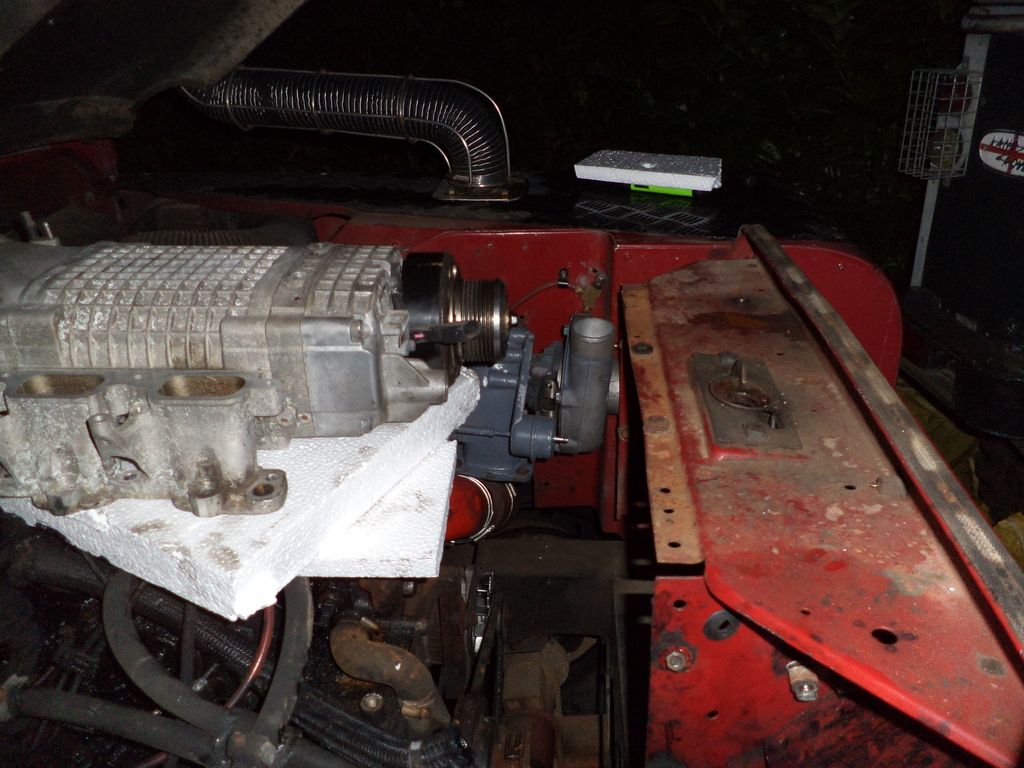
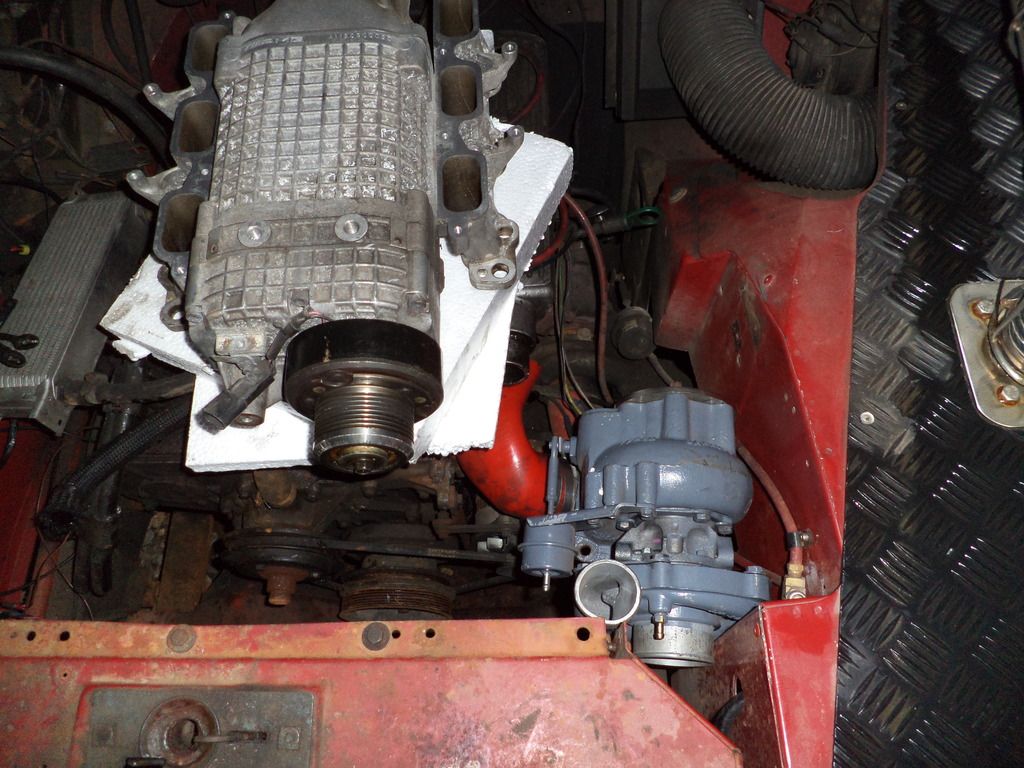
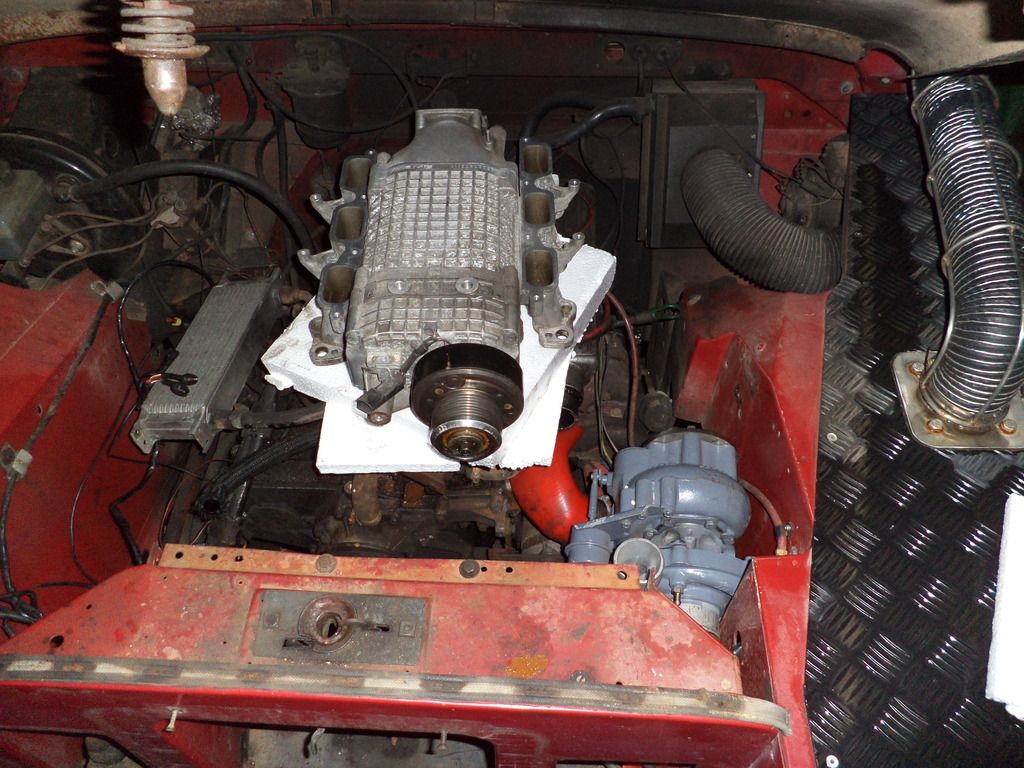
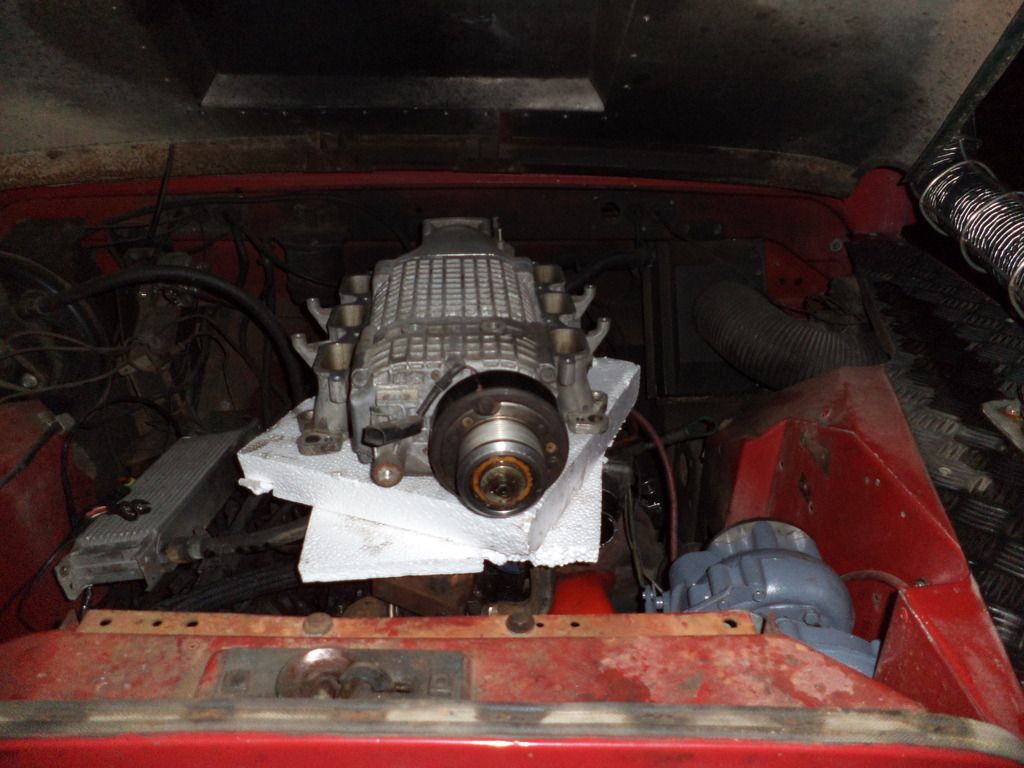
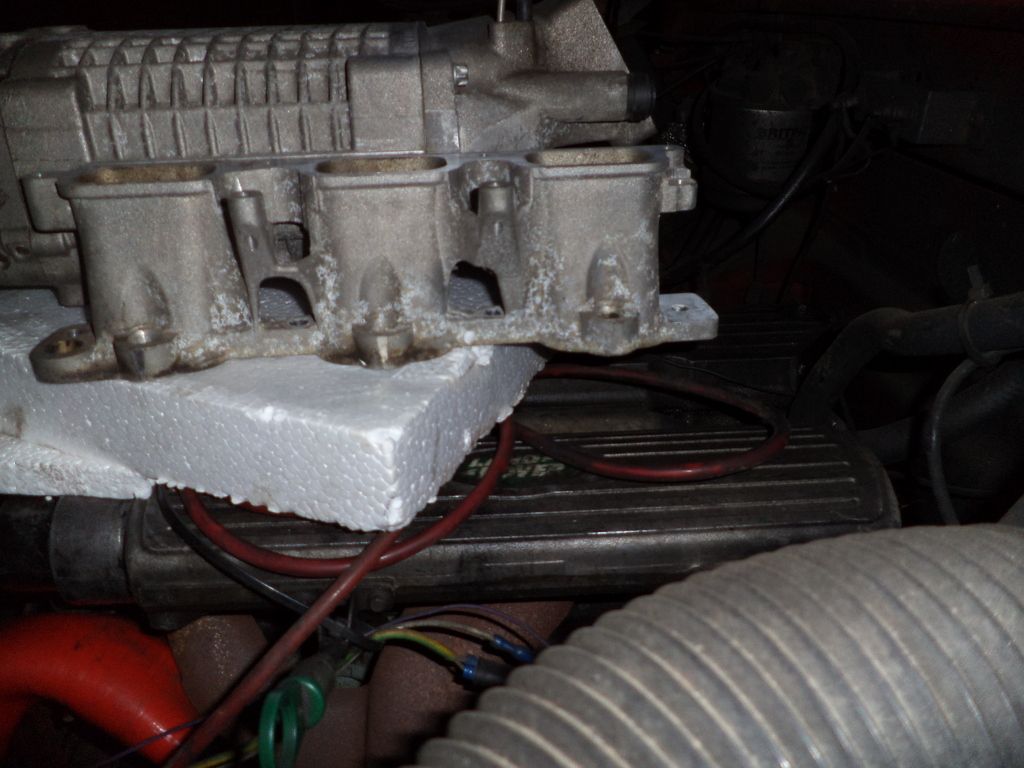
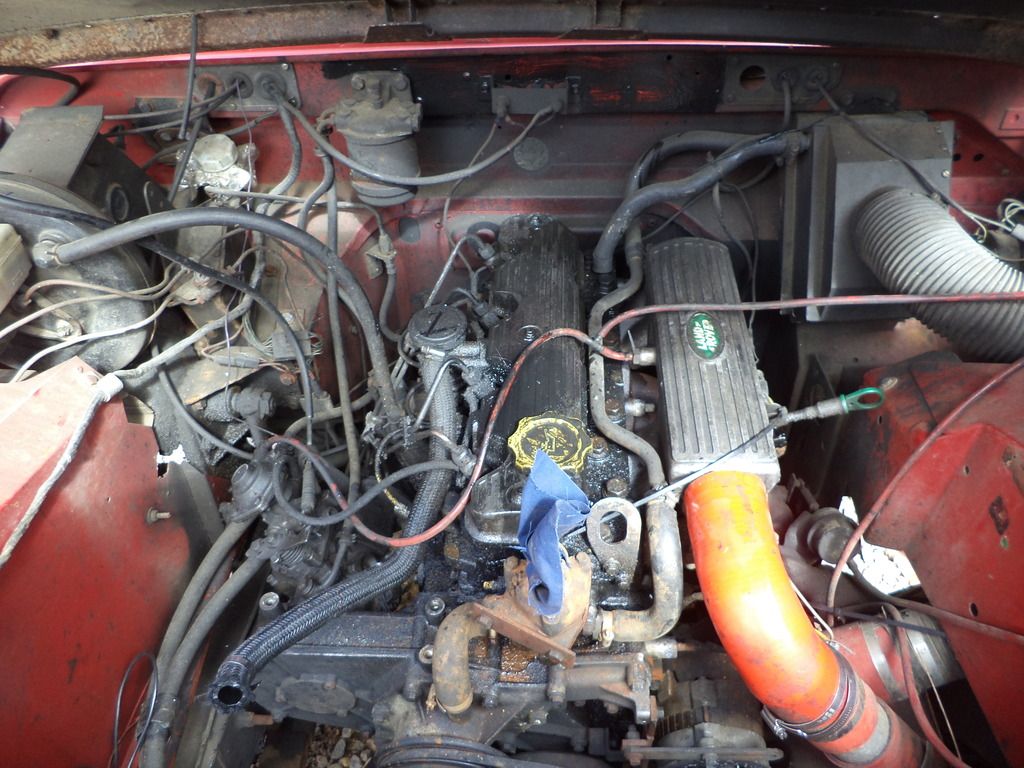
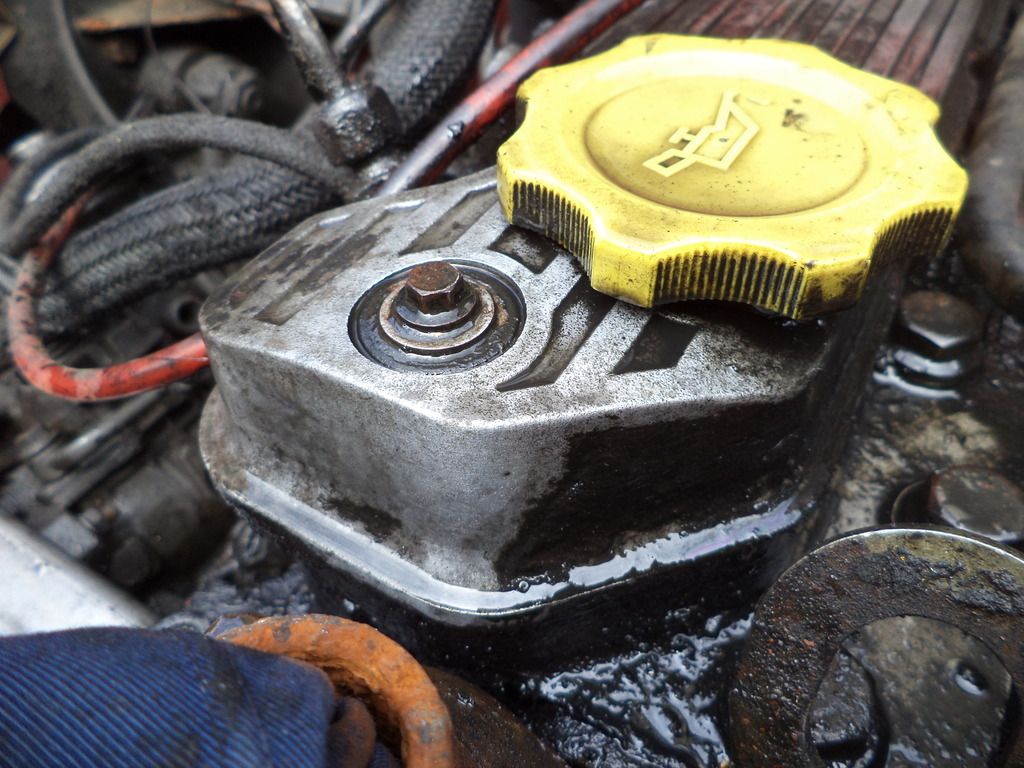
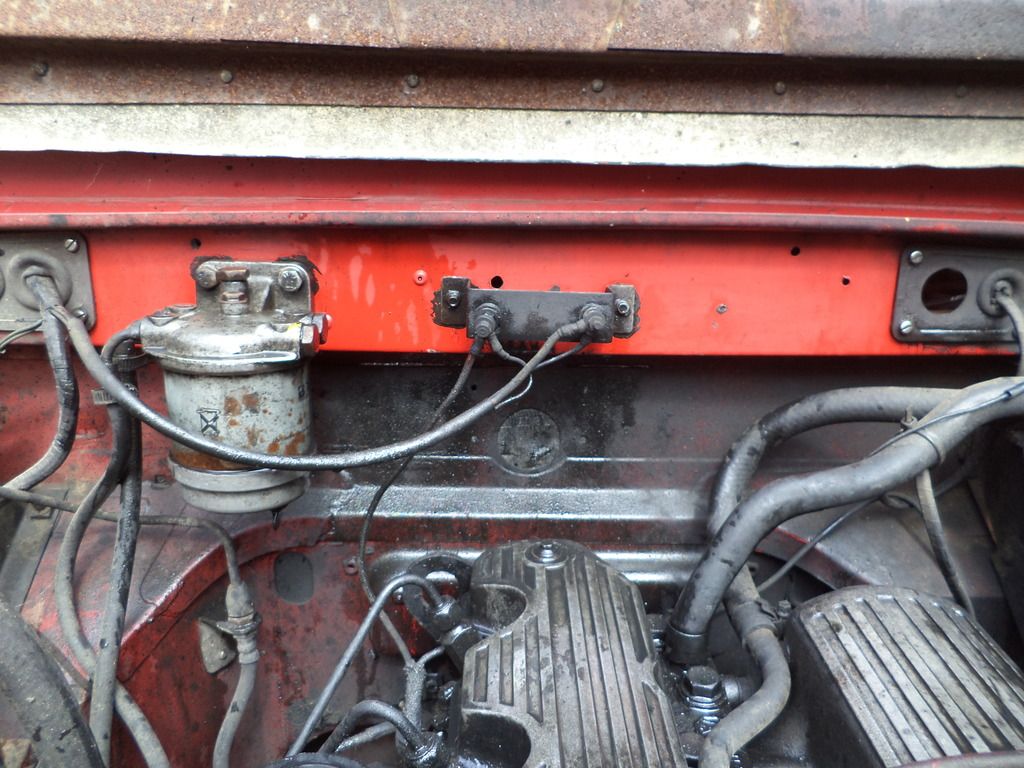
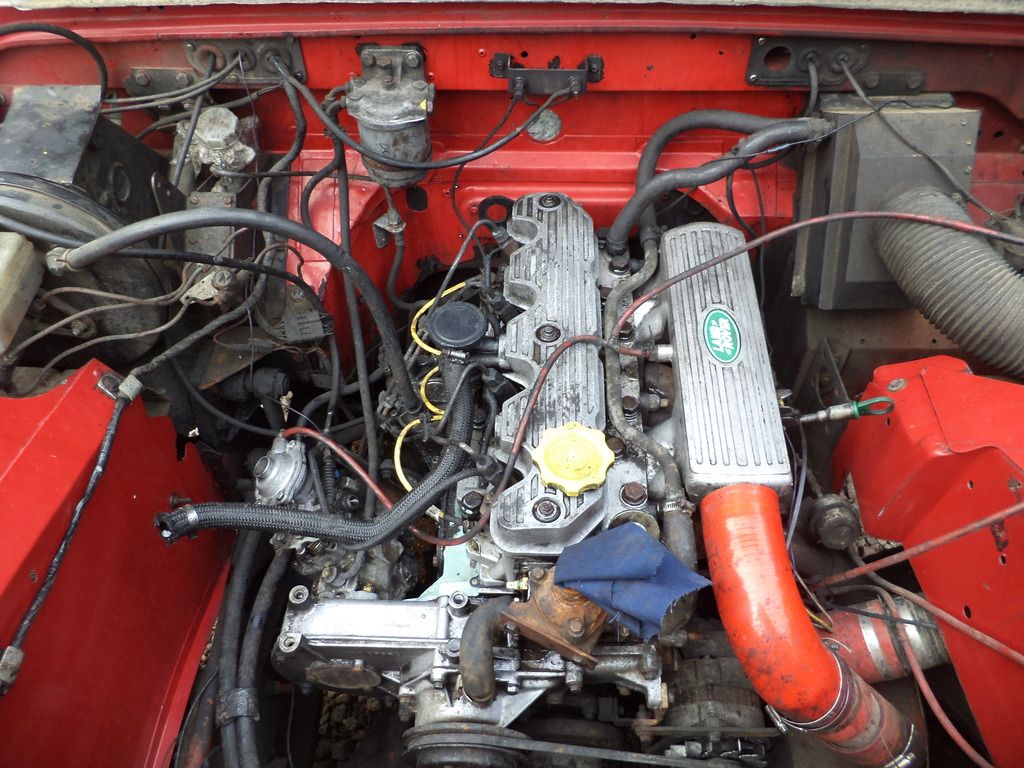
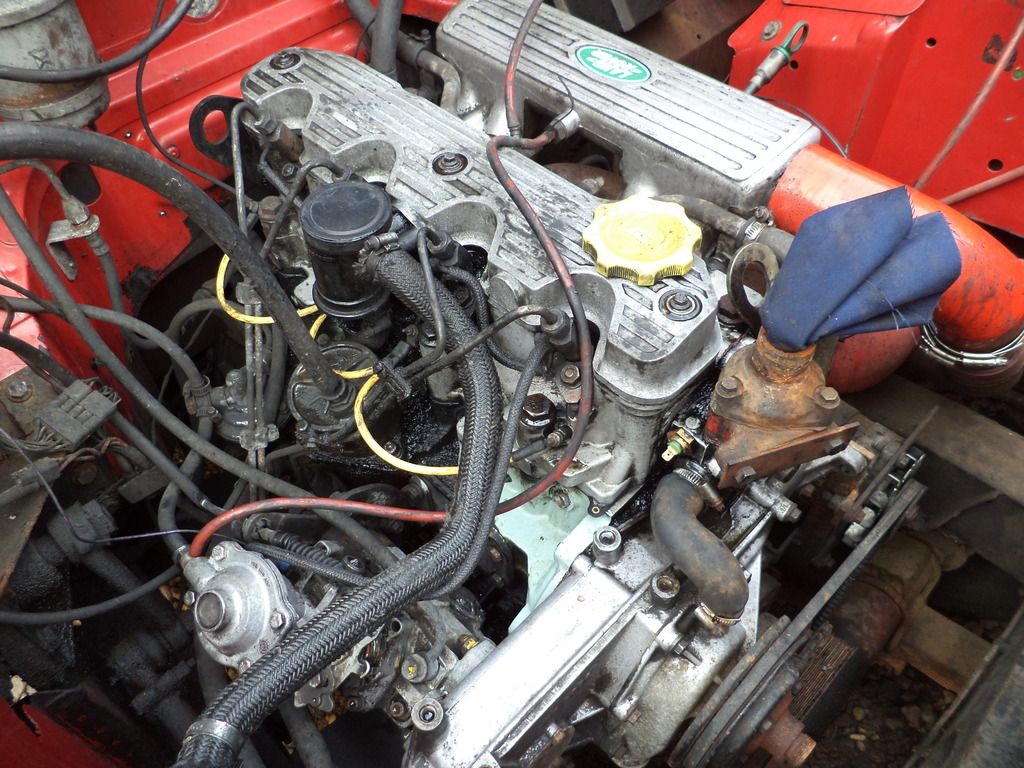
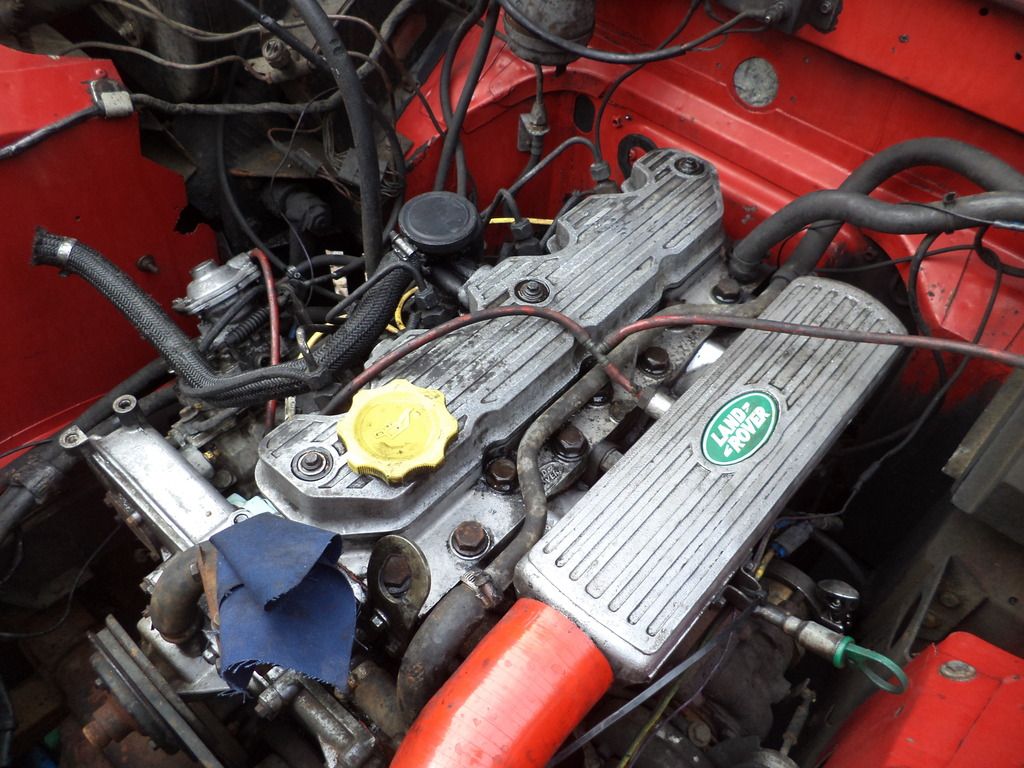
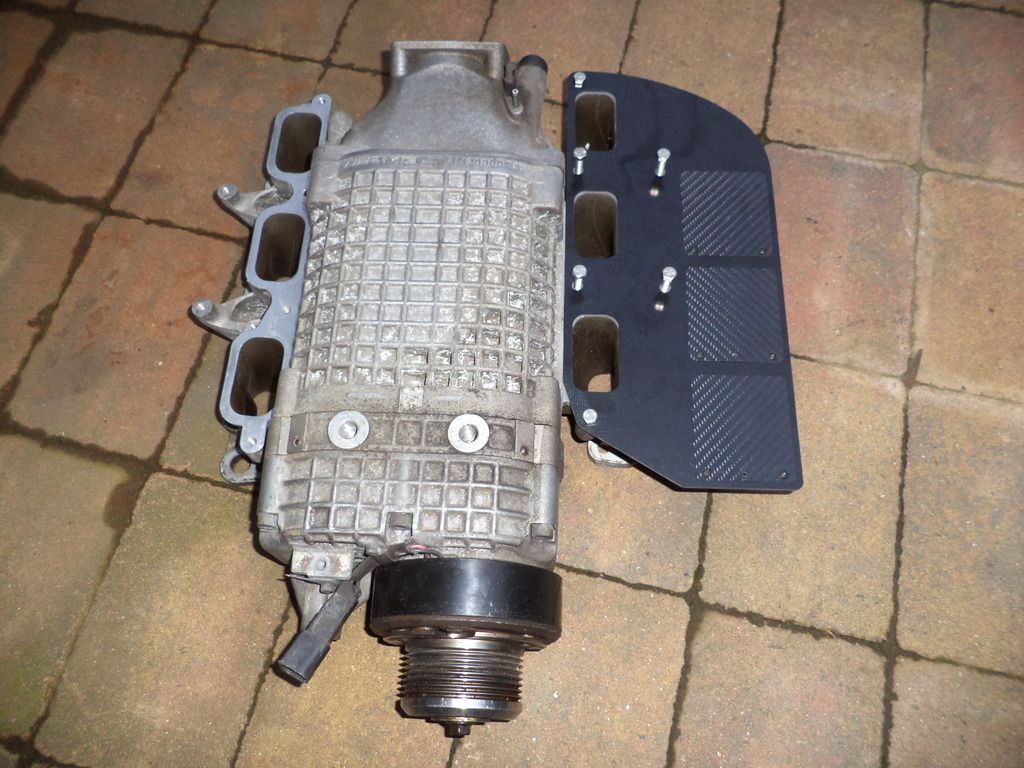
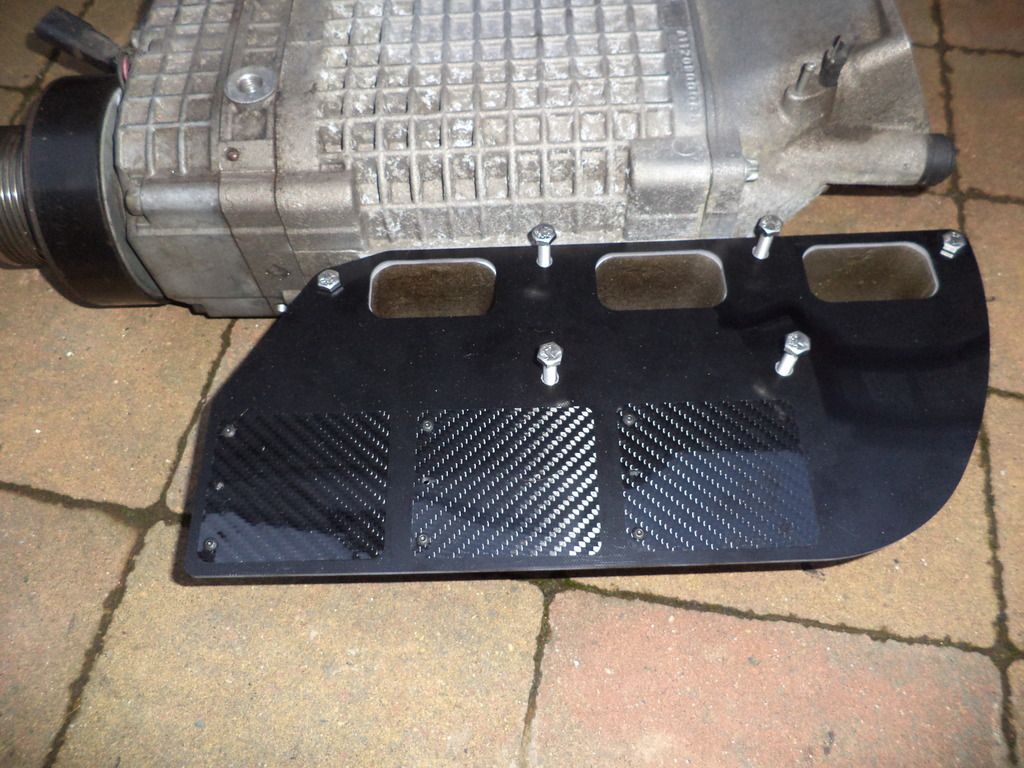
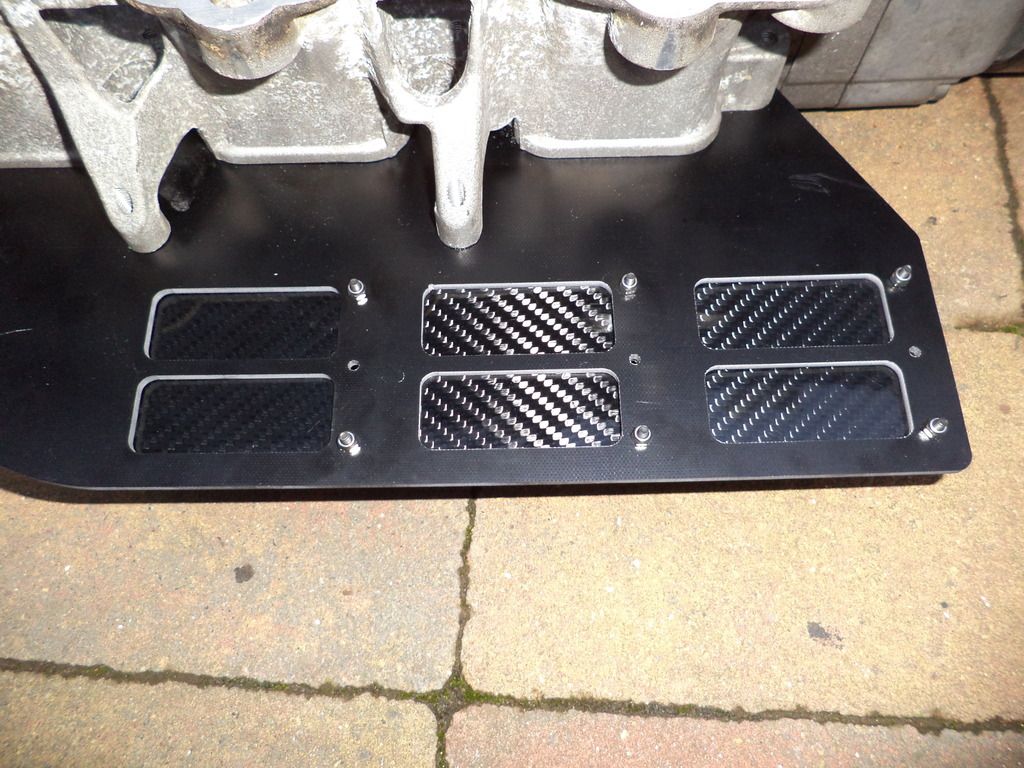
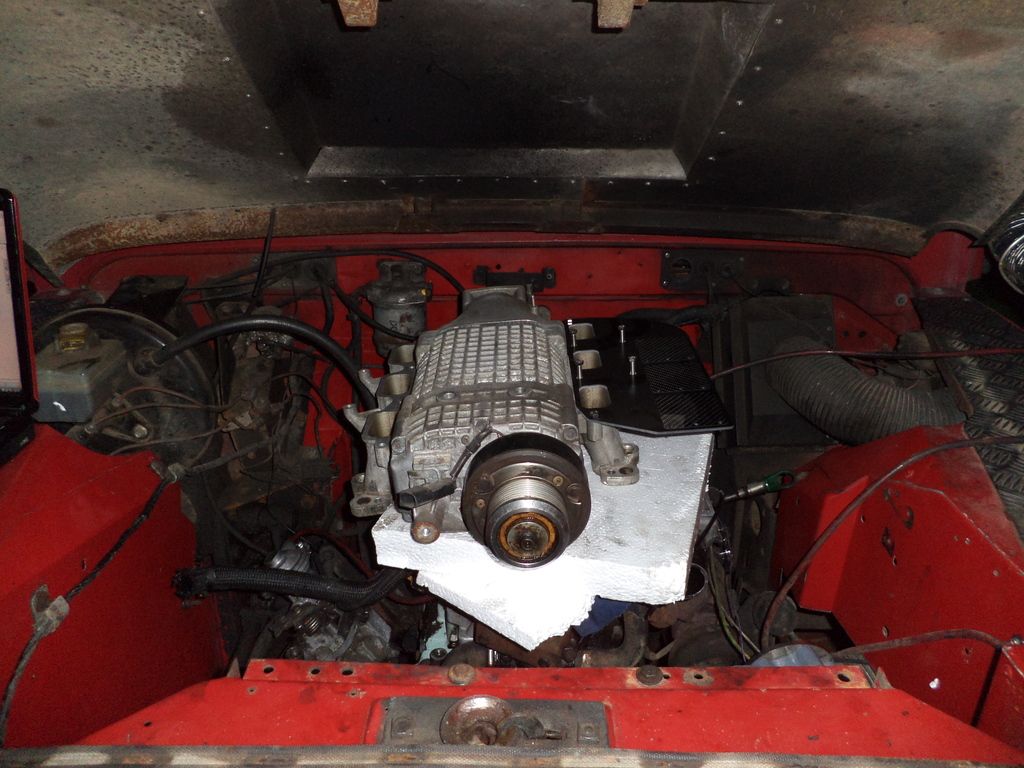
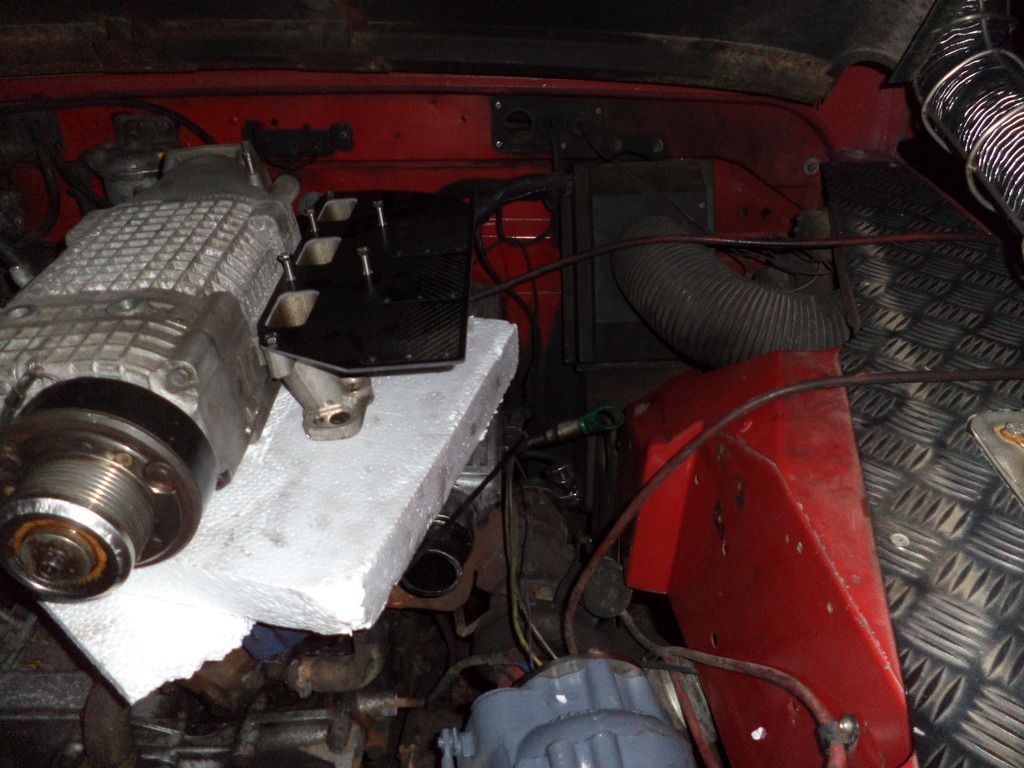
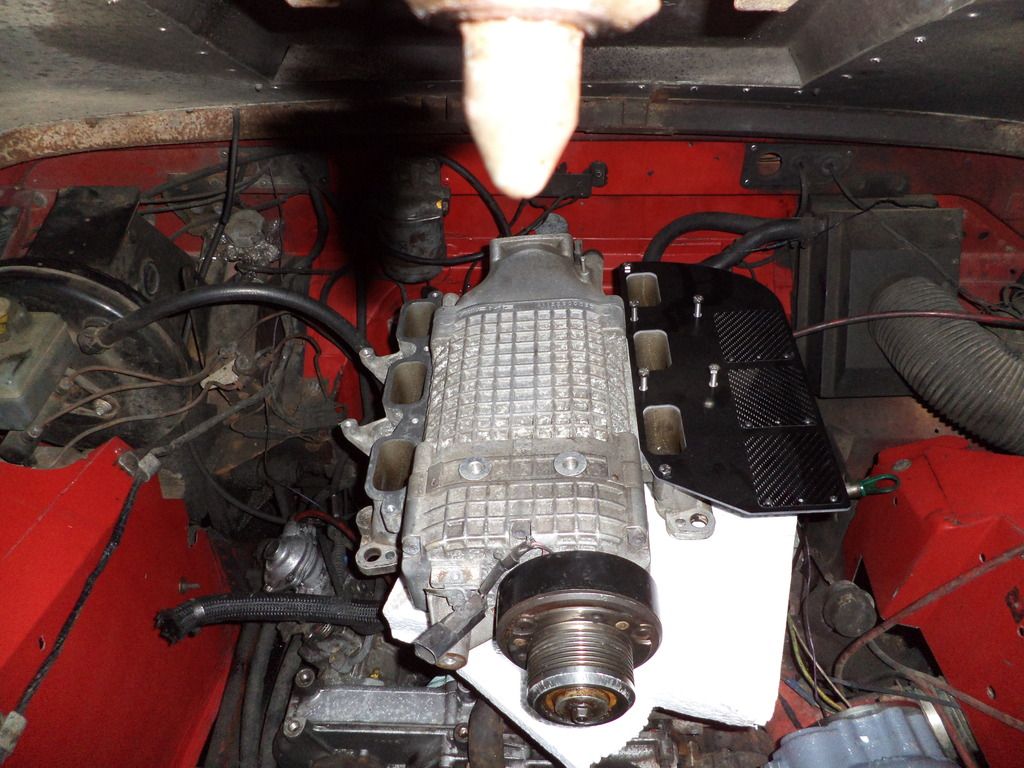
I got the transfer case fitted Sunday evening in an attempt to do it properly, washed all the gear oil and floor dirt off of me and took it for a test drive. It was nice being able to drive at 60mph once again but whilst having good acceleration from the extra low down torque I have available. I believe that the silencer ports of the Eaton M45 leak alot of boost back in itself as the lower engine revs don't provide many psi's of boost, with the higher gear ratio it's brought the cruising boost level down to around 14psi whereas before it was up around 20psi frequently. It was a nice drive and an excuse to use my LED lights, I pulled back into the driveway, manouvered in the drive and pulled forward. As I went to pull it out of gear suprisingly it wouldn't come out of 1st (not something I wanted at 10pm on a Sunday with work the next morning) . Eventually I pulled it out of gear then found I couldn't select any gears from neutral so switched it off and found I could select gears when the engine wasn't spinning. I tried starting it in gear with the clutch down and found it to be dragging and not releasing the friction plate fully so spent yesterday evening going through the hydraulics (the slave cylinder seals were on my to do list from over a year ago) and eventually decided it was mechanical clutch issues (3rd time in 18months) . Upon removing the inspection plate and as I pushed the pedal down I saw a metal part drop from inside the pressure plate, so after having the gearbox almost out at the weekend I've now got to have it back out again. Til I get the clutch off I'm not sure what has given way so far as it feels as if something has fallen out and wedging inside there, hopefully this time it's not a shattered friction plate as I don't believe it was caused by torque but possibly vibration in low revs. On the plus side it happened in my driveway and not on the motorway. New Supercharger PlansThe interesting part, I've decided that the Eaton M45 is too small for my engine, it can only offer 8psi and has very little scope for being spun much faster when I want to be achieving 15psi and recently deciding that a big supercharger would do more work than keeping the smaller turbo installed increasing the simplicity. I've been searching the internet for a few weeks now and at the weekend I had an interesting find, Eaton M112's seem to be the right size for what I want and are fairly easy to get hold of from Jags and other V8's but a supercharger from a Mercedes C23 AMG appeared and luckily is now mine. I believe they pump 105ci (1.72 litres) per revolution, have a 73mm magnetic clutched pulley and are also a screw compressor as opposed to a roots blower. These run approximately 15psi on a petrol V6 with a chargecooler so an exact match for what I want to achieve. The maths works out at 26psi theoretically, or the equivalent to having a n/a 6.8litre diesel but realistically I only expect to see 2/3rds of that from heat and other losses so 17psi or roughly a 5.4litre diesel, my T04 is from a 5.9L and probably span up just before 2000 so will be ideal now. Here's some pictures of the new supercharger, AMG badge and all... 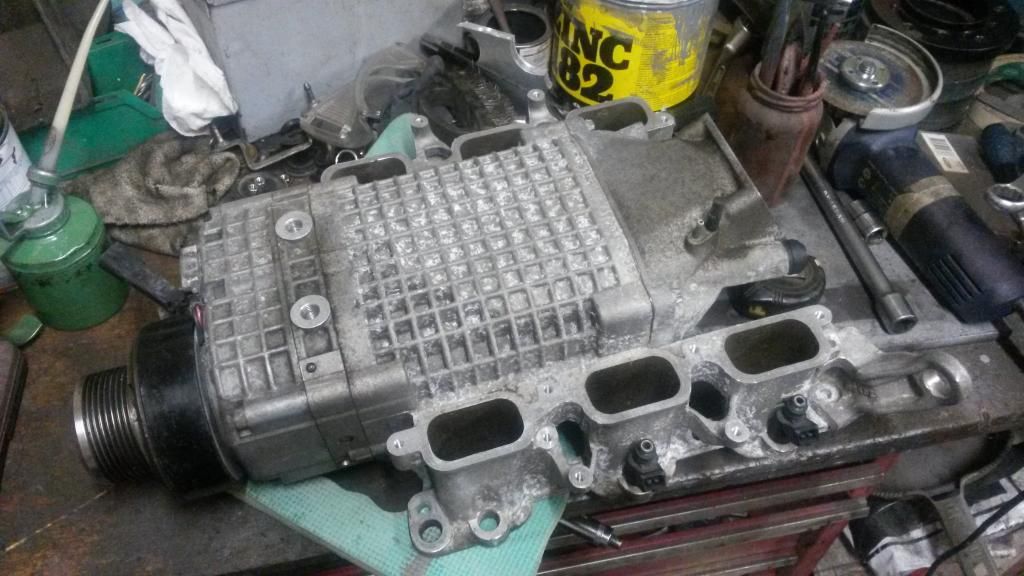 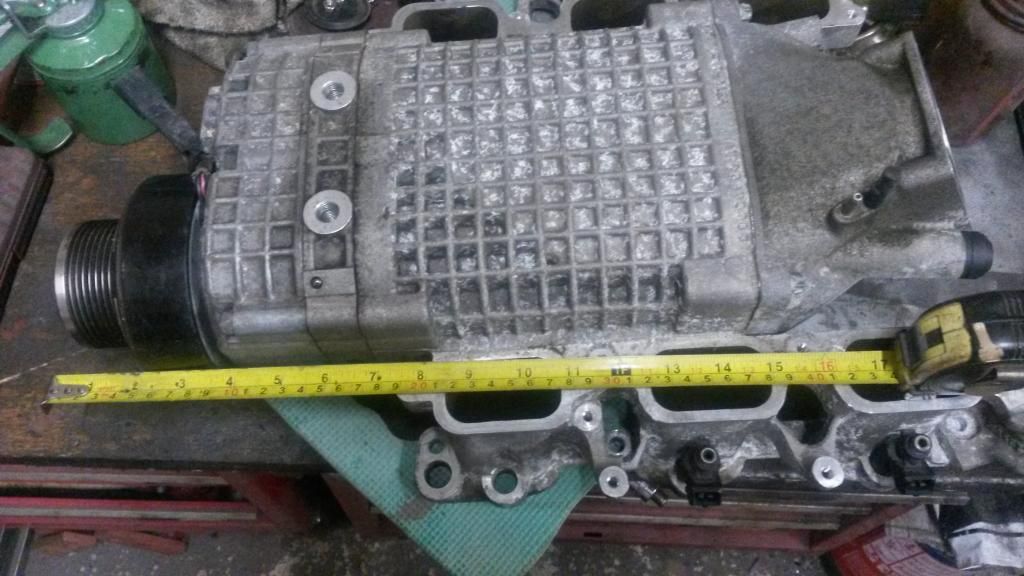 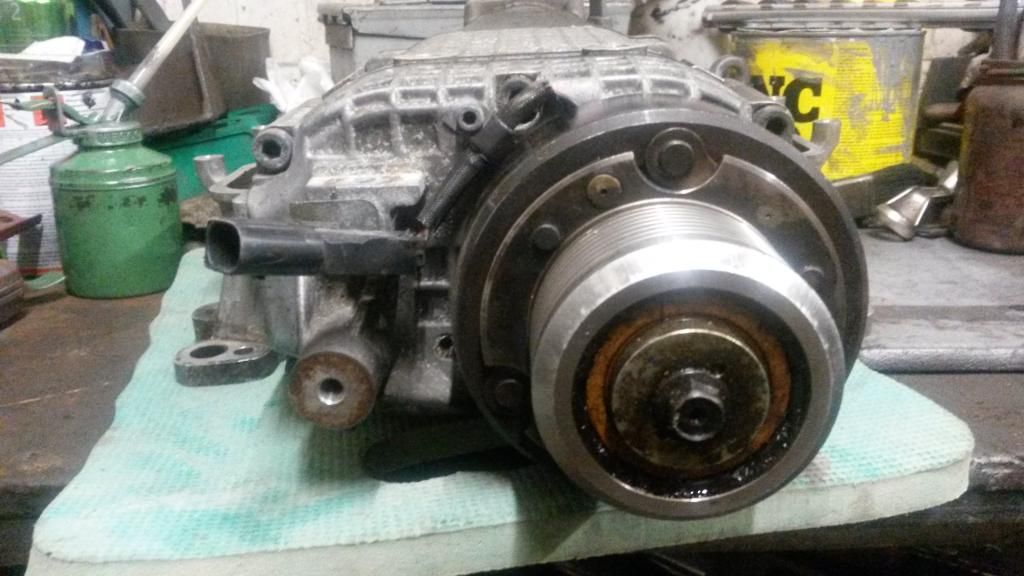 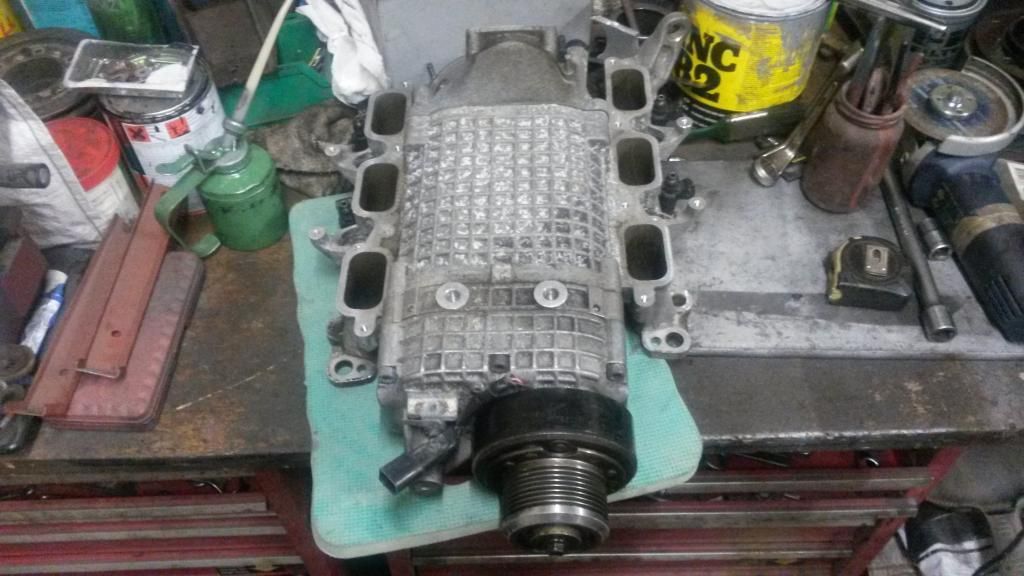 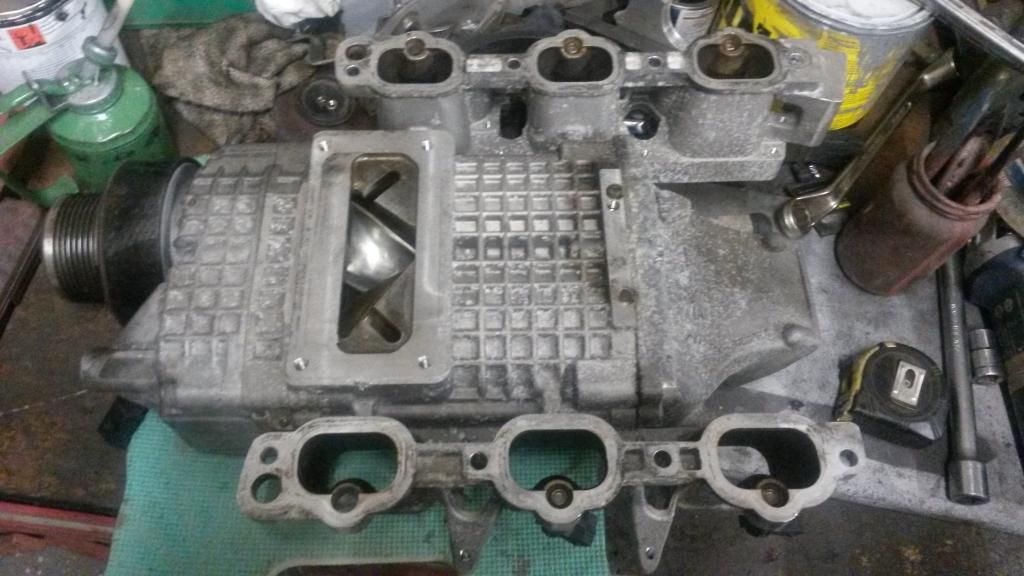 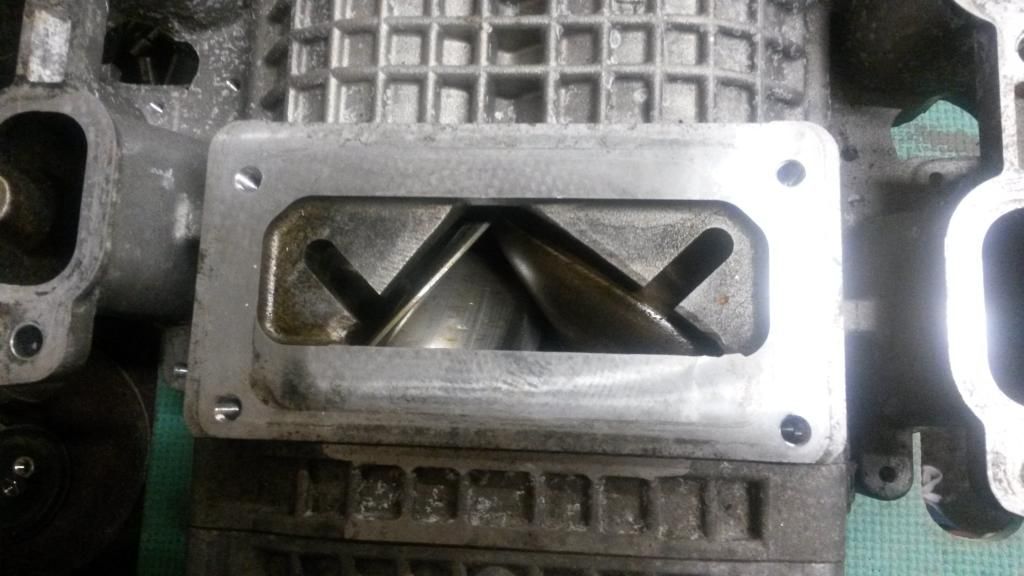 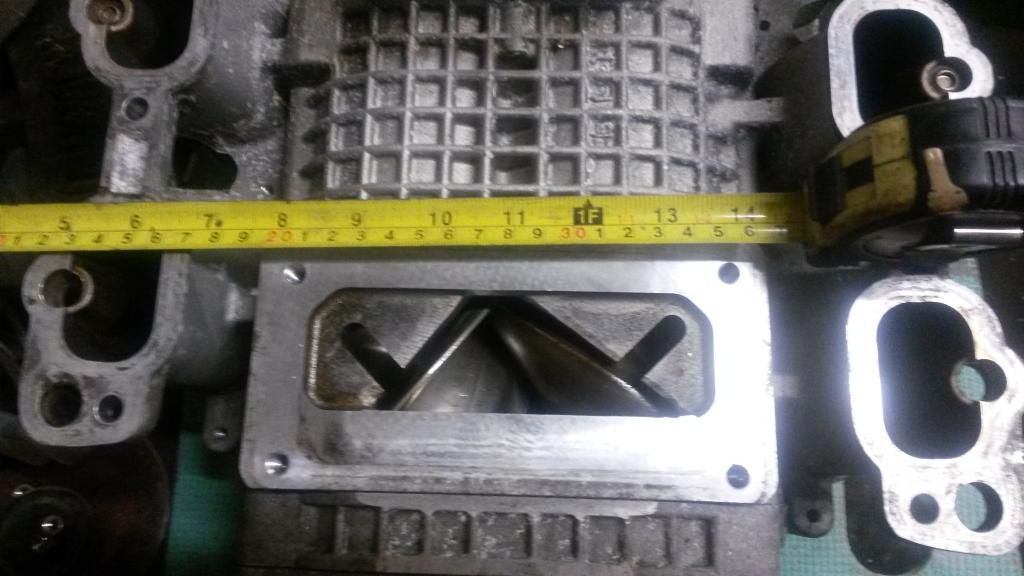 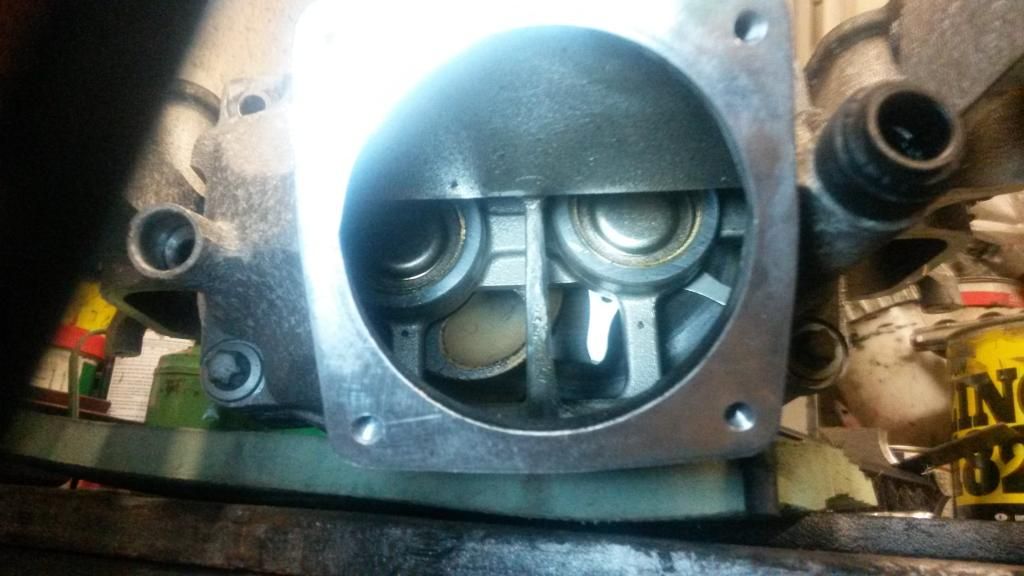 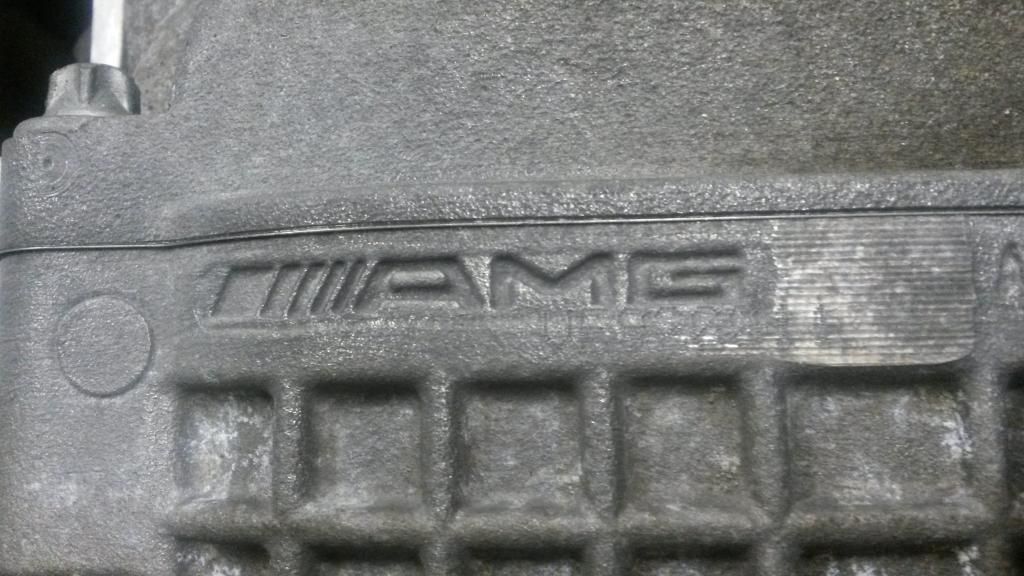 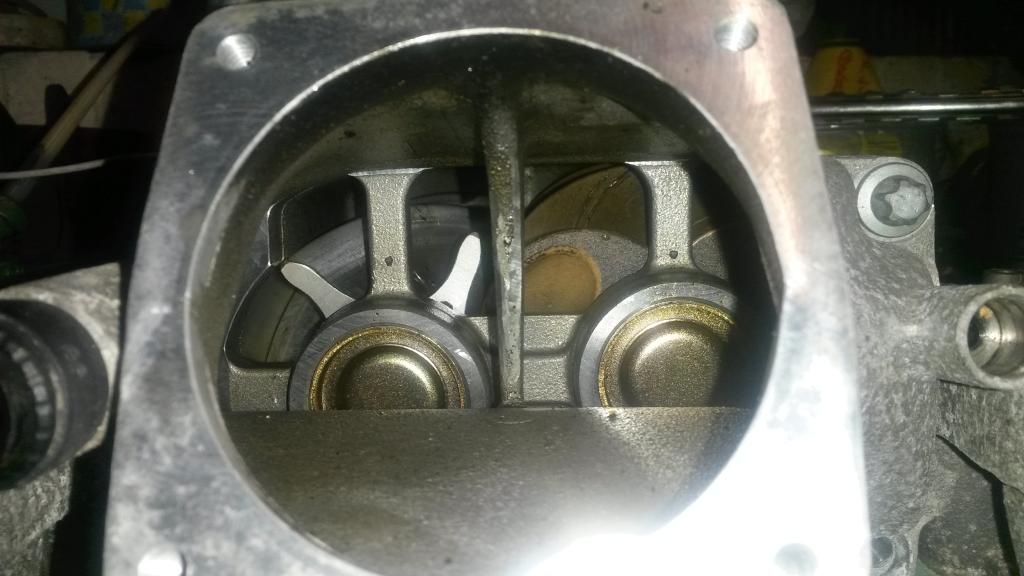 Later down the line I will probably remove the magnetic clutch as it's just another thing to break or wear out because it's being bolted to a land Rover, but I intend to test out whether disengaging the clutch whilst a turbo takes over is beneficial or not worth the hassle, plus it gets me Mad Max bonus points! With the bigger volume of air being pumped I want to get this thing to whine / howl  Some rearranging of radiators and exhausts will be due as well |
| |
|
|
|
|
|
|
|
|
|
|
Awesome Awesome Awesome Awesome Awesome
I've been toying with the idea of getting the uprated transfer box gearset myself, it's not really that expensive.
Great stuff
|
| |
|
|
lowen
Part of things
 
Posts: 50 
|
|
Sept 3, 2014 22:15:38 GMT
|
I've only done 10 miles on it so far so can't really give proper feedback about it but those 10 miles and the assembly and machining all seem worth it so far, unfortunate that they can't machine any cases til mid september or october hence I did it myself but the instructions were clear to use. I wouldn't advise using their kit with all the other gearing changes I've done and a weak engine as the jump from each gear would be too much compared to a 5 speed or an overdrive, but with this set up it felt right and I wouldn't want to go any higher geared as 1st would be too unuseable. Got the gearbox out the way this evening and the clutch removed to see what was making a tinging noise and causing the clutch to drag. Turns out I've killed the damping springs in the friction plate which has done less than 2000miles since the last friction plate that shattered. How the springs look battered and smoothed it appears they have been broken for a while and possibly before the supercharger was fitted. The broken bits managed to jam themselves in the pressure plate which was stopping it from fully releasing the clutch therefore dragging. Quite disappointing with it being an AP part and that 4 out of the 6 springs have failed. As it's got good friction material and would be going in the bin otherwise I'll be turning it into a heavy duty "shouldn't break" clutch. 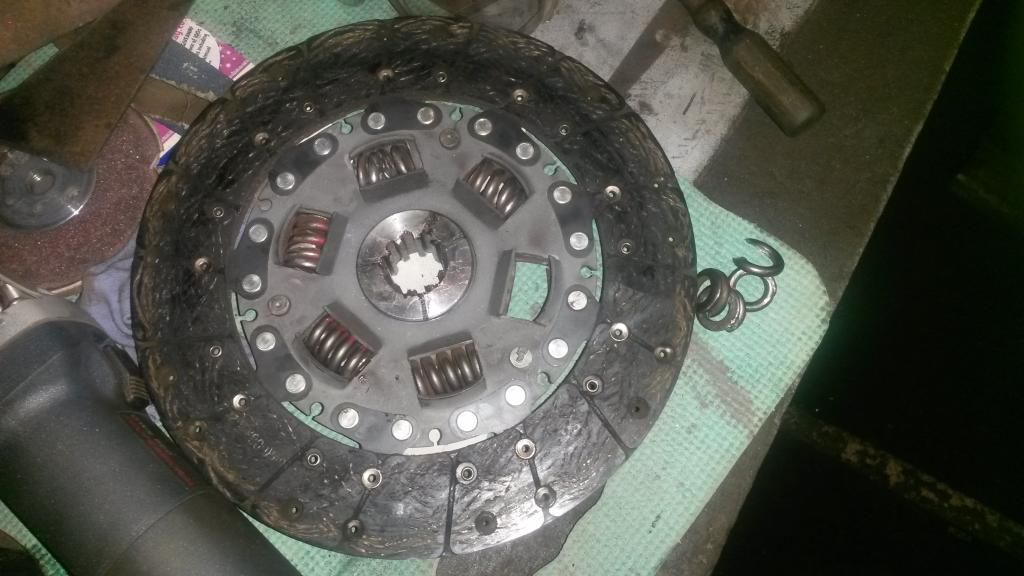 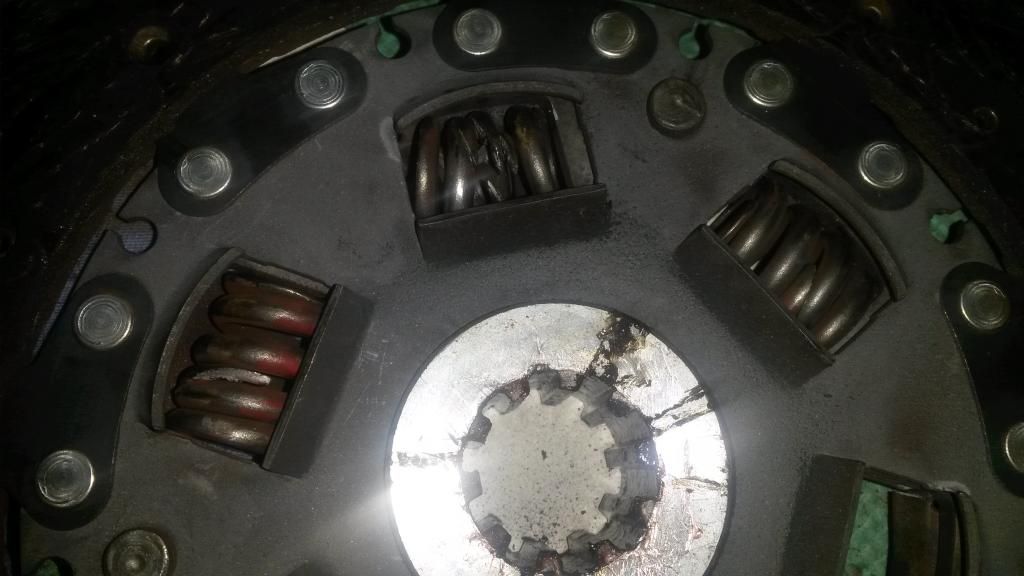 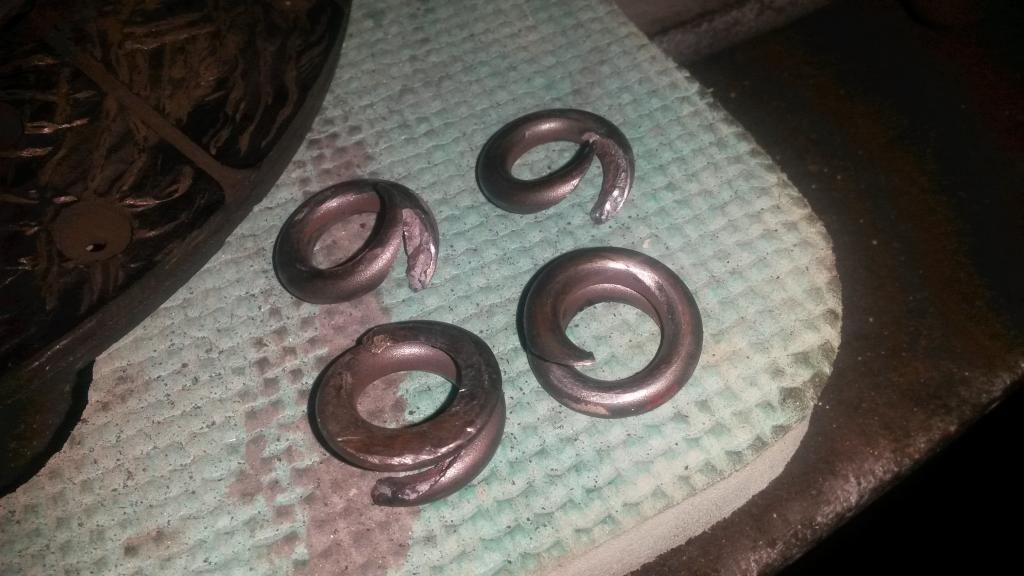 |
| |
|
|
Mad Max
North West
May contain beard...
Posts: 497
|
|
Sept 11, 2014 19:58:46 GMT
|
plus it gets me Mad Max bonus points! Yes. Yes it does. This is an epic idea and I shall watch with great interest. |
| |
|
|
|
|
|
Sept 11, 2014 20:21:59 GMT
|
Awesome Awesome Awesome Awesome Awesome I've been toying with the idea of getting the uprated transfer box gearset myself, it's not really that expensive. Great stuff I've got one in the range rover, its equivalent to running in overdrive all the time. |
| |
|
|
|
|
|
Feb 25, 2015 20:51:49 GMT
|
|
Absolutely loving this project! How much power, and more importantly, torque do you think this thing is making? Any more progress?
|
| |
|
|
|
|
|
|
|
I Have one of those IHI/Lysholm chargers too, Just "In stock" for phase 2 of the Kadett engine development  They are very nice units. The intake is pretty critical on them too for flow and rotor phasing so Ideally you need the std Merc casting. I can get you some pictures if you don't have it ? cheers Dom |
| |
|
|
|
|
|
|
|
i've only just found this thread and it's been an entertaining read, i've a couple of 200tdi powered Series myself so of course i was attracted to see what you're up to unfortunately the tdi's seem to kill off AP clutch plates with an annoying regularity, usually just compressing the springs, thus making them chatter/rattle on idle although i have also experienced the same spring failure as yourself with bits dropping into the pressure plate and creating clutch drag anyway enough of that, off you go and get more whine  |
| |
|
|
Colonelk
Posted a lot
  
Posts: 3,742
Club RR Member Number: 83
|
|
Mar 11, 2015 12:46:18 GMT
|
I wondered who bought that supercharger  Tis a sexy thing |
| |
|
|
hario
Part of things
  S202 C300STD
Posts: 421 
|
|
Mar 12, 2015 19:33:31 GMT
|
|
Awesome build, may I ask why you are not turbo-compounding the usual way? Ie: air filter - turbo- intercooler - supercharger - after cooler - inlet manifold.
Gear the sc to boost from idle then size the turbo to spool as supercharger begins to flow outside of its map.
The two compliment eachother and there won't have to be a large wastegate bypass on the small high pressure turbo, which usually causes fabrication difficulty.
We are superturbo compounding a 606 with an M112 which flows 1.8l\r but we didn't know that Mercedes screw flowed so much!
Would you clarify which vehicle it came from? As I have never heard of a C23AMG, you mean C32 perhaps?
Beers, H.
|
| |
*S202 C300TD Wagon*
Installed:
OM606 & 722.6, Evo6 IC, S600AMG callipers & 345mm rotors. No catz. Leatherish seats.. Rust..
Future:
DIY manifolds & turbo compound build.
Built IP, & some kind of software. Less rust..
|
|
|
|
lowen
Part of things
 
Posts: 50 
|
|
Aug 29, 2015 10:28:17 GMT
|
Absolutely loving this project! How much power, and more importantly, torque do you think this thing is making? Any more progress? Honestly, no idea. Til I've got the air pumping side of it how I want I'm not touching the pump anymore as I'll just be making black clouds everywhere. Probably not much more than standard so 110hp - 130hp? as it's not had any air cooling. As a guide the max pressue I saw on the M45 and T25 was about 24psi but the pipes were very hot! The noticeable difference is the max torque was probably very close to 1500rpm so very driveable. I Have one of those IHI/Lysholm chargers too, Just "In stock" for phase 2 of the Kadett engine development  They are very nice units. The intake is pretty critical on them too for flow and rotor phasing so Ideally you need the std Merc casting. I can get you some pictures if you don't have it ? cheers Dom It's going onto a big box which will house the majority of the plumbing and the chargecooler, by the time it makes it to the inlet manifold I would think the air flow would have sorted itself. Pictures welcome, I like looking at interesting things! i've only just found this thread and it's been an entertaining read, i've a couple of 200tdi powered Series myself so of course i was attracted to see what you're up to unfortunately the tdi's seem to kill off AP clutch plates with an annoying regularity, usually just compressing the springs, thus making them chatter/rattle on idle although i have also experienced the same spring failure as yourself with bits dropping into the pressure plate and creating clutch drag anyway enough of that, off you go and get more whine  I still need to try finding some more suitable springs which have more travel but also to fit different ratings to stop any weird frequencies. I haven't looked at how much room there is but the plan is to reuse the friction material and inner spigot as a basis for making a clutch designed for use on a diesel not the petrol it was originally designed for. AP weren't too willing to give me any info oddly enough so on my own with trial and error. An easy thought may be to use the springs from a similar engine such as the 130 Defender heavy duty clutch as they aren't known for breaking springs. I wondered who bought that supercharger  Tis a sexy thing I couldn't refuse buying it! Especially as it was local. Awesome build, may I ask why you are not turbo-compounding the usual way? Ie: air filter - turbo- intercooler - supercharger - after cooler - inlet manifold. Gear the sc to boost from idle then size the turbo to spool as supercharger begins to flow outside of its map. The two compliment eachother and there won't have to be a large wastegate bypass on the small high pressure turbo, which usually causes fabrication difficulty. We are superturbo compounding a 606 with an M112 which flows 1.8l\r but we didn't know that Mercedes screw flowed so much! Would you clarify which vehicle it came from? As I have never heard of a C23AMG, you mean C32 perhaps? Beers, H. I've done alot of thinking and offering parts upto the engine bay the last year. The loose plan is Air Filter - Turbo - Supercharger - Chargecooler - Inlet Manifold , with a one way bypass between the Turbo and Supercharger to allow the Turbo to naturally take over then seal up instantly when it provides less air than the Supercharger, and potentially a pressure blow off from the Supercharger back to the Turbo inlet to recirculate the air but reduce the pressure to the engine if it is excessive in traffic or suddenly backing off the loud pedal and causing a pressure spike. Rather than fitting different pulleys it would be quicker to alter, this should in theory also help the Turbo by having a volume of air passing through it. I've found in gearing a Supercharger to give a set boost you get some leakage at idle and low revs so need it geared up a bit more than you'd think necessary. It's all a bit "bolt it on and see what happens" so trying to allow for some easy tinkering. I think I meant C32, Wikipedia doesn't have C23 so a typo there. |
| |
|
|
lowen
Part of things
 
Posts: 50 
|
|
Aug 29, 2015 10:38:27 GMT
|
|
|
| |
|
|
lowen
Part of things
 
Posts: 50 
|
|
Sept 6, 2015 22:52:25 GMT
|
|
|
| |
Last Edit: Sept 6, 2015 22:58:18 GMT by lowen
|
|
lowen
Part of things
 
Posts: 50 
|
|
|
|
Been on the CAD lately drawing up the supercharger mount / chargecooler, the majority of it will be laser cut and bolted together with provisions to solder / braze all the joins to prevent leaks. My goal is to make it as big a heat exchanger as possible so there's plenty of surface area for the water to cool down the air, because of where the air is going to be plumbed in effectively it will be two chargecooler cores on top of each other then straight onto the inlet manifold. This way also saves having lots of hoses that could come off! This is the current progress, each core will be approx 19mm thick but are between 400mm and 500mm square and a lot of thin layers to increase surface area and heat transfer. If it works but only cools say half of the temp increase then it will be possible to just keep adding more layers til it works as I want it to. Lower core to inlet manifold 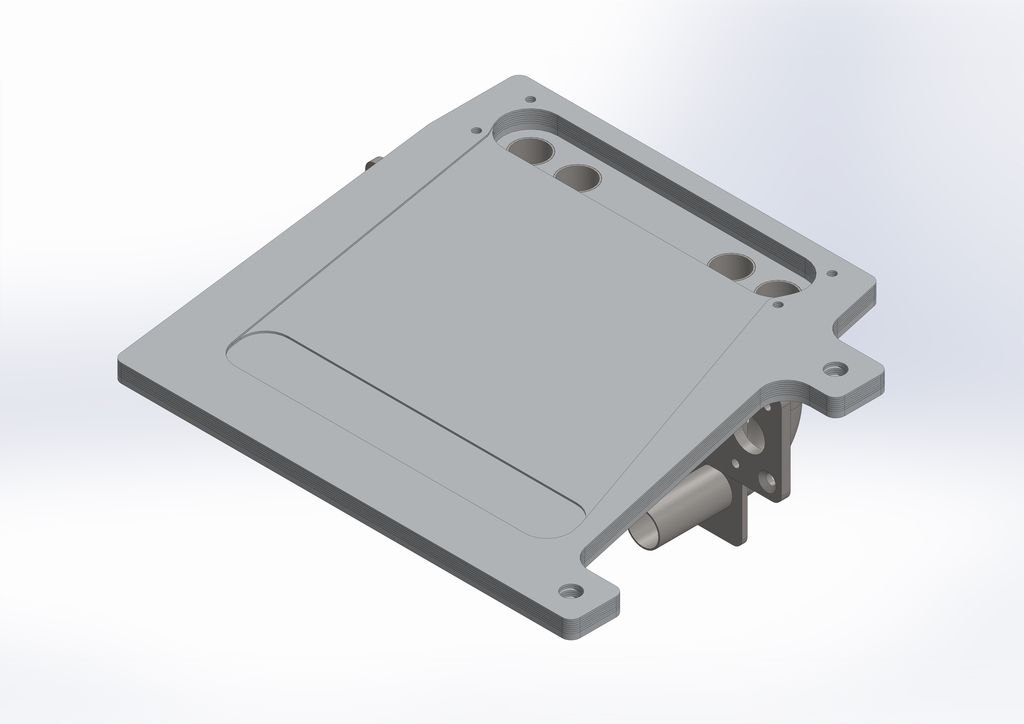 Water plate - 0.9mm thick 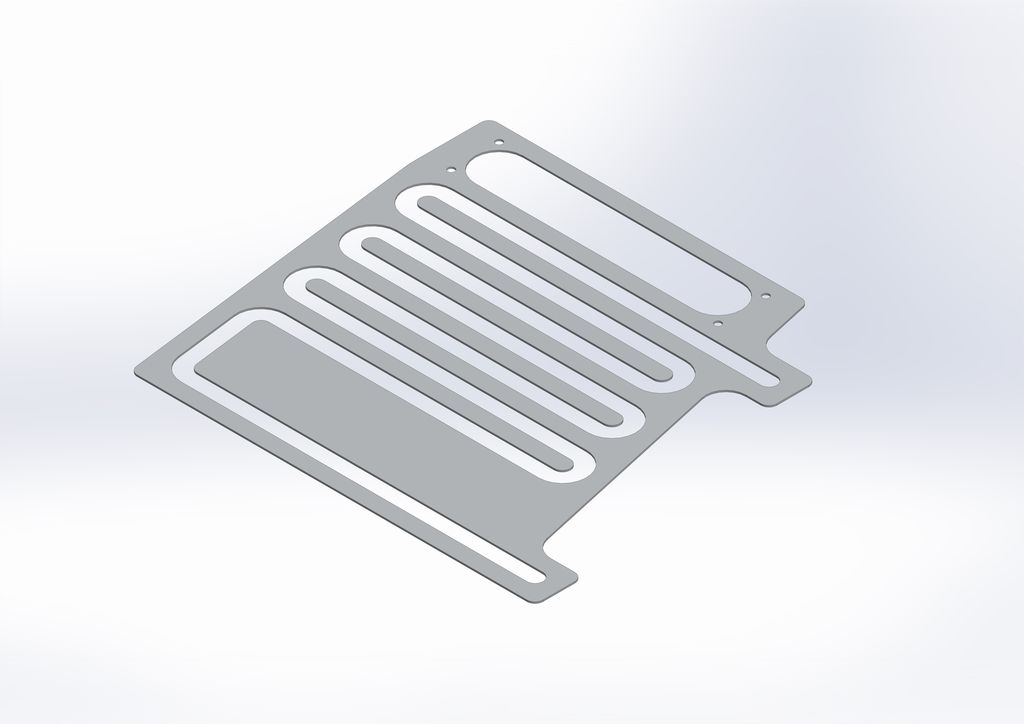 Sandwich plate - 0.5mm thick 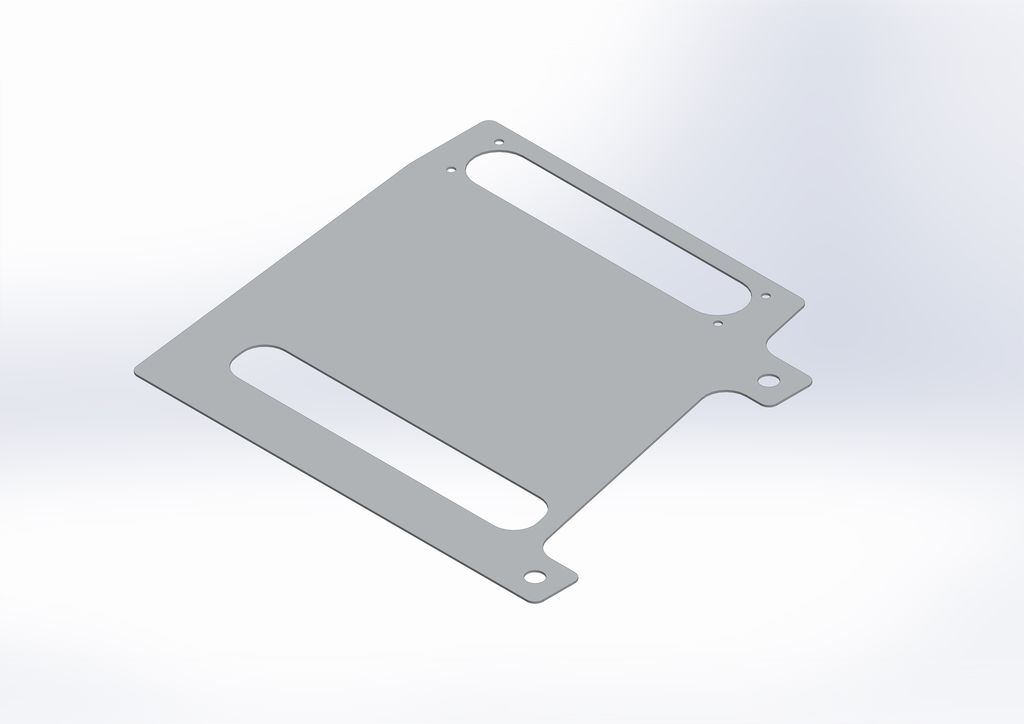 Air plate - 2mm thick 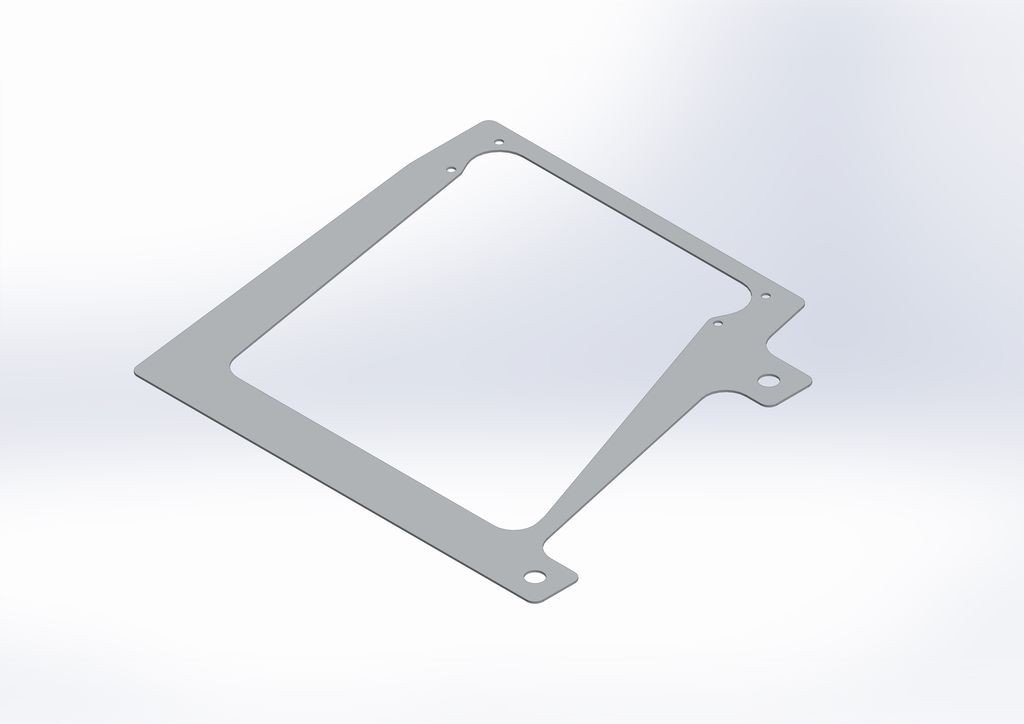 More measuring is needed to finish off the rest of the mountings and bolting holes are needed but getting there. |
| |
|
|
|
|
|
|
|
|
missed nearly a years updates, infact i bought a series 3 since this was last at the top ! the merc charger looks very well integrated/packaged for an OEM setup. is that an advantage or disadvantage for you? makes it low profile i guess
|
| |
Last Edit: Sept 9, 2015 9:57:11 GMT by darrenh
|
|
lowen
Part of things
 
Posts: 50 
|
|
Sept 15, 2015 0:52:12 GMT
|
missed nearly a years updates, infact i bought a series 3 since this was last at the top ! the merc charger looks very well integrated/packaged for an OEM setup. is that an advantage or disadvantage for you? makes it low profile i guess Err... I don't think it's going to be very low profile when bolted on lol. There's definitely going to be an even larger opening in the bonnet this time due to the extra air cooling. In OEM form it is compact, the Merc chargecooler is fitted underneath with the outlet at the back going to each manifold cover on top of the supercharger and fits inside the V very well. So far it seems an advantage compared to using an Eaton M112 because it has two big sturdy and flat mountings on it so has been quite easy to think about how to secure it. I would like to use the 6 inlet port runners in my plumbing but currently working out that that way would be a pain to fit the assembly to the engine. I'll see how well it all fits and works as I would like an extra chargecooler under the supercharger like the Merc in addition to the main one that is also the mounting. CAD finished off and all parts have been ordered to get laser cut. Only one section of the chargecooler core is on my CAD as it would slow my computer down having all layers but comprises of 7x 2mm thick air plates, 8x 0.9mm thick water plates, 14x 0.5mm thick separator plates and a 3mm thick top and bottom cap to make an approx 37mm thick core. Will see how it works and if necesary I can keep adding more layers to increase the cooling but hoping for it do take a decent amount of heat away. Also uses plenty of 6mm and 3mm stainless plates to mount to the engine to stop any stresses or breakages of mounts from vibrations. The whole thing is is IKEA flat pack style to make building it rather easy. 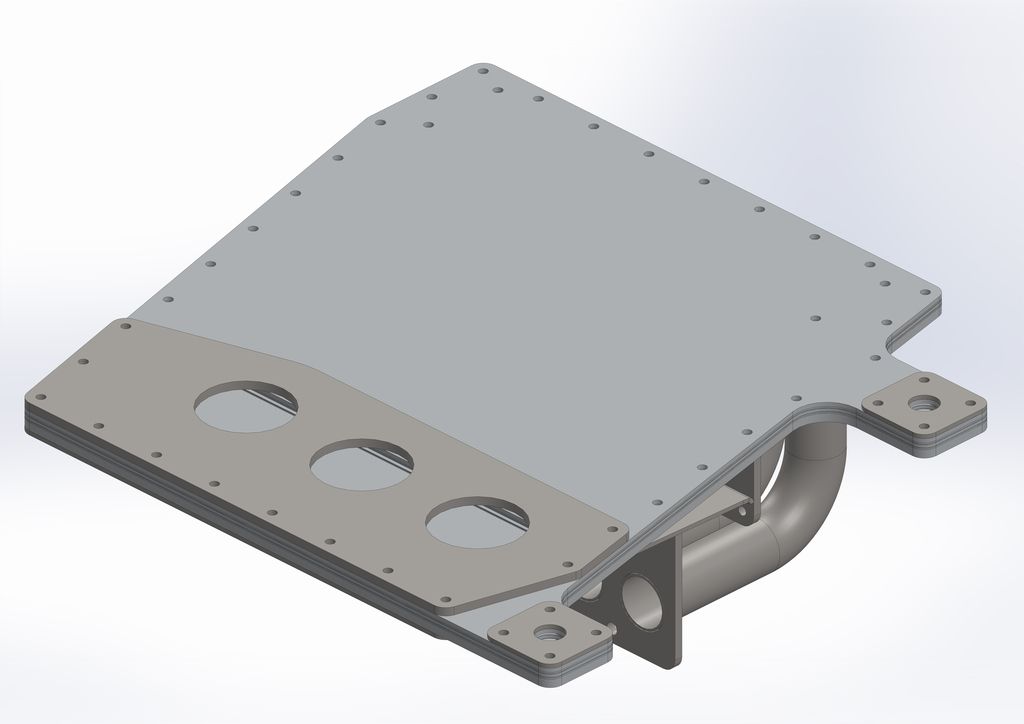 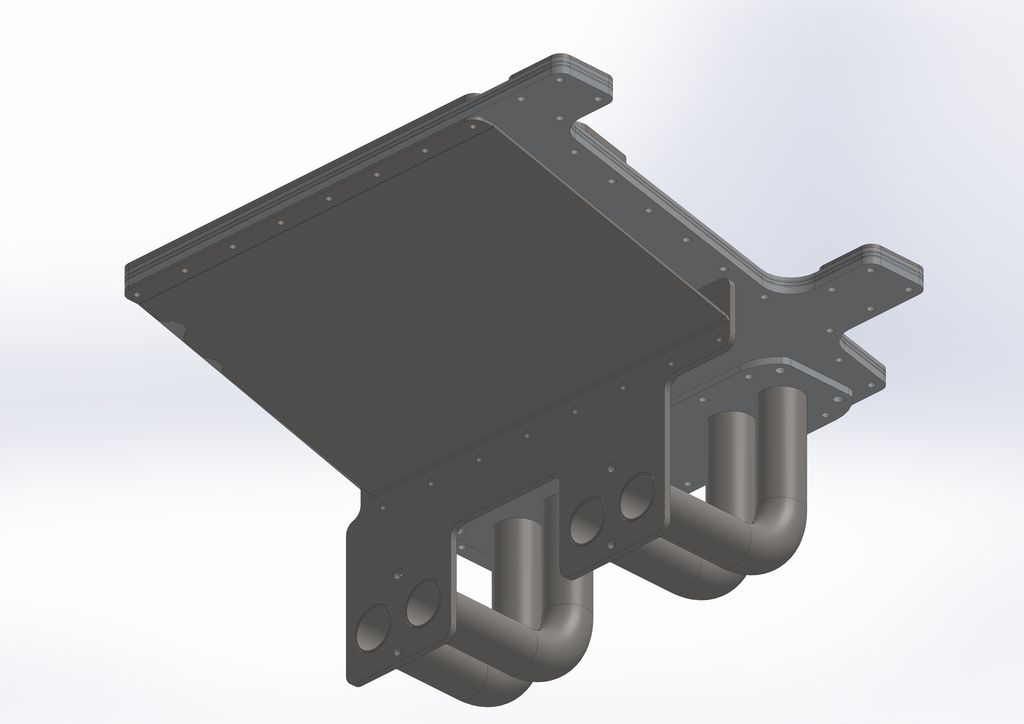 Now for what will seem like a long wait! |
| |
|
|
|
|
|
Sept 16, 2015 10:44:44 GMT
|
|
Holy cow!
|
| |
|
|
|
|
|
Sept 16, 2015 16:36:13 GMT
|
manifold looks mental, like it should be on a boiler, made of brass and dome riveted together  |
| |
|
|
lowen
Part of things
 
Posts: 50 
|
|
Sept 13, 2017 22:22:11 GMT
|
I have started a Facebook page to encourage myself to take more pictures of progress (and because Photobucket has become uber spammy since I last uploaded photos to it) The page is at this address: www.facebook.com/74series/Otherwise here's a recent picture of the front end showing the alloy radiator panel and grill I designed and had laser cut to improve engine bay space  |
| |
|
|
lowen
Part of things
 
Posts: 50 
|
|
|
|
My first post on here since the Photobucket screw up which I'd been meaning to start updating again from back in July. I've been gradually tinkering away trying simple ways of making the 200TDi more pleasant for daily use, the last year it has had a Garrett GT1749V VNT turbo from a 1.9JTDM Fiat Bravo fitted. This has made it much more bearable for performance with the vanes in the open position for trial purposes however I'm still not fond of the excessive injection noise of this engine and general roughness of the engine: it shakes the drivetrain apart. 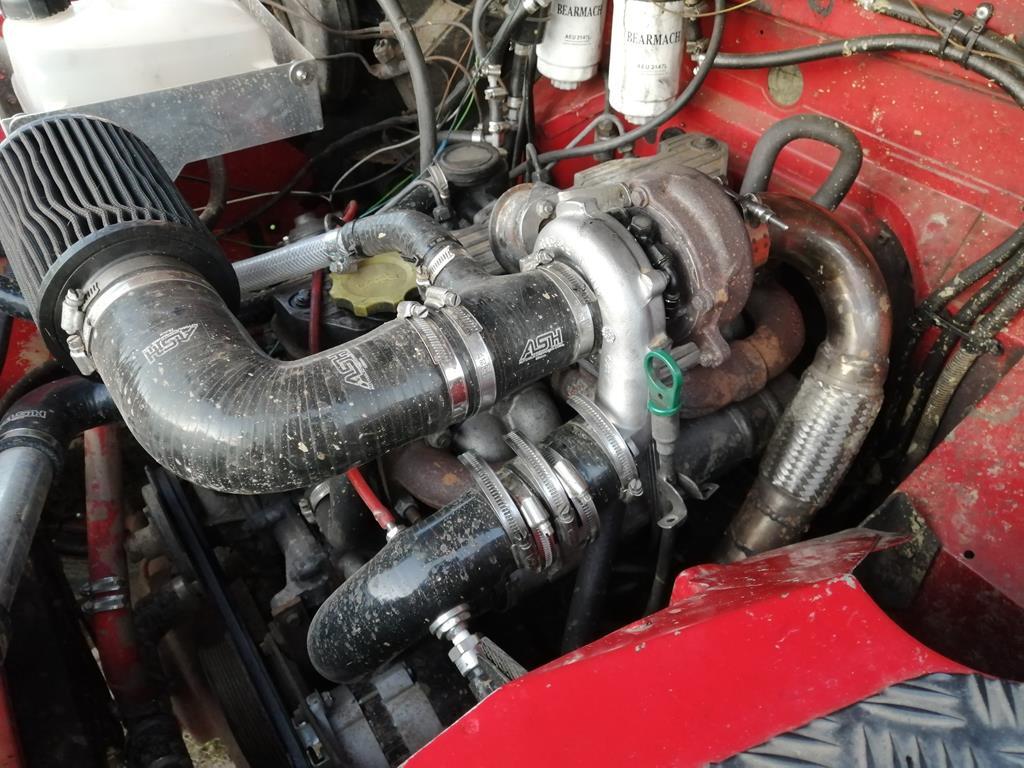 In July this year I found myself looking at Jaguar S-Types after having owned one briefly a couple of years ago. Unfortunately it was a money pit for getting through the first MOT with me and needed more work doing to it the second time round to make it viable to keep it. What stuck with me was how nice the engine was: smooth and had ample amounts of power, which led me onto a short trip after work with a tape measure resulting in buying this donor car with a 3.0L petrol V6 and a 5 speed automatic gearbox. 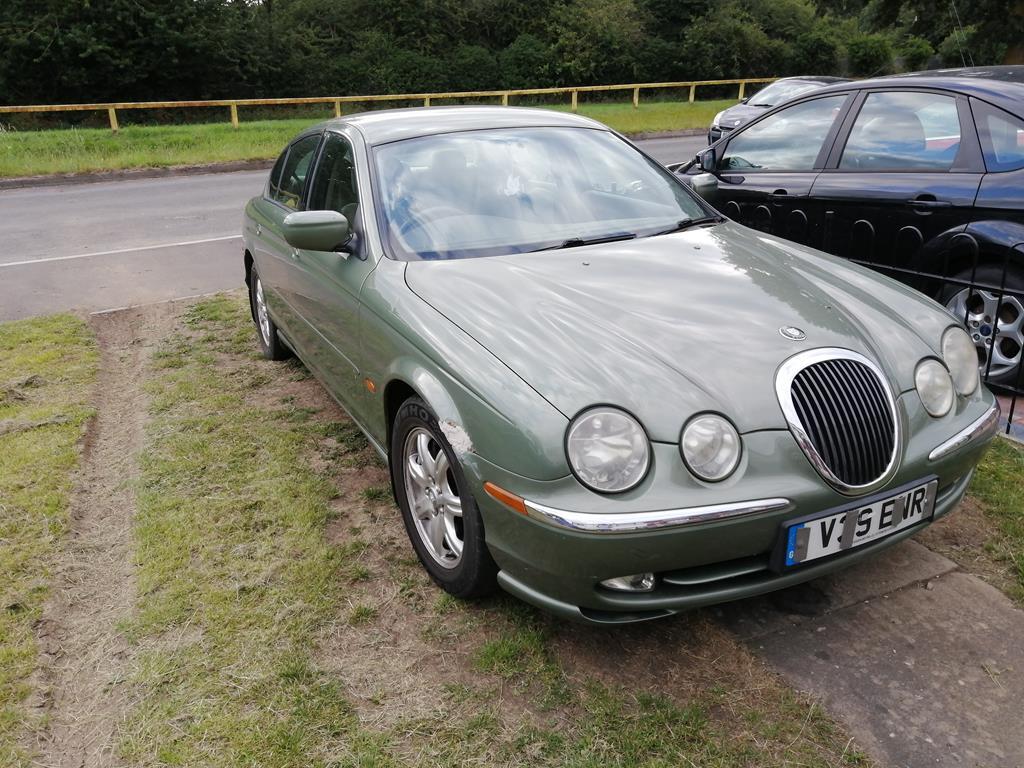 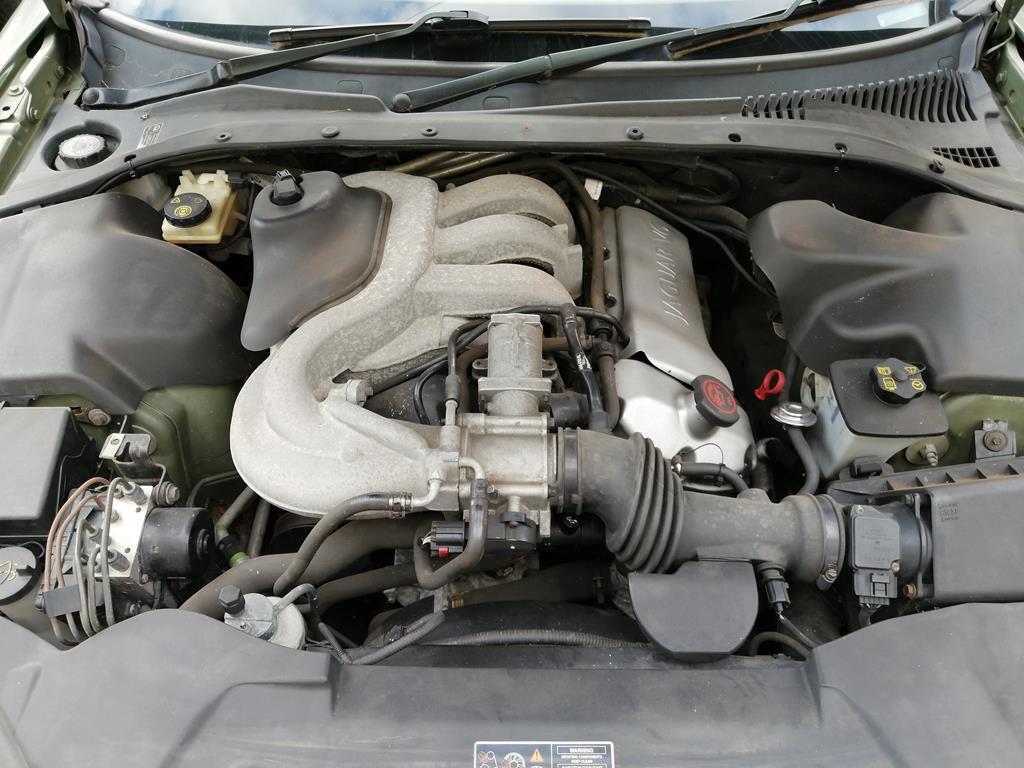 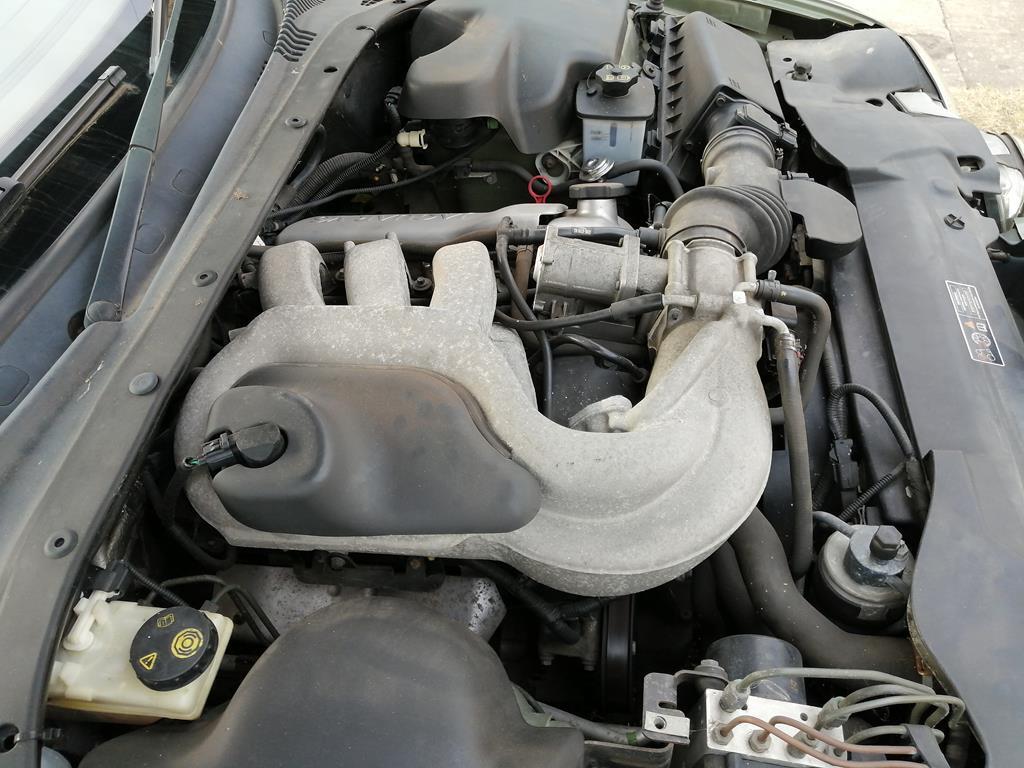 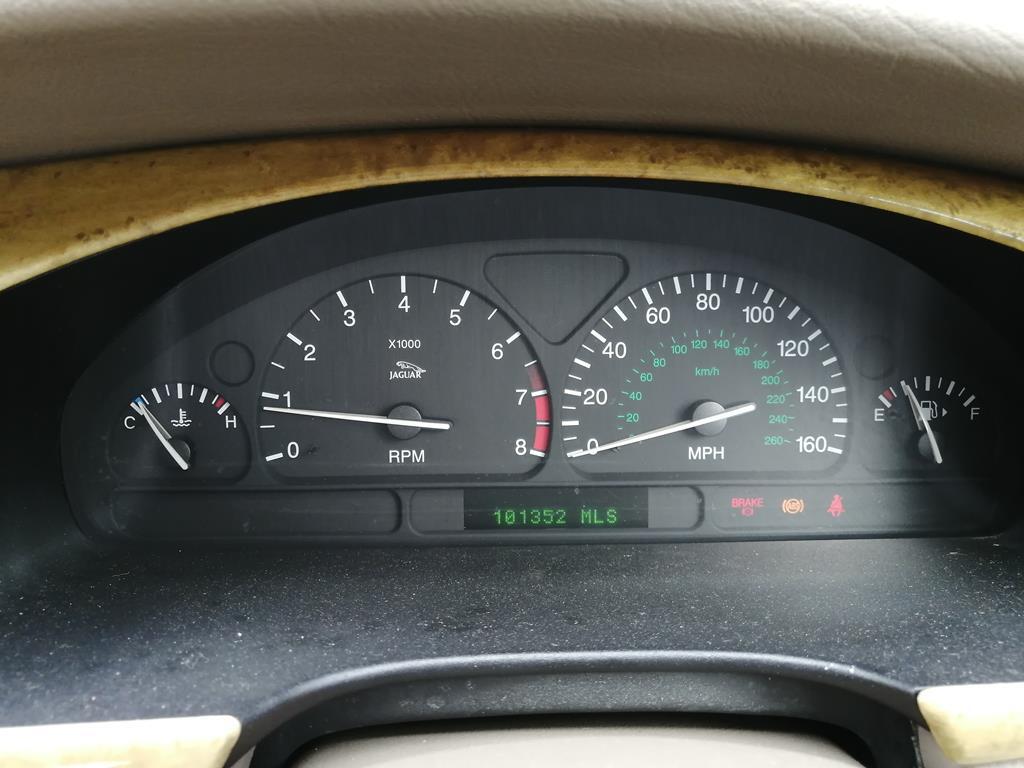 Then quickly whilst we still had summer I set about removing the engine and gearbox within a week of it being delivered. Unfortunately I chose a day when it rained but the excitement of the upgrade didn't stop me from crawling around in the mud that day. The first task was making some blocks for the car to be jacked onto to allow easier access underneath. 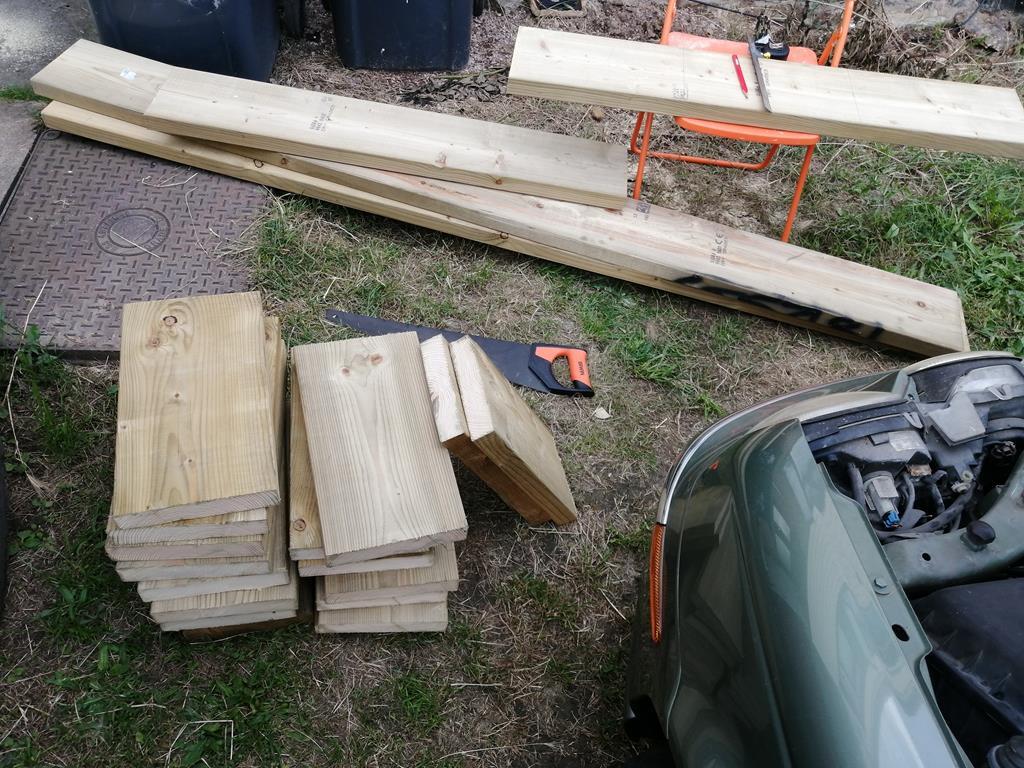 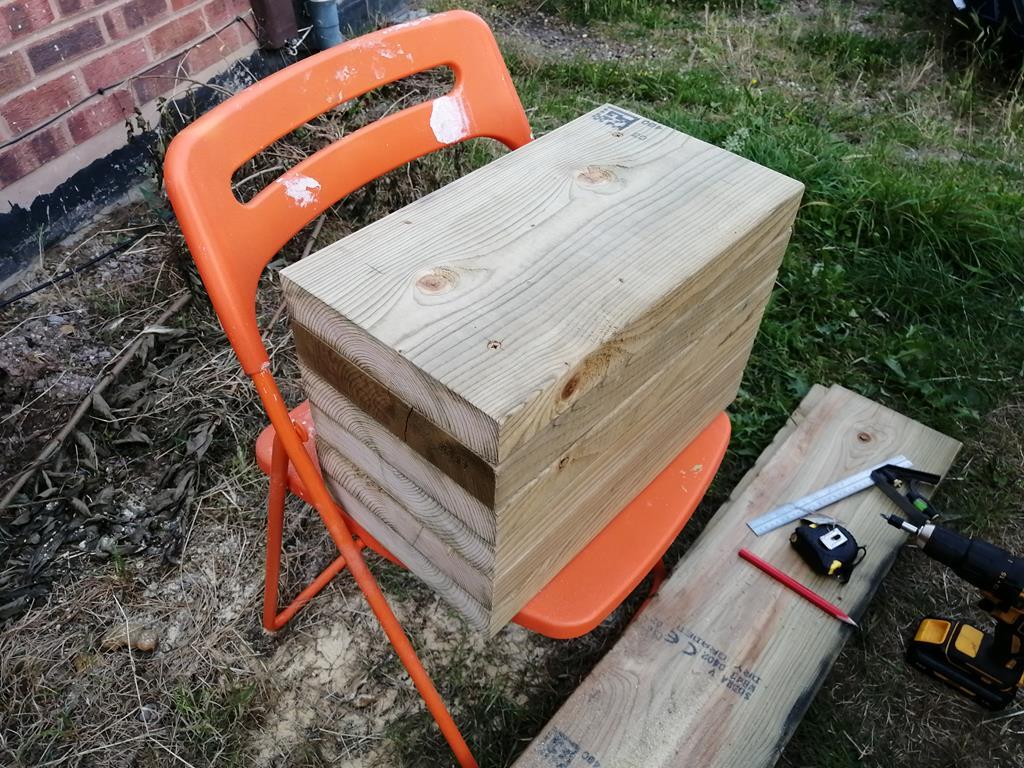 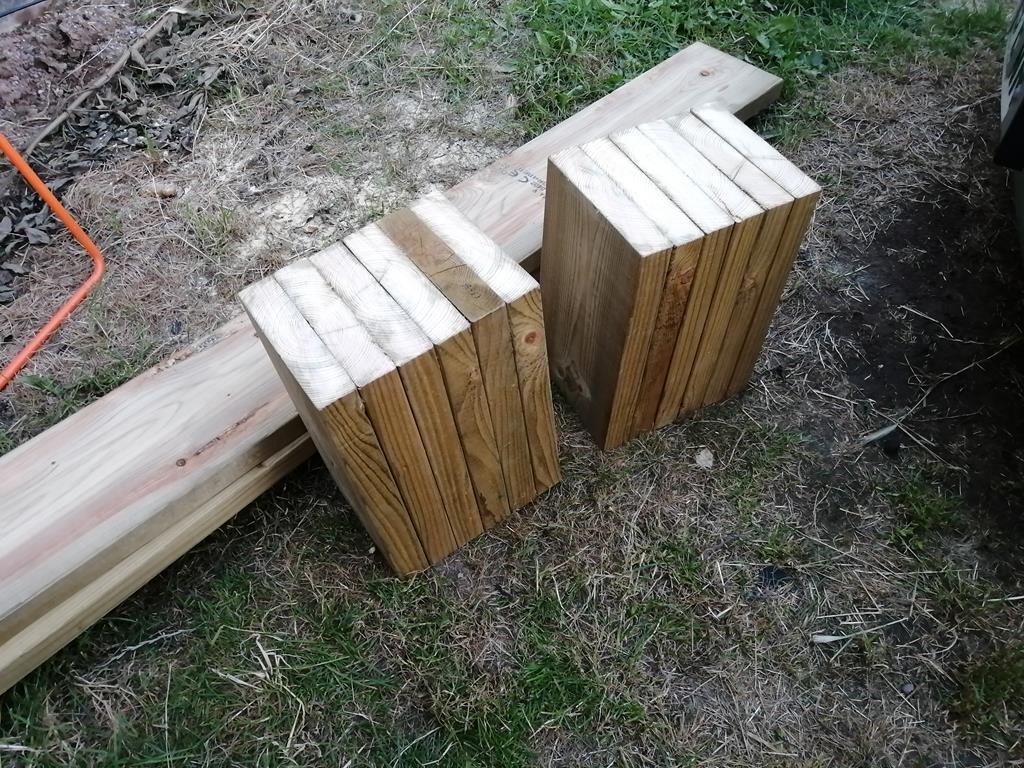 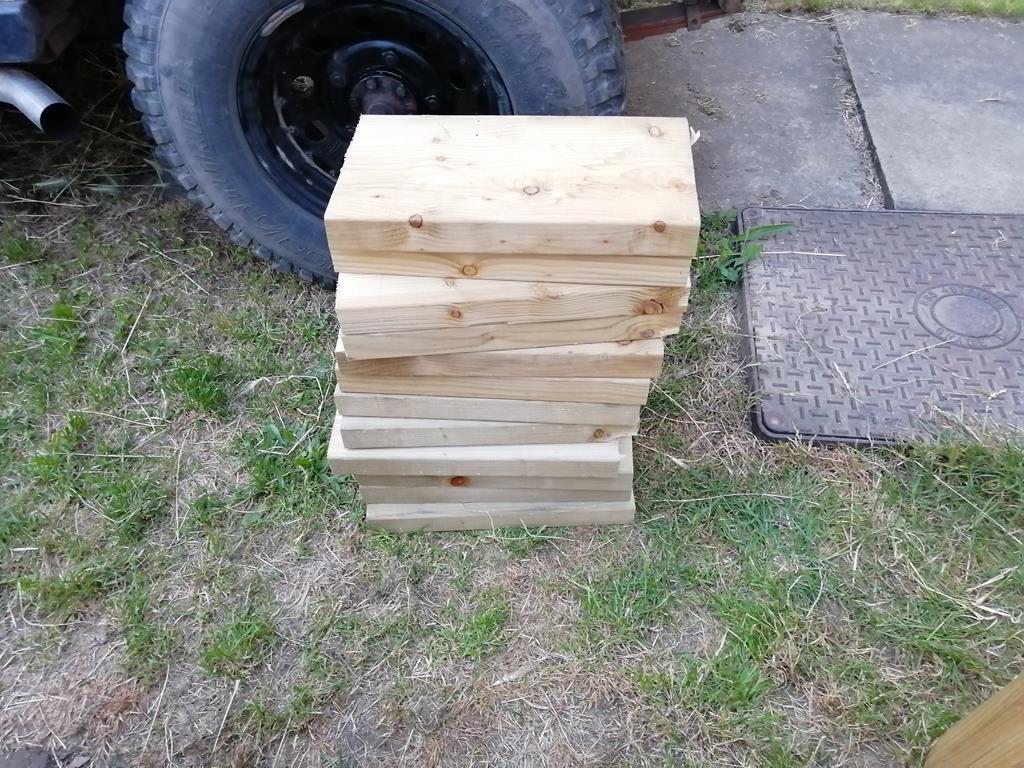 Before any removal work was started it was run upto temperature andthe ECU checked for fault codes, all was good here as it got upto temperature and didn't overheat. I was also curious and took the live data I could access from the ECU. 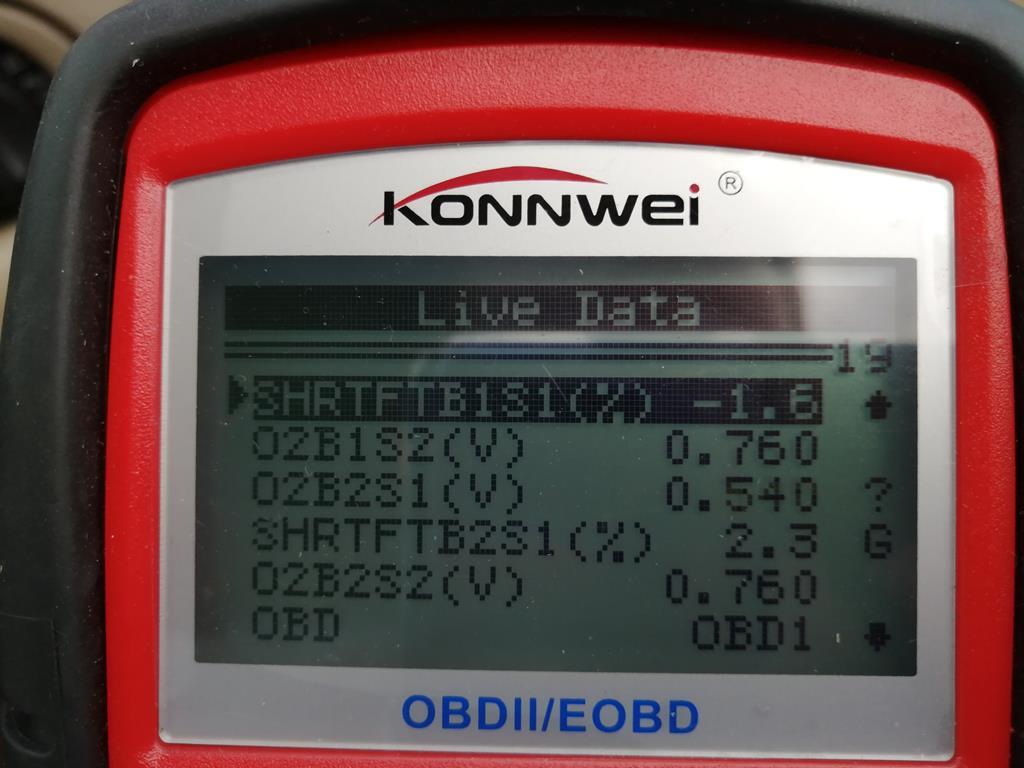 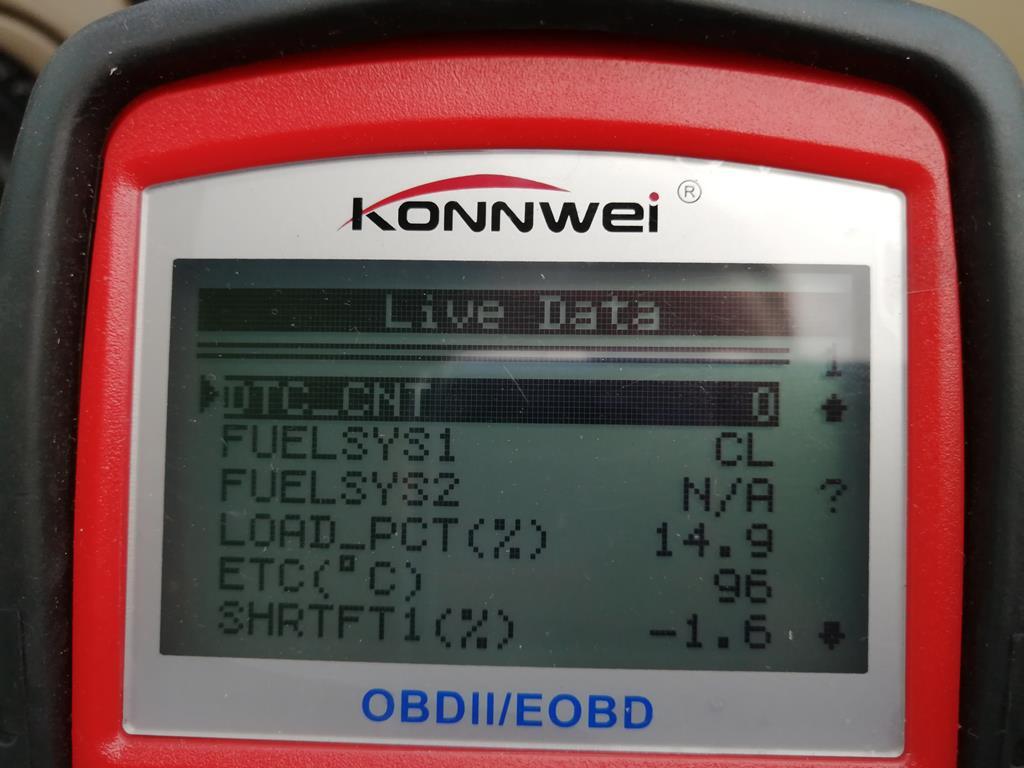 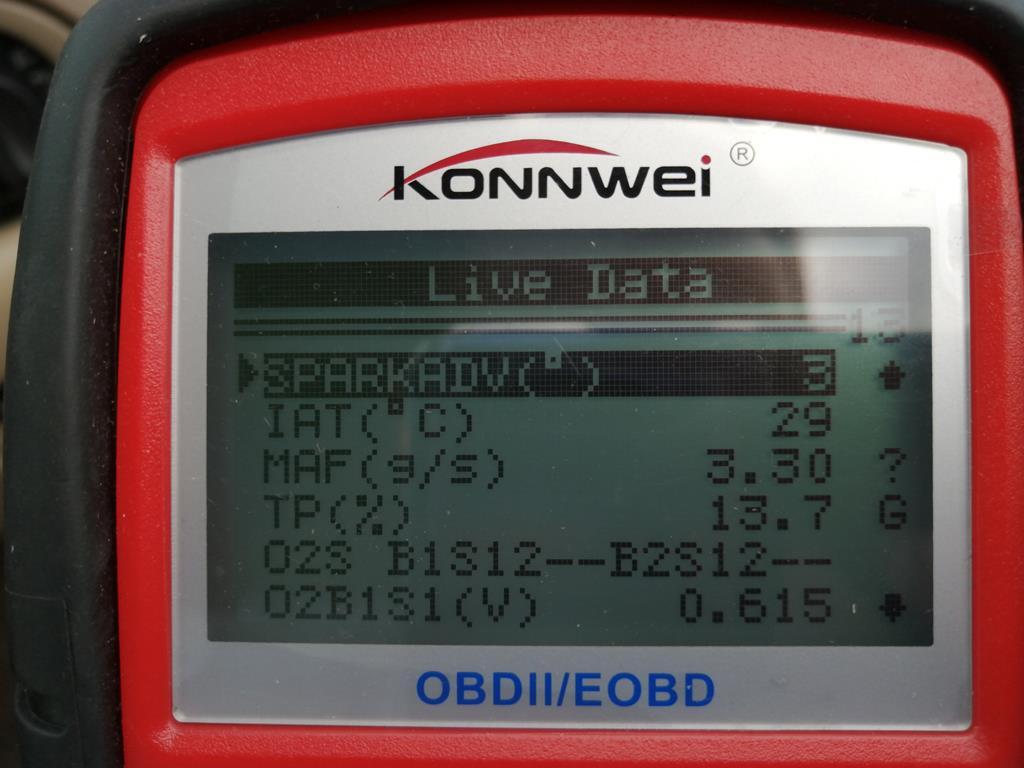 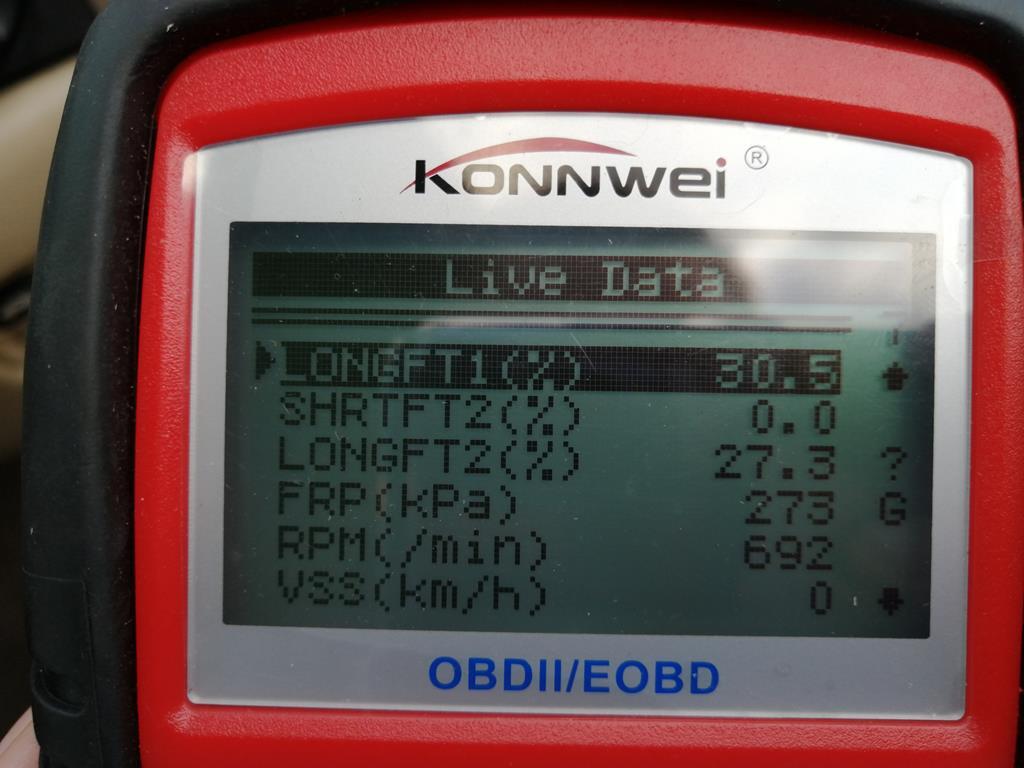 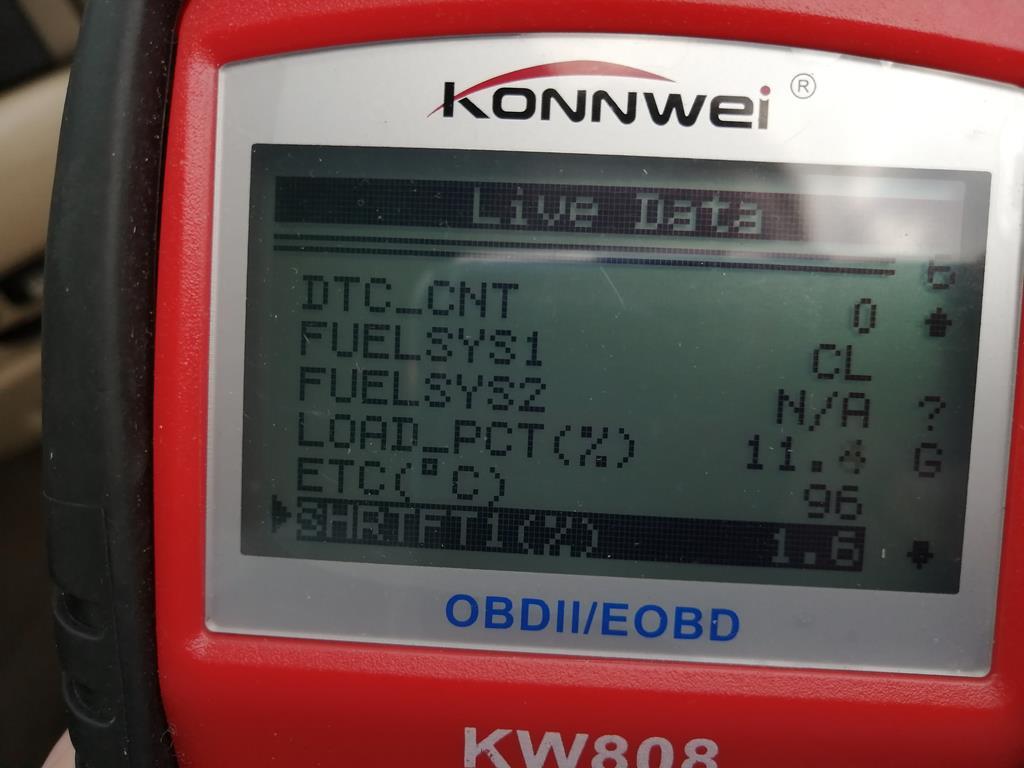 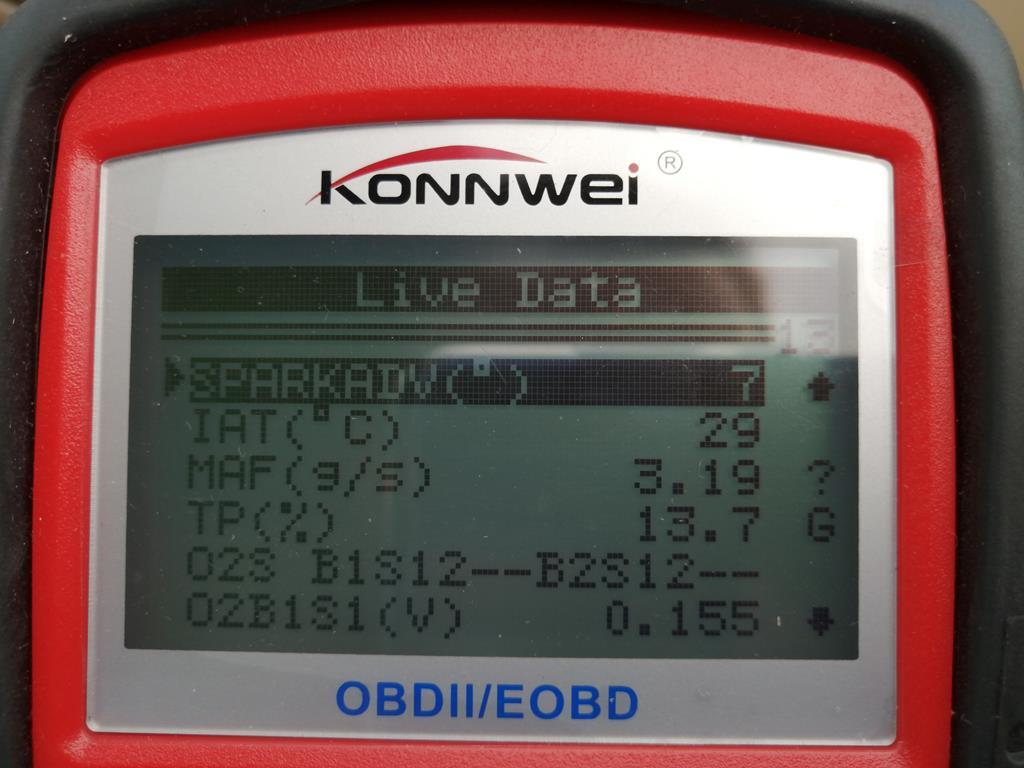 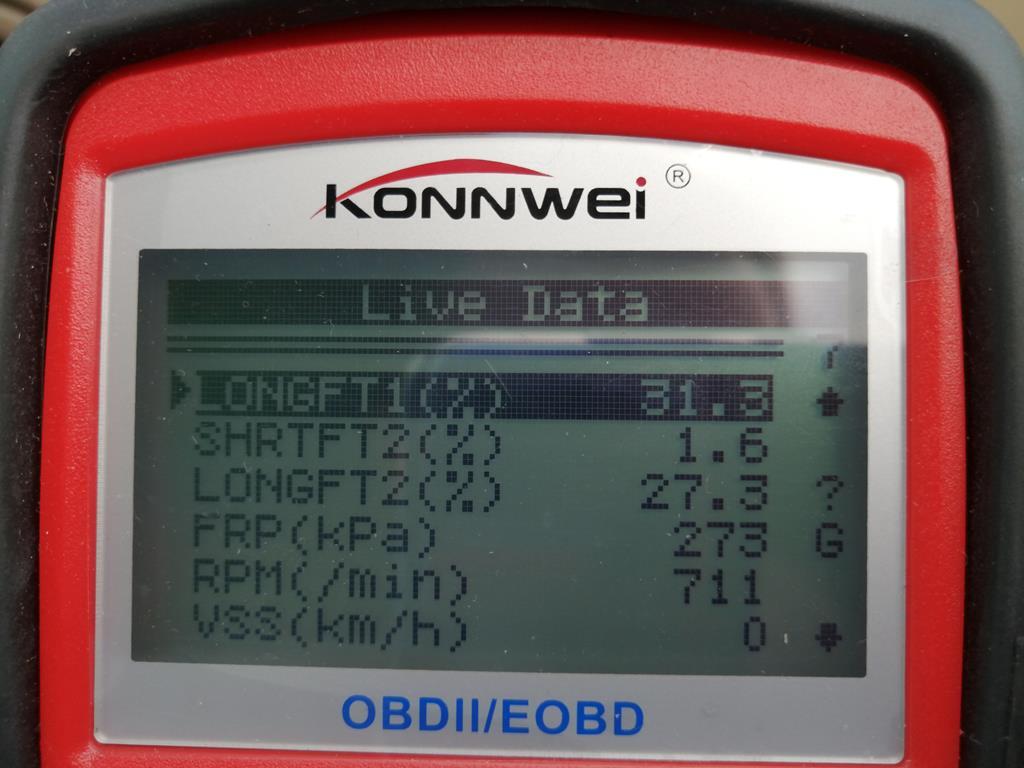 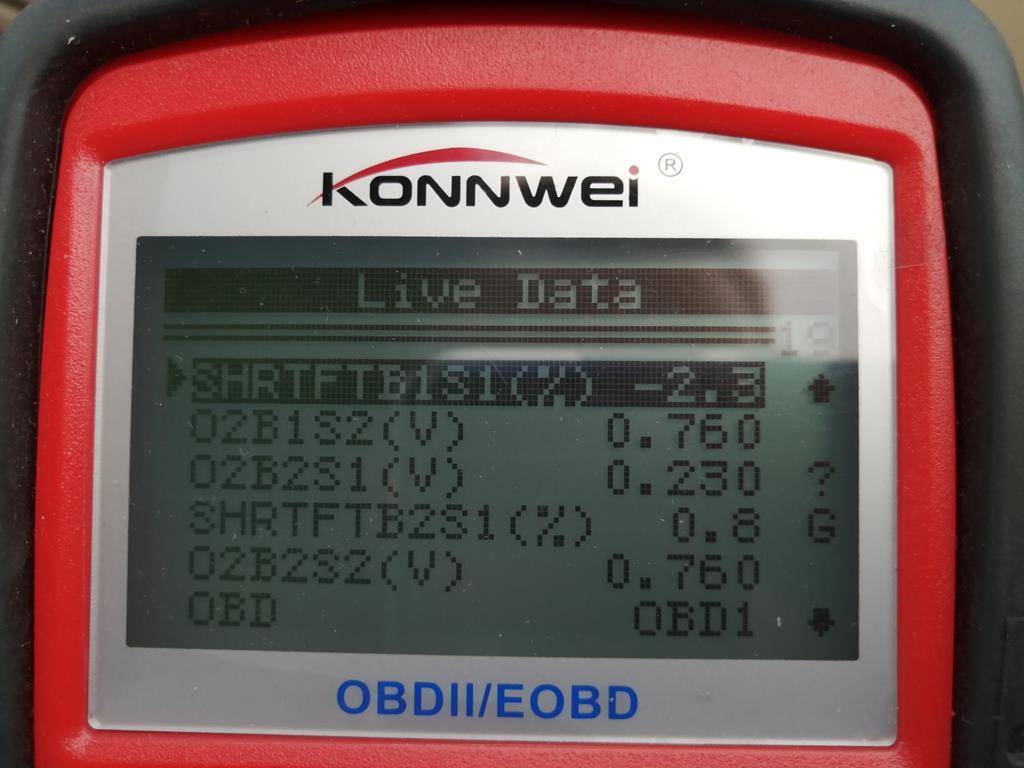 Then onto general disconnecting of anything that was attached to the engine, hoses, connectors and plumbing. The plan was to lift the gearbox out with the engine as most of the wiring stayed attached to the engine as a neat package. The exhaust studs snapped off as expected as they aren't in a suitable location to get any heat on them. The radiator was the most difficult part to remove as all of the aircon,gearbox and cooling plumbing wraps around the radiator which leaves little manouvering room when the engine is fitted, however removing the radiator gives alot more scope for lifting the engine with the gearbox still attached. 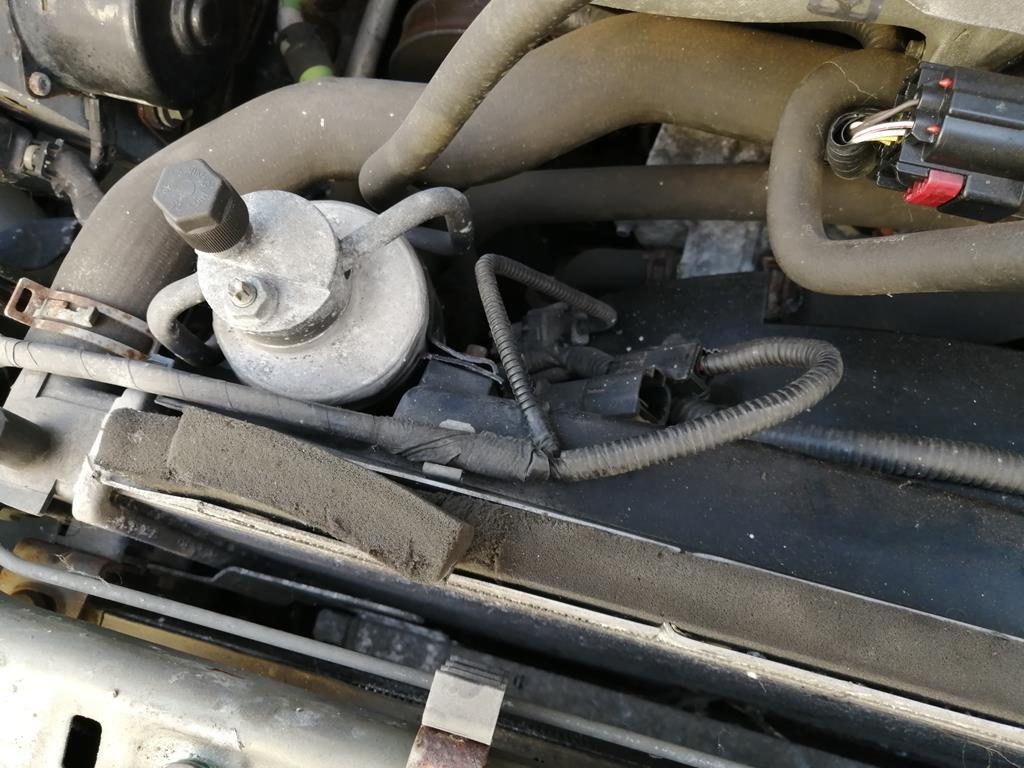 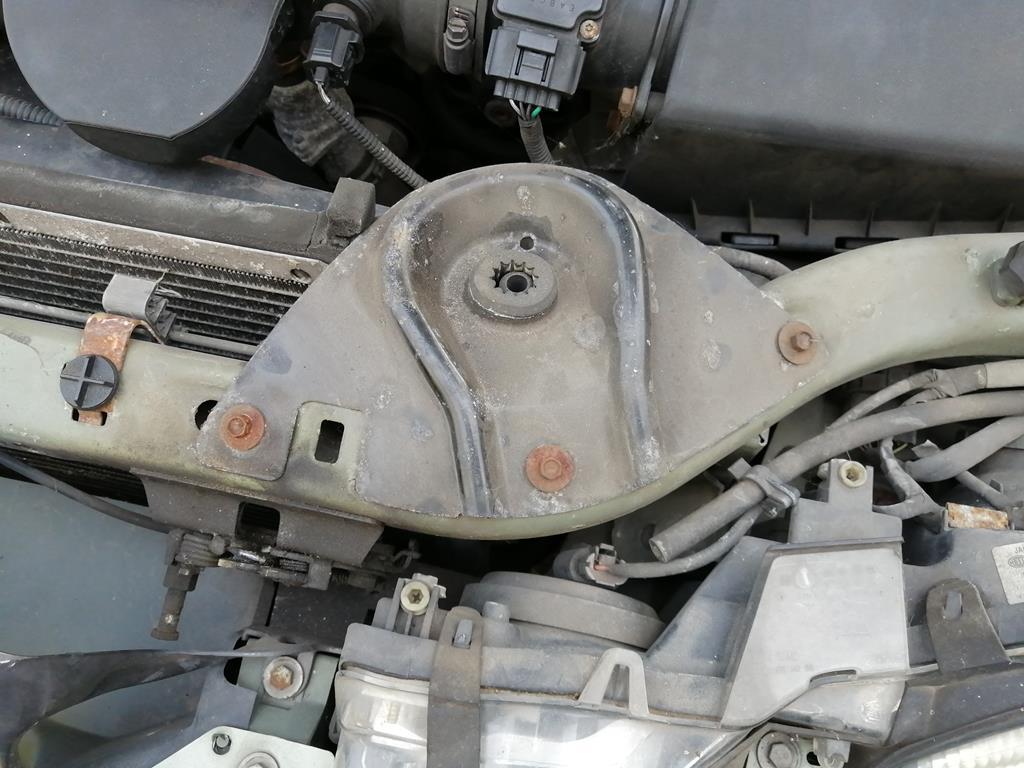 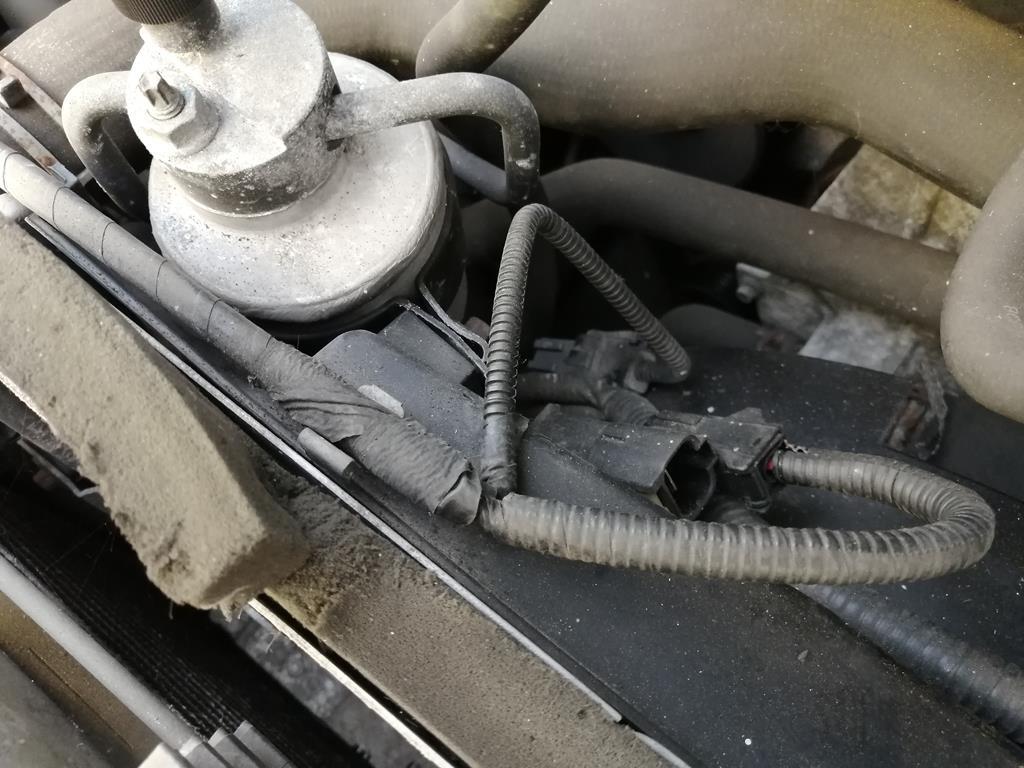 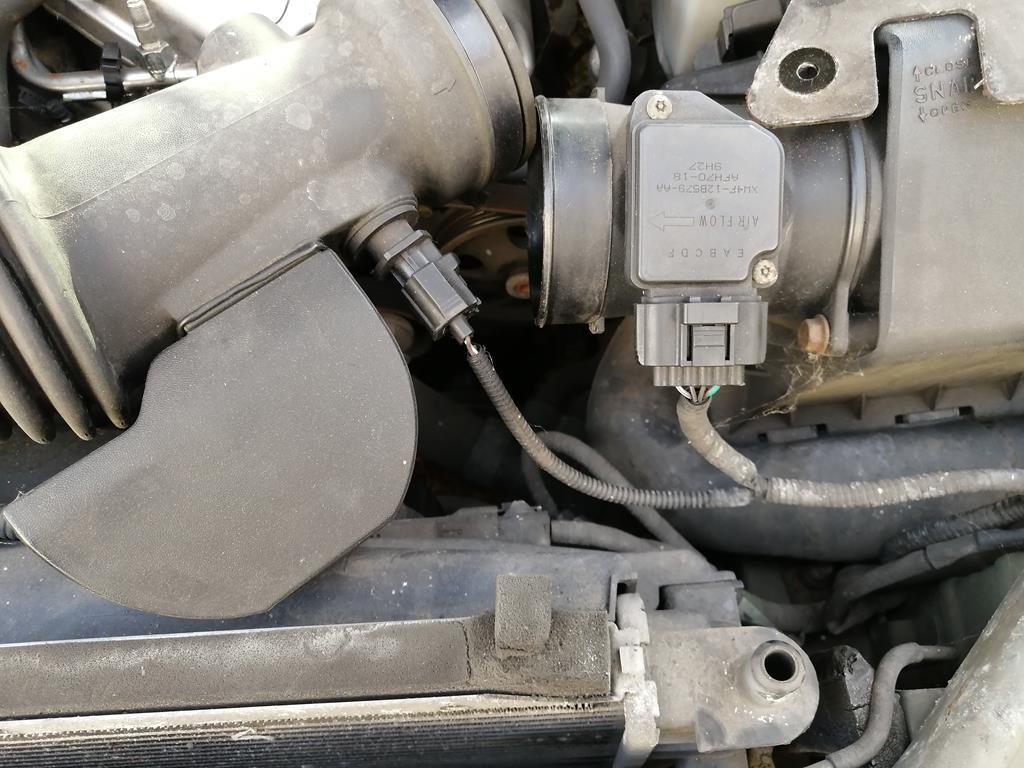 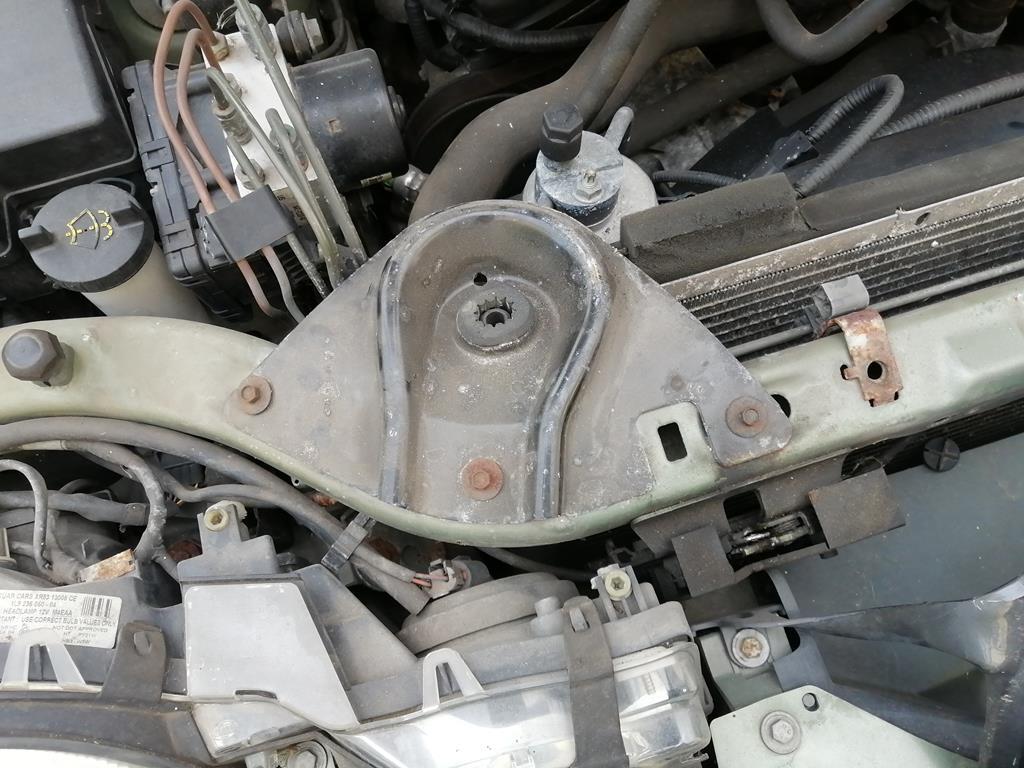 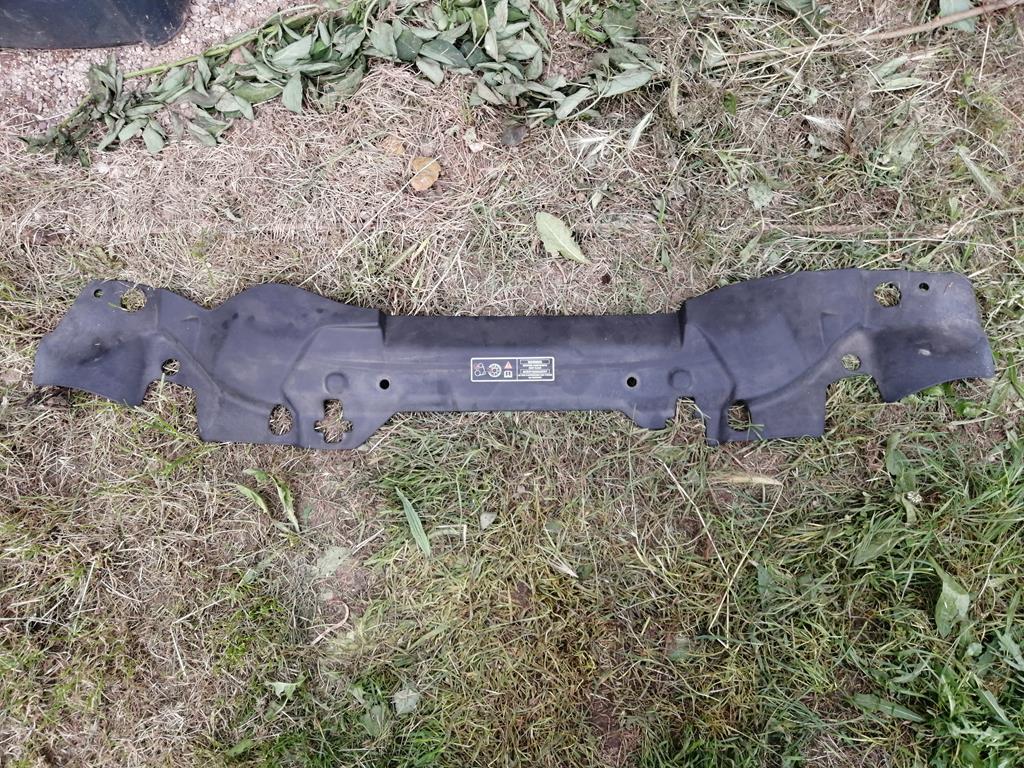 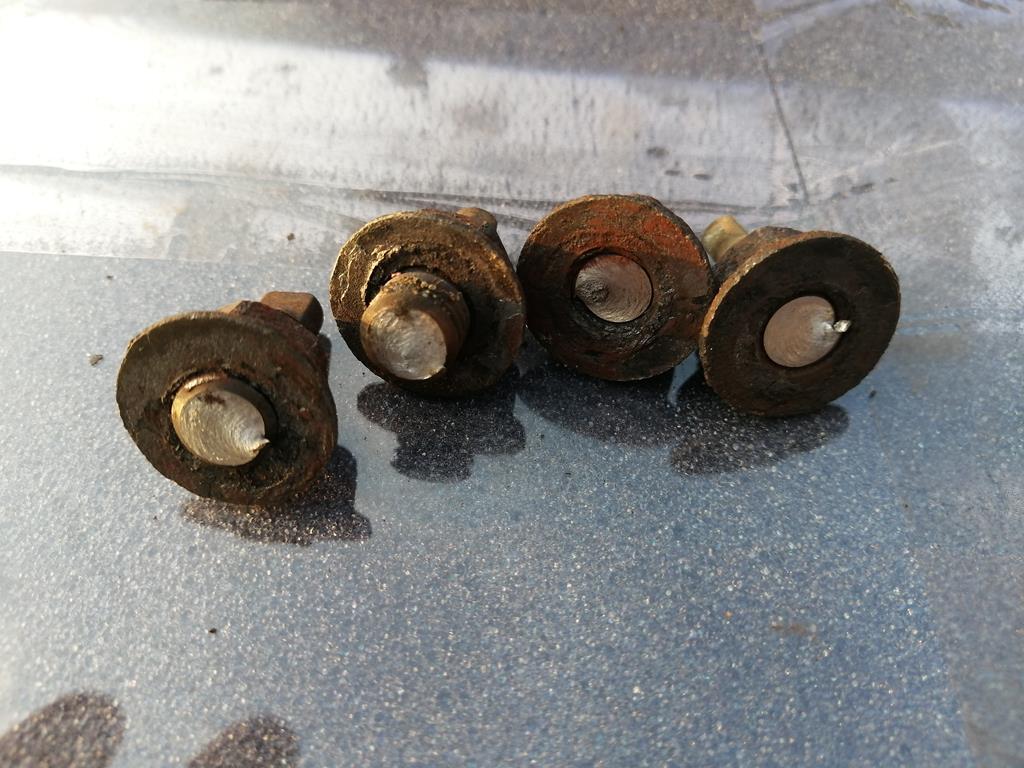 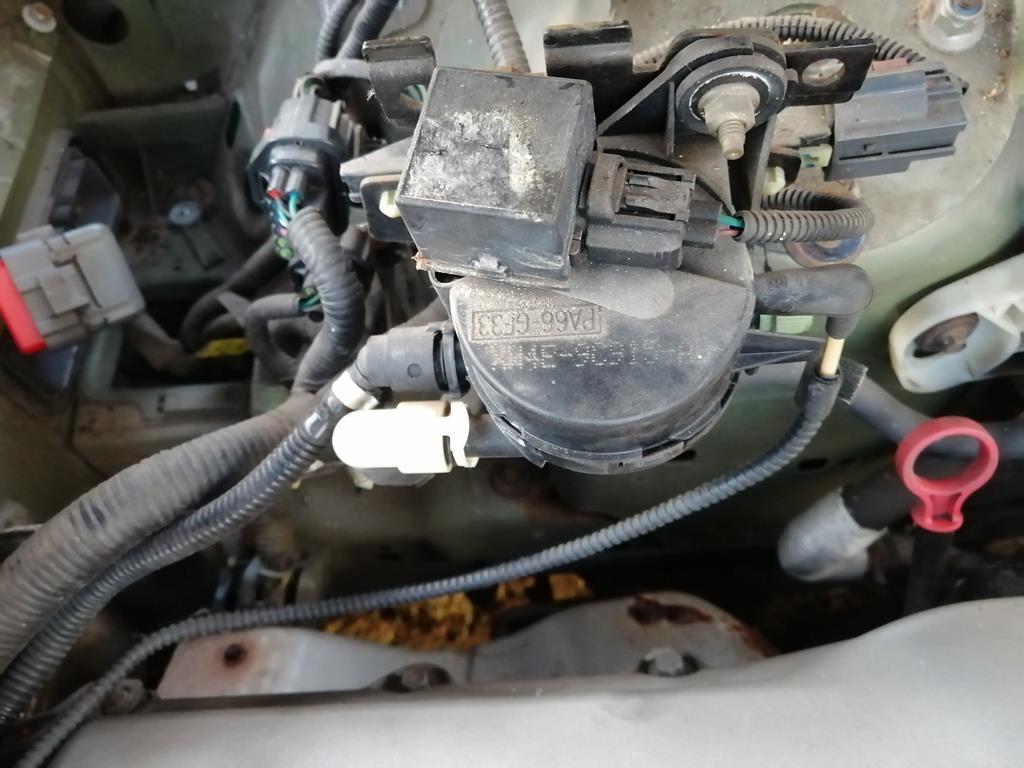 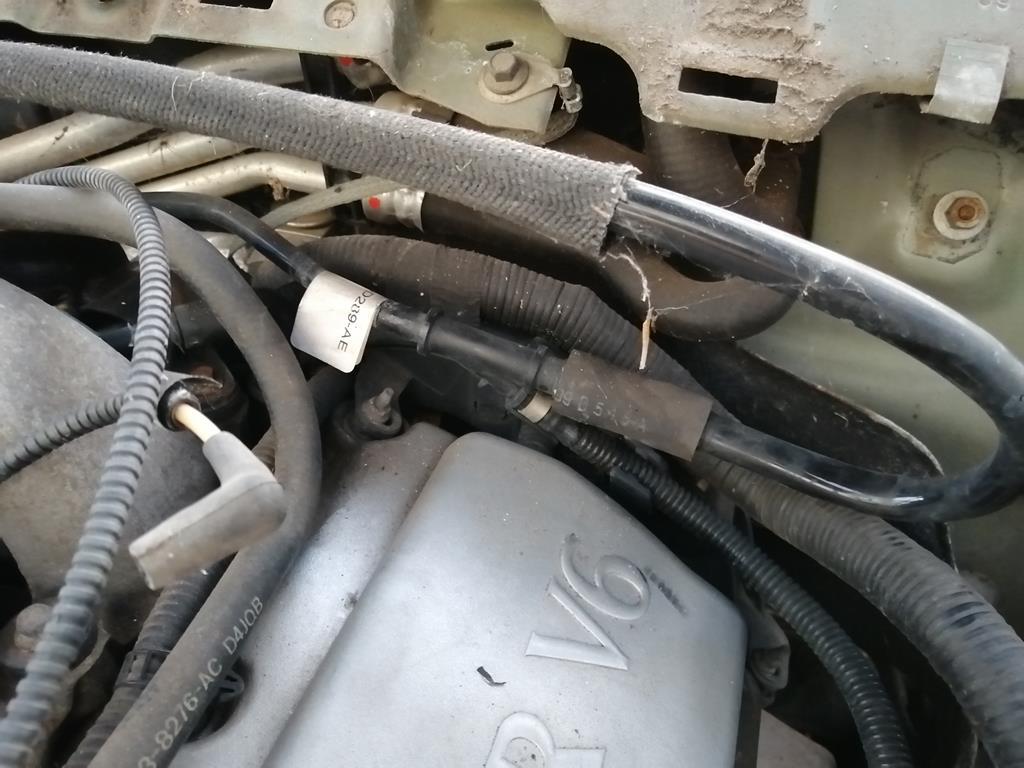 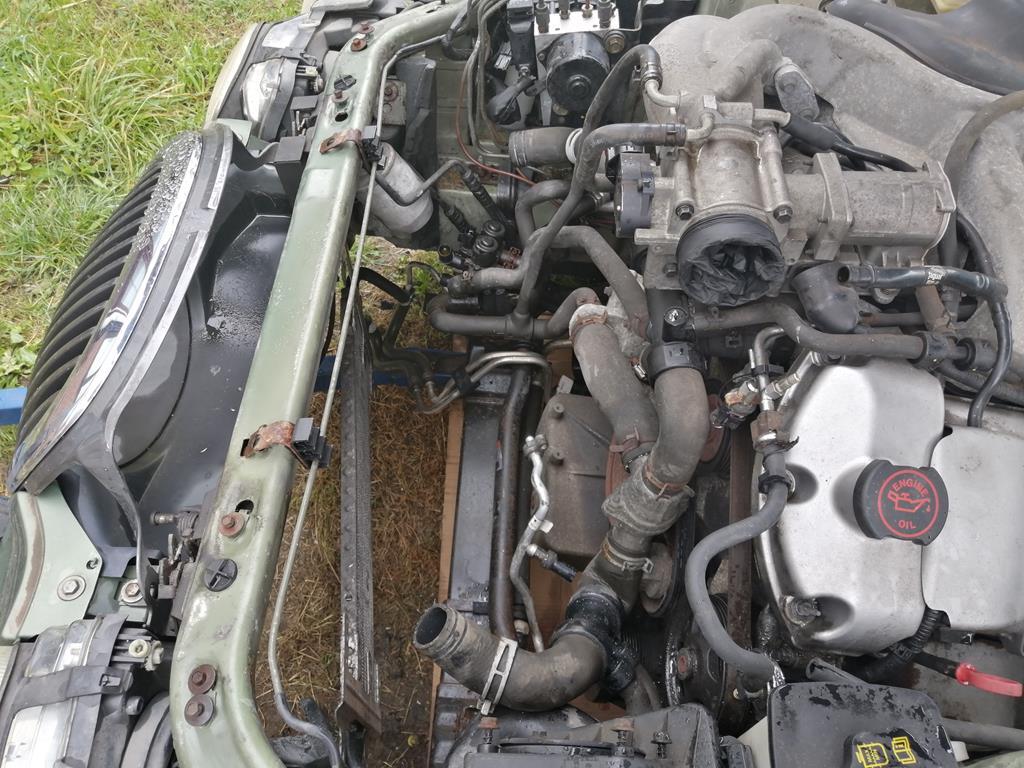 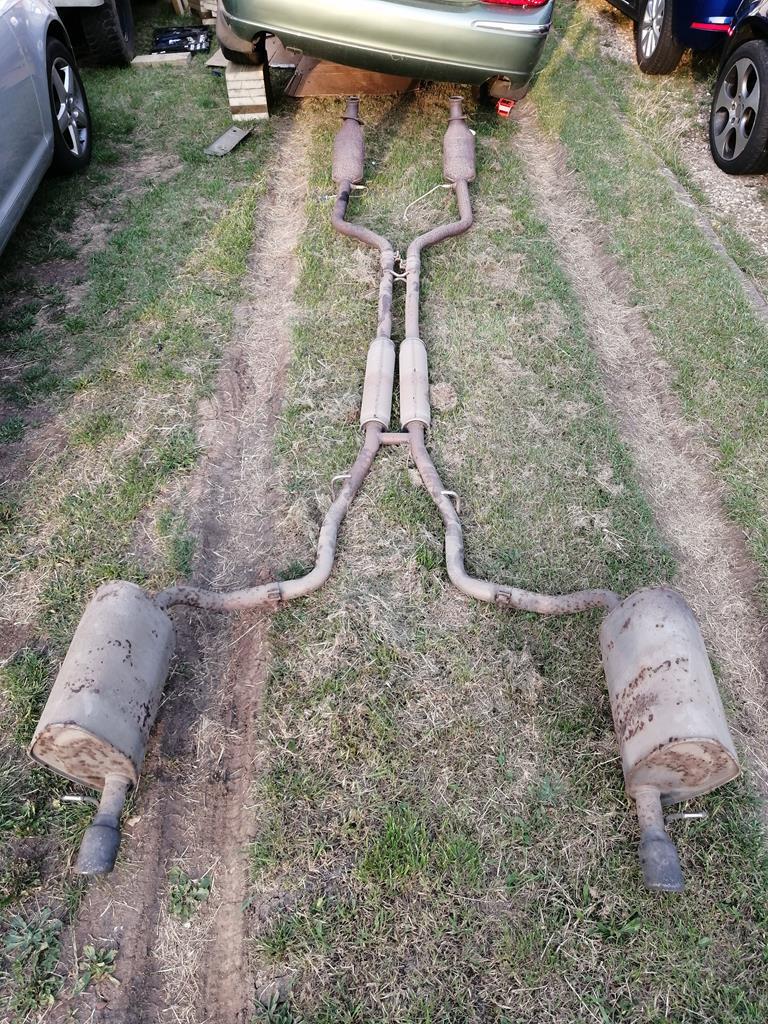 When you leave your other half in charge of the label maker everything gets labelled... 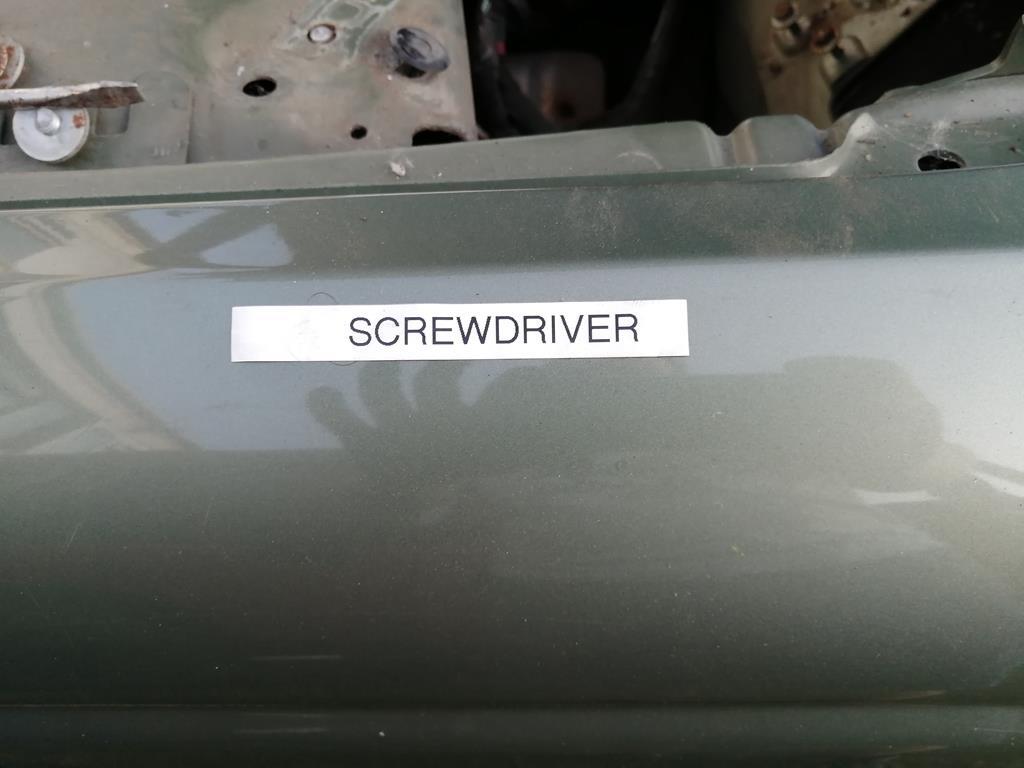 Once everything was disconnected it was time to start lifting, by this point the cardboard I had laid on the floor had turned into lots of smaller fibres and covered my t-shirt with the constant drizzle of rain. 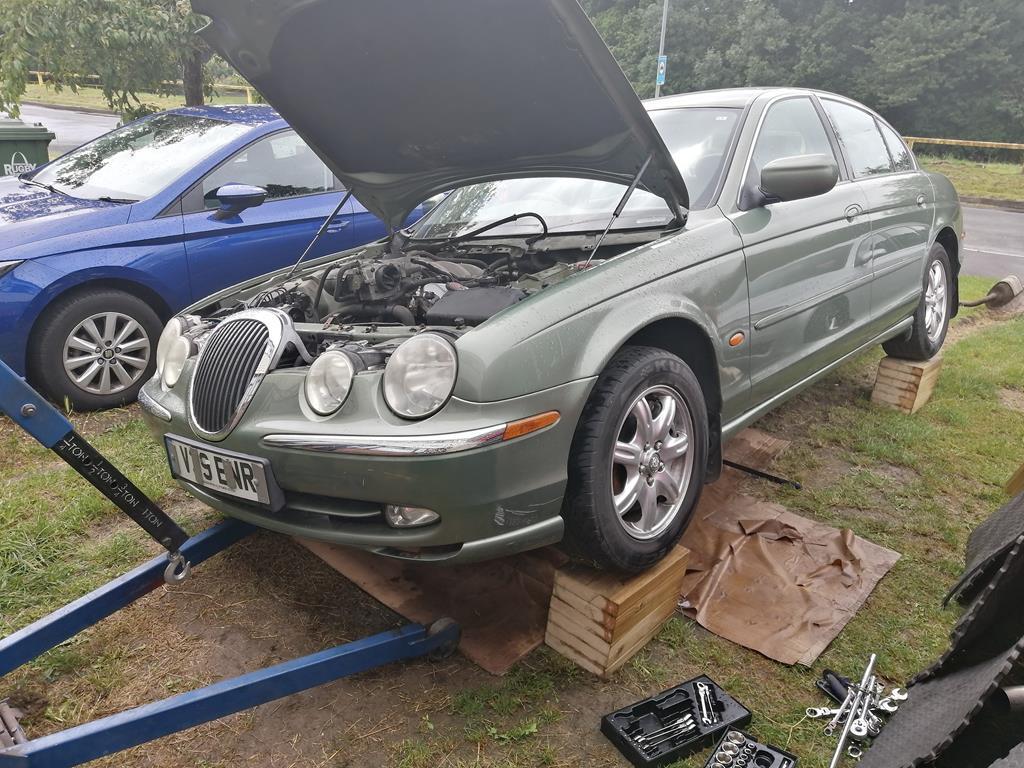 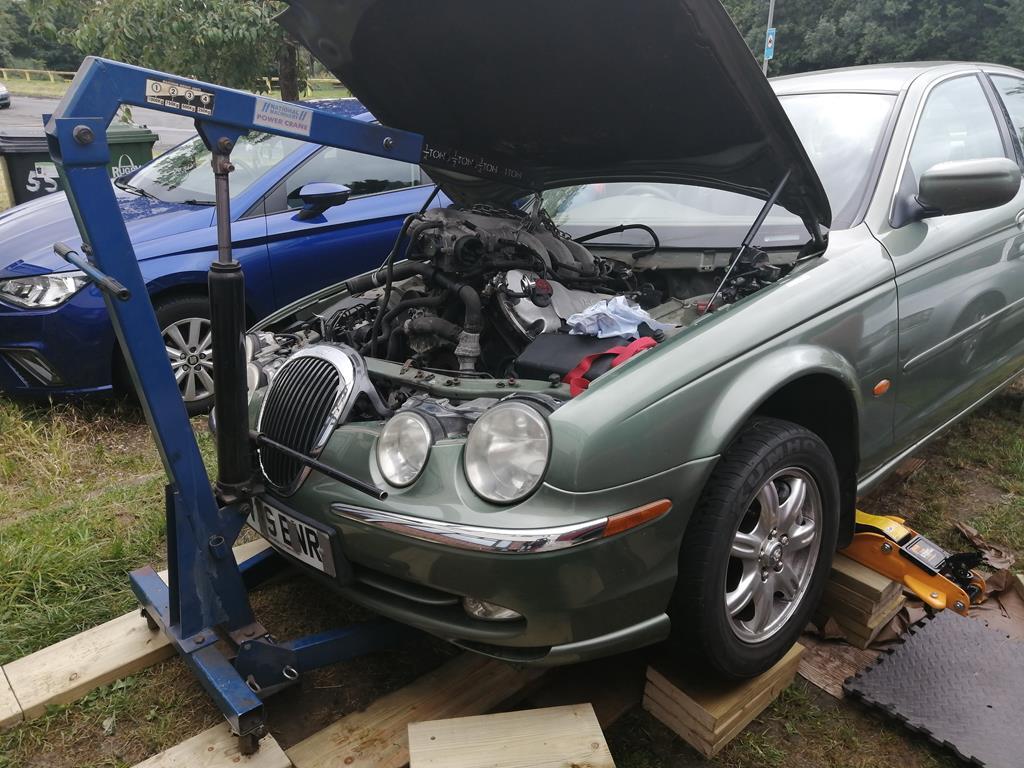 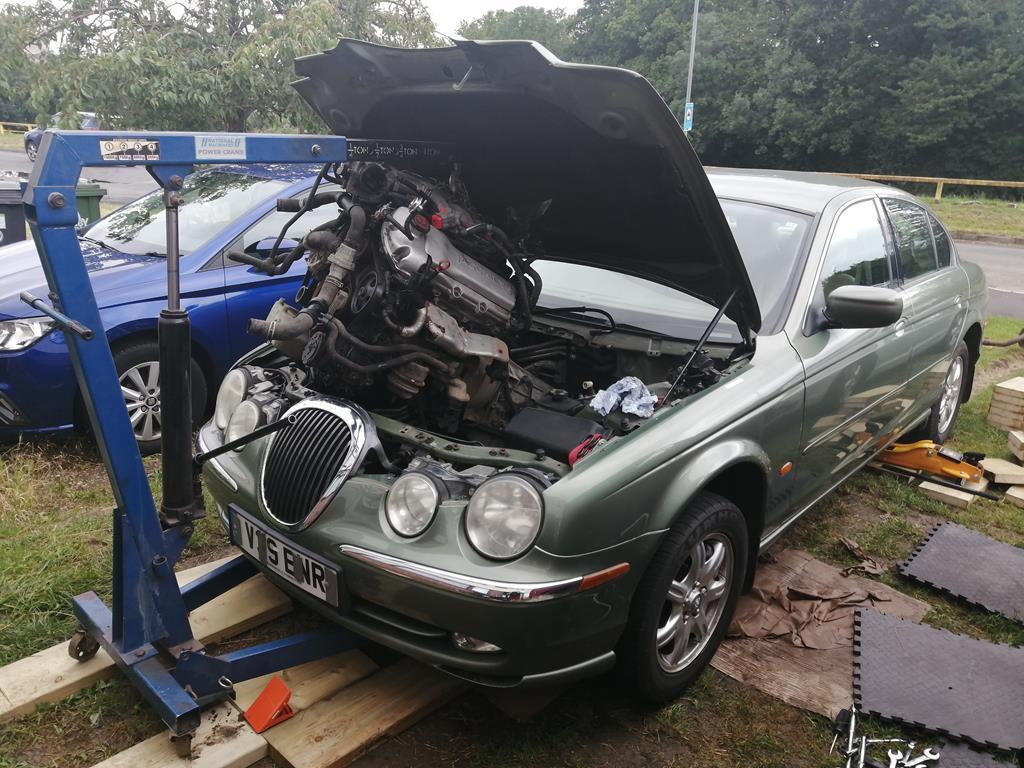 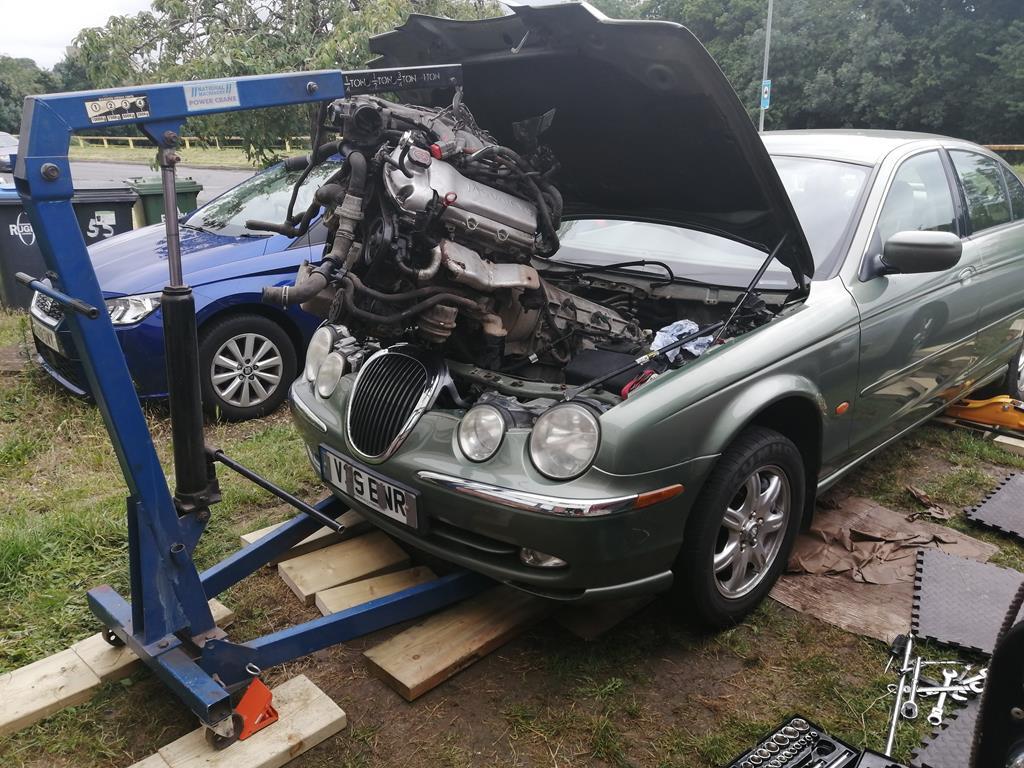 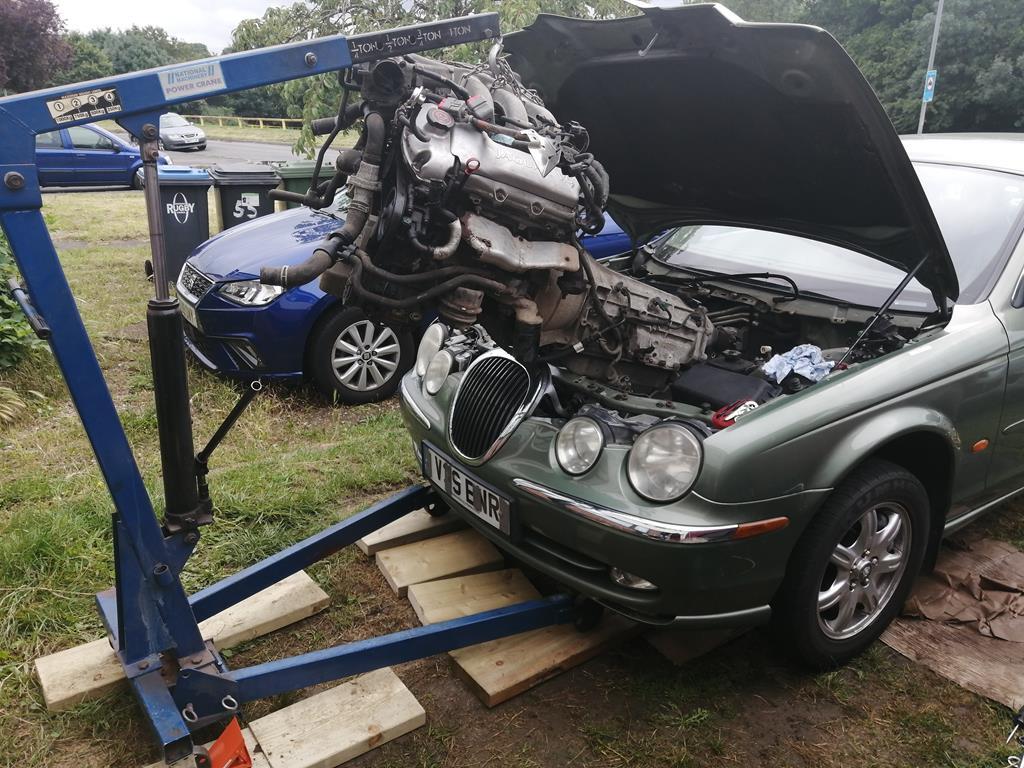 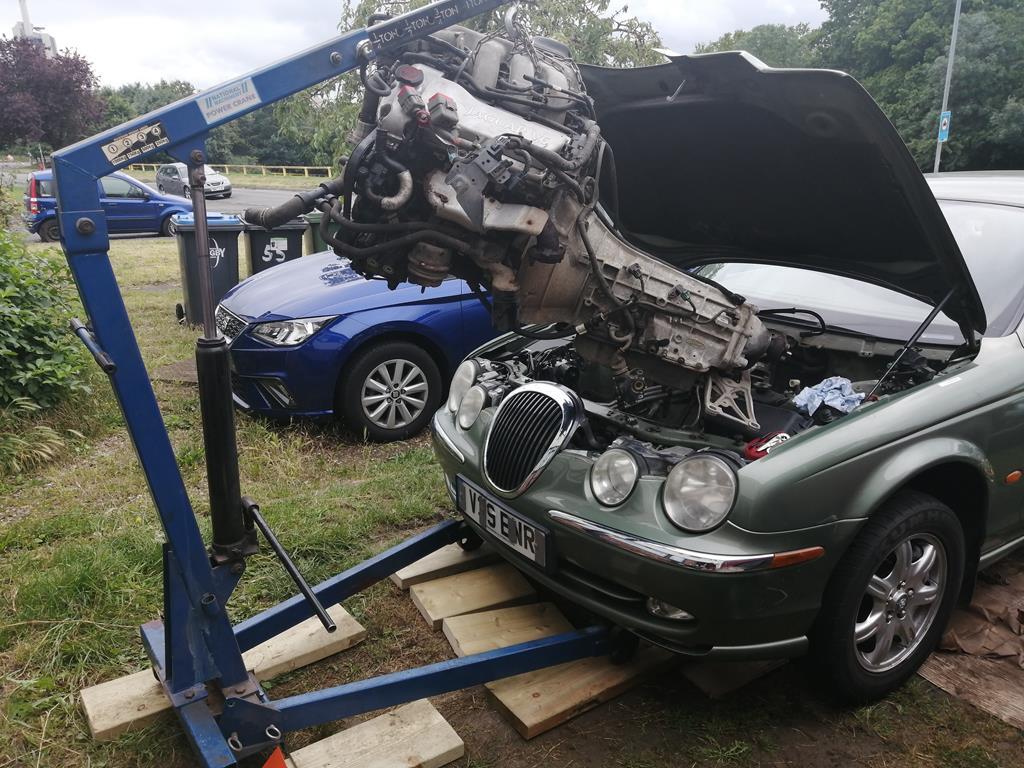 This was then the point I took advantage of my garden being on a slope and it was chocks away with the handbrake! 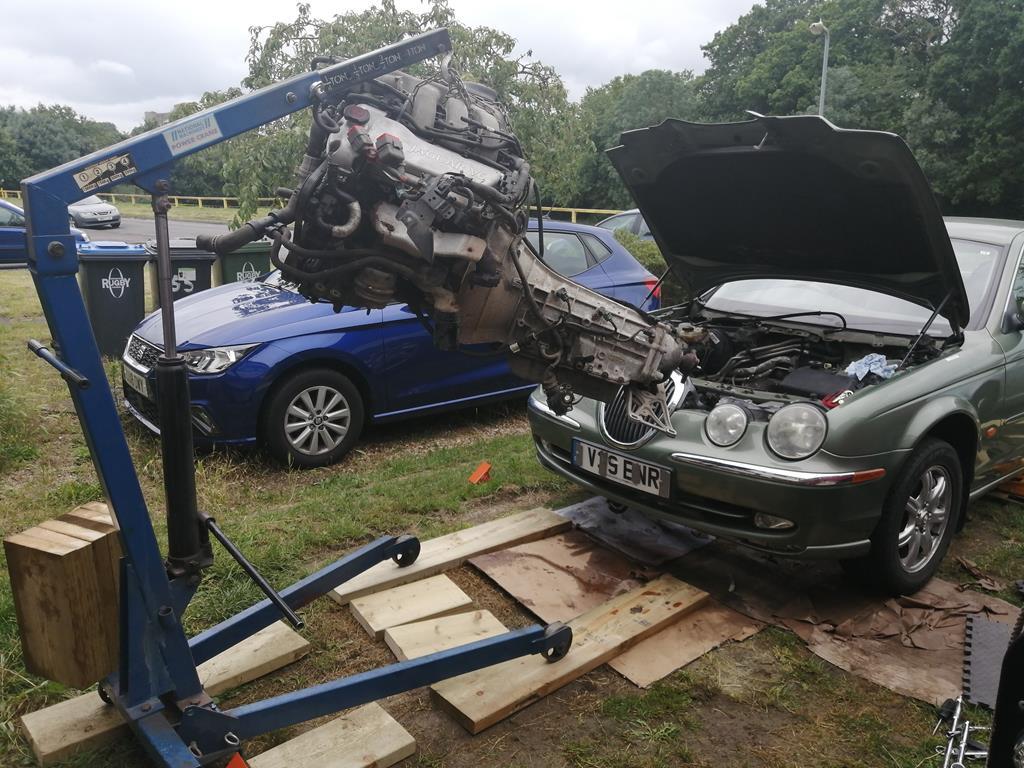 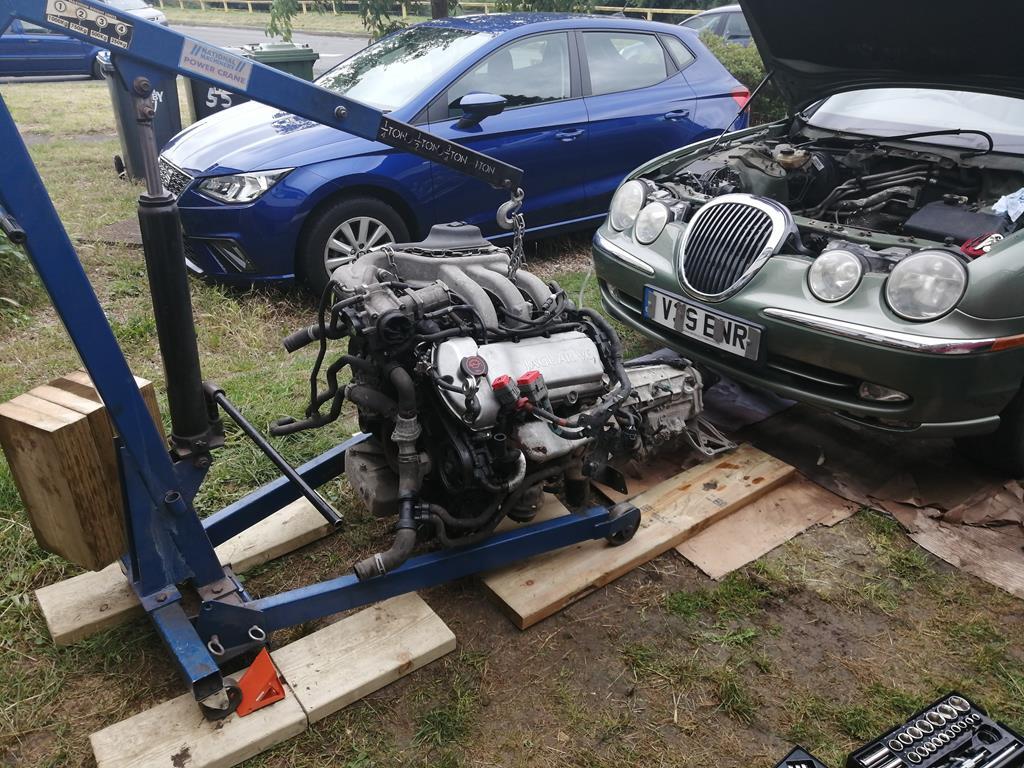 Leaving a V6 shaped void in the front of the Jag 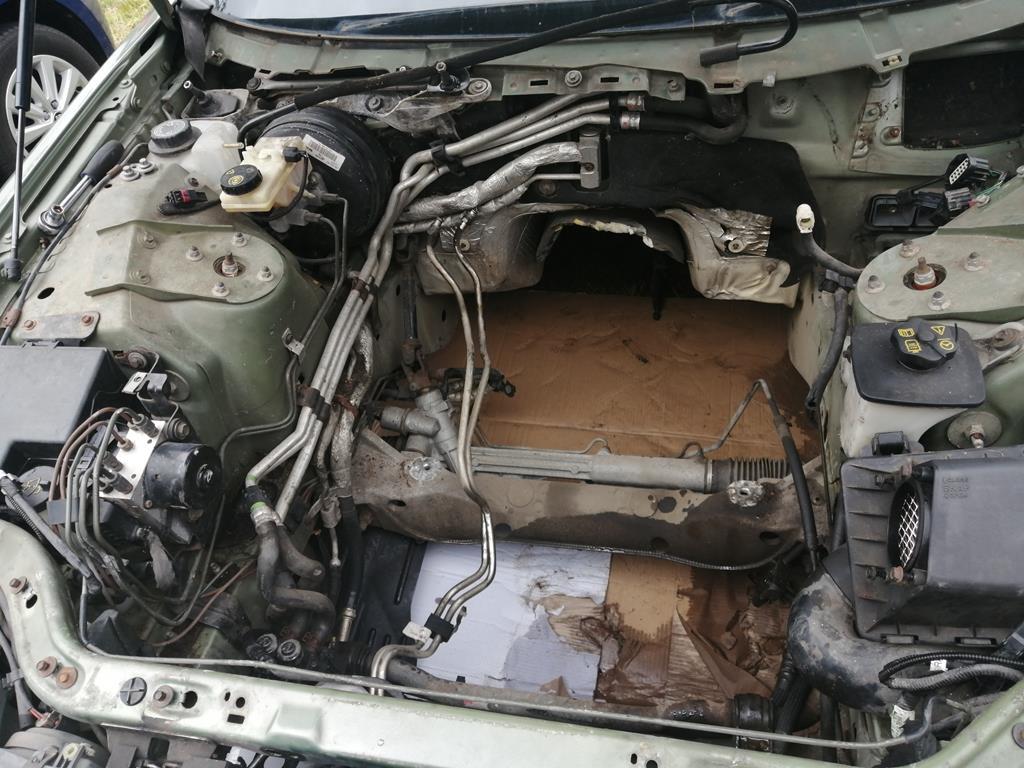 At this point I had started doing some better measurements to maintain the confidence I'd had from the start since deciding this would be a good idea. 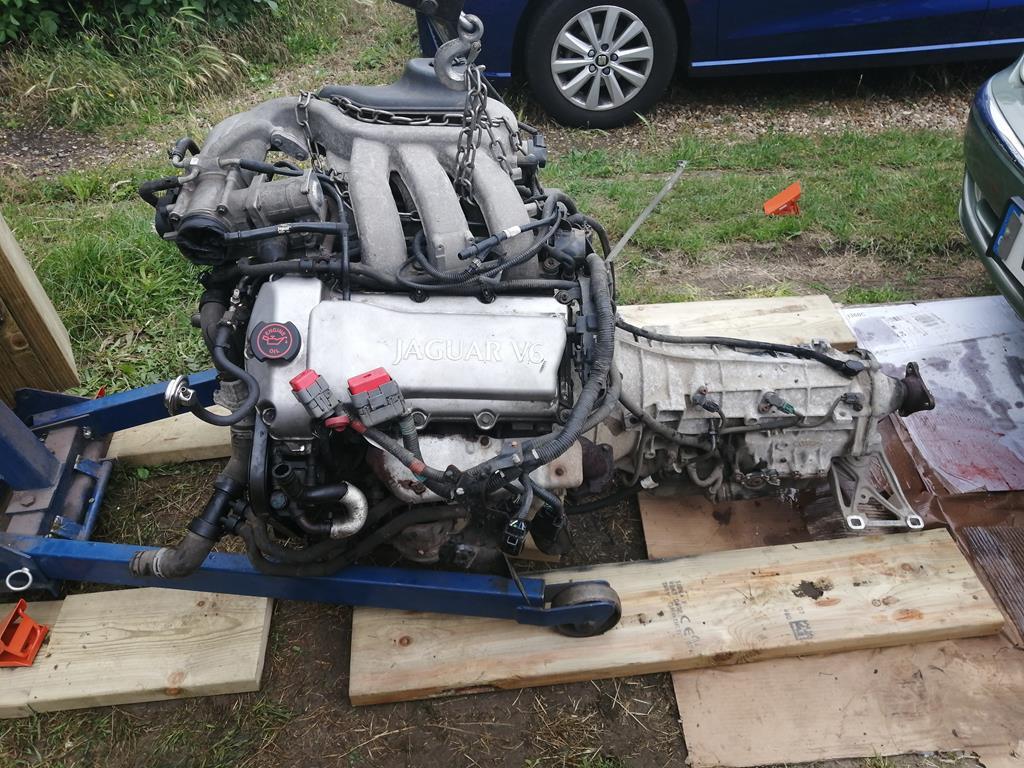 Luckily the only issue I ran into during the removal was the starter motor terminal snapped off at the lightest of touches so a replacement will have to be ordered. 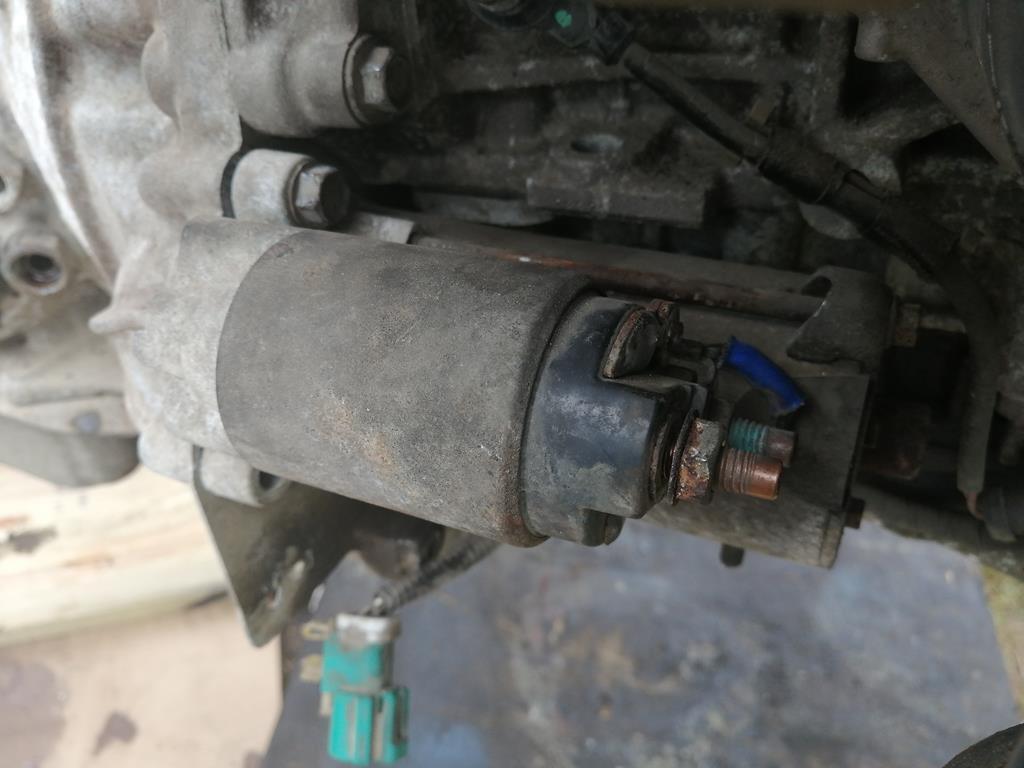 Then onto splitting the engine and gearbox to make storage easier. For a 20 year old unit the bolts were fairly corrosion free, however some pursuasion was required once all of the bolts were out due to the aluminium sandwichplate and the 2x locating dowels having corroded together, this would've been a real pig to remove the gearbox in the carwith them being stuck together. 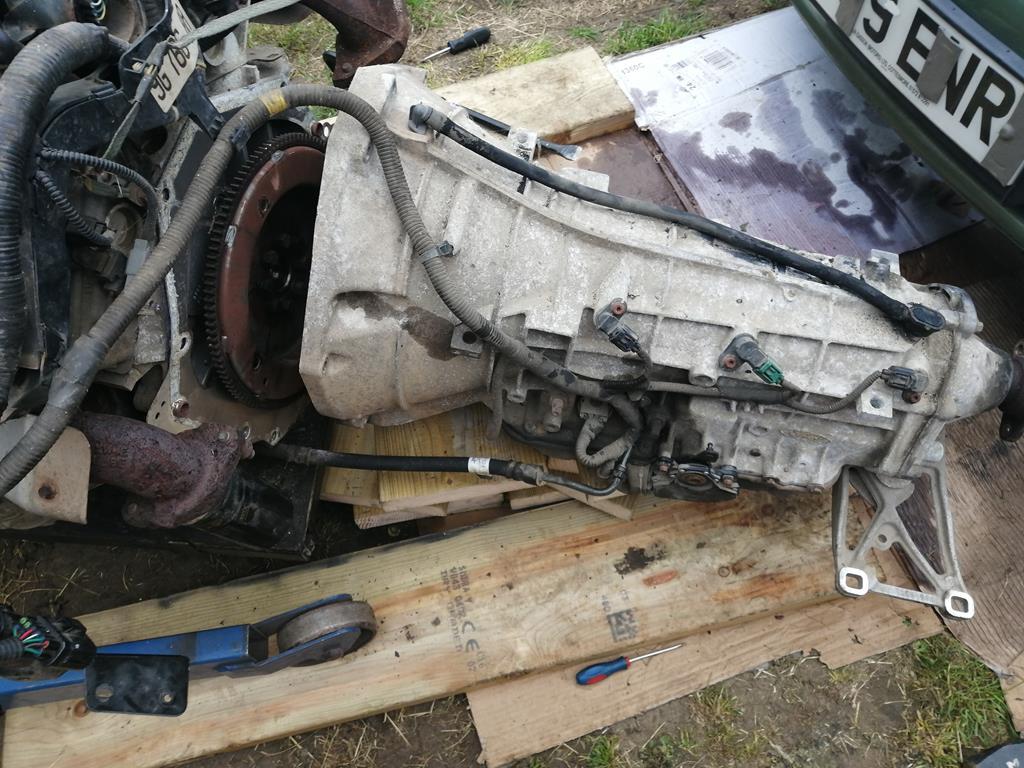 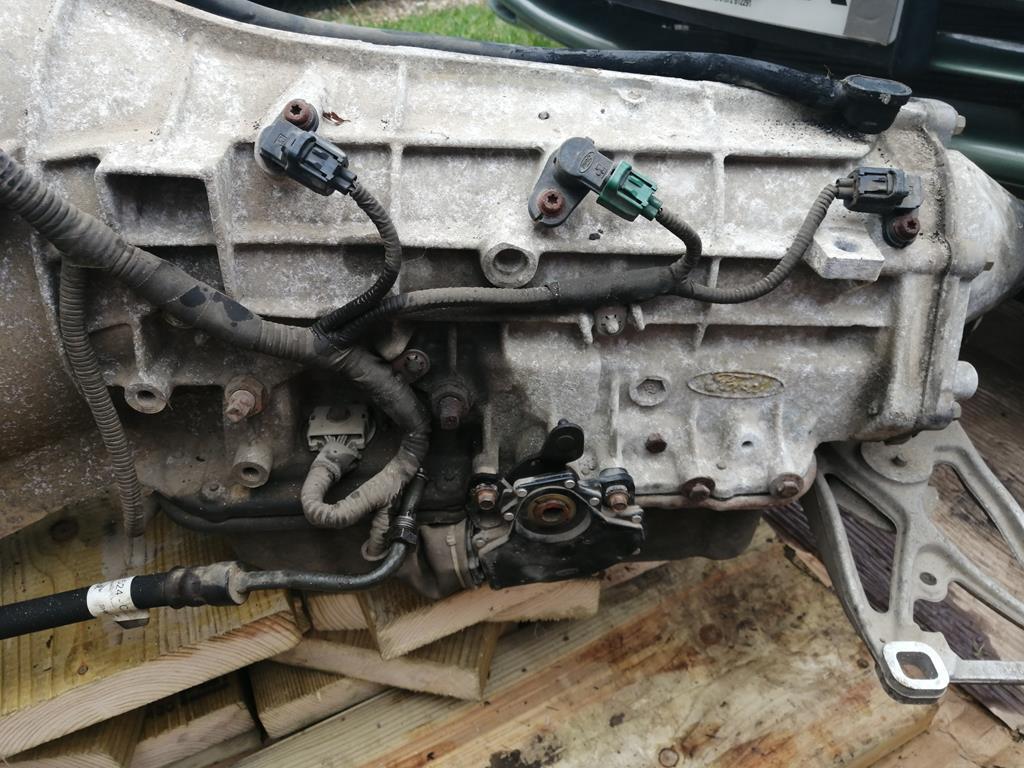 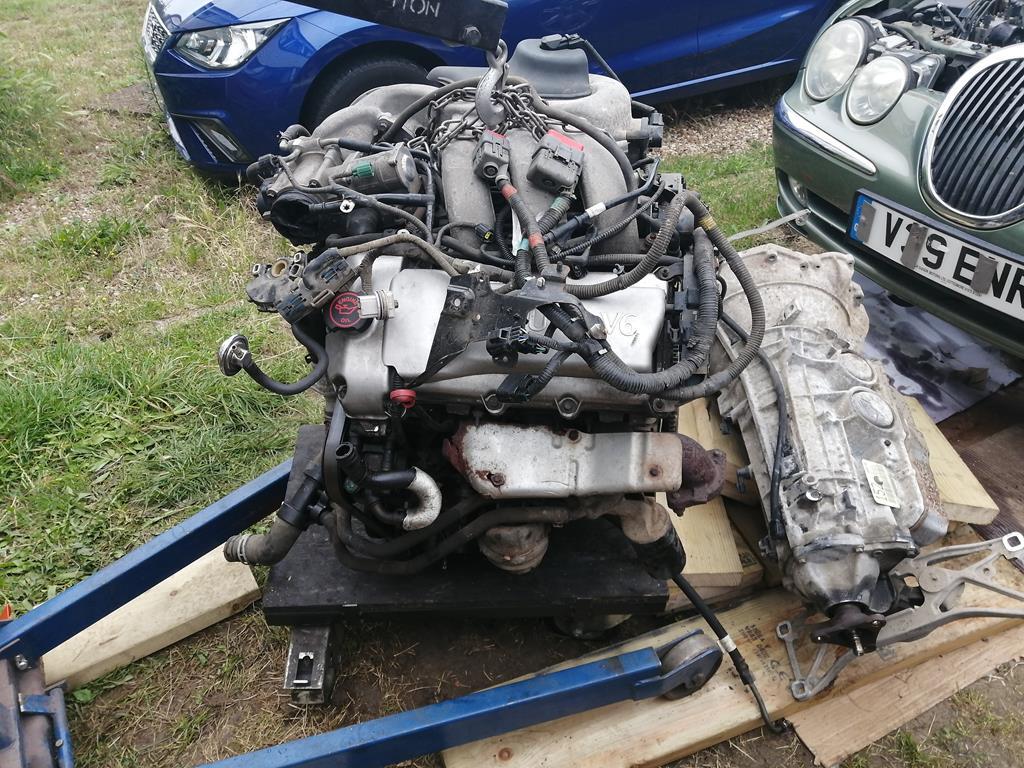 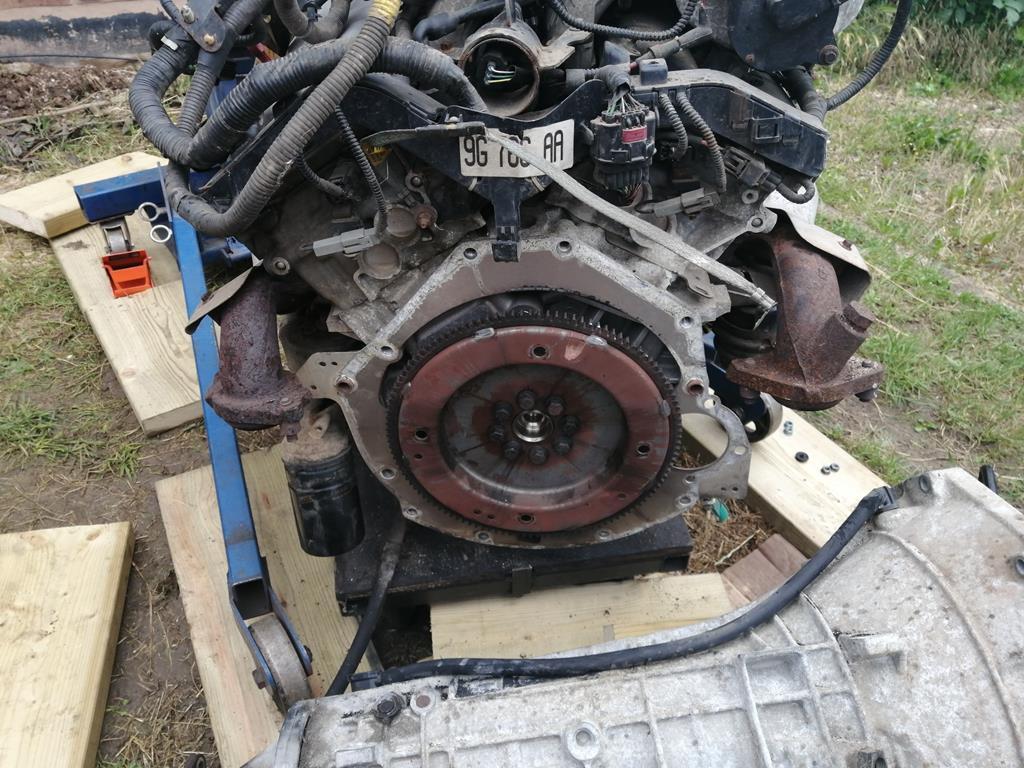 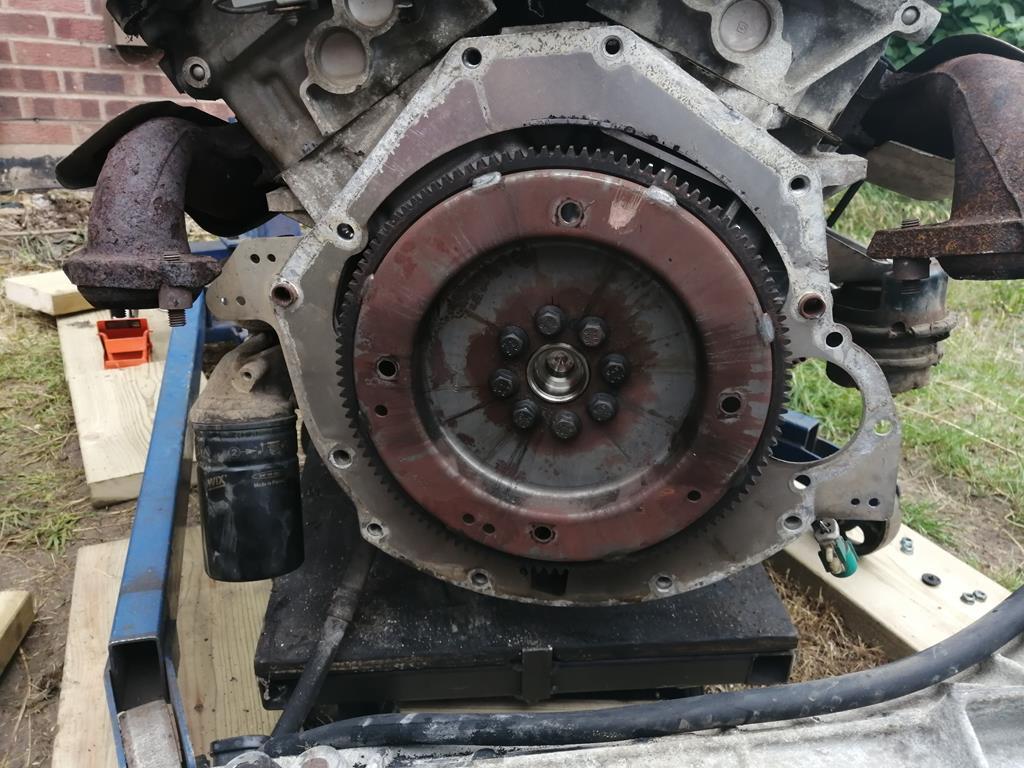 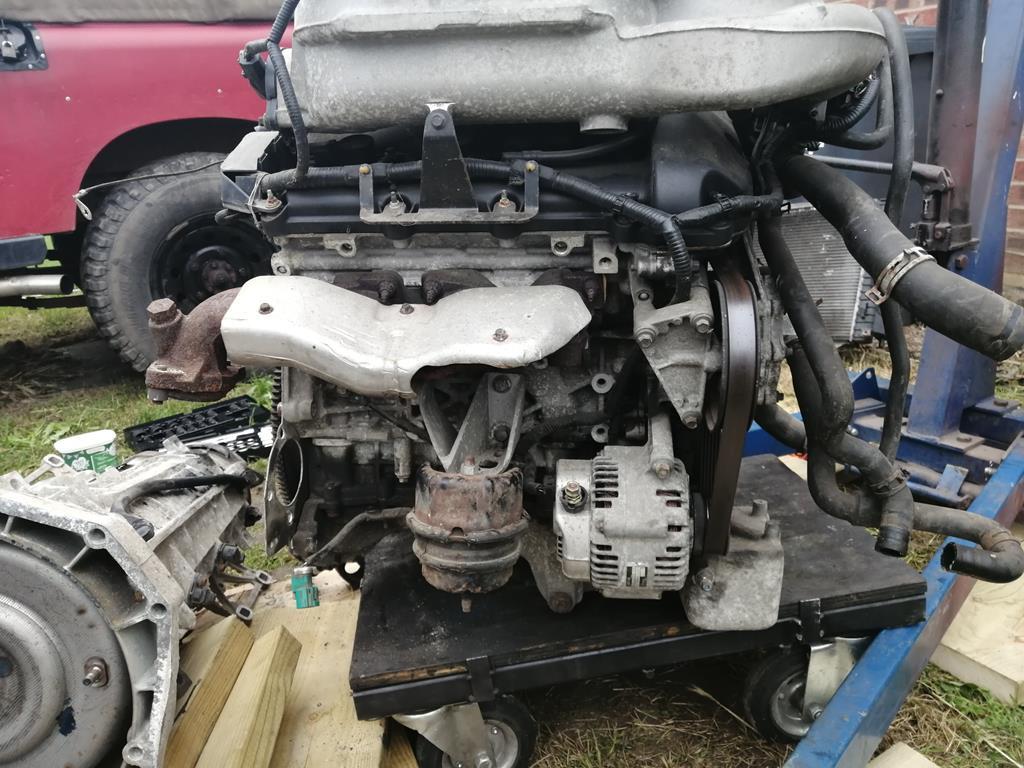 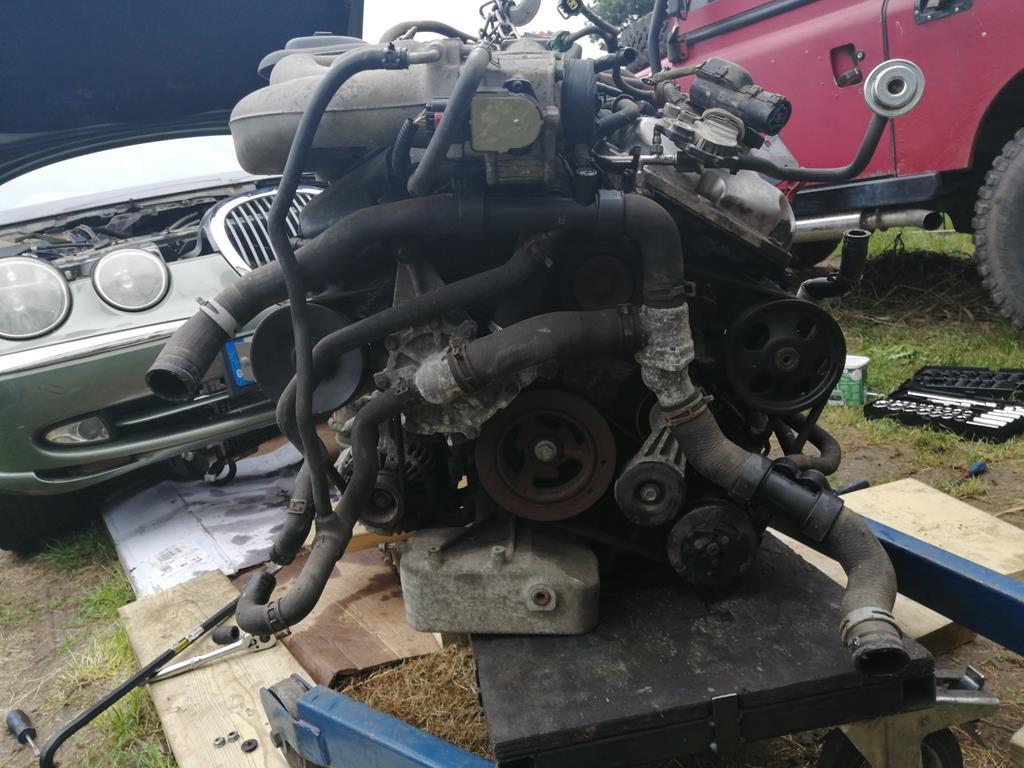 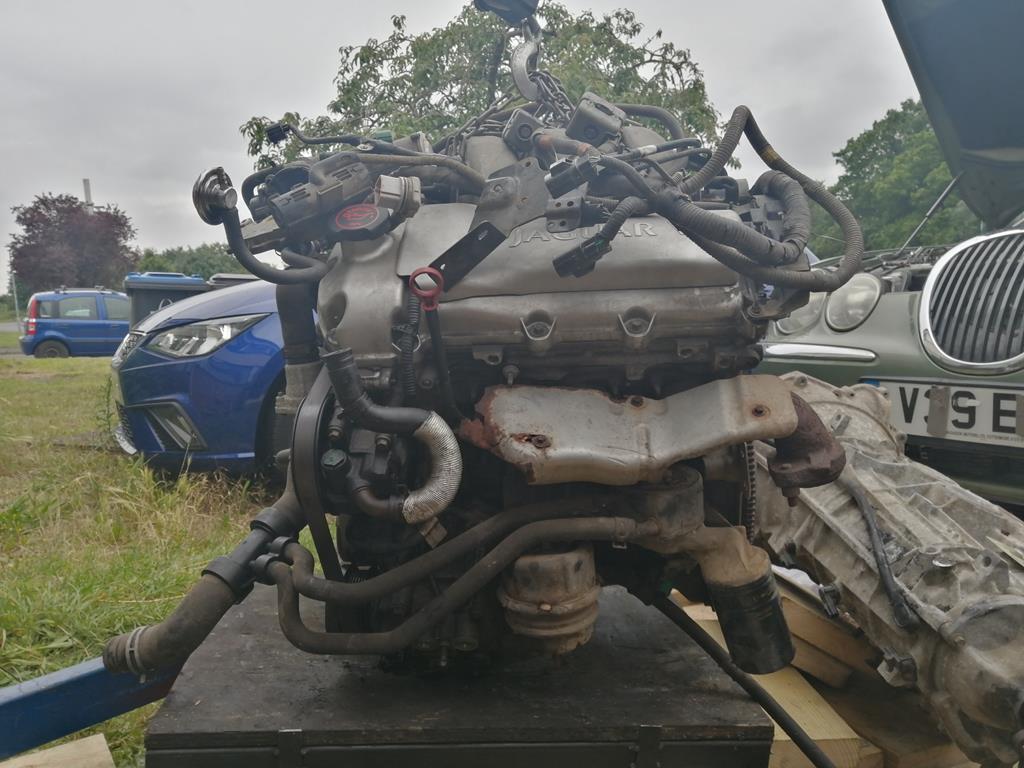 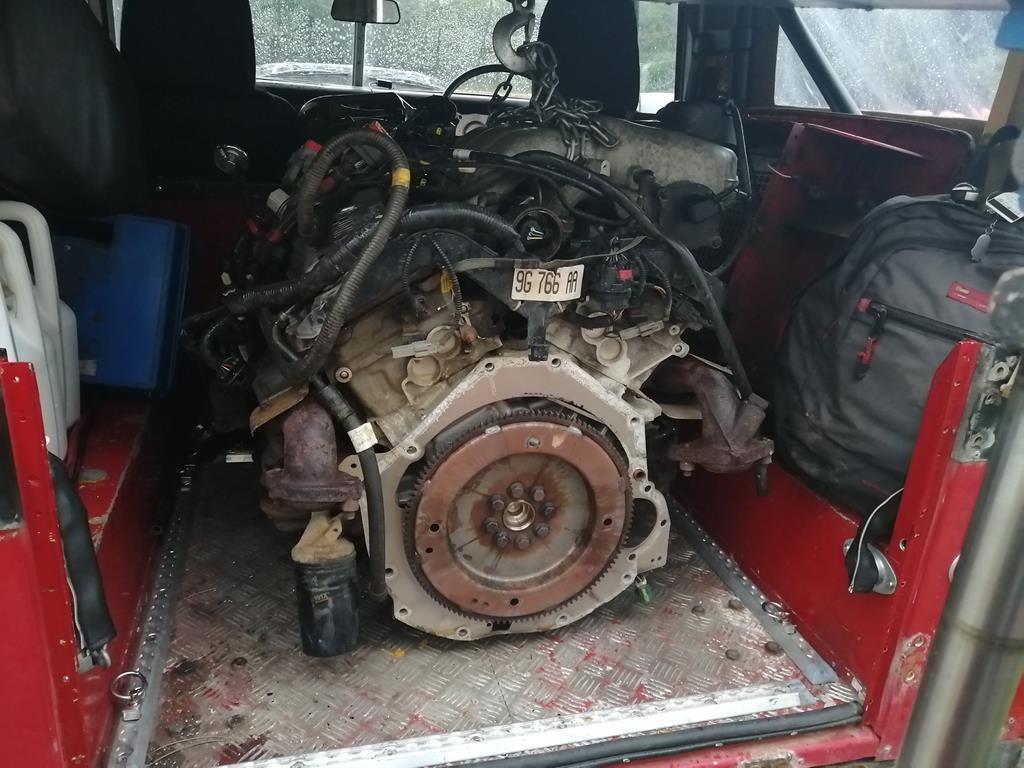 As the ground had started to become soft by the end of the day it was time to put the engine away for the night and let it meet it's new chassis for the first time. 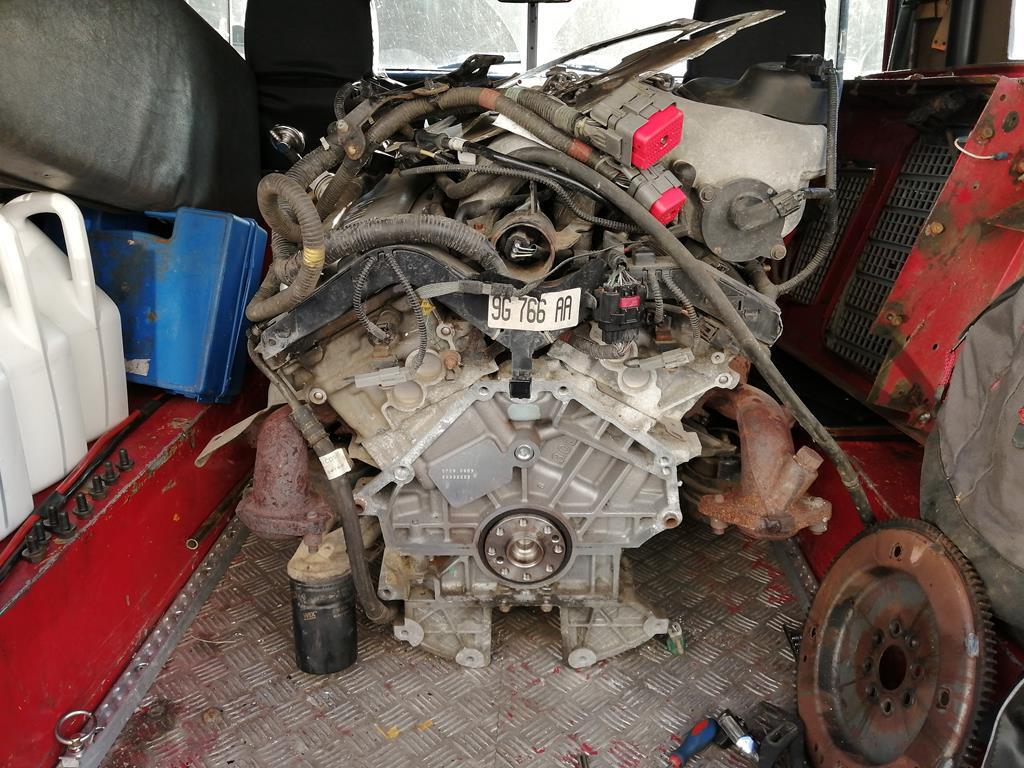 The next part of the story will follow soon as I collate my photos of different cameras. I still feel bad for dismantling the S-Type as I found my previous one a really nice car to drive however in general it is tired and would have been a restoration project in it's own right to have it back on the road in a presentable condition, plus it's helping towards a much greater cause. |
| |
|
|
|
|


 Some rearranging of radiators and exhausts will be due as well


 Some rearranging of radiators and exhausts will be due as well


