Welcome along to the fruits of my evening's toil in the workshop today.
I've been meaning to build a proper camping barbecue for ages, but if we've been going away for any real length of time we always took our little caravan, which had plenty of room to chuck our big barbie in - so it became just another round-to-it sort of job. Well, I went and sold our caravan on a couple of months back, so we're back to tenting it everywhere again (which I much prefer). I picked up a little kettle barbecue that I could just chuck in the back of the car, but it always seems to make a mess and it is an awkward bloody shape to pack!
I've had an old ammo crate kicking around in the workshop for about three years (and I don't have any grenades to put in it), so I thought it was about time I got my in gear and built myself something a bit better suited to my needs.
I'm sure we've all seen this sort of thing before - and I know there was at least one on here in the last couple of years, but here's my take on the whole thing....
just before I get started, I've got to apologise for the small amount of photos, but I always get the feeling I must have been cracking on if I finish something and have very little picture proof that I've done anything at all!
So, starting with a generic ammo crate image

I wanted something that was going to make as little mess in the car as possible, so I thought the best way of keeping the crate in good nick would be to make it double skinned. This way the paint should have a chance of staying somewhere near intact on the exterior.
So what I've really built tonight is a small barbecue that just happens to fit inside an ammo crate
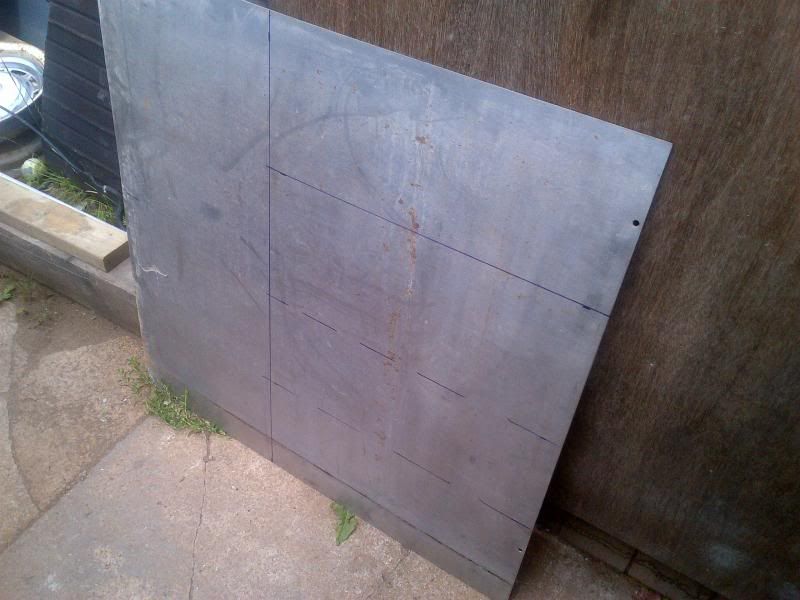
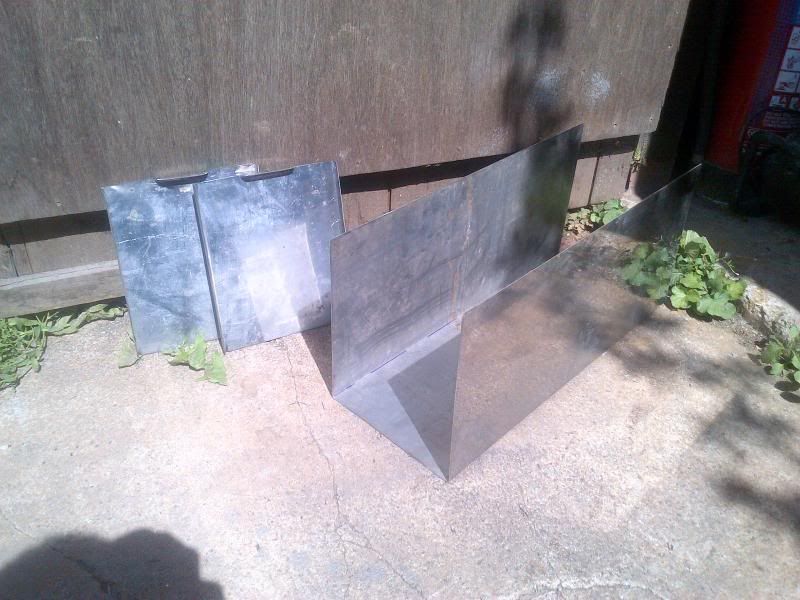
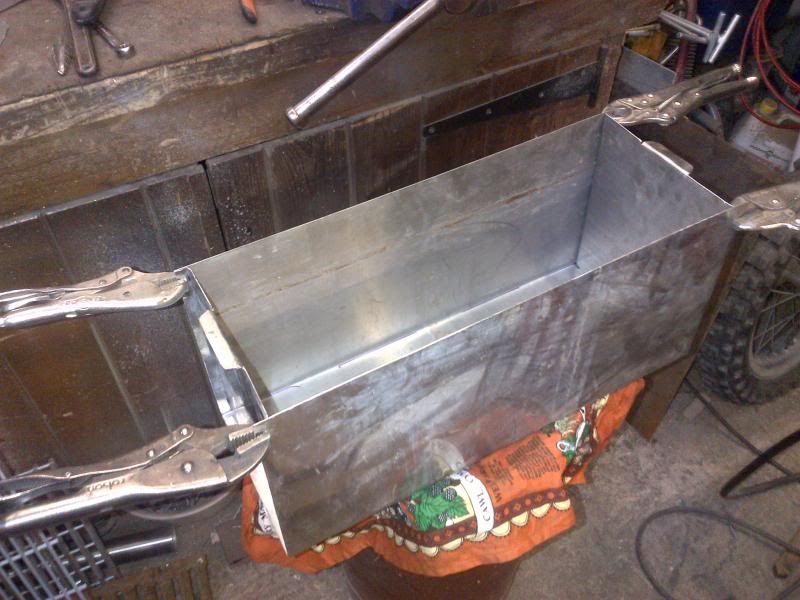
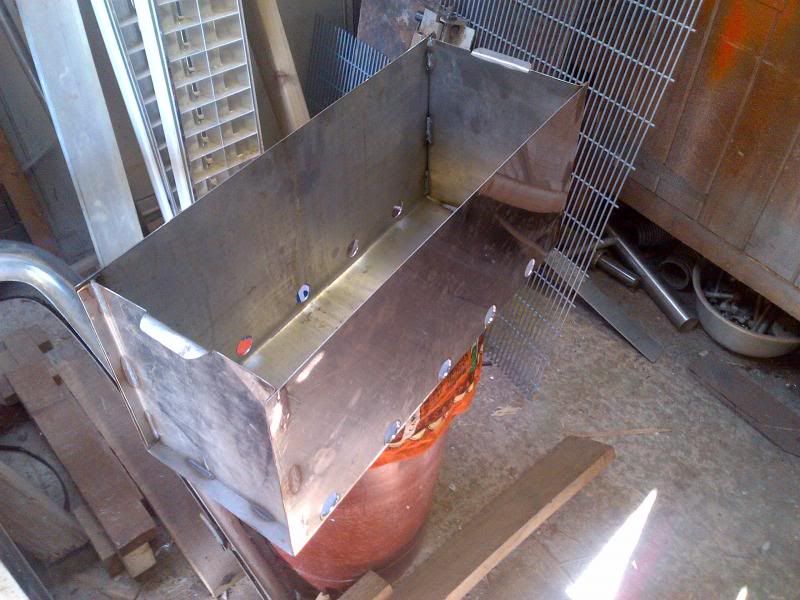
Starting with some stainless sheet, that I've had since god knows when, I marked out and folded up a simple three sided box and some ends to go on it. This was then simply buzzed together with the mig, like so...
I then broke out the hole saw and drilled a series of air holes into the crate. The inner box is around an inch shorter than the crate, so that I could transfer the holes to the liner - but offset them. The idea behind this is that I can slide the inner from side to side and vary the air damping. Whether this actually works in practice is another thing entirely!
Don't seem to have a pic of the two parts together, but you get the idea I'm sure!
Next up, I made the charcoal grate. I had a bit of old mesh fencing that I liberated from work with this in mind. I double layered it and framed it with a bit of 1/4" bar like so..
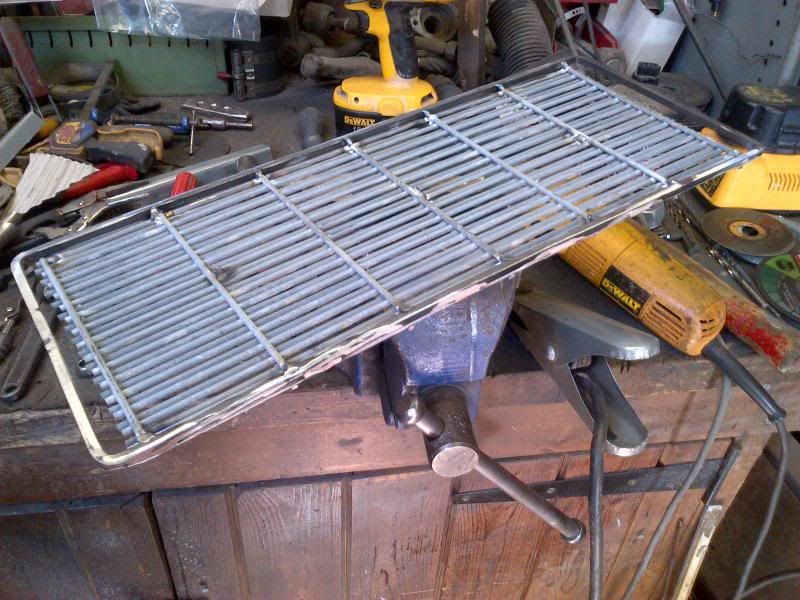
I wanted it to be height adjustable, to give me a more fllexible grill when in use, so I glued on some buzzbar that handily had holes already in it, then put a couple of self tappers through the side of the barbie - hey presto; variable height!

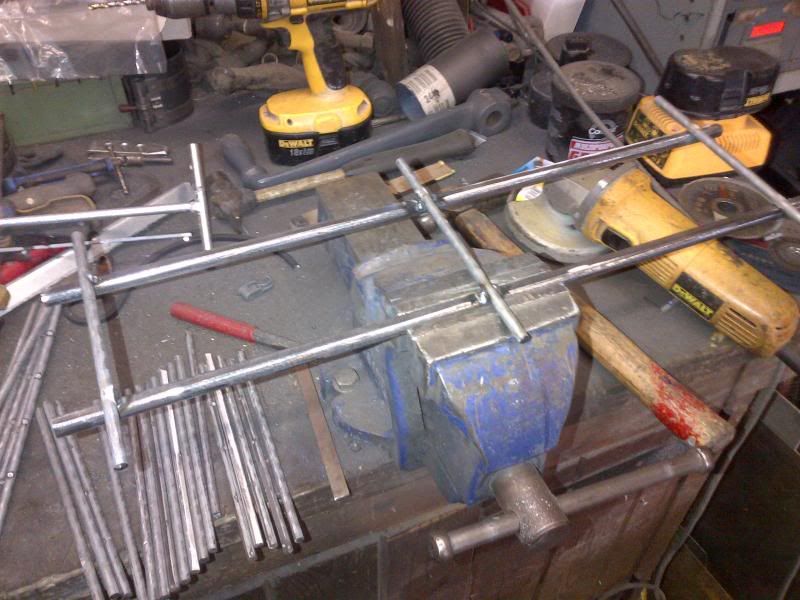
All that was left to do then was knock up the grill itself. This was just a case of cutting a load of bar to length and sticking it all together.
Basic dimensions...
Several tacks later..

Trimmed and dropped in...
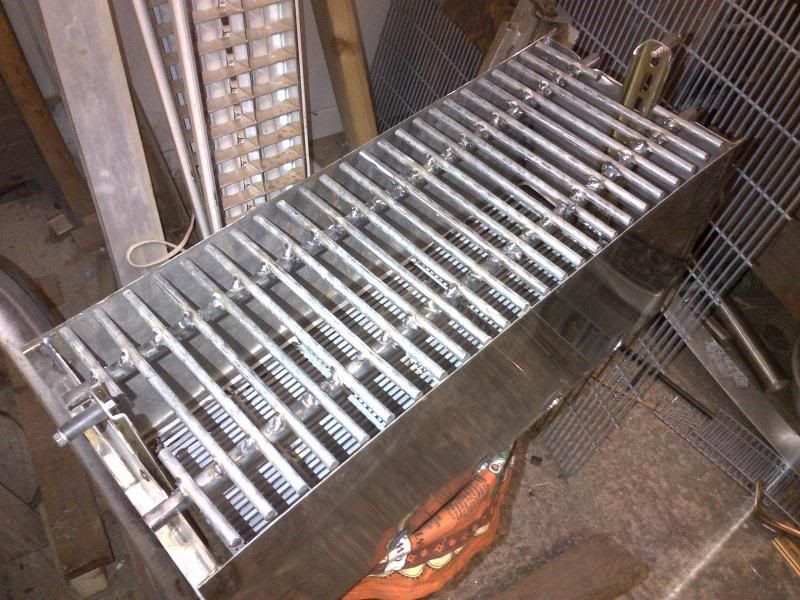
And then the whole thing dropped into its new home...
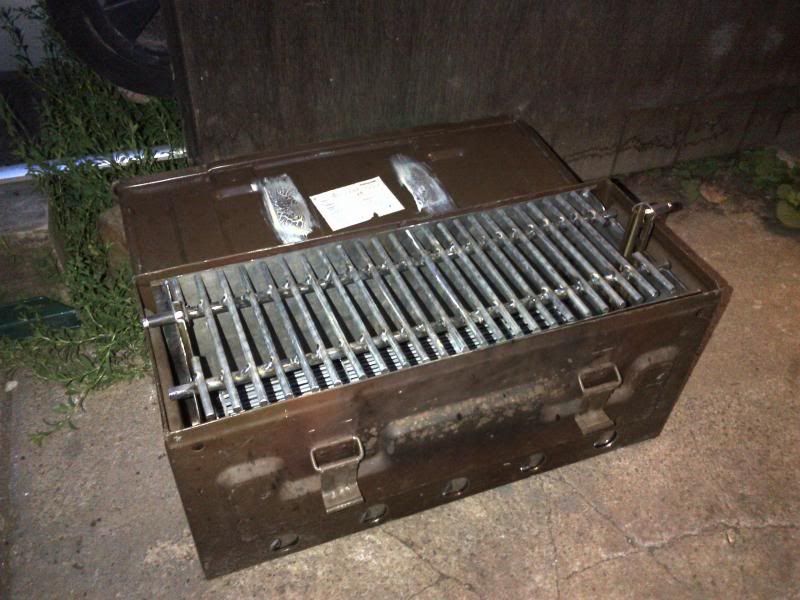
I'm going to make some little legs for it, just to stop it scorching the ground and to make cooking on it less of a back-breaking affair, but aside from that it's done.
I realise there's plenty of galv steel in those grills, but don't worry - I'll be giving it a test burn and then a good going over with a wire wheel on the grinder, before the burgers go anywhere near it!
Thanks for stopping by!
Joe
I've been meaning to build a proper camping barbecue for ages, but if we've been going away for any real length of time we always took our little caravan, which had plenty of room to chuck our big barbie in - so it became just another round-to-it sort of job. Well, I went and sold our caravan on a couple of months back, so we're back to tenting it everywhere again (which I much prefer). I picked up a little kettle barbecue that I could just chuck in the back of the car, but it always seems to make a mess and it is an awkward bloody shape to pack!
I've had an old ammo crate kicking around in the workshop for about three years (and I don't have any grenades to put in it), so I thought it was about time I got my
in gear and built myself something a bit better suited to my needs.I'm sure we've all seen this sort of thing before - and I know there was at least one on here in the last couple of years, but here's my take on the whole thing....
just before I get started, I've got to apologise for the small amount of photos, but I always get the feeling I must have been cracking on if I finish something and have very little picture proof that I've done anything at all!
So, starting with a generic ammo crate image
I wanted something that was going to make as little mess in the car as possible, so I thought the best way of keeping the crate in good nick would be to make it double skinned. This way the paint should have a chance of staying somewhere near intact on the exterior.
So what I've really built tonight is a small barbecue that just happens to fit inside an ammo crate

Starting with some stainless sheet, that I've had since god knows when, I marked out and folded up a simple three sided box and some ends to go on it. This was then simply buzzed together with the mig, like so...


I then broke out the hole saw and drilled a series of air holes into the crate. The inner box is around an inch shorter than the crate, so that I could transfer the holes to the liner - but offset them. The idea behind this is that I can slide the inner from side to side and vary the air damping. Whether this actually works in practice is another thing entirely!

Don't seem to have a pic of the two parts together, but you get the idea I'm sure!
Next up, I made the charcoal grate. I had a bit of old mesh fencing that I liberated from work with this in mind. I double layered it and framed it with a bit of 1/4" bar like so..

I wanted it to be height adjustable, to give me a more fllexible grill when in use, so I glued on some buzzbar that handily had holes already in it, then put a couple of self tappers through the side of the barbie - hey presto; variable height!

All that was left to do then was knock up the grill itself. This was just a case of cutting a load of bar to length and sticking it all together.
Basic dimensions...

Several tacks later..

Trimmed and dropped in...

And then the whole thing dropped into its new home...

I'm going to make some little legs for it, just to stop it scorching the ground and to make cooking on it less of a back-breaking affair, but aside from that it's done.
I realise there's plenty of galv steel in those grills, but don't worry - I'll be giving it a test burn and then a good going over with a wire wheel on the grinder, before the burgers go anywhere near it!
Thanks for stopping by!
Joe