CaptainSlog
Part of things
 
Posts: 510
Club RR Member Number: 180
|
|
|
|
Rian - And that is how to do them - one at a time whilst taking your time - it will profile up well when you get to that stage - I have witnessed many well intended vehicle owners plunge head first into restoring something like this - chopping all the rot out - leaving little strength in what is left and when they stand back and look at it the confidence very quickly evaporates - when what something like this really needs is your methodical approach of completing one repair area before commencing the next Sound advice to us all, I think. Thank you sir! |
| |
|
|
|
|
|
|
|
Dec 28, 2019 12:27:21 GMT
|
Nice neat repair Grizz. And with a little experience comes pace, without even trying. Thank you very much. Far from perfect but improved. |
| |
|
|
|
|
|
Dec 28, 2019 12:29:14 GMT
|
Rian - And that is how to do them - one at a time whilst taking your time - it will profile up well when you get to that stage - I have witnessed many well intended vehicle owners plunge head first into restoring something like this - chopping all the rot out - leaving little strength in what is left and when they stand back and look at it the confidence very quickly evaporates - when what something like this really needs is your methodical approach of completing one repair area before commencing the next Sound advice to us all, I think. Thank you sir! Thank you @grumpynorthener Chris. I appreciate all the input. Great part of this forum CaptainSlogTeamwork |
| |
Last Edit: Dec 28, 2019 12:29:47 GMT by grizz
|
|
|
|
|
Dec 28, 2019 12:38:40 GMT
|
So we were out early-ish to go swap some Christmas presents for the correct size. And to pick up a new welding helmet at Tool Station. I had previously read up on specifications and found that the £10.00 difference between two lower price helmets equated to one sensor vs four. Quicker response time. Exchangeable batteries etc. So you get what you pay for in this game. I bought the SiP welding mask without stickers. (Watch this space) 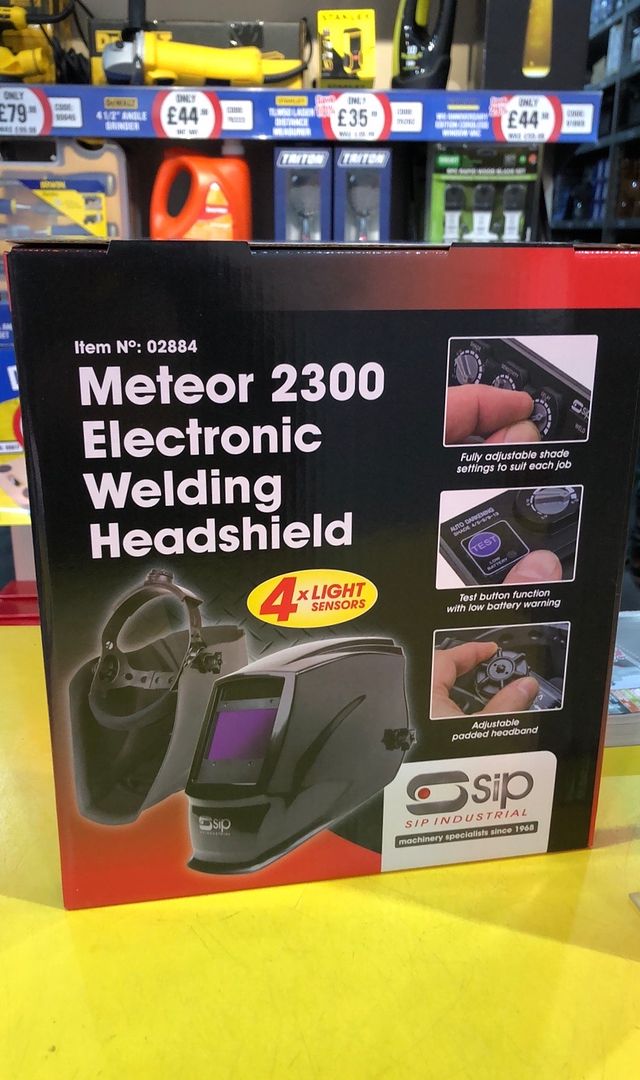 Spec sheet. 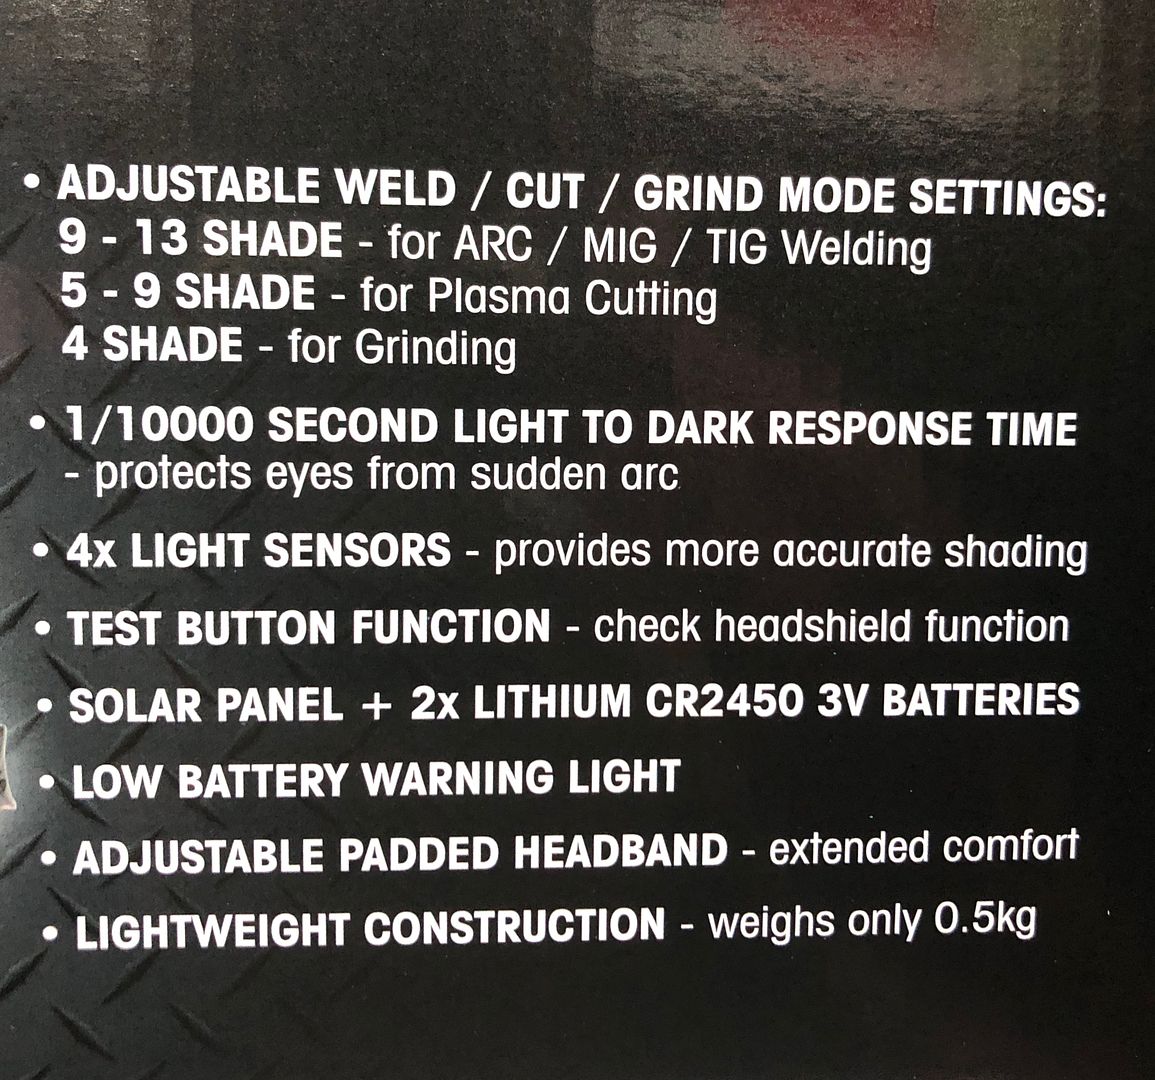 I guess the next step is going to be gingerly making my way toward the garage and choosing what repair to start on next. It may be partly dictated by the repair steel availability More later. |
| |
|
|
|
|
|
Dec 28, 2019 13:08:05 GMT
|
At this point I thought it wise to clean up my welding mask in preparation for the bit of welding coming up. Pooop. Auto dimming non functional despite this mask having had very little use to date. Tried the various setting buttons to no avail. Then tried opening it to see if batteries can be replaced as I always keep a large selection of batteries Nope. Sealed unit. Youtube.... ?? Success !! But pretty clear that its a difficult task to try work around the sealed unit etc. So I tried....... FAILED. REASSEMBLED and graffitied it as a POS. 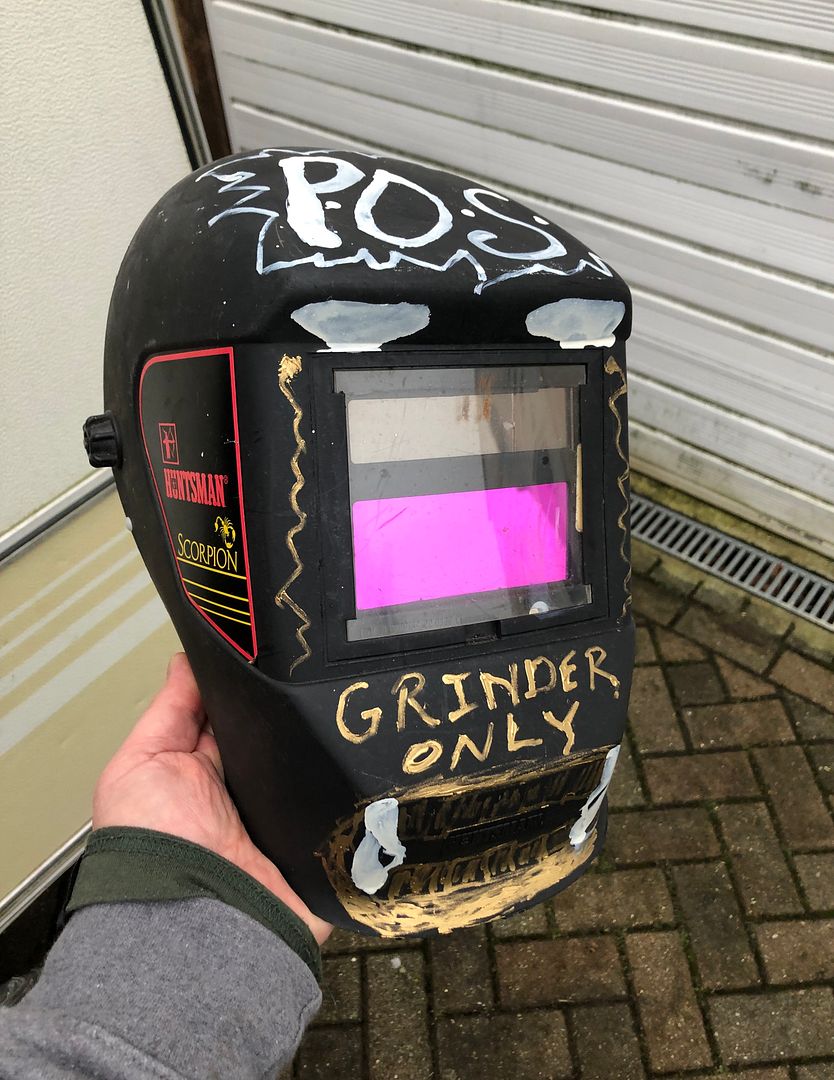 But would have to use it anyway as shops were shutting etc. Have to wait for Saturday as shops are shut. Burger !!!  Have pencilled in getting one of these 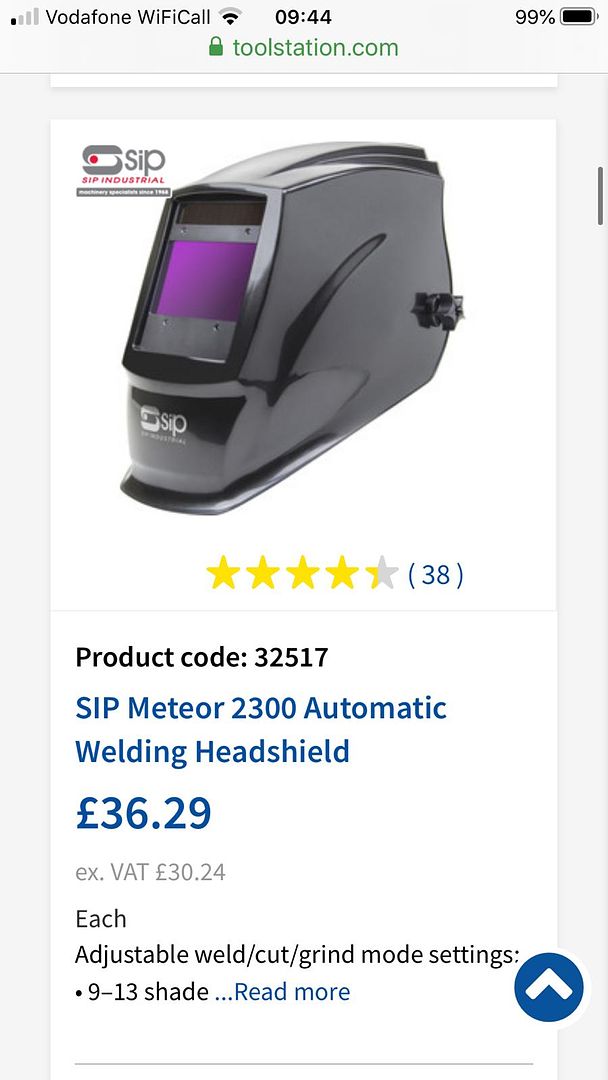 Later. Be carefull with these cheap automatic welding mask. When i was welding my Rover, i got problems with my eyes and i believe it was because of the auto welding mask. I went over to use the old schooll welding mask and the problems were over. It could have someting to do with the time it takes to darken. If this takes too long, your eyes will get exposed to the welding, although for a very short period, it could be enough to cause problems Peter
|
| |
|
|
|
|
|
Dec 28, 2019 13:47:53 GMT
|
At this point I thought it wise to clean up my welding mask in preparation for the bit of welding coming up. Pooop. Auto dimming non functional despite this mask having had very little use to date. Tried the various setting buttons to no avail. Then tried opening it to see if batteries can be replaced as I always keep a large selection of batteries Nope. Sealed unit. Youtube.... ?? Success !! But pretty clear that its a difficult task to try work around the sealed unit etc. So I tried....... FAILED. REASSEMBLED and graffitied it as a POS. But would have to use it anyway as shops were shutting etc. Have to wait for Saturday as shops are shut. Burger !!! Have pencilled in getting one of these Later. Be carefull with these cheap automatic welding mask. When i was welding my Rover, i got problems with my eyes and i believe it was because of the auto welding mask. I went over to use the old schooll welding mask and the problems were over. It could have someting to do with the time it takes to darken. If this takes too long, your eyes will get exposed to the welding, although for a very short period, it could be enough to cause problems Peter
Agreed. And that is why you will see if you look at the spec sheet, it seems pretty rapid. I have adjusted the response speed to fast. Will report back. |
| |
|
|
|
|
|
Dec 28, 2019 19:13:51 GMT
|
Spent less than two hours down in the shop today. Had some stuff to deal with. First job was to correct part of yesterday’s front panel repair, adding about 15mm weld from behind on the crest. 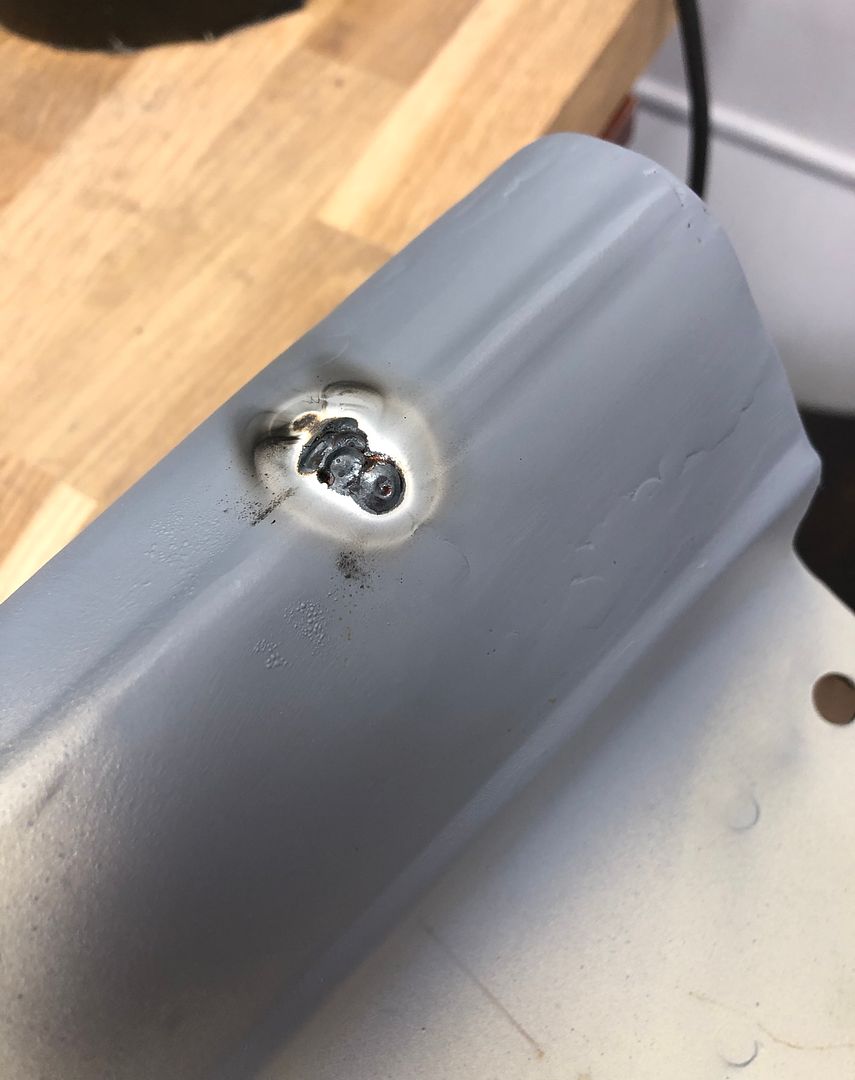 Dressed back. 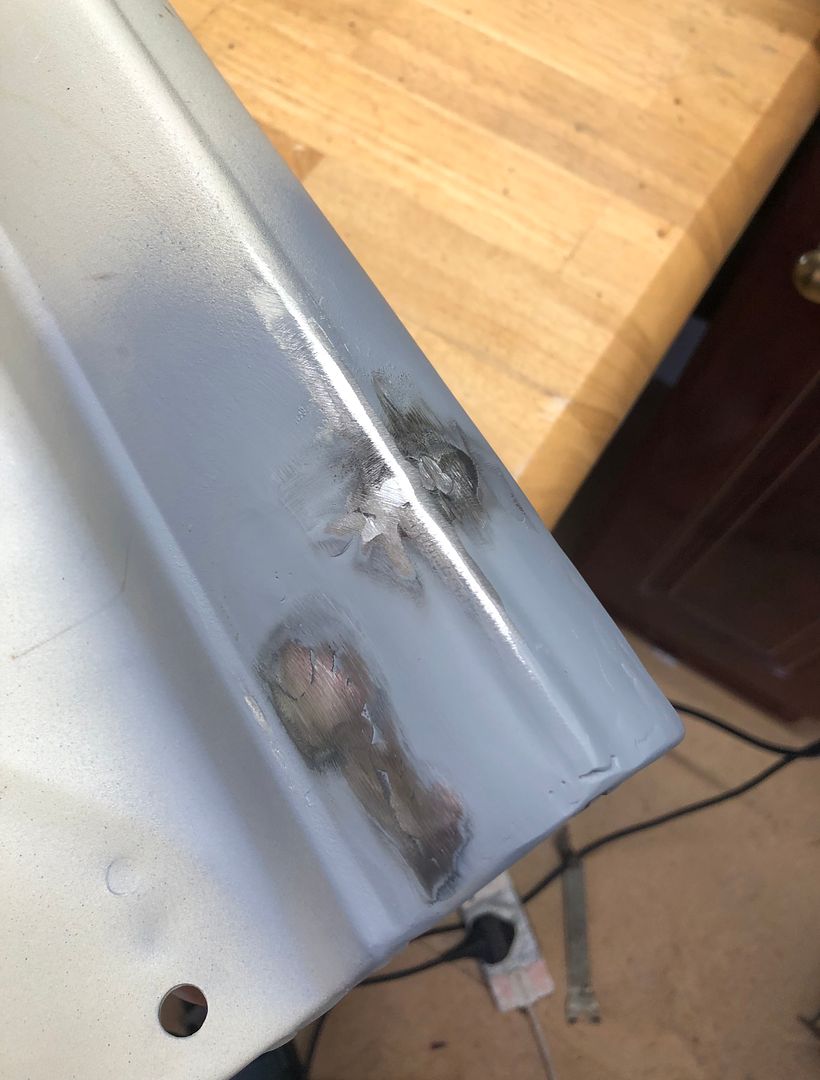 Primed. 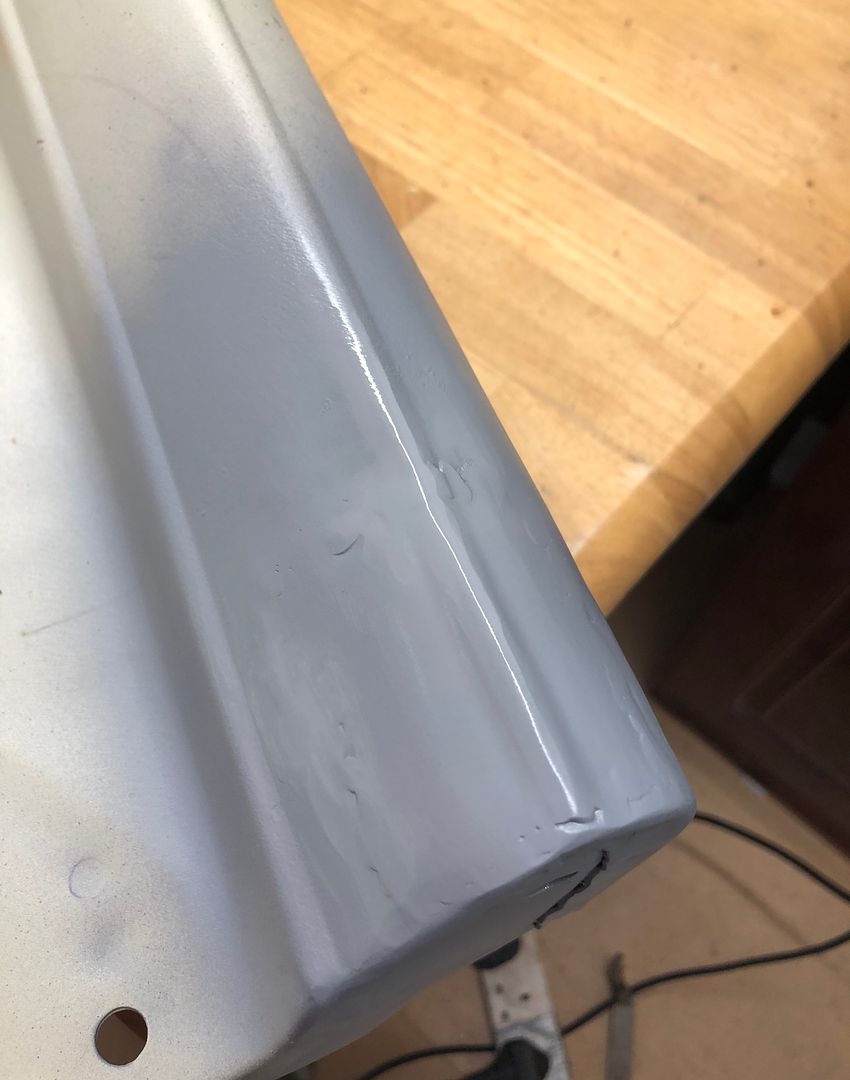 Packed away, along with the radiator panel and inner fenders. 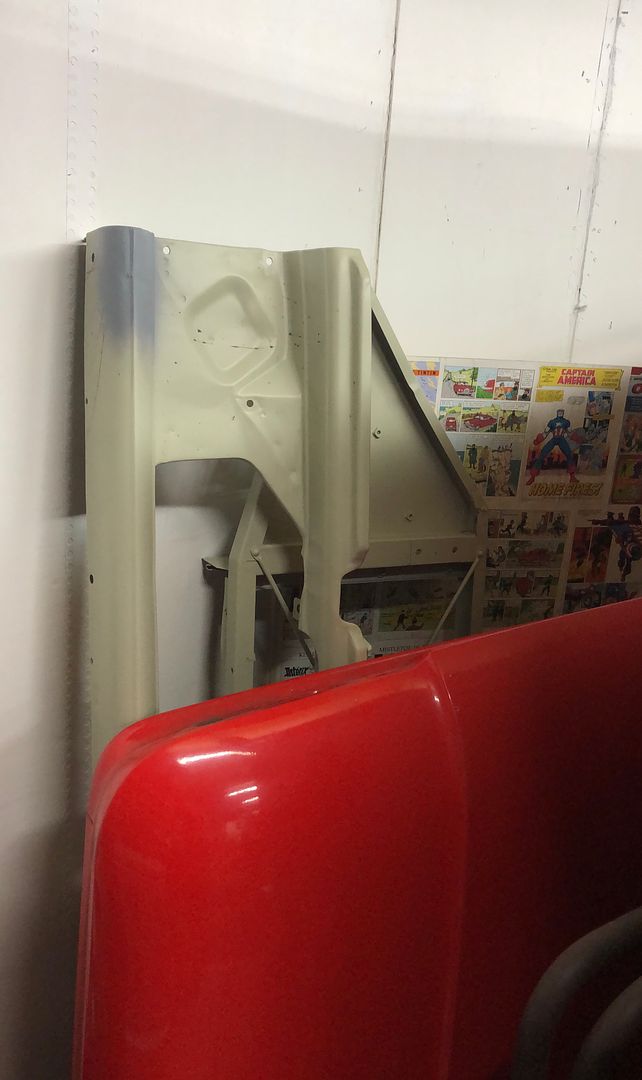 . |
| |
|
|
|
|
|
Dec 28, 2019 20:59:31 GMT
|
|
Great to see work progressing on the truck!
Nice work Rian
|
| |
Fraud owners club member
2003 W211 Mercedes E class
1989 Sierra sapphire
1998 ex bt fiesta van
|
|
|
|
|
Dec 28, 2019 21:09:52 GMT
|
Despite all sorts of good intentions, I managed less than 2 hours in the shed today. Part was correcting my previous weld. Then on to a few holes in the drivers side door. 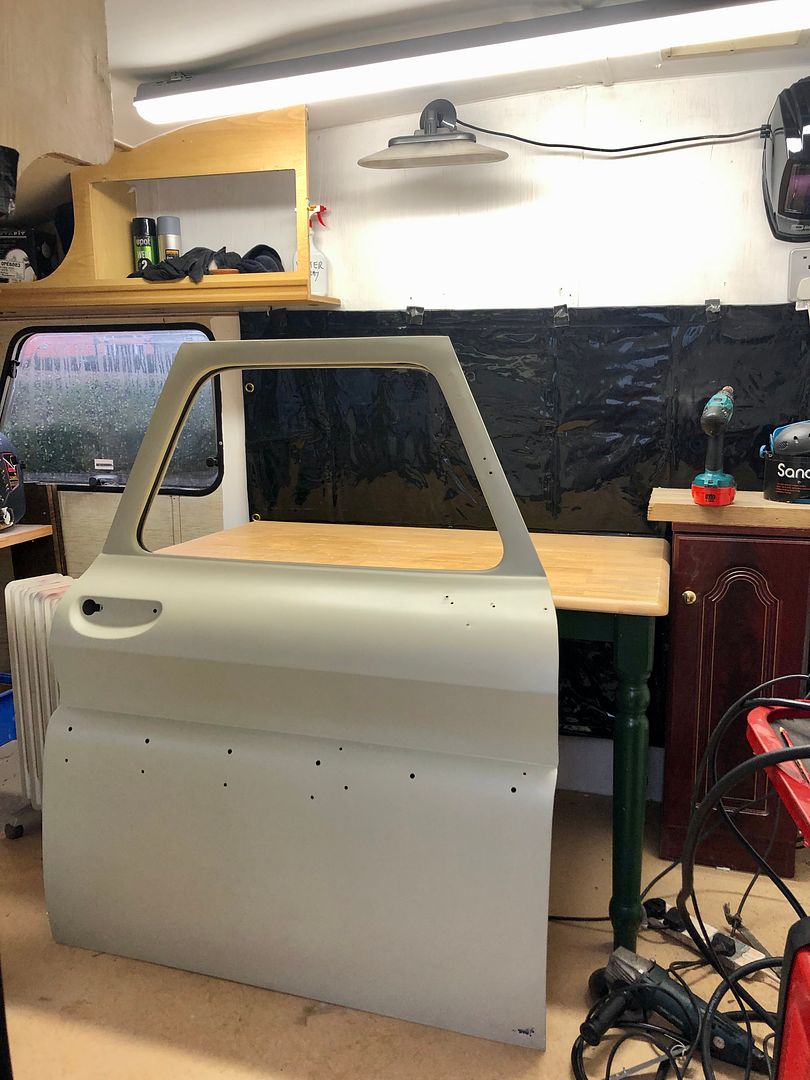 Looking at the original drivers side door, specifically where the mirror was mounted, vs the new passenger door I got, that obviously used to have convoy mirrors So I needed to ensure I welded up all the right holes. Using both the new mirror stalk and measurements from my old door. It has some work to do too. 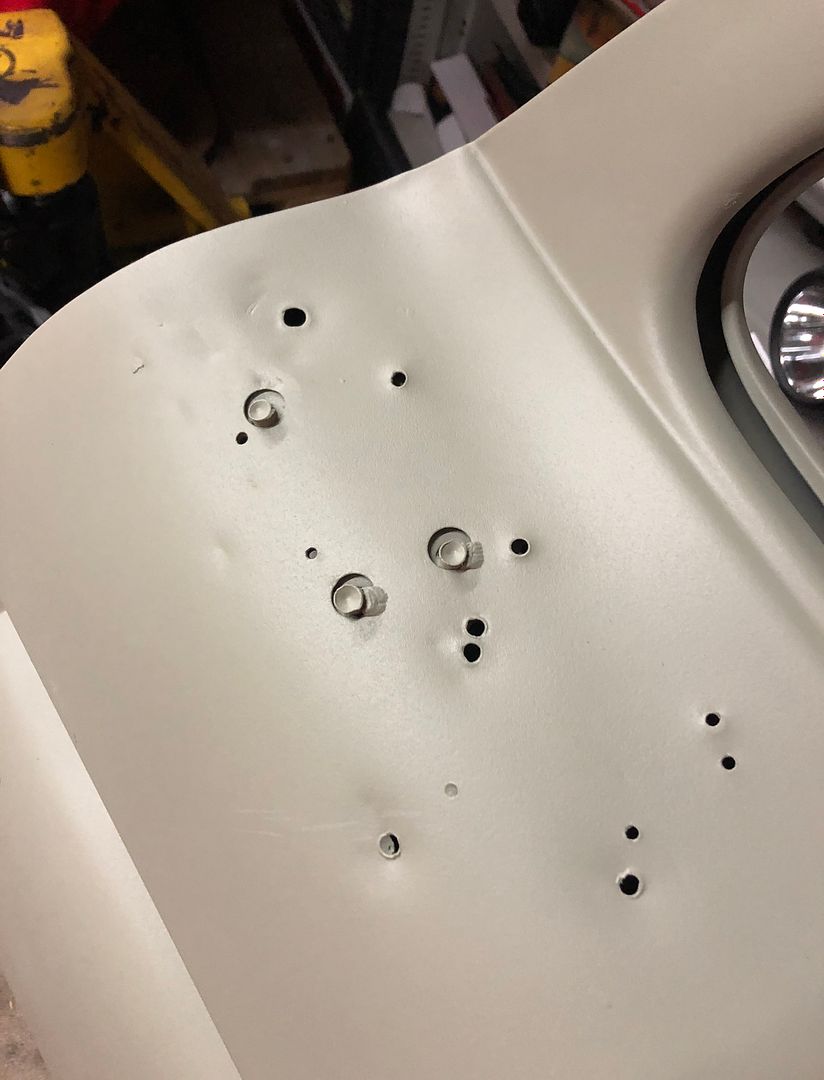 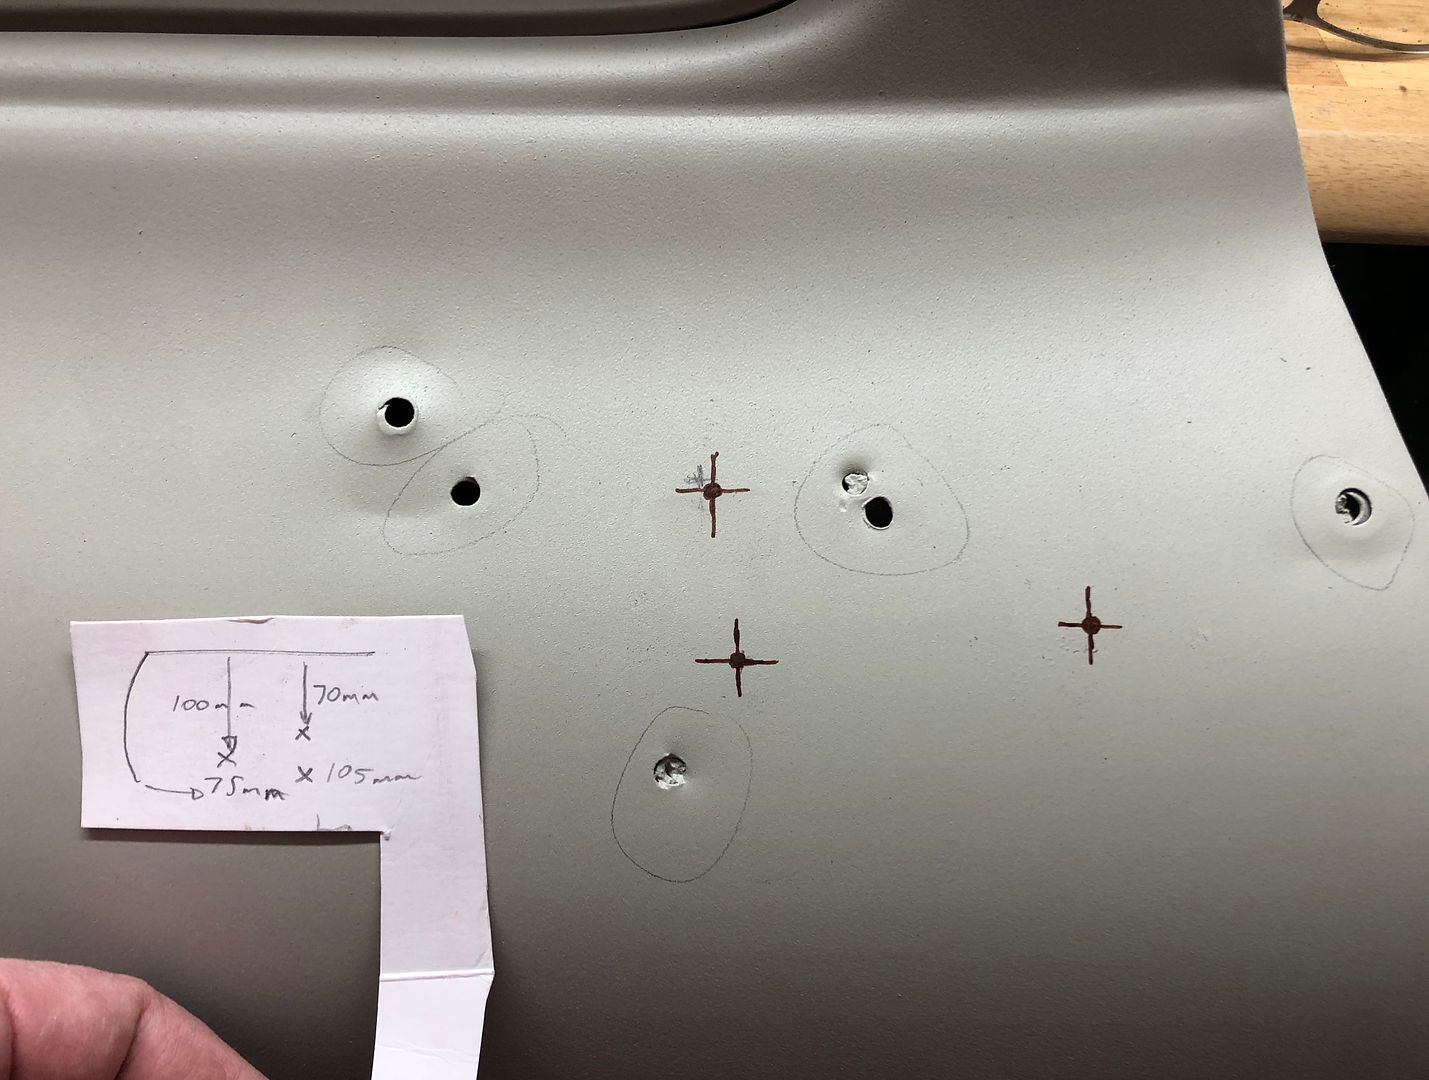 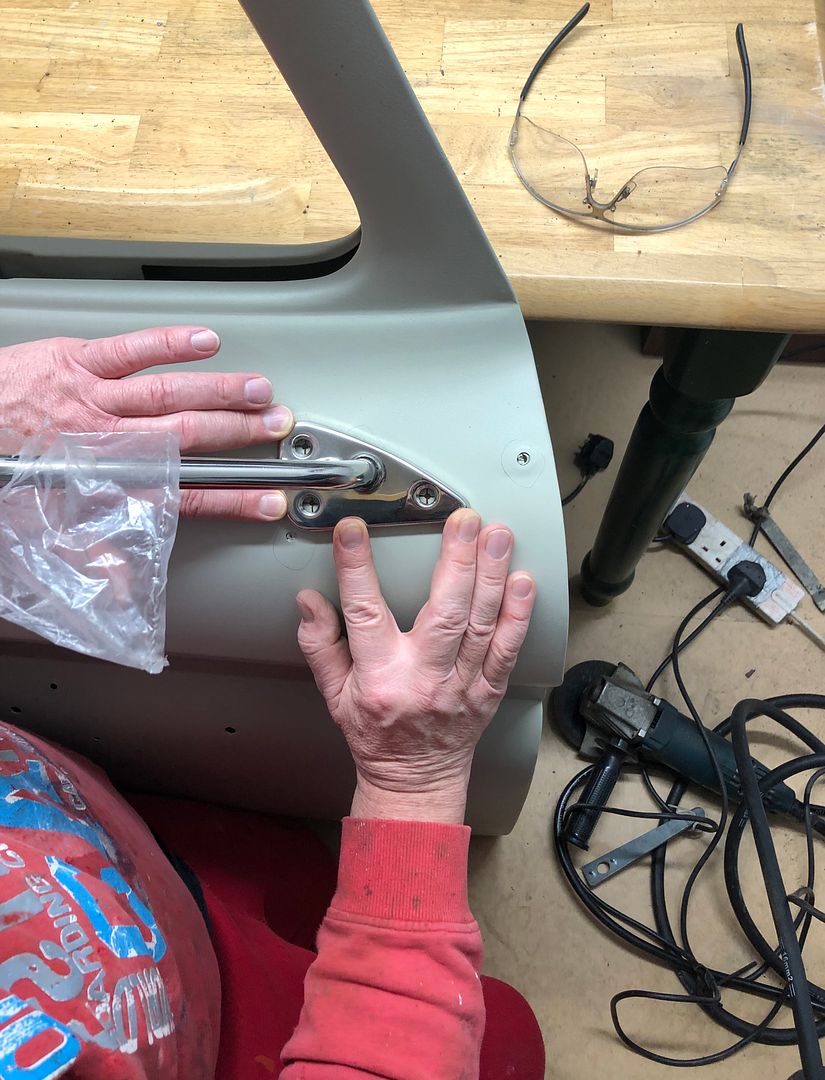 Of course it has some interesting inverse dents, but nothing a hammer and dolly could not sort, with caution. 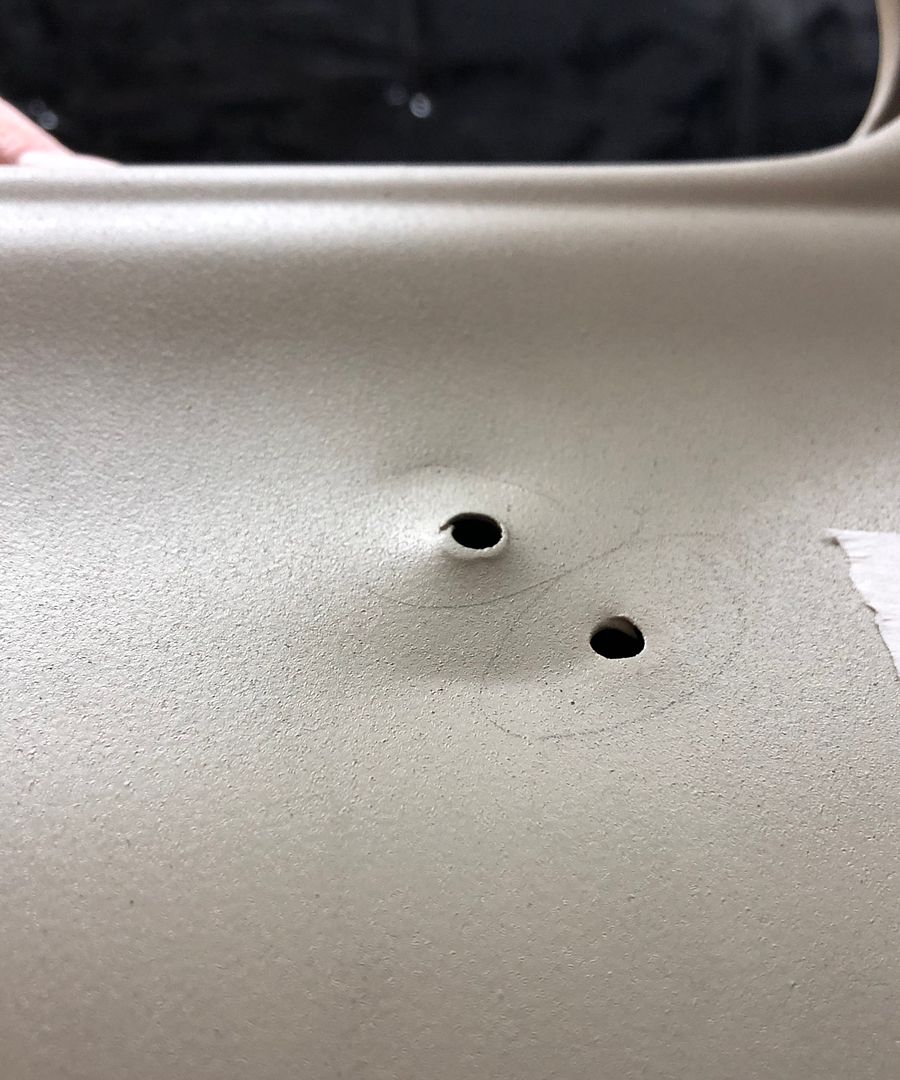 Convoy mirror mounting points. Prepped. 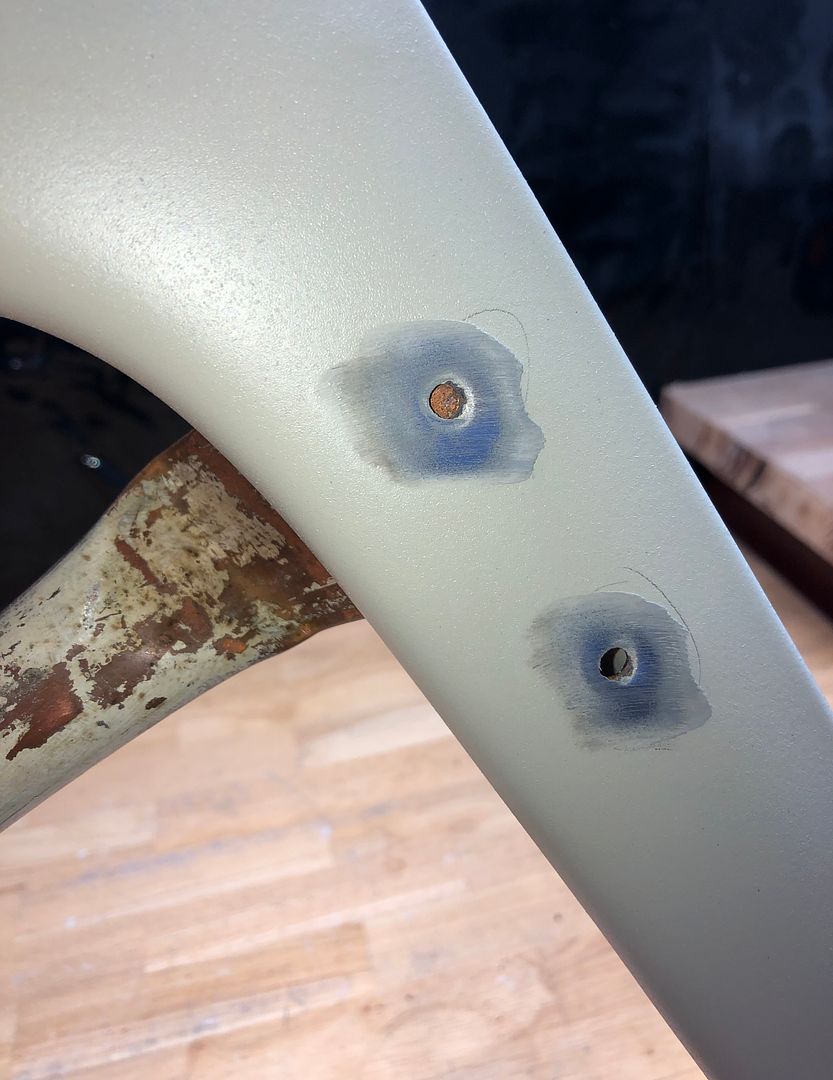 Adjustable heat sink tool. Copper pipe. 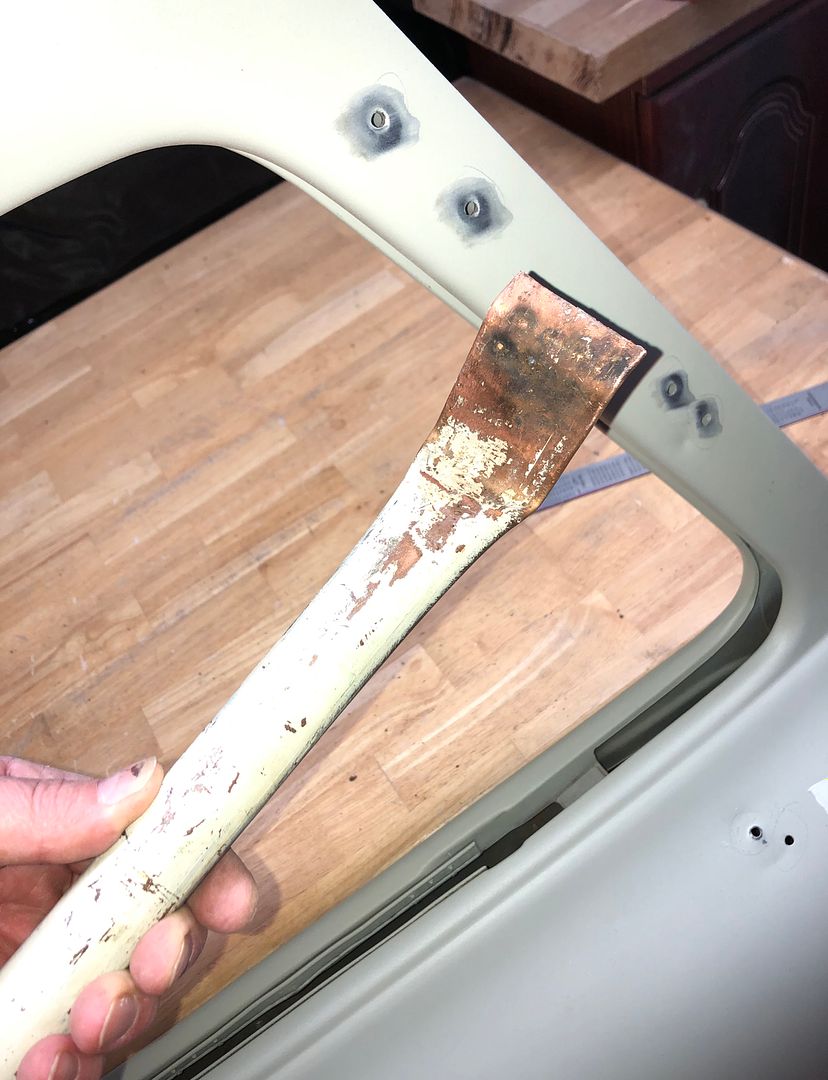 Holes plugged. 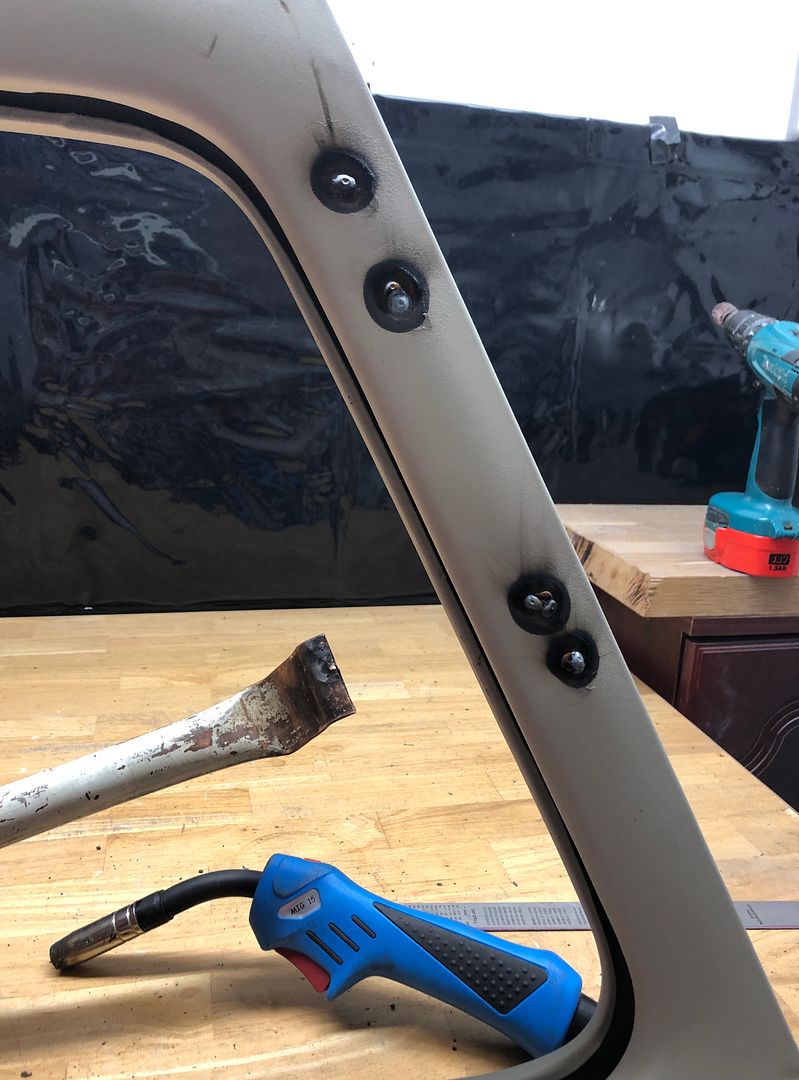 Worked back. 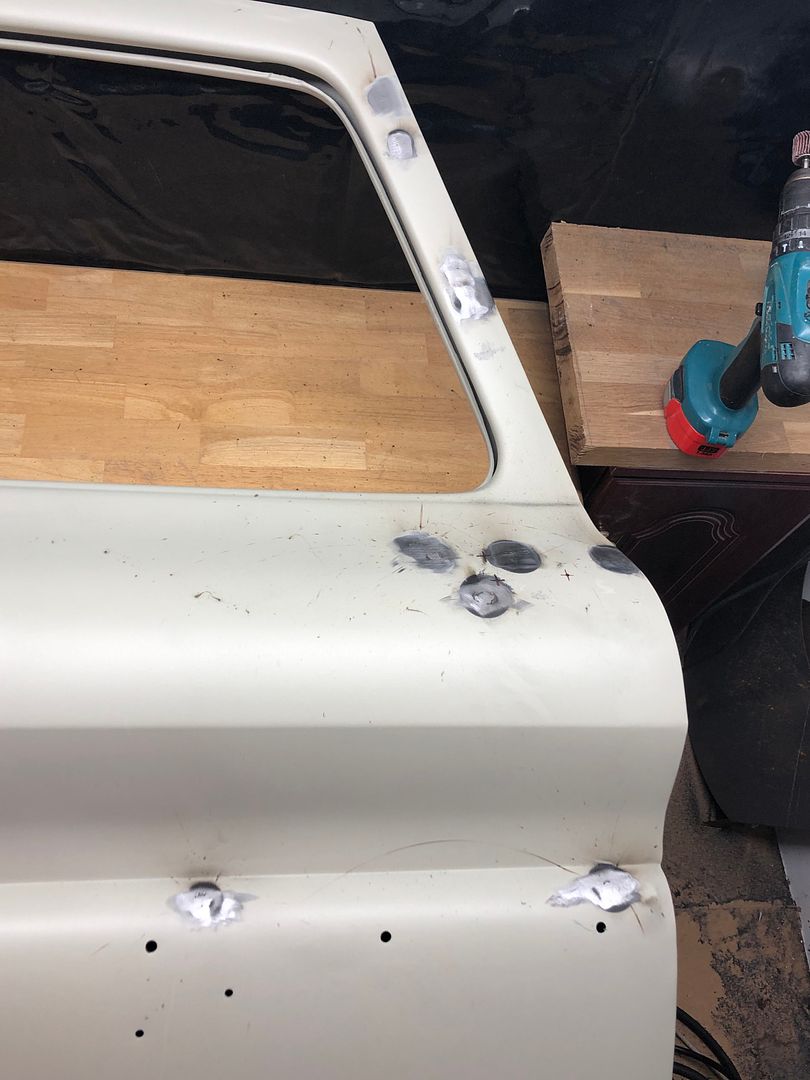 Etch Primer added. . 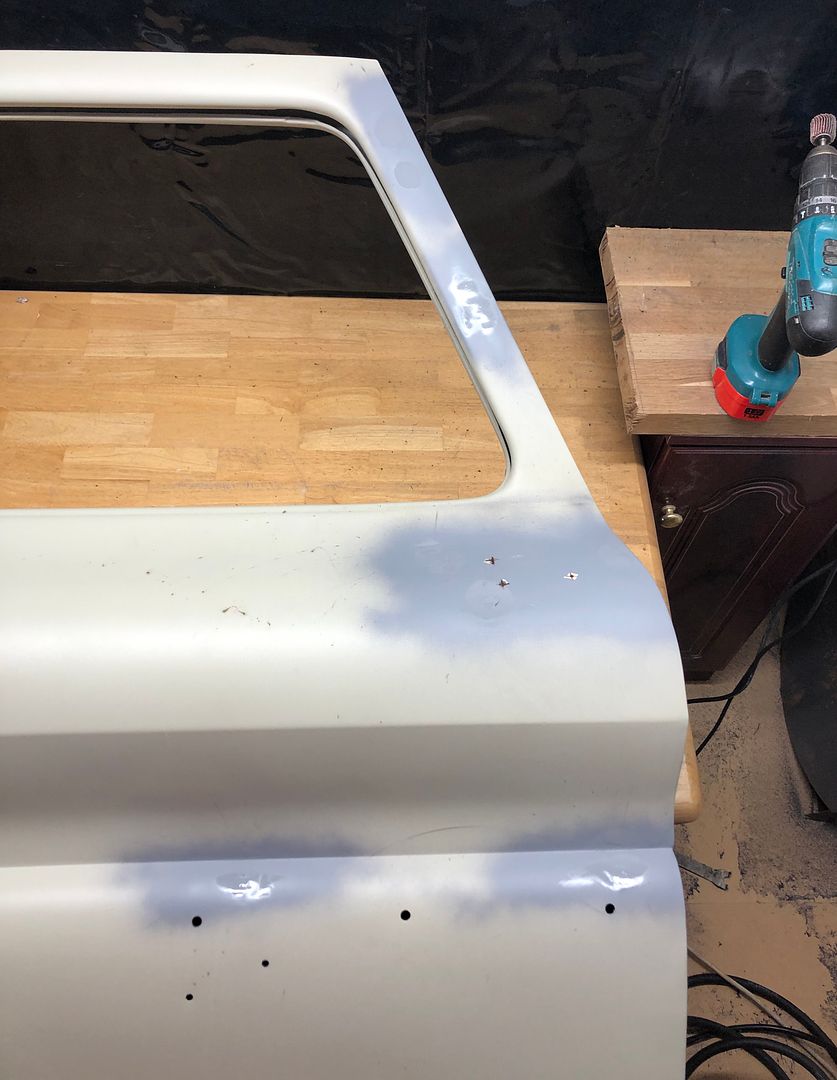 At this point I closed shop. Next job will be cutting some rust from the door skin and replacing with fresh metal. Done. |
| |
|
|
|
|
|
Dec 28, 2019 21:12:27 GMT
|
Great to see work progressing on the truck! Nice work Rian Thank you Dan. Bit more done today. I want to develop my skill, and also not hate it after a week. While keeping focus on my personal life. |
| |
|
|
|
|
|
Dec 28, 2019 21:38:07 GMT
|
grizz that's some cracking work. Slow and steady may not win the race but it will give you so much satisfaction - you'll be able to point at the finished article and say "I did that" 
|
| |
|
|
|
|
|
Dec 28, 2019 23:35:21 GMT
|
Great to see work progressing on the truck! Nice work Rian Thank you Dan. Bit more done today. I want to develop my skill, and also not hate it after a week. While keeping focus on my personal life. Happy new year to your self an Sally Rian, let it be a healthy and happy one for you both. |
| |
|
|
|
|
|
|
|
grizz that's some cracking work. Slow and steady may not win the race but it will give you so much satisfaction - you'll be able to point at the finished article and say "I did that"  Morning mate. Thanks a lot. I seem to quote Chris @grumpynorthener a lot on here, and we know he is not the only restorer and builder on here who knows his onions, but he has become my go to guy for random questions All the guys I know who do this stuff daily, and do it well, either for engineering or aesthetic top end results work at the speeds they do, which is Warp speed compared to me, but they still advise taking it slowly and ensuring adherence to the basic rules. So I will try to do that, as I just cannot be bothered redoing any jobs. Even now, I look at some of the stuff I have done in the last 15 years and think “Hell , did I really do that?” Like the Grizz Pod etc. I am probably reasonably good at looking and listening and then copying. However, guys like Dez Chris and ivanhoew Robert and metalshapes live this daily and I often just shake my head and mutter swearwords inside my mouth in amazement at what they all create effortlessly Thank you Dan. Bit more done today. I want to develop my skill, and also not hate it after a week. While keeping focus on my personal life. Happy new year to your self an Sally Rian, let it be a healthy and happy one for you both. Thank you mate, healthy and happy will be great. Of course life tosses spammers at us all the time, but we just need to keep them out the gearbox.
A very good 2020 to you and all the other guys, girls on here. . |
| |
|
|
|
|
|
Dec 29, 2019 10:01:37 GMT
|
Another copy and paste on here with a couple of video clip links around metal working. I was asked the question by a mate, and am pretty certain I have not covered it fully, so happy for anyone else to add in more to enhance the response as a resource for anyone else, who like me learns as they go along. OK. So half your reply lies in this video. And then some more here. Half or more than half the holes and repairs on this truck will be to older holes that may have been worked before, leaving the metal thin and tired. The copper is essentially a non stick surface where the new weld (molten steel) is laid down in order to either fill, or repair, join fresh metal. Sheet metal is actually quite thin and the first thing that happens is that you blow holes through it, making the hole bigger when a welders amps, wire feed is not set up right. Different jobs take different settings, like most things in life. Where old rust has eaten at the steel, it becomes fragile, like lace, with holes mixed in with thin, compromised steel in between which mostly cannot be welded up. So you cut away the dead metal, and make and shape up a patch and weld it back in. When heated to melting point by the weld, the metal expands and pushes (WARPS) surrounding metal. The copper removes some of the heat fast. I also have a copper plate, 120mm X 50mm X 6mm used for larger flat sections. As well as some bronze “round bar” part of an old shaft. The flattened copper pipe can be shaped and bent to fit in spaces like a door window frame etc as shown. Many places (because rust happens in tight spots often as slow evaporation and crud collection ) you cannot get in with a heat sink, so a wet rag can work, or small repeated spot welds work better. Hence it often taking time, a lot of time to do what seems like a small job. Practice helps with speed too. But making a shaped panel or patch adds time. Once welded, you need to grind back, inspect, and weld again if holes appear where you did not quite get penetration or filling. |
| |
Last Edit: Dec 29, 2019 10:02:47 GMT by grizz
|
|
|
|
|
Dec 29, 2019 11:17:43 GMT
|
|
"A very good 2020 to you and all the other guys, girls on here."
Yes, let's hope it is better than the year just ending ...
Happy New Year !
|
| |
|
|
|
|
|
Dec 29, 2019 11:19:17 GMT
|
|
How did you get on with new welding mask ?
|
| |
|
|
glenanderson
Club Retro Rides Member
Posts: 4,357
Club RR Member Number: 64
|
|
Dec 29, 2019 11:19:55 GMT
|
|
It’s not just that. The copper provides a physical support to the molten weld pool, and stops you blowing a hole in the panel. Because copper wicks the heat away it prevents the molten steel melting the copper, so it doesn’t stick to the panel.
|
| |
My worst worry about dying is my wife selling my stuff for what I told her it cost...
|
|
|
|
|
Dec 29, 2019 15:07:03 GMT
|
"A very good 2020 to you and all the other guys, girls on here." Yes, let's hope it is better than the year just ending ... Happy New Year ! Now that’s a great wish. Thank you. How did you get on with new welding mask ? New mask has great response time and seems to be worth the money paid. It’s not just that. The copper provides a physical support to the molten weld pool, and stops you blowing a hole in the panel. Because copper wicks the heat away it prevents the molten steel melting the copper, so it doesn’t stick to the panel. Thought that was what I had said in my comment? Regardless, it does make a noticeable difference to welds. A worthy addition to my welding tools |
| |
|
|
|
|
|
Dec 29, 2019 15:24:27 GMT
|
Another typical holiday start, Only got out the house by about 11.15 or so. No regrets though. So this was today’s task....... Weld up the small hole to the left once it stopped running away from me, as it was going to be paper thin up to a point..... Where the point ended up being, that was the question. 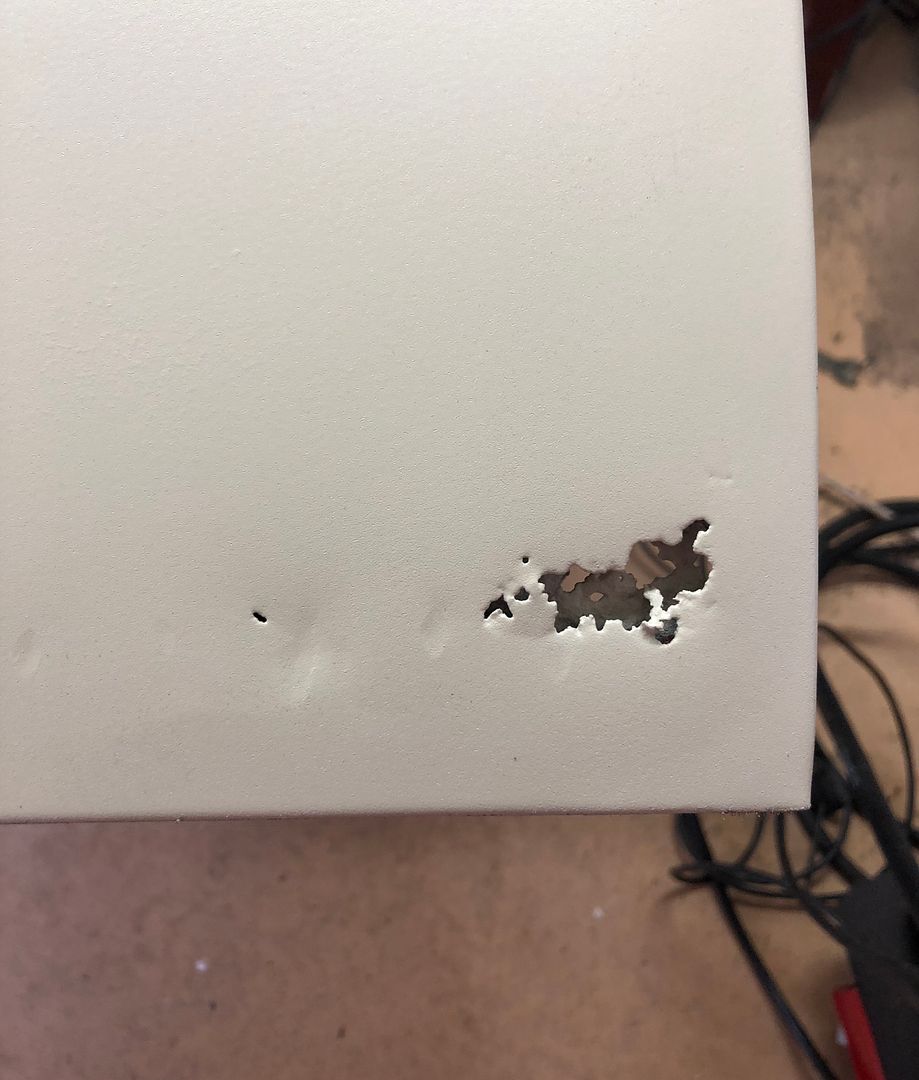 Thought I would also just for the sake of illustration for those unfamiliar or not initiated in Mig welding, share a few of my heat sink tools. 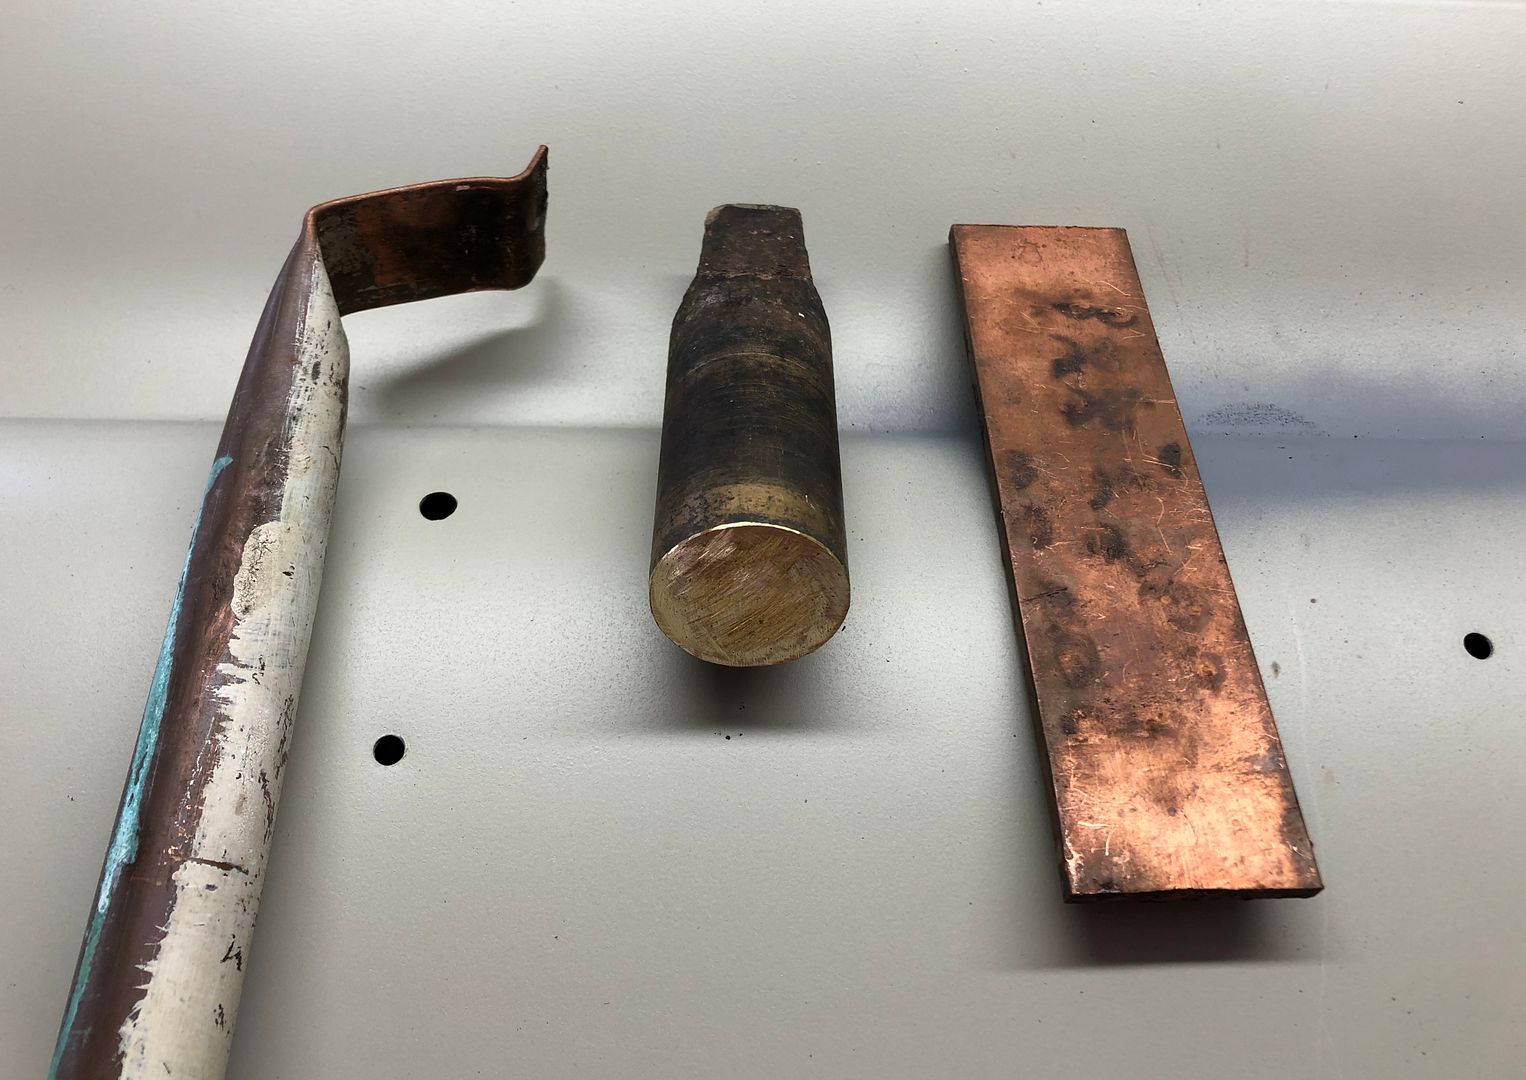 And another important tool(s) The grinder. I keep three on standby, all differently set up, one with a 1mm cutting disc, one with a 5mm grinding disc, and a flap disc for finishing off. 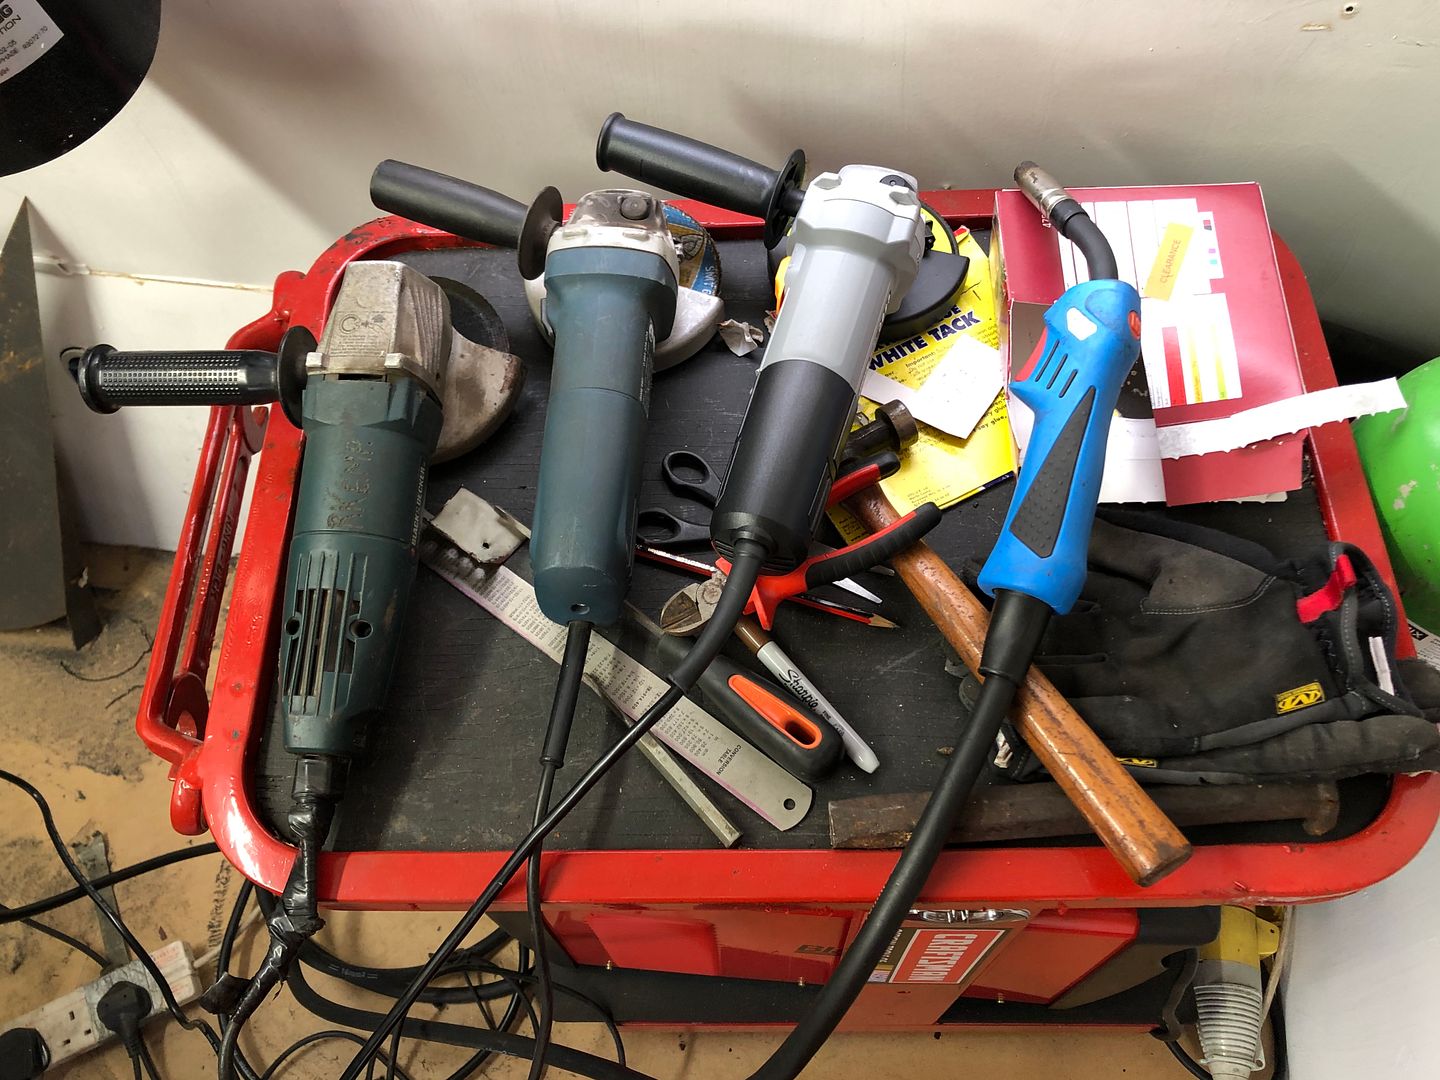 So back to the patch, I calculated that a 50mm X 50mm patch would cover the weakness and holes. Keep in mind, this is my very good California door for the passenger side. It still has work on the inside too, dents and a lace finish of rust on the bottom cup. So patch ready with a very gentle curve bent into it. The door bottom corner has sustained some damage before at some point, resulting in a somewhat bent corner, and also some very mild extended dents on the door skin, shown later. 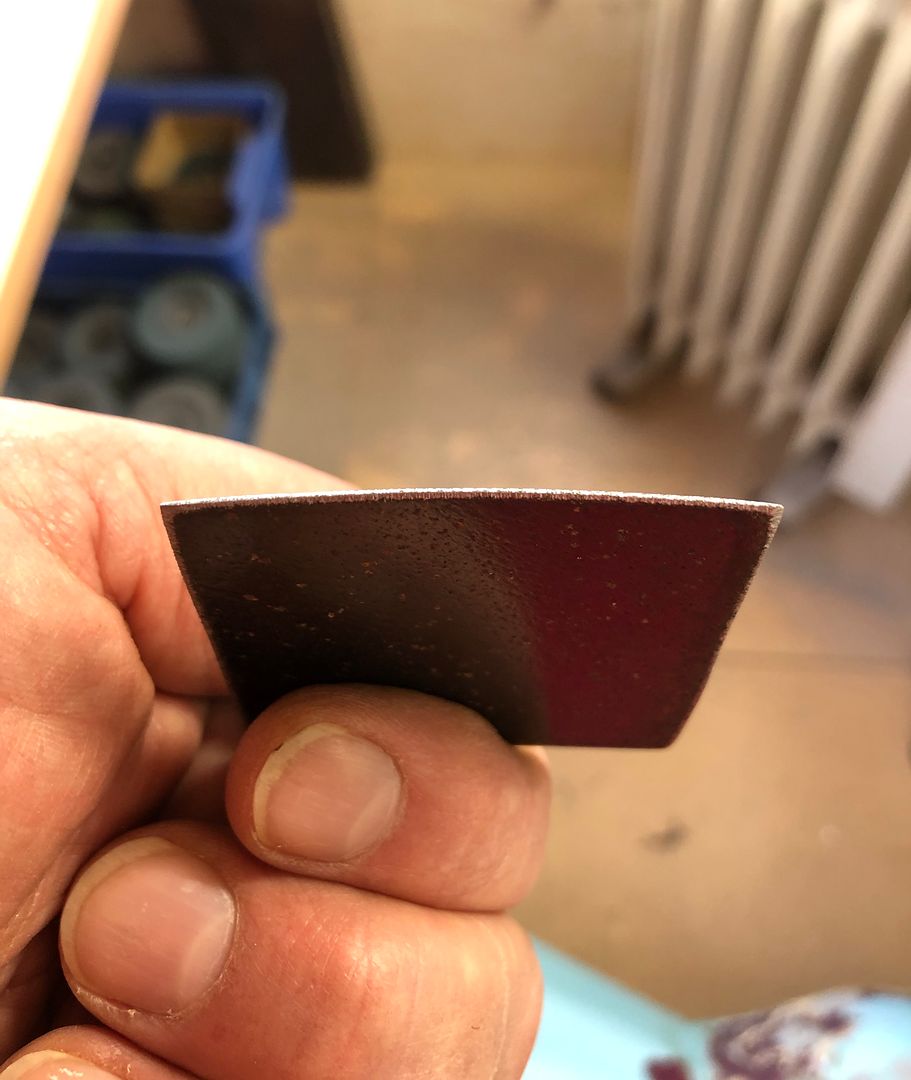 Marked out for cutting, xx and x marks to maintain correct orientation on gentle curve. Note existing dents next to previous weld. 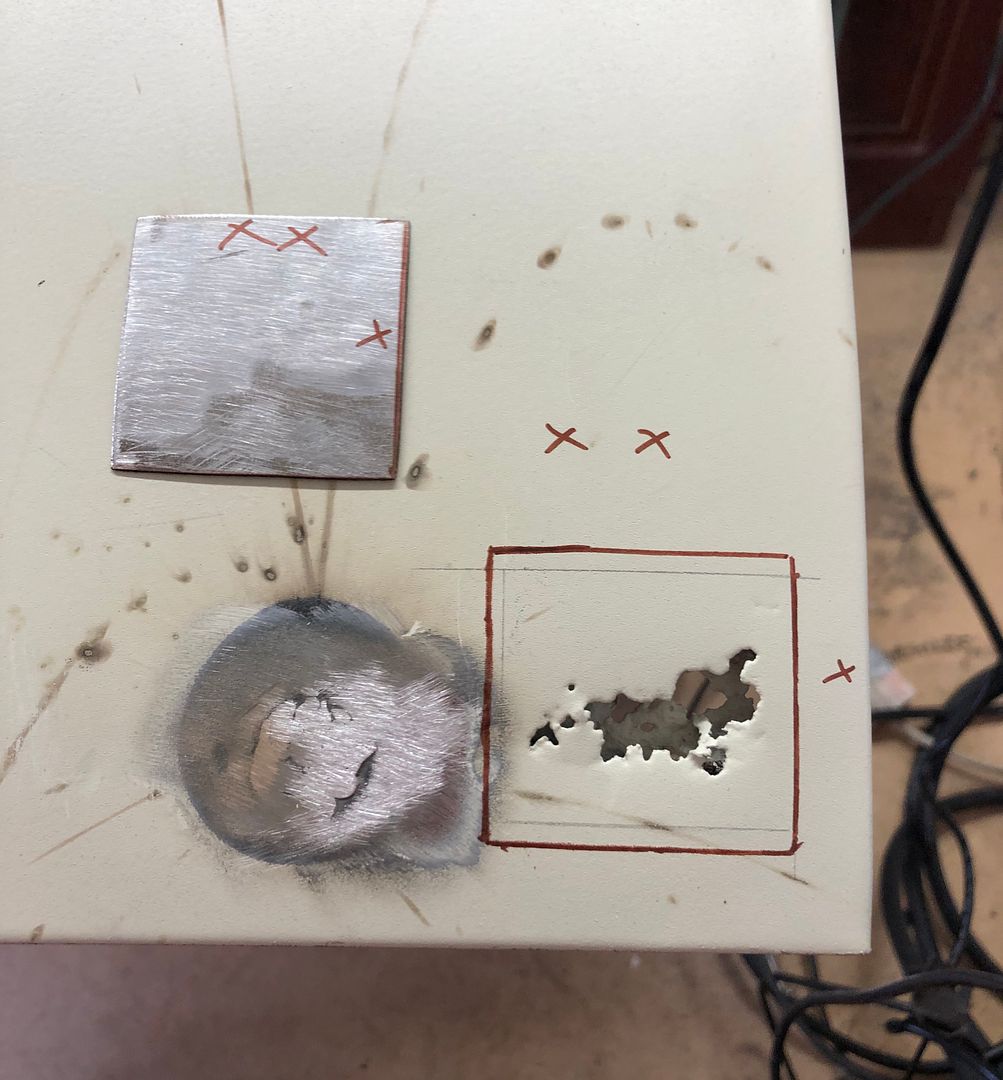 And CUT !!! 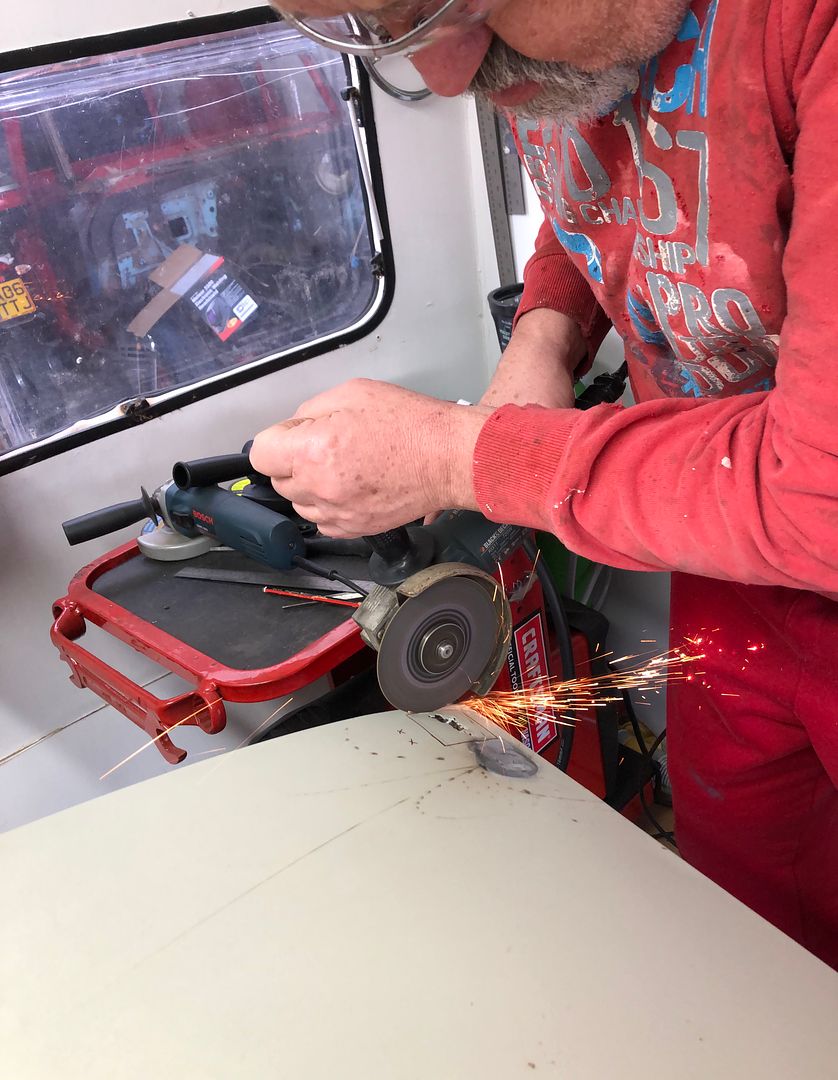 Lift 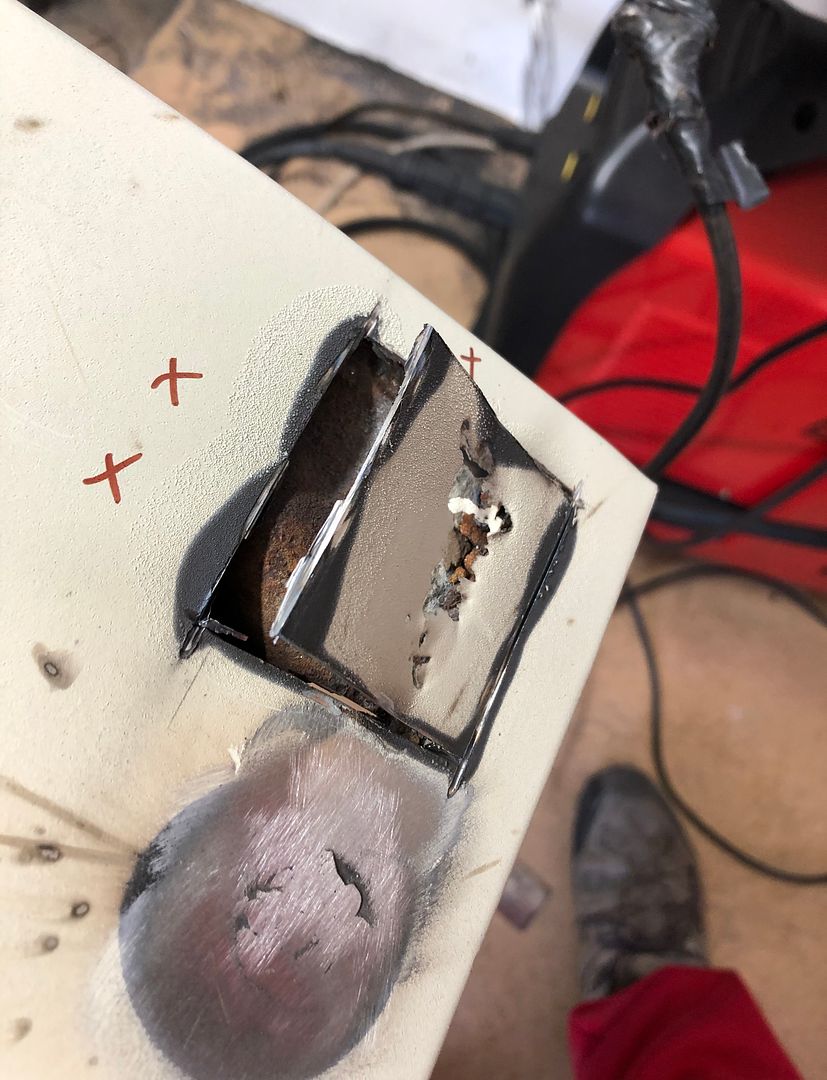 Contrast 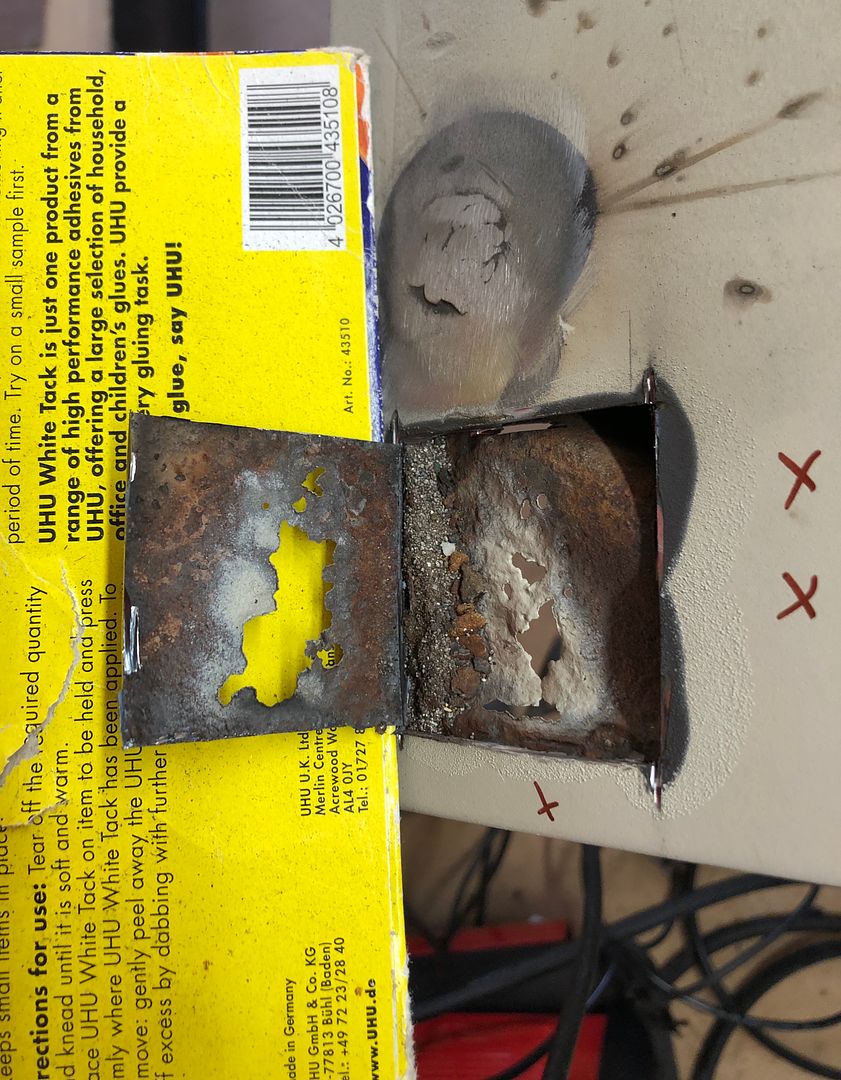 Result. 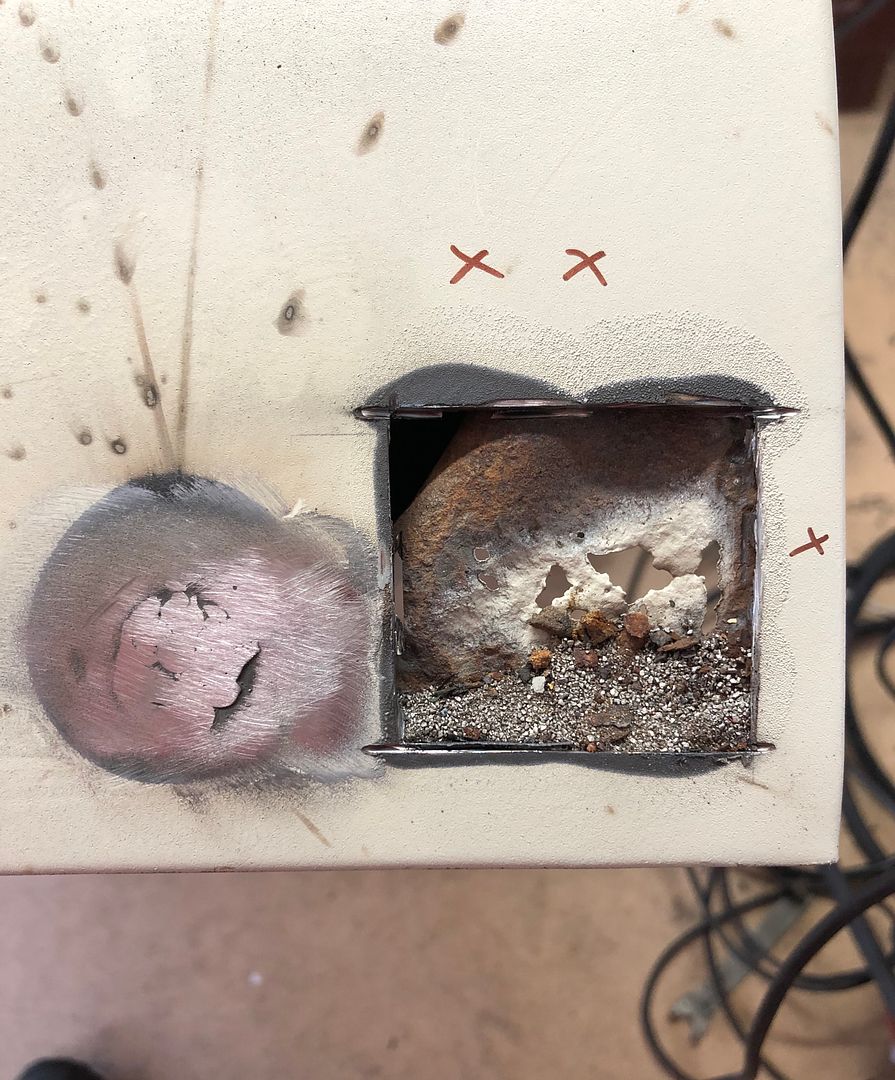 It’s a Boy !! 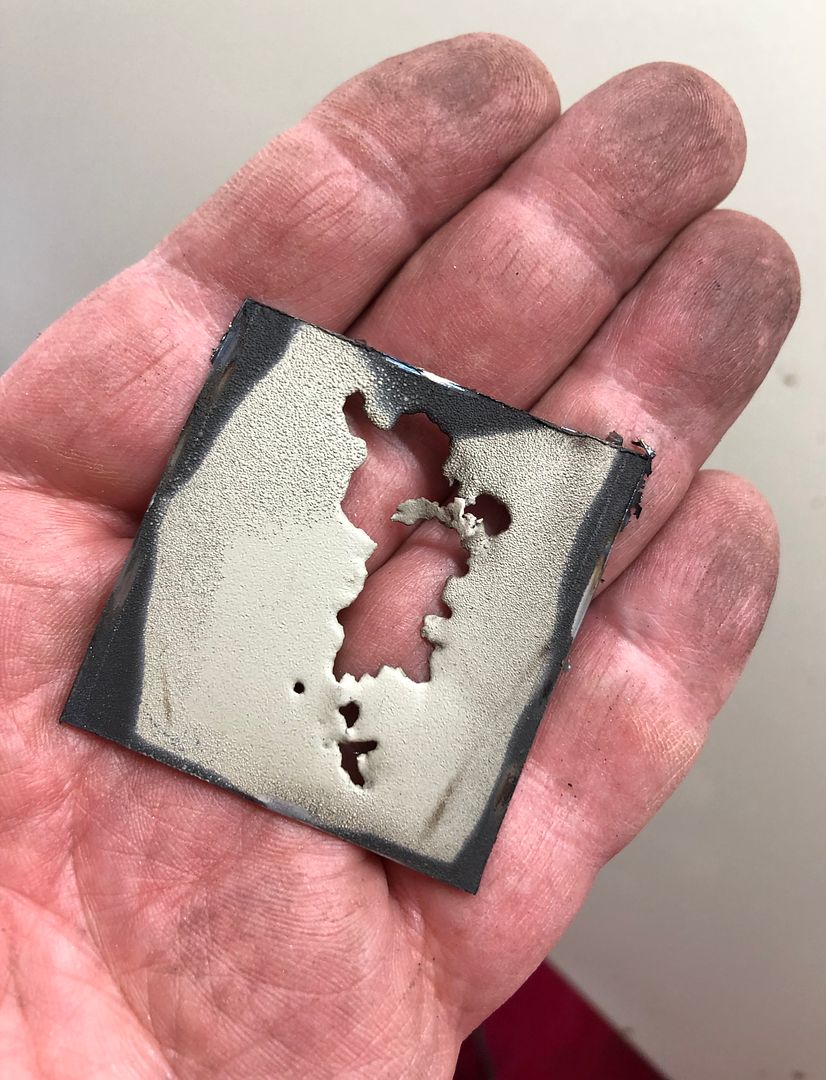 Part one done, Coffee time. |
| |
|
|
|
|
|
Dec 29, 2019 17:20:55 GMT
|
Just to illustrate how time slips between your fingers like sand on a hot summers day on the beach the next step was to go dig out the garage vacuum cleaner. Residual grit from the media blasting down in the bottom seam of the door plus grinder dust needed to be removed. Followed by fine tuning the fit of the patch into the now gaping hole in my door. Nice and it actually was.  Using my magical welding magnets, I tacked the corners and then centres. In order to prevent warping I carried on slowly, allowing it to cool between sessions. 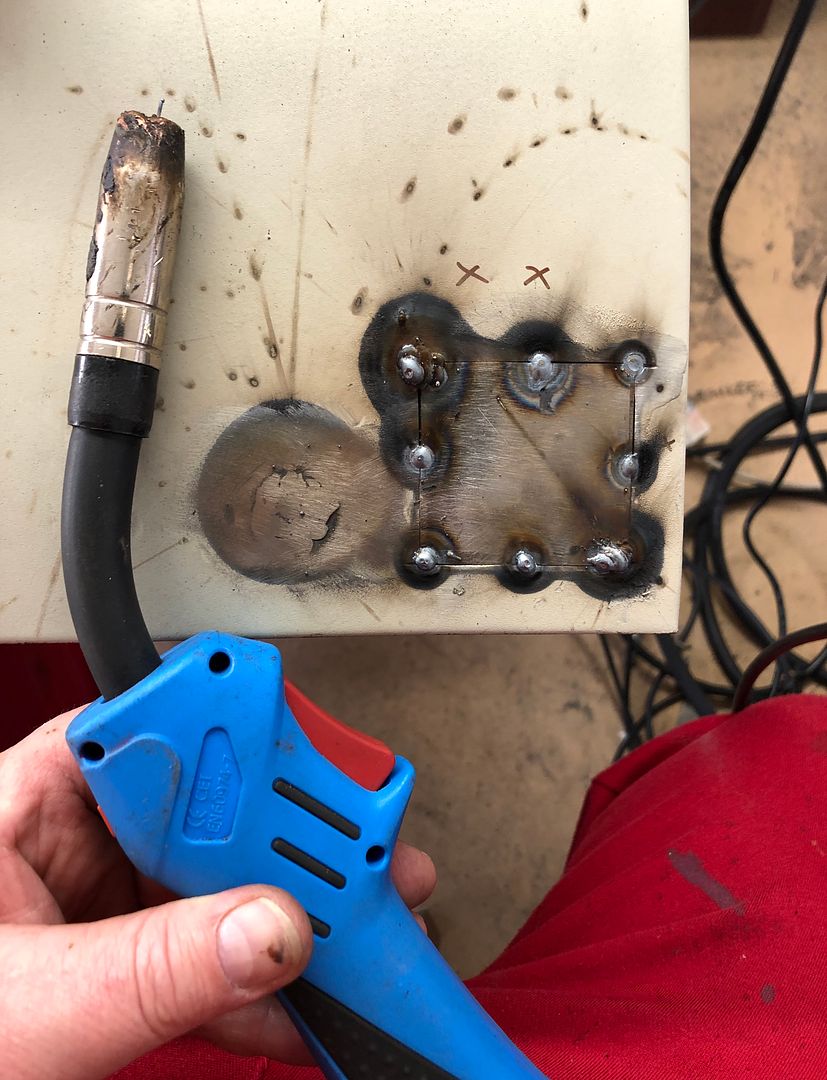 During this time my long suffering photographer got in from work. So I gave her a POS mask to wear while trying to get a pic of me striking an arc. 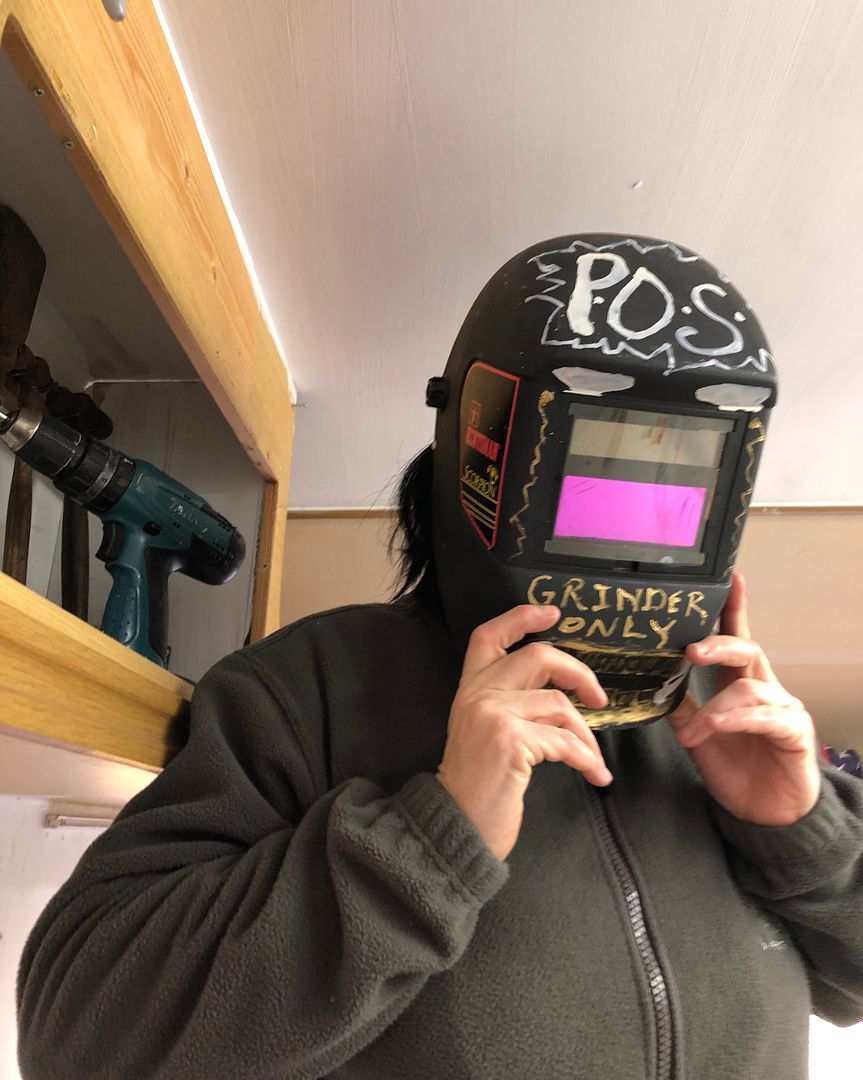 Success. 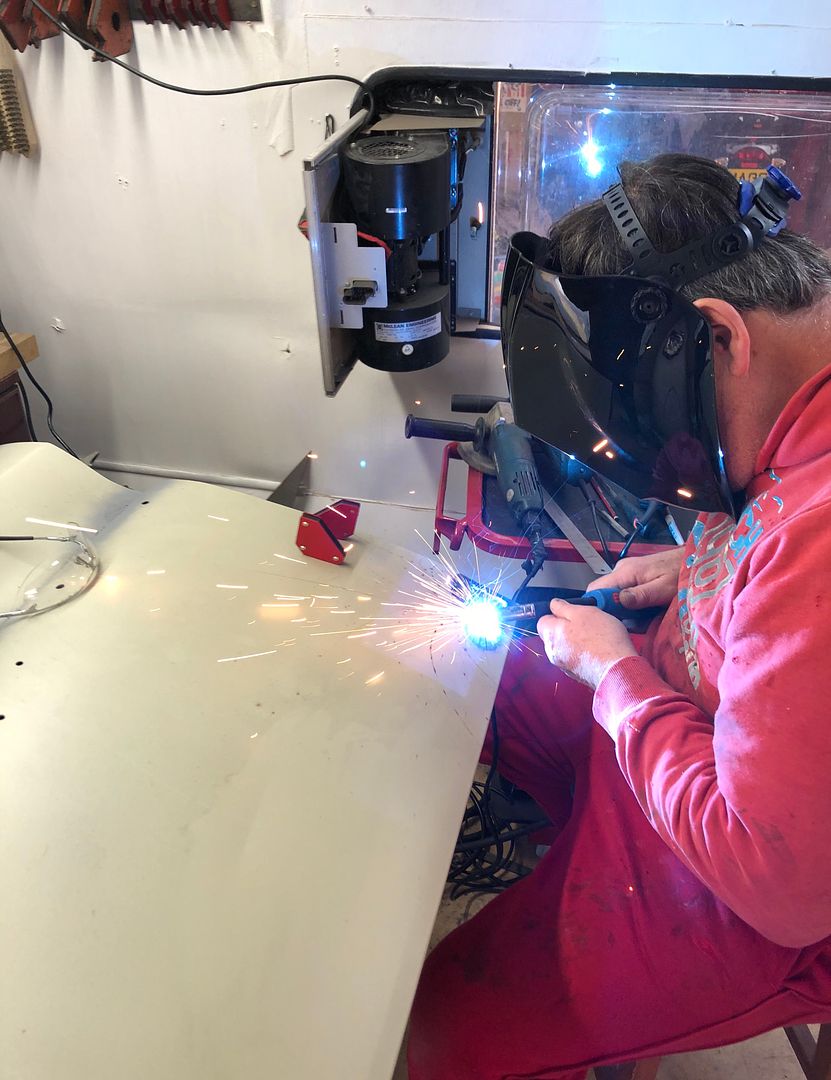 After all the welding, I ground the welds flatter, then proceeded with a hammer and dolly, trying to reshape the corner which had been damaged at some point in the past. 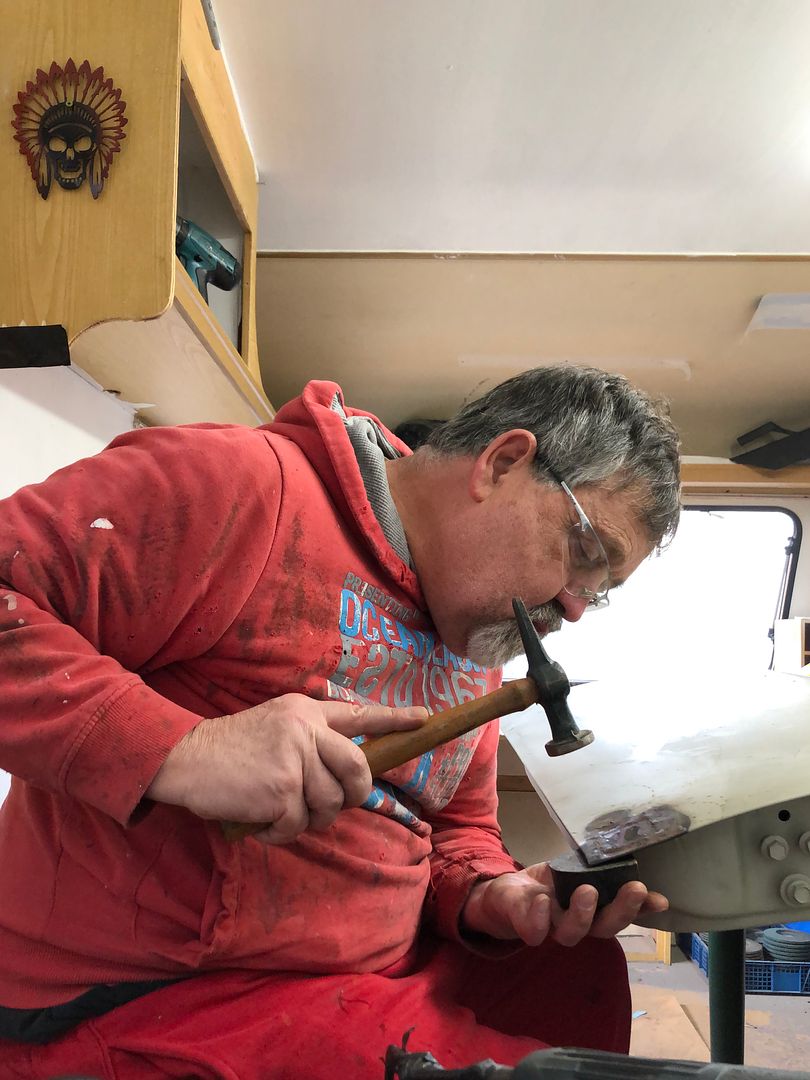 Eventually, etch primer and done. 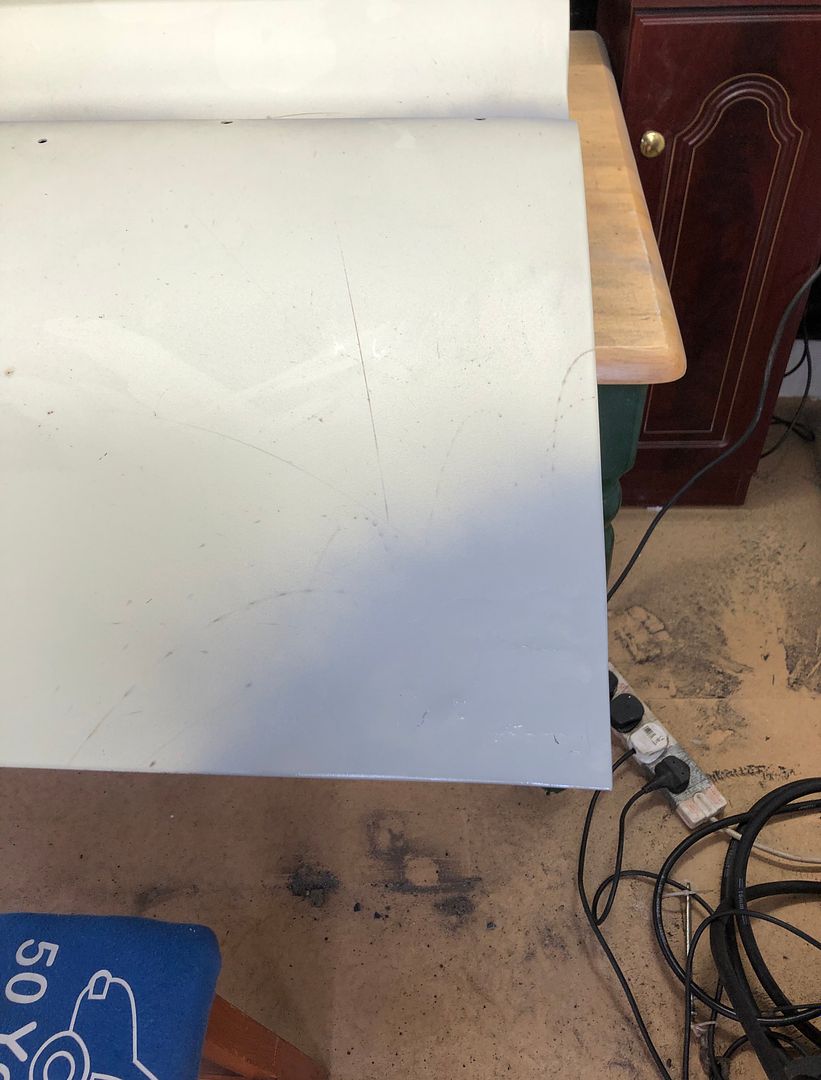 Hardly visible, and I suspect it will be a skim of filler job eventually, but two long skinny dents from the past. 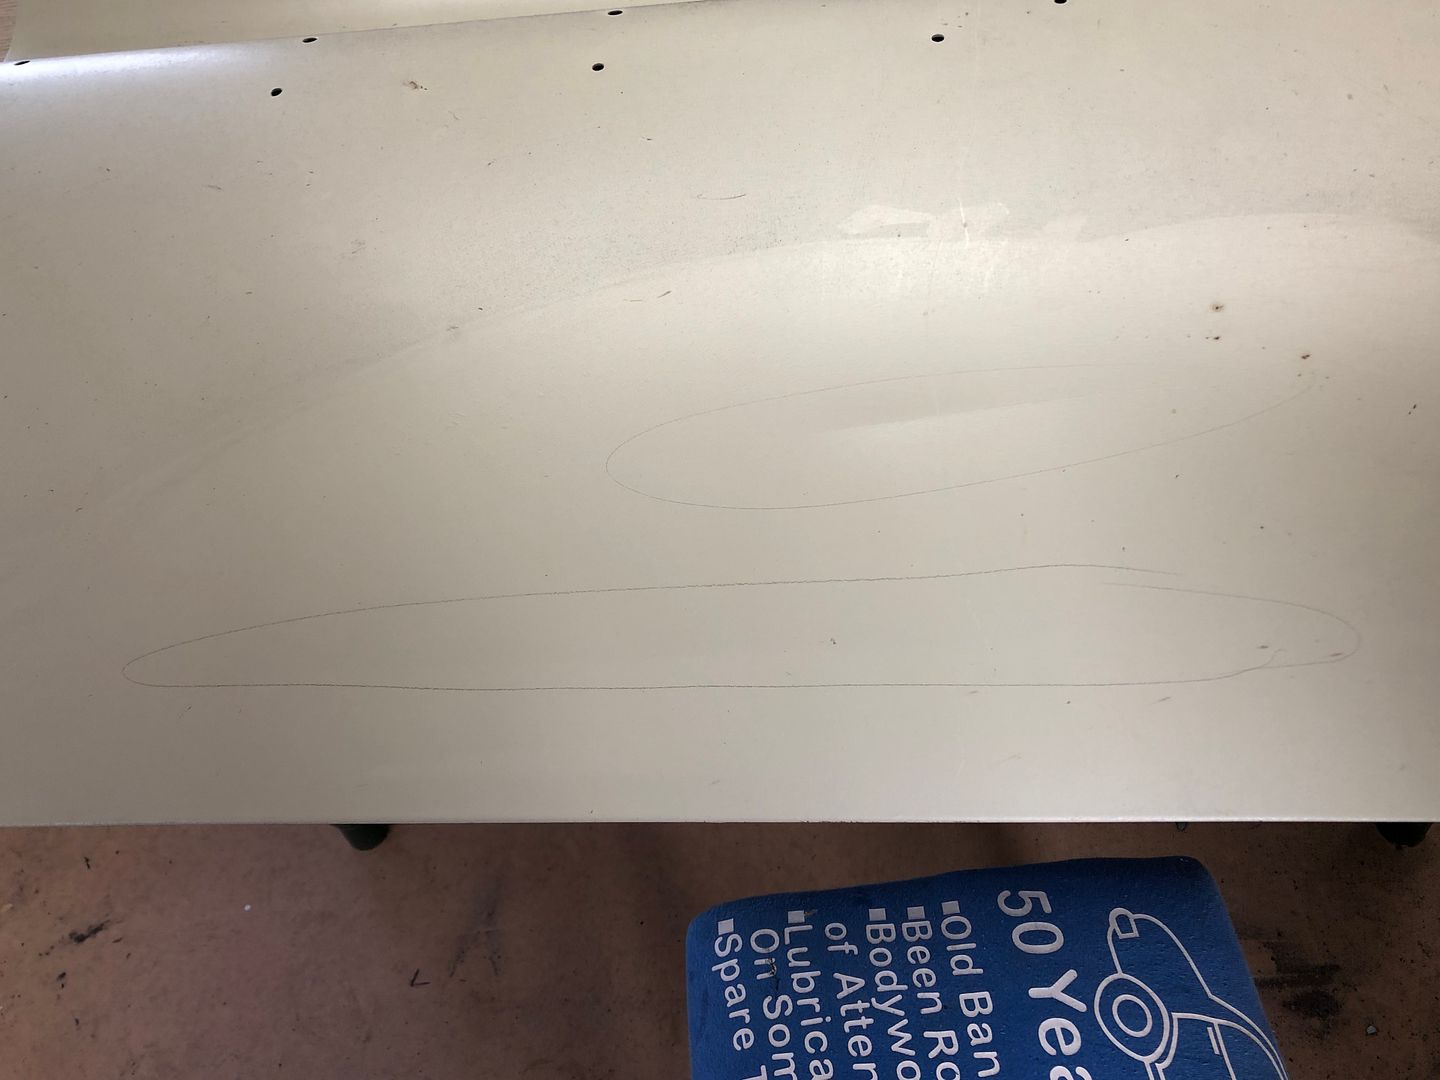 That concludes the welding on the outside of the passenger door. Next job will be the rust on the insides of the door. Time for a rum and Pepsi Max now. |
| |
|
|


