Hey dudes.
I joined this forums a year or so ago after someone posted up some photos of my car so today I thought I'd come back on and actually post up a build thread.
When I was 16 in 2009 I bought this car from a man down in Worthing / Sussex.
It didn't have much of a life, it has been sitting in a barn/garage of some sort for 13 years or so apparently. No MOT, wasn't even registered as an Historic vehicle. Breaks seized and didn't run.
My favourite part of the car was a Rusty Square patch on the deck lid that could have only meant it was at some point someone's Learner car / first car. So being my First car as well was cool.
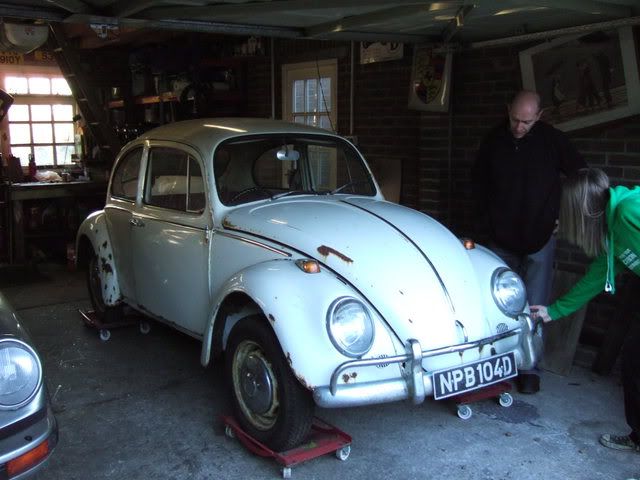
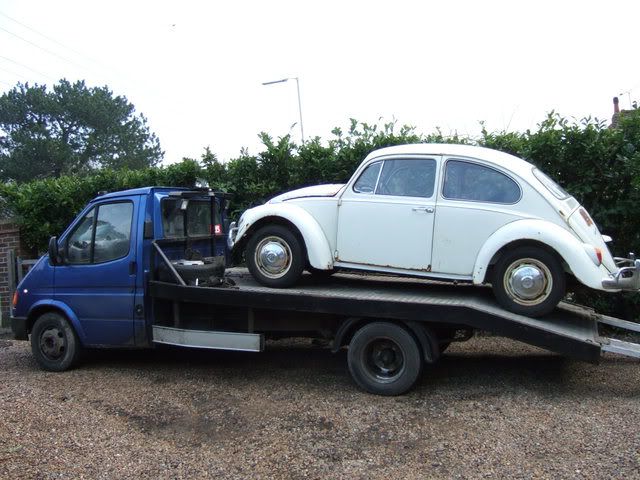
We got it home. Luckily my father is mechanic and within a few days he had it running and MOT.
I drew up a sketch on the Computer of how I wanted the car to sit.
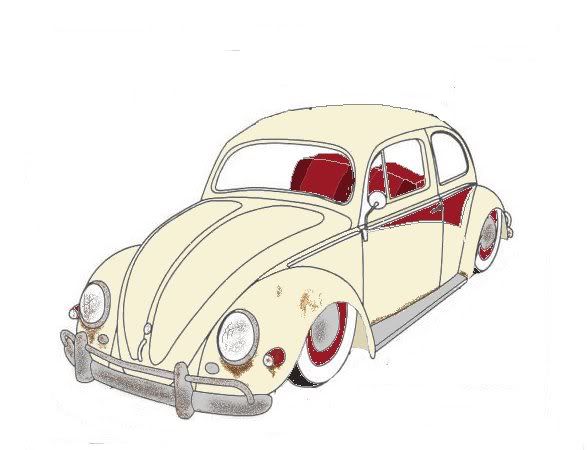
The Original Steel wheels that it came with were taken off, at the time I didn't really like them and chose to go for an earlier smooth steel and hub cap. Painted in Red with whitewalls for the Oldschool look.
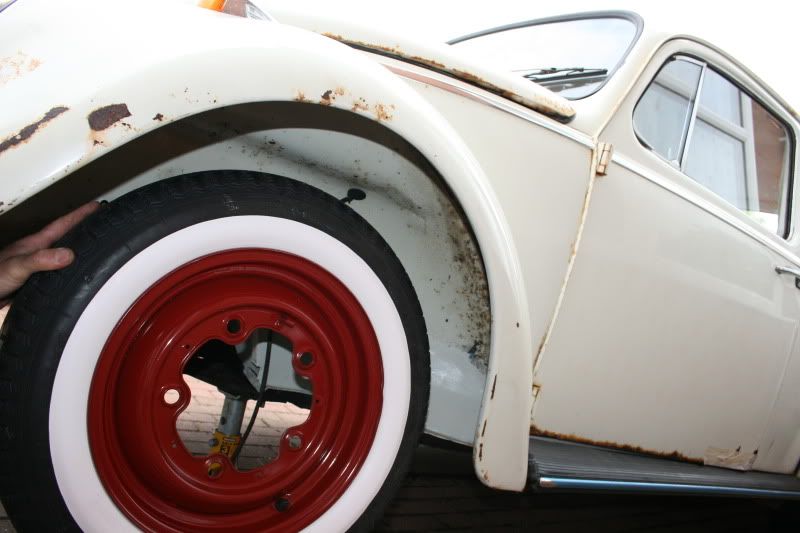
Lowering job done.
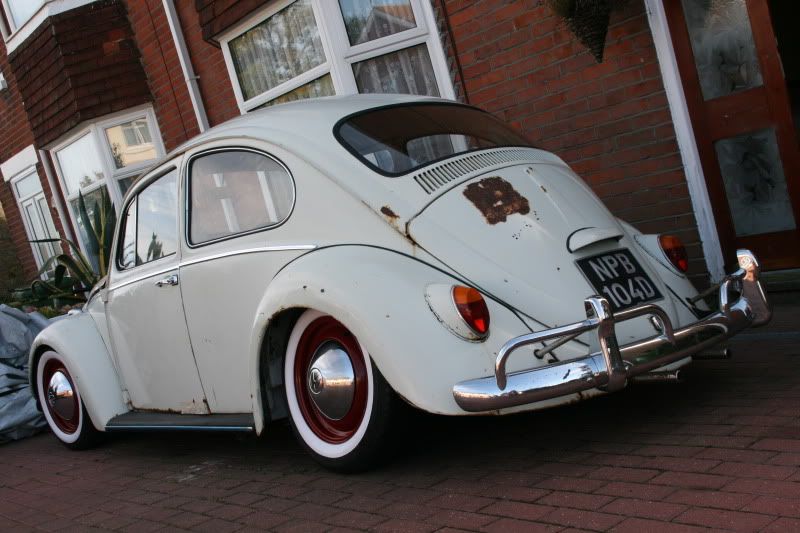
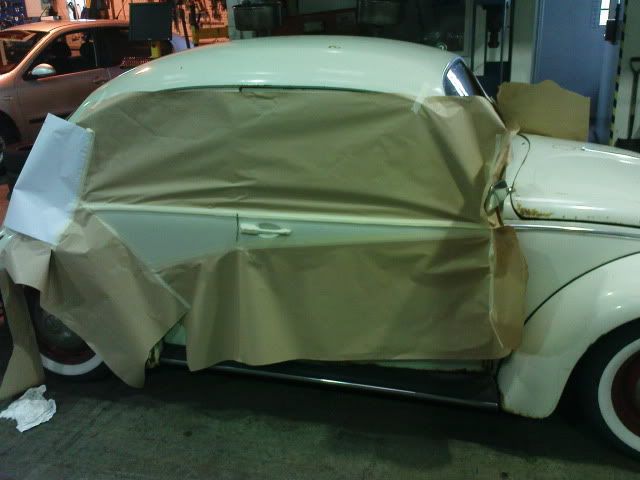
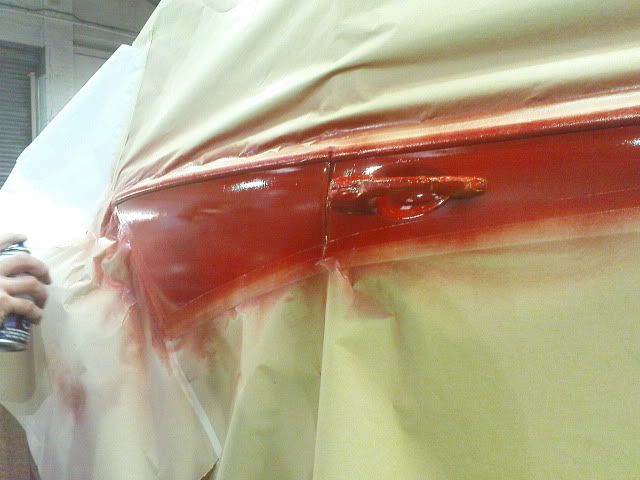
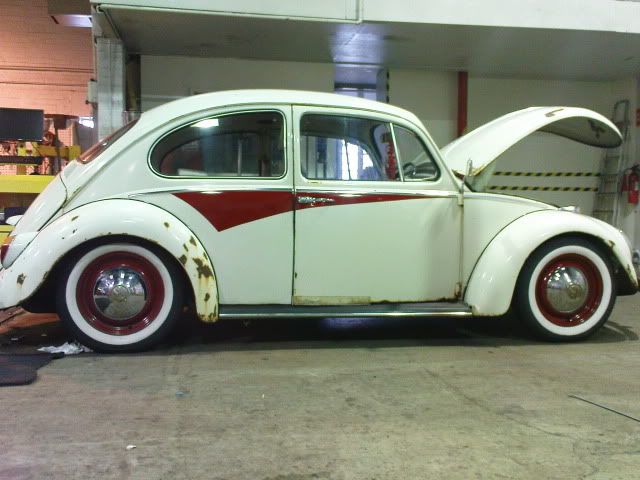
My favourite bit, where we added the Flash trim. Its an original Australian accessory from Standard VW dealerships downunder. They Offered it on all sorts of European import cars from Moris minors, minis, volkswagens etc.
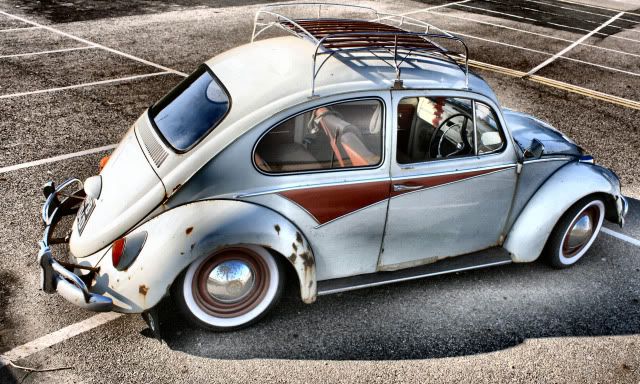

Sunset Bug by Aircooledbenny - SC Automotive Photography, on Flickr

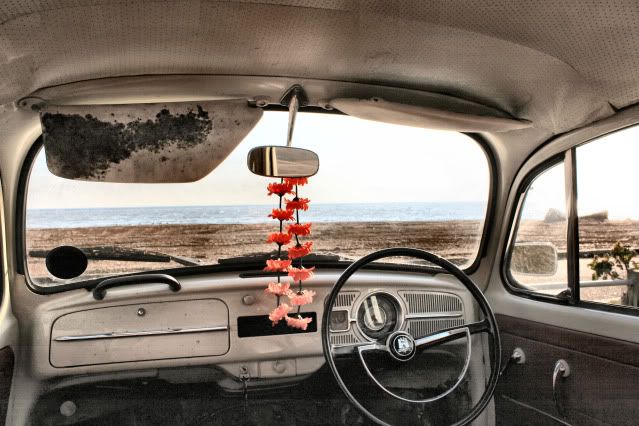
Favourite spot by Aircooledbenny - SC Automotive Photography, on Flickr
The eventually got Lower, Rustier and the white walls lost their beauty and mostly ripped to pieces.
A 2 spline drop and Extended spring plates at the rear
, 4" slamwerks narrowed front beam, dropped spindles front.
Complimented by Redbands.
The only reason I run without hubcaps is because Reproduction hub cap clips are USELESS and snap everytime you push the hub cap on, or even driving. Eventually they just fell off and I was down to 2 hub caps left from about 8 I had stored. So decided to just take them off.

Low and Snow by Aircooledbenny - SC Automotive Photography, on Flickr

66 Snow plow by Aircooledbenny - SC Automotive Photography, on Flickr
I actually drove around like this for about a year, but I didn't really like the red wheels for photographs.
Early 2012 the bug got its Original shoes back on, My favourite setup so far for wheels.

Fash Trim '66 by Aircooledbenny - SC Automotive Photography, on Flickr

VW Apex Festival 2012 by Aircooledbenny - SC Automotive Photography, on Flickr

Low 66 by Aircooledbenny - SC Automotive Photography, on Flickr

Red Lily by Aircooledbenny - SC Automotive Photography, on Flickr

Red Lily by Aircooledbenny - SC Automotive Photography, on Flickr
After these last photos of my beautiful girlfriend with my bug. Everything Kind of went wrong!
By running the car so low for so long, I broke two sets of driveshafts and fulcrum plates, bent my end plates, smashed my sump and gear box two near breaking point and ripped 5 holes in my floor pan.
I always knew running low was a big issues for the car and was not good for it but its kind of infectious. Once I started I couldn't stop. I wanted to go lower but knew the impracticality of actually driving it like that. For a person who is passionate about cars it defeats the object of lowering a car to the point that it becomes un-driveable. Even though Form over function is my priority.
I lifted the rear suspension by 1 outer spline ( roughly 4-5" ) and lifted the front about half an inch or so. I drove it around like this untill april.
Then it all changed
I will list everything we done to the car here so it doesn't get lost within the photographs.
We rolled the car into the workshop we were renting for the job.
Body off and then we noticed that the Heater channels were rotten. The tops of the them were replaced a few years ago and were fine, but the bottom section where they bolt to the body was crumpling and crushing in your hand like a packet of walkers crisps. These were all cut and new panels replaced with parts from Heritage or homemade if needed.
The Air ride kit is a Airkewld setup but purchased through Limebug.
The kit includes two Rear bags, with the fittings and mounts.
Front is Monroe air shocks. The shock towers needed extending so they would collapse fully. Increasing lift / drop.
Tank is a 2 gallon air tank and a Viar Compressor. Though the kit comes with the basic compressor I'm looking to upgrade it within a month or two because its quite a cheap one.
Other general maintenance was does also, pan and inner wing treatment etc.


Air Ride 1966 Beetle by Aircooledbenny - SC Automotive Photography, on Flickr

Air Ride 1966 Beetle by Aircooledbenny - SC Automotive Photography, on Flickr

Air Ride 1966 Beetle by Aircooledbenny - SC Automotive Photography, on Flickr

Air Ride 1966 Beetle by Aircooledbenny - SC Automotive Photography, on Flickr

Air and Lift. by Aircooledbenny - SC Automotive Photography, on Flickr

Bagged N' Daily by Aircooledbenny - SC Automotive Photography, on Flickr

Bagged N' Daily by Aircooledbenny - SC Automotive Photography, on Flickr

Bagged n' Juiced by Aircooledbenny - SC Automotive Photography, on Flickr

Bagged n' Juiced by Aircooledbenny - SC Automotive Photography, on Flickr
I joined this forums a year or so ago after someone posted up some photos of my car so today I thought I'd come back on and actually post up a build thread.
When I was 16 in 2009 I bought this car from a man down in Worthing / Sussex.
It didn't have much of a life, it has been sitting in a barn/garage of some sort for 13 years or so apparently. No MOT, wasn't even registered as an Historic vehicle. Breaks seized and didn't run.
My favourite part of the car was a Rusty Square patch on the deck lid that could have only meant it was at some point someone's Learner car / first car. So being my First car as well was cool.


We got it home. Luckily my father is mechanic and within a few days he had it running and MOT.
I drew up a sketch on the Computer of how I wanted the car to sit.

The Original Steel wheels that it came with were taken off, at the time I didn't really like them and chose to go for an earlier smooth steel and hub cap. Painted in Red with whitewalls for the Oldschool look.

Lowering job done.

My favourite bit, where we added the Flash trim. Its an original Australian accessory from Standard VW dealerships downunder. They Offered it on all sorts of European import cars from Moris minors, minis, volkswagens etc.


Sunset Bug by Aircooledbenny - SC Automotive Photography, on Flickr

Favourite spot by Aircooledbenny - SC Automotive Photography, on Flickr
The eventually got Lower, Rustier and the white walls lost their beauty and mostly ripped to pieces.
A 2 spline drop and Extended spring plates at the rear
, 4" slamwerks narrowed front beam, dropped spindles front.
Complimented by Redbands.
The only reason I run without hubcaps is because Reproduction hub cap clips are USELESS and snap everytime you push the hub cap on, or even driving. Eventually they just fell off and I was down to 2 hub caps left from about 8 I had stored. So decided to just take them off.

Low and Snow by Aircooledbenny - SC Automotive Photography, on Flickr

66 Snow plow by Aircooledbenny - SC Automotive Photography, on Flickr
I actually drove around like this for about a year, but I didn't really like the red wheels for photographs.
Early 2012 the bug got its Original shoes back on, My favourite setup so far for wheels.

Fash Trim '66 by Aircooledbenny - SC Automotive Photography, on Flickr

VW Apex Festival 2012 by Aircooledbenny - SC Automotive Photography, on Flickr

Low 66 by Aircooledbenny - SC Automotive Photography, on Flickr

Red Lily by Aircooledbenny - SC Automotive Photography, on Flickr

Red Lily by Aircooledbenny - SC Automotive Photography, on Flickr
After these last photos of my beautiful girlfriend with my bug. Everything Kind of went wrong!
By running the car so low for so long, I broke two sets of driveshafts and fulcrum plates, bent my end plates, smashed my sump and gear box two near breaking point and ripped 5 holes in my floor pan.
I always knew running low was a big issues for the car and was not good for it but its kind of infectious. Once I started I couldn't stop. I wanted to go lower but knew the impracticality of actually driving it like that. For a person who is passionate about cars it defeats the object of lowering a car to the point that it becomes un-driveable. Even though Form over function is my priority.
I lifted the rear suspension by 1 outer spline ( roughly 4-5" ) and lifted the front about half an inch or so. I drove it around like this untill april.
Then it all changed

I will list everything we done to the car here so it doesn't get lost within the photographs.
We rolled the car into the workshop we were renting for the job.
Body off and then we noticed that the Heater channels were rotten. The tops of the them were replaced a few years ago and were fine, but the bottom section where they bolt to the body was crumpling and crushing in your hand like a packet of walkers crisps. These were all cut and new panels replaced with parts from Heritage or homemade if needed.
The Air ride kit is a Airkewld setup but purchased through Limebug.
The kit includes two Rear bags, with the fittings and mounts.
Front is Monroe air shocks. The shock towers needed extending so they would collapse fully. Increasing lift / drop.
Tank is a 2 gallon air tank and a Viar Compressor. Though the kit comes with the basic compressor I'm looking to upgrade it within a month or two because its quite a cheap one.
Other general maintenance was does also, pan and inner wing treatment etc.


Air Ride 1966 Beetle by Aircooledbenny - SC Automotive Photography, on Flickr

Air Ride 1966 Beetle by Aircooledbenny - SC Automotive Photography, on Flickr

Air Ride 1966 Beetle by Aircooledbenny - SC Automotive Photography, on Flickr

Air Ride 1966 Beetle by Aircooledbenny - SC Automotive Photography, on Flickr

Air and Lift. by Aircooledbenny - SC Automotive Photography, on Flickr

Bagged N' Daily by Aircooledbenny - SC Automotive Photography, on Flickr

Bagged N' Daily by Aircooledbenny - SC Automotive Photography, on Flickr

Bagged n' Juiced by Aircooledbenny - SC Automotive Photography, on Flickr

Bagged n' Juiced by Aircooledbenny - SC Automotive Photography, on Flickr


 You love it
