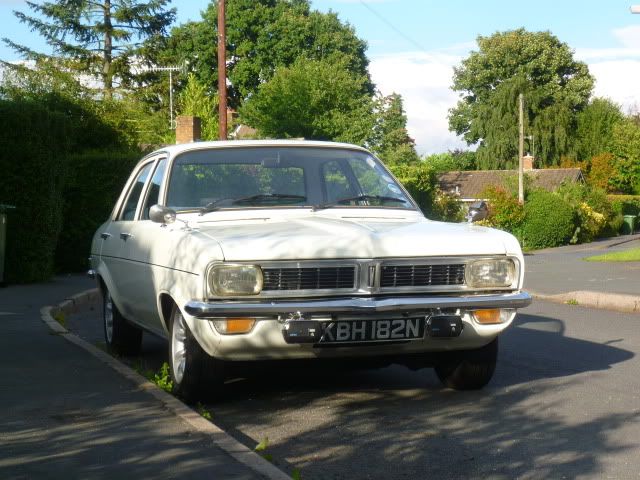
|
|
|
Mar 28, 2017 21:06:11 GMT
|
Well what do we 'ave 'ere then? 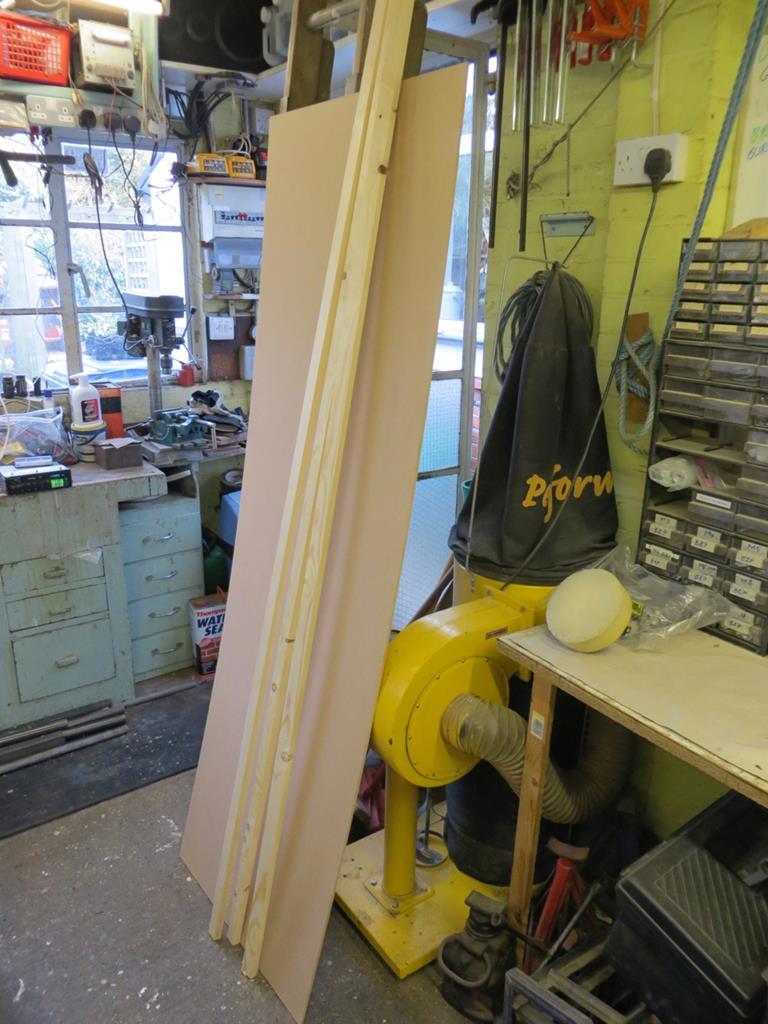 A few sheets of 6mm MDF and some long wooden sticks. He's building a... 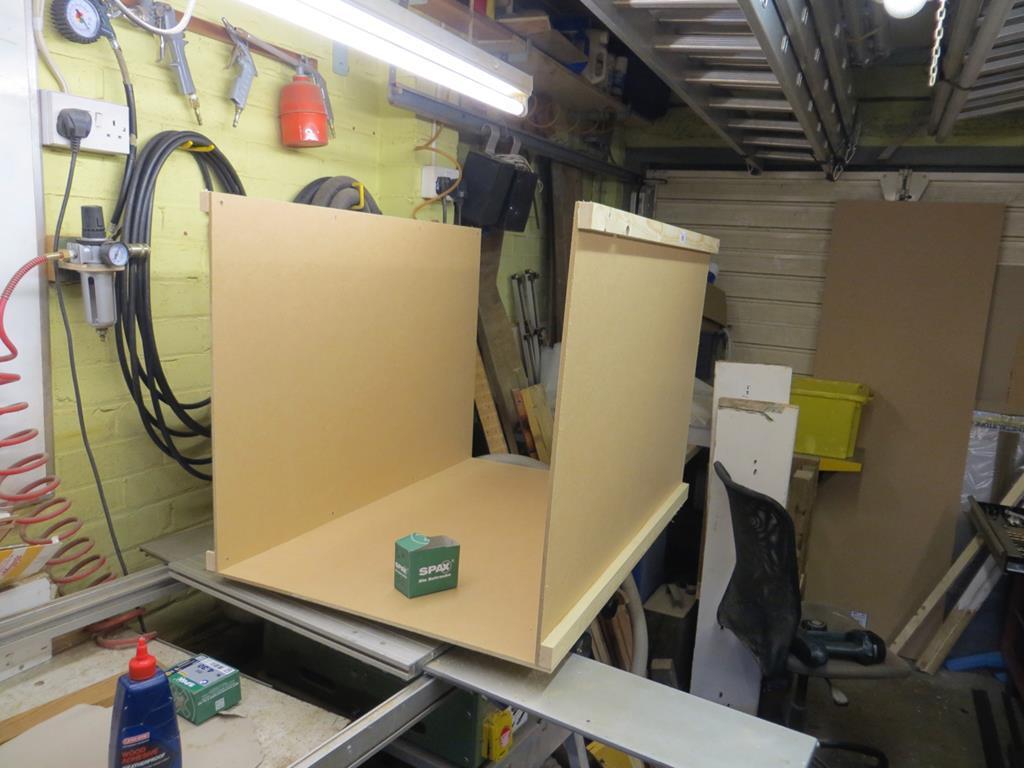 Building a… Er... What is he up to? Some sort of dog kennel with a flat roof? It's MDF though. It'll fall apart if it gets wet. Some sort of indoor dog kennel with a flat roof? He hasn't actually got a dog... 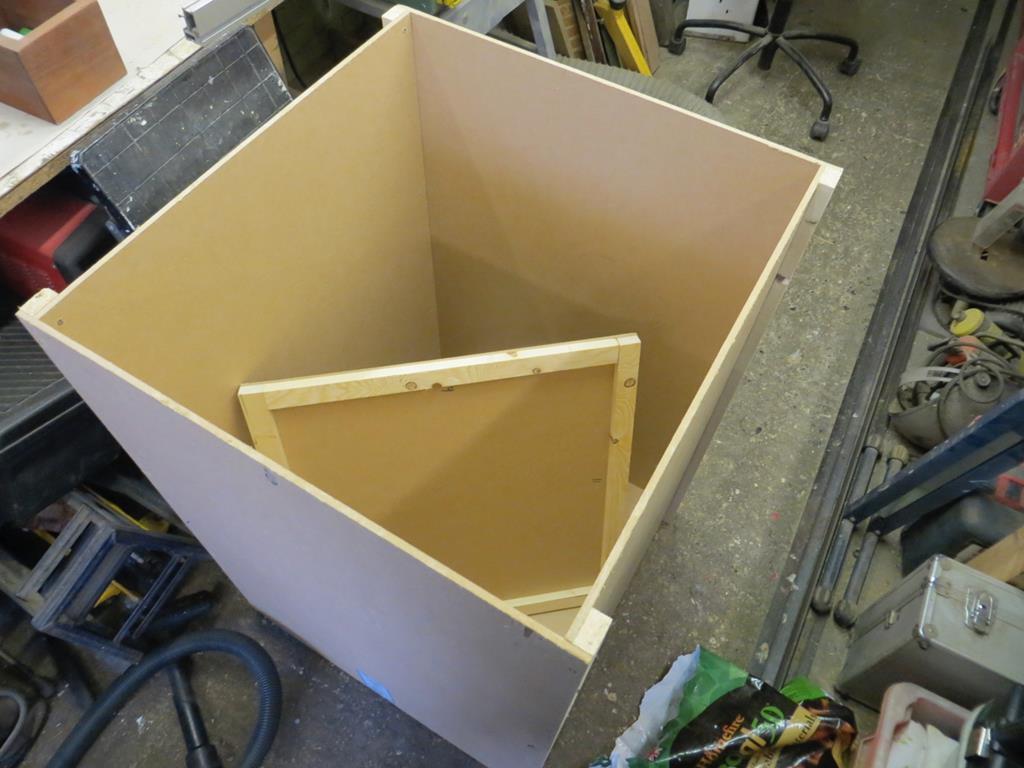 A box. He's built a box. Bit unfortunate if it is for a dog. It's not even got a window let alone a door. 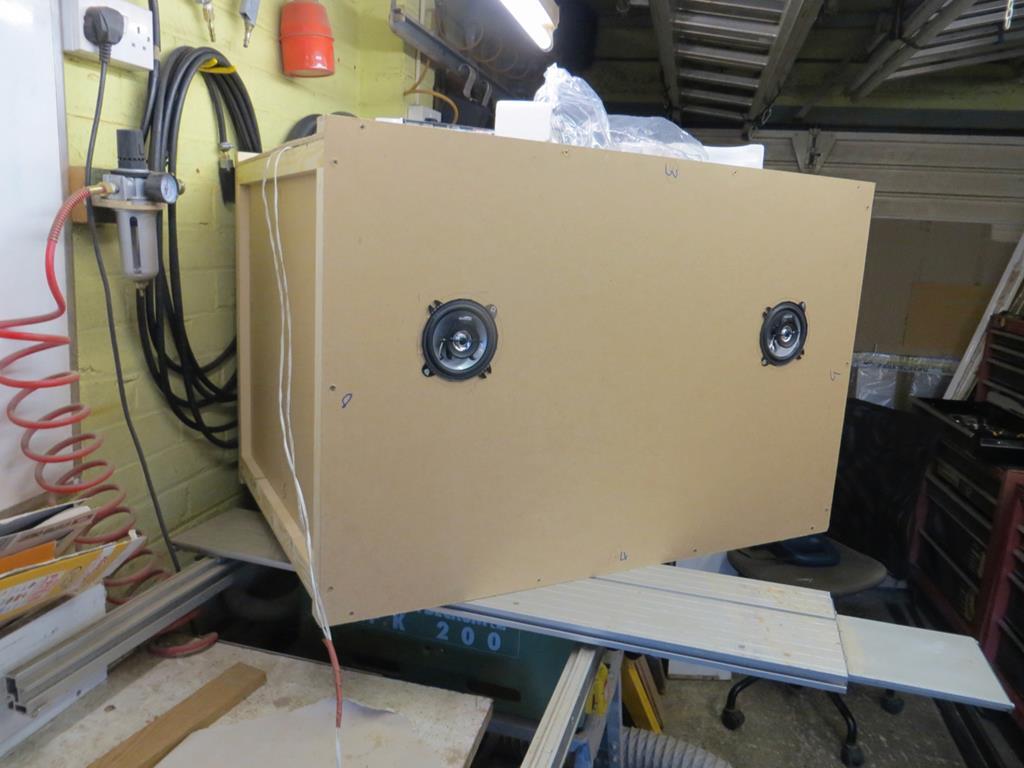 Nope, it's a ghetto blaster. He's built a huge ugly ghetto blaster out of 6 mm MDF with the smallest speakers on the planet. I wonder what that sounds like. I'll tell you what it sounds like. It's rubbish. It sounds like two tiny speakers in a large wooden box that's not stiff enough and has no damping material inside. Rubbish. But it does mean I can measure the base end of those speakers and work out where I want my crossover to be.  And the graph?  So… The 1kHz peak is -13dB. The peaks at 80, 90, and 100Hz are a bit down on that (5dB or so) but fairly even with respect to each other - so we'll call that the bottom end of the flat response. But by 70Hz it's dropped another 7dB. And at 60Hz it's yet another 6dB down. Good for 80Hz and then it starts to go. Cool. Not quite the 45Hz that Kenwood suggested in the spec though. Lastly, there is a noticeable peak at 20Hz! A long way down but it's there. How does a driver that small get any 20Hz out at all? Well its in a massive box, that's how. Rather suggests that box size is as important as driver size. And since the speakers go in the dash which is open at the bottom they are effectively in a very large box so far as pressure and resonance is concerned. I'm considering a redesign of the crossover too. Rather than have a full crossover at 70 or 80Hz I'm wondering about having no crossover on the dash speakers and allowing them to roll off naturally. Then having a low pass filter that brings the bigger speakers in at about 70Hz to re-enforce the bass. The problem with this plan is that at frequencies below 70Hz the amp will see both speakers in parallel. That's a 2 ohm load at low frequencies. Not sure the amp will be happy with that. Hmmm. Decisions decisions. Anyway, that box is well over the top for testing a couple of crappy speakers? What's he actually up to? |
| |
Last Edit: Jan 14, 2019 21:22:30 GMT by Sweetpea
|
|
|
|
|
|
|
Mar 28, 2017 21:20:05 GMT
|
|
You've gotten another cat, in it's teenage years and it's demanding some form of audio house.
Or, the children have been misbehaving and you don't have a closet under the stairs.
|
| |
|
|
|
|
|
Mar 28, 2017 22:40:52 GMT
|
I dunno, I see some wood, I see a box, I think we're doing something I understand. But no, it's back to dB, Hz, crossovers and I'm lost again!  |
| |
|
|
tristanh
Part of things
  Routinely bewildered
Posts: 990 
|
|
Mar 28, 2017 23:00:58 GMT
|
I dunno, I see some wood, I see a box, I think we're doing something I understand. But no, it's back to dB, Hz, crossovers and I'm lost again!  Me too as well also! 😂 |
| |
Whether you believe you can, or you cannot, you're probably right.
|
|
|
|
|
|
|
Happy birthday to me, Happy birthday to me, Ah, don't remind me. How is it that you spend all year getting the hang of being whatever age you are and then, suddenly, you have to cope with the fact that you are another year older? It'd be better if you got older gradually wouldn't it? Anyway, you don't want to know about that. You want a photo of my first car. 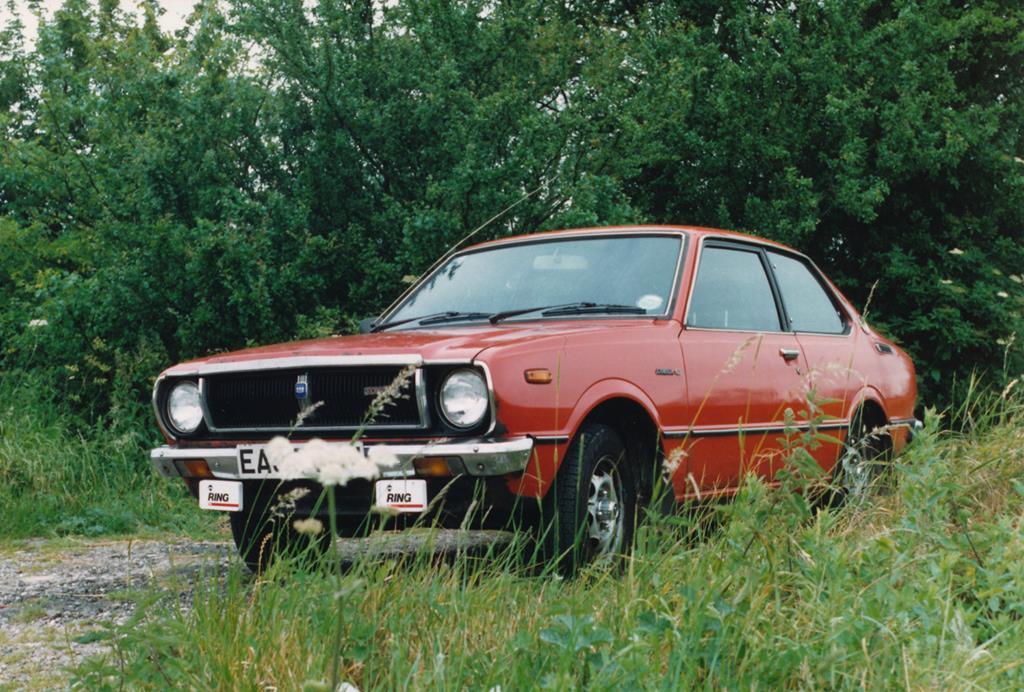 Good isn't it. A Corolla KE30. The photo was probably taken about 1990. It was hard to keep that car in one piece. The rust was unbelievable. If you got a stone chip it'd put tentacles of rust out under the paintwork. That said, other late 70s cars were as bad. I think steel was just particularly rubbish back then. What? You don't want photos of my old car either? Well what do you want? Ah, the ghetto blaster… You want to know what the massive ugly ghetto blaster is really for… Ok. Regular readers will remember that some years ago I built a sand blasting cabinet out of a large plastic box (because I was too tight to buy one). It looked like this… 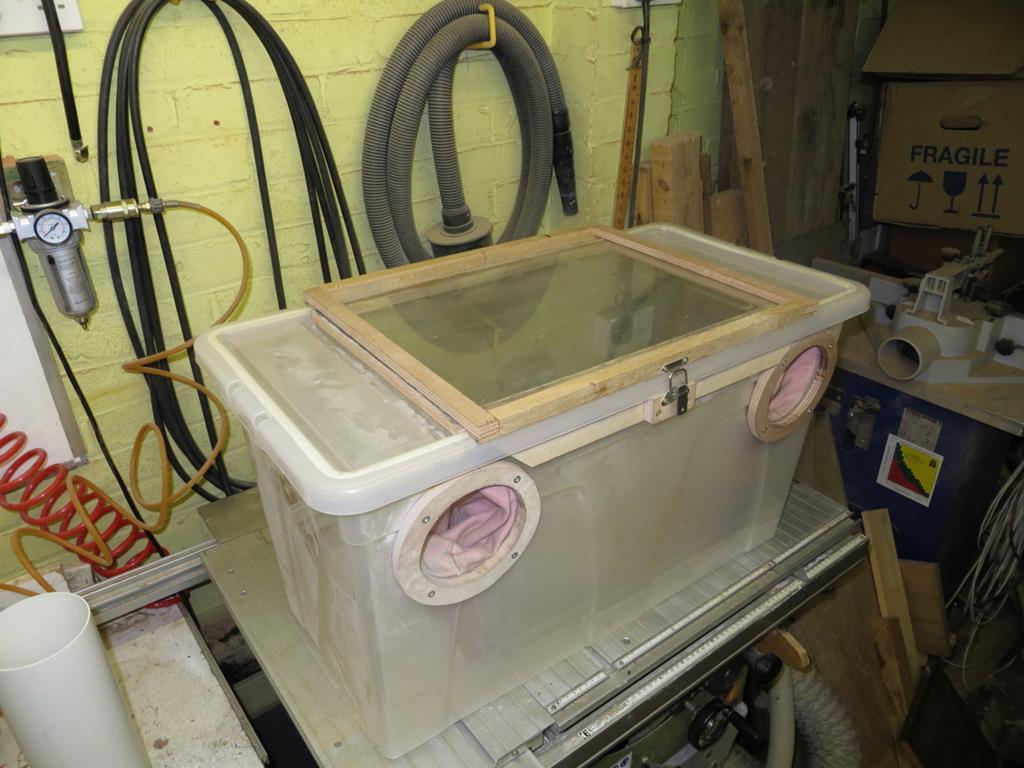 The only thing that caused me some bother was the dust extraction. Eventually I came up with "The Chimney" which plugs into my woodworking dust extractor. Dust gets sucked out but the blasting media is too heavy and falls back into the box. The only problem is size. It's perfectly small as it packs up and I can store it in the loft of the garage - but it's too small to get any bigger parts in. This for example… 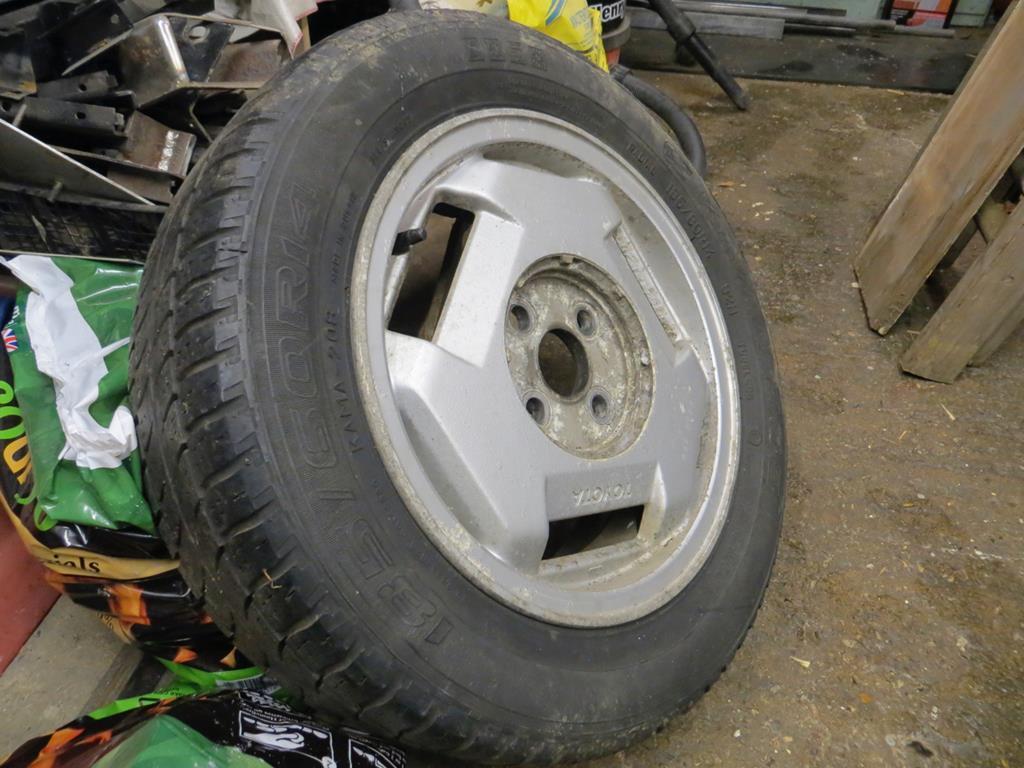 …Isn't going to fit. So the sensible option is to just ship the wheels down the road to a nice place that will make them look like new and send them back. So we'll not…. (See what I did there?! Wheel - We'll? Oh never mind.) ...So we'll not be doing that as we don't do "sensible" here at Sweetpea Towers. What I want, what I really really want is a large, flat packable sand blaster, using as much stuff from the little one as possible. (I thought those were good lyrics for a record, and I tried to get the Spice Girls interested but they just couldn't understand. Kept rambling something about 'a Zigazig Ahhhh'.) So the speaker holes get gloves installed. 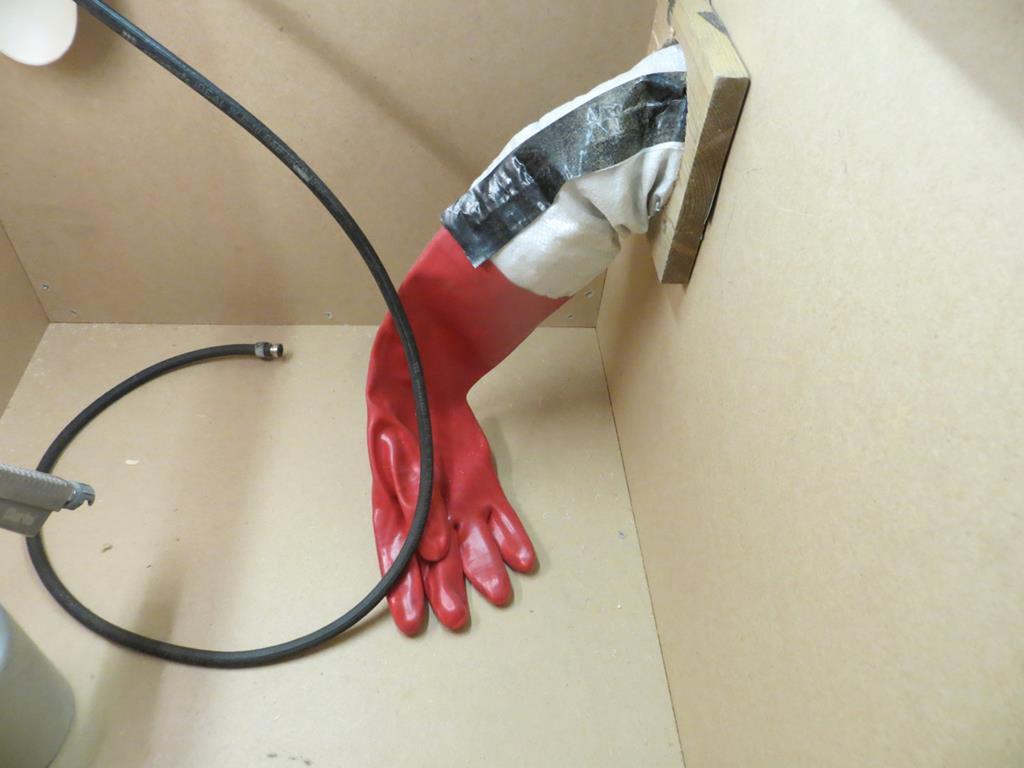 The gloves are from Screwfix and cost peanuts. They were perfect in the little box but too short in the big one. So they got extended with some sacking from a one ton bag and gaffer tape. The chimney from the old box gets reused. 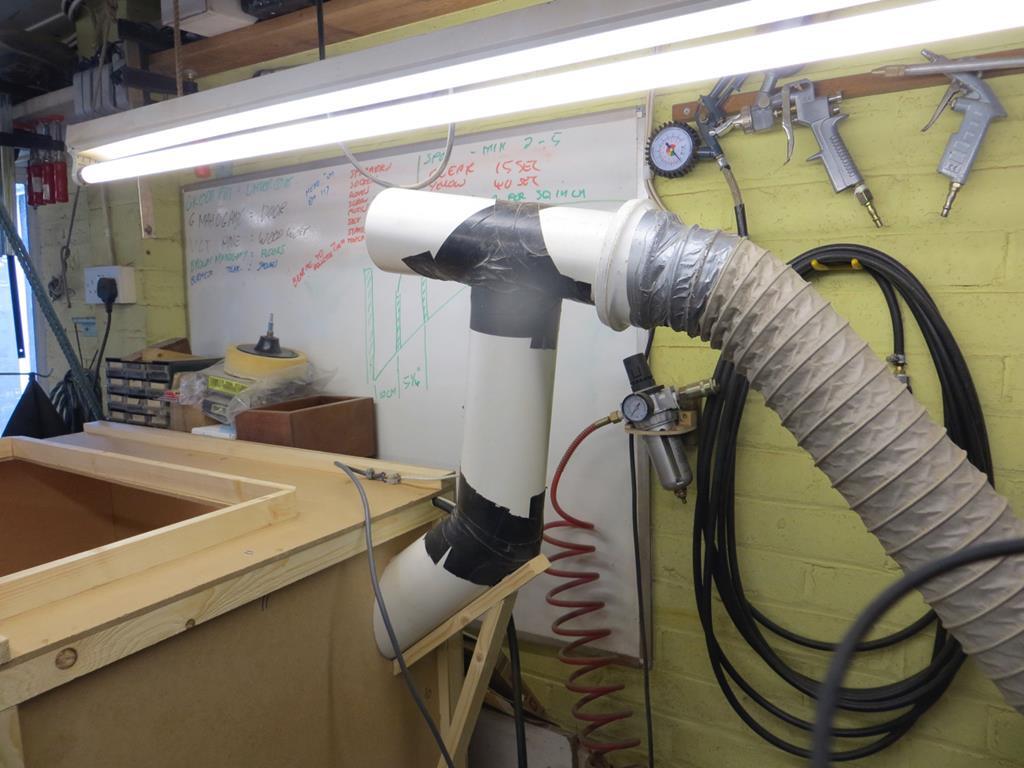 A hole in the top for dropping things in.  It's designed to take the lid off the other box so I don't need to worry about another glass viewing panel. And the blaster from the old box goes in. The transformation from ghetto blaster to sand blaster is complete! 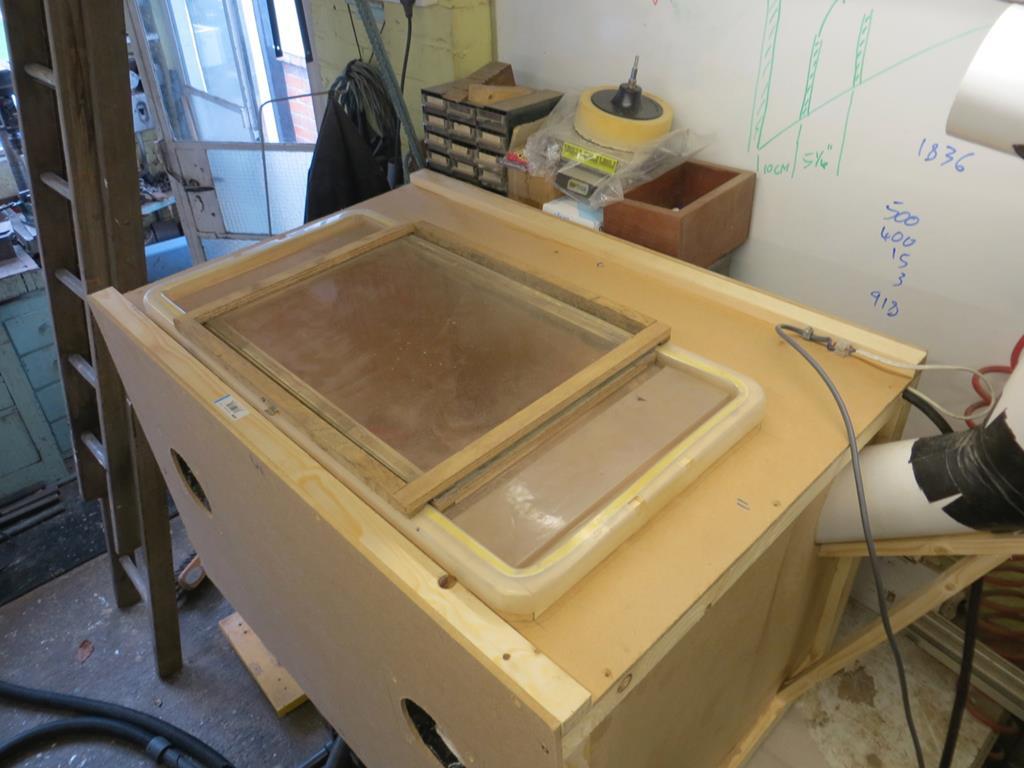 Good. Take one scummy wheel - Like this one perhaps…  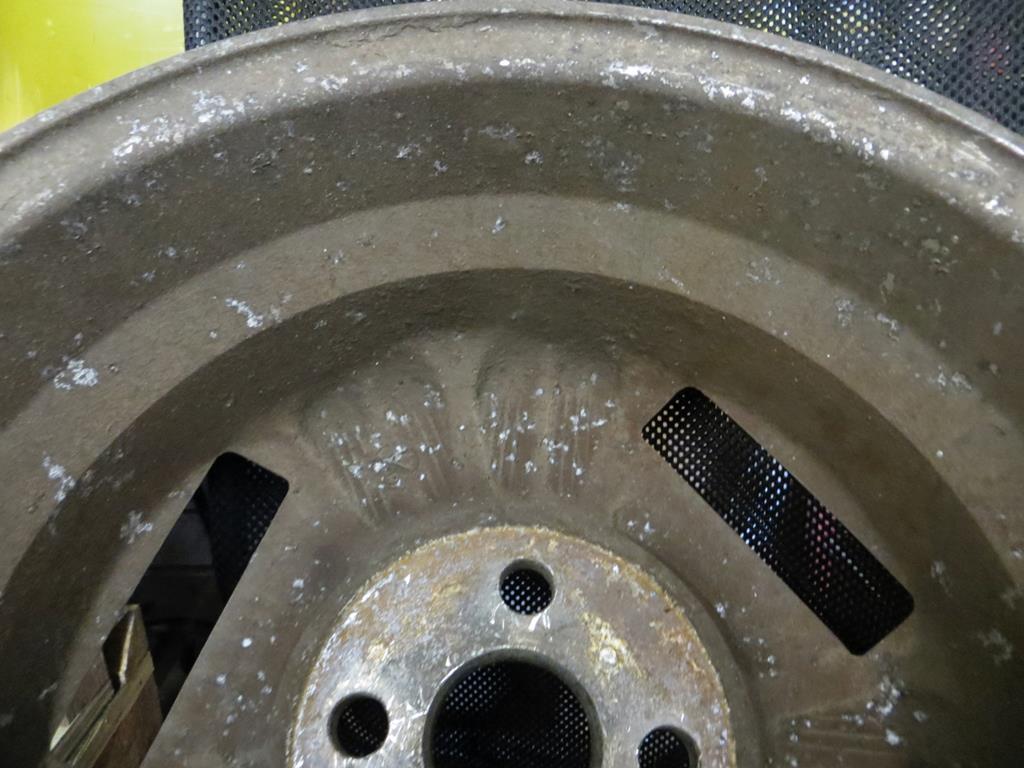 …And start work. Oh, I even put a light in it. Proper posh.  It was going well until the gaffer tape failed.  Need a quick redesign there methinks. The job is going well though.  And look, a manufacturing date. 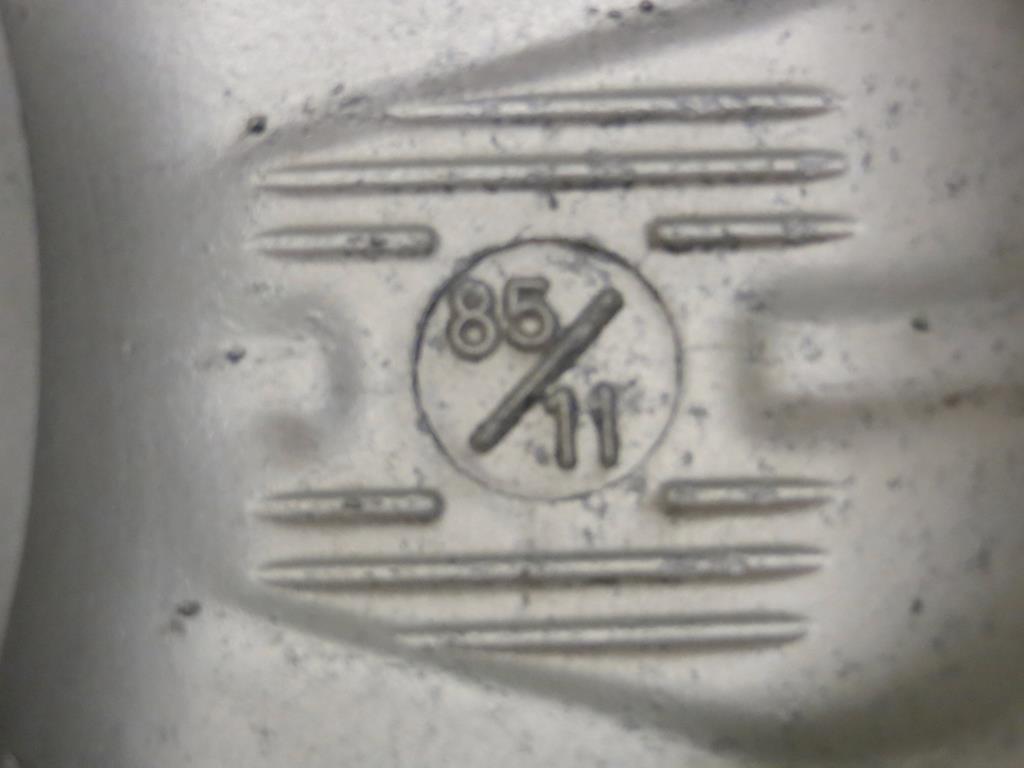 Slow work though. The compressor isn't really big enough for this job and you need to keep stopping to refill the blaster's bottle with bead. But that does give the compressor a break. Zigazig Ahhhhh. |
| |
Last Edit: Jan 14, 2019 21:39:48 GMT by Sweetpea
|
|
|
|
|
|
|
Happy birthday! Cabinet looks good, but could you build a bigger one and do my frame parts  John |
| |
|
|
Darkspeed
Club Retro Rides Member
Posts: 4,874
Club RR Member Number: 39
|
|
|
|
|
Try evo stick or other such contact adhesive on the gloves / sleeves - Bostik 2402 two part to be superb but thats probably a bit much.
|
| |
|
|
|
|
|
|
|
|
Yes! I do understand it!
Nice work James and happy birthday.
It's half dark o'clock here, so I'll not start the celebration just yet!
|
| |
|
|
|
|
|
|
|
|
Nice work. I've just tried my Lidl sandblast gun on one of my corroded Wedssports and was surprised at how well it did the job. Shame I've put it off for two years and now haven't really left myself the time to do it!
|
| |
Project Diary1975 Viva / 1988 T25 Camper / 1989 Mini / 1991 MX5 / 1992 Mini / 1994 Saab 9000 / 1997 Saab 9000 / 2008 Saab 9-5
|
|
|
|
|
|
|
|
Have a look on eBay for some veterinary gloves, as they go up to your armpits.
I found the best way to have a useful light source was to just tape a torch to the gun. Once the media starts flying a lamp anywhere else became pretty useless.
But I guess in my case the compressor was big enough to run non stop, so the cloud of dust got pretty heavy, even with extraction.
|
| |
Last Edit: Apr 3, 2017 22:02:47 GMT by varelse
|
|
|
|
|
|
|
|
Hello all!
Thanks for the birthday wishes! We were actually in France with Mrs Sweetpea's parents. (They live there.)
On the gloves front, I actually stapled the arms to the gloves and taped round the inside to seal them. But I'm thinking of a new plan... Thanks for the ideas though.
Another little problem is that I intended to run a small bead of silicone round the joints in the box just to seal them. I forgot. So it's leaking bead onto my bench. Need to sort that...
I've got one wheel in primer now. Photos coming soon!
|
| |
|
|
|
|
|
|
|
All these home fixes just put such a smile on my face. Please keep posting since I do like smiling  |
| |
I have a Jaguar XJS - RARRGHH! She is called Lily, and she is my best friend! goo.gl/bT3ASP <-- video of her  |
|
|
|
|
|
|
Seb, Your wish is my command! The Gospel according to Portia - Verse 1, Chapter 1. In the beginning James created the small sand blaster. And James saw the sand blaster that he had made, and behold, it was very good. And so it came to pass that James thought he'd build a bigger sand blaster. But, to be fair, the bigger one had a few problems… First of all the glass bead escaped from the bottom where the panels screwed together. So I ran a very thin bead of silicone in the joints. 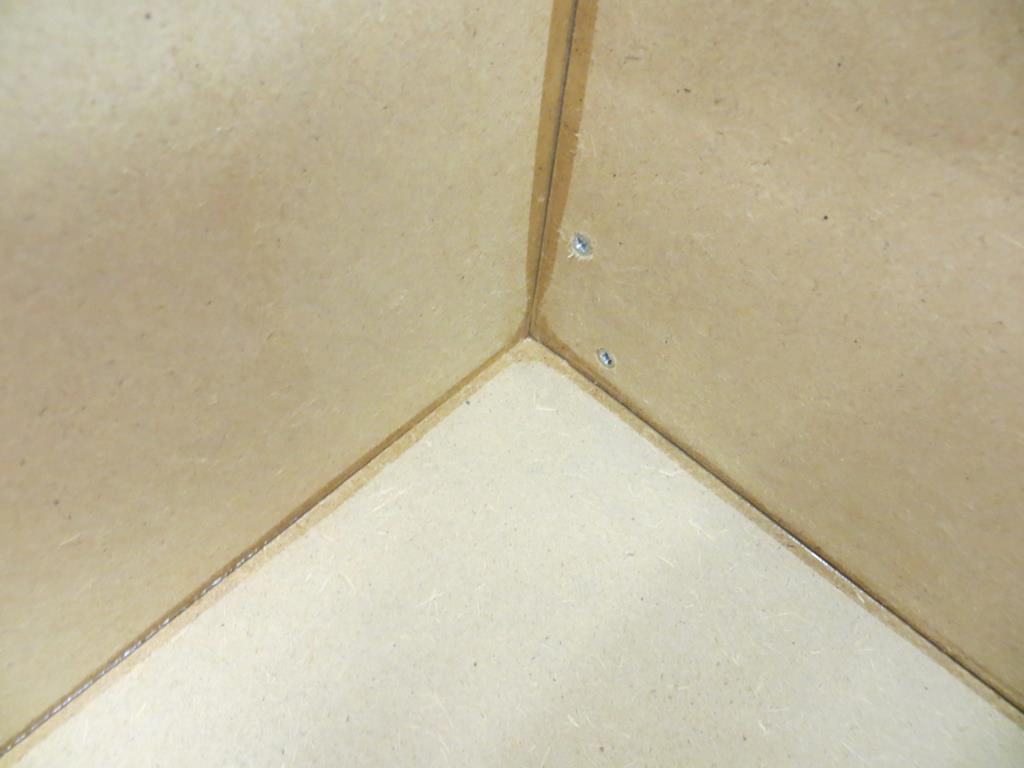 Just enough to stop it leaking - remember I want to flat pack it at some point in the future. The second problem is that the gloves fell apart. Yer see they were too short for this box so I'd extended them using some sacking from a 1 ton sand bag. I'd gaffer taped it all together because gaffer tape is indestructible as we all know. 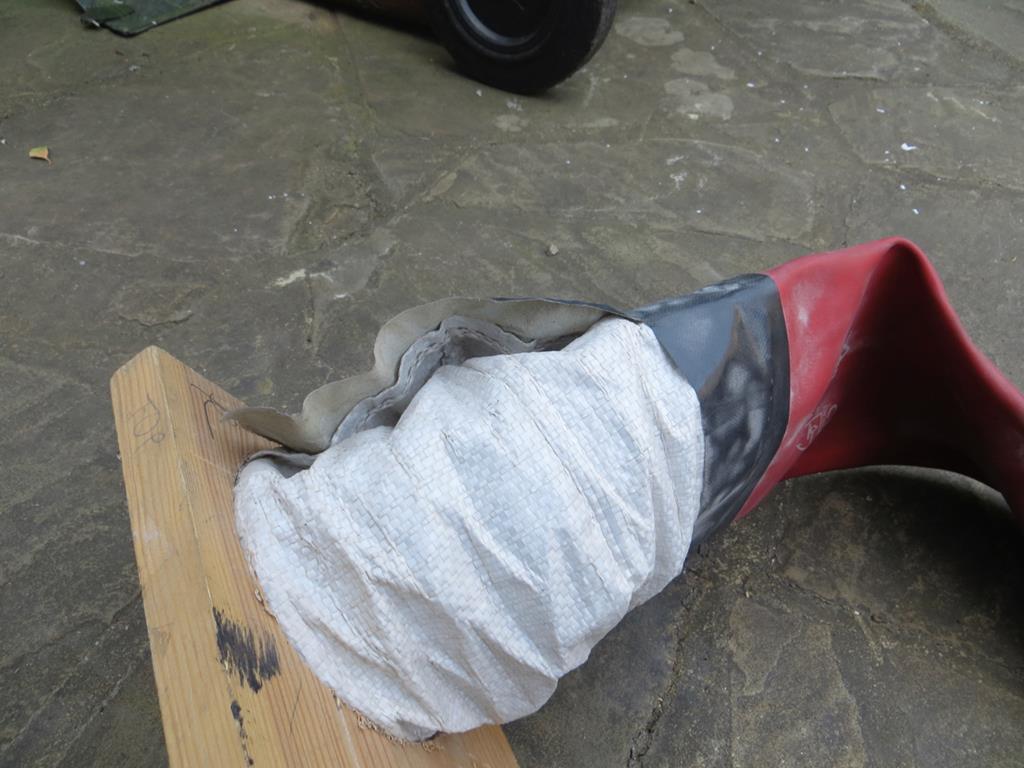 Well apparently not. Initially the glove fell off the extension sleeve. So I stapled it back on and retaped it. But then, as you can see above, the seam along the length of the extension came apart and I started getting blasting media into the fingers of the glove. Bit annoying… By far the best suggestion to sorting this was to buy a pair of vets gloves. But I couldn't do it. At least in part because every time I used the blaster I'd imagine that I was James Herriot with my arm up a cow's ar$e. I think I'd actually have to do cow impressions while cleaning the wheels. Moooo! So instead I sacrificed a pair of trousers - the knee was more hole than knee so they were no real loss. A section of leg was cut out and, get this, hand stitched to the end of the glove. Yes, I'm an idiot. I admit it. Who in their right mind would hand stitch a trouser leg to a rubber glove? Only me.  Got to say, it works really well. So comfortable to use compared to the sacking version. First wheel blasted...   Sweet! Paint department next... I needed a way of supporting the wheel at a sensible height, by something that didn't need painting (say, the centre hole), and, preferably I should be able to spin it round. A great deal of thought and many ideas came forth. Invariably they were rejected as they involved things that I didn't have and couldn't be bothered to go and buy. Eventually I used the table saw and sander to make a scrap piece of wood into round boss with a taper that fitted the centre hole of the wheel. This was bolted to the top of a long piece of threaded rod. The bottom rests on the garage floor where it can turn (no bearings needed). And to hold it up, a bit of metal from the scrap pile which is clamped to the bench. Like this… 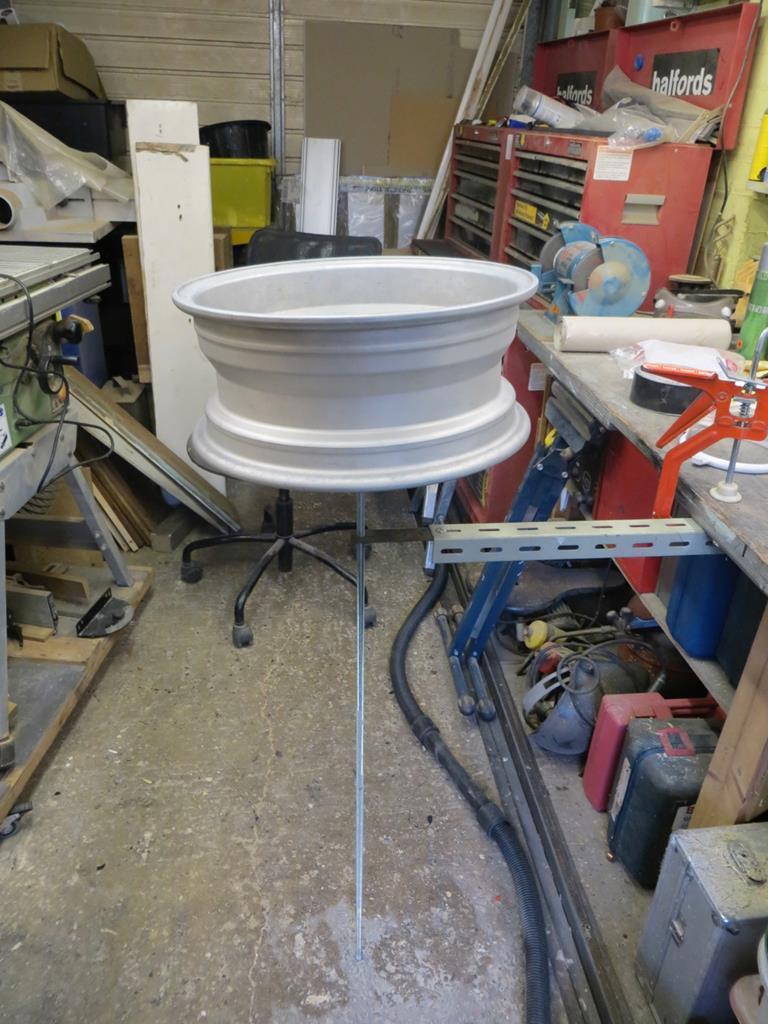 Cheap and dirty… But enough about me and back to the wheel… Here you go, wheel in primer…  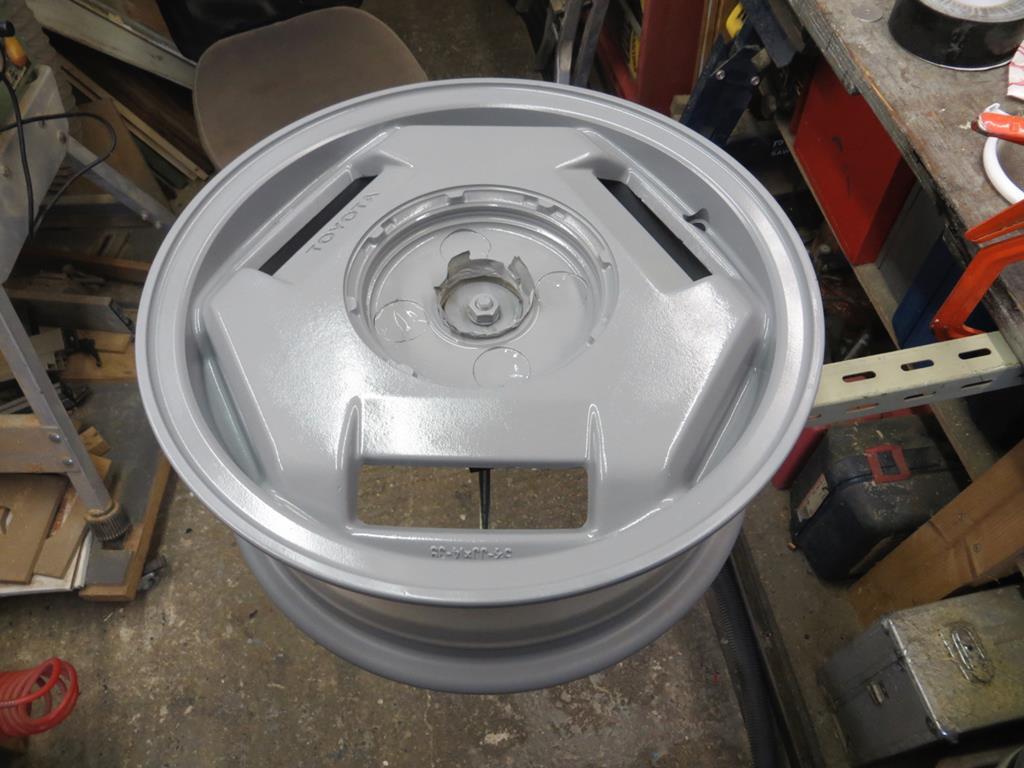 In the next exciting episode I'll explain the pain and anguish I've had deciding what colour to paint them, and revealing the end result of the first, fully painted and clear coated wheel. James |
| |
Last Edit: Jan 14, 2019 21:50:59 GMT by Sweetpea
|
|
ToolsnTrack
Posted a lot
   Homebrew Raconteur
Posts: 4,128
Club RR Member Number: 134
|
|
|
|
|
Don't forget to paint the centre caps now...
|
| |
|
|
bstardchild
Club Retro Rides Member
Posts: 14,965
Club RR Member Number: 71
|
|
|
|
Don't forget to paint the centre caps now... More importantly don't forget to paint the tyre well Some alloy wheels can be quite porous and you really don't want to go to all the trouble of blasting, priming and then painting and lacquering to find that the tyres go down slowly with no apparent leaks. A little paint or lacquer provides additional sealing keeping air inside the tyre where it needs to be. Experience is what you get when you don't want it................. |
| |
|
|
|
|
|
Apr 10, 2017 13:10:31 GMT
|
Don't forget to paint the centre caps now... More importantly don't forget to paint the tyre well Some alloy wheels can be quite porous and you really don't want to go to all the trouble of blasting, priming and then painting and lacquering to find that the tyres go down slowly with no apparent leaks. A little paint or lacquer provides additional sealing keeping air inside the tyre where it needs to be. Experience is what you get when you don't want it................. First centre cap will be coming up in the next update! As for the tire well. Good point. A couple of them did go down slowly but I'd largely assumed that was due to the build up of crud on the bead wall. I'll bung some paint in the well to make sure! |
| |
|
|
adam73bgt
Club Retro Rides Member
Posts: 4,991
Club RR Member Number: 58
|
|
Apr 10, 2017 14:44:13 GMT
|
|
Really nice work with the blaster, those wheels have come out looking so smooth its making me think whether its really worth me persevering with the sandpaper on my wheels...
|
| |
|
|
|
|
|
Apr 12, 2017 12:25:15 GMT
|
Really nice work with the blaster, those wheels have come out looking so smooth its making me think whether its really worth me persevering with the sandpaper on my wheels... I think it depends a bit on their state. The next one has some curb marks so it'll need a bit of extra prep. I'll try and get some photos of the finished one up later. |
| |
|
|
|
|
|
Apr 14, 2017 21:25:59 GMT
|
So this car (at the moment) is supposed to be a restoration. So I want the repainted wheels to be in the original colour. But how am I going to match the colour. Well it's not impossible. I could just buy a few tins of wheel paint until I find the right one. I did actually find a web site that sells 'Toyota' paint - supposedly in the right colour. Thing is…. As much as this is supposed to be factory standard… I, er…. Well, you see, I quite like the wheels on my Lexus. They are silver over black. They don't really stand out unless you look at them but they do look special when you notice. Understated but classy. So could I do that on the MR2's wheels? Using rattle cans? Hmmm, not sure I could. Not consistently anyway. Also the Lexus has wheels with spokes. The MR2 has quite full wheels so I'm not even sure it'd look right. But I would like something a little different. Since the car is black it could easily take wheels that are slightly darker than stock. But not too dark 'cos then they'd be noticeable. Understated but classy remember… Decision made then. Not standard. Not silver over black 'cos I don't think I could pull it off. But a shade darker. Probably metallic. But now I'm back to square one. What colour exactly? So what I did was take the centre cap to Halfords and compare it against the cap colours on the tins of paint. Which is a problem because the cap colours aren't accurate. Halfords must have series of sticky labels of varying colours and use the closest one to the colour of the paint. But you can't actually tell the colour of the paint. Take a punt and see if it looks ok then. I randomly settled on a Vauxhall colour. Astro silver metallic. 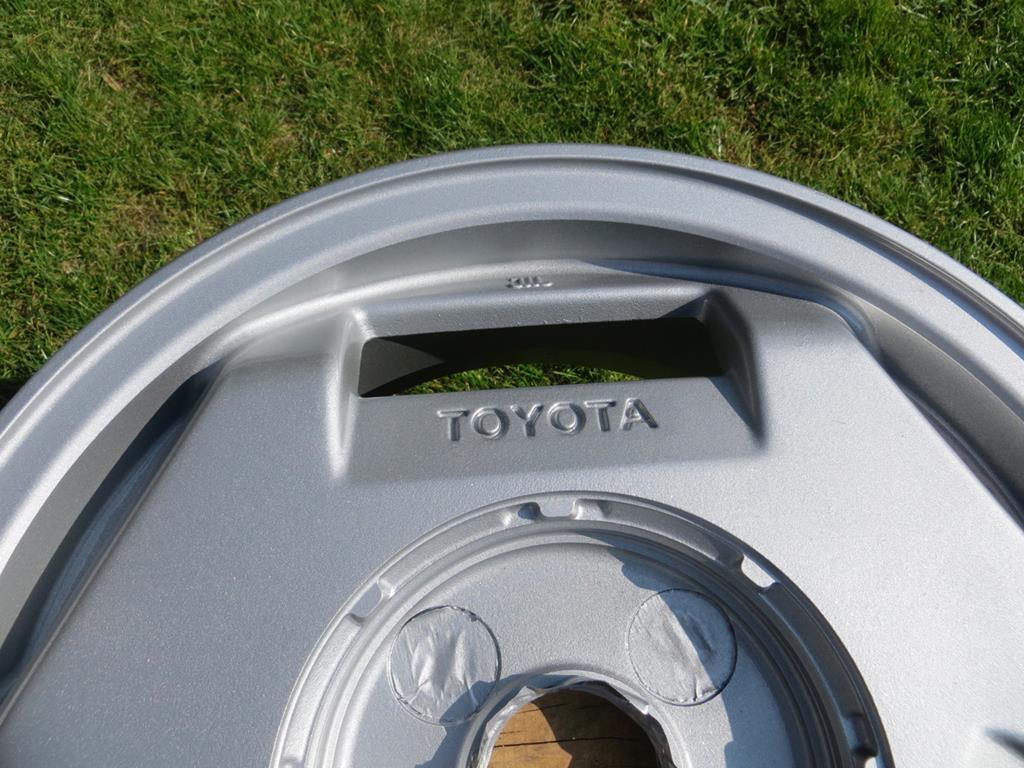 Looks ok I reckon. Here's a picture of old and new.  The new is darker and a bit more grey. And, being metallic, it sparkles a little in the sun. But not so much that it'd stand out on the car. And here's the old cap on the new wheel so you can compare the colour. 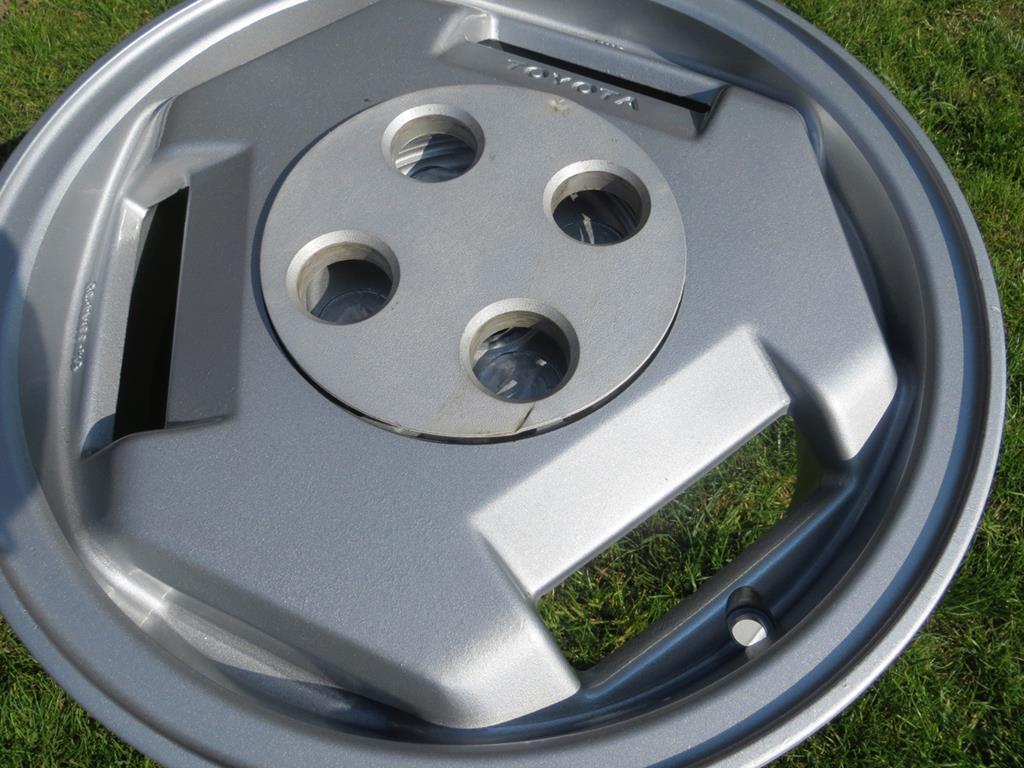 The clear coat (again a Halfords paint) isn't too glossy. That'd annoy me elsewhere but, again, I don't want them to stand out too much so I'm happy. Pleased with that. James |
| |
Last Edit: Jan 14, 2019 21:57:23 GMT by Sweetpea
|
|
|
|
|
|
|
|
A guy I know who works for a company that builds quite expensive Bentley Blower replicas says they use a traffic cone to hold the wheels when they paint them. A nice simple idea.
|
| |
|
|


