eurogranada
Europe
To tinker or not to tinker, that is the question...
Posts: 2,556
|
|
|
|
So last night I actually made a new start on the Granada... I didn't even need to give myself a real hard push either. I was a little apprehensive about going to the new shop for the first time by myself. Would the new key work? Would I find my way etc. But once there and the door actually opened I felt at ease pretty fast. I didn't yet need very many tools so I just took from my mobile workshop (also know as a Transit van) what I needed and dove in! I decided washing the car would have to wait. In subzero temperatures I wasn't keen on dousing the car in water. So I quickly decided to just jack up the car as a first order of business. As the front is rather (too) low I had to use a small jack to get under it. I raised the front as high as the axle stands safely allowed and did the same in the rear. The rear stands were a little shorter so the back is slightly lower, but I'm able to crawl around underneath so that should work just fine. Being under the car reveiled to me how many little jobs there are to do. Clamping down fuel lines, rerouting a fule line as the exhaust is very close. Little things like that. But generally I'm still very happy with what I see underneath. With the car in the air, I removed it's wheels and stored them underneath the car. I think it's the safest place for now... As long as no-one knocks the car of the stands, but that would take a cinsiderable blow so I'm not worried. With that out of the way I turned my attention to the first priority, the leaky steering rack that was already rebuilt. I undid the tie-rod ends, removed the fasteners on the rack bolts and unclipped the low pressure line from the rack. I undid the engine mount nuts so the engine can hopefully be lifted a little bit to make room for rack extraction. With only the fluid lines to disconnect I let it be fot the moment. The action of actually raising the engine a bit and worming out the rack would have taken more time than I had left for the night anyway. I turned my attention to the brake system. The MC is leaking a little on the stop screw so that needs tightening. One rear wheel cylinder seems to weep a bit (not good for a new part), but generally the joins in the brake lines all seemed free from leaks. Also the bleed nipples were dry. I'll check the front lines and nipples next time. I do hate one thing about brakes. I have everyting new from calipers to lines and cylinders, but bleed nipples scare the hell out of me. They seem to be so easy to overtighten, there's not much feel as compared to a regular bolt. I'm Always scared to ruin the threads so maybe I'm also just a little too careful with them. Anyways, I think I made a good start for a first session. Friday I'll continue my quest. Not many pictures today as there really wasn't much to see yet. 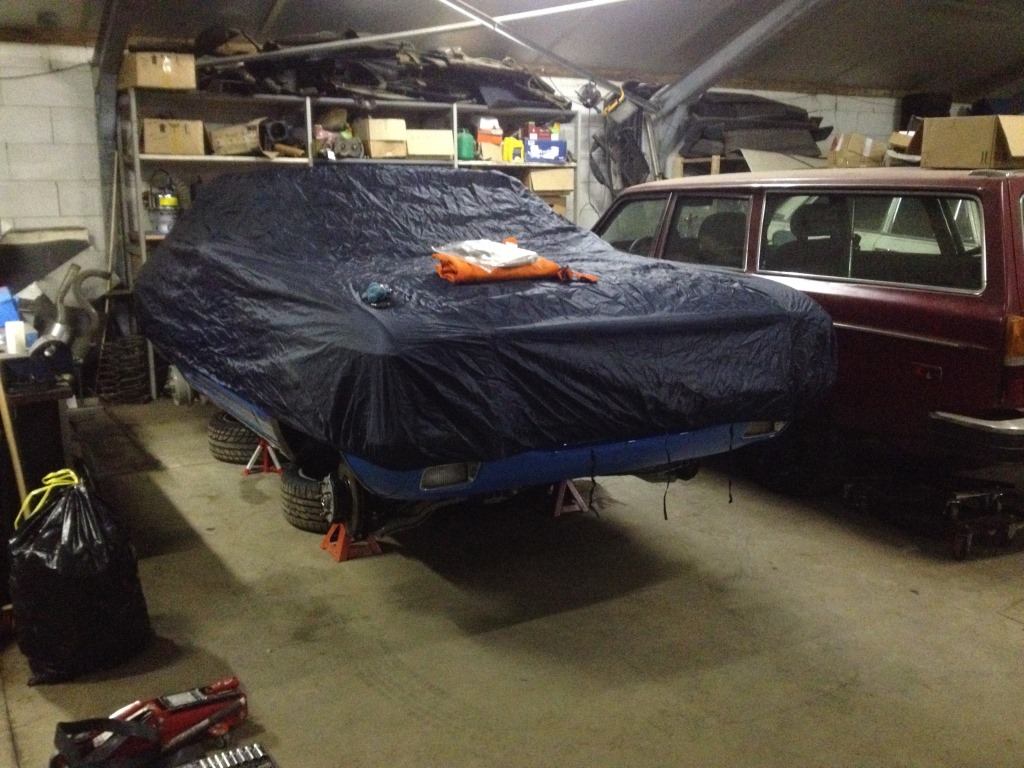 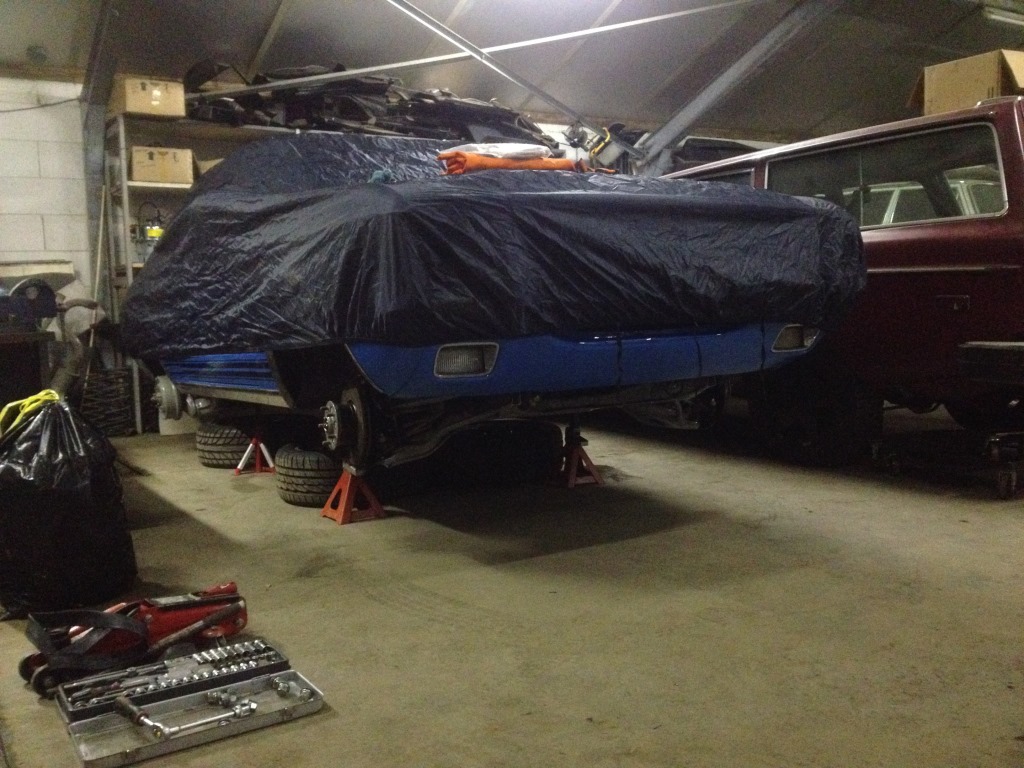 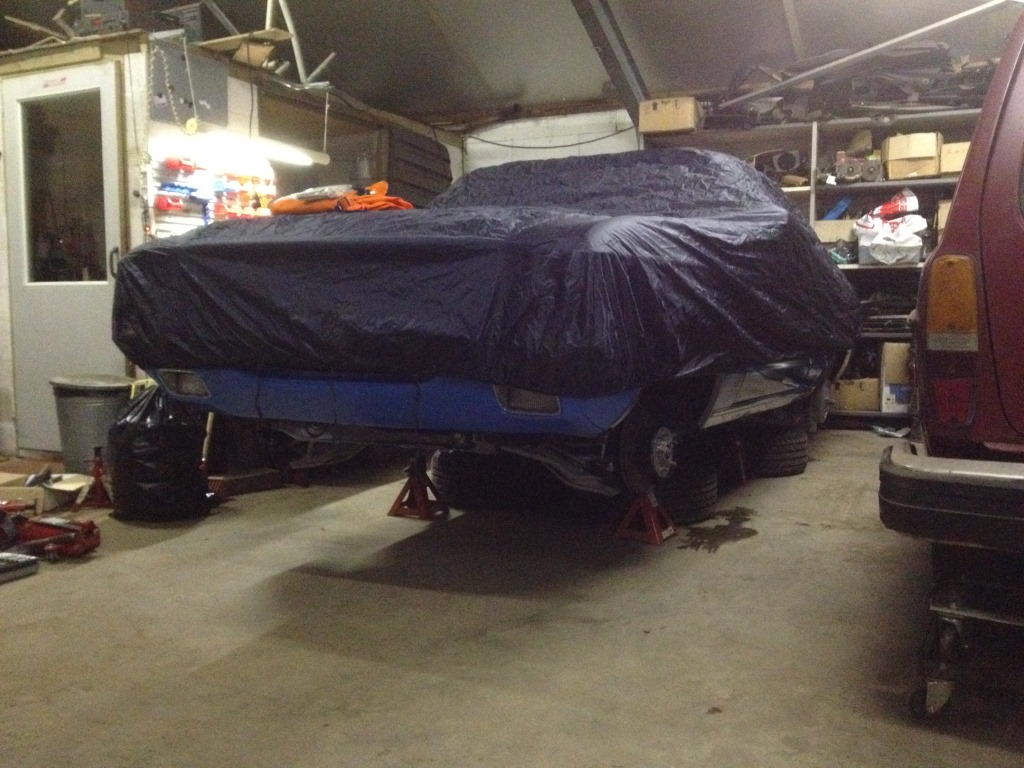 |
| |
|
|
|
|
mk2cossie
Club Retro Rides Member
Posts: 3,058  Club RR Member Number: 77
|
|
Jan 19, 2016 13:41:18 GMT
|
Glad you have got the mojo back for working through the list of jobs  With the bleed nipples, I only ever just tweak them up with finger pressure. no need to be that tight as they seal on a taper with quite a big surface area anyway  As for the brakes feeling iffy with the pedal, are the rear shoes adjusted up to almost grab the drums and the handbrake arms all the way back? I adjusted the rear brakes on mr on heres mk2 Granada and the handbrake itself was much improved as well as raising the bite point of the brake pedal  |
| |
|
|
eurogranada
Europe
To tinker or not to tinker, that is the question...
Posts: 2,556
|
|
Jan 19, 2016 15:02:51 GMT
|
Glad you have got the mojo back for working through the list of jobs  With the bleed nipples, I only ever just tweak them up with finger pressure. no need to be that tight as they seal on a taper with quite a big surface area anyway  As for the brakes feeling iffy with the pedal, are the rear shoes adjusted up to almost grab the drums and the handbrake arms all the way back? I adjusted the rear brakes on mr on heres mk2 Granada and the handbrake itself was much improved as well as raising the bite point of the brake pedal  Thanks, having the mojo back is a very welcome thing indeed. I don't think it is just from now beoing able to really work on the car again. I think a lot has to do with where I ended up and how I/my car was welcomed there as well. On the subject of brakes I have a short list of things to do/check: - check for and fix all leaks - check the pedal is pushing the pushrod the required travel (as I went from manual to automatic and used a Taunus/cortina pedal although that seemed to end up in exactly the same position) - re-adjust the rear brakes - bleed carefully with a pressure bleeder My rear brakes seem in perfect order (except for the weeping cylinder I found), yet one side has noticably more trouble with the self adjusters on the rear brakes than the other. I will look into that as well. Also in looking at photo's of the brakes when being dismantled versus now, I think I see the variable pushrods were extended further then they are now meaning there should be some more adjustment. I'm hopeful I'll get to the bottom of it soon. |
| |
|
|
eurogranada
Europe
To tinker or not to tinker, that is the question...
Posts: 2,556
|
|
Jan 25, 2016 10:14:16 GMT
|
So another workshop day has come and gone which means a little progress. Within 5 minutes after arriving I was stuck in the job at hand. Releasing the steering box from the steering shaft and undoing the fluid lines. As One line is a metal hardline it was a bit tough getting it to unseat. After a while I desided to just whack it and it came out. The other one is a rubber line with metal fitting so came out a lot easier. As did a lot more fluid than I was expecting! For a leaking system that hadn't leaked anymore as the reservoir was empty, there still was quite a bit of fluid there. I was prepared but containment took some effort. With the rack now loose, I had to move it out from underneath the engine. So I jacked it up and made some room. It wasn't enough so I dropped the front of the subframe. But it wouldn't move as far as it could because the jack was in the way. So out with the jack in with the engine hoist to raise the engine a little. With some swearing and a lot of persuasion it finally came out. By then I was two hours into the job. I never expected it to take so long, but then again it was the main job for the afternoon and it was done! With that out I once more set to work on the brakes. This time I did a full front to rear inspection of every joint, bleed nipple and component. I tightened some a little, but found no leaks. I had already done up the stop screw on the MC and that also was now dry. So I pulled the drums. They came off way too easily. That means at least there is some more adjusting to go to get the shoes closer to the drums. In my experience the drums would come of but with a little effort as the shoes are adjusted quite close to them. So this may be part of my issue. I also looked into each dustboot on the rear cylinders and found no eveidence of fluid there. They do not seem to be leaking. That is good news I guess. It looks like the drop I wiped from the drum was grease not brake fluid. So with the system apparantly in good shape, the most likely cause for my issues is still air in the system. The workshop has a pressure bleeder so once I've re-adjusted the rear brakes, I'll see if that can expell all air from the system and solve my brake issues. I do have one more check that I didn't have time for and that is how far in the pushrod pushes the MC. But I don't think my problem lies there. I'll check anyway. Sunday I had time to strip my steering rack and see if anything is obviously wrong. Stripping the rack is straight forward so took half an hour or so. And one side that did leak (less than the other) showed really not much wear at all. The new rubbers were still perfect, the nylon ring looked great as well. The copper bushing on the end also has little play. I'm really surprised how this side leaked at all. On the other side I hit a snagg, an irritating snagg. The metal spring rod I put in to secure the steering arm won't come out. I cut it short as per Original. But this is hard metal and a drill doesn't do anything on it, neither does a tap or a screw or grease and a pushrod. So I was unable to inspect the heavier leaking side at all. Will probably have to weld something to the pin end to get it out. Have some pictures: 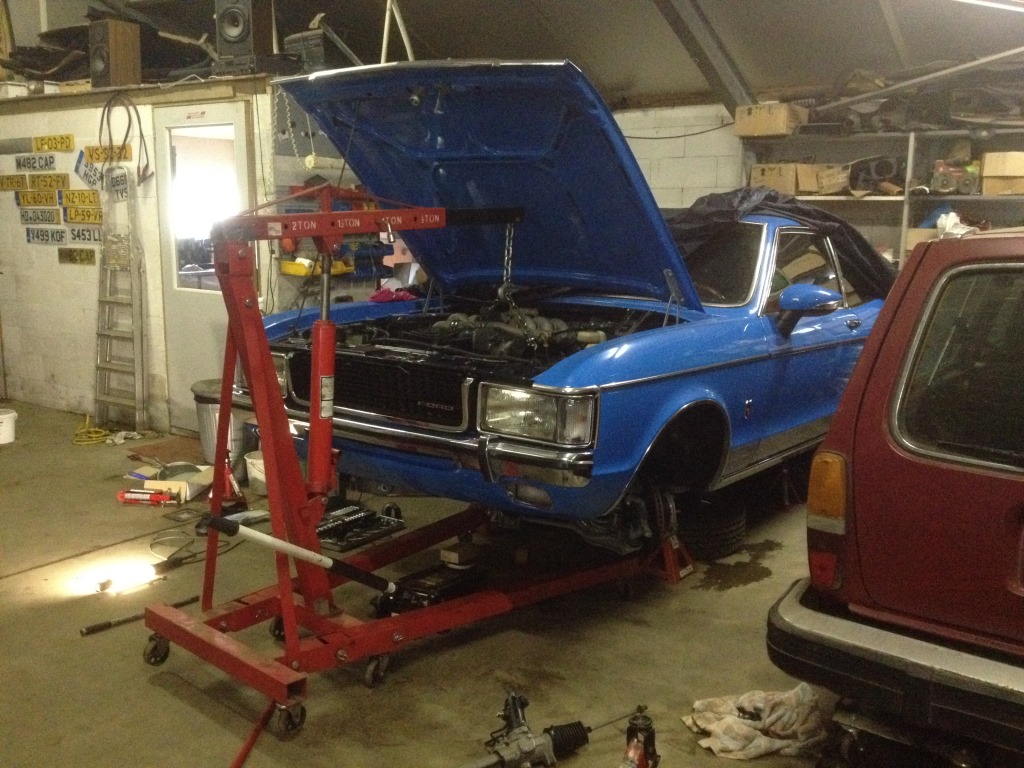 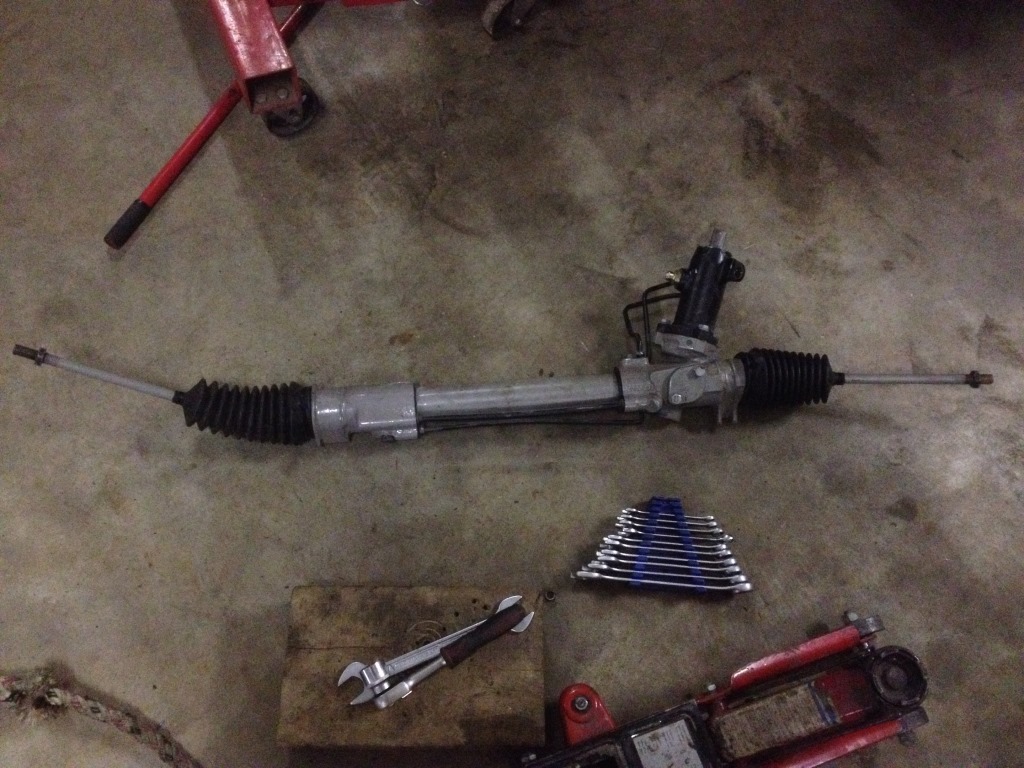 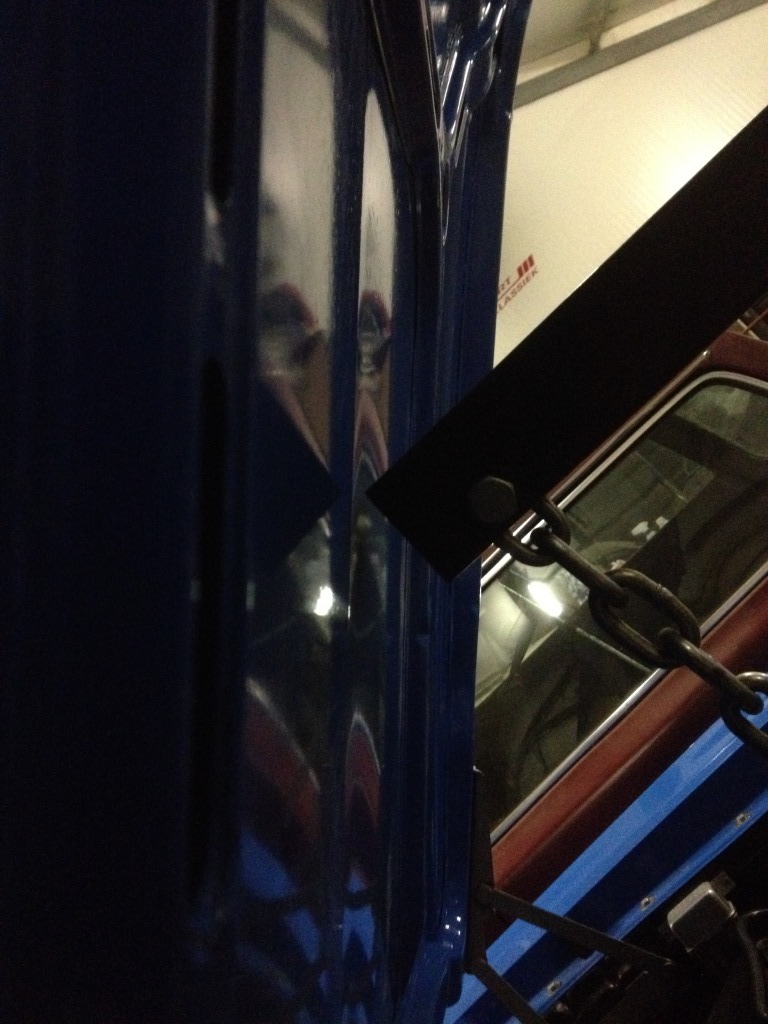 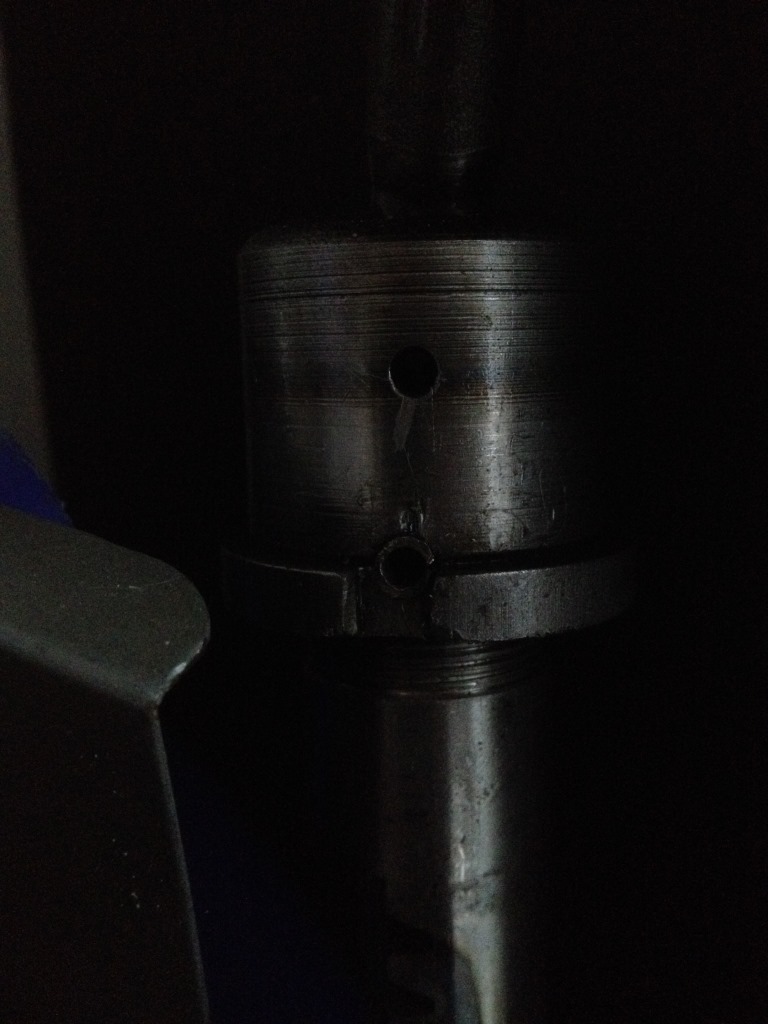 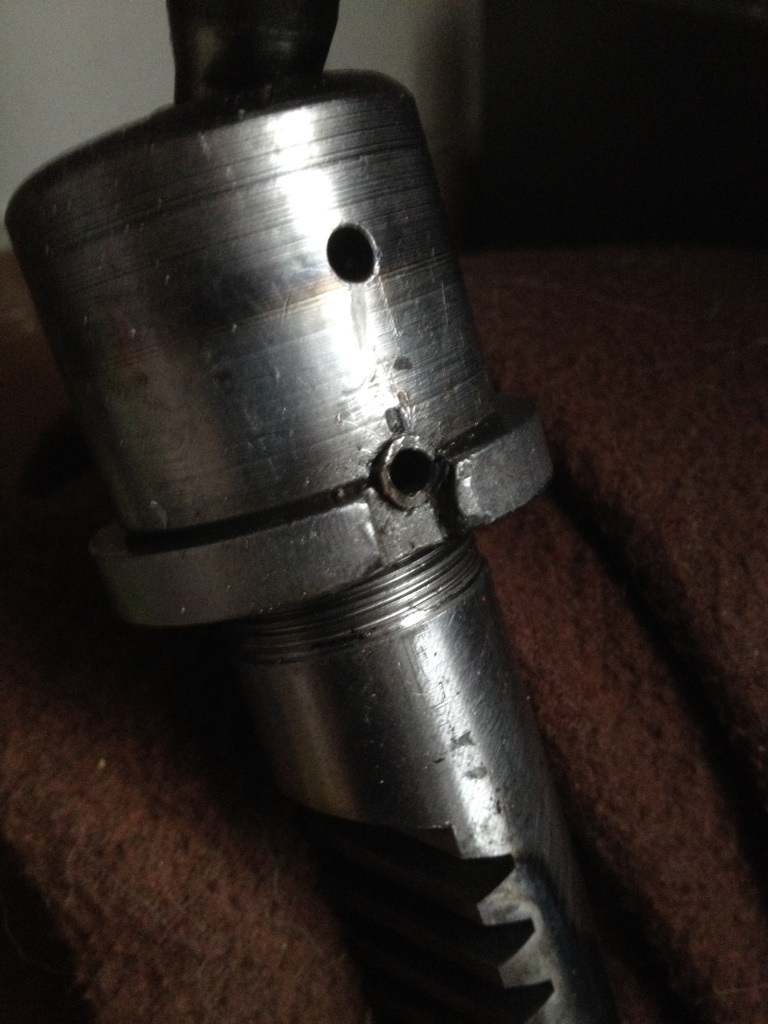 Tonight I'll focus on adjusting the rear brakes, getting out the dash for a repaint and securing the fuel lines in place. We'll see how far I get. |
| |
|
|
eurogranada
Europe
To tinker or not to tinker, that is the question...
Posts: 2,556
|
|
|
|
|
Well...... Yesterday was a complete bust!!
Remind me to take the keys to the workshop and the car (same set) with me when I plan on doing stuff!! Yes. I'm an idiot!
In my defense though, they were in my normal winter coat as I usually only change into something more suited to this tinkering I'm doing when I arrive at the shop. This time I thought I'd just as well put on the dirty tinker winter coat at home.... Bad decision. To make the most of my travelled miles, I dropped in on our year round campsite one mile up the road to see how my caravan and tent were holding up... They were all in good shape so that at least comforted me some.
I'll get a do-over this saturday...
|
| |
|
|
The Doctor
Club Retro Rides Member
Posts: 3,446
Club RR Member Number: 48
|
|
Jan 26, 2016 14:05:35 GMT
|
Well, next saturday there are at least more people in the barn, so the door will be open  Been there, done that btw  I've got all my keys, except carkeys, on 1 ring now... |
| |
Last Edit: Jan 26, 2016 14:07:12 GMT by The Doctor
|
|
|
|
|
Jan 26, 2016 15:37:31 GMT
|
|
I did similar, drove 100 miles to where my caravan was parked, was just about to get out of the car and said to the mrs 'you got the keys'? she gives me 'that look' and says 'no I thought you had them'... Normally we carry a set each.
|
| |
1988 DUTTON LEGERRA MK1 - SPARES DONOR
1989 DUTTON LEGERRA MK2 - CURRENT PROJECT
1990 DUTTON LEGERRA ZS MK2
1990 DUTTON LEGERRA ZS MK2
DUTTON PHAETON S2 - Resting
DUTTON PHAETON S4 - Resting
DUTTON PHAETON S4 - PROJECT X
DUTTON SIERRA S2 - Resting
|
|
spot
Part of things
 
Posts: 105
|
|
|
|
Hi Alex, Happy too hear of your fortunes in finding such a space to continue building up your car. Not so sure about the guys welcoming you in with a sausage fest, or was that feast? You Dutch are strange! Wishing you good fortune in overcoming the last few hurdles to grannydom. PS: To save any future embarrassment, you could always leave the key under a stone by the front door!  |
| |
|
|
eurogranada
Europe
To tinker or not to tinker, that is the question...
Posts: 2,556
|
|
Jan 27, 2016 15:20:50 GMT
|
I did similar, drove 100 miles to where my caravan was parked, was just about to get out of the car and said to the mrs 'you got the keys'? she gives me 'that look' and says 'no I thought you had them'... Normally we carry a set each. Haha, you make my useless trip sound a lot less bad, 100 miles, ouch! I've solved the caravan thing by just leaving a set of keys in the car permanently. Opening the caravan is easy though, all I need is half of a scissor to stick into the lock cylinder, but locking it that way is way harder, lol. Yes, we've done that once in the distant past as well... |
| |
|
|
eurogranada
Europe
To tinker or not to tinker, that is the question...
Posts: 2,556
|
|
Jan 27, 2016 15:36:06 GMT
|
Hi Alex, Happy too hear of your fortunes in finding such a space to continue building up your car. Not so sure about the guys welcoming you in with a sausage fest, or was that feast? You Dutch are strange! Wishing you good fortune in overcoming the last few hurdles to grannydom. PS: To save any future embarrassment, you could always leave the key under a stone by the front door!  Hey Paul!! One day we'll both enjoy our granny's together as they were meant to be. I'm positive about that! Yes, I must admit, I do feel like I've hit the jackpot with the workshop I was so kindly accepted into. The regular members all are very nice and I've even been thrown into the community app group lol. I really feel welcome. And what better way to make someone feel welcome than by having a sausage fest (as long as your mind isn't in the gutter when reading that, that is). I also feel these people really enjoy my build. Even the ones who'd have done some things differently still look at it from a positive angle! I'm grateful for the opportunity! I hope to be able to show some real progress this weekend. I've got plenty I want to do, but some things depend on how smooth they go and if I have all parts etc... But I'm looking forward to having a full day as this week I wasted my monday and probably have other matters to deal with on Friday (which is normally my regular tinker afternoon). At the very least motivation is pretty high! |
| |
|
|
eurogranada
Europe
To tinker or not to tinker, that is the question...
Posts: 2,556
|
|
|
|
Another week has come and gone. After having been at the workshop without keys earlier on this week I was determined not to let that happen again. Having had other commitments for my usual Friday afternoon tinker time, I was also determined to make the most of my Saturday! So the night before I grabbed all I thought I could possibly need and put it in my Transit. Ready for early next morning I sure was. I even had shopped around for some vinyl paint, exhaust seal compound and an elusive 90 degree npt to 8mm fuel pump connector. So I was up at 7... ready to go at 8 and at the last straw motor factor's at it's 8:30 opening time. They didn't have what I needed so at 8:45 I was at the workshop. Loaded with my keys thanks to a certain friends comical checklist I entered and turned on the light. After spending a couple of minutes getting ready to start by taking some stuff from the transit I went to work. I had decided to start on the rear brakes. I took the drums, sanded away some ridging caused by powdercoating residue. Now I was sure the drums had no lips to catch the shoes on or to cause them to have to be turned in further just to clear the drums. So I adjusted them out as far as I coud with the drum still slipping on. Applying the handbrake a few times to be sure the shoes are centered I checked for drag. I felt the drag was excessive so I turned the shoes down a notch. With a slight bit of drag I closed the drums after giving everything a final look over and a quick clean. The handbrake clicks a few times but is pretty short in it's throw. It really locks the drums well. So that should see the brakes sorted with the exception of bleeding them and checking the pushrod throw on the MC, something I forgot in the heat of the action. After that I went on with cleaning up the underside of the car. That is clamping down the fuel lines, applying sealant/glue and clamps to hold the lines away from sharp edges that they can rub on etc. Also applied some exhaust paste to the 6 exhaust connections. I used it to cement around the joints. One should really apply before shoving the pipes together, but as I'm past that stage I just cleaned up the joints and pushed the paste into the tiny gaps to create a seal. Should be ok now. It took a long time to get the lines exactly as I wanted them and clamped so I felt comfortable with it. Drilling holes, using official ford clamps etc. But I got it done to the extent that I was happy with it. But that took a good part of my day. I must admit, at 10:10h a couple of other guests arrived. That meant making some acquintance and having a chat. That took away a bit of time as well. But that's also what makes working in there nice. My next quest was the steering rack pin. By now the shops most experienced welder was on site and as he asked me about fuel lines I asked him for a little help welding. So with intrepidation on the job at hand the welder was warmed up, a suitable nail was located, a washer and nut added for ease of gripping. The first try went awry. The weld hadn't enough hold on the pin and the nail broke loose. Even more hesitant to try a second time as it was a tricky weld on a very small surface area, we rewelded the nail. An extra weld was added hoping not to have fused the rack end itself along with it. Another tap on the pliers and the nail came out with a jerk....we were amazed to find we had succeeded!! The nail came out so violently that we were sure we just broke the welds again. Yet inspection of the nail showed it had the pin attached! That was a high five moment for sure. And I felt also an immediate bonding moment. Nothing brings people together faster than success on a joint effort!! Oh nothing but the subsequent Hamburger fest that followed our small victory! Yes, this time sausages and hamburgers, me sticking to the burgers. The social thing there is also very nice. Although it was somewhat unusual for them too, as my coming to the shop has somehow sparked some more interest in peoples own projects...Hey that's my view and I'm sticking to it, lol. So more people are there now on a saturday than have been for the past months I gather! So with that out of the way I whacked at the securing ring that was now free to move. It was still tight but came of. And that was that. No Obvious reason could be found for the leakage. Next step: contacting the rebuild guy and see what he has to say. I had just enough time left to go ahead on one more job. I decided to put the first of the door panels in. I chose the drivers' side. I put the clips in and put the panel in place. It fit great! And I decided to tap the pins in and secure the panel to the door. I was soooo pleased with the look. Although for the large door I do feel the arm rest is pretty short. I may have to make my own one day. But it depends on how it looks with the door closed. I do not have much clearance between door and seat. But, just today when I was walking downstairs to my server rack at work it hit me.....like a punch in the gut. I forgot the water barrier between the door and the panel. I have bought plastic sheeting for it, but forgot to apply that completely. Now I have to do just what I had hoped never to have to do (as it may damage the panel) which is getting all the clips undone and removing the panel... It'll have to wait untill the door can open wider though as the tool to undo the clips can't get in there now. Thankfully my car won't see a lot of water, but I need to fix this. Two steps forward one step back! It does look good though! My homemade panel! In the end I did a good bit of my list, but not as much as I'd have liked. Still, I'm happy as most things I did (except for the door), I did once and for all. No need to revisit it for a long while I hope. That does feel good! So that was the weekend gone. Tonight is my regular tinker night so I'll see what else I can get done. Every thing I do hoewever little is moving forward towards the end. Have some pics: 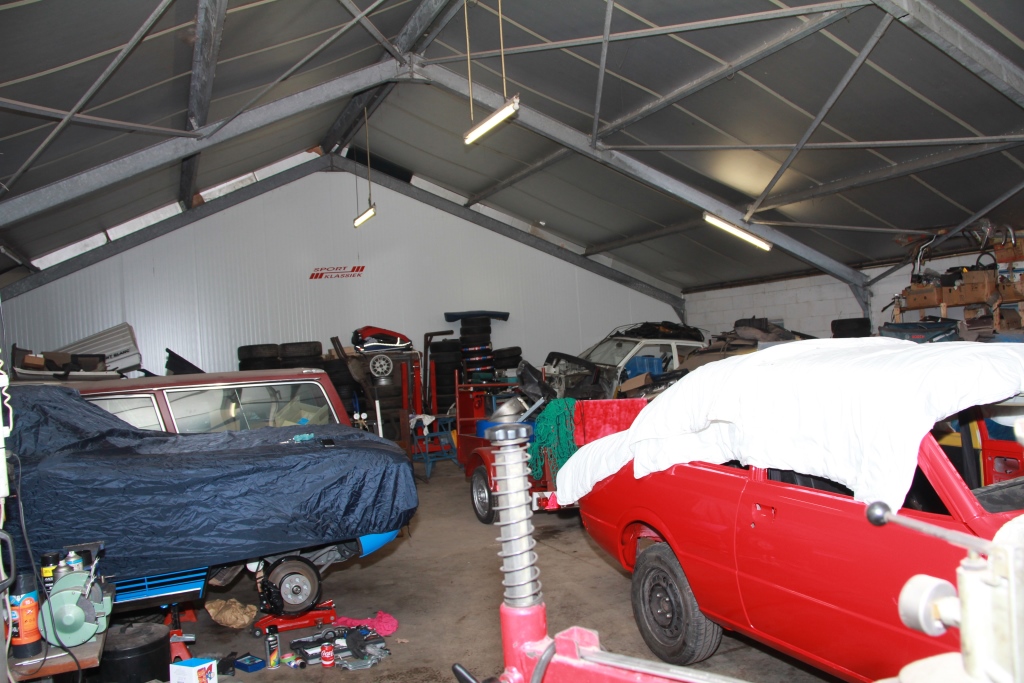 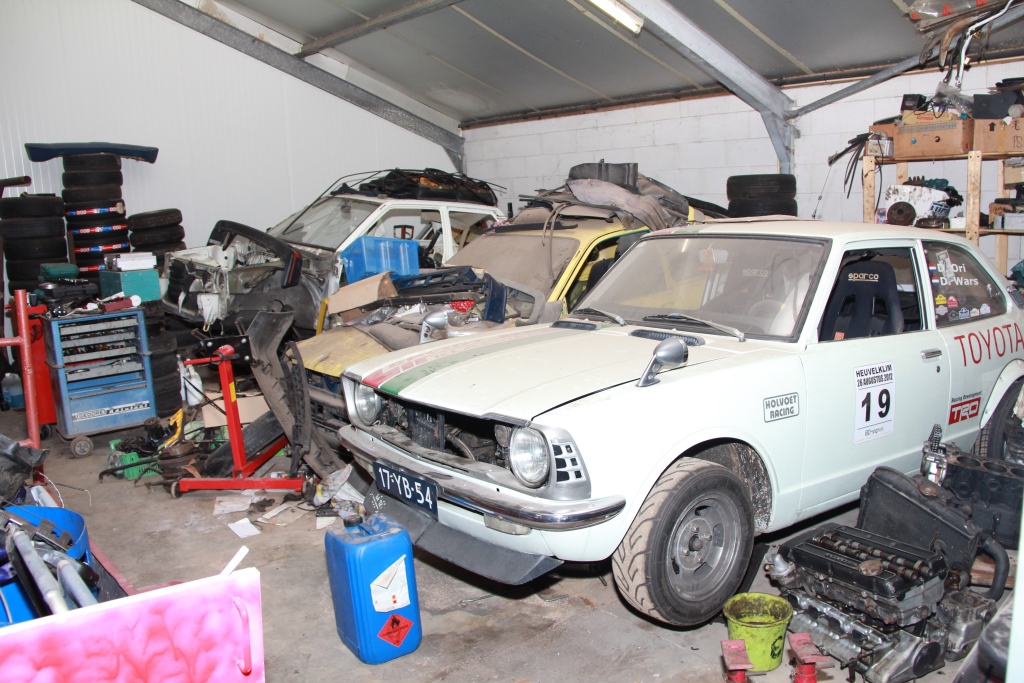 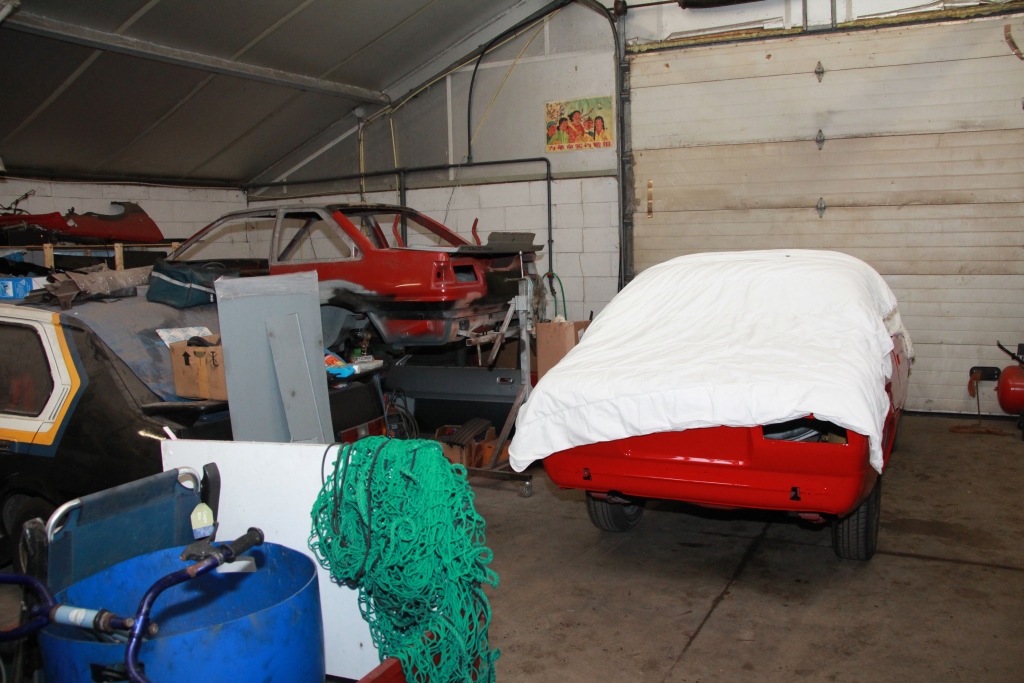 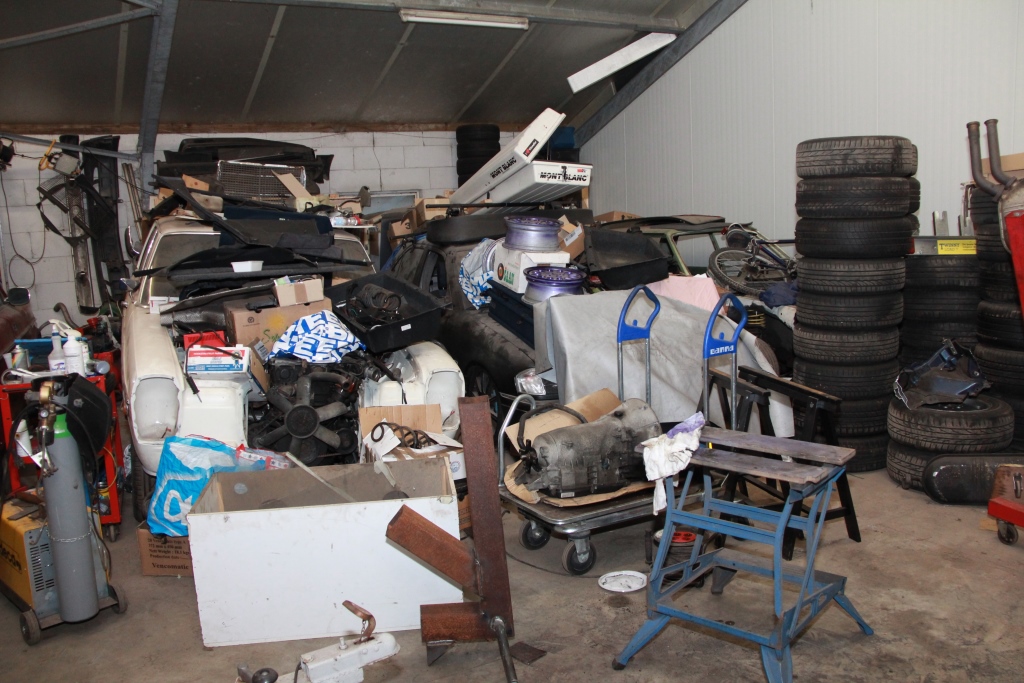     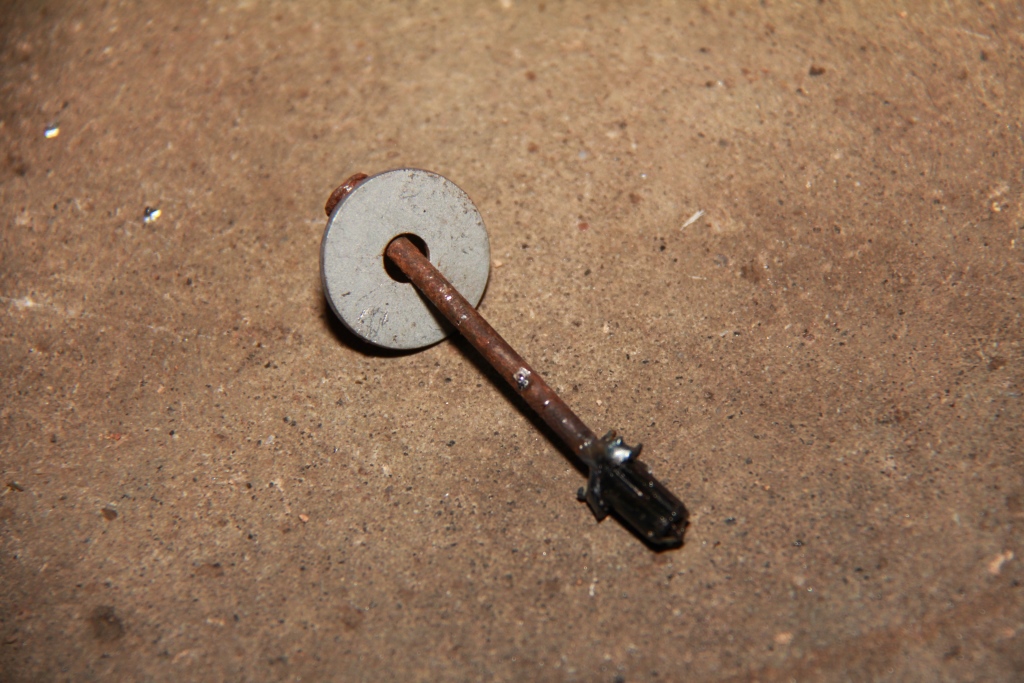 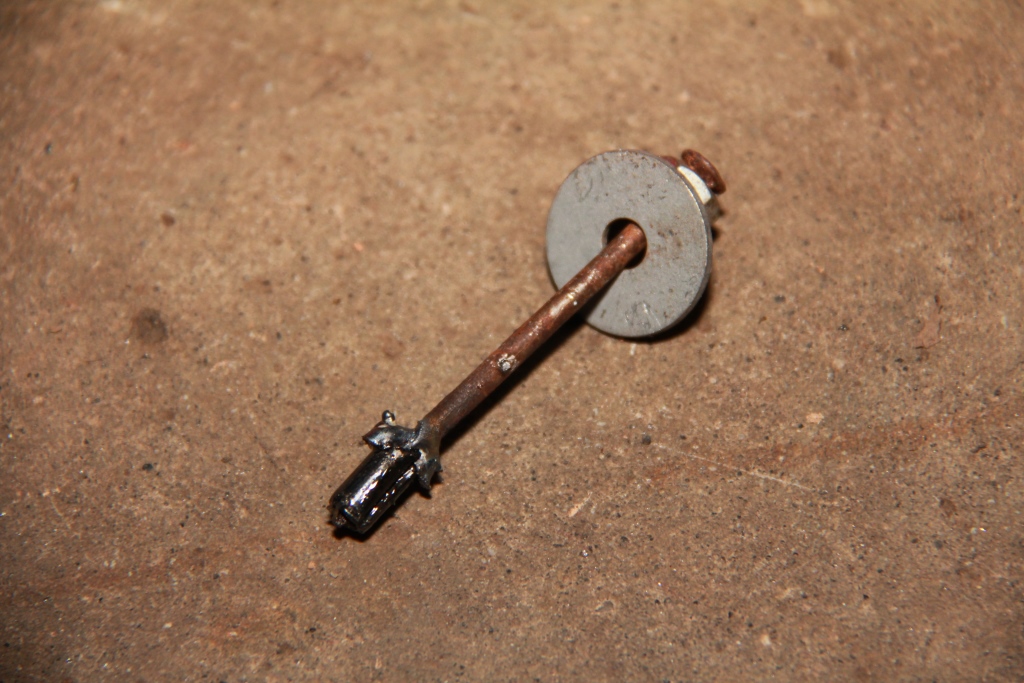 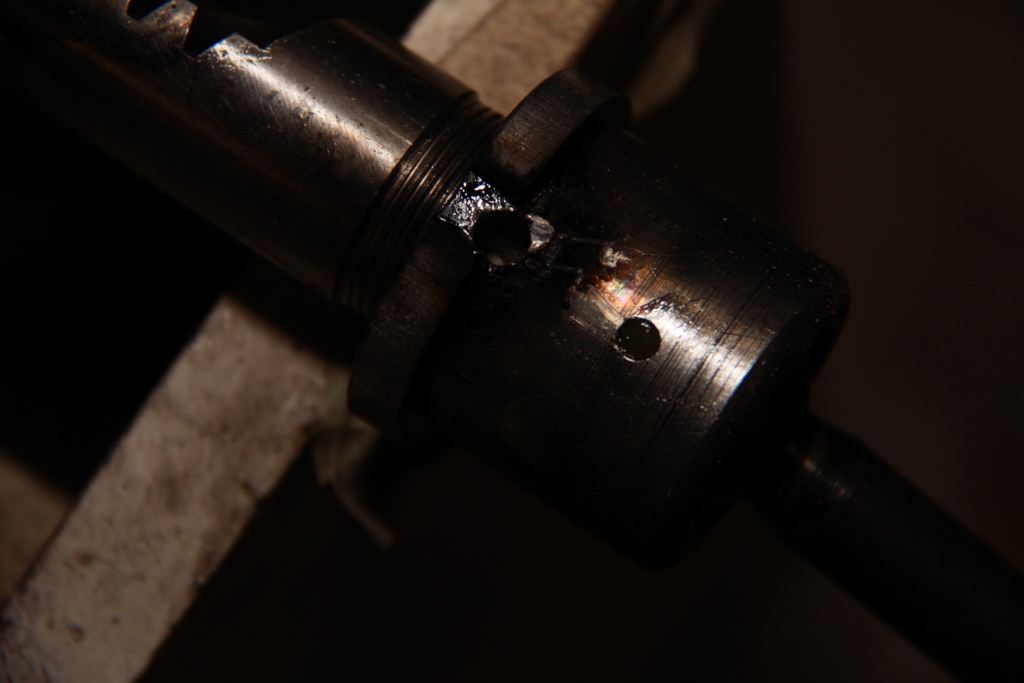 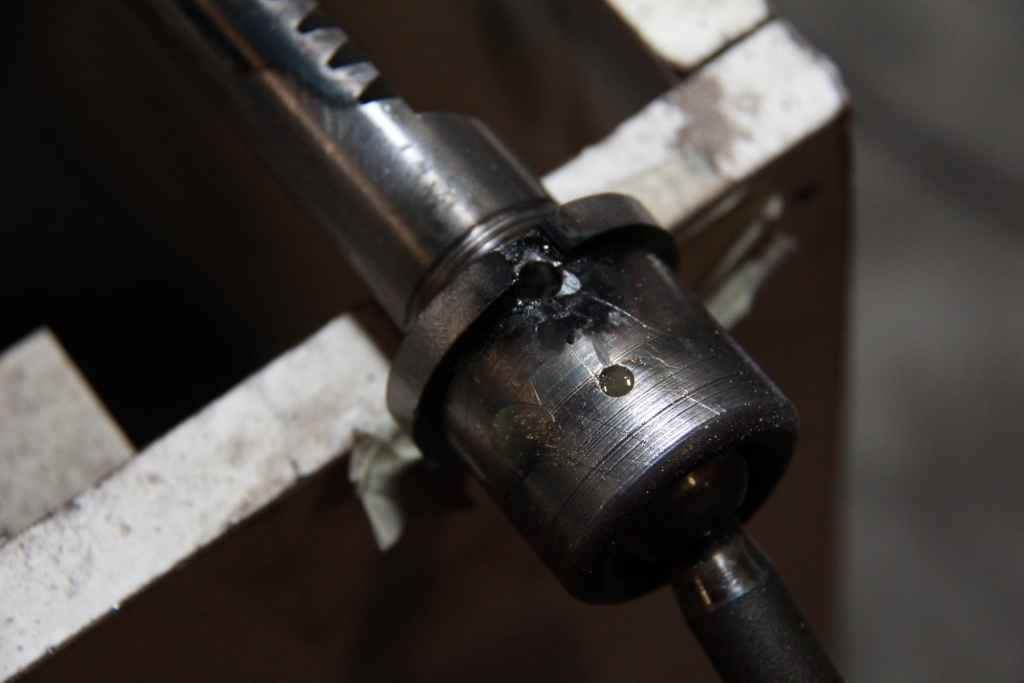 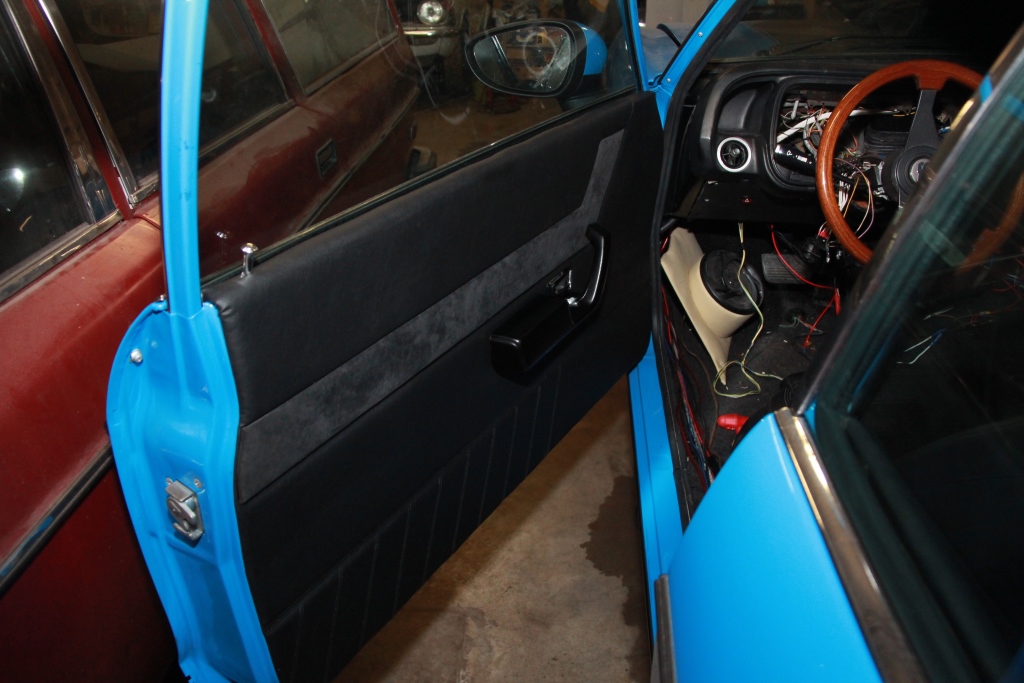 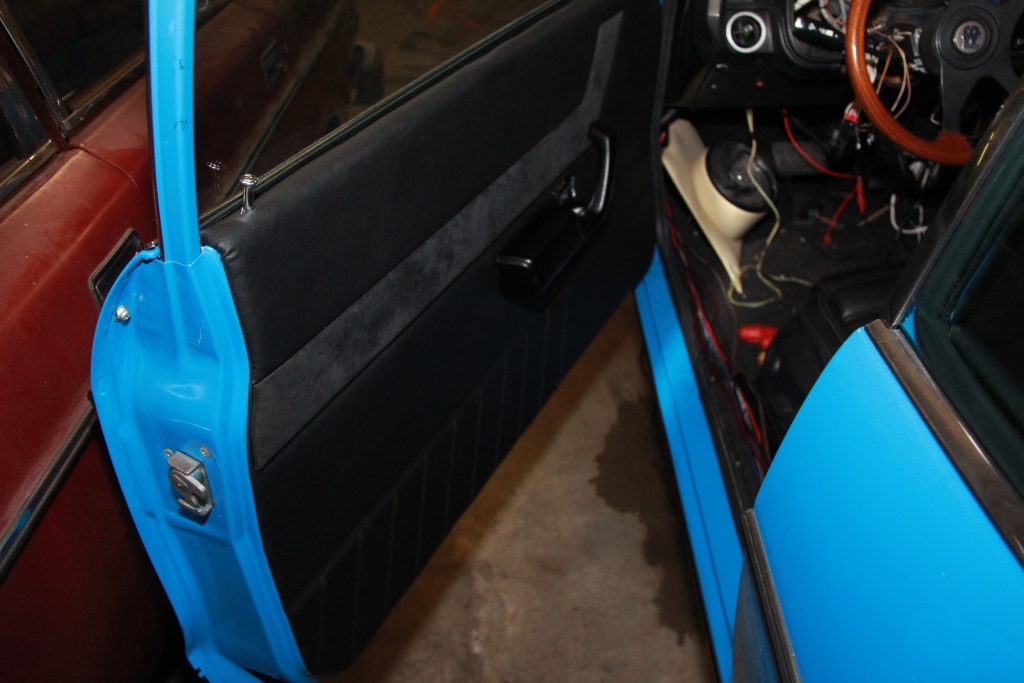 |
| |
Last Edit: Feb 1, 2016 14:52:01 GMT by eurogranada: Picture links repaired
|
|
berendd
Europe
why do I need 3 keys for one car?
Posts: 1,449
|
|
|
|
|
nice progress!
|
| |
Last Edit: Feb 1, 2016 22:46:44 GMT by berendd
|
|
mk2cossie
Club Retro Rides Member
Posts: 3,058  Club RR Member Number: 77
|
|
|
|
The door card looks even better now that it's actually on the door with that fantastic blue paint to set it off against  I think the arm rest may interfere with the upright of the front seats if it were longer than it currently is tho  |
| |
|
|
cap78
Part of things
 
Posts: 96 
|
|
|
|
|
I have now read the whole thread, till 5 this morning and picked it up where I last was earlier this afternoon.
Holy batman thread!
Your work is damn good, and I hope you give yourself a tap on your shoulders for well done job.
And those door cards do look fantastic!
Sorry to hear the engine failures earlier in the thread, but a good move to fit a used engine.
Me and my mate had a similar failure when installing a freshly built BOA in his Capri.
The engine would not start for ages and when it did, it missfired badly!
After closer inspction, the "builder" had done a curse word job, the camshaft pulley bolts was finger tight, it had wrong timing disc's on the camshaft as it was fitted with BOB cams to give it a few more horsepower.
With fitted correct timing disc's and to insult us even more, the engine got a fire!
One of the injectors had exploded, petrol spraying into the V, and we got a fire we just killed before it got too big.
Fire was not giving up before the pressure in the fuel rail had gone and two 10l buckets was poored over the engine.
After this we installed his old BOA engine, and fitted our repaired injector loom that was damaged in the fire.
It would not run properly.
A friend of us lent us his injector loom and the engine fired right up, after we had changed one injector that was faulty.
The new "built" engine has at least half of it valves bent, so that project is sat aside to fix later in the future..
Comfort must be, at least we are not alone to have troubles when building a car.
But it can someties feel like some of us got a more share of trouble than others..
Hope my Capri can somewhat be close to your standard when finished.
If everything goes according to plan, I will have it on the road this summer, although not finished..
|
| |
|
|
eurogranada
Europe
To tinker or not to tinker, that is the question...
Posts: 2,556
|
|
|
|
|
Hey Cap78,
Wow, that must have taken a little while reading those 39 pages!
Thanks for the compliments! Always nice to see someone appreciate my strugglings, lol. Nah of course it wasn't all a struggle, but in general, as much fun as I had doing so, it was a lot harder than it looks. And I now know there is a huge difference between doing a rolling restoration or a body off (depending on the type of car)or full restoration! A car has a lot more components to track when you decide to go full resto as compared to doing for instance just the front or rear suspension systems.
I am very happy with how it is turning out and if I do say so myself, I like it better than a stock example. I feel especially my custom interior (even though it is still conservative and period in look and feel) just lifts this car to a different level. Using a BOB engine with 207BHP is also a nice addition as is the electronic autobox which is very smooth! The goal was a beautiful fast and still comfortable cruiser. I think I nailed it on all counts except maybe the comfort bit as all PU suspension makes for a little harder ride.
I now I'm not alone in the setbacks I experienced. I read here more often about engines needing repeated replacement or tear down. Your story is just another confirmation and testimony to the perseverence one needs to do what we do. To me though, it was probably the most trying thing of all. First off I'm no mechanic. I'm a DIY all round tinkerer. Also engines are heavy mothers to slap around. Then there is the little amount of room for working on an engine in situ. So yeah that got me down and took months out of my "schedule". But, however low the low was at that time, upon first (and subsequent every) start-up it was all in the past.
I'm happy to be moving forward again. I feel like I'm now getting somewhere. Still plenty to do, but at least I'm progressing!
Now only to find time to get my Original springs blasted and ready for fitment in hopes they will carry the heavier BOB a bit better. And to get my steering rack rebuilt. That would be major milestones. And with the bottom of the car now 99% ready, it would mean the car would be mobile and on its wheels again!
So working towards that and completing the interior.
|
| |
|
|
eurogranada
Europe
To tinker or not to tinker, that is the question...
Posts: 2,556
|
|
|
|
And another stint at the workshop to report on! My poledancing carreer may take off soon as I spoke to the steering rack rebuild guy. He gave me a decent price but it's still a big chunk of money. Gulp! He said it's because of how I found him and because he'd really like to help me. So today I'll start packing the bits together and throwing in some spares as well. So he has all he might need and if one thing is beyond repair, maybe another isn't. The dash I painted earlier this week in person, was way below my standard. It was not evenly dried and had a matt finish where it should be semi-gloss. With some glossy patches. I decided to throw the plans and repaint. That meant that the dash was not ready for install so what to do with the time... Well... get to that later! The plan for yesterday would have been: - mounting the dash and finishing that up to the binnacle and glove box. and if time allowed (not expected) - making and putting up the inner foil barrier for the doors and rear panels. But as said, the dash was not to my standards so that was out. Luckily I had the foresight to bring a special tool from work: a rivnut gun on air. I needed this as I had messed up the locating holes for the front license plate. I had no rear access to het nuts on the bolts. Only way I knew how to fix: rivnuts. I must say it worked a treat. So the license plates are now on both front and rear! I then moved on to using the same tool for another long standing job on the task list. One that surprisingly took quite some time. I had to make the 4th mount on each seat. It's the only mount that is "in the air" so to speak. I had made the bracket to go from solid structure to the seat rail months ago, just never got round to finishing them by drilling holes in the right places and making a fixture for it to bolt to. To do so I had to mount the seats in the other three mounting holes. But as the seats are electric only I had to find a way to power them as the complicated shema to permanently wire them in is too complex for me hahaha. I got it done of course but I was now working in a very confined area. The drill barely had access to drill a hole in the reinforced crosmember. I was afraid the large rivnut gun would not get to there either, but thankfully when used upside down it would. So I rivnutted a mounting point in place, afixed the bracket and drilled the seat rail to bracket hole in the bracket. Simply repeat on the other side... Another hour or so gone. In between monitoring and throwing on more paint onto the dash it started to look more decent. Having used the rivnut gun on all the holes I still needed to make, I felt pretty ok at that point and decided to start on putting back the dash. The pad went in well, as I rembered the exact movement I needed to make over the steering wheel to get it in place. I fitted the air ducts and ducting back in place and went on to moutn the lower plate. That is a curse word of a job! I used that plate to mount all auxilliary electronics and the ecu. So it's not only heavy (also added vinyl upholstery) but the ecu makes getting it in place very hard, the last cm is the problem. In the centre that is, where there is one single bolt to screw to the centre dash inner support. I cut my hand repeatedly and chafed it open back to front including my wrist. I was so curse word after trying for 30+ minutes that I just packed up and left. Turned out is was 16:30 by then anyway, traffic wise a smart time to leave! Celebrating a 7kg weight loss I drove by McD to get food for the kids and a single burger for anne and myself. And that was my afternoon of tinkering. So some jobs ticked off... The plan for monday is to just get on with the dash. A hard thing is goin to be getting the oil pressure gauge fitting back onto the plastic hardline. I'm going to force the last cm of the lower plate up so I can tighten it down. And then it's just a matter of routing a lot of wiring permanently... And putting in the binnacle. Unfortunately testeing the speedo is hard with the engine off it's supports. I'm sure that will have filled up the monday anyway. Next will then be adding two p-clips and replacing the fuel pump connector that should be in by then. Also the foil barriers so the rear panels can be mounted. I'm going to work back to front at that point so the rear will be done except for the side bolsters that have to be remade. SO still moving ahead. I have two days of leave coming up. Hopefully I can get my springs blasted and coated then. That would mean I'd be able to change them out and bleed the brakes and call the mechanicals almost done. Don't know what the turn around on the rack is either. Time for some pics... 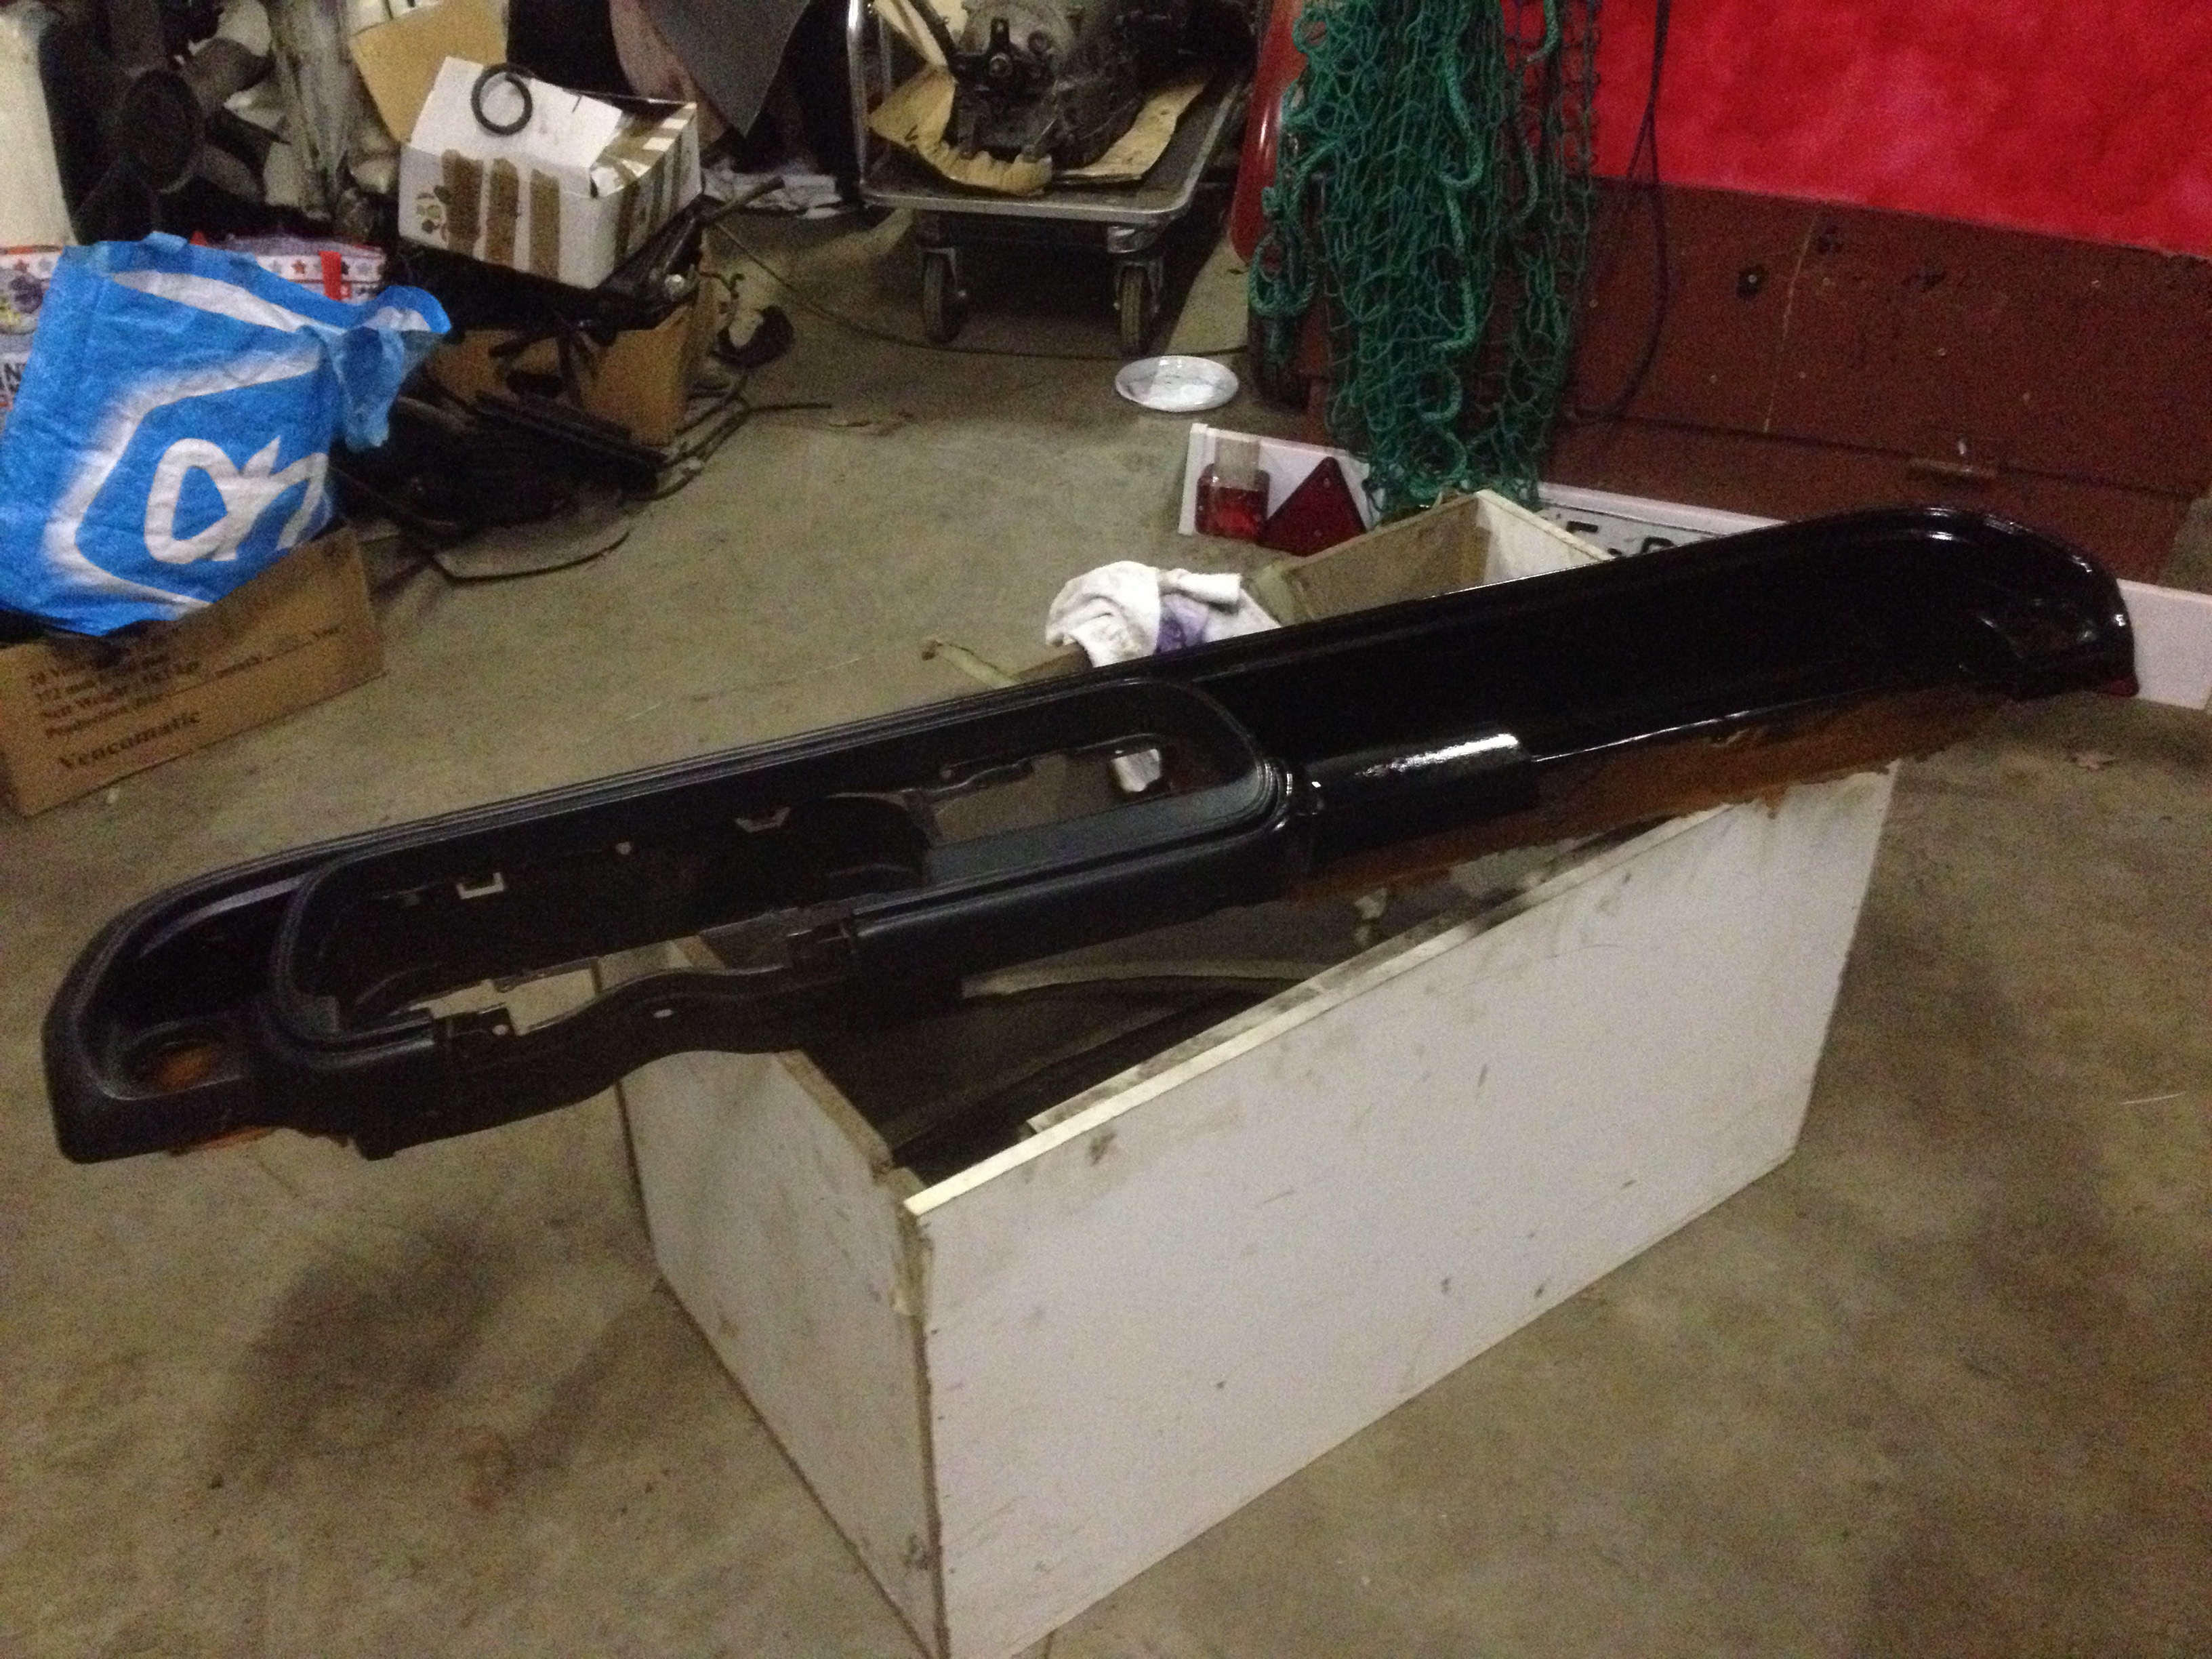 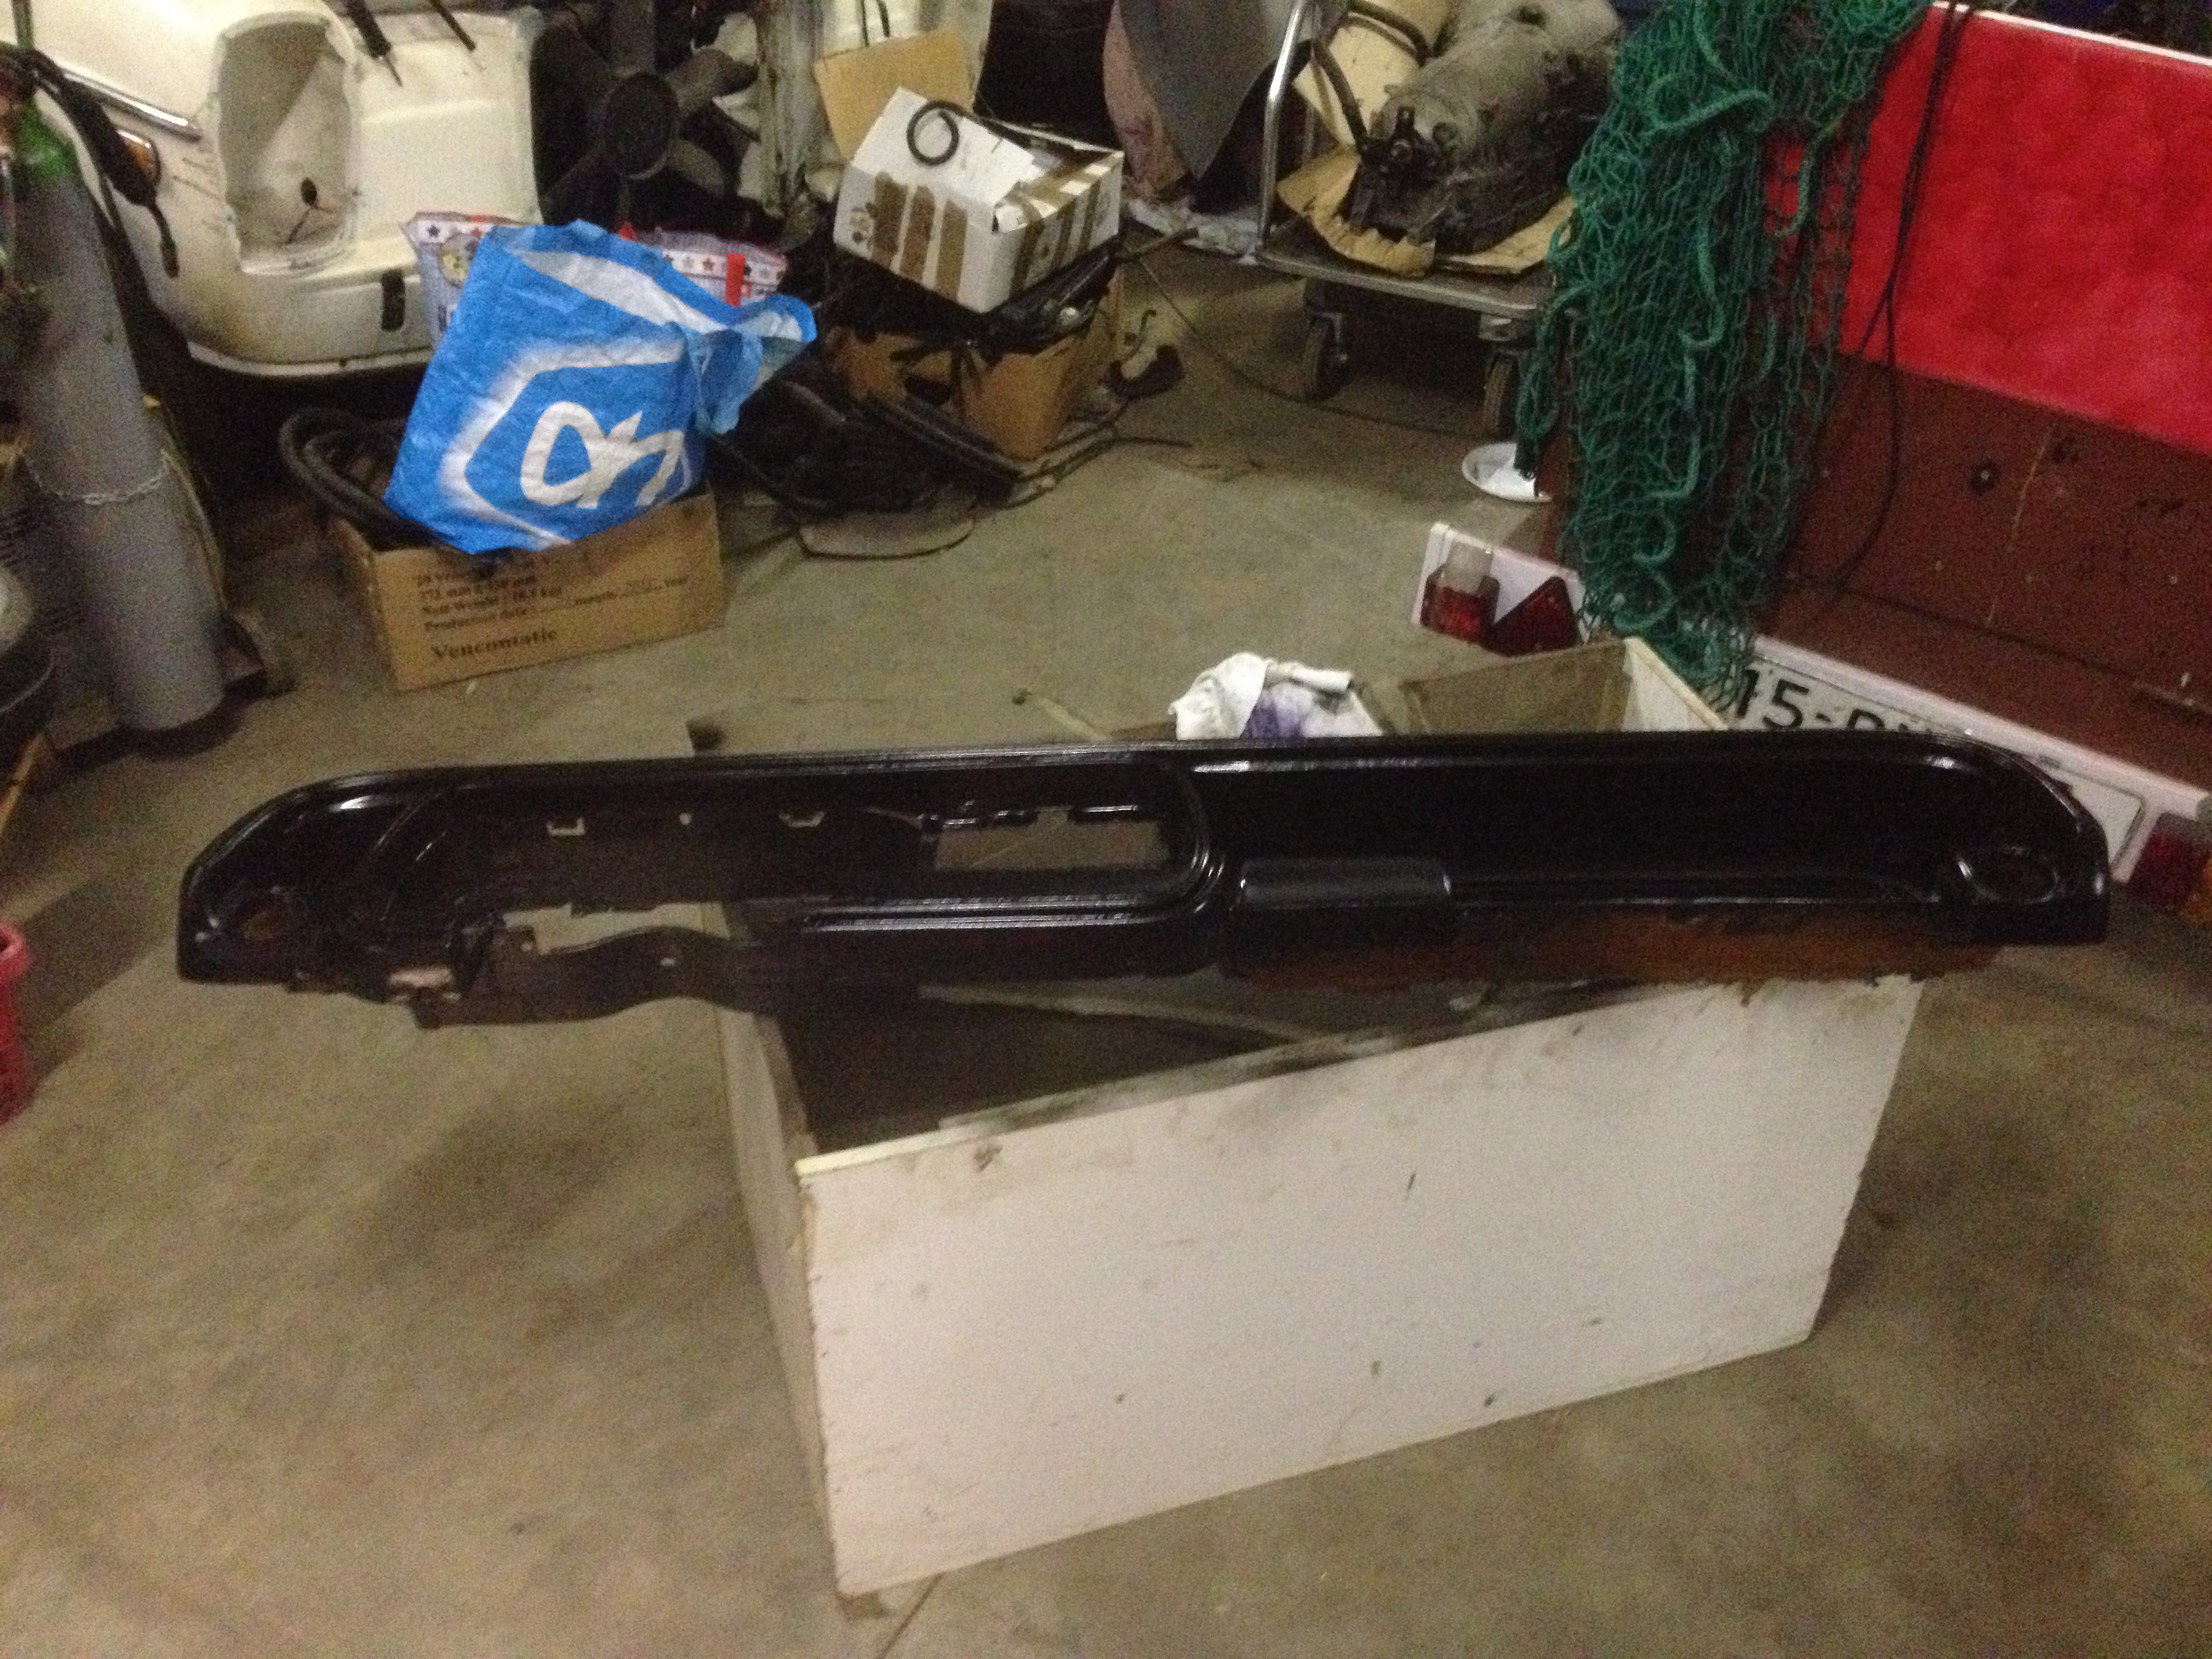 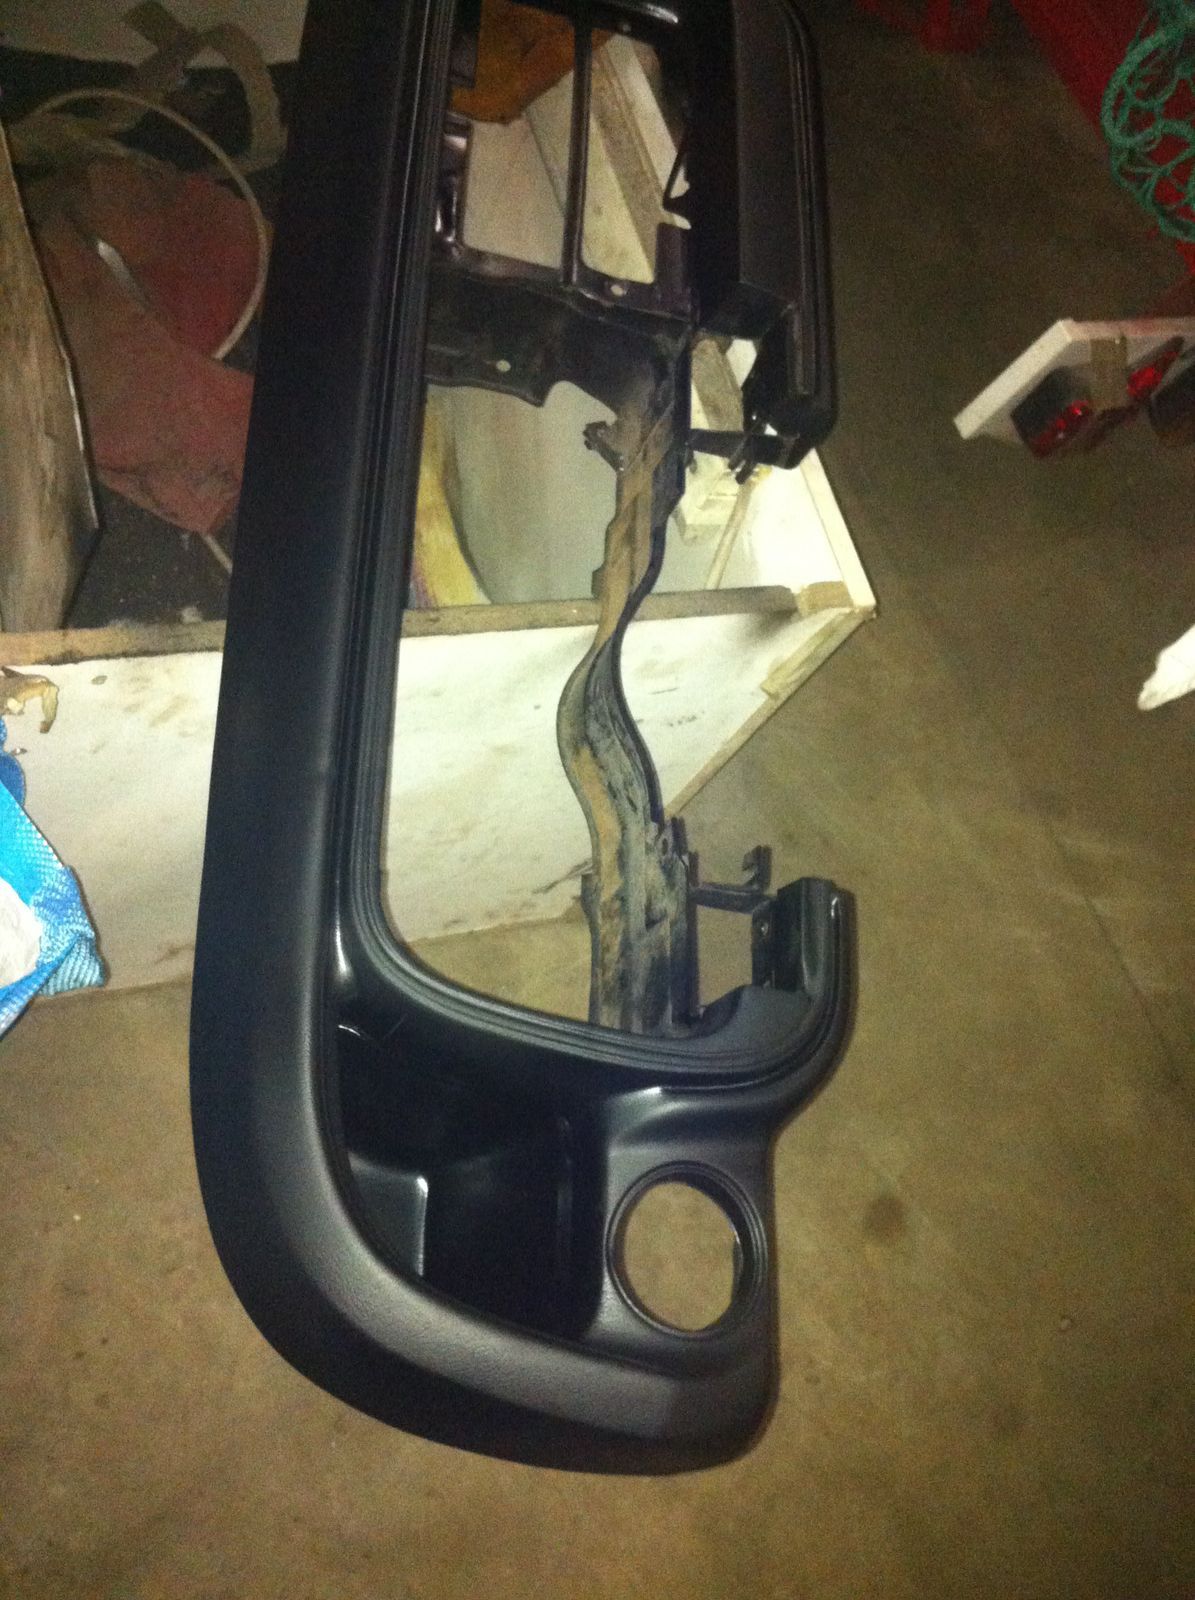 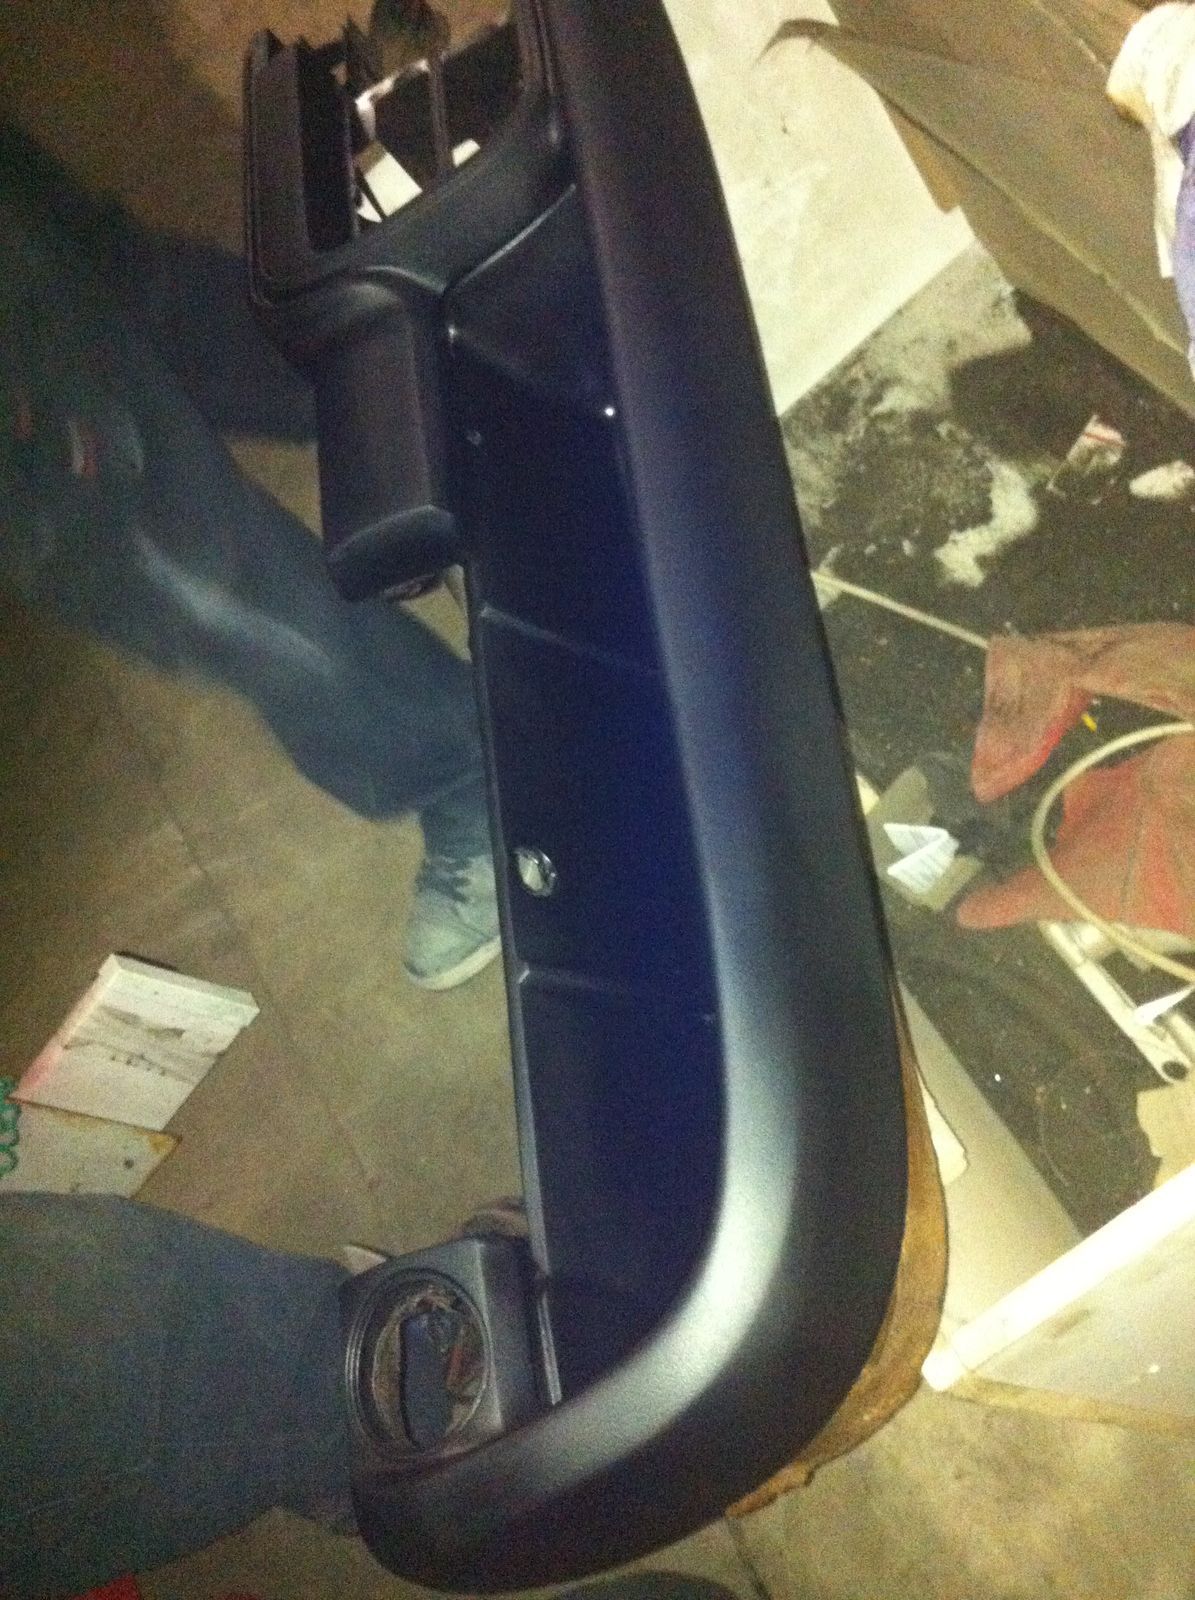 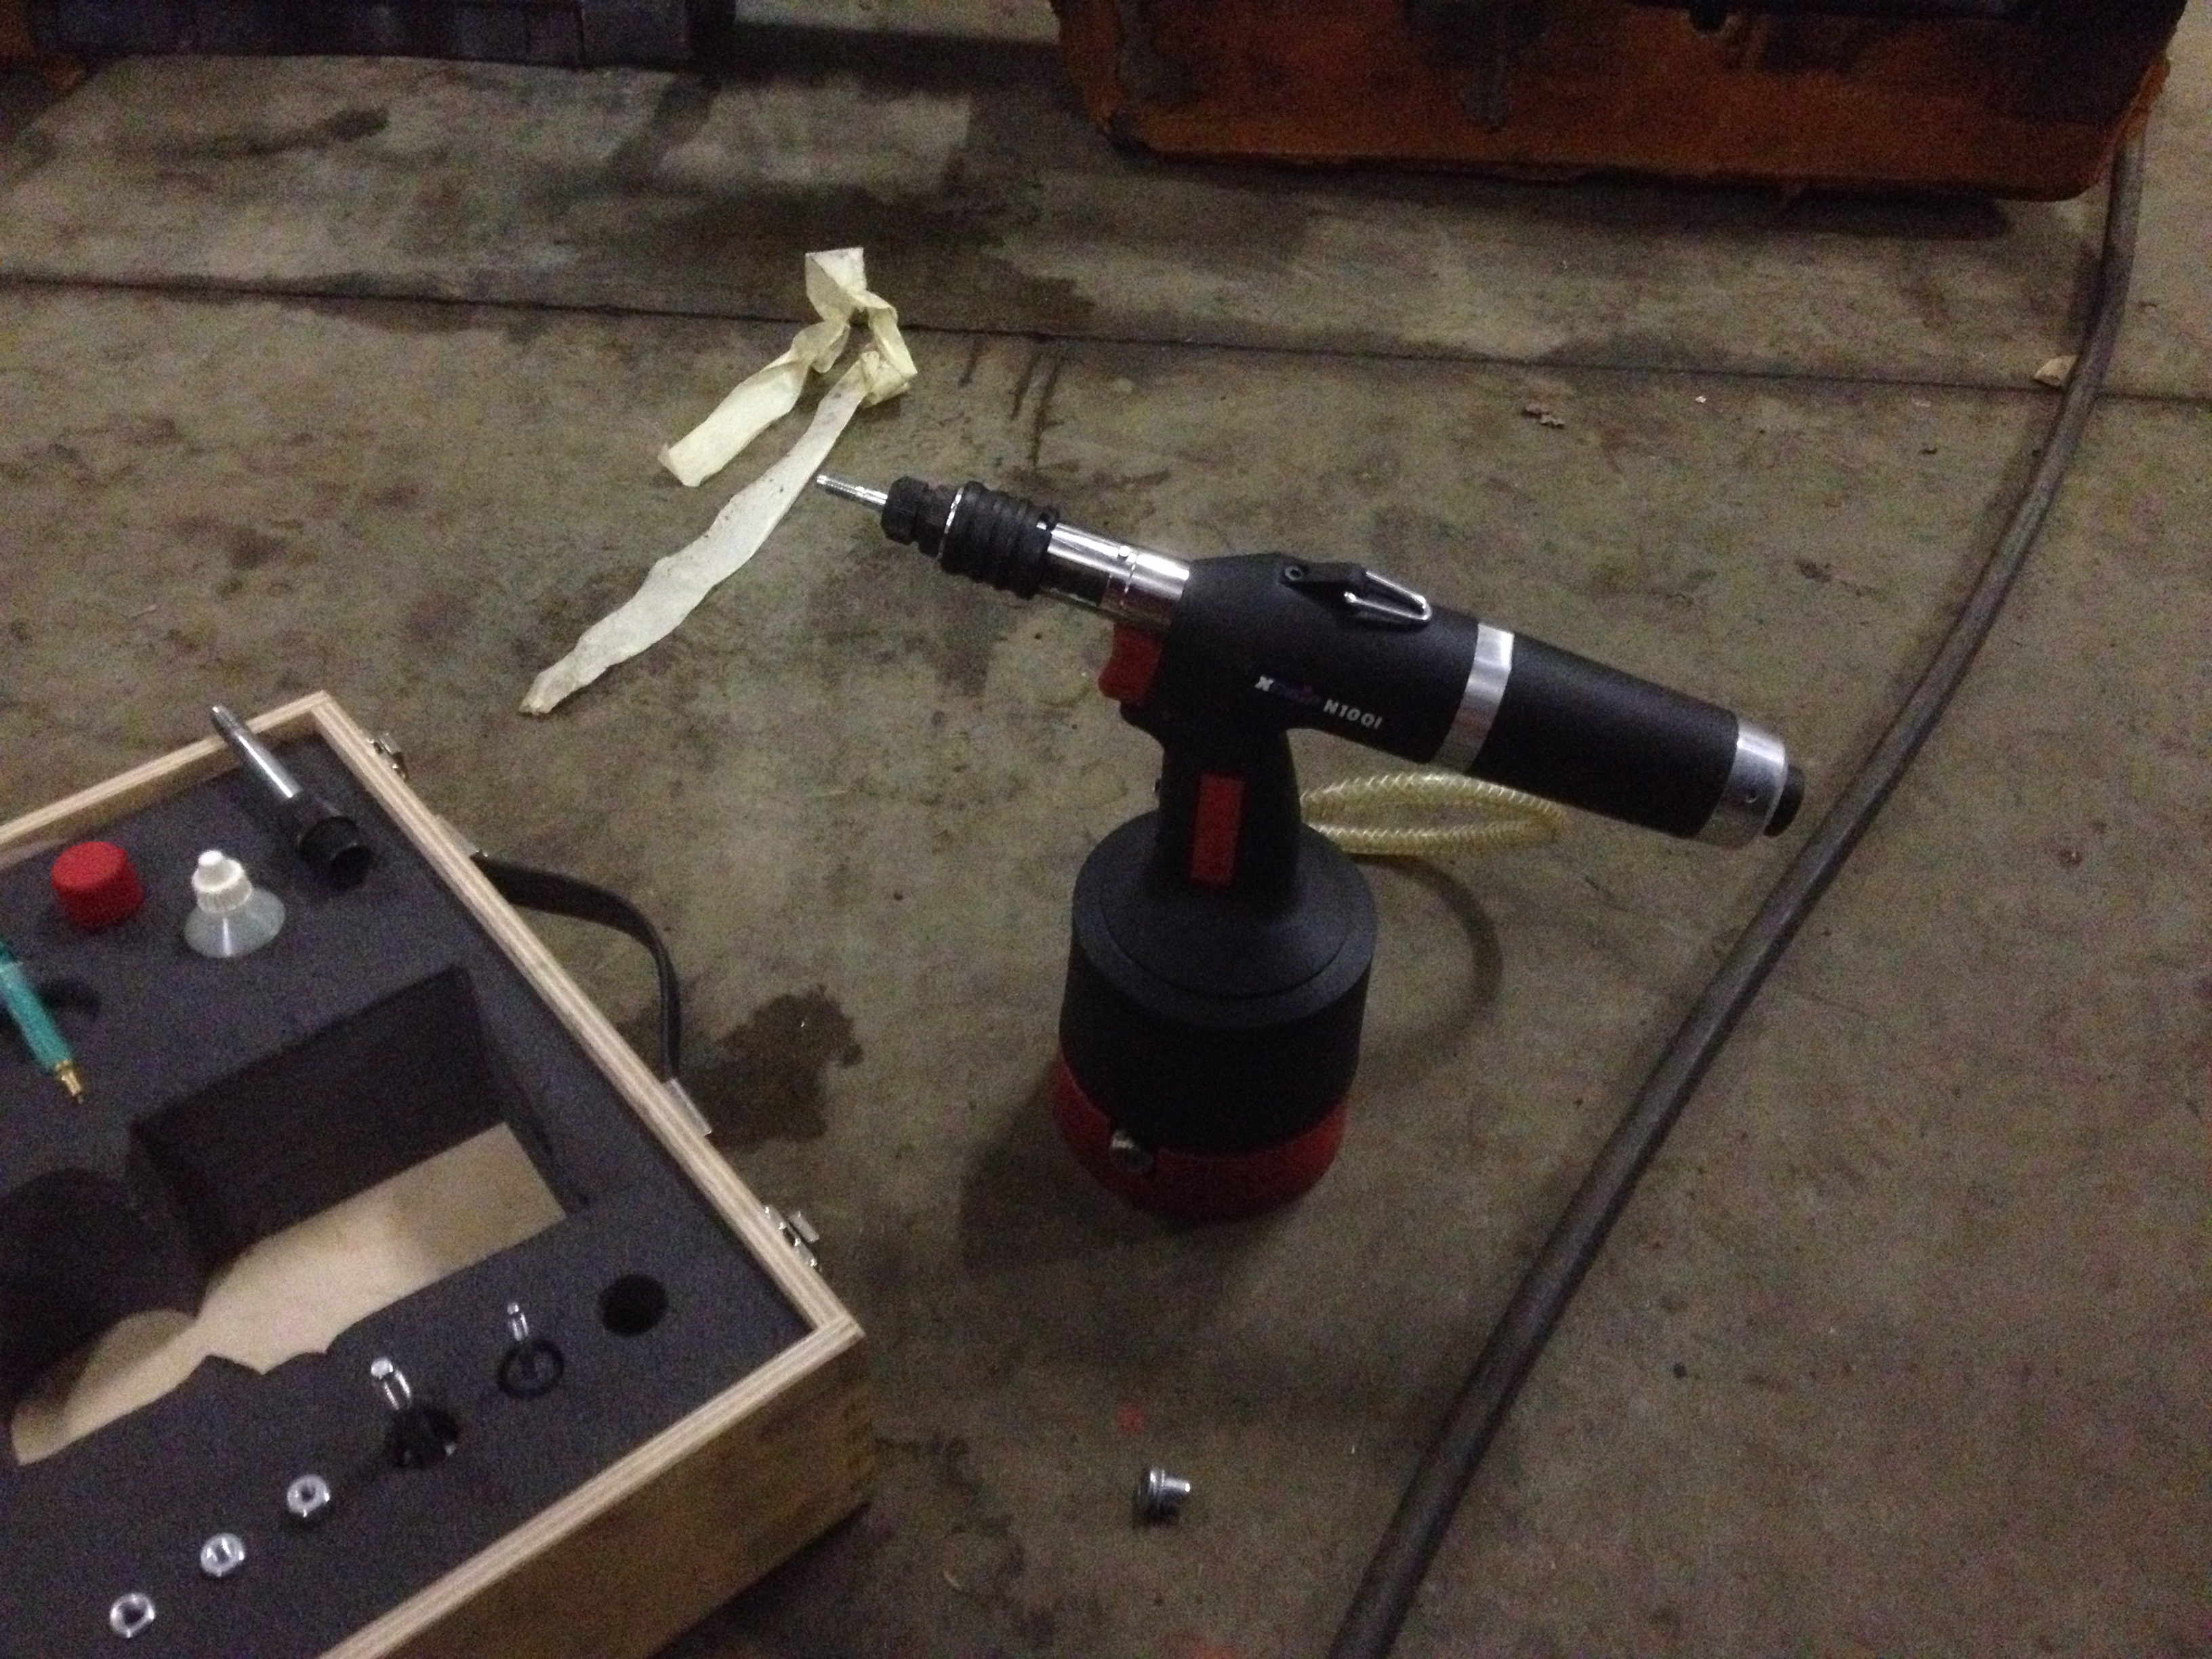 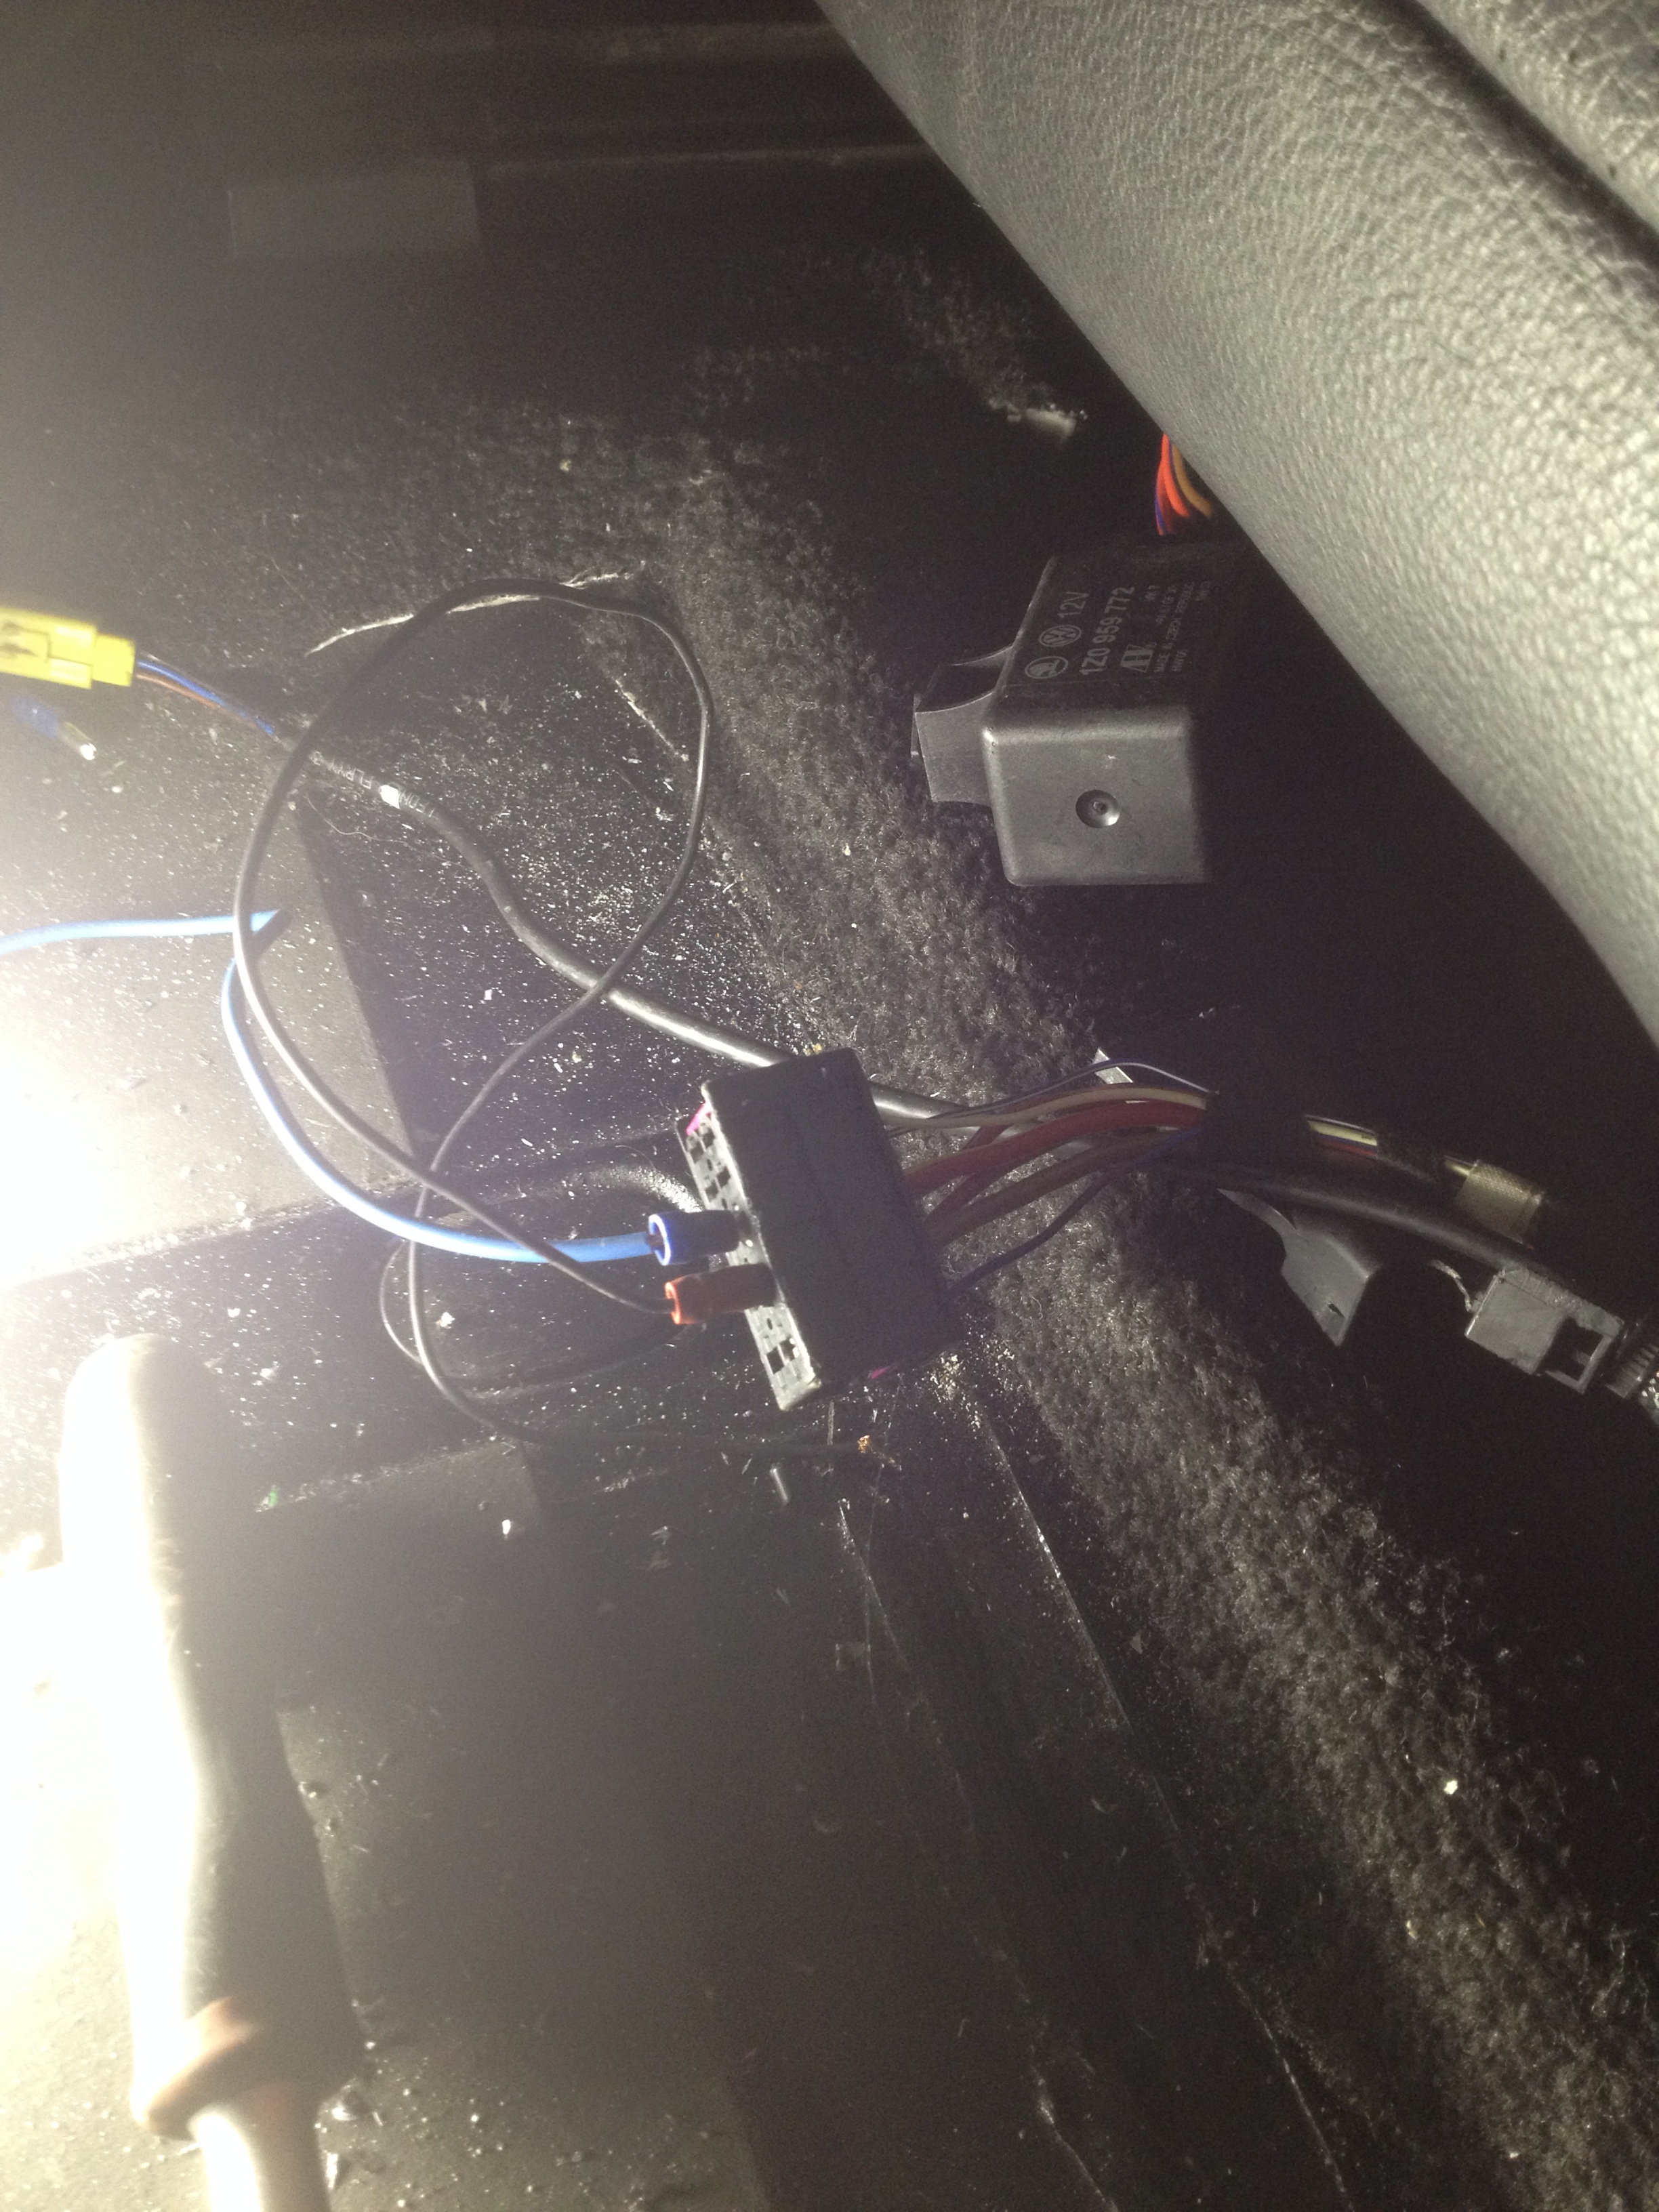 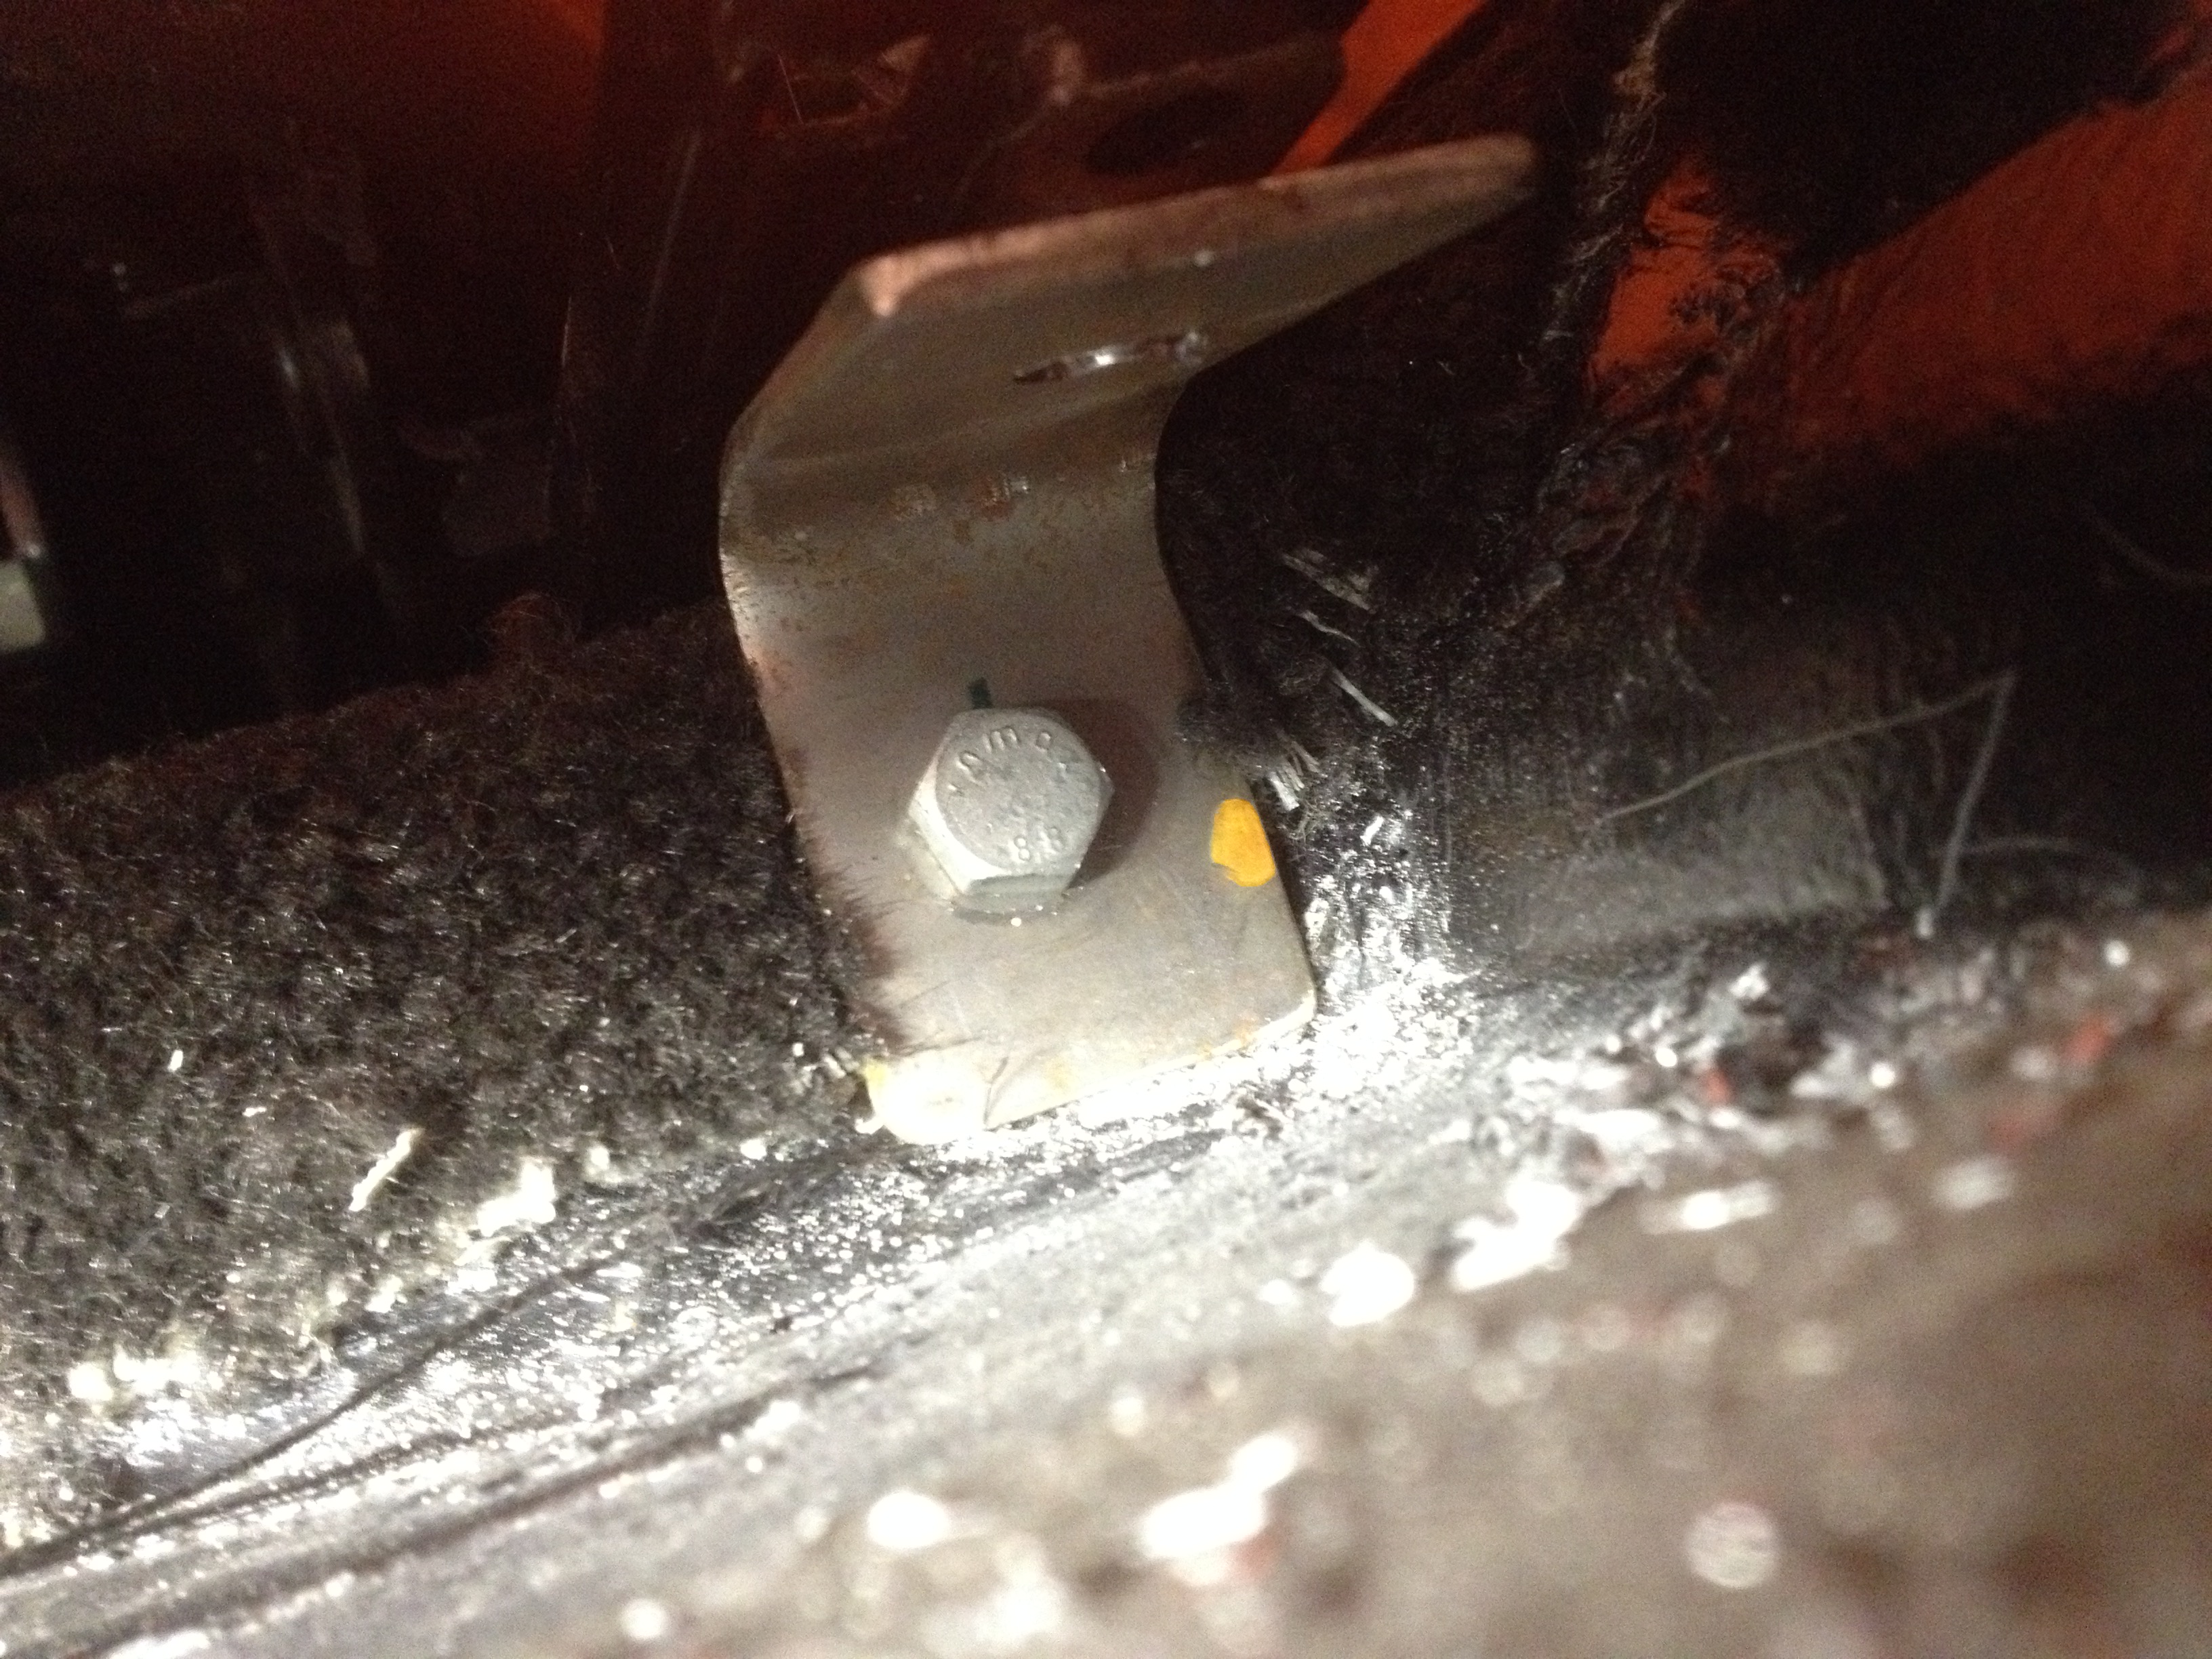 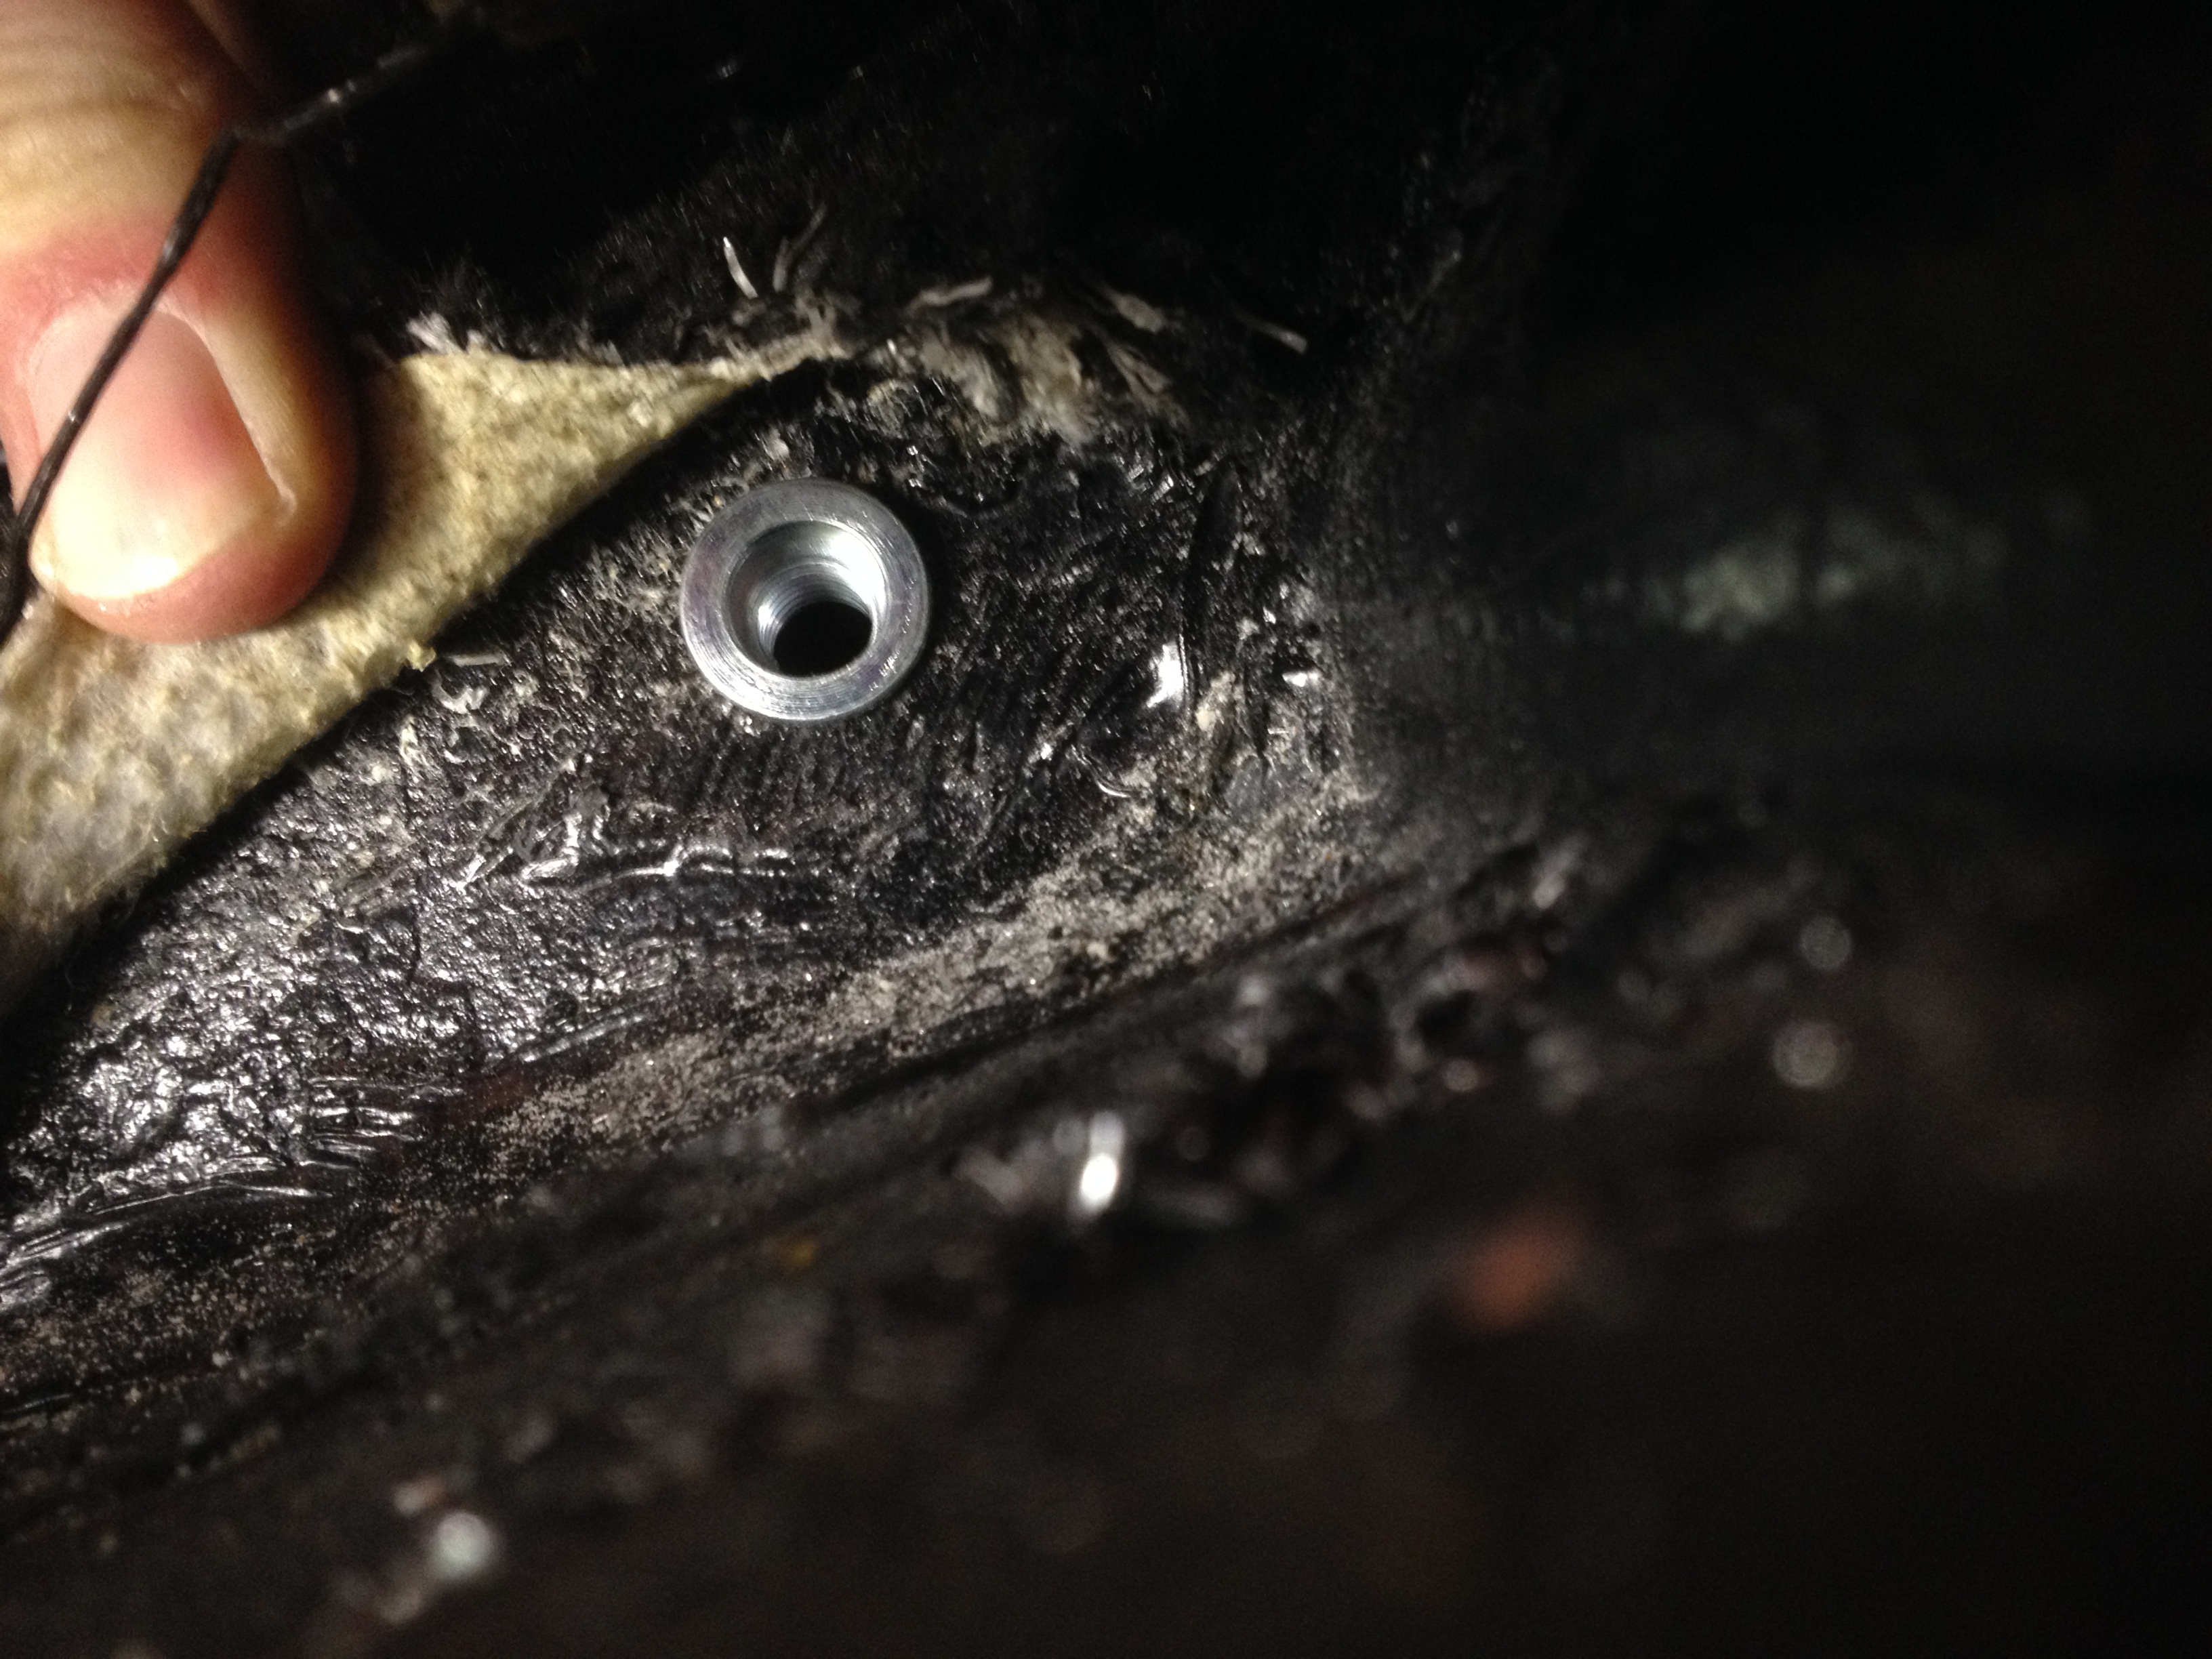 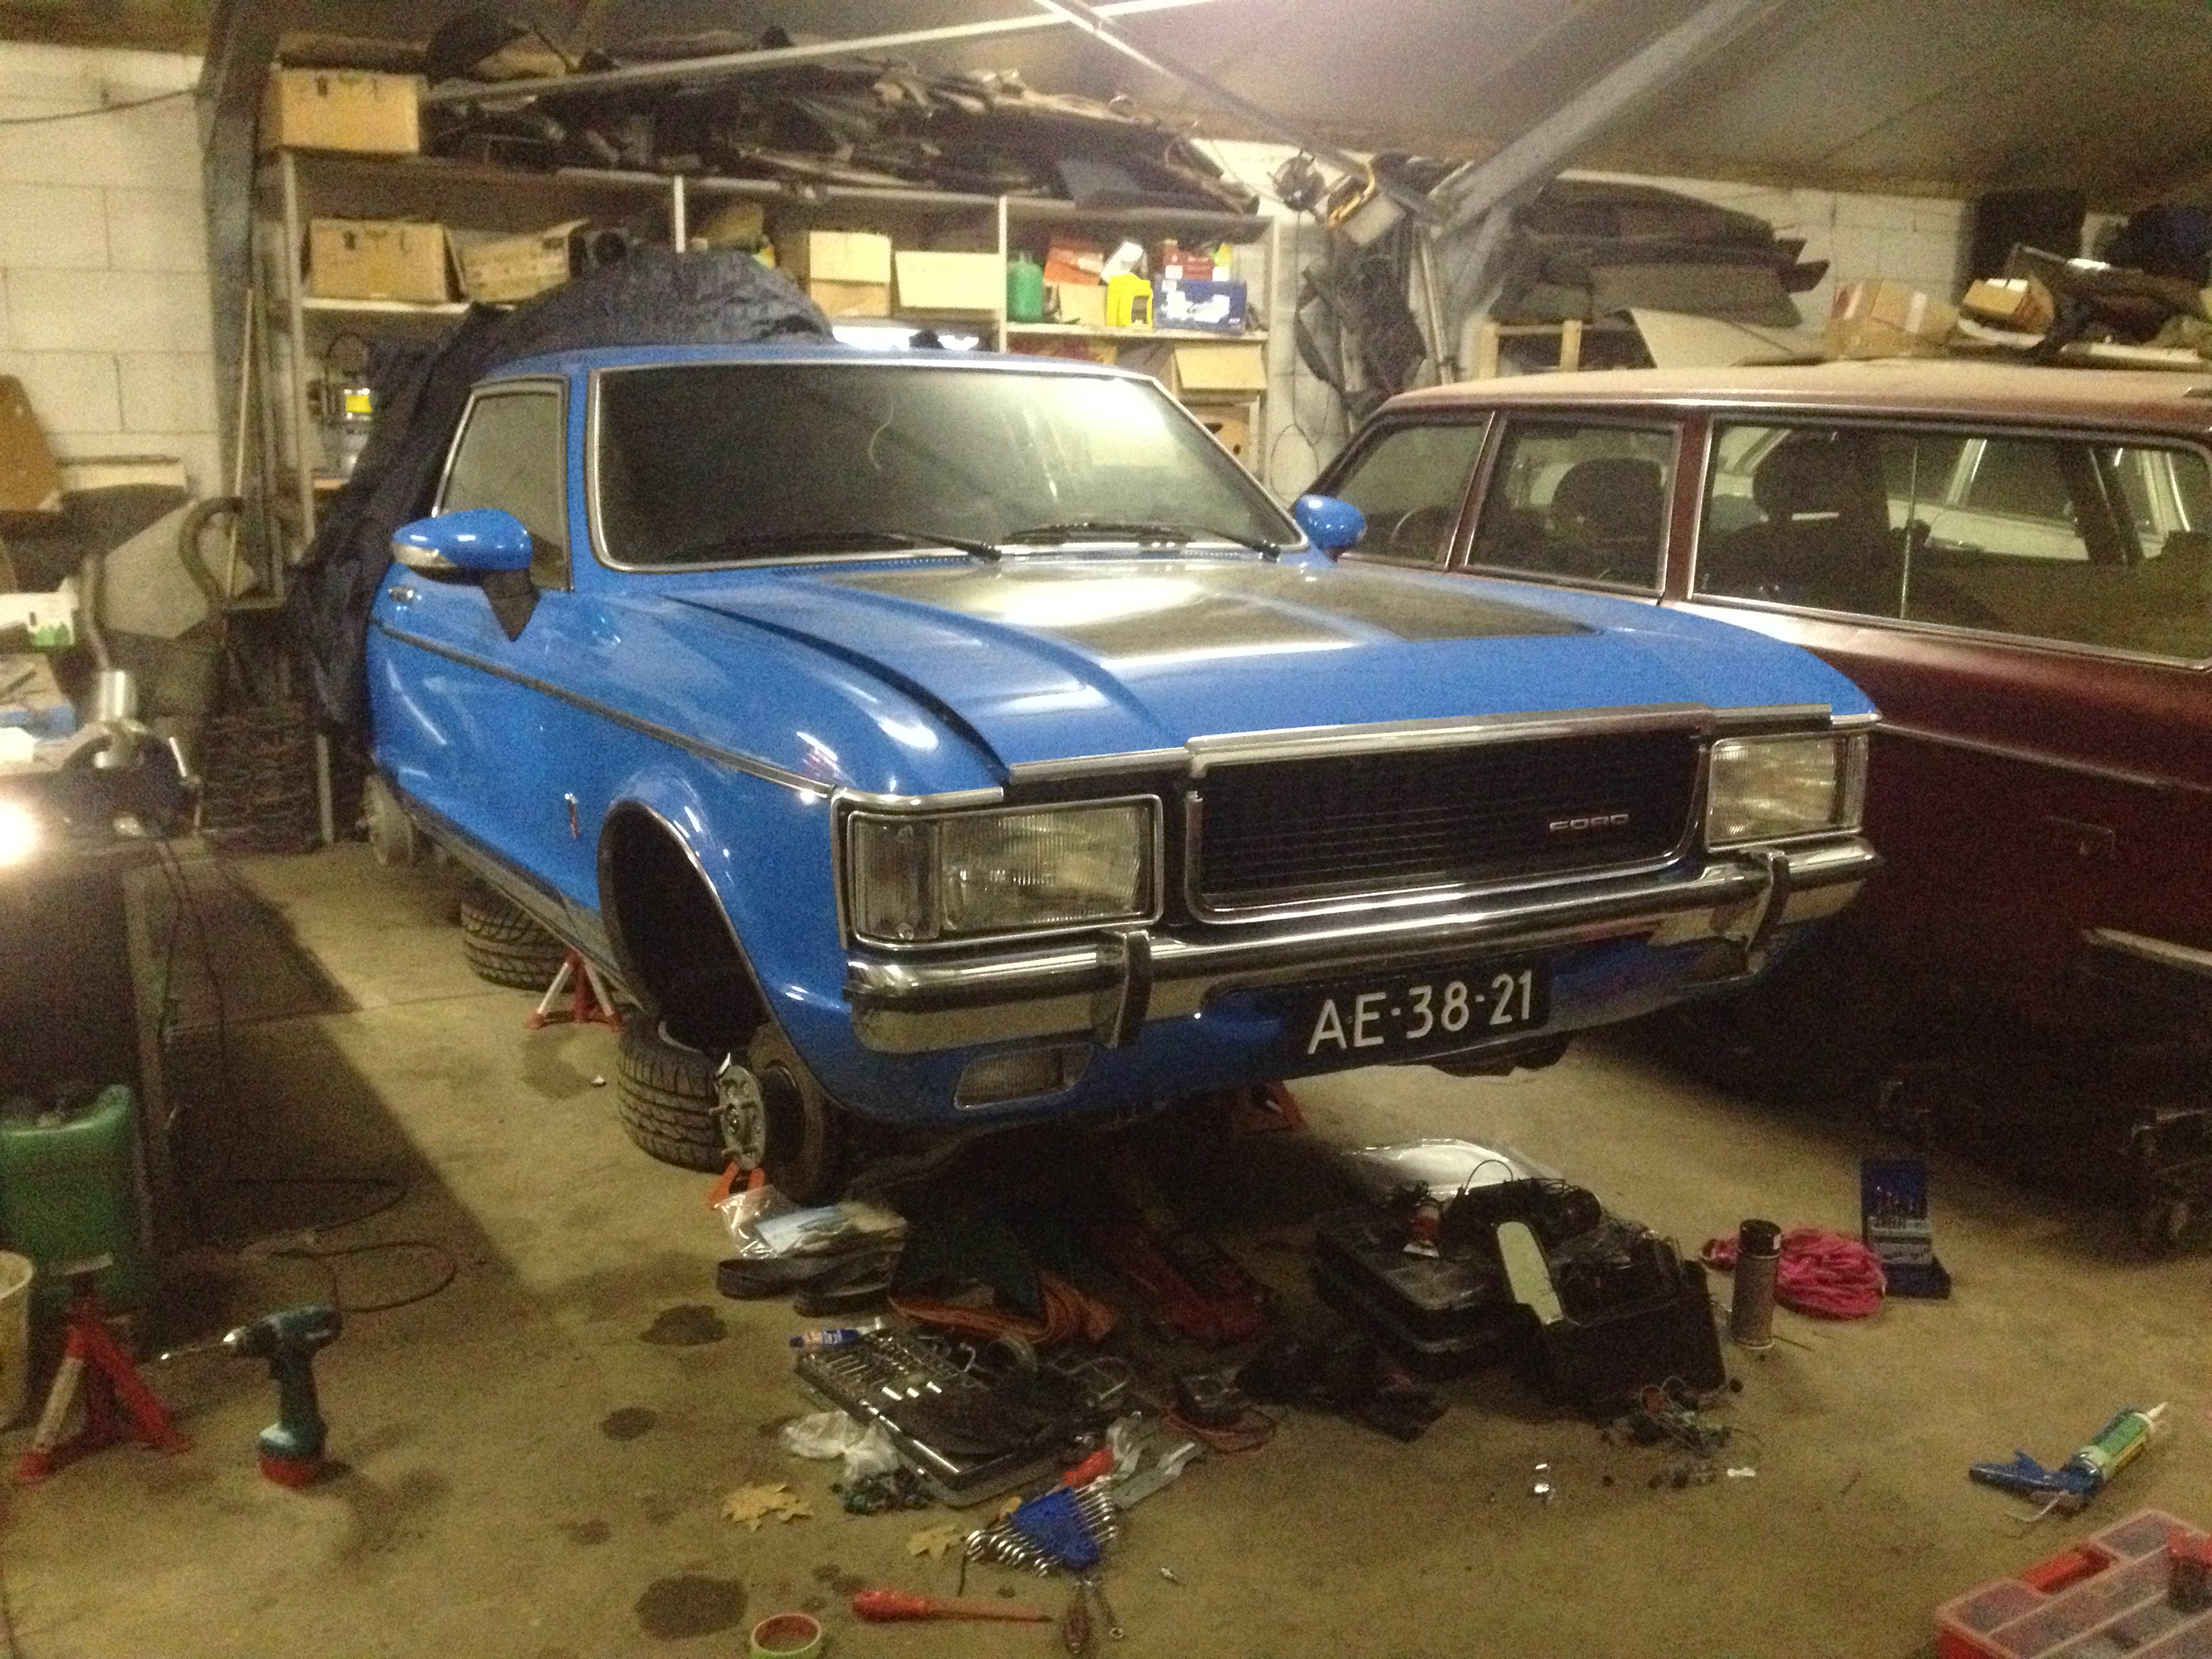 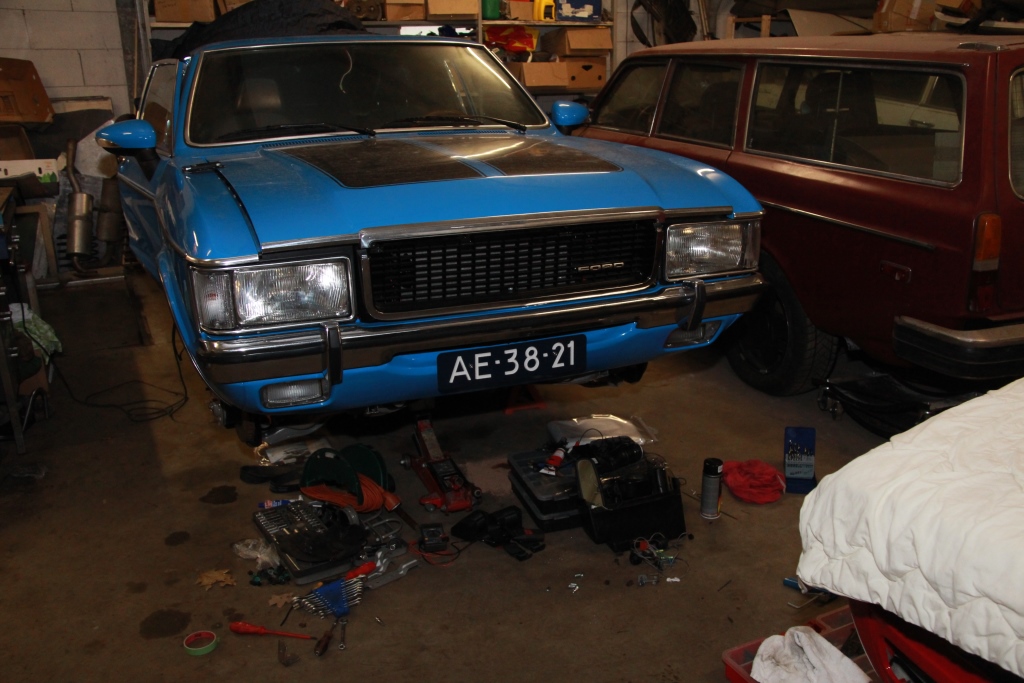 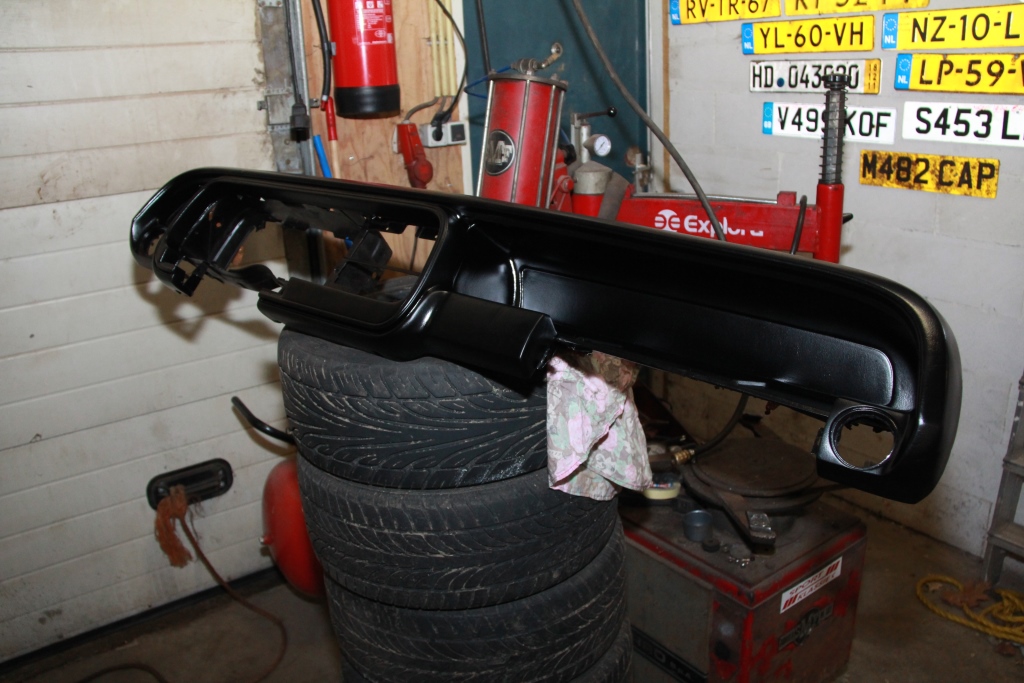 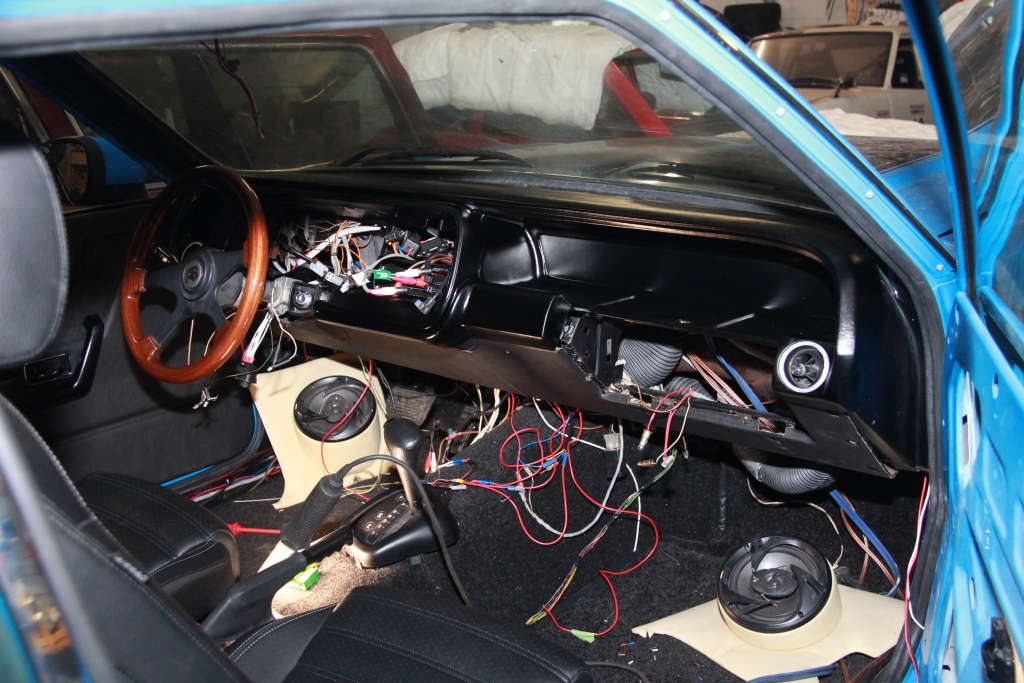 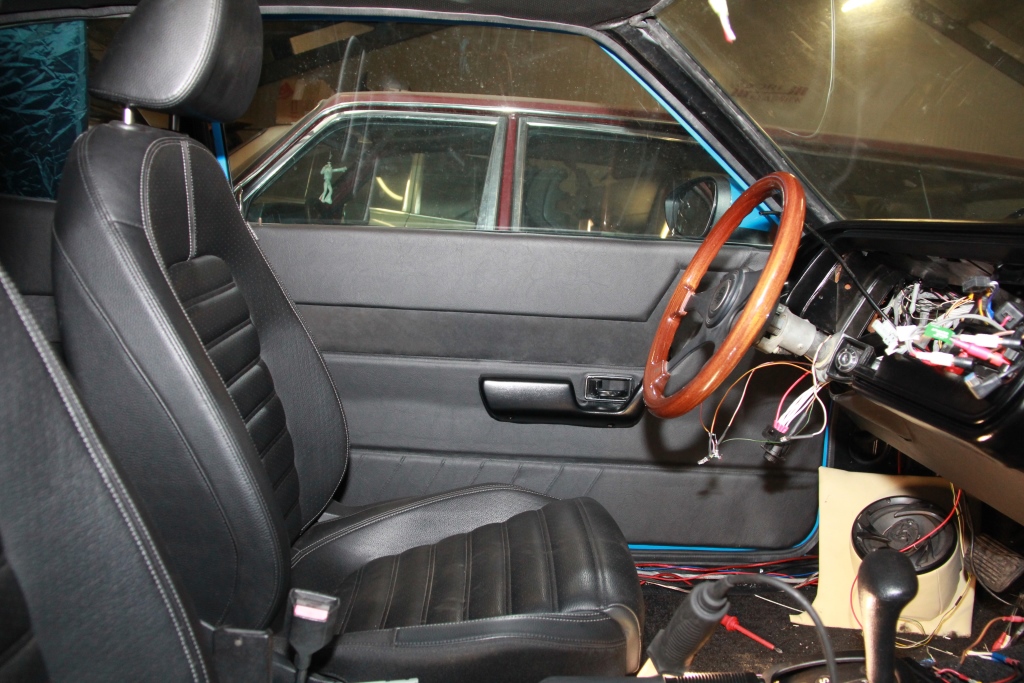 |
| |
|
|
eurogranada
Europe
To tinker or not to tinker, that is the question...
Posts: 2,556
|
|
Feb 14, 2016 16:09:34 GMT
|
Update time!! My steering rack is now at the pro's to get rebuilt. I added spares so the chances of being able to fully restore it are best. Will cost a pretty penny, but if that finally makes the car MOT able, it'll be well worth it. At the moment the focus is on the dash. I also had another evening session working on the dash. After initial fitment, I had trouble getting the bottom plate in place. I put the ecu on it and that made it hard. In my evening session though I had it done in five minutes. So that meant I could get on with fitting all screws and building up the passenger side dash. It felt good fitting those parts and although it took some adjustment, I'm pretty happy with how it all turned out. I had a few days off work as the kids had vacation, so I also had some tinkering time. I had some plans of which installing the dash binnacle and finishing the dash was most important. Well, well prepped I made my way to the workshop. The Transit was loaded and I picked up everything I still needed on my way. Before 9 o'clock I was on the scene and getting ready to dive in. And so I did... First thing was the hard plastic oil line. The end fitting was off from the disassembly and now needed to be put back on. That as a first job turned out to set the mood for the day. It went awfully wrong. The hard line was so hard that I couldn't get the fitting in. I tried boiling water, I tried lubrication, I tried heating the line with a heat gun, I tried heating the fitting with a heat gun, I tried a lighter. I simply tried it all, but it wouldn't go on. Too hot and the line would melt or kink, too cold and I got even less far. One hour gone... I decided to just fit the binnacle without the oil line on, as it isn't attached to the engine anyway yet as that requires some modification on the engine side. I then set to fitting the binnacle. Connecting the last three wires for the odometer/speedometer and fitting the dash wiring to it. Turned on the lights, no lights... I should have been welcomed by a sea of blue... I bypassed the rheostat as that had been troublesome. All connected up again, still no lights. Tested another dash light, the one for the heater "display" and it was dead also. Checked the fuse and I must have shorted out something as the fuse was broken. Replaced and there were lights, yay! So I set to mounting the binnacle. At which point it wouldn't go in at all. Turns out the replacement dash is a later year and the binnacle sections are shaped differently. With some persuasion I had it in, but then it wouldn't go all the way in. It needed to go deeper another 4 centimeters. When I accomplished that I found that the binnacle would not seat on its mounts as the external extra wiring for the additional leds I fitted now fouled on two metal sections of the dash. Out with the binnacle for the umpteenth time. And out with the dremel grinder! I cut away the offending sections leaving just the mounting tabs. Also thinning them down as much as I could to not foul anything themselves. With the binnacle and dash prepped it should have gone in well. And it did! Yay... Checking the lights reveiled one suddenly missing. One of the indicator lights had fallen from the back. I found it on the bottom tray. Putting it back meant removing the binnacle AGAIN! Another try and it was where I needed it to be and it was tightened down. And then the light check reveiled that a wire to a led had broken from the many times in and oud of the dash. By now it was mid afternoon and I was highly frustrated. It should have been so easy yet it was nothing but misery. I gave up for the day. Took the binnacle home for resoldering and cleaned my work area and put my materials in order under the car. I took anne shopping for the gift for my sis in law who's opening her newly built pharmacy to which we were invited (including a fancy dinner at the greek). I also decided to go back Friday morning to have another go at the dash. On to Friday. I went to the shop, warmed up the soldering iron and while waiting for that to reach operating temperature I chanced the oil line fitting again. Still not much luck. I decided to file down the barb on the fitting a bit. Take some of the sharpness off in the hope of getting the line to seat better. In the end it did, but not as far as Original. I applied some glue to be sure it would not come off anytime soon, but before doing so I gave it pull and it didn't come off. So I have enough confidence in it to use it. I then soldered the led wire back on and now the binnacle was ready for fitting again. I now prepared for hopefully a final try. With the oil line now complete I found that it wasn't in the right spot. I had lead it to the wrong side. Correcting that was not hard yet fiddly. With it attached I put the binnacle back in. I now had plenty of experience yet still it would not just slide in easily. It really does require an effort and the exact right positioning. Still it was now in and...all lights were still operable. At that point I was pretty happy. I moved on to the steering wheel covers. I had to incorporate not only the electric mirror switch, but also the PATS sensor for the Original coded key. That wasn't as easy as I had liked either. The sensor has an awkward box shape to it that didn't really fit anywhere. And I wanted it hidden. So basically only those in the know would know where to hold the coded key to disable PATS. I got it done and it worked. With that out of the way I should be able to fit the binnacle cover to finish off the dash. It was wa very tight fit, but it went in pretty well. Only a minor paint blemisch to fix from the clips scraping the dash. I must say it looked awesome in there. I so love the look of my dash now!! Only niglle is that it somehow puts some pressure on the light switch for the city lights. So to turn off the lights I have to touch the cover a bit. A small tweak will fix that. But I put that down to the slight differences in dash years as well. With the cover in it was time to add the matching blue semi retro radio. It's a late 90s or early 2000s model. It is able to display old style vu gauges on its OLED display. I then made the demo video....of course, the gauges have yet to be proven operable, so it may have to come out once again. But at least not today. Feeling somewhat better after the immense fight the dash had put up, I moved on to correcting another mistake. Forgetting the water barrier foil on the door before fitting the door panel. I by now had also found that one arm rest bolt would not catch on it's bracket so the arm rest was only half mounted. I really had no option but to take the panel off. I was dreading that as I was fearful that the clips would come out of the panel rather than out of the door rendering my hard crafted custom panel useless. As my neighbour had once given me a very nice and useful tool for just this purpose I gave it a shot. Turned out to be doable. 10 clips died in the process, sticking in the door, but not killing the panel. So with the panel out of the way the clips were removed and replaced in the doorpanel as well. I cut some foil and investigated the arm rest issue. Apparently I have trouble counting, as I put the clip that holds the screw in one hole too far back... With that fixed and the foil glued in place, I replaced the door panel. This time the arm rest screwed down well and I felt better still. With that complete and the dash in, I decided to call it a day. It was early afternoon so I considered myself Lucky and also felt that continuing would probably jinx the work to be done. And that is where I am now. I looked into the next job on the list and felt it was going to be a tough one. I need to find the holes for the console brackets through carpet and 1cm thick undercarpet. There is no way to poke a hot nail or something through from below as there is just too much in the way in the form of a gearbox and exhaust and driveshaft. So the only option: do this with the seats out. As the seats are bolted over the central carpet so I can't lift it with the seats in place. Yet there is no room to open my doors far enough to get the seats extracted. I plan on removing the rear seat base, undoing the passenger side seat and putting that on its side in the back of the car. That should give me access. Then I left and this weeks tinkering was done. I do feel progress was made, yet not enough given all the hours put in. Still any job done is one less to do right? I guess I'd better show the pics and video... 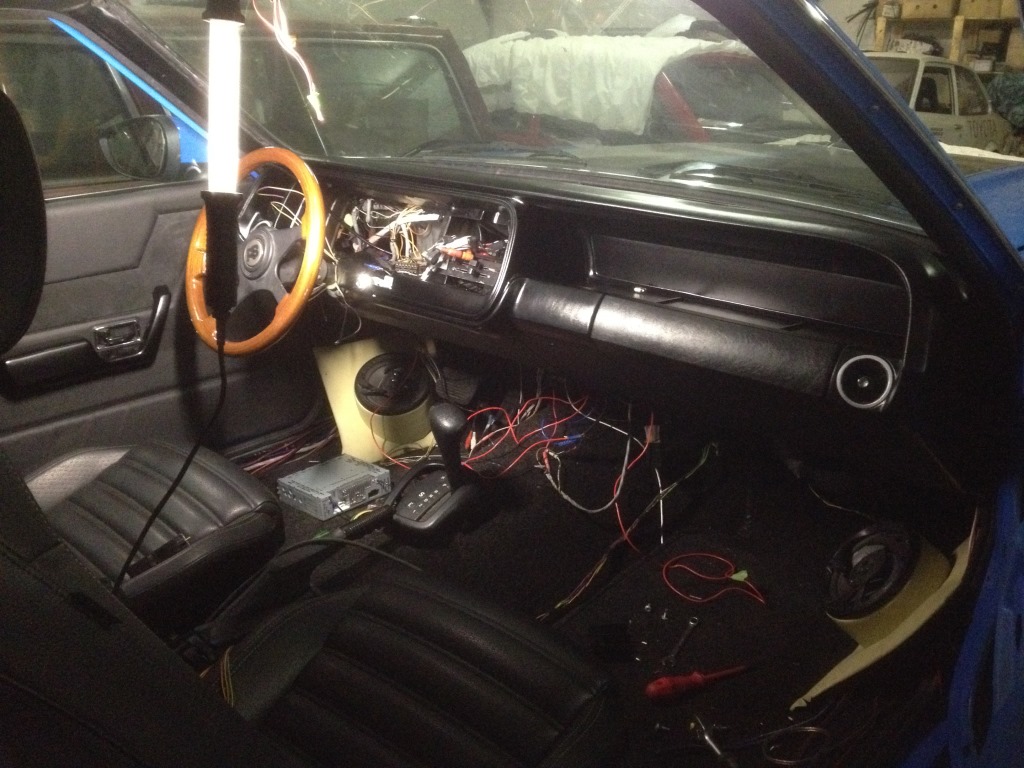 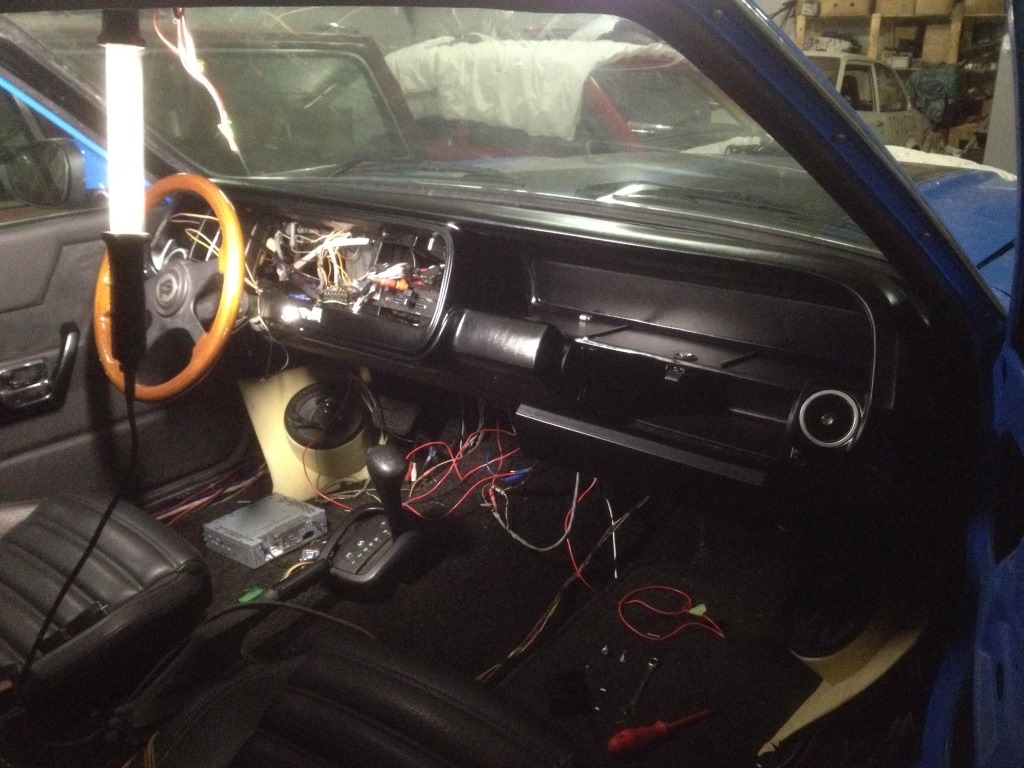 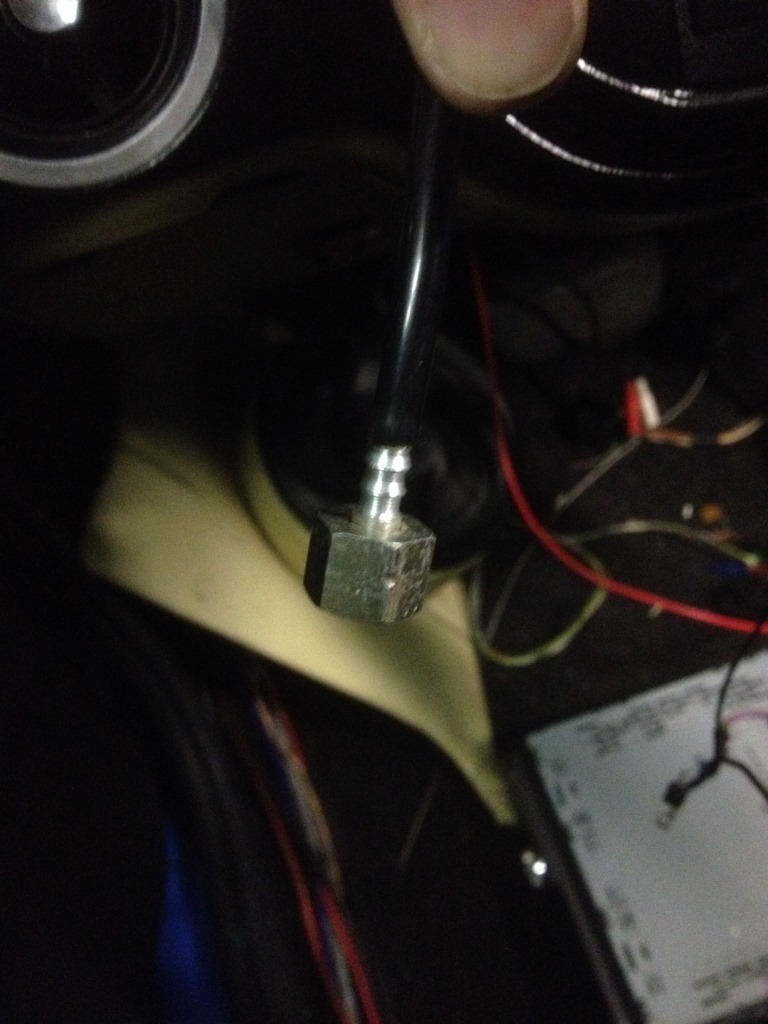 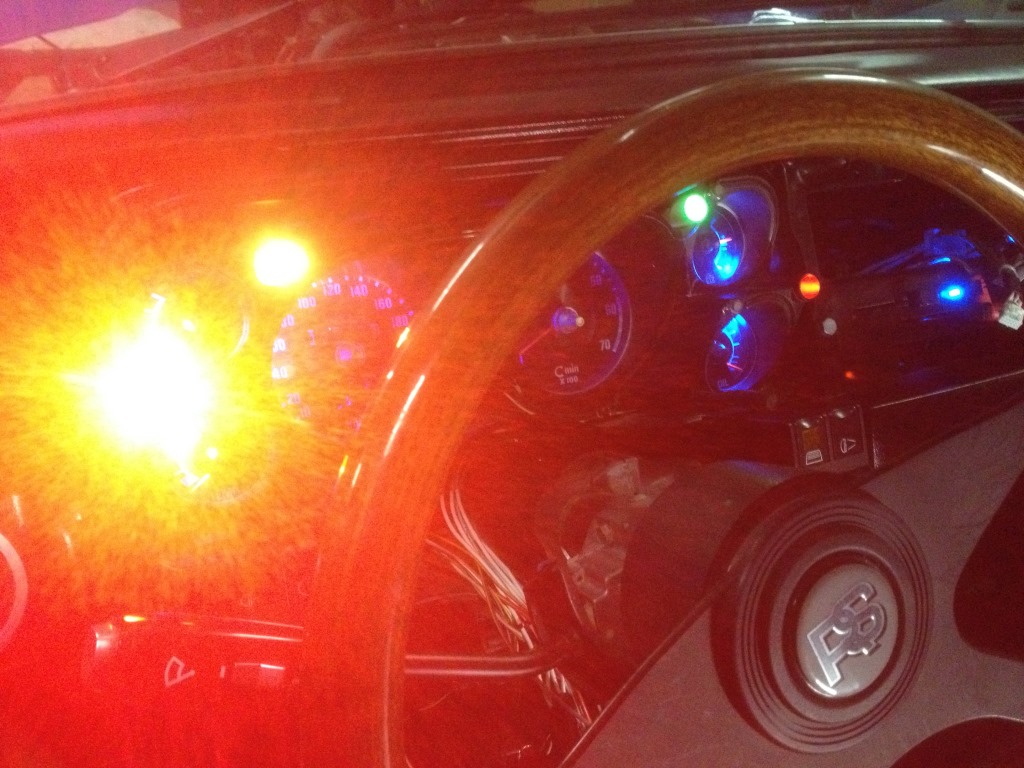 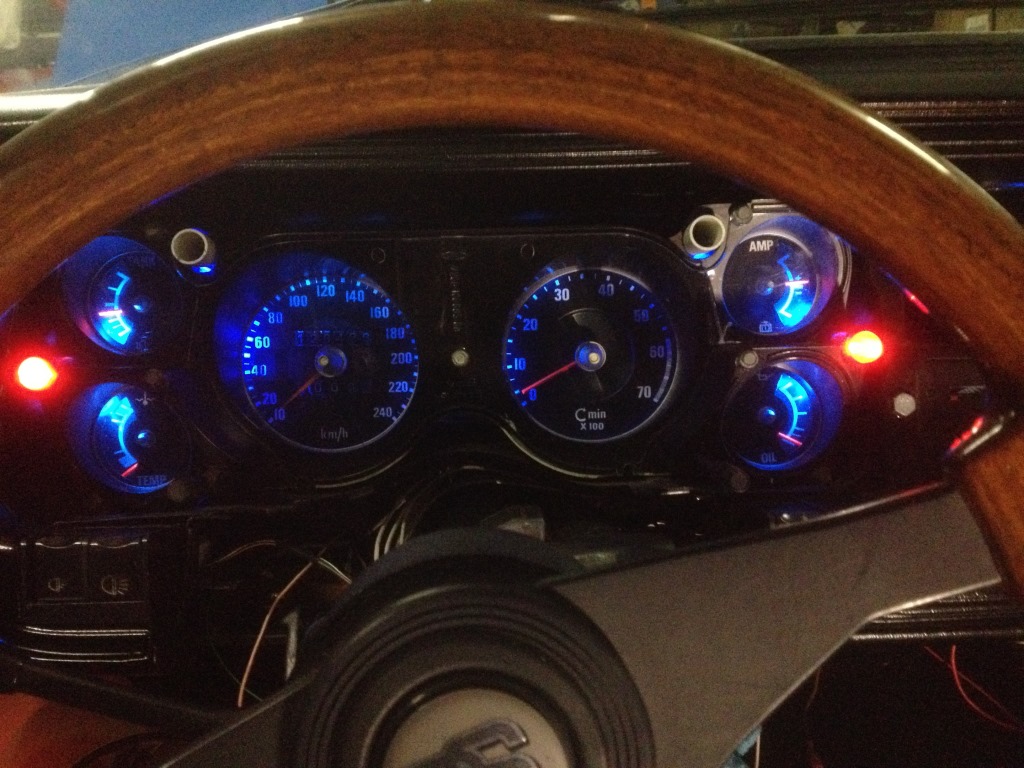 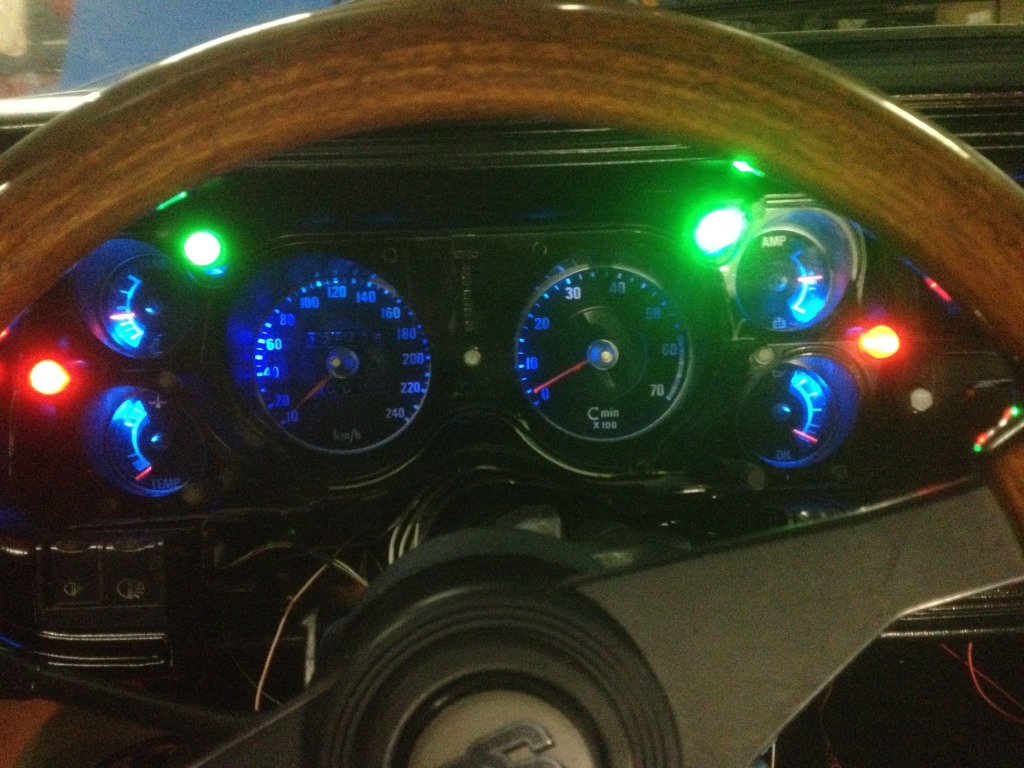 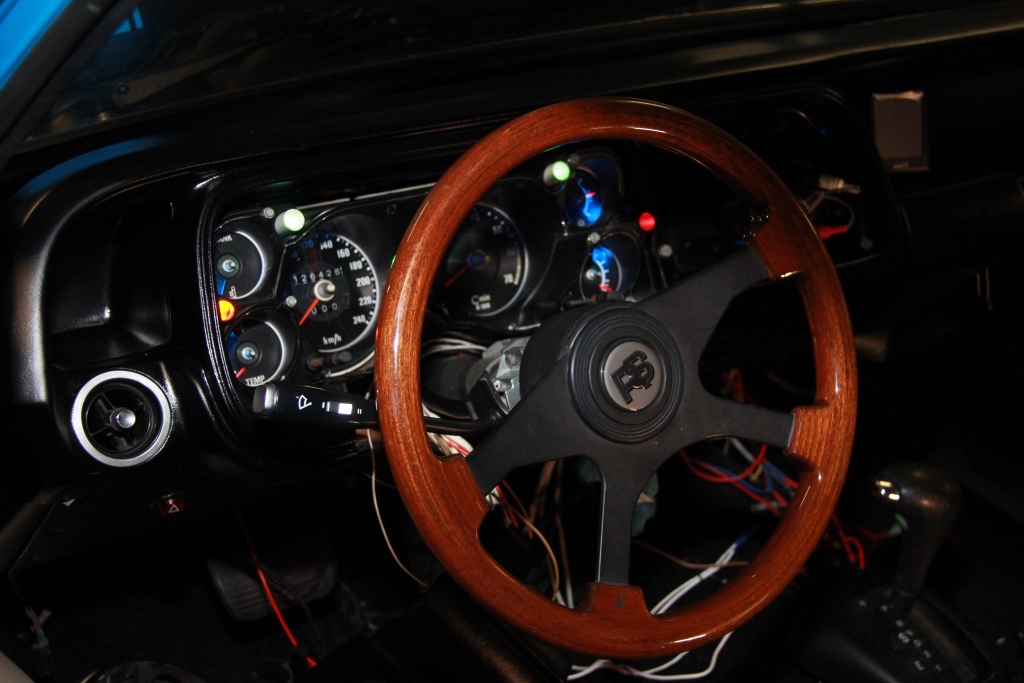 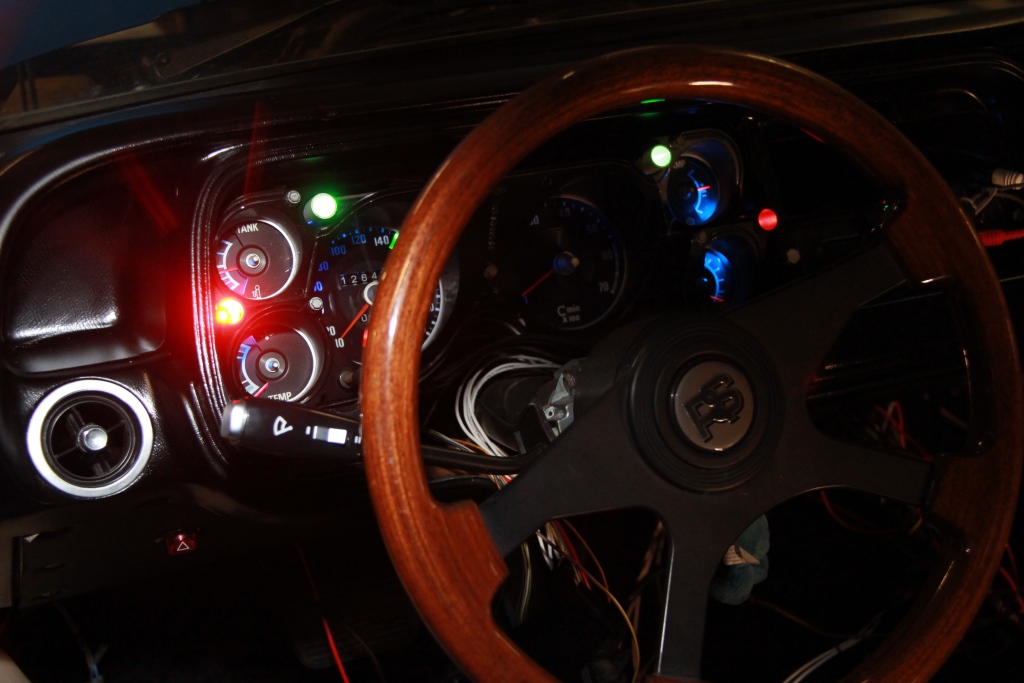 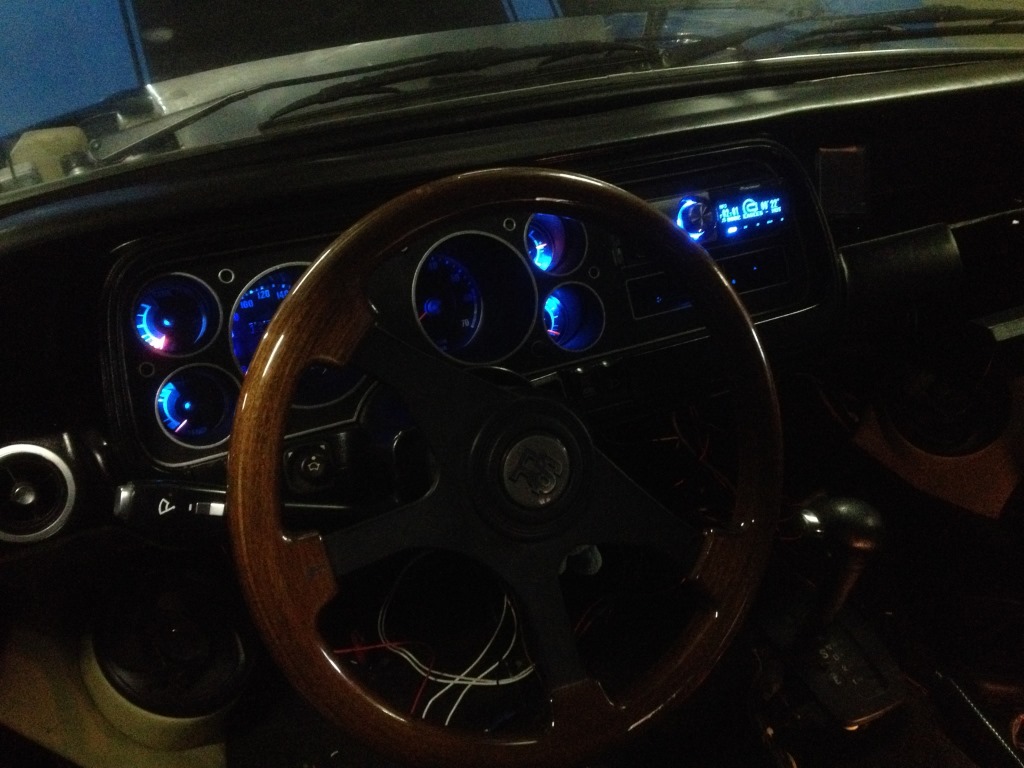 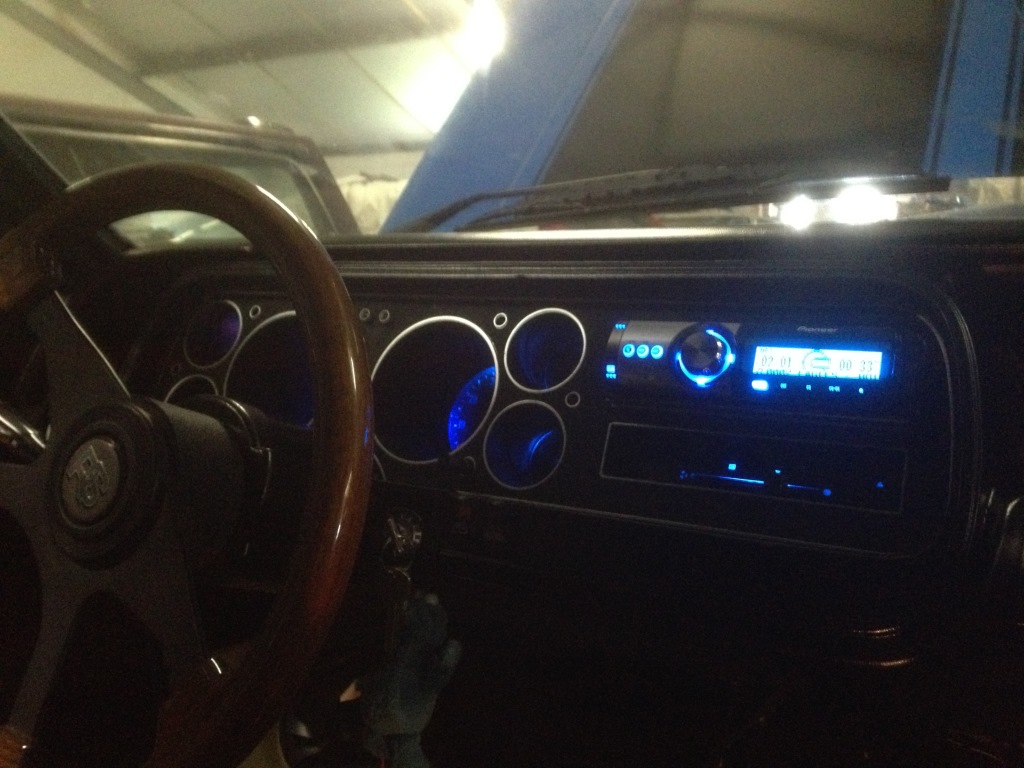 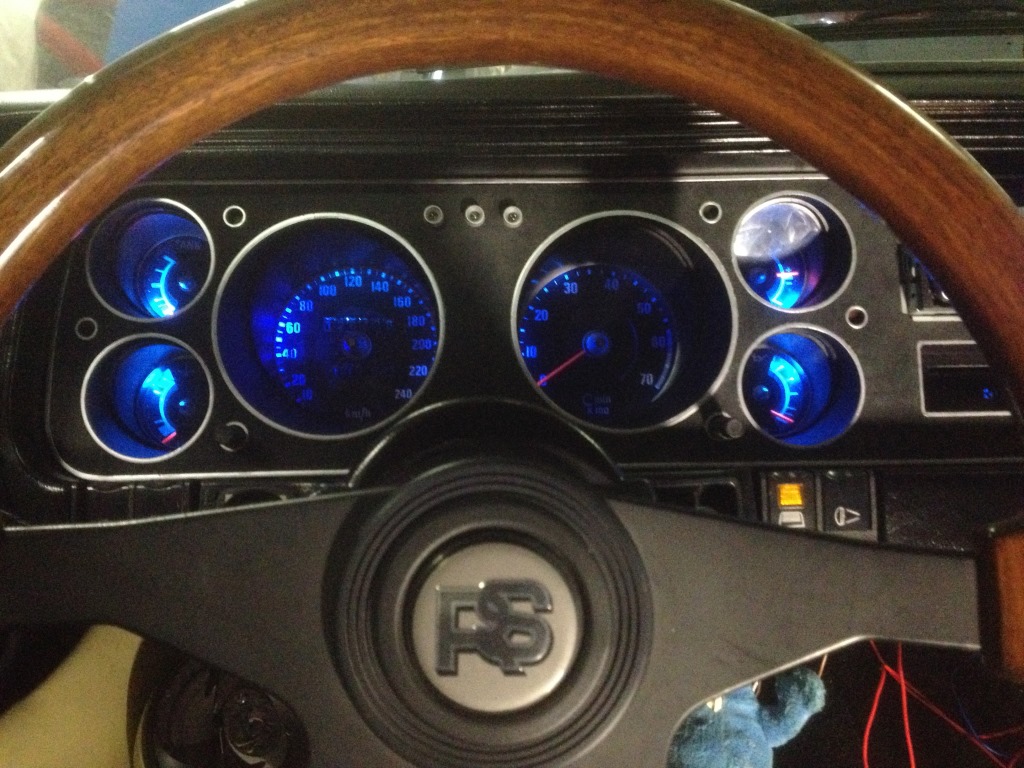 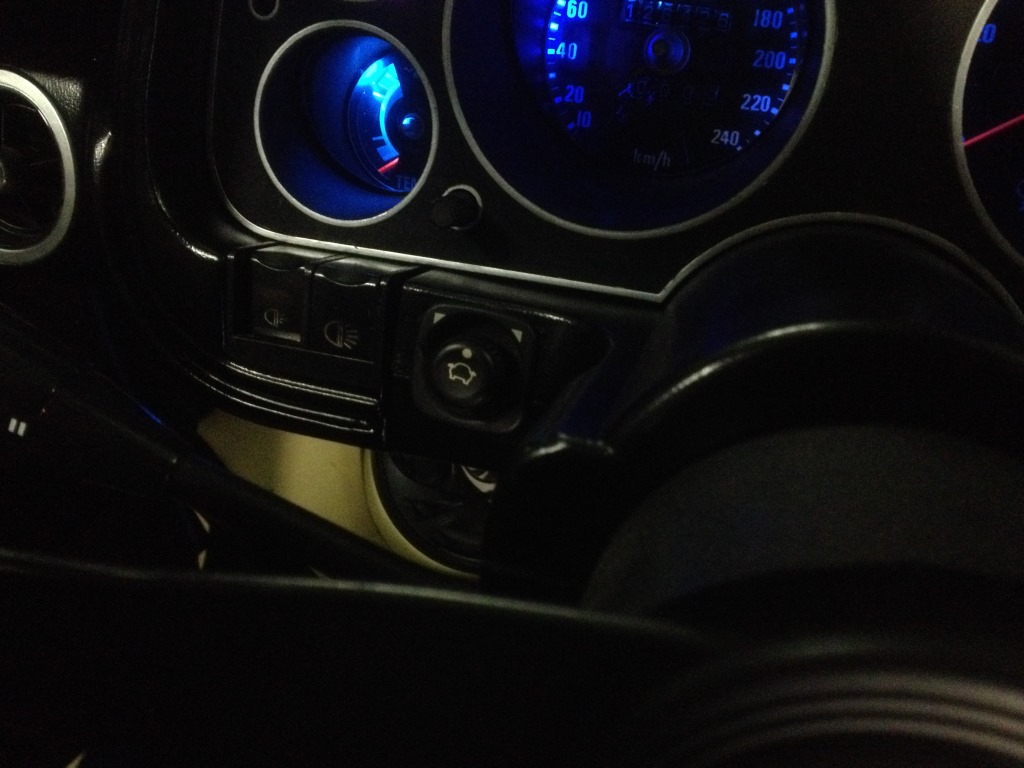 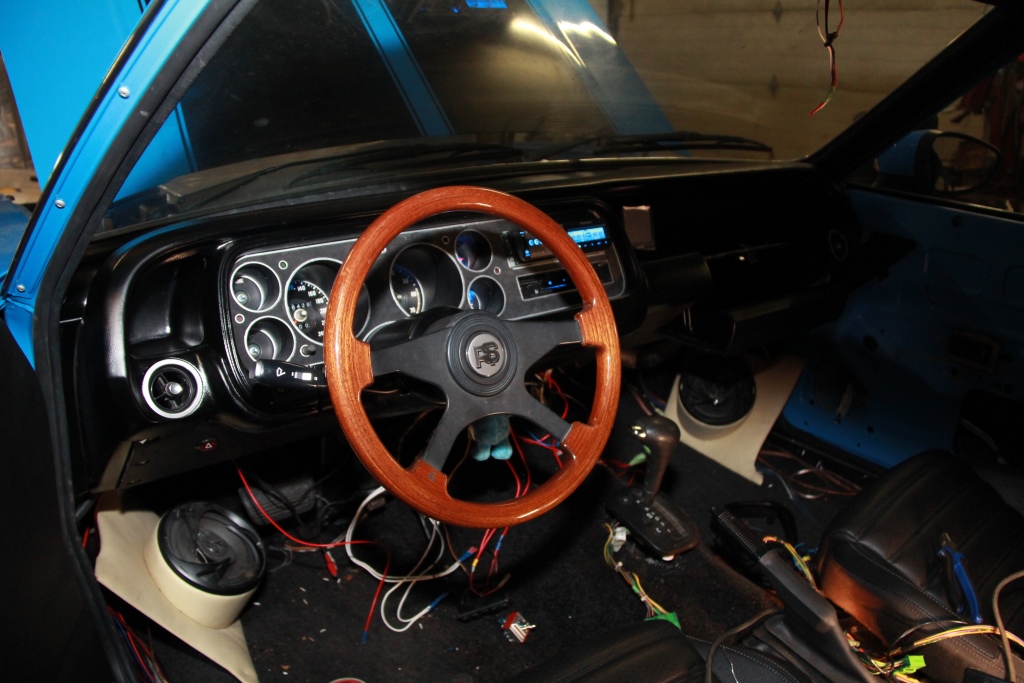 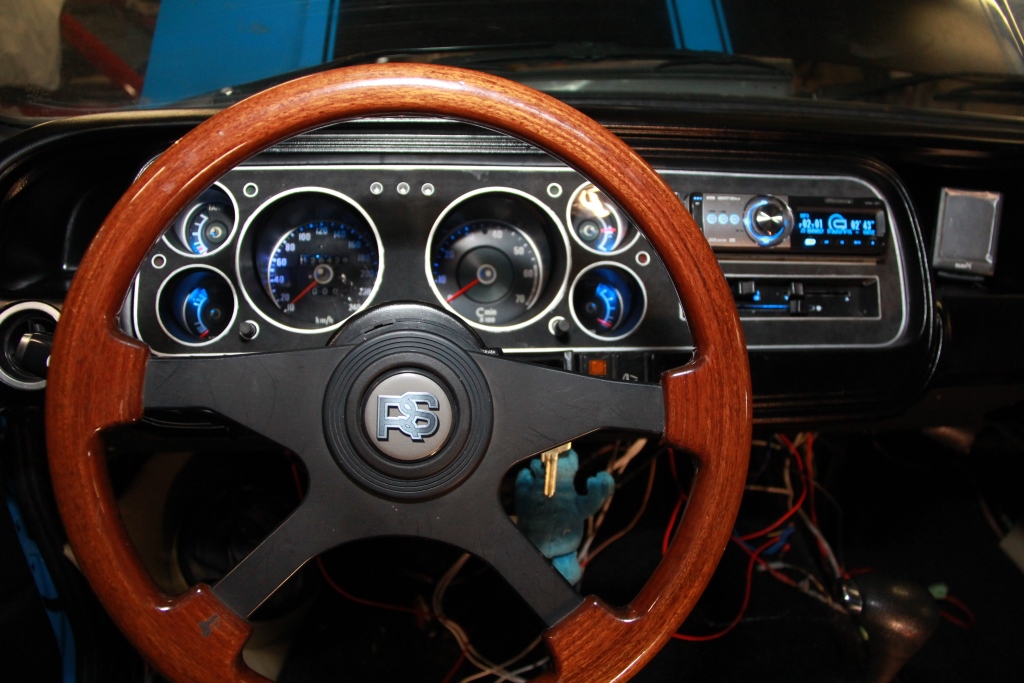 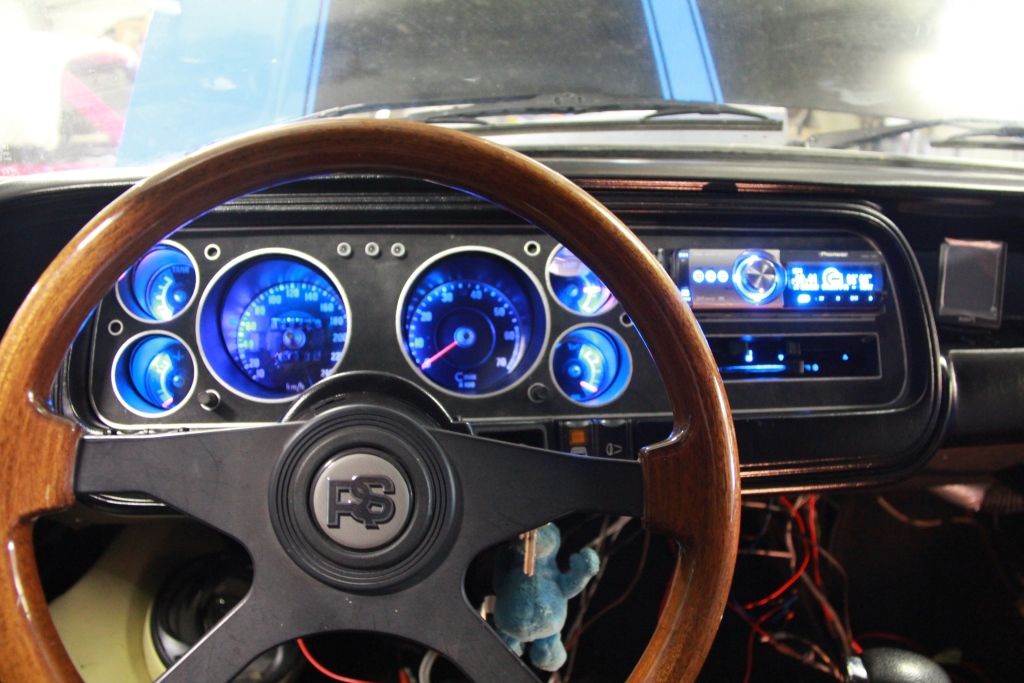 And what you still had coming is how I did the speedo conversion in the binnacle... I think I already showed you some of my work in getting a stock Mk1 Scorpio (you called that granada still) to fit the Granada cluster. Binnacle startBinnacle work continuedI had come to this point, where the gauge fitted. 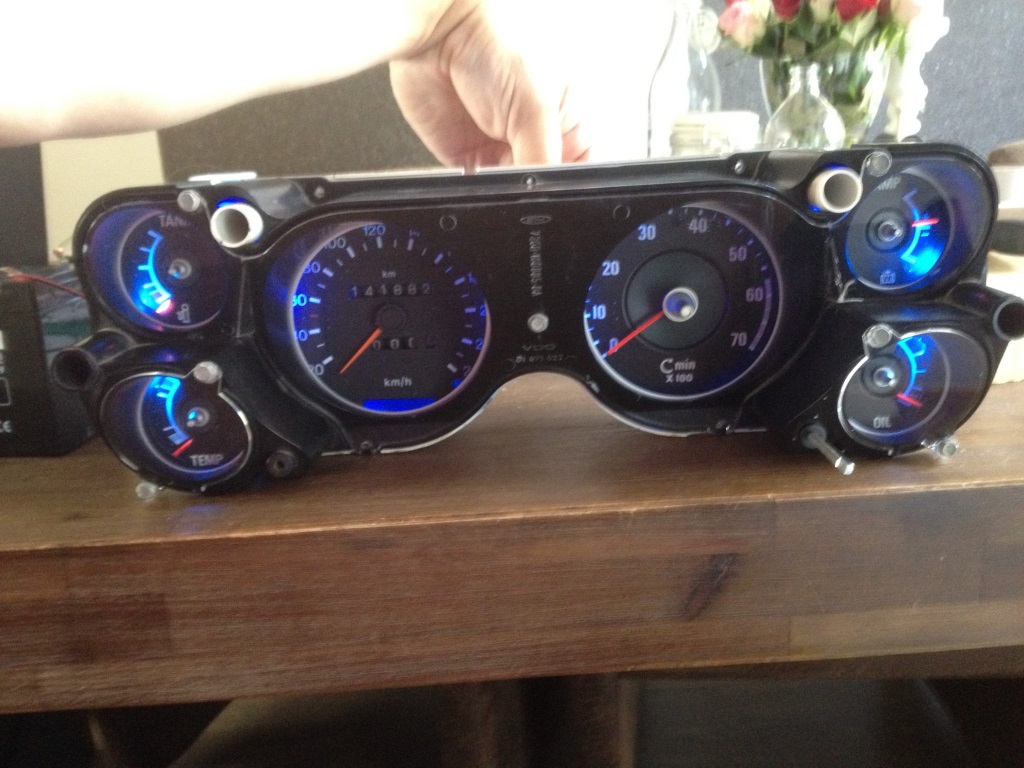 I had also designed new speedo faces as decals. So I wanted to fit them. In trying I ruined a gauge. The needle is so stuck on these gauges that in trying to pull it off, I just pulled the whole shaft up through the gauge destroying the delicate internals. A new one was found quickly. But now a serious exersize began. The new mk1 gauge was different, a larger circuit board being the biggest hurdle. I took it apart. 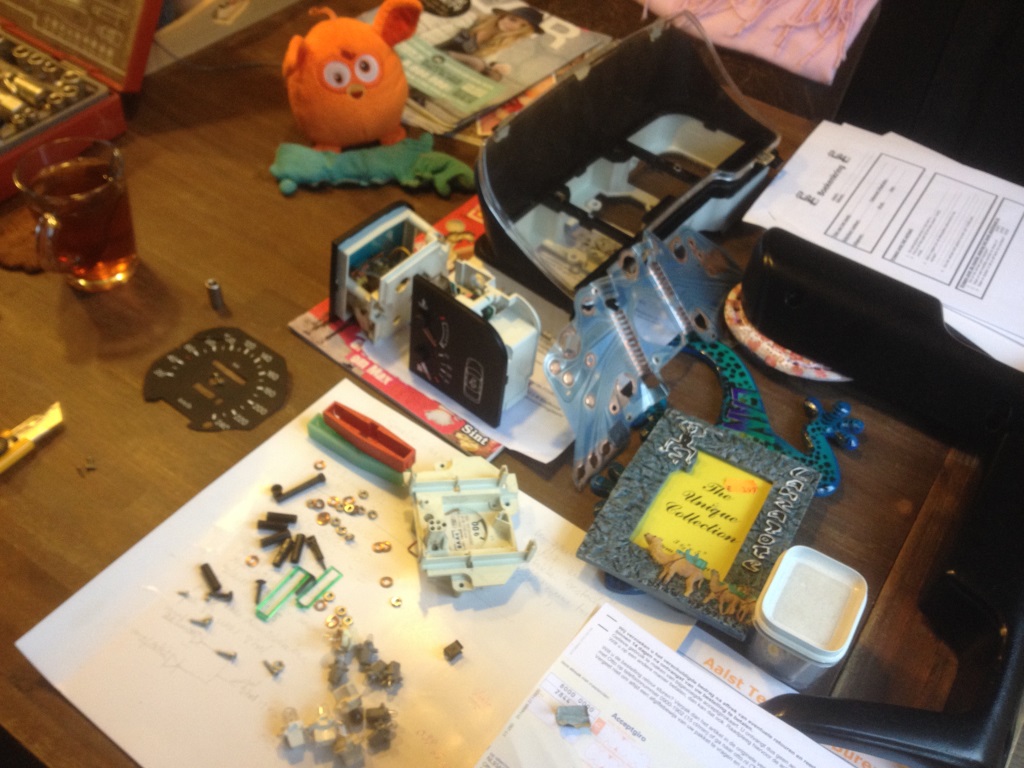 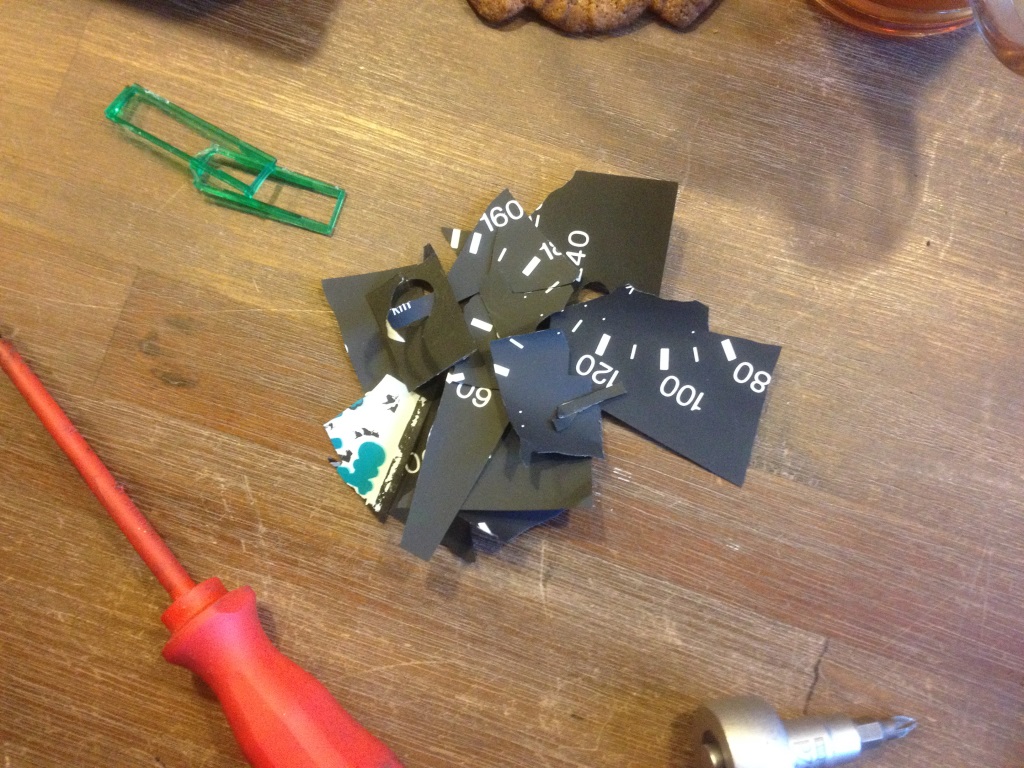 As the needle has to stay on the gauge, but I have to replace the mechanism I had to cut both gauge faces. 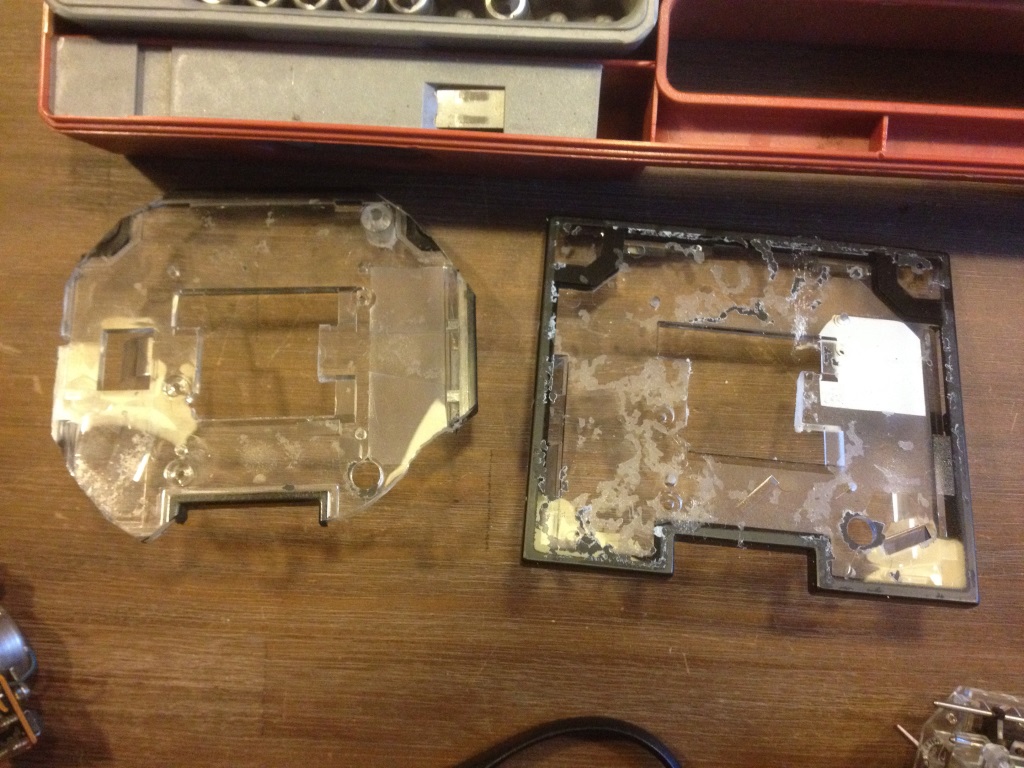 At the time it was unplanned, but in hindsight it was a blessing as the gauge I had turned out to have a broken gear so the odometer wouldn't ever have worked. 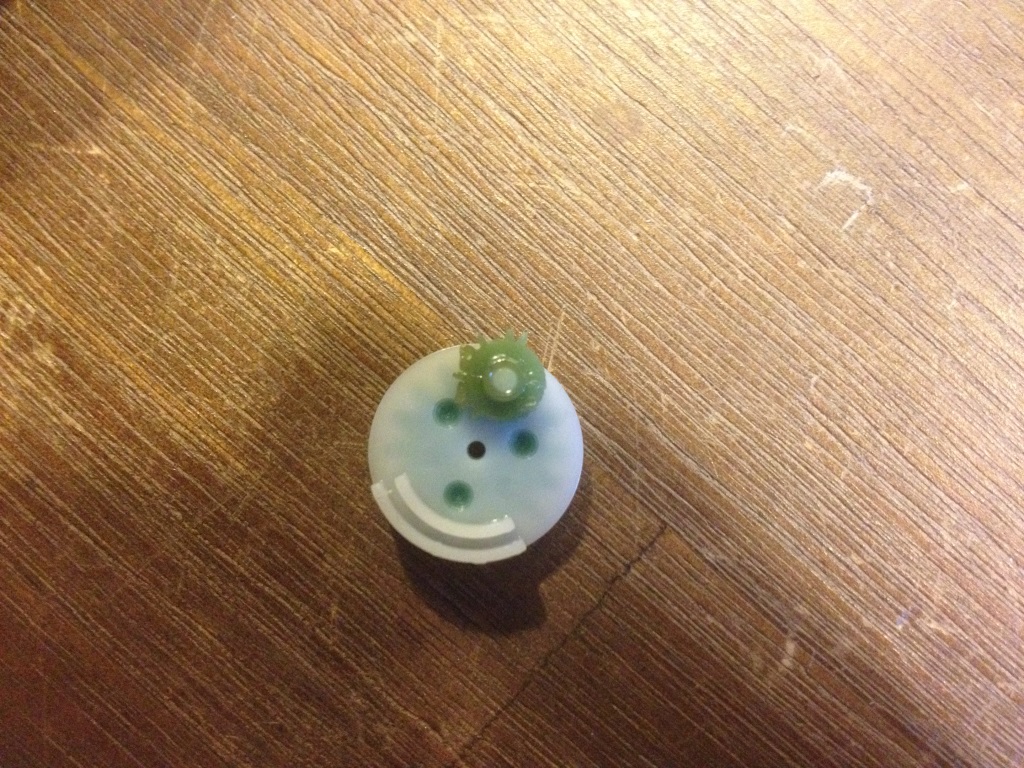 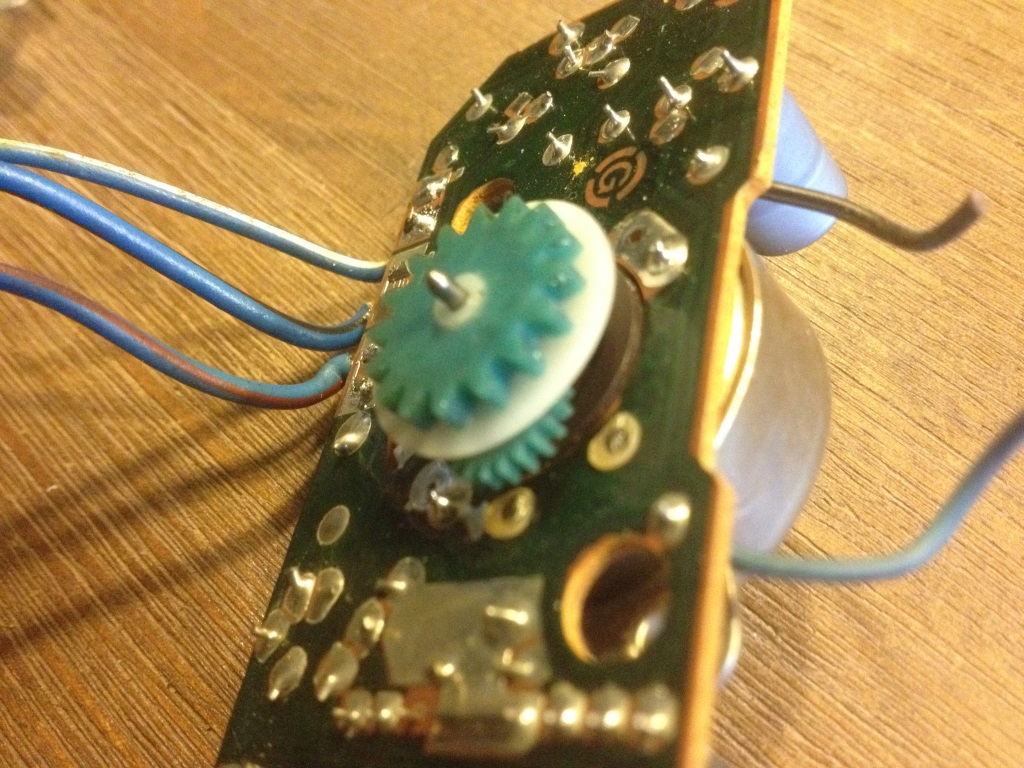 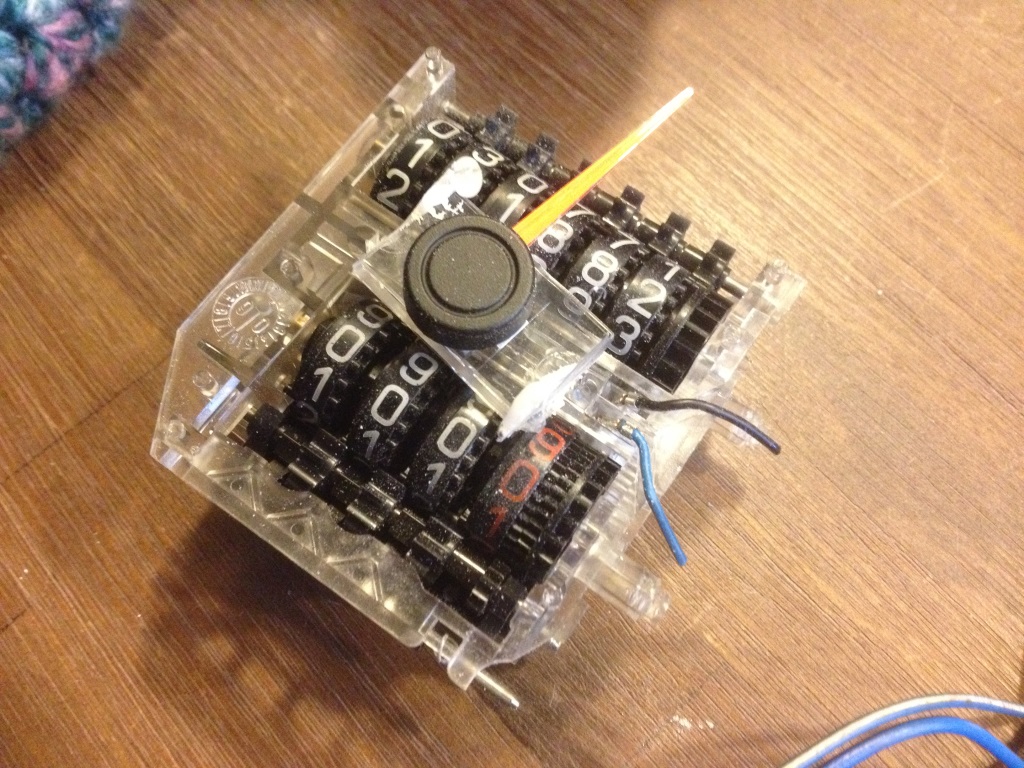 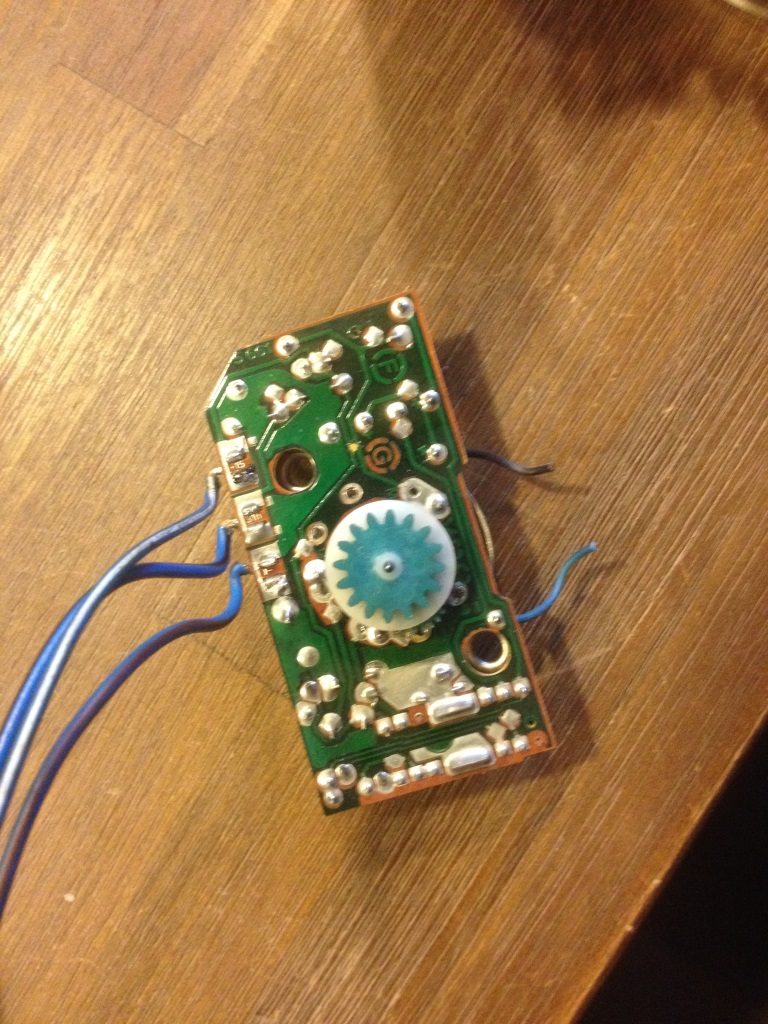 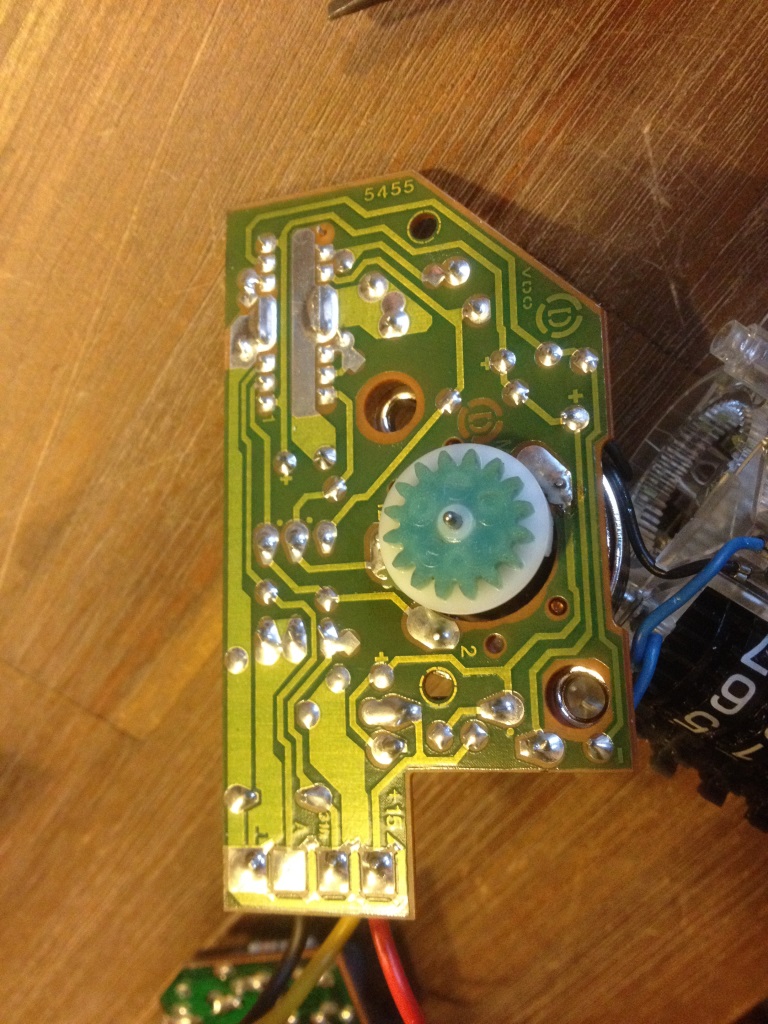 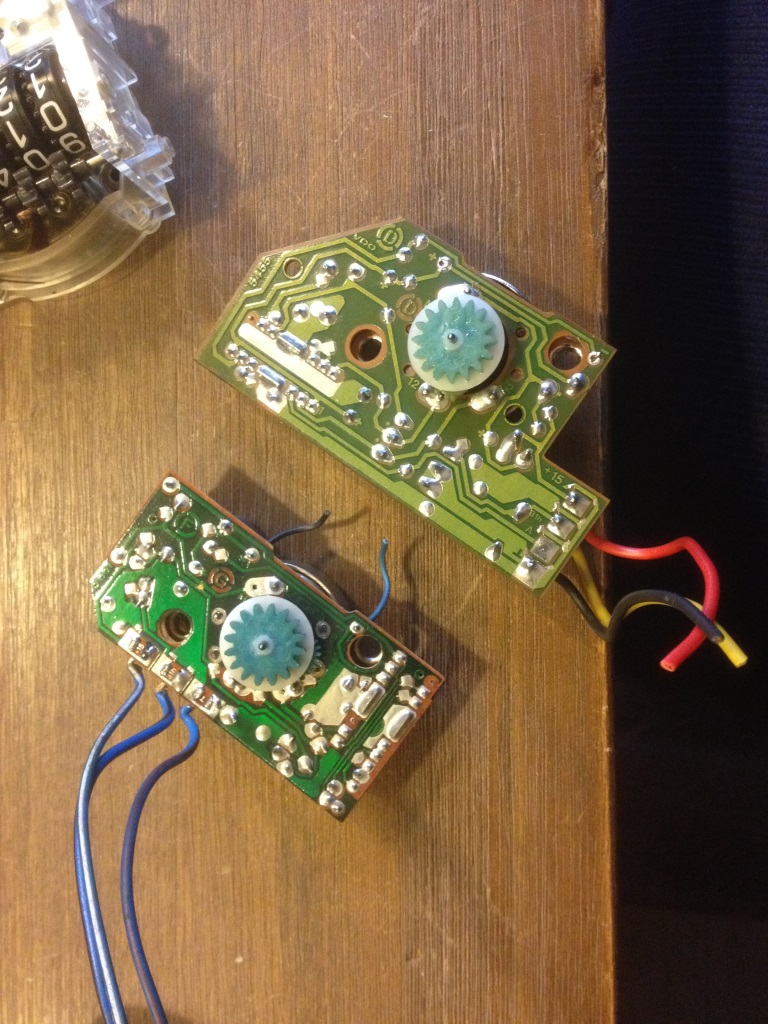 I put it al back together , soldering the small print to the new gauge mechanism using the new gear. And then I put the new face on. It's not perfect, but now in the car with the deep recesses it looks great and any imperfections aren't so Obvious. 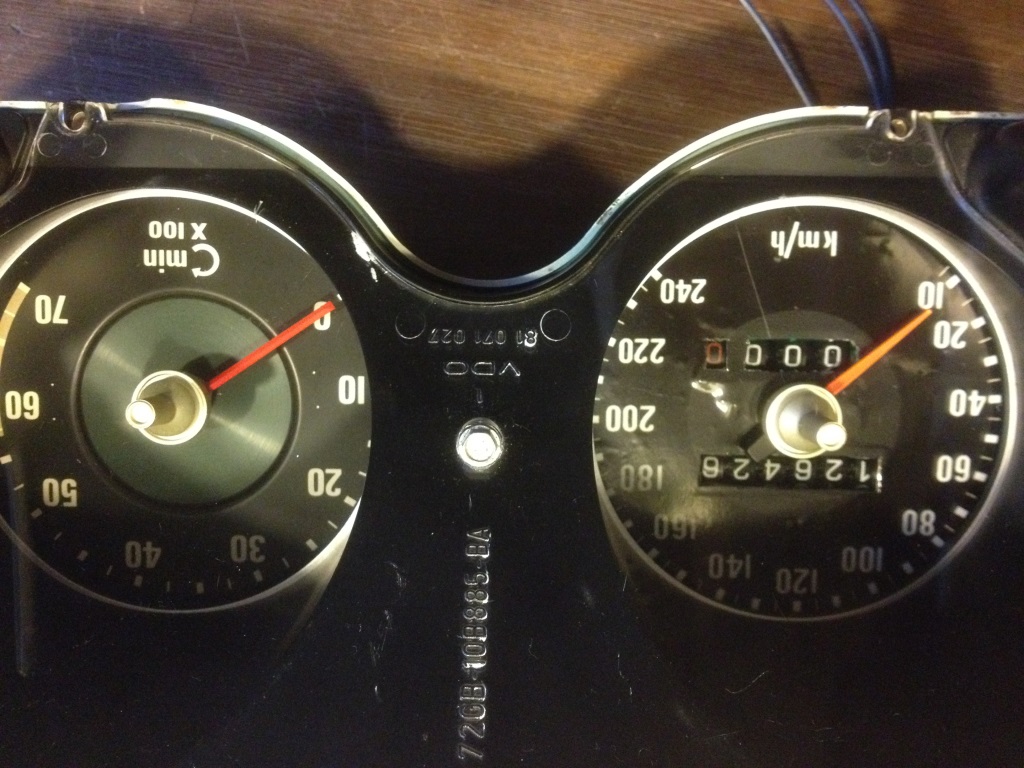 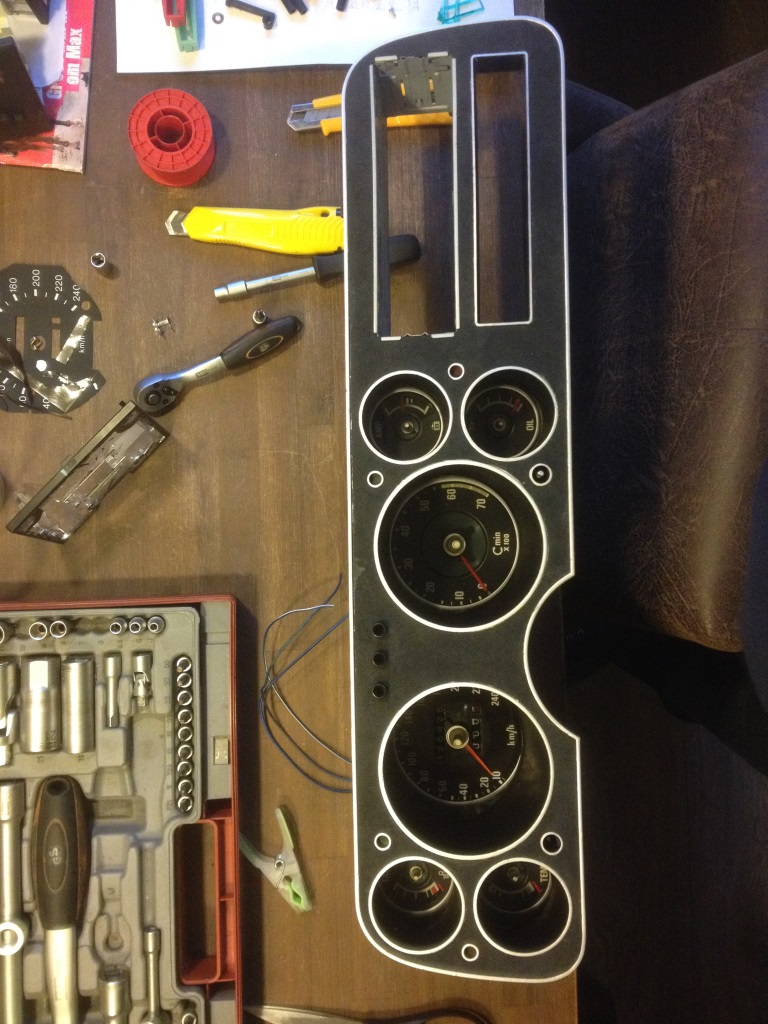 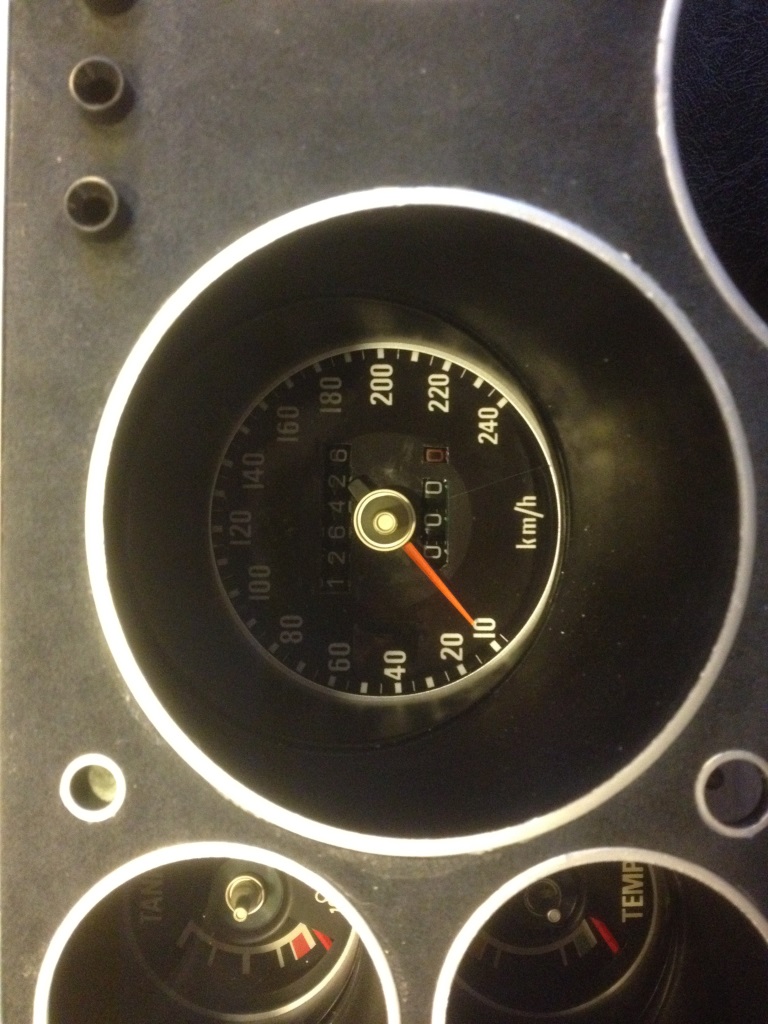 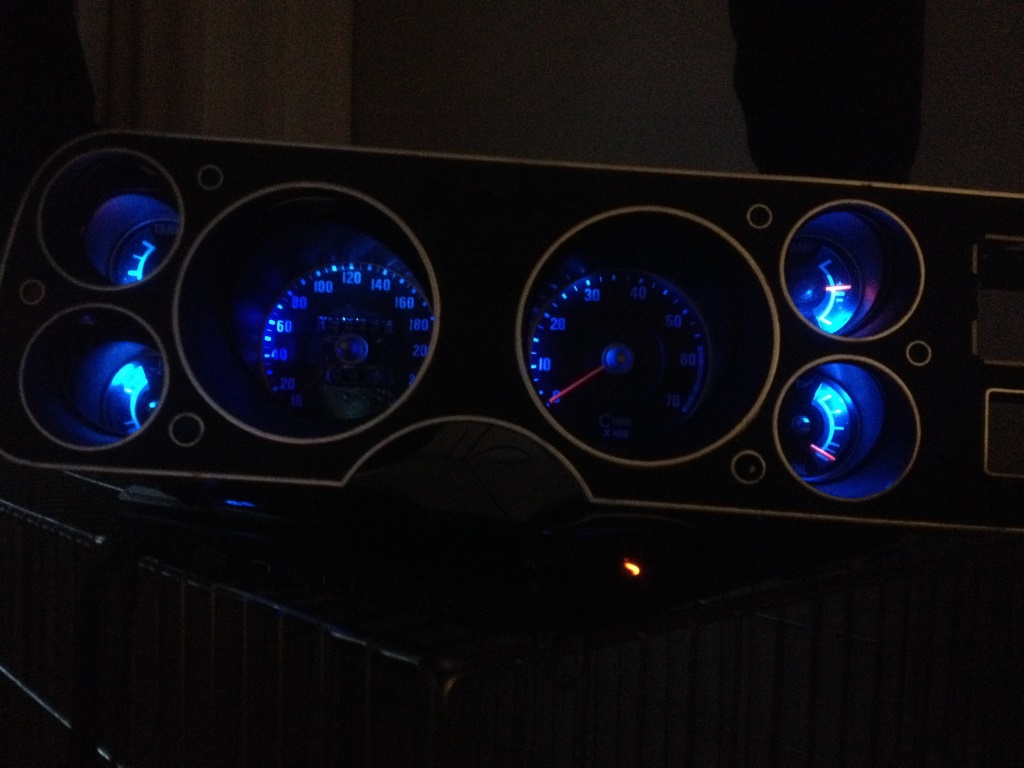 This makes us up to date... Plans for next week are fitting foil for the passenger door, fitting the door panel and arm rest. Finding the holes for the console as that would finish the dash area. After that I'm doing the rear windows, and will work back to front in the interior finishing it off. And I'll probably have a good think about what all needs to be done from this point on. The list is getting shorter but the order of doing things is getting more important. As soon as the rack is back, I'll put it back in as well. We'll see how well all this will go. Thanks for looking I hope people are still with me... |
| |
Last Edit: Feb 15, 2016 10:25:56 GMT by eurogranada: Too many spelling errors...
|
|
|
|
|
Feb 14, 2016 21:51:29 GMT
|
|
People are still with you.
Clocks look great.
|
| |
|
|
|
|
|
Feb 14, 2016 22:14:36 GMT
|
|
Alex - One job completed is one job less, just try not to think about the amount left to do. I'm a tiler by trade and I had a shop floor to tile with 3,600 tiles. My initial thoughts were how long is this going to take, I'll never finish it (I was on my own). I did'nt think how many I had left to complete the job, I just thought as each one that I laid was one less. Keep your spirits up - you are doing a FANTASTIC job.
|
| |
|
|
eurogranada
Europe
To tinker or not to tinker, that is the question...
Posts: 2,556
|
|
|
|
Alex - One job completed is one job less, just try not to think about the amount left to do. I'm a tiler by trade and I had a shop floor to tile with 3,600 tiles. My initial thoughts were how long is this going to take, I'll never finish it (I was on my own). I did'nt think how many I had left to complete the job, I just thought as each one that I laid was one less. Keep your spirits up - you are doing a FANTASTIC job. Thanks for that. I try to look at it that way as well. Every job done is one less to do, but given the 14 hours or so I put in in the previous week, progress was slow to say the least. The list keeps getting shorter though and in all honesty, I just do love working on the car. Even when it fights me. But a little less fighting would be nice. Hopefully now will come a few jobs that won't require too much fighting. At least no one was around to hear me swearing now and then, lol. |
| |
|
|


