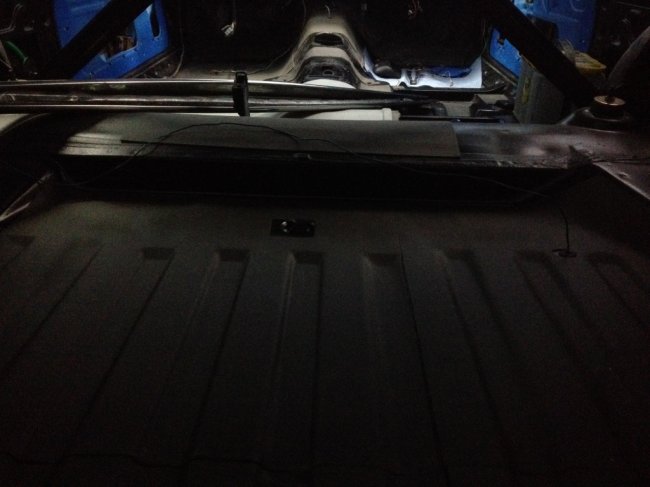
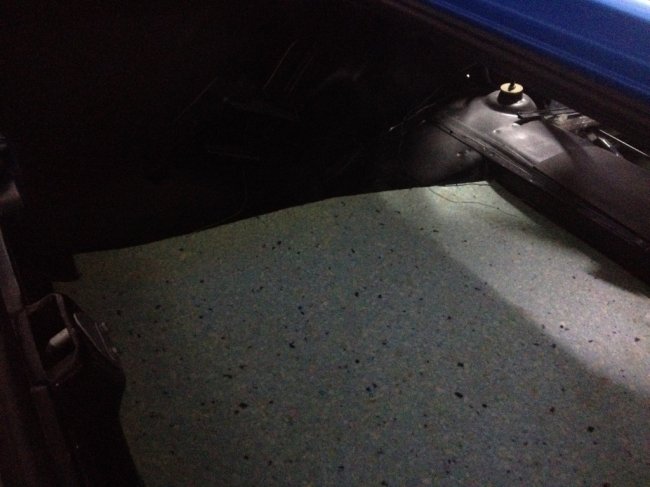
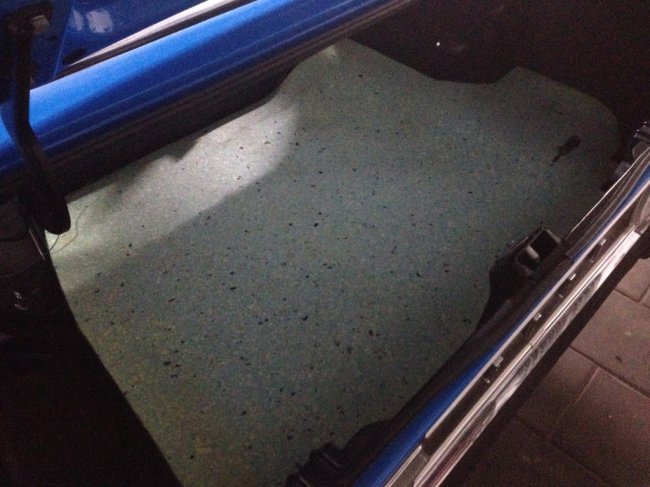
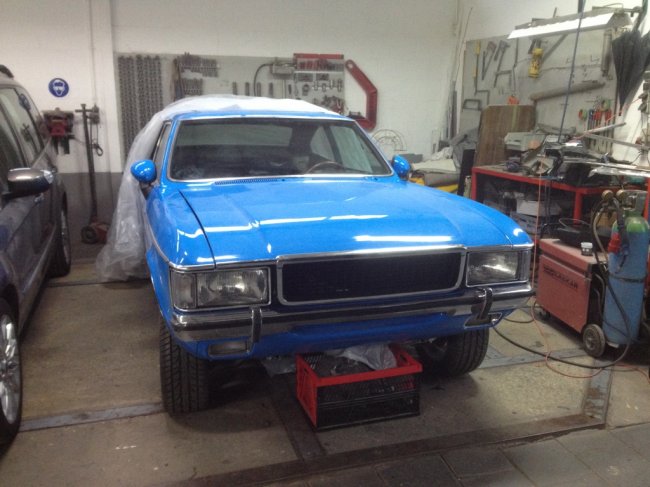
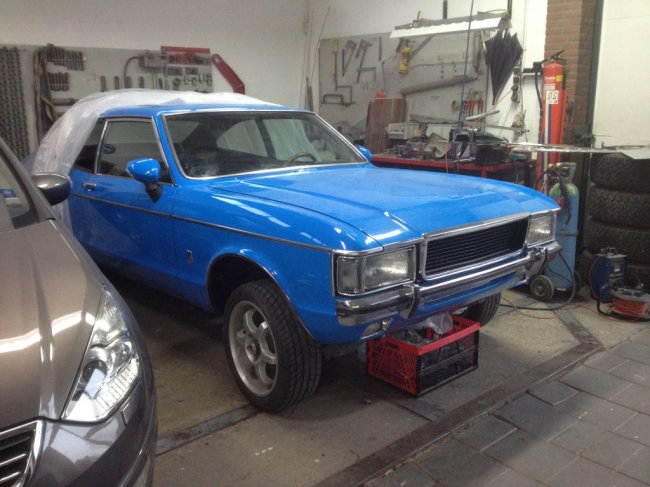
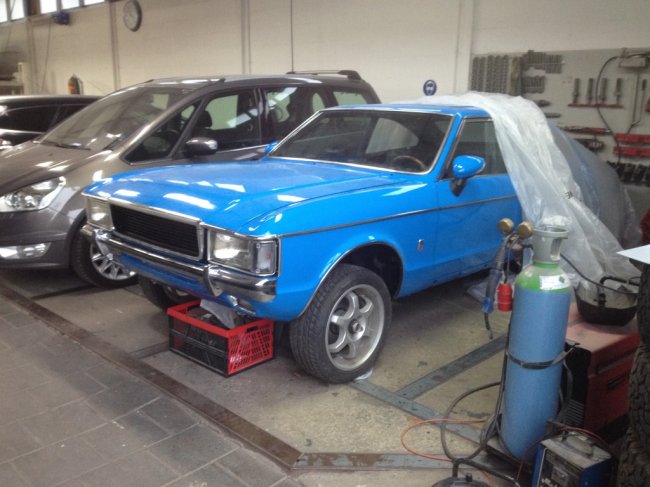
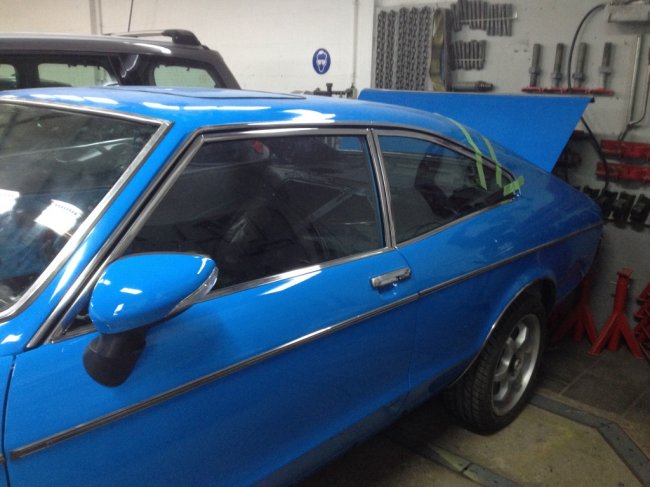
So it's been a while since I updated this thread. The car's probably forgotten by now given all the other projects going on here!
Anyway, there's quite a bit to tell and show you.
So let's just dive in somewhere...
One of the things I did in preparation for fitting the engine and box was refurbishing the air control box. The flaps covered in foam had turned to gooey dust so I thought let's fix that.
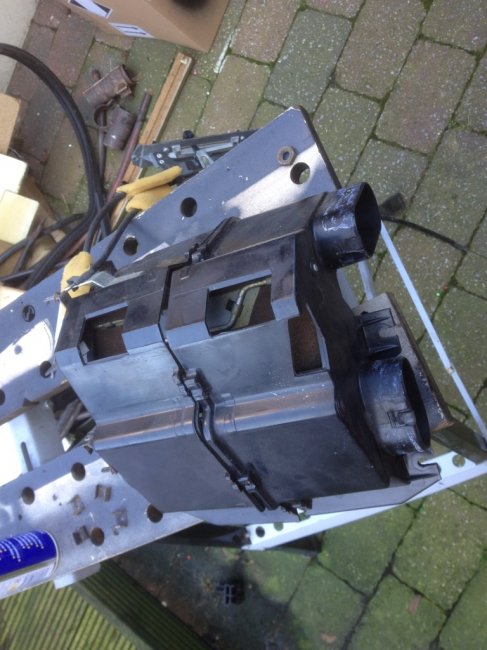
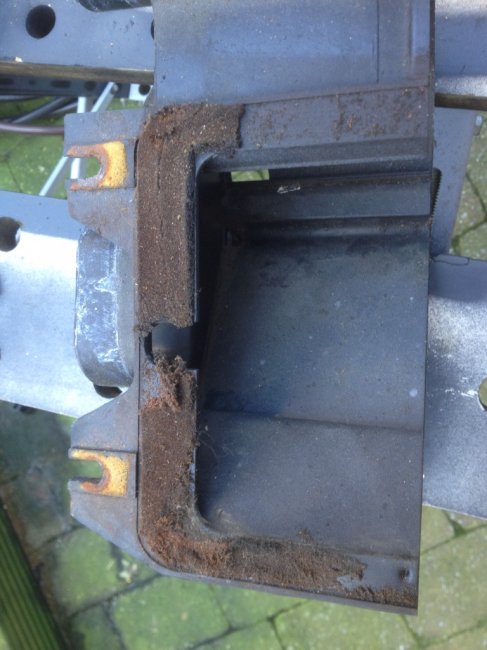
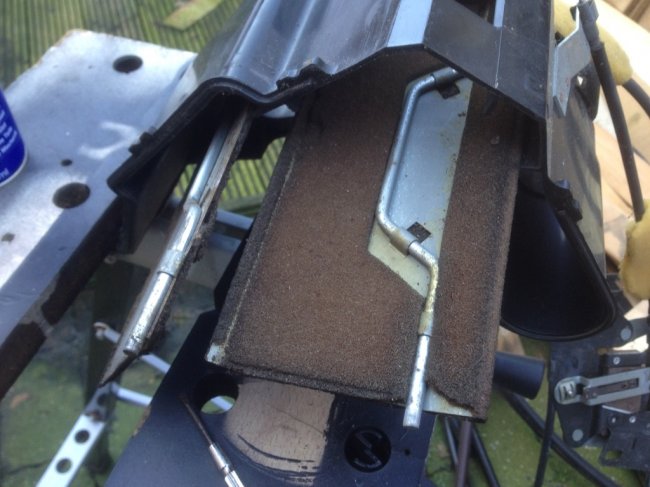
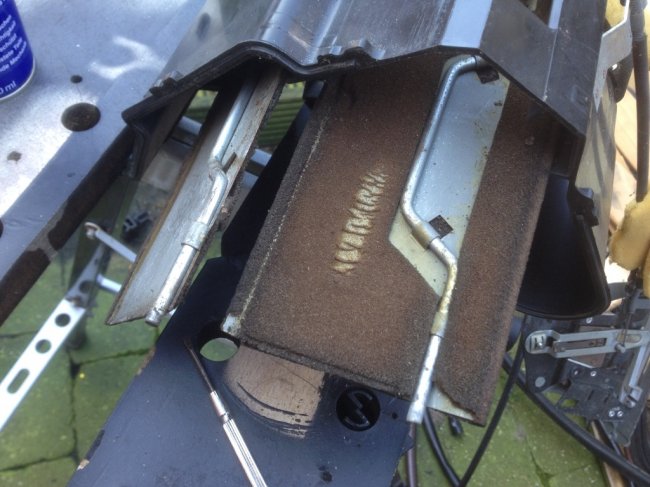
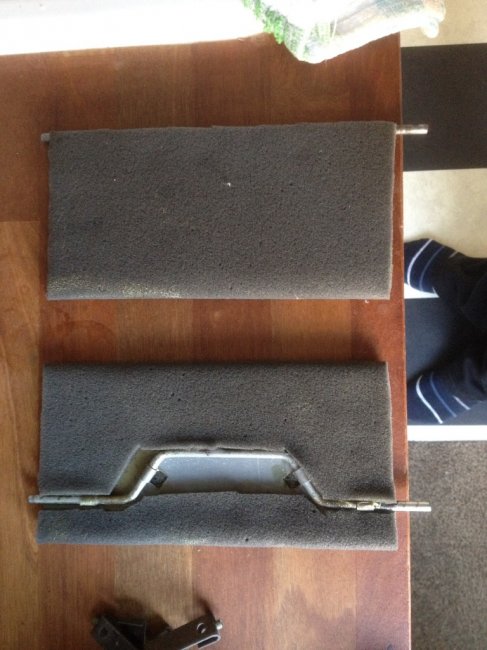
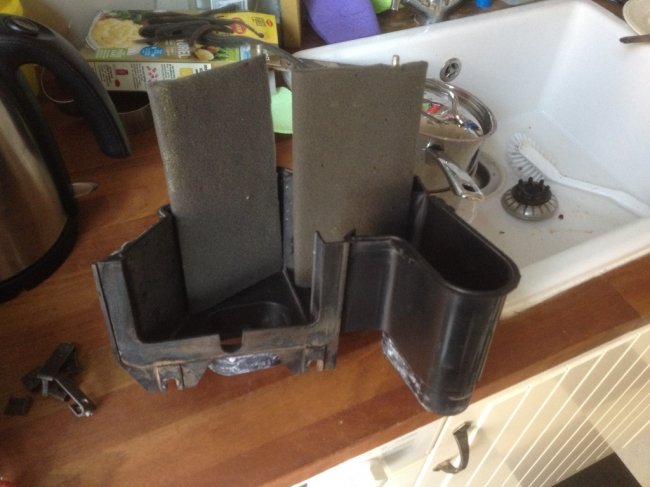
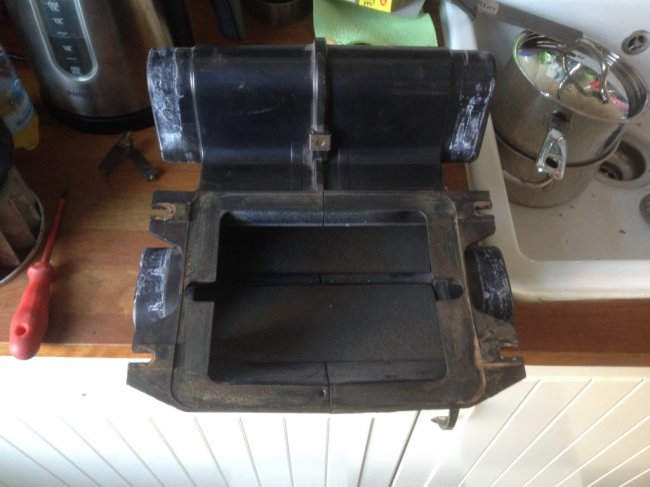
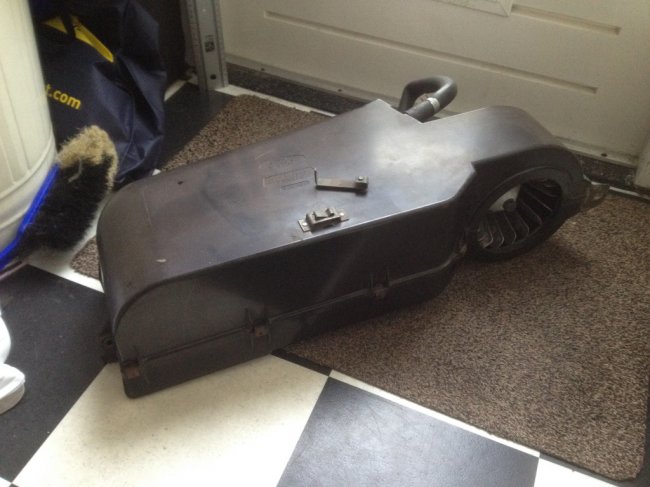
Off course I also redid that edge but apparently I forgot to take the picture. That happens a lot these days as I'm trying to move as fast as I can. So without any other pictures I also did the same to the heater unit.
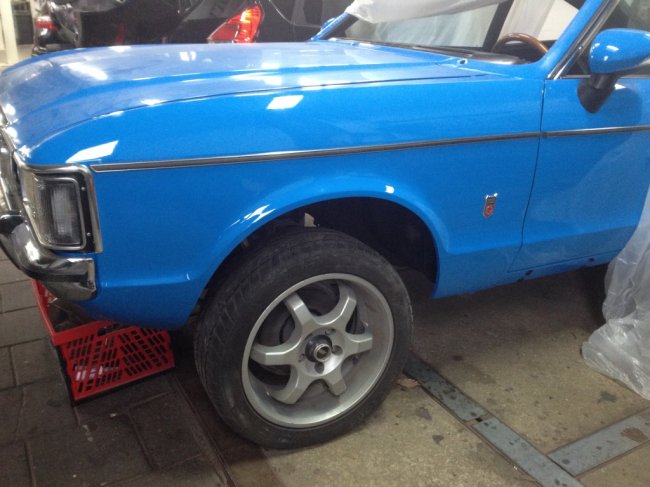
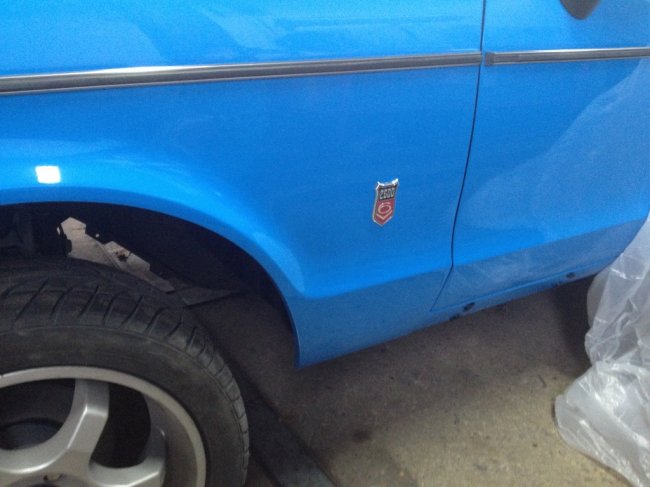
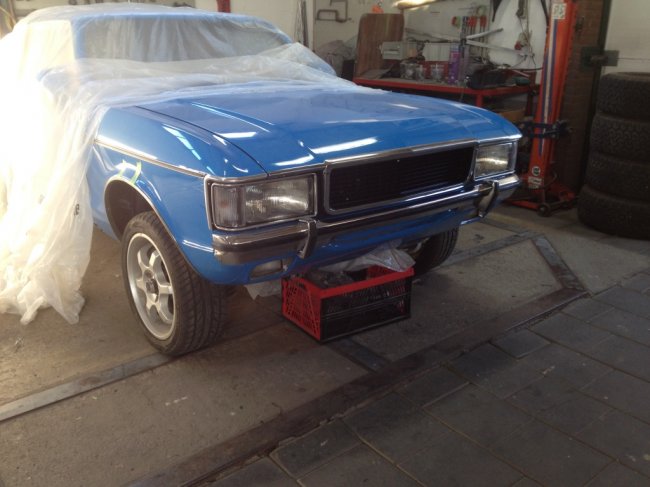
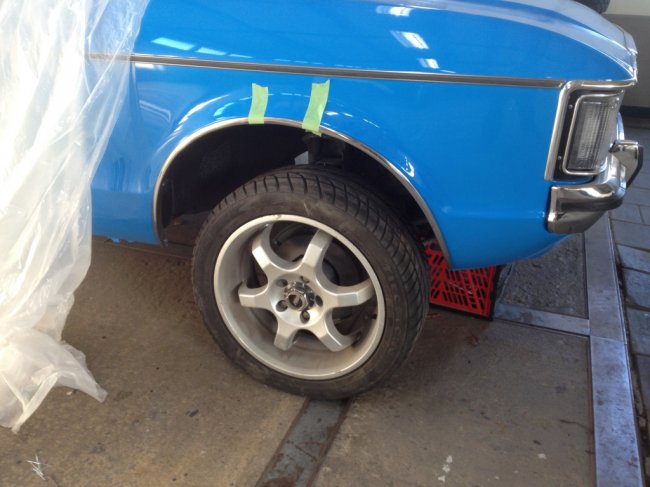
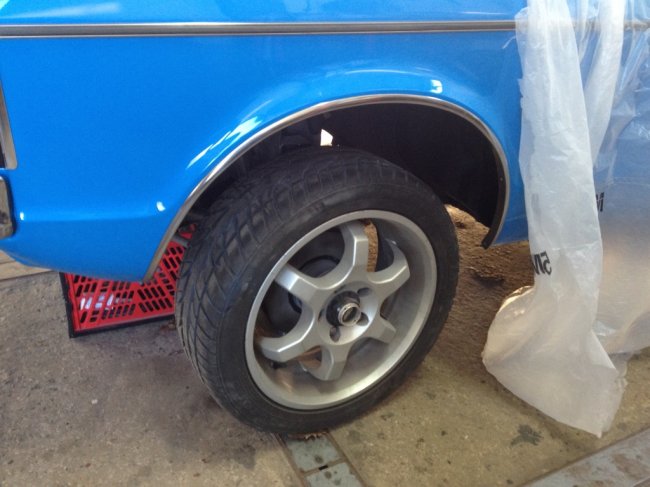
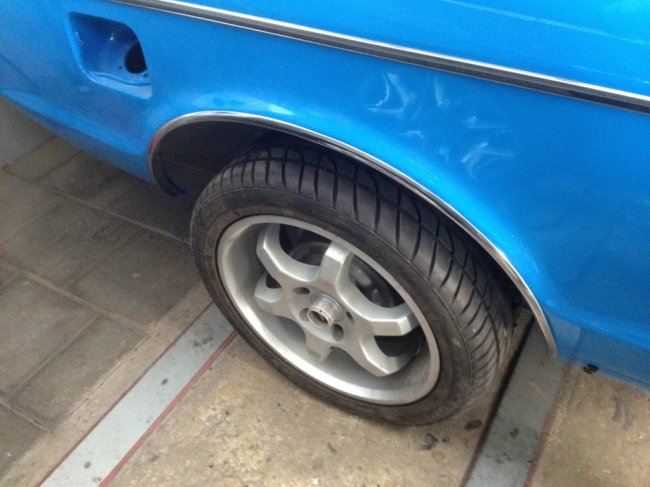
In the mean time I had my wheels dipped to remove any paint. Then blasted and then all blemishes sanded away. So the wheels now look new. They received their base coat and then their (new) tyres. This so I could move the car as will become clear later on...
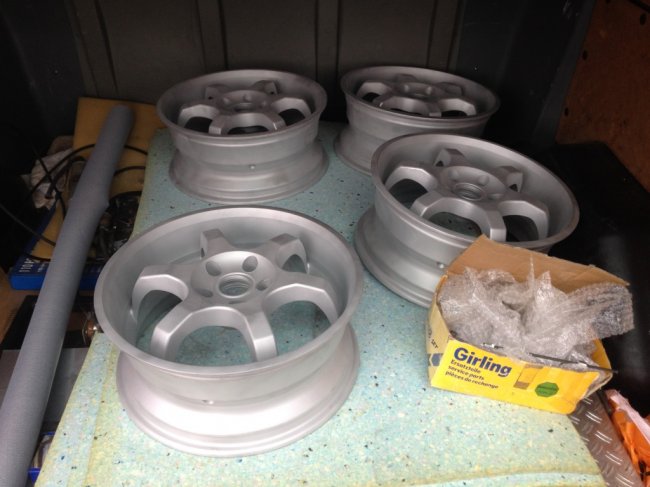
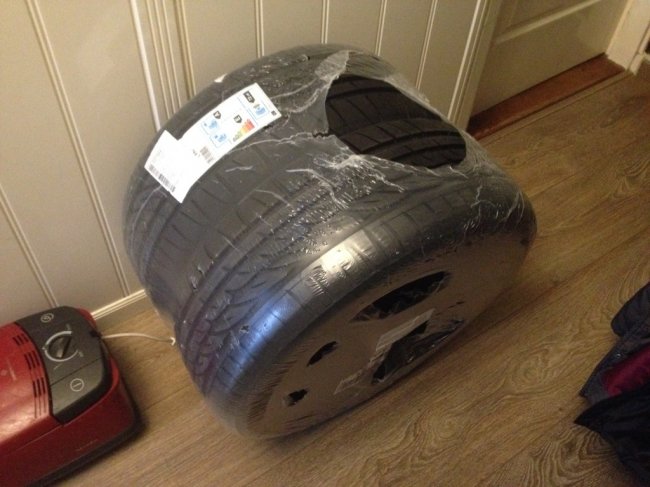
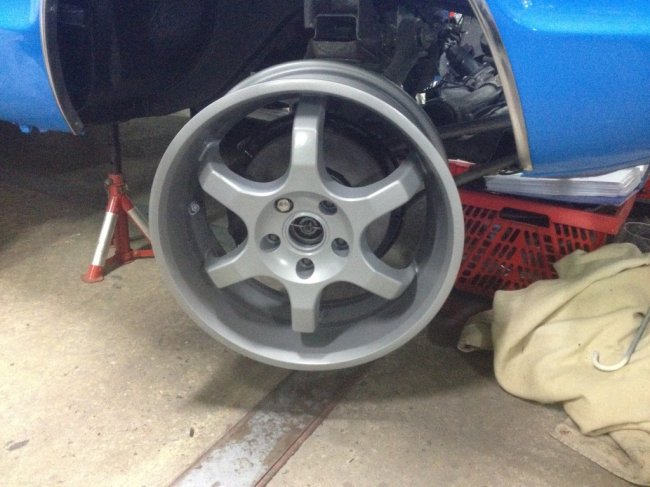
I'm not yet sure about the gloss factor. The colour is a little darker on purpose as the new current colours looked somewhat out of place. But although the wheel centres are yet to receive their treatment in semi gloss black, the shine on the silver is not the promised 70%. So I'm not sure what to do about that yet, but something will be done.
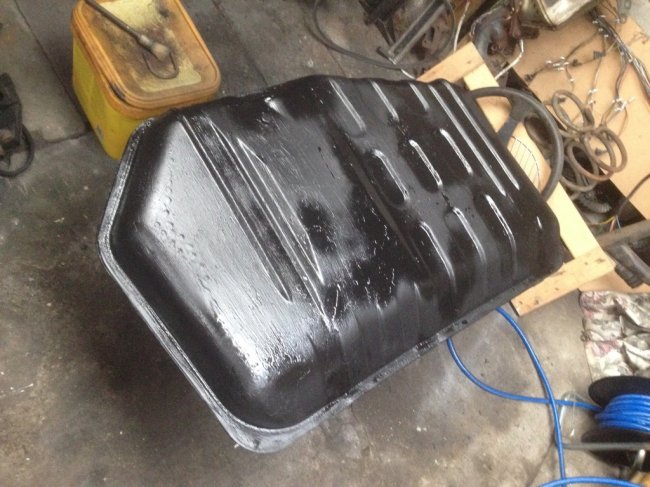
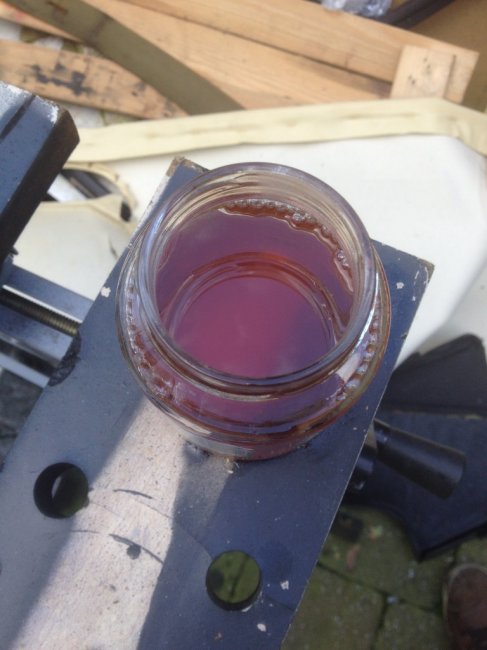
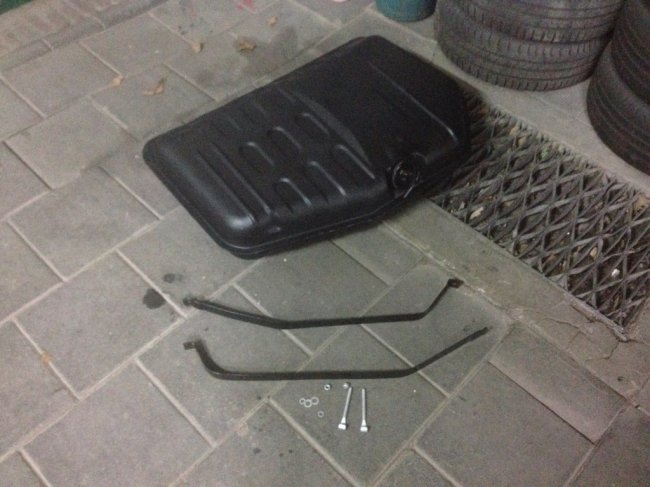
Next I moved on to the fuel tank. I cleaned that up, cleaned that out and checked the float (as it previously never read full on a full tank). All was well so replaced with new rubber. The fuel that came out was a healthy colour as well!
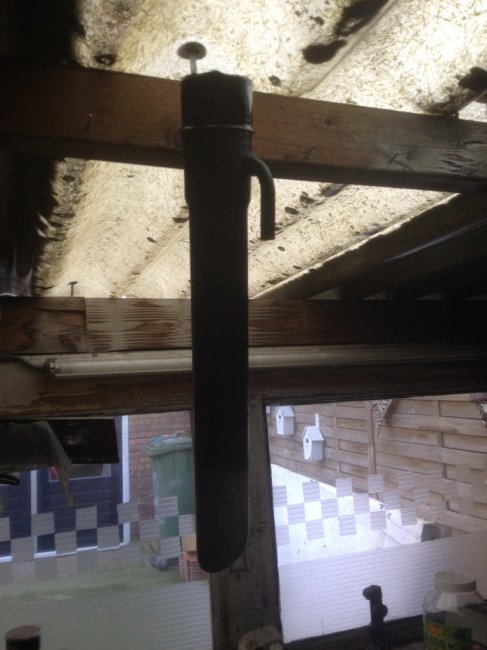
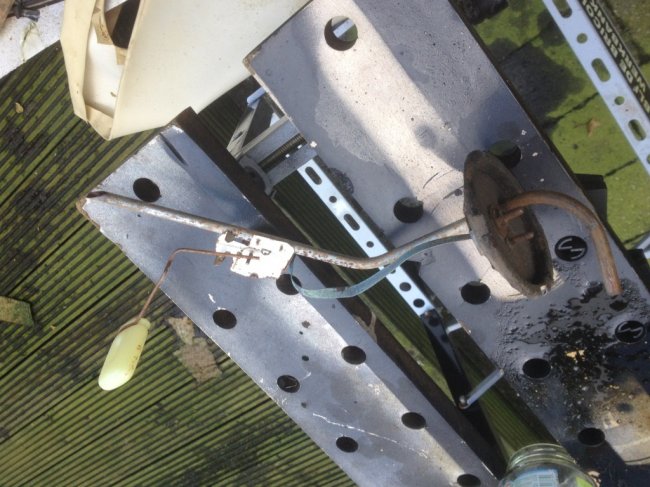
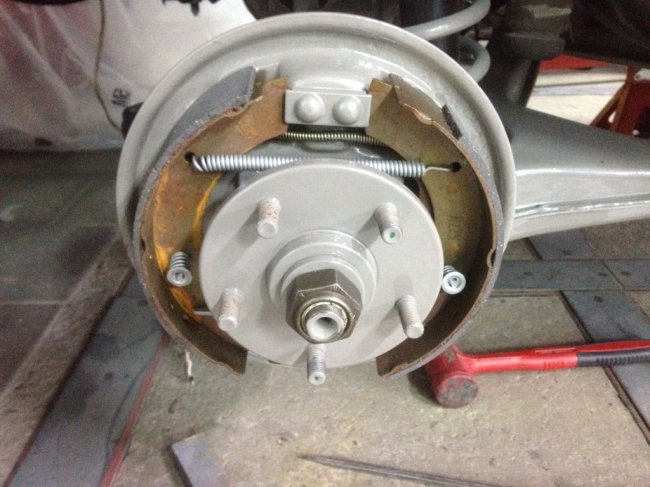
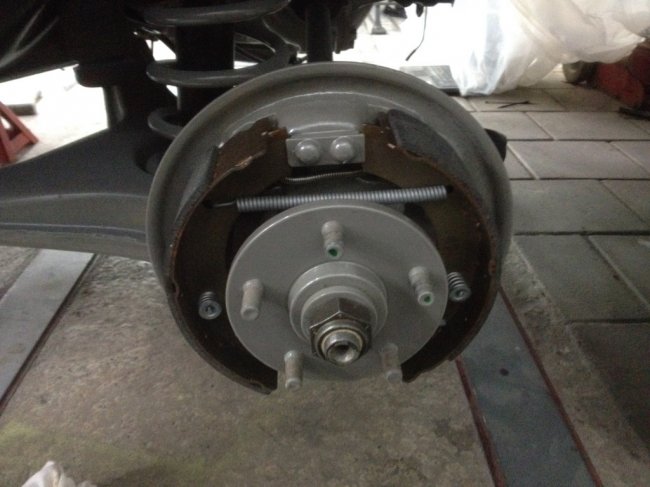
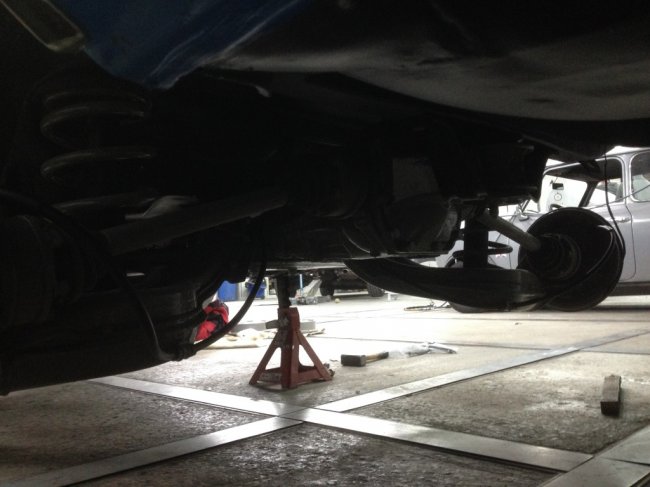
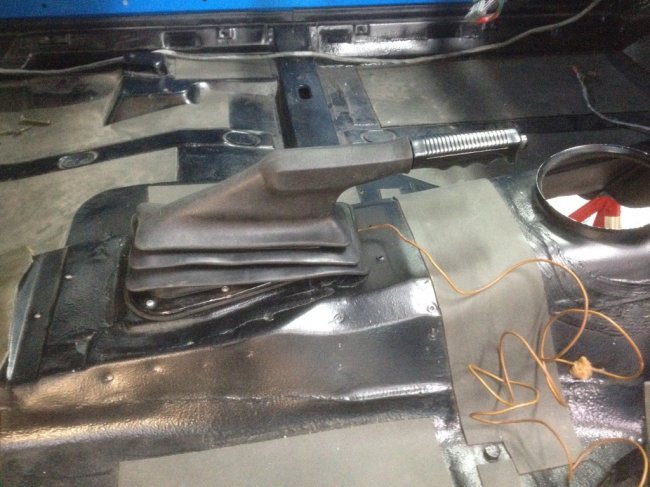
Now let's move back to some work on the car itself... In order to work to my way of putting the engine and box in, I had to get the mechanicals in order. It'll become clear later on. So I started by putting the handbrake back into the car. Putting the new cable on and fitting the brake shoes. Off course everything was new. Getting the drums off was a challenge. They had worked their way into the powdercoating a bit. So when off, I very lightly sanded the area for better fit.
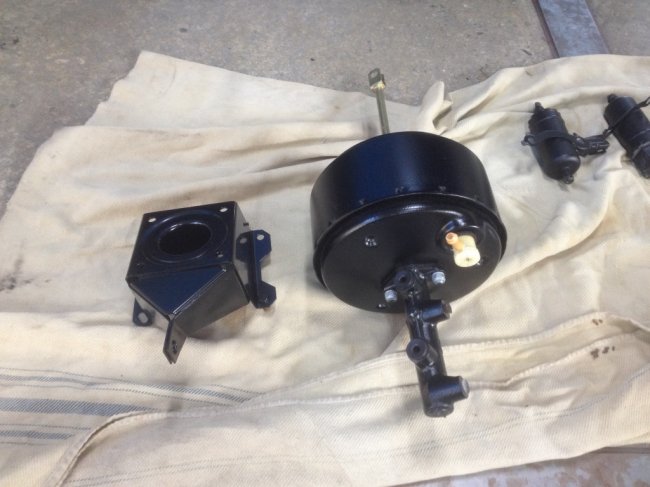
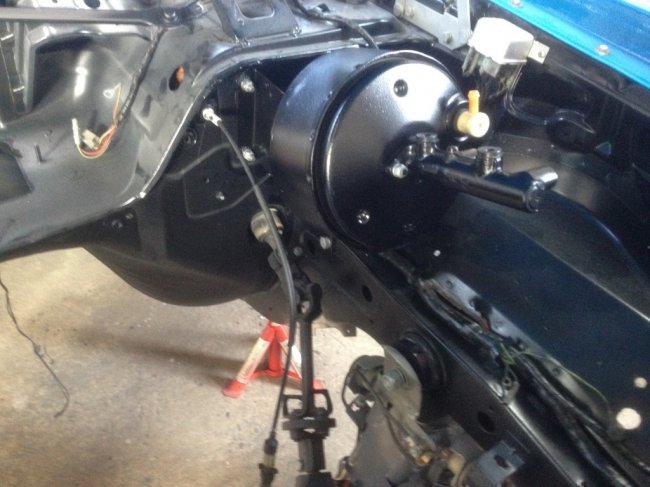
I also fit the master cylinder and booster units. Again I forgot to take pictures at this time, but I also routed all new brake lines front and rear both flexible ones and metal ones. So all is new. To get that finished, I had to tear into the front suspension. The new calipers were too big for the current backplates. As they were powdercoated items and I didn't want to destroy the coating I sourced new ones. I fully anticipated having to cut these. But when fitted to determine what to cut, they proved to fit the new calipers. They must be from a slightly later car or possibly from a 3.0? Can't be sure but was a nice bonus. I had alos expected to have to sand down a bit of the caliper as in the old setup they seemed to foul the disk itself. Again, when fitting the caliper over the disk,they proved to fit fine! Those were two major bonusses for the day. I'll add some pics later. These new calipers have their hard line connection in a slightly different place so bending the short metal hard lines without crushing them proved relatively time consuming. I'm happy in that they do not seem to foul the suspension in any way. So although no pics, this was a good portion of work.
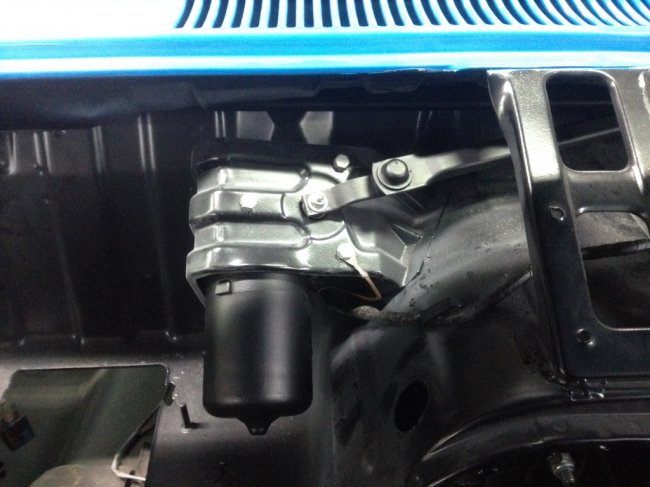
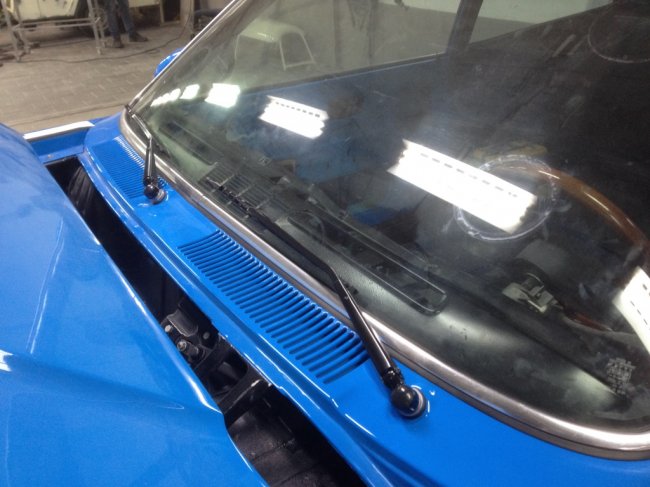
I then turned to the wiper mechanism, fearing that access would be harder with all engine stuff in the way. In hindsight probably less of an issue then expected but no matter. I also acquired all new washers and covers etc. for these so the powdercoated wiper arms would look their best!
Next I mounted the fuel tank. That was neither hard nor easy, rather just fiddly. Although with a clean and empty tank, powdercoated hangers and coated hanger hardware it was a joy to do.
And I guess that brings me to the next level... And a bit of a bigger task with lots of work involved.
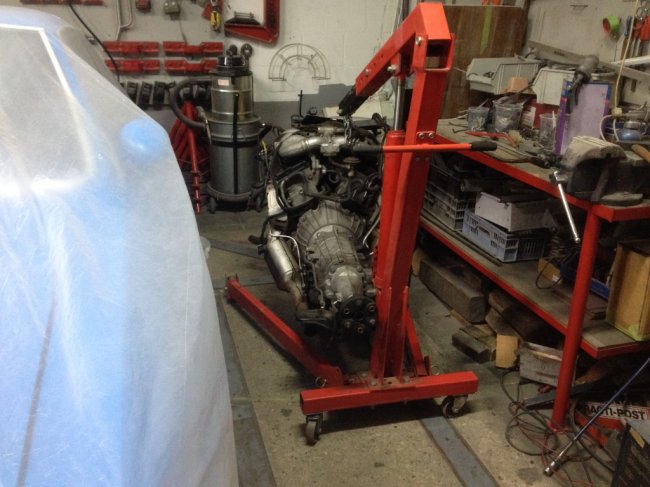
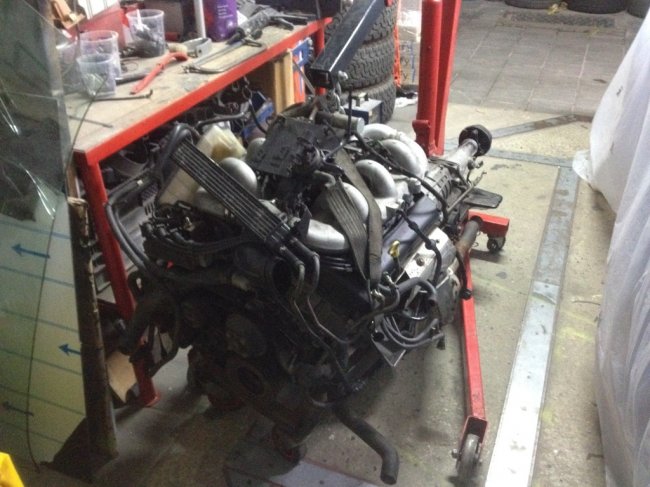
I actually started the process to fit the engine and box to the car. Apart from all of the above this involved some important parts. First thinning out 10km of wiring to only the wiring and relais needed to get the engine and box to work. Second, I needed to remove the wiring loom from the engine itself and third, I needed wheels. Oh and let's not forget, getting the engine to the shop. As much trouble as I had putting the now combined engine and box in my transit with the engine hoist (required three people), as easy as it came out 9all by myself).
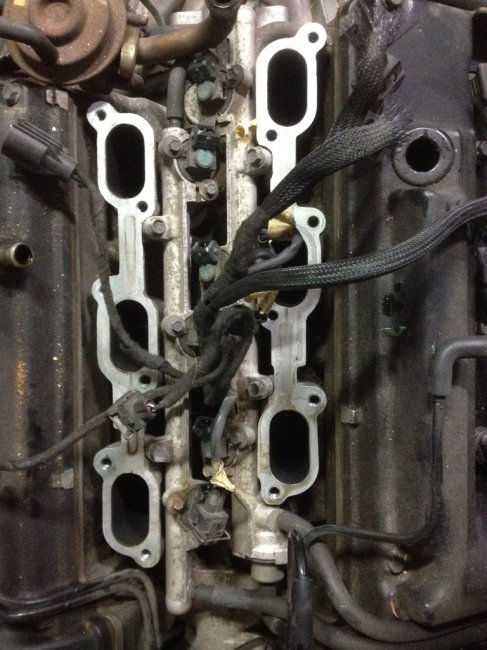
So after that I turned to a friend who was able to sort out all wiring for me. That was a great help and a huge move forward. I'm now able to run the Cosworth BOB on it's original management, with PATS and everything working. He simulated the whole deal and also checked wire by wire if the right signals and voltages etc. were reaching the components. Unfortunately this meant I had to remove the wiring loom from the BOB itself. Thsi loom had already been done once and consists of about 80 green wires. Getting to it however was not very easy. I don't know how ford did it, but reaching al bolts on the intake was not as easy as it seems. Only using those flexible knuckles to connect sockets and wrench made it possible. Some bolts were once replaced and had 13mm heads. These were totally b.tchin' to get off. But taking my time I managed. The good news was that the loom did contain one wire that had a problem, but that wire was not needed for my setup. So as far as wiring is concerned, my car should be able to run when all is connected.
A similar challange was encountered putting it all back together. Doing up the bolts suddenly went easily, but now it seemed that some wires were shorter then before. Nonsense off course so it was more how I routed them. So before all wires from the V of the engine reached all the right components I had the intake in place at least two or three times. Still I managed. There is not much space between the fuel rails to get all that wiring in/trough. I also added some more protection against the heat.
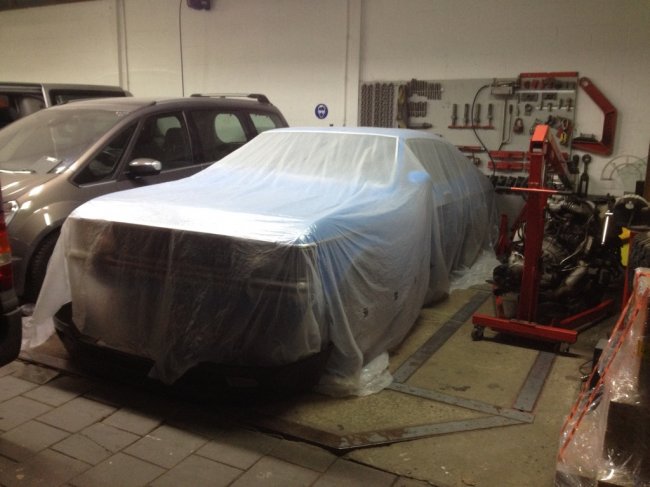
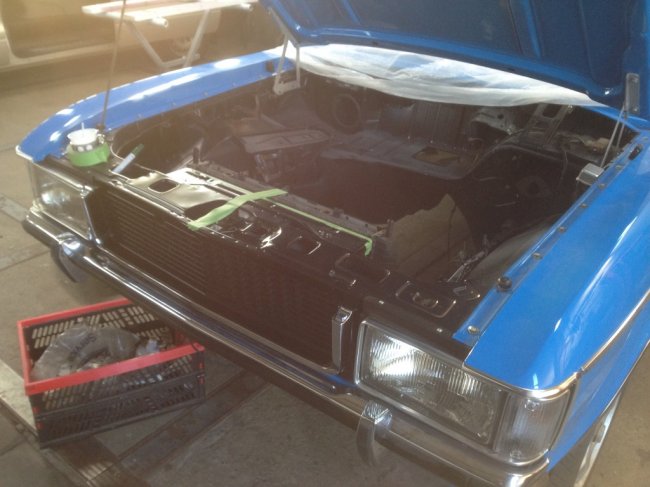
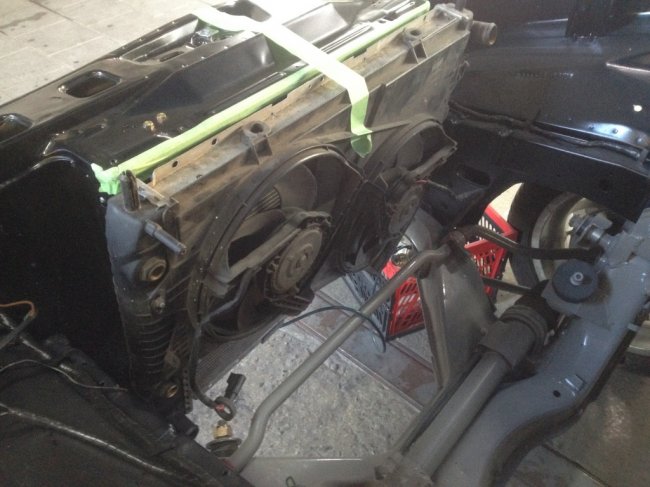
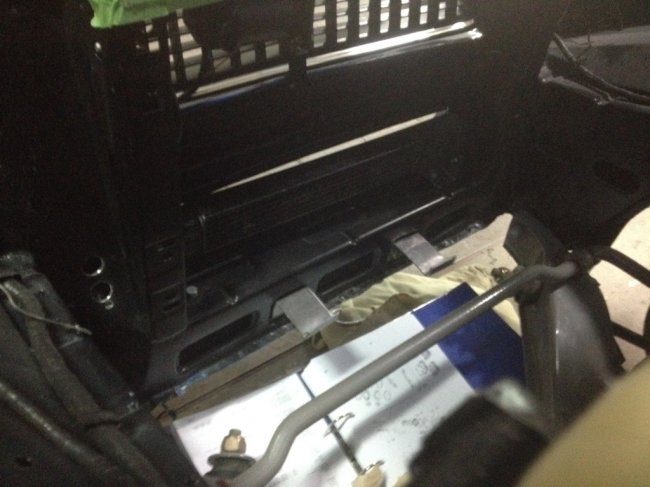
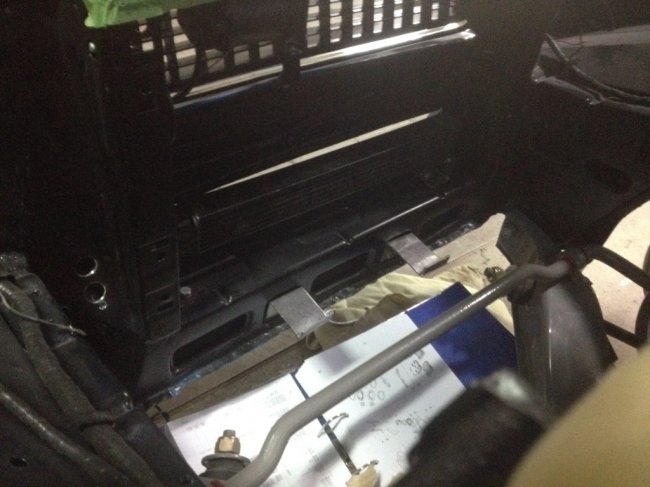
I then started fitting up the radiator and later the oilcooler. It all fit nicely. The radiator can go in the Original place, using custom brackets. The oil cooler found a spot behind the lower grill opening in front of the radiator. I did need to cut the original mounting "ears" off the radiator to get it to fit between the frame rails.
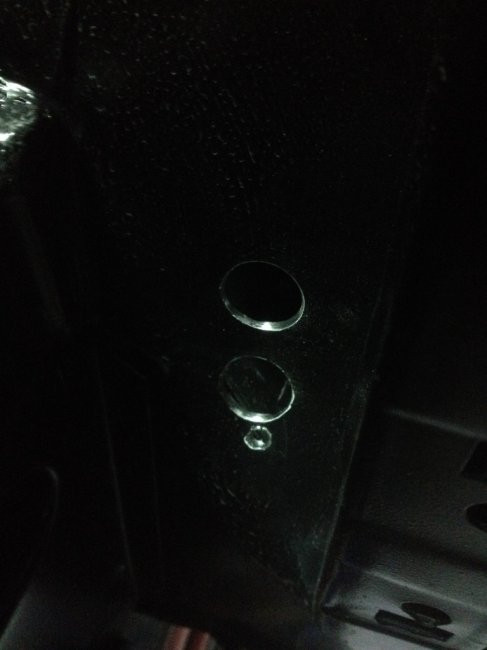
The pedals were next. I don't think I have any pictures of this, but being a manual box car I had to swap something out. I choose to make do with what I could get so I united a ford Taunus auto pedal with the Granada pedel box. As I was now using a pedal less, the pedal shaft was too long. Strange enough, the shorter auto box shaft was too short. So I made bushes that center the pedal and align it with the original brake switch. I had to slightly modify the pedal by cutting of the original tab for that switch. It now rests on the pedal shaft as it would have originally. With that out of the way I was now able to connect the brake cylinder/booster to it. Al seems great here.
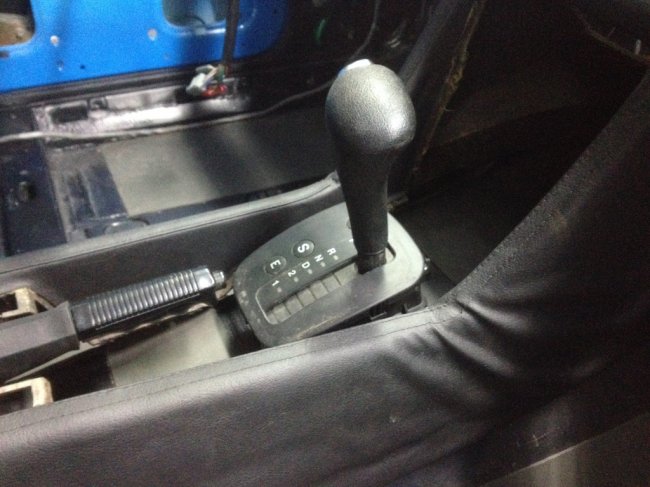
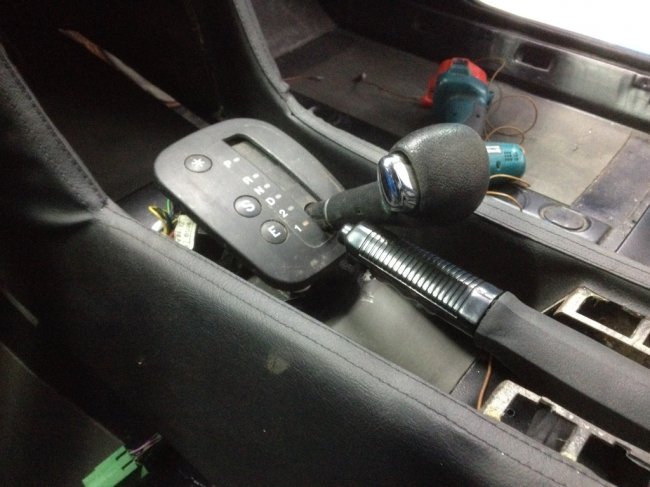
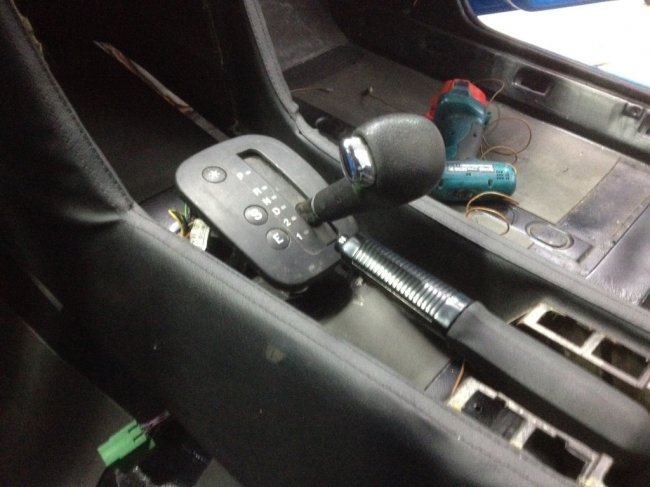
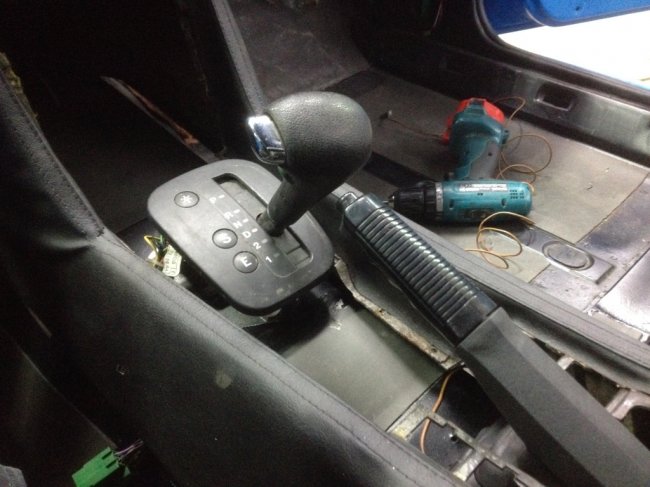
After this I turned my attention to placing the gear selector. I had to be clever here. The original method of mountin in a Scorpio is on top of the tunnel. This would mean that the shifter would stick out way above my standard GXL console. I couldn't have that. Also being a manual car meant my transmission tunnel had a collar to locate the selector shaft dust boot. A solution came quickly to me. I had previously tried and aborted an attempt to lower the mechanism itself. That worked in principle but threw off the throw of the shifter, which was harder to correct to get the box to shift properly. So I tried to achieve the same effect with a different method. I split the unit. I took the spindle out, separating the shifter from the base plate after removing three screws. I then cut off the collar on the tunnel. Drilled three holes and mounted the top half of the mechanism on top of the tunnel while holding the bottom half to the tunnel effectively sandwiching the tunnel between the mechanism. To make up for the thickness of the tunnel metal, I ground down the mounting tabs on the base a matching amount. The shifter is nice and secure and as was proven later, it is in exactly the right position and height to reach the gearbox lever system. I'm well proud and happy with this simple yet very effective solution. All gears are selectable, although when selecting second gear manually, the handbrake lever and gear lever just about touch.
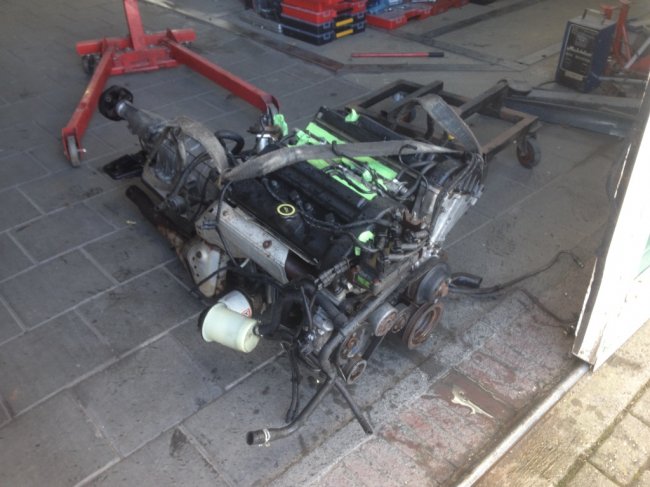
At that point a few things came together in the right way and I was able to clean my Cosworth engine. It hung on the forks of a forklift and was transported across the street to a wash area with hot water and degreaser. About 15 minutes later the engine was a clean as I was going to get it. Makes working on it a lot nicer!
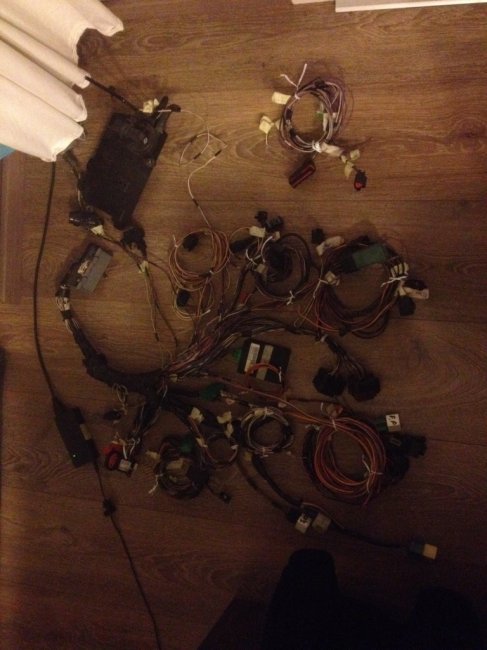
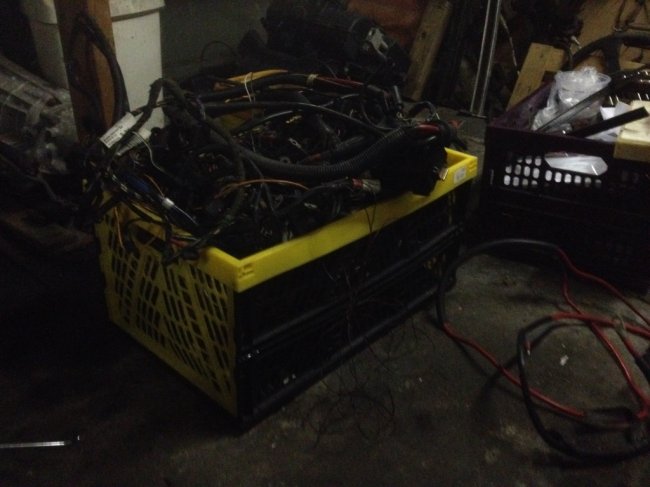
That day I also picked up the wiring loom for the car and engine.
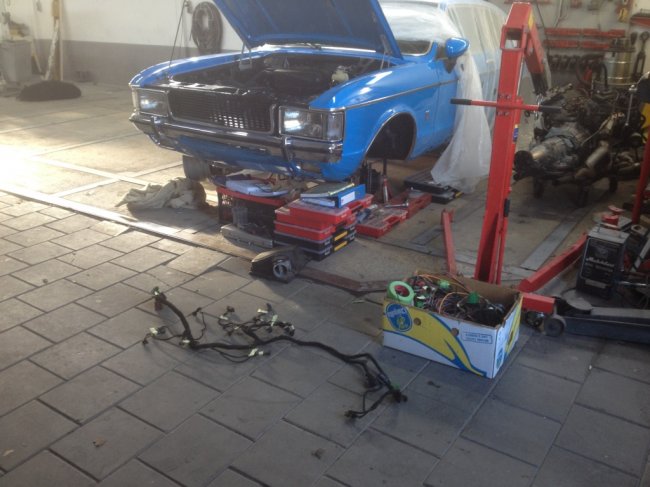
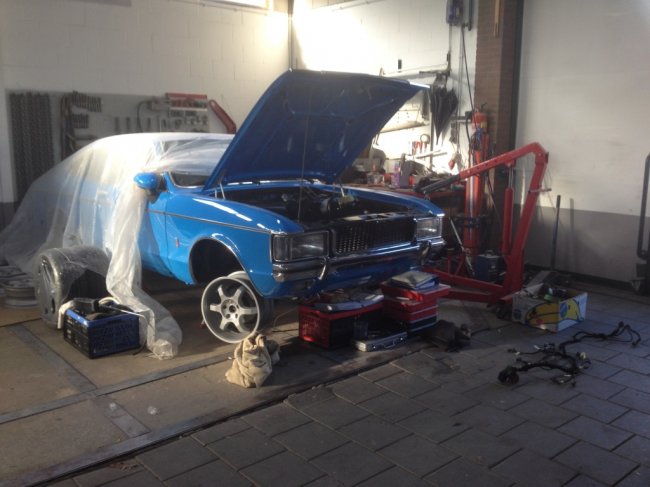
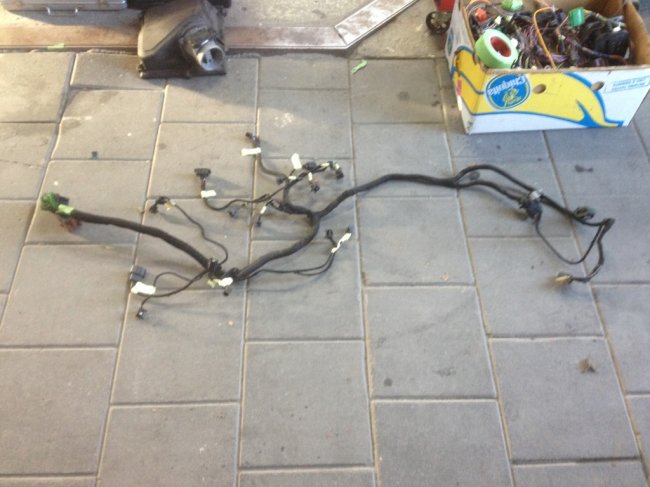
This is the stuff from engine loom to ECU to put in the car.
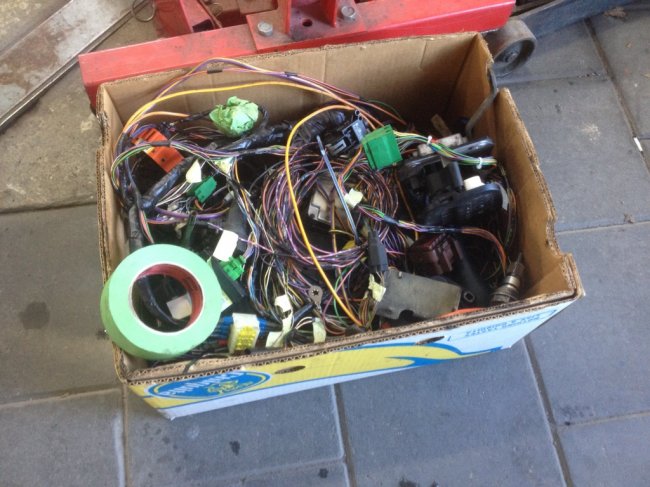
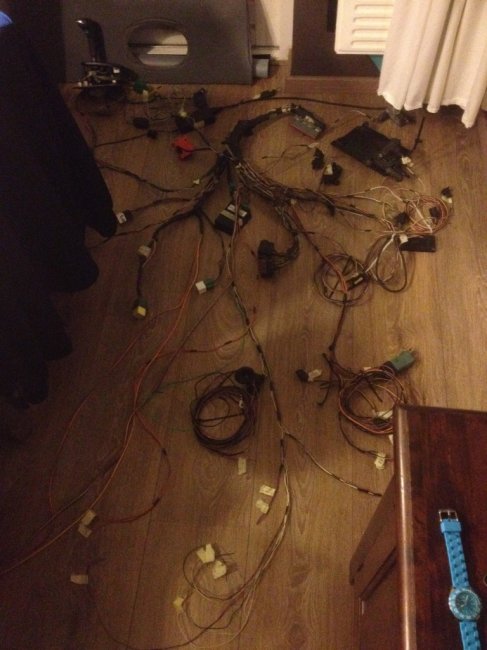
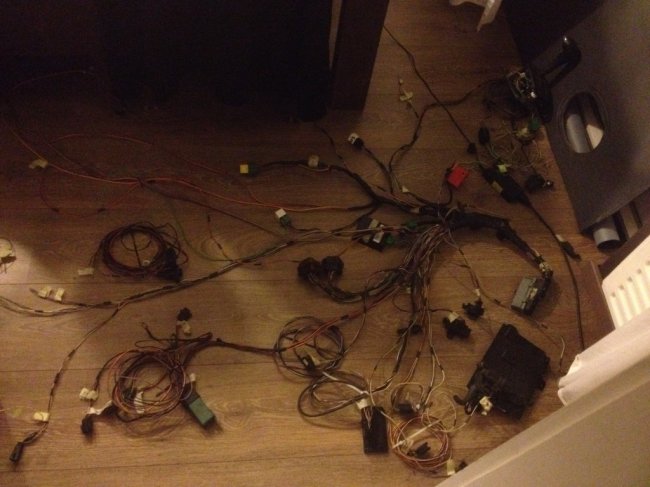
This is what was not needed from the original donor car... Quite a lot and containing two great dry fuse boxes.
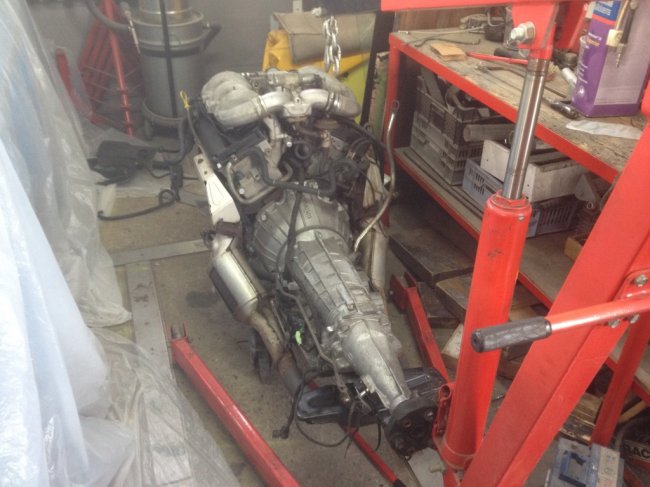
I then put the engine and box back together. While fitting the loom and intake back on, I noticed that with the transmission attached the engine wouldn't turn. As I had my suspicions regarding this issue before I had nod forcefully tightened down the box and decided to lift it away. A ridge in the torque convertor caught on the hole in the crankshaft. Removing the ridge the box went on just fine and the engine and box turned freely. I connected the TC to the flywheel and mounted the starter.
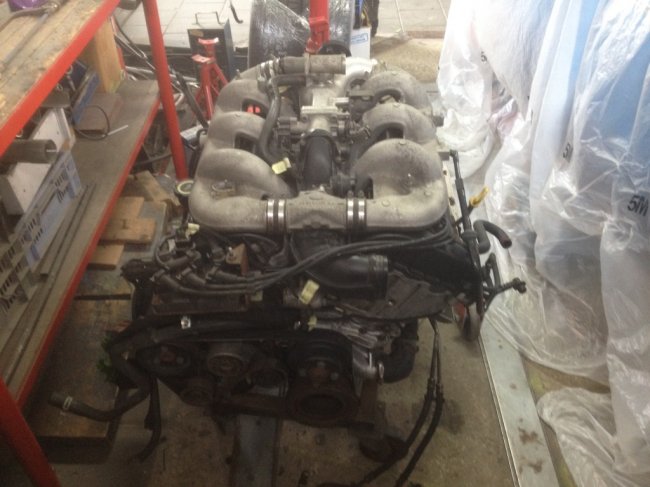
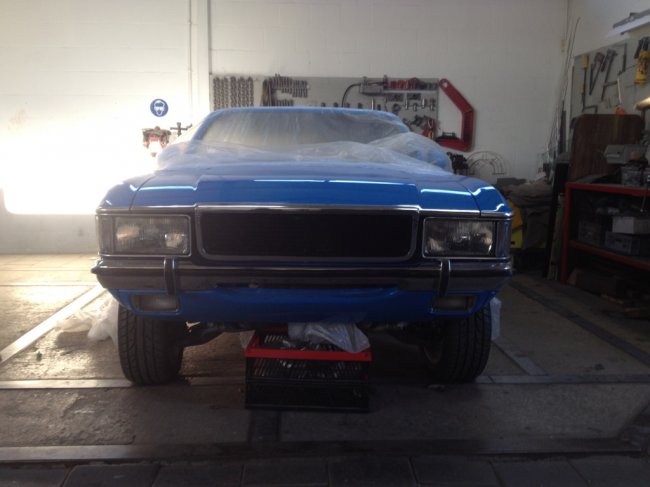
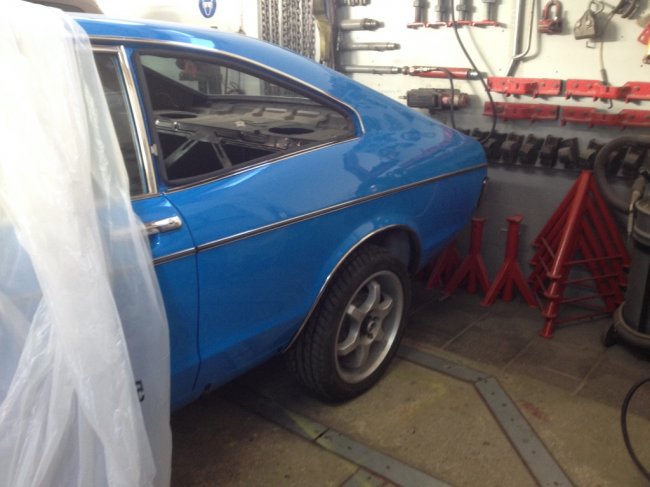
And then came the time. I needed my wheels to do as I planned. I thought it would be simplest to just raise the car high enough to put the engine in from below rolling on the front subframe. As the wheels were late in arriving I took off the front subframe and when they arrived started raising the car. Put the rear wheels on blocks for some more ground clearance to manouvre with the gearbox and engine angles. Put the wheels on the front frame and rolled it underneath for the night.
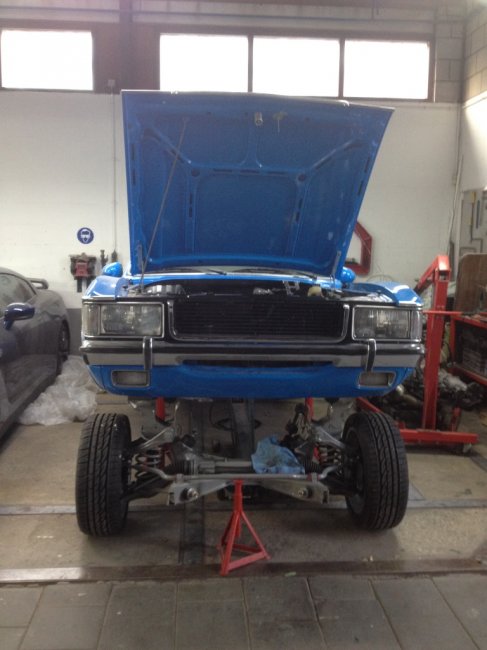
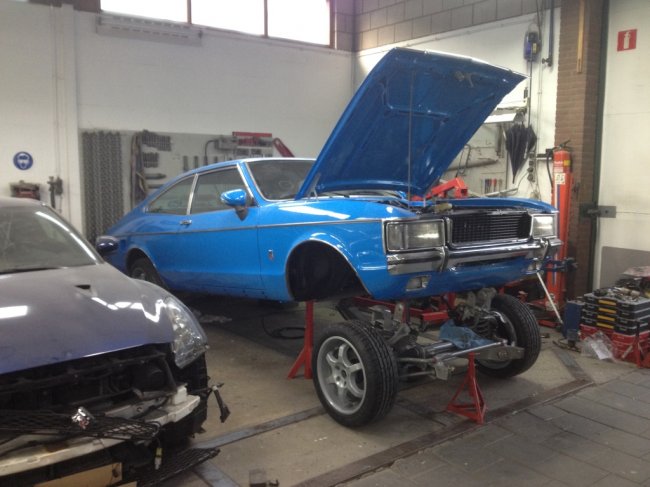
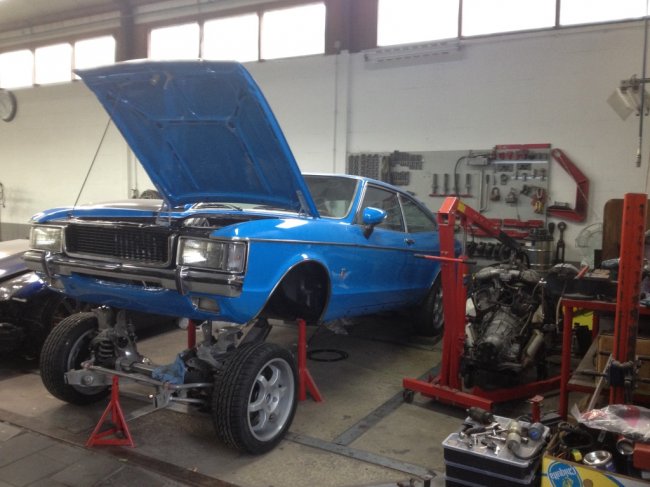
Next morning I mated the engine and box with the front suspension. Lined up to simply be rolled backwards underneath the car. It fell onto its supports in one go, using the original engine mounts from the 2.6 V6.
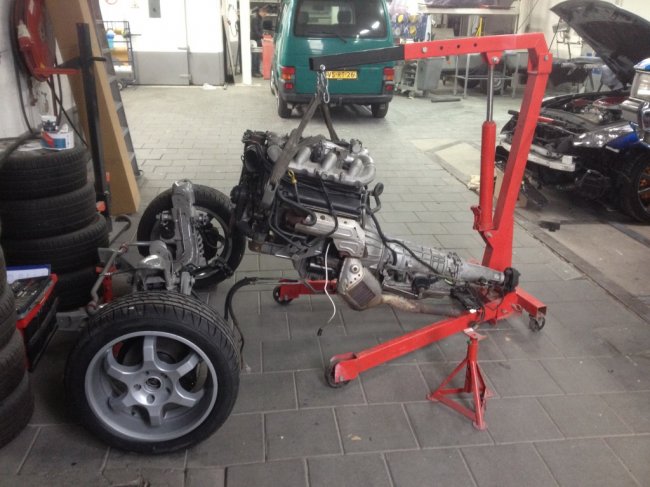
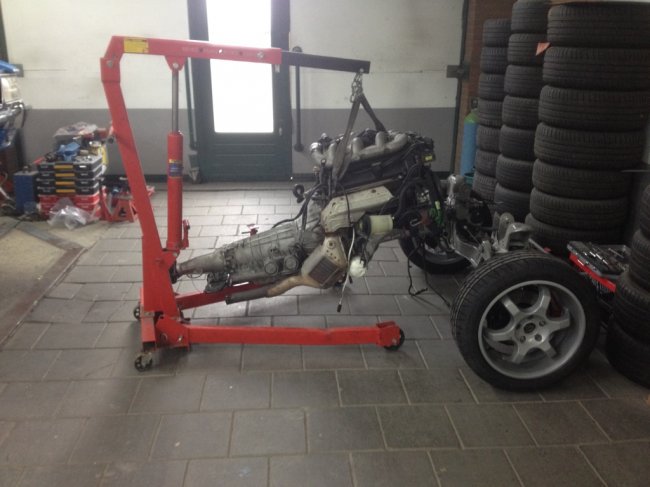
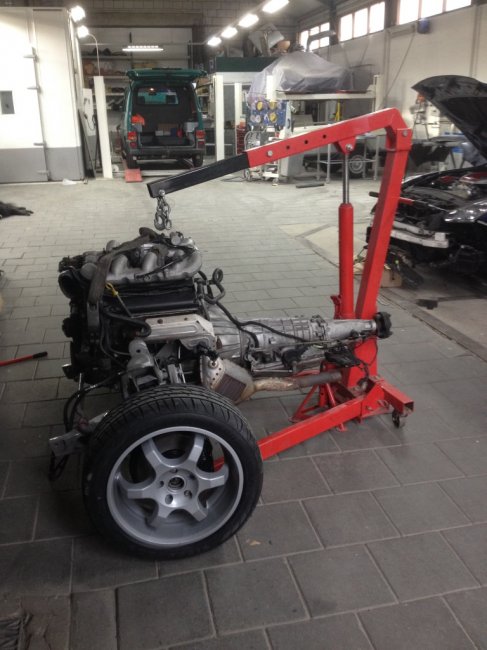
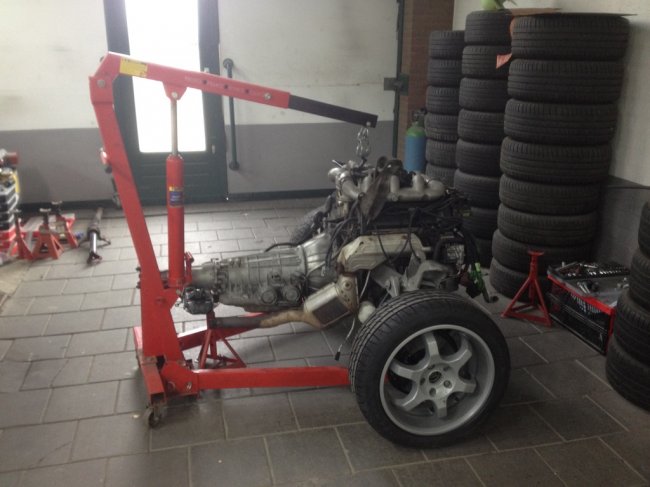
The car needed to be even higher as the suspension settled a lot less then I had imagined. Felt a little uneasy, but was safe and secured by the rear handbrake. Even at this angle, the car did not want to tip over backwards as i had raised it's center of gravity by raing the rear wheels. Before with the wheels on the ground an no front subframe the car was easily lifted at the front, after the blocks under the rear wheels two people together couldn't budge it.
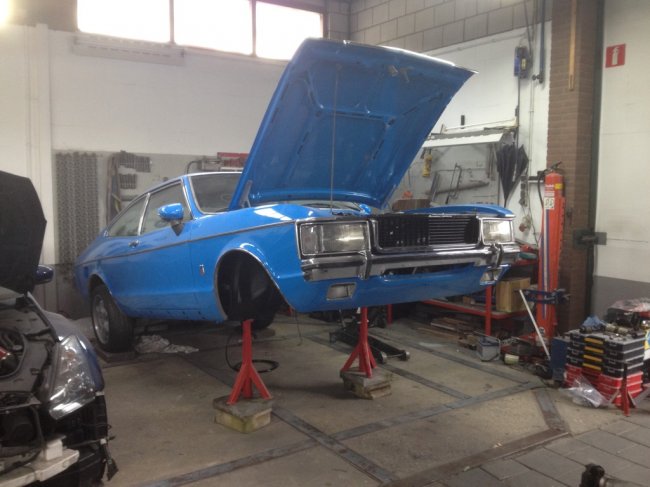
The engine rolled under quite easily just by myself
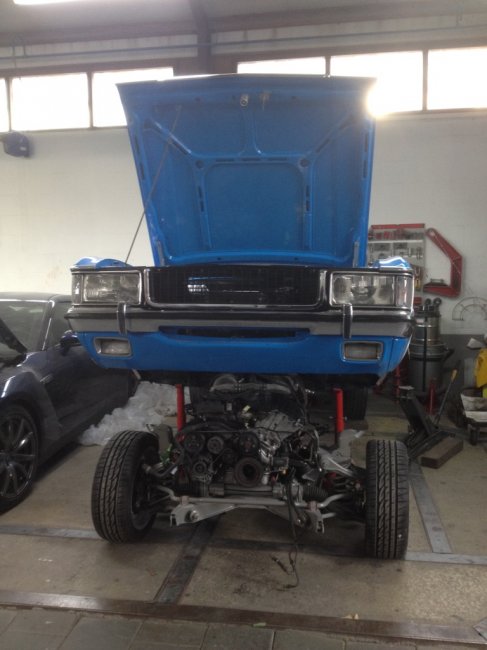
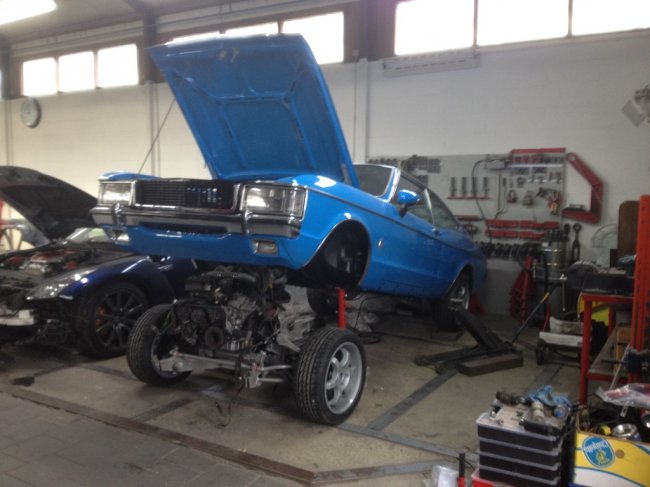
And after a lot of playing with two jacks and a stand, the car was succesfully lowered onto the block. The playing was necessary to keep the angles on the engine and body correct for smooth lowering of the car body. A little push and pull on the front wheels ocassionally helped lining them up. It was relatively easy going and all subframe mounts were easily put back in.
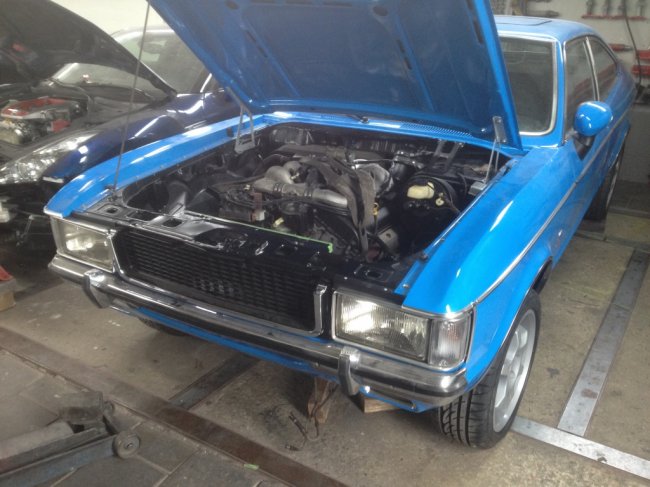
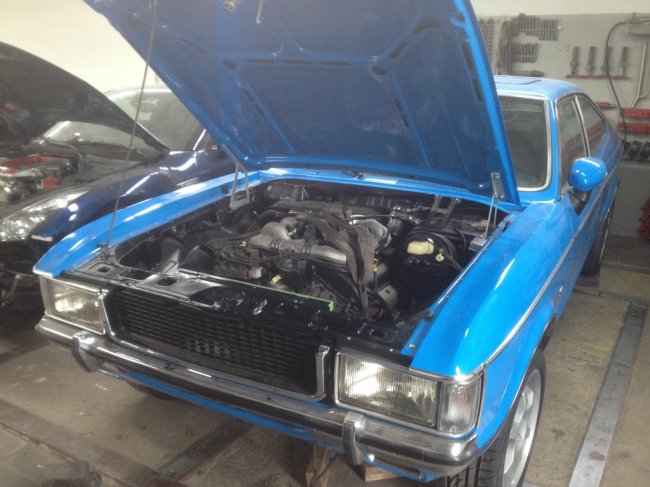
And this is where I'm at...
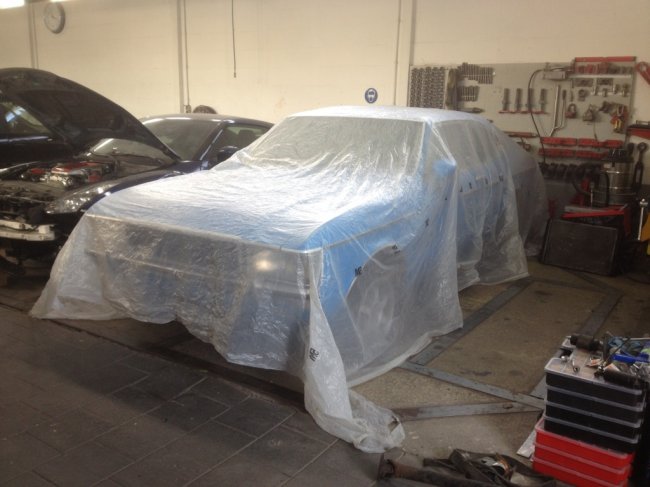
Well not quite. Although the pics aren't yet available I also measured some things and drew some conclusions:
- the shifter is in exactly the right spot
- the front of a Scorpio drive shaft combined with the original rear should fit
- the gearbox height is perfect
- only a very small trimming of a centre brace is required for the hardy disc bolts
- the gear box support is too far backward, and one cm lower than original, easily fixed (the granny one fits better than the Scorpio original as that is wider but slightly shallower).
I even made the driveshaft and hope to test fit it tonight...
So there you have it, a small update on the Granada!
Still, plenty to do to get it running. Cooling, oil lines, powersteering lines and off course all wiring from block to the car. Making a gearbox support, fitting the driveshaft etc. But we're getting there!


