Hi,
More to update you on...
Two main areas of work at the moment, rust repairs on the sill/wheelarch, and continuing with the rear light conversion
Rust
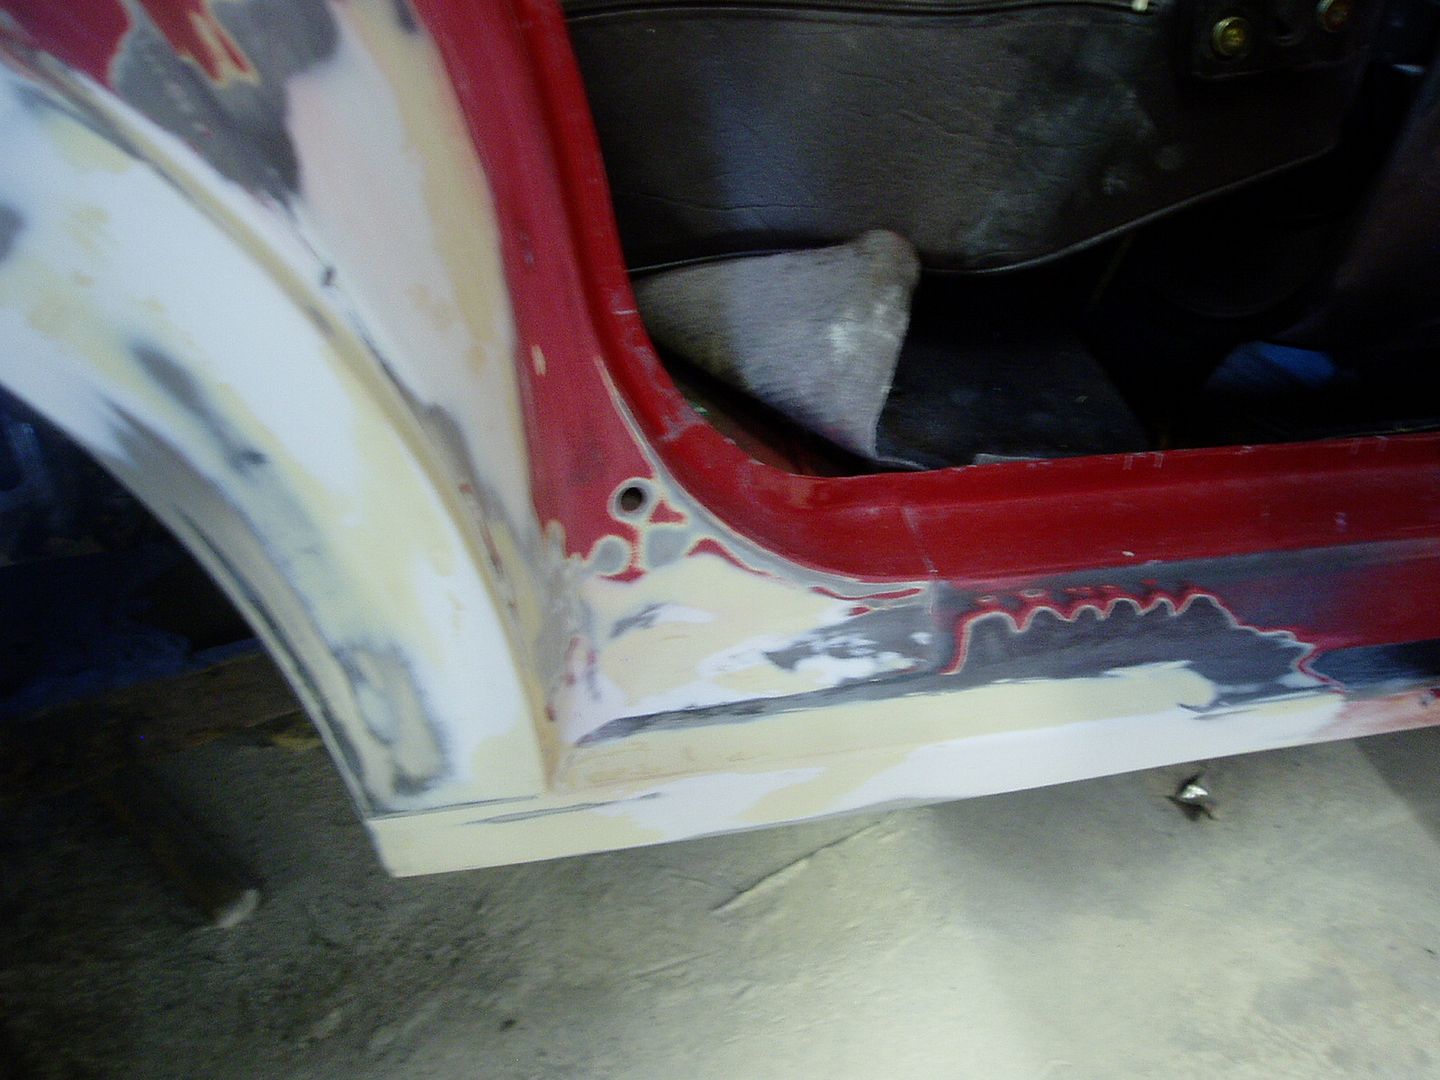
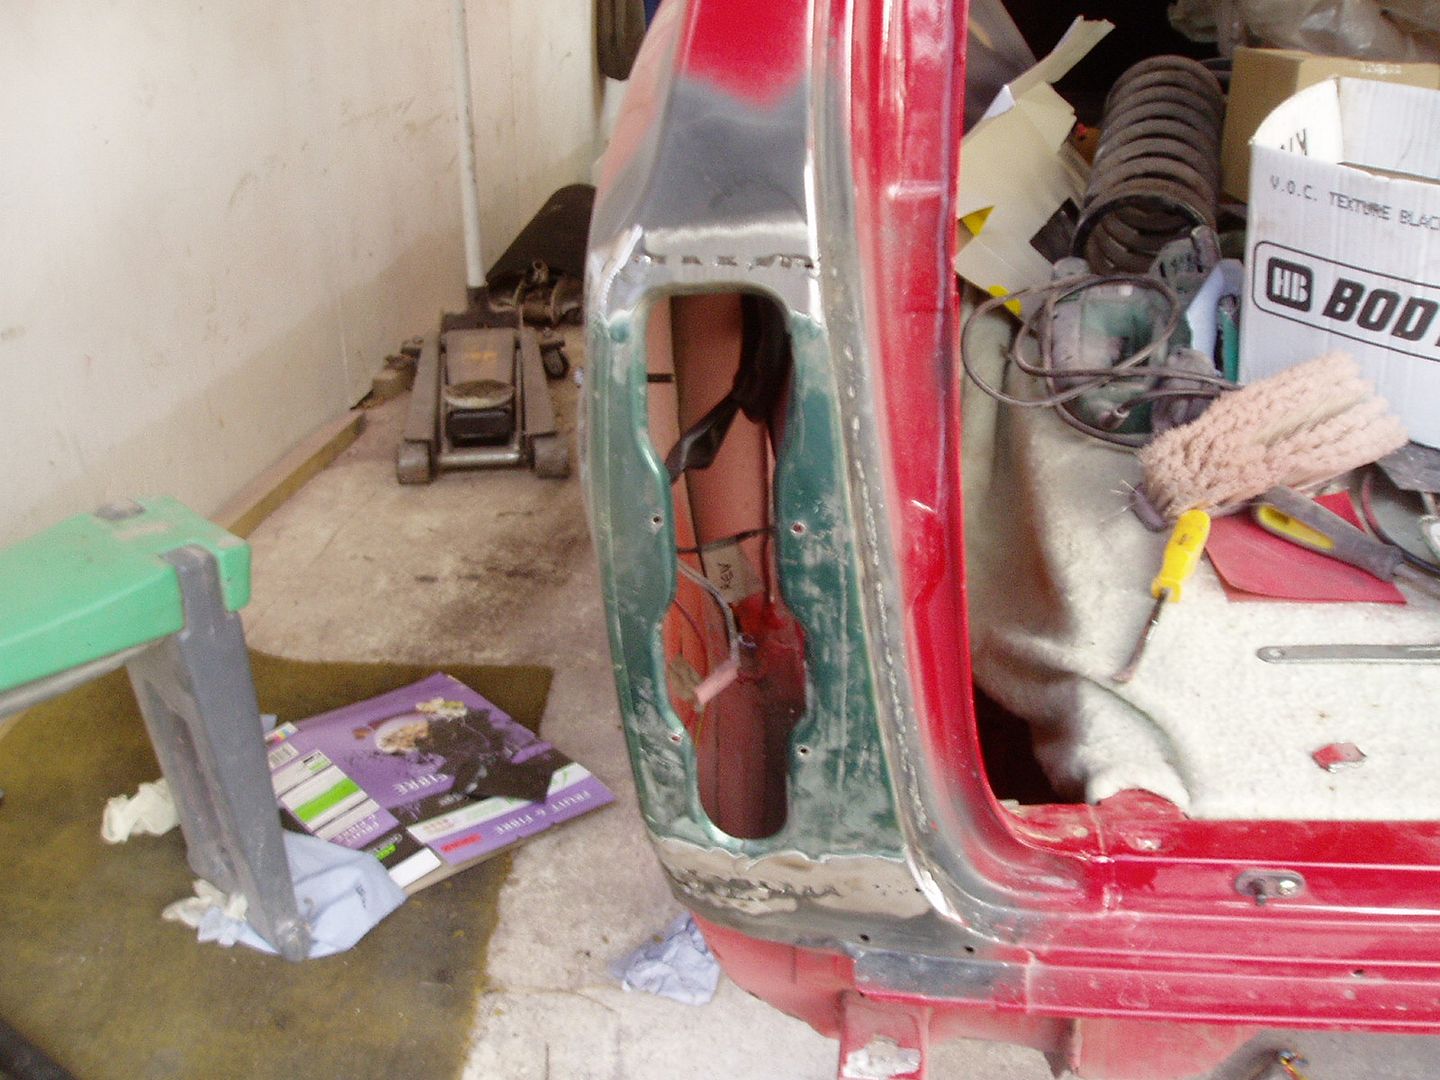
I knew the outer sill was holed near the end, but it was also very crumbly here beneath the underseal

All rusty metal cut out. Luckily the jacking point is perfectly sound, so provides an easy mounting point for the repair section
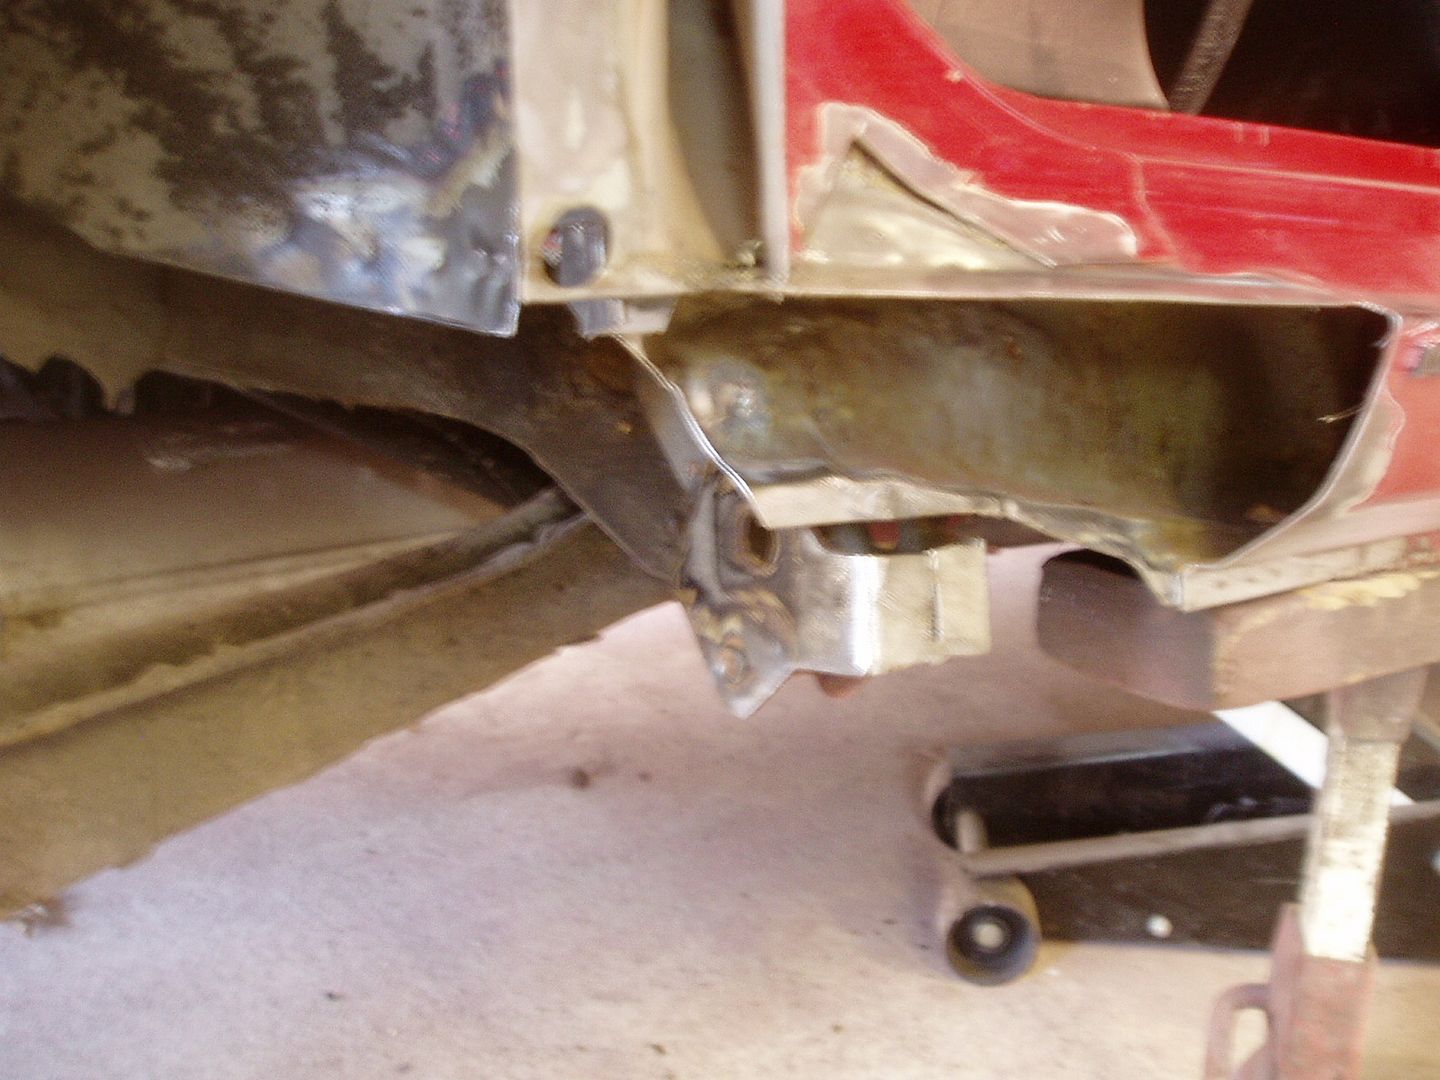

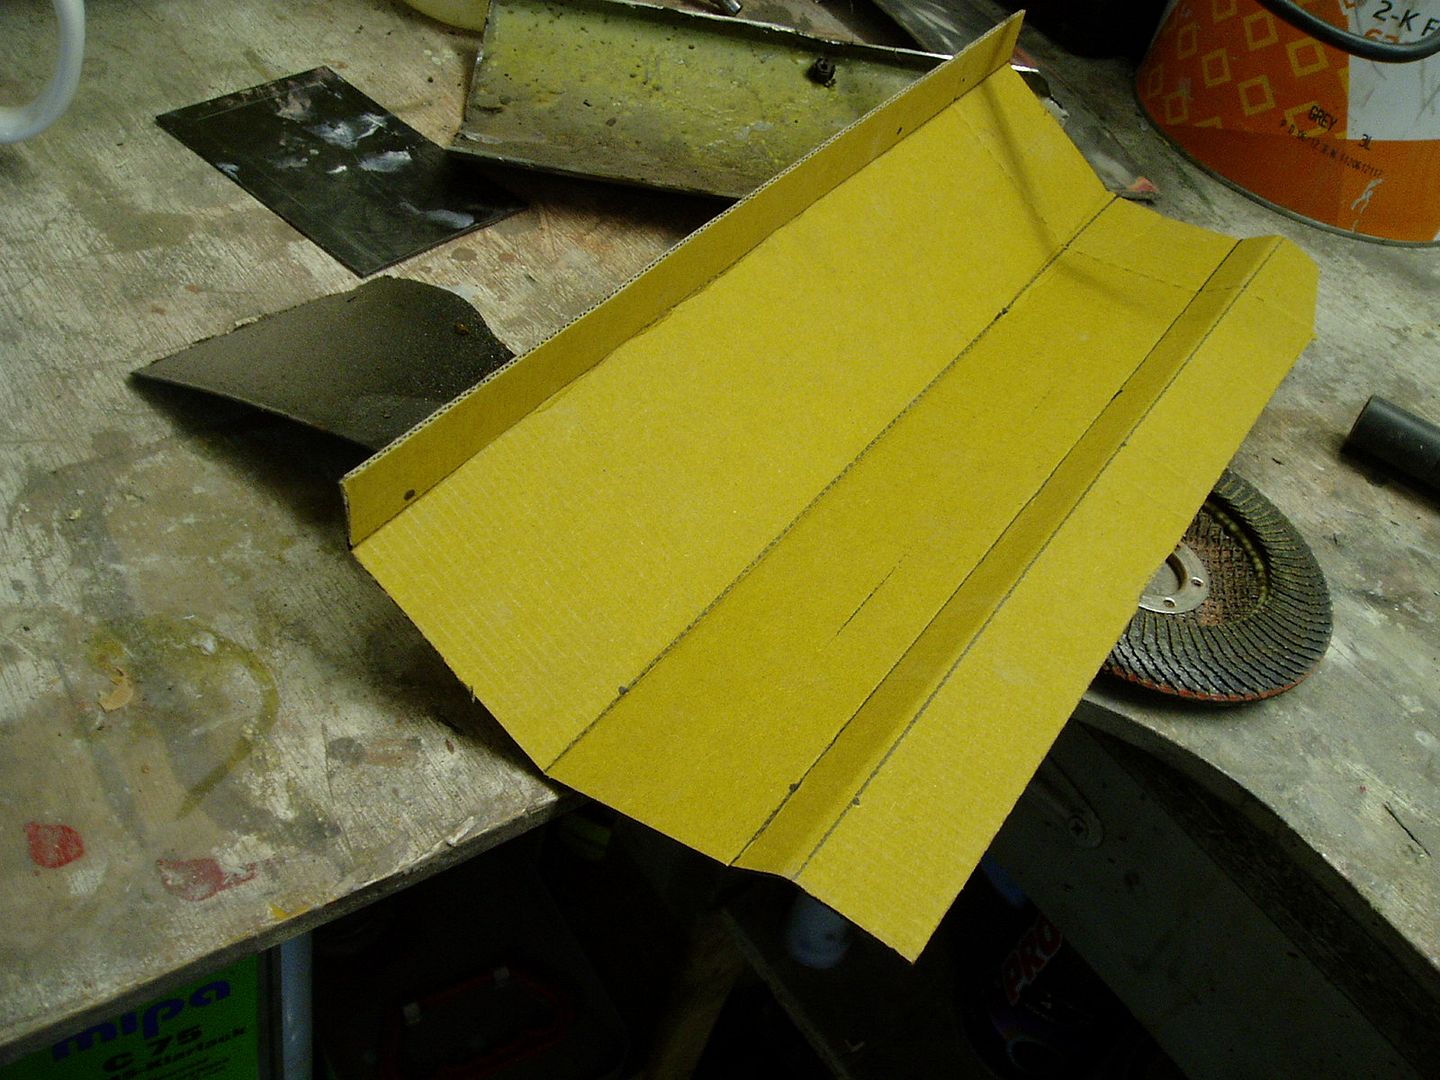
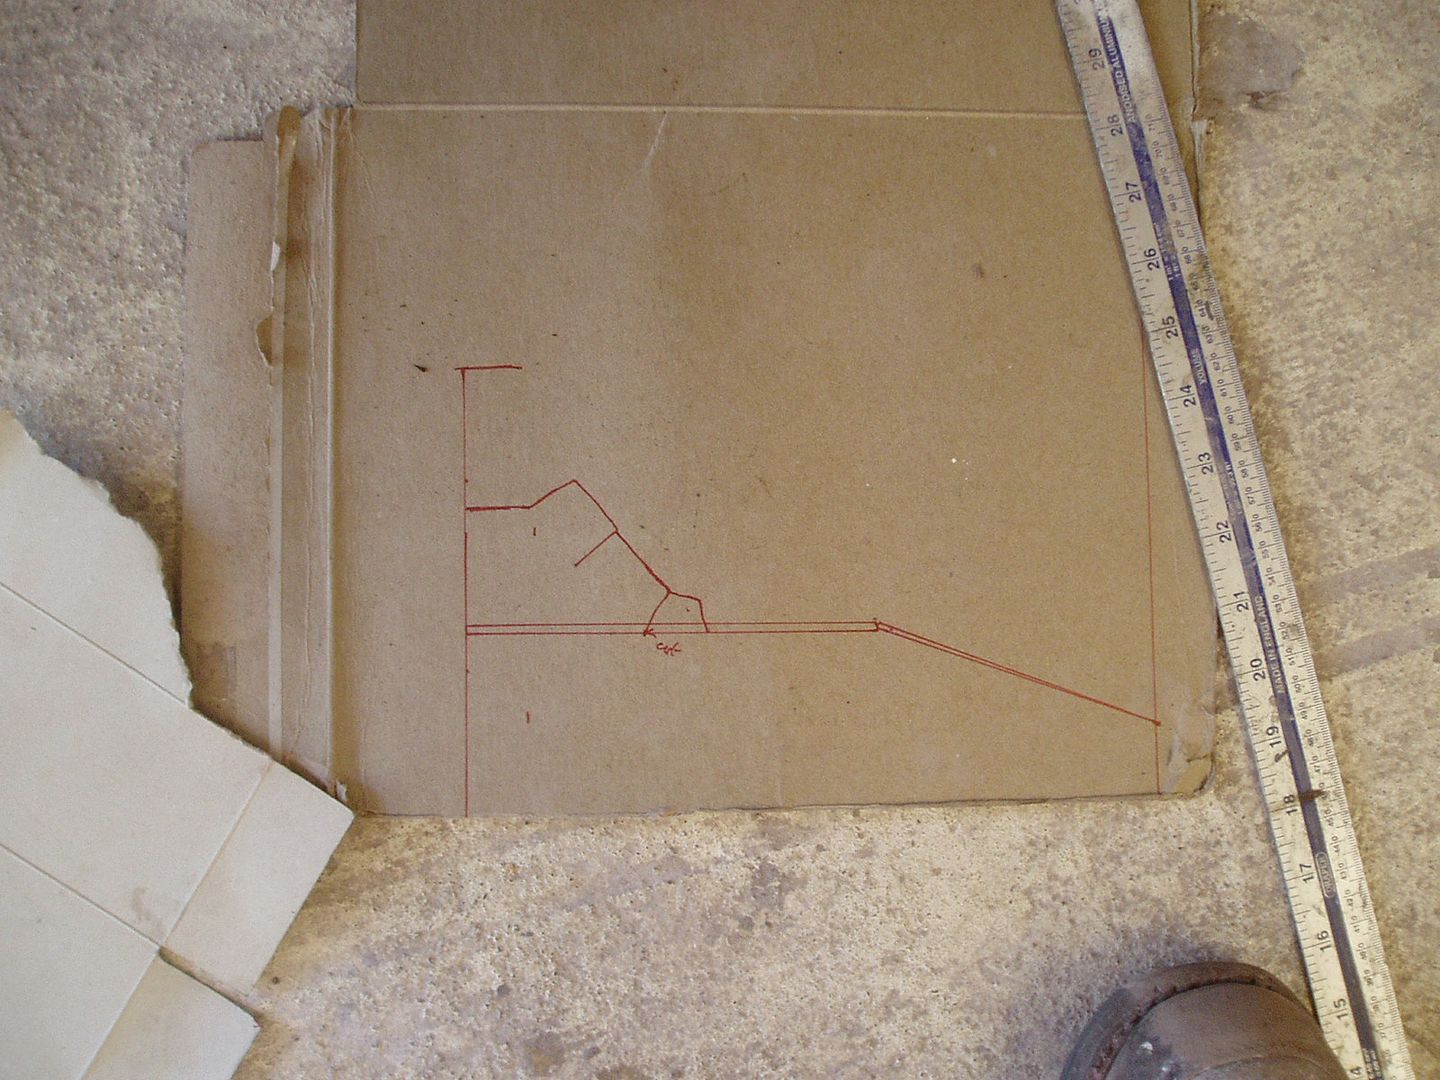
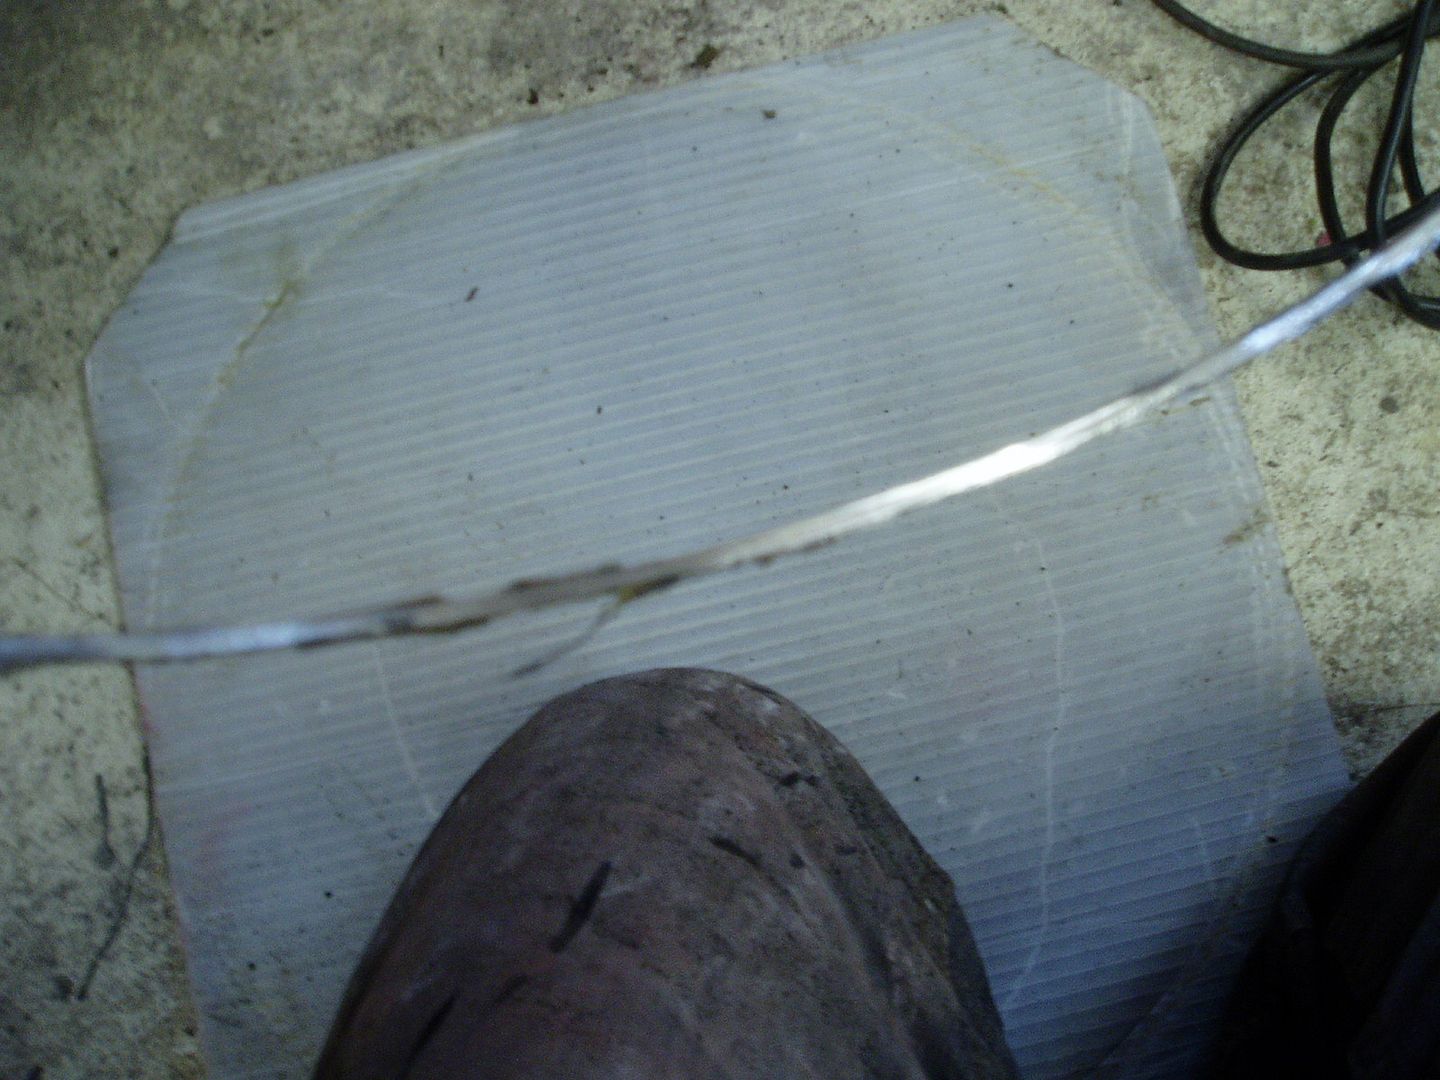
For me, the key to making rust repairs easier is to take care with accurate cardboard templates for the repair sections
Test fit of the inner sill repair, using the outer sill piece I removed as a guide
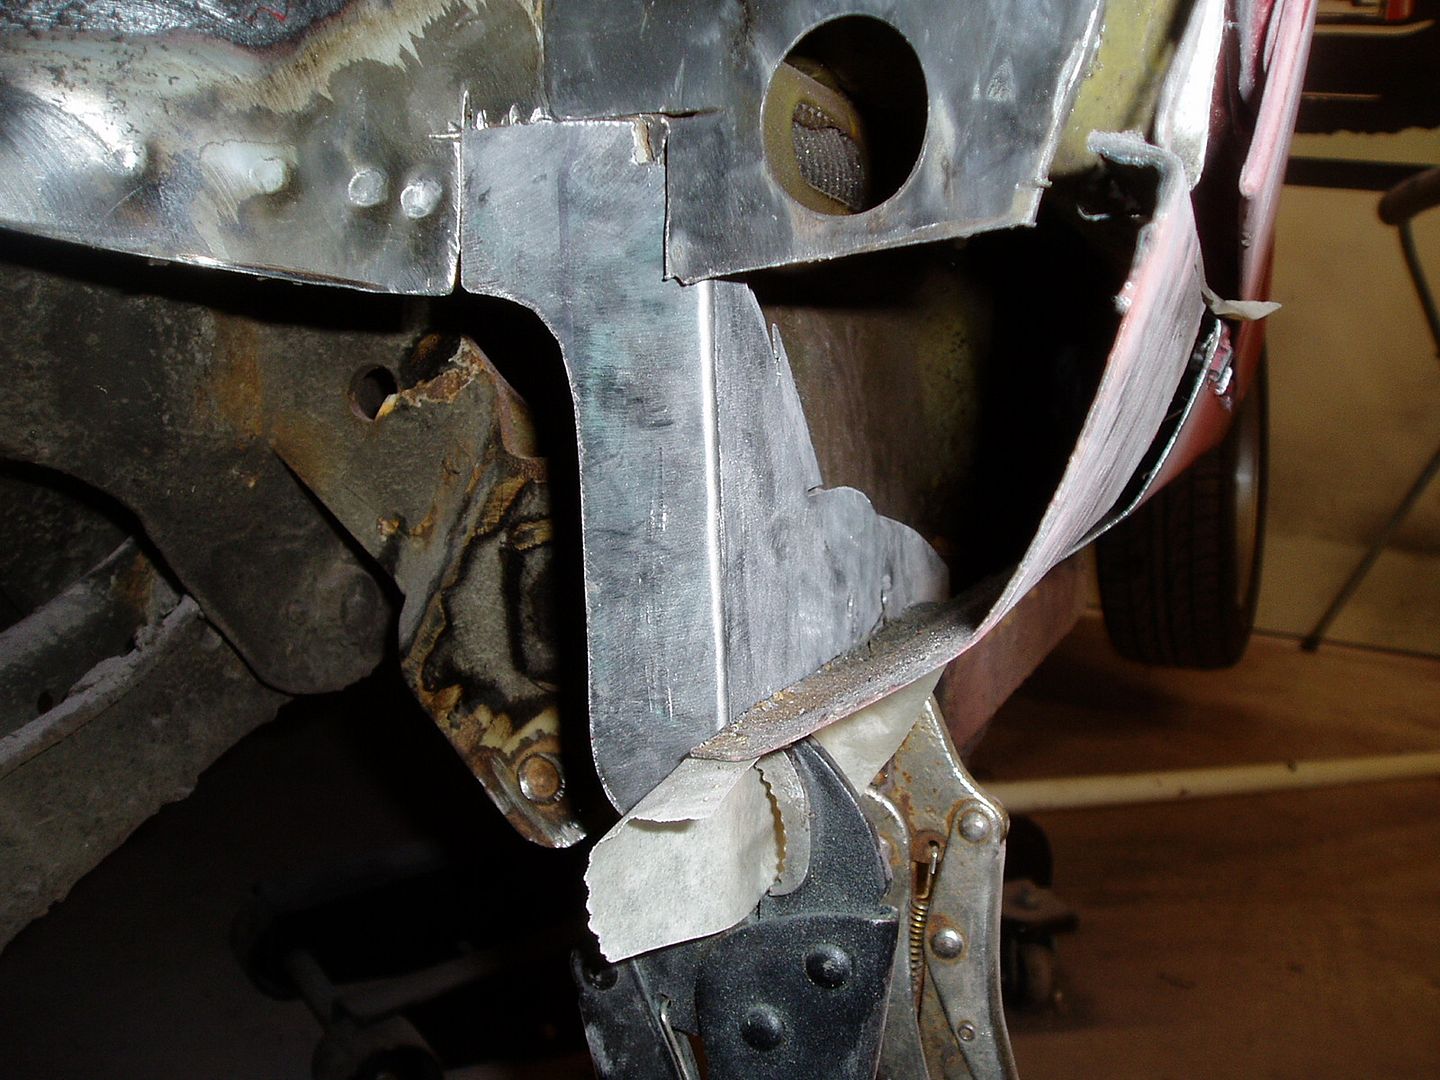
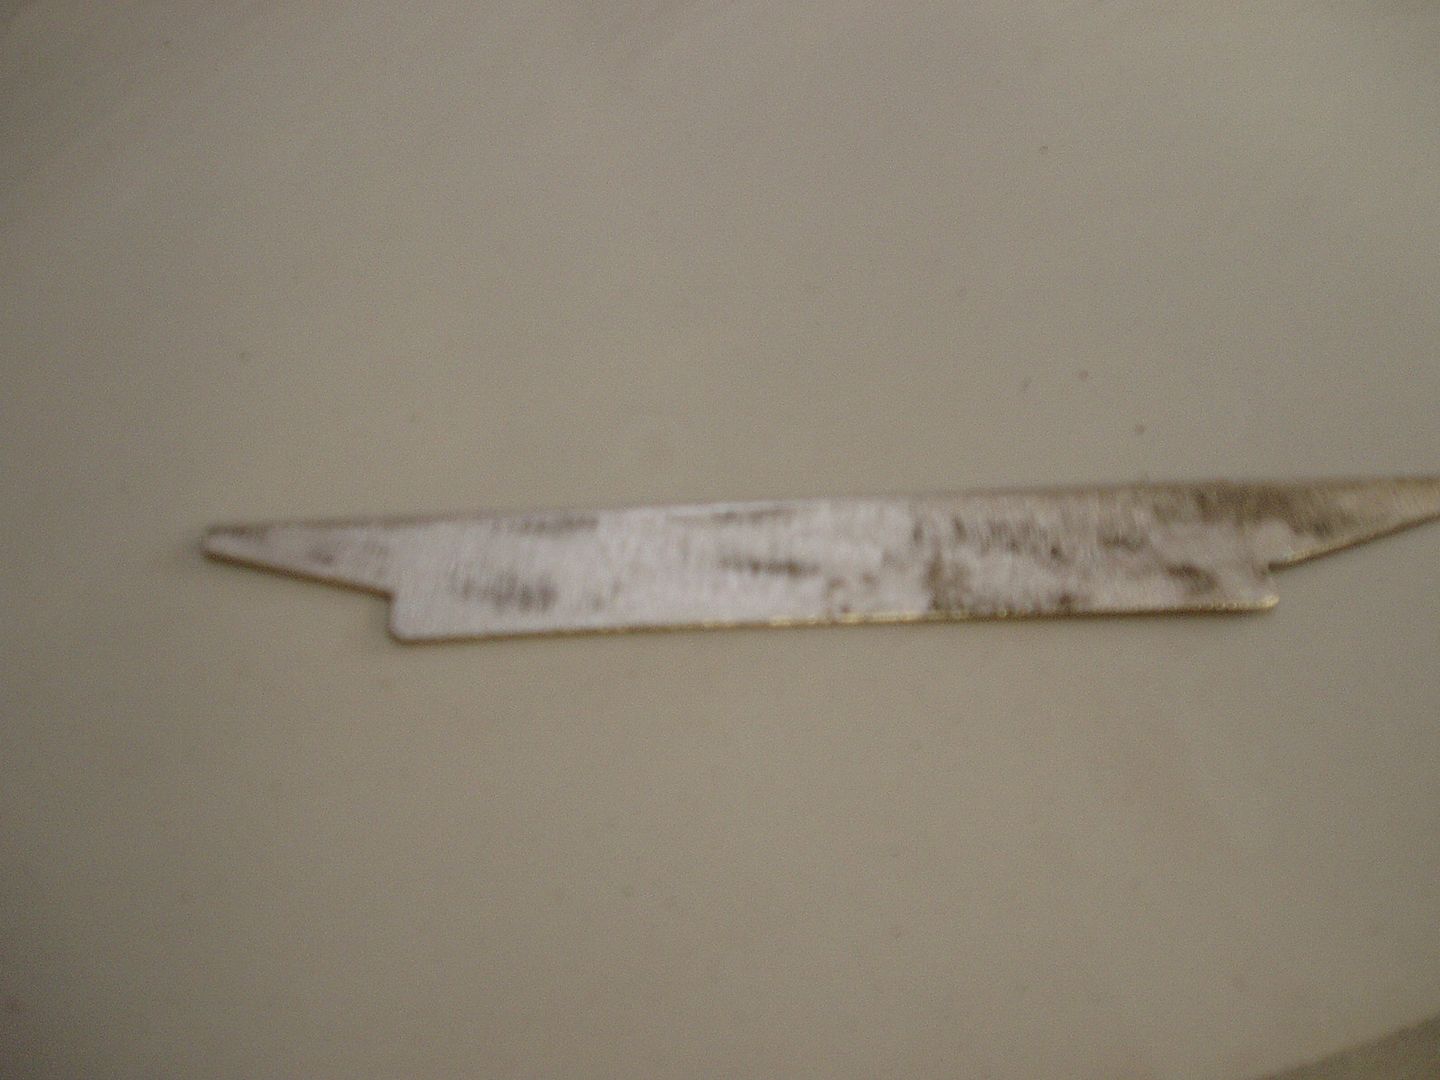
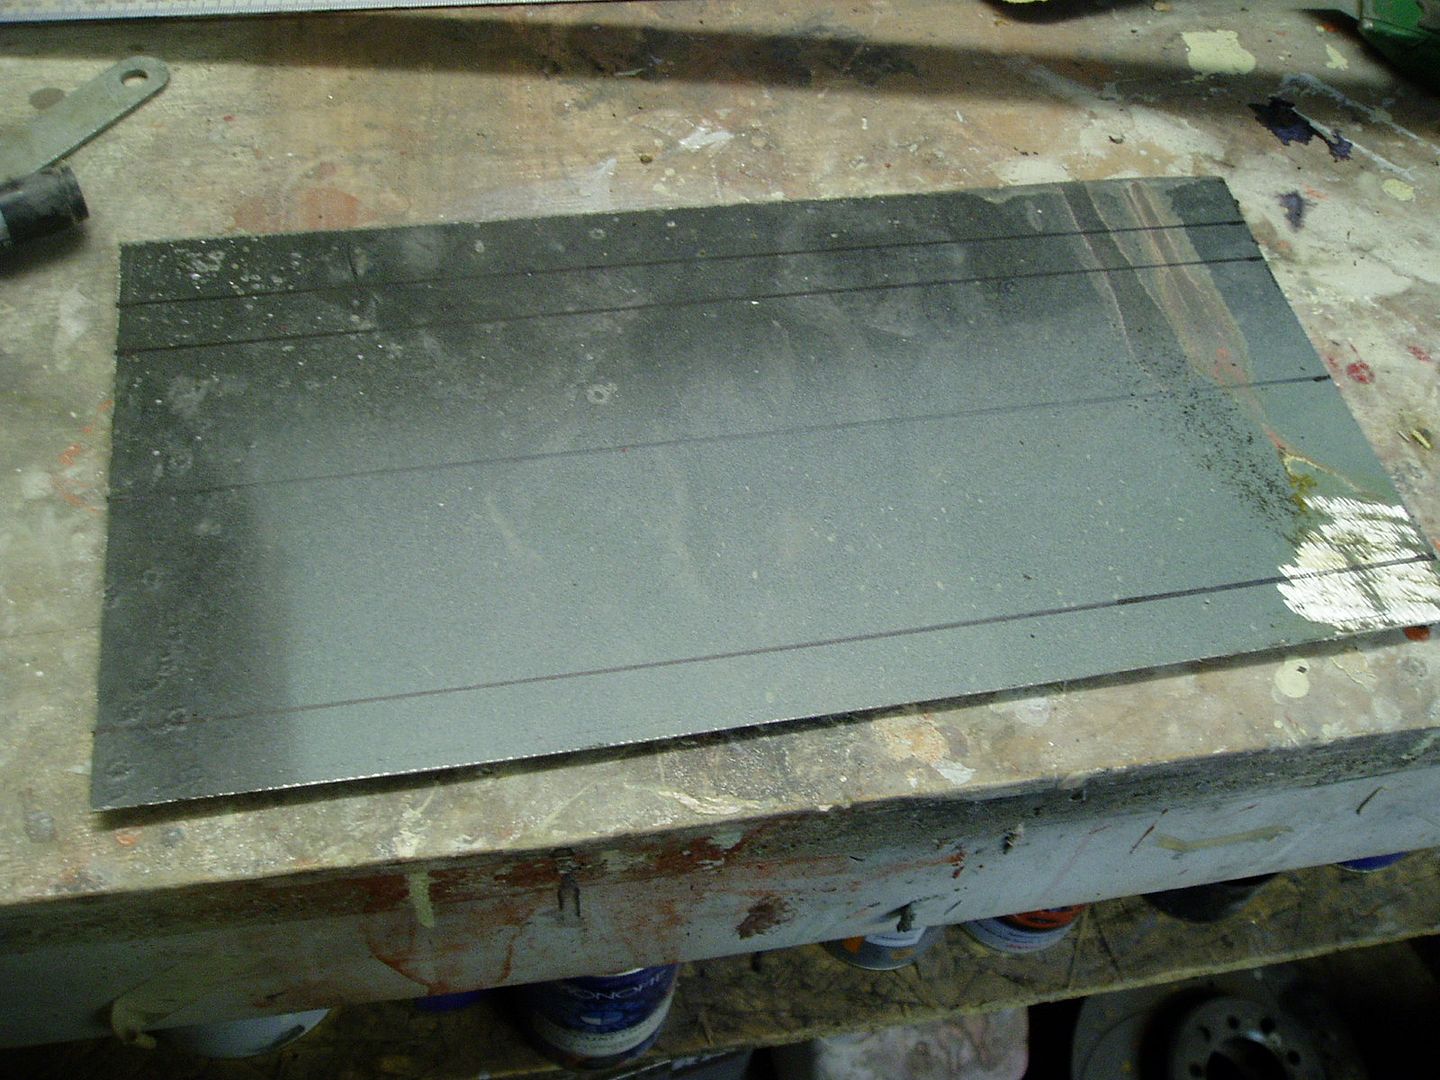
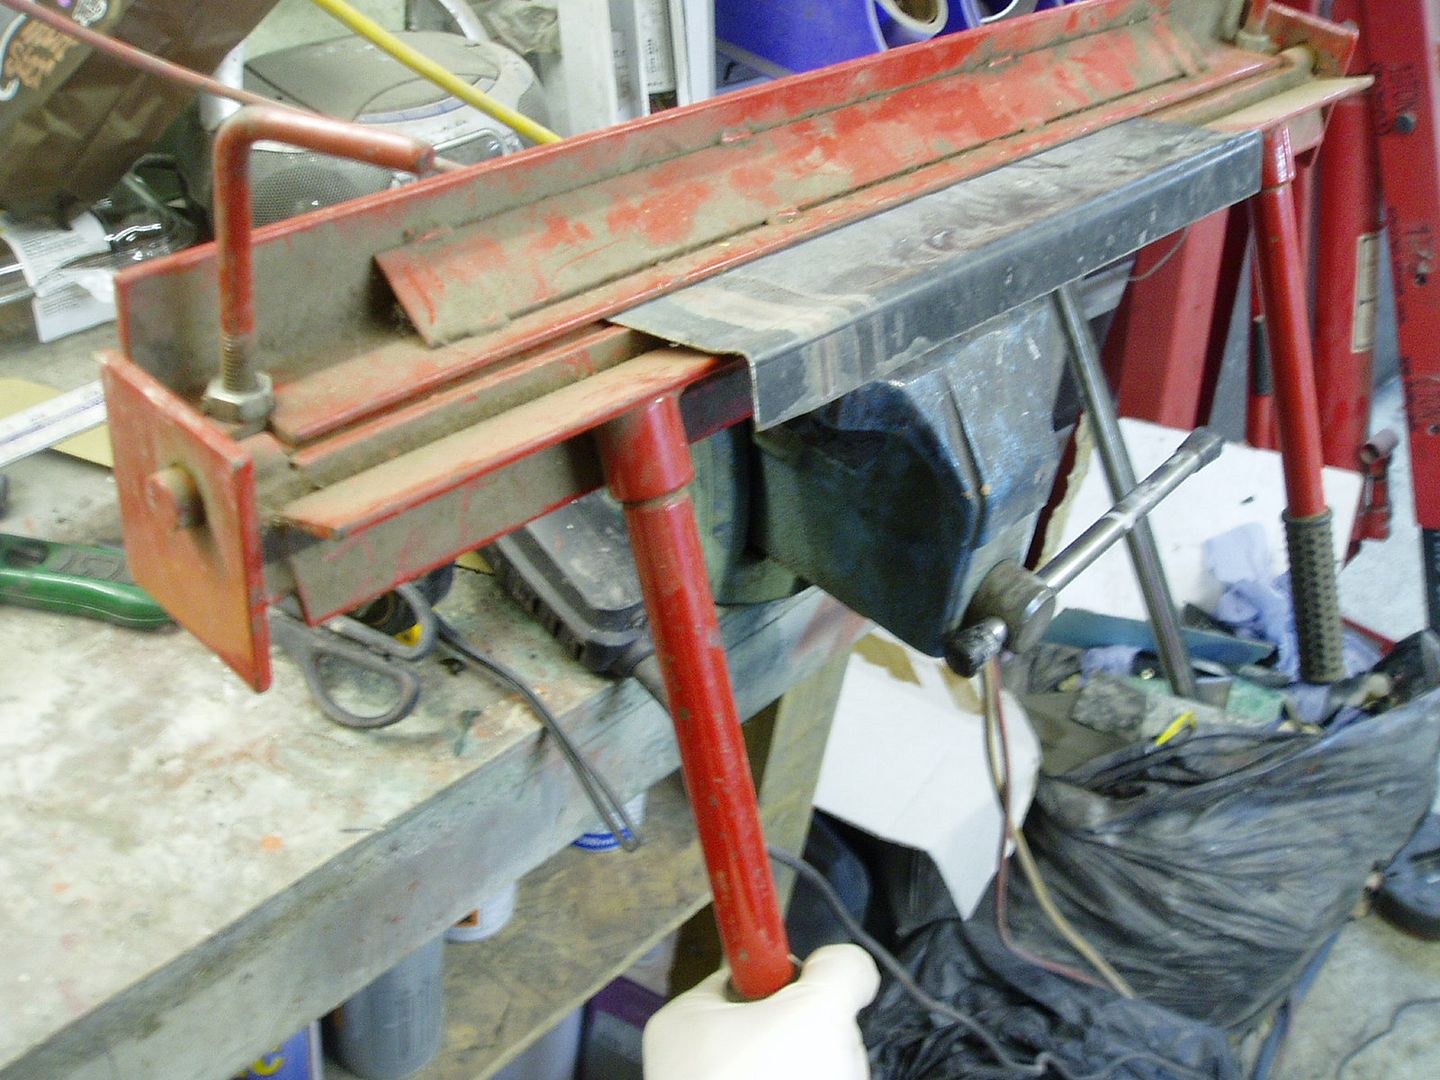
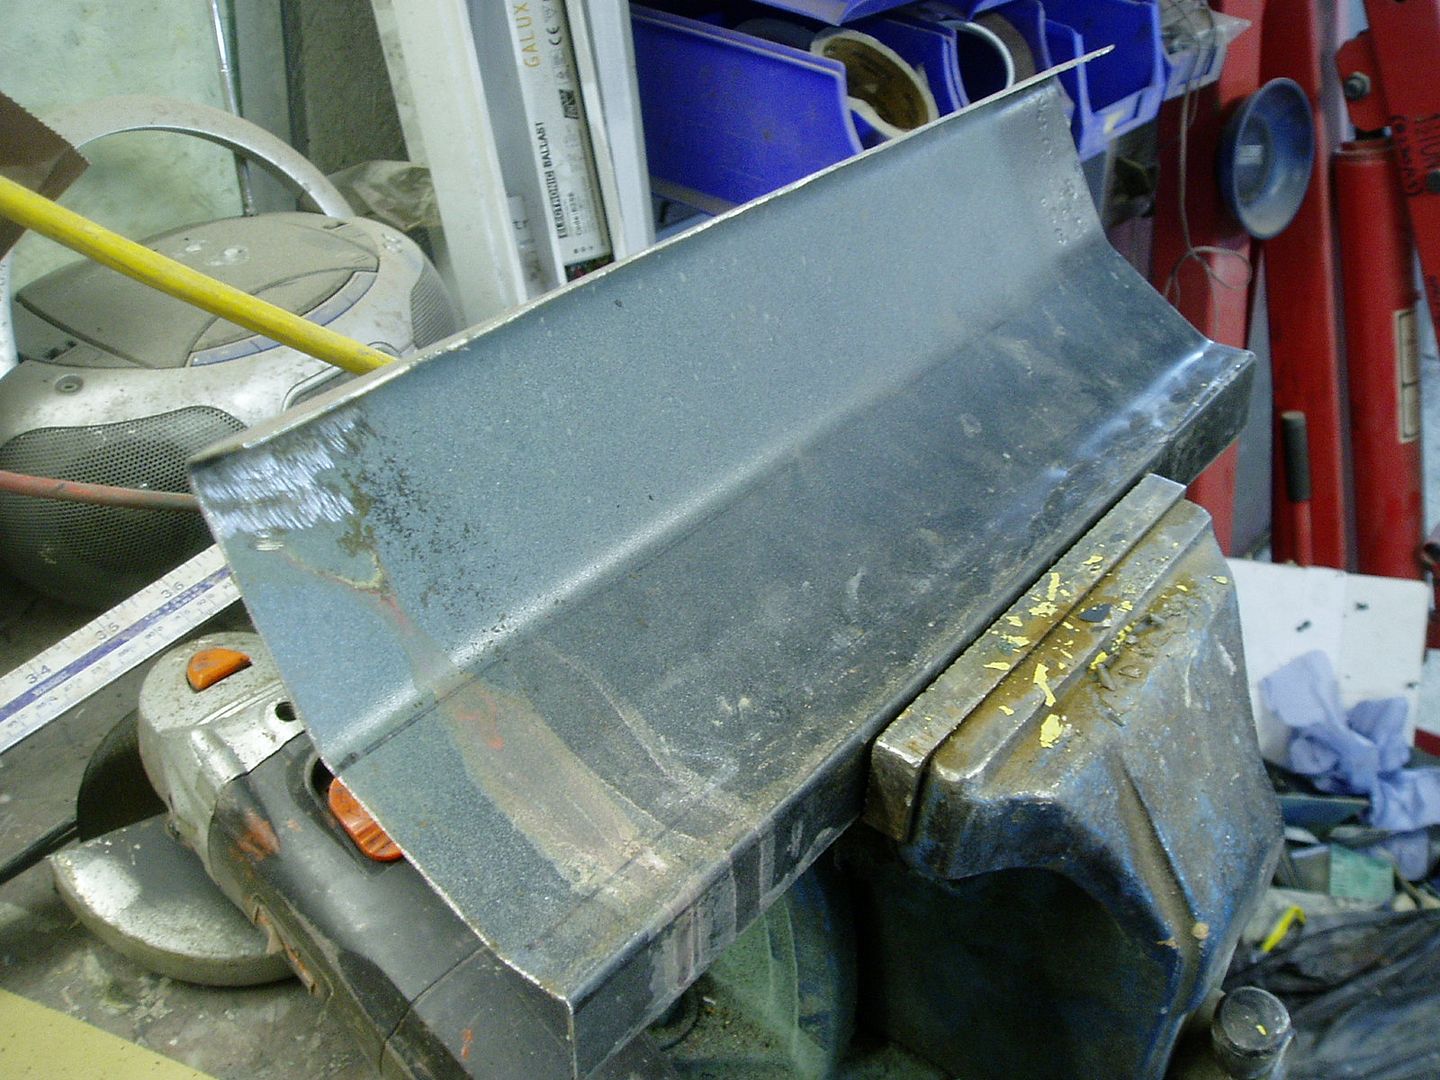
Making the lower closing piece
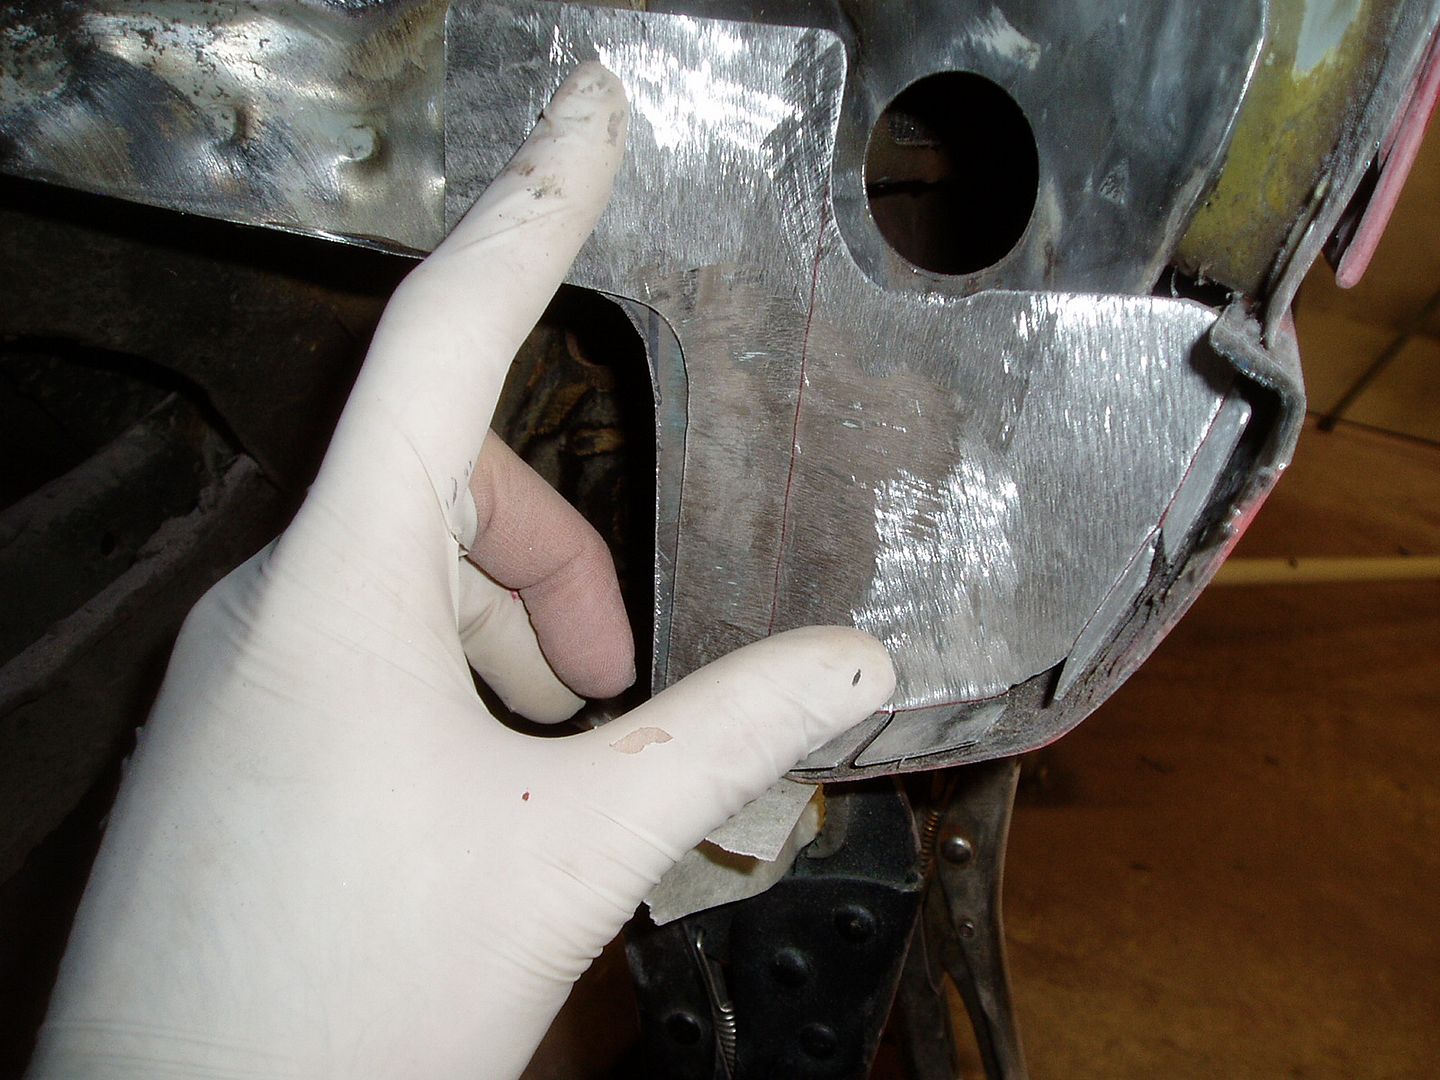
Weld-thru primer applied


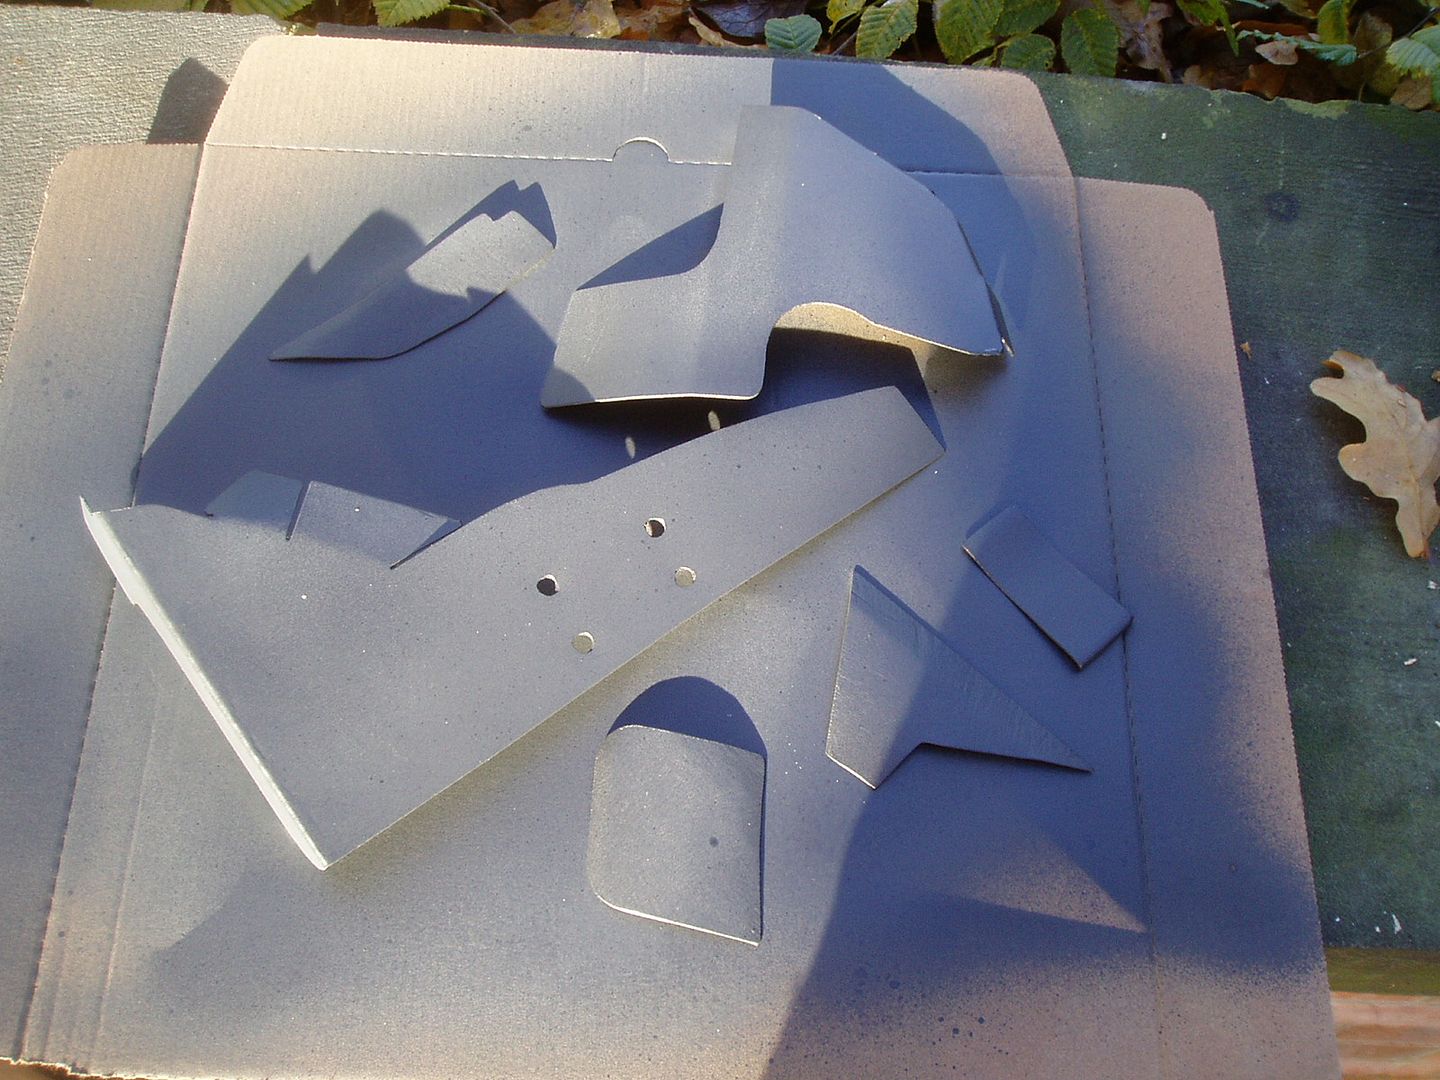
The internal repair sections painted with weld-thru primer
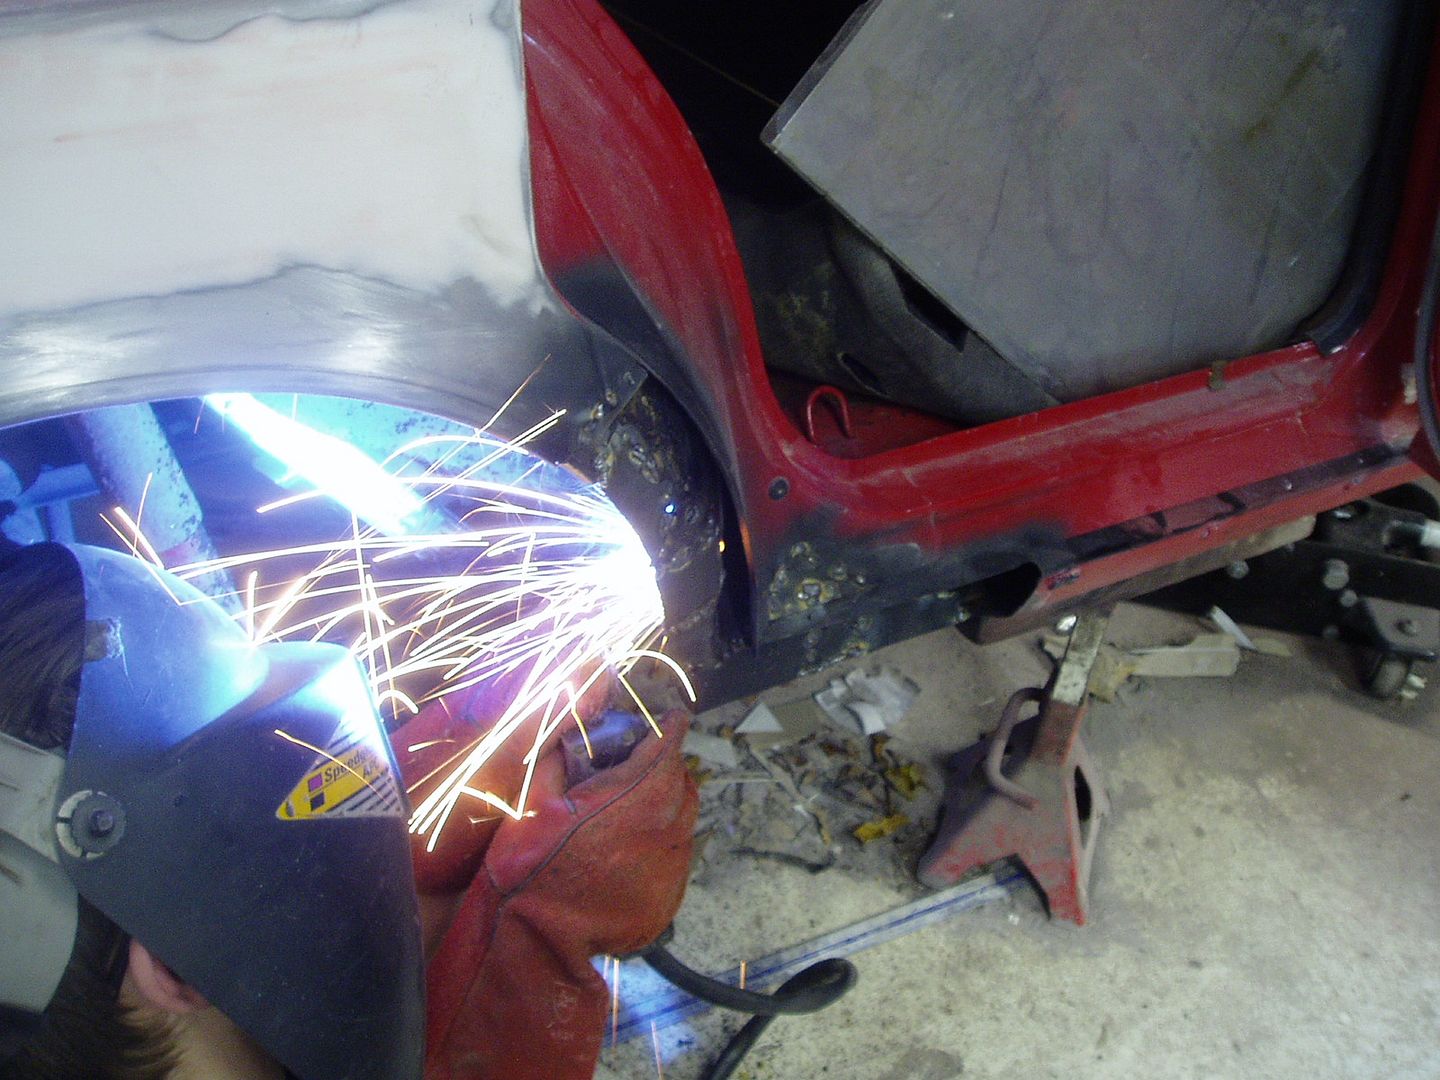
Ste welding the pieces in for me
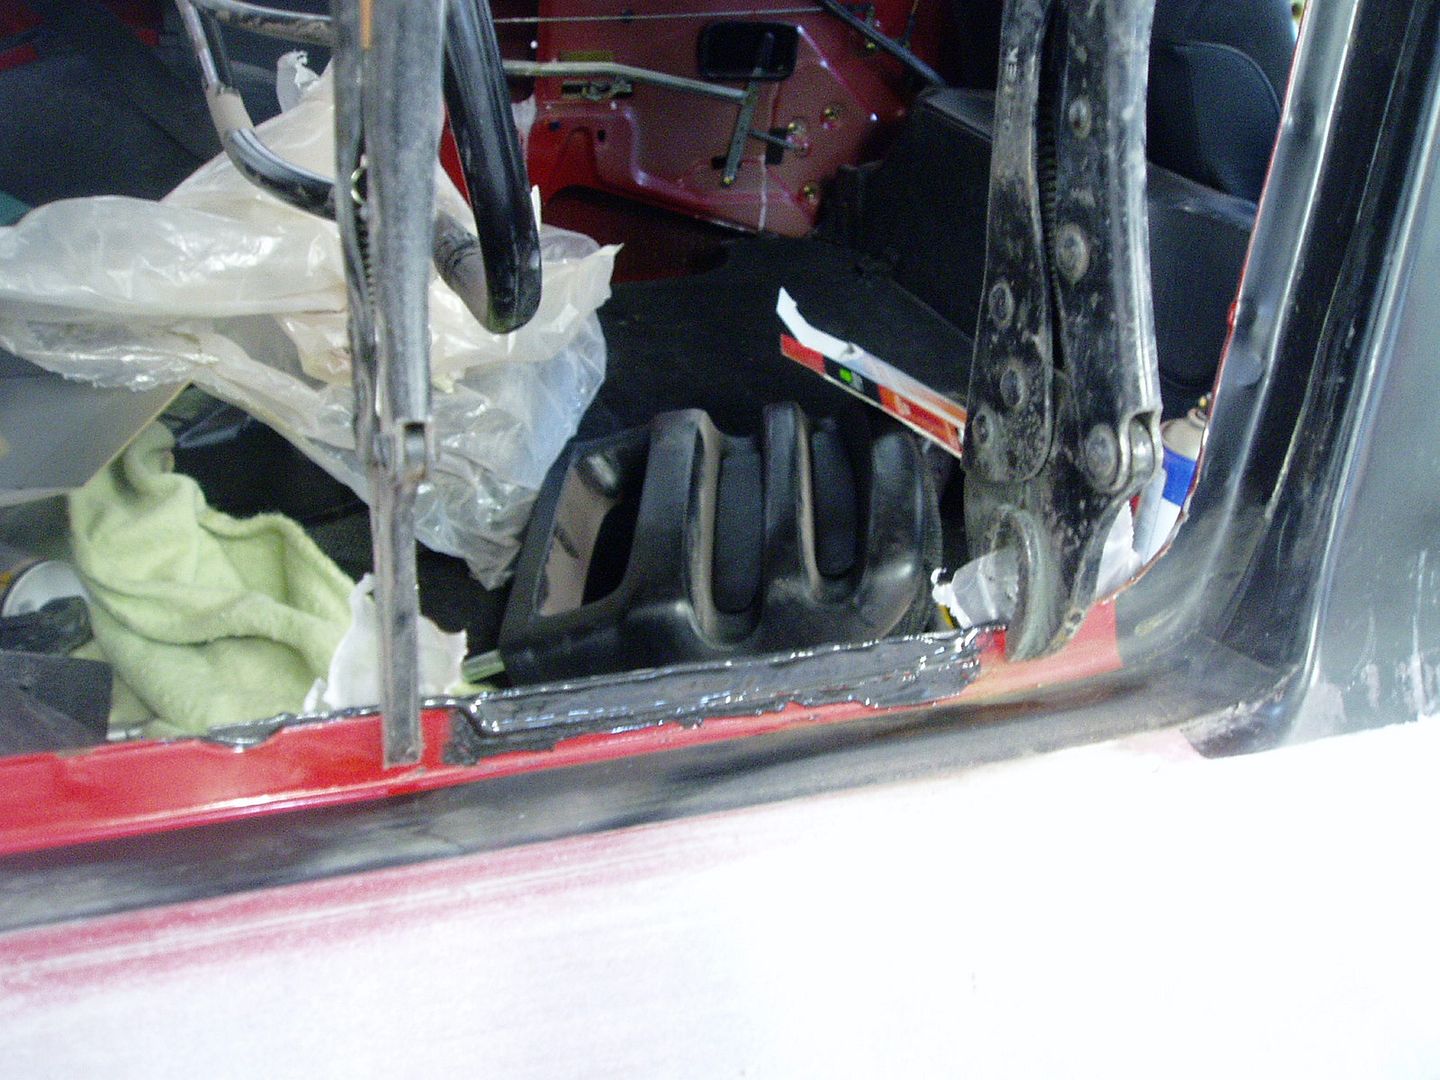
Inner sill repair fitted
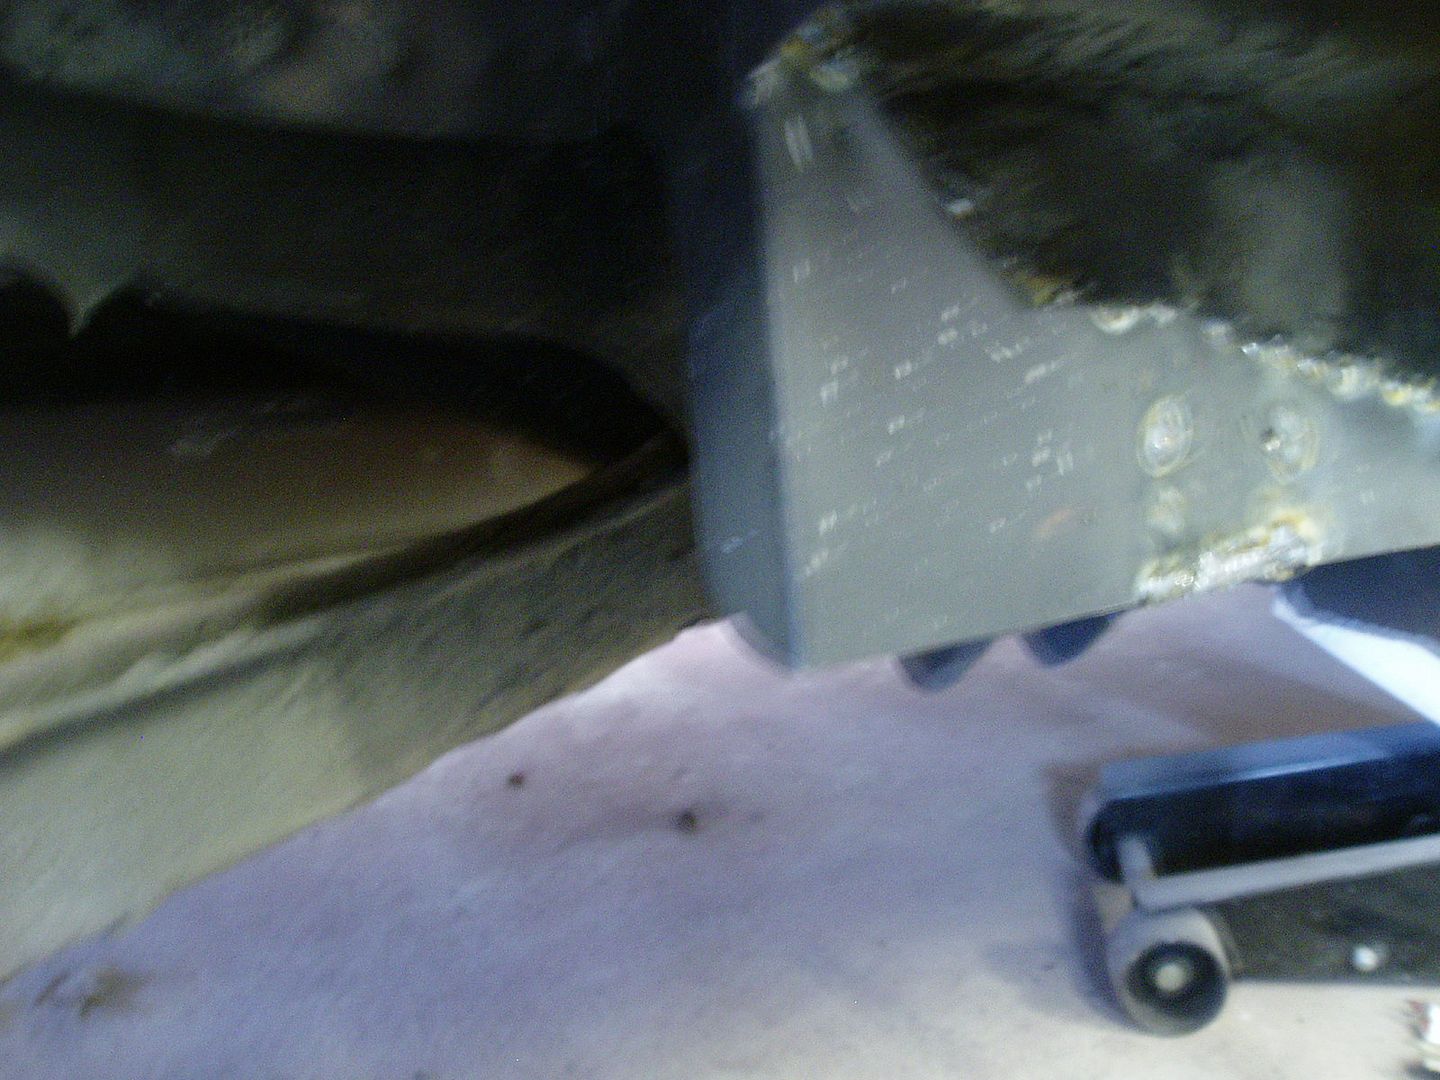
Inner arch pieces welded in
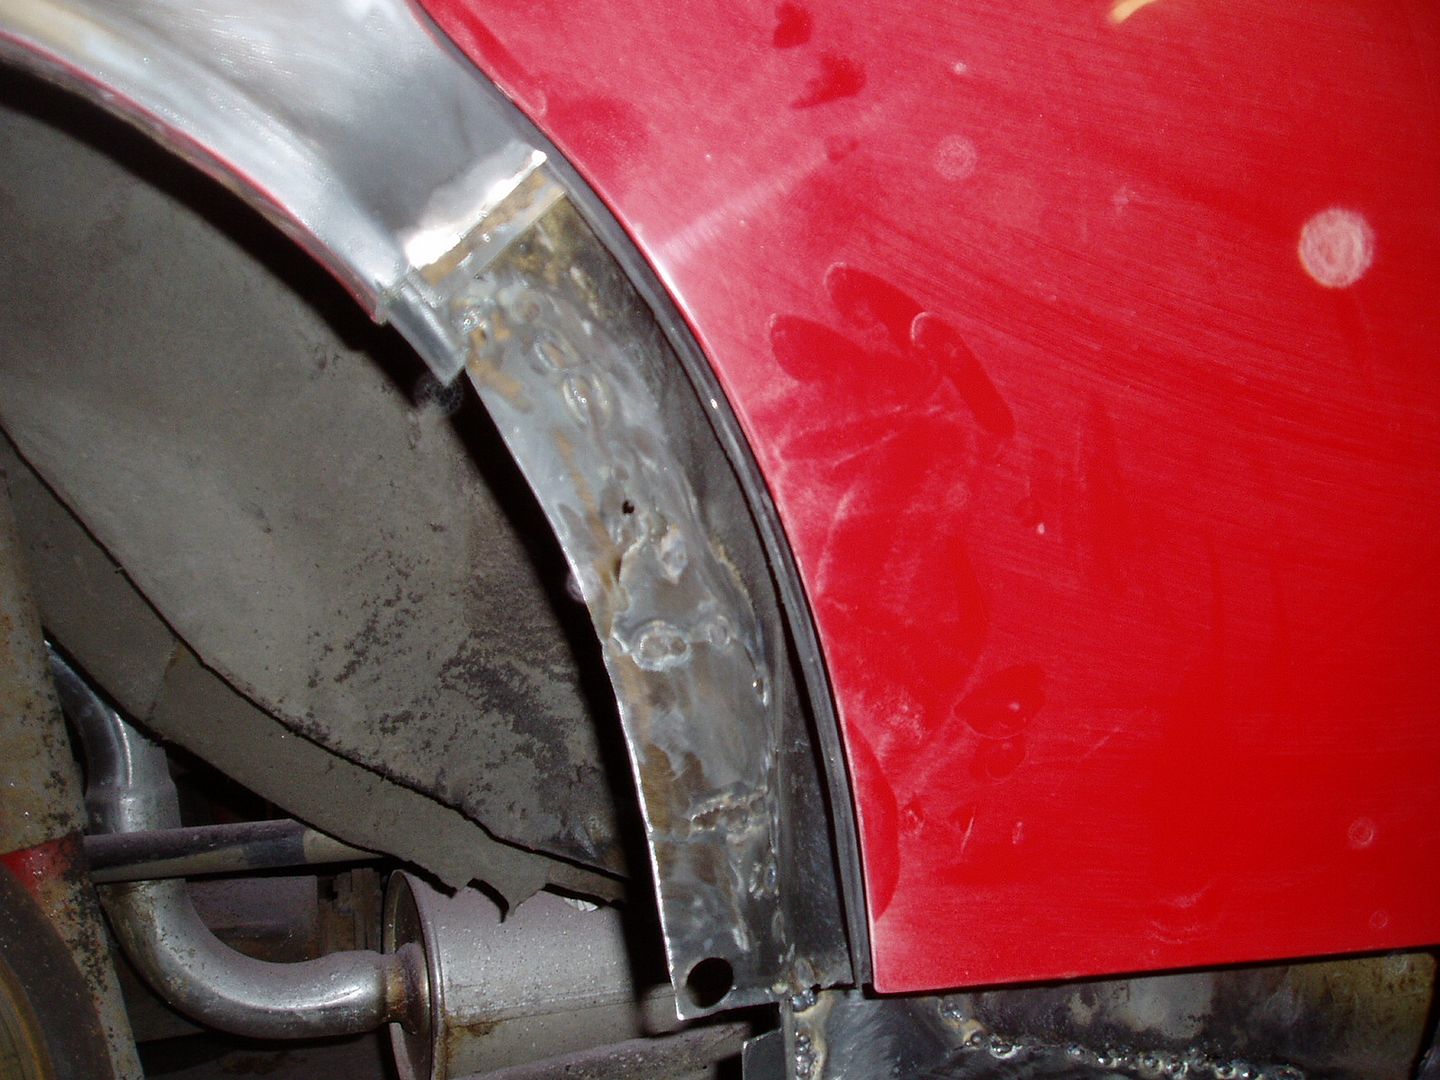
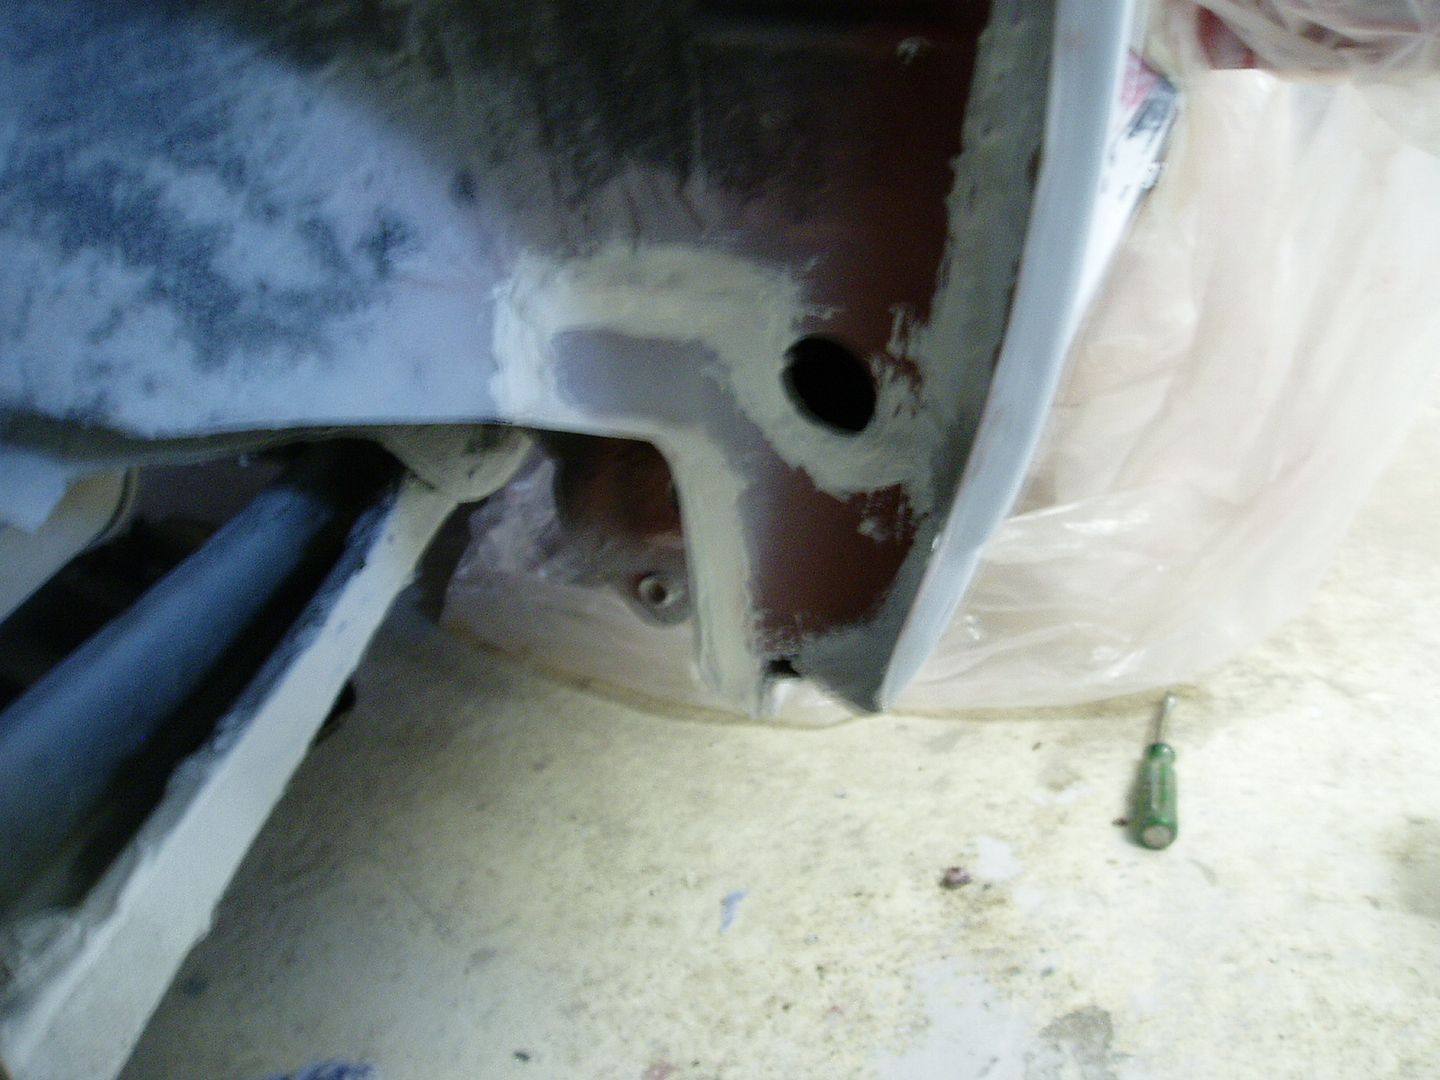
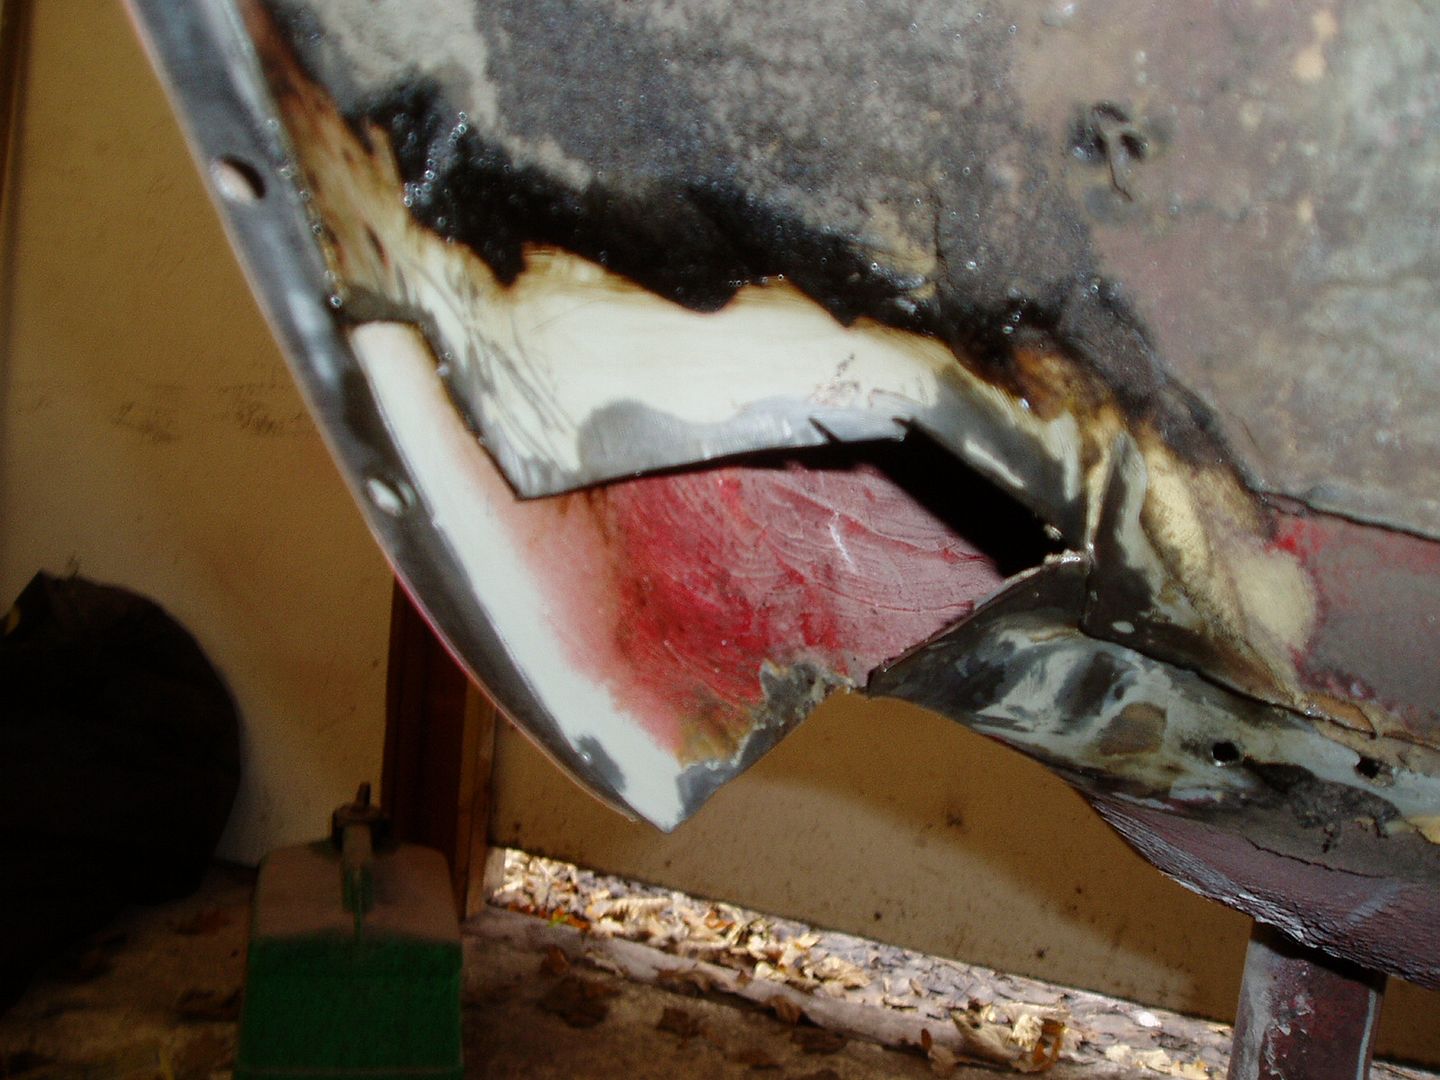
All internal pieces fitted
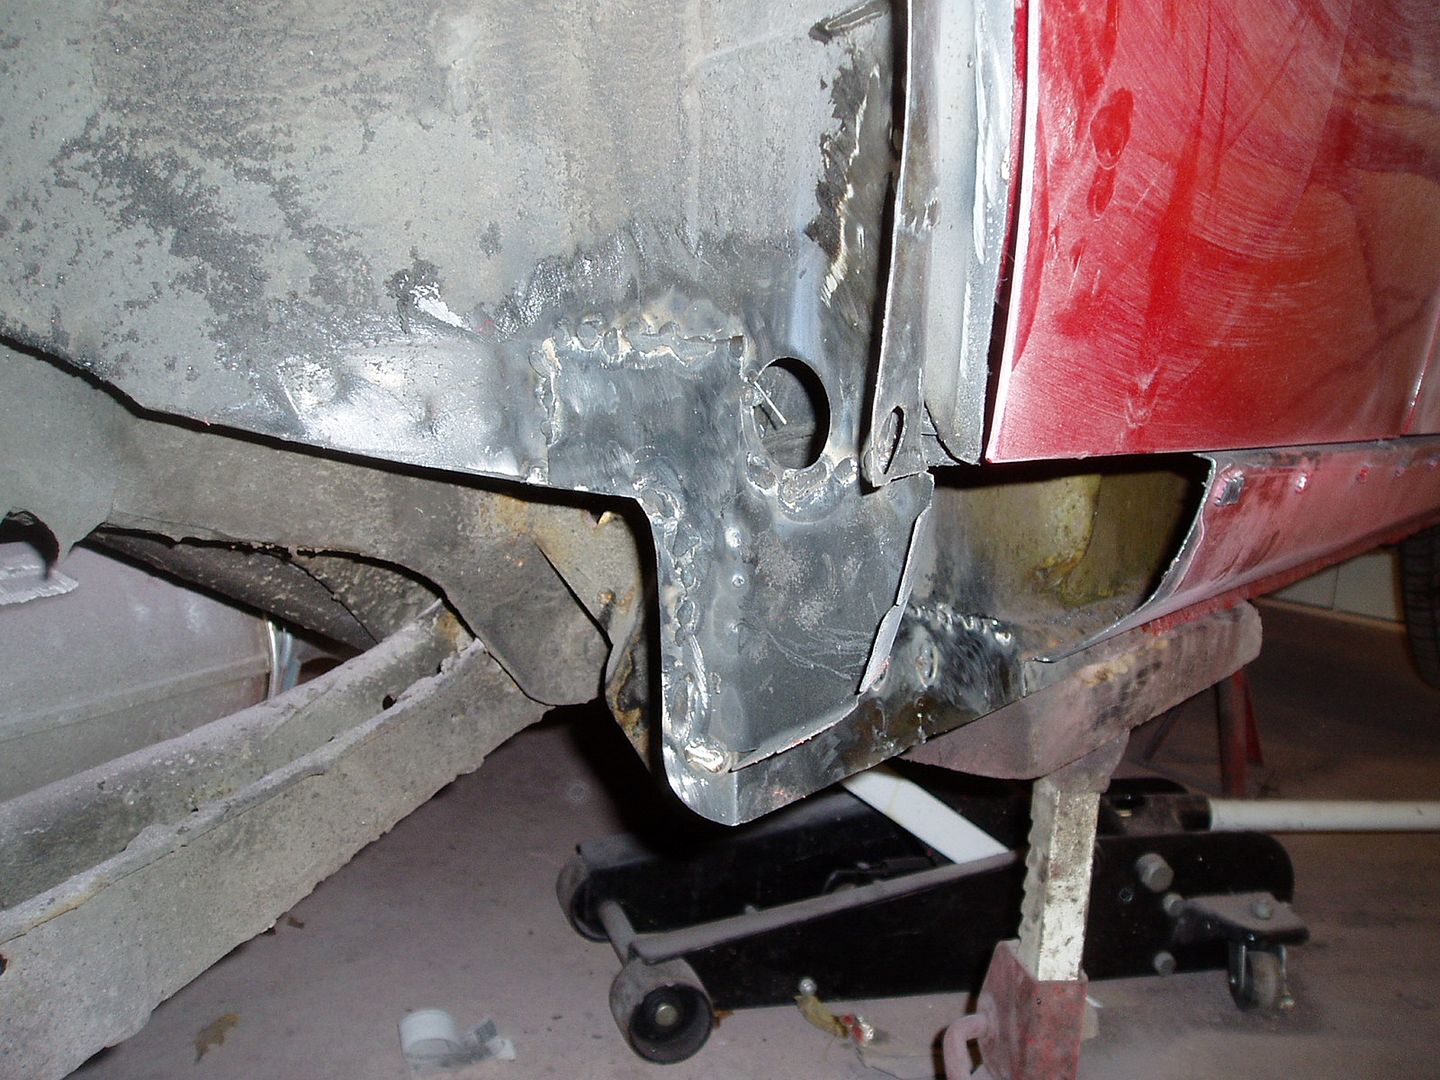
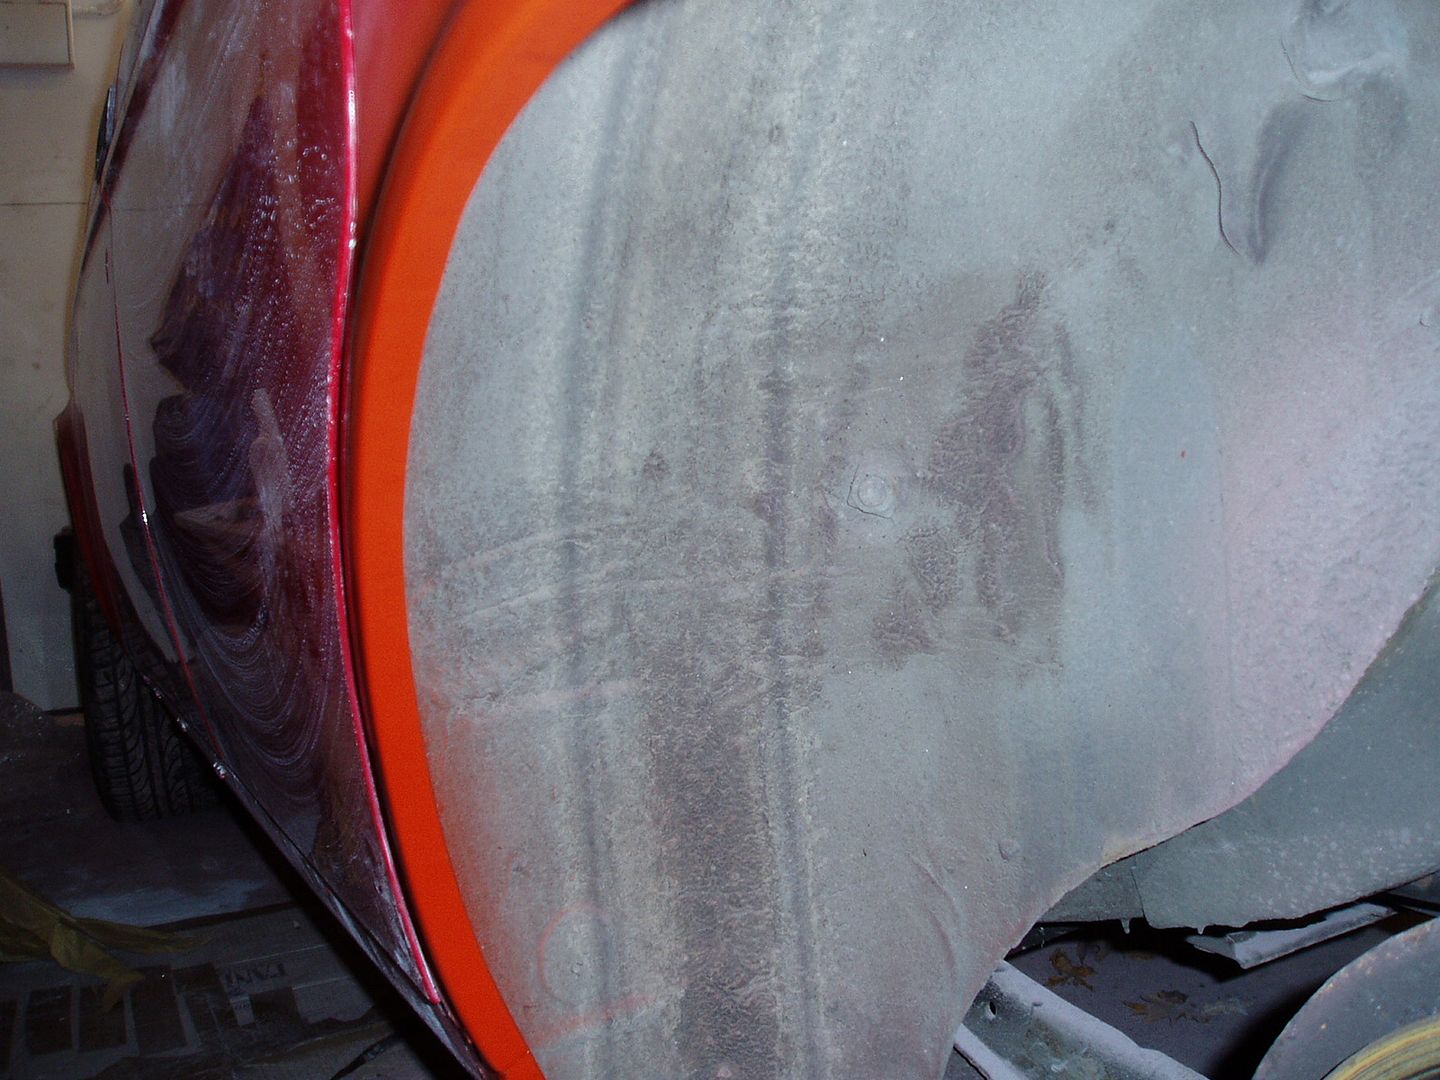
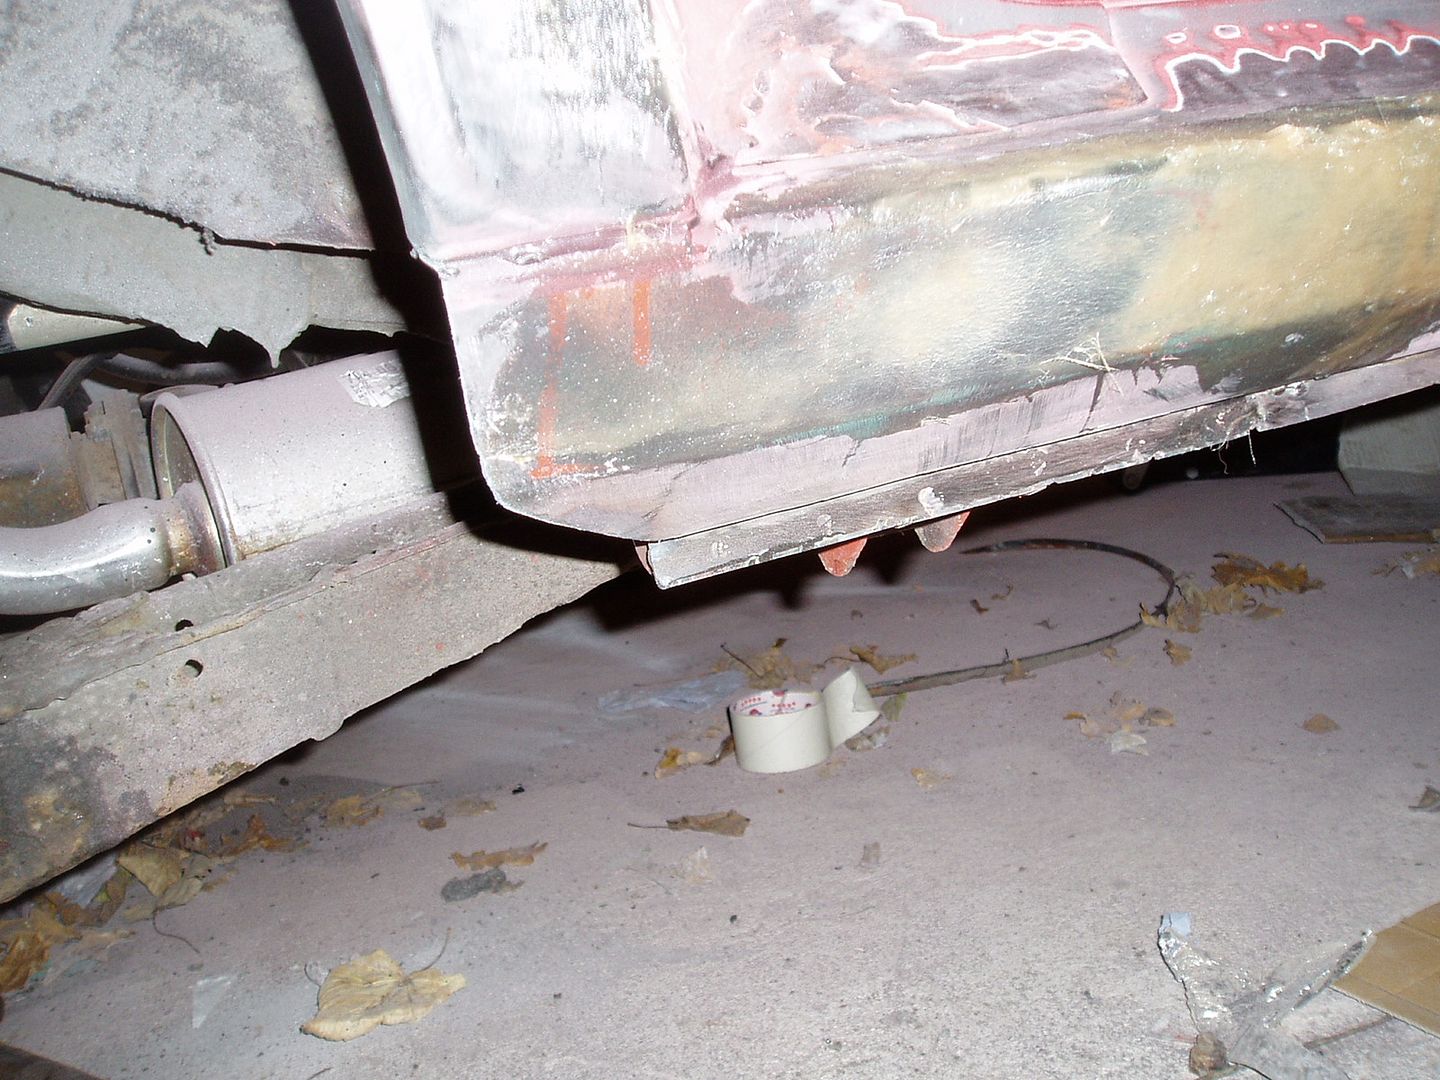
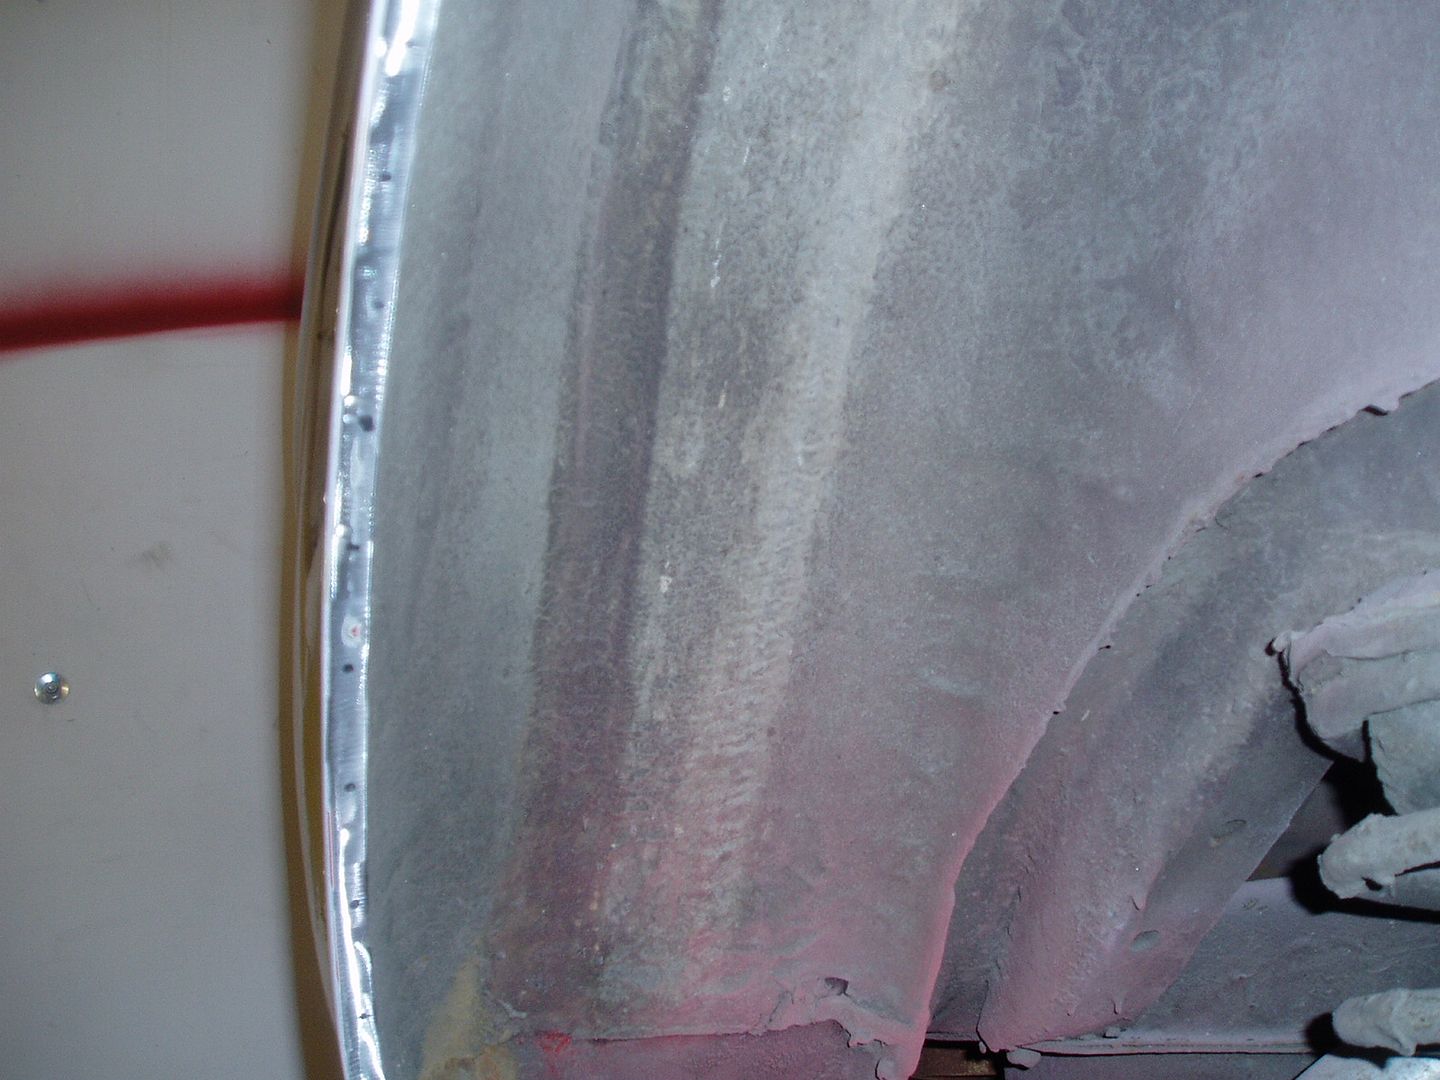
Sprayed with red oxide primer
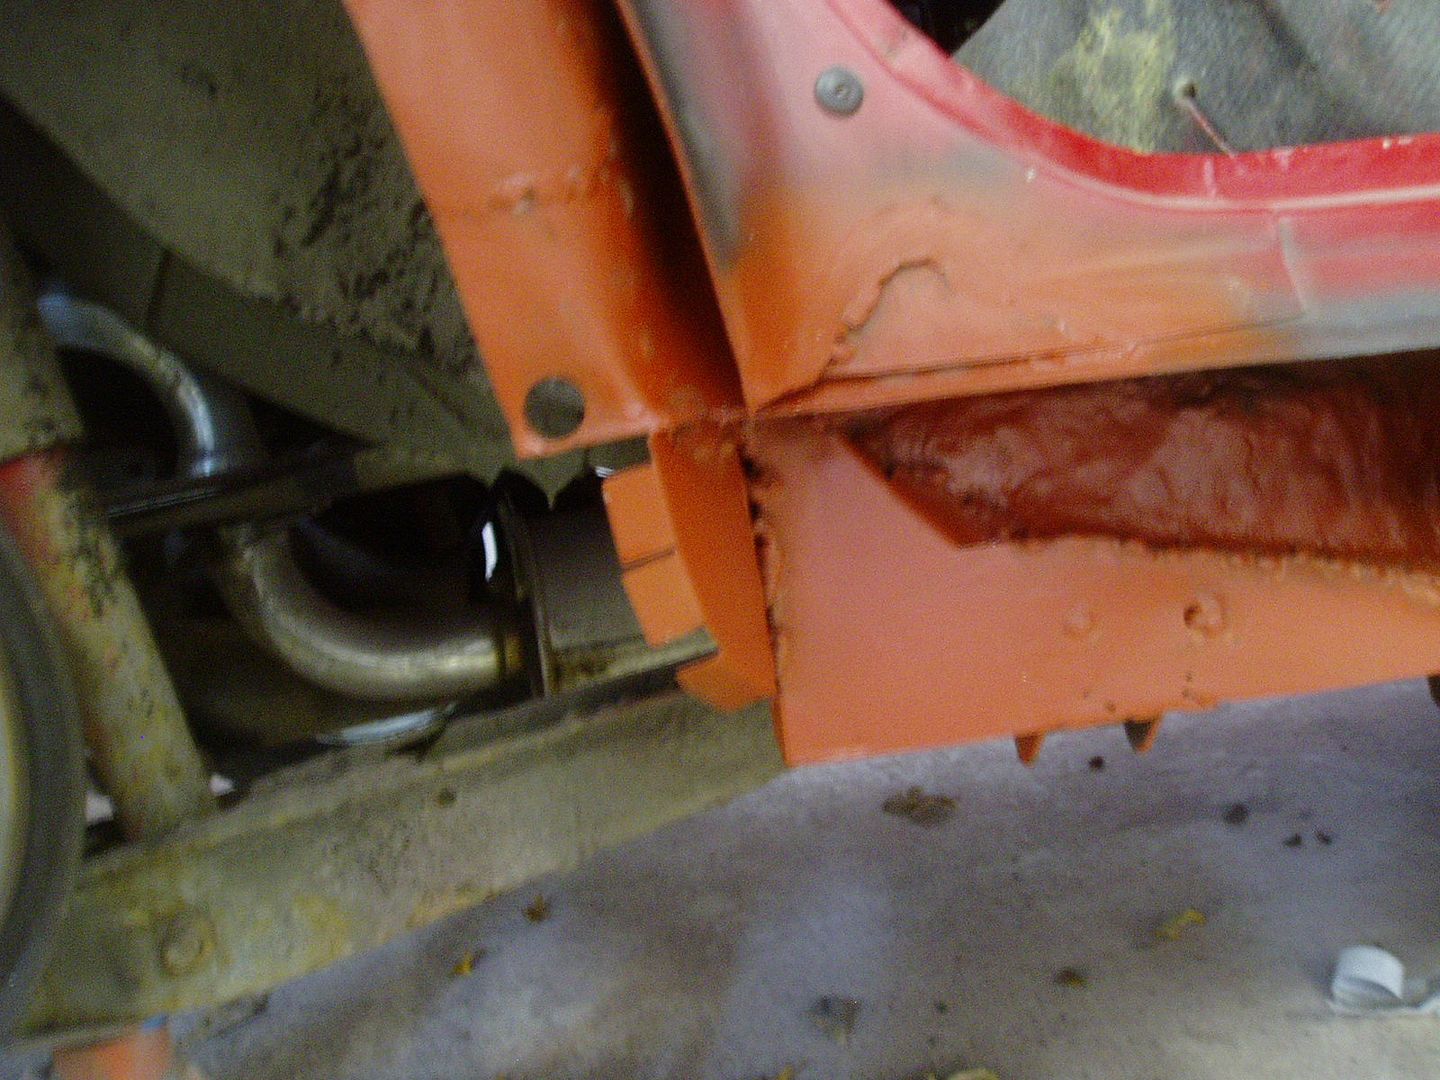
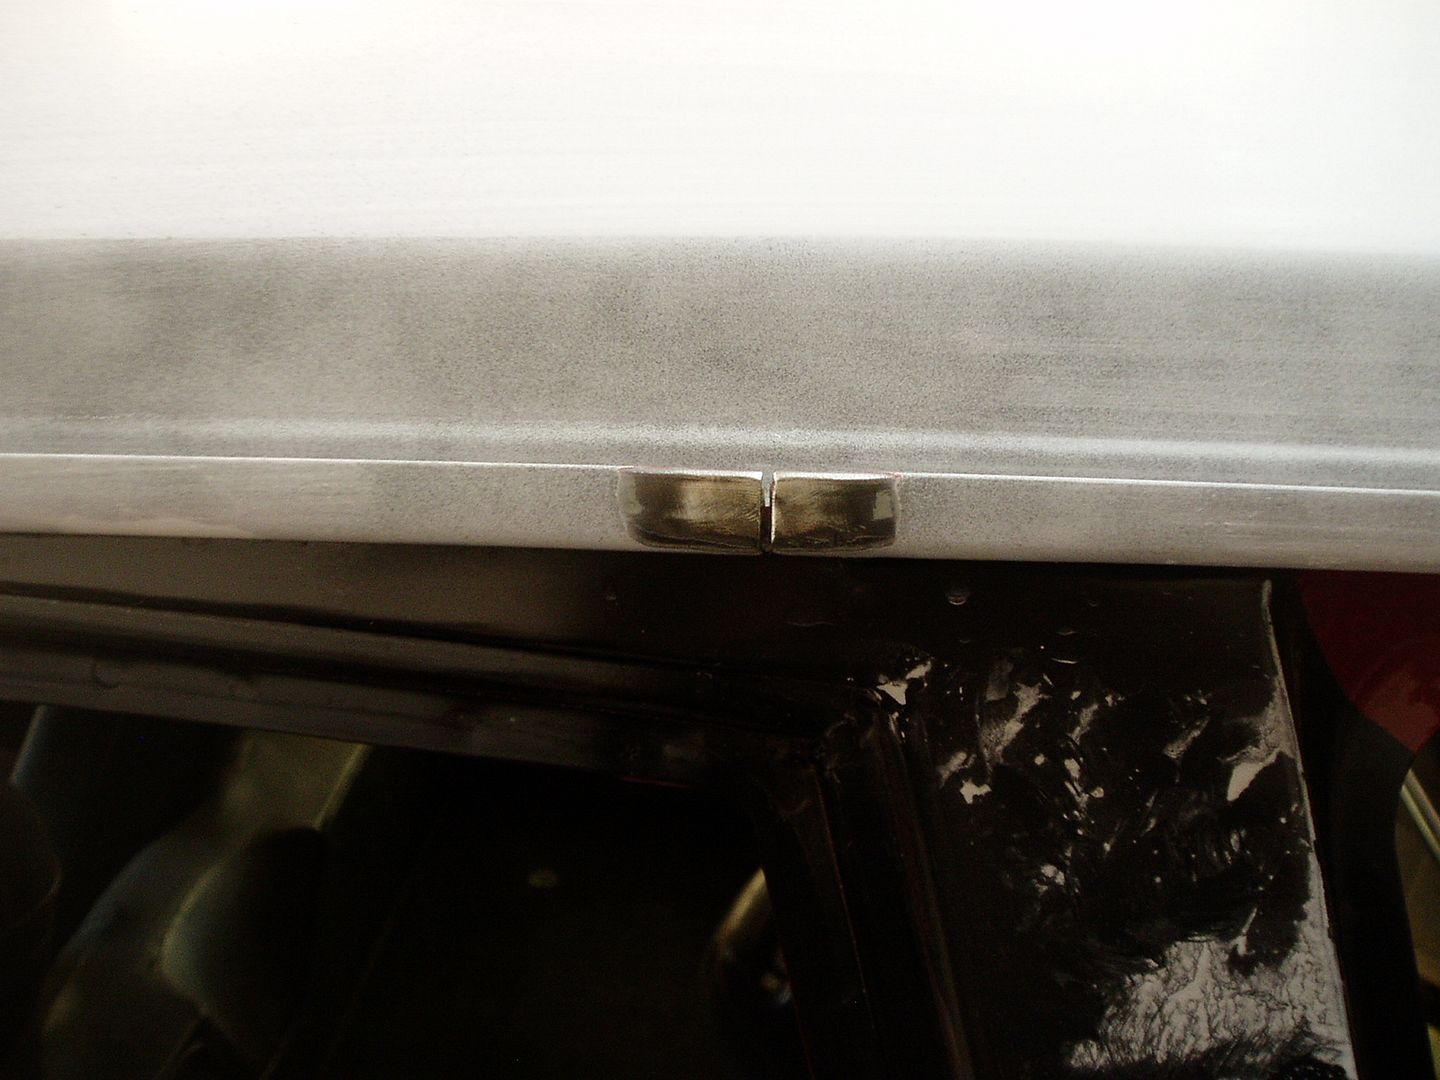
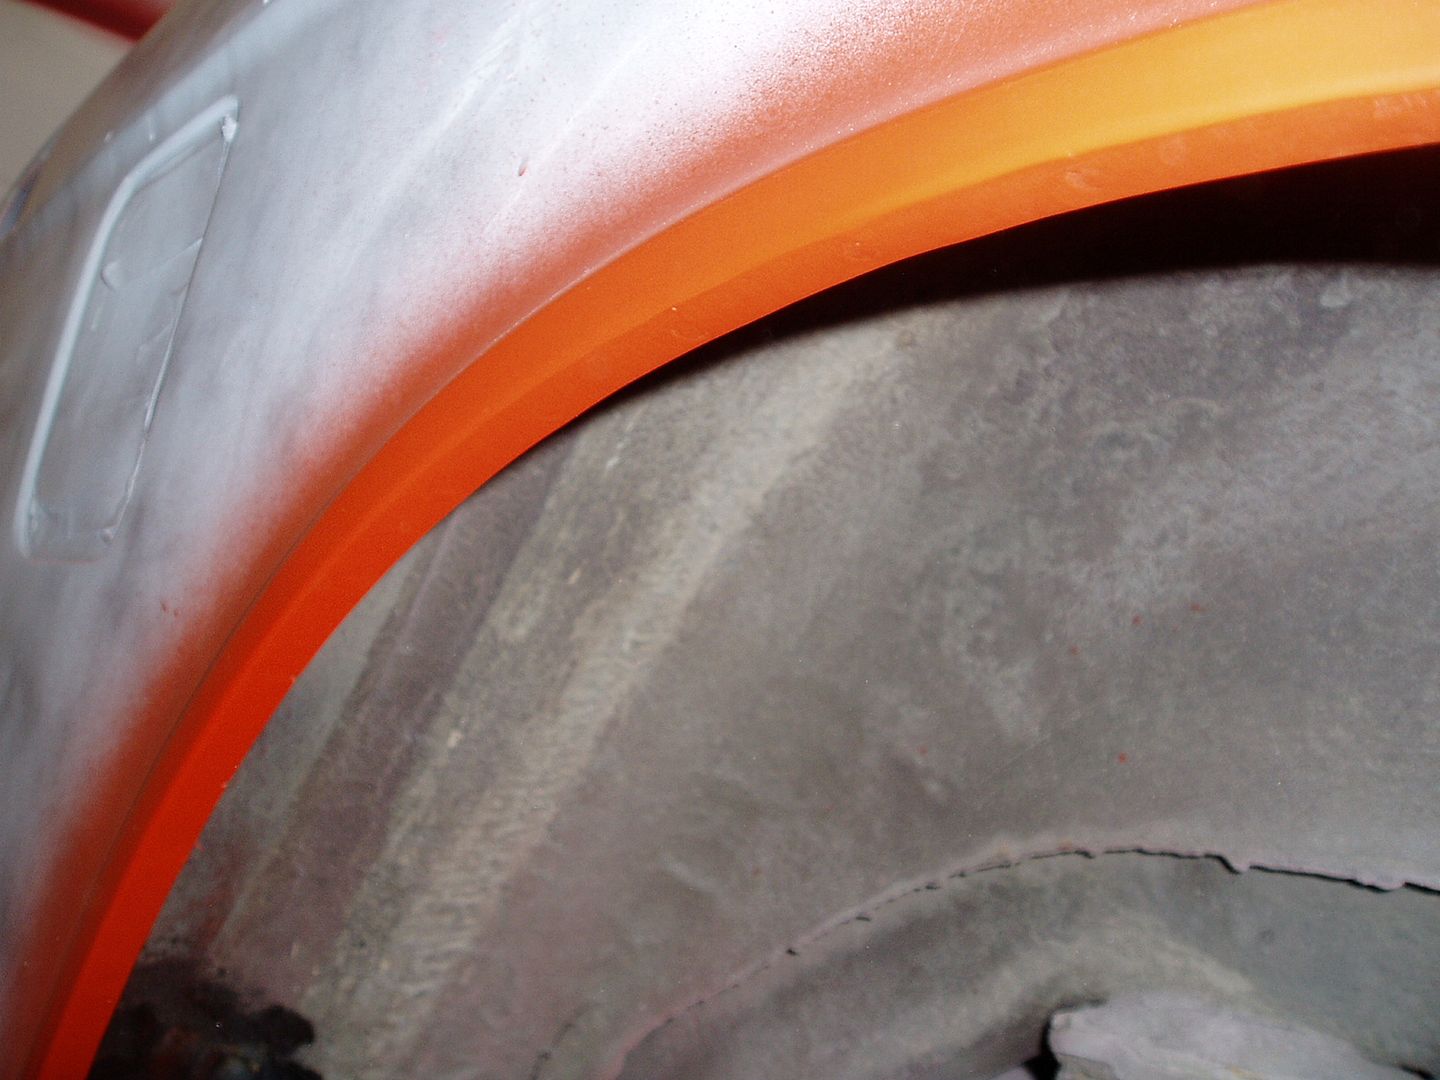
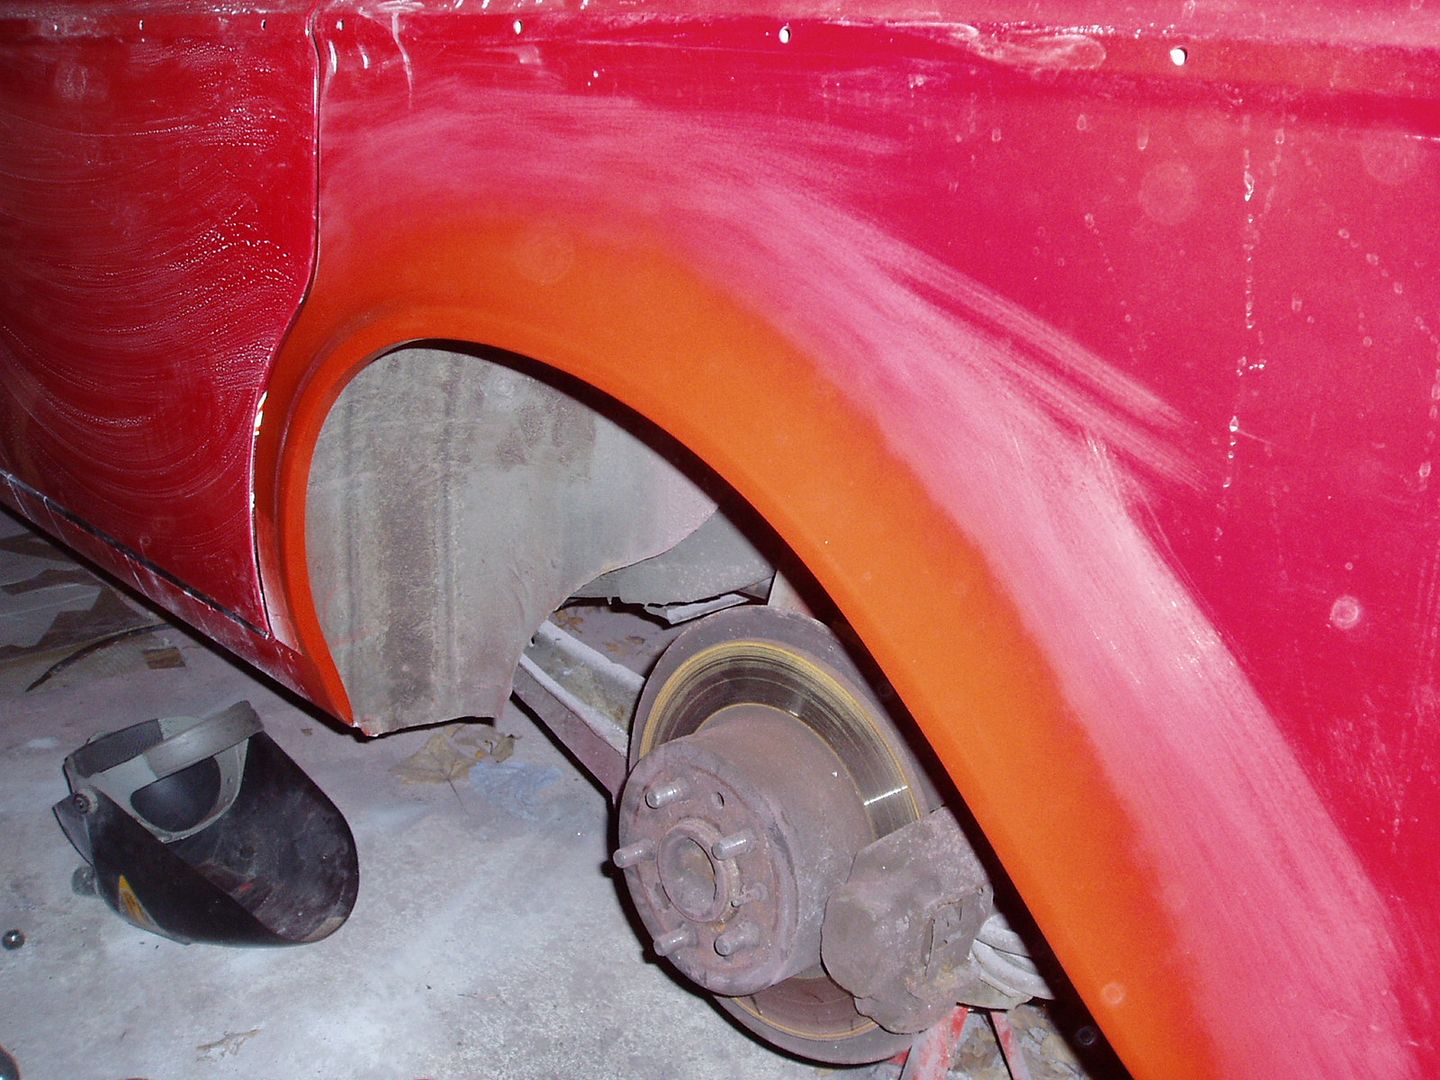
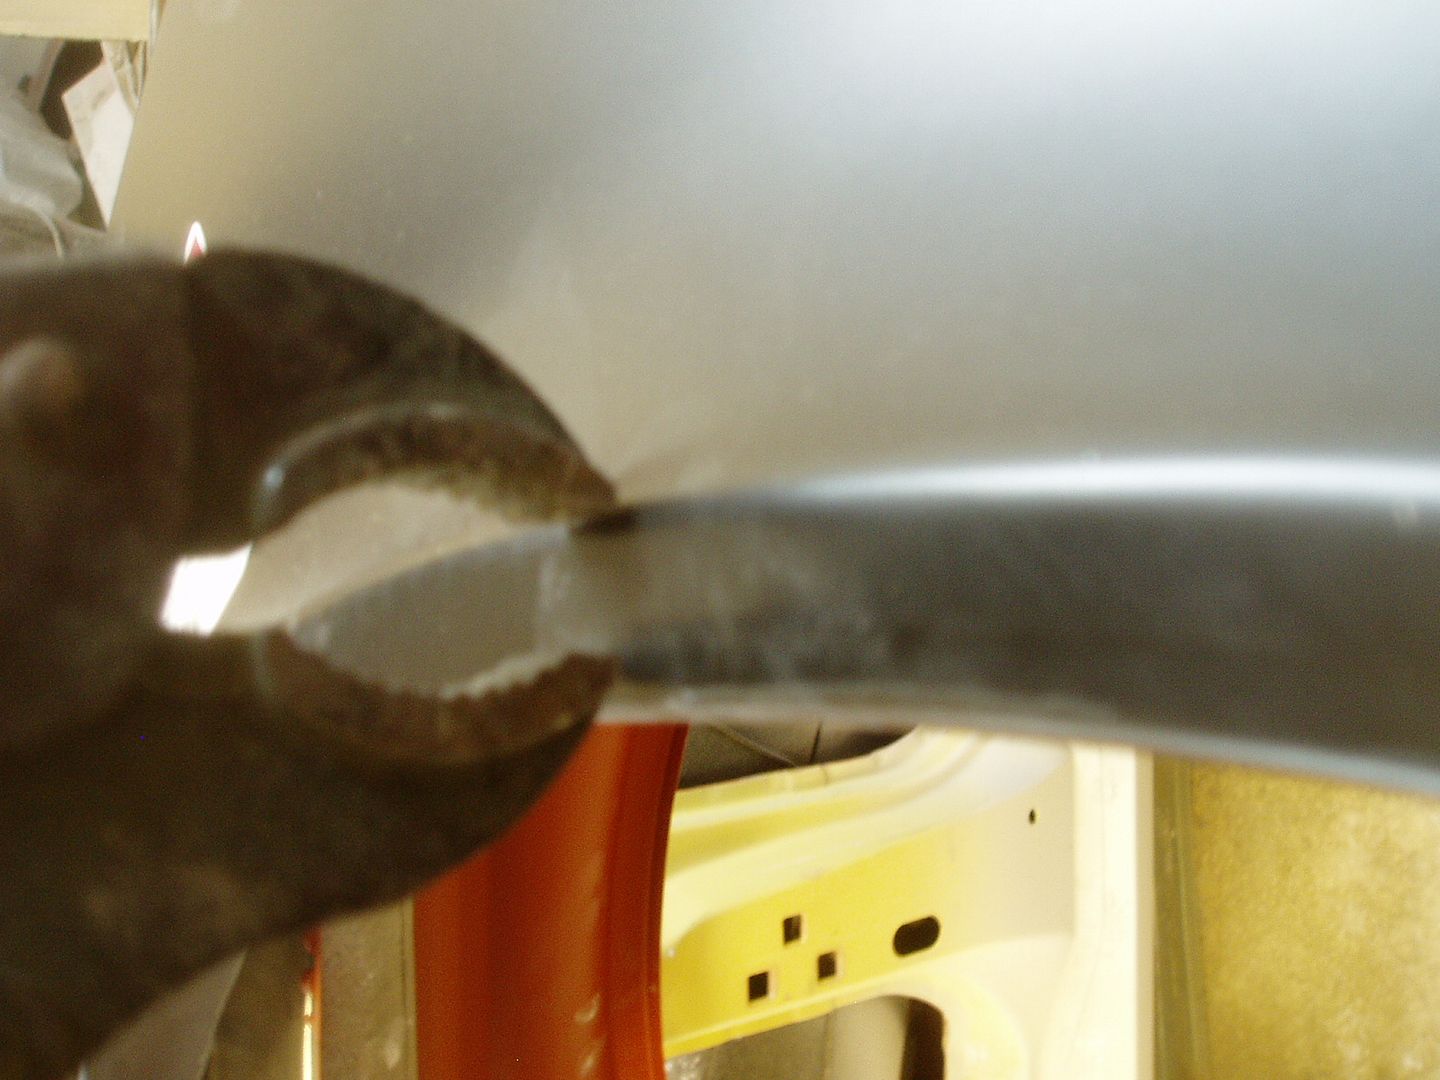
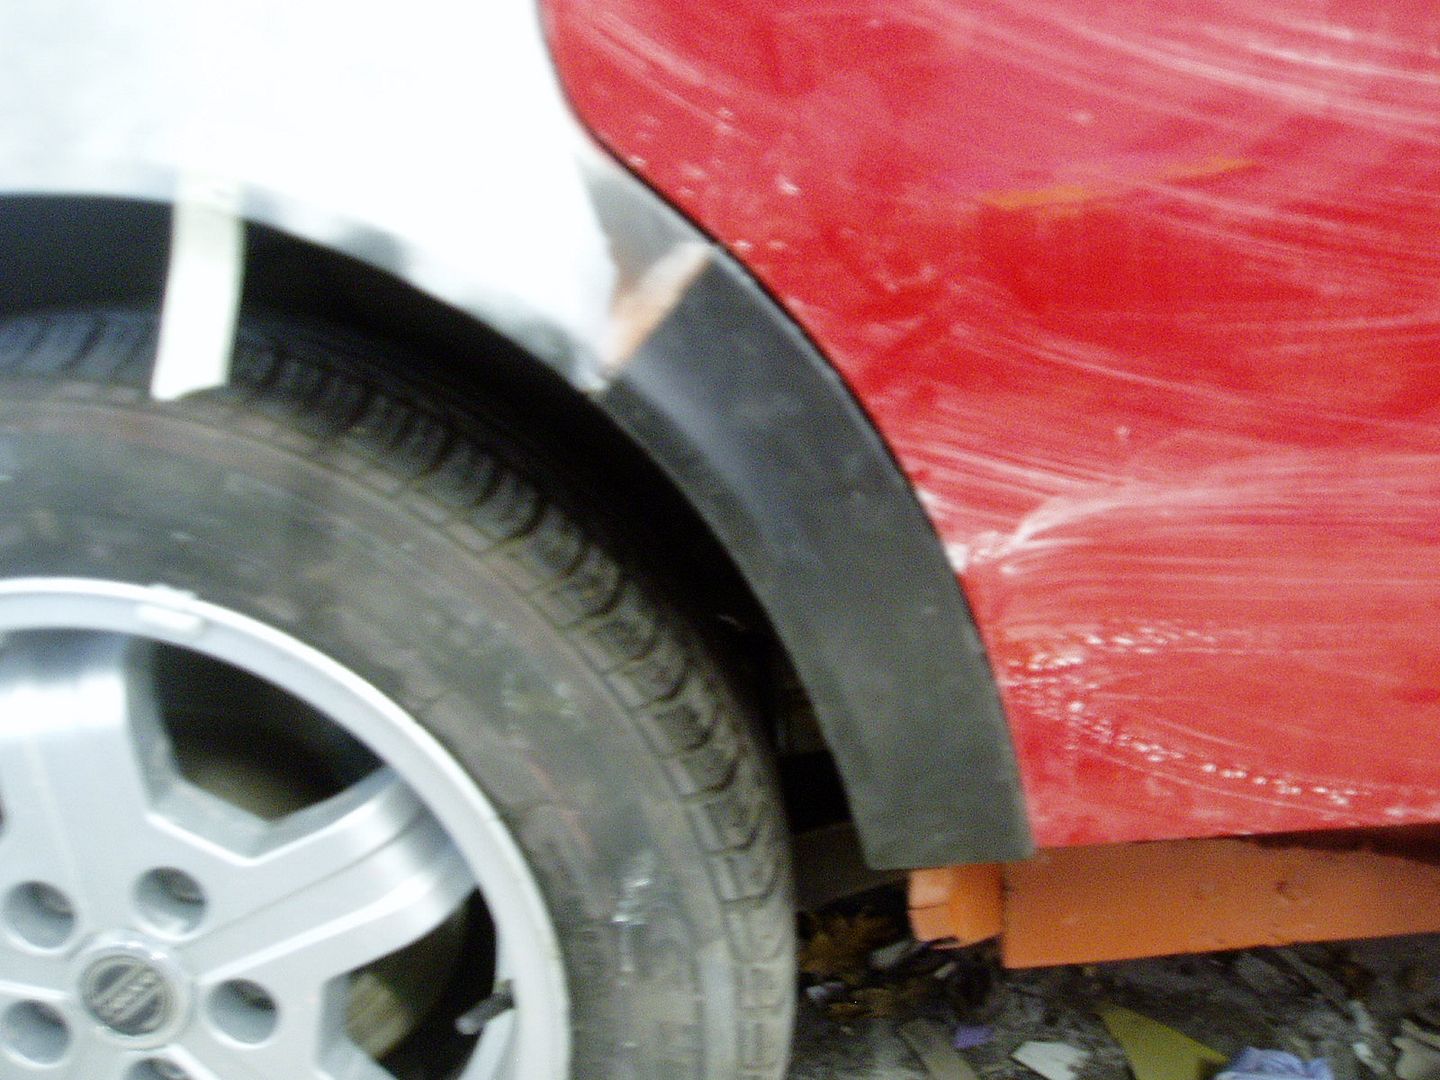
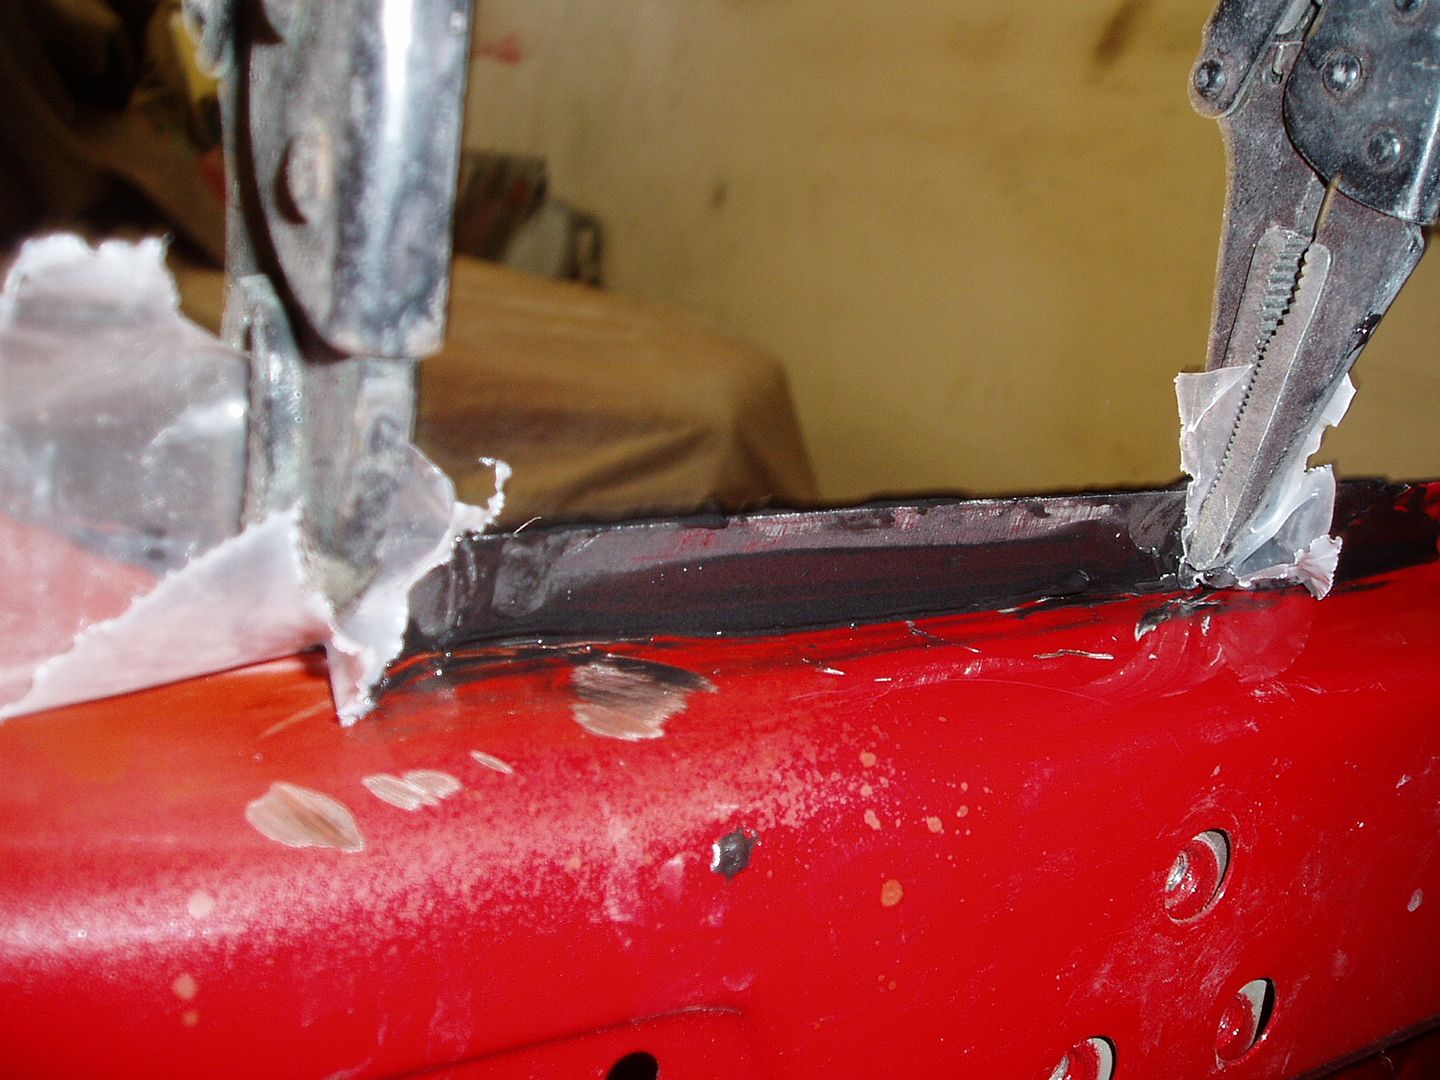
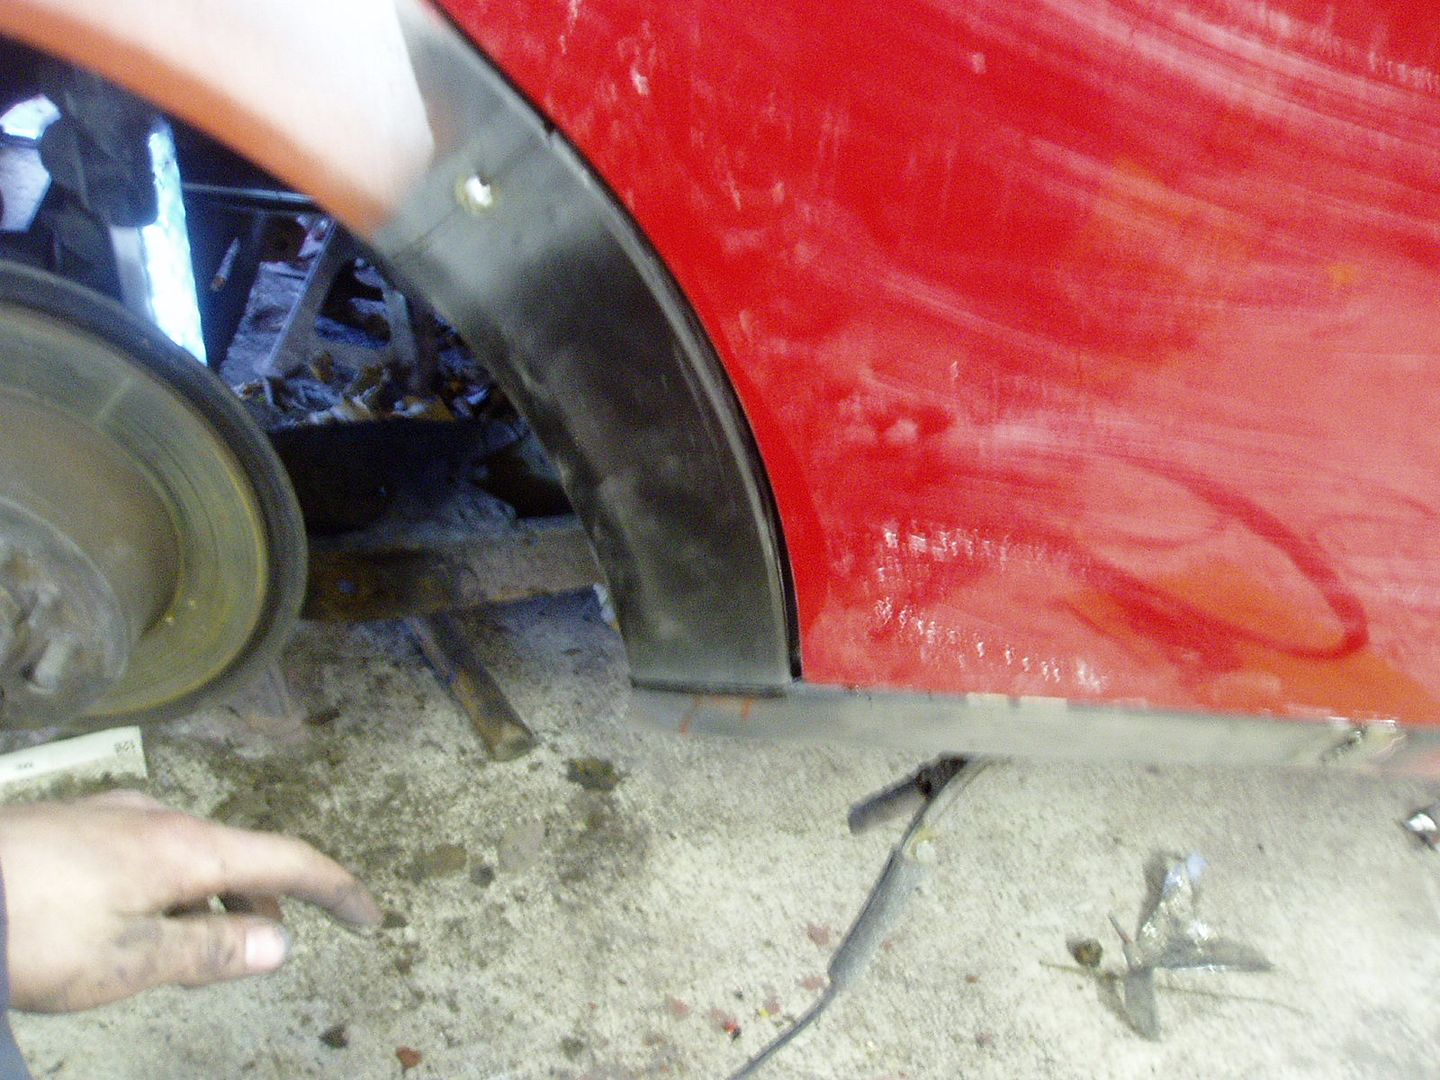
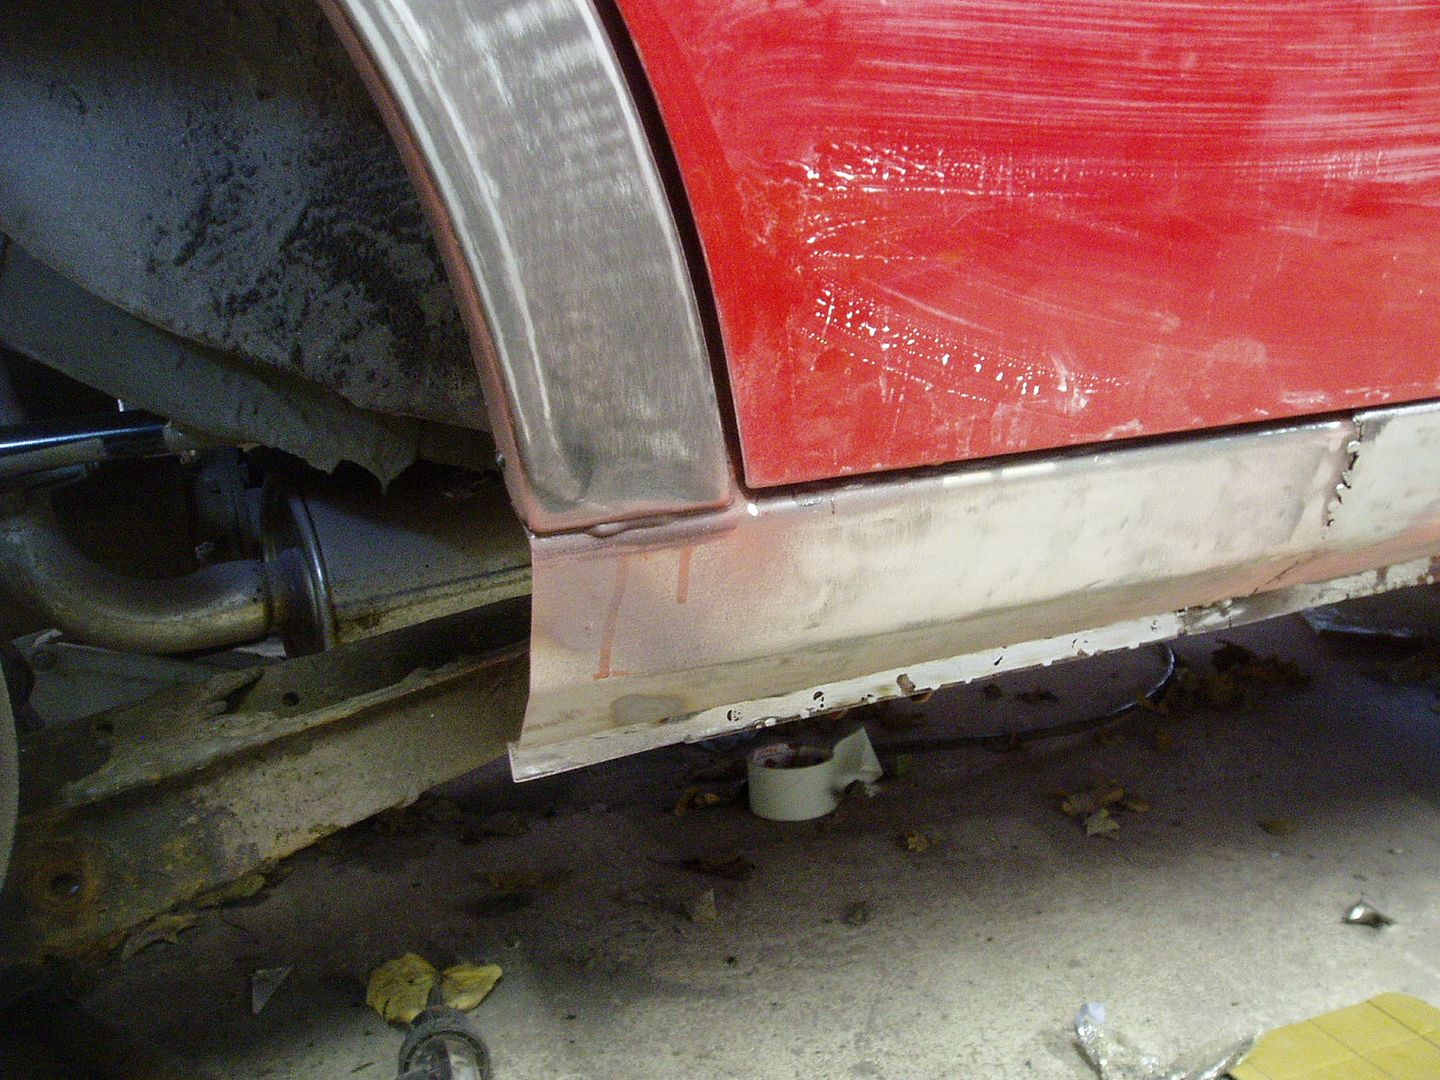
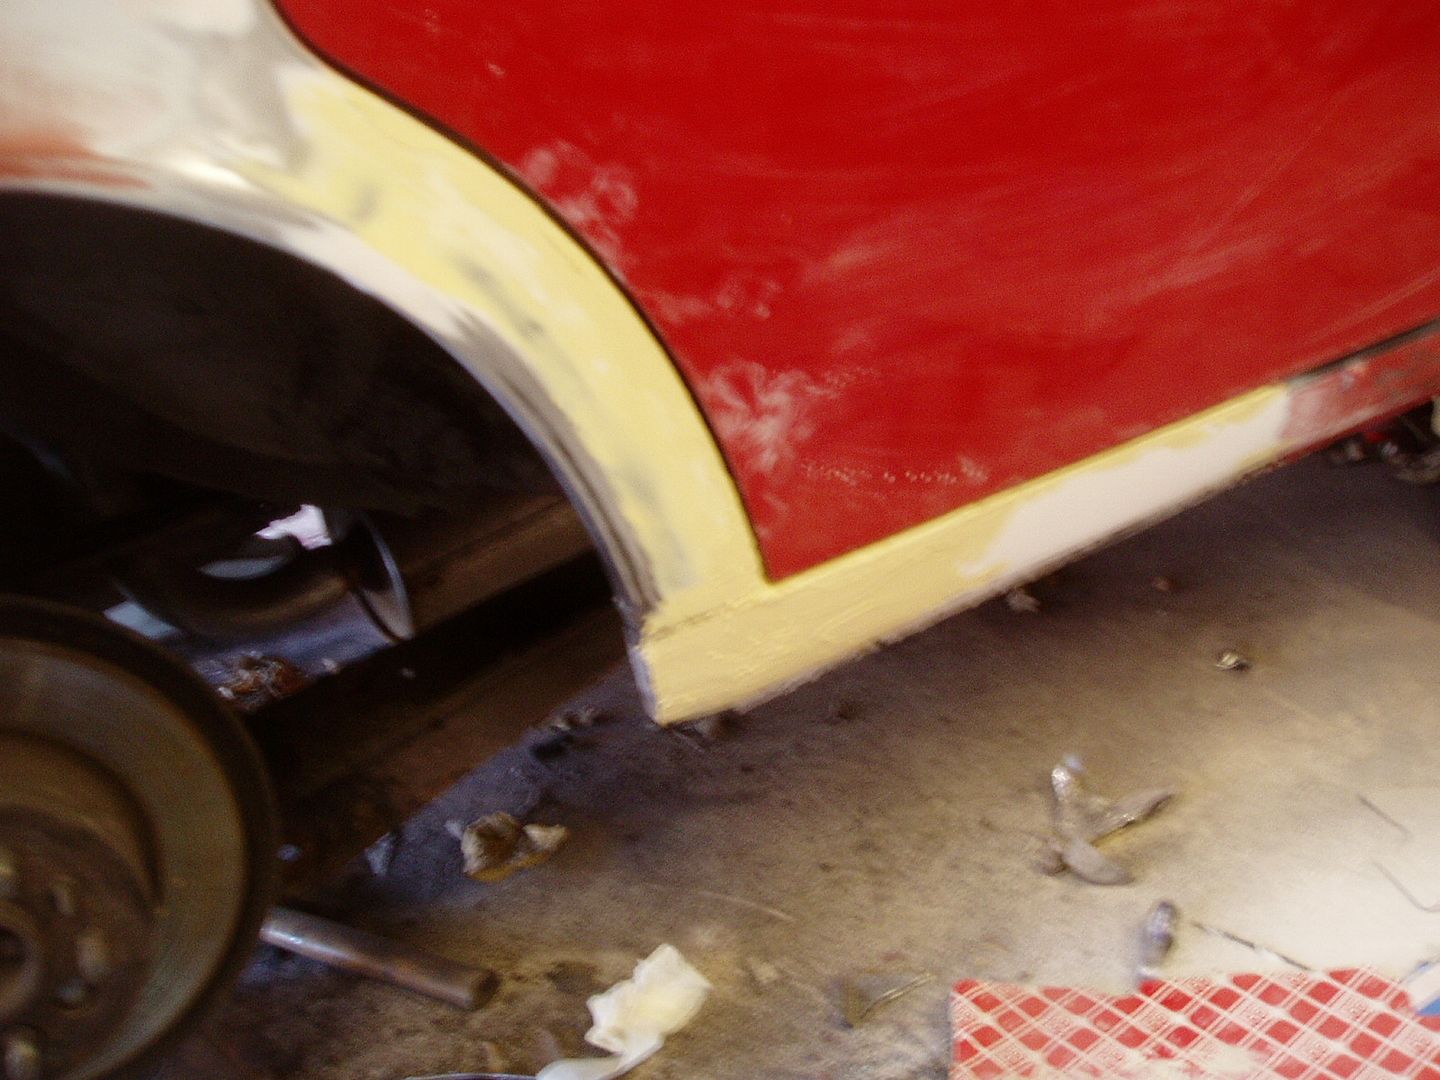
We welded in a 'ledge' to help form a strong joint between the original outer wheelarch and the repair section
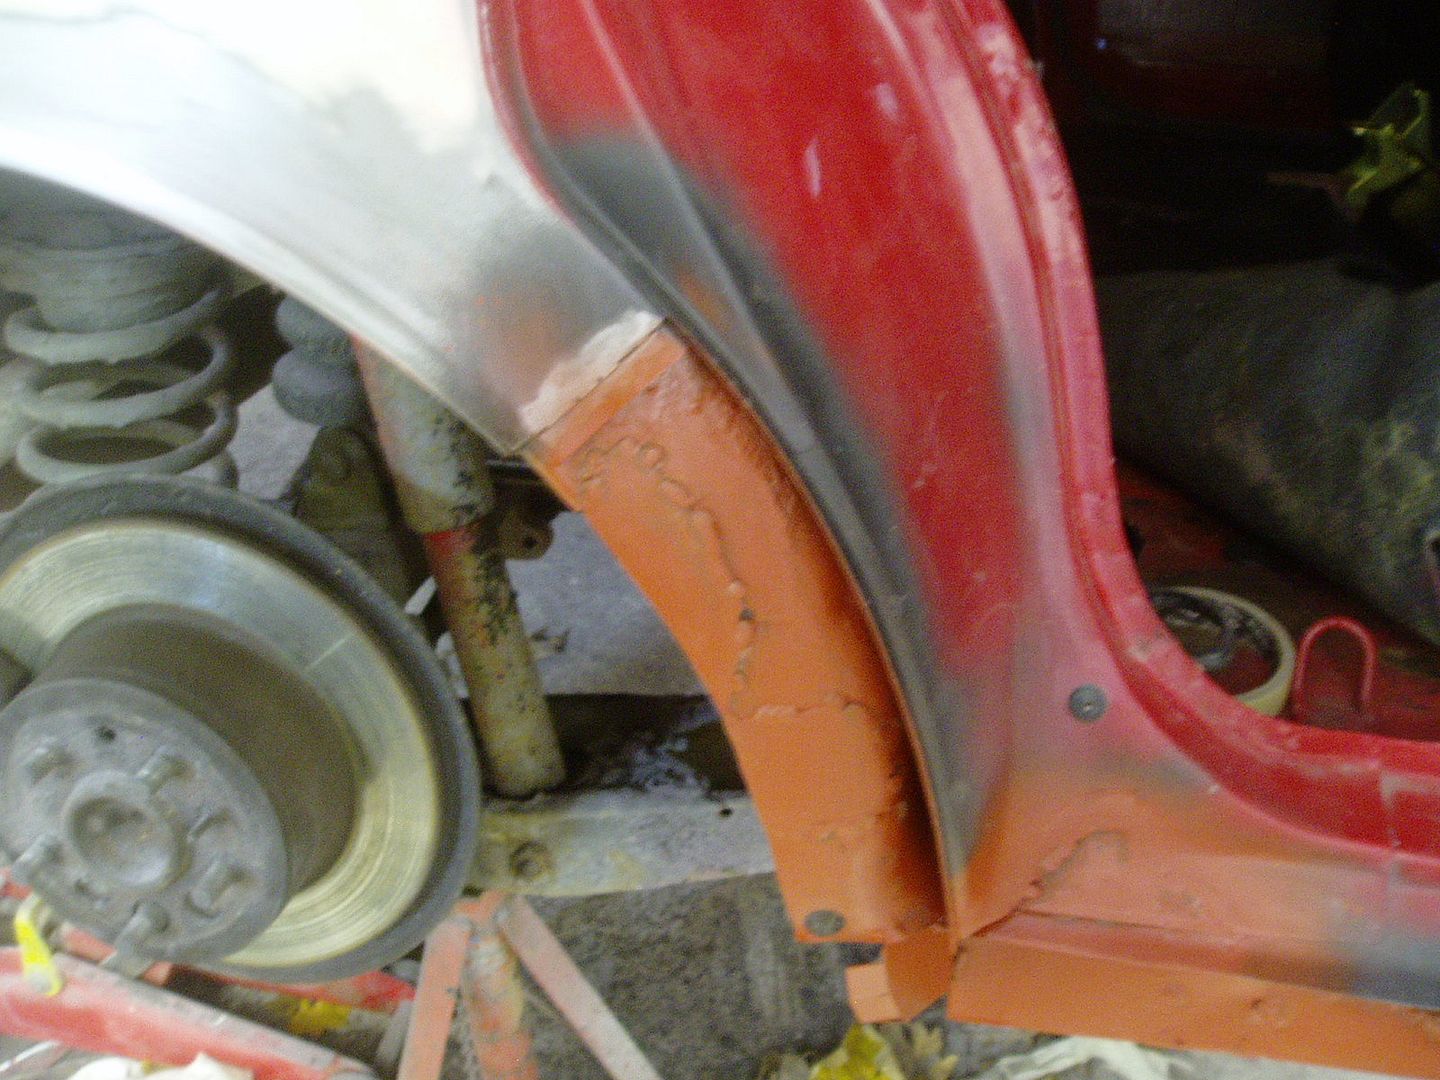
That's as far as we got with the rust repairs, more soon.
Rear wing conversion
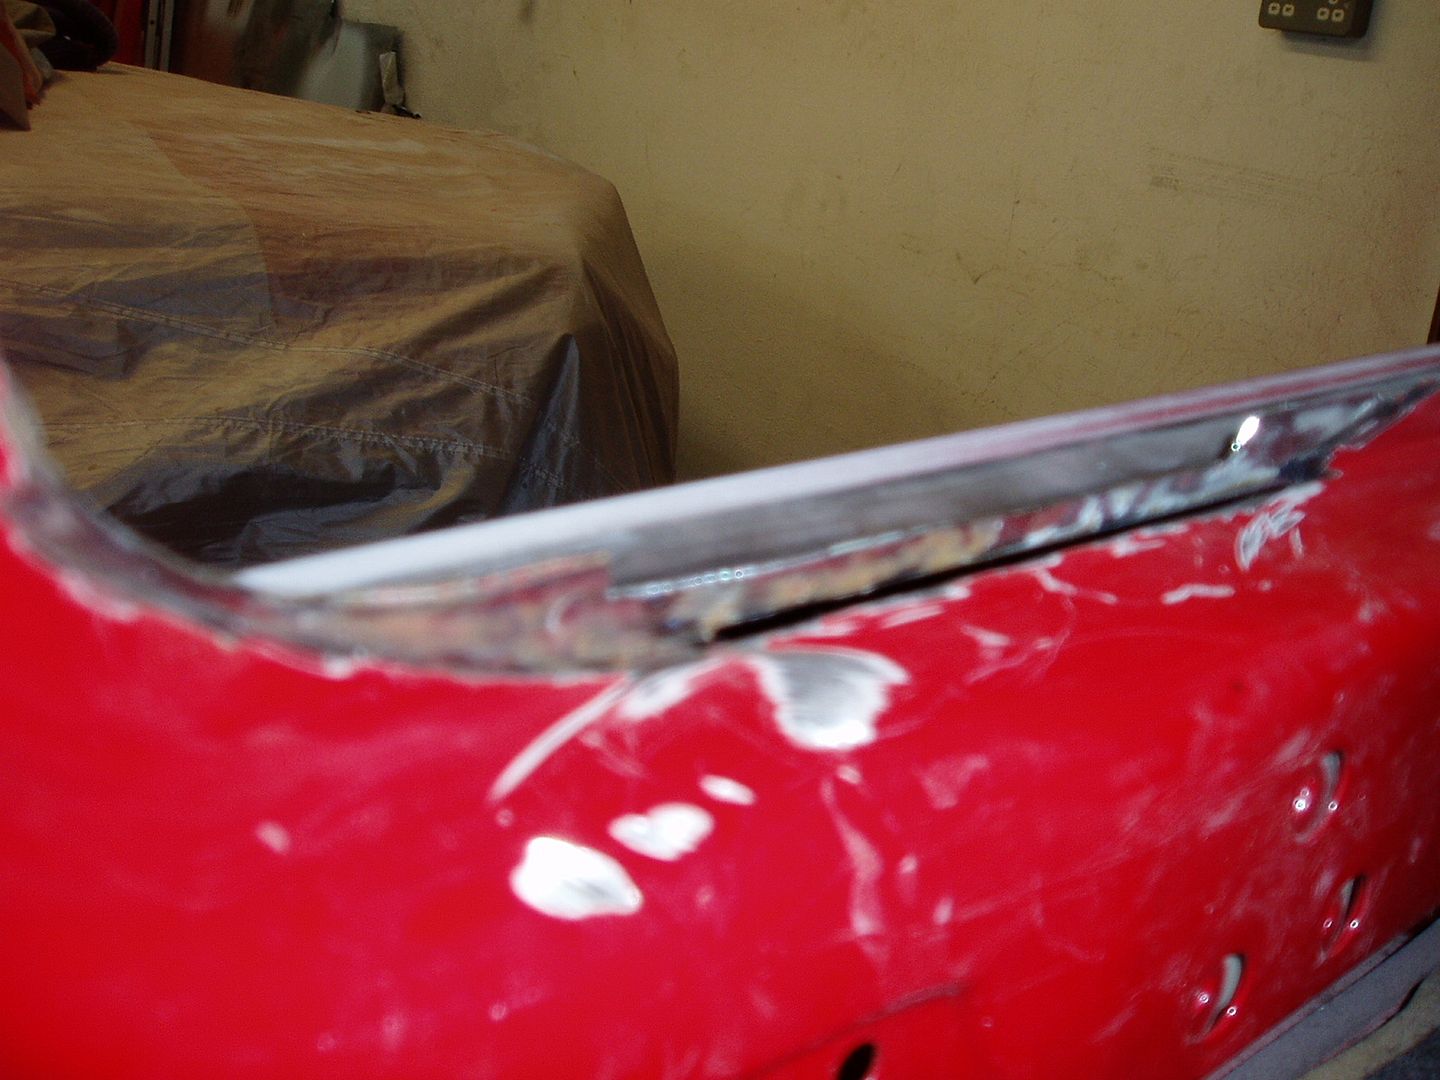
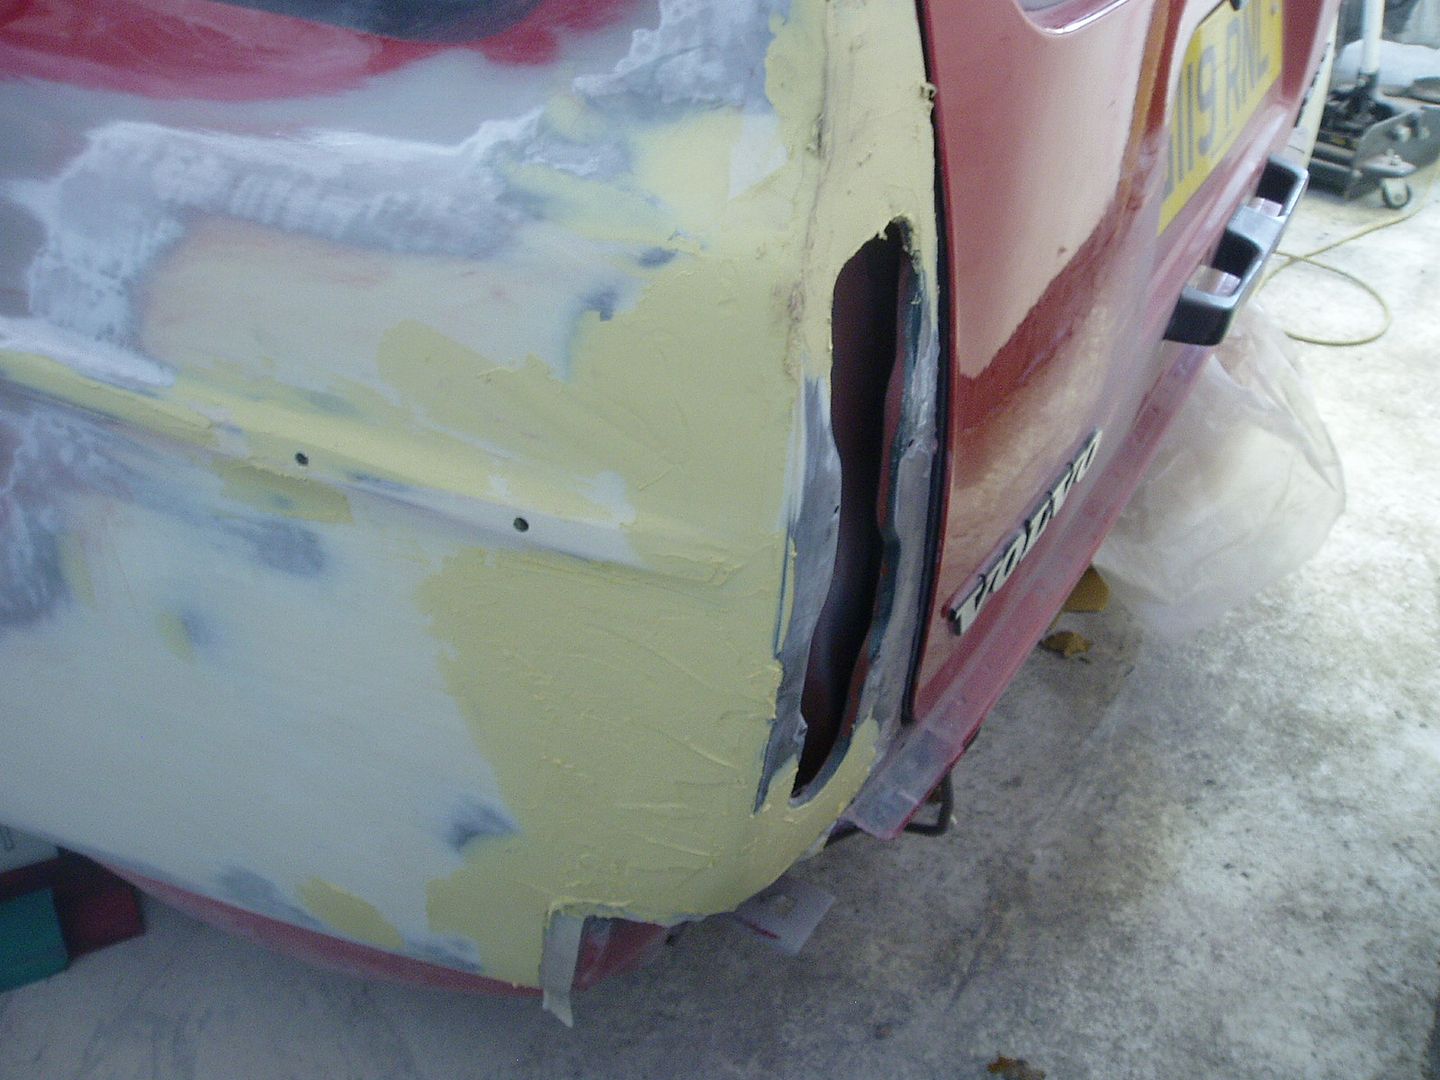
I bonded steel panels on the inside of the wings to block the holes for late model trims


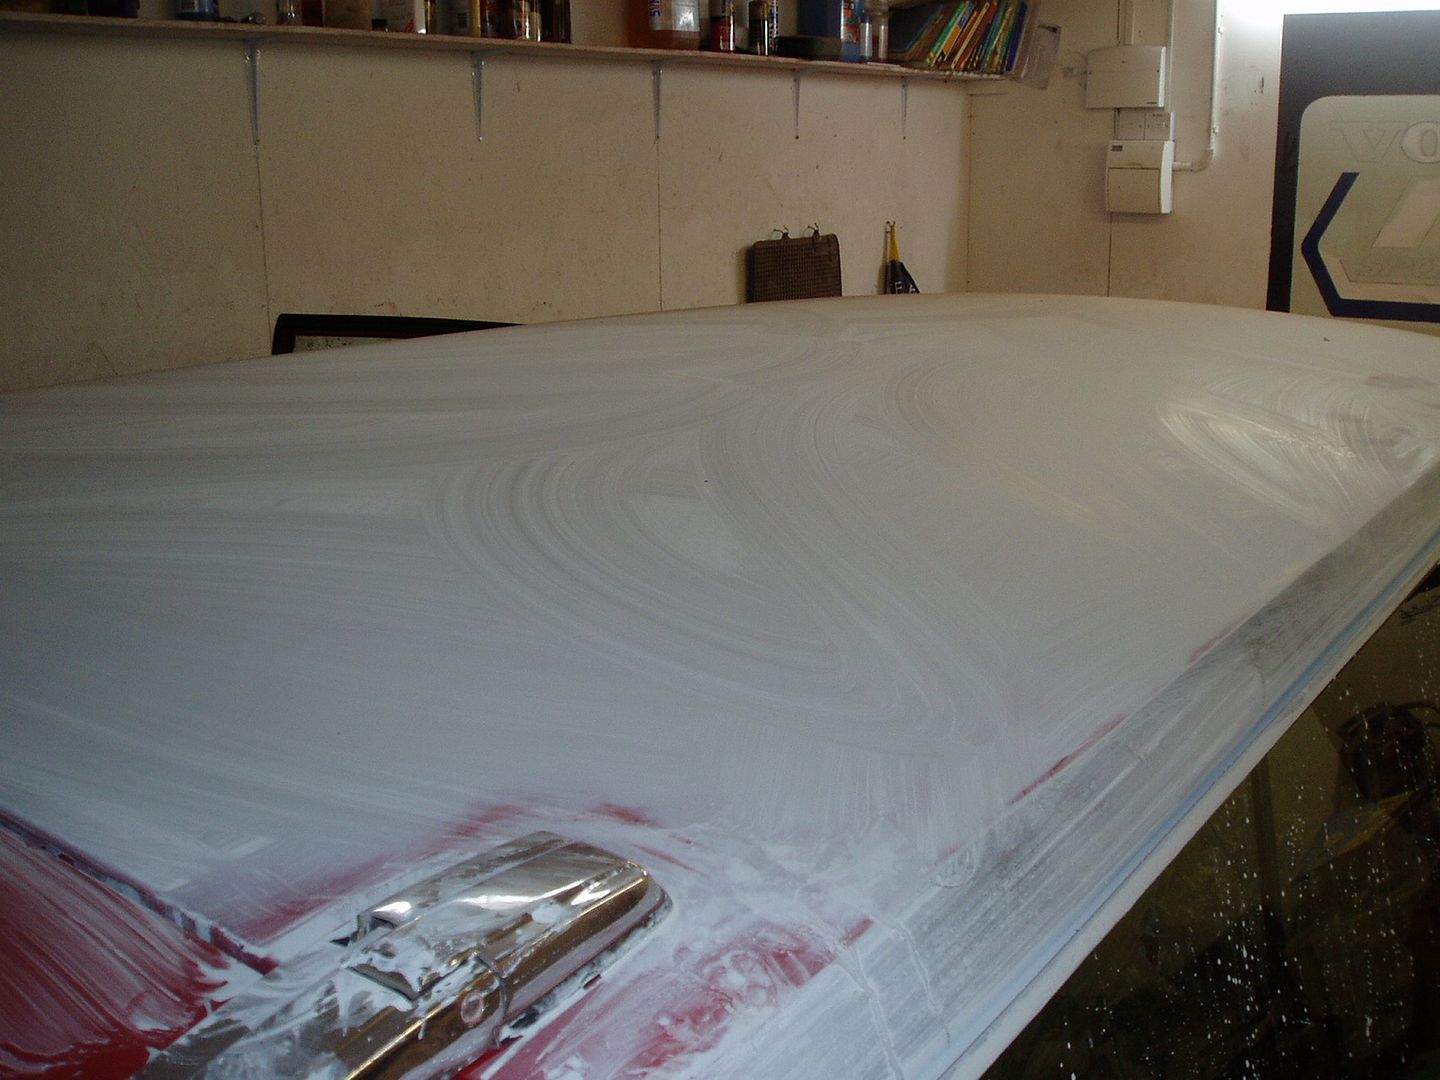
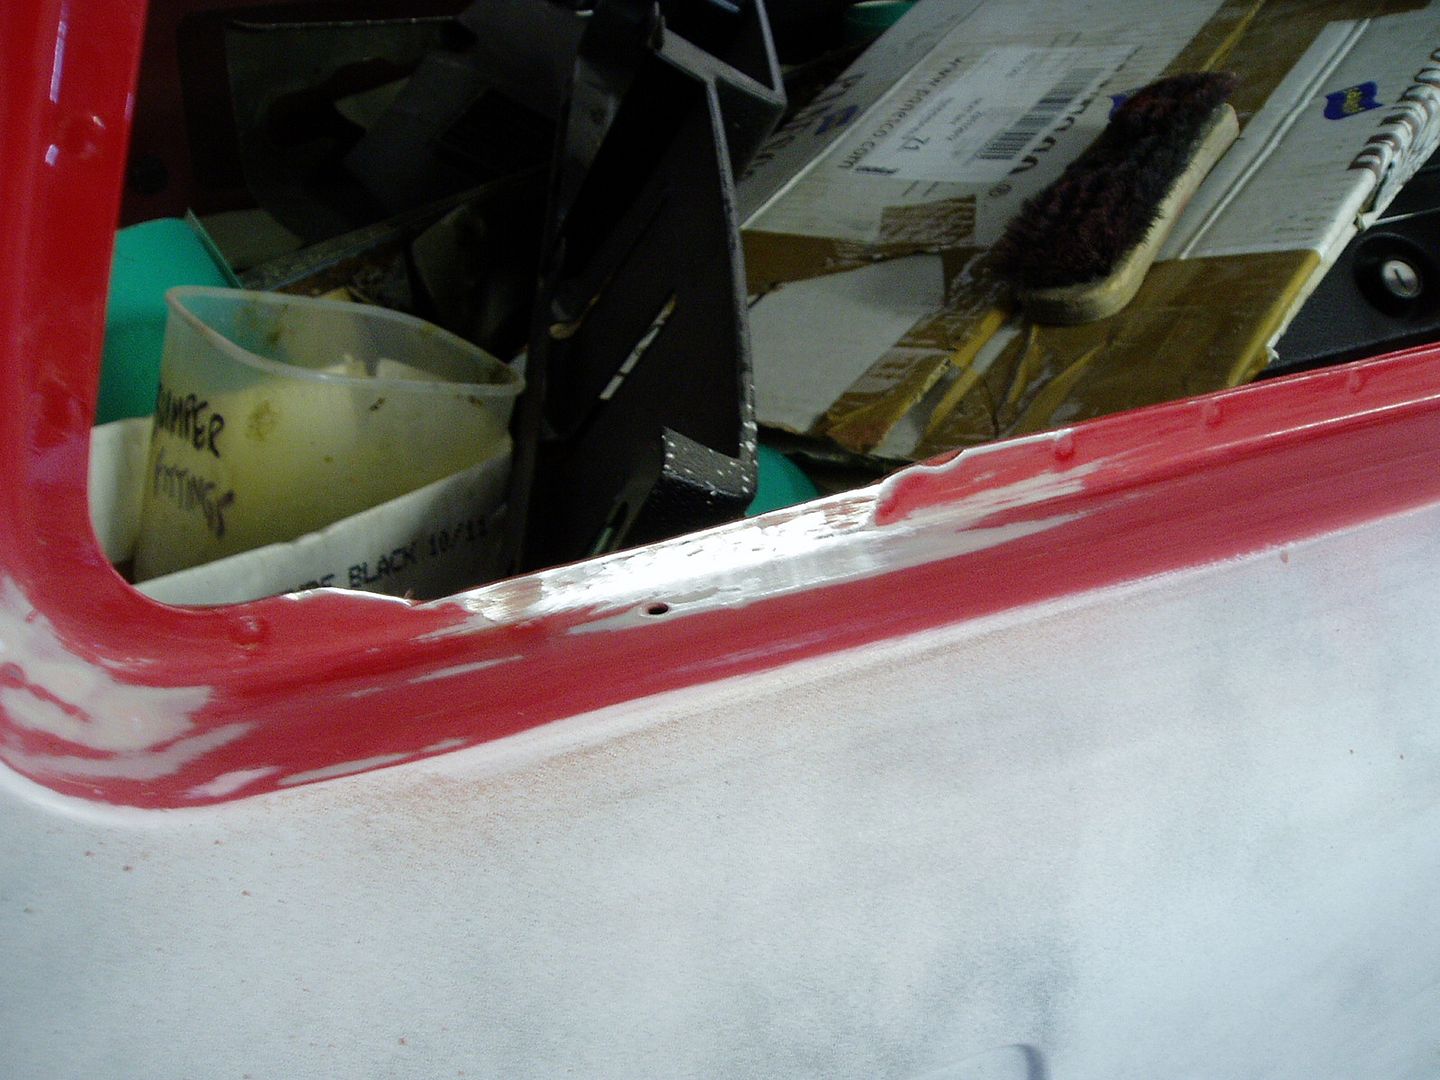
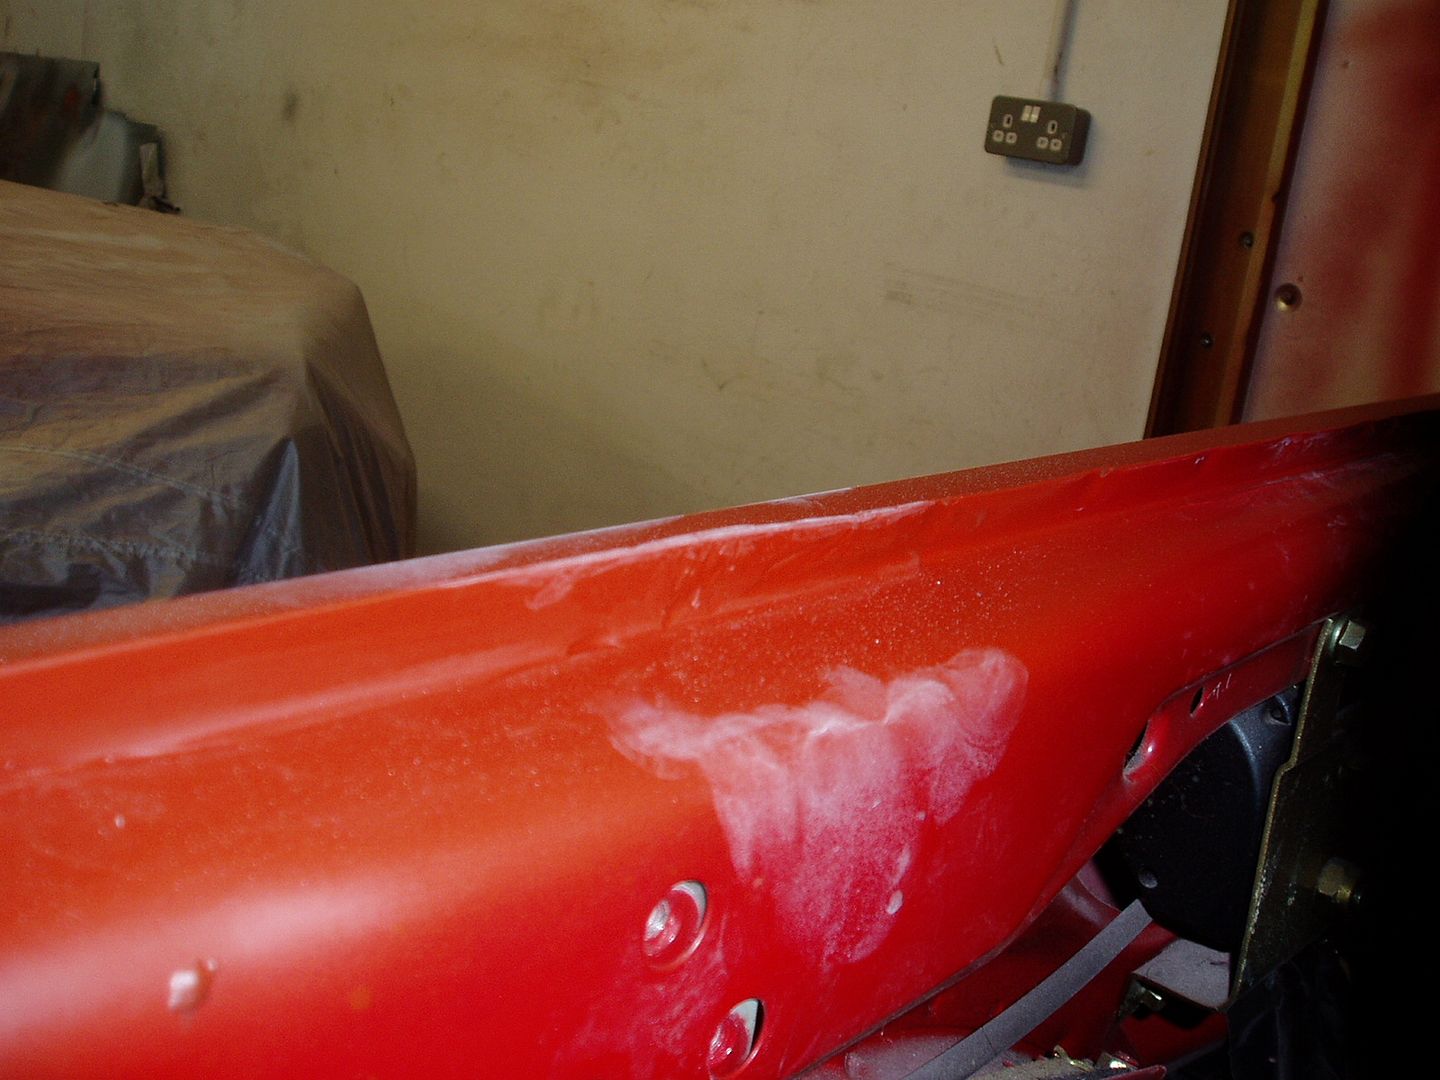
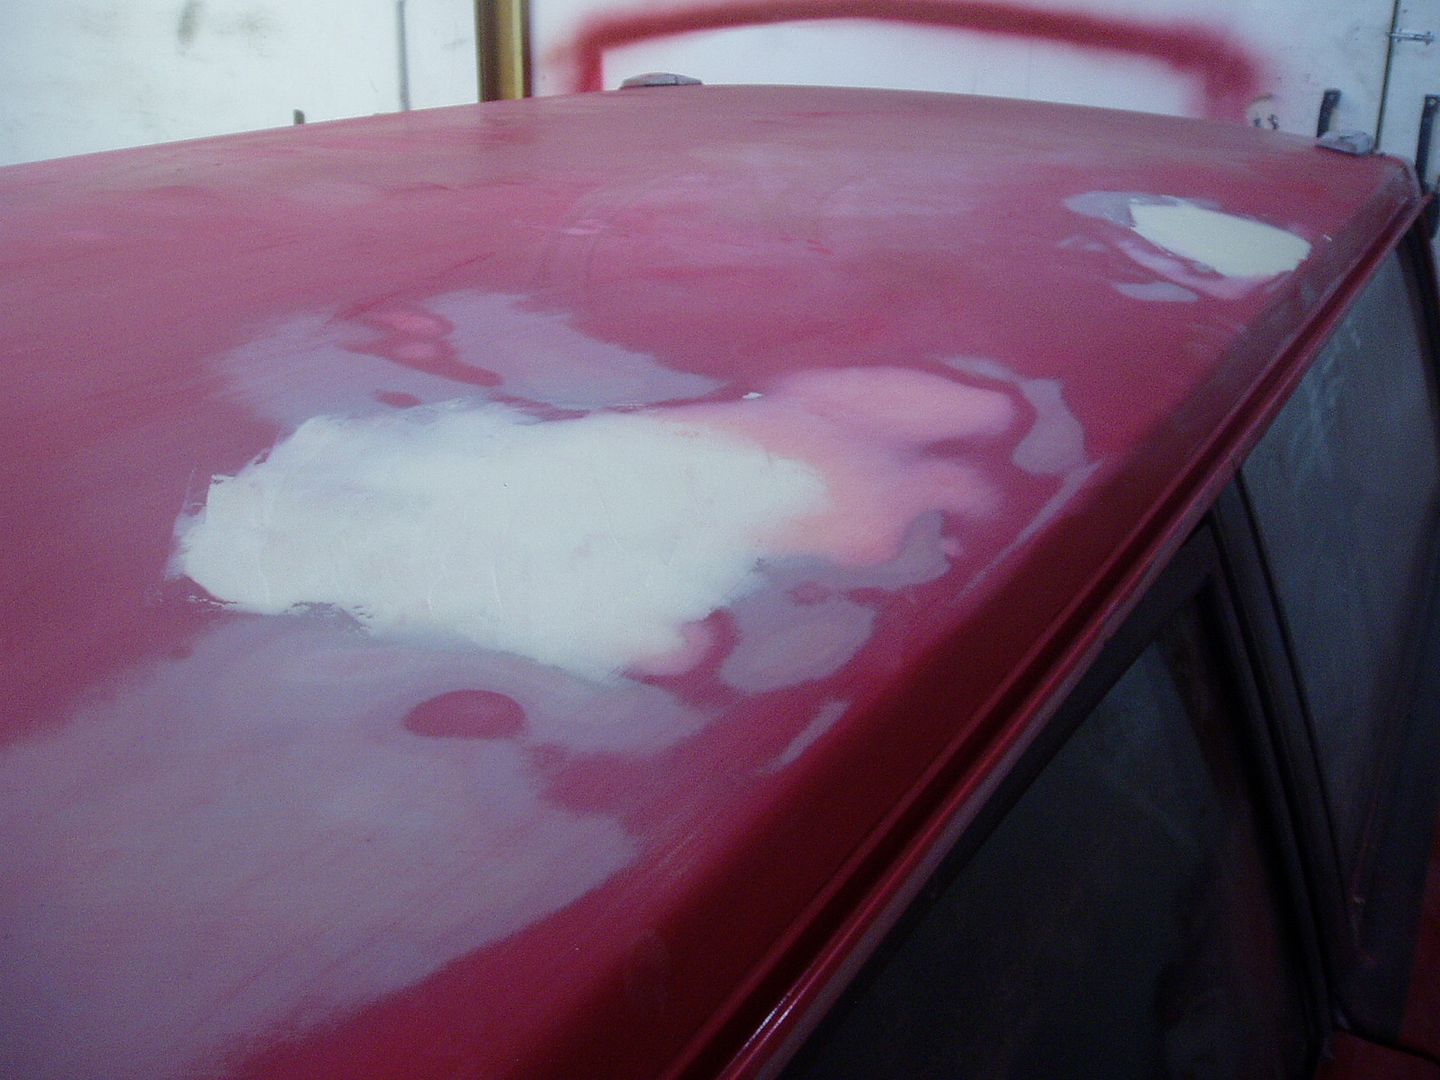
Initial filler applied.
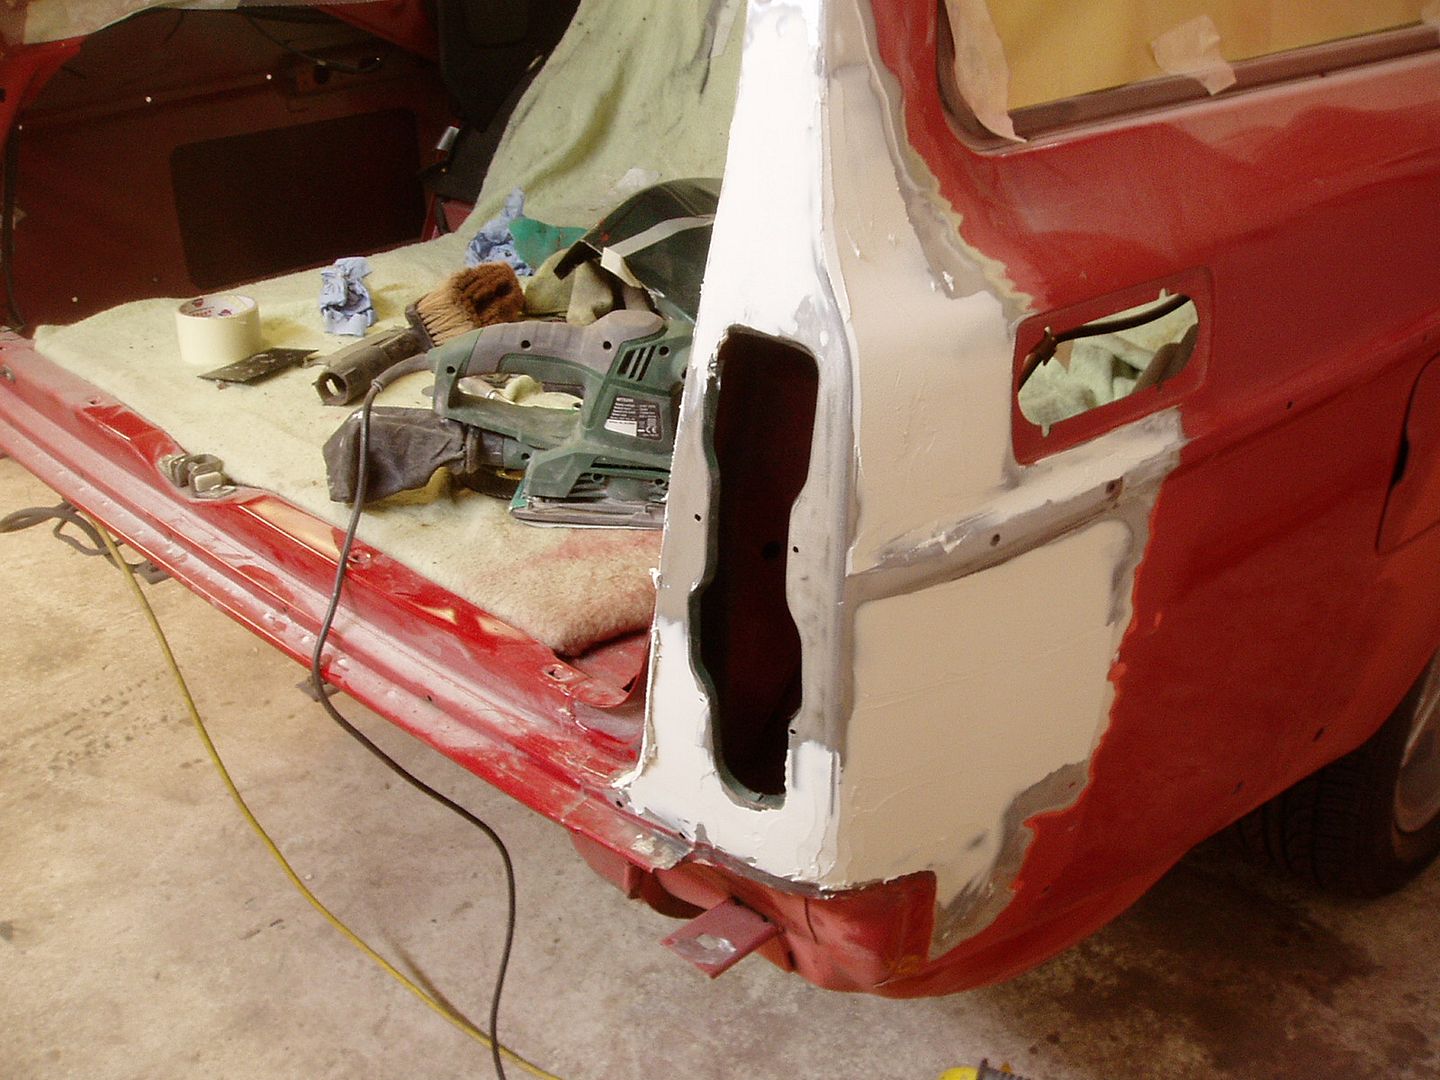
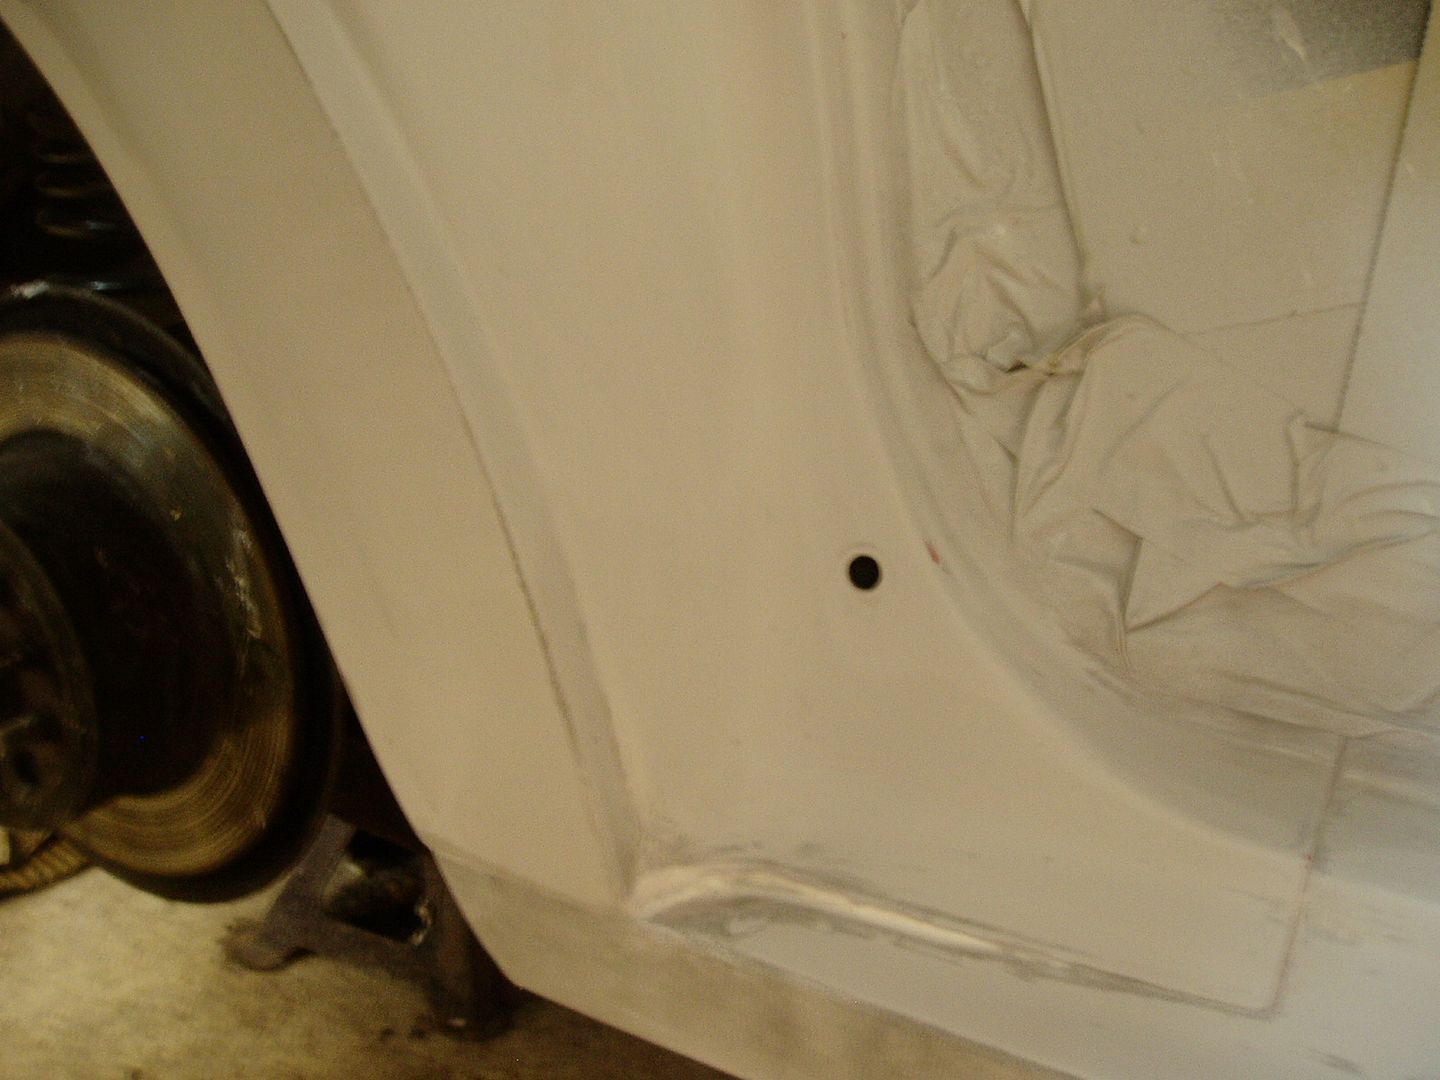
I found the wing had been dented, forward of the fuel filler and above the arch. It had been repaired using a thick layer of filler, 5 to 8mm over most of the panel. It didn't need this much to correct the dents, so I removed it (also enabled me to check for rust underneath, but there was none)

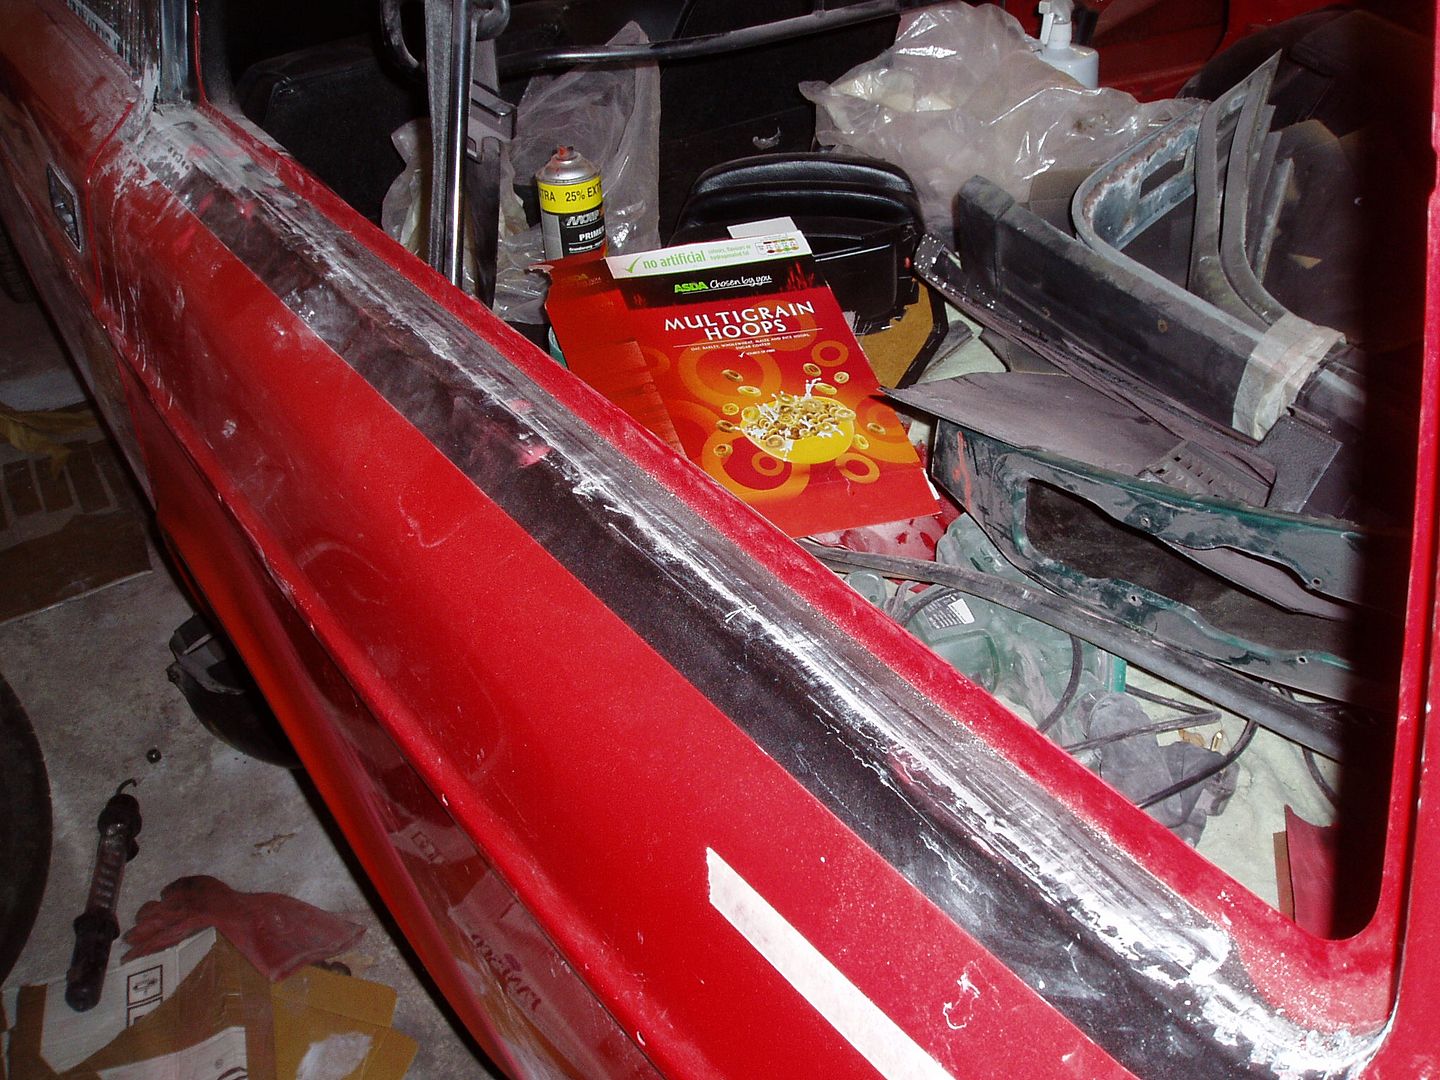
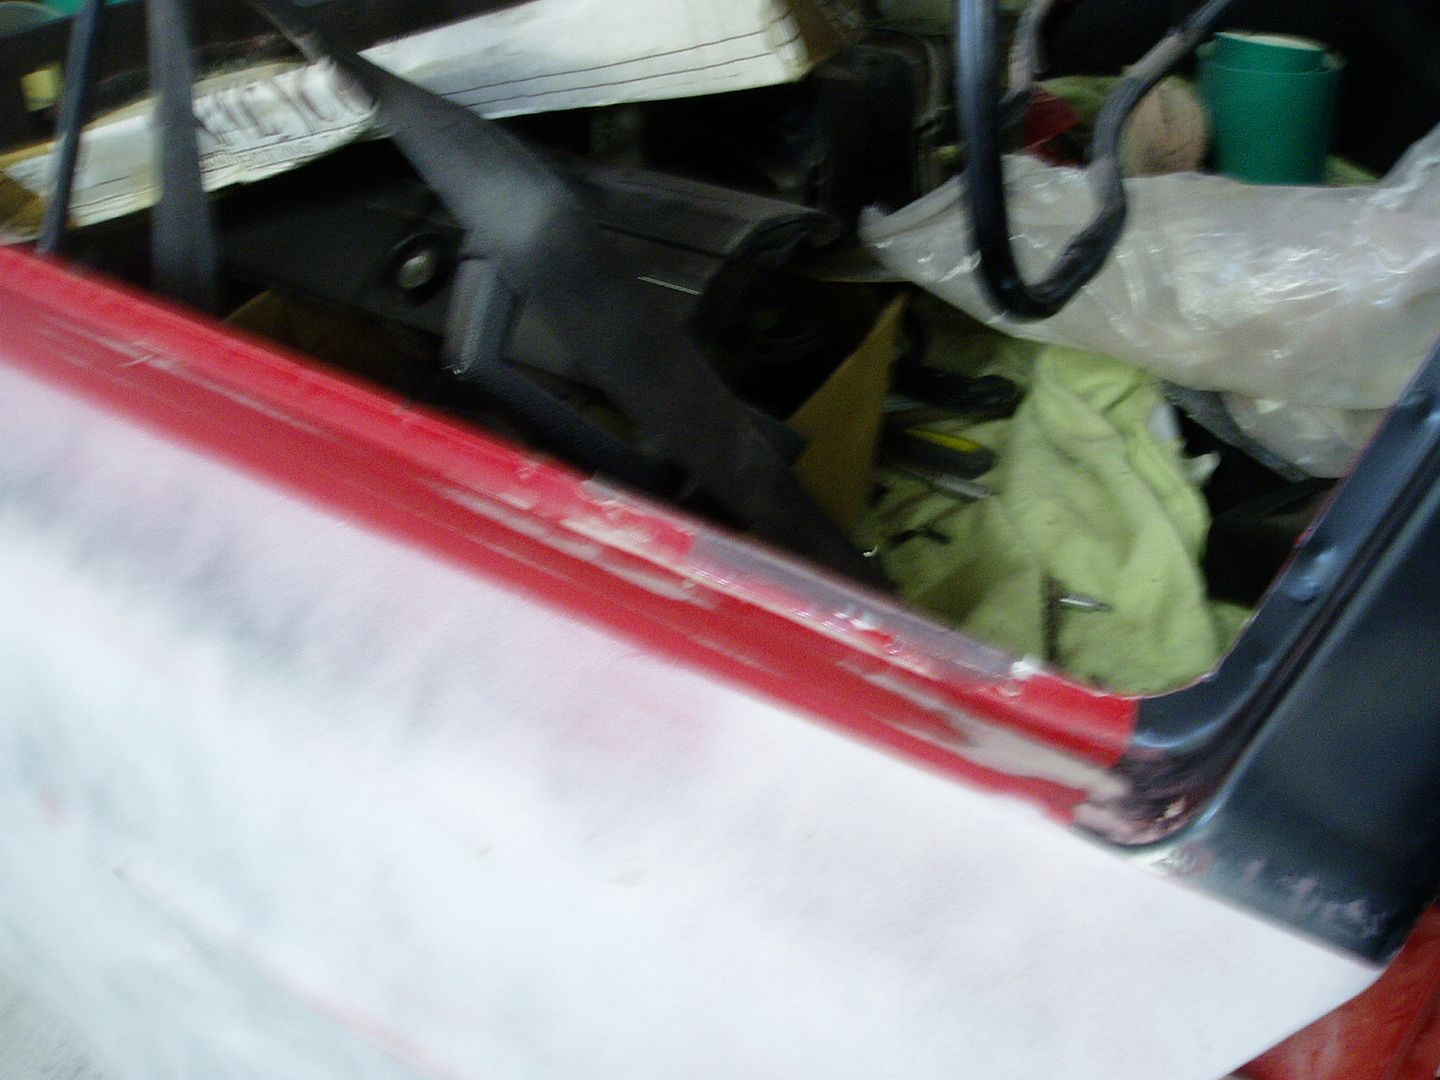
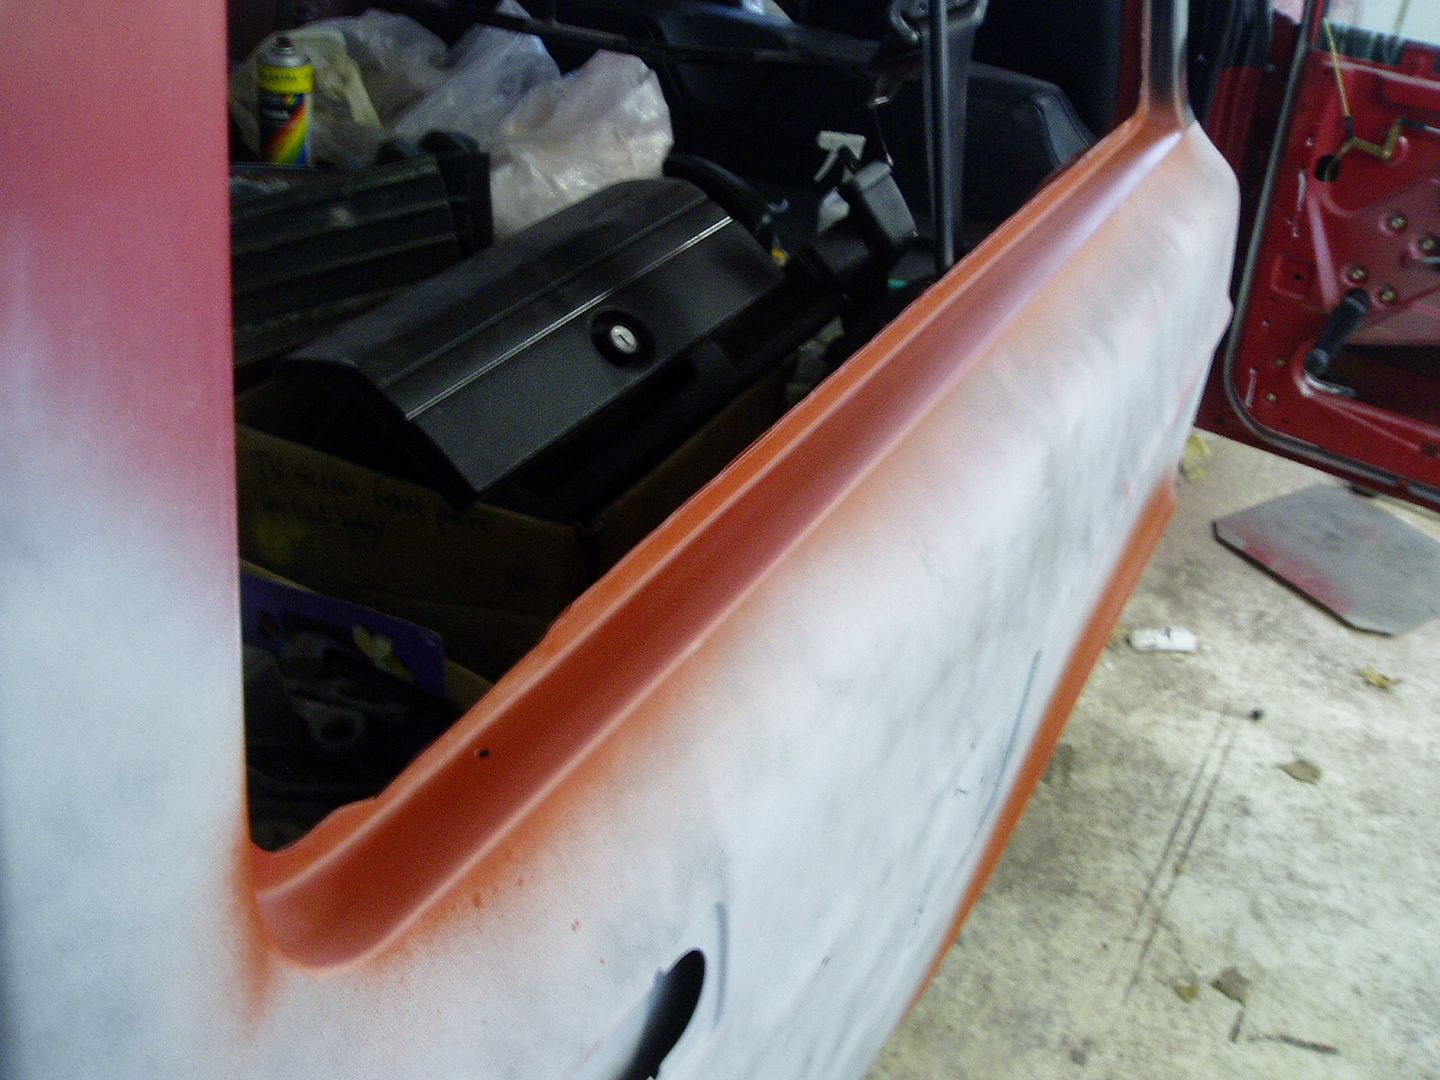
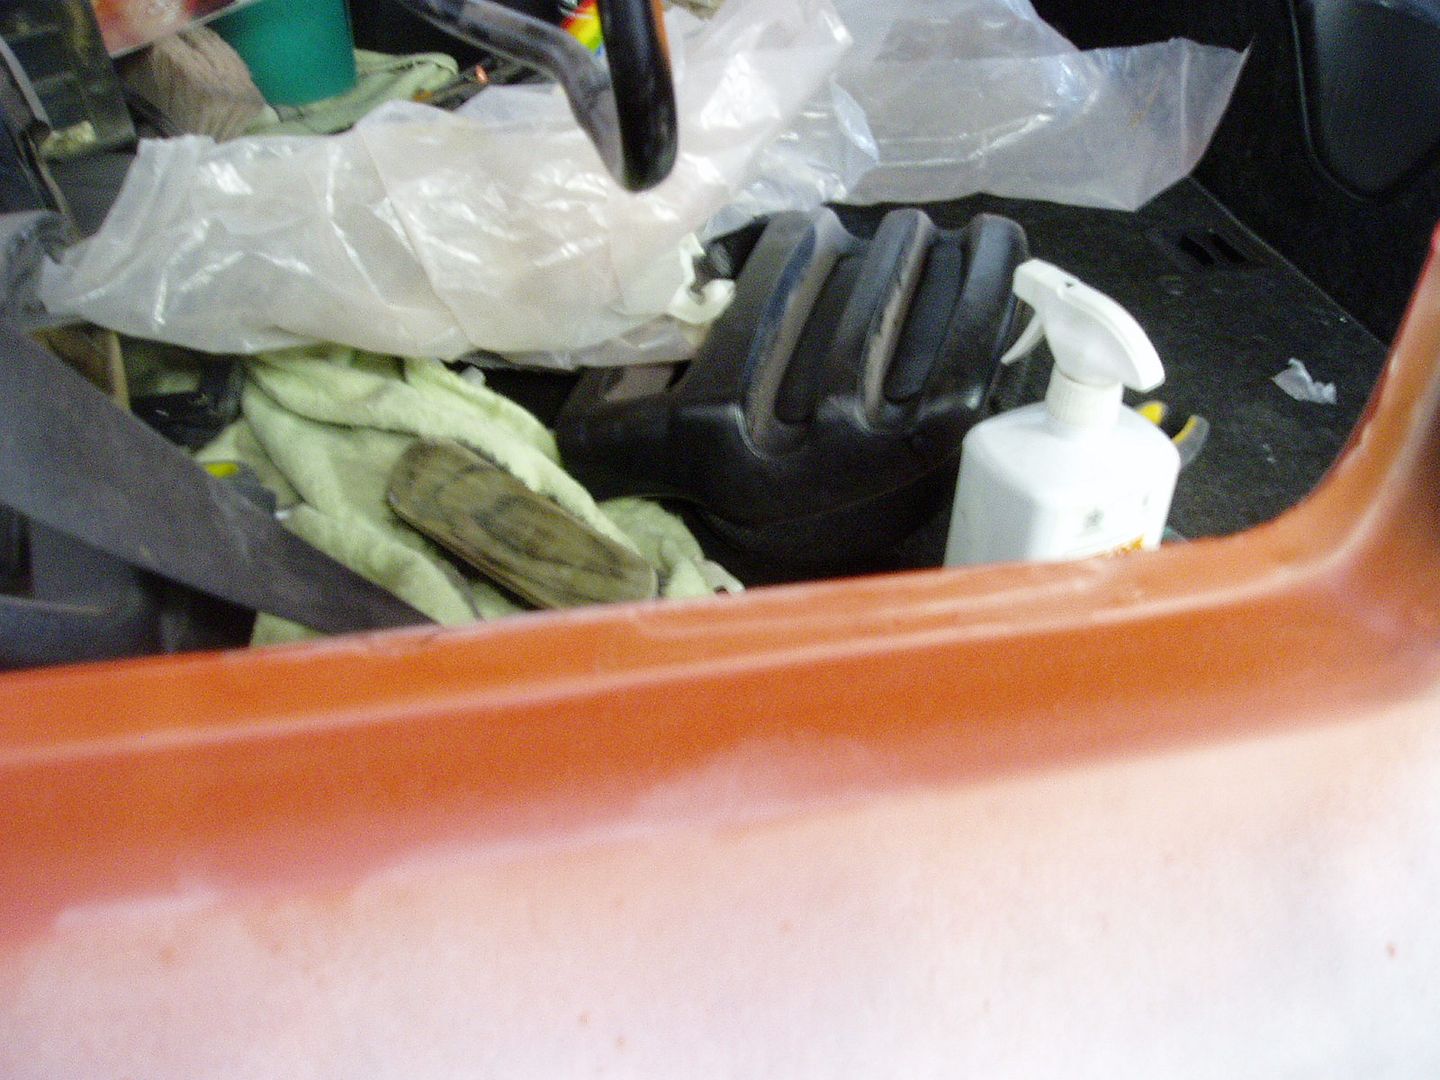
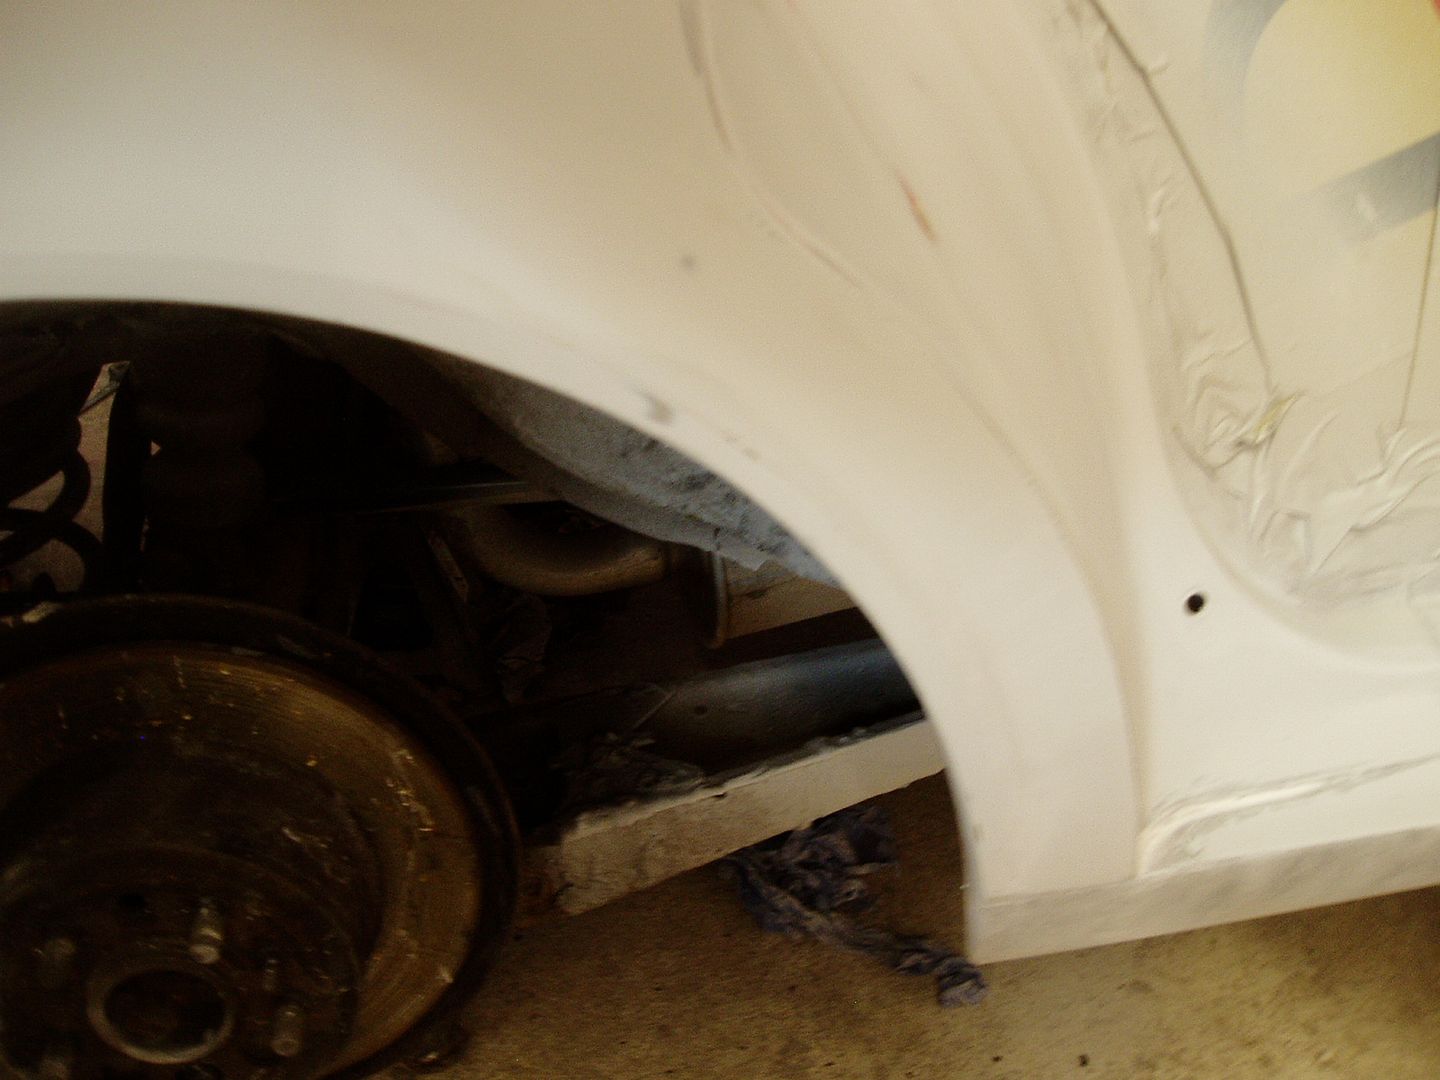
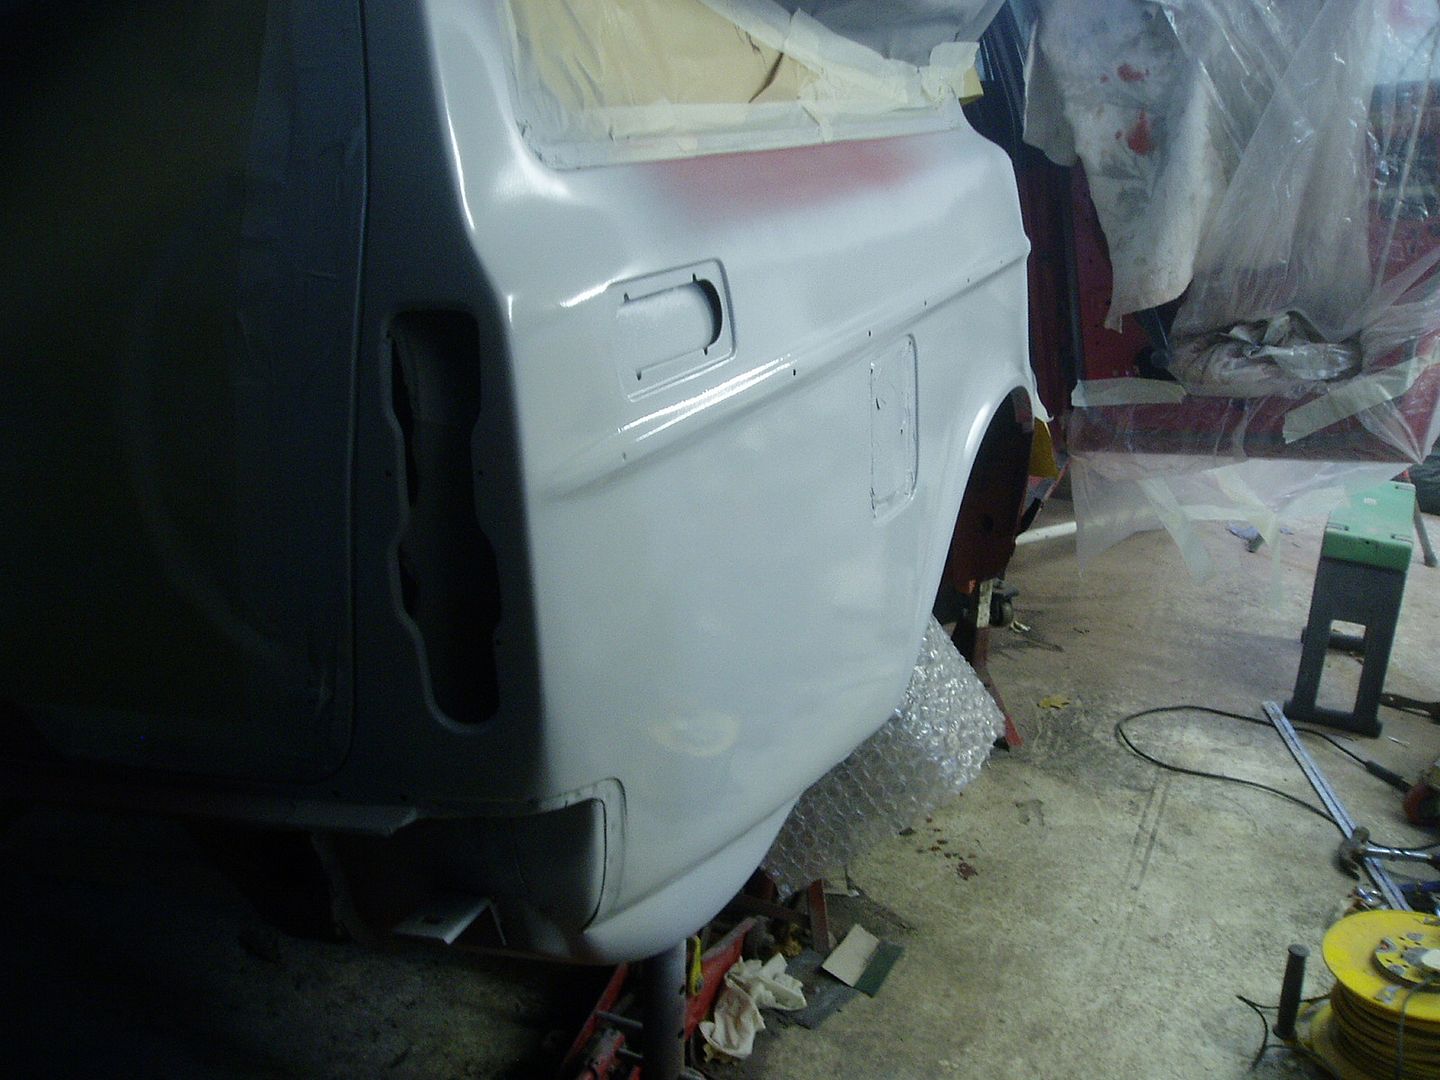
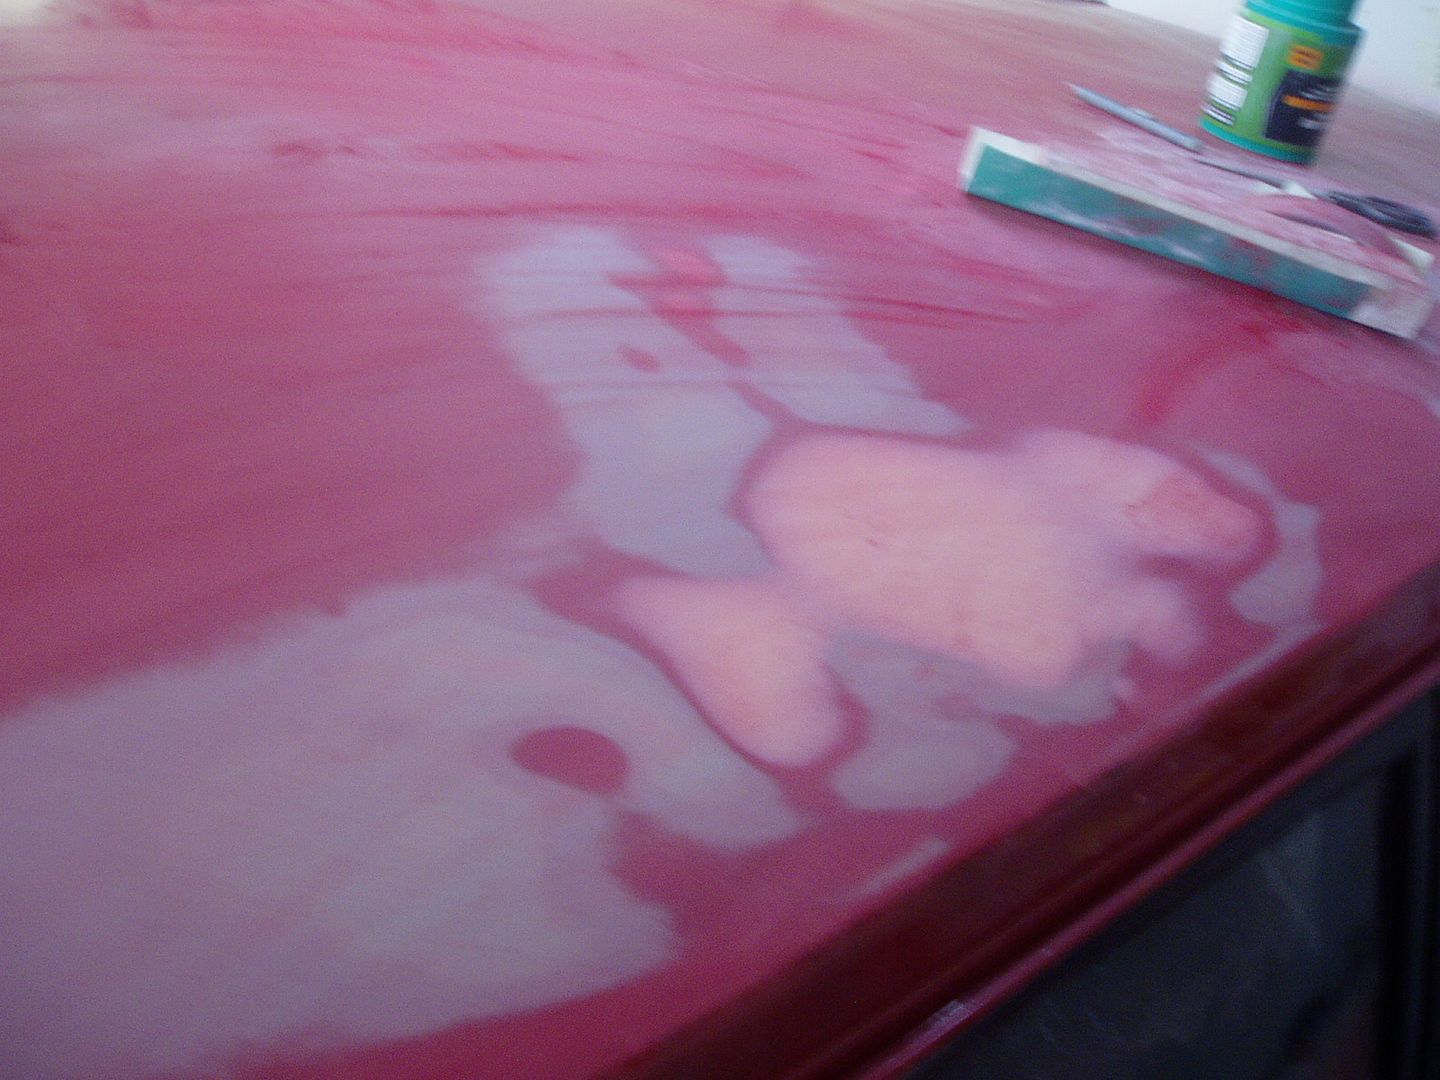
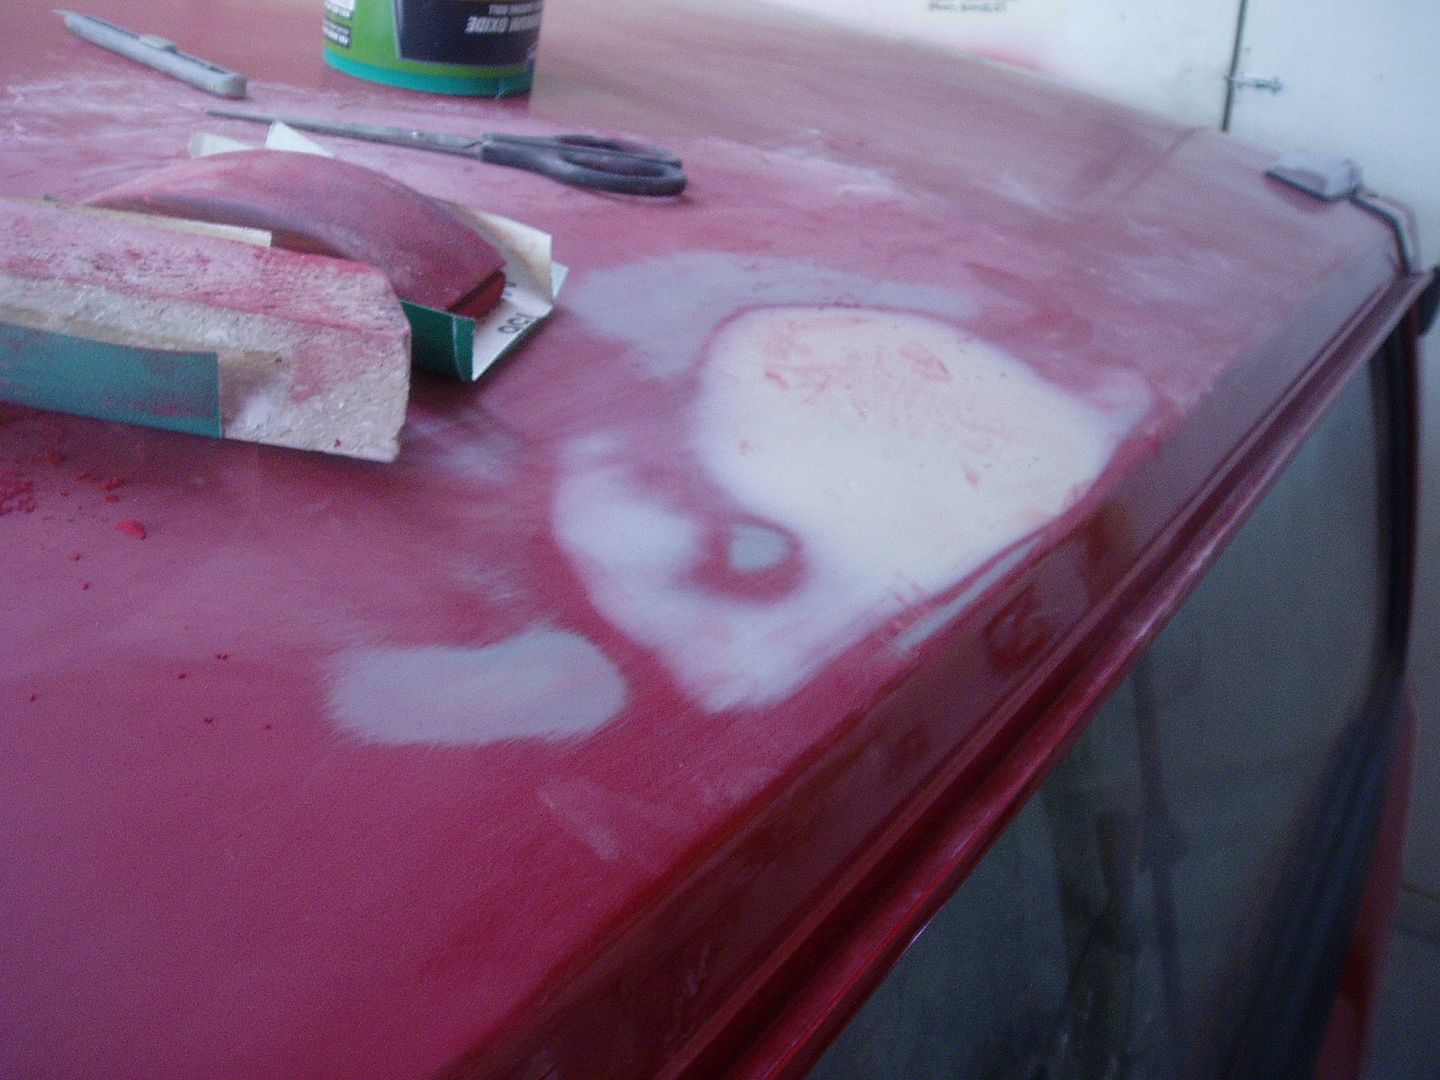
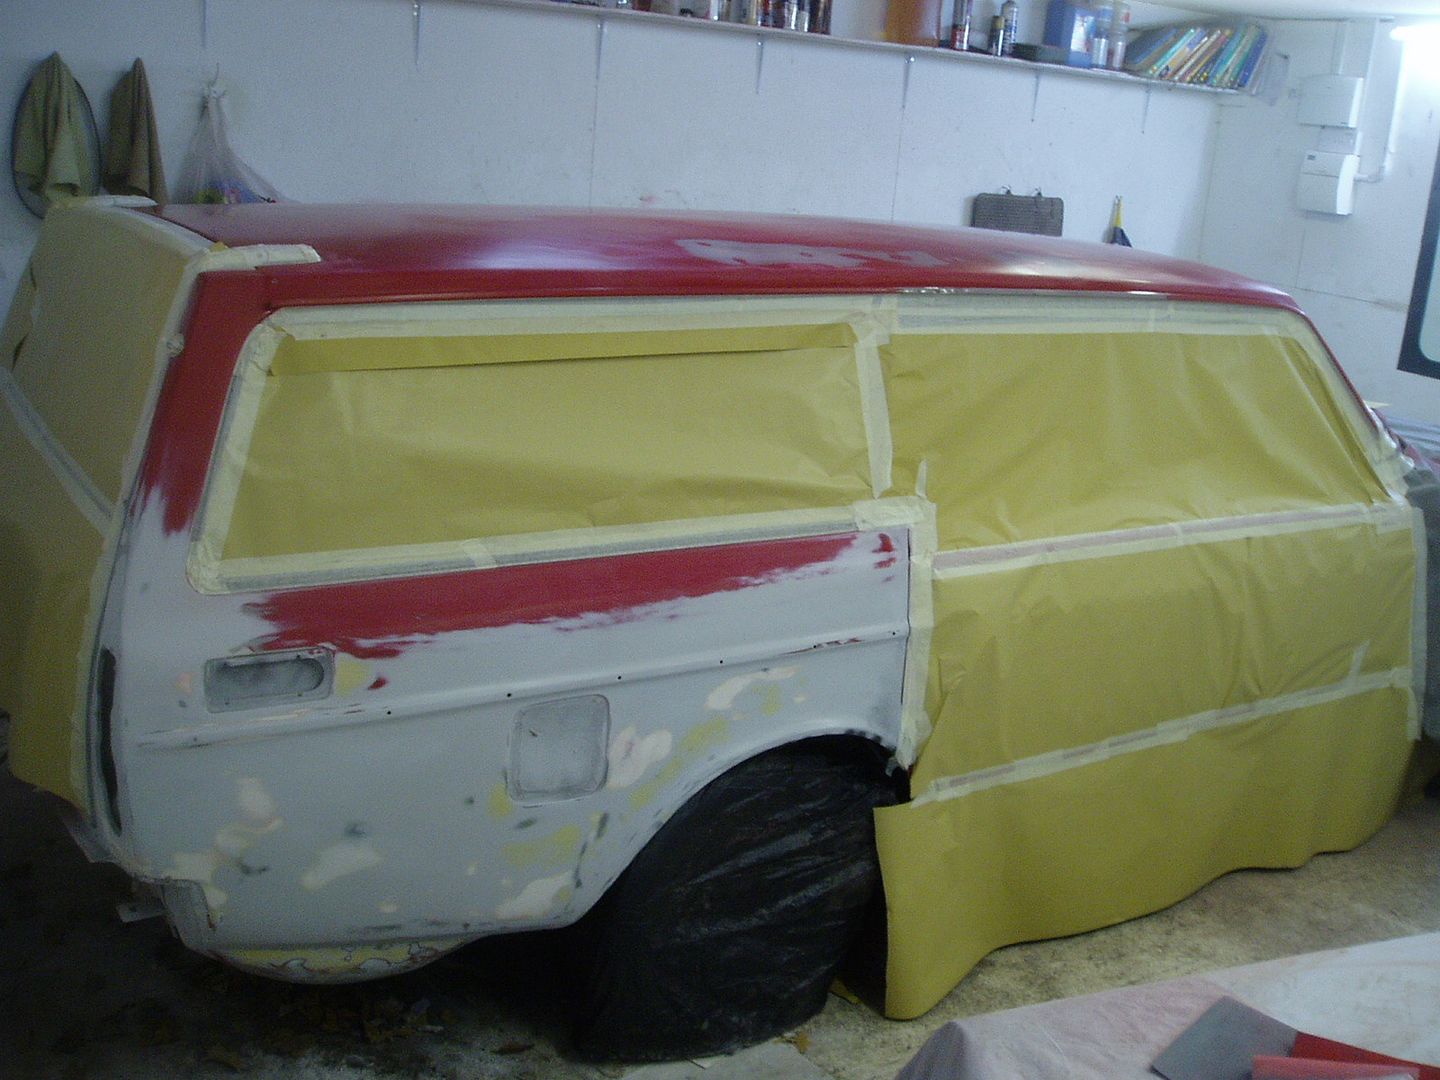
More phases of filler to develop the shape. The waistline trim line was difficult because the upper and lower curves (which lead to the raised trim mounting surface) have a different profile on the older panel. I used filler to make a gradual transition between the old and new profiles. This took a lot of attempts to get right!


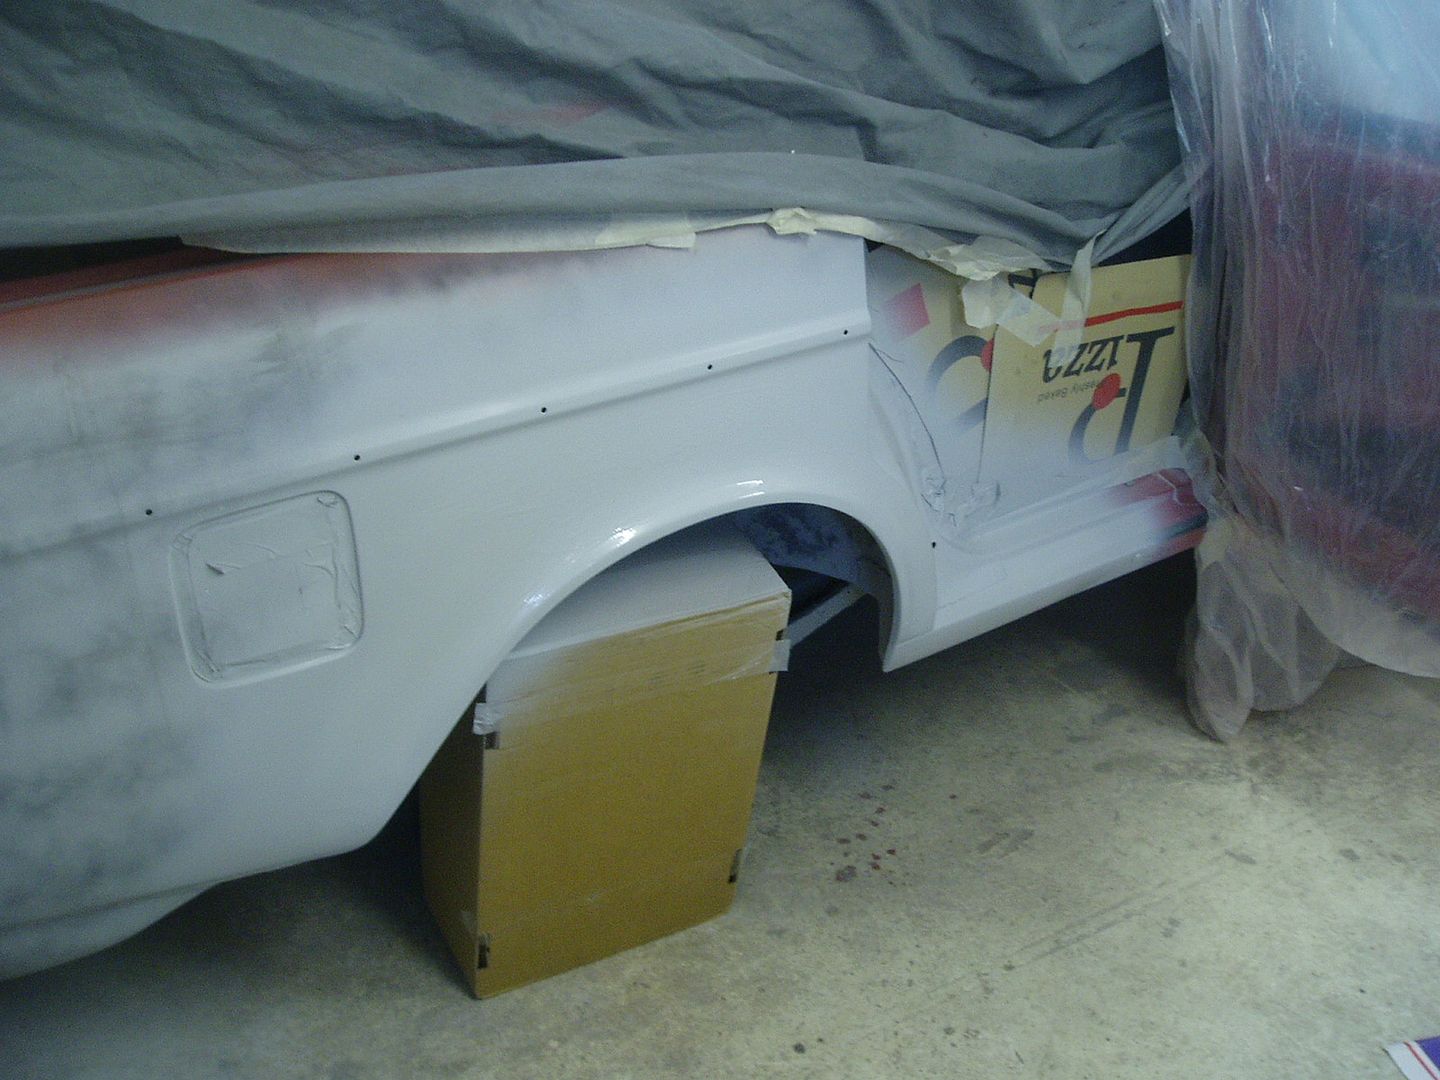
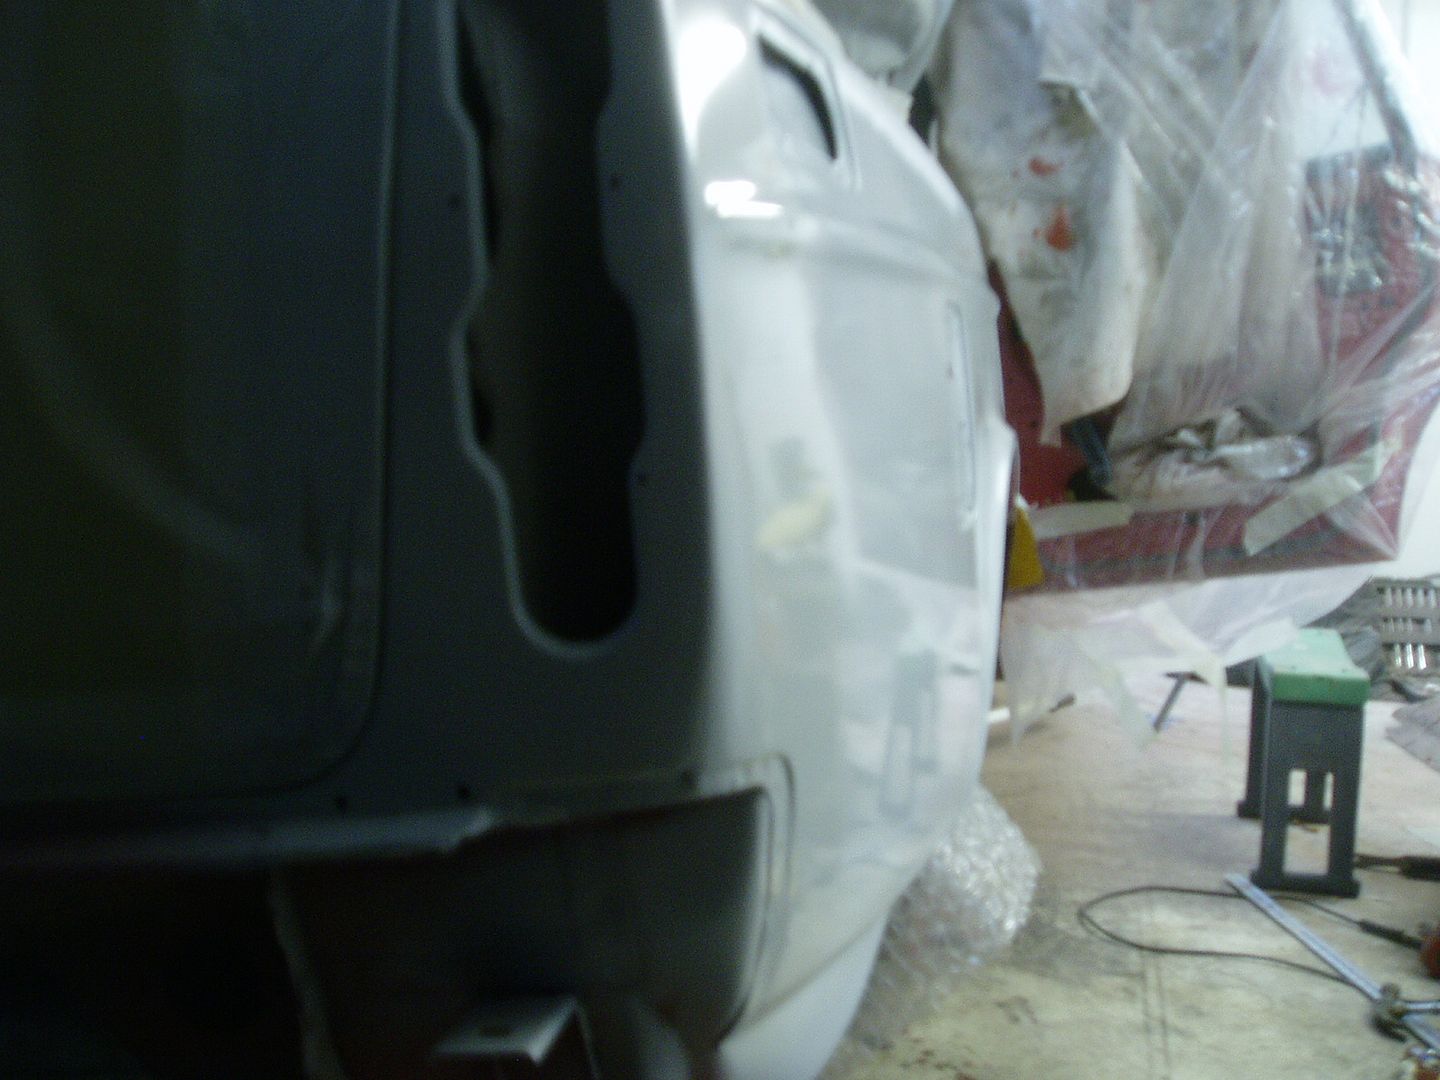
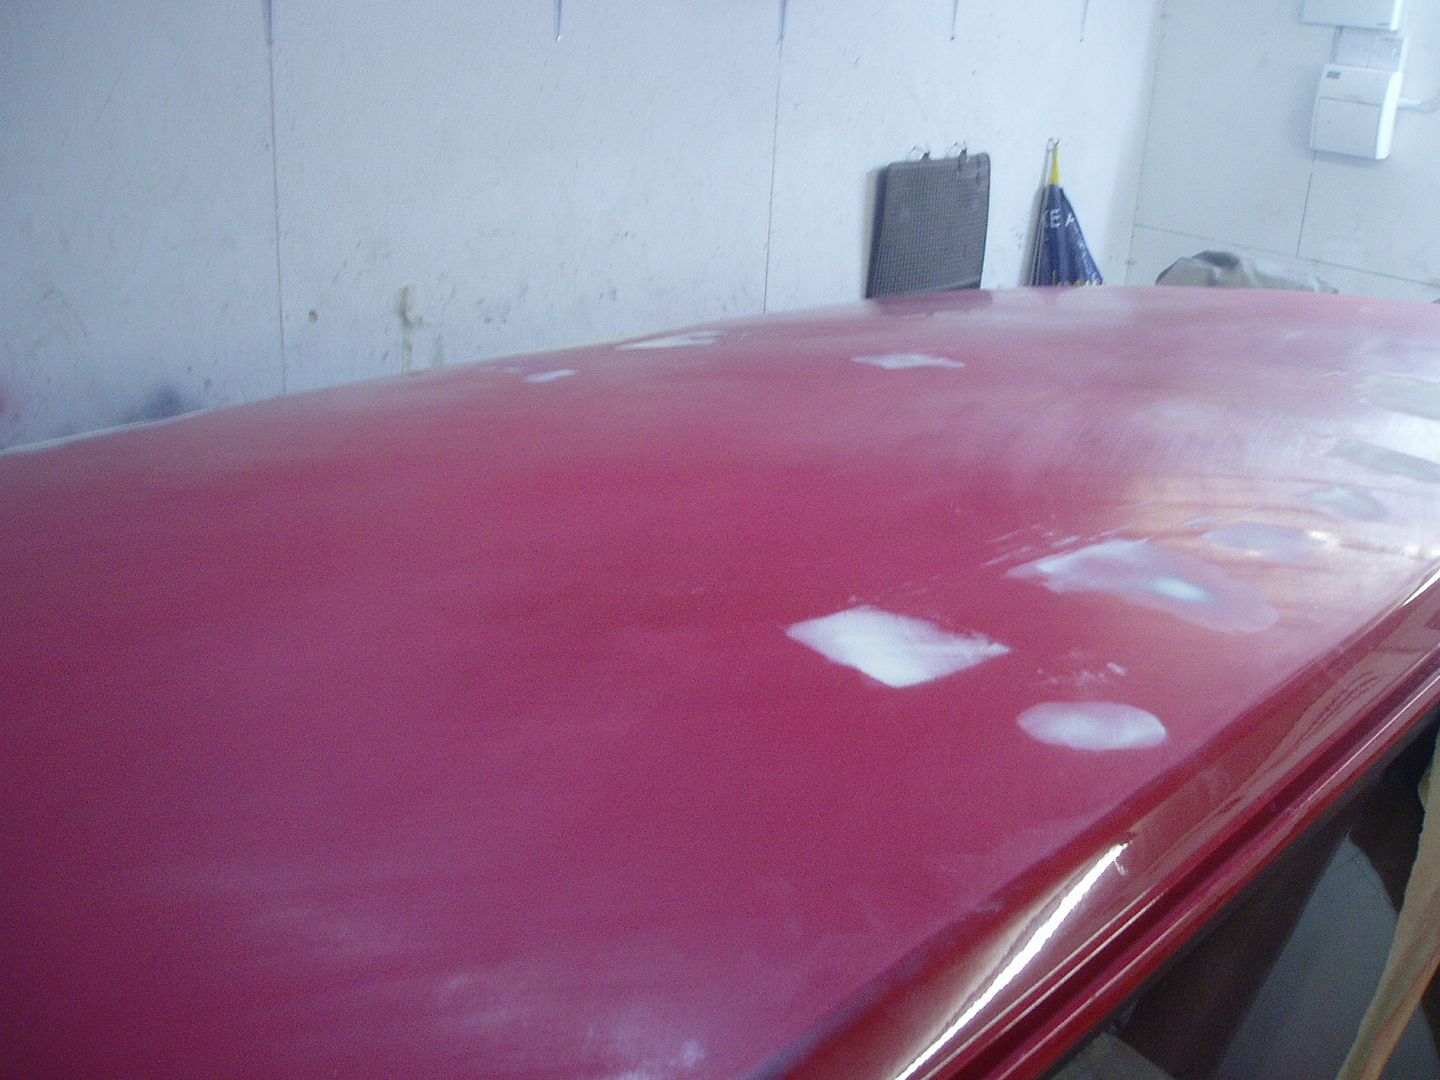
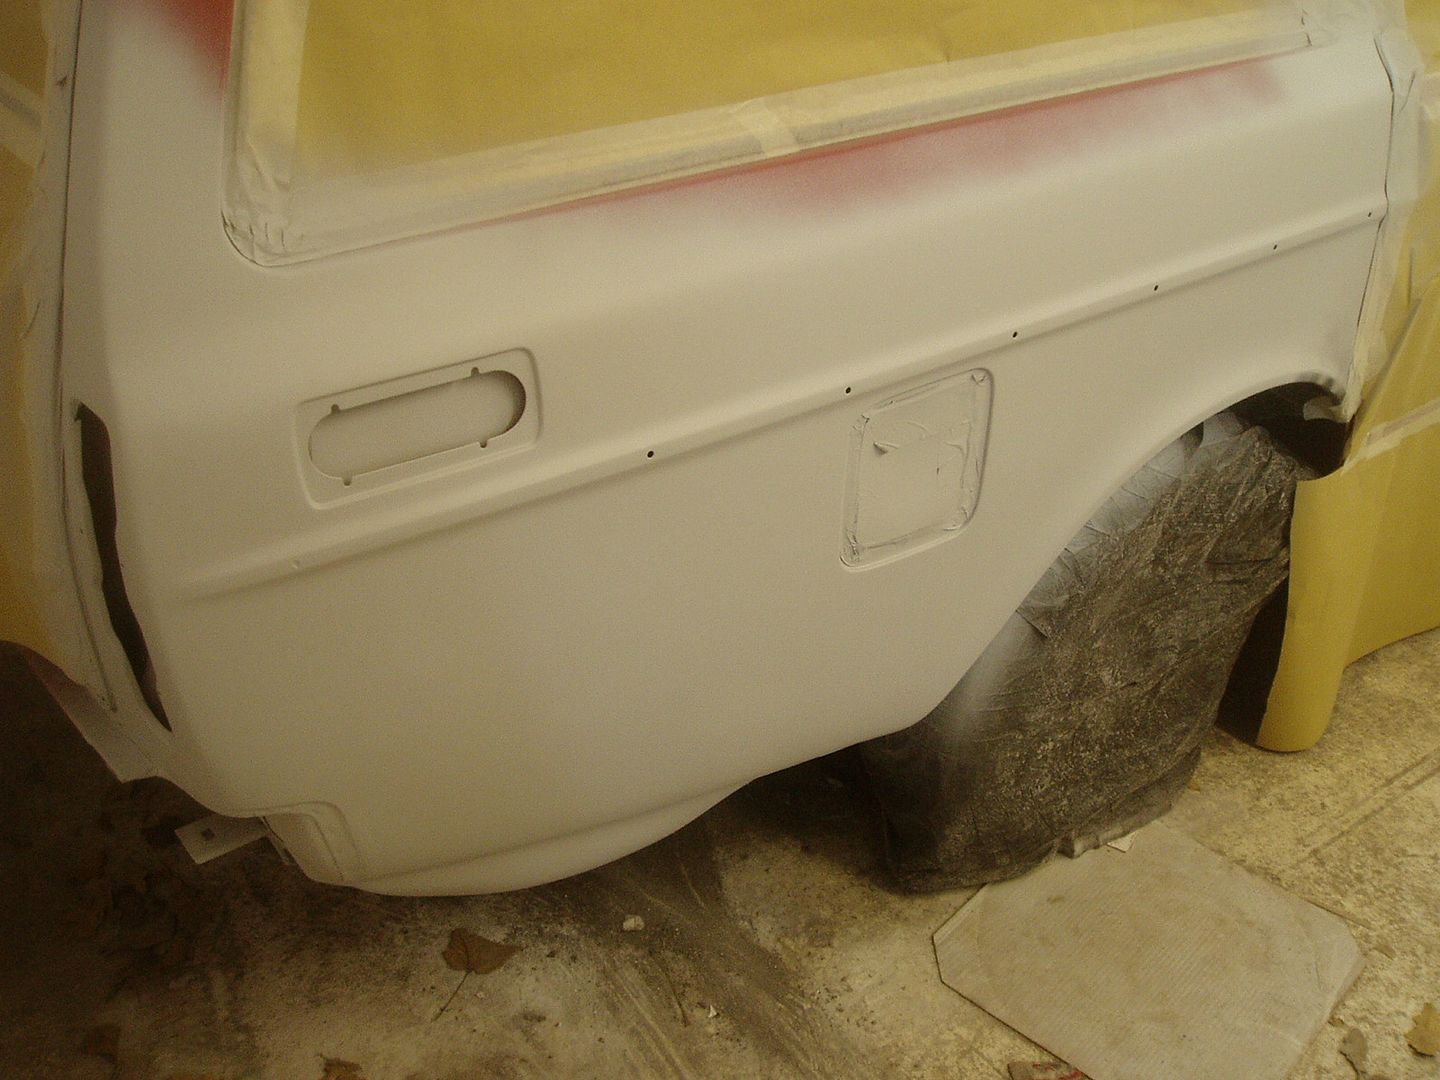
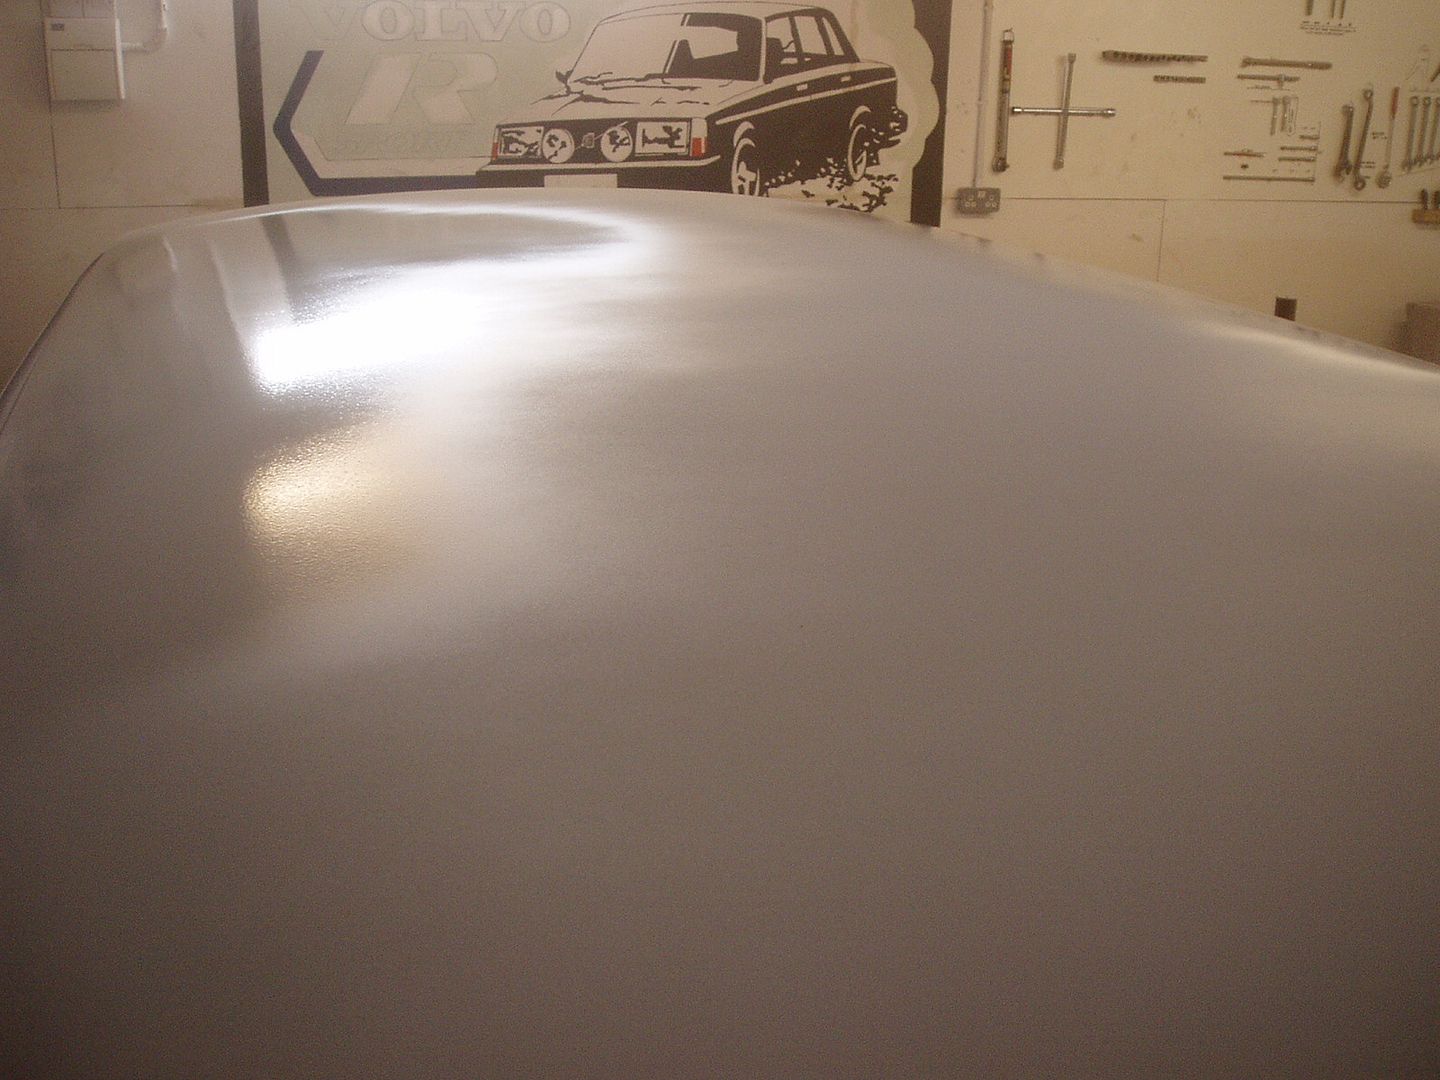
Sprayed with filler primer. Some work still needed in a few places, but it will get there

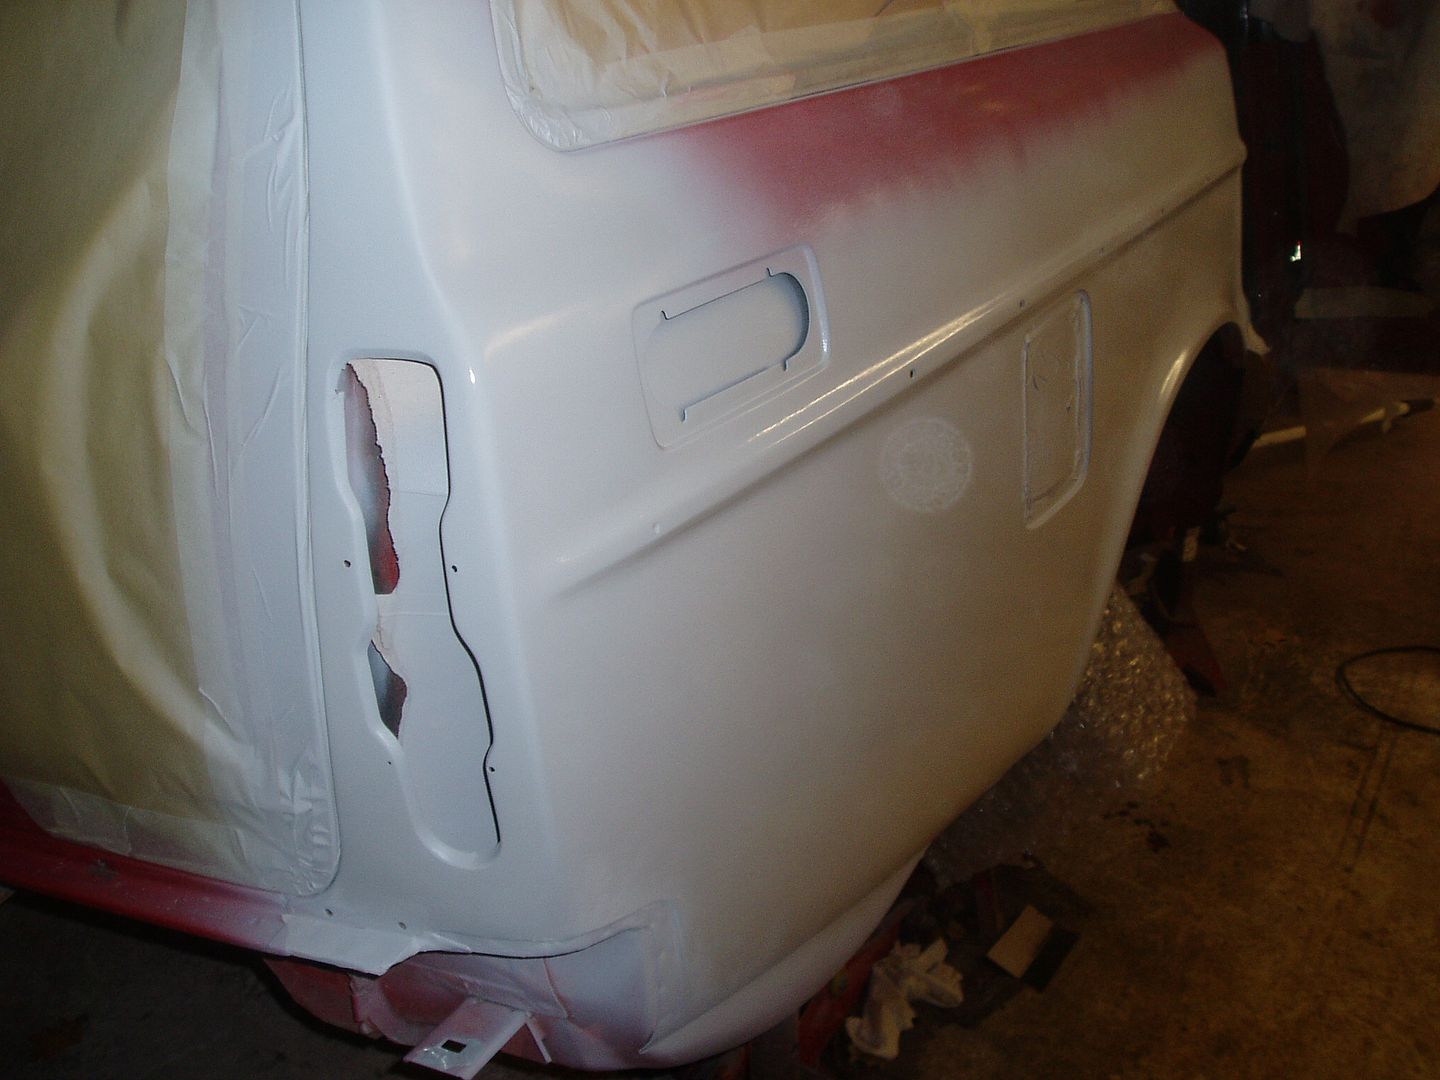
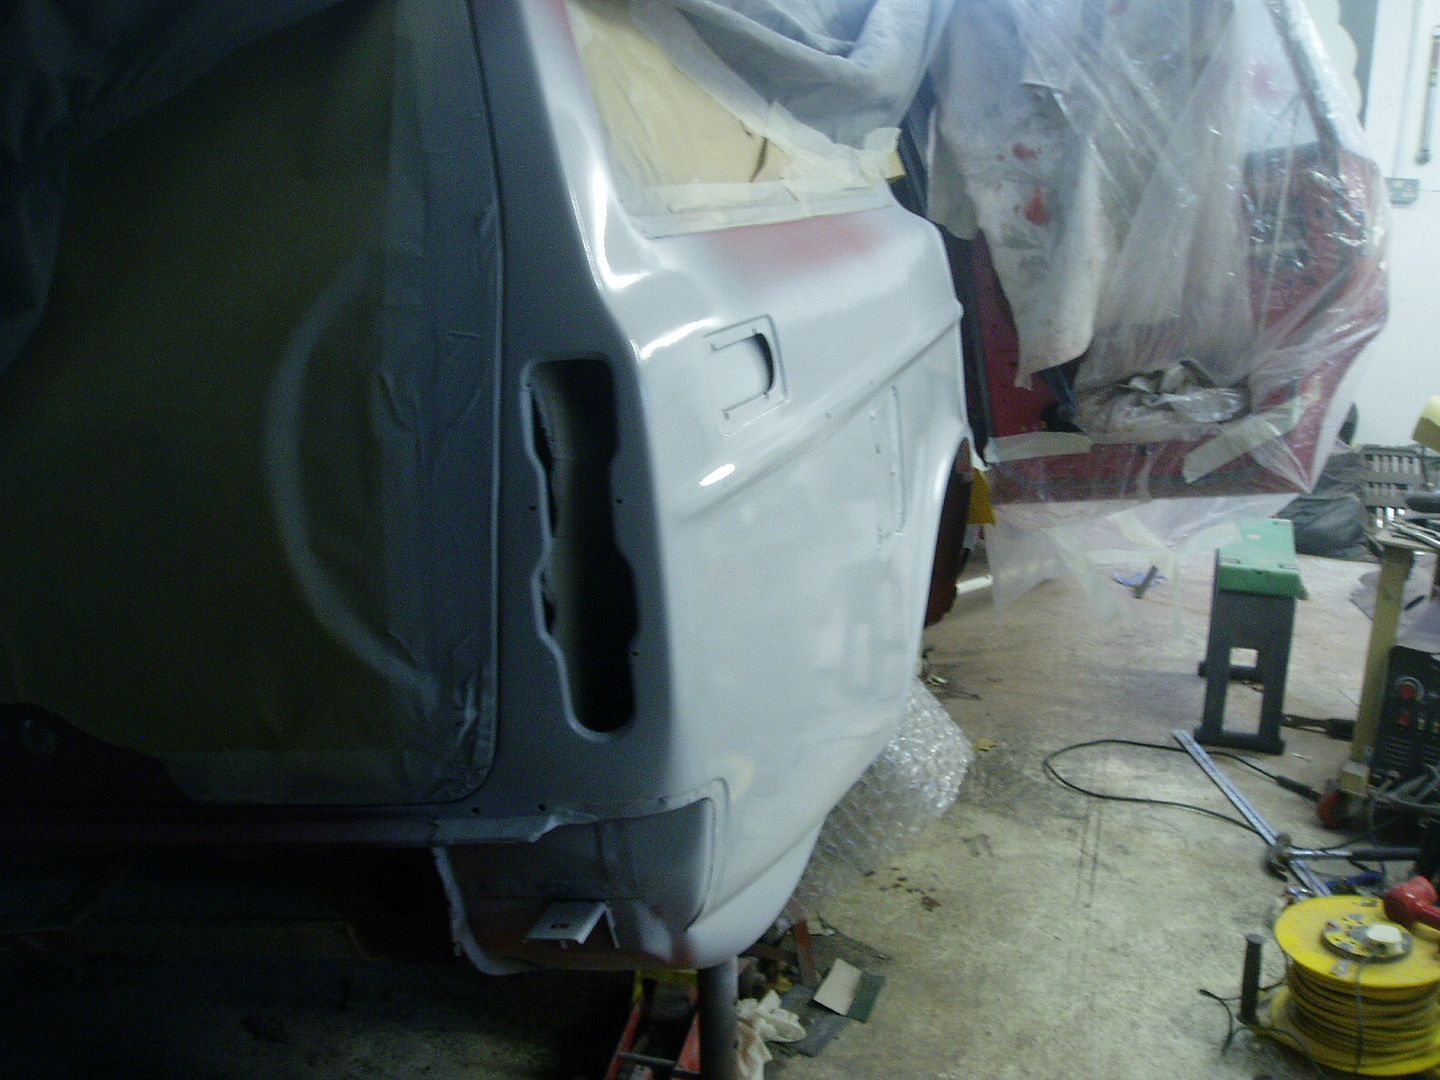


Next update in a few days
Cheers
John
More to update you on...
Two main areas of work at the moment, rust repairs on the sill/wheelarch, and continuing with the rear light conversion
Rust
I knew the outer sill was holed near the end, but it was also very crumbly here beneath the underseal

All rusty metal cut out. Luckily the jacking point is perfectly sound, so provides an easy mounting point for the repair section


For me, the key to making rust repairs easier is to take care with accurate cardboard templates for the repair sections

Test fit of the inner sill repair, using the outer sill piece I removed as a guide

Making the lower closing piece

Weld-thru primer applied


The internal repair sections painted with weld-thru primer

Ste welding the pieces in for me

Inner sill repair fitted

Inner arch pieces welded in

All internal pieces fitted

Sprayed with red oxide primer

We welded in a 'ledge' to help form a strong joint between the original outer wheelarch and the repair section

That's as far as we got with the rust repairs, more soon.
Rear wing conversion
I bonded steel panels on the inside of the wings to block the holes for late model trims


Initial filler applied.

I found the wing had been dented, forward of the fuel filler and above the arch. It had been repaired using a thick layer of filler, 5 to 8mm over most of the panel. It didn't need this much to correct the dents, so I removed it (also enabled me to check for rust underneath, but there was none)

More phases of filler to develop the shape. The waistline trim line was difficult because the upper and lower curves (which lead to the raised trim mounting surface) have a different profile on the older panel. I used filler to make a gradual transition between the old and new profiles. This took a lot of attempts to get right!


Sprayed with filler primer. Some work still needed in a few places, but it will get there


Next update in a few days
Cheers
John








 Can't wait for updates.

