|
|
|
|
|
Looking awesome dude, its was perfect before the engine conversion, its gonna be crazy afterwards!  top work. love the trumpets in the rear window, its given me an idea for my delorean  3x weber 40's in the rear window  oh yesh.  where did you get the air ride shocks from? and what sort of price were they? |
| |
www.facebook.com/AngrySpiderRacing
1965 Karmann ghia RHD Race car
1969 Baja Bug (splat)
1979 Leyland National London Bus
1981 DeLorean DMC-12
1993 Chevrolet S-10 4.3L Pink, and rolling 20's
1996 Toyota Paseo Super Modified Rallycross car
|
|
|
|
mrluke
Part of things
 
Posts: 242
|
|
Jul 29, 2013 21:52:08 GMT
|
|
|
| |
|
|
ChasR
RR Helper
motivation
Posts: 10,309
Club RR Member Number: 170
|
|
|
|
That trumpet shot in the rear window is what it is all about  . |
| |
|
|
Mr Ben
Part of things
 
Posts: 52
|
|
|
|
|
This build is incredible, I didn't think it could get any better till I just read the last few pages....
One of my all time favourite modified cars
|
| |
|
|
|
|
|
|
|
|
Just when I thought it looked cool enough as it was, you go and make it cooler! I hope you get many miles out of it when its done!
|
| |
|
|
|
|
|
|
|
absolutely fantastic work on this!  |
| |
 1965 Mk1 Mini 1989 Porsche 911 3.2 Carrera Sport 2004 Audi A2 TDi 2007 Lotus Exige S 2011 Mini Cooper SD |
|
|
|
|
|
|
|
I've got to say. I've seen pictures of this car on the internet and I've never given it too much interest as on the surface it just looks like an old Lotus, lowered on some wide wheels. After seeing all the work and engineering that's gone into the car as a whole I'm blown away by it and ashamed of my ignorance towards it. Great build thread!
|
| |
|
|
sonus
Europe
Posts: 1,392
|
|
Sept 7, 2013 22:11:31 GMT
|
|
Any updates?
|
| |
Current
1968 TVR VIXEN S1 V8 Prototype
2004 TVR T350C
2017 BMW 340i
Previous
BMW 325d E91LCI - sold
Alfa Romeo GTV - sold
Citroen AX GT - at the breakers
Ford Puma 1.7 - sold
Volvo V50 2.0d - sold
MGB GT - wrecked by fire
MG ZT 1.8T - sold
VW E-golf Electric - sold
Mini Countryman 1.6D -sold
Land Rover Discovery TD5 - sold
|
|
sonus
Europe
Posts: 1,392
|
|
Sept 7, 2013 22:11:52 GMT
|
|
Sorry - double post
|
| |
Last Edit: Sept 7, 2013 22:12:38 GMT by sonus
Current
1968 TVR VIXEN S1 V8 Prototype
2004 TVR T350C
2017 BMW 340i
Previous
BMW 325d E91LCI - sold
Alfa Romeo GTV - sold
Citroen AX GT - at the breakers
Ford Puma 1.7 - sold
Volvo V50 2.0d - sold
MGB GT - wrecked by fire
MG ZT 1.8T - sold
VW E-golf Electric - sold
Mini Countryman 1.6D -sold
Land Rover Discovery TD5 - sold
|
|
jomfun
Part of things
 
Posts: 214
|
|
Sept 7, 2013 23:39:04 GMT
|
I've got to say. I've seen pictures of this car on the internet and I've never given it too much interest as on the surface it just looks like an old Lotus, lowered on some wide wheels. After seeing all the work and engineering that's gone into the car as a whole I'm blown away by it and ashamed of my ignorance towards it. Great build thread! It's even better in the flesh. At last year's RRG this stopped me in my tracks, I plonked my butt on the grass next to it and I was about bang level with the driving position. It really is that low. And its just getting better. Top marks |
| |
|
|
|
|
deanchad
Part of things
  http://retrorides.proboards.com/thread/131936
Posts: 142
|
|
|
|
Seriously, it’s been way too long since my last instalments. Believe me I’ve been desperate to get back at it! Seeing the plough sat there for that long is quite depressing but I had the chance to work around Europe so I took it. So, I have been busy with various things engine related, the first thing being the sump. Whilst the ally sump was being welded it had twisted slightly. This I wasn’t happy with so I decided to have a steel sump fabricated, reason being, I want reliability and with the ally modified one I doubt it would have lasted. They have done a terrific job but I forgot about the crank sensor mounting so it’s gone back to be modified again. This is the only photo I took but you can see it’s a tidy job. 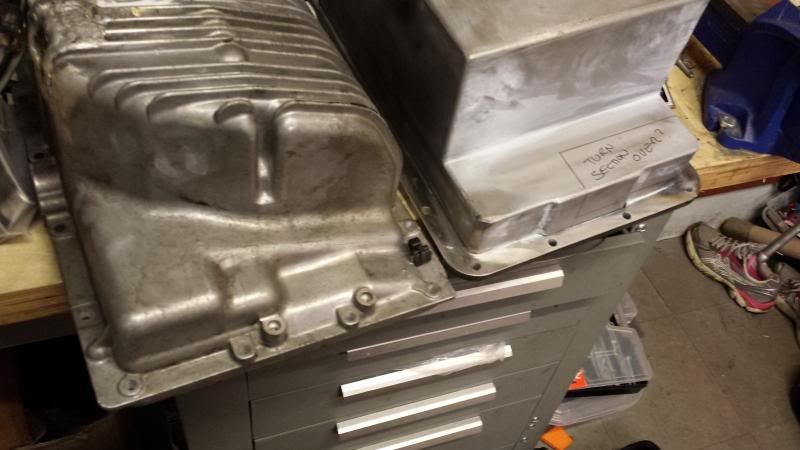 On to the next issue, wiring the sensors to work with the emerald ECU. I wanted to use the original Alfa wiring and circular multi-plug as well as the emerald loom, I’m going to mount the bulkhead plug through the upper part of the engine cover. The wiring really wasn’t too bad although I am having a little difficulty with the cam phase sensor because the schematic says it needs a live feed (SENSOR K47). As you can imagine I don’t want to short out my new ECU so for the mean time I’ve set the injection to batch fire instead of the standard sequential. A bit of reading up shows that the only real advantage to sequential is economy? Anyway, if you can point me in the right direction with this then let me know…… 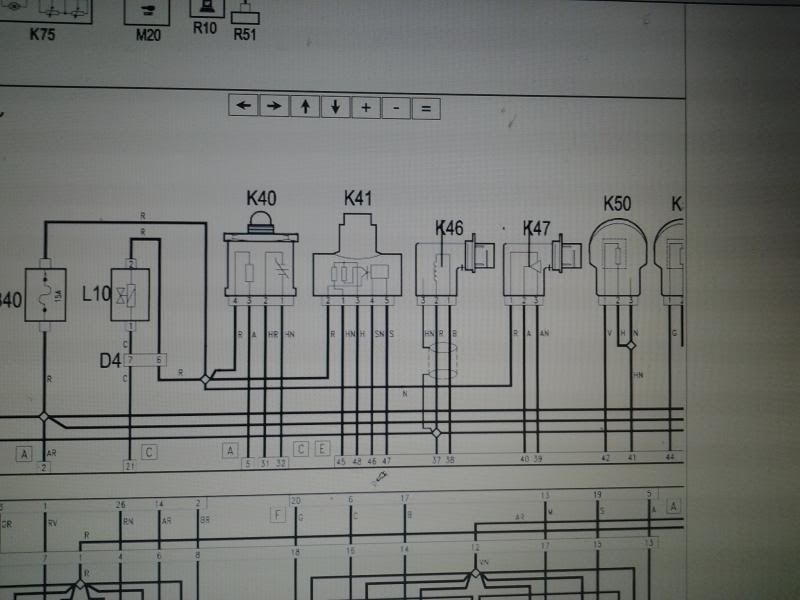 The working outs…. 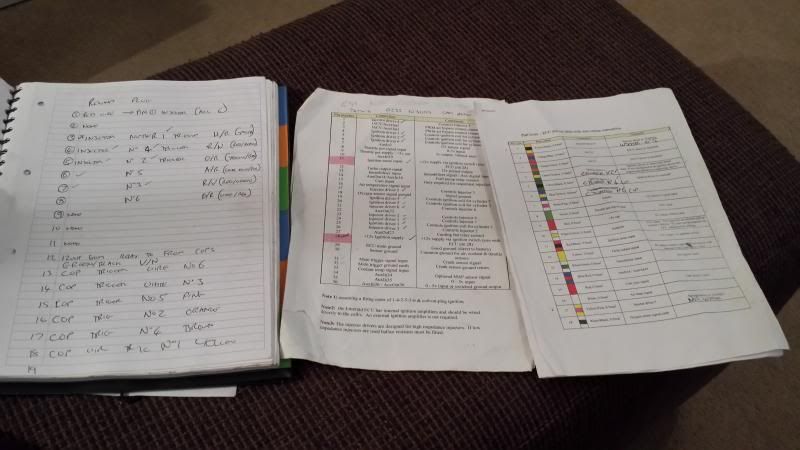 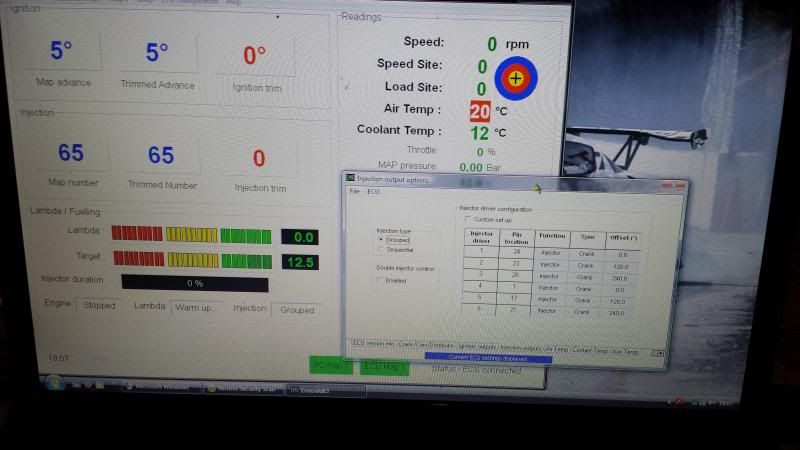 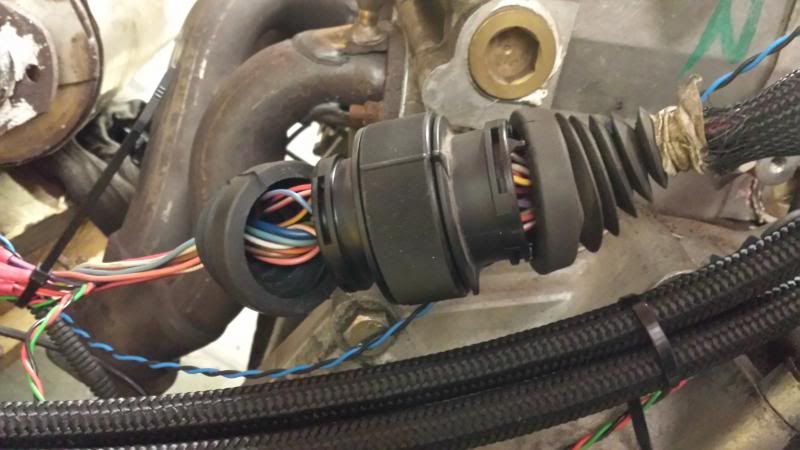 Injector test was next. I rigged up a little test sump so all injector spray pattern could be inspected and fuel pump /regulater tested also. The shortened fuel rails worked a treat with no leaks, all fittings were bought off the bay….. the cost of those AN fitting is a bit steep but the do look the nuts. I also tried a various types of hose, turns out the nylon coated hose looks the best and is also the easiest to work with…………………… no holes in fingers like you get with the stainless coated type. 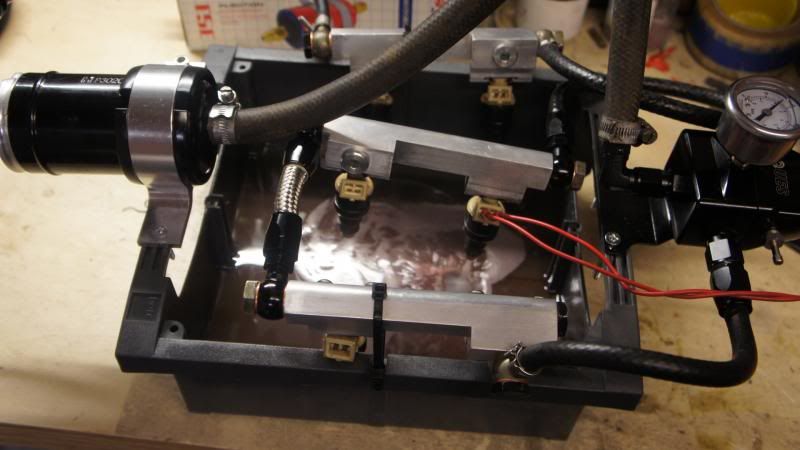 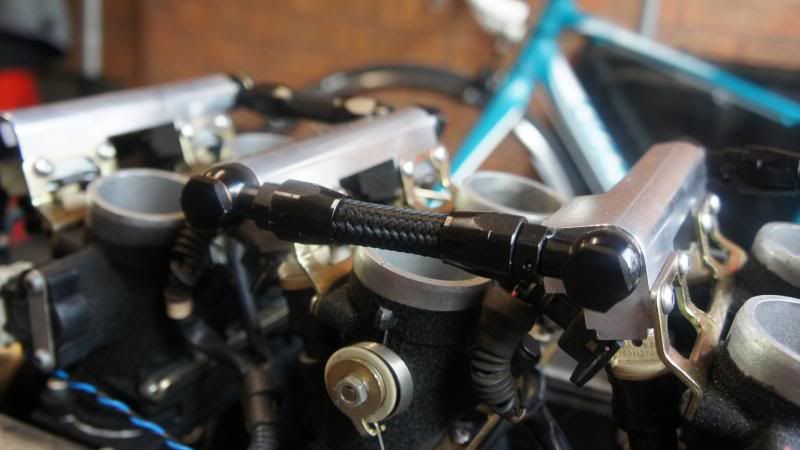 I wanted the rocker covers to have the writing the correct way up for no real reason except athstetics. I cut the alfa section out, I don’t have an air compressor at home so I fired the die grinder mandrel onto the old dewalt, it cut through like butter! 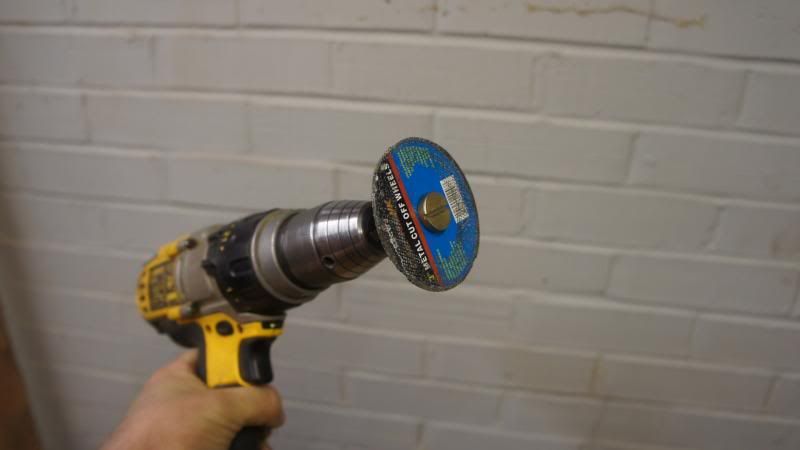 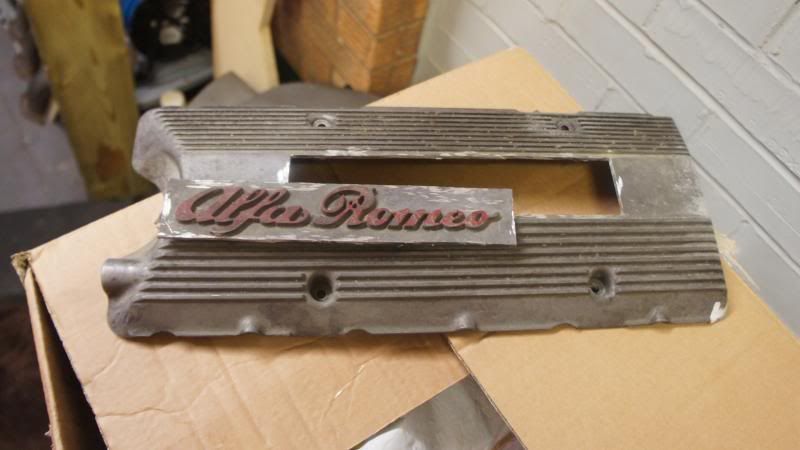 I thought about welding both sections together but I thought it way distort like the sump. I decided on metal bond, only thing was I didn’t know how it would react with the wrinkle paint. I know it will be supper strong and its only a cover, not structural 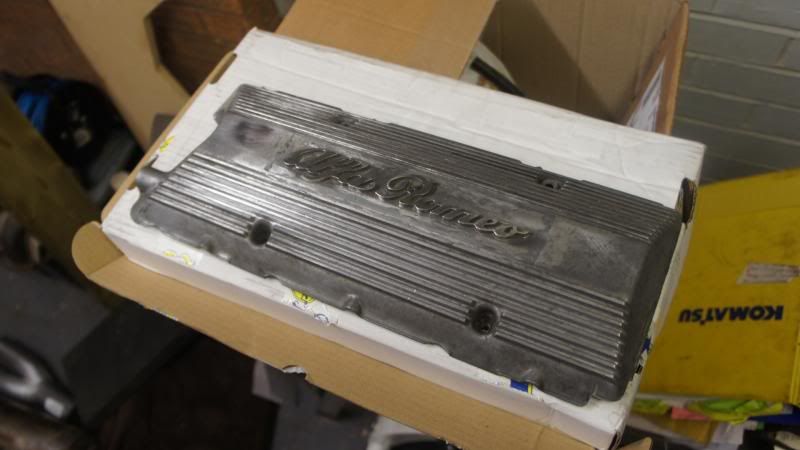 Sooooooo onto paint, turns out I didn’t have to worry. Paint went on fine and the hour bake in the oven revealed this…….. 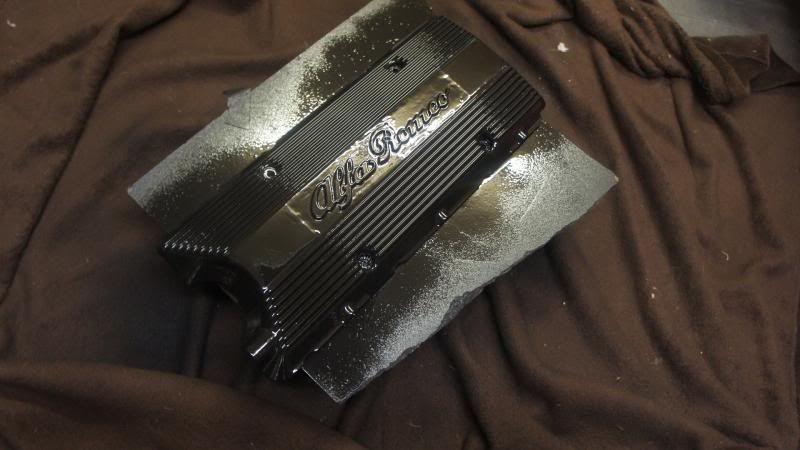 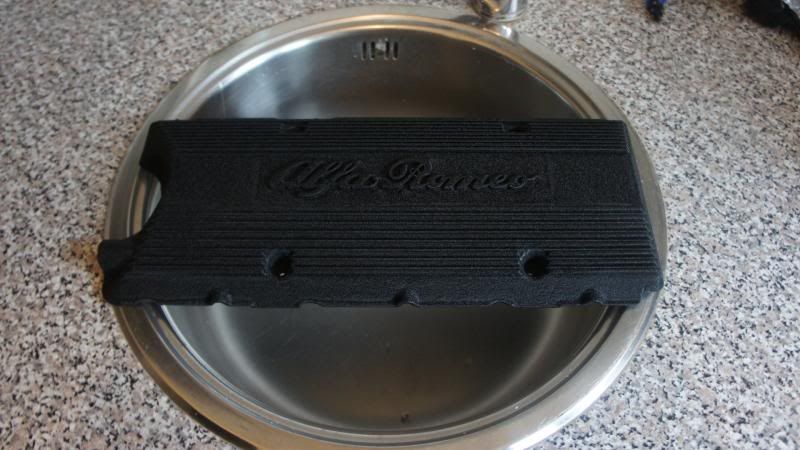 Right, the bit that stressed me out as all that work boiled down to one thing…………….. THE START! Double, triple checked everything, from the wiring to the tempary fuel setup (didn’t use the swirl put or filters at this point). Turned engine over, showed good cranking, all oils were good. So time to connect the fuel pump and start…………………………….. Well actually, that was the second start as in my hast, I forgot to record the first 1. I did however have a small issue with cylinder 2 and 5 having low exhaust temp. As you can see in the video, I check 2/5 with a temp gun and were normal. It was just adjustment of butterflies ( 2/5 controlled forn the same rod and were almost closed in first run). Ive bought a syncrometer to check all itbs. I will be welding up a simple exhaust the weekend so you can actually hear the engine, far too loud with just exhaust manifolds! 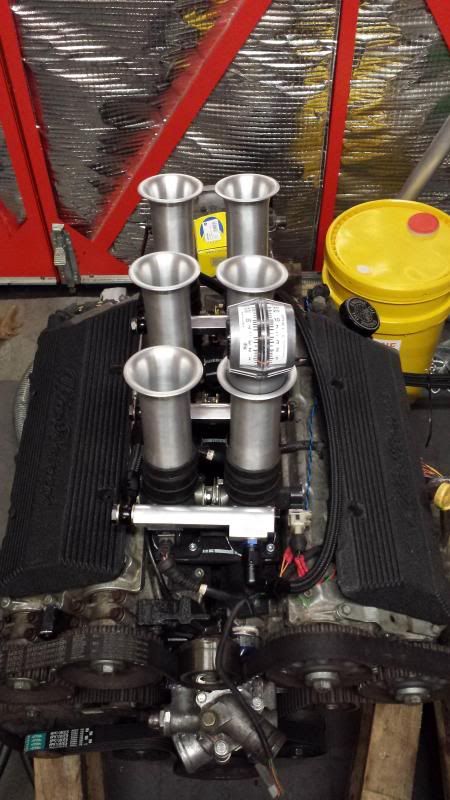 Does anyone have an old radiator they want to get rid of which is not leaking and had a rad cap? I would like to run the engine for a longer period so I can adjust the linkages so firing a little water through is the way to go before putting engine back into the car. |
| |
|
|
deanchad
Part of things
  http://retrorides.proboards.com/thread/131936
Posts: 142
|
|
|
|
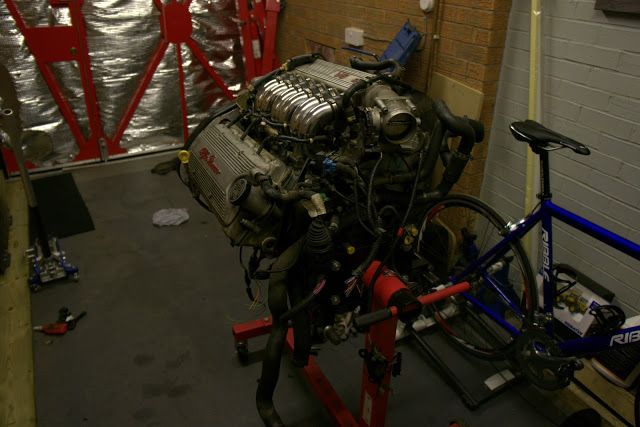 It looks a little different now 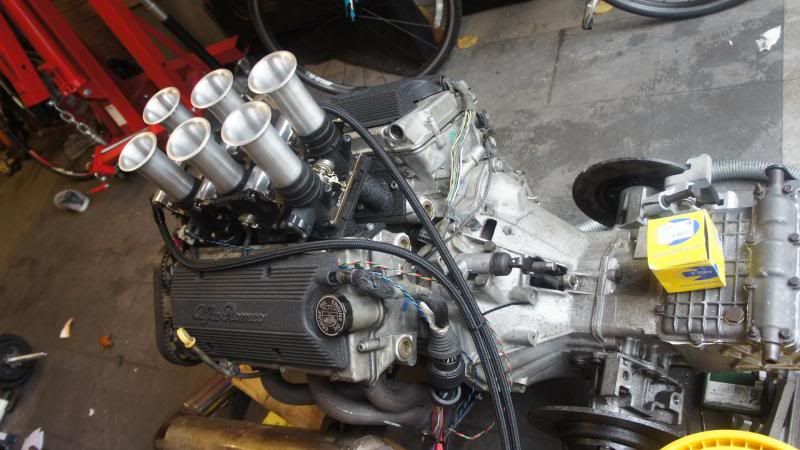 ---------- 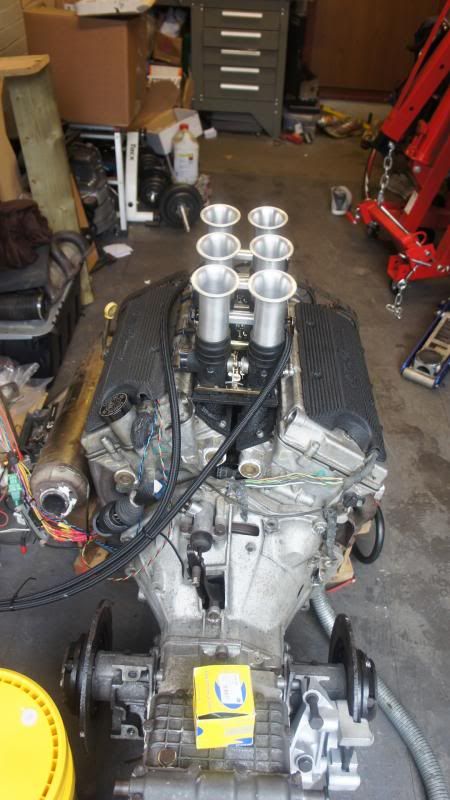 just wires to hide, oh and garage to tidy!!! |
| |
|
|
|
|
|
|
|
GREAT TO KNOW IT RUNS. SORRY TO SHOUT. I THOUGHT MAYBE YOUR EARS WERE STILL RINGING.  |
| |
|
|
deanchad
Part of things
  http://retrorides.proboards.com/thread/131936
Posts: 142
|
|
|
|
|
Ha, me and the rest of the neighbours!
|
| |
|
|
mk2cossie
Club Retro Rides Member
Posts: 3,062  Club RR Member Number: 77
|
|
|
|
That is frigging awesome  Glad it starts up and runs, even if a tad too much for recording equipment without any silencers  You shouldn't need much of a radiator for cooling duties outside of the car will you? |
| |
|
|
|
|
|
|
|
That's great news! Were you able to get some sort of base mapping of did you have to start from scratch? As for the sequential injection, don't bother  It's only useful at very low loads and RPMs, to gain some economy and reduce emissions. For the injector to inject the necessary amount of fuel in that short amount of time (the microsecond the intake valve opens), you would need insane injector flow rates and fuel pressures. So what happens instead is that the injectors open for a very long time providing fuel for a couple (!) of intake events at a time. At higher RPMs the air flow through the intake is more or less constant and the individual intake events are no longer distinguishable, it's a constant flow of enriched air. Of course if you were to use direct injection it would be a whole 'nother story  |
| |
|
|
deanchad
Part of things
  http://retrorides.proboards.com/thread/131936
Posts: 142
|
|
|
|
That's great news! Were you able to get some sort of base mapping of did you have to start from scratch? quote] Fortunately, Emerald had a base map. I just altered injector parameters I feel like I have been dragging a little with the project, so I'm on it full time now, running by xmas and maybe interior done too. I had the engine running and up to temp with a borrowed rad, bit overkill but I was able to mount it out the way. I rigged up an exhaust and added the stacks. You will have to wait for another video but all I can say is, the inlet sound is............... the nuts and sexy loud! 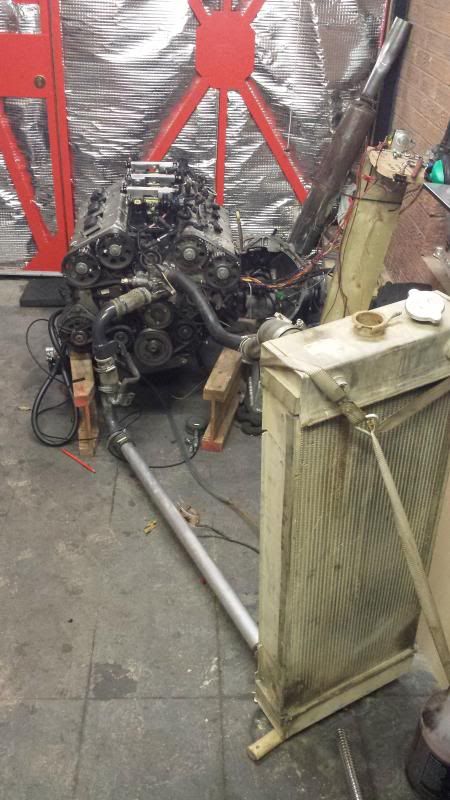 I've decided to replace all mains and big ends for piece of mind, This will give me a chance to have a proper look inside (should have done this at the start). I'm off for a week so weekend strip and weekday build, I should have the steel sump done by then, that means its going into the car and staying there. Just having a mooooch and found this from last year at the forge show 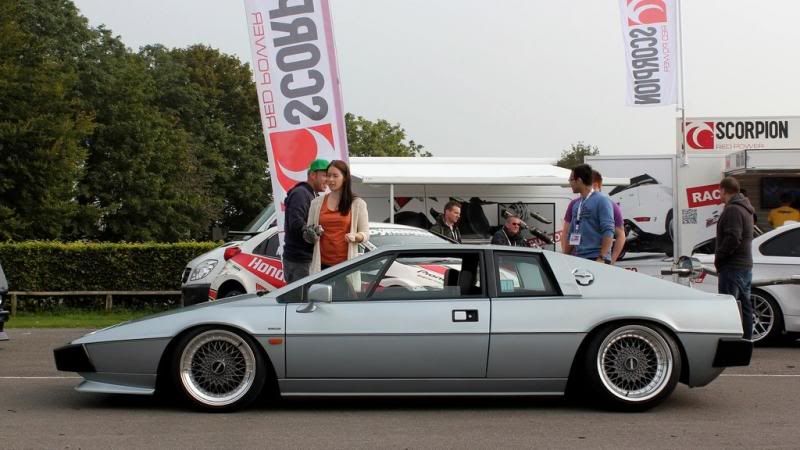 Next, order bearings, oil pump and anything else I find. |
| |
|
|
|
|
|
|
|
|
I'm all of a quiver after that...!!!!!!!!!!!!!!!!!!!!!!
|
| |
***GARAGE CURRENTLY EMPTY***
|
|
|
|
|
|
|
|
That is just SUCH a cool car...
|
| |
|
|
deanchad
Part of things
  http://retrorides.proboards.com/thread/131936
Posts: 142
|
|
Nov 10, 2013 22:07:29 GMT
|
Got a little carried away this morning…… Knowing the shells needed checking, I got to work, turned over the engine, drained off coolant and oil. At this point I realised it would have been a good Idea to have left the flywheel on. The book says to use a tool to lock the crack, I wasn’t about to buy or make the toothed gear and the 41mm nut holding the pulley on was ridiculously tight. The nut is peanuts to buy so I covered the engine, drilled the 1 flat and used a rotary file to cut close to threads Making it easy to remove by hand, no damage to crank and no waiting until next week for parts to arrive….Easy. 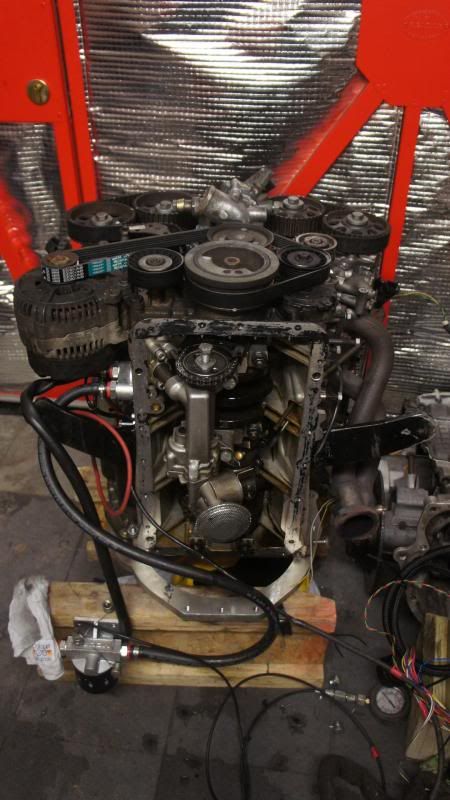 ………… 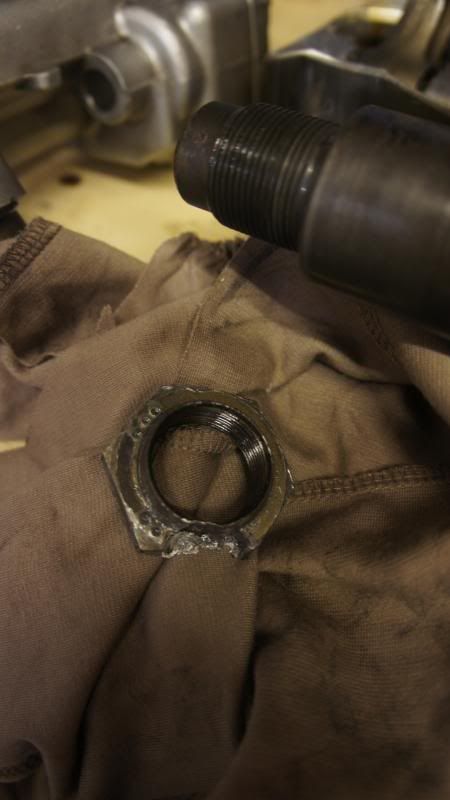 After that bit of wrestling I moved on with pulley err pulling! I have a hydraulic puller that really works well. I would advise anyone to buy one of these. Unlike the standard threaded pullers, this one will never have worn threads overtime. I bought it from machine mart a couple of years back, It doent get a whole lot of use but super handy when the time comes. 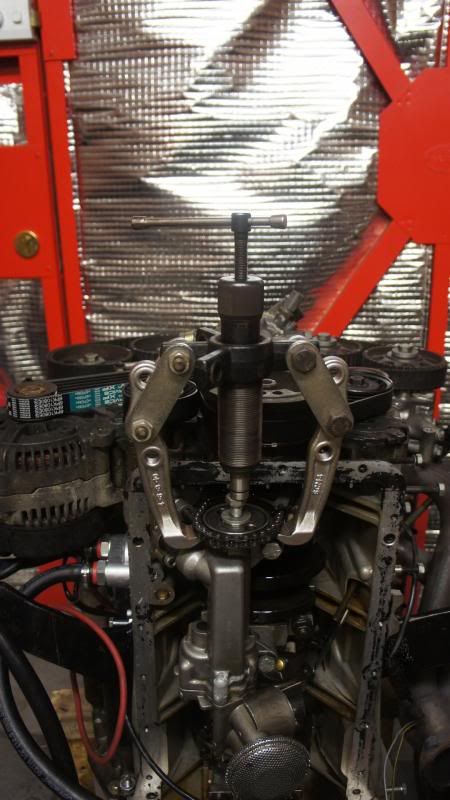 ………… 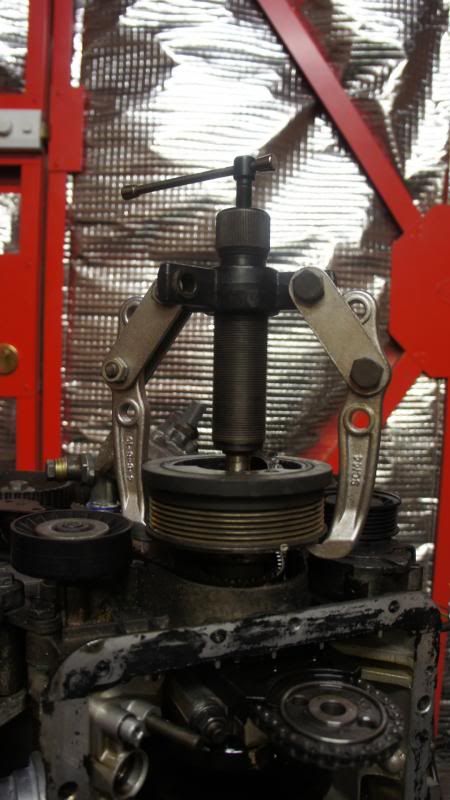 Removed front crank seal housing. A tiny bit of wear on crank but nowhere near the need for a speedy seal. All seals to be replaced so I may just install the seal a couple of mm away from it. 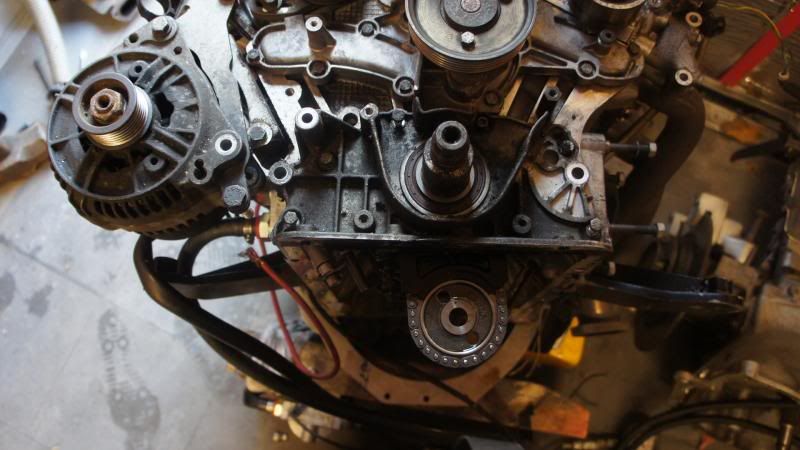 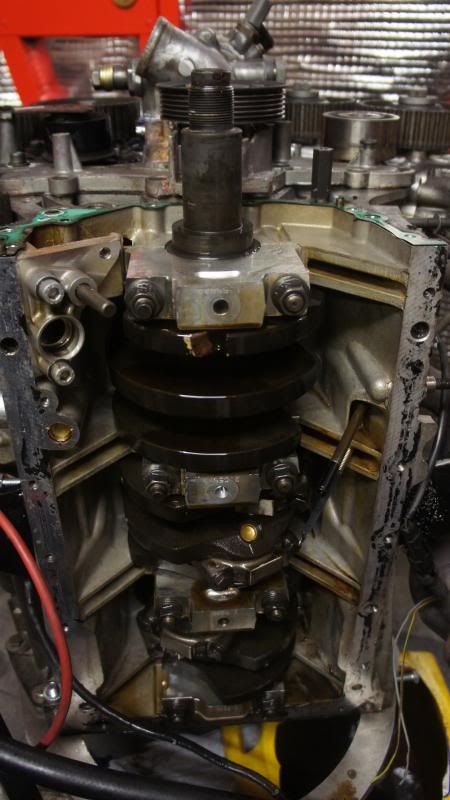 I removed the end caps and had a good look at the bearings. To be fair they could actually go back in if the budget was tight, but might as well replace. Mains were cock on but again they had done 90k so new parts on order. 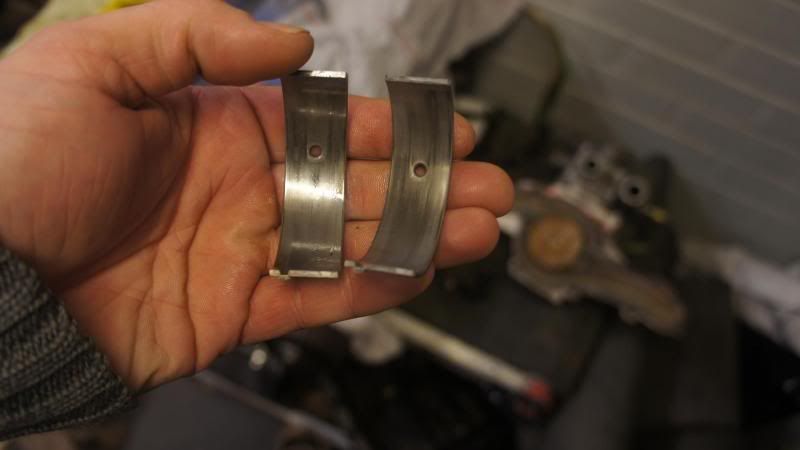 Whilst having a looksee I had noticed a mark on one of the liners……….. 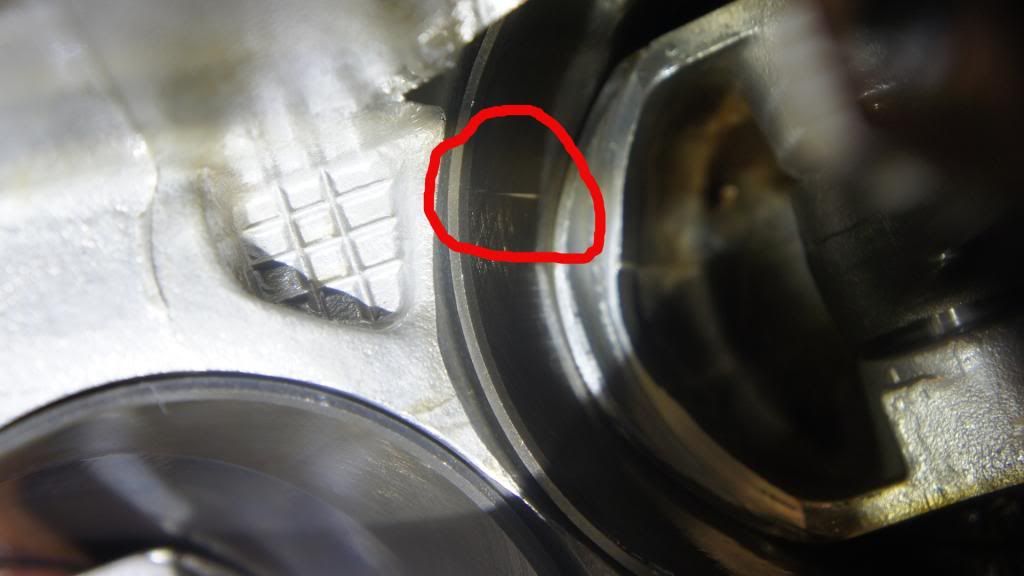 ……… so I dived into a full strip. The heads had to come off as the block stopped pistons from being removed downwards. This was a case of removing water pump, cam shaft and head bolts. A couple of hours later and theres bits everywhere!! Turned engine over and removed water pump 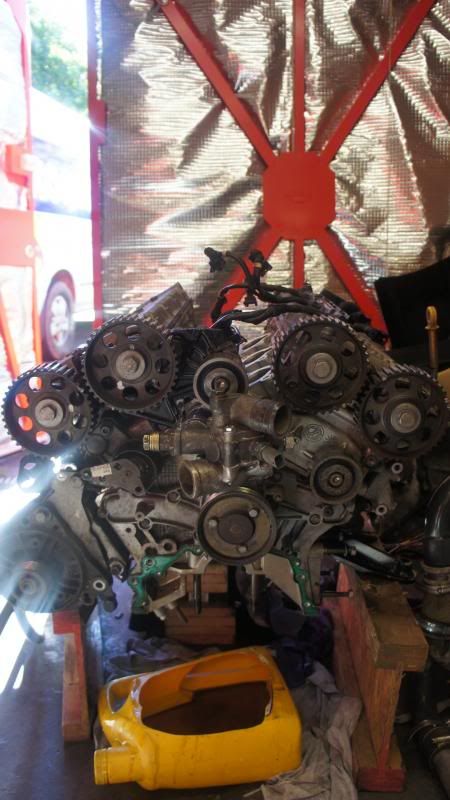 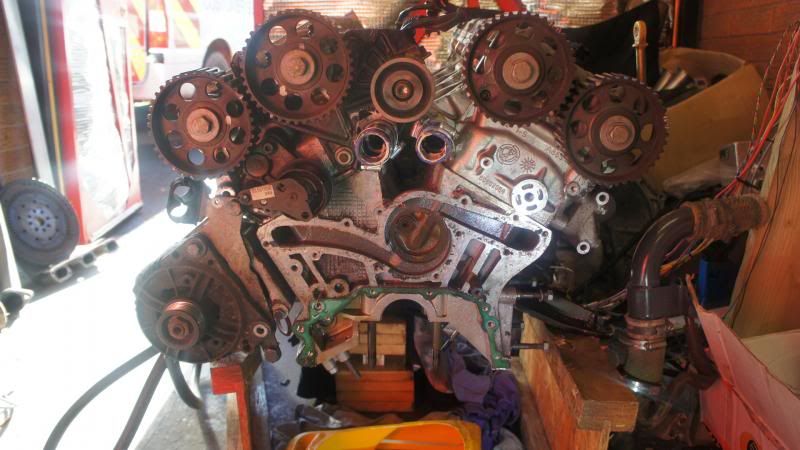 Pump is metal type and looks good to go back on, just a clean up needed 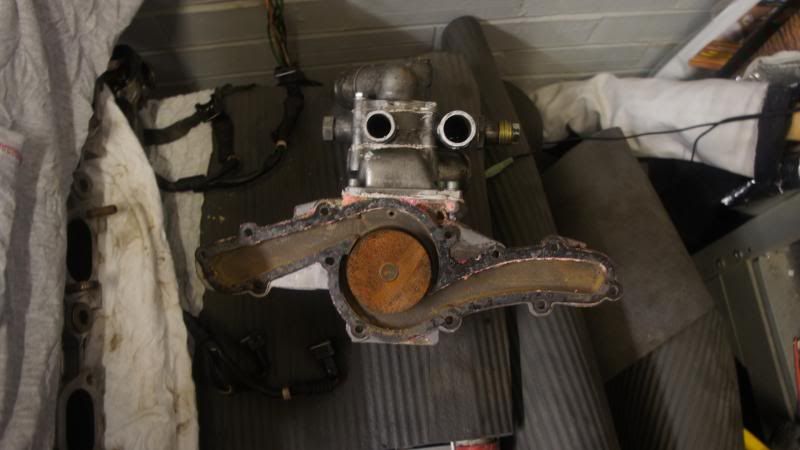 One 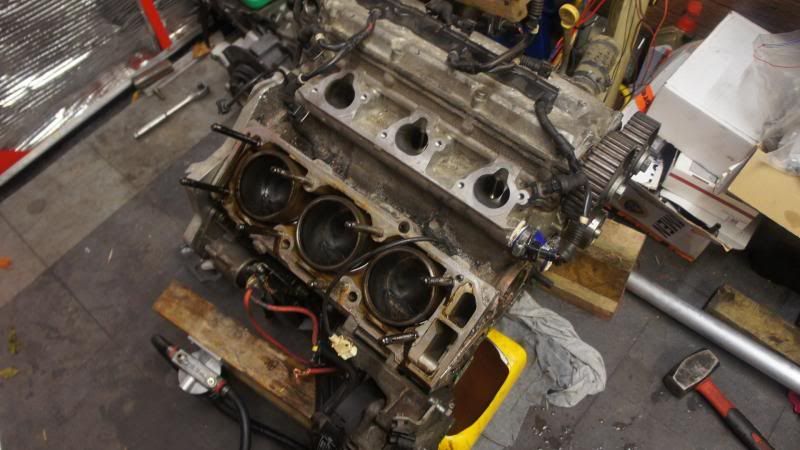 Two 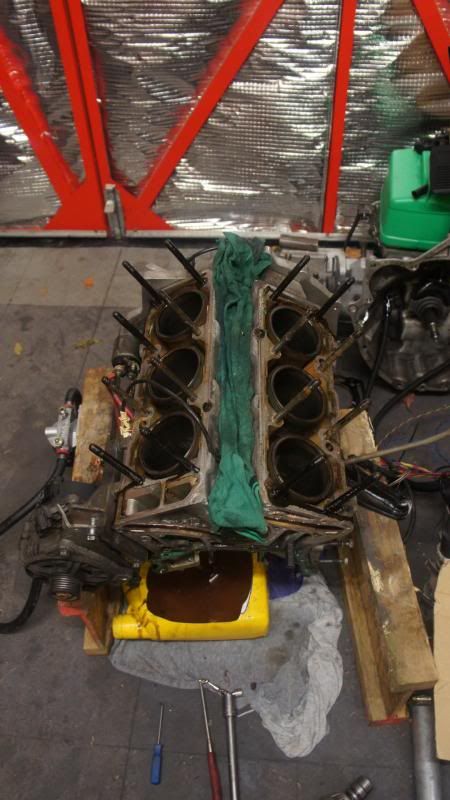 Done 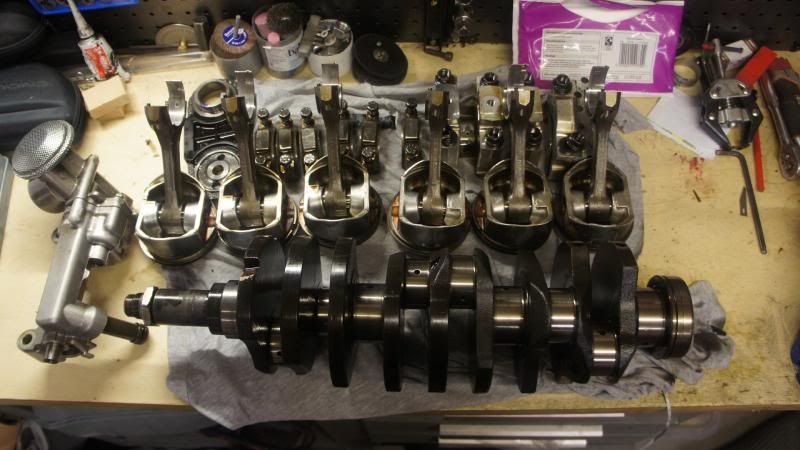 It Turns out there was nothing to worry about, no debris in the piston. What ever caused the mark wasn’t hard enough to score the liner and wasn't found, it was just a mark. The liners however are glazed and need honing. 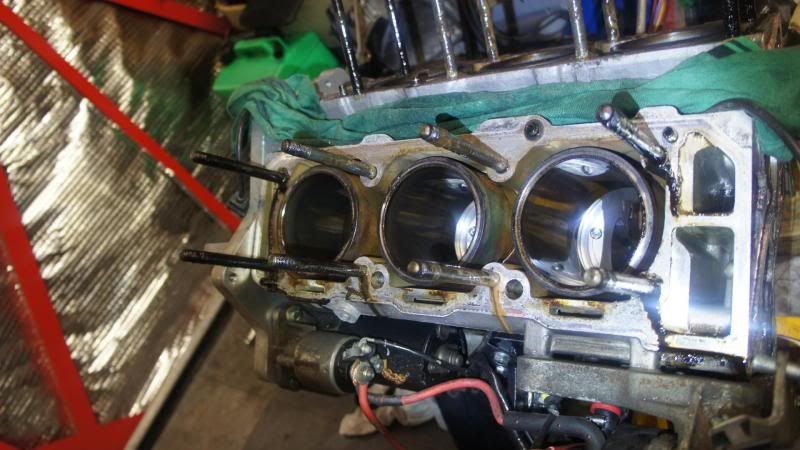 This week I will be working in the workshop so parts can me cleaned in the large bupi cleaner. Might even go all out and use the electric engine building station............. swish! Tomorrow will be ordering parts and checking tolerance of oil pump. |
| |
|
|
|
|
 top work.
 3x weber 40's in the rear window
  oh yesh.
 top work.
 3x weber 40's in the rear window
  oh yesh.


