|
|
|
Jan 10, 2016 20:31:31 GMT
|
|
I think respect has been well earned. It's quite a project you've bitten off.
Anyway, I had lots of questions - how you were going to adjust camber and toe for example - but I've been flicking backwards and forwards through the photos and I've worked most of it out now.
The only thing I can't get my head round is how you calculated where the hub mounts should go to get the wheel in the right place and pointing in the right direction, and how you then welded it all together and actually got the mounts where they should be.
I see you were a bit short of space between the top hub mount and the body. Nicely squeezed in there!
Quite a tangle of metal bar locating the diff in the original car too. Bit strange.
Anyway, enough of my ramblings. Top job as ever.
James
|
| |
|
|
|
|
retrolegends
Club Retro Rides Member
Winging it.....Since 1971.
Posts: 3,726
Club RR Member Number: 94
|
|
Jan 10, 2016 22:14:51 GMT
|
|
Great to see an update on this, and what an update too. Good work!
|
| |
1974 Hillman Avenger 1500DL1992 Volvo 240SE1975 Datsun Cherry 100a flying custard1965 Hillman SuperMinx Rock N Roller1974 Austin Allegrat Mk1 1.3SDL1980 Austin Allegro Mk3 1.3L1982 Austin Allegro Mk3 on banded steels2003 Saab 9-3 Convertible 220bhp TurboNutter1966 Morris Minor 1000 (Doris) 2019 Abarth 595C Turismo (not retro but awesome fun) www.facebook.com/DatsunCherry100a |
|
Carlosfandango.
Part of things
  Now with added Suffix B Range Rover classic - another bucket list car acquired.
Posts: 145 
|
|
Jan 10, 2016 23:12:28 GMT
|
|
Beyond good, supreme would better describe the work gone into this RR. Well done man, I'm simply in awe of your fabrication talents.
Really, it's not just metal, it's forward thinking, skill, talent & balls. Lots of balls. Oh, and metal.
Keep up the fantastic work, we are all loving the updates and excited about the end being in sight.
CFD
|
| |
1966 Fiat 1500 fast road/race conversion
1967 Porsche 912
1968 Fiat 124 Spider
1973 Range Rover Suffix B
1993 Series one Discovery 200TDI
1997 Jaguar XJ6 3.2 sport
2001 P38 Range Rover 2.5 TD
Brace of Triumph bikes
|
|
|
|
|
|
|
|
What an amazing thread! I love seeing things like this. Most other people would have scrapped this long ago. Your metal fab skills are immense!
|
| |
|
|
richrolls
Part of things
 
Posts: 318
Club RR Member Number: 38
|
|
|
|
Right then. Thankyou for the comments and following of my rather extended time frame hobby. So! Back at it. Loads going on in my world BUT still enough fractions of time to sneak into the garage. Sooooooo.... In the words of James Brown..........Get down. Cliché I know, but it had to be done heh? To take a step back answer the how does it all end up the right place and pointing the right way. Give me a minute here please. I am one of the last full apprenticeship apprentices (4 years, not quite 5 is it?..ask your parents kids) so while I use and respect , nay admire computer capability and ability daily, I still use squint of the eye and if it looks right, it must be right. Also factored in are other people’s experiences , plus my experiences, thought and methods.....for what they are worth.....meeeh Sinclair ZX’s and BBC acorns were all the rage back then and I will not trust anything that runs on a piece of magnetic tape for start up. I have a “O” level grade A (ask your parents kids) in Technical drawing, (ask you parents kids) that is and has been for some time null and void due to the infernal computer. But the computer has given me unrivalled access to the internet and ergo the world.......and eBay and, cough..Other sites so it isn’t all bad. However, “Solid works” for me is a surprisingly firm poo after a session on the beer. So how do you set about making rear suspension for a bit of keep out of the pub time and beer vouchers in your pocket? First wonder what Rolls was up to with the shimming arrangement. 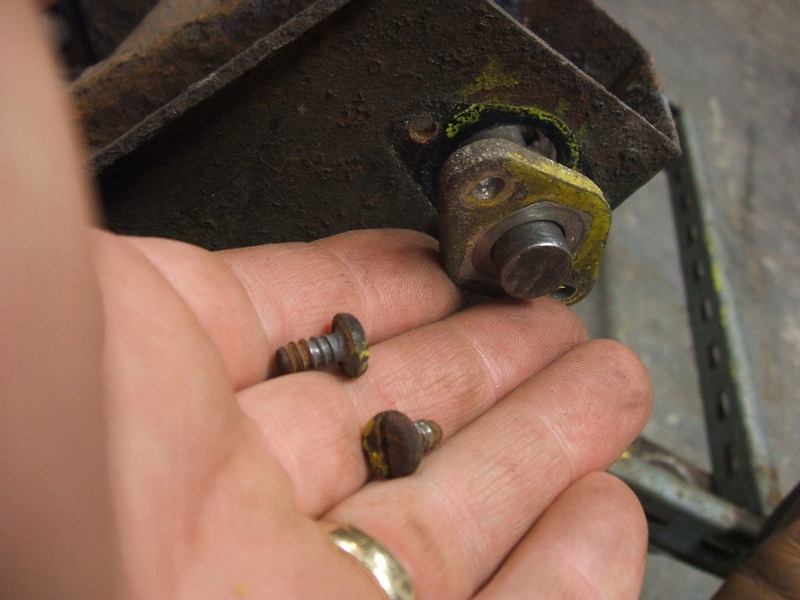 on Flickr 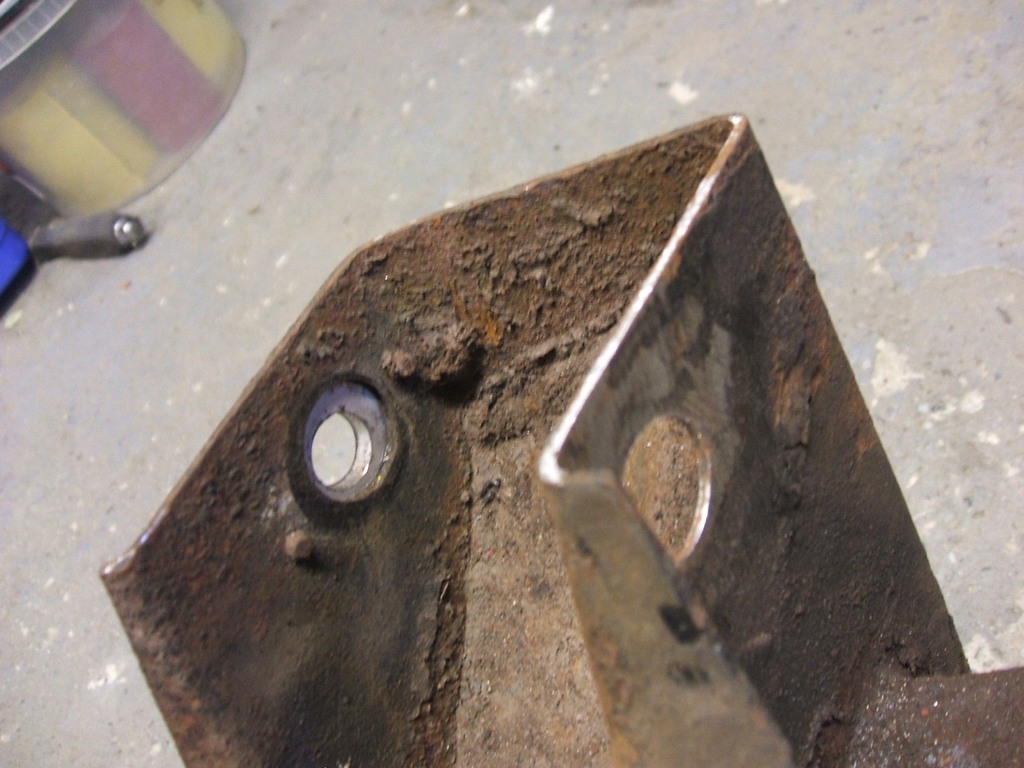 on Flickr 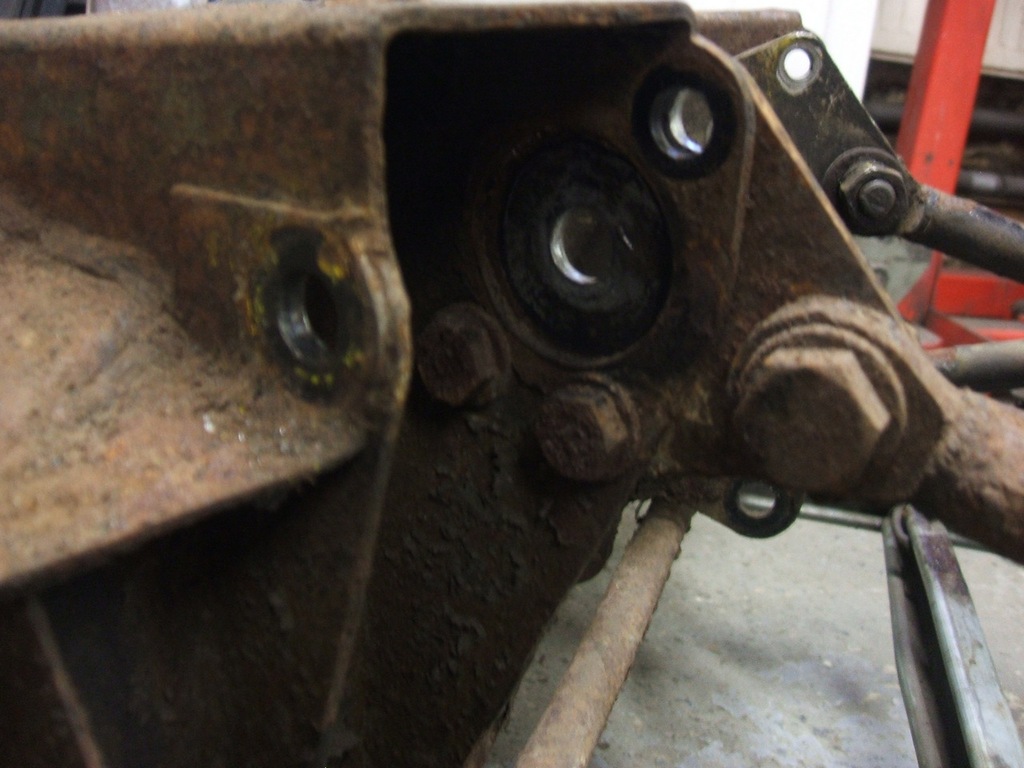 on Flickr I can only guess that there were different centre line offsets of these to adjust toe. Given the era, a great fix really. With me moving all the adjustment to the hub, the ‘arm pivots needed securing, so location was fixed by bushing the holes and reinforcing the mounting points. There will be ‘sleeves and PU bushes here. The PU bush will rotate/move about the fixed/firm/secured but bolts sleeve. 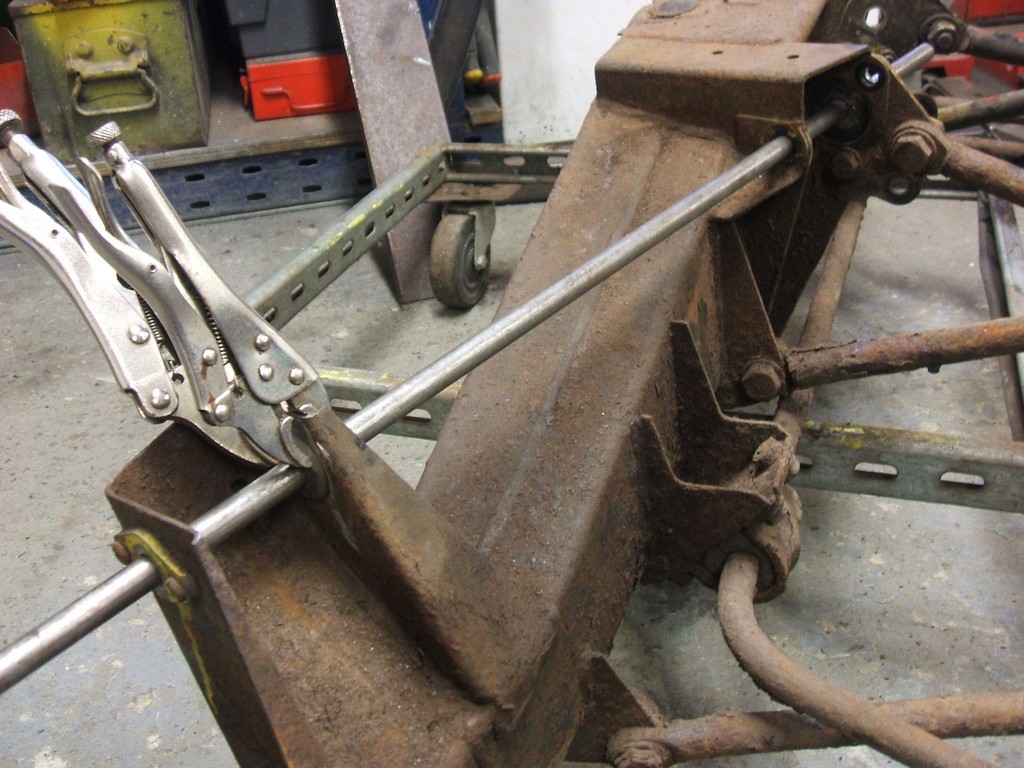 on Flickr A piece of rod kept a straight datum here. Taking lots of measurements and making drawing left me knowing where the hub face should be in relation to the pivot centre line.  on Flickr So a jig was made to hold the hub in place with reference to ‘arm mounting axis. This has to consider basic castor and toe angles. I needed the hub to end up with equal adjustment each way of “zero”. 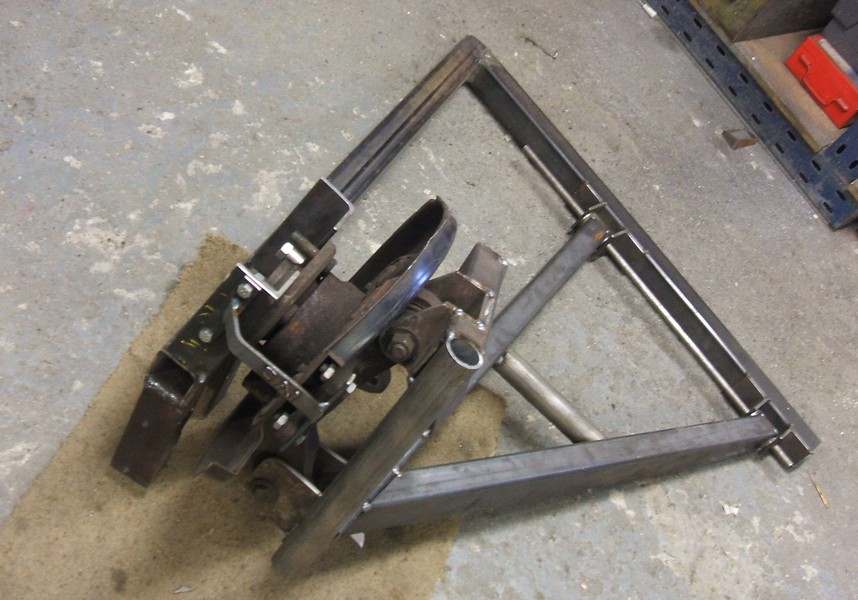 on Flickr 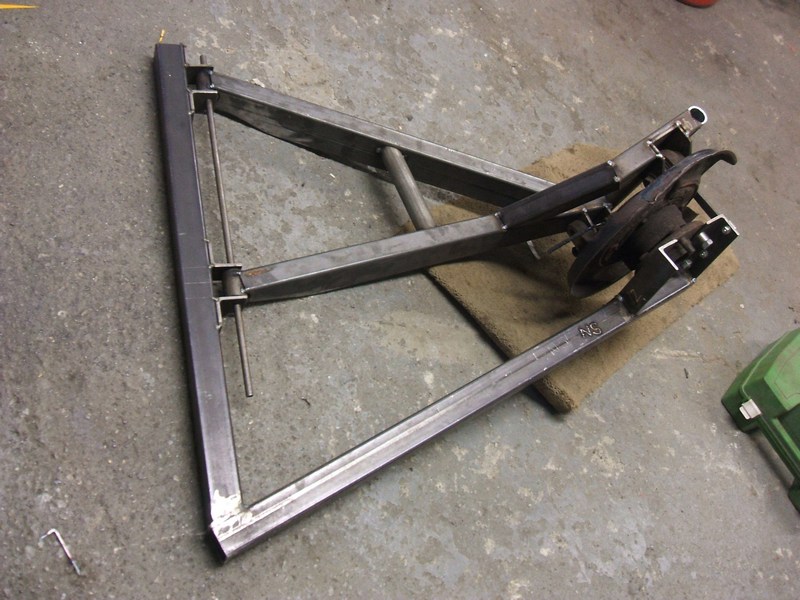 on Flickr The above pictures show the jig with a tacked 'arm in place. You may notice at the hub face bit, it is double sided. Both sides will be equally out.....The hub mount is also angled to keep the hub face vertical in relation to the ground due to the angle of the trailing arm pivot axis. So a hub is bolted to the jig and once I'd settled on the route, it's a simple case of joining the pivot points to the hubs...Oh, the hubs have to have a place to land on. 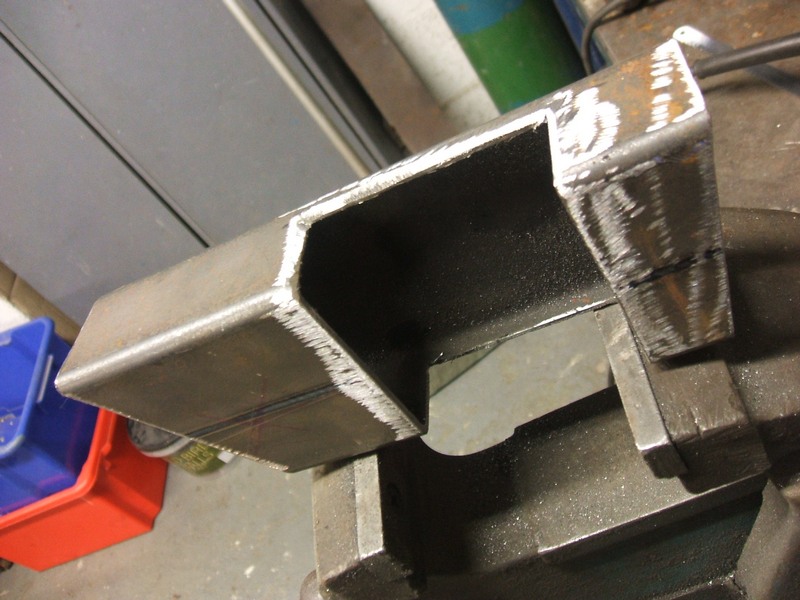 on Flickr 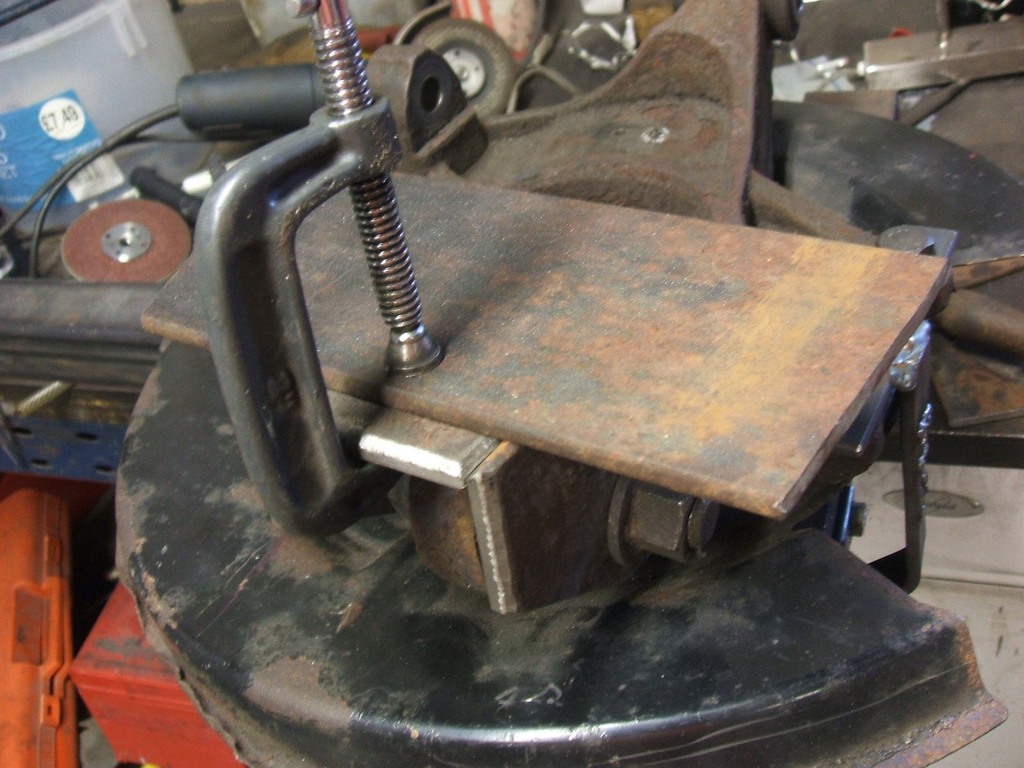 on Flickr 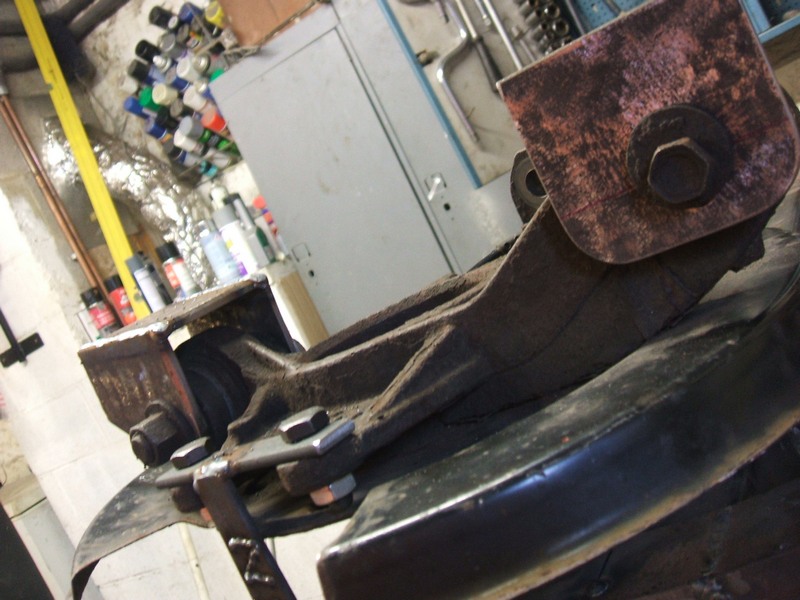 on Flickr] The 'arm beams start thus. 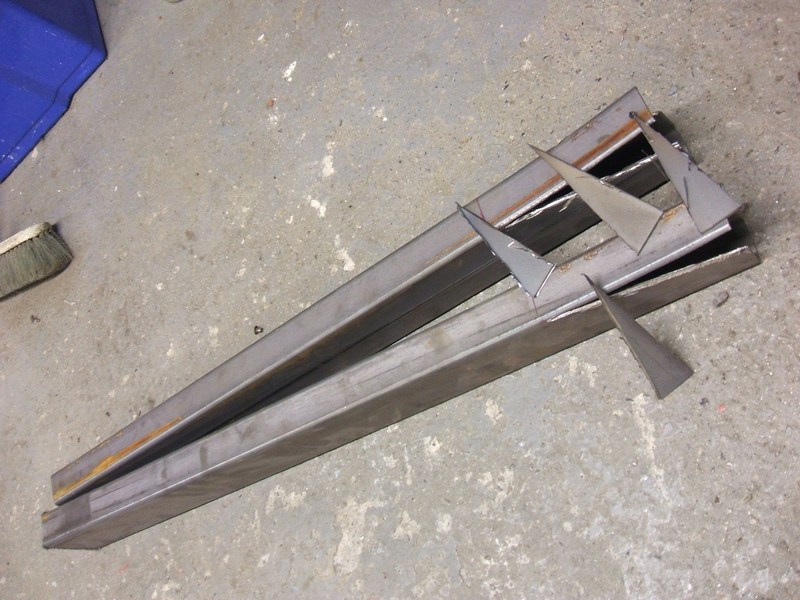 on Flickr 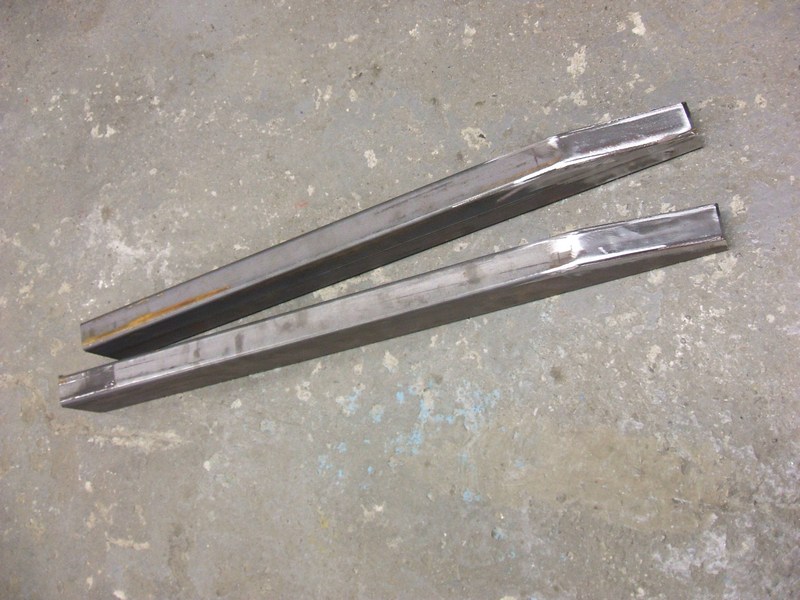 on Flickr ..and end up as:  on Flickr which meant adding sleeved tubes to access the lower 'bag mounts. 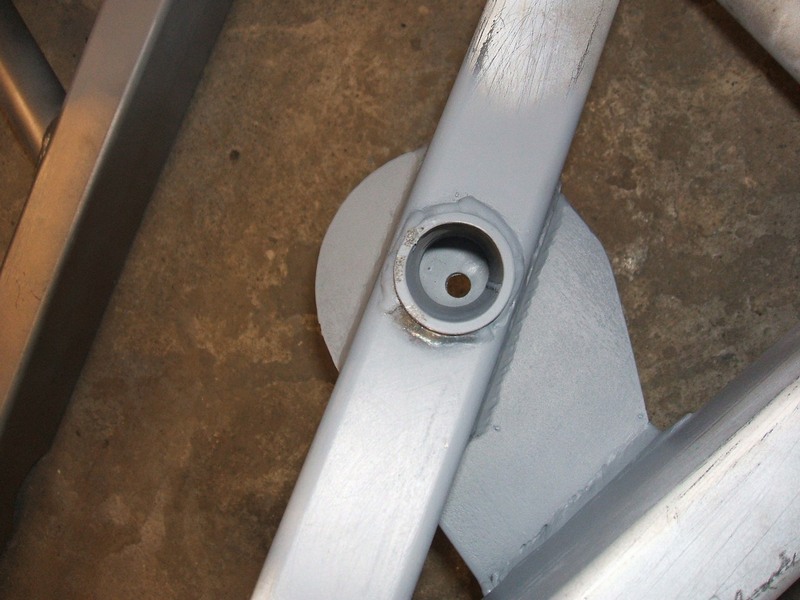 on Flickr So now sleeve all the old holes up on the cross beam. 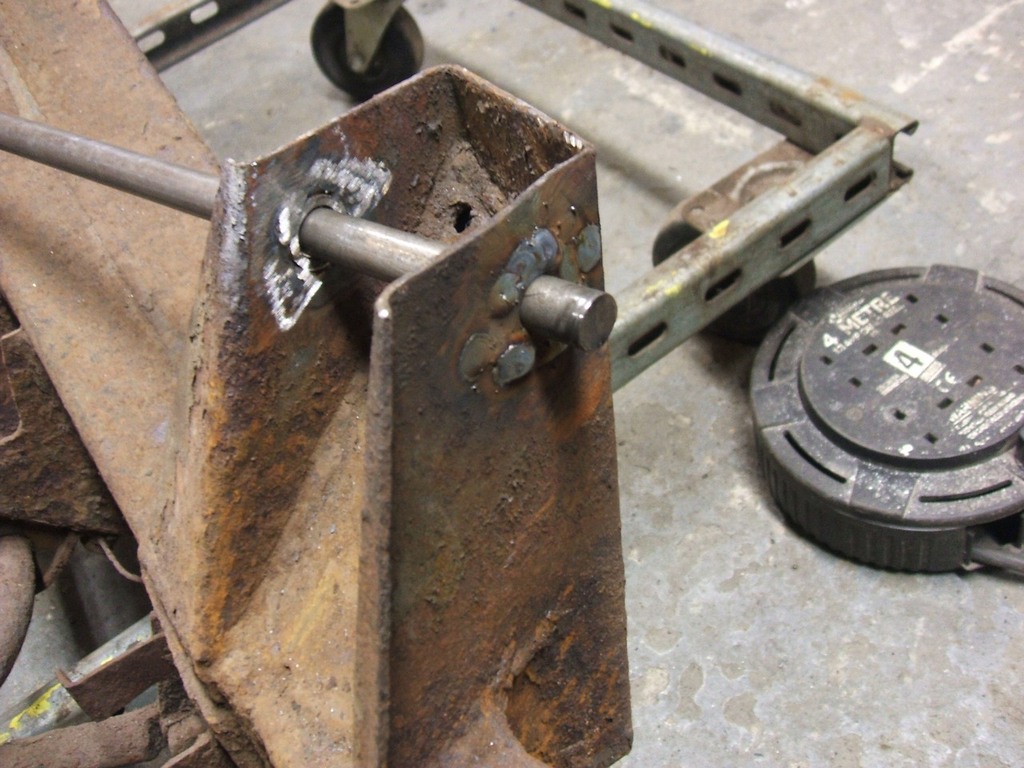 on Flickr And reinforce.  on Flickr 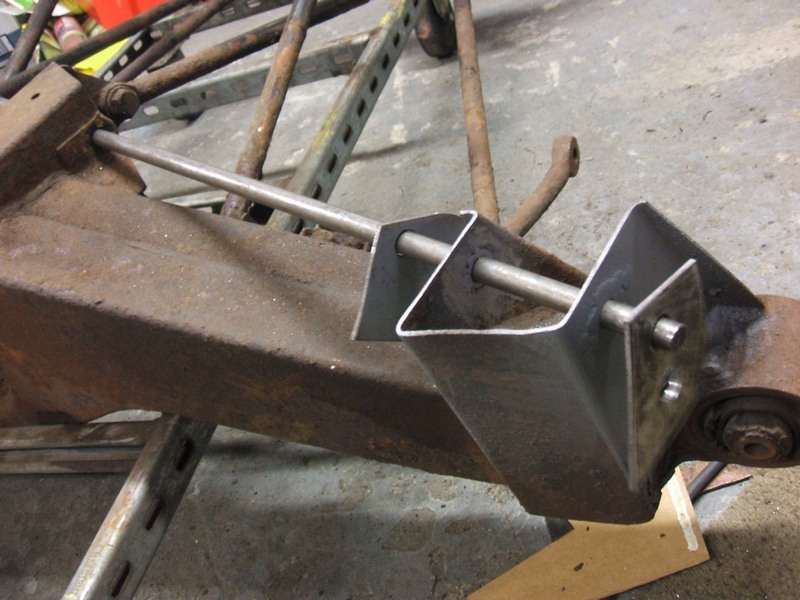 on Flickr 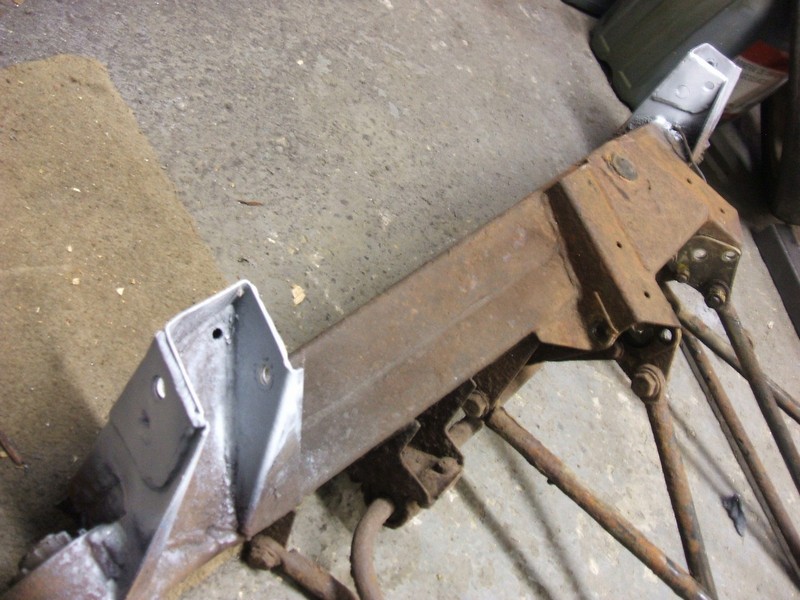 on Flickr |
| |
Last Edit: Aug 5, 2017 16:34:25 GMT by richrolls
|
|
richrolls
Part of things
 
Posts: 318
Club RR Member Number: 38
|
|
|
|
......And then think about springs. I had to move these forward due to the proxim. poxy. proooxim....nearness of the drive shafts. Rolls have the coil springs very near the 'shafts and these are the smallest diameter 'bags I dare run (could bite me later.. I need a larger diameter really to lower the air pressure. Think triple expansion engines for the answer), and sort out the mounting without cutting the body, as mentioned in an earlier post. Out with the plasma, not the TV type (ask your parents kids) 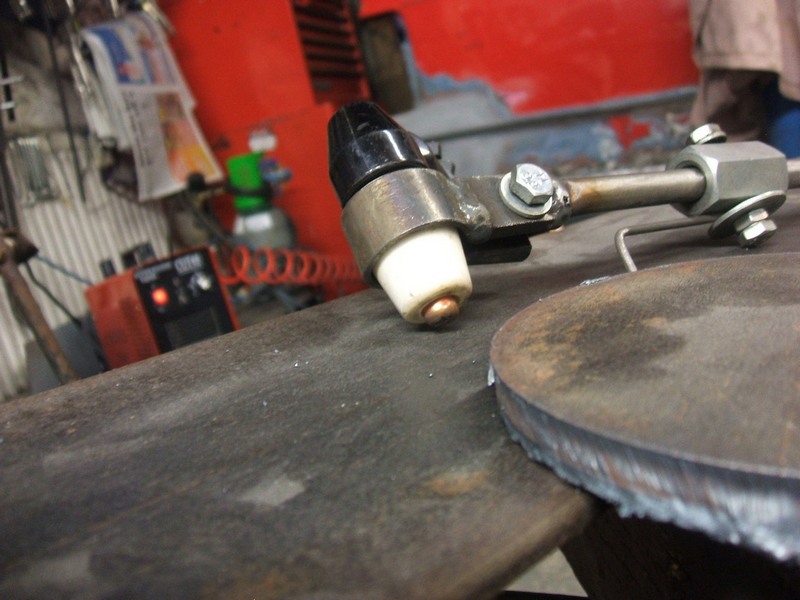 on Flickr 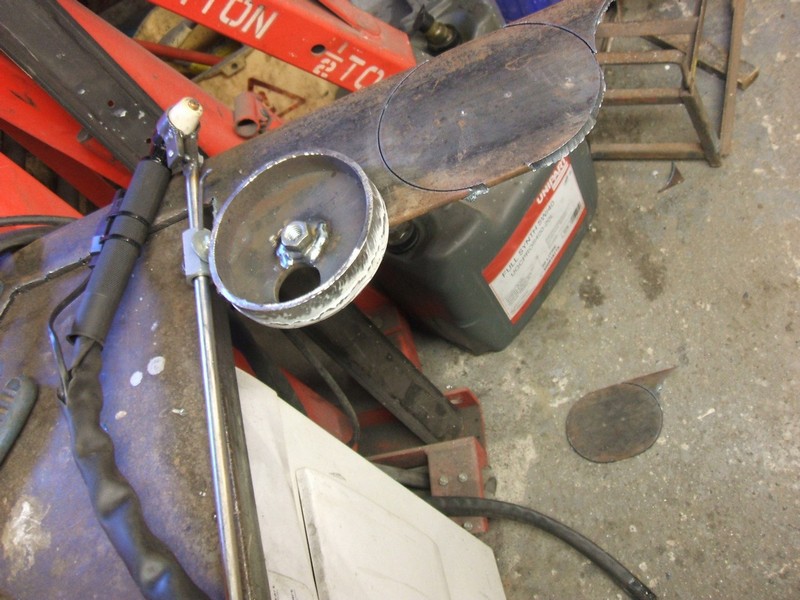 on Flickr 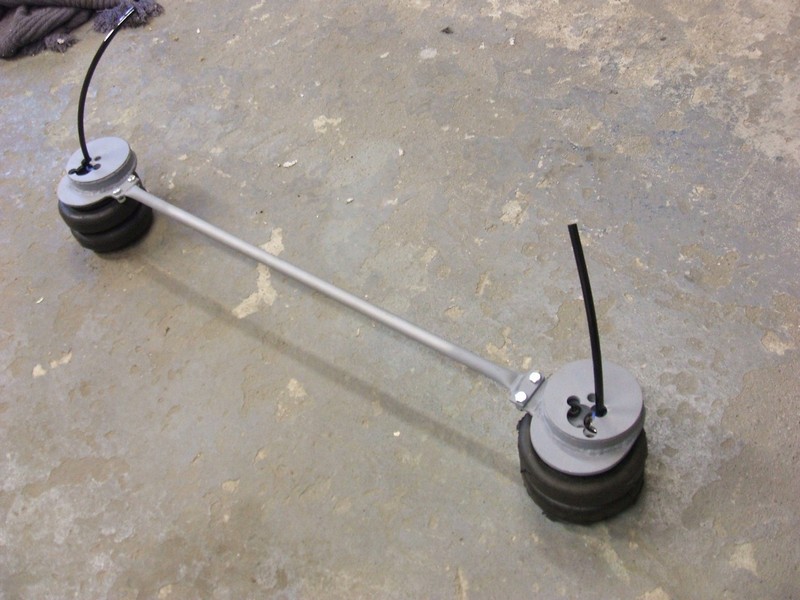 on Flickr The bar is to hold them at right angles to each other and gives me the option of other mountings for the control valves. 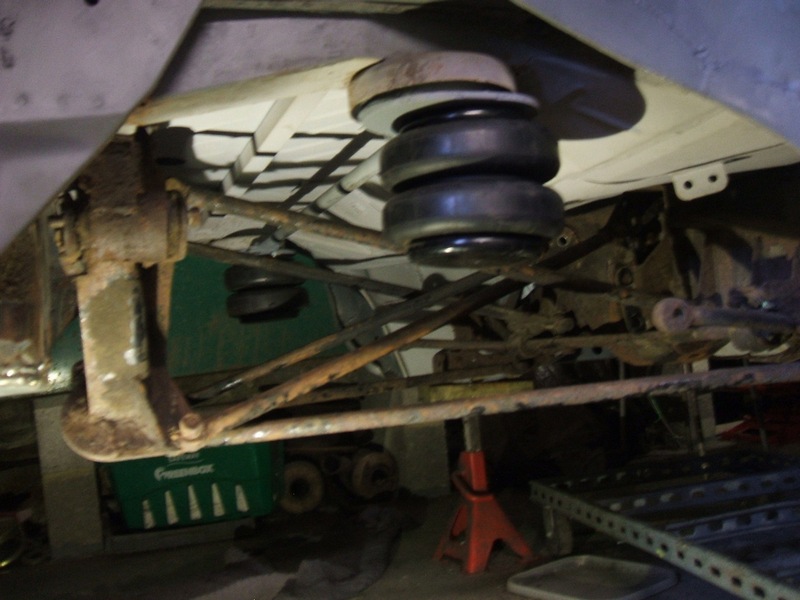 on Flickr To set the lower mounts up, I knew the height the 'bag has to run at. To keep the mount squared up a piece of studding set at 7". 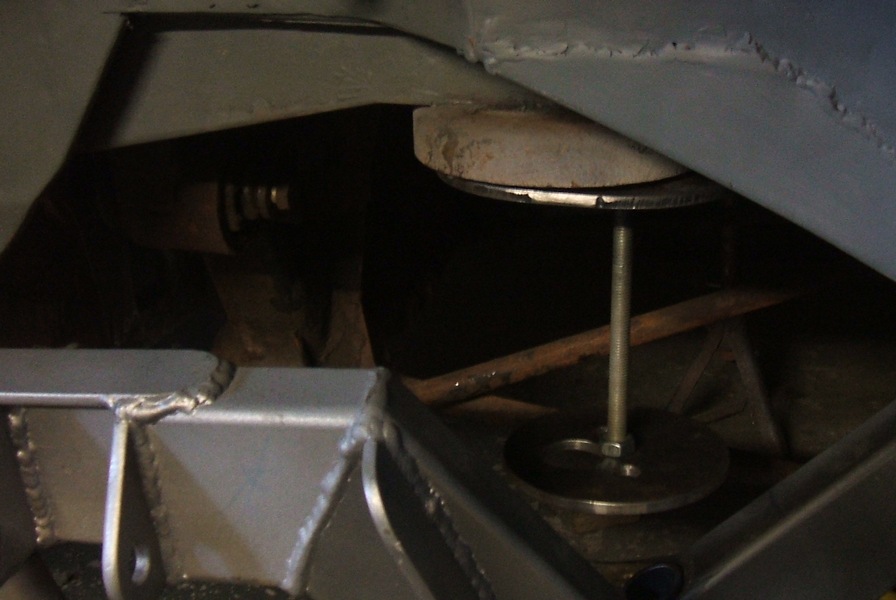 on Flickr 7" ride height. Okay, what about bumpstops then? Raid friend garage for worm tyres that give same rolling radius on 18" rims as the orginal 90 millon profile on 15", and fit using newly acquired toy. 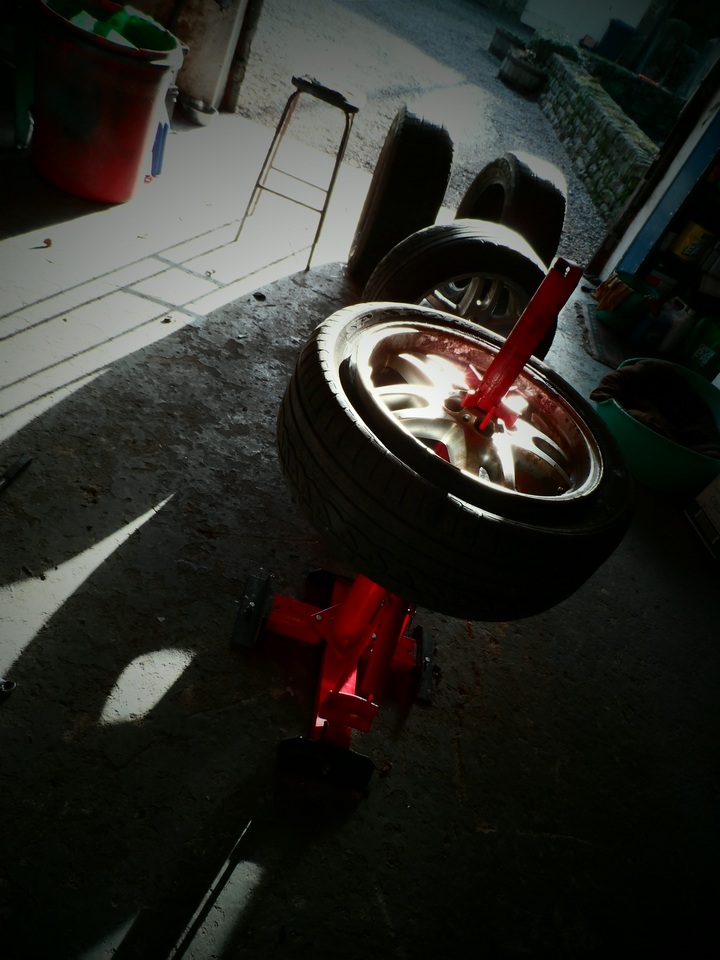 on Flickr Going to need a lower entry jack.. 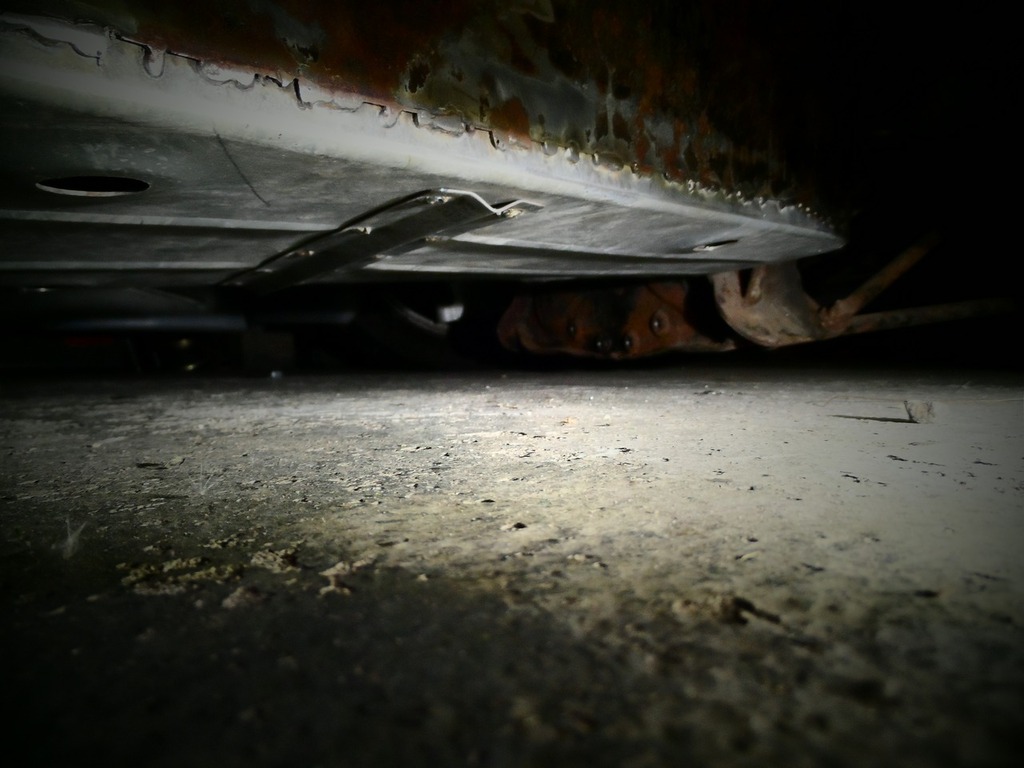 on Flickr 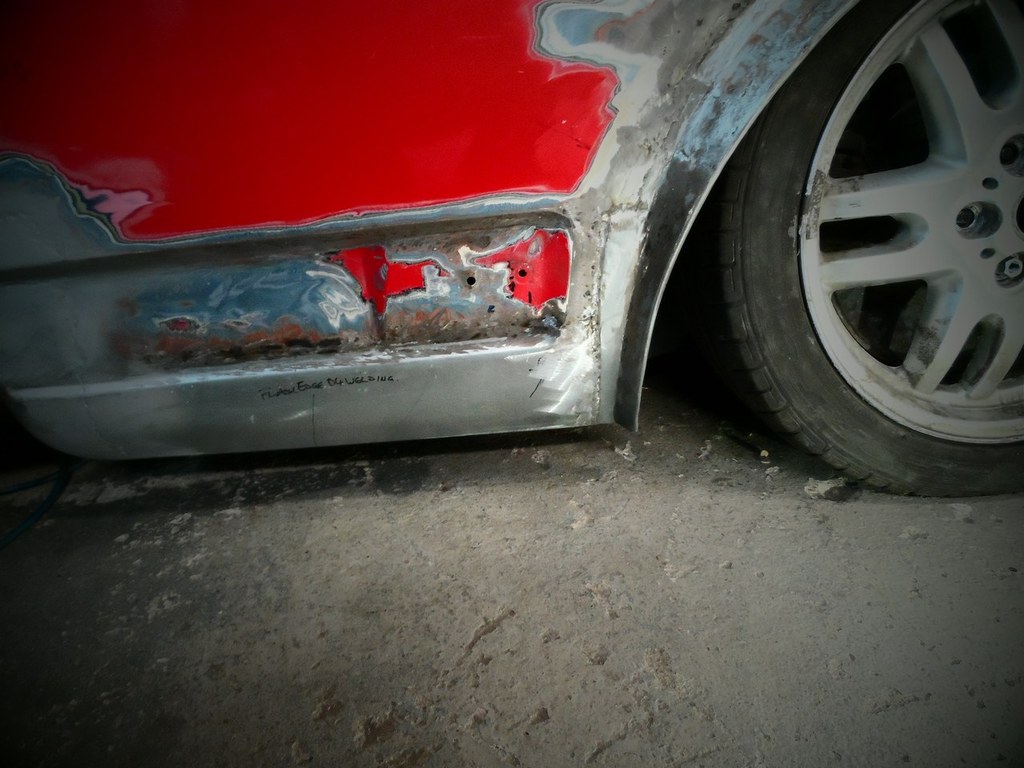 on Flickr 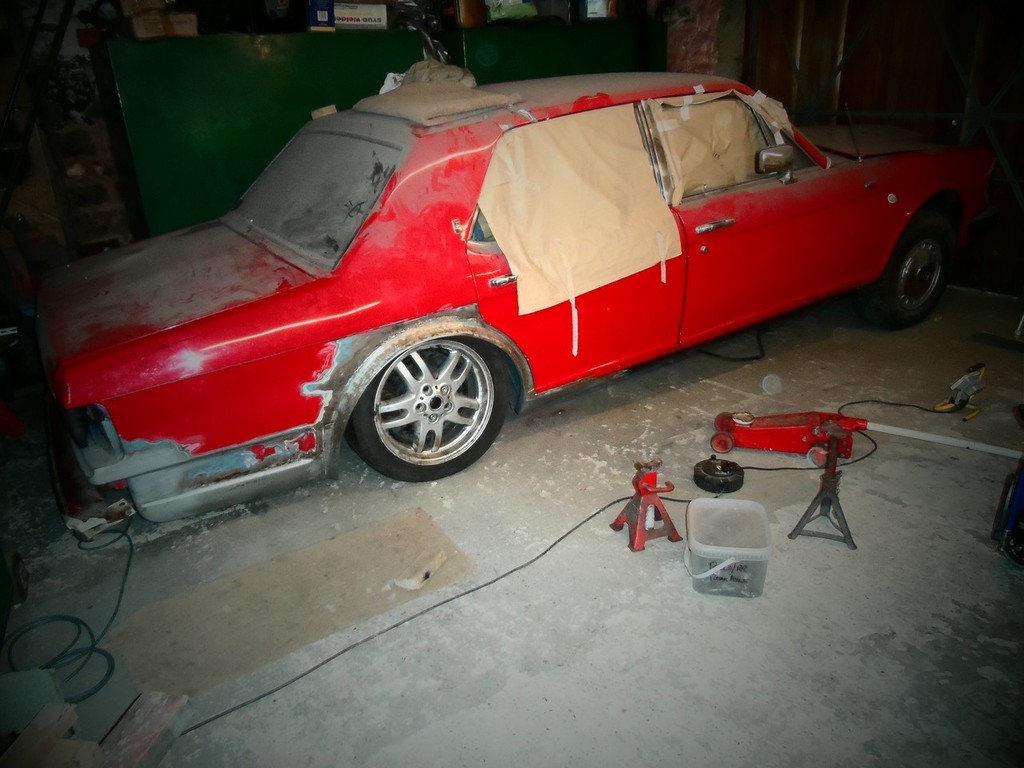 on Flickr Thanks for looking. Still can't shift the idea of suicide doors...... |
| |
Last Edit: Aug 5, 2017 16:42:38 GMT by richrolls
|
|
adam73bgt
Club Retro Rides Member
Posts: 5,002
Club RR Member Number: 58
|
|
|
|
Love this, great to see an update on it I would heartily endorse suicide doors  |
| |
|
|
|
|
|
|
|
|
Oof! this update is full of win!
Love it!
|
| |
|
|
|
|
|
|
|
I need to see this finished in the flesh, such a cool project! Suicide doors would be the finishing touch. I can imagine you driving to a classic car meet at standard ride height... Airing out, getting out via suicide doors and the purists all bursting into tears!  |
| |
1995 BMW E34 525i Sport - Avus Blue on the outside, brown and crusty on the inside! 1998 BMW E36 328i Sport - Daily Commuter
|
|
logicaluk
Posted a lot
   Every days a school day round here
Posts: 1,373
|
|
|
|
|
wow this thread is packed full of awesome amazingness. How did i miss this.
Bookmarked
|
| |
|
|
|
|
|
|
|
|
|
.... Still can't shift the idea of suicide doors...... DO IT!!! JUST DO IT!!!  |
| |
|
|
dikkehemaworst
Club Retro Rides Member
Posts: 1,636
Club RR Member Number: 16
|
|
|
|
Think triple expansion engines for the answer Since you can make everything out of sheetmetal what all of us are dreaming of and that like in a forthnight, couldn't you make 3 champagnebottles as expantiontanks? that would be nice in the booth ... And suicide doors ? YES !!!!!!!!!!! still loving your craftmanship. wow |
| |
|
|
Paul Y
Posted a lot
  
Posts: 1,951
|
|
|
|
I can imagine you driving to a classic car meet at standard ride height... Airing out, getting out via suicide doors and the purists all bursting into tears!  And anti-lag for the Turbo... Yes...definitely anti-lag.... And a toasting fork for your crumpets.... Please continue. P.  |
| |
|
|
|
|
|
|
|
|
This is sweet
Suicide doors would be cool I think you'd have to do away with the handles and make it electronic opening you know the clean smoothed out look then the suicide doors would be a real surprise
|
| |
Caravans are cool
|
|
|
|
|
|
|
What about suicide rear door then you can open both doors ops items aka Lincoln continental uber cool  Awesome work watching closely |
| |
|
|
Dez
Club Retro Rides Member
And I won't sit down. And I won't shut up. And most of all I will not grow up.
Posts: 11,790
Club RR Member Number: 34
|
|
|
|
What about suicide rear door then you can open both doors ops items aka Lincoln continental uber cool  Awesome work watching closely I was going to say that as soon as they were mentioned, but you already did. Keep the handles and move accordingly for extra cool points. |
| |
|
|
Sinky
Posted a lot
   Run Baby Run......Please!
Posts: 1,395
|
|
|
|
|
Top work.
|
| |
2001 Volvo XC70 wagon
2003 Piaggio X9 Evo
|
|
richrolls
Part of things
 
Posts: 318
Club RR Member Number: 38
|
|
|
|
Thanks. I take great heaps of pleasure from doing this hobby and car. Its even nicerer when others enjoy it as well. The interest and comments are still very humbling. Cheers. I realy do want to do suicide doors at the rear a la the Lincolns and the current RR's. But time already has whizzed past on this one. I really do want to get this back on the road. I'm considering it for the bottom of the snagging list though. Here are a few more shreds of what I laughably pass off as information. Pondering about the shock absorbers held me up a while. I got stuck in a loop of trying to make a mounting to fit an “eye” style mount. Reason being I had chosen Classic Range rover rear shockers. Applying the same selection process as before. CHEAP! YOOORRRKSHIRE! No. Really because of same weight and ride vehicle, long stroke shocker etc etc. I got further tied by obsessing with the angles the bottom mount would move through, so ran a M14 die down the smooth piece and cut the ½” thread off to allow a rose joint. Thhhheeeeennnnnn thought why not use a front shocker from a rangy and use the topstud mount as intended. 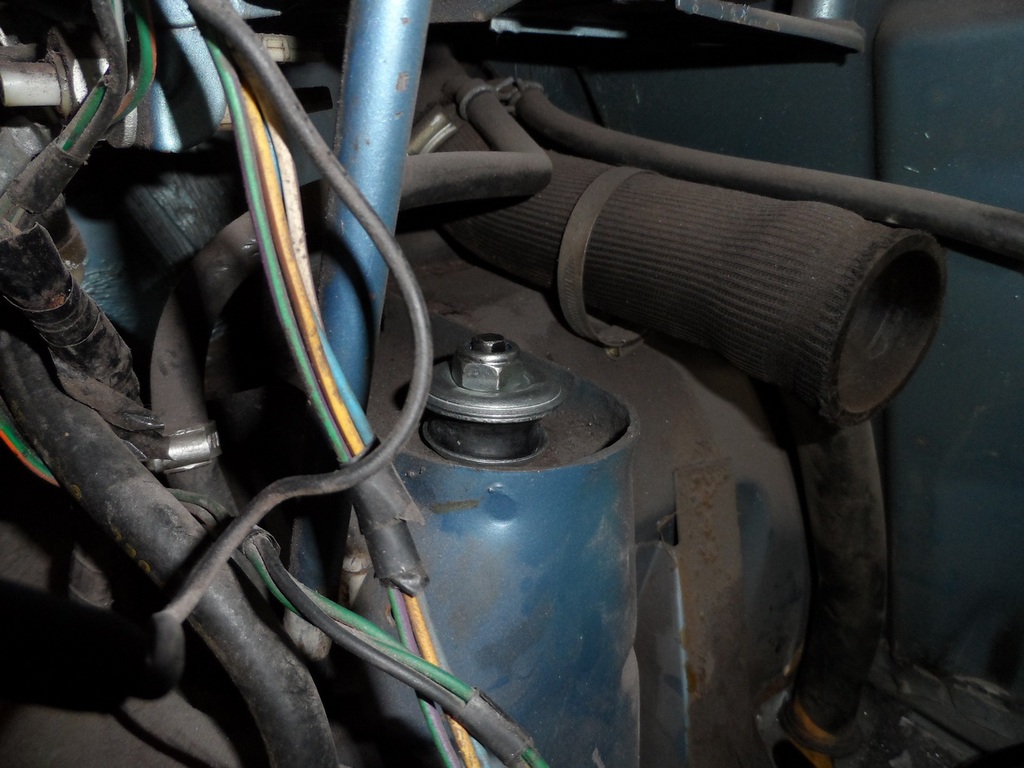 on Flickr Now looking at it in action, could of made/used a bottom stud mount as well. No need to of faffed with modifying shocks etc. Used off the shelf items. T w a t. May go to back and redo the bottom mount if the ride is harsh. Some one needs to invent a thingy that models this stuff and sell them. Call it a computer or something. So the shocks limit the full droop to stop the bags over reaching. And absorb shocks as an added bonus, provided some numpty hasn't firmed up the lower mounting by fitting a rod end. The bump stops were a flash of genius if I say so myself. Off the shelf universal stuff, gotta cut it about etc etc (don’t even mention RR ones) are quite a bit of folding, so the 50mm PU I have for the bushes. Cut off 3” and cut it long ways and stick to a suitable bit of steel with holes in to suit. Brilliant? Just me then. So set the wheel up into the arch to where it still turns, just. Mount up a piece of bent plate to mimic the ‘stop with a bit of compression allowed. 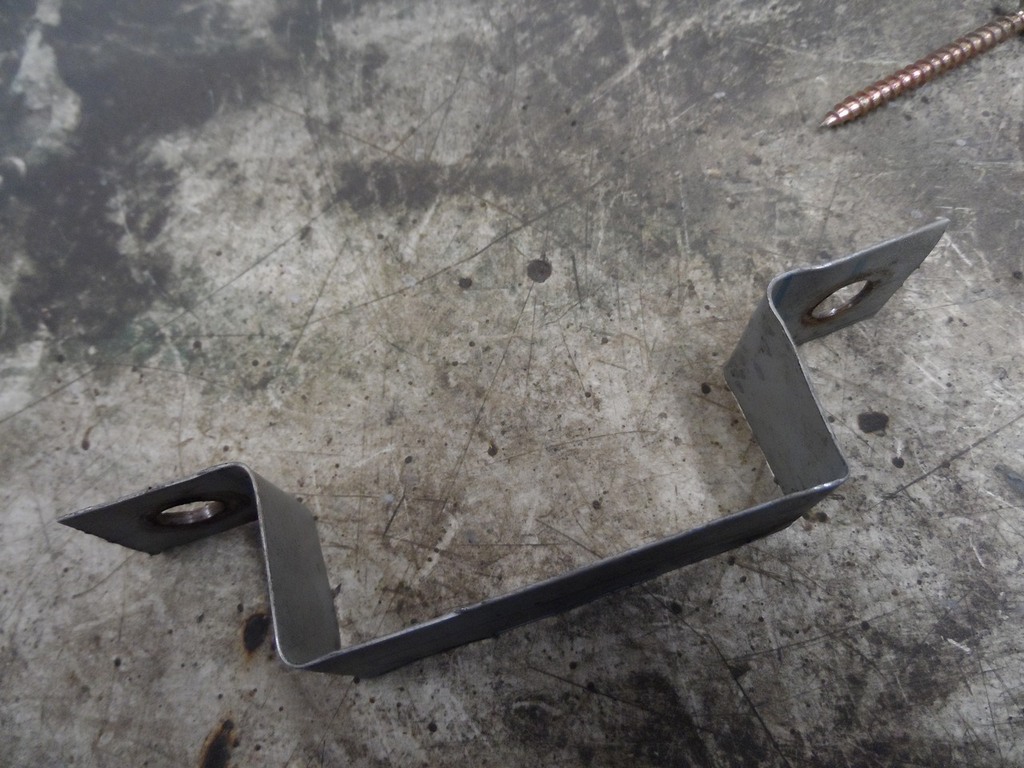 on Flickr Clamp the landing plate to that. Weld landing plate to ‘arm. A small support underneath as it’s canter levered. Large thumbs up yes. 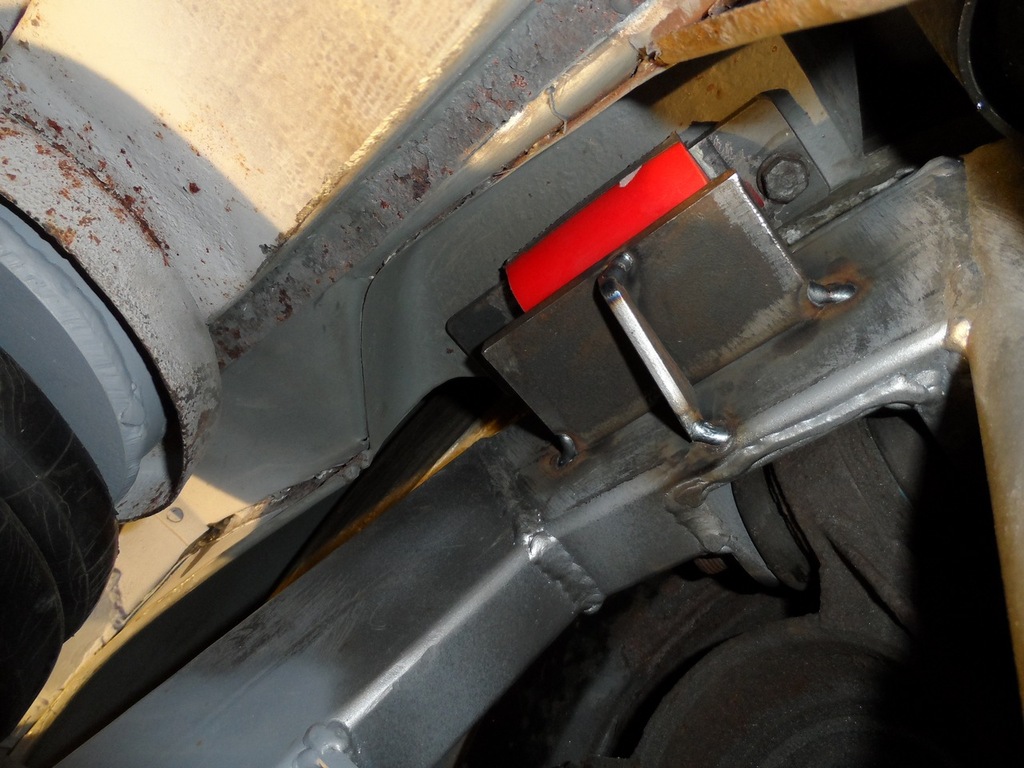 on Flickr So with it all compressed sat on it's haunches. 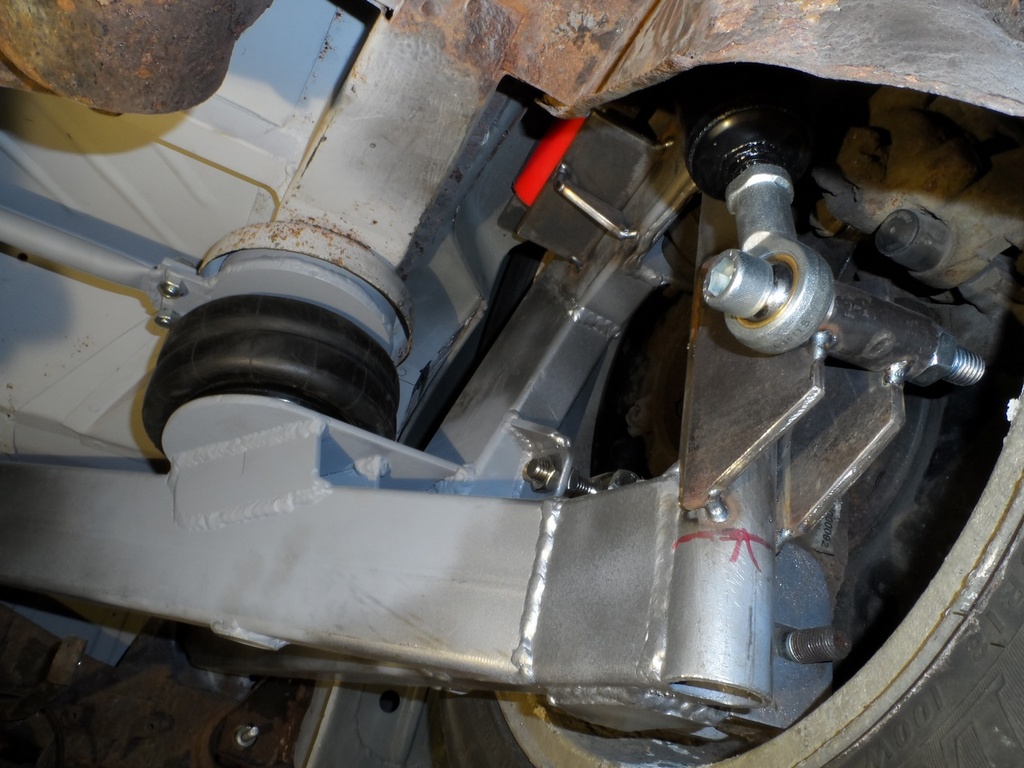 on Flickr And up near top ride height. 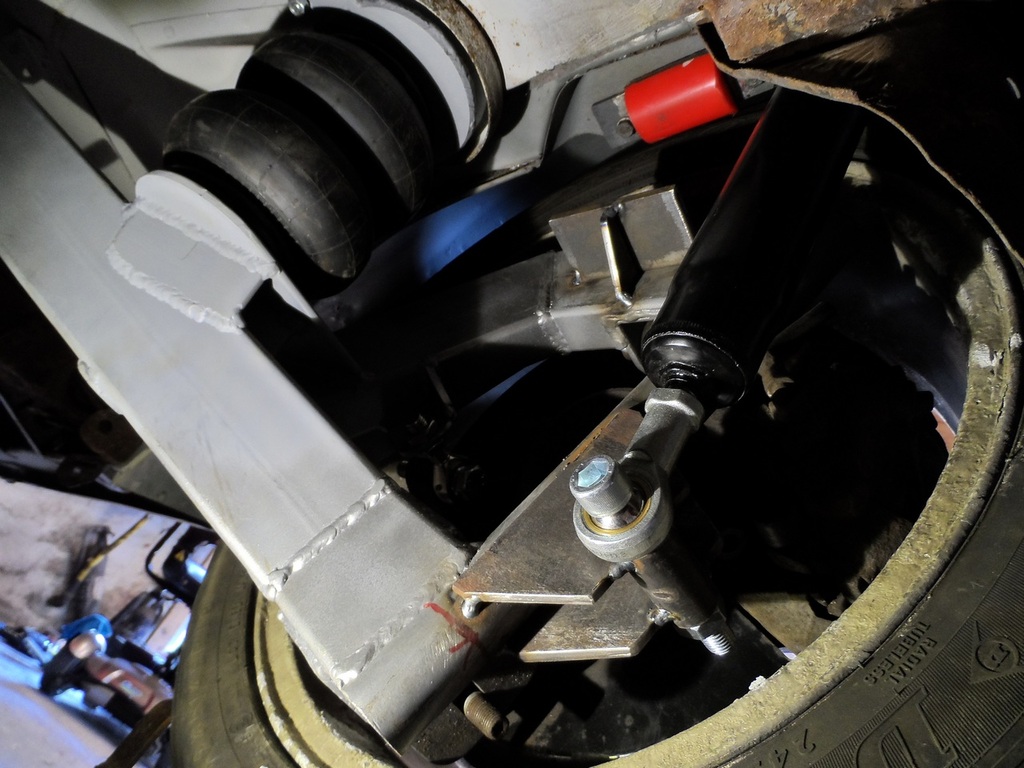 on Flickr 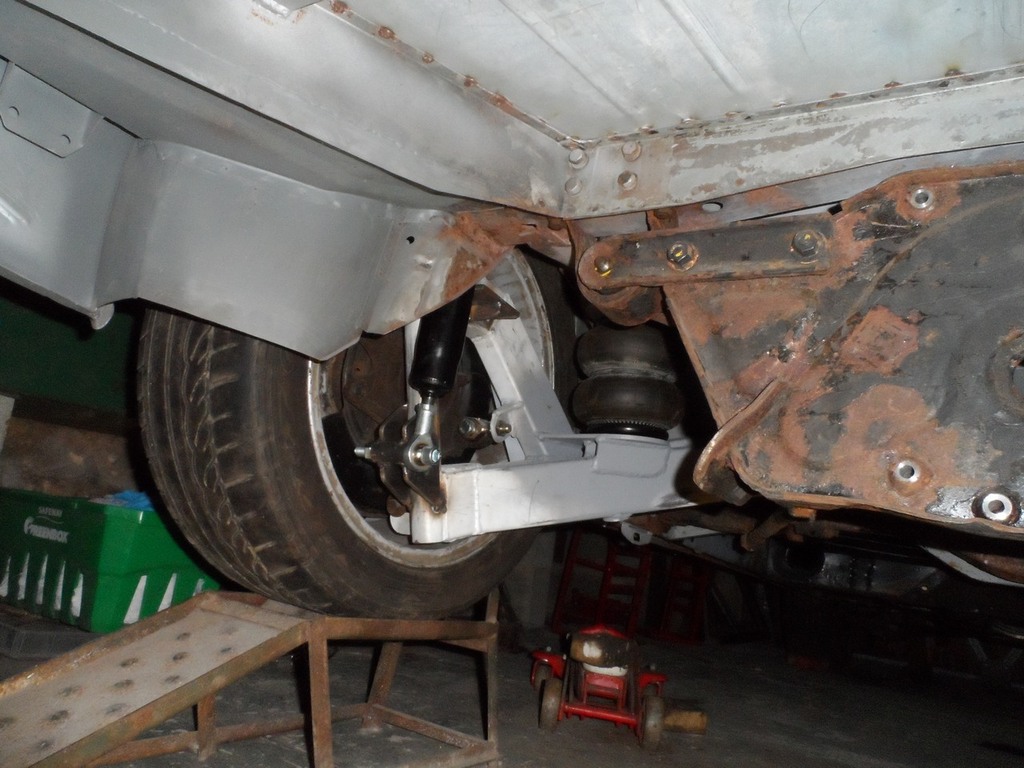 on Flickr Again. A big thanks for the interest in this tale. |
| |
Last Edit: Aug 5, 2017 16:49:12 GMT by richrolls
|
|
|
|
|
|
|
|
Love it, what a brilliant build.
Love reading it, keep up the belting work
|
| |
|
|
|
|
|
|
|
Awesome work. +1 more vote for suicide doors. I know you want it back on the road but it's only one little extra thing. How hard can it be?  |
| |
|
|
|
|


