jonomisfit
Club Retro Rides Member
Posts: 1,789
Club RR Member Number: 49
|
|
|
|
|
A very tempting idea. I'm not certain how receptive the iva man will be to a quick release pedal box though. It might need to be boring bolts.
I need to strip the pedal box and we'd in some captive nuts. It's designed to be bolted in but access to the inside is near impossible.
I'm having withdrawl from swagey holes. I had to go and do some on some scrap just to get my fix. Will have to see if I can use some on the pedal box mount.
Going by how awkward everything else is I have no doubt bleeding the mcs will be fun...
|
| |
|
|
|
|
|
|
|
|
|
|
Have you finalised the position of the brakefluid reservoirs? Maybe make them that you could temporarily tilt them over to the side too? Then you could just jack up one side of the car to get the master cylinders more upright when you bleed them? 😊
|
| |
|
|
jonomisfit
Club Retro Rides Member
Posts: 1,789
Club RR Member Number: 49
|
|
Aug 12, 2017 19:57:52 GMT
|
A good idea mr Bravo. i'll see what comes of it when I get onto the reservoirs. So.... having re-arranged the workshop and categorically decided there's no way to get any more equipment or projects in without it becoming unworkable, i've gone and bought something i've always wanted. It comes in a couple of weeks, which means another re-shuffle round in the workshop, and an urgent need to get the floor clear to get it in. This has forced a premature start to the escort, so i've made a thread for it here ( retrorides.proboards.com/thread/199456/1996-ford-starting-another-project ) so as not to fill this thread up with even more non morris things. Normal morris lack of progress will resume once the spits done and the new acquisition is in, oh, and if / when baby_misfit allows. She's 10 weeks now and its gotten to the point i cant even remember what proper sleep is. Woe is me. |
| |
|
|
jonomisfit
Club Retro Rides Member
Posts: 1,789
Club RR Member Number: 49
|
|
|
|
Very minor update. Started trying out the new toy making some bushes for the steering rod end. the arrangement I will be going for 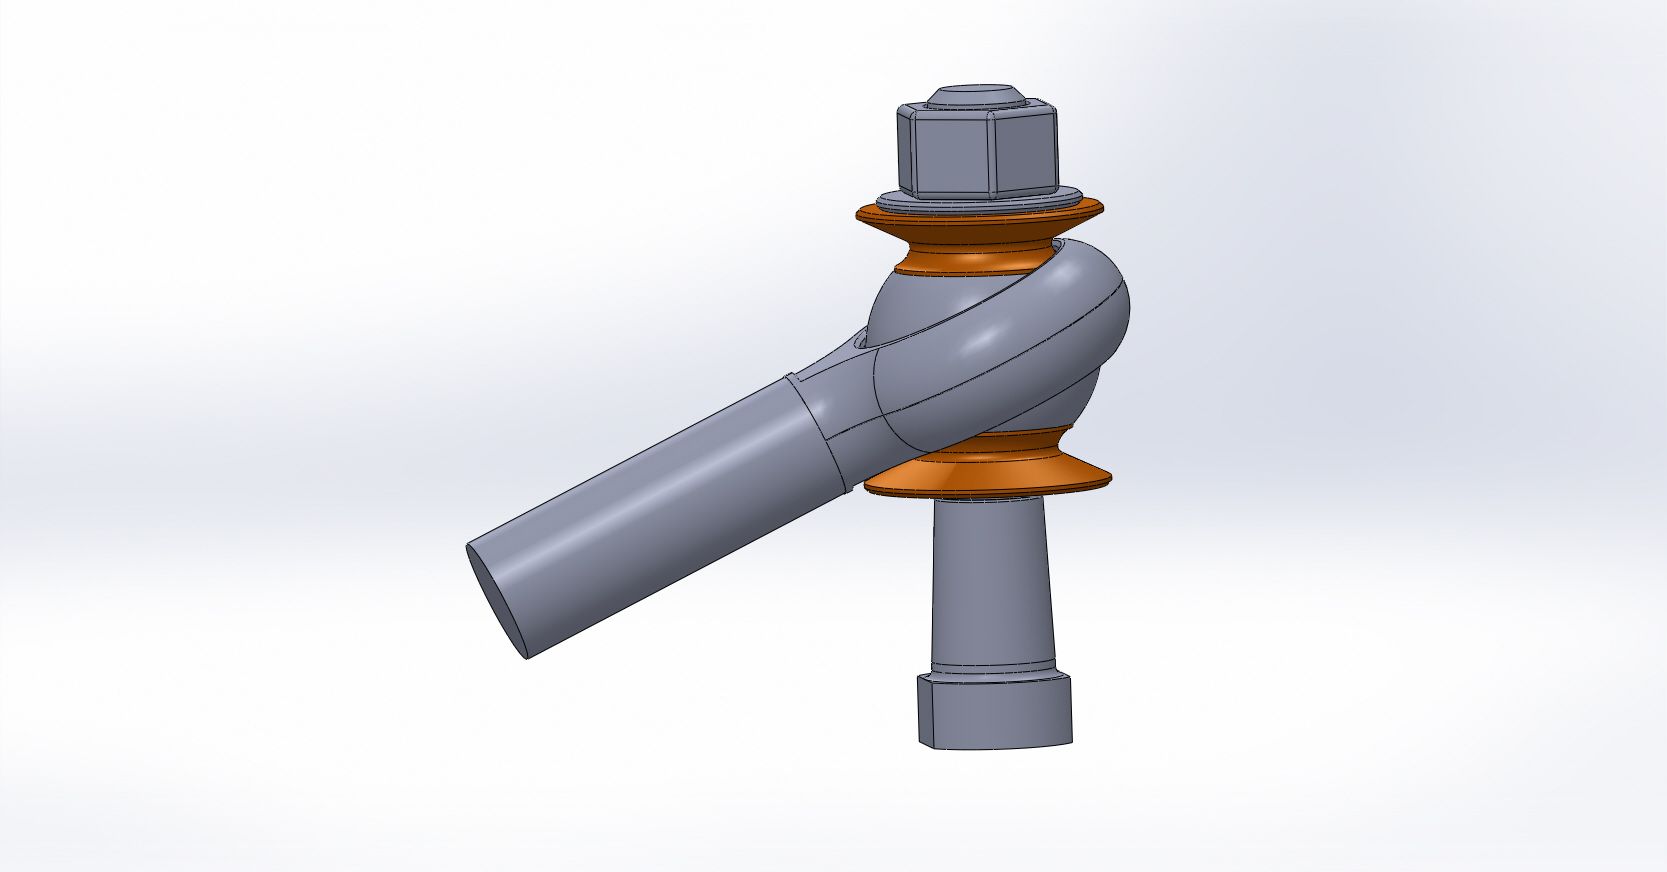 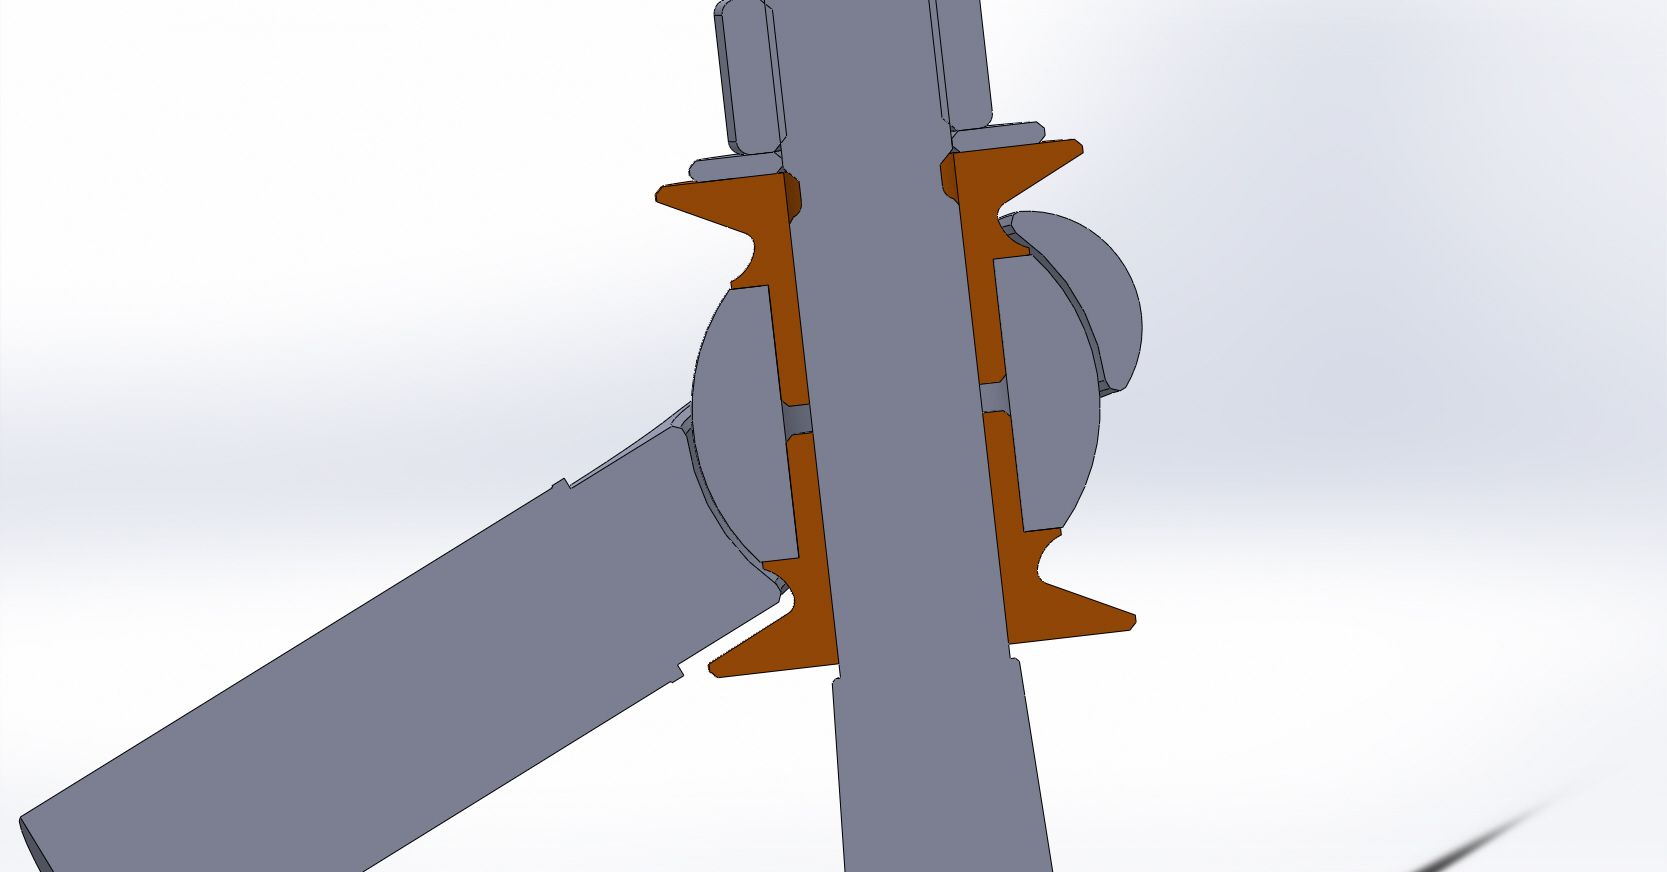 and the bobbin will look like 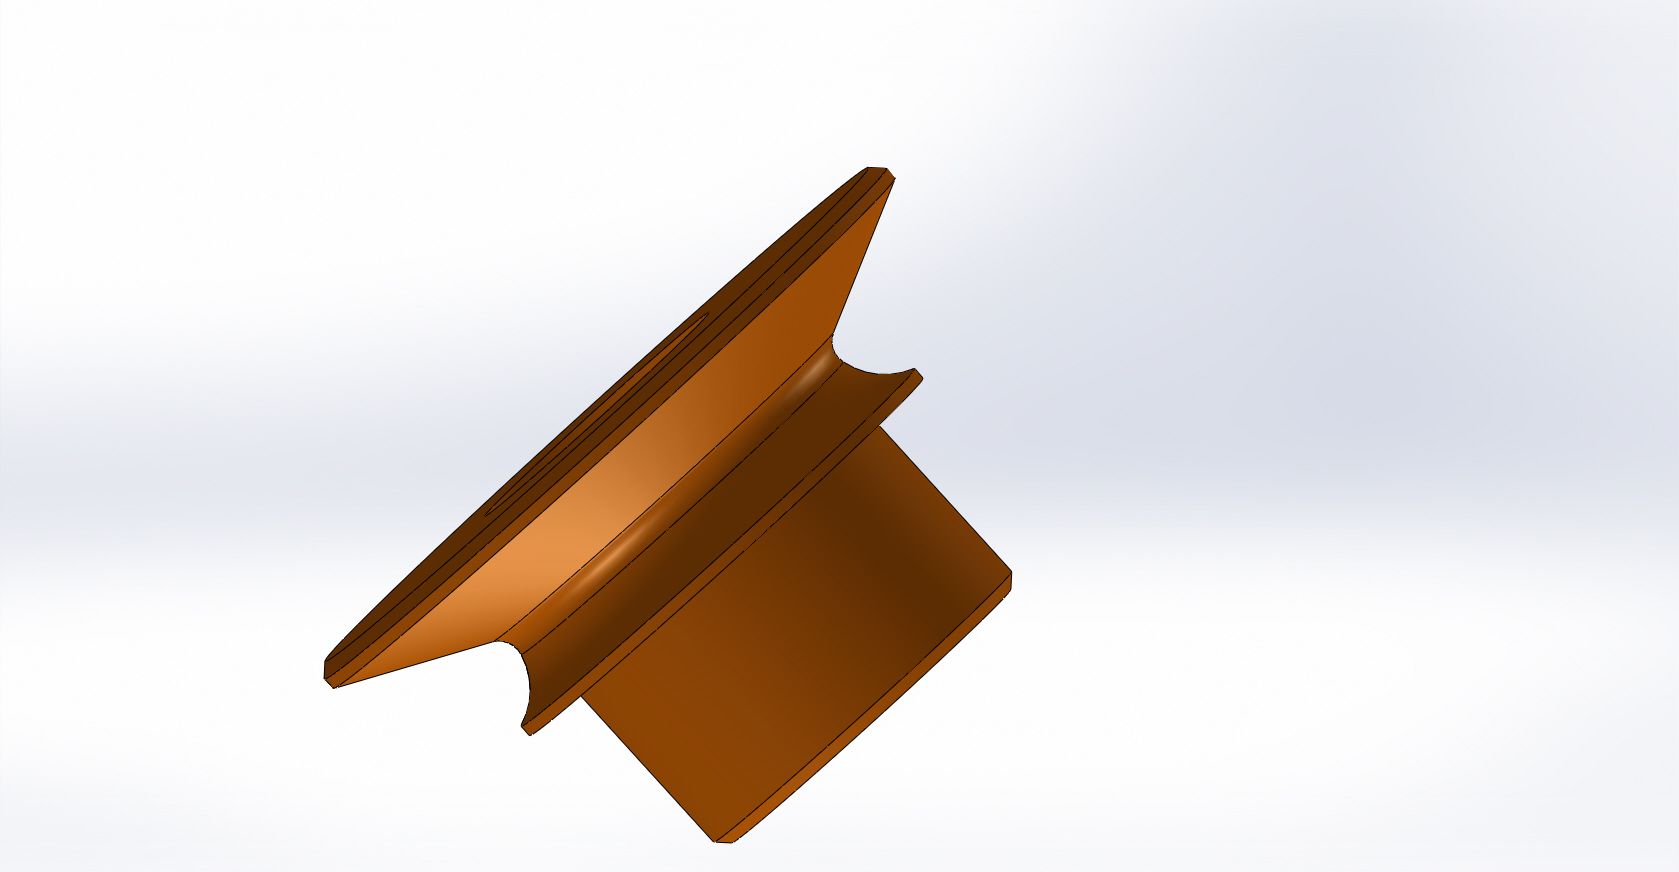 the shape is to maintain the max material, but also allow the maximum misalignment for the rod end. Decided to make a prototype / try and get used to the new machine. Aluminium stock in the chuck cleaned up 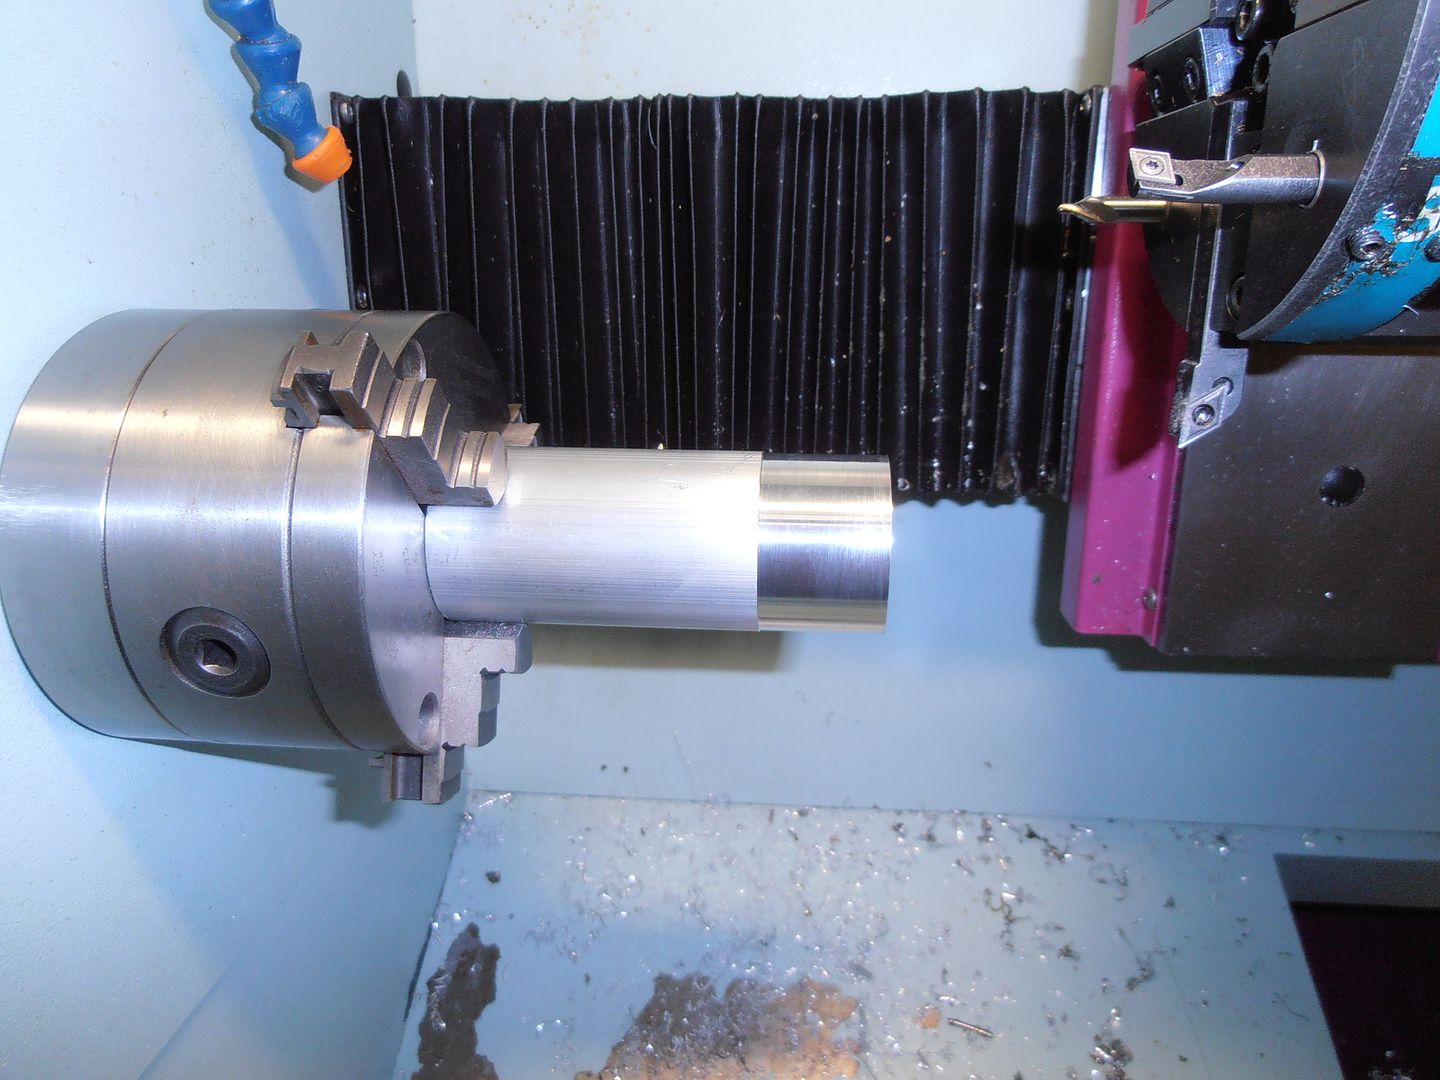 lathe starting 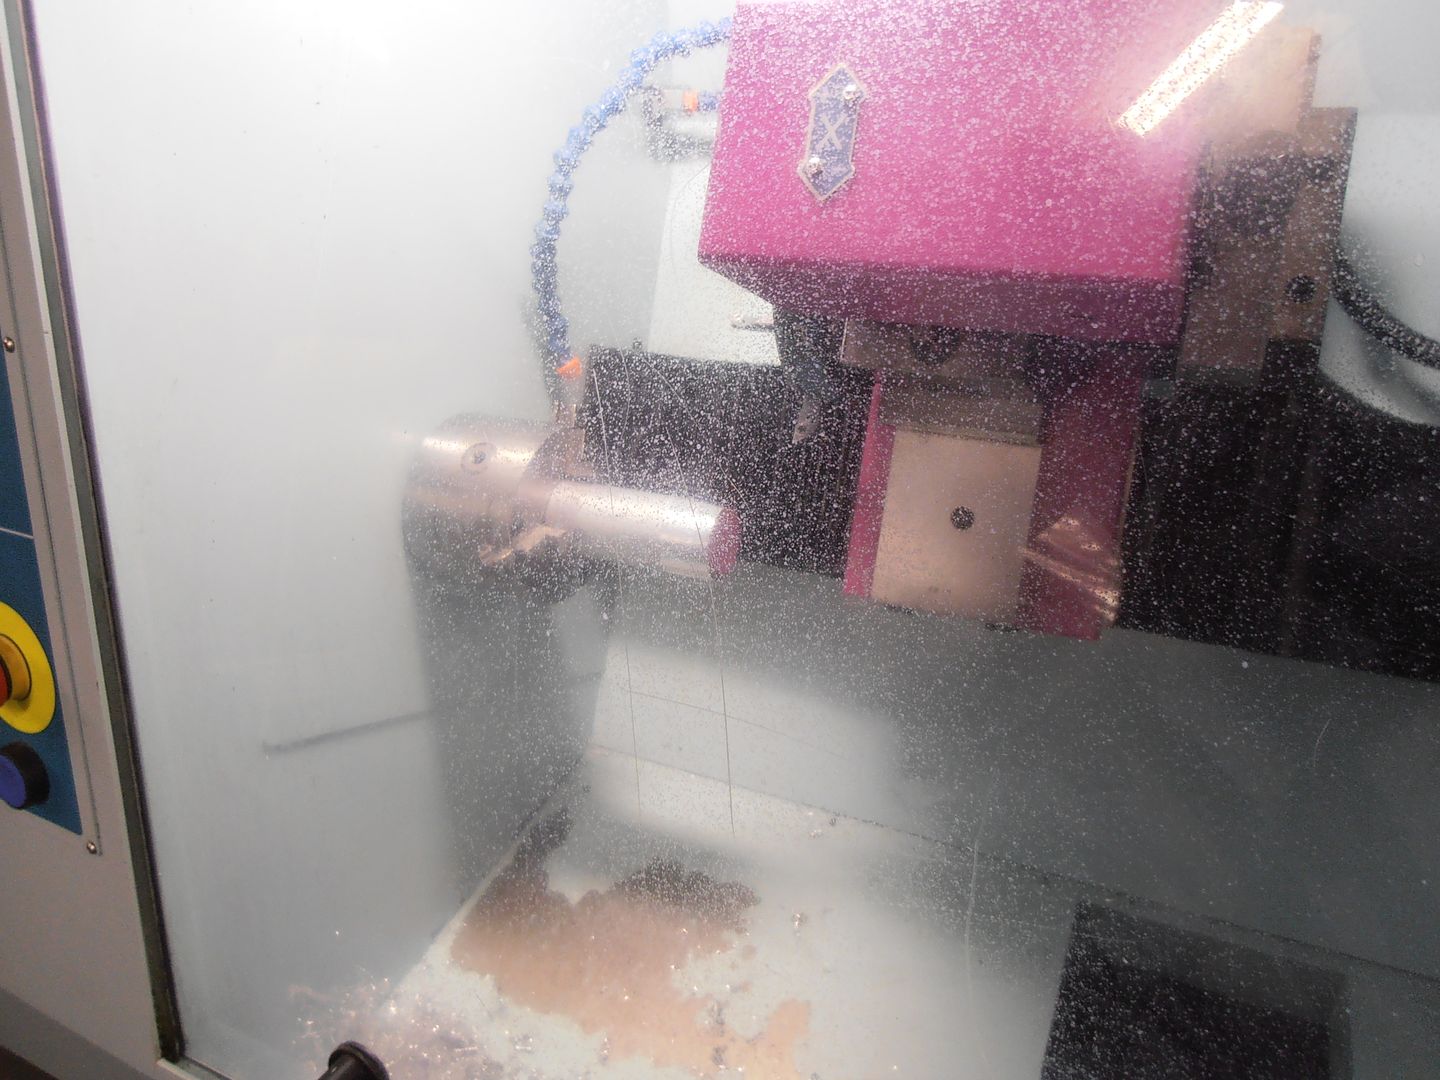 finished external profile 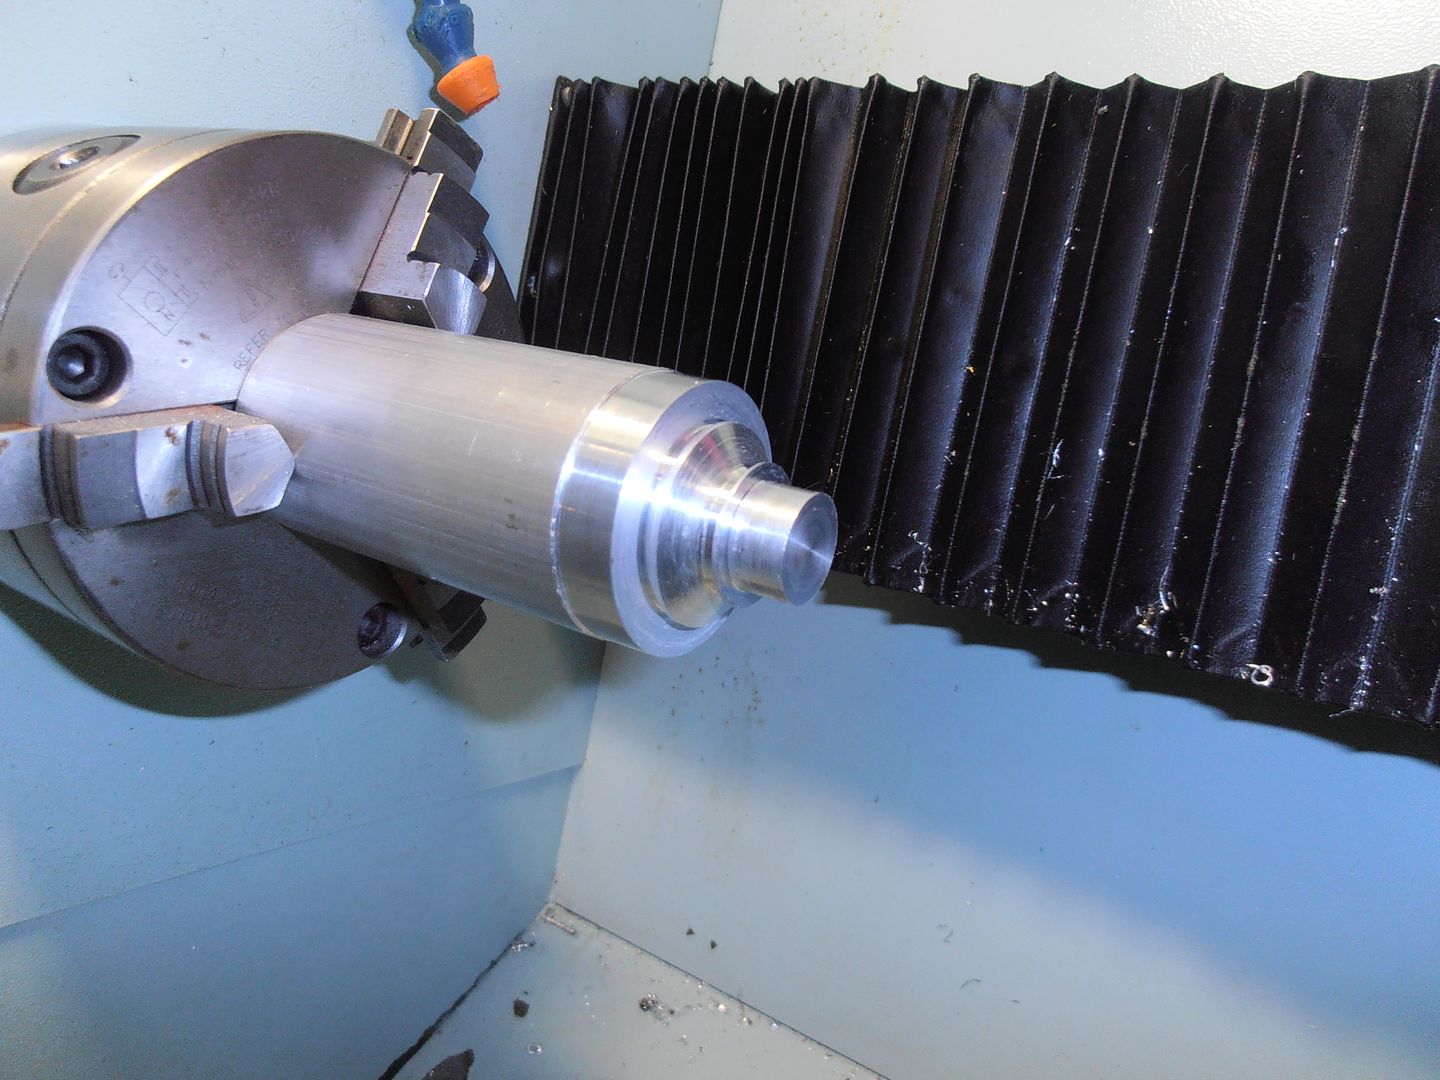 rod end check for fit 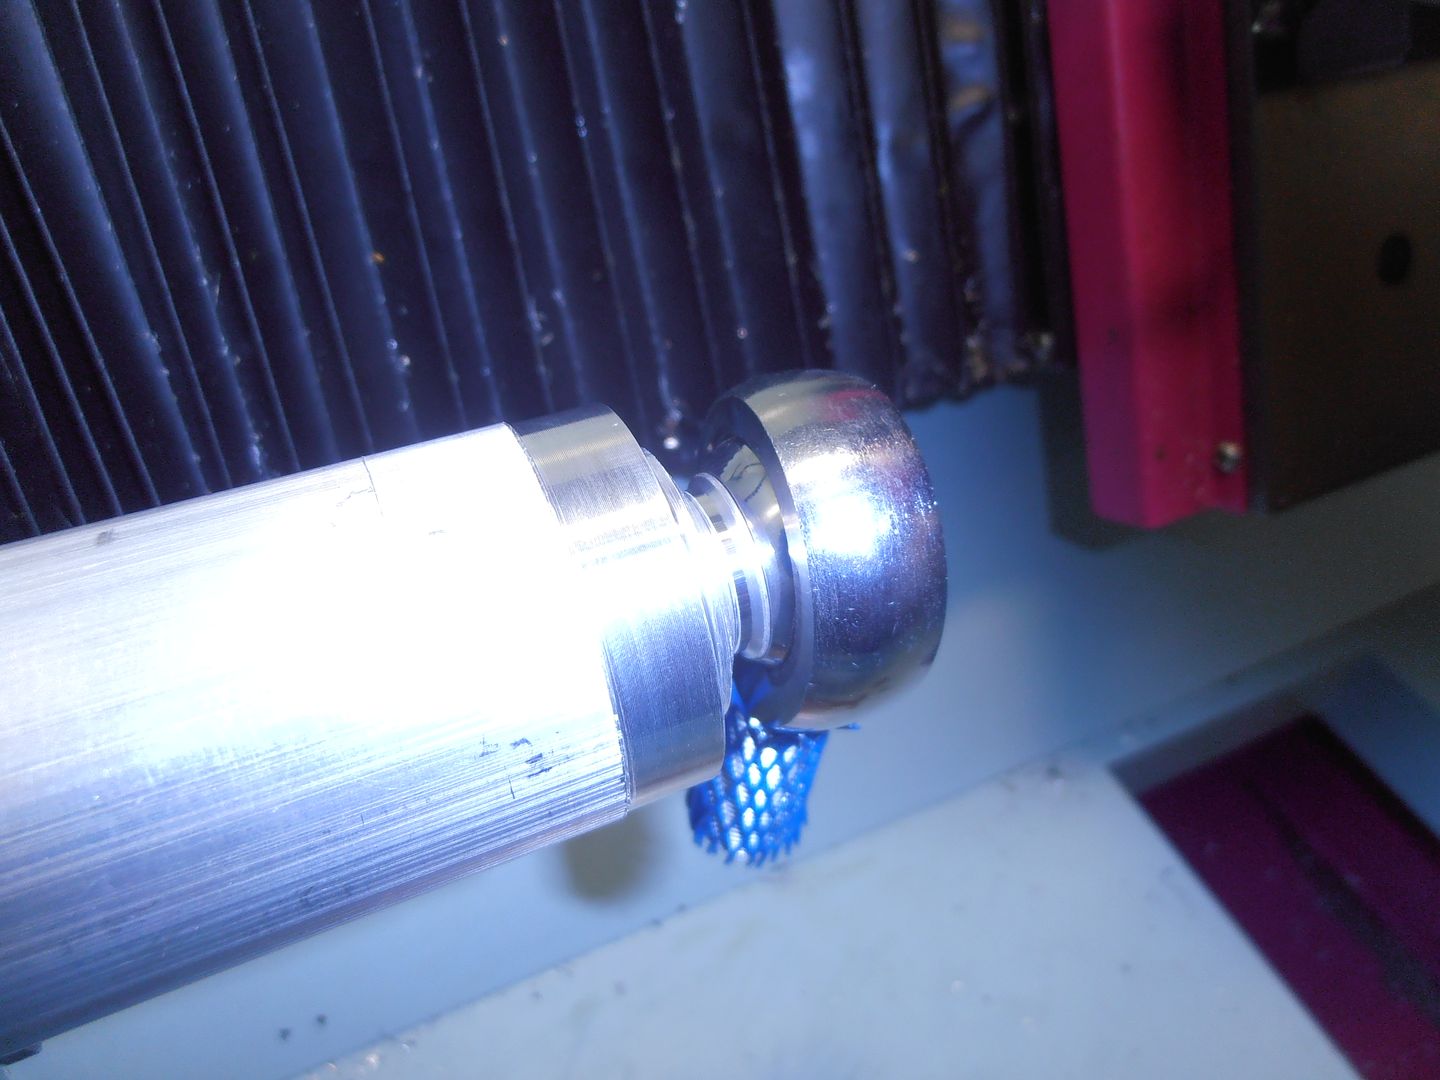 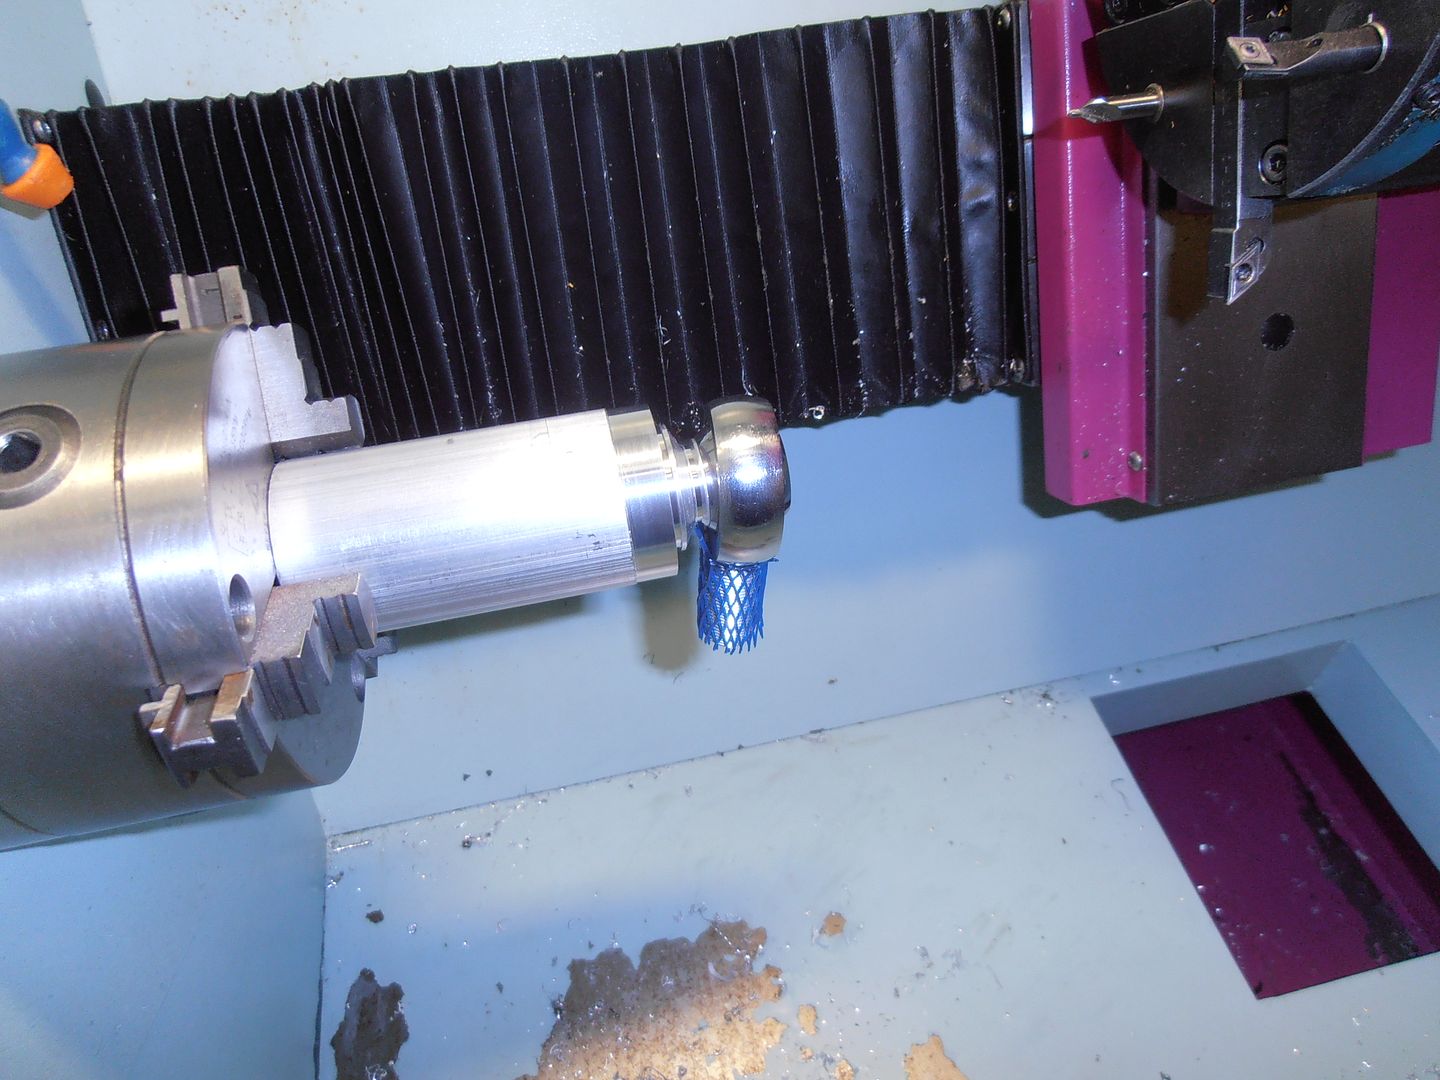 I need to make some mods to the profile. I had brain fade whilst designing it and cut a relief, but then offset the curve face, which means it clashes the the liner and doesnt give the extra movement I want. issue area is the sharp corner. This doesnt allow the rotation. 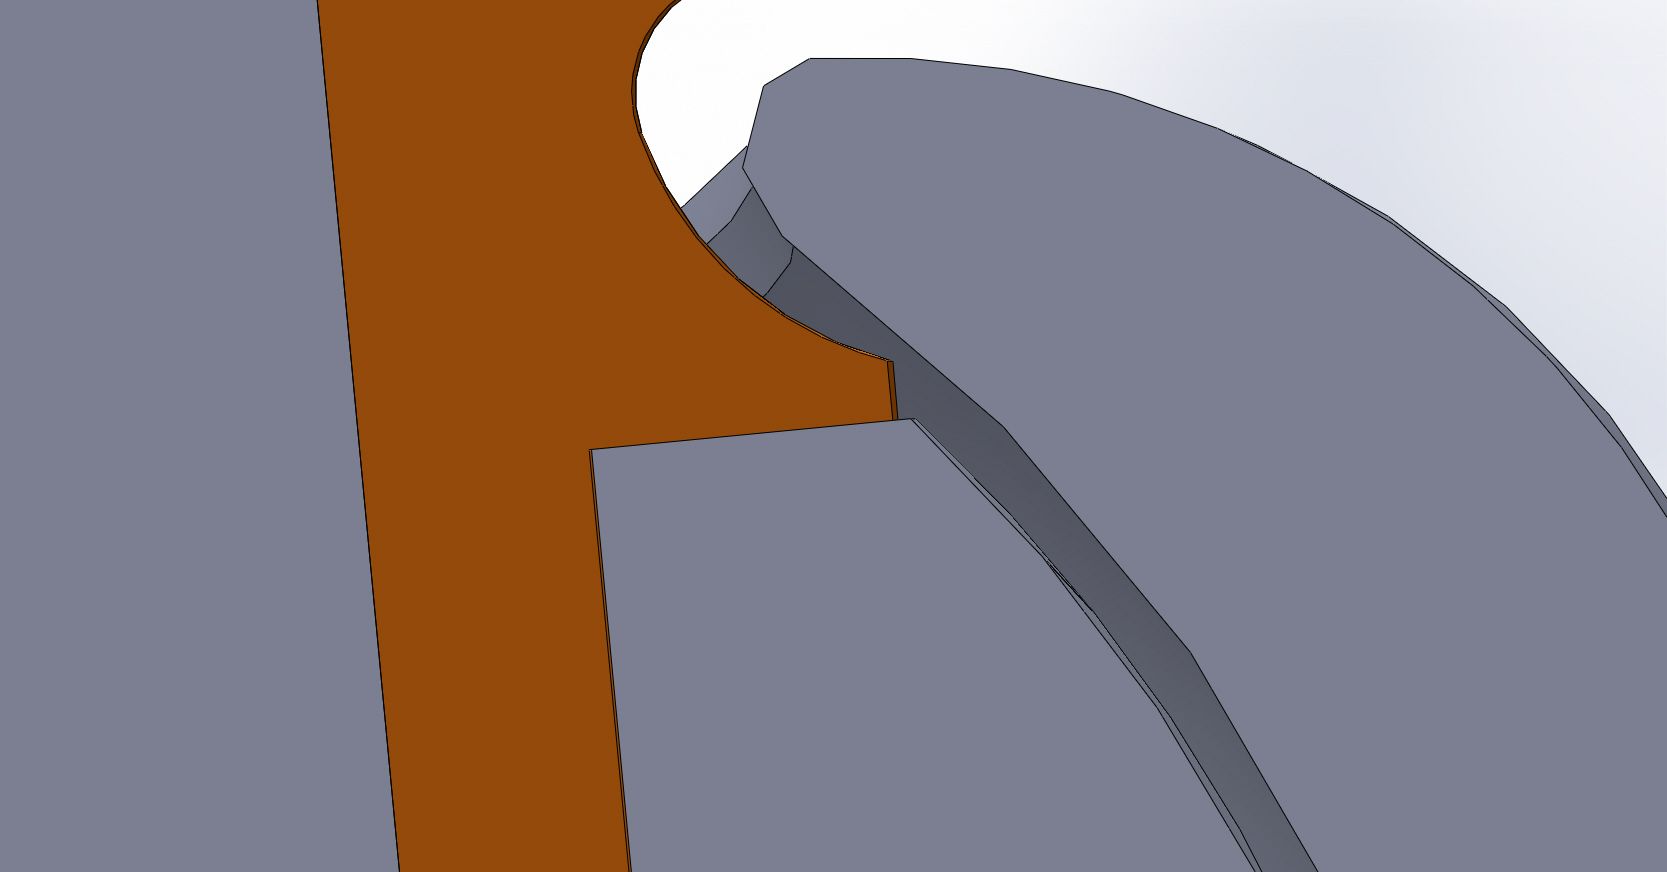 Design tweak needed. Edit: The upper bobbin is the mk2 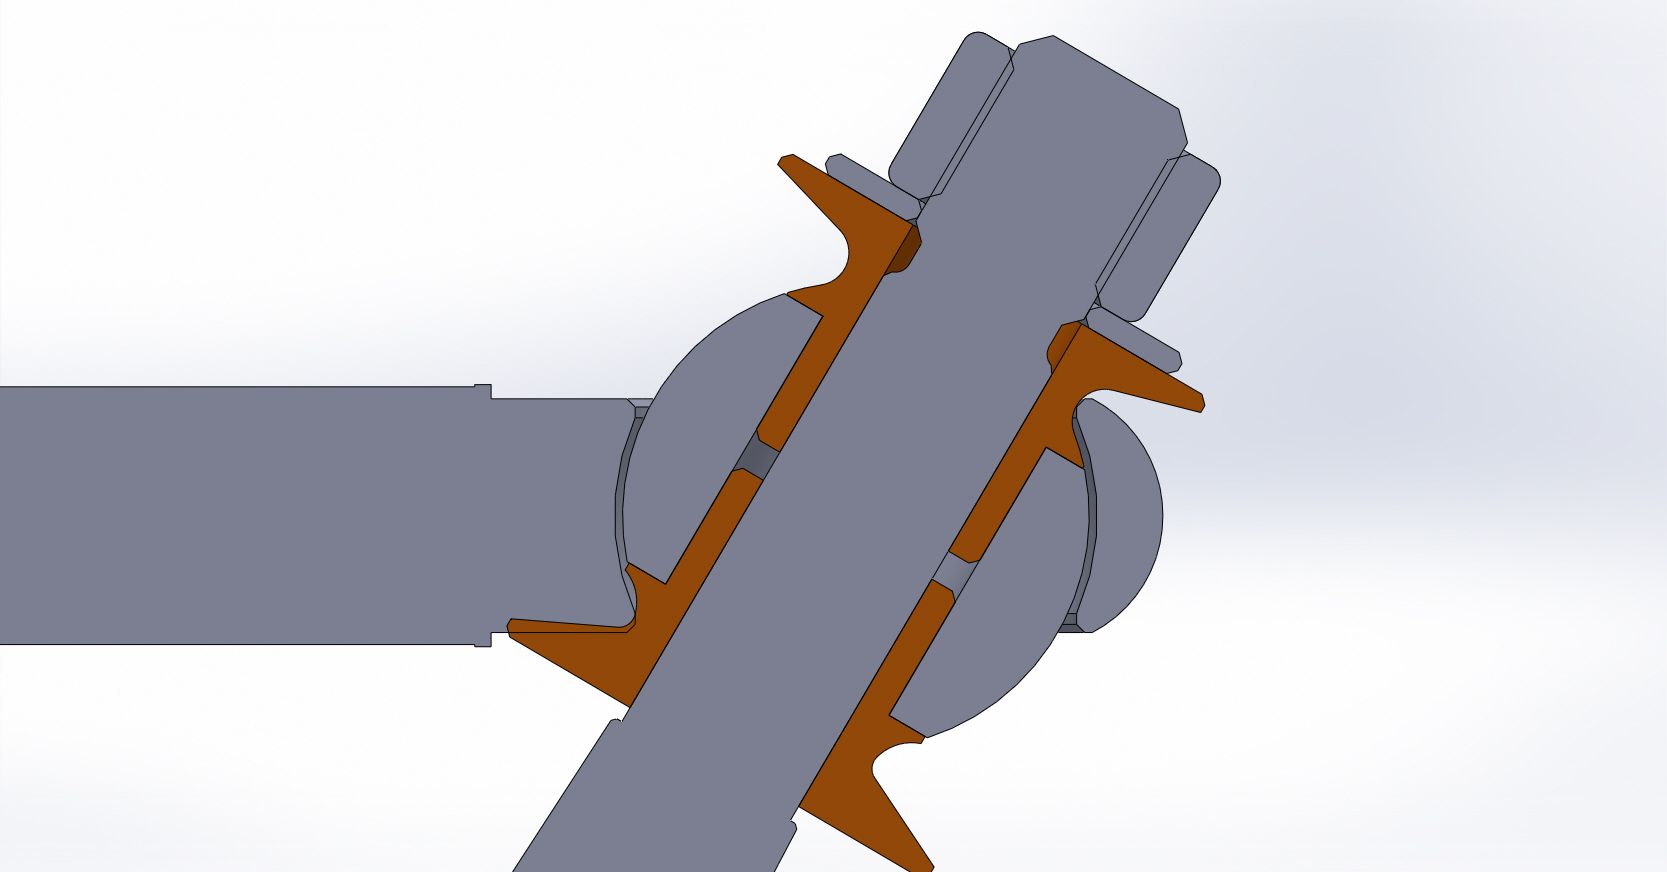 It follows the line of the ball and then undercuts (at the actual size radius i have a tipped tool for... The bottom shows the other design. |
| |
|
|
|
|
|
|
|
|
very nice new toy!
JP
|
| |
I know its spelled Norman Luxury Yacht, but its pronounced Throat Wobbler Mangrove!
|
|
|
|
|
|
|
|
pictures and machining are awesome ! will you need that much misalignment on track rod though ?
|
| |
|
|
jonomisfit
Club Retro Rides Member
Posts: 1,789
Club RR Member Number: 49
|
|
|
|
|
That's far beyond the movement needed, but I've gone for extra to make sure it can't bind up anywhere.
Will see how it comes out for the proper one.
|
| |
|
|
jonomisfit
Club Retro Rides Member
Posts: 1,789
Club RR Member Number: 49
|
|
Oct 30, 2017 20:44:10 GMT
|
After a load of time off the morris (3 months I think) playing with the escort I decided some time on it was in order. First off, the state of the workshop was driving me insane,so tidyup was done. 2hrs lost.... 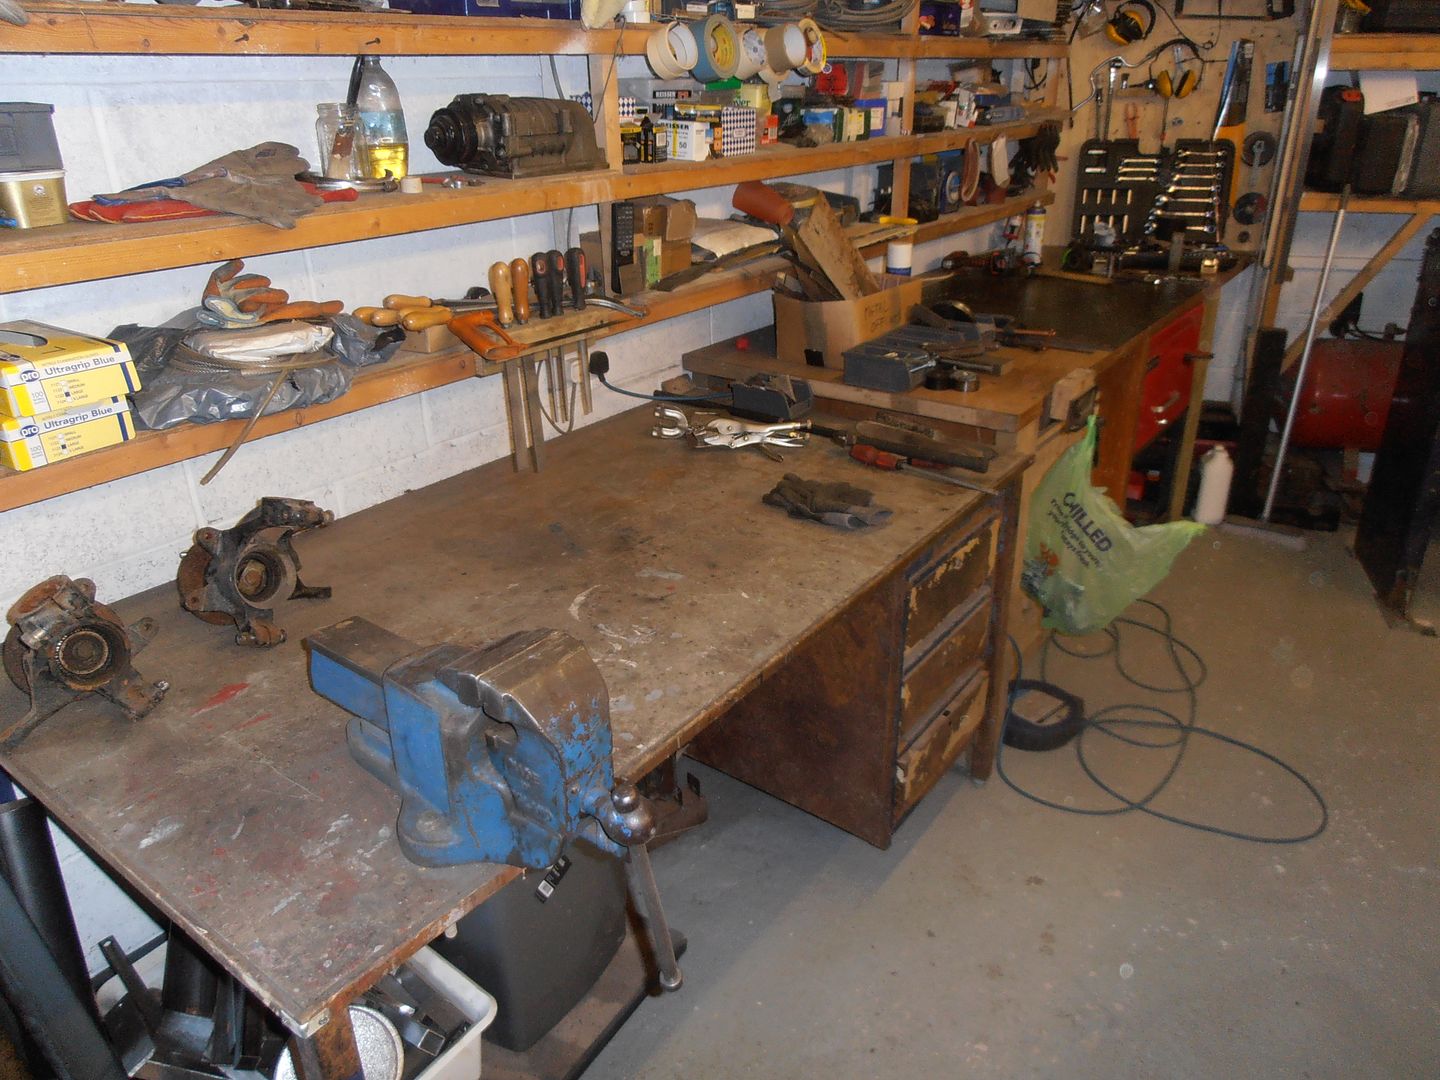 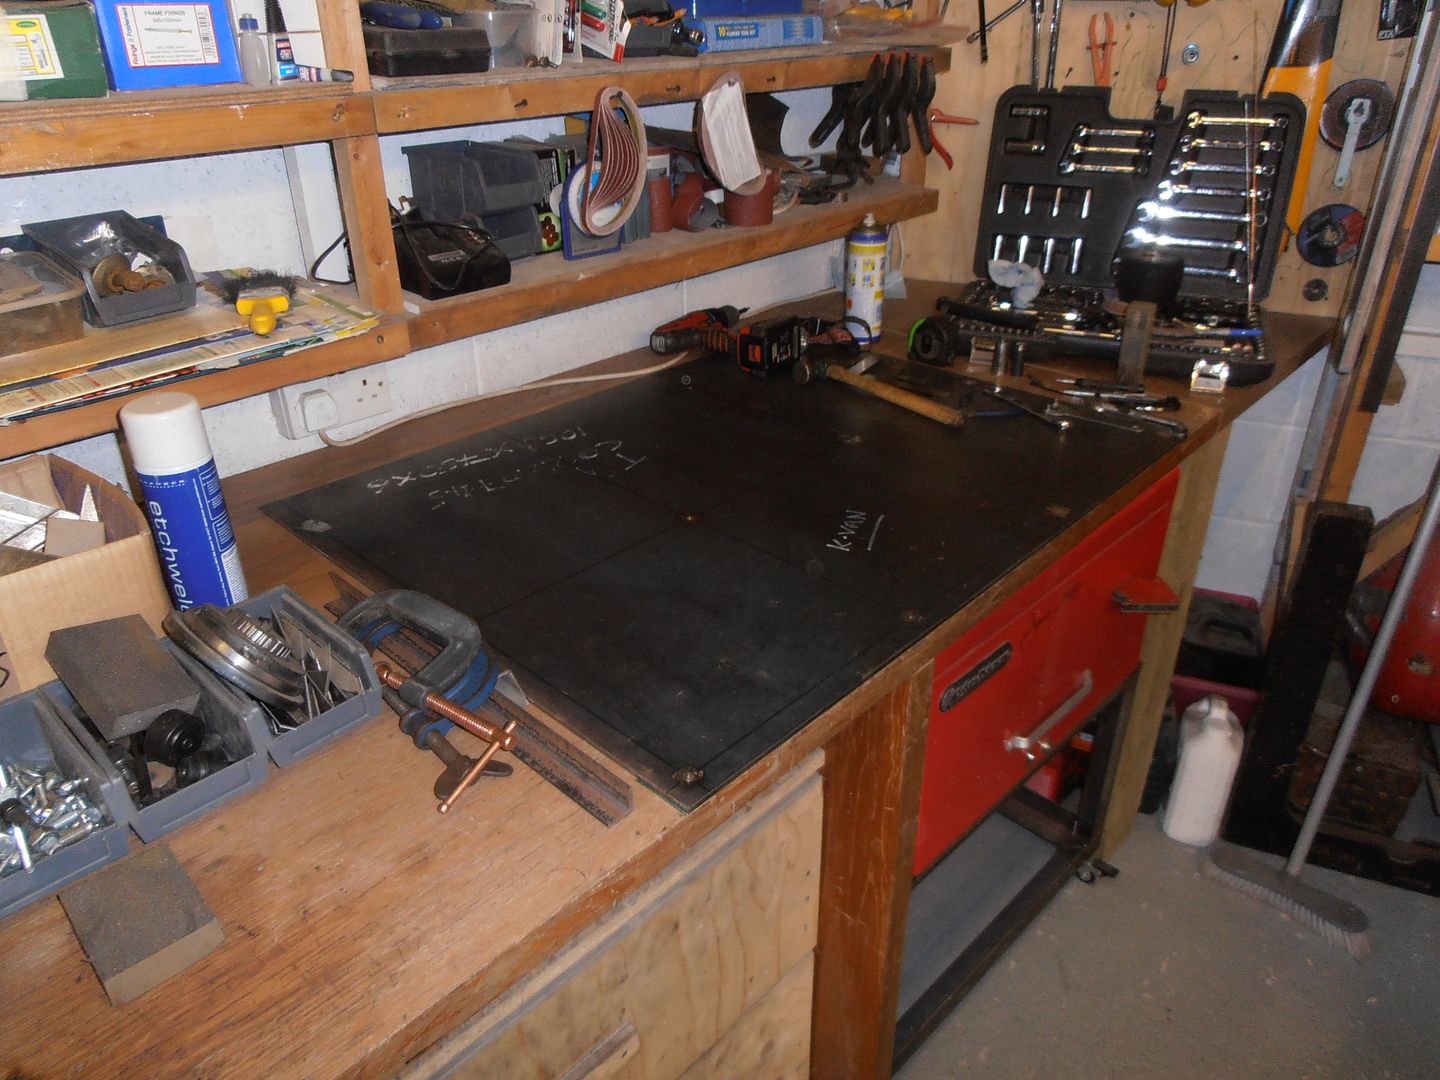 Not amazing, but tidy enough to work in now. Bench tops can be seen. where was I.... oh yeah, pedal box mounting 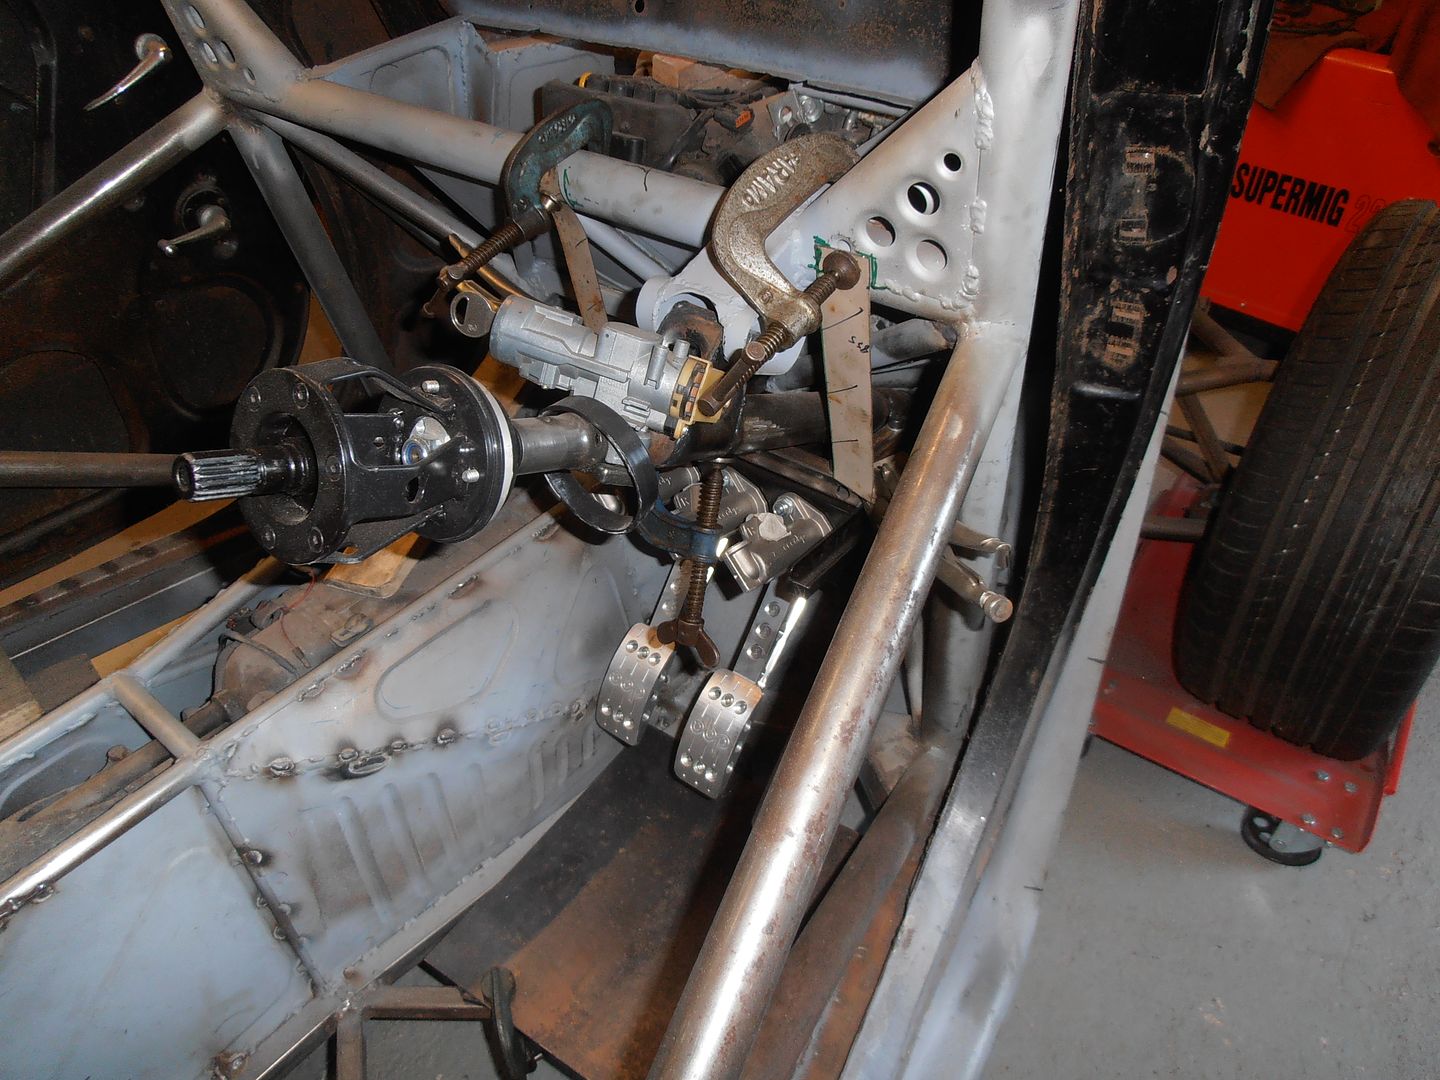 4 free points in 1 go is too hard for me. Better make it 3 free points. Mounting for here 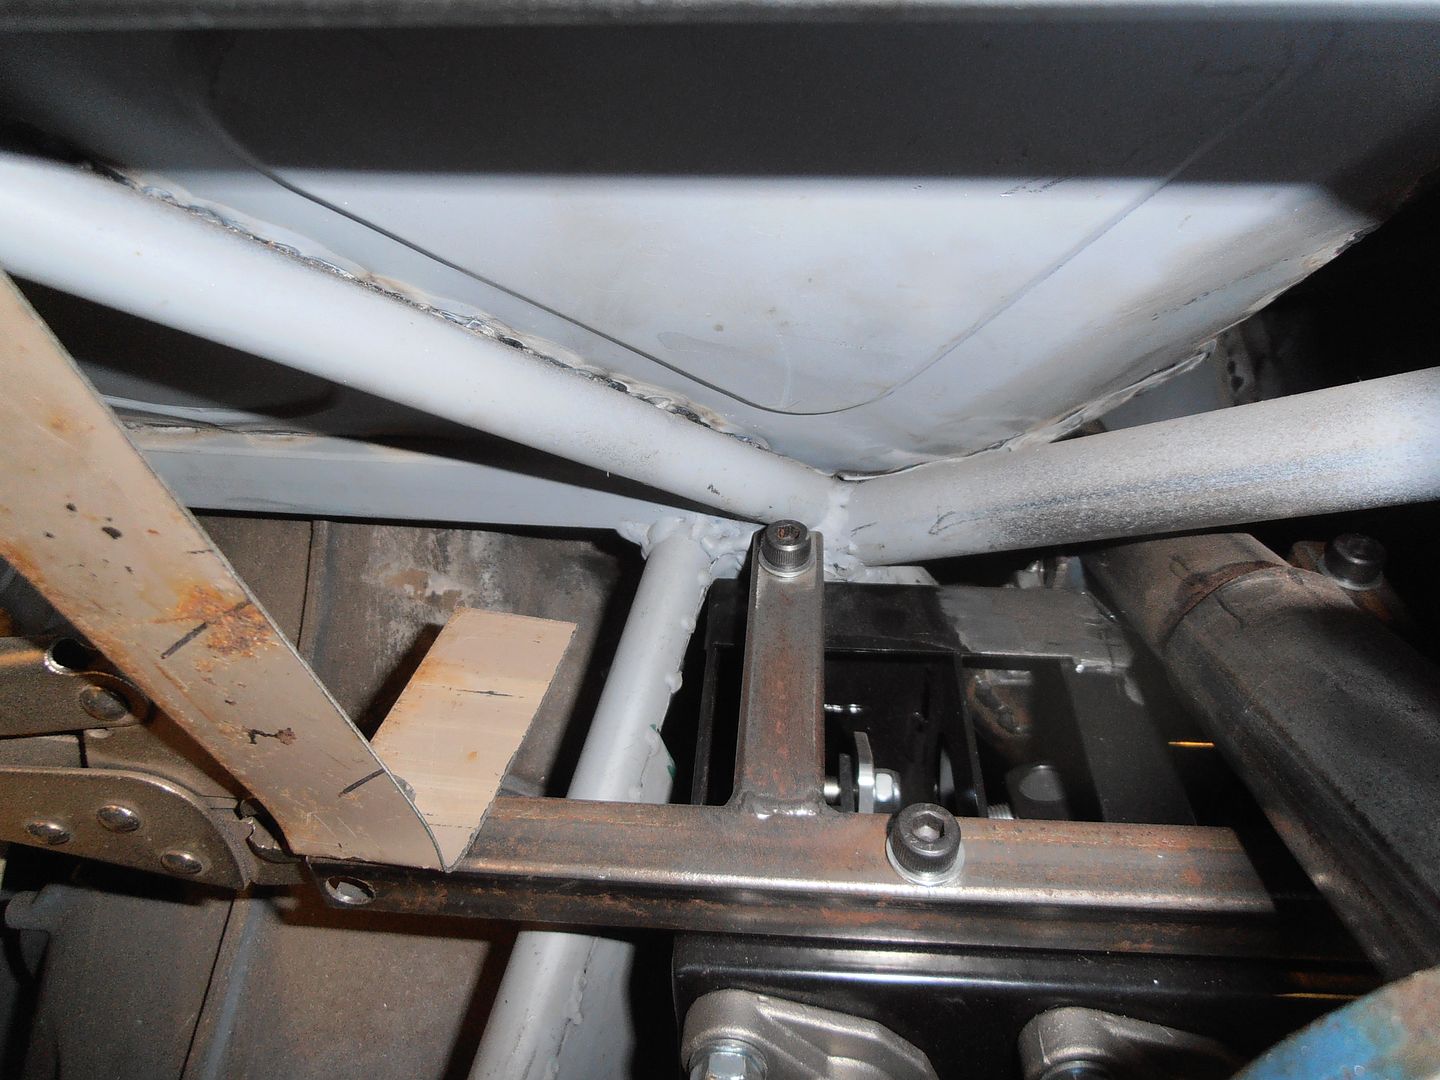 angle bar to cut 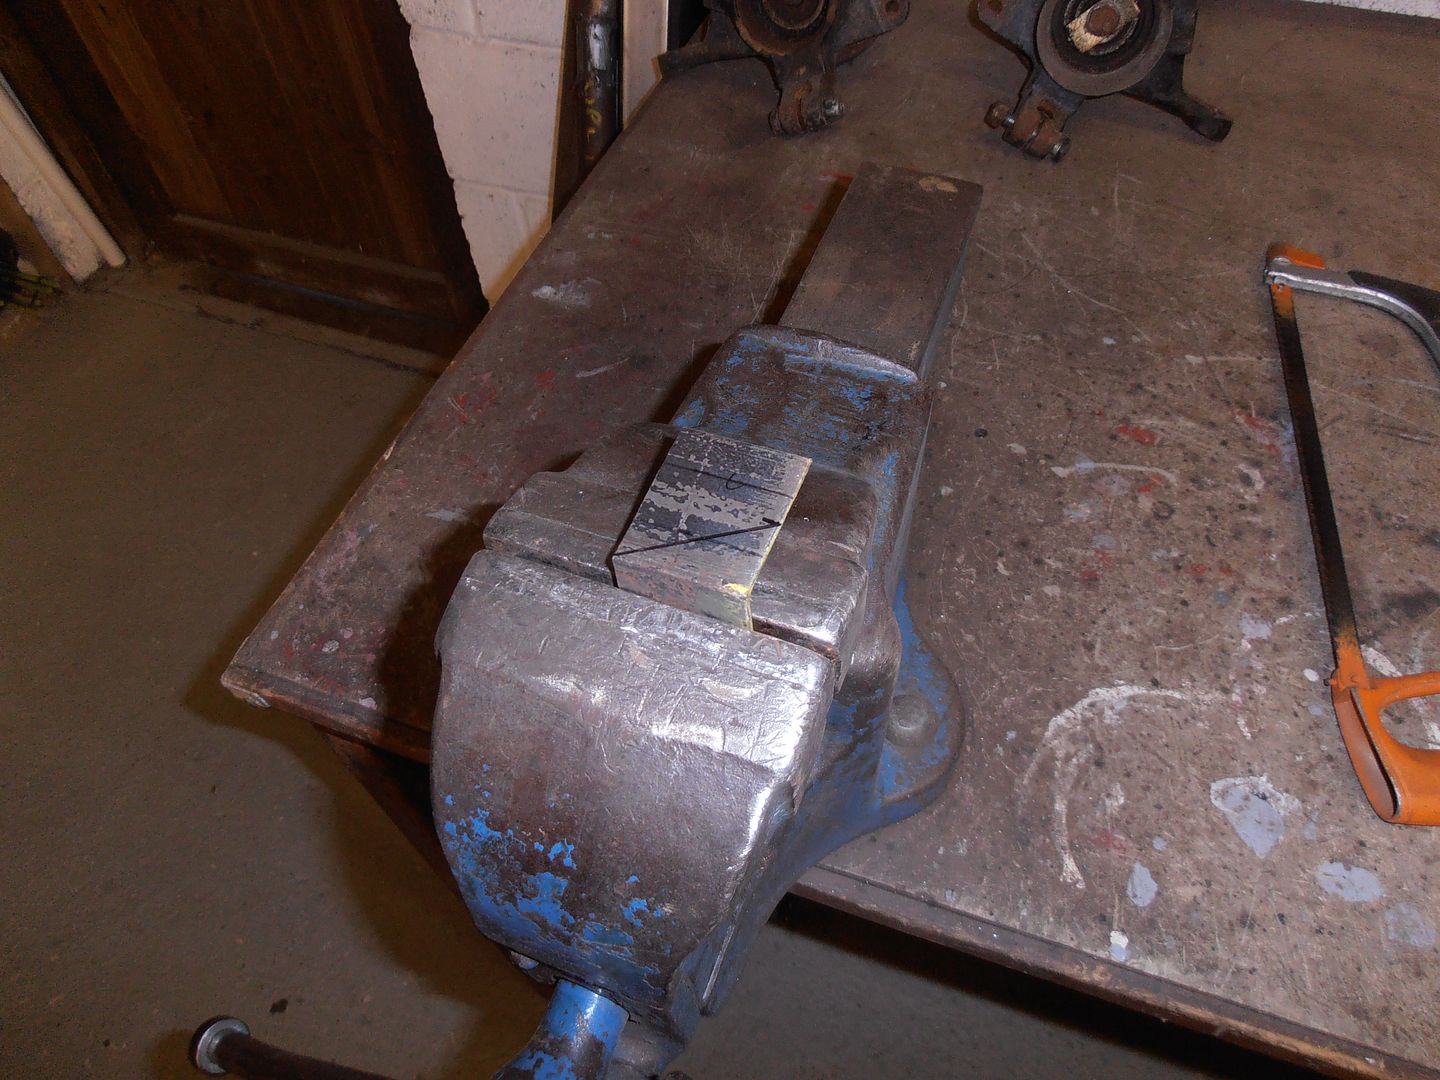 goes in here 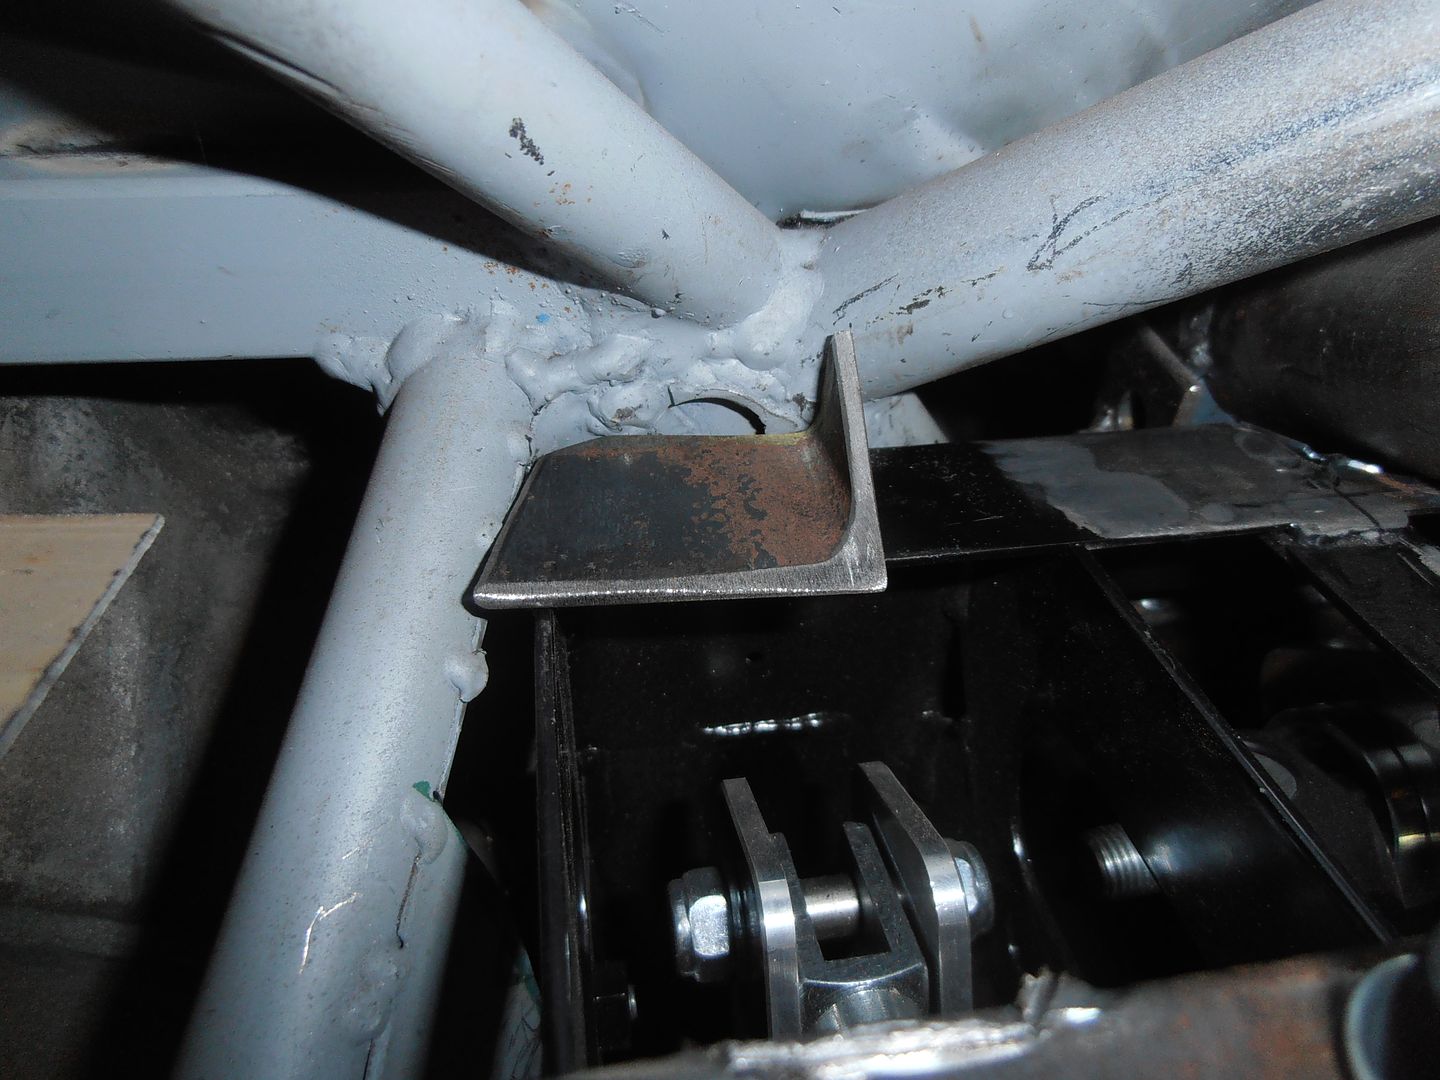 fixings will go into the pedal box from above. Nuts and bolts will be a nightmare, captive nuts are needed i think. 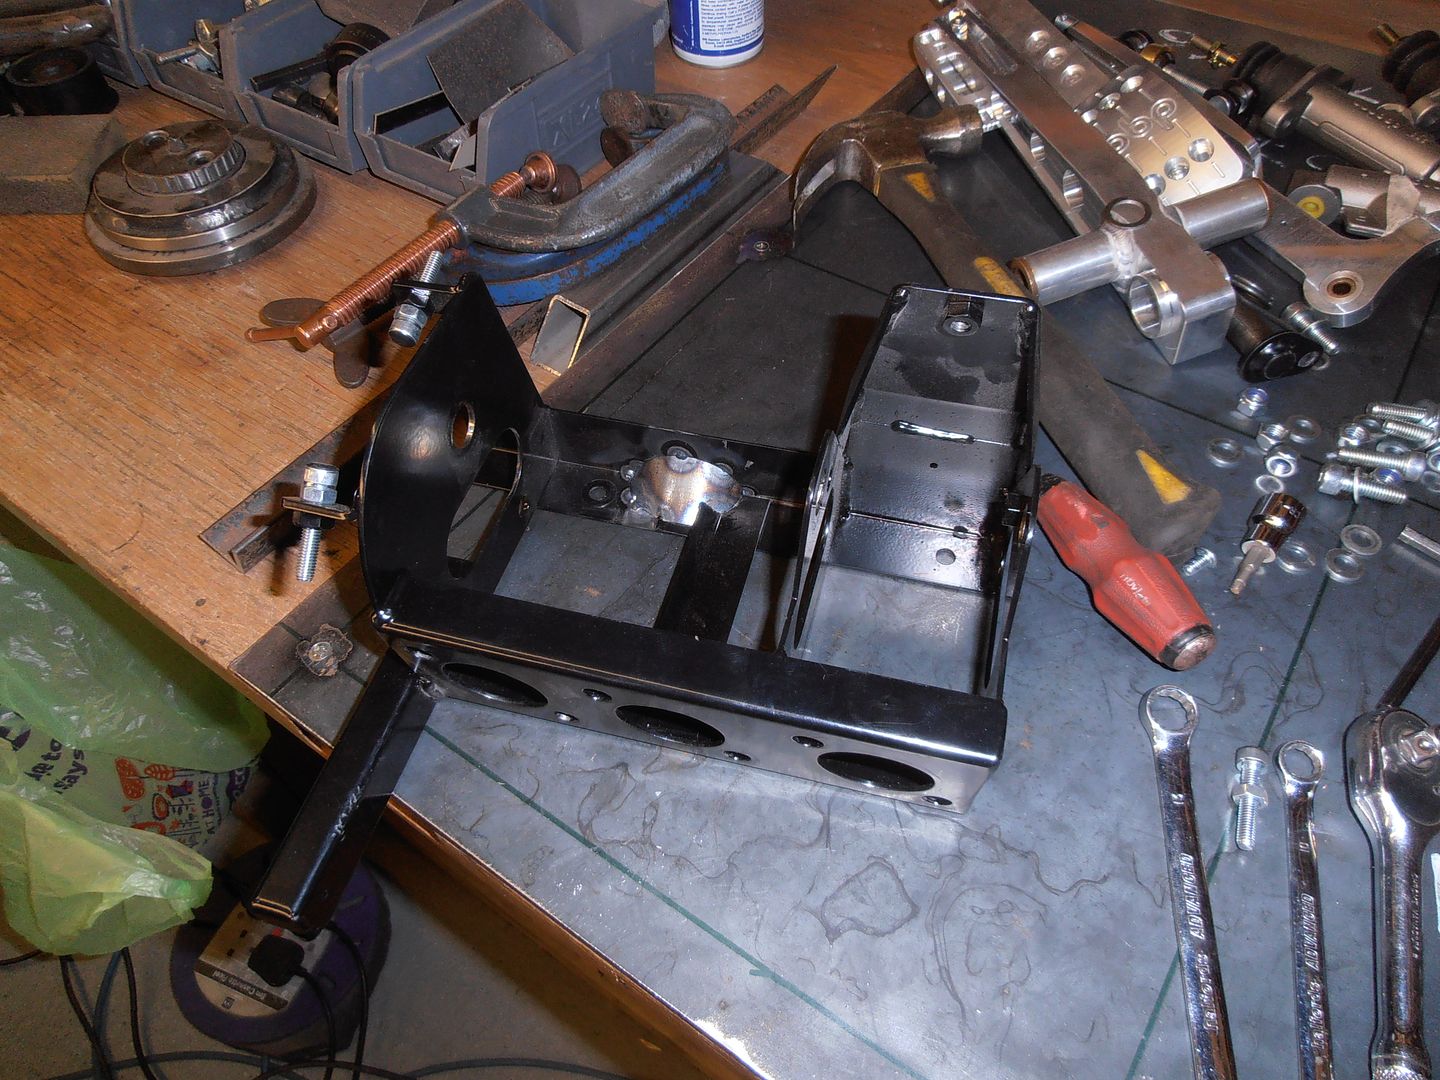 welded in 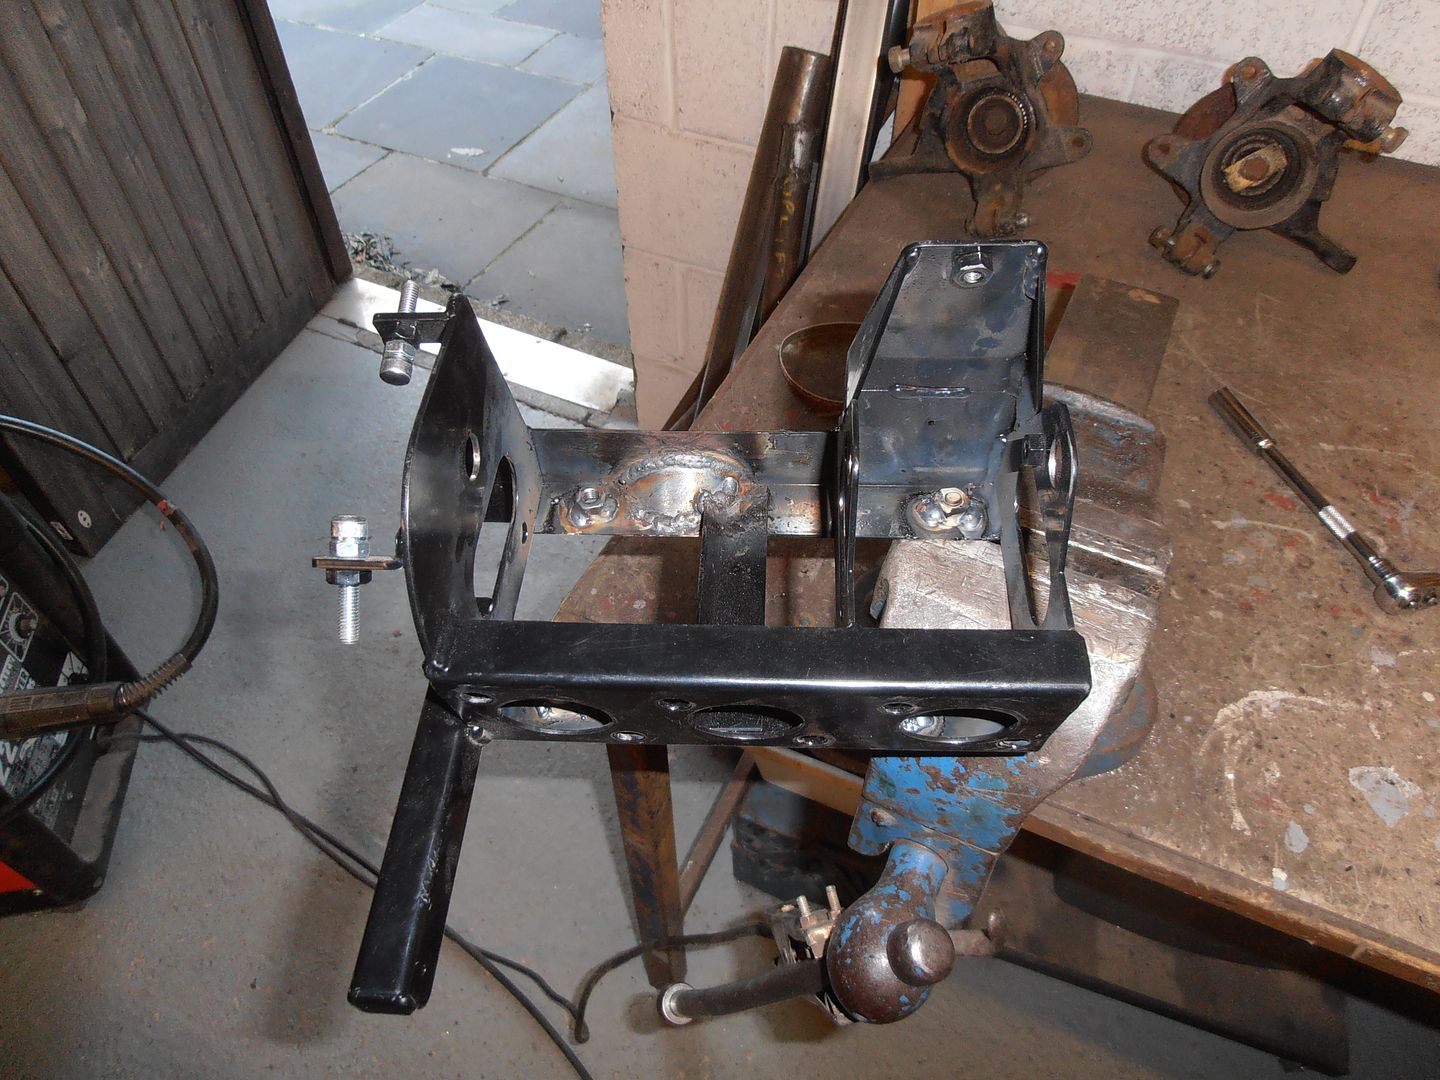 tack temp mount in place 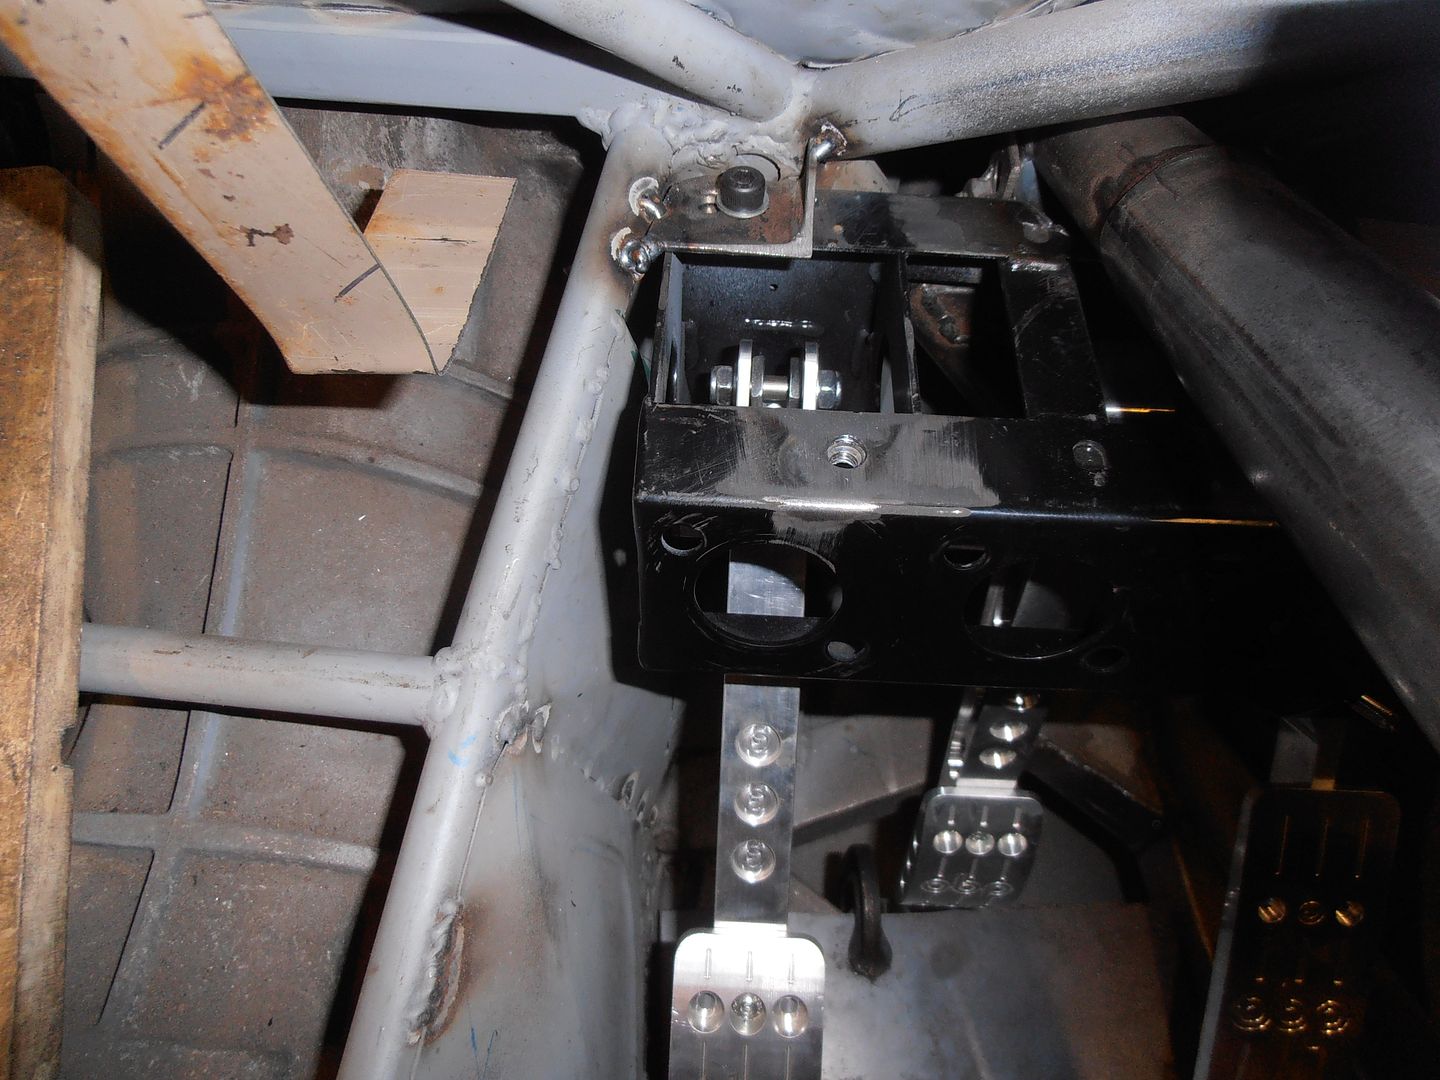 start on the next mount to fix it in two planes card with numbers on it 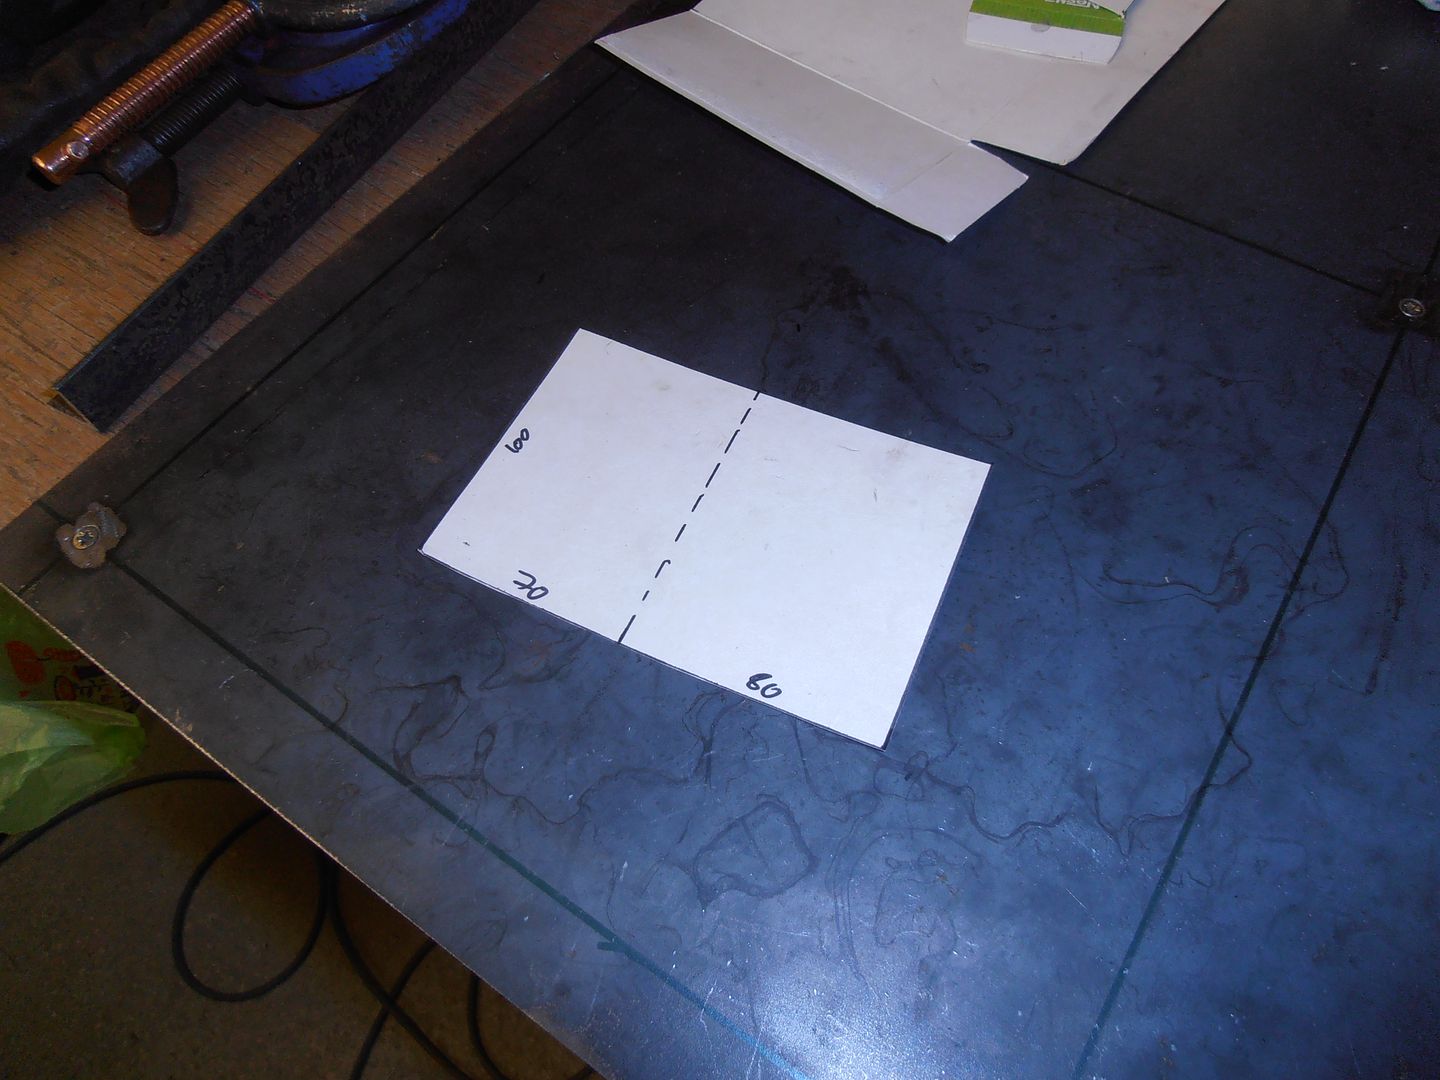 mock up cardboard 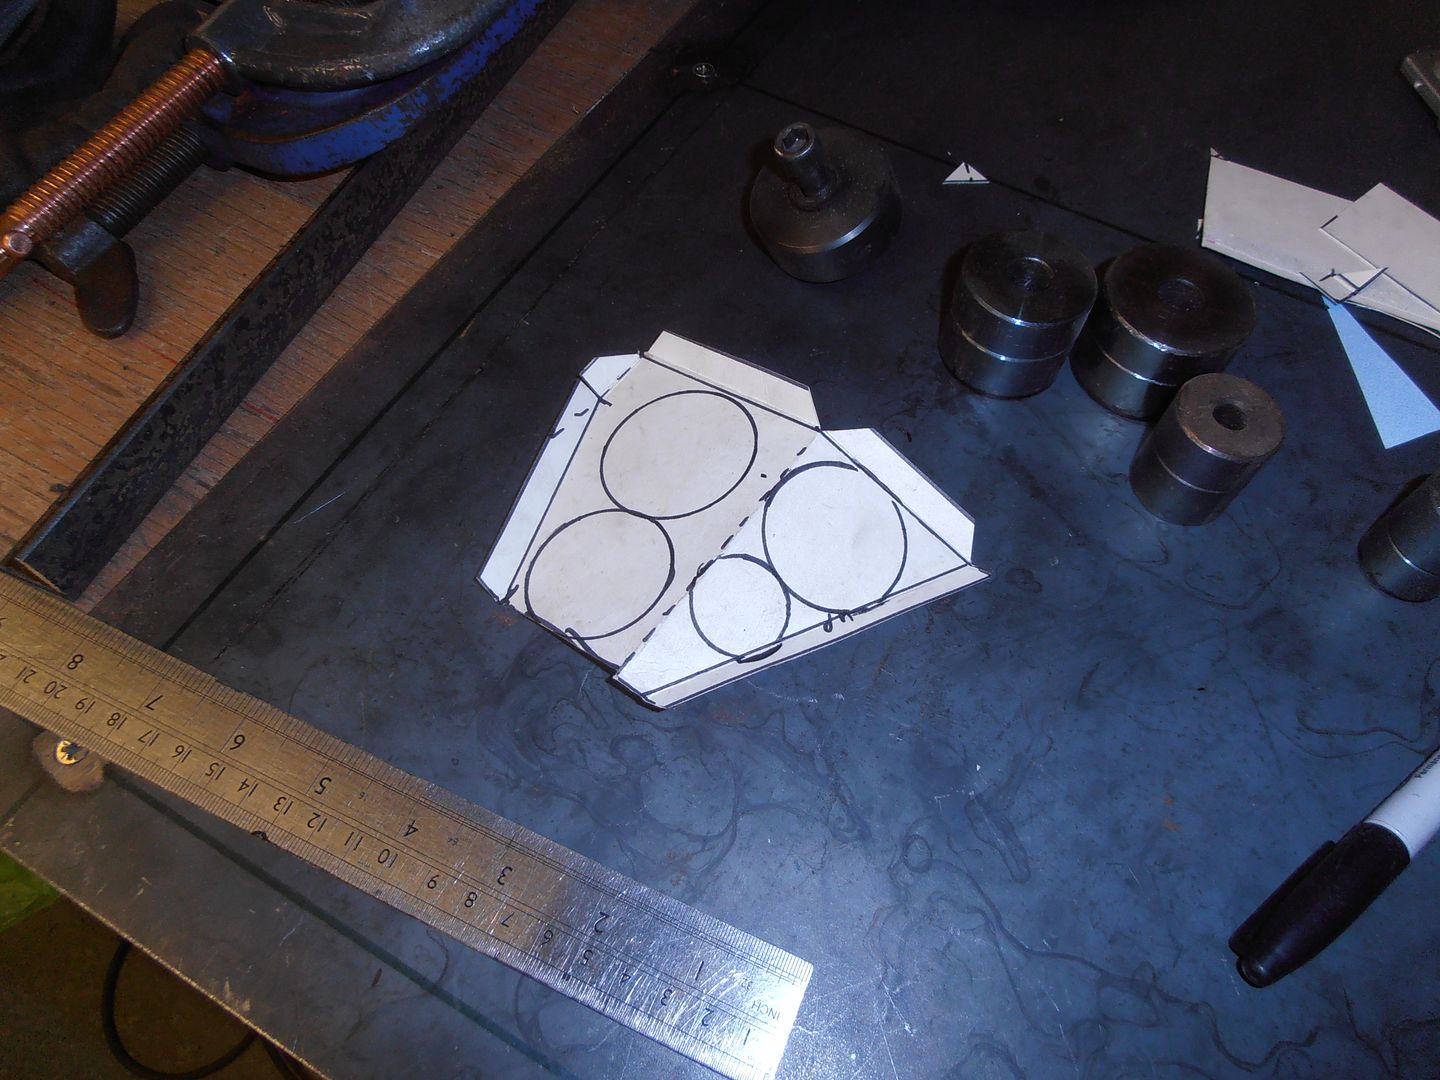 mark the bolt hole and fix the cocked up hole location 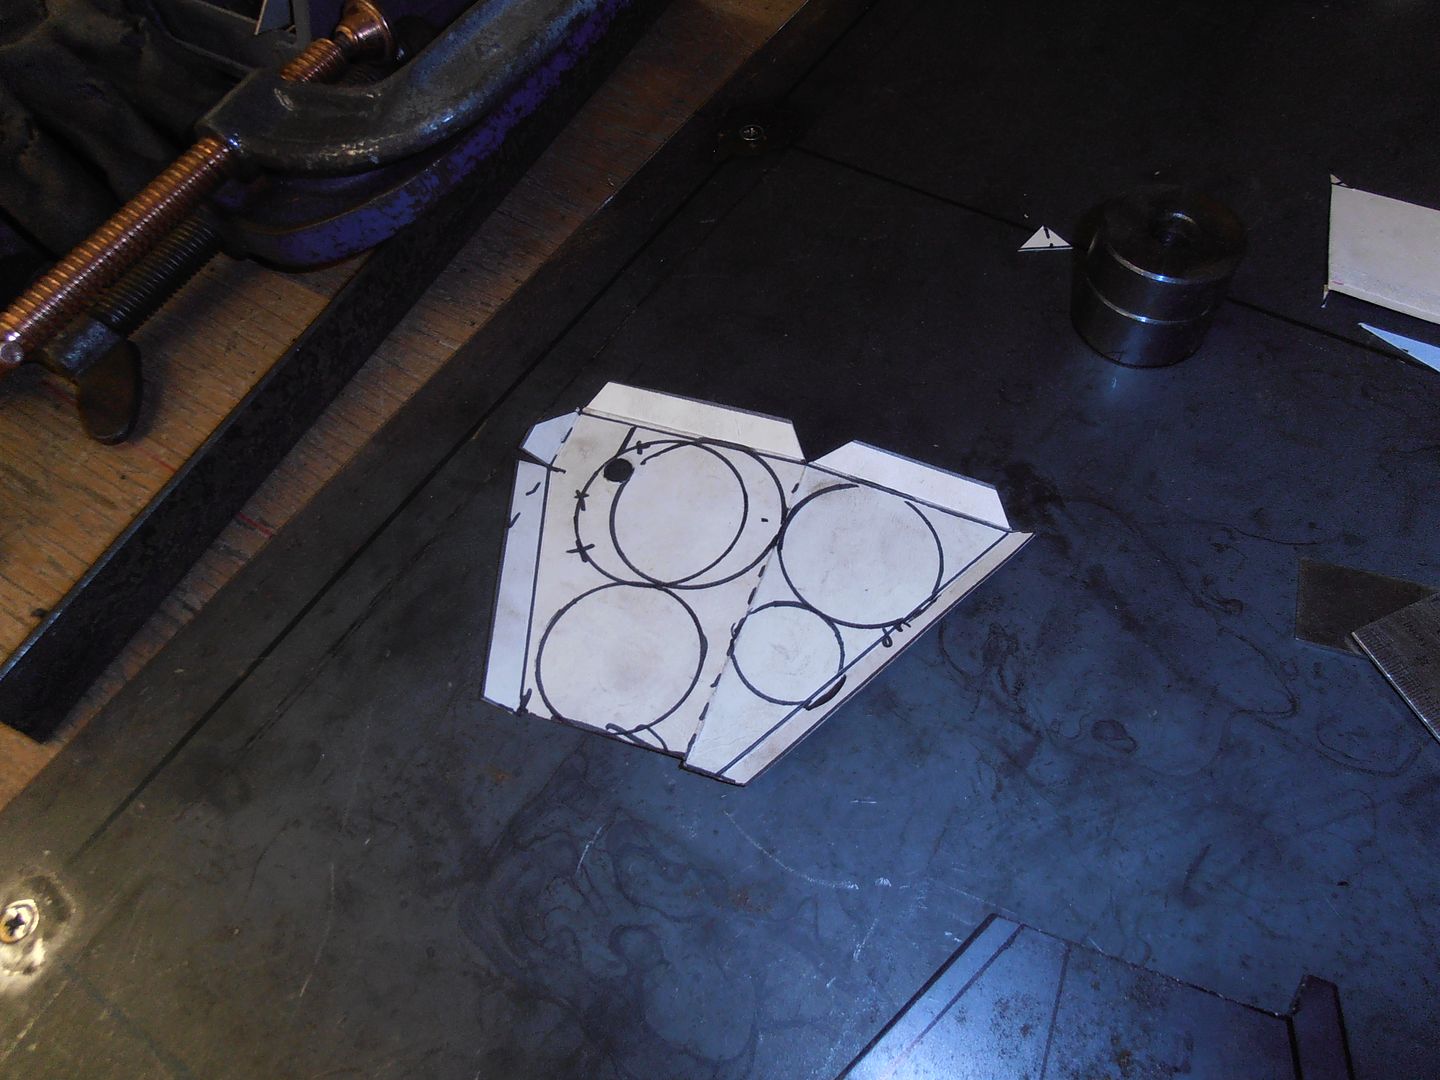 transfer to metal 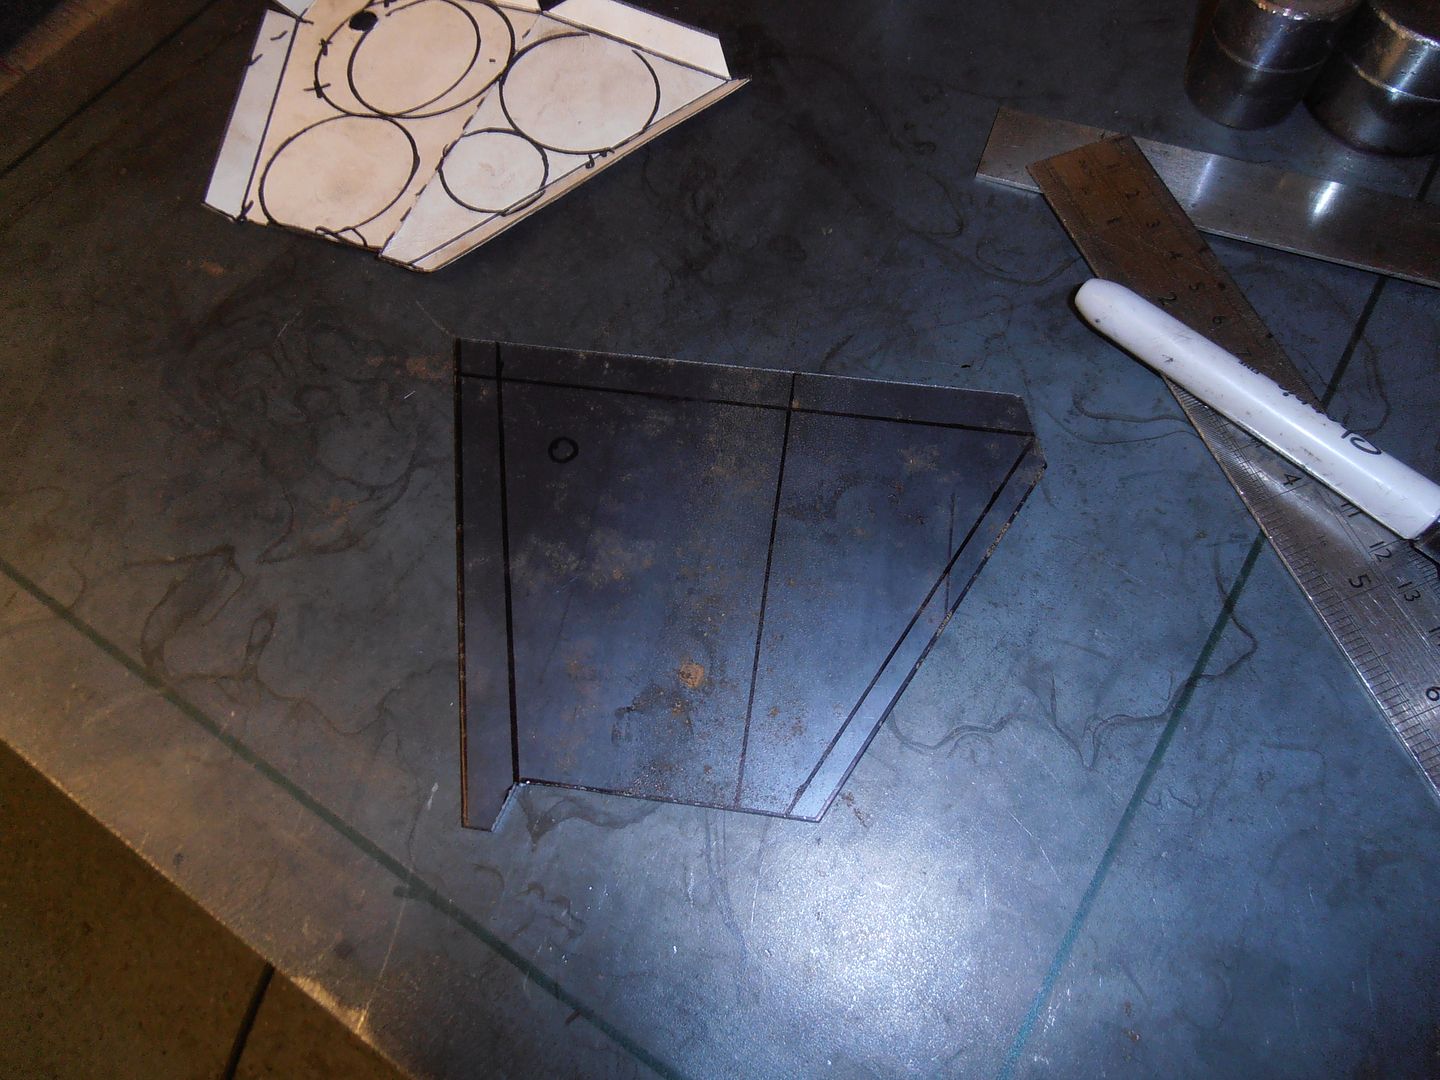 colour it in 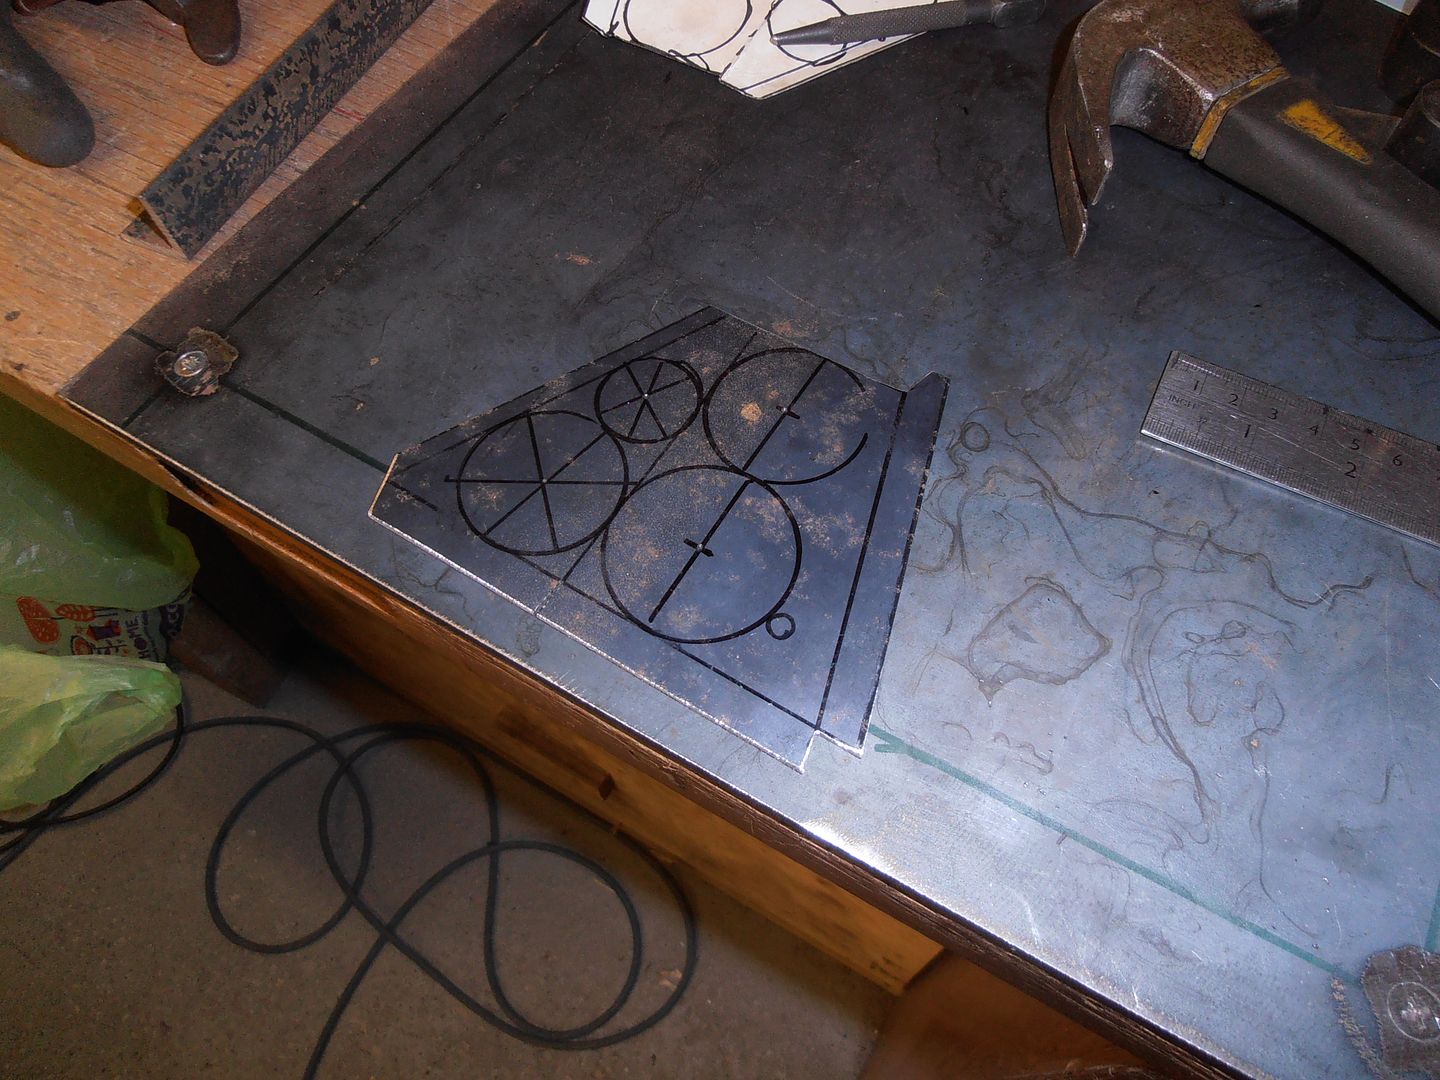 cut some holes and move some of the centres to make things fit properly.... 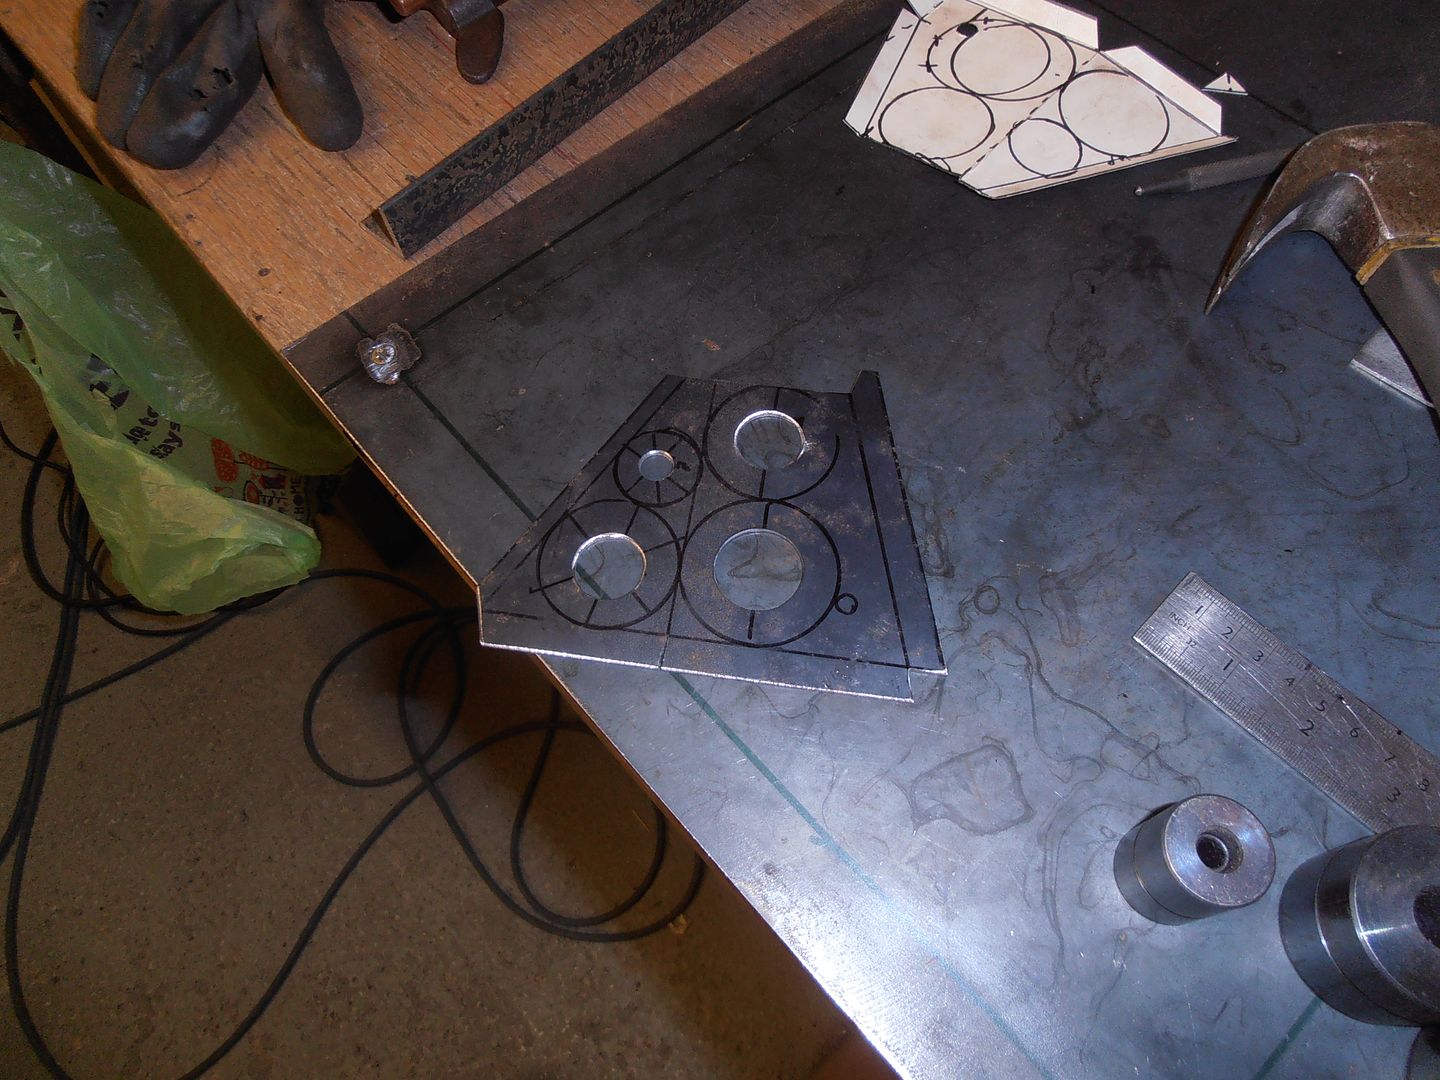 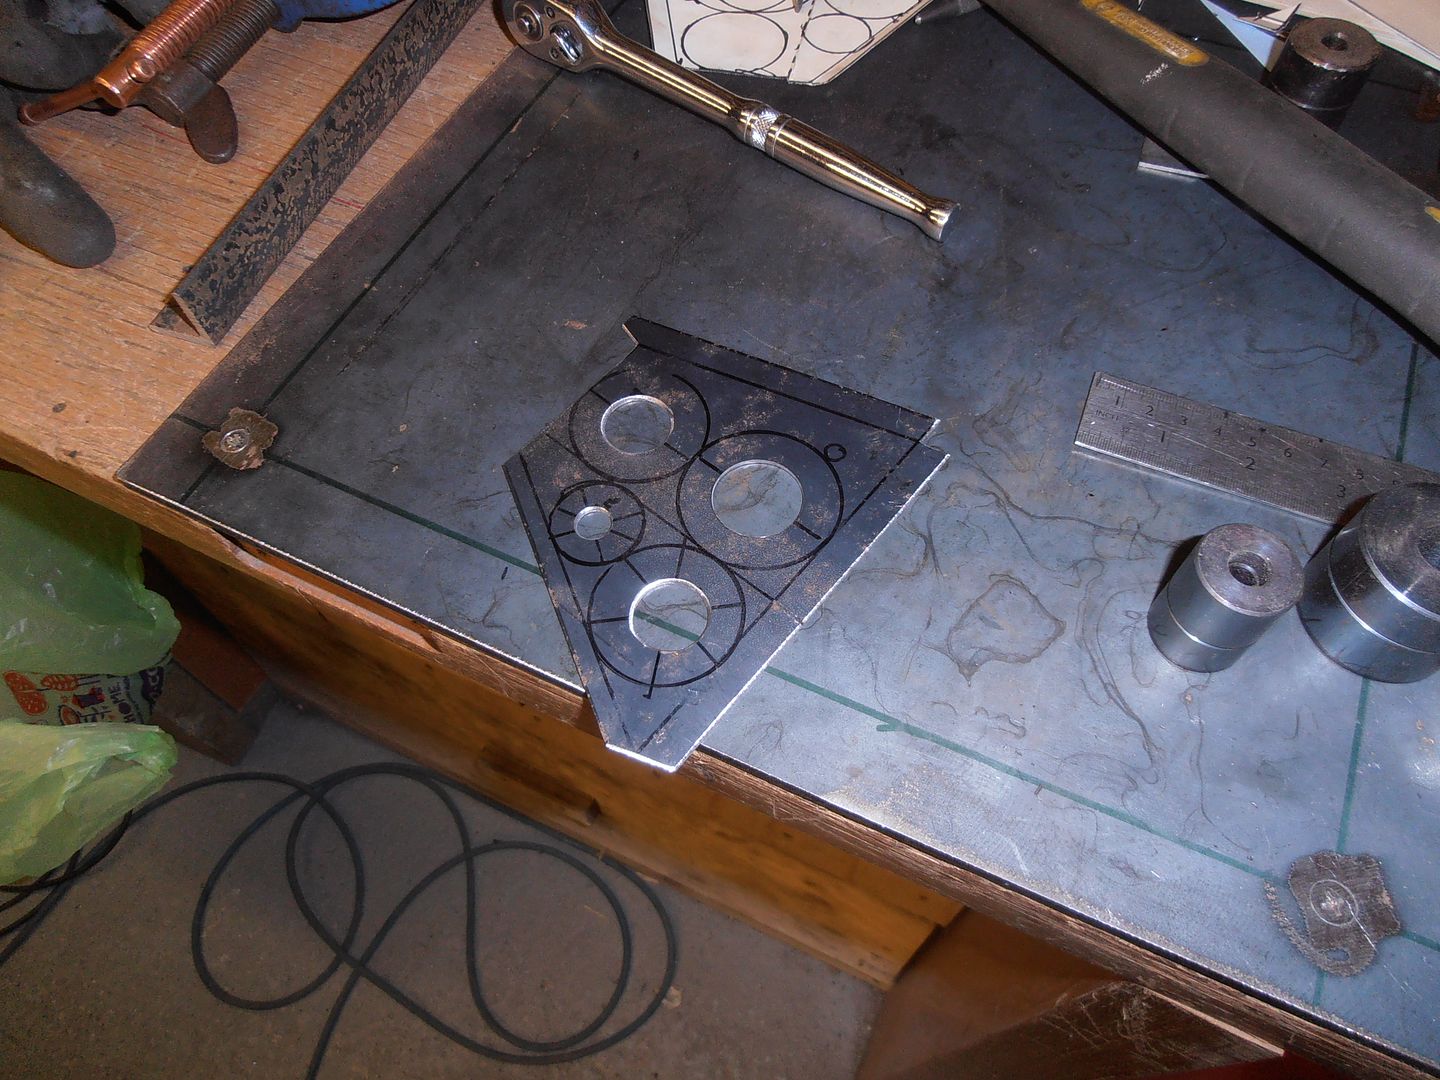 And then start bending 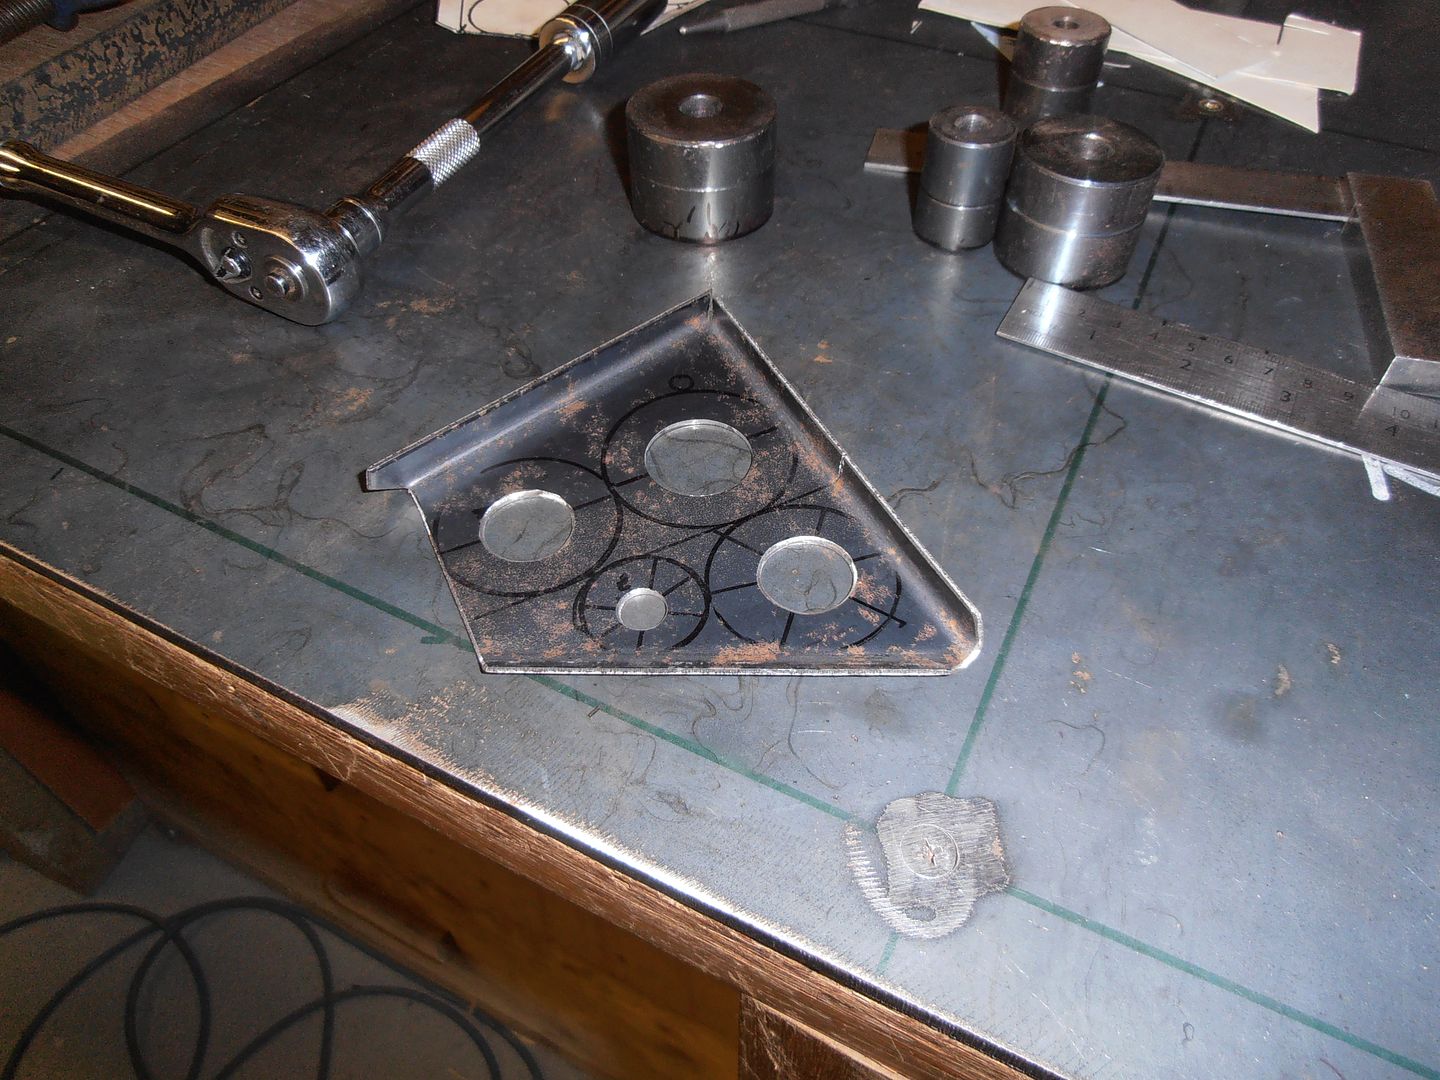 and swageing 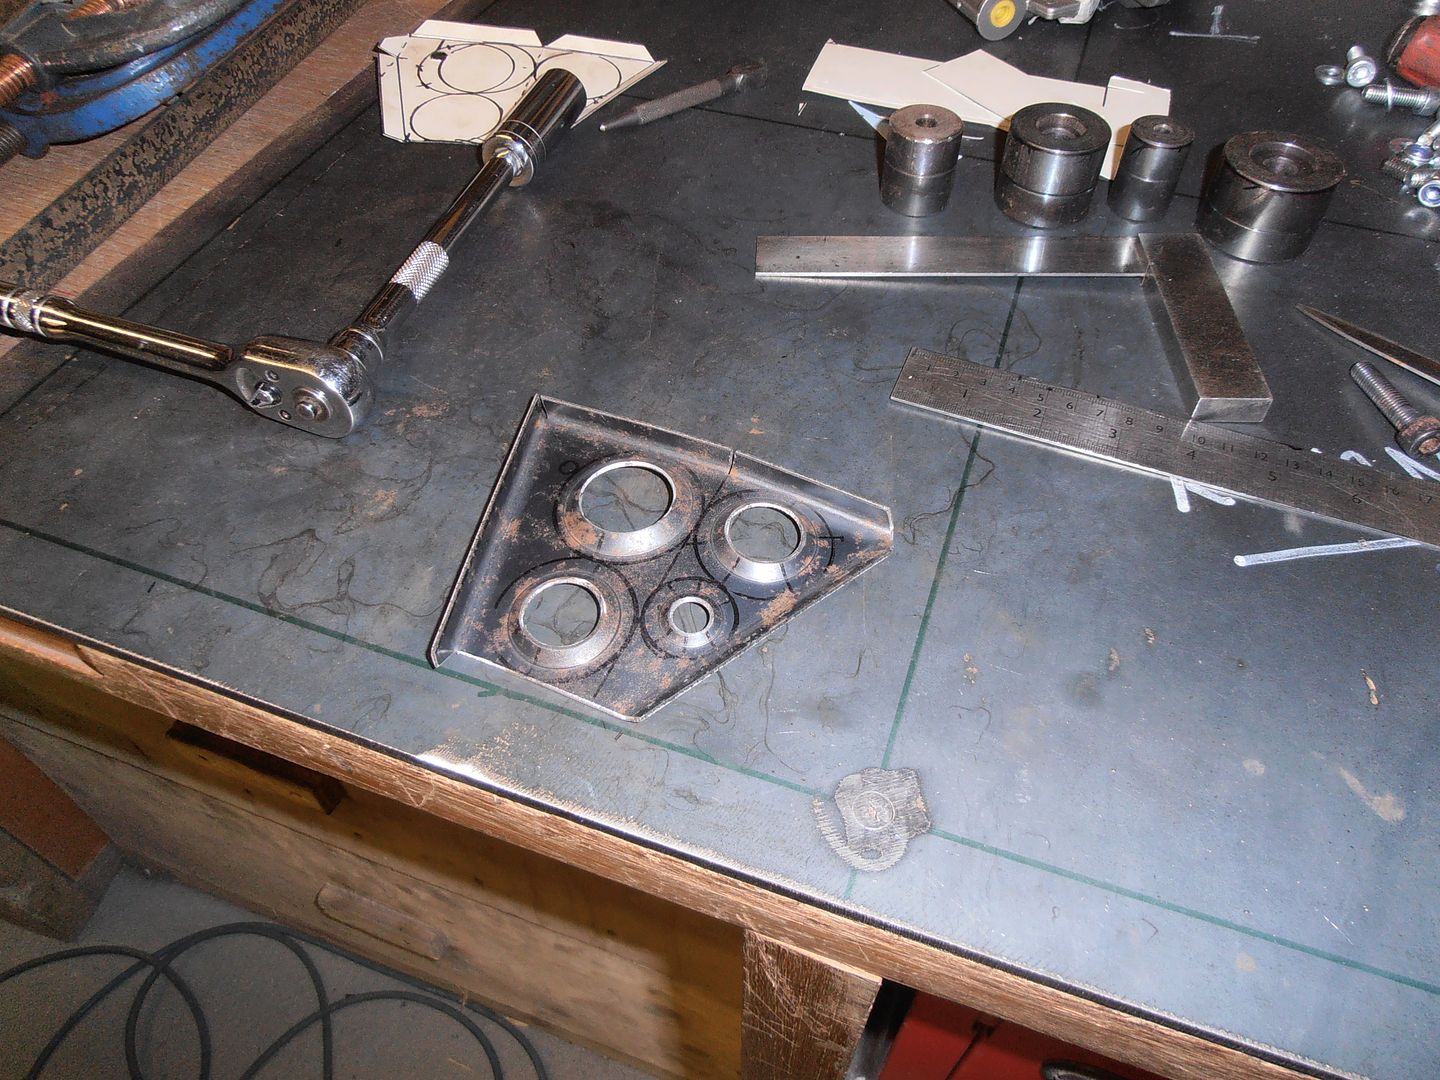 and bending 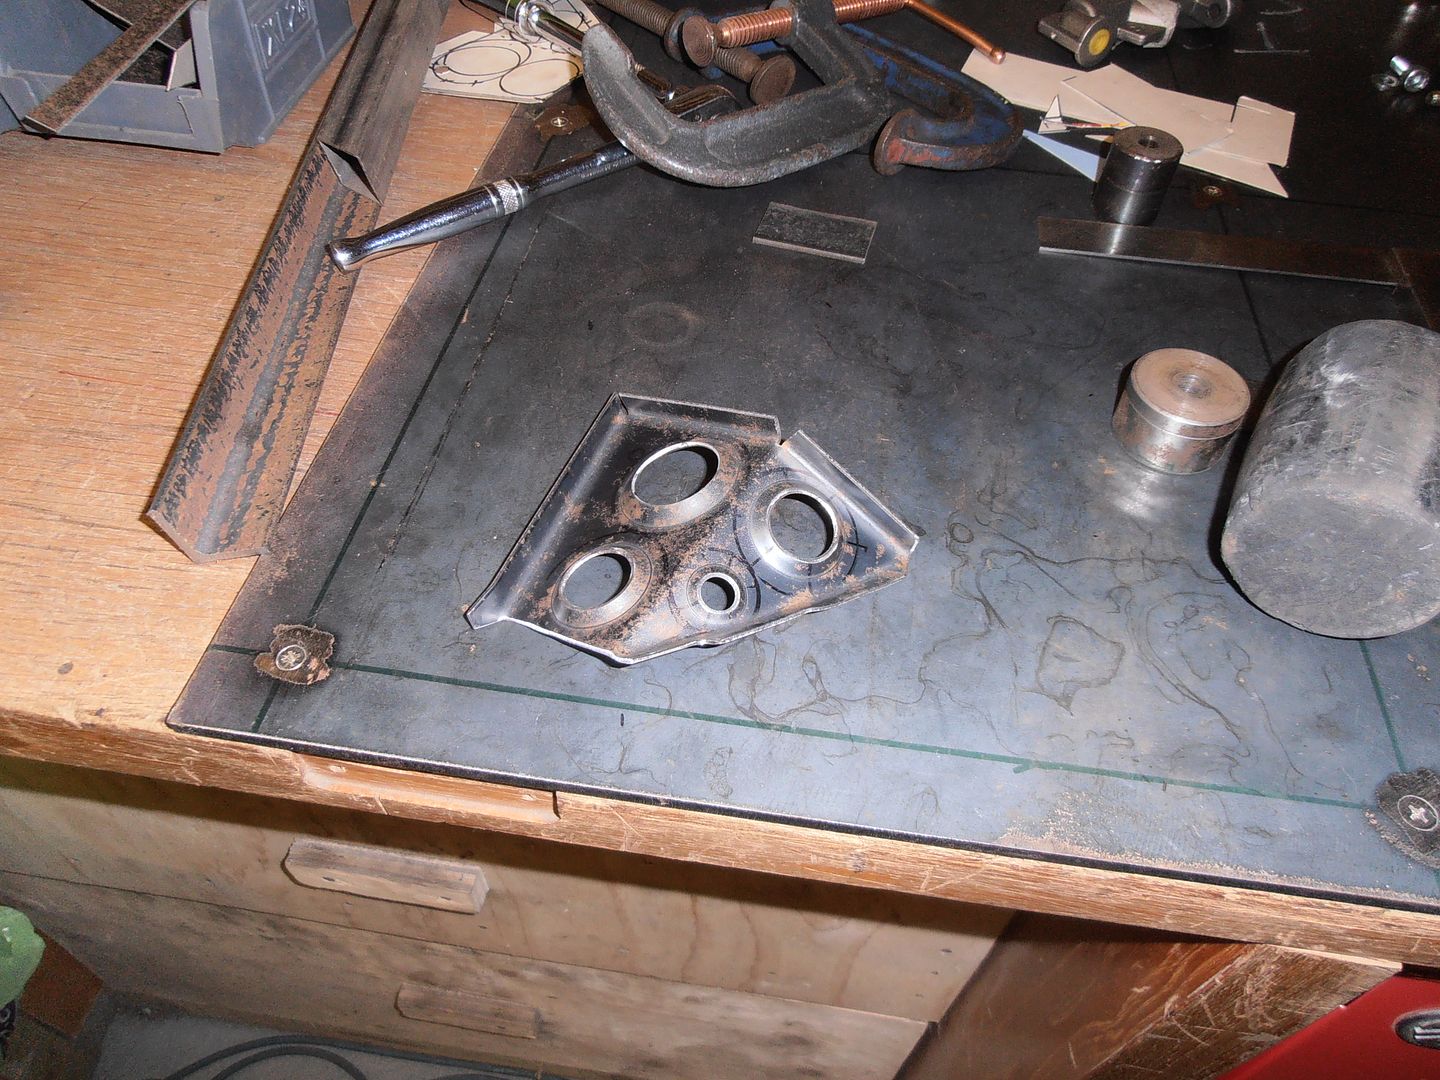 and trialling 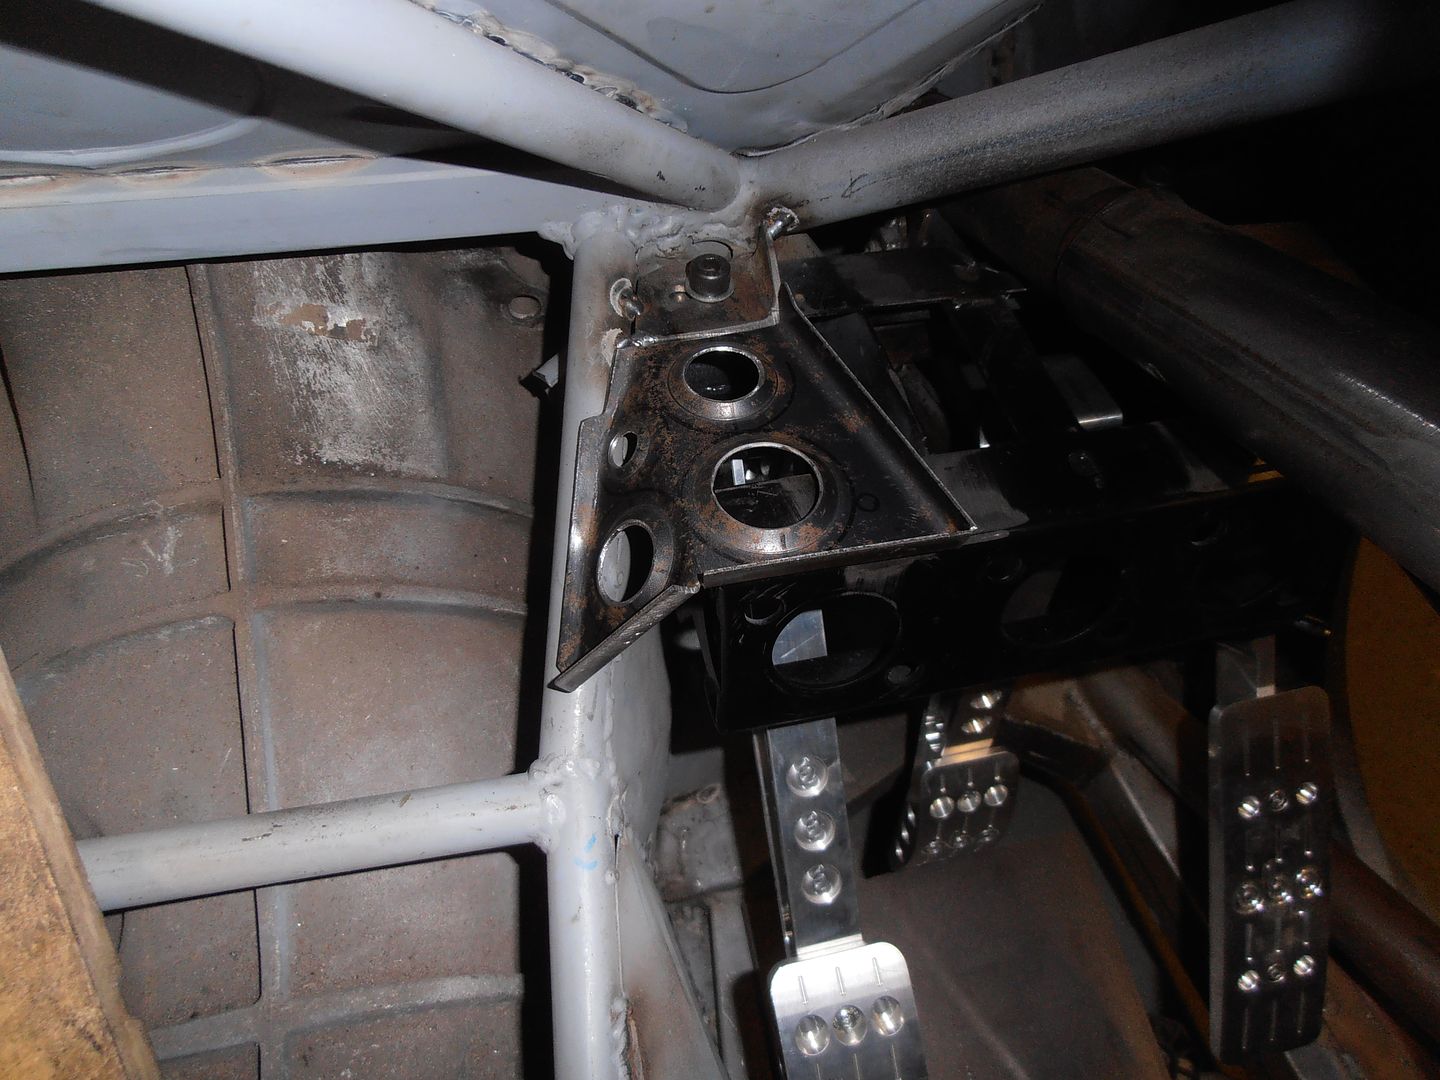 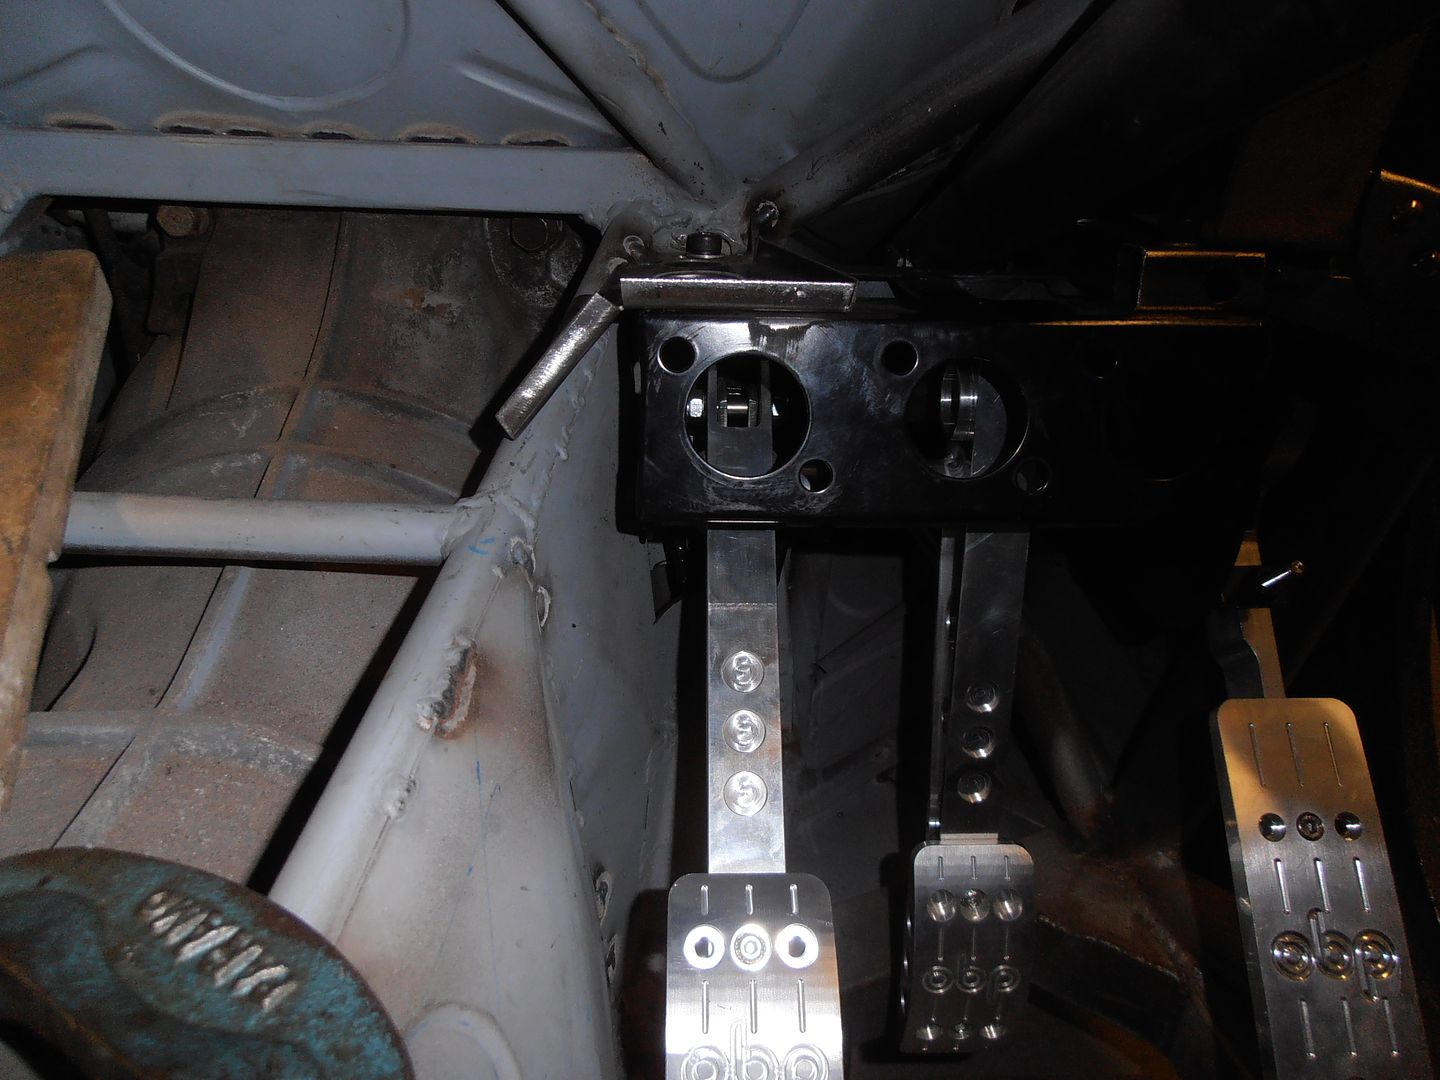 need to get the right position for the bolt hole, so knock up a transfer punch (aka, a bolt with the head cut off and a small point turned on it) 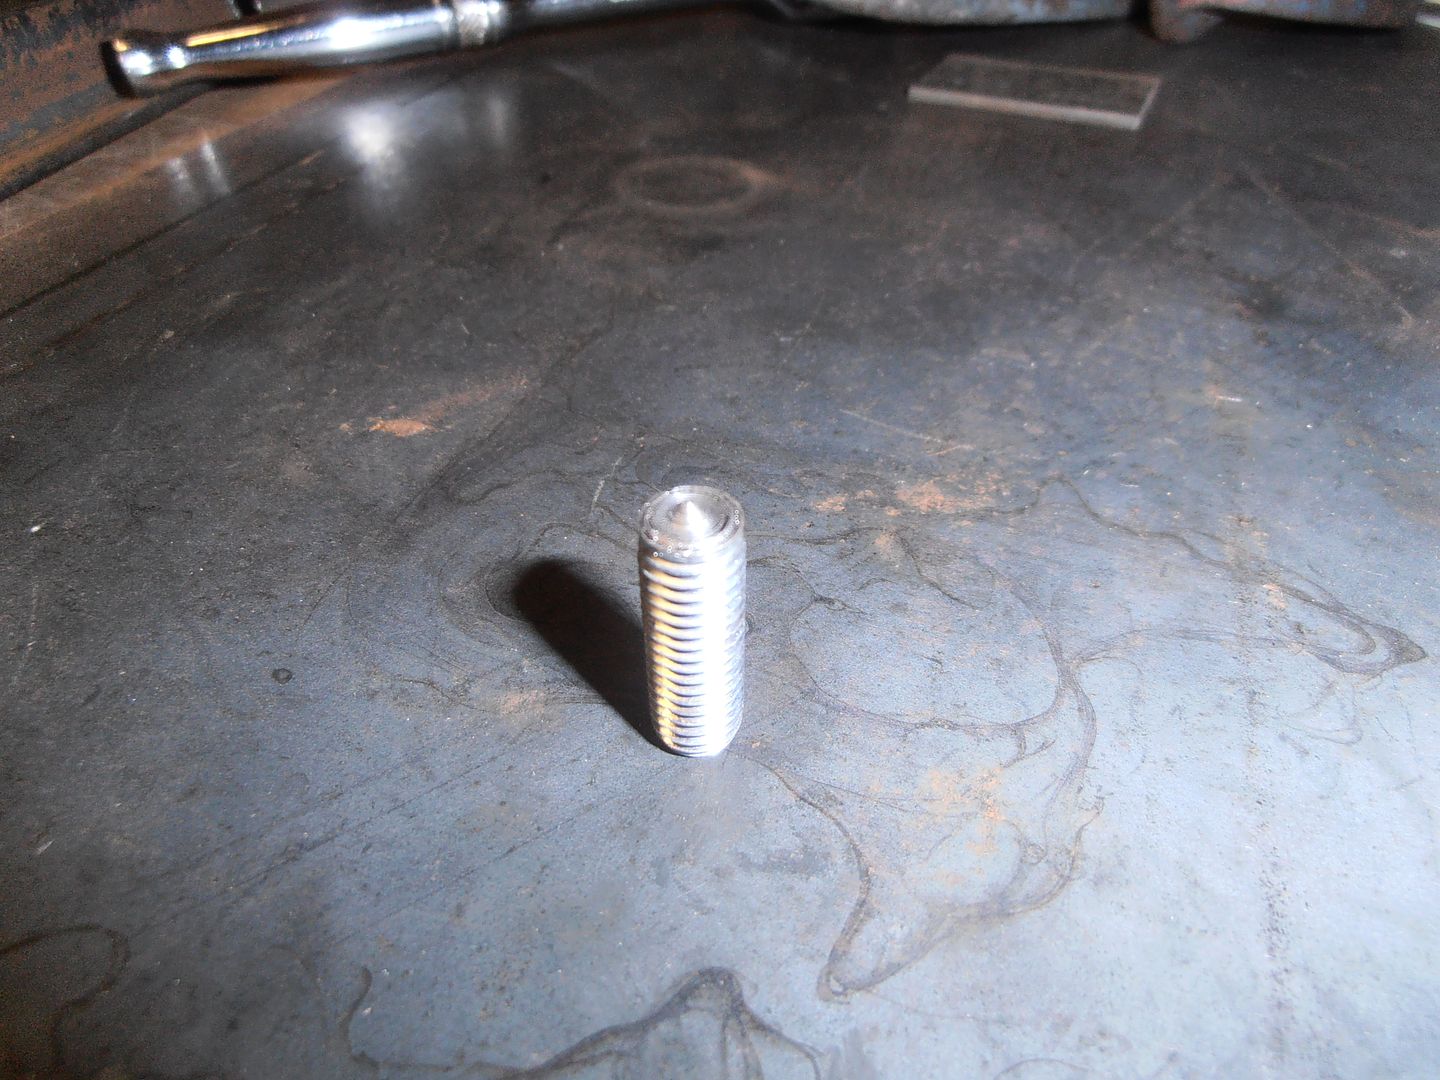 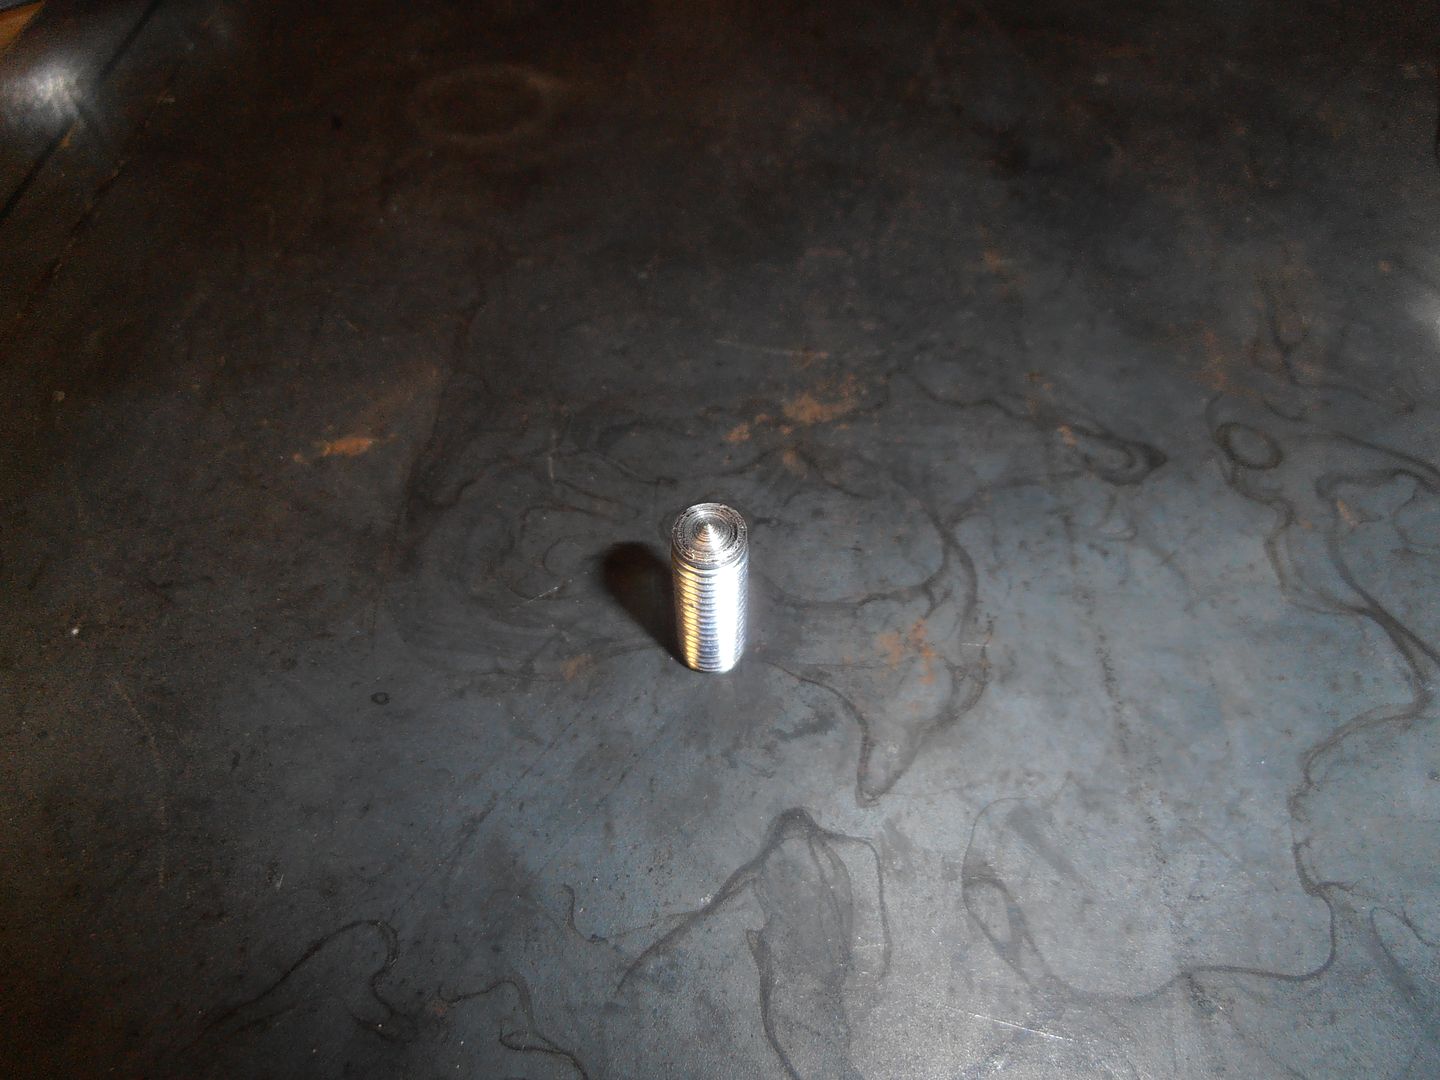 goes in here 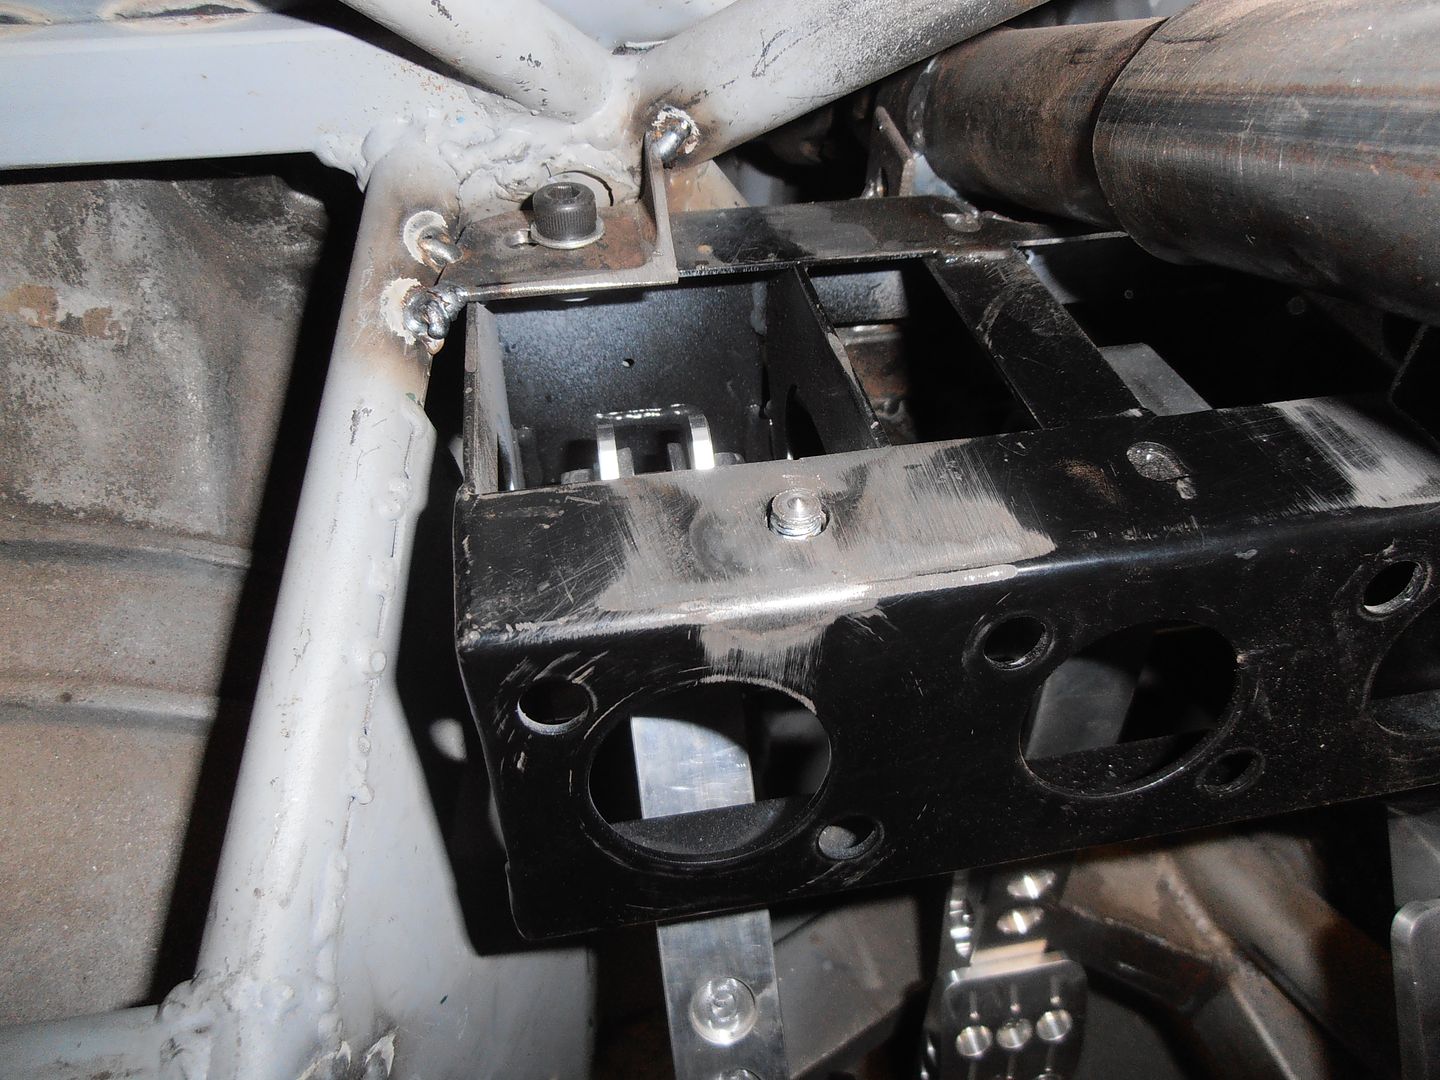 put the plate on top and very lightly tap 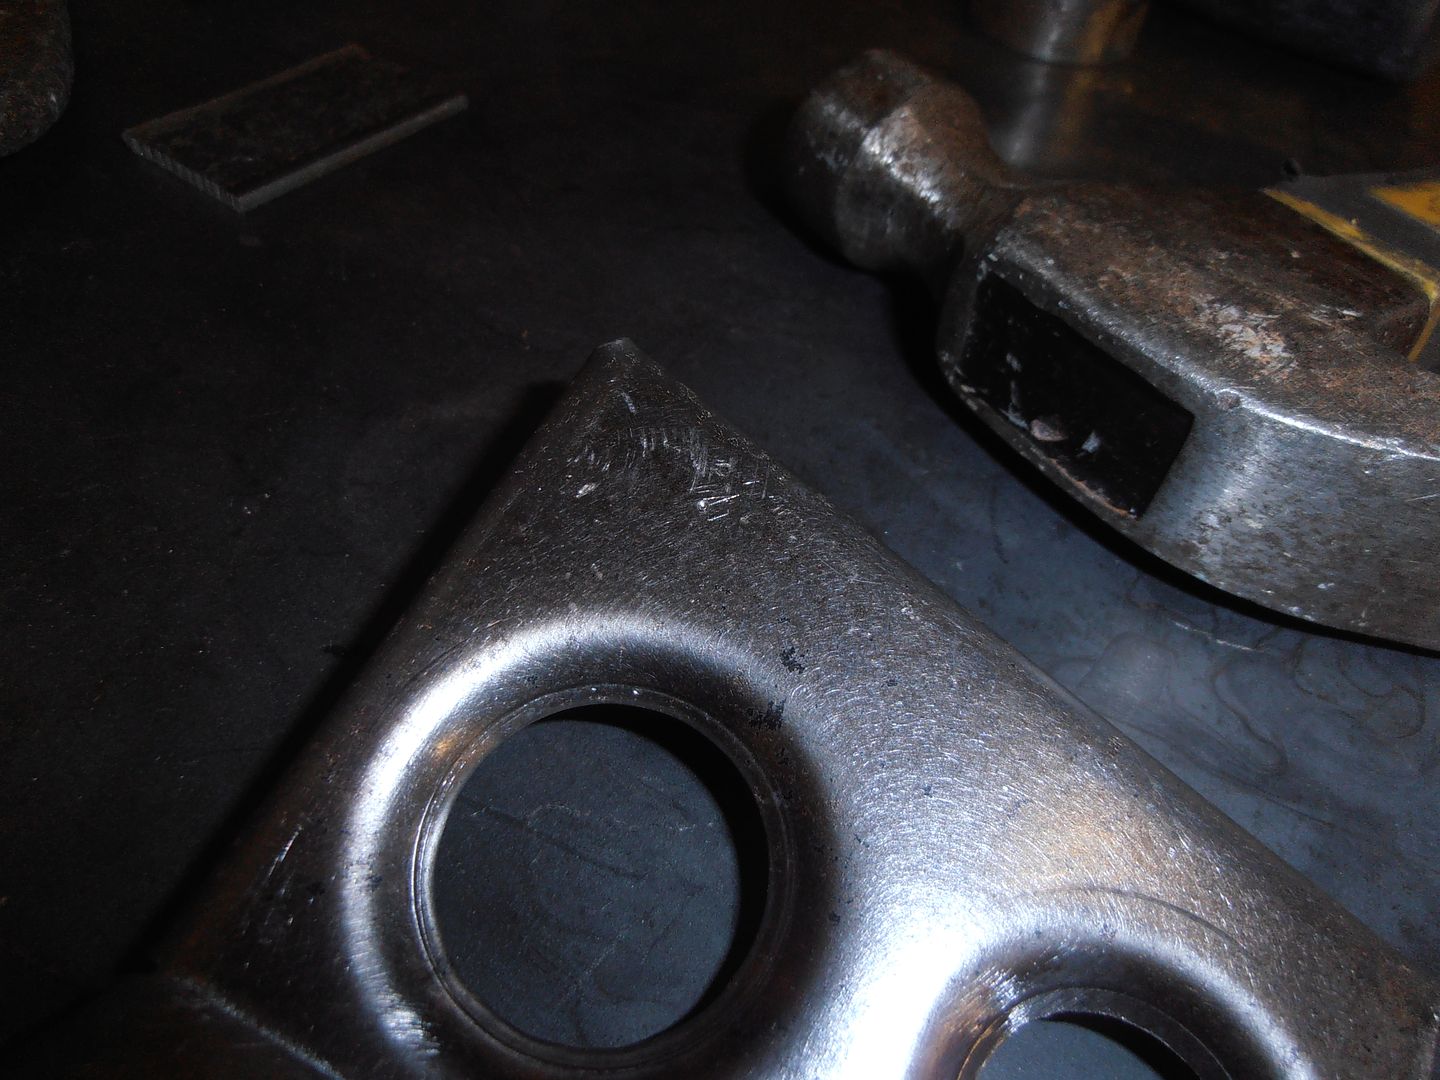 x marks the spot 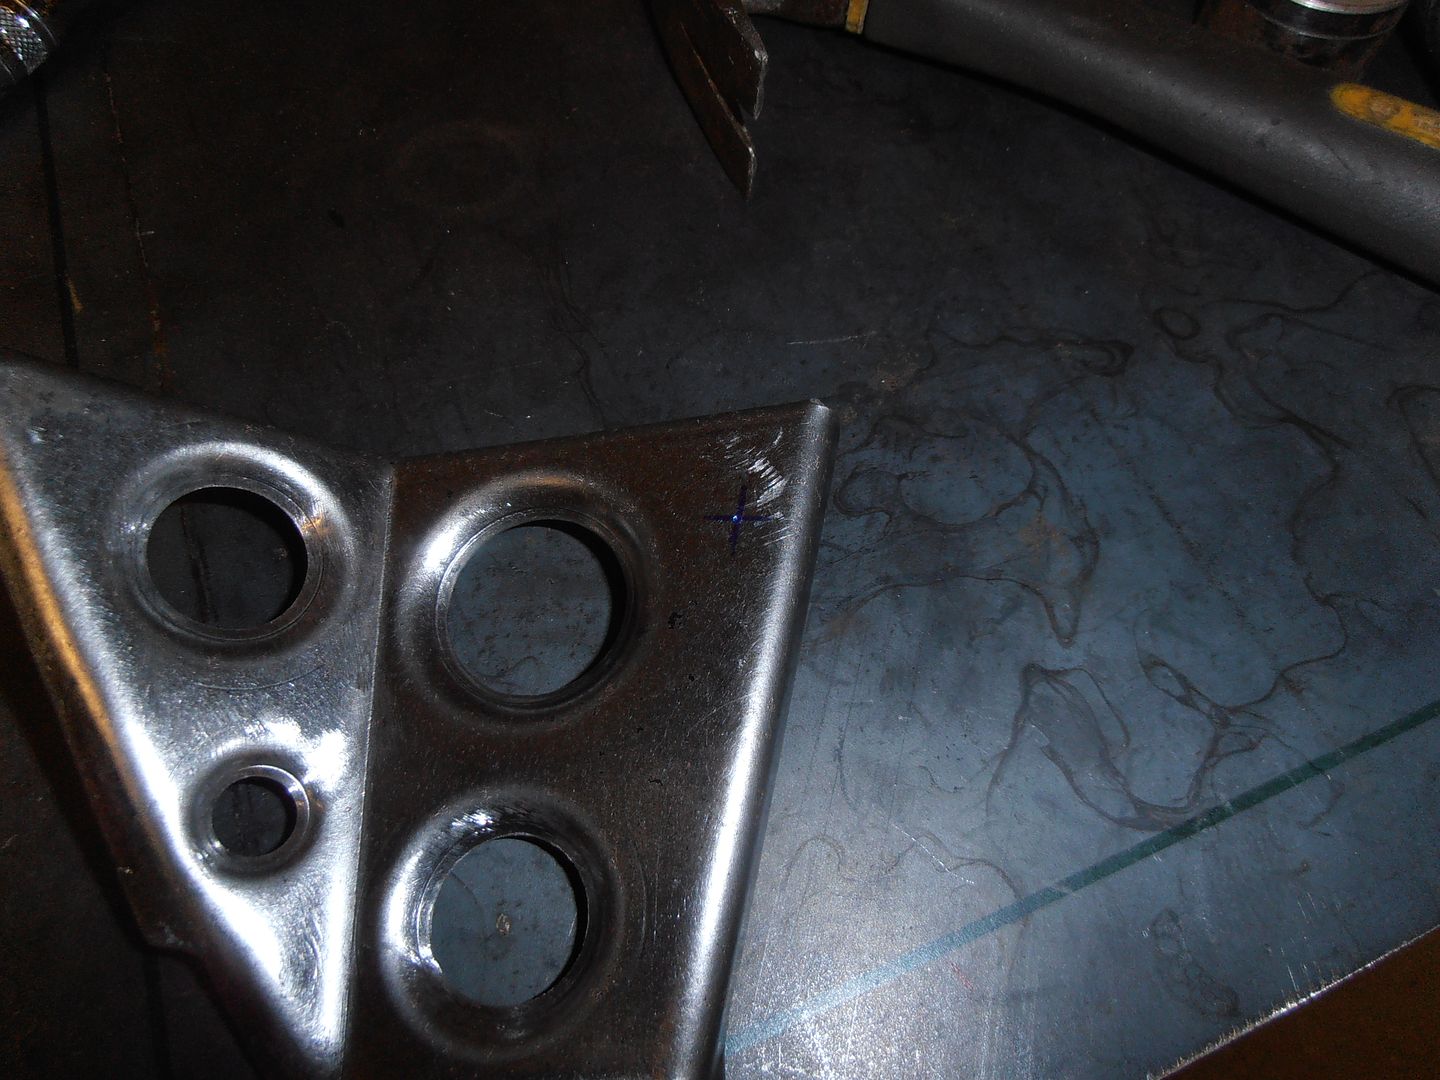 trial fit 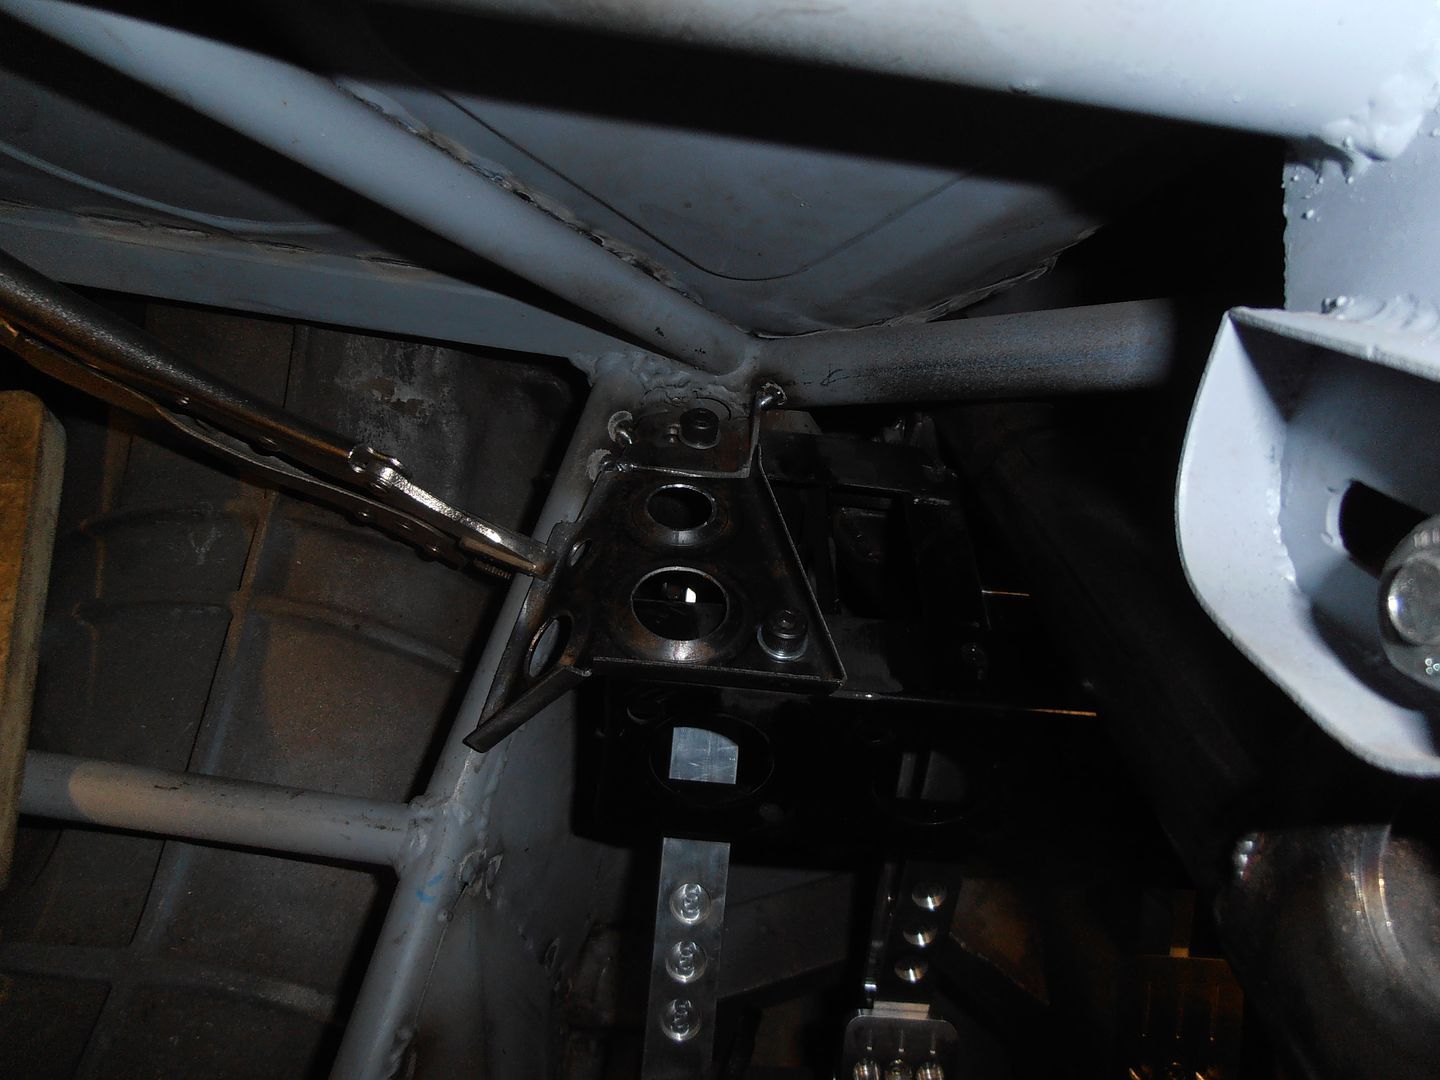 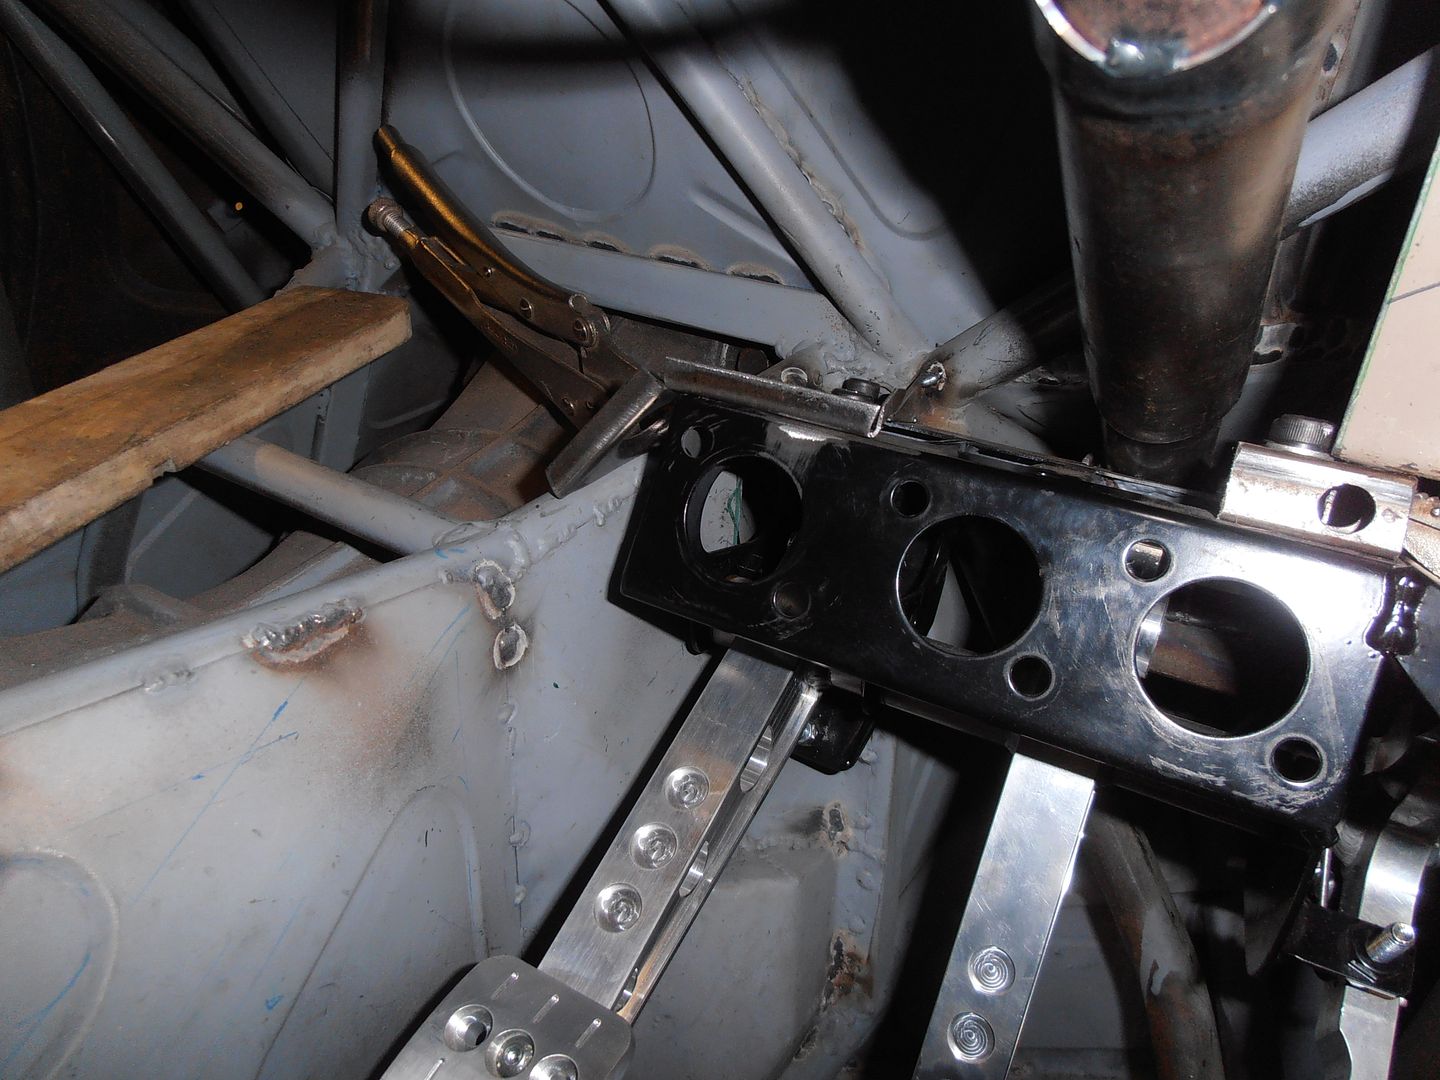 tack it together / in  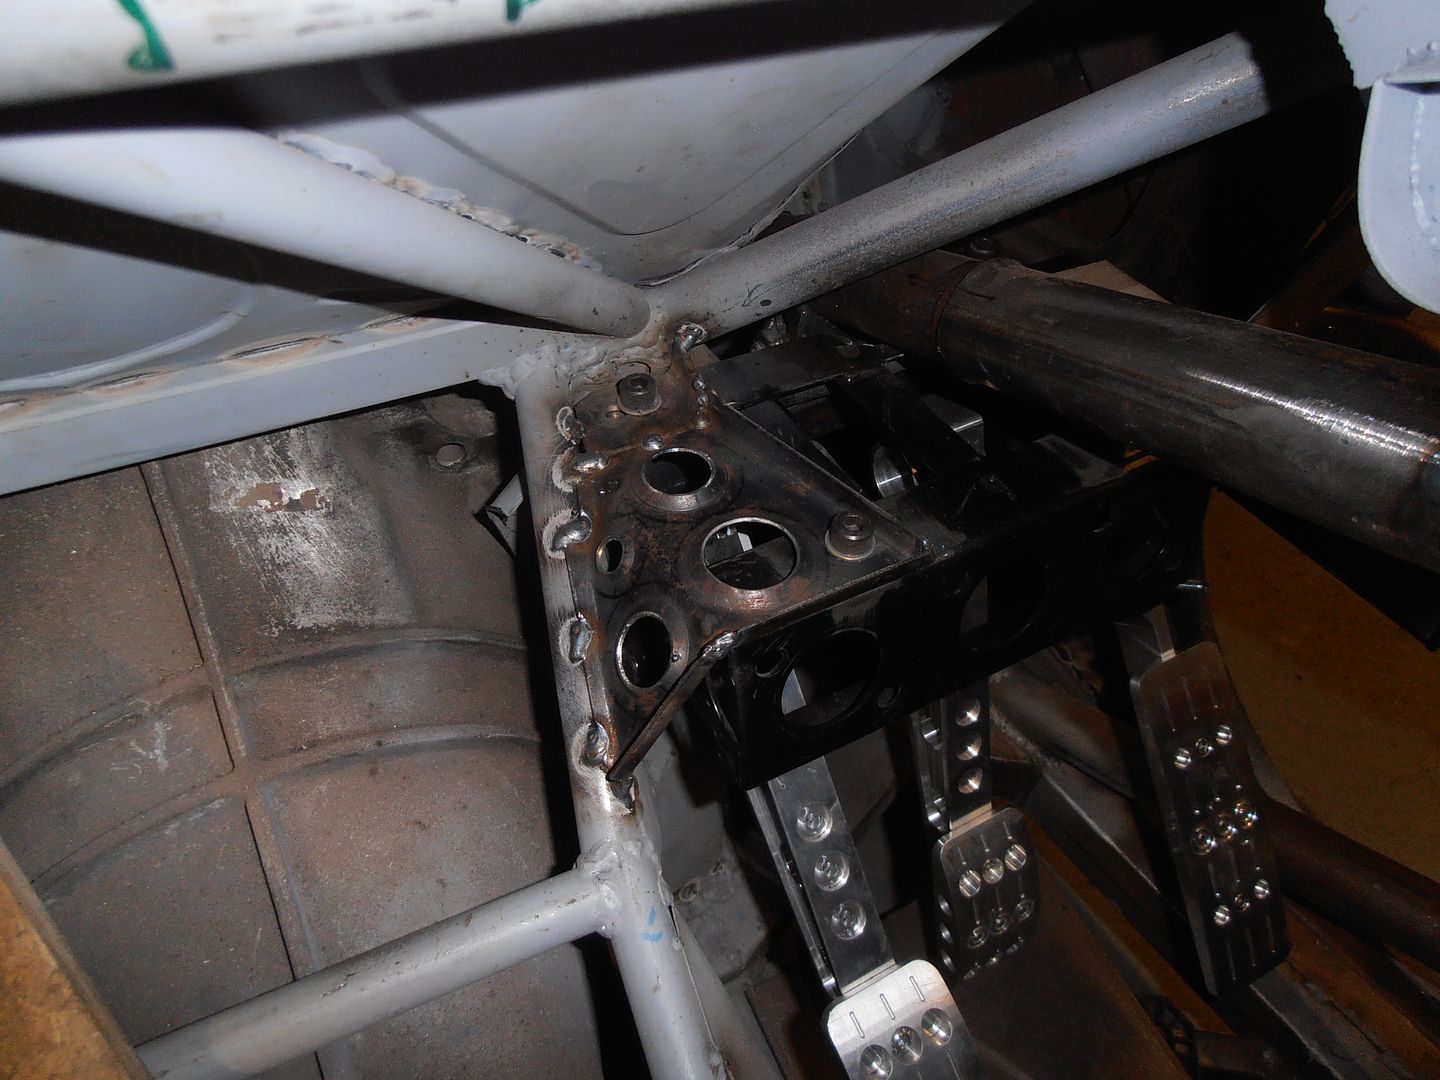 This made it surprisingly stiff, but still has the other bracket to go on the other side, and this one still needs some additional stiffening in. That was it. It may be a while before i get any more done as things on. In other news i did a quick check about my photo-bucket account. This thread has about 2200 photos to it, which I will need to re-host somewhere else and re-build the thread. This will be a fairly major undertaking! I am not looking forward to it. |
| |
|
|
|
|
|
Oct 30, 2017 22:57:07 GMT
|
|
Jon
I do like you use of CAD (Card Aided Design) templates in your fabrication.
Very good.
|
| |
|
|
bstardchild
Club Retro Rides Member
Posts: 14,971
Club RR Member Number: 71
|
|
|
|
Jon I do like you use of CAD (Card Aided Design) templates in your fabrication. Very good. I like the punching and flaring and - if it can be punched and flared, punch and flare it, if it can't be punched and flared, punch and flare it anyway it might just be sleeping............. |
| |
|
|
|
|
jonomisfit
Club Retro Rides Member
Posts: 1,789
Club RR Member Number: 49
|
|
|
|
|
Can never have too much of a good thing.
Especially if it's also functional:-)
|
| |
|
|
jonomisfit
Club Retro Rides Member
Posts: 1,789
Club RR Member Number: 49
|
|
|
|
I snuck some time in the workshop. Start with some card 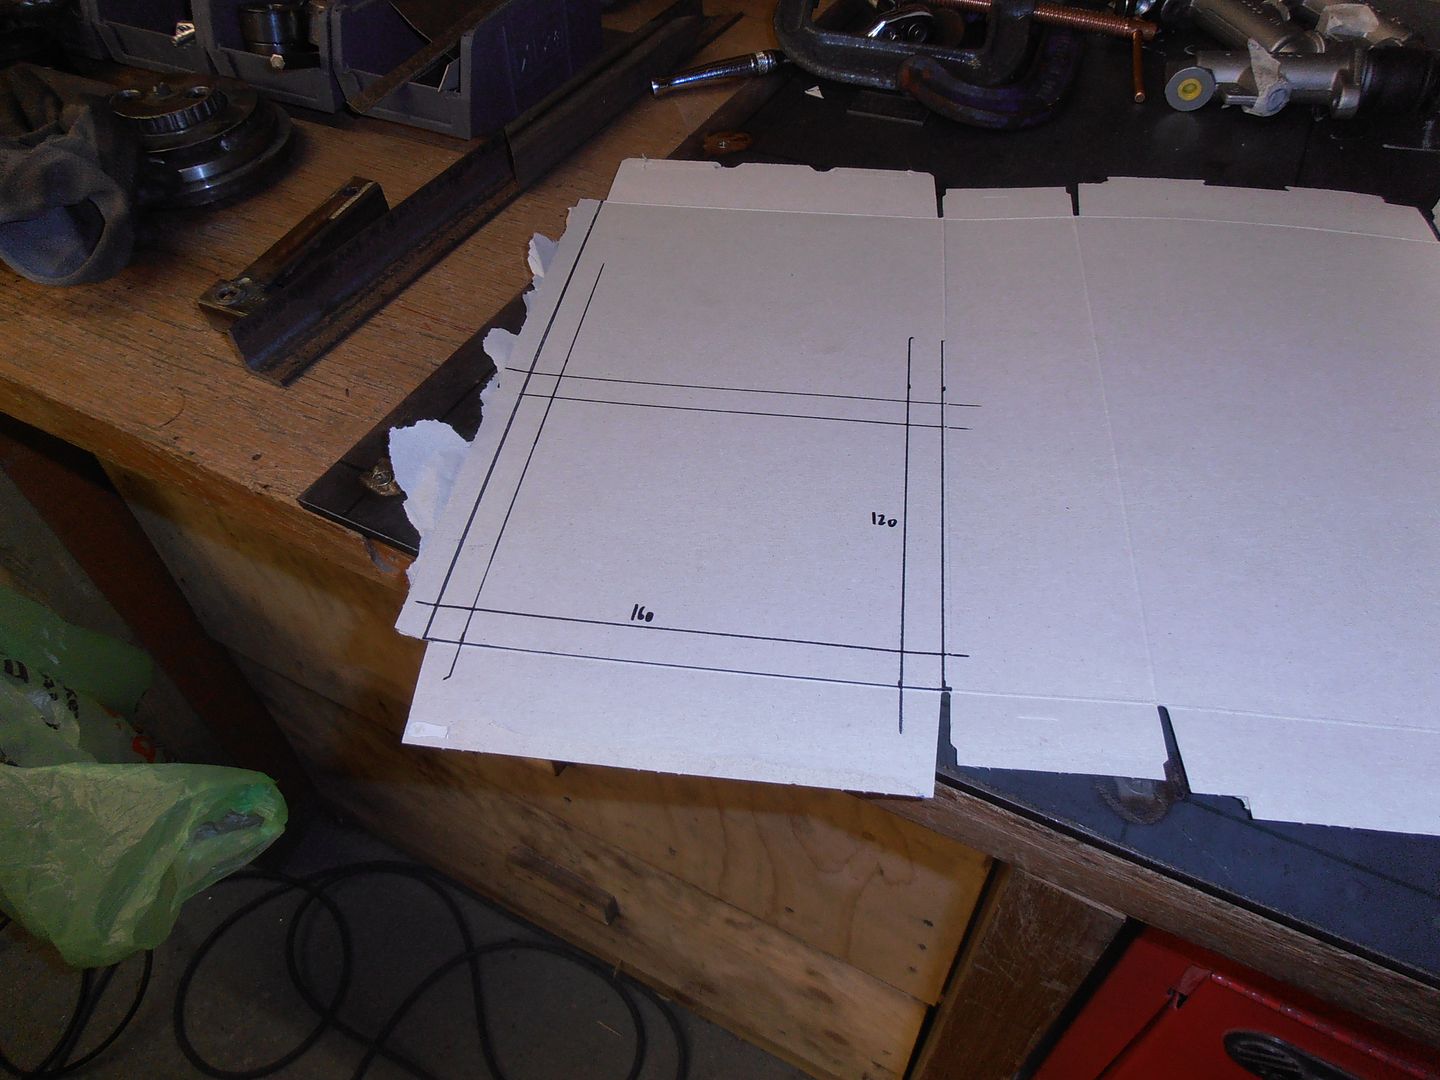 trim and bend 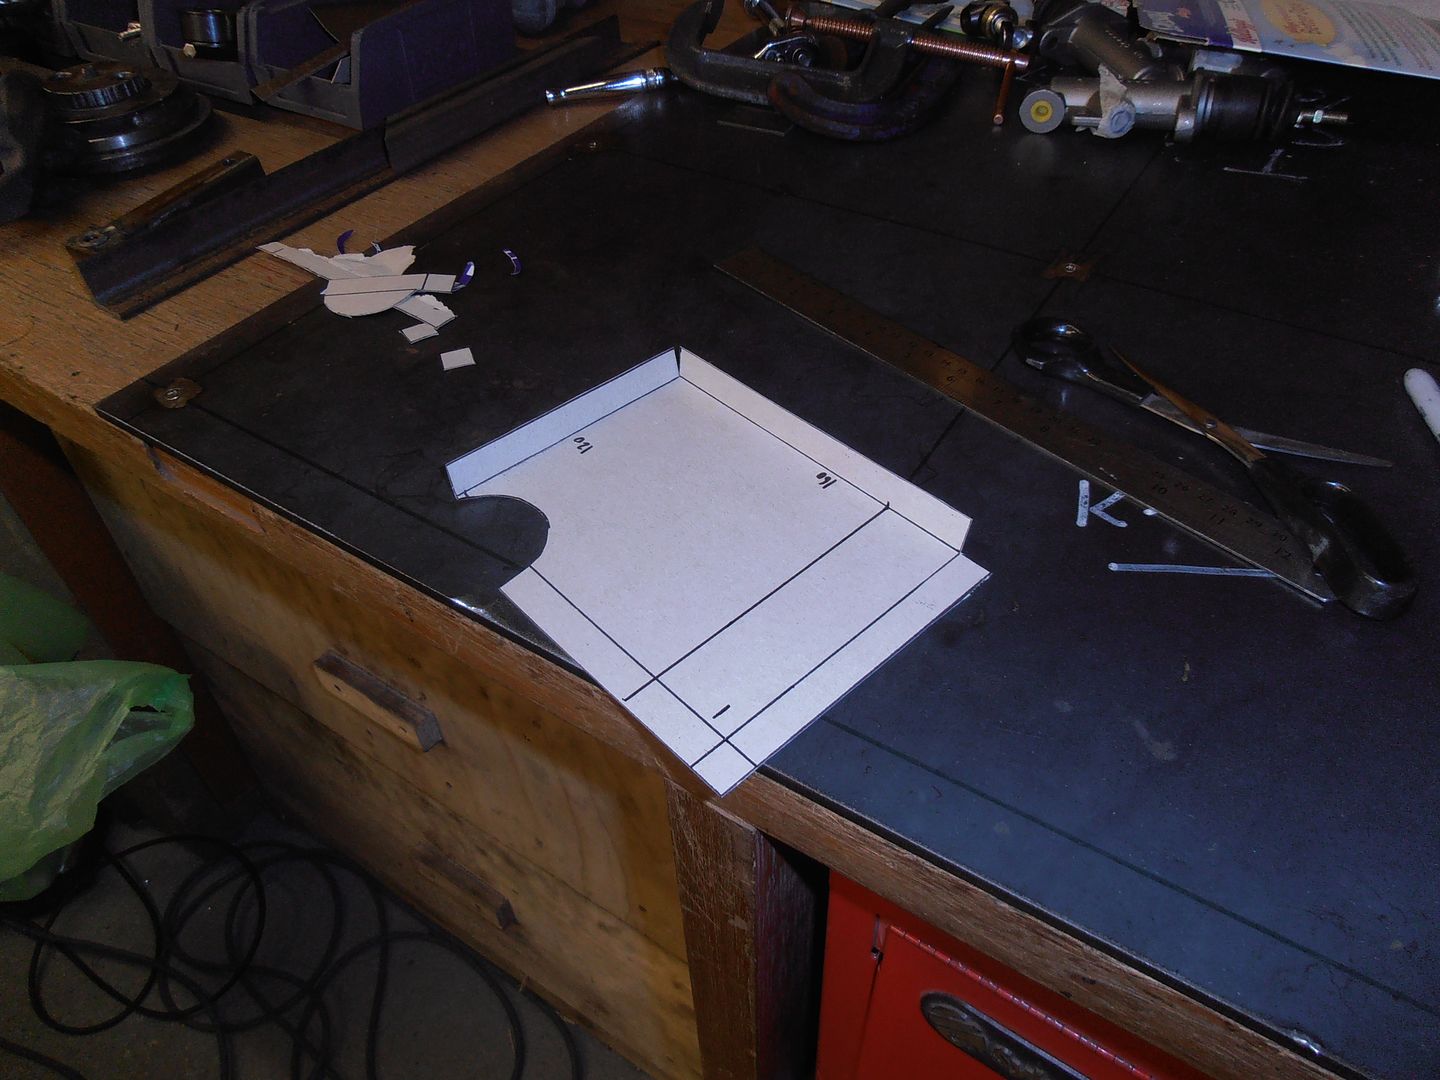 trim and bend some more 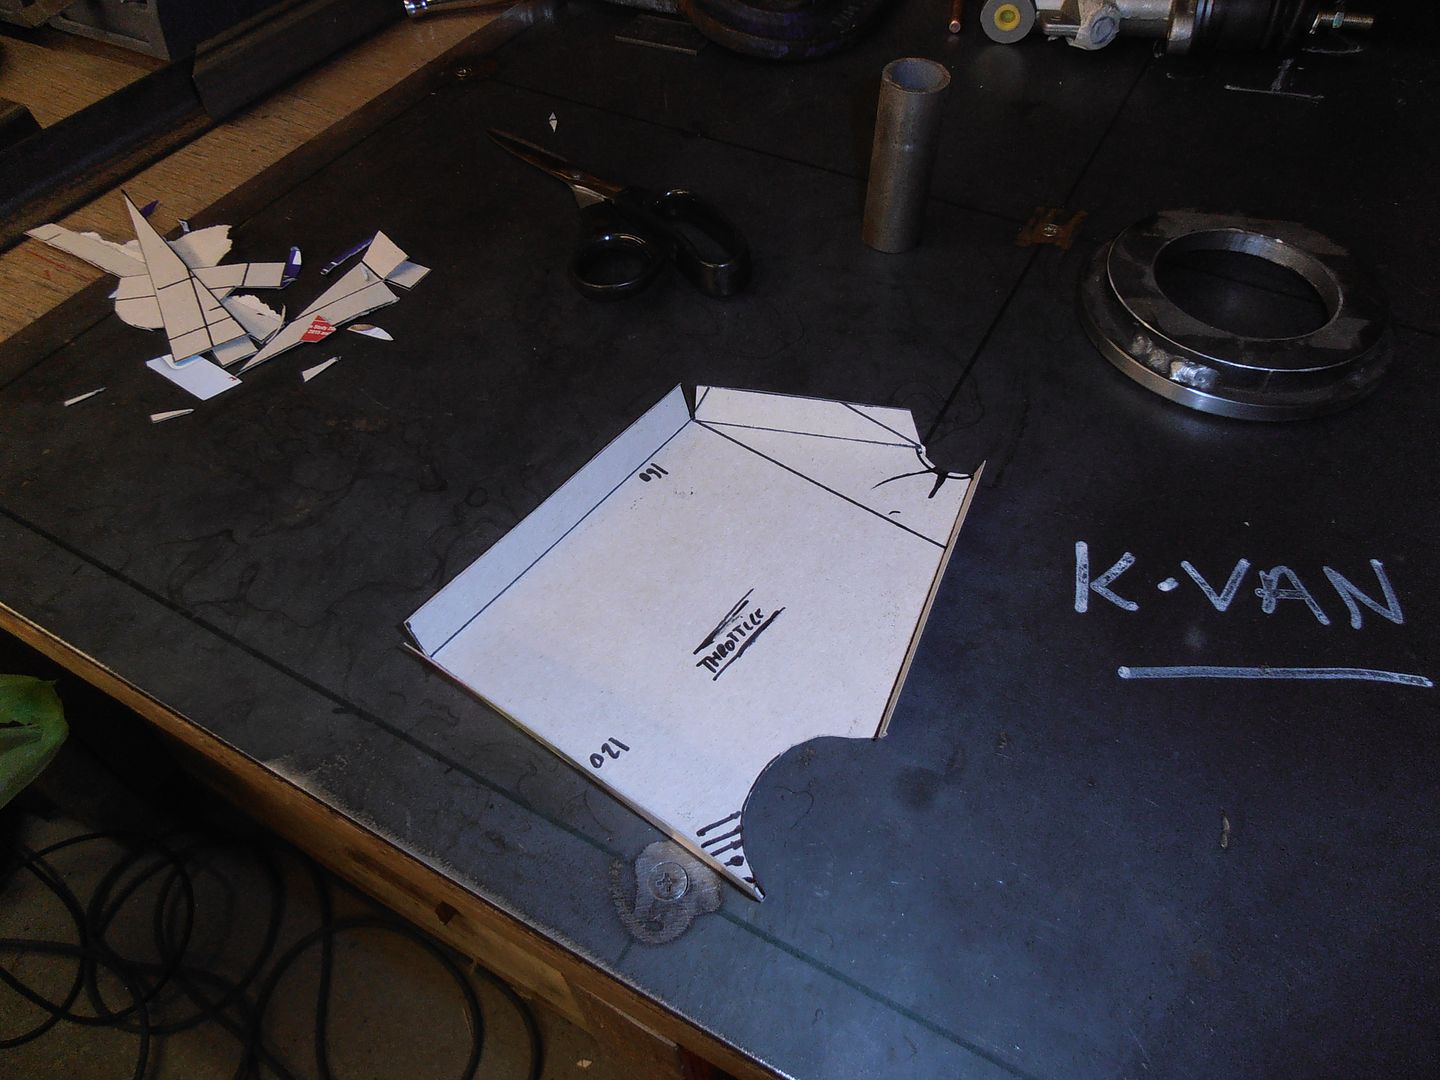 I need to have a clearance hole for the top of the throttle pedal. Might as well make it swaged. check for space on the big die. 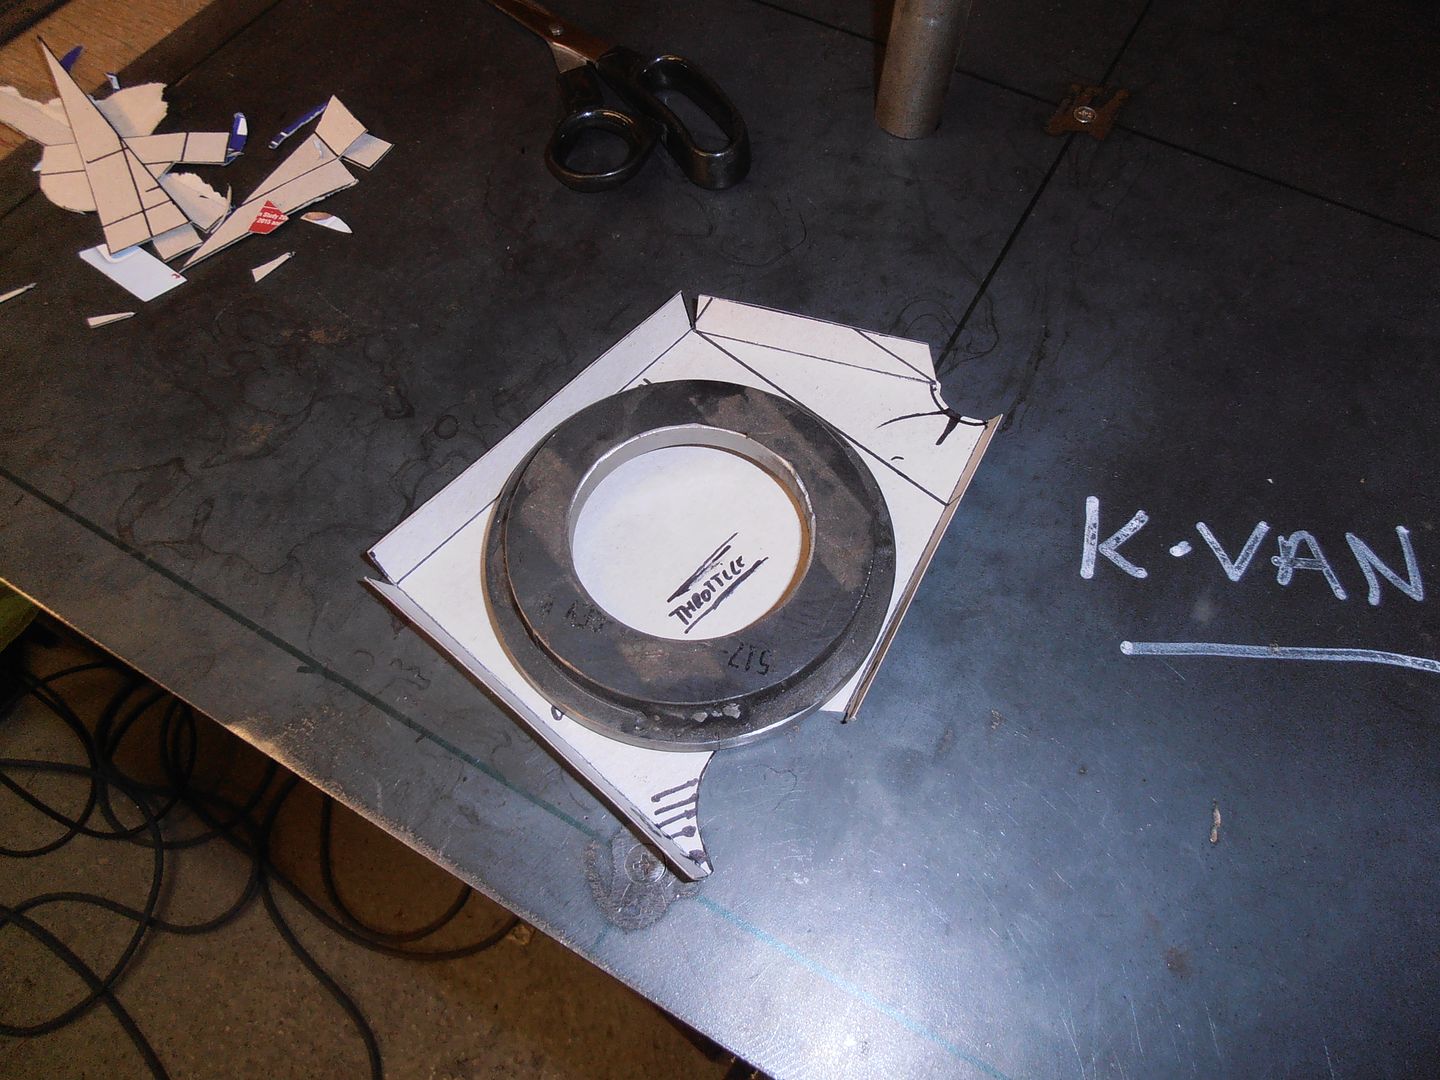 mark out some bits 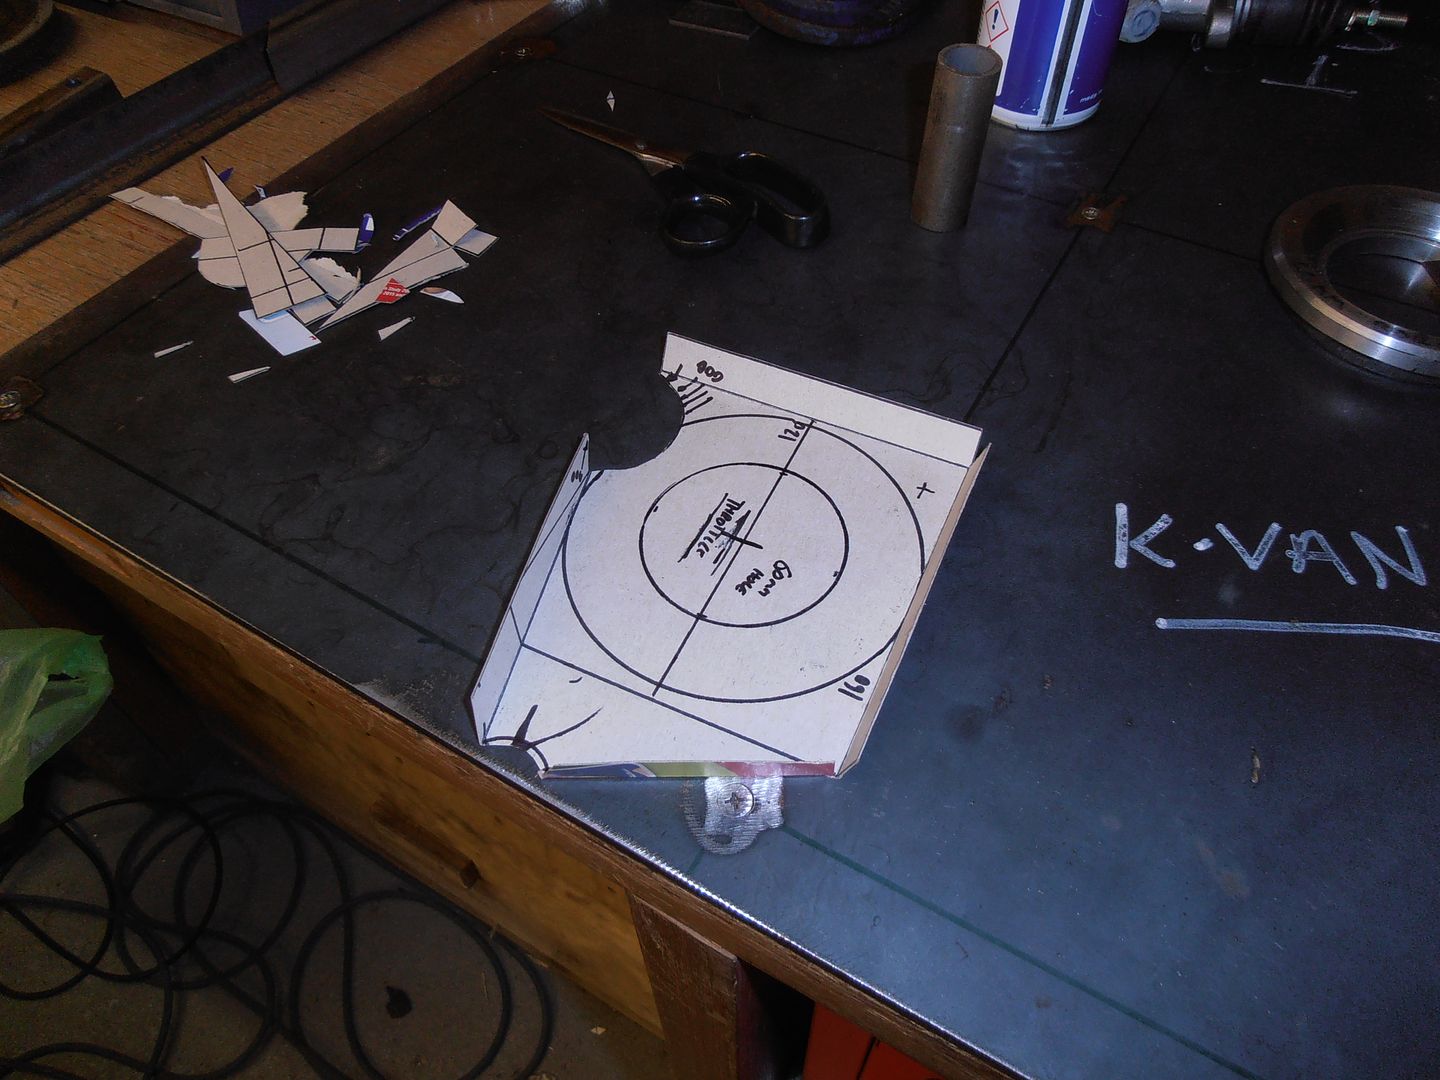 transfer to steel 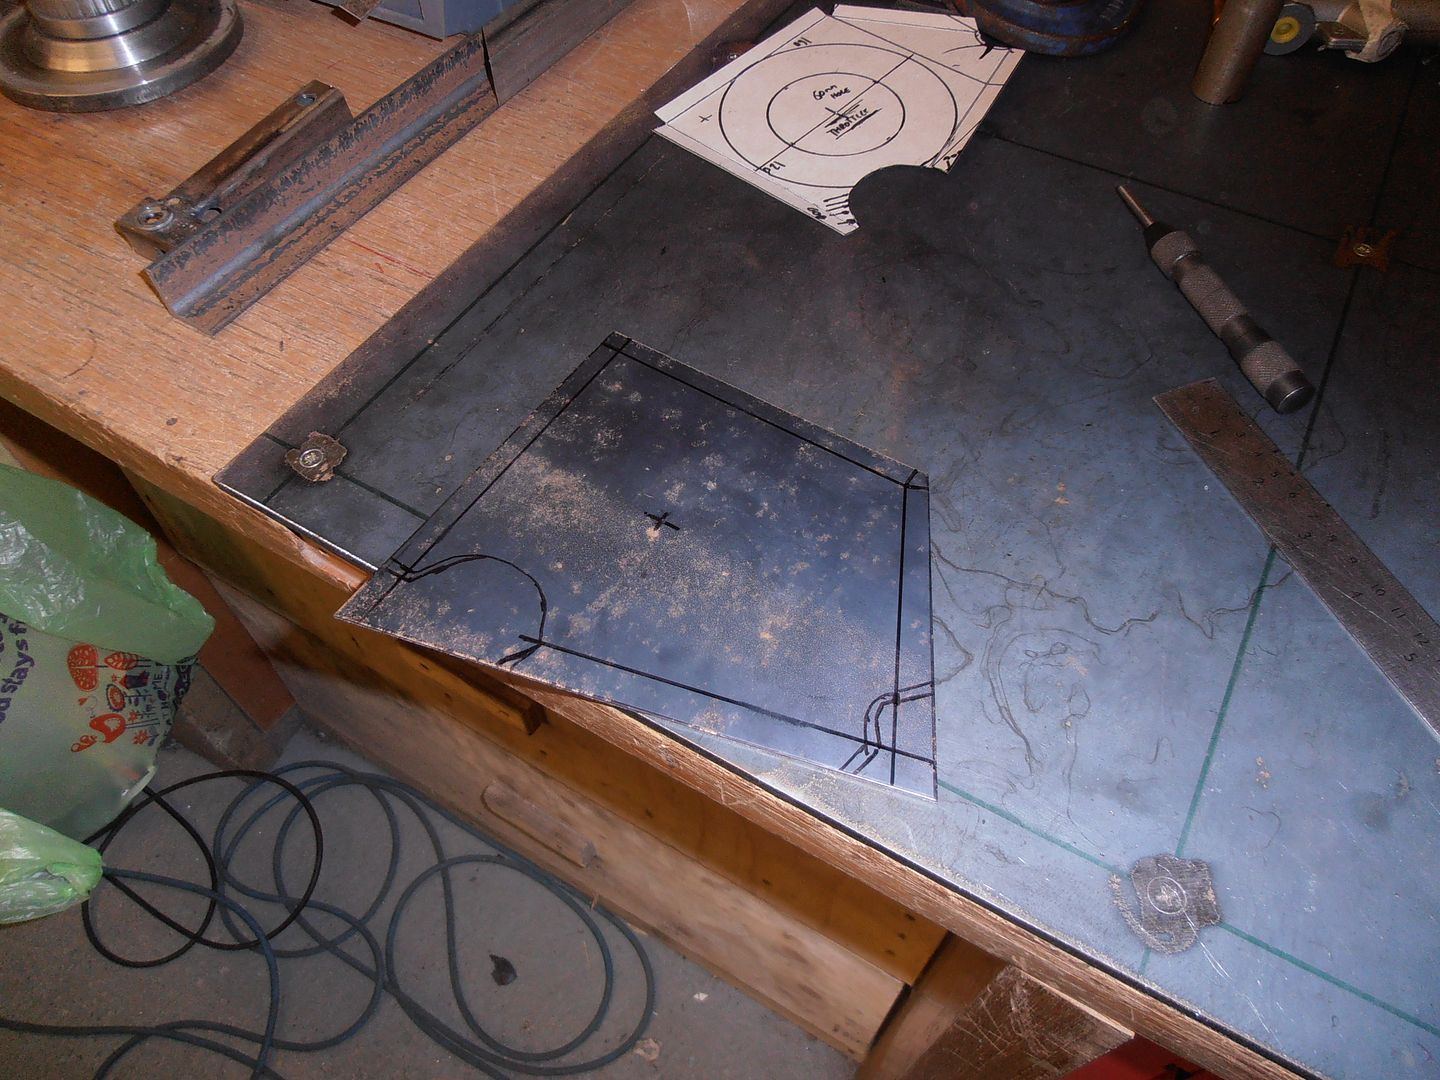 cut and trim. I also noticed I could sneak another hole in. 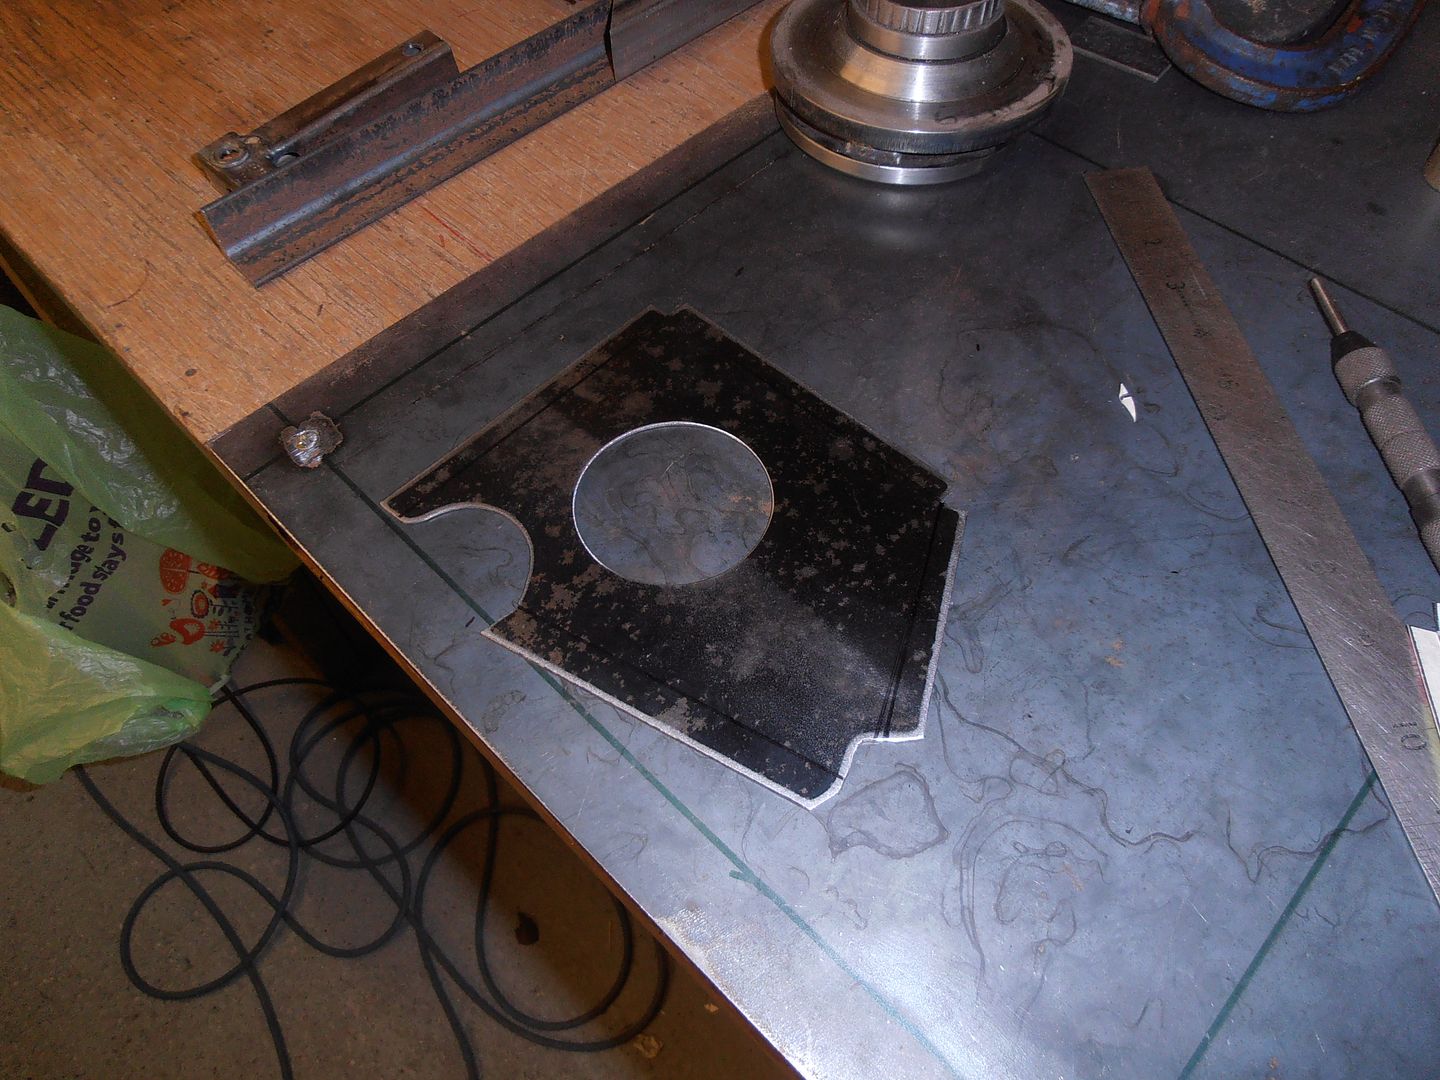 fold and beat it up a bit 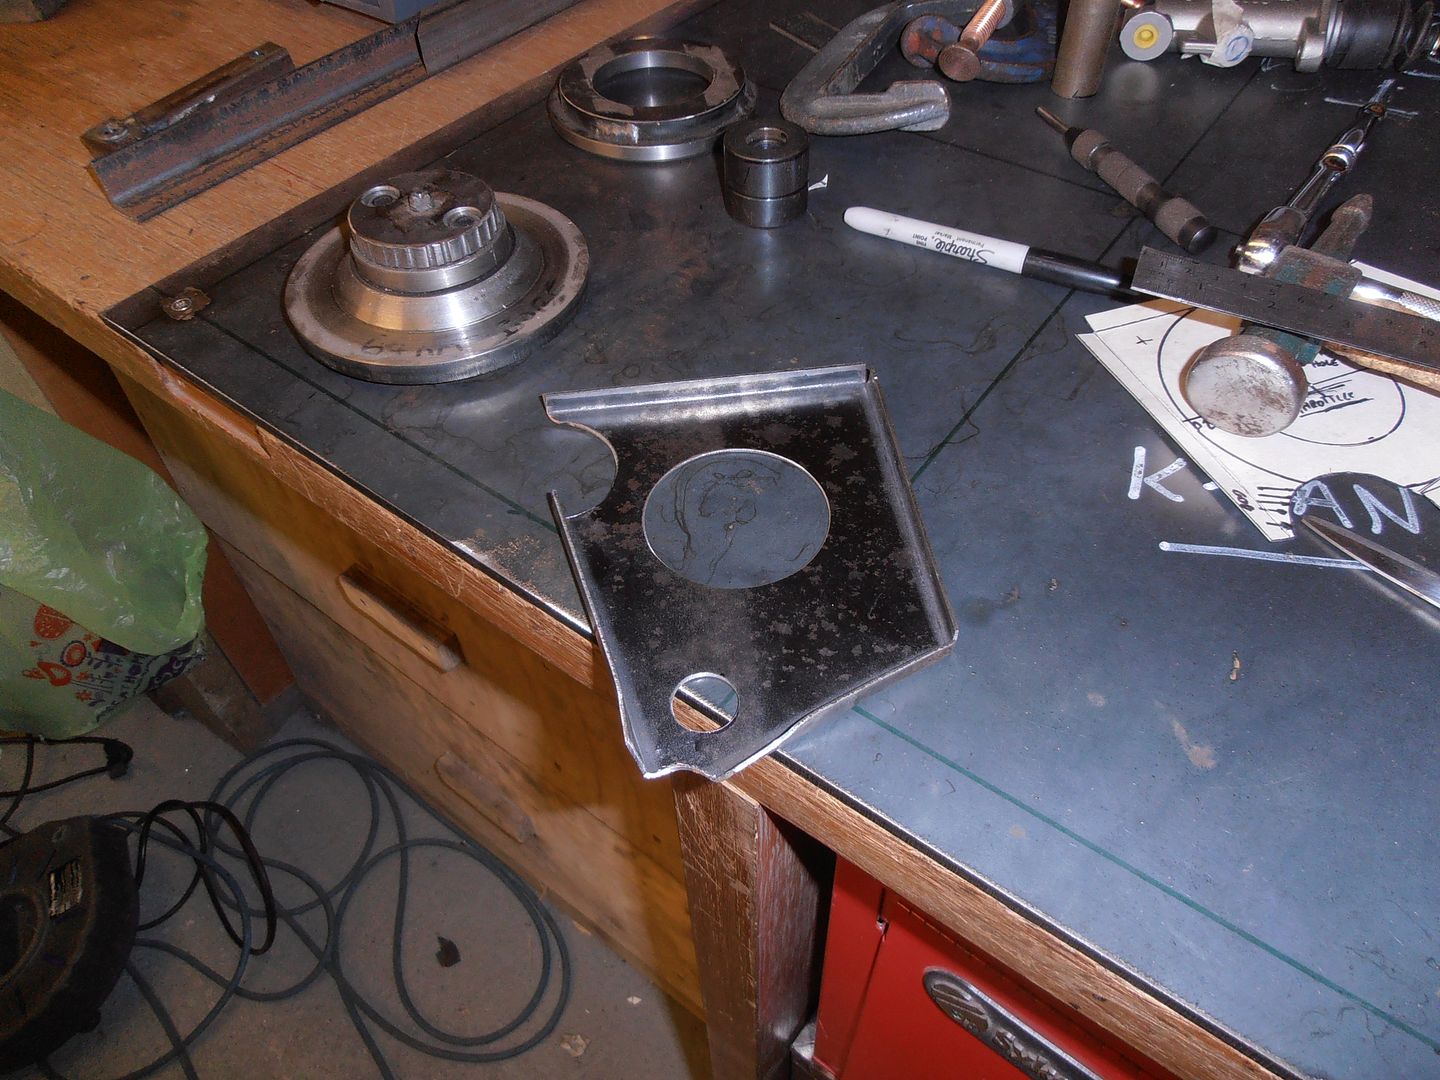 Swage 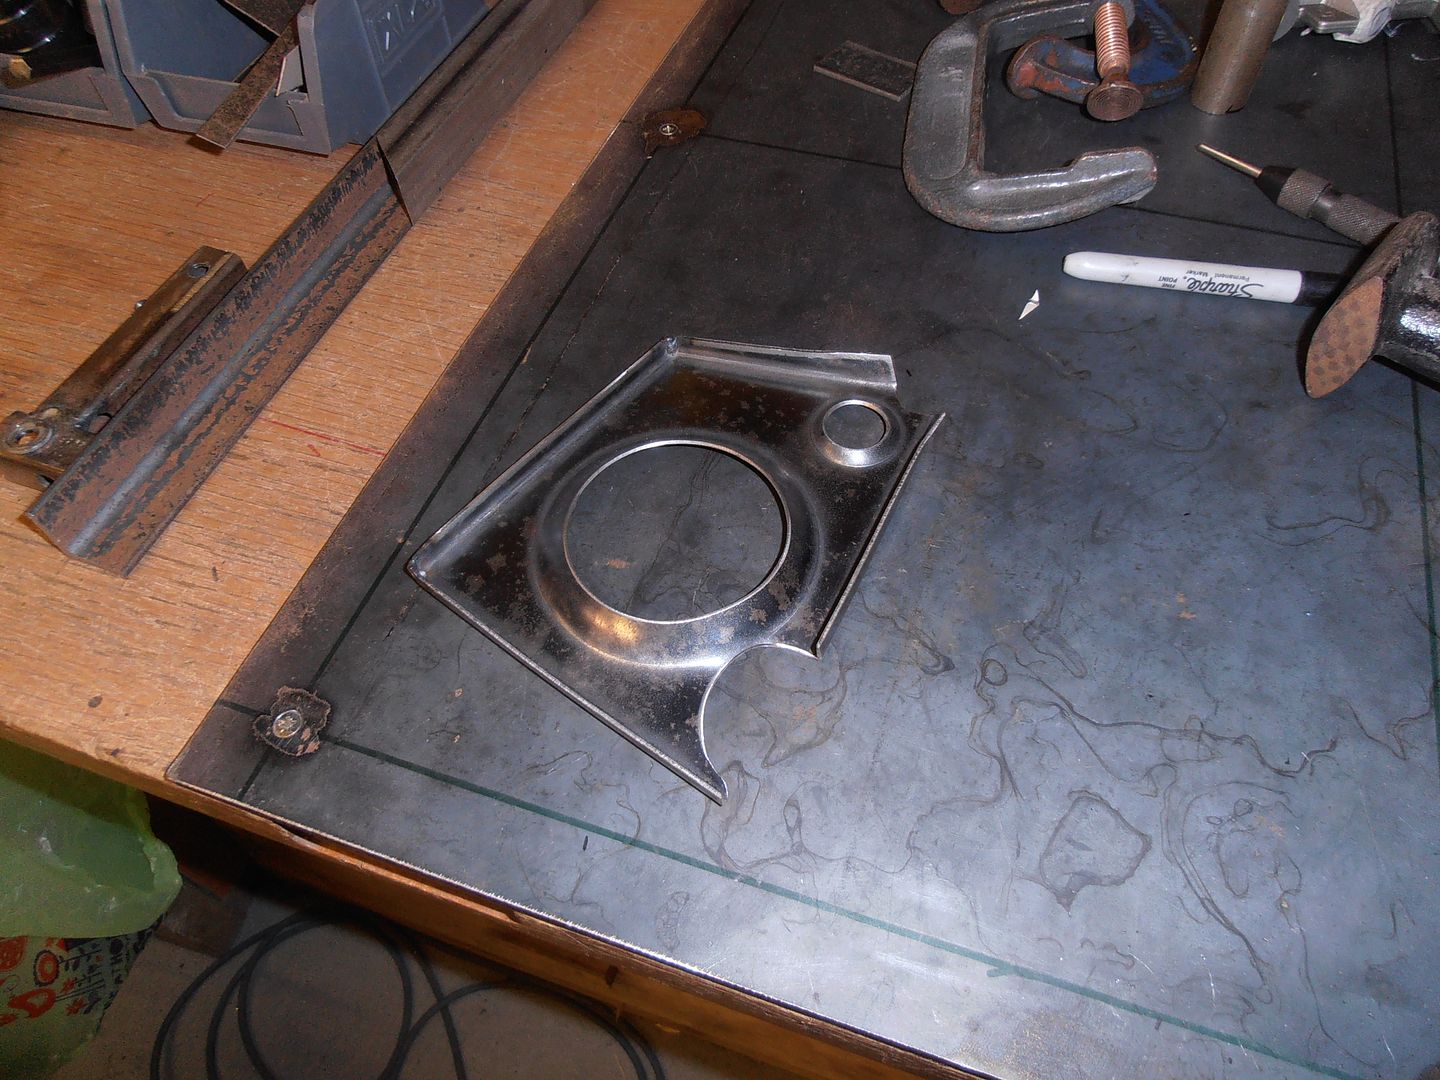 use the transfer punch / bolt to mark the first mount hole 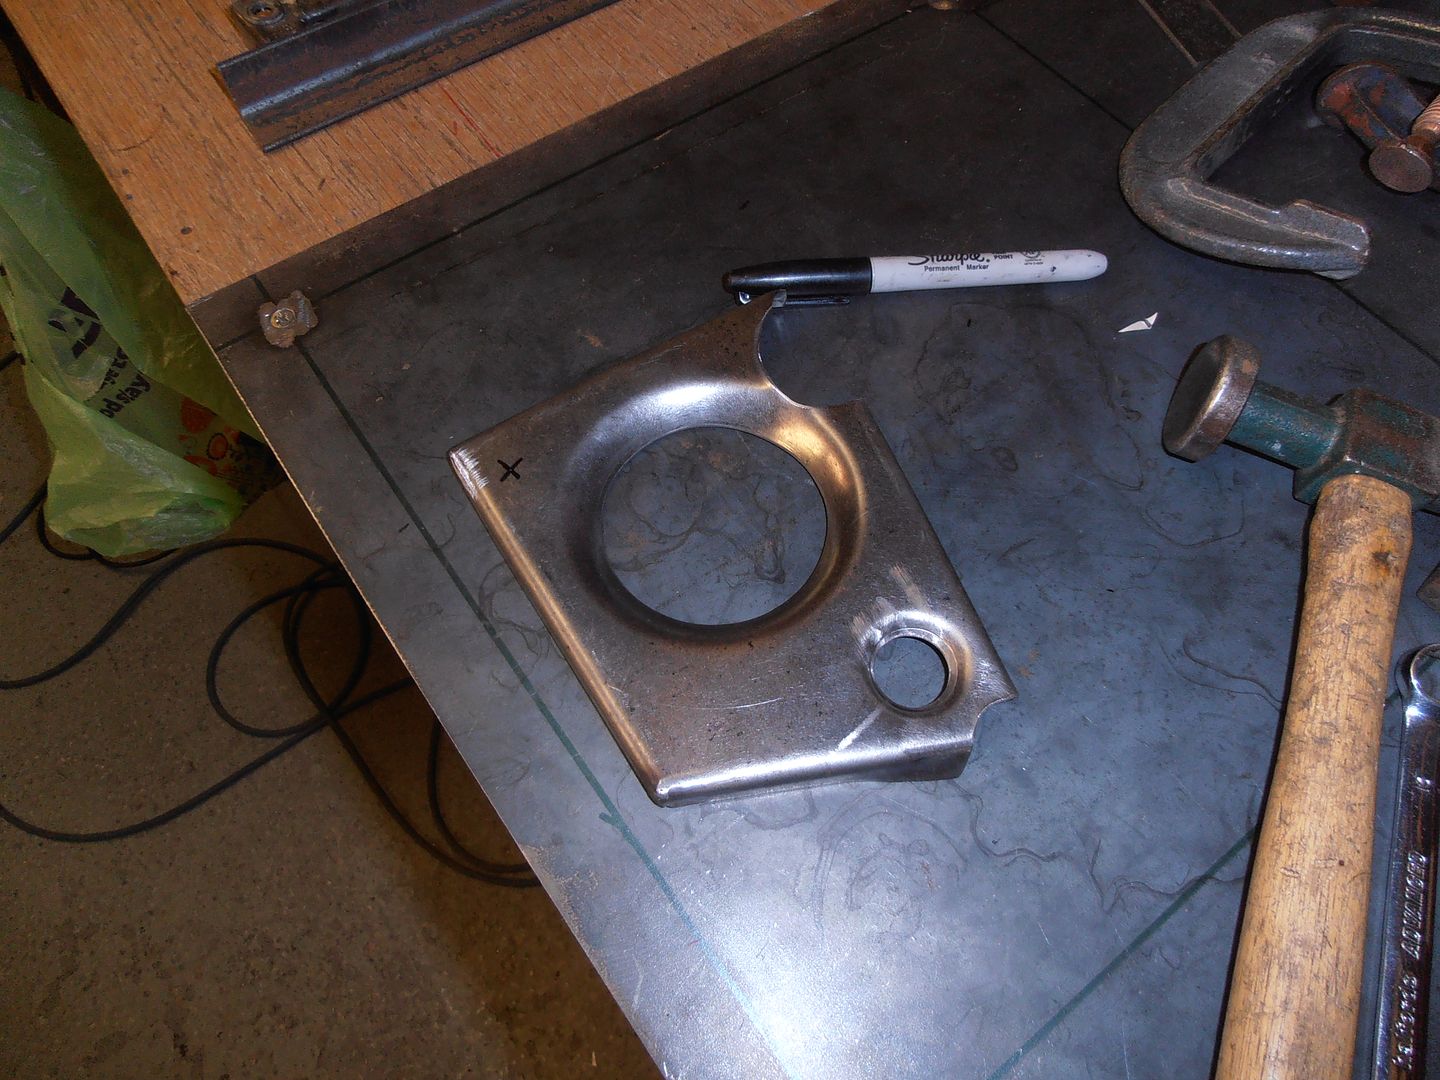 goes in here, close to the steering column but still more than enough room for it to clear and collapse 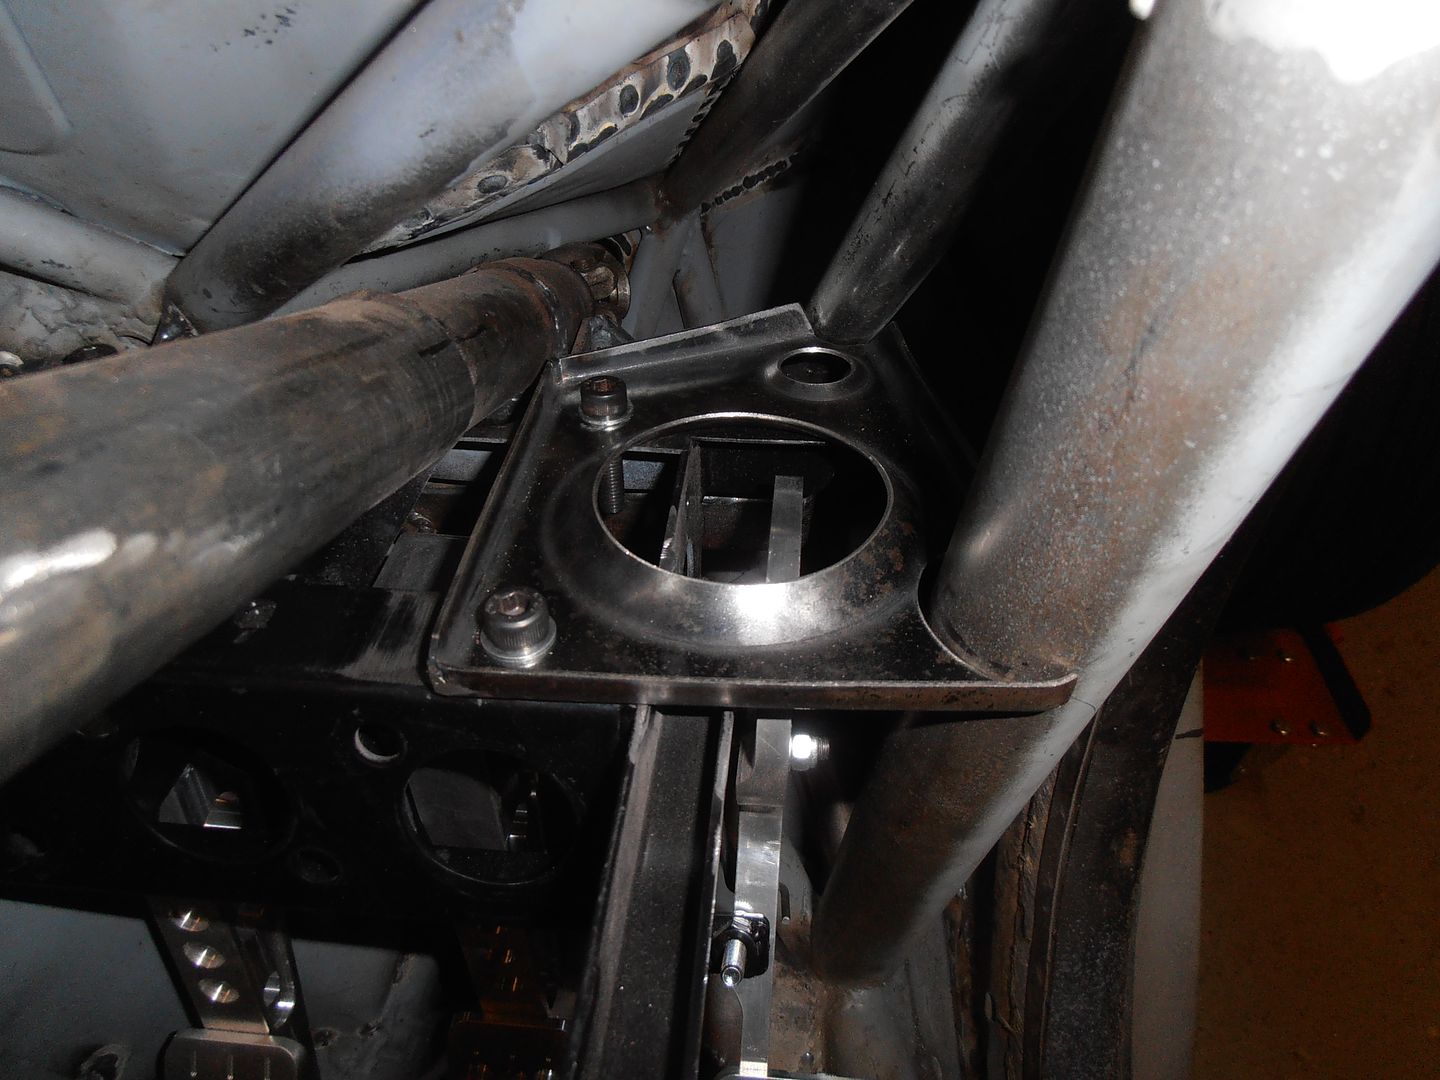 weld the other bracket in. Gas ran out at this point / i may have forgotten to turn it back on.... 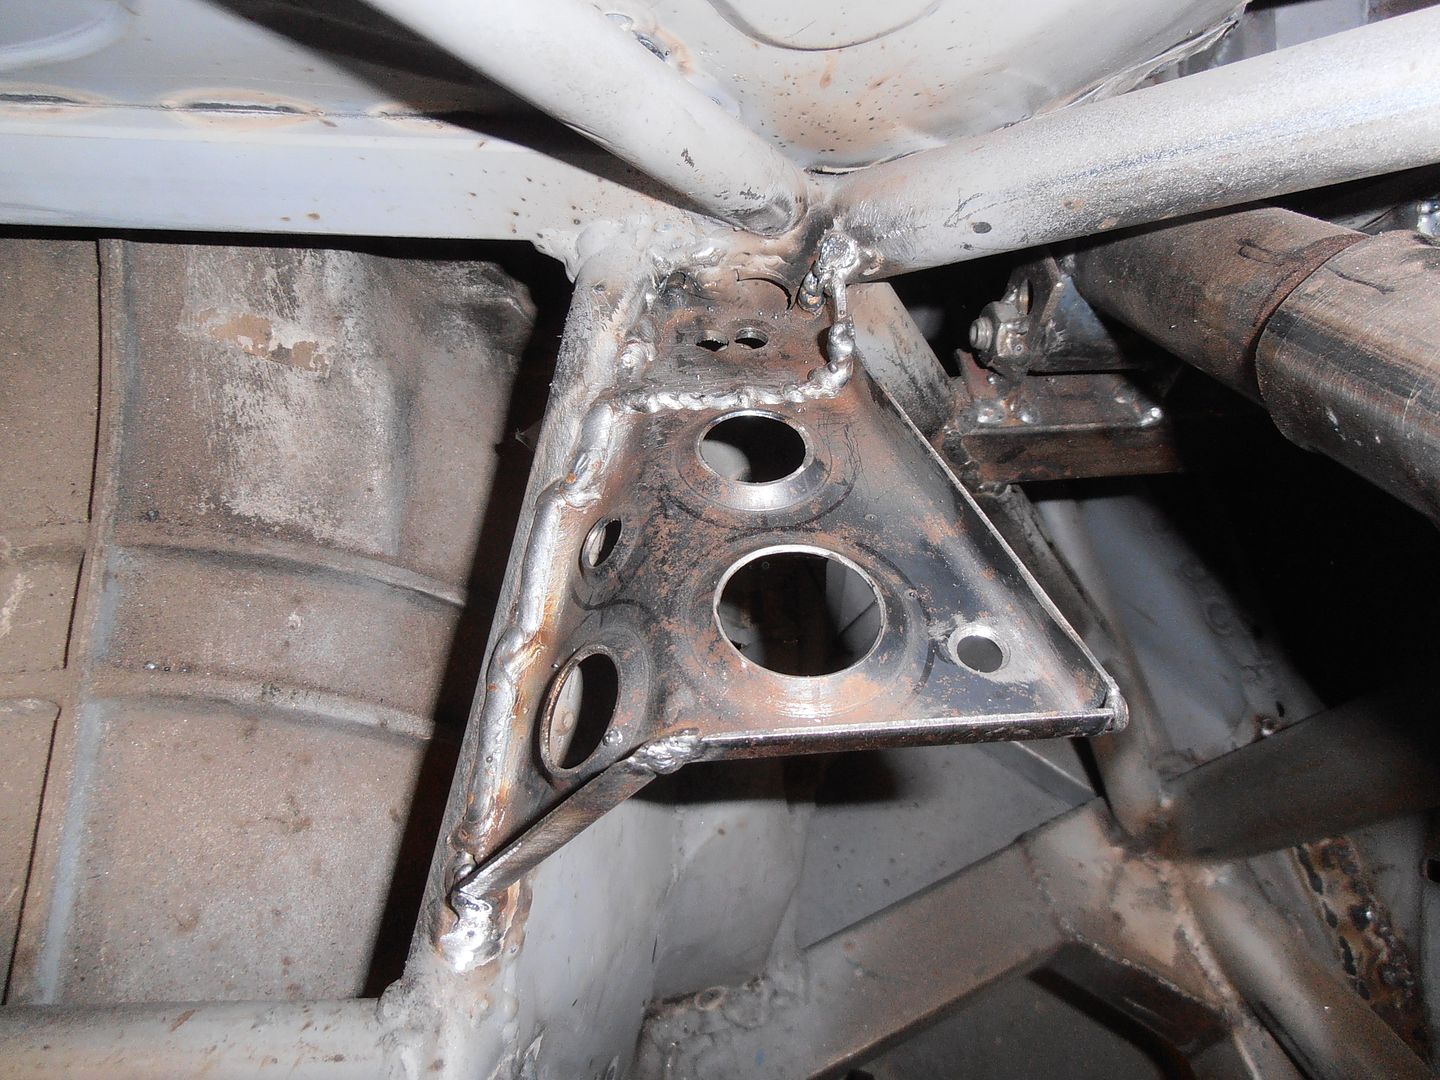 todays bracket in. 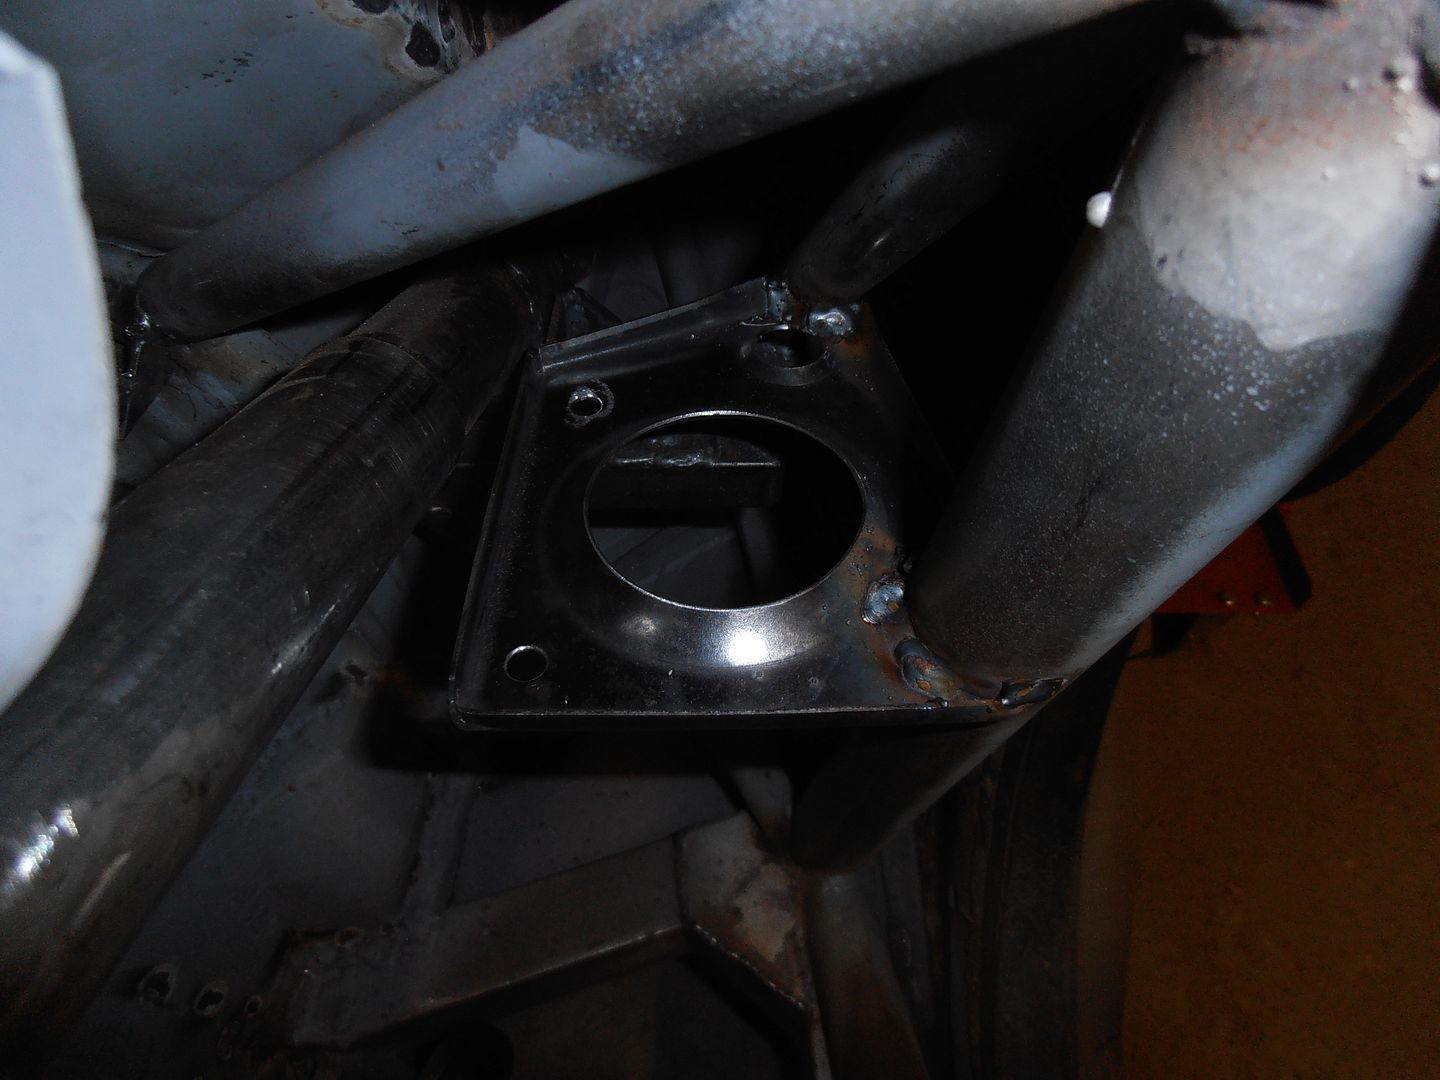 I want it stiff so extra stiffener required. 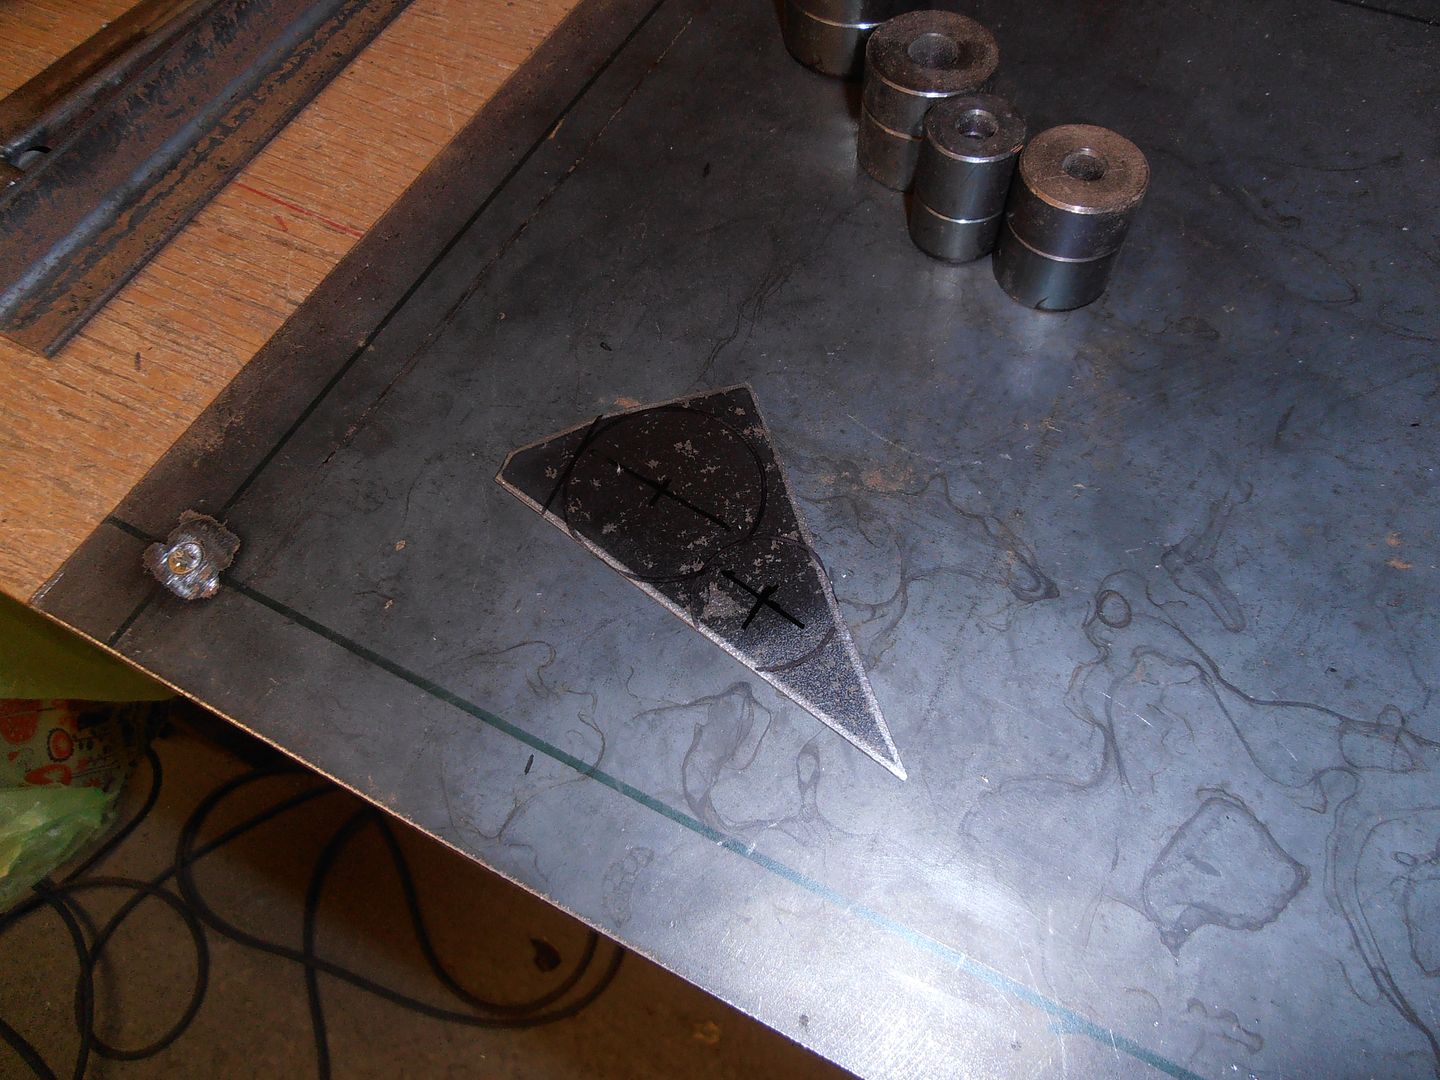 goes here 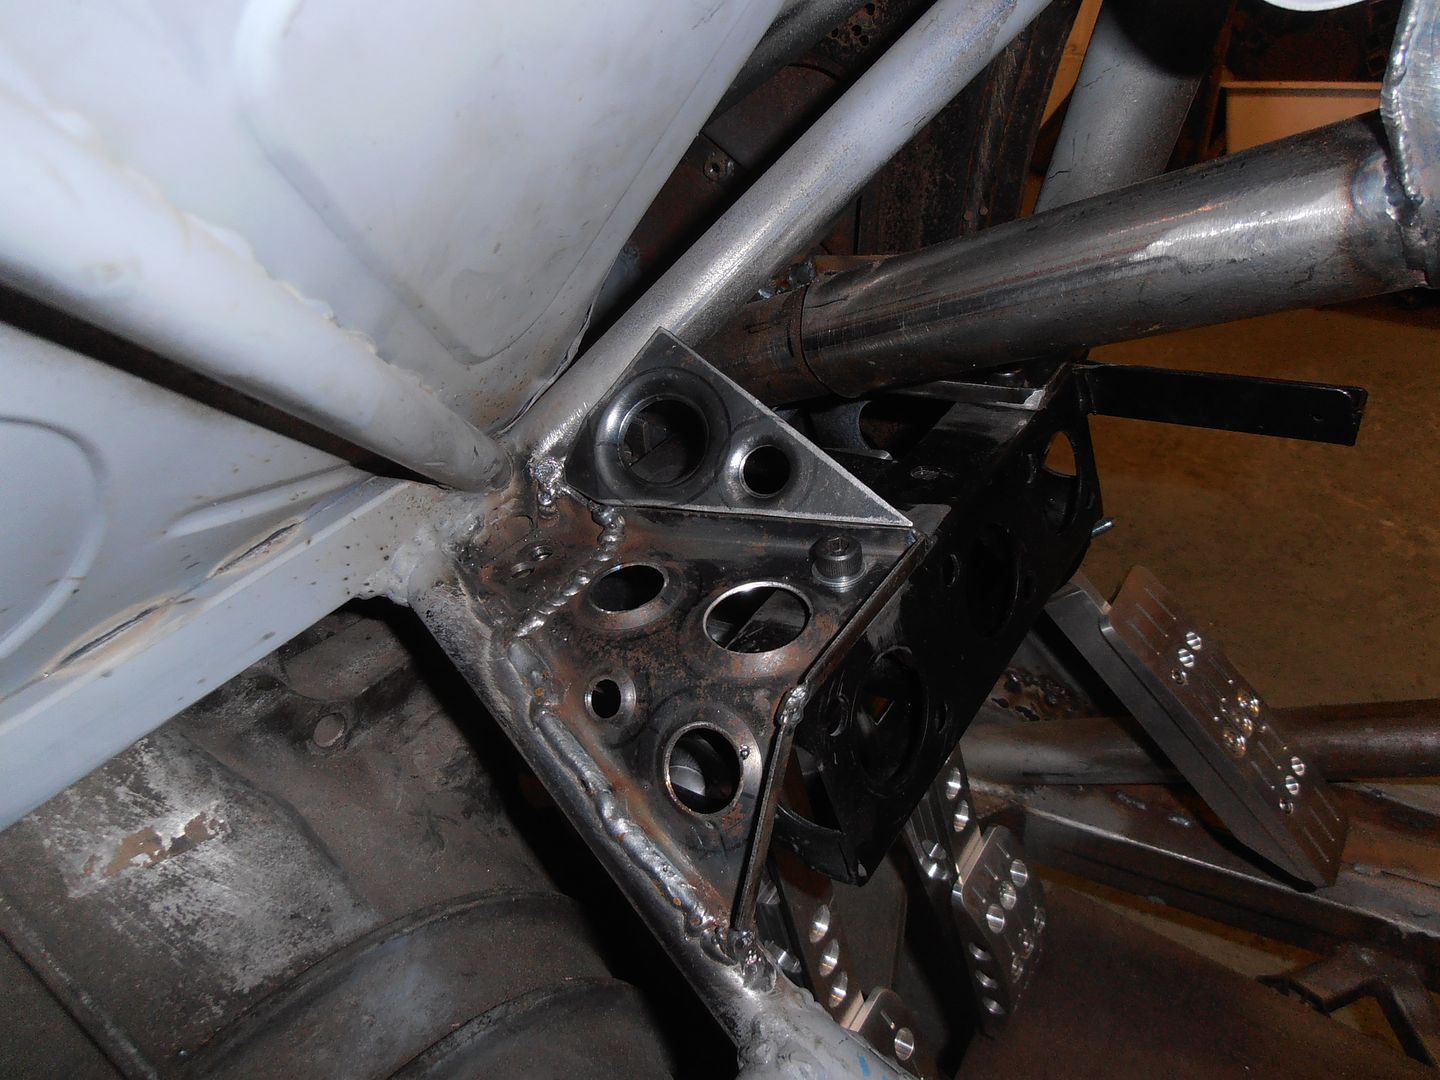 tacked 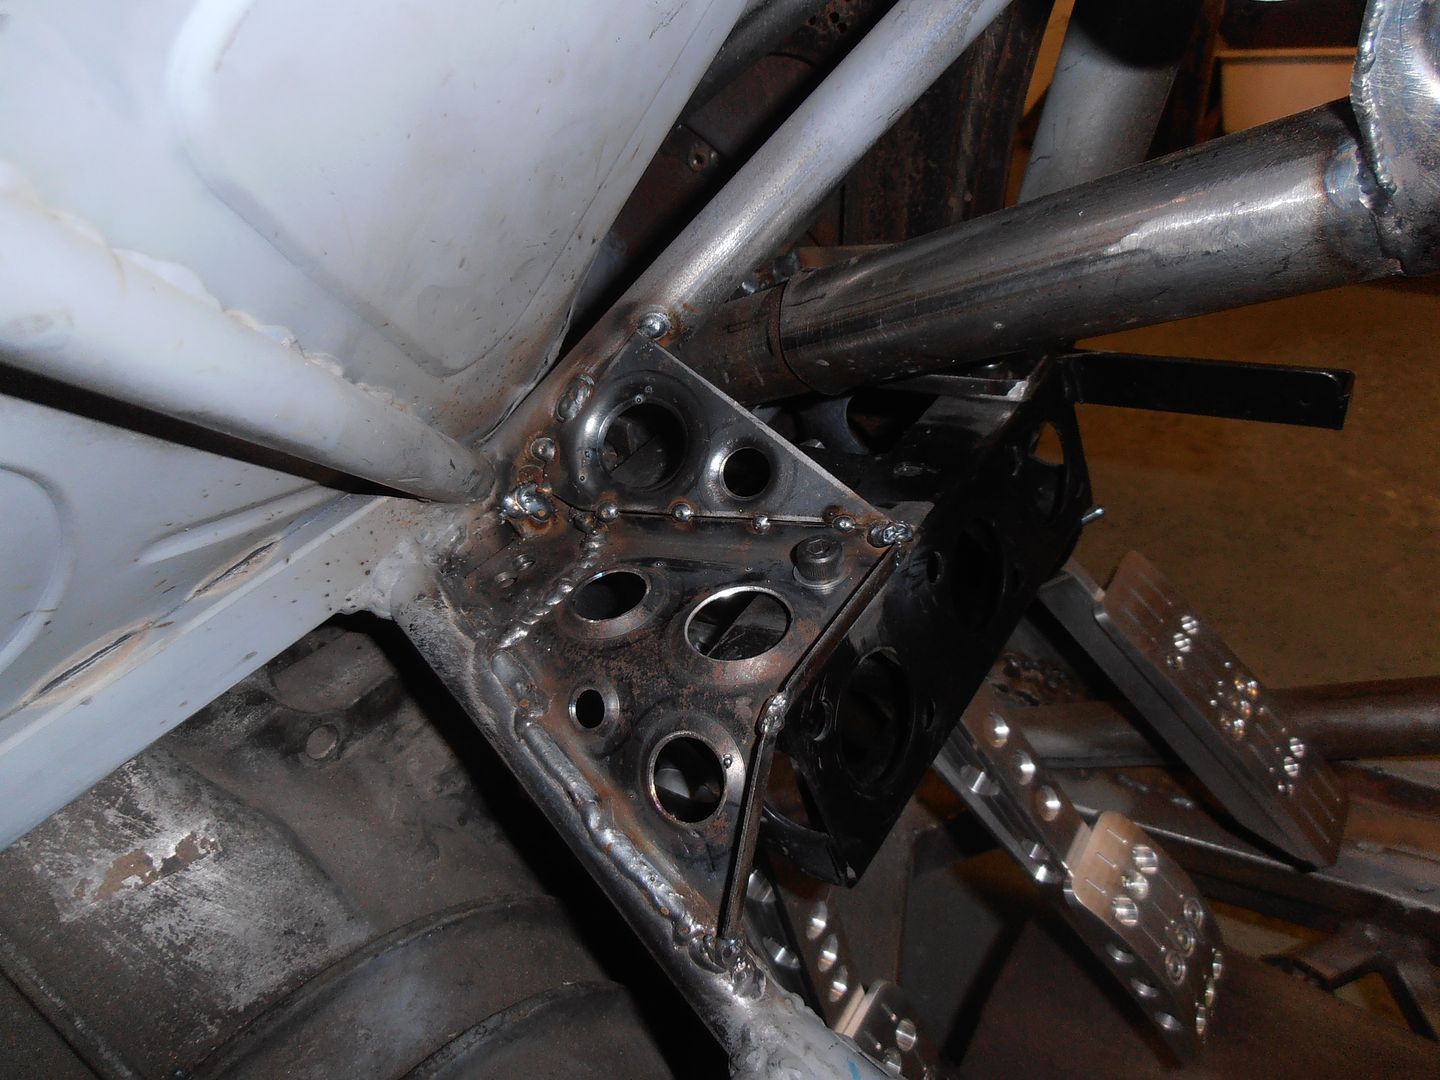 and the other side need a stiffener too 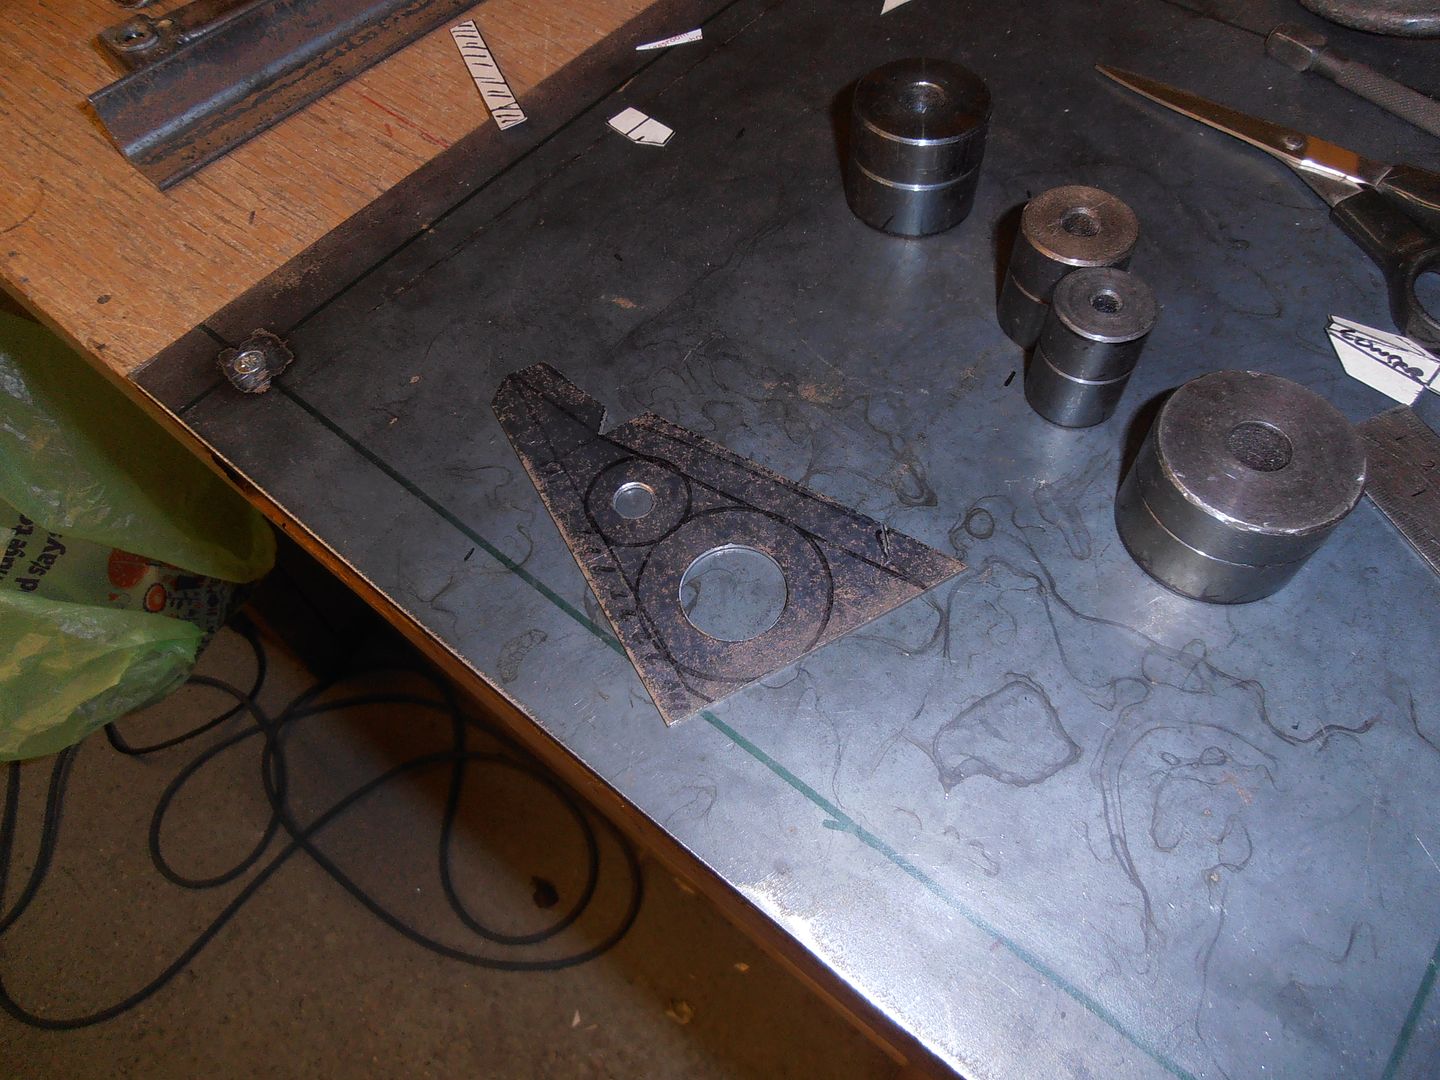 goes in here. Pig to shape as it twists in 2 directions. 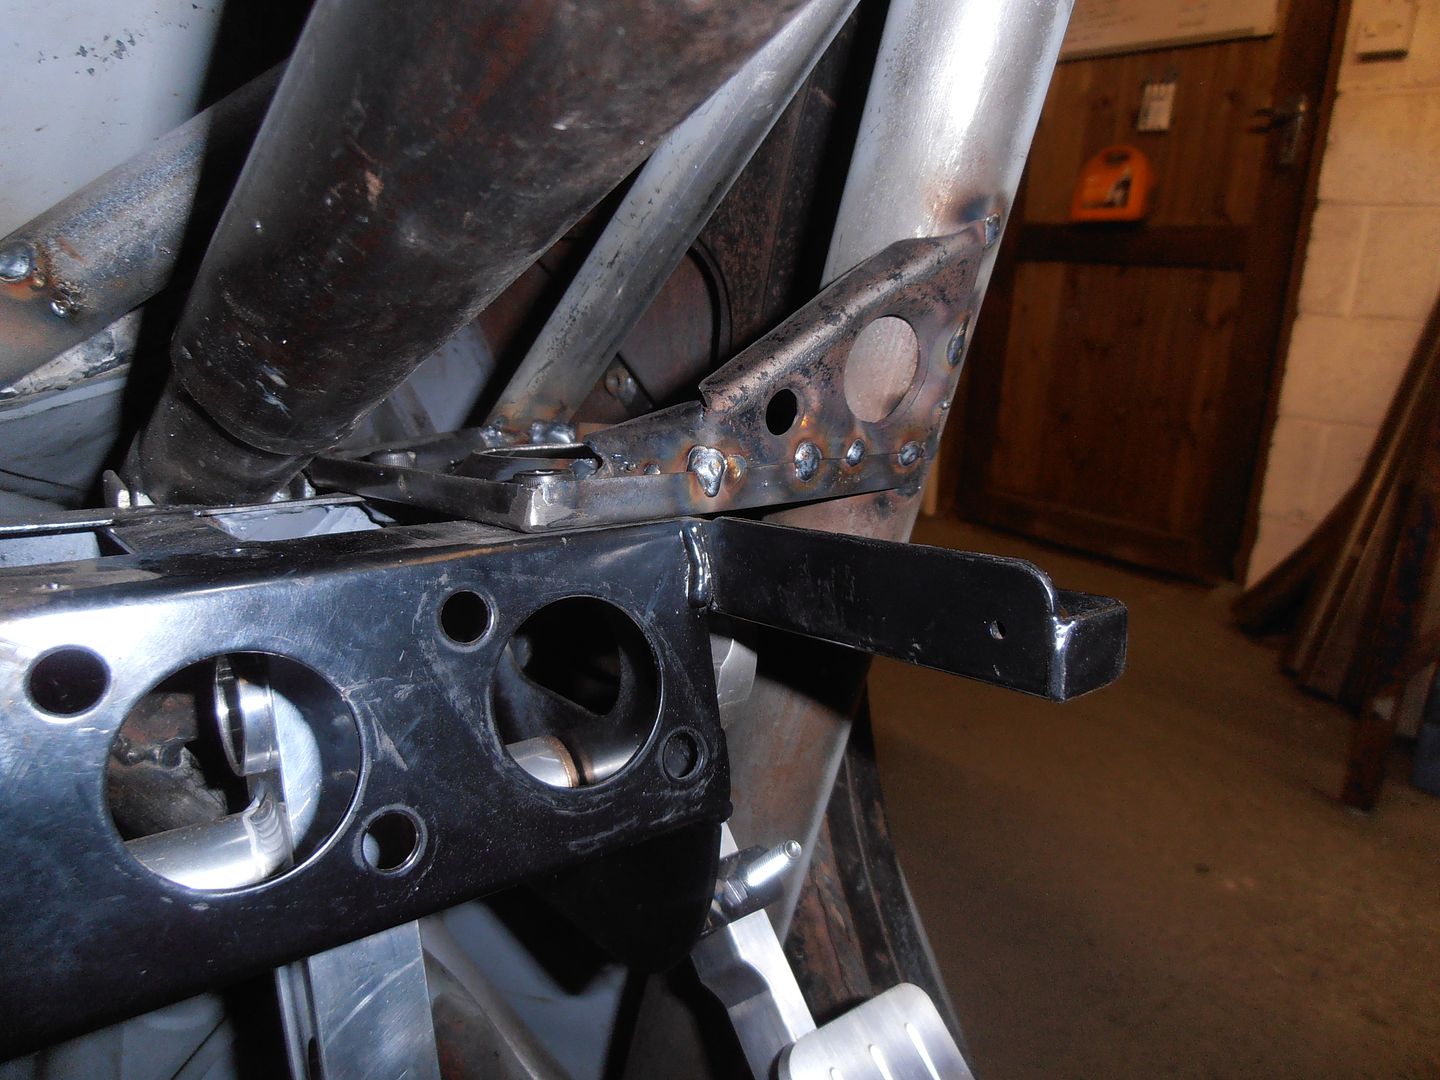 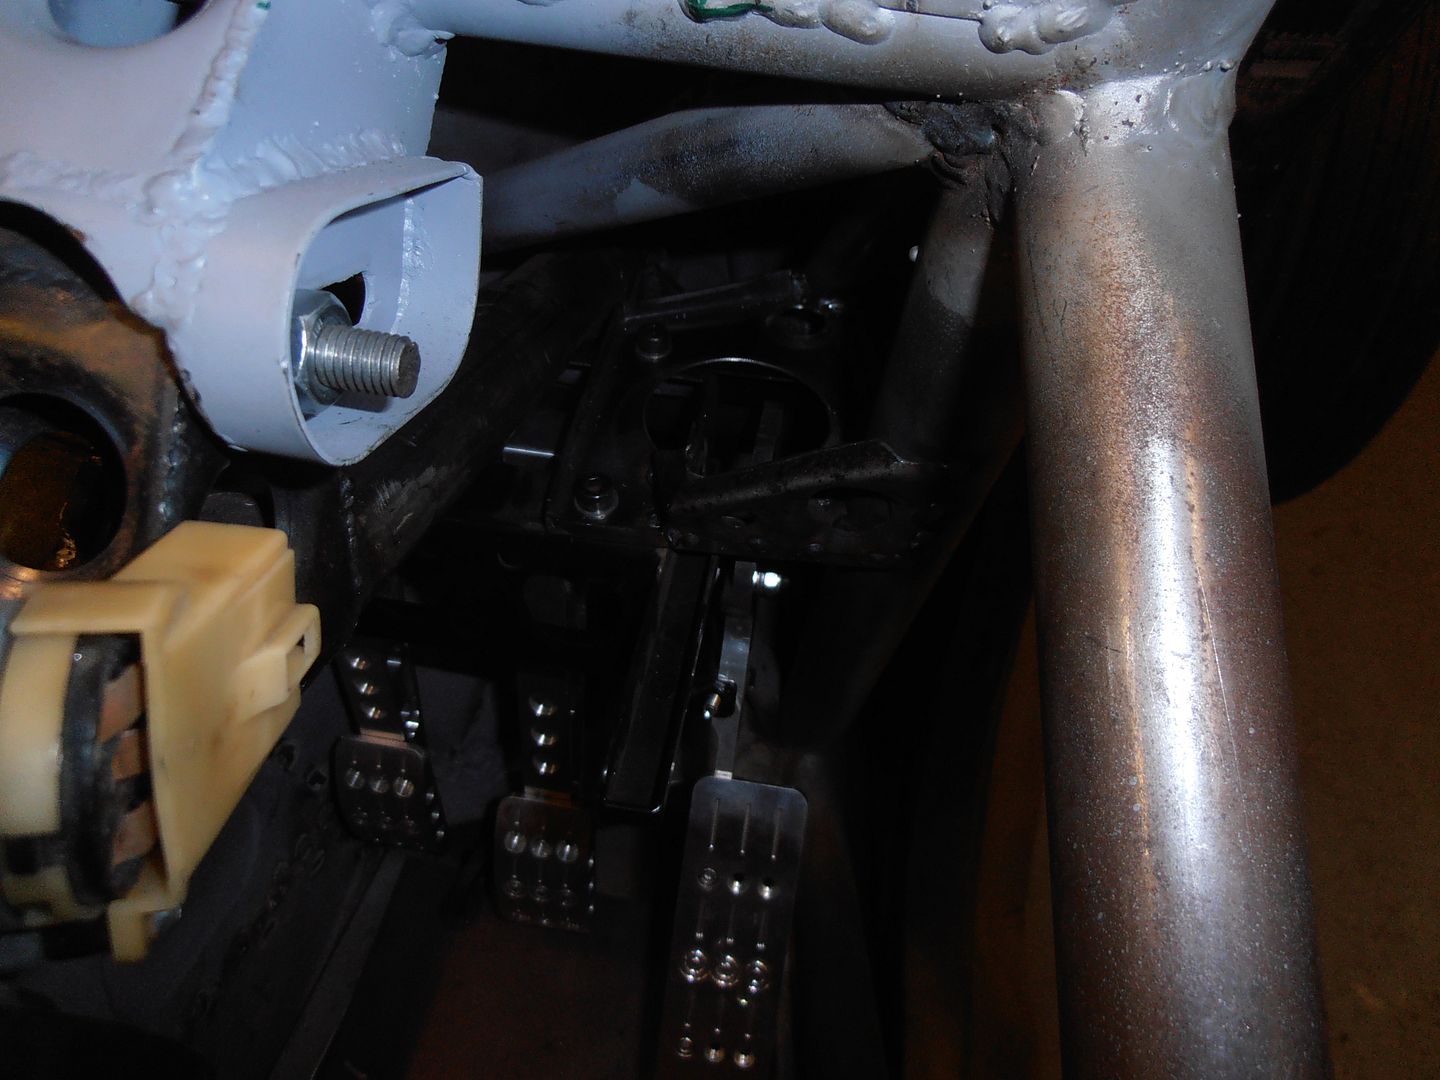 Much pushing and pulling about shows almost no flex in the mounts. It should give it a nice solid mount all round and keep the pedal feel good. it should also be IVA compliant in terms of strength too. |
| |
|
|
|
|
|
|
|
Now with extra 3% swagey holes The thread that just keeps on giving!  |
| |
|
|
|
|
|
|
|
 do you bother with the original pinch bolt through your swaging tool, or just squash the combo in a vice from the outside of the die and set ? |
| |
|
|
jonomisfit
Club Retro Rides Member
Posts: 1,789
Club RR Member Number: 49
|
|
|
|
|
It depends on what I'm doing where and how thick.
If it's light gauge 0.6mm then I stick it in the vice or use a bolt. 1.0 it's in the vice, and 1.5mm like the recent brackets then it's in the hydraulic press.
It takes a fair force on the big holes.
|
| |
|
|
|
|
|
|
|
|
I know it looks like I read 'it needs more stiffness' but in my mind I read 'it needs more room for more holes'.
|
| |
|
|
jonomisfit
Club Retro Rides Member
Posts: 1,789
Club RR Member Number: 49
|
|
Nov 10, 2017 17:29:22 GMT
|
|
I assure the holes are only there in the name of stiffness and lightness and not some weird fetish I've developed.... honest
|
| |
|
|
|
|
|
Nov 10, 2017 19:31:45 GMT
|
awesome work, thanks for walking us through.... I know what you mean about photo buck....I think flikr will transfer content for you and make the images live again?  ? I'm just going through this whole thing with them too.... JP |
| |
I know its spelled Norman Luxury Yacht, but its pronounced Throat Wobbler Mangrove!
|
|
jonomisfit
Club Retro Rides Member
Posts: 1,789
Club RR Member Number: 49
|
|
Nov 13, 2017 20:48:38 GMT
|
Yep, PB suck balls. Big ones that aren't very nice. On with the pedal box mounting again This was the state of the tunnel after relieving it to get the box in the right position . 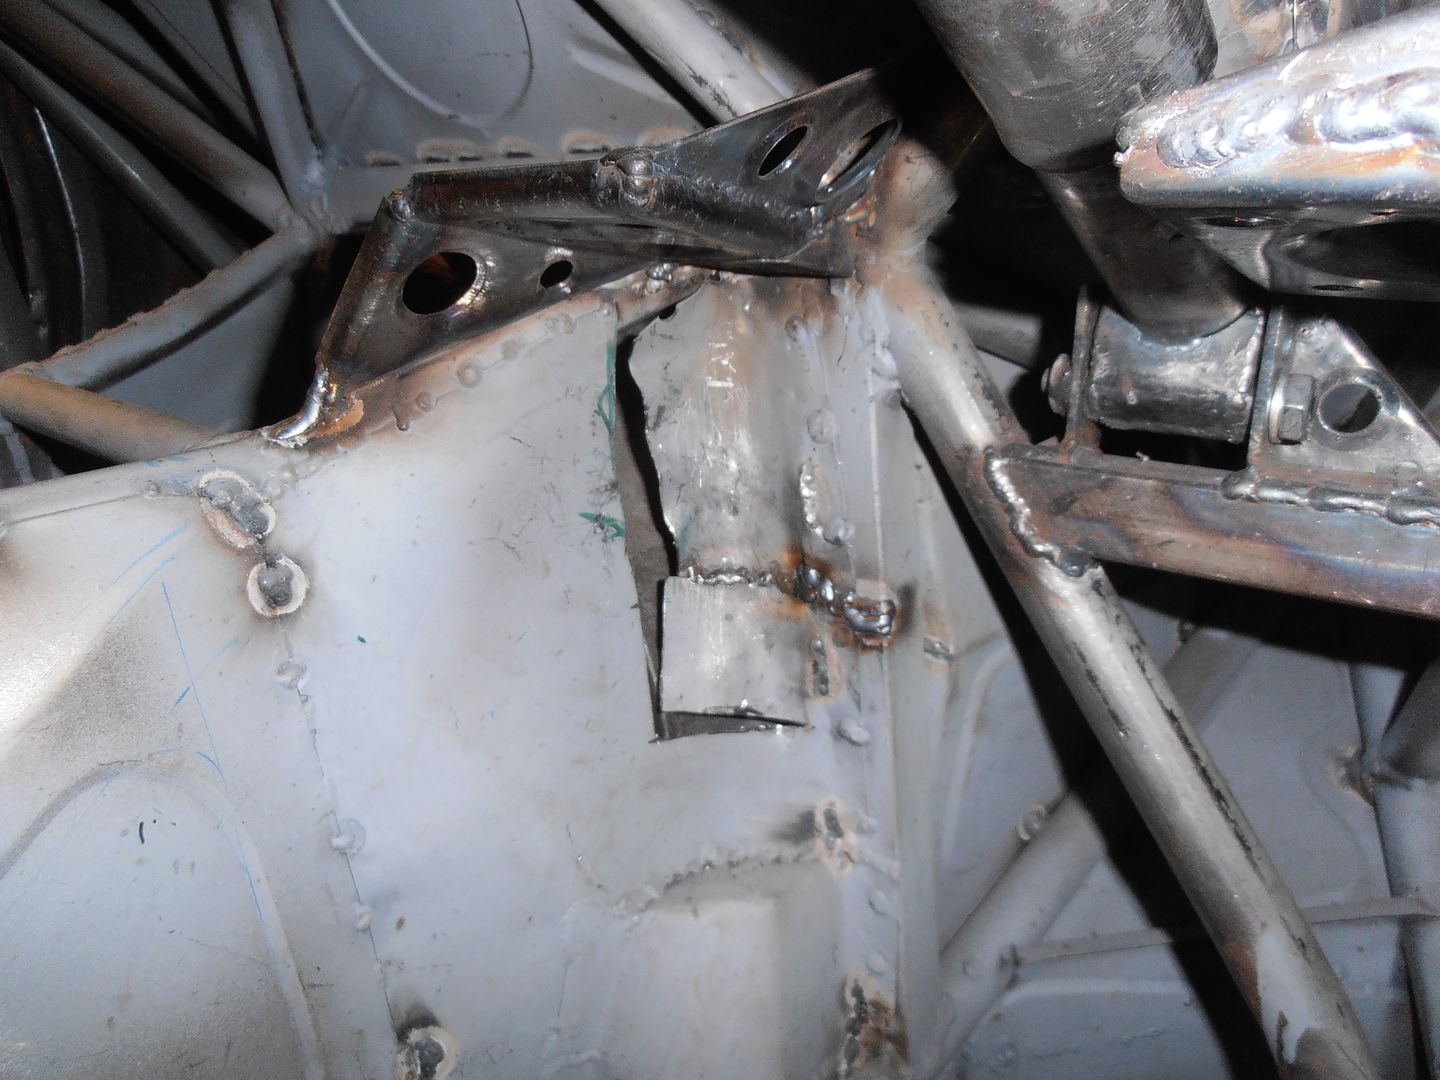 trim up some edges and make the fill piece. 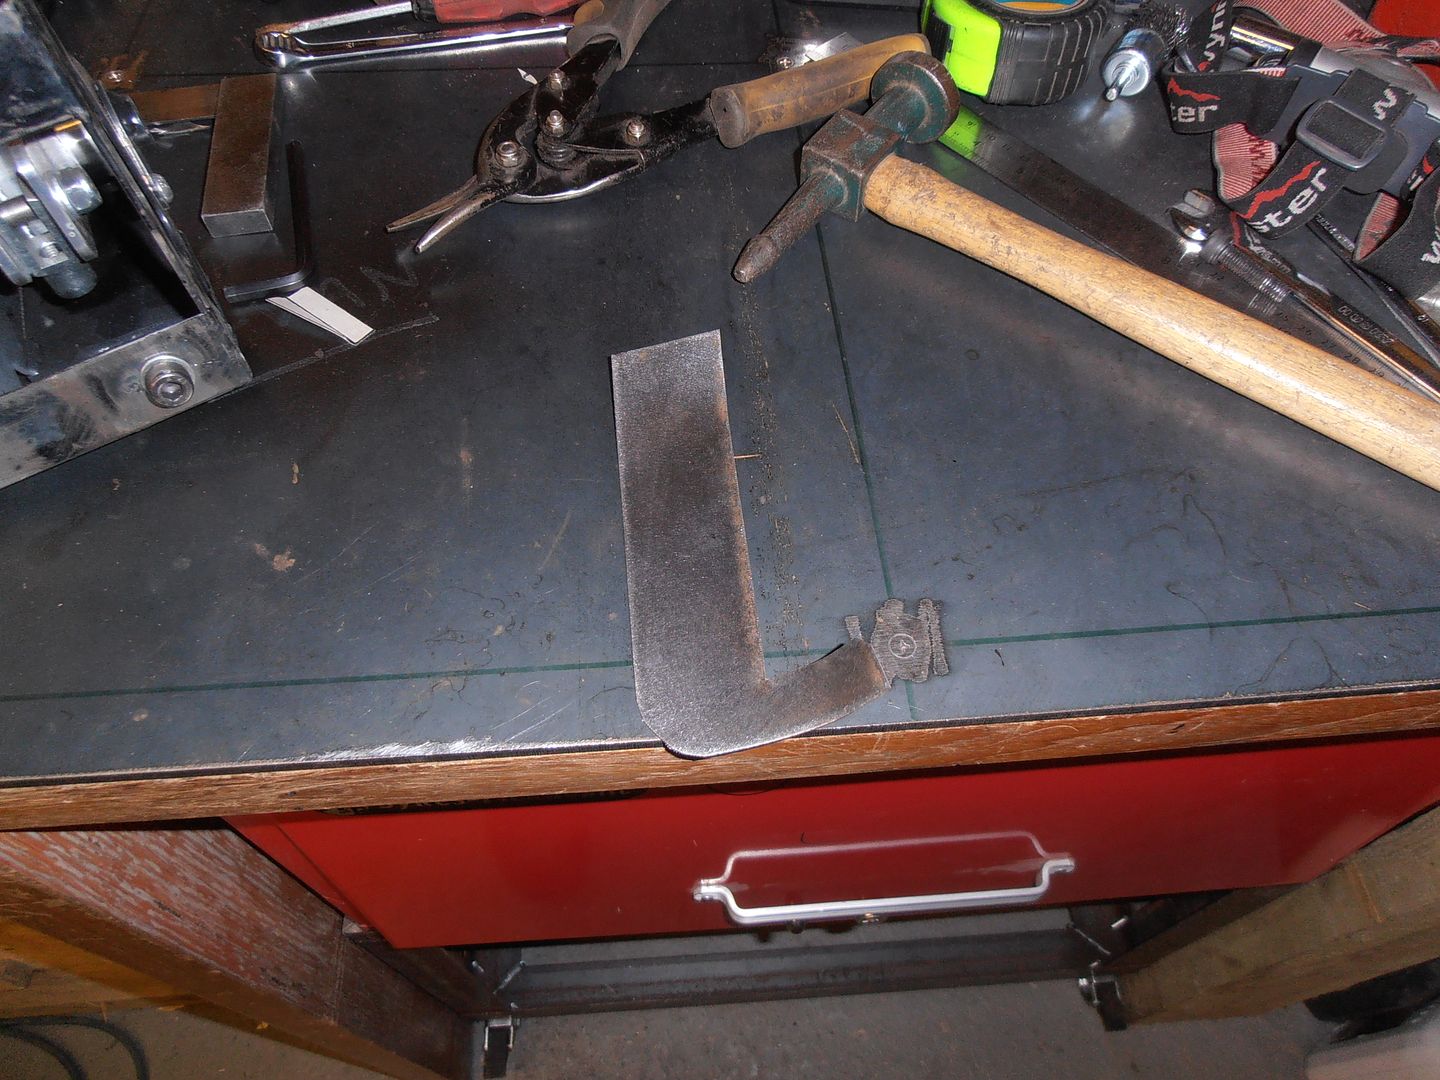 Made out of 0.6mm sheet. Which in all honesty i'd forgotten what a pain this is to work with. It marks up for fun and disappears when you weld it! started tacking in 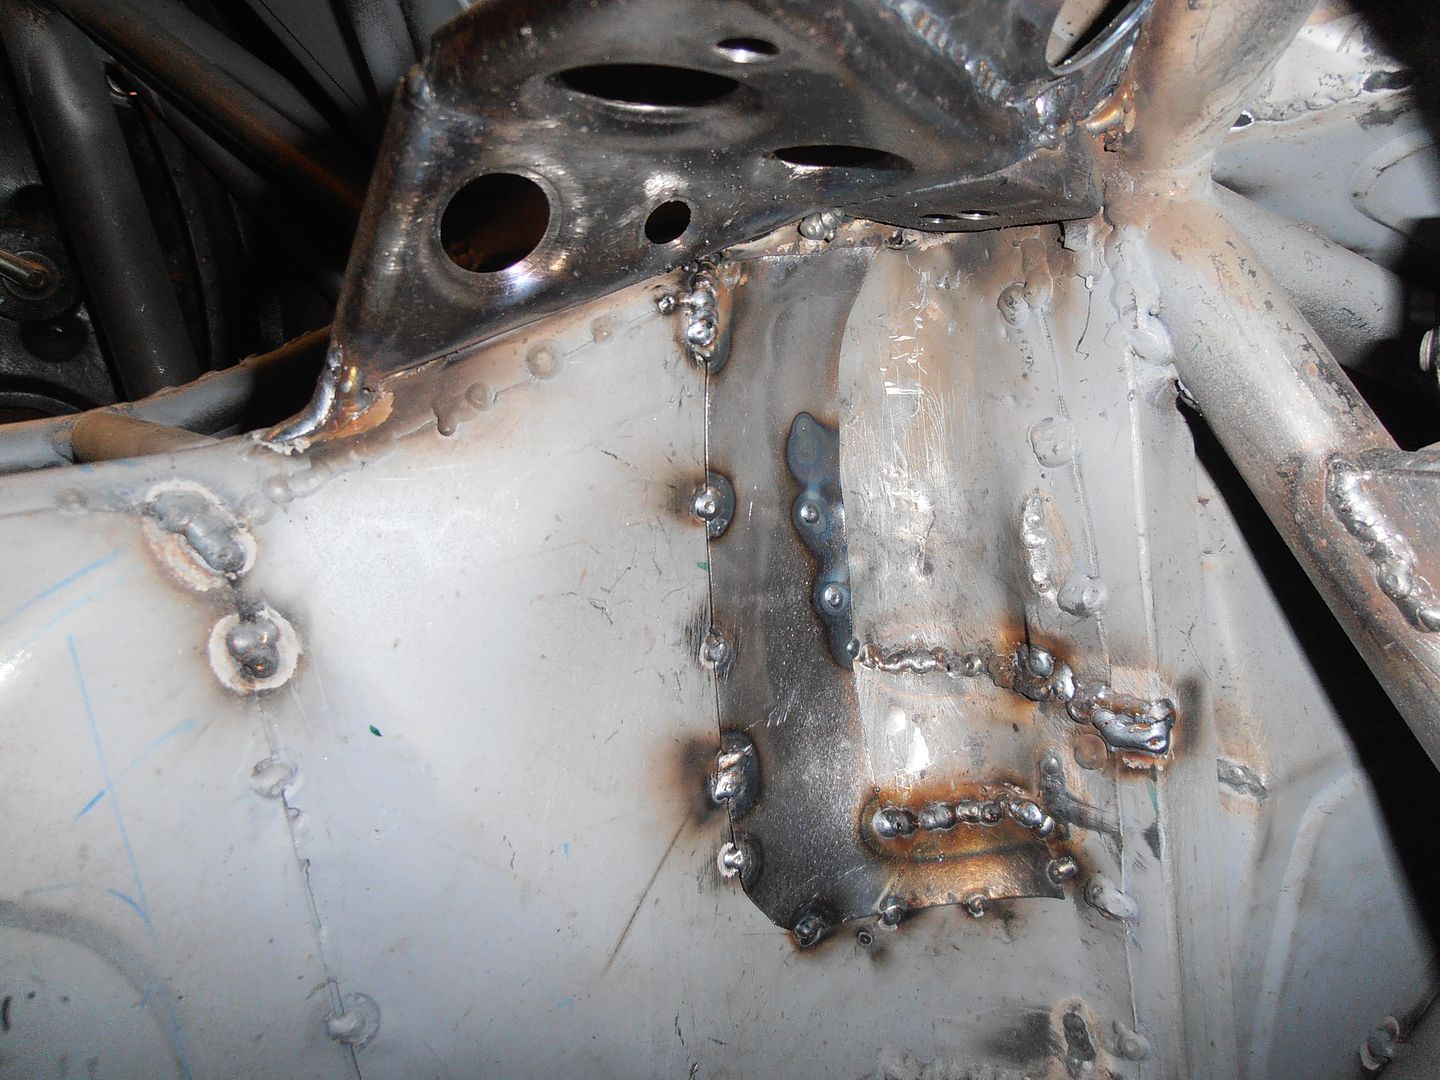 tacked in. 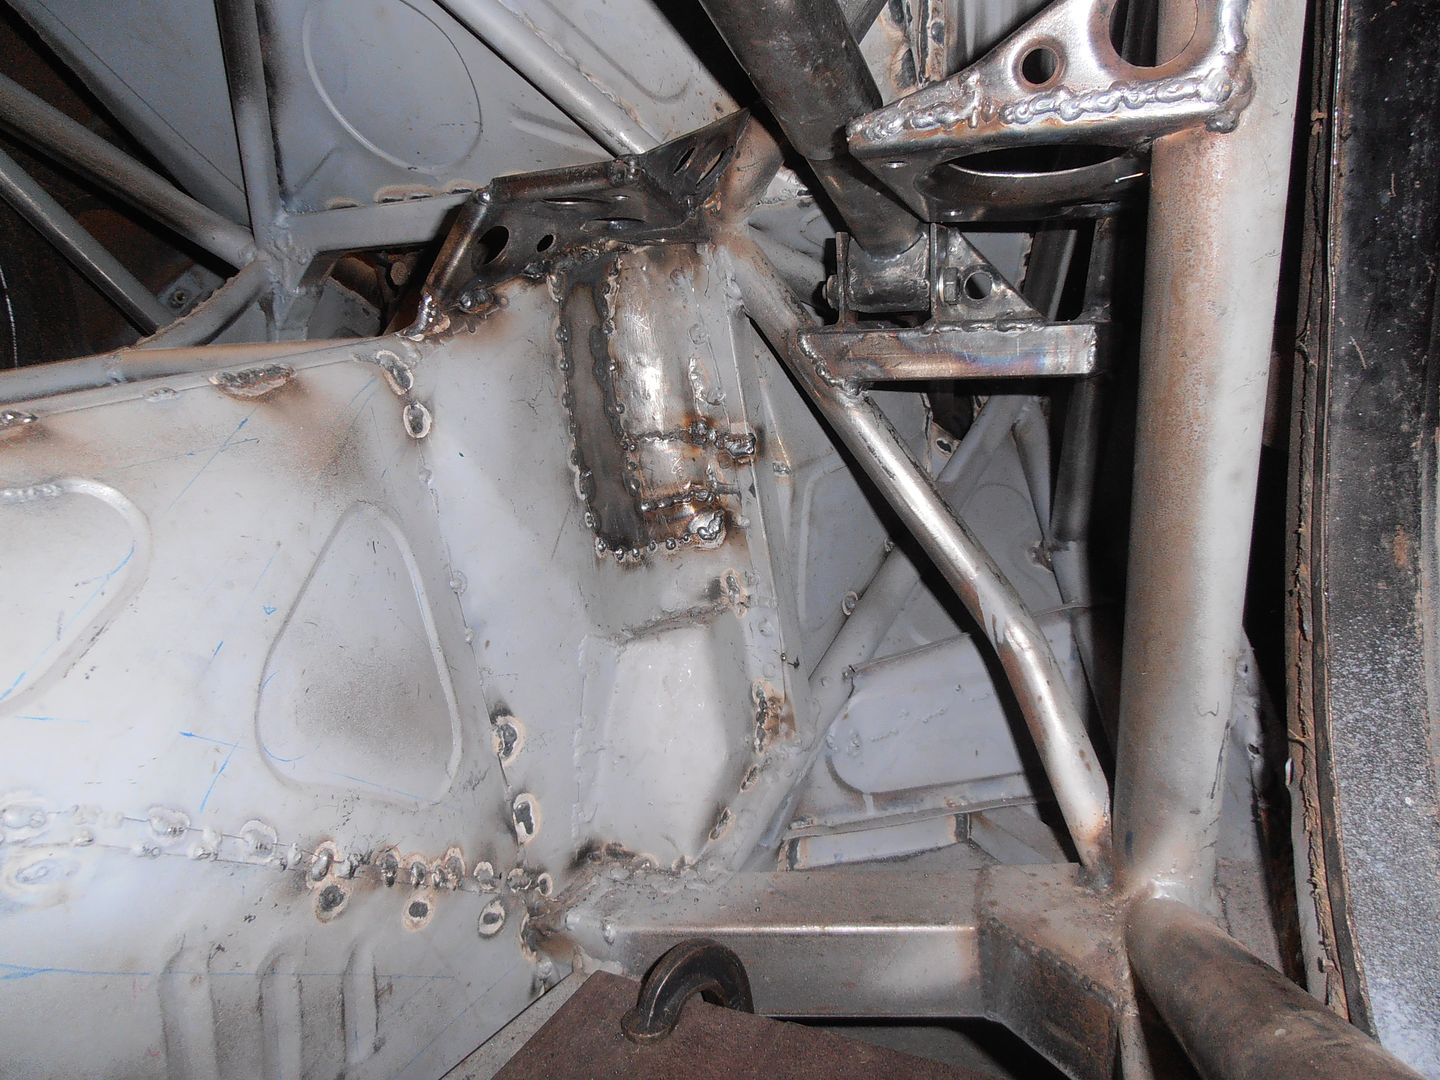 I need the box out so I can fully tidy it up and weld it all both sides. pedal box in and pedals adjusted again. They all have 3 positions so can move them left to right. This is set to give better clearance to the clutch / brake as if anything i'm more likely to be using these rather than brake / throttle from left foot braking. 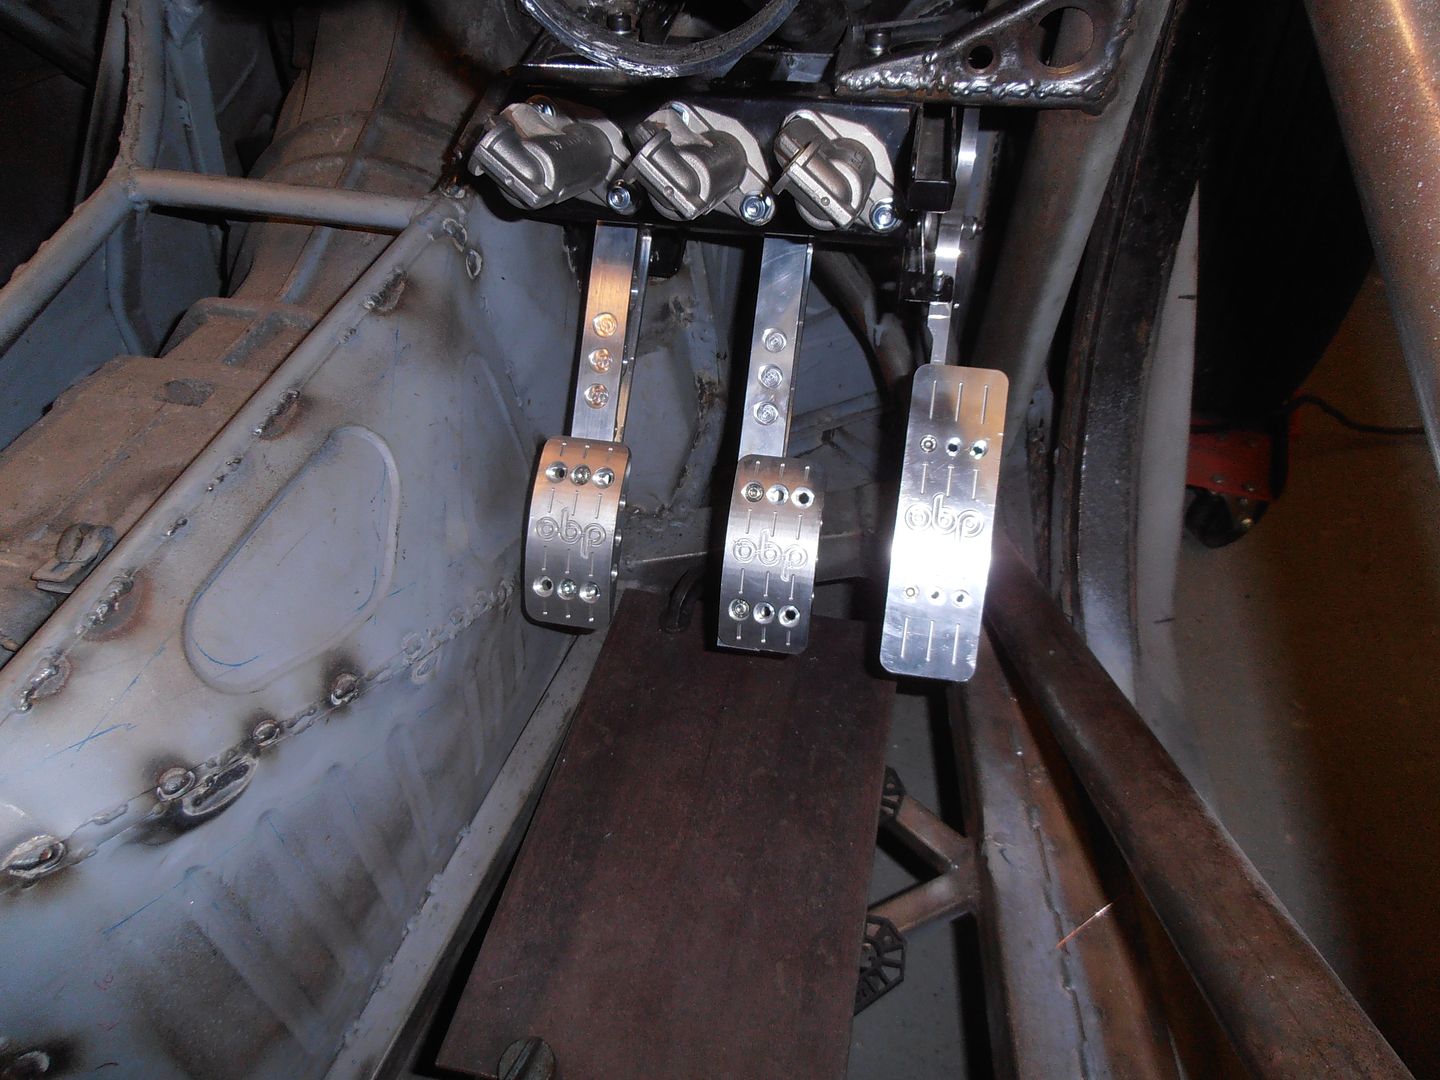 there is one clearance issue remaining on the throttle pedal 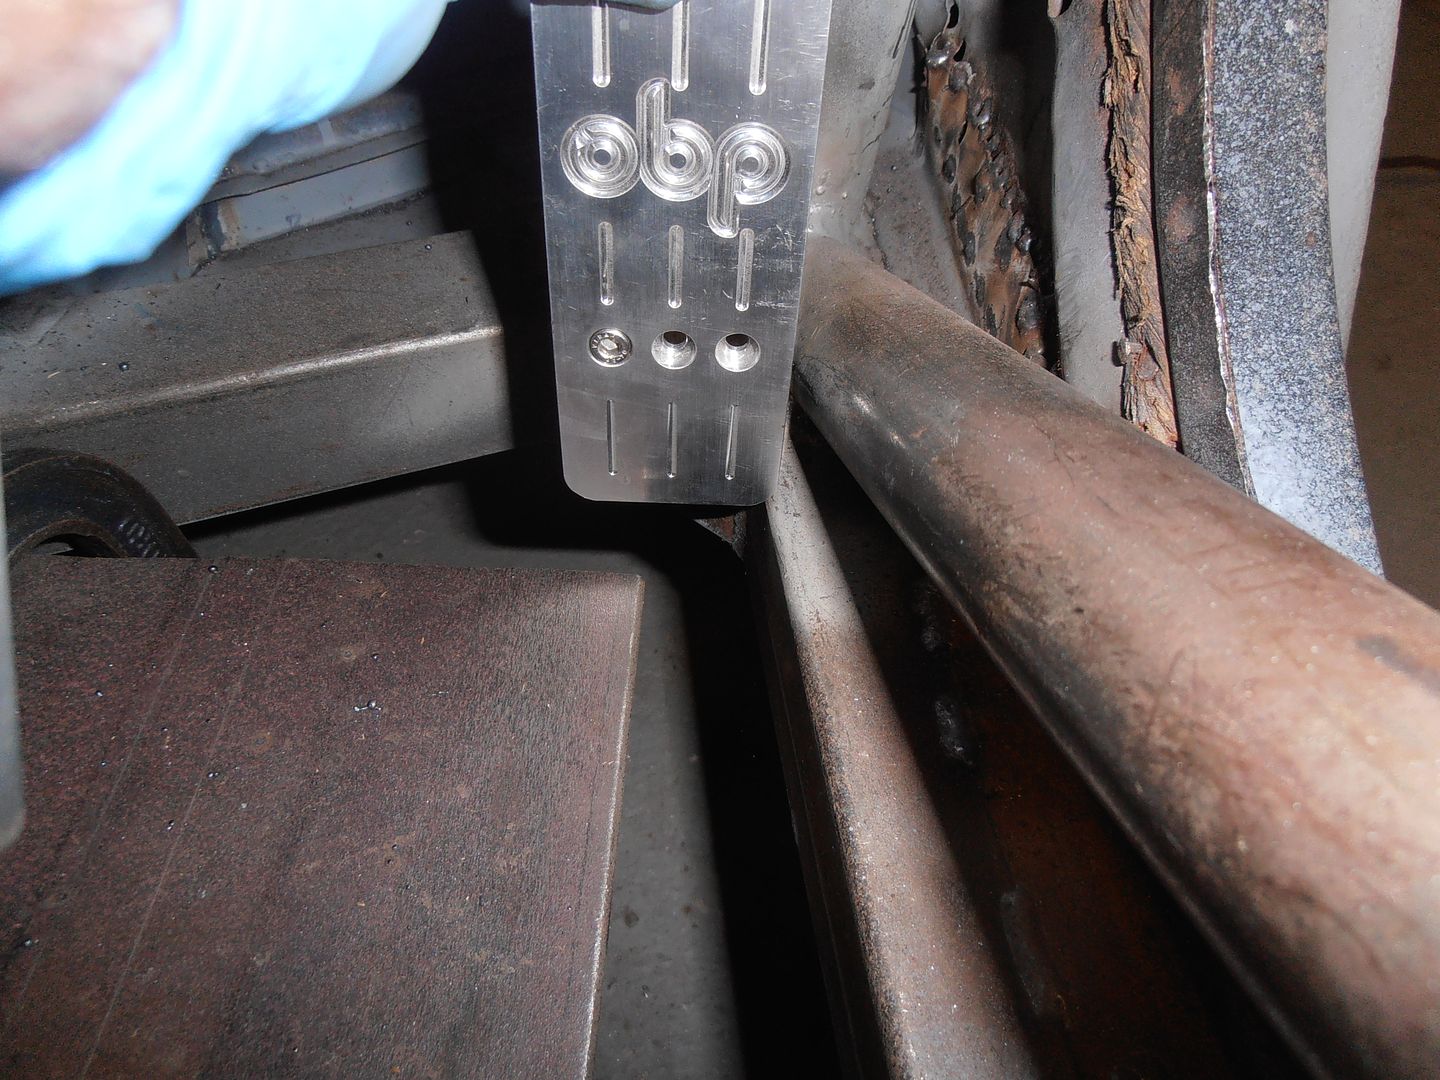 clashes with the cage door diagonal, the box section, and the cage foot gusset :-) a slight nibble will clear it. 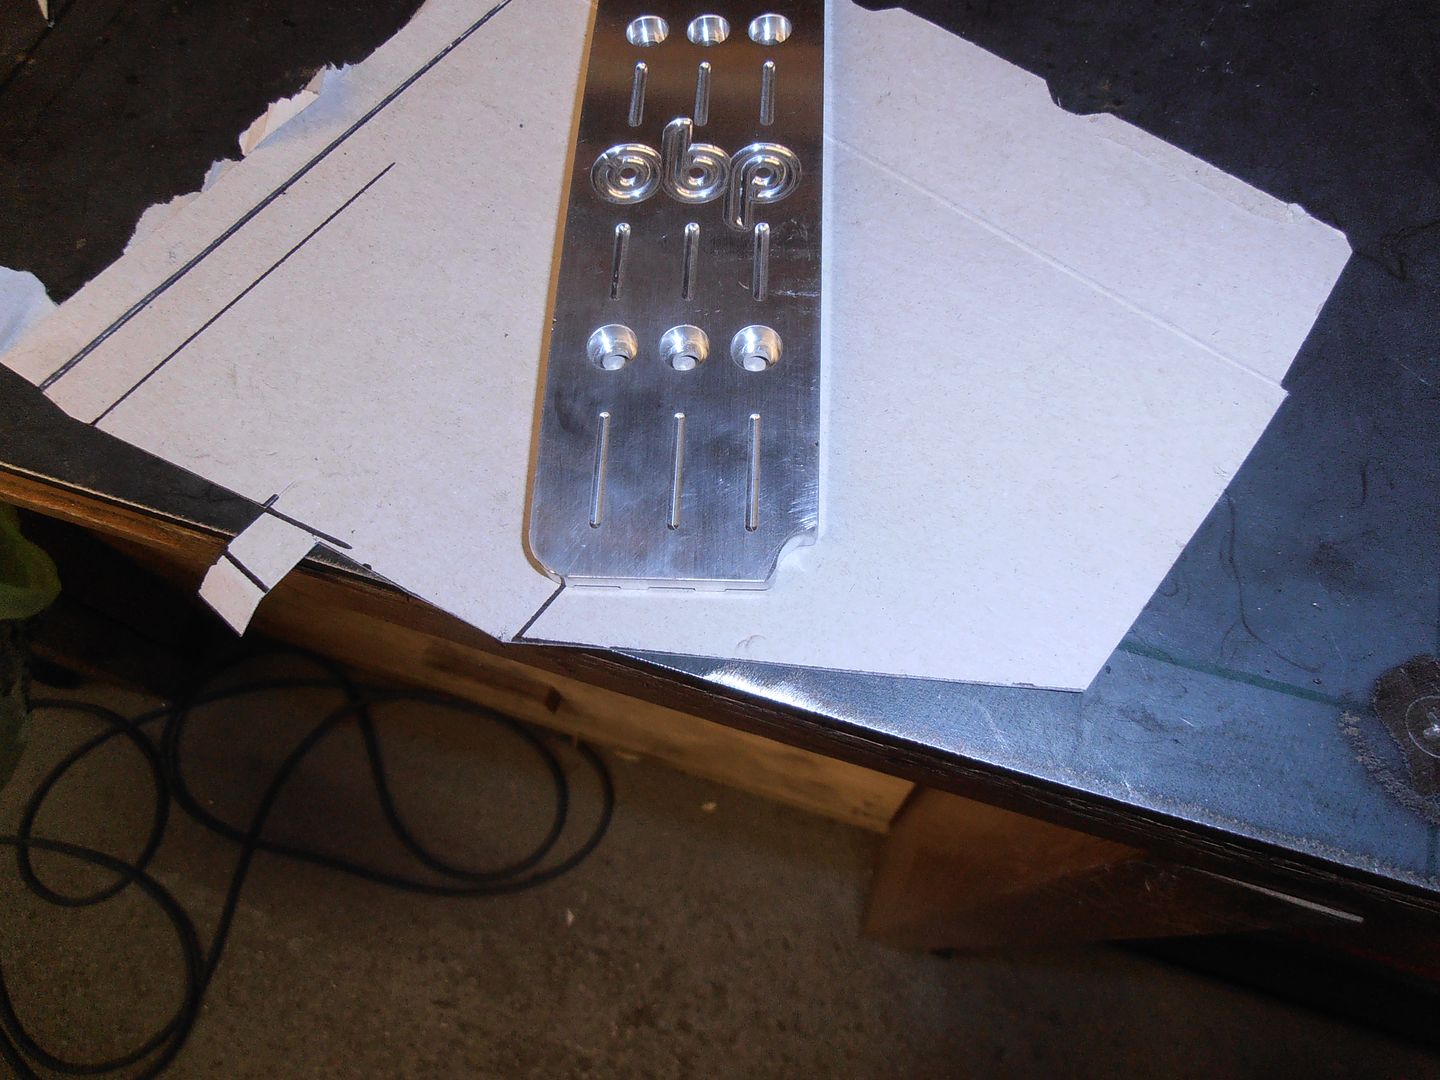 ok, slightly more of a nibble will clear it 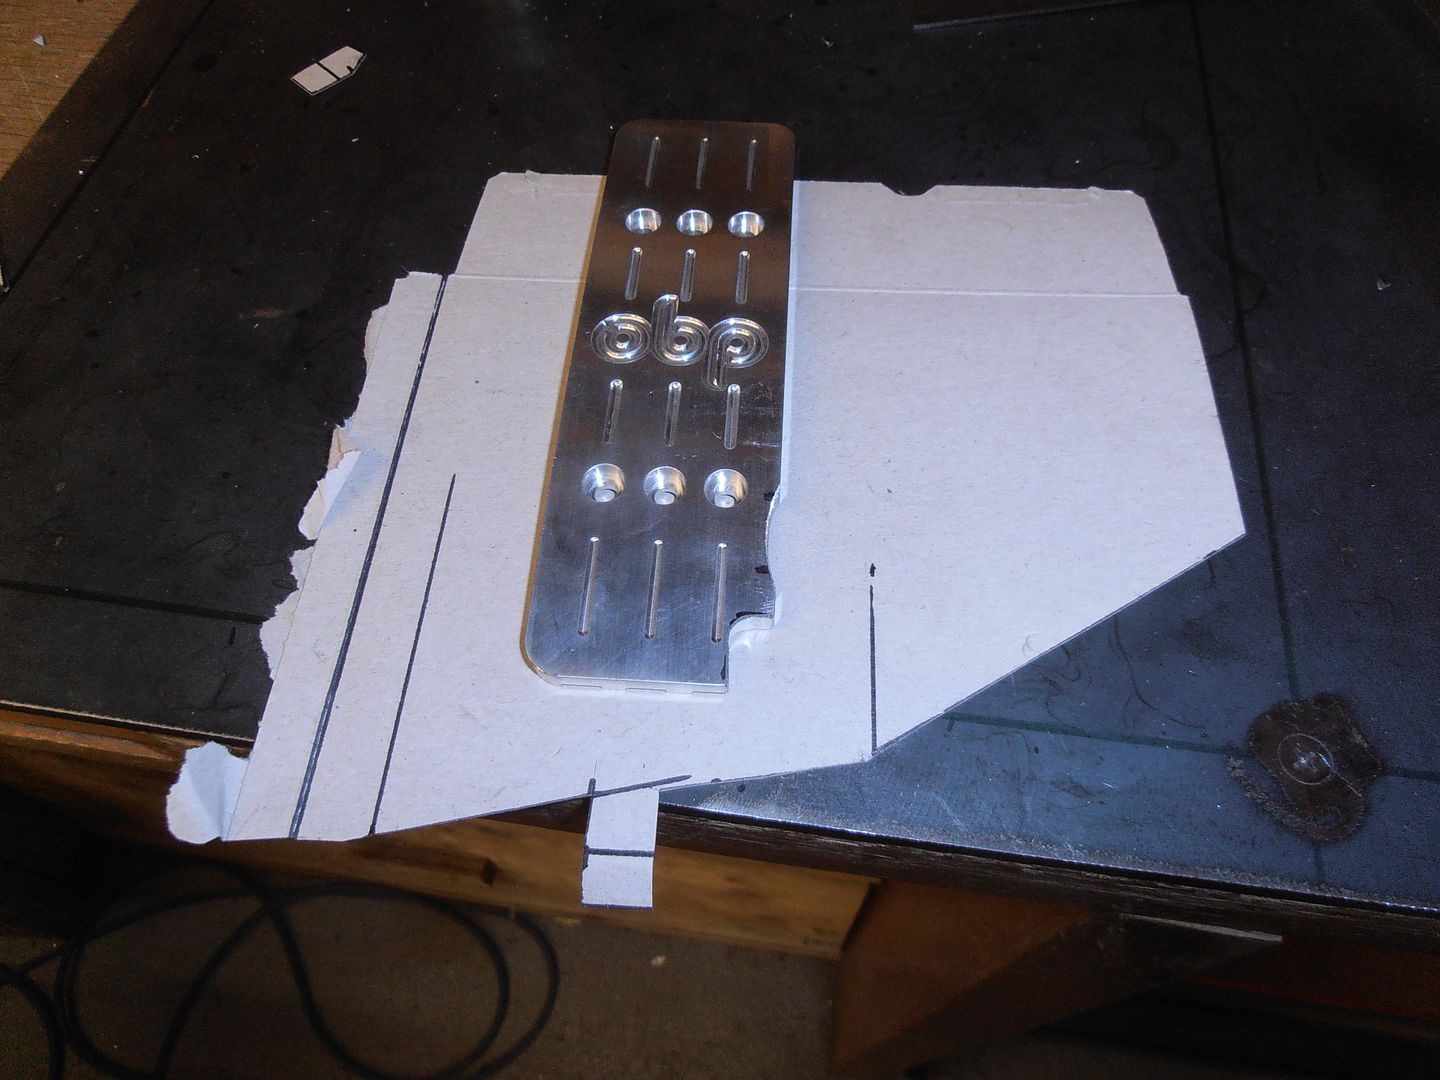 like so 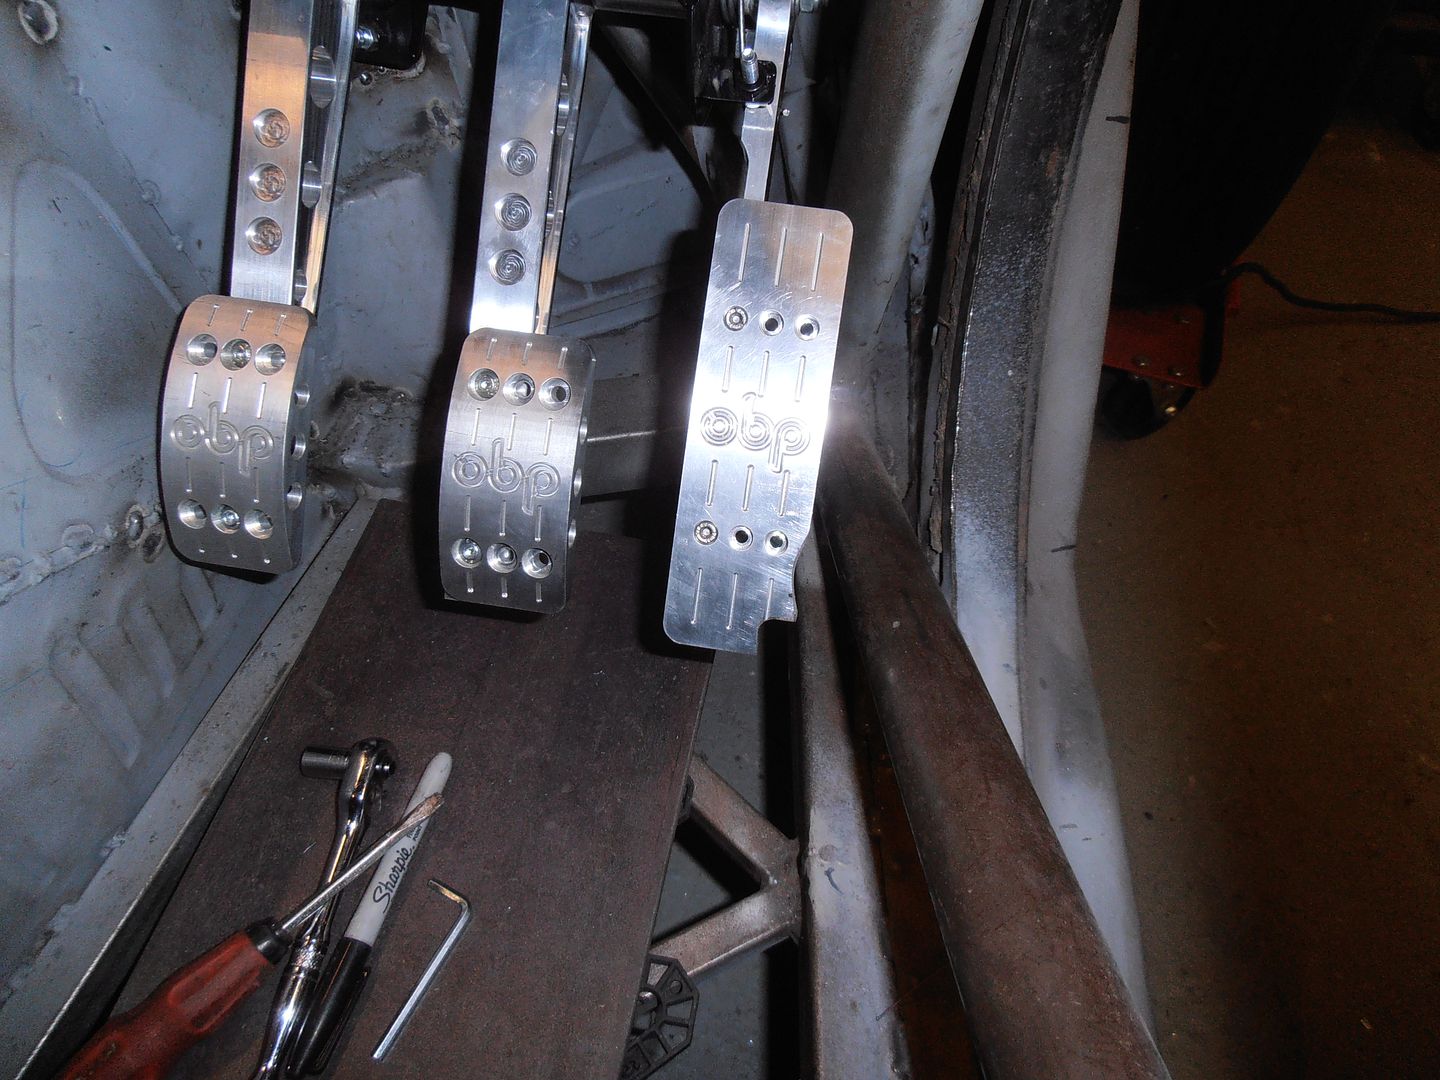 clearance all round, and can get full throttle / throttle onto the travel stop 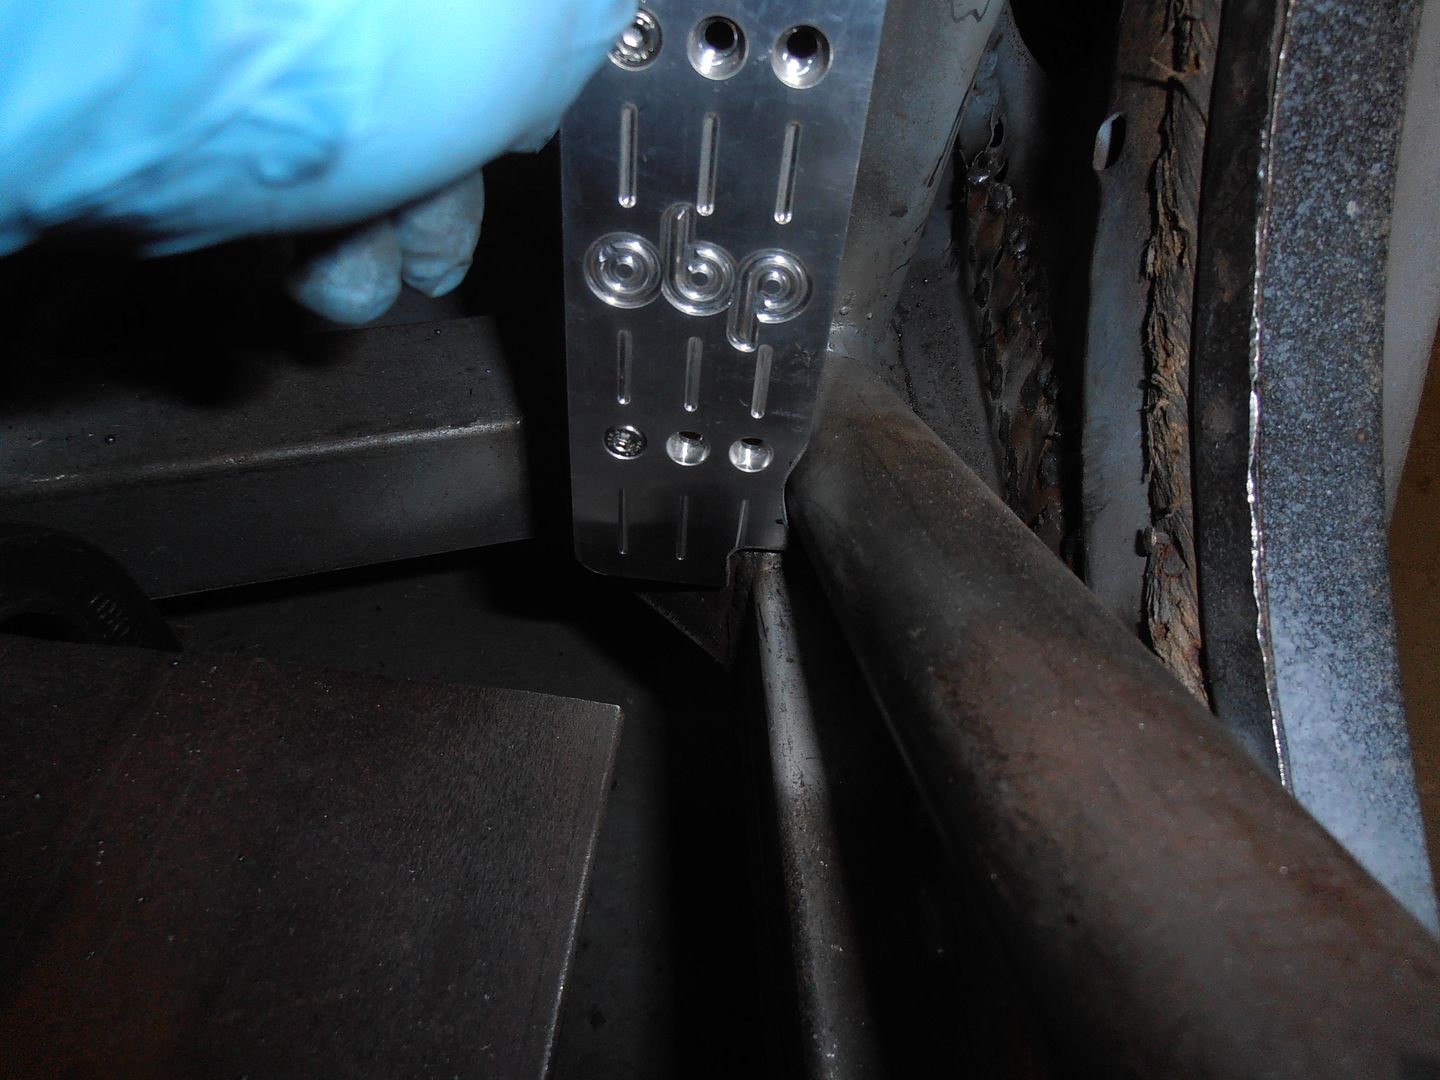 I then sat in the car and made brum noises and checked the steering and driving position position. All in all its better and more comfortable a position that I was expecting to have. I am surprised, especially with how little space there is. right. Onto something next. um.... here 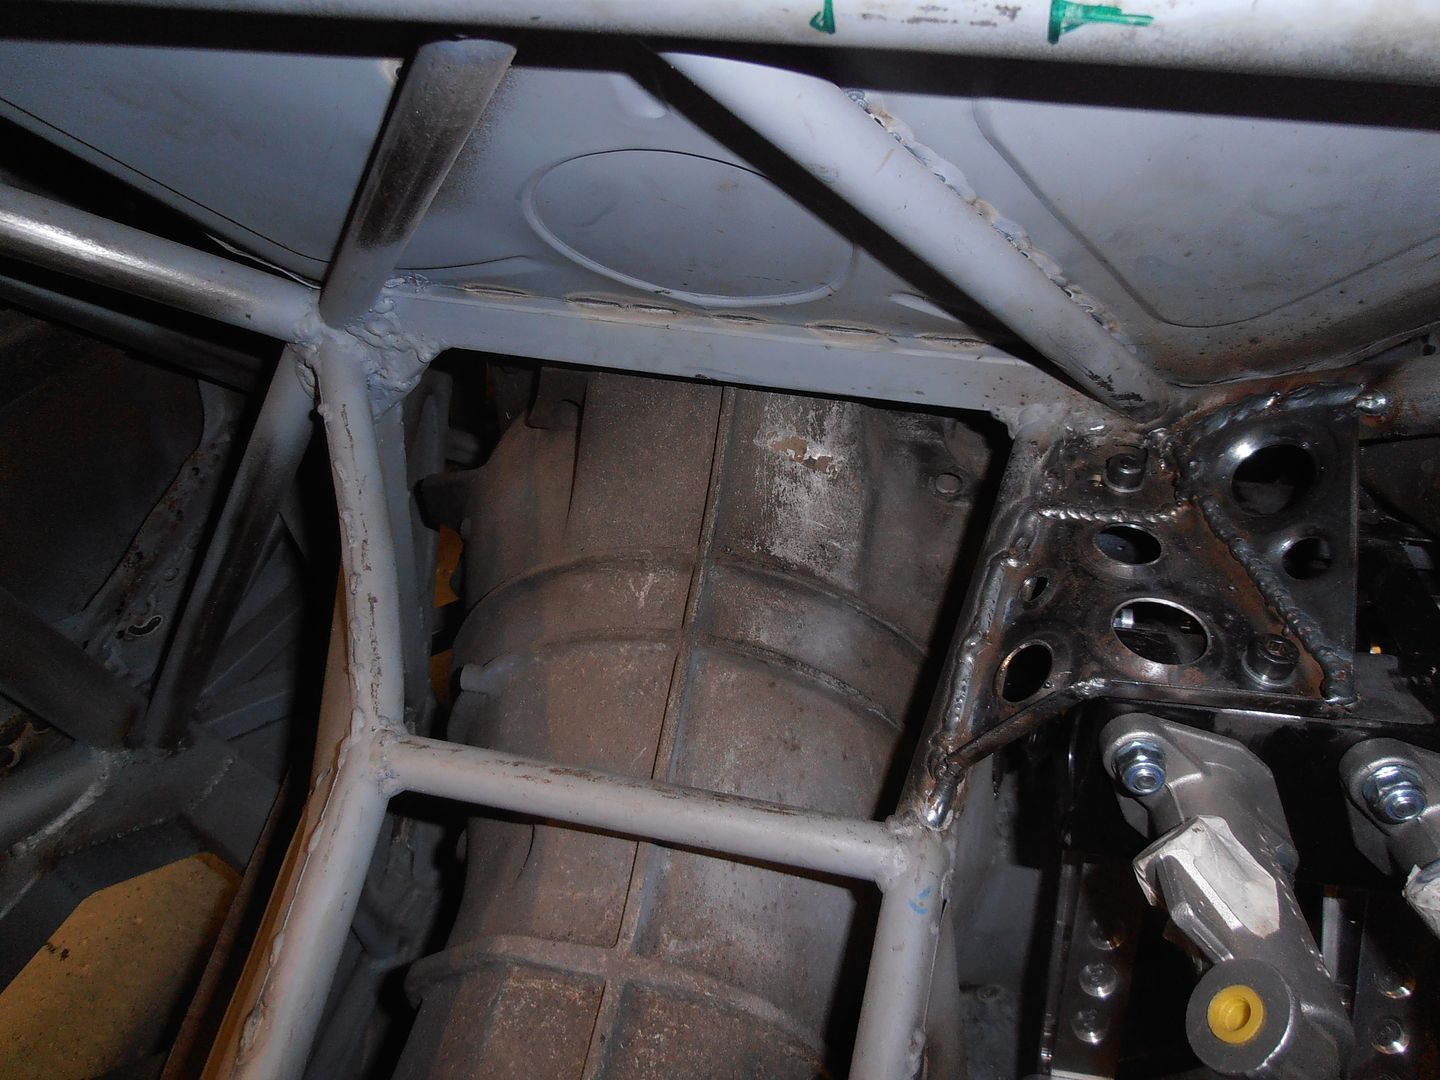 Should probably cover the gearbox wonky card template 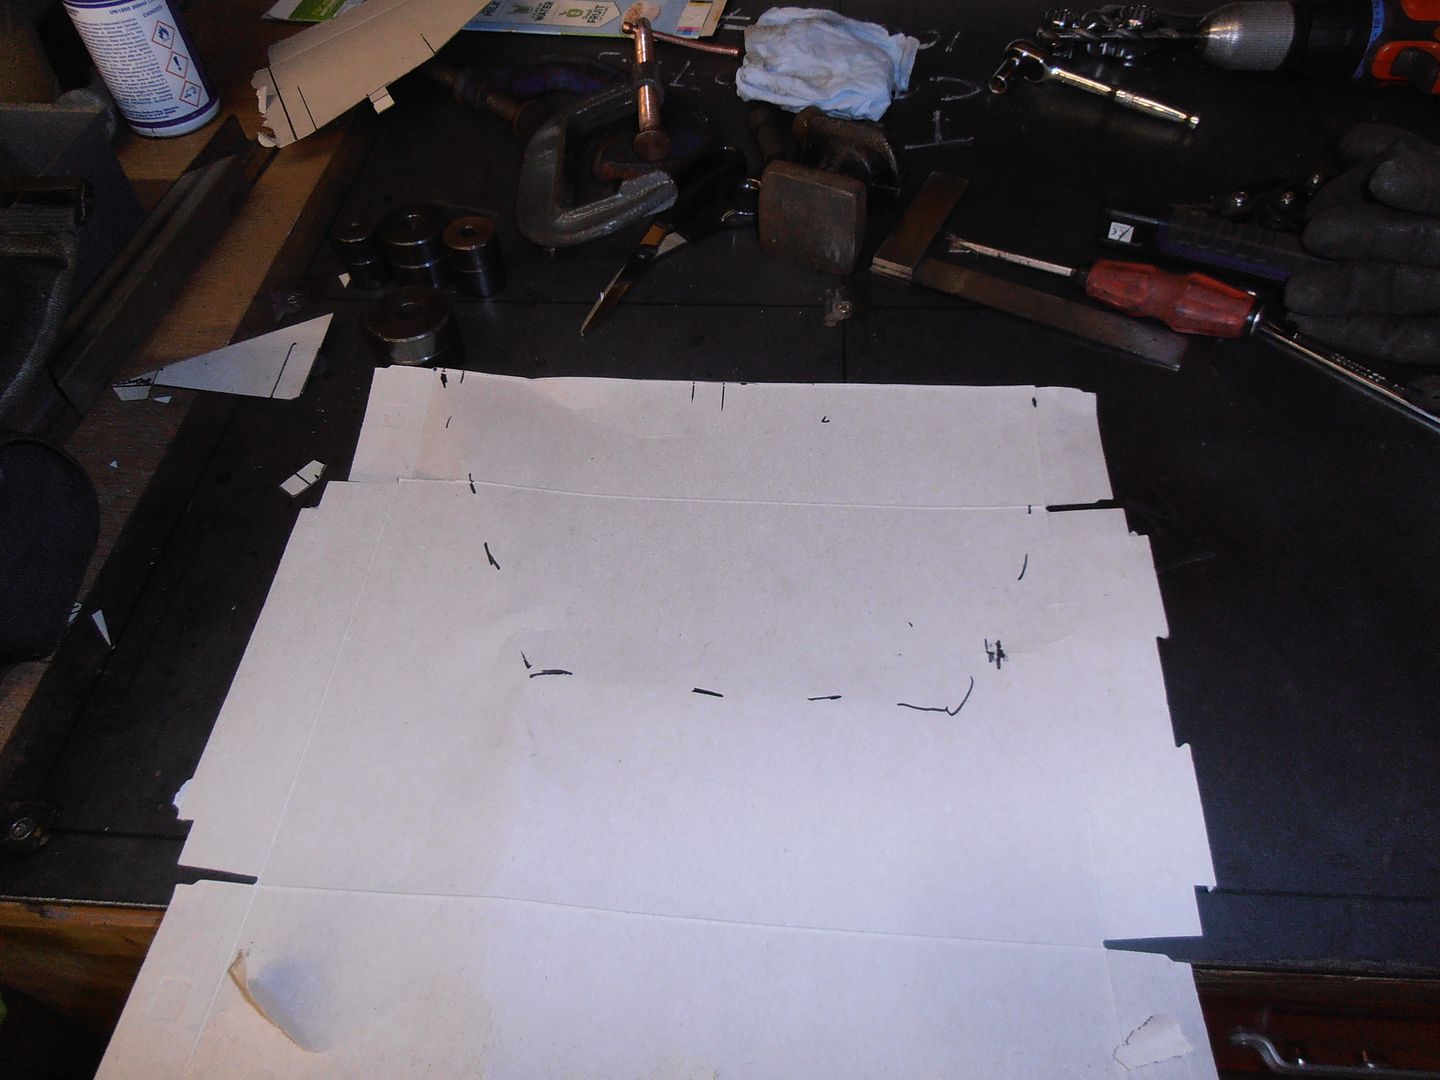 slightly less wonky and cut out 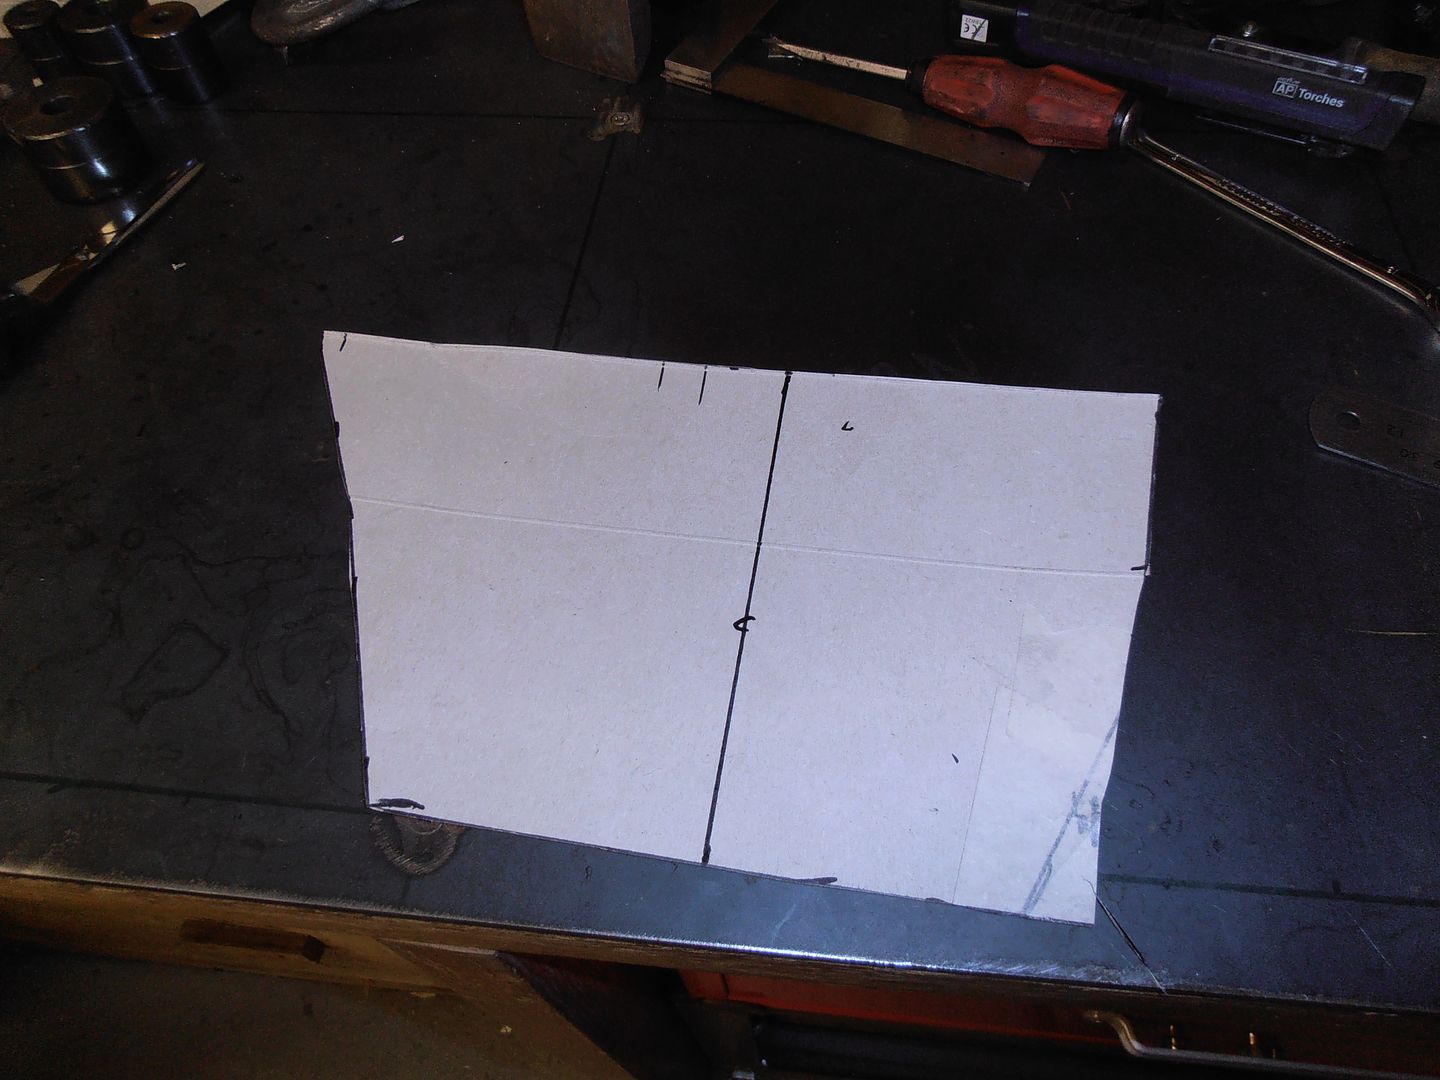 colourful lines added 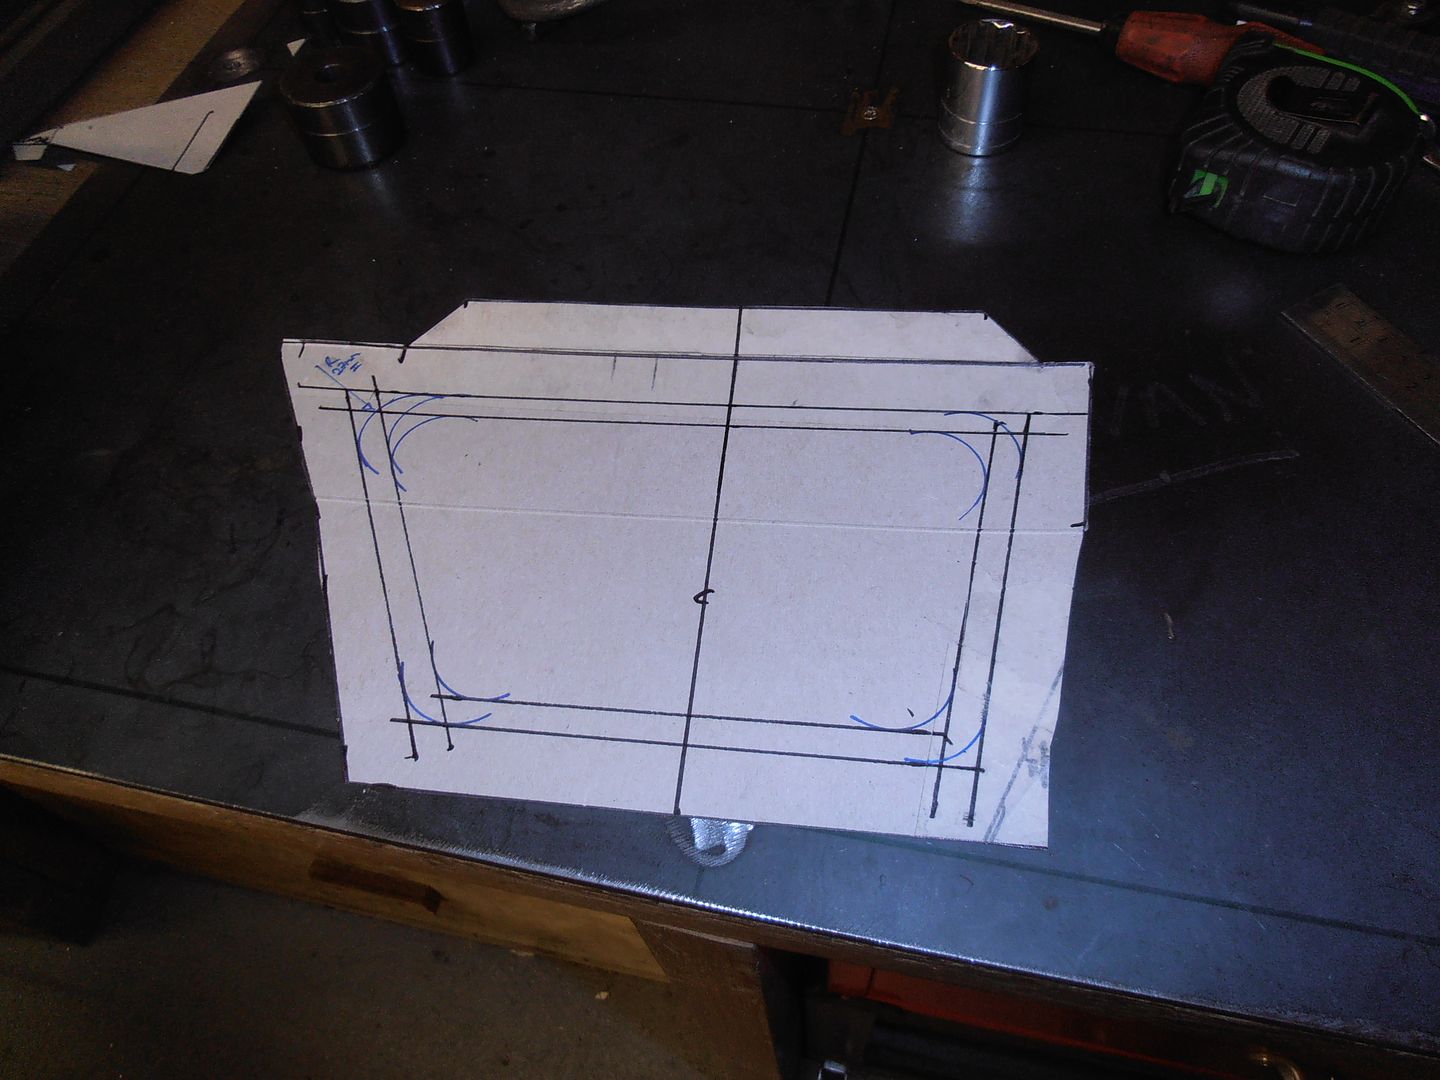 why the lines? Swage lines? not this time. I need access through this panel to get to the rear bellhousing bolts Cut out a hole 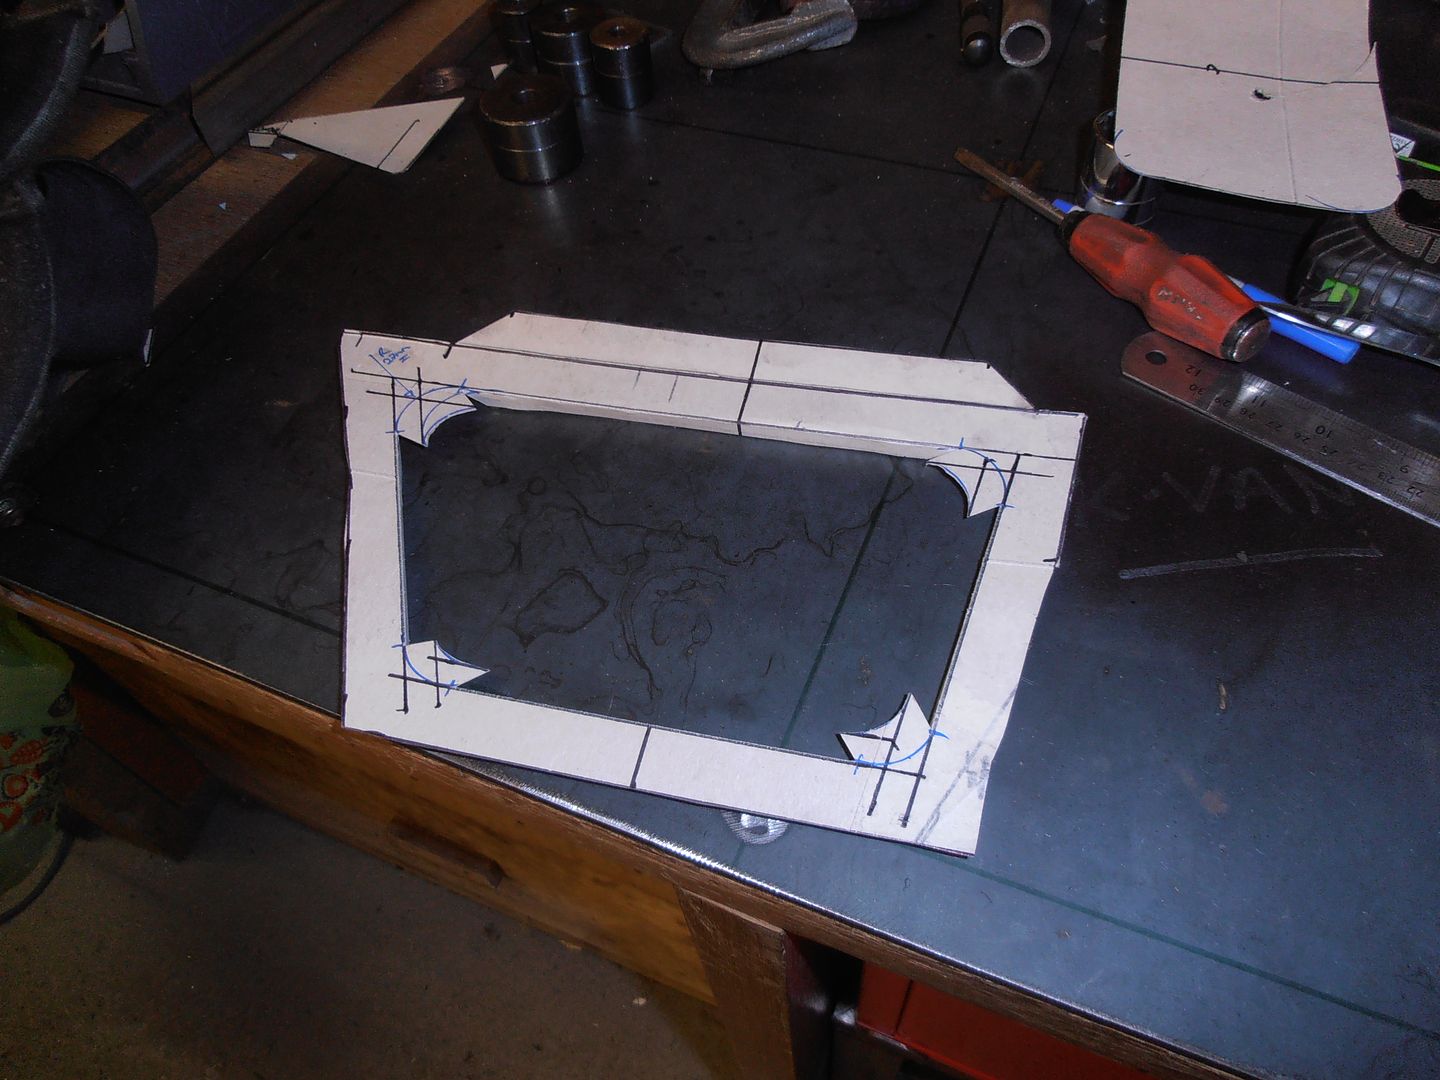 check it 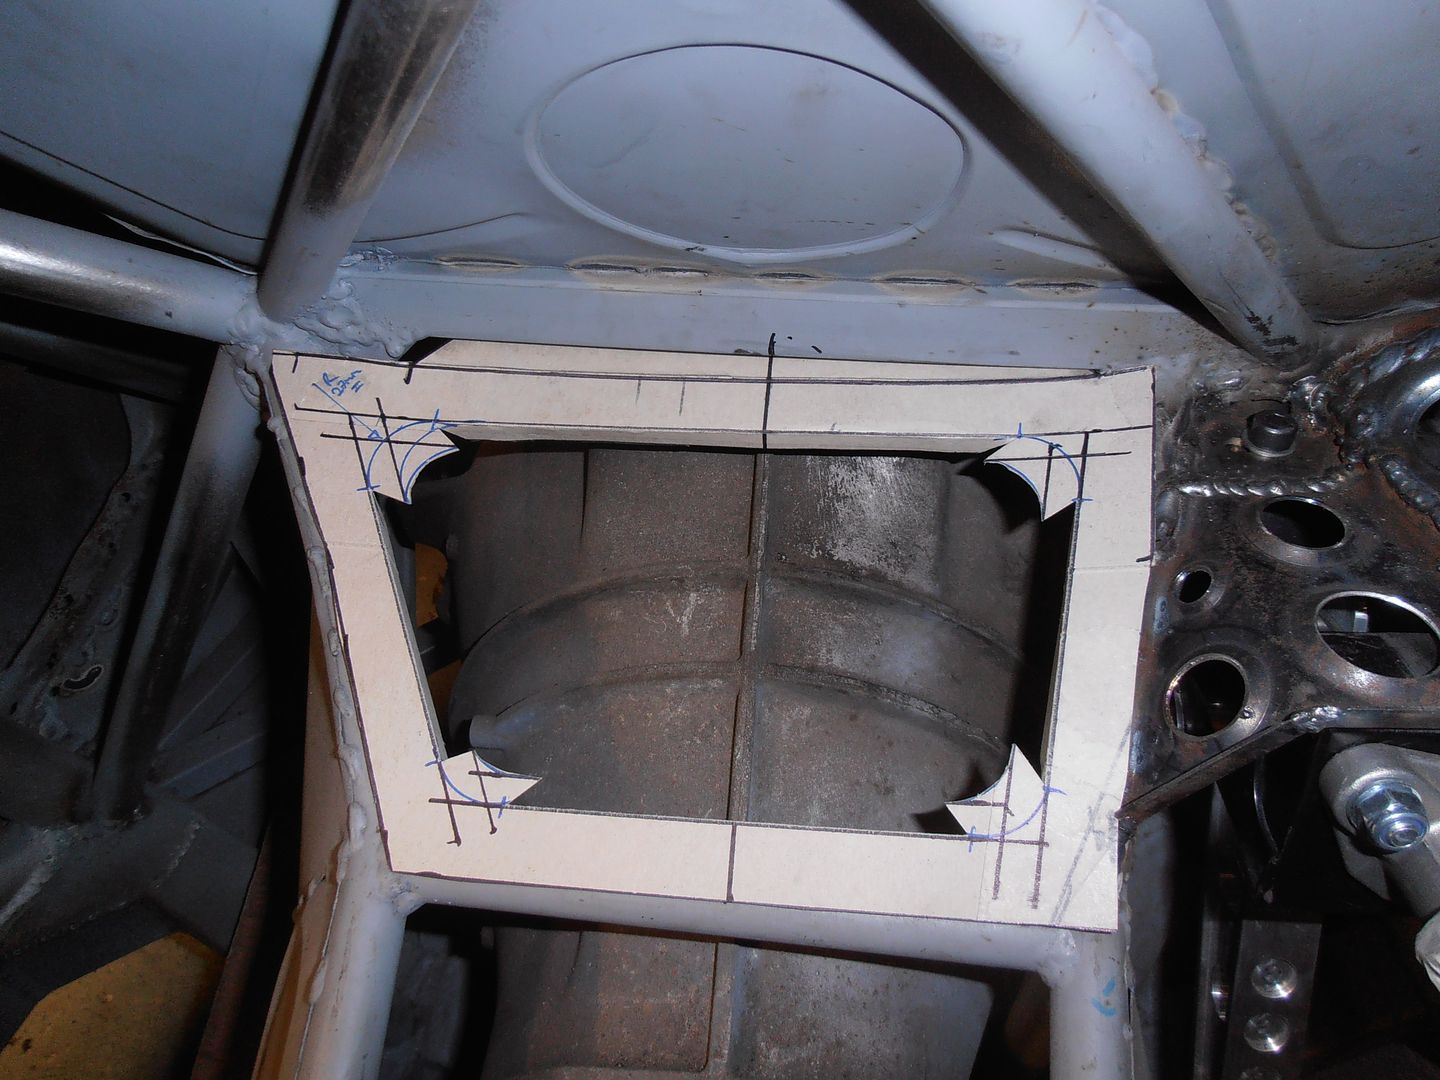 you can just see the bolt here 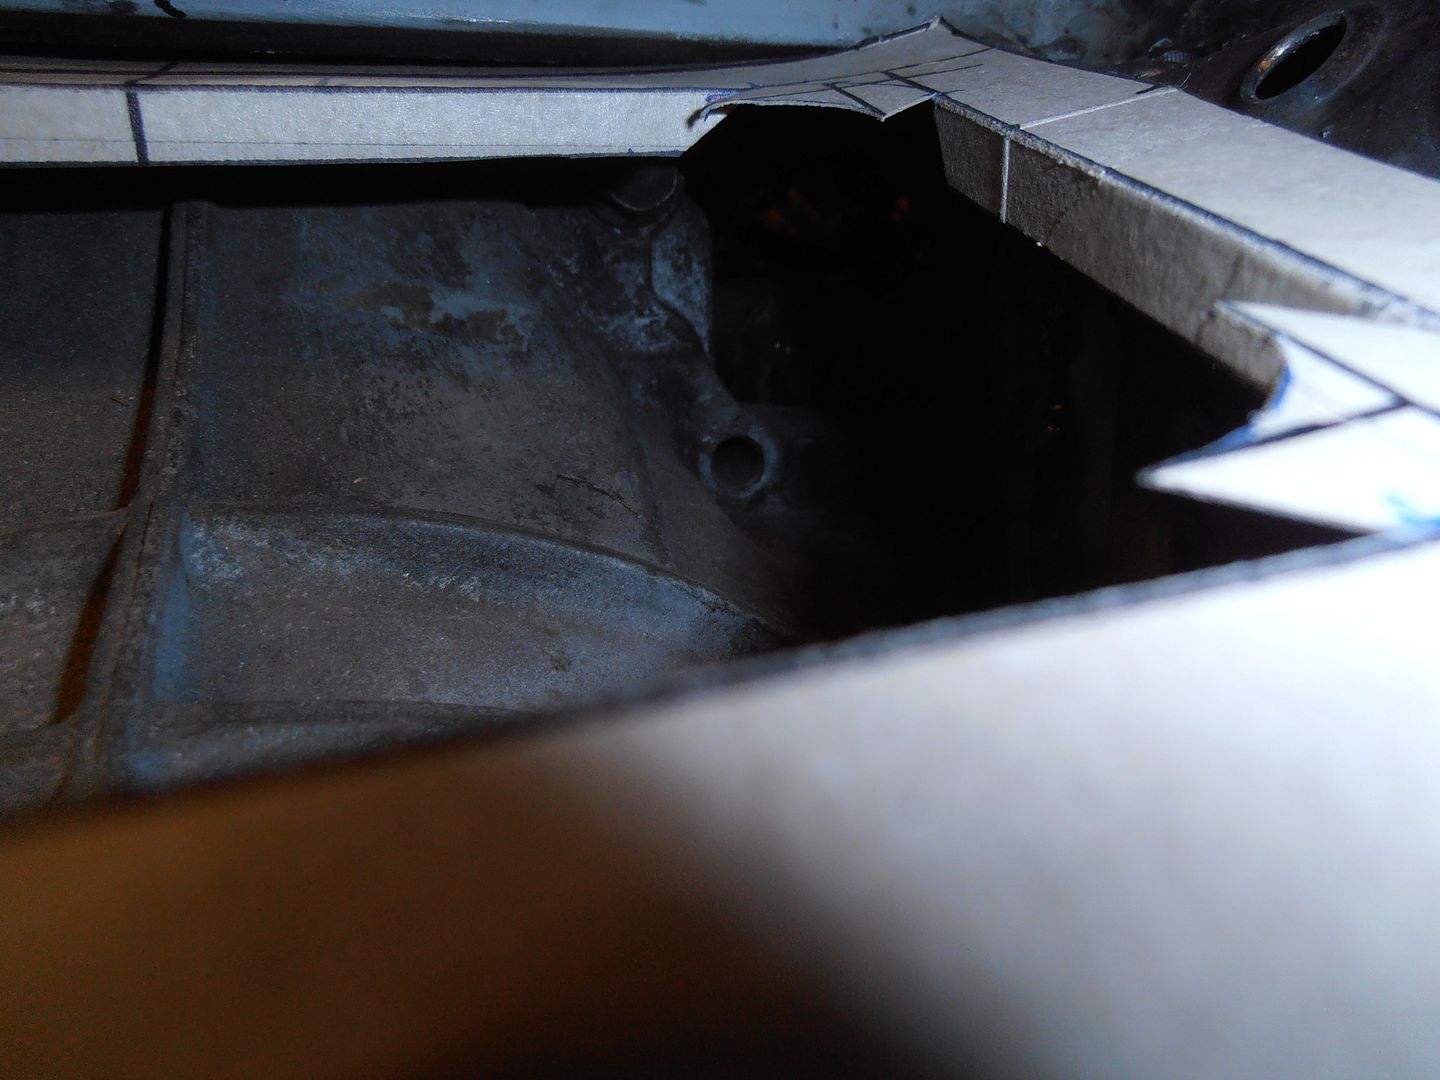 trying to go in this way to do them up requires about 6 wrists.... 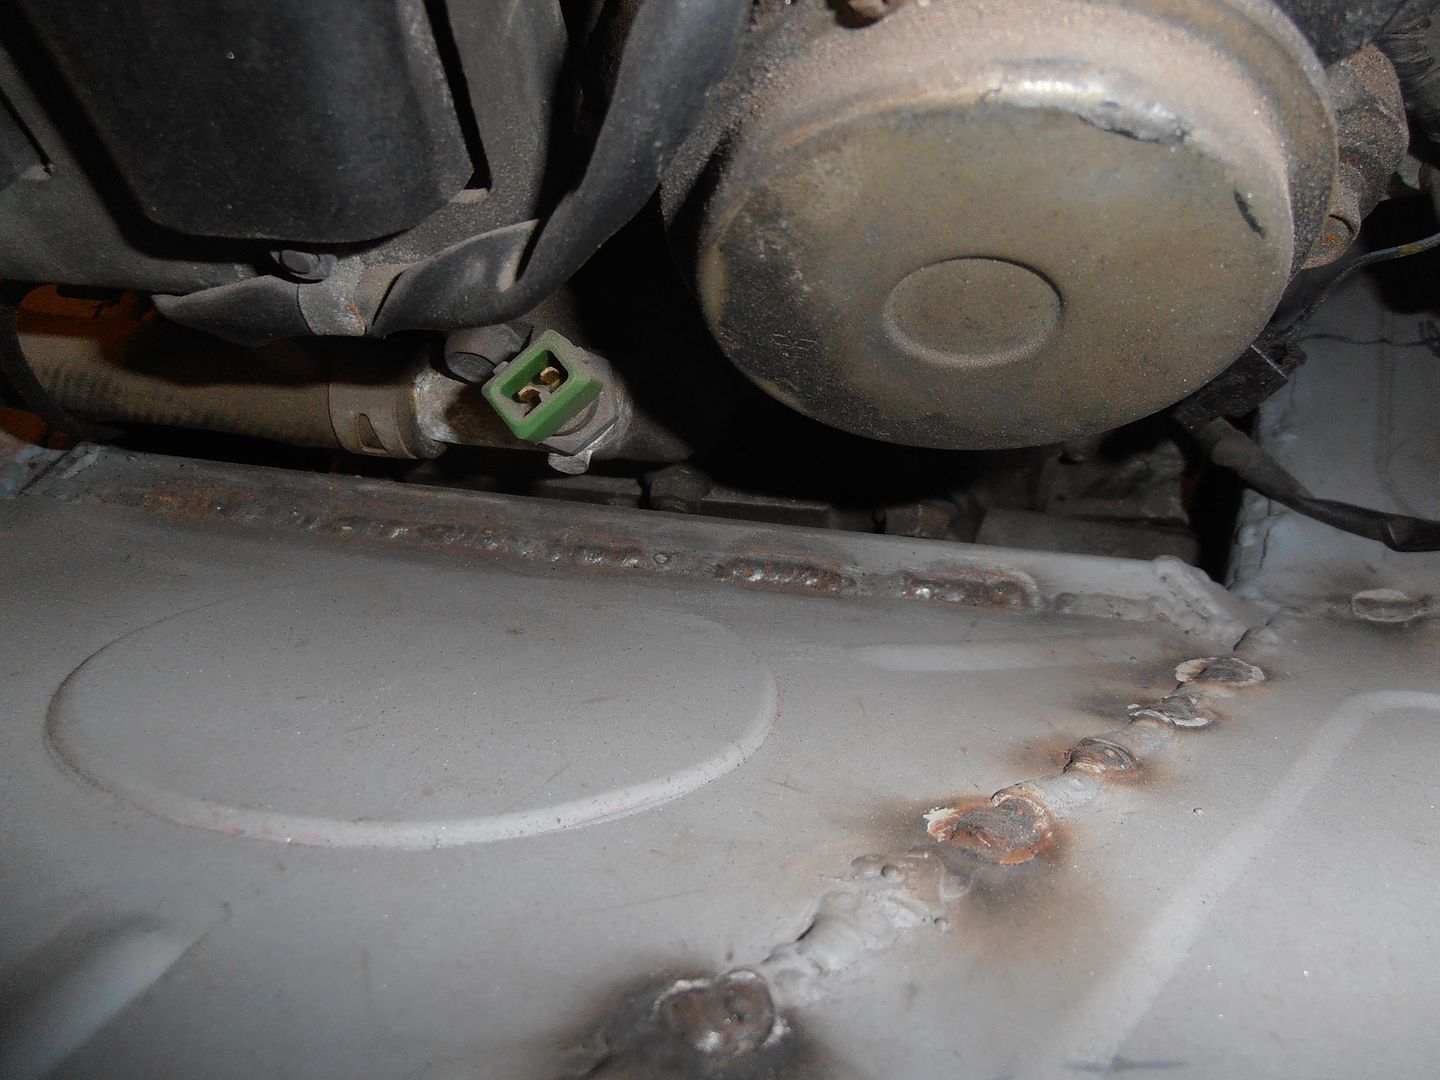 with the removable panel access is like so 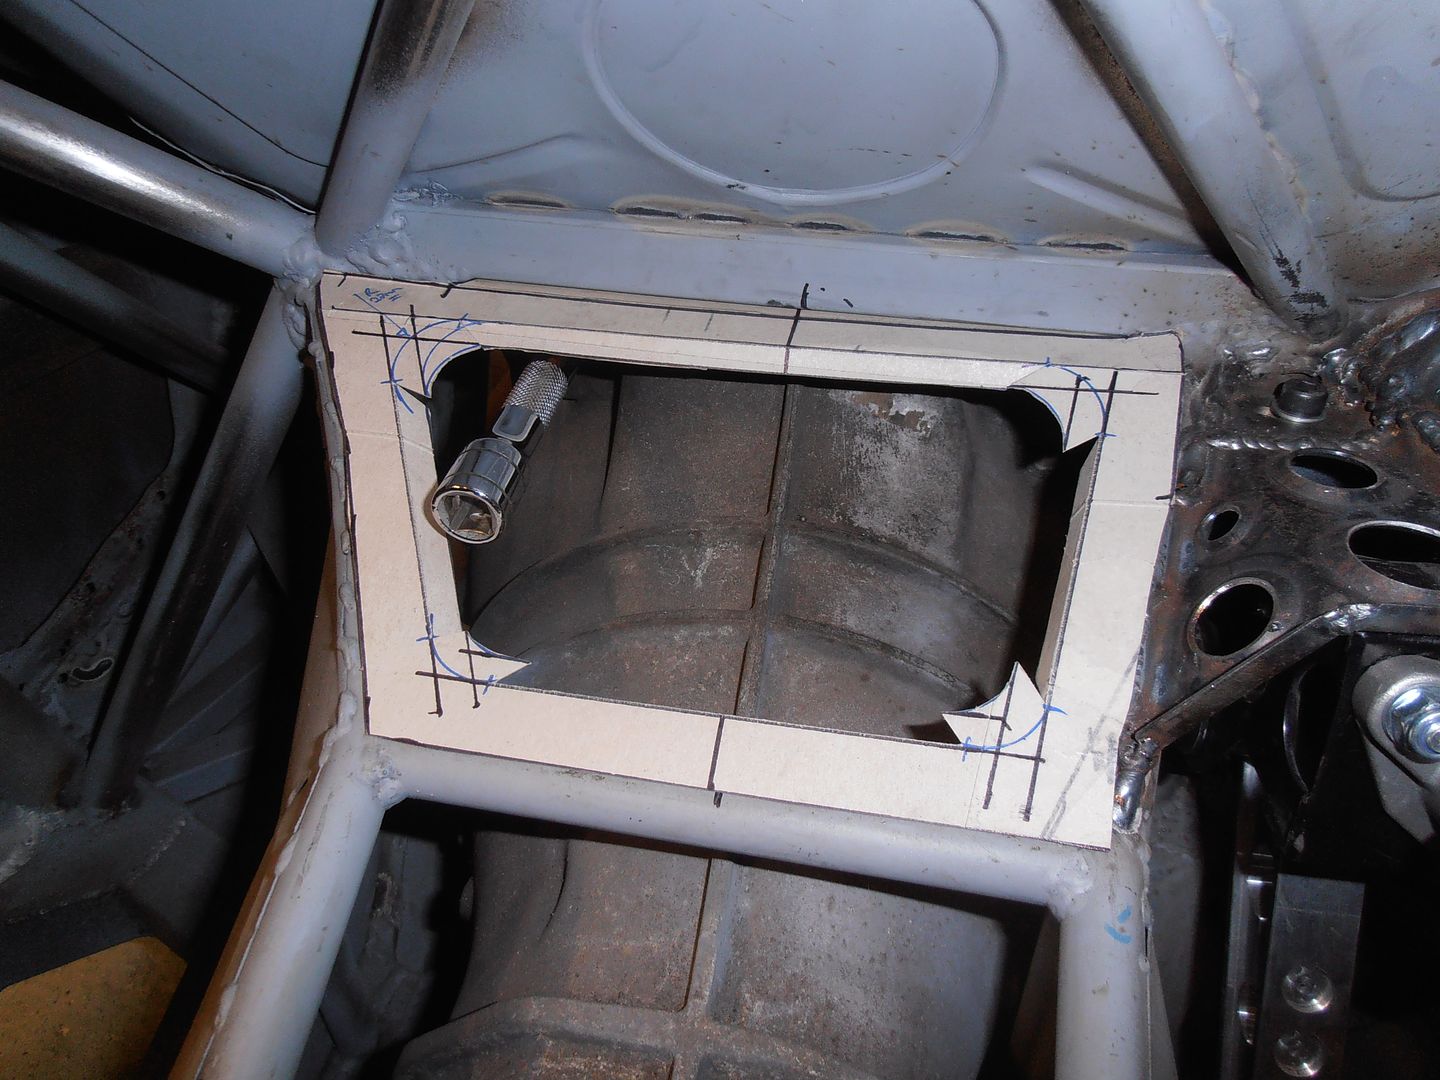 The lower bolts can all be accessed from the bottom. Cut some steel 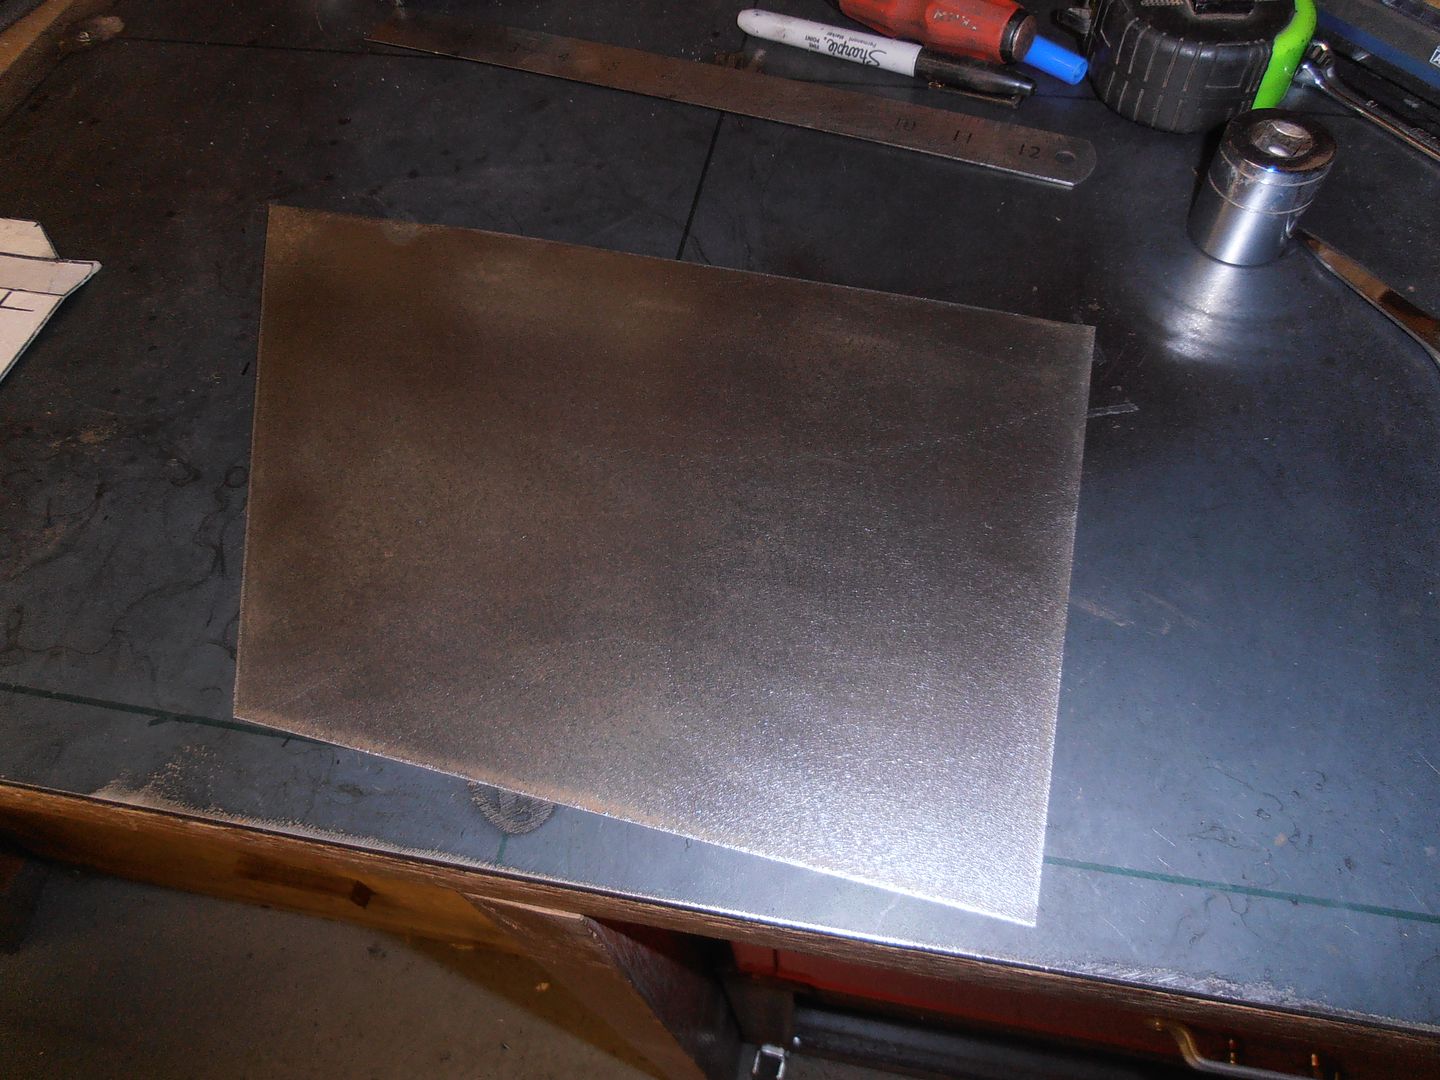 start cutting out 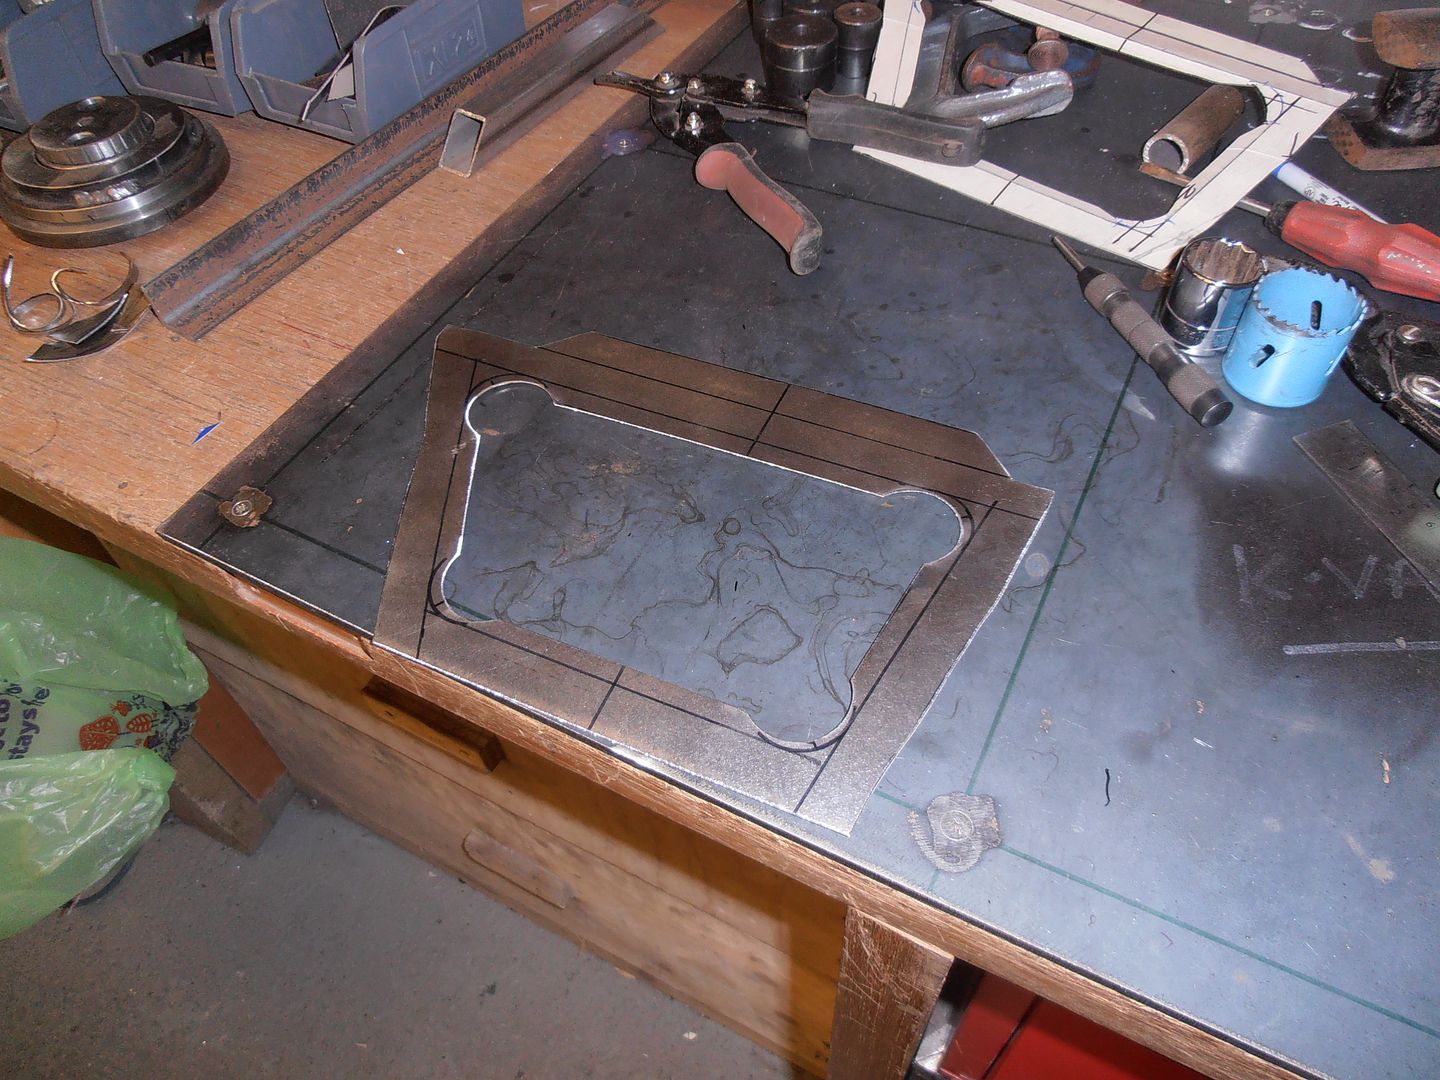 start bending to shape 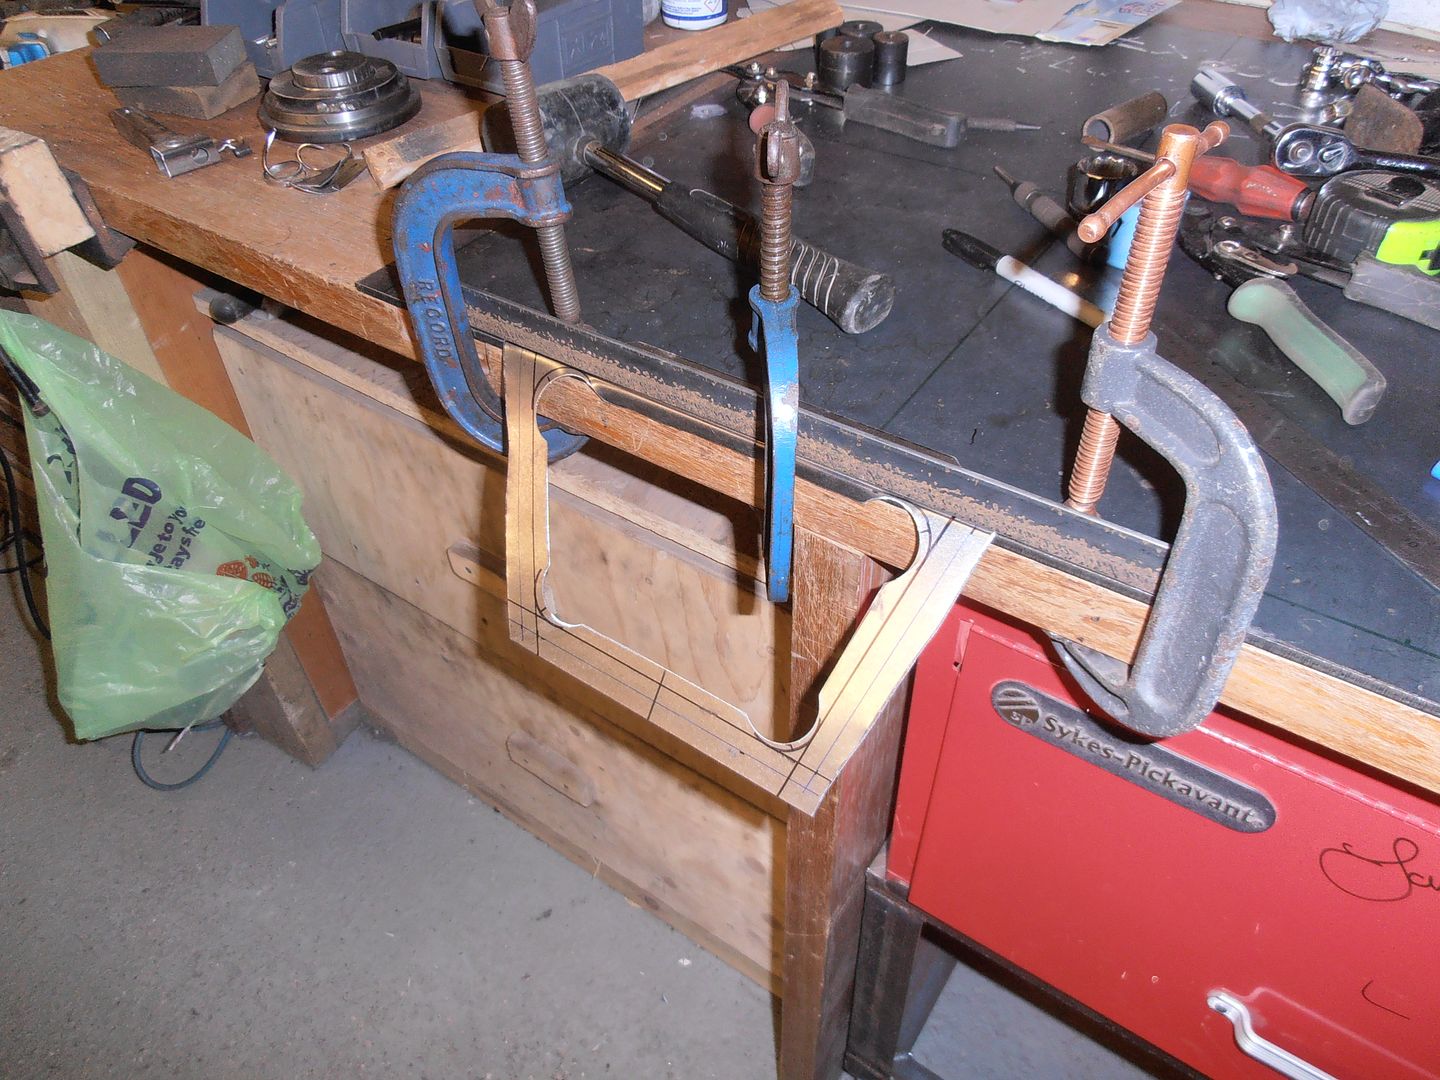 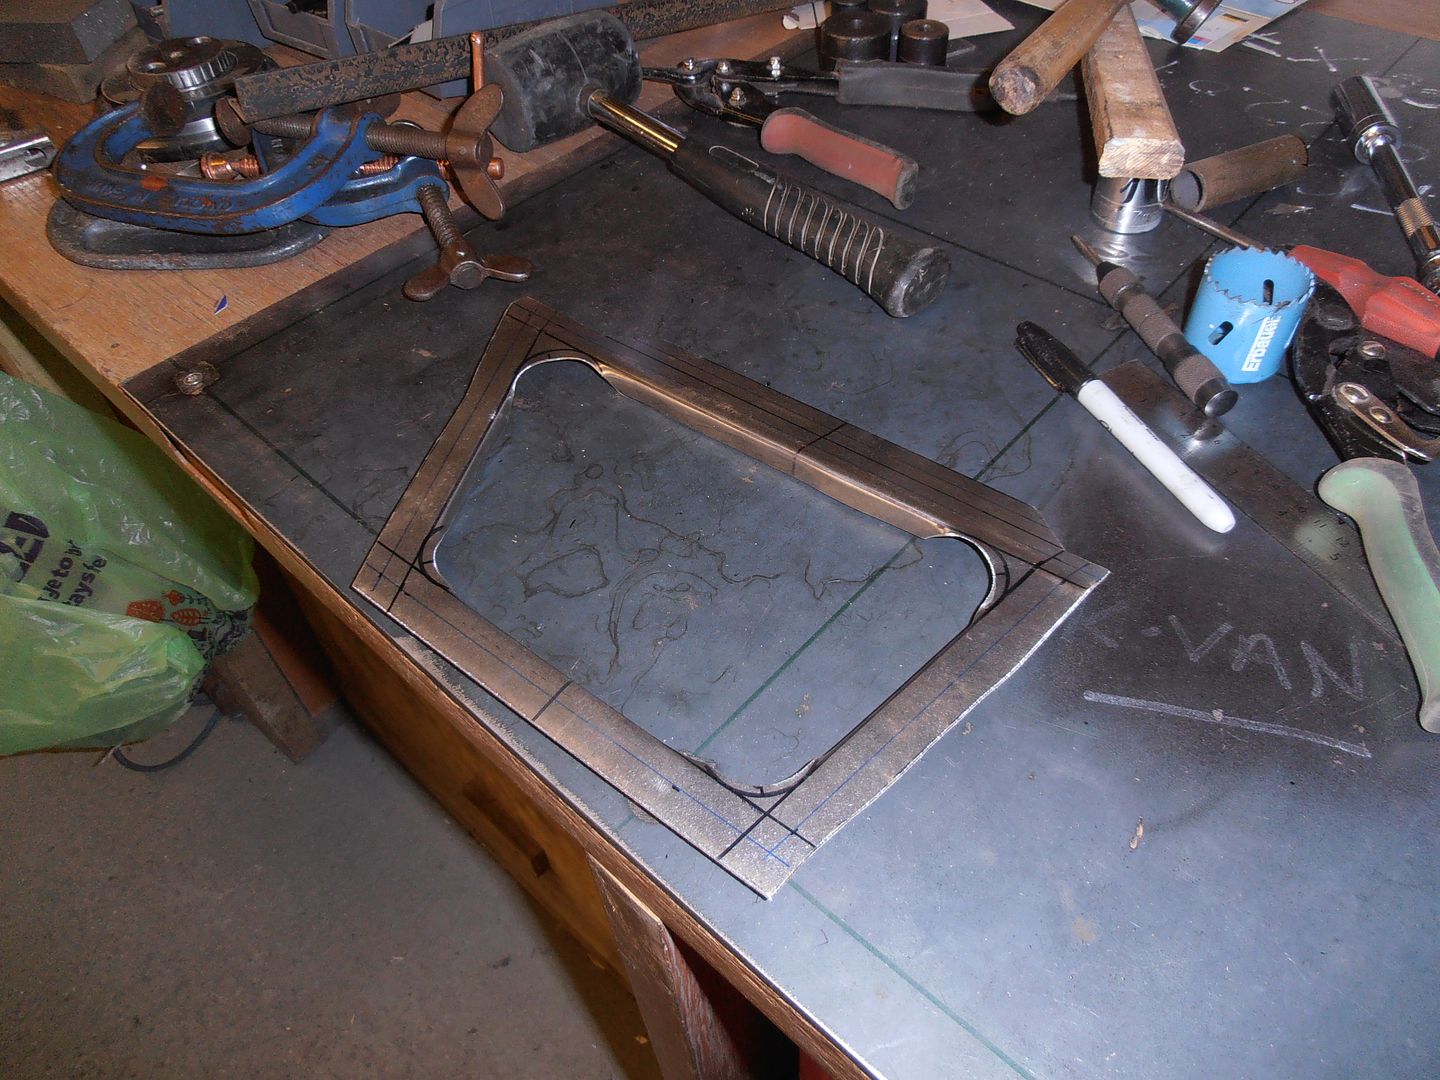 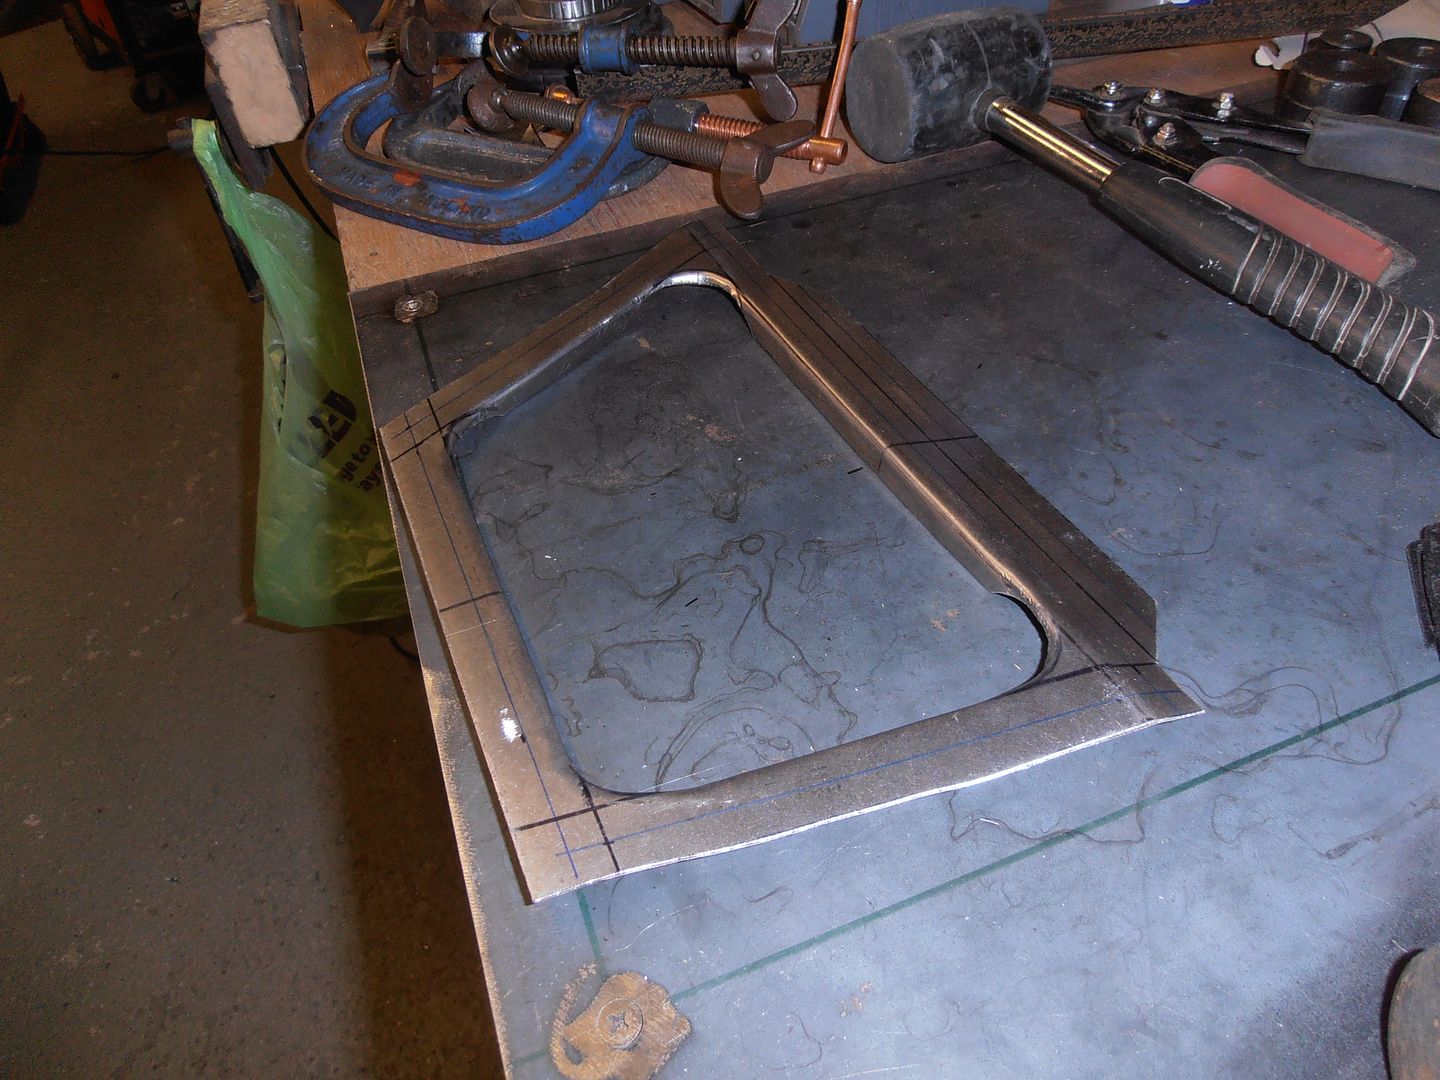 some more trimming and bending 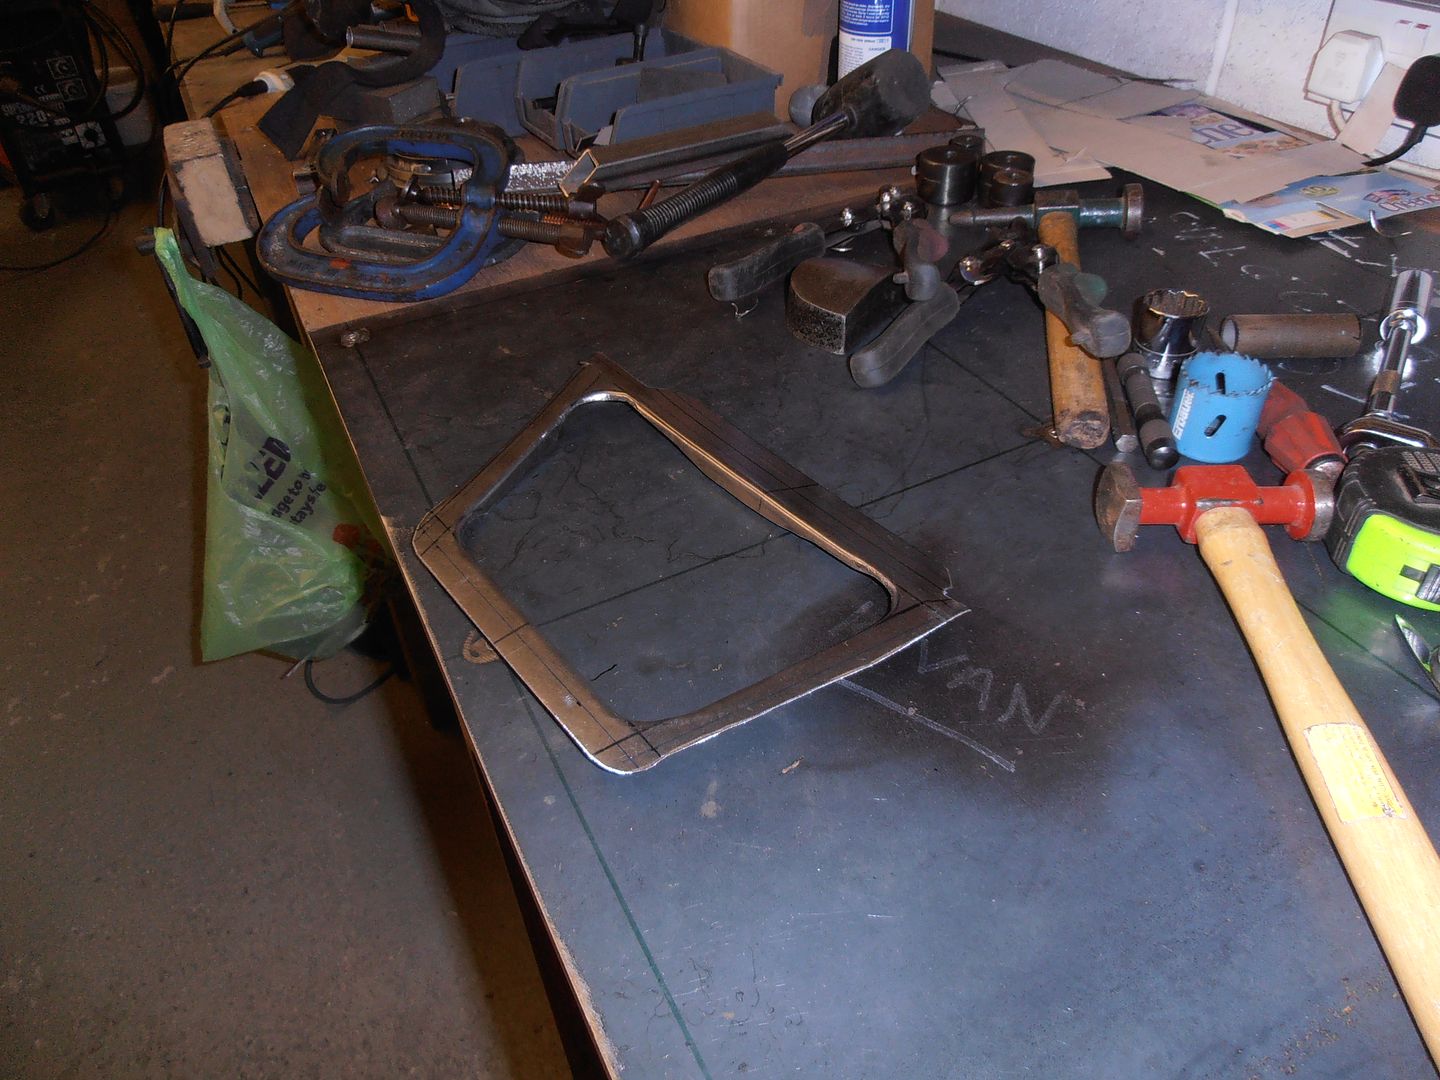 quick fit check 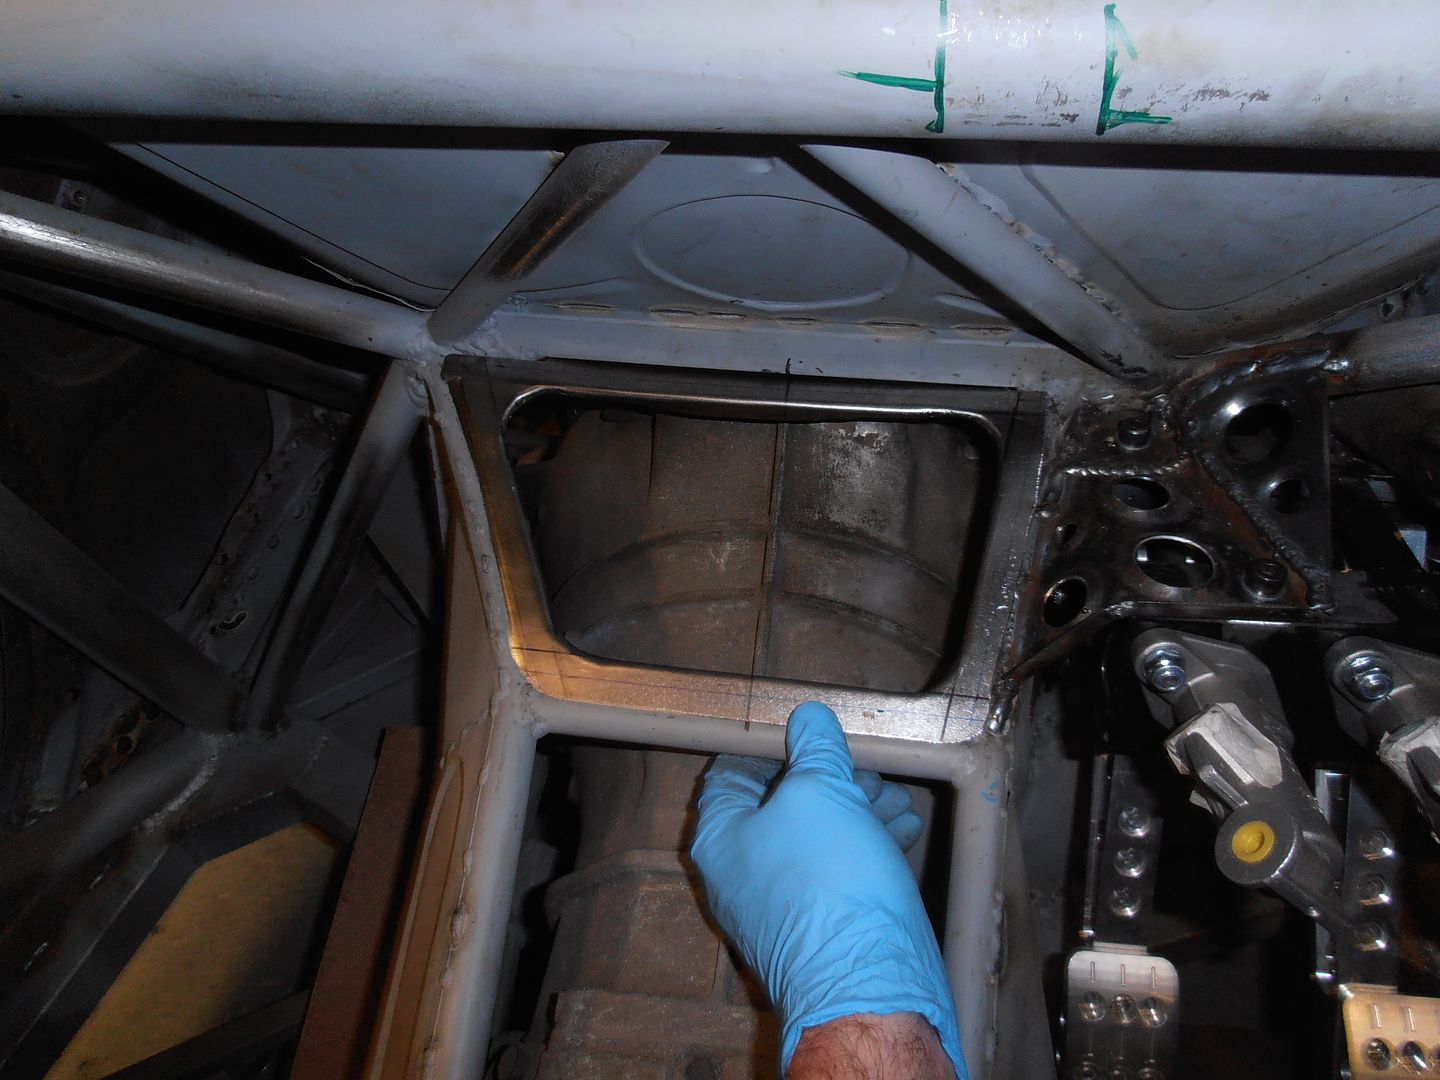 drilled 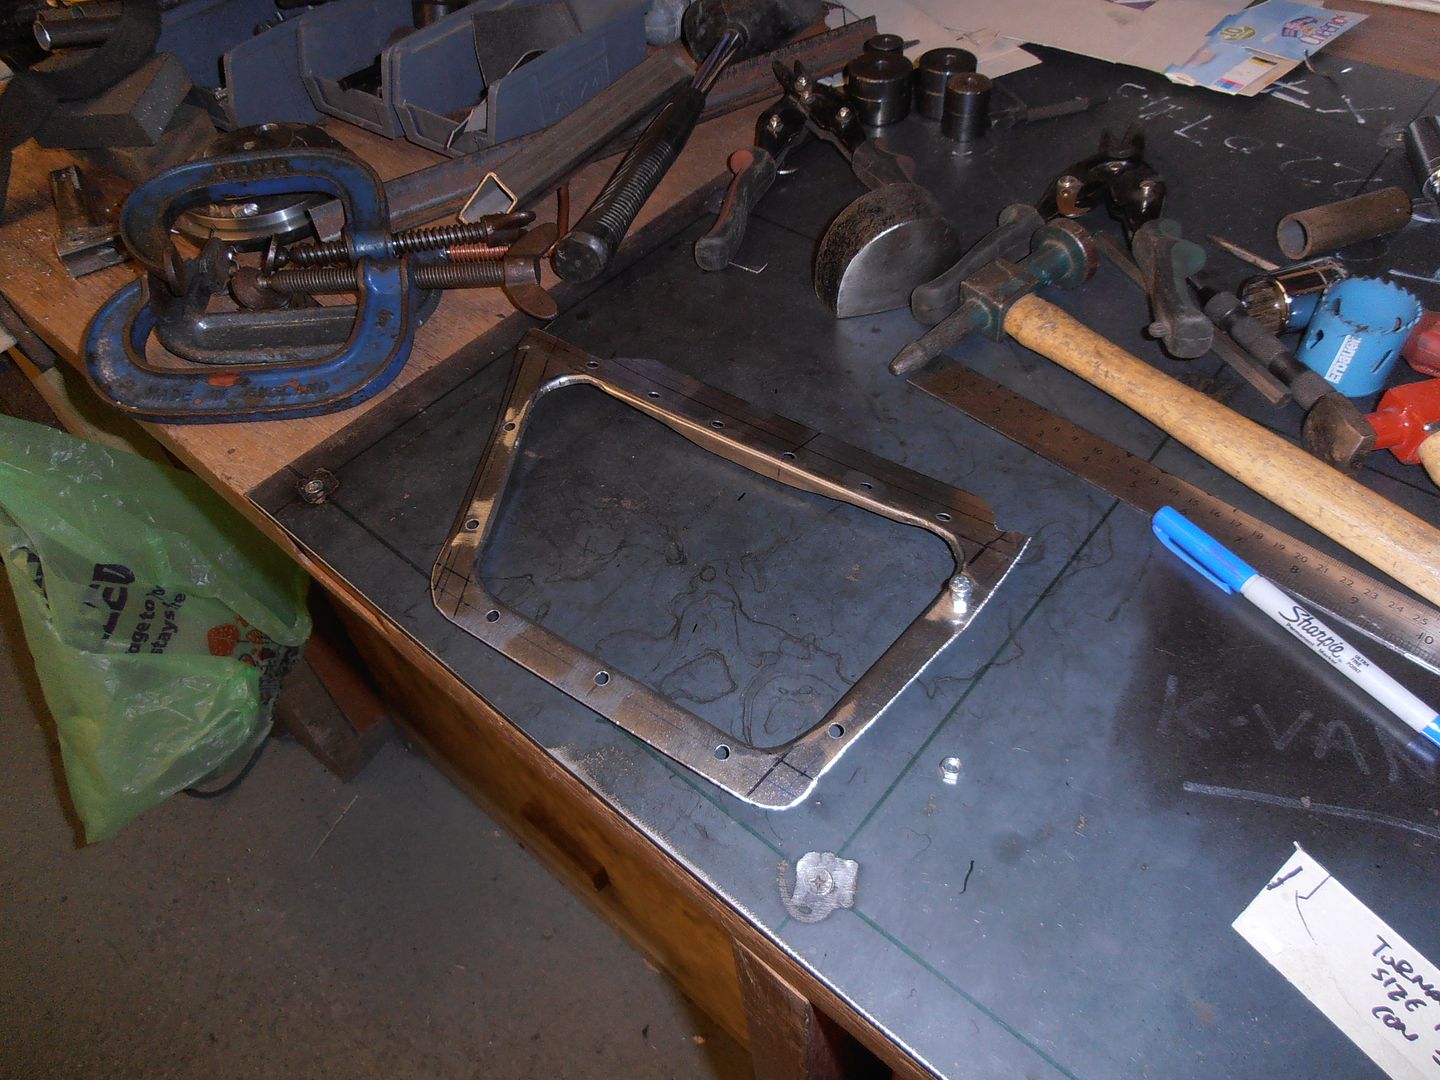 captive nuts added 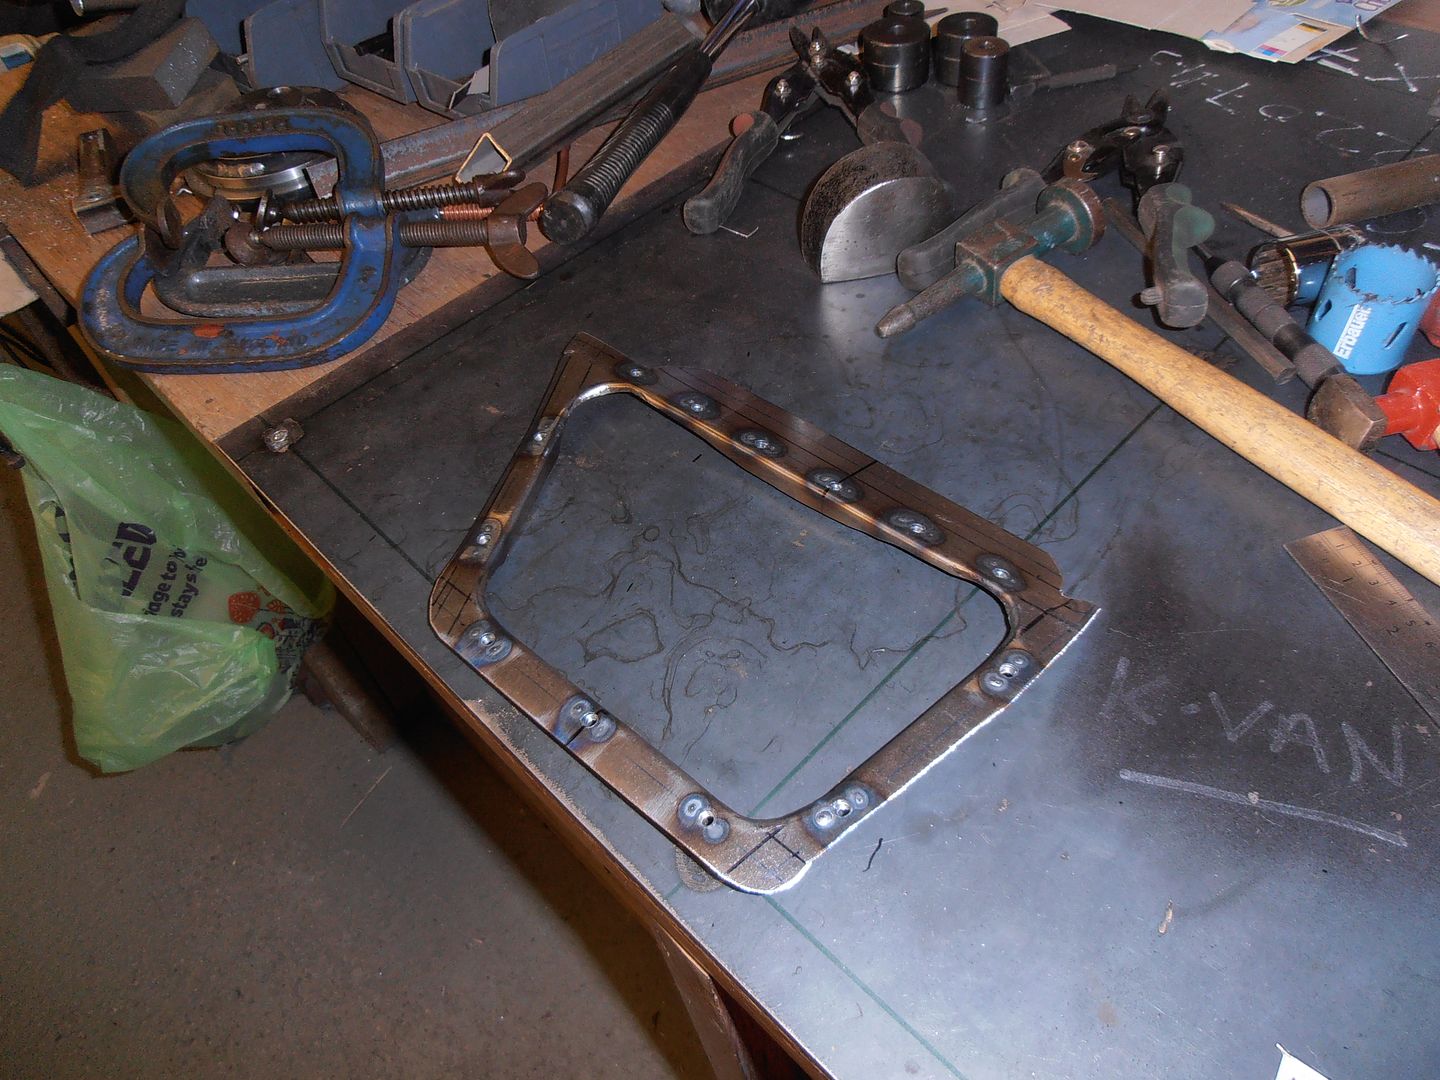 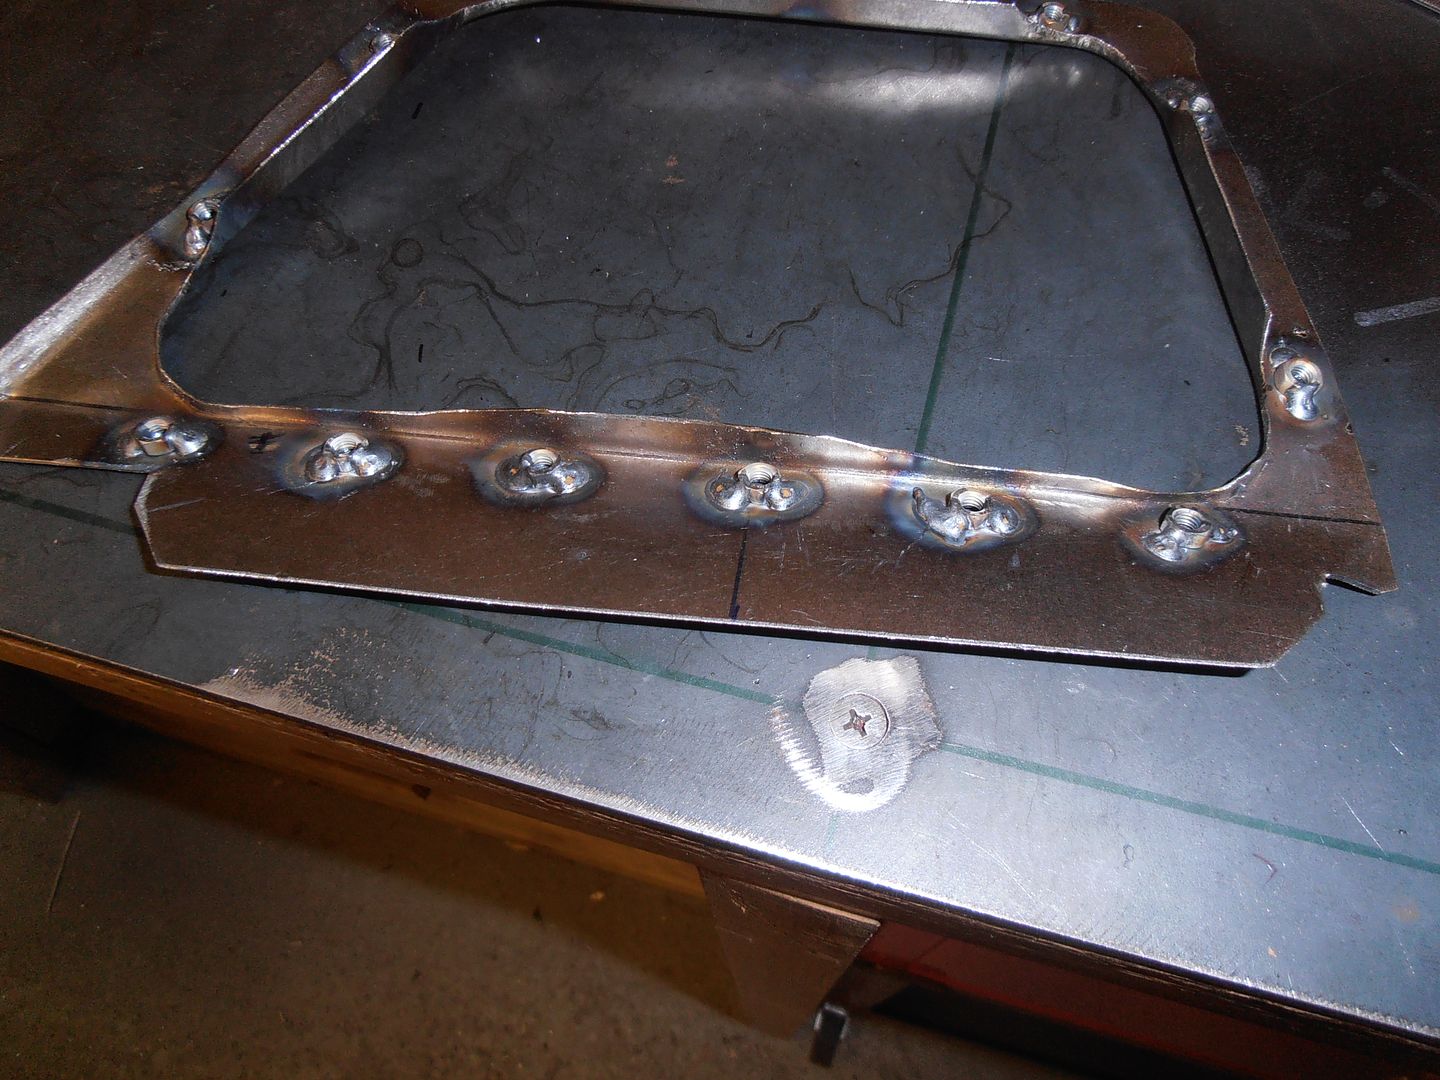 and a quick prime 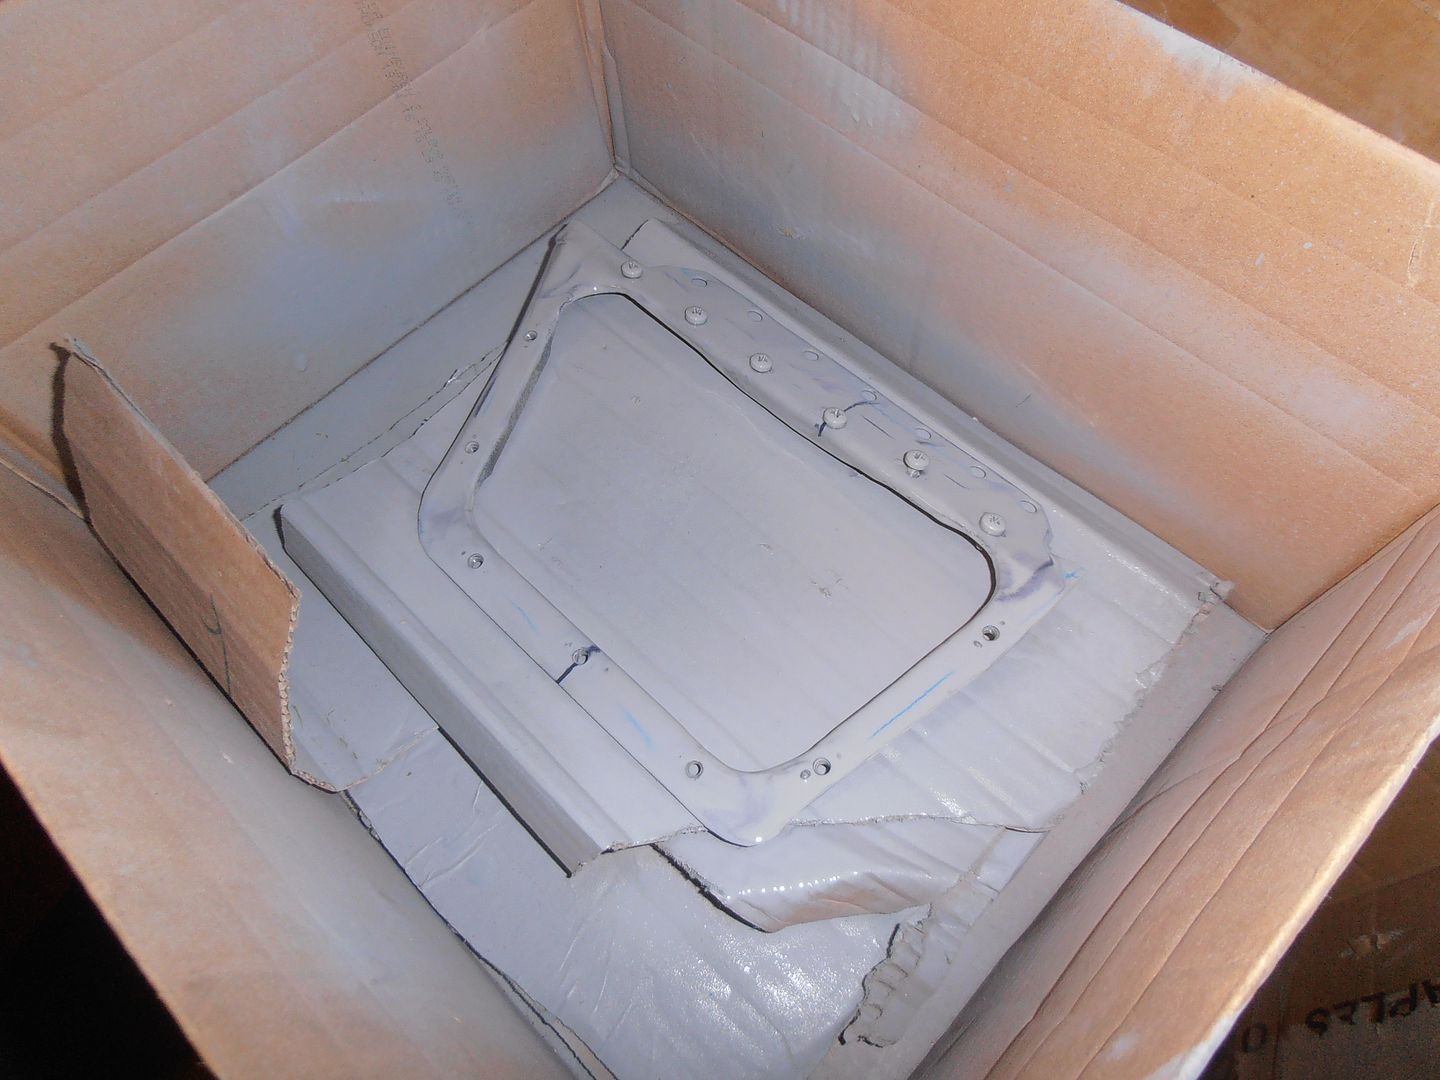 ran out of time today. Hopefully get a bit of time on the weekend. |
| |
Last Edit: Nov 13, 2017 20:52:01 GMT by jonomisfit
|
|
Darkspeed
Club Retro Rides Member
Posts: 4,882
Club RR Member Number: 39
|
|
|
|
|
I never give too much thought to bellhousing bolt access on projects I have built in the past as I always find it quicker and easy to pull the engine and box out as one unit.
|
| |
|
|
|
|


 ?
?


