l390md
Part of things
 
Posts: 10 
|
|
|
|
|
Yes I think your right bruce it has been 7 years but I too have had a lot too go through in those 7 years good progress has been made since just before Christmas the only thing really holding me back at the moment it the lack of money :-( I will post some pics soon.
Can't wait too see the landy back on the road is that a 4 speed zf auto box in there?
|
| |
|
|
|
|
orangecords
Part of things
  yawner extraordinaire
Posts: 892
|
|
Jan 24, 2014 20:51:42 GMT
|
I love seeing mystery machine appear on a post  glad to see you back pal |
| |
I then wanted to start cleaning the interior as it stinks of wood (the material not the smell of a boner) best quote ever! |
|
|
|
|
|
|
|
Just love what you created and great to see it continuing alway a good read.
|
| |
1992 Range Rover vogue tdi
1991 Westfield
1970 MG B GT
To infirmity and behond.
|
|
jpsmit
Posted a lot
  
Posts: 1,274
|
|
Feb 10, 2014 22:22:29 GMT
|
|
|
| |
|
|
|
|
|
Feb 10, 2014 23:51:28 GMT
|
Sure is the very same beastie! Much progress in the last few days, i'll let bruce explain further, but i woke to this on Sunday morning... 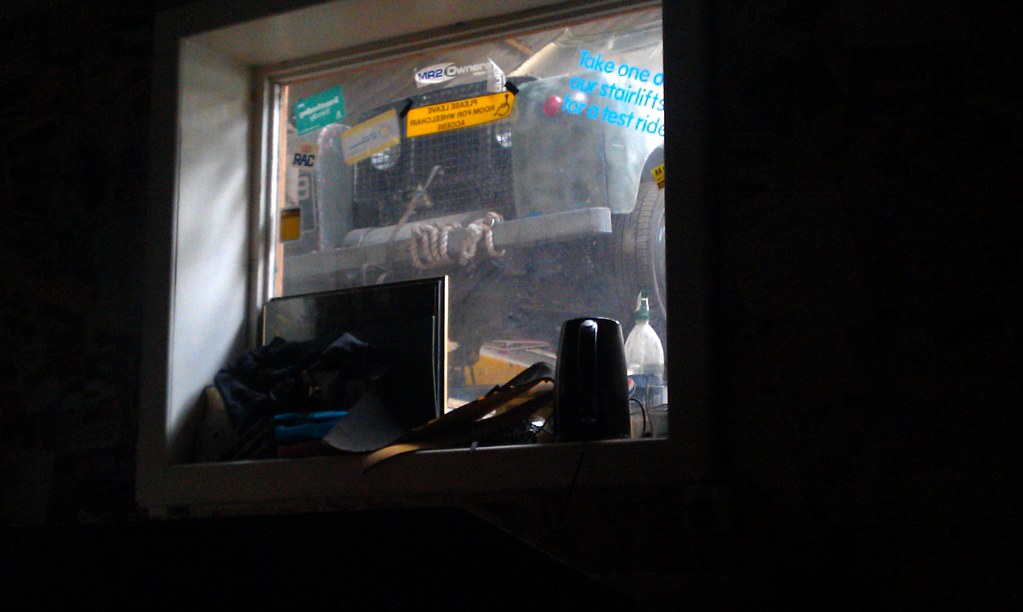 |
| |
Last Edit: Feb 10, 2014 23:58:06 GMT by welshpug
|
|
|
|
|
Feb 12, 2014 13:05:34 GMT
|
I am new to RR and have just spent a while looking through this thread.
My conclusion is that this car is just utter perfection!! It looks awesome, just so right. I'm not a car mechanical person much so was skipping over a few details then I noticed it had a V8 in it :swoon: - didn't think it could get any better but it does!!
A telling thing is that all the pics show passengers smiling - looks like so much fun being around the car too not just riding in it.
Keep up the good work!
One question - I am assuming it doesn't hang around when you press the loud pedal - is it pretty quick? |
| |
The Millenium Volcon"Get yourself a Volvo if that's what you really want, you might be dead next year. In the meantime, you could be going sideways in a gigantic land barge."
|
|
|
|
|
Feb 12, 2014 15:51:22 GMT
|
|
Great thread.
|
| |
|
|
|
|
|
Feb 12, 2014 23:31:34 GMT
|
Many thanks for the comments guys, it's been a real shame to have left it sat there gathering dust for nearly two years, but it wasn't really through choice. As and when I can, I'll be putting in as much time as possible from now on.  I believe last time I posted any pics I was stuck with the wrong bolts for the spacers/adapters. I finally managed to track some down in the correct length that weren't set screws, but proper bolts. High tensile too. 60mm bolts go too far through and cause the flexplate to lock against the engine. Put washers on them and they clear the engine, but the heads stick too far out to get the flex plate to sit correctly. 50mm bolts clear everything fine, but are just a bit too short, I wasn't comfortable using them. Why is it that 55mm high tensile bolts (not set screws) are hard to get hold of? At least we have the internet these days and I actually resorted to buying online rather than my usual brilliant local fasteners....they didn't have the 55's.  FINALLY, the right length bolts are fitted...with copious amounts of threadlock to keep them where they should be. 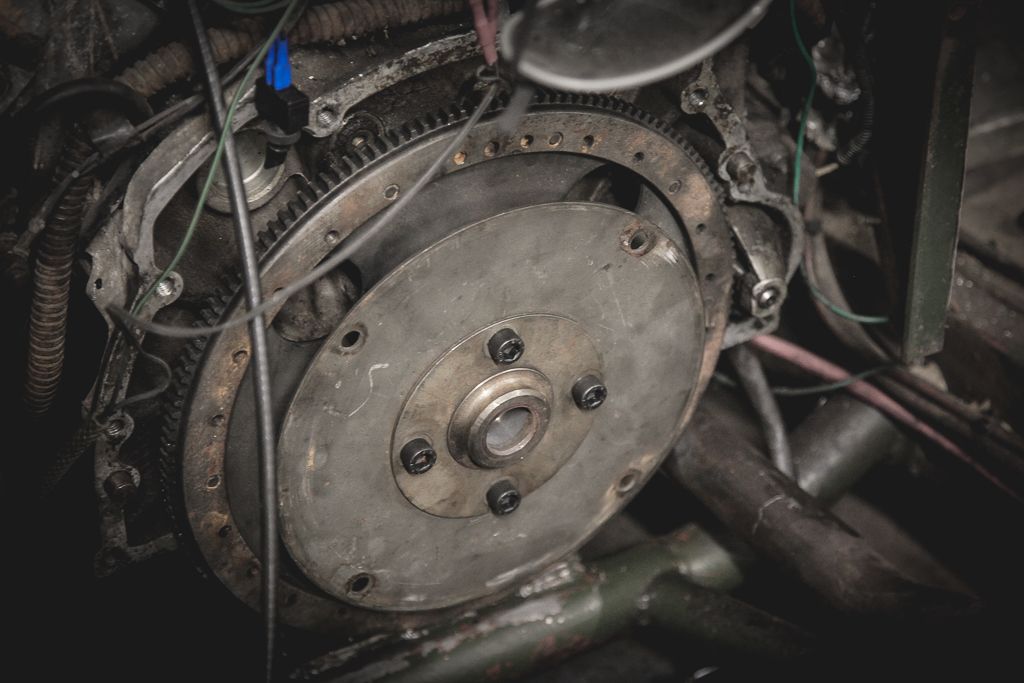 Bye bye 60mm bolts, you'll be finding your way to the Area 52 bolt drawer where I know you'll be handy for something else, some other time. 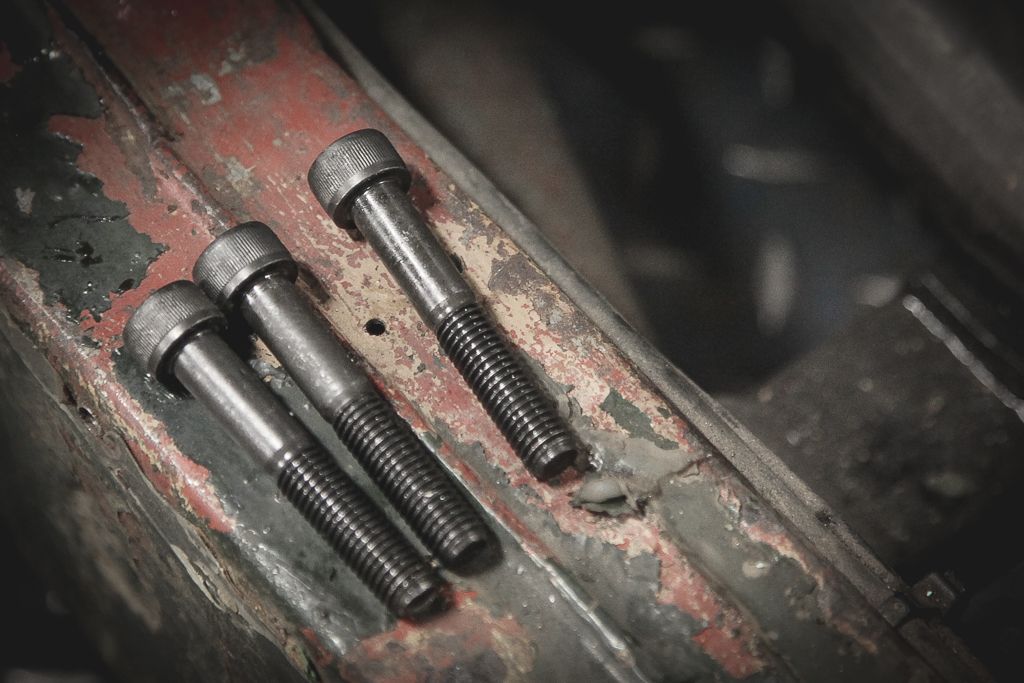 With all that in place, it seemed rude not to take advantage of the fact that the ring gear was now properly connected to the engine. I mean, wouldn't you?? |
| |
|
|
|
|
|
Feb 12, 2014 23:42:22 GMT
|
I'd spent a lot of the day clearing up stuff around the unit and having a MASSIVE sort out. With both Lotus' sadly now gone, a new car was in their place and after a lot of moving stuff about, there was a big space where the Land Rover had been sat for nigh on two years 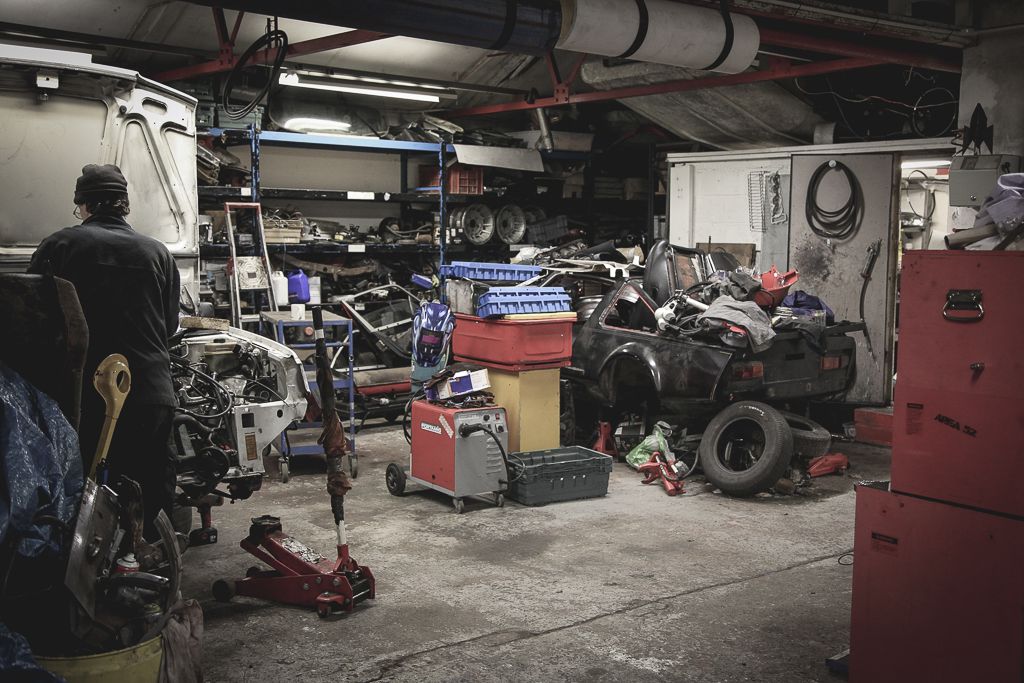 HOORAH! Out of hiding and back on the ramp. Ready for some progress. 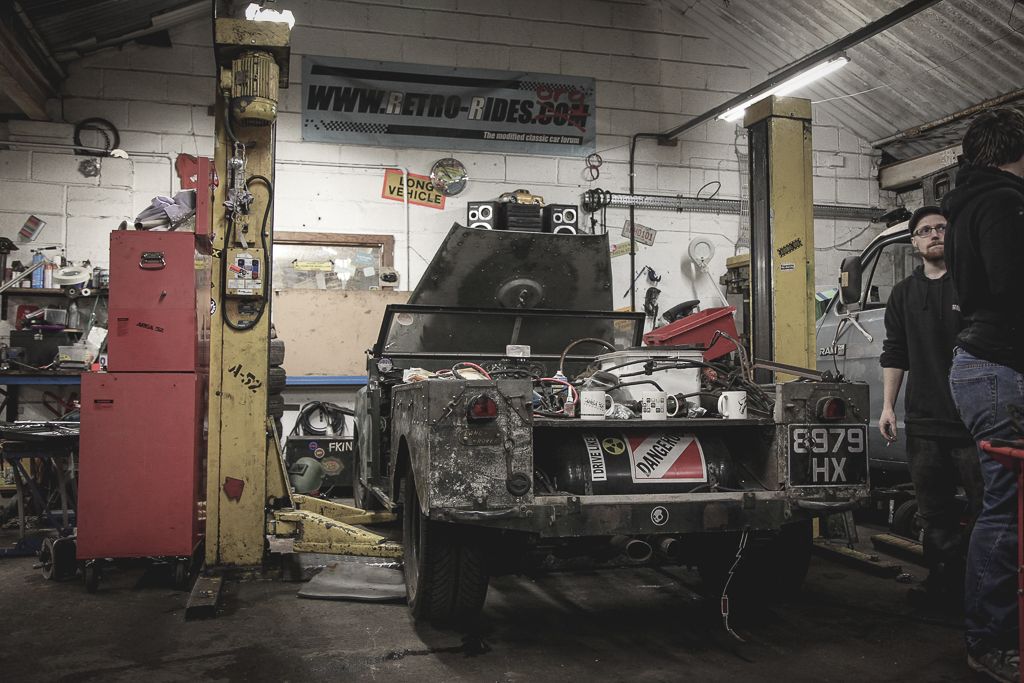 With the flex plate sorted, it was time to get the gearbox out and ready to fit. As in *actually* fit....properly. Not just offer up/trial fit! 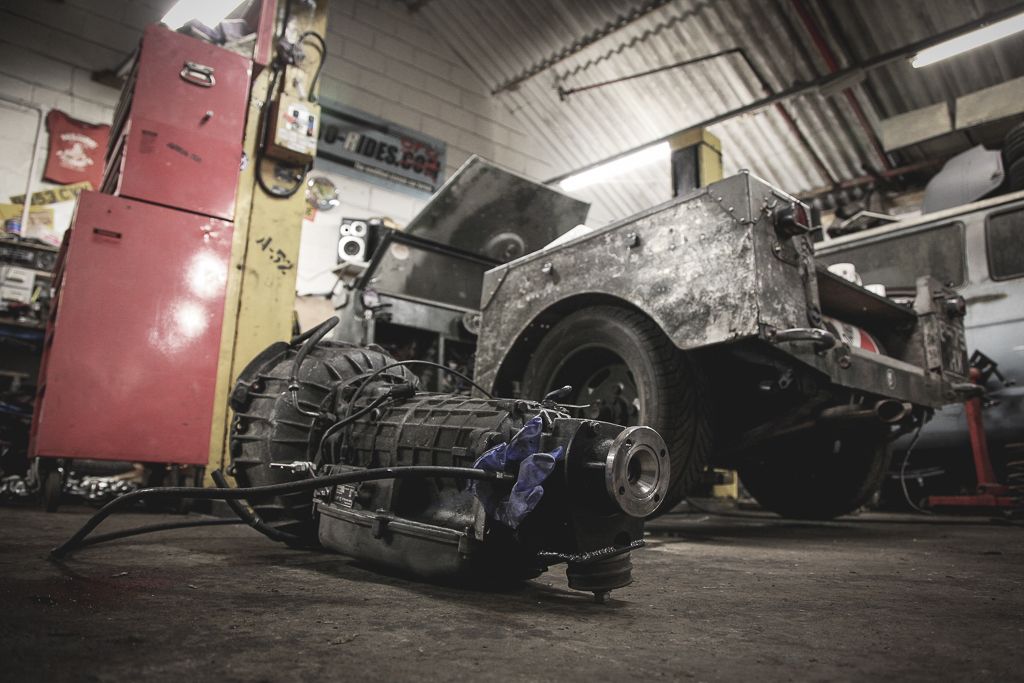 Up it goes...  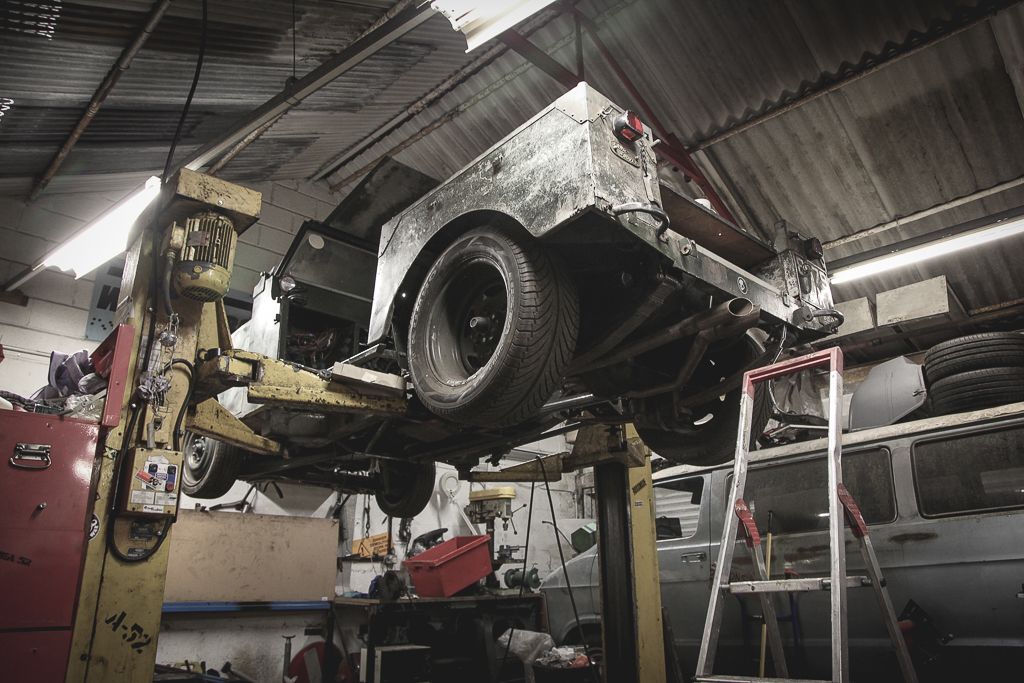 This is where the fun begins! (and the photographs cease for a while) Getting the torque converter to sit into the input shaft of the gearbox is one thing, but getting it to locate properly was something entirely different. Each time it was mounted, I measured the distance from the face of bellhousing to the mounting lugs on the TQ. Each time, the measurement was entirely different. It was easy to get it to sit on the locating peg, but difficult to tell if it was fully back or not. In the end, after a few of us offering it up and not getting it to sit anywhere near right, I measure the distance from the mounting face of the engine block to the plate that the TQ bolts to. That distance is what we're looking for. We offer the gearbox up another time (it's bloody heavy, even with a few of us doing it) and eventually everything seems to sit right with the TQ sitting the 'correct' distance back. The gearbox 'pops' onto the engine beautifully and the holes for the TQ line up perfectly with the mounting plate. Time to get it all bolted up. This whole process took over an hour just to get the gearbox sitting in place, but I wanted to make sure it was 100% right and didn't want to take any chances. It's also not helped by the gearbox being put in from above (angled downwards towards the front) rather than the conventional way of offering it up from underneath. Doing it this way can allow the TQ to slide forwards if you're not very, very careful. We managed it though and once I was happy that everything was sat just so, I got all the bolts in. It was such a good feeling! 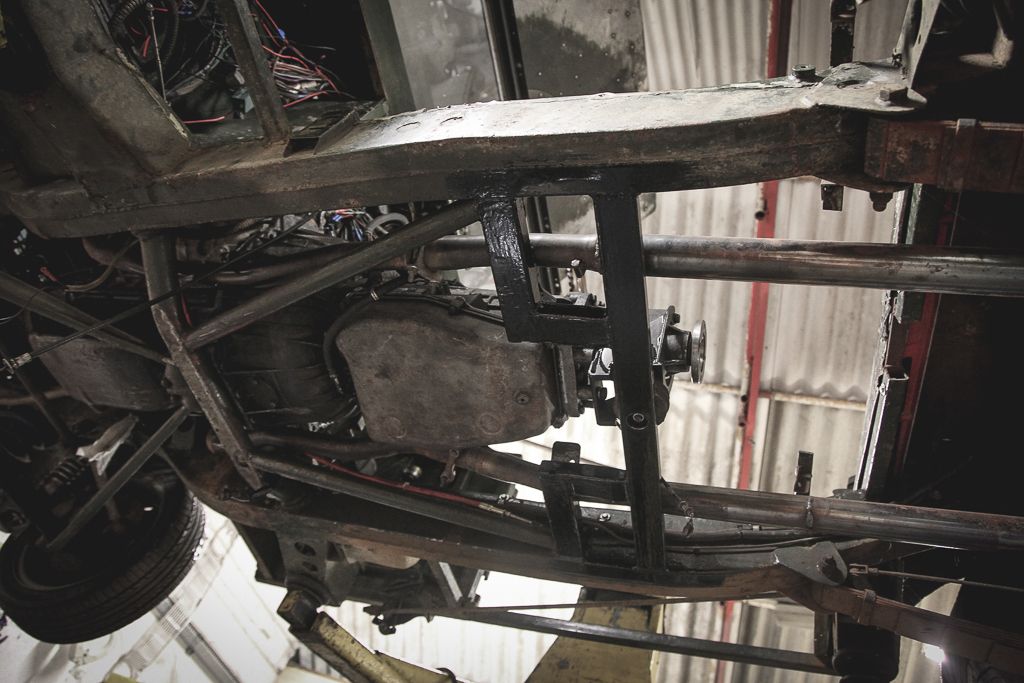 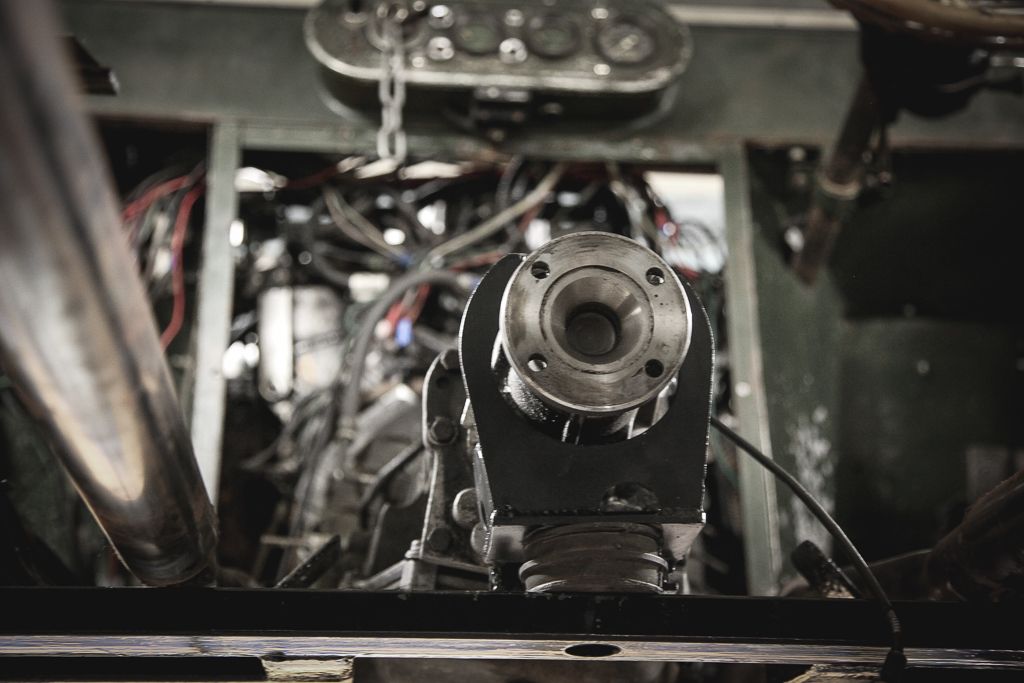 I did a bit of tidying, drank another beer then climbed into the back of the Dodge for a few hours sleep. It was about 2am and I wanted to get up refreshed ready to tackle all the little jobs involved in getting the rest of the gearbox linked up and ready.  |
| |
|
|
|
|
|
Feb 12, 2014 23:50:00 GMT
|
Good work, but isn't it a bit dangerous firing up and revving the engine with the flywheel exposed like that?  |
| |
|
|
|
|
|
|
|
|
|
|
Having had a ManRover in the past. This really excites me! Keep the tea pouring and work flowing!
|
| |
|
|
|
|
|
|
|
Good work, but isn't it a bit dangerous firing up and revving the engine with the flywheel exposed like that?  Only if you didnt bolt it on.. Or shove your finger in it or somthing...  |
| |
|
|
|
|
|
|
|
Good work, but isn't it a bit dangerous firing up and revving the engine with the flywheel exposed like that?  only if you live in a nanny state!!!!!!!!! great work bruce and co. |
| |
|
|
|
|
|
|
|
|
EPIC...!!!!!!!!!!!!!!!!!!!!!!!!!!!!!!!!!!!!!!!!!!!!
|
| |
***GARAGE CURRENTLY EMPTY***
|
|
|
|
|
Feb 13, 2014 11:09:38 GMT
|
Good work, but isn't it a bit dangerous firing up and revving the engine with the flywheel exposed like that?  I made sure I did the bolts up at least finger tight. I'm still here.  The others did hide behind Meirion ( welshpug) who was kindly capturing the video. He's Welsh, therefore expendable.  The next morning I get started on connecting everything up. All the work that has gone before will hopefully begin to pay off. One thing I've not considered since taking the old gearbox out is the coolant pipes. The ZF has them in a totally different place to the BW and the previous owner of the ZF had cut them off as short tails. I have the BW pipes but they are nowhere near the right length and have totally the wrong fittings. I've also got some other pipes (can't remember what from) but the fittings from those are way off the mark too. It was deemed best just to make some new pipes from scratch. Another delay, but again, I'd rather get it right than cut corners. 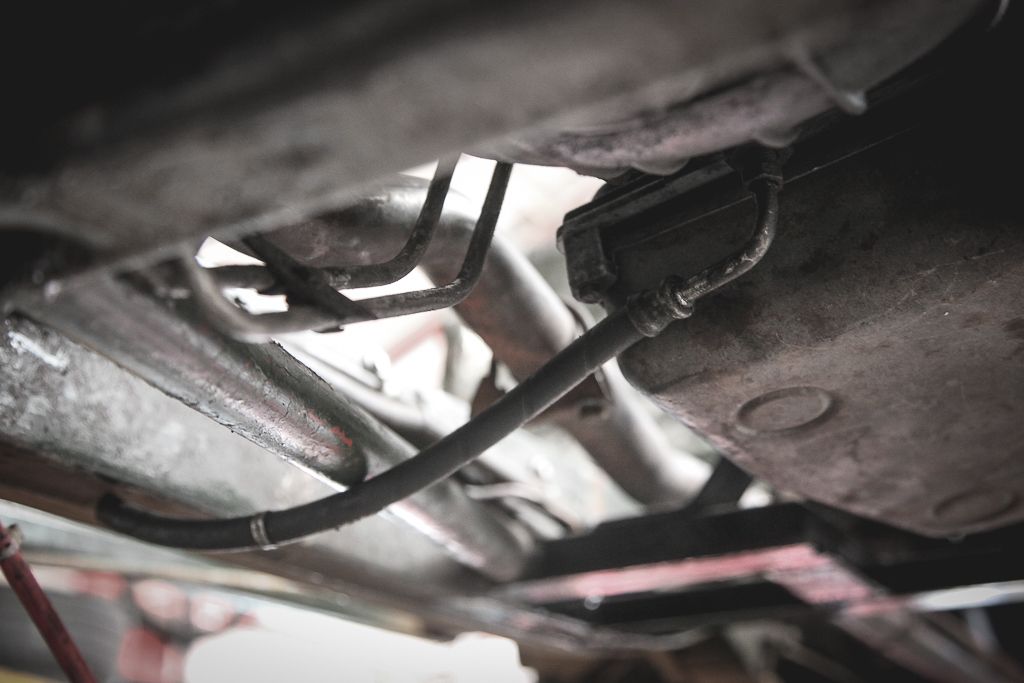 I'm borrowing a pipe flaring/swaging tool from a friend and will be purchasing some 8mm copper pipe to make the new lines with. Hopefully I'll have this side of things done before too long? Next up was the dipstick. The one that came with the ZF was no use because it connected to the wrong side of the sump (the new sump has the dipstick connection on the nearside, the original sump had it on the offside). I managed to source a dipstick from a BMW E30 which is where the sump came from, so this should work and the levels should all read correctly. First fit and it hits the exhaust - I can't even do the nut up it's pushing the dipstick over too far. 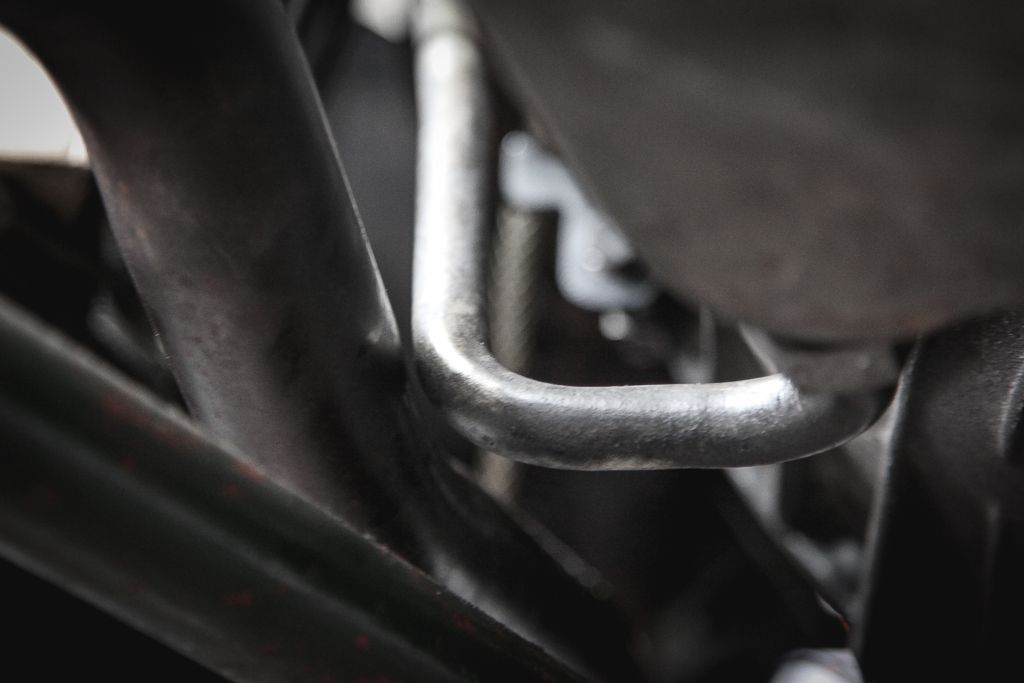 Undoing the exhast clamp allows the pipe to move just enough to let the dipstick sit correctly and I can tighten it up. I'll need to get the exhaust modified to give some decent clearance and allow space for a heatshield, but Rich has already been kindly asked to tinker with the exhaust anyway and we all know that Rich LOVES any opportunity to modify exhausts. It's what he lives for! (and he's got a reputation to keep.  ) 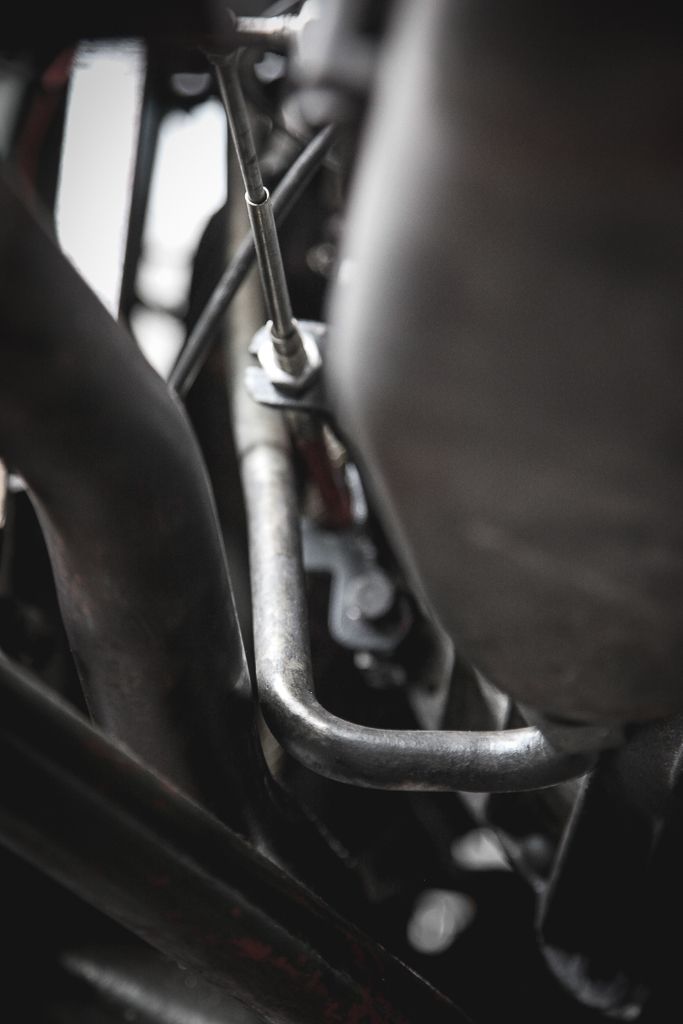 The dipstick was also fouling the changer cable (which you can see is now fitted) so I had to take it back off and bend it enough to clear, but not too much so as to interfere with the exhaust, or the bulkhead! It's a bit of a squeeze getting this dipstick to sit 'right' 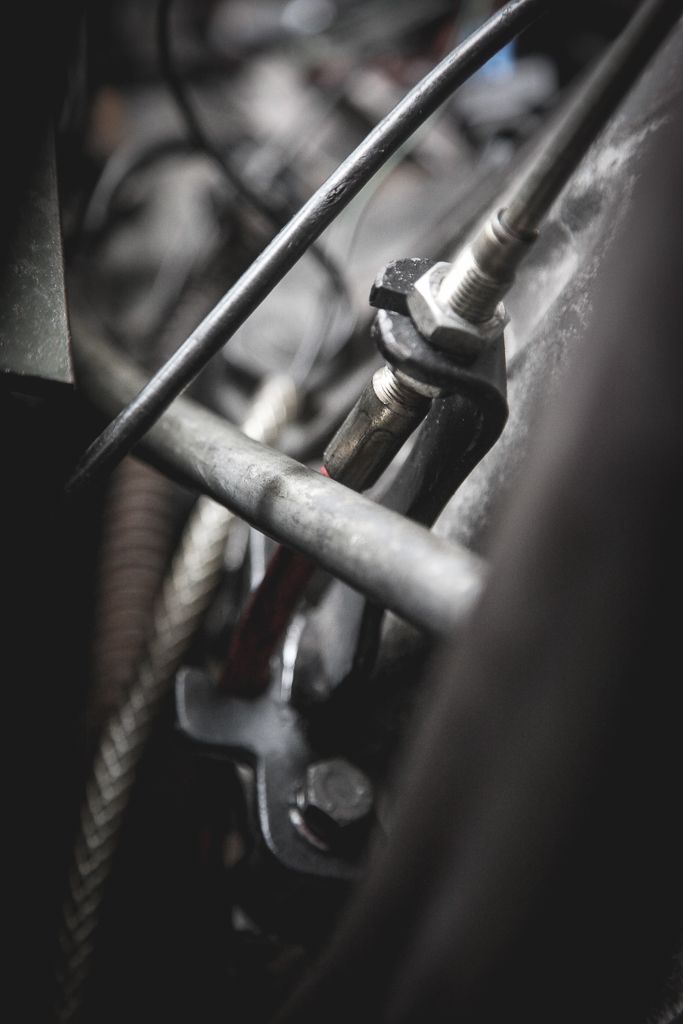 Talking of changer cables, that's all connected up now and adjusted to the right setting. 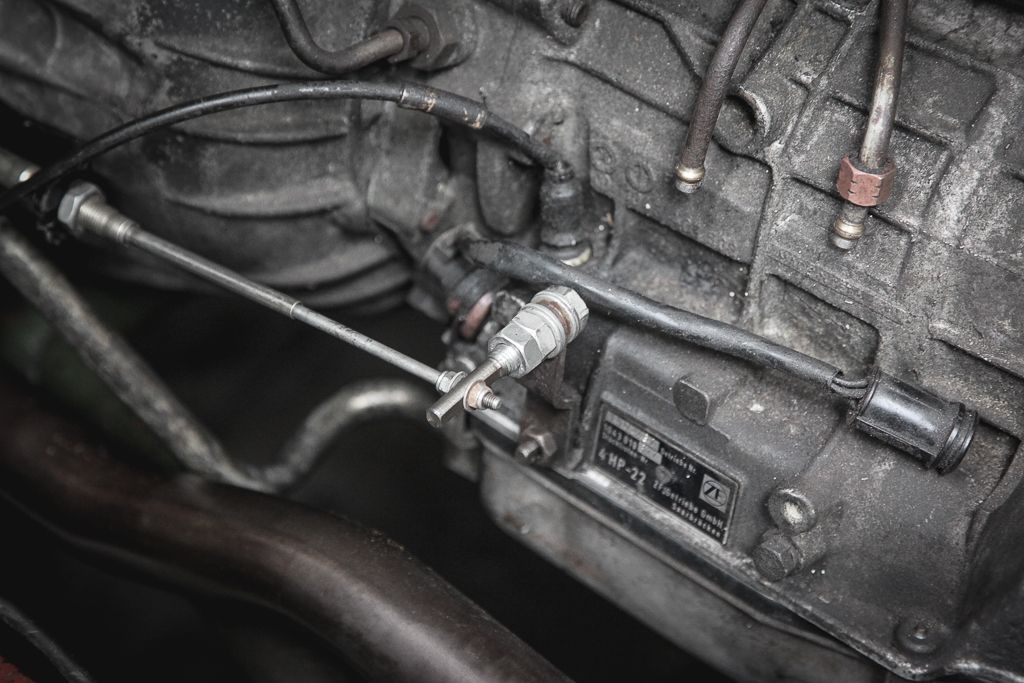 I also took a moment to hook up the kickdown cable. It had already been adjusted and set-up on one of the previous gearbox trial fits, but this time around it didn't seem to want to return again. The cable on the throttle body was snagging on the return (flexing and bending) so a spring was employed to assist in getting the cable back into its correct place. Works beautifully now. 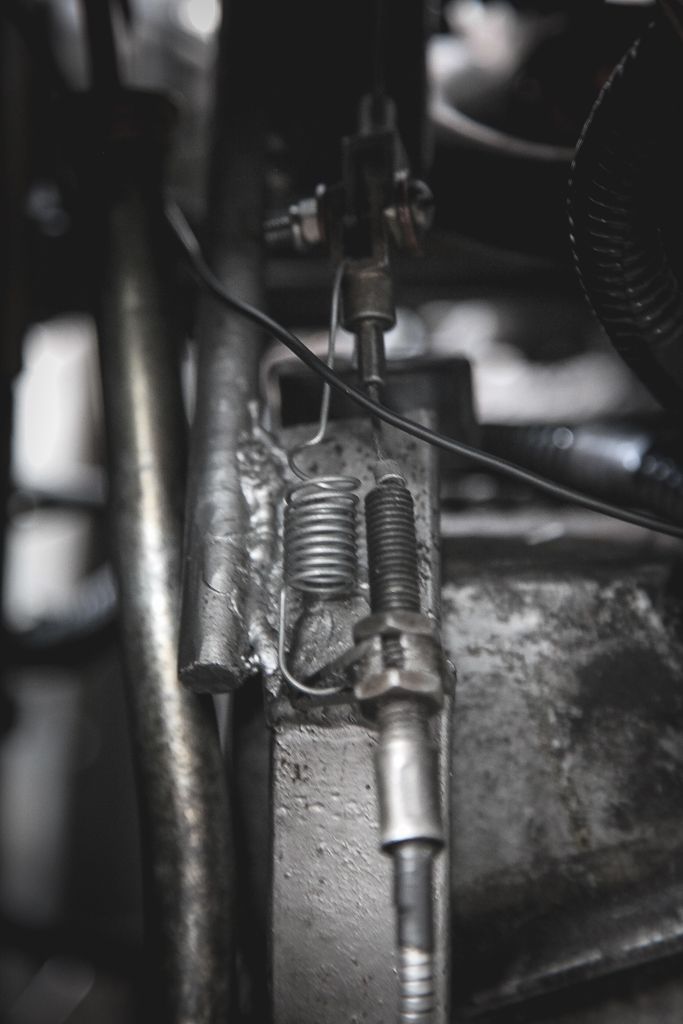 I drilled and tapped the kickdown mount bracket to allow a pipe bracket to hold the dipstick in place. It had taken a lot of tweaking to get the dipstick to sit correctly with it wanting to hit pretty much eveything on its route from gearbox sump to engine bay. I'd had to take it off numerous times to bend it a little here or a little there in order for it not to hit pretty much everything it did hit on its route upwards. Finally, it seemed to sit correctly! 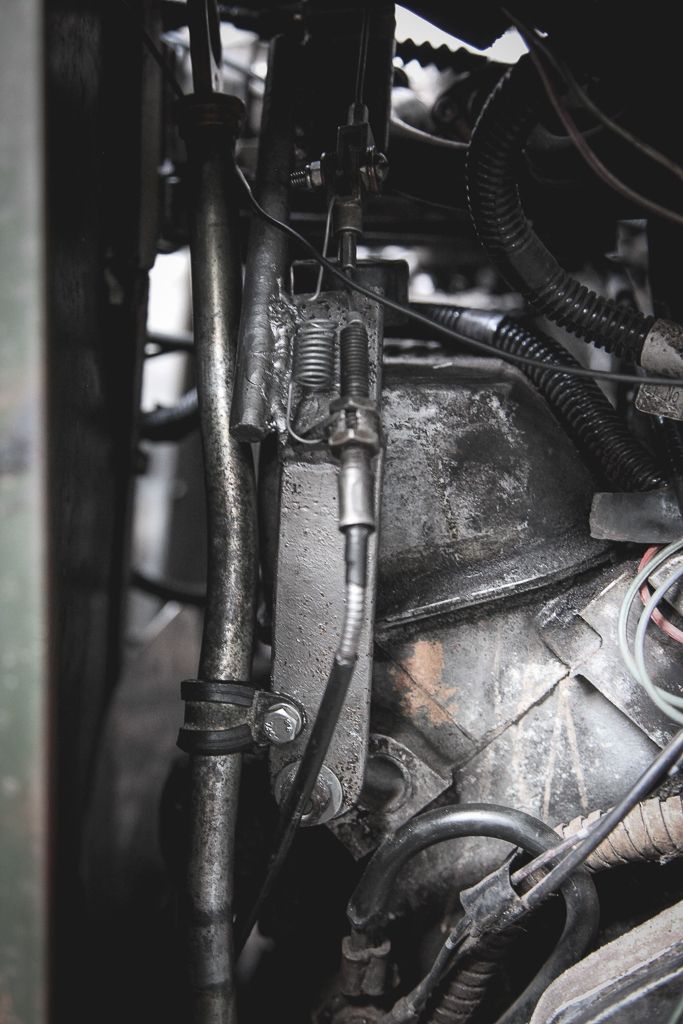 YAY! Changer cable connected and set-up, kickdown cable fitted and set-up, dipstick finally mounted and bent into submission (this alone took a good hour or so) - it's getting there! 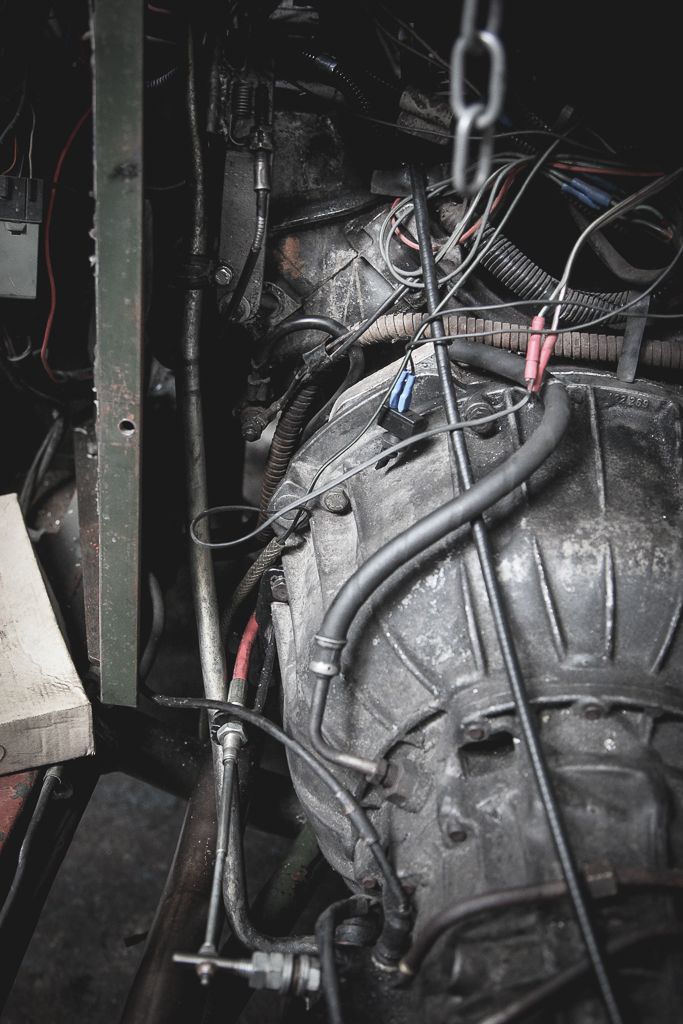 A final tweak of the dipstick and it now faces nicely into the engine bay. Up until this point it was facing directly up into the bulkhead (scuttle area if it had one?) which was no use at all. It's a bit tucked away, but accessible now. All the way through all the adjustments, I made sure the area where the fluid level is read from remained at the same level in relation to the gearbox/sump. I'd hate to have the thing under reading? 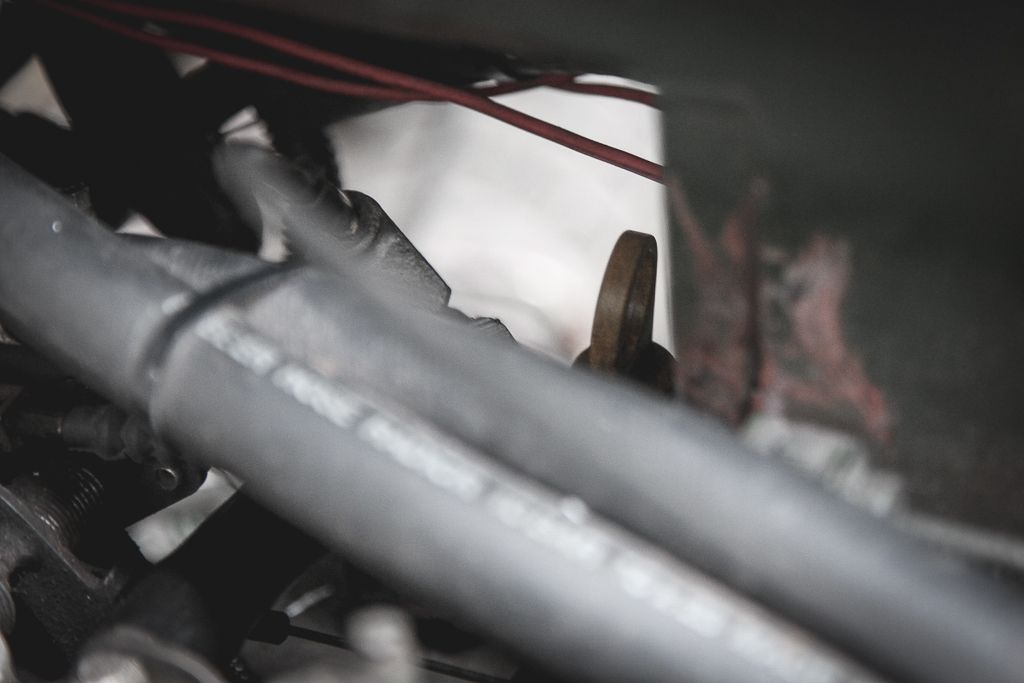 Last job for the day was to connect the shortened propshaft. I'd lost four of the bolts somewhere along the way (very unusual for me) so just bolted it up with two bolts at each end for now. I've got some more bolts coming (kindly being given to me by a friend) and I should have them this weekend. 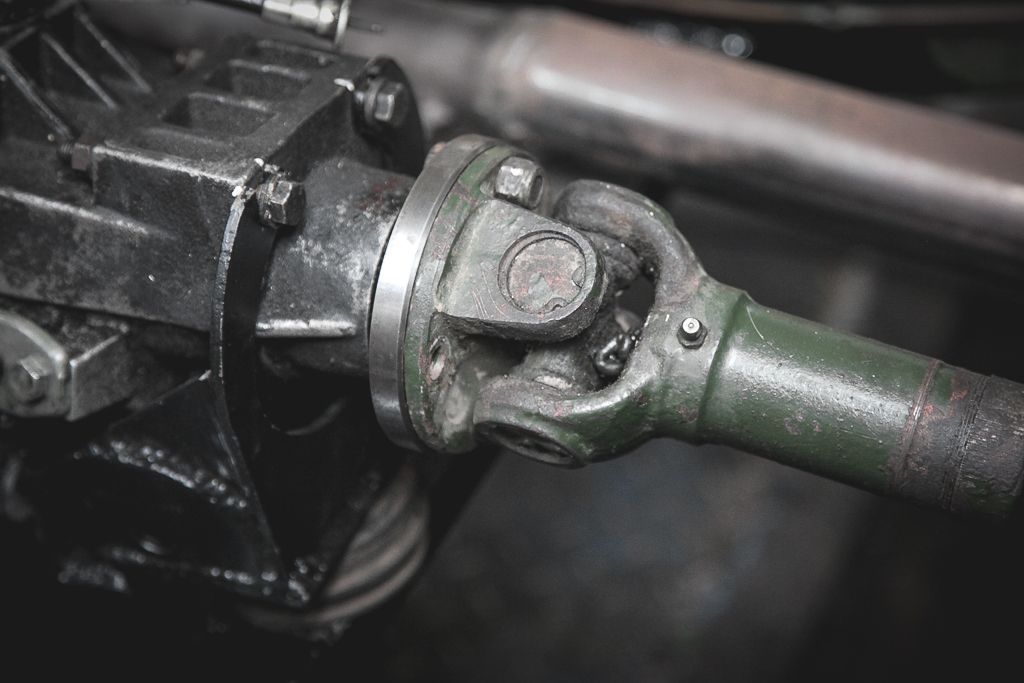 As you may remember, I had the prop shortened to cater for the much longer gearbox. While I was at it, I had some extra removed which pre-empts a fairly significant mod I'll be doing at a later date. I need to check how much of the splines still mesh and if I feel it's not enough (there should be plenty, but I want to double check) then I'll get a spacer made for the prop in the meantime. If I do get one made, it'll be properly made with the right spigots etc... 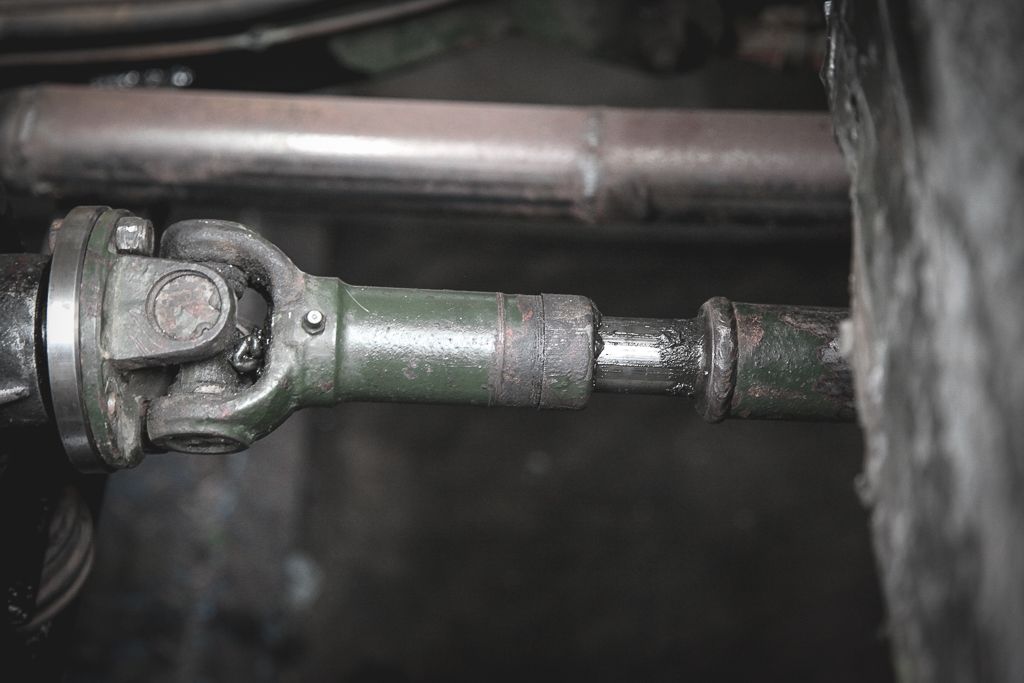 And there you have it...the gearbox finally in! Cooler pipes and prop bolts aside, it's pretty much ready for filling and a 'first drive'.... 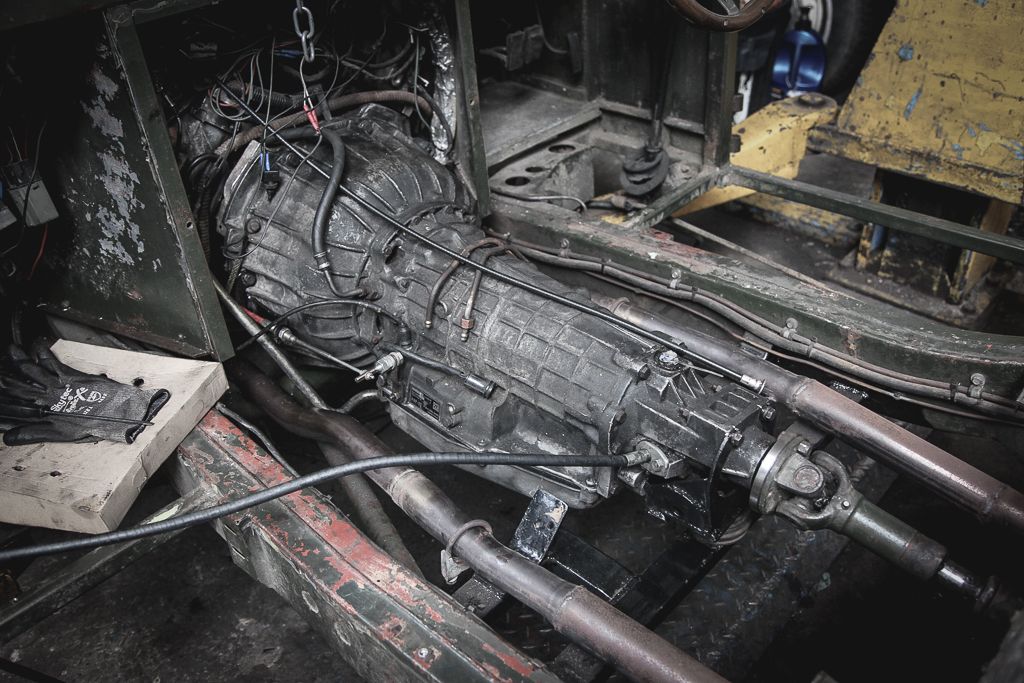 ....which will be soon I hope? The lack of interior panel work or floors will *not* deter me.  |
| |
|
|
craig1010cc
Club Retro Rides Member
Posts: 2,998
Club RR Member Number: 35
|
|
Feb 13, 2014 12:55:49 GMT
|
Great to see more progress Bruce  at least during its sleep it has become MOT exempt, so just needs insuring for a full test drive  |
| |
|
|
|
|
|
Feb 13, 2014 13:03:17 GMT
|
|
Not MOT exempt I'm afraid. It's registered mid-1960 so still needs its annual ticket...not that it bothers me at all.
|
| |
|
|
craig1010cc
Club Retro Rides Member
Posts: 2,998
Club RR Member Number: 35
|
|
Feb 13, 2014 17:24:00 GMT
|
ah, chassis date not shell date. Oh well, as you say not an issue as its properly built. At least the tax is free  |
| |
|
|
|
|
|
Feb 13, 2014 21:10:39 GMT
|
|
Great to see continued progress Bruce, the chapter continues!!
|
| |
|
|
rob0r
East of England
Posts: 2,743
Club RR Member Number: 104
|
|
Feb 14, 2014 12:17:00 GMT
|
|
Very cool. Awesome work as ever
|
| |
E30 320i 3.5 - E23 730 - E3 3.0si - E21 316 M42 - E32 750i
ETC
|
|
|
|


 glad to see you back pal
 [*]
[*] [*]
[*]


