|
|
|
|
|
Not really much work went on after the shifter frame got welded into place. It was gone 2am and the beer had been flowing pretty well, so Pollitt and I decided to chill out for a bit and drink more beer... 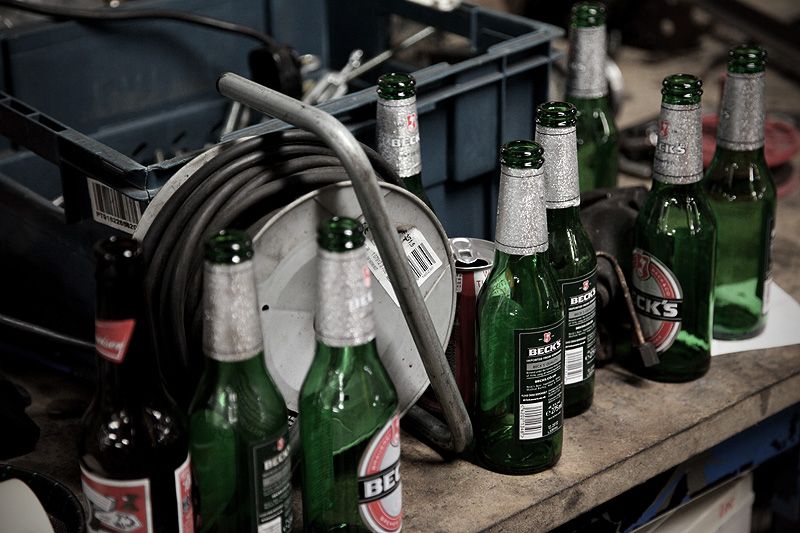 ...we chatted and chilled and kept drinking  Seeing as it was his Birthday, we decided we needed more beer  ...then some more just for good measure. 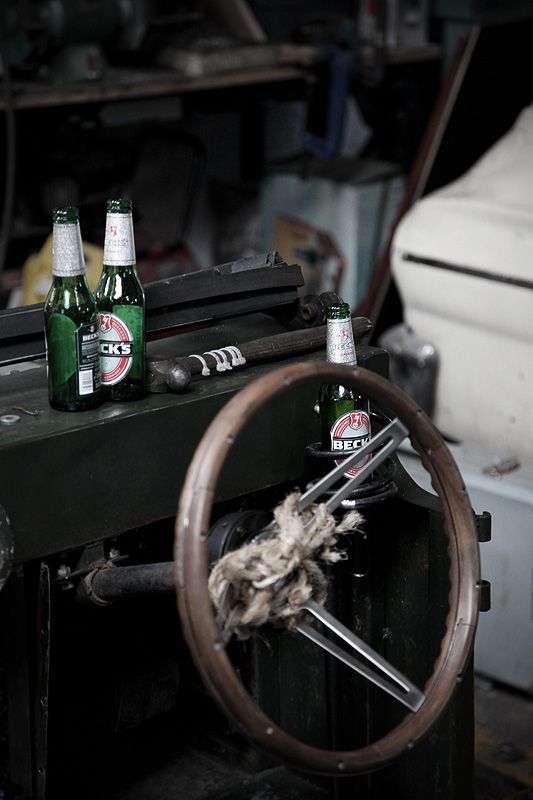 Oh no! All the birthday cake was gone... 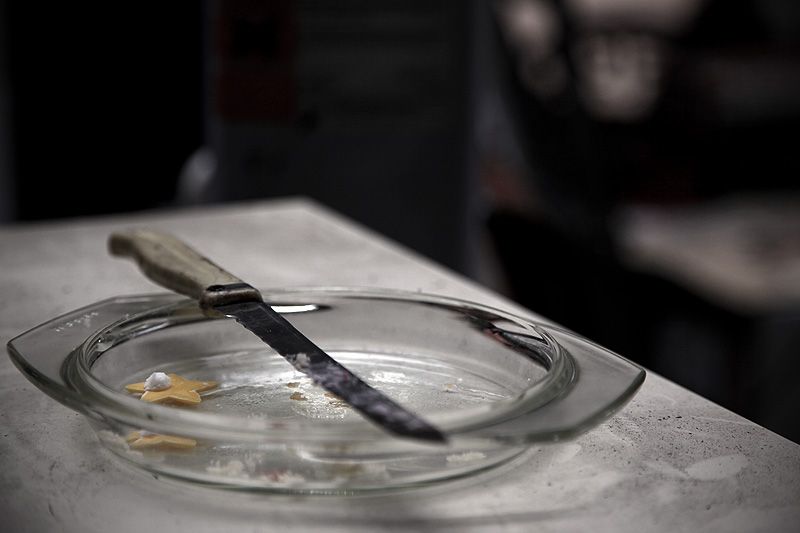 Oh well, we'll just sit in the car, chat some more random curse word and drink even more beer then. CHEERS!! 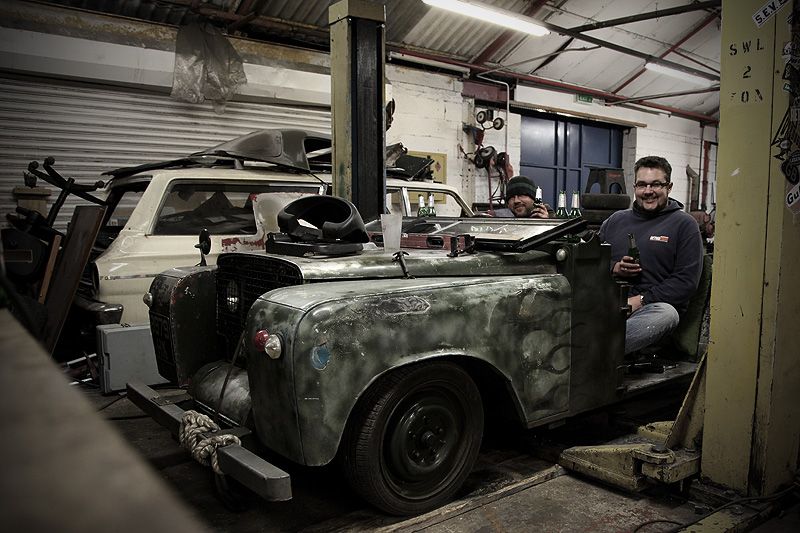 Just before 4am we turned in. Rather drunk! Tomorrow was supposed to be an early start but I had a feeling it might not be as early as originally planned. The agenda...a day at the seaside (related to this thread believe it or not). |
| |
|
|
|
|
rysz
Club Retro Rides Member
Posts: 2,558
|
|
Apr 10, 2012 11:29:57 GMT
|
|
Sorry I didn't make it Bruce, but the weekend was full of family stuff! Glad that you and Pollitt had a good time!
Rysz.
|
| |
|
|
|
|
|
Apr 10, 2012 12:10:51 GMT
|
Sorry I didn't make it Bruce, but the weekend was full of family stuff! Glad that you and Pollitt had a good time! Yeah, sorry you couldn't make it over it would have been great to have a catch-up. Another time hopefully? So Saturday morning dawns and a mixture of tiredness and hangover means I sleep right through my alarm and we're up later than originally planned. No great issues though, it was very much a 'play it by ear' day anyway. With some paracetamol and a few cuppas behind us, we head to the Vectra of doom and point it out onto the open road. Destination: Torquay 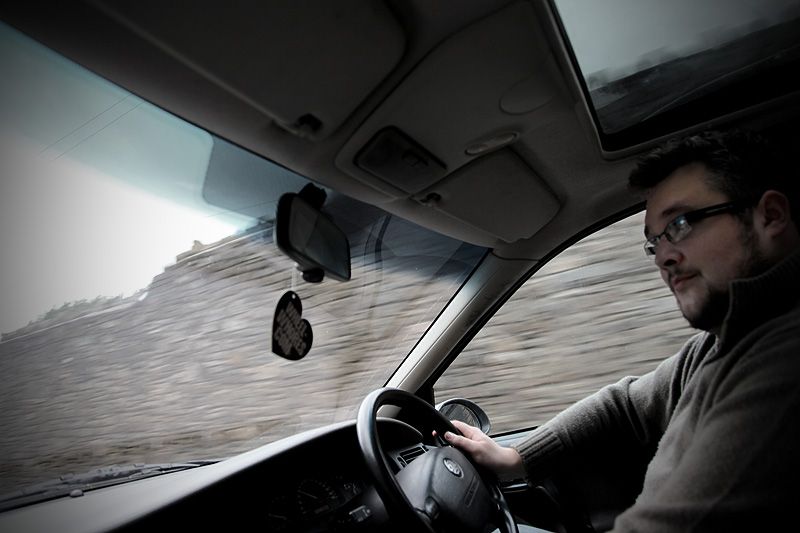 We're only just outside of Bristol when Chris tells me that I might want to get my camera out. There is something interesting behind. I try and capture it, but it's not easy when I'm feeling this rough and the road isn't exactly smooth either!  As we approach the next set of lights the car comes alongside to turn left and I manage to grab some slightly better shots 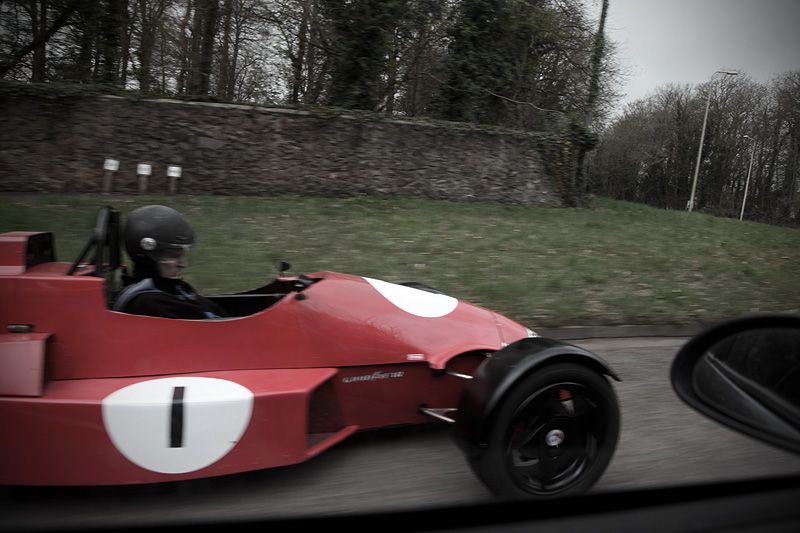 WOW....I bet that's all sorts of fun? 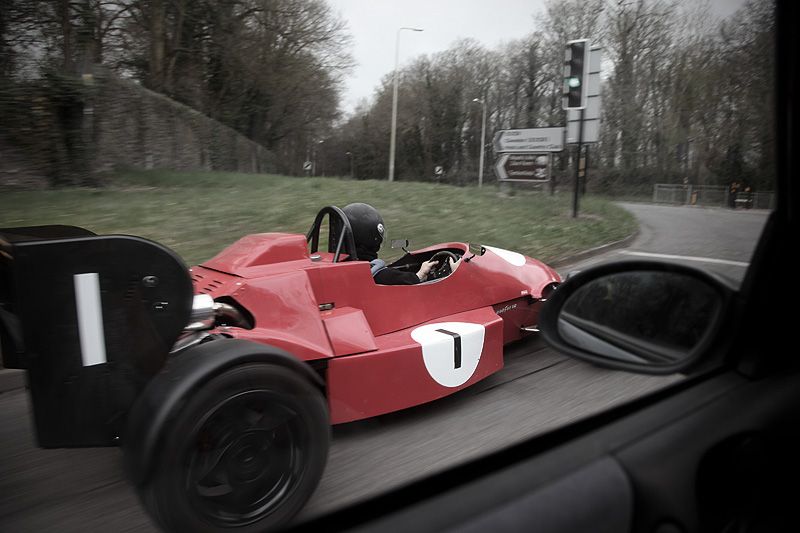 We hit the motorway, Chris sticks the car in cruise and we coast down to....the coast. We arrive at Ians (BiAS) around midday, sink another couple of cuppas then head out in Ians Shuttle in search of some food. 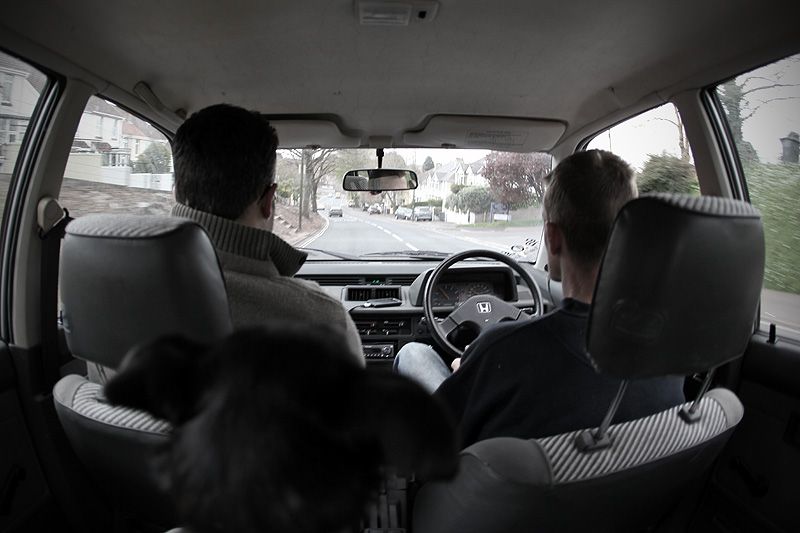 Ian had been after a 4WD one for quite a while and got lucky when this one came up locally and pretty cheap too. He'd known the car for a few years and was pretty pleased when he got the chance to buy it.  Chris likes the Shuttle....a LOT!  Jed wasn't quite so taken with the car. The bounciness of it, the drone from the pretty much constant rubbing of all four mudflaps and the occasional bang as it hit a dip in the road. He didn't seem to be able to relax. Any loud bang and we all laughed - poor Jed didn't really get it! 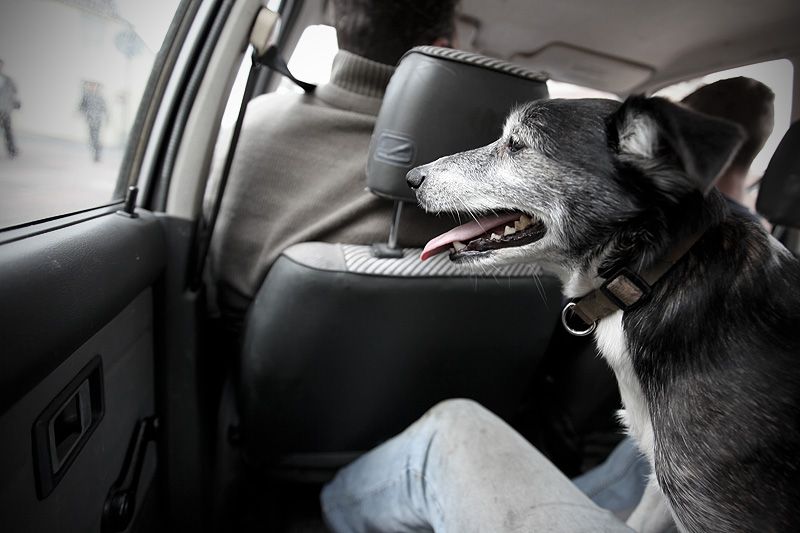 We head down the steepest, longest windiest hill known to mankind scraping, banging and crashing all the way down....much to the amusement of all the people waking the hill - only to find the carpark full....so Ian parks in the pubs front yard. We head inside and grab a spot overlooking the sea while contemplating what to eat. 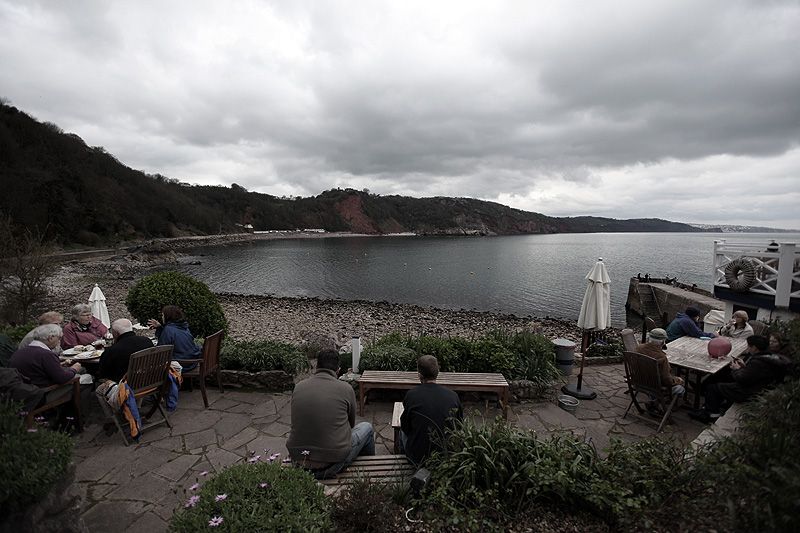 Pretty much about the same time that we'd all decided it was a bit too pricey for us, the manager asks Ian to move his car (it's supposed to be a 'drop off' spot, not that there were any signs). Feeling a bit out of place anyway with our dirty jeans and unkempt appearance we head back to the car. Chris and Ian take the opportunity to have a brief moment of bromance at the lovely view. We say our goodbyes and scrape bang and crash our way back up the steepest, longest windiest hill known to mankind. 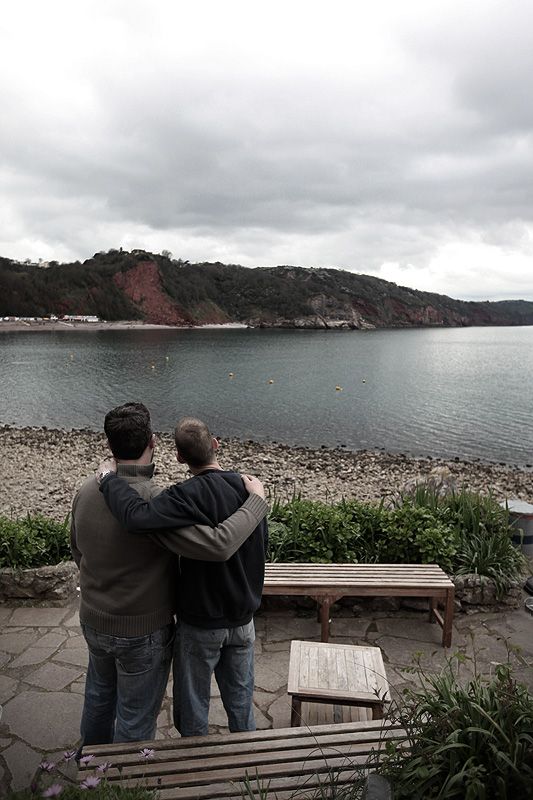 Next up....food, FINALLY...and more views. |
| |
|
|
|
|
|
Apr 10, 2012 12:50:10 GMT
|
Having popped into the town centre and grabbed some bags of chips, we head out to Paignton seafront to consume them while looking over the bay 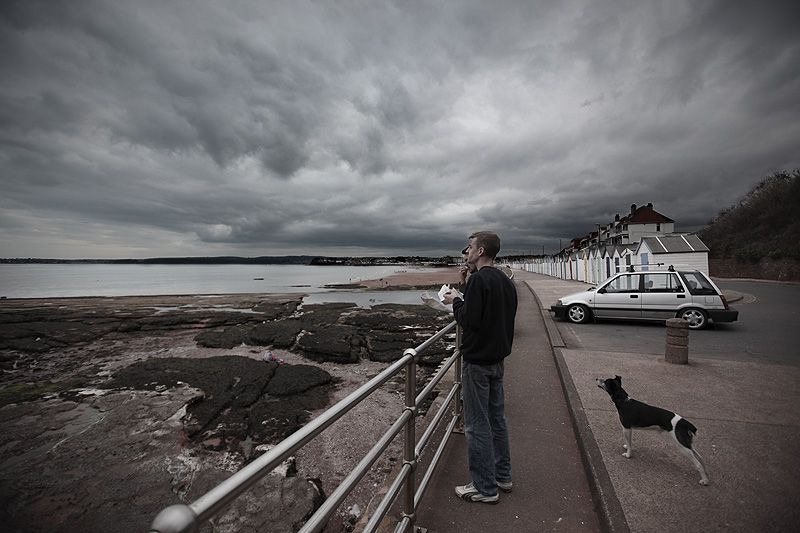 Jed is relieved to be out of the car for a bit, snaffles a few chips and chills out. 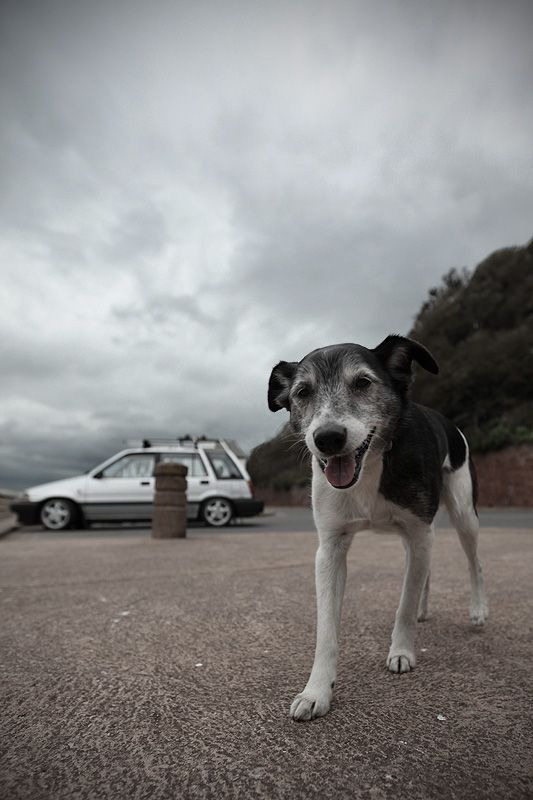 Food over, Ian is upset that buying chips from in town on a bank holiday weekend equates to small portions for the money. We all share the sentiment, but at least we've got some food in our stomachs  My fave shot from the day: cool car, good mates and a nice view. This is what Retro Rides is all about.  It is a cool car! 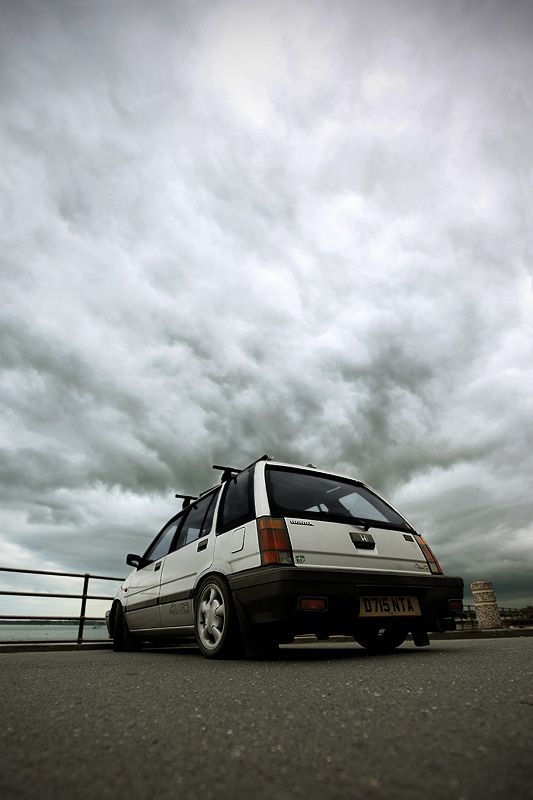 With that, Ian suggests popping up to see his mate, "I think you'll like his place, he's got some interesting stuff that you'll probably appreciate" We bundle back into the Shuttle and head off into the hills. Before long we find ourselves in retro paradise! I took about 150 shots at this place and will be putting up a whole thread in the general section about it, it's more than worthy of its own thread. And then some. Here are a few taster shots to keep you going in the meantime. Chris and I literally walked about for 2 hours with our jaws on the floor! To say he had some interesting stuff was just a bit of an understatement and there was a lot more to it that just the cars in these five pics. Feast your eyes (when we headed out from Bristol, we never, ever expected our day to include this kind of awesomeness) 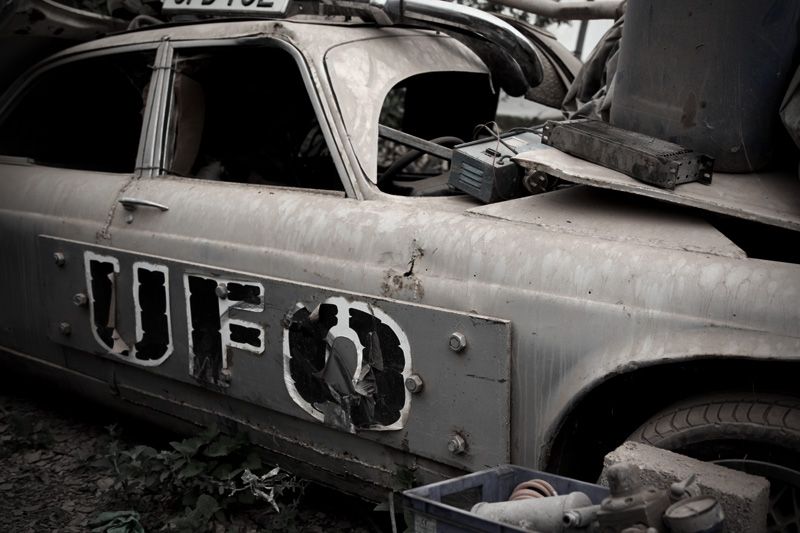 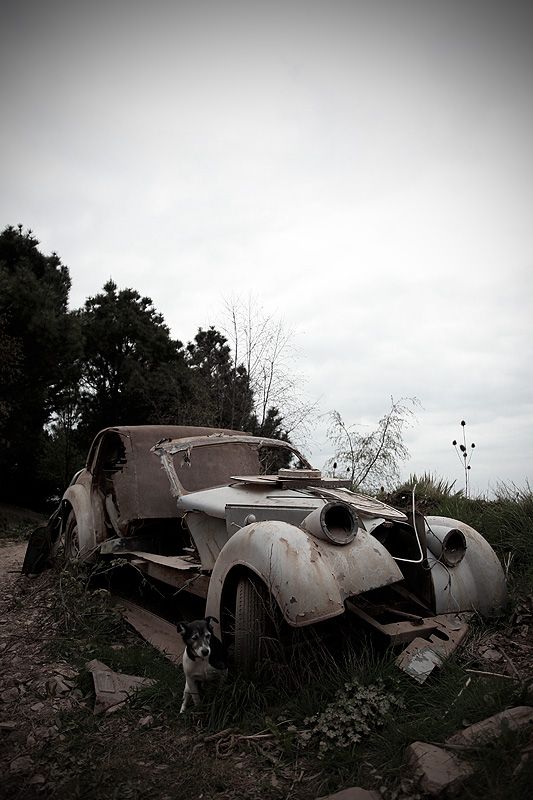  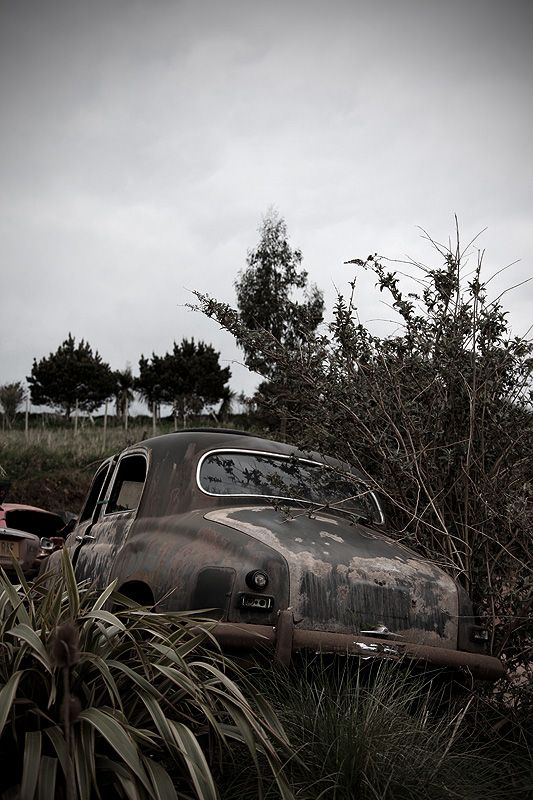 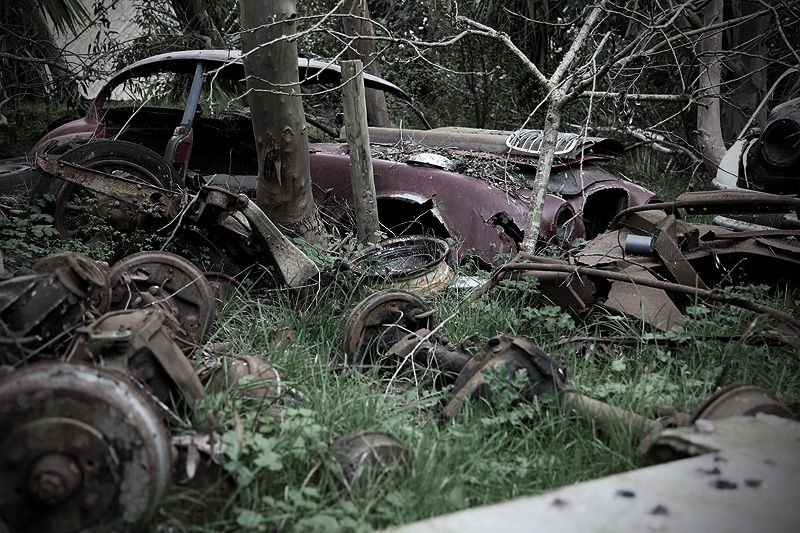 Next up....the actual reason for heading to Torquay. Yes, this all had something to do with the Land Rover! |
| |
|
|
luckygti
Posted a lot
   I need to try harder!
Posts: 4,912
|
|
Apr 10, 2012 13:00:29 GMT
|
Great write-up as always Bruce. That frame looks good over the gearbox, and I had the same idea about the shifter sitting on one side (honest!!  ) Sounds like you had a brilliant weekend! I had a family BBQ which was good, but no garage action  which was bad. |
| |
|
|
speedy88
Club Retro Rides Member
"Nice Cortina mate"
Posts: 2,302
Club RR Member Number: 118
|
|
Apr 10, 2012 13:11:02 GMT
|
Yes! Perfect mid-afternoon read. Please post up the farm pictures, sounds like my idea of paradise  |
| |
|
|
cianha
Part of things
  aka VDubbin
Posts: 923
|
|
Apr 10, 2012 13:33:40 GMT
|
|
That's some damn fine work boys! I had been living vicariously through thepollitt's updates on d'Twitter, but they didn't quite convey the amounts of work you'd put in.
|
| |
|
|
|
|
|
Apr 10, 2012 16:19:36 GMT
|
|
Nice little road trip ;D Thought i saw the shuttle driving down Paignton seafront past me.
Where is this farm?...looks like so much cool stuff so close but never heard of anything like that around here.
|
| |
|
|
|
|
|
Apr 10, 2012 16:45:53 GMT
|
|
Sorry Dude, it's not a farm and it's not my place to give any details away I'm afraid. I'll put plenty of photos up but beyond that I can't give any more info out publicly (or privately for that matter)
Sorry about that but I am sure you understand.
|
| |
|
|
|
|
|
Apr 10, 2012 18:29:09 GMT
|
After our little jolly out to the seaside then that amazing time looking around lots of cool cars, we head back to Ians where he's been working on the new ride for Mrs BiAS. She currently runs around in a nice red Cinquecento Sporting (her first car) but Ian managed to grab this XR2i for her and very quickly got stuck into tidying it up. What started out as a quick clean up turned into a proper strip-down and huge weldathon as more and more rust was found. 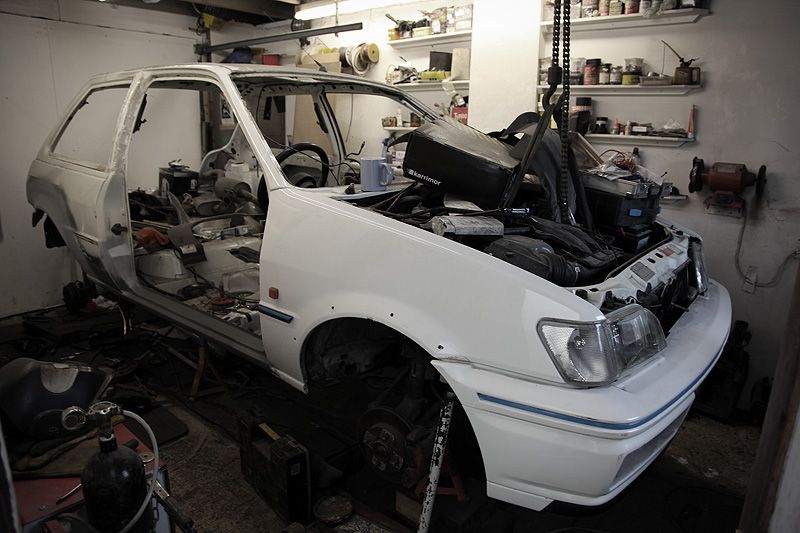 I actually lost track of all the bits Ian has replaced so far, but it includes chassis rails, floor and boot areas, inner & outer sills, wheel arches, inner arches.....the list seemed to go on. He's getting there....  He's still got this side to do but the offside panelwork is pretty much there now. Check out the classic rusty petrol cap area  This pile of pog used to be the filler neck surround. Nearly 2" thick in places and there was even more before Ian finally got to (very rusty) metal. New steel will be in place before too long.  So we get to the actual reason for heading down to Torquay in the first place - Ian had very kindly got hold of some ally sheet for me to use on the Land Rover. With all the mods on the transmission tunnel the original panelwork won't fit so I had a choice of either patching pieces into the original set-up (kind of bodgy in my opinion) or making all the panels again from scratch. As you'll probably have guessed, I'd rather make it all again than adapt what's already there and never be happy with it. Thank you Ian for sourcing the ally for me (and some Zintec steel too for general use) what an awesome guy! 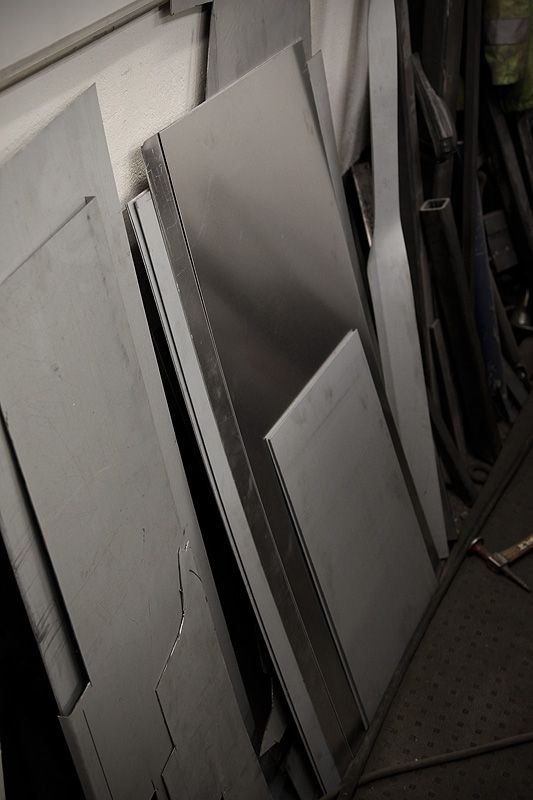 As well as the metal sheets, I was also here to collect this lot which Ian had said I could borrow: 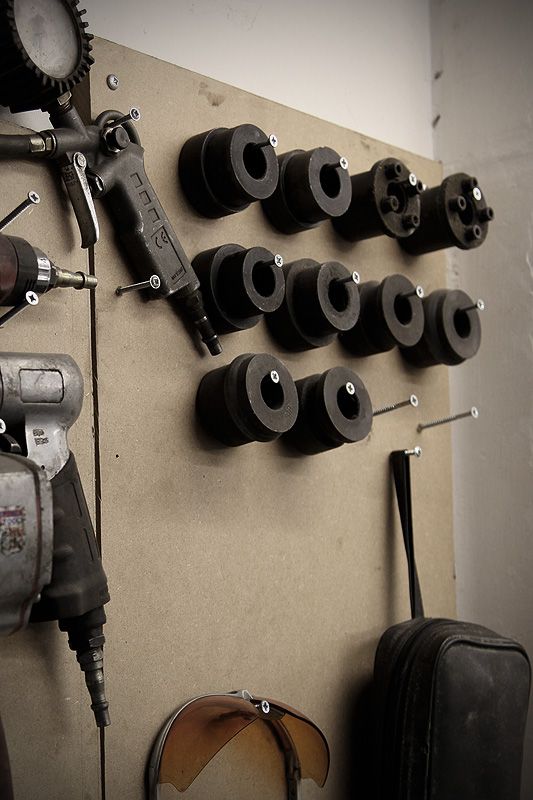 Seeing as I'm going to be making the tunnel from scratch, I might as well make it really nice.....and use a bead roller to add some strength and detail to the metalwork at the same time. I've never used one before, so this was a great chance to get to learn something new and take the interior into a different direction....but hopefully still appropriate to the ethos of the car? Excited at the thought of custom metalwork? You bet!  Ian gives Chris and I a demo on how to set the roller up, change the dies and make creases in metal. AWESOME! 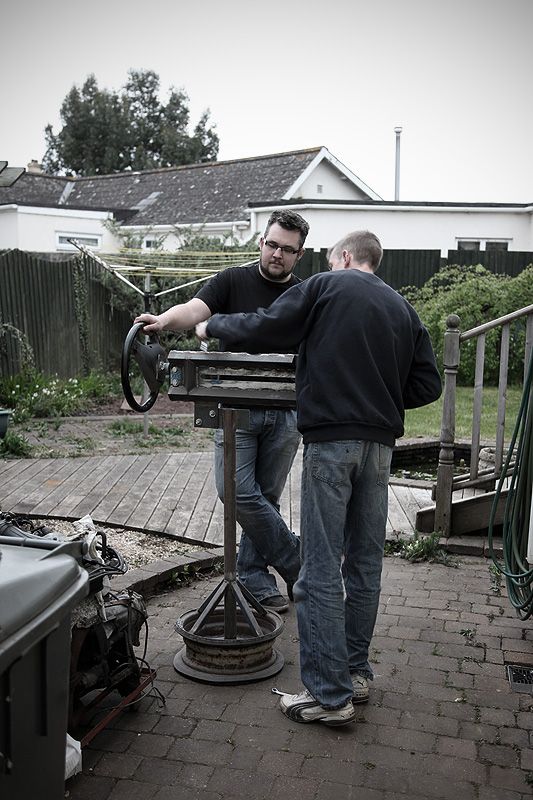 ...and the verdict from Pollit - I think the picture says it all. 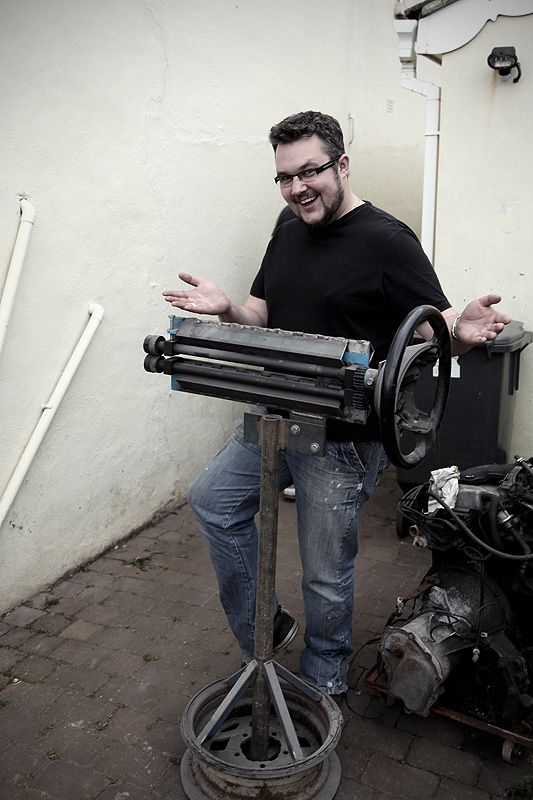 Once the tunnel frame is all made, I really cannot wait to start making the panelwork for it. I won't be stopping with the tunnel either, I am going to make new floors and replace most of the other interior panels with clean, raw ally. The idea.....a fresh interior for a ratty looking car. A contrast to the exterior bodywork (like some of my fave hotrods) We pack the sheet metal and the bead roller into the Vectra of Doom, sling Jed in the back seat and head back to Bristol after having had a truly brilliant day out. A perfect day out. Thanks Ian, thanks Chris. ;D |
| |
|
|
|
|
75nut
Part of things
 
Posts: 512
|
|
Apr 10, 2012 18:51:40 GMT
|
|
No way, Paignton, thats my neck of the woods, shame would have been good to meet some A52 lads! You need to stay off the main drag for the big chip portions boys lol!
|
| |
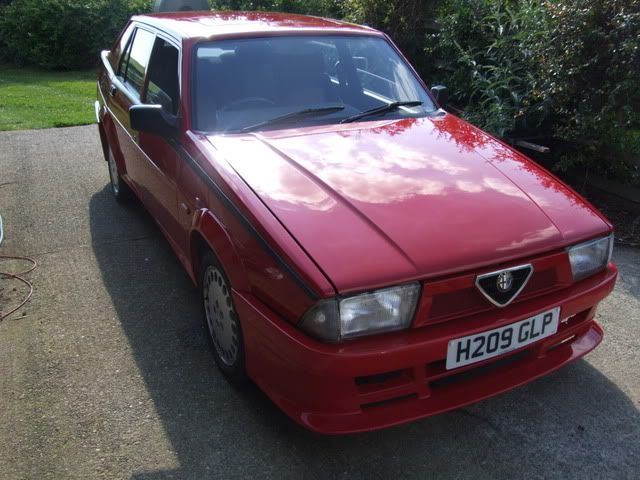
90 Alfa 75 3.0 V6 Cloverleaf
79 MGB Roadster
88 Saab 900i Convertible
94 MK1 MX5 1.6
05 Volvo V70
|
|
|
|
|
Apr 10, 2012 19:11:57 GMT
|
Awesome pics and write up, dude. It was indeed a great weekend. I couldn't have had a better birthday! Oh, and the 'place' with all the cars, oh what a day. I'm looking forward to the pics of that, I want to see them and imagine being there again. Here are some of my pics from the weekend. Sorry folks, they're not of Bruce quality... 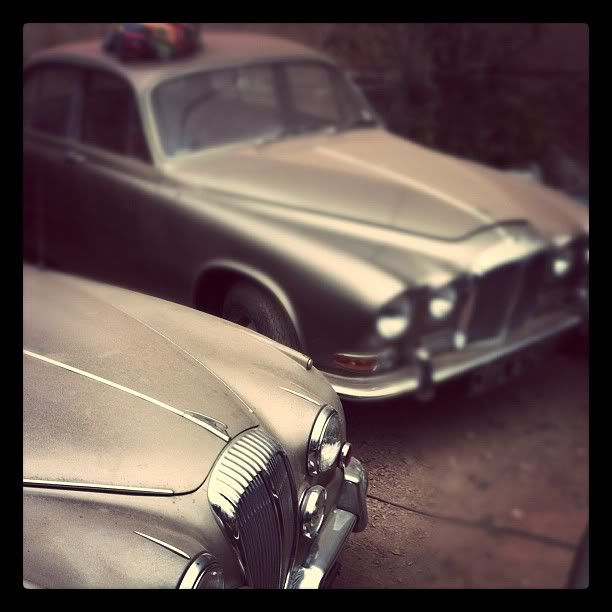  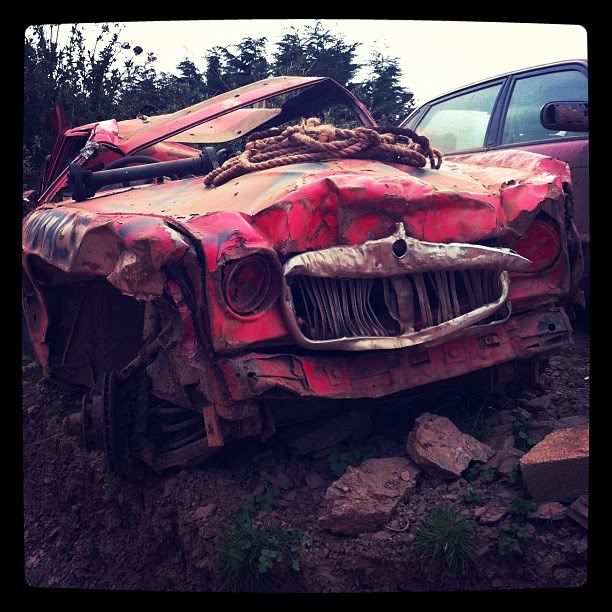  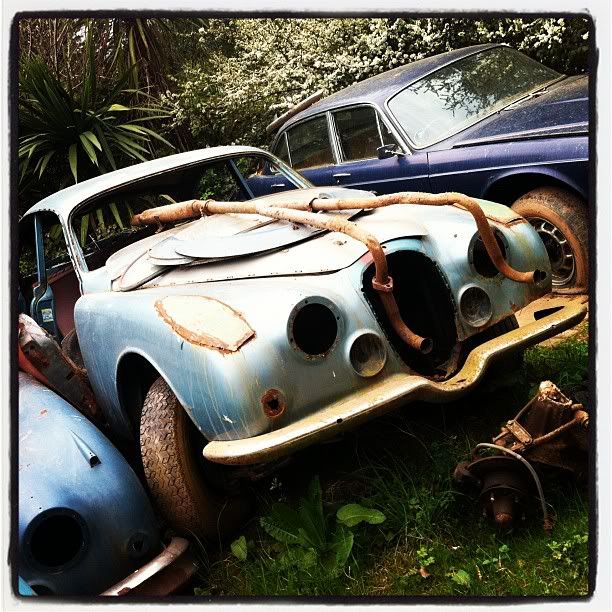 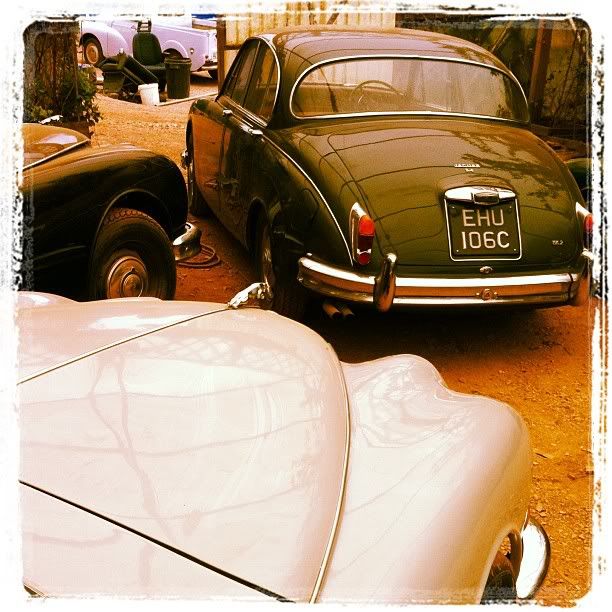 Chris |
| |
|
|
Anglia68
Posted a lot
   Powered By Boredom.
Posts: 2,050
|
|
Apr 10, 2012 21:08:57 GMT
|
Oh! bead-rolling,this is going to be very interesting.Rubs hands in anticipation.  |
| |
|
|
luckygti
Posted a lot
   I need to try harder!
Posts: 4,912
|
|
Apr 10, 2012 21:40:33 GMT
|
Oh! bead-rolling,this is going to be very interesting.Rubs hands in anticipation.  Yes indeed. And you've reminded me that I want to make the vans door panels out of sheet steel! Bead rolling would look brilliant, I shall be watching with interest. Chris, that first pic is brilliant mate, and a happy belated birthday  |
| |
|
|
|
|
|
Apr 11, 2012 10:38:30 GMT
|
It was indeed a great weekend. I couldn't have had a better birthday! Oh, and the 'place' with all the cars, oh what a day. I'm looking forward to the pics of that, I want to see them and imagine being there again. Glad you enjoyed it Dude. I was gutted when it turned out we couldn't take the Land Rover to wheels day, but I guess getting stuck into it was the next best thing. Welding, beers, fish & chips, more welding, more beers and lots of banter....yeah, that was fun. With the way this week is panning out, I probably won't have time to do the photos of 'that place' until I get back off hols, but what an amazing place it was. I've been thinking of a way to raise some money for 'that' car....it needs to be bought by one of us and I wish I could do it. Alas I reckon I could only rustle up a deposit of about £3.63 right now.  Doesn't stop me thinking about it though....I'll bet you've been the same? That was certainly one of my fave Easter weekends for a very long time...everything just worked out brilliant. ;D |
| |
|
|
|
|
|
Apr 11, 2012 13:10:30 GMT
|
Sunday morning and things get off to a good start. So good in fact that I forget to take any photos! The front transmission tunnel frame is pretty much finished.  More supports have been added to the shifter frame to make sure it's rock solid. It was pretty strong before but now there is no noticable movement in the frame. 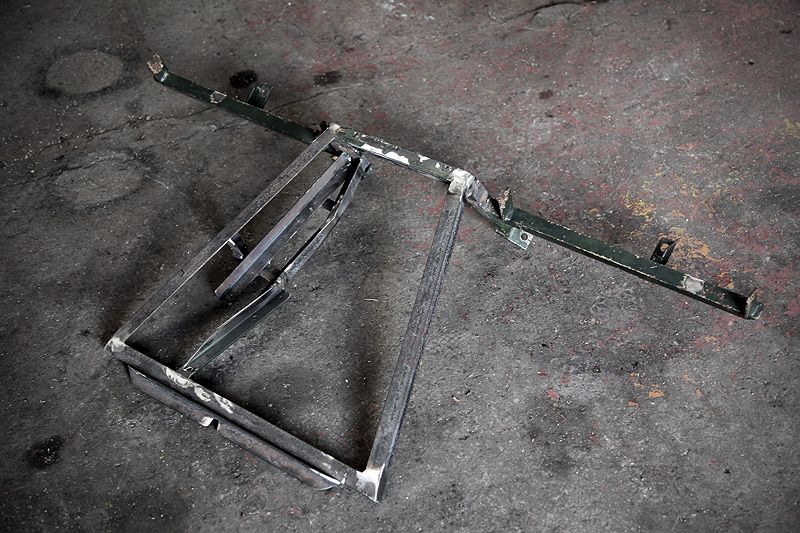 A lot of the strength comes from the piece that attaches the front of the shifter frame up to the crossbar that sits above the bellhousing  At the back of the shifter frame, a piece of 5mm plate (from the BiAS drawer of wonder) ties in the end of the frame solidly onto the crossbrace part of the tranny frame. 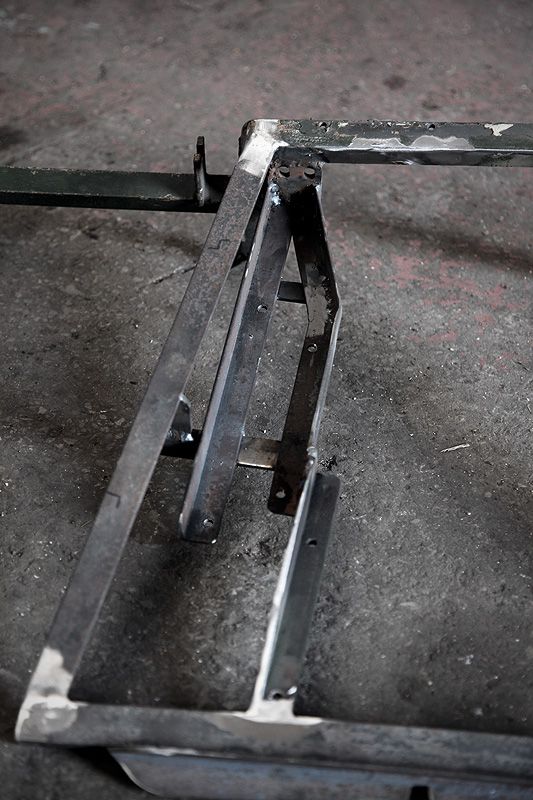 It's about as solid as it can be while still fitting into the space and allowing adequate clearance to the gearbox 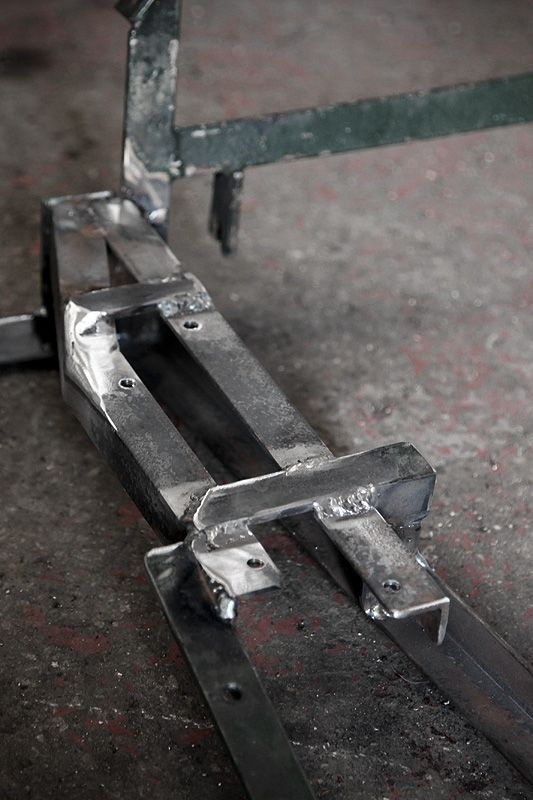 I'd also notched the bottom edge of the corner/elbow of the shifter frame. It has a reasonable amount of clearance before, but now it has plenty. In my book, 'plenty' is a far better figure than 'reasonable'. 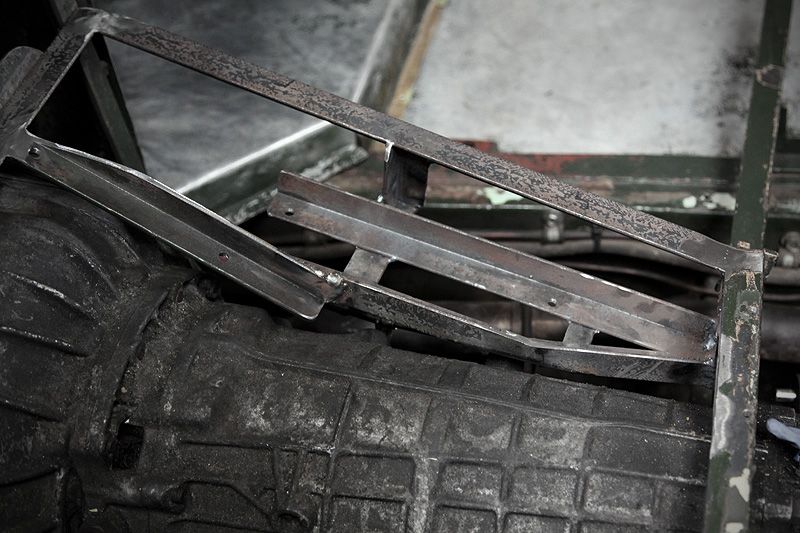 It just looks like a few bits of angle stuck together. In it's loosest sense it is, but it did take a LOT of measuring, adapting, testing, measuring and double checking to get it to fit nicely with good clearance in all dimensions. 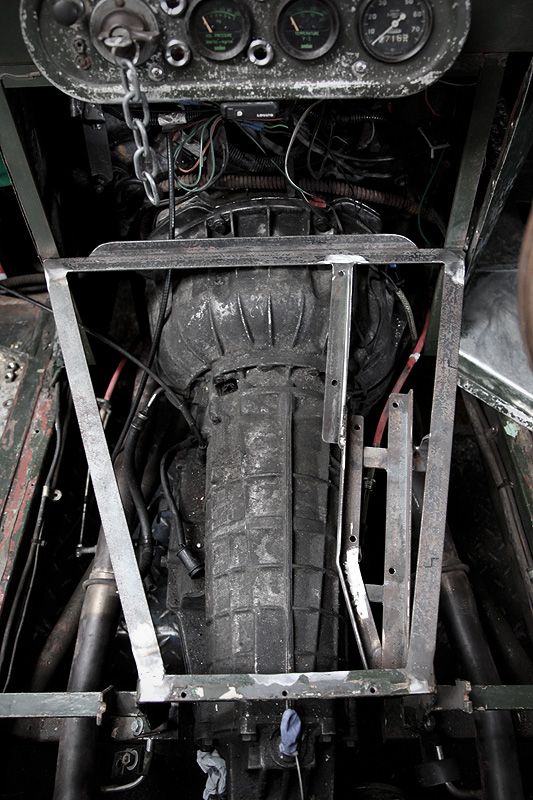 Time to bolt the shifter in and make the final tweaks there too...  It sits perfectly in the space but a few bits of trimming need to happen to make it work properly with the ally panels that will be covering it...and also a small adaptation needed in order to be able to connect/disconnect the shift cable with the shifter in situ.  First up is to trim down the cover plate....cutting off all the edges to give a completely flat plate. This will make it more flexible/less rigid, but it's only there to screw the shifter cover to anyway and will be underneath the ally sheet, so won't be needing any real strength.  Choppy chop...  Clean up the edges, remove the swarf etc....  Before it get refitted, the top edge of the shifter sits slightly proud of the tunnel frame. This means the plate I've just trimmed down sits above the tunnel frame too. Time to shorten it.... 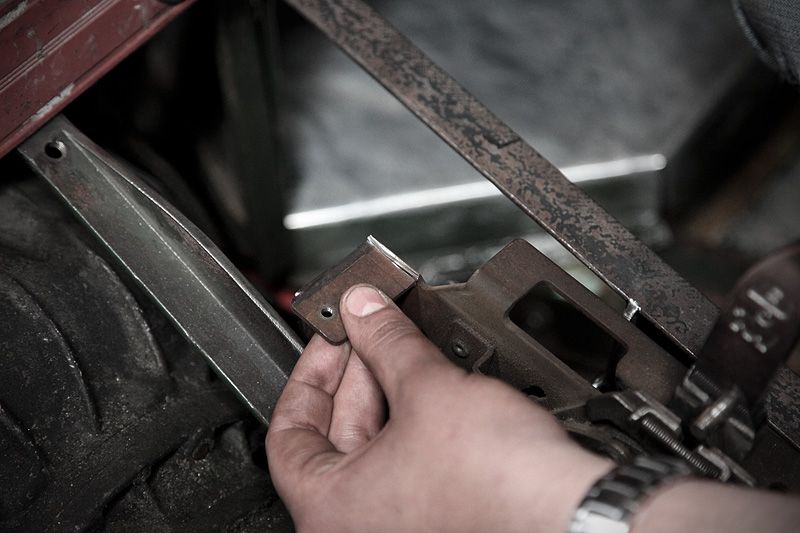 Tacked into place and sitting about 10mm lower now. 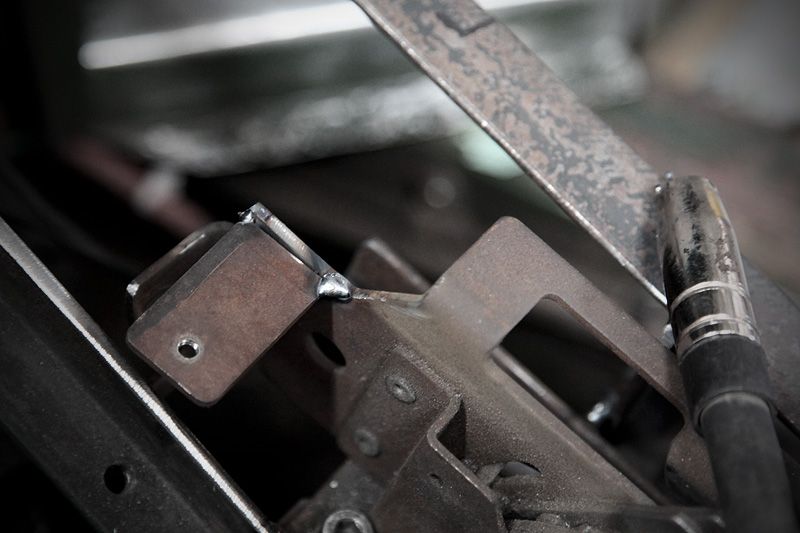 We refit the cover plate and slide a straight edge down the transmission tunnel. The shifter & cover plate are now sitting perfectly where we want them.... 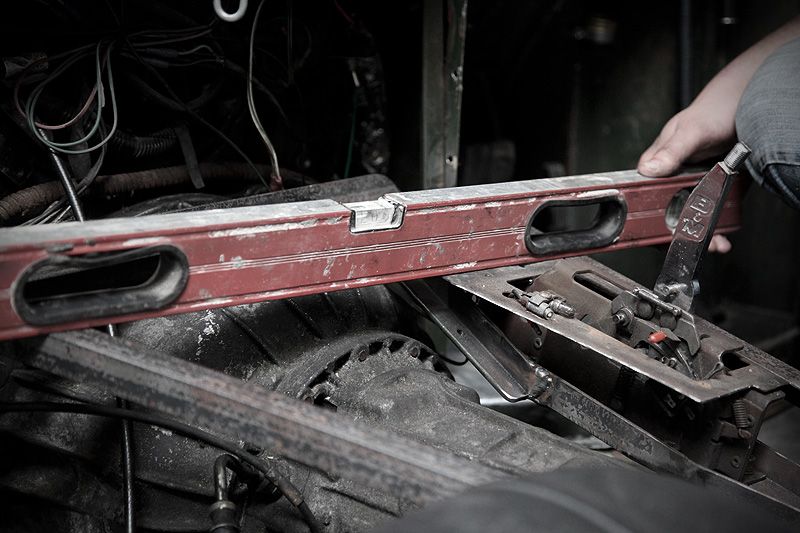 The shifter comes back out for Pollitt to get busy with the welder. Did I mention how much he loves welding? 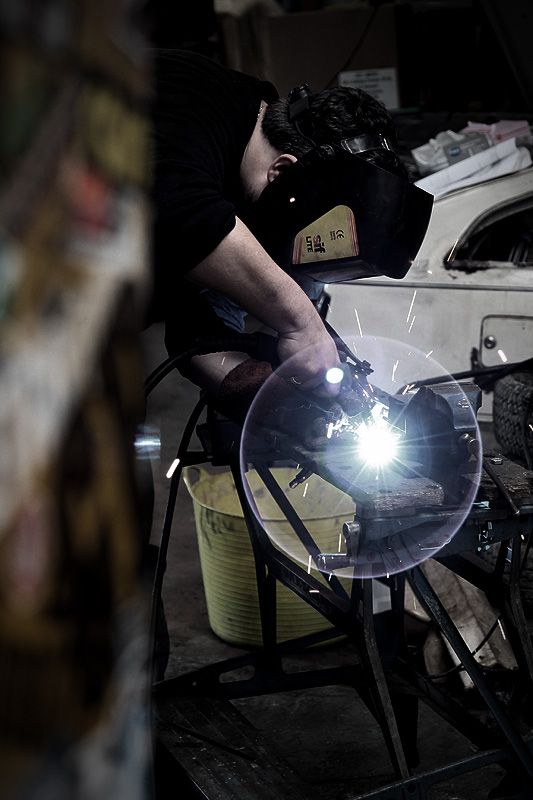 I think he's happy with that. I am too! 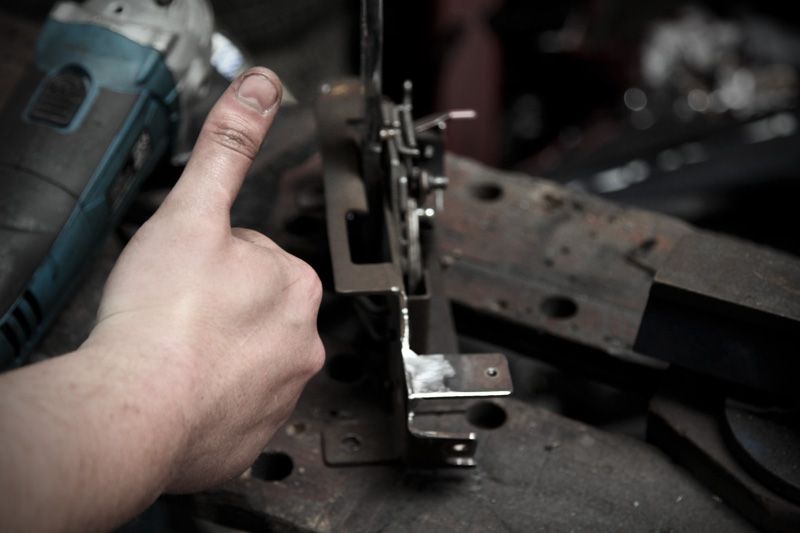 That pretty much concludes all the work on the front part of the transmission frame and the shifter mount. It might not look like much work, but getting it right, easily removable, accurate and able to carry the shifter with clearance on the gearbox and sat below the line of the tunnel took a lot more work that you'd think. We got there in the end though. Next up.....chassis rails and some notching! Work I hadn't planned on doing just yet, but it was more a case of, "Before we start the next bit, I think it'll be best to address this bit" Hopefully it'll all make sense when I explain it properly? |
| |
|
|
|
|
|
Apr 11, 2012 13:54:02 GMT
|
Every update gets me properly excited, it's the sole thing I'm logging on for now. I want this done in "Discovery Turbo" time though, you know an hour episode, maybe a 2 parter but it's the waiting for real life to pass in between updates that's the hardest bit! Looks great so far and it's those little 10mm bits being shaved off that are making this awesomerTM. And frame notching? In April? This should be interesting  |
| |
Club Retro Rides Member
|
|
|
|
|
Apr 11, 2012 16:01:40 GMT
|
Every update gets me properly excited, it's the sole thing I'm logging on for now. I want this done in "Discovery Turbo" time though, you know an hour episode, maybe a 2 parter but it's the waiting for real life to pass in between updates that's the hardest bit! Looks great so far and it's those little 10mm bits being shaved off that are making this awesomerTM. And frame notching? In April? This should be interesting  I think I'll burst (or get sectioned) if I somehow find time to work any quicker on this. I'd love to dedicate it to being a full time build, but alas it's far from it. In fact, I'm going away on holiday with Amanda on Saturday morning (she booked a cottage in Pembrokeshire for my birthday pressie) so there won't be anything happening until I get back unfortunately. I might have the chance to put in a few hours tomorrow and I'm doing another mini-trip out tomorrow night which involves a lathe, a welder and the amazing help of Grunty....but beyond that, I reckon it'll be the beginning of May until I can make much more progress  |
| |
|
|
|
|
|
Apr 11, 2012 16:17:22 GMT
|
Lets talk seating positions and chassis rails. The current set-up involves the seat back being bolted to the rear bulkhead and the seat base dropping neatly into some brackets on the main transmission cross brace and some brackets welded to the chassis rails. Here is the bracket on the chassis rail (drivers side) with the two location holes for the seat pins 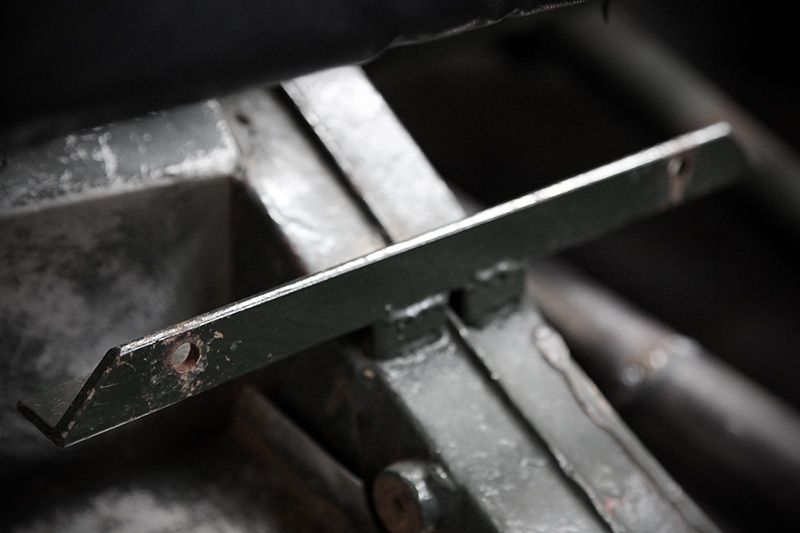 To fit the seat base you simply pop the pins from the back of the base through the holes.... 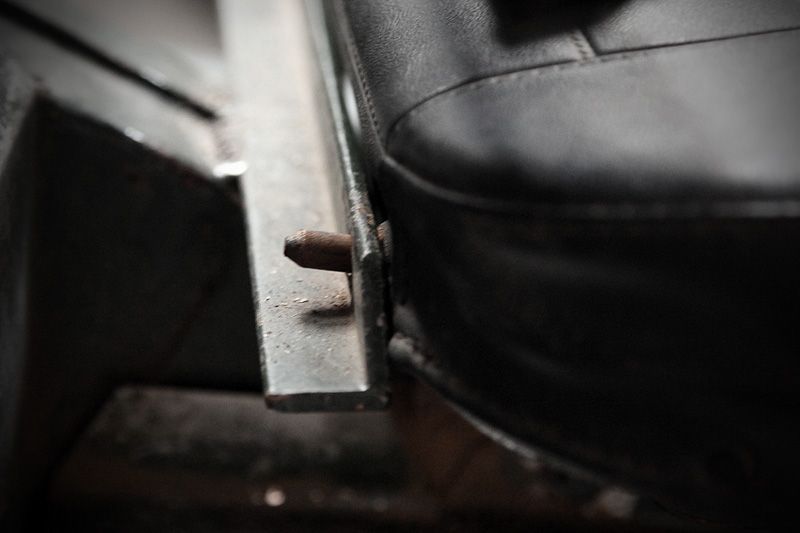 ...then drop the rods on the front of the seat into the slots in the bracket on the cross brace. That's it....nice and simple.  The downside of this arrangement is that when the windscreen is up, the top rail of the screen is right in my line of sight which means driving in a slightly 'ducked' position. Not ideal on long journeys which is most likely the time the screen will be raised. This leaves two options: 1) Raise the height of the screen which, to put it simply, is never going to happen. I like the proportions of it as it is, so I won't be changing that. 2) Change the seat height so that it drops down enough for my line of sight to be just below the screen. Better visibility and no having to duck when the screen is up. The problem with option 2 is the clearance under the seat. The chassis rail is 5mm below the bottom of the seat as you can see in this photo:  It's only the rear part of the seat I need to drop, the front part can stay where it is because that doesn't affect the height you sit at. Dropping the front would be easy, but all that would gain is having less cushioning/support under your legs (leading to more pressure on the bum/coccyx) Typically, it's the rear part where there is the least clearance. Just where I want to move the seat I find a big ol' lump of chassis rail in the way. The solution...notching. |
| |
|
|
|
|
|
Apr 11, 2012 19:12:28 GMT
|
|
great to see how you are basically modifying everything, but if you don't know its been modified, you won't see it.
(i mean appart from all the modifications that where made before you started your chapter on it)
really like all the subtile changes you're making.
no cutting corners here, keep up the good work! and the great story!
awsome work!
|
| |
Last Edit: Apr 11, 2012 19:14:27 GMT by tijs
|
|
|
|


 [*]
[*] [*]
[*]


 ) Sounds like you had a brilliant weekend! I had a family BBQ which was good, but no garage action
  which was bad.




 Doesn't stop me thinking about it though....I'll bet you've been the same?


