mk2cossie
Club Retro Rides Member
Posts: 3,055  Club RR Member Number: 77
|
|
Nov 26, 2023 10:33:16 GMT
|
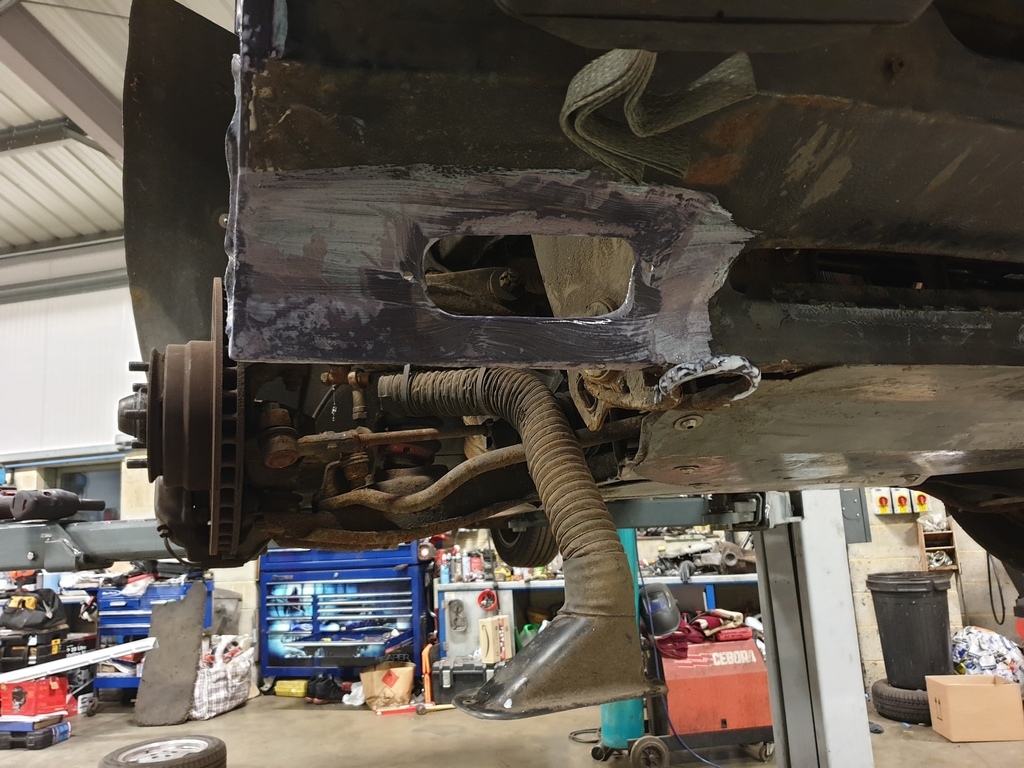
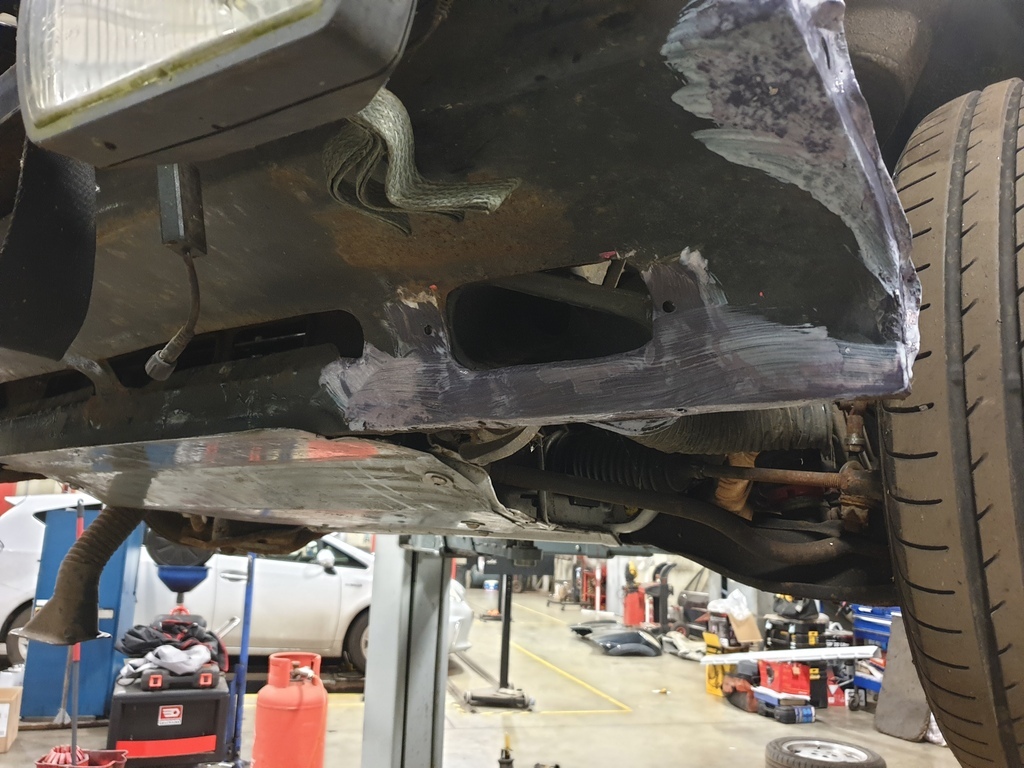
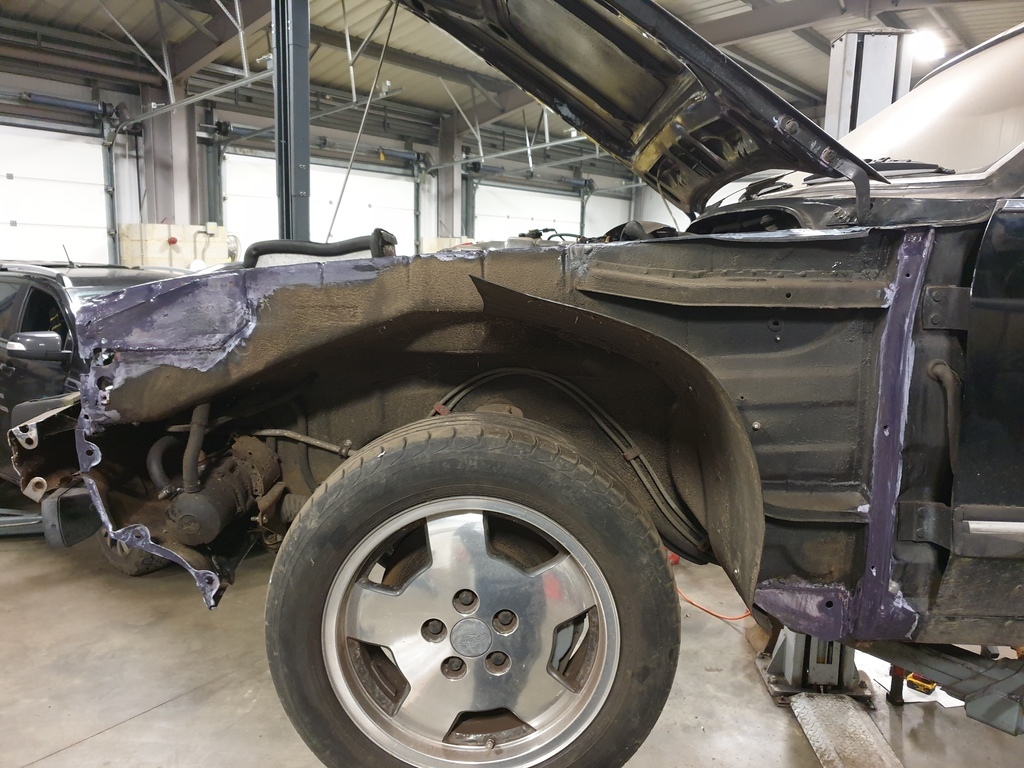
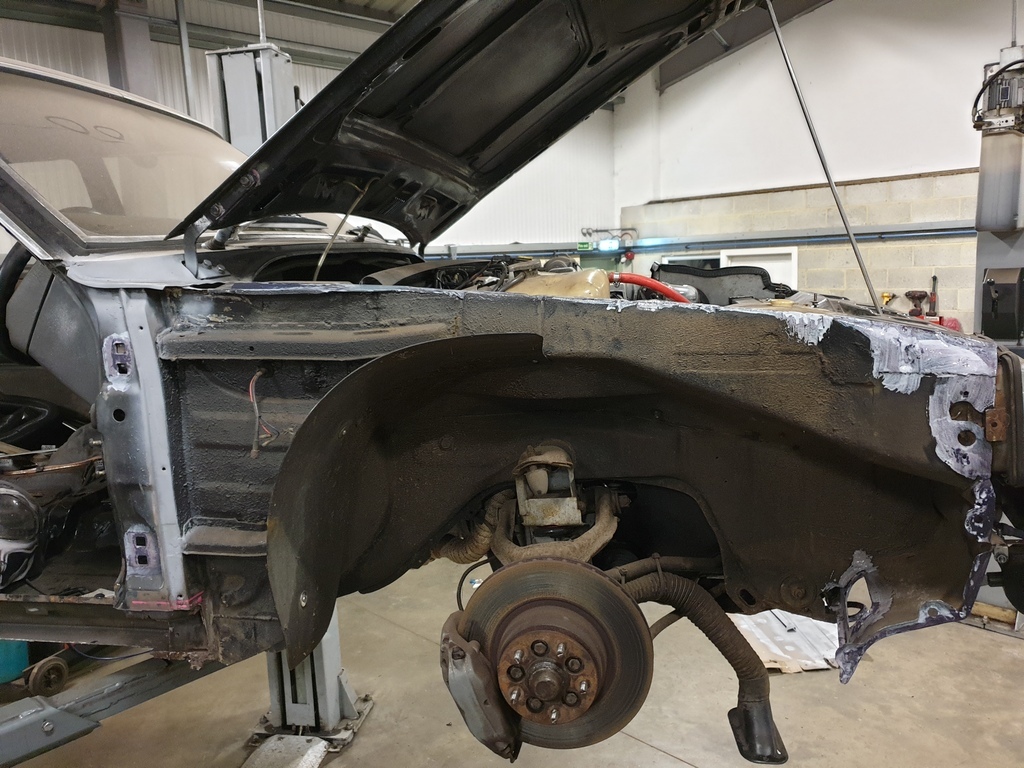
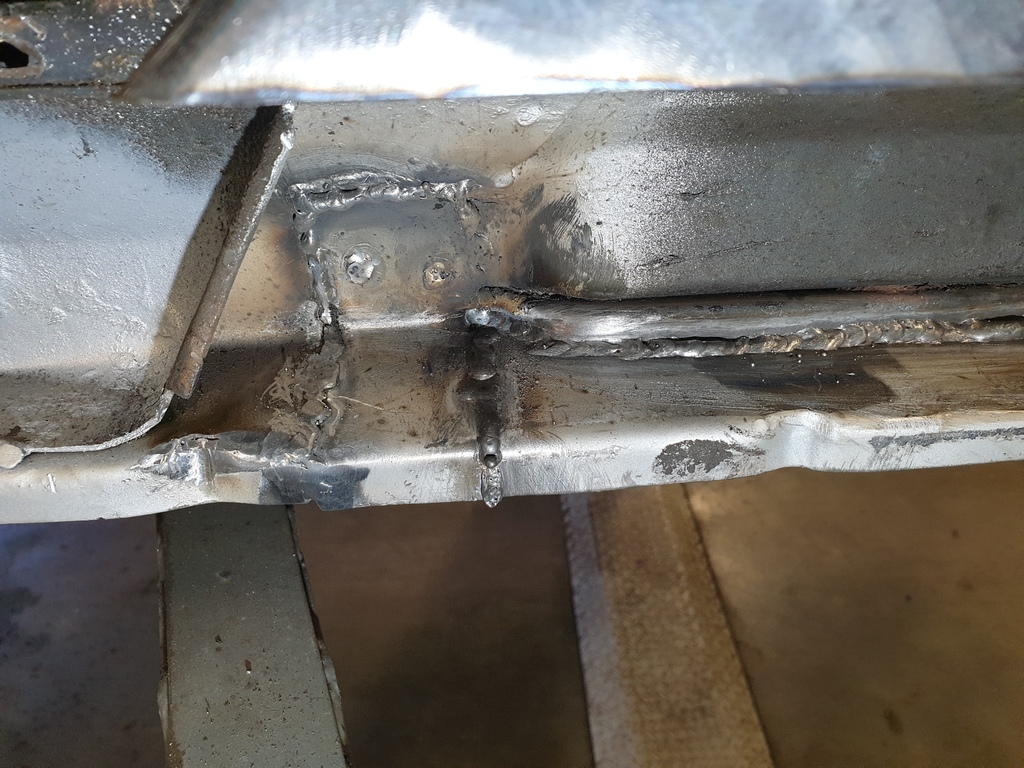
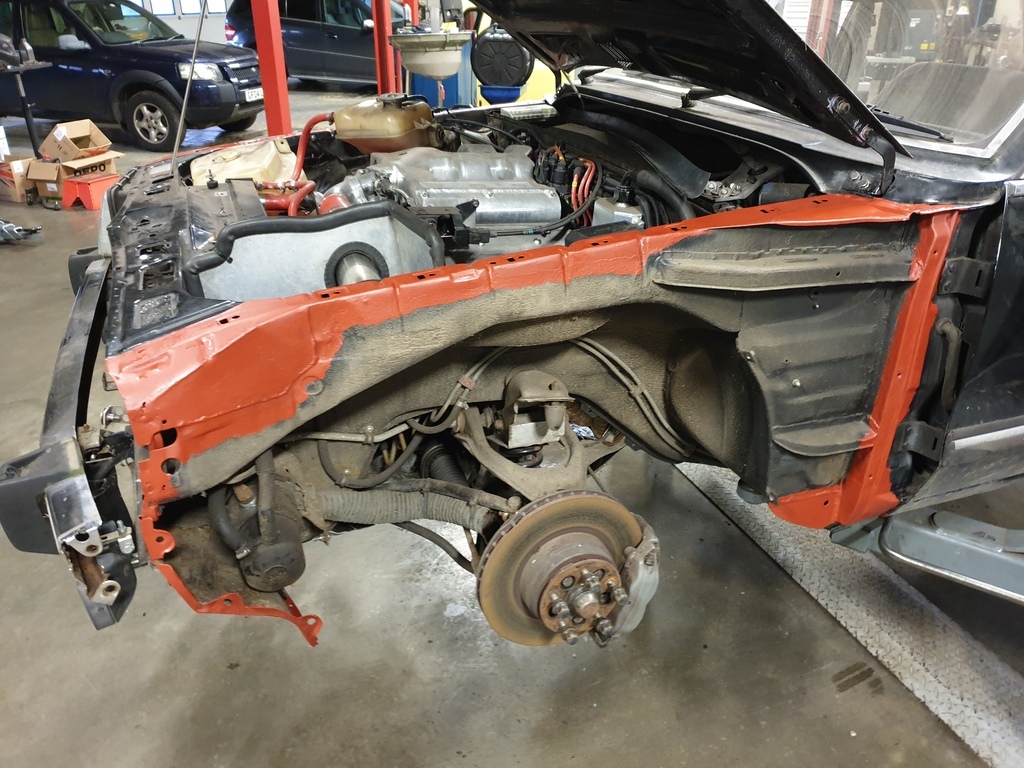
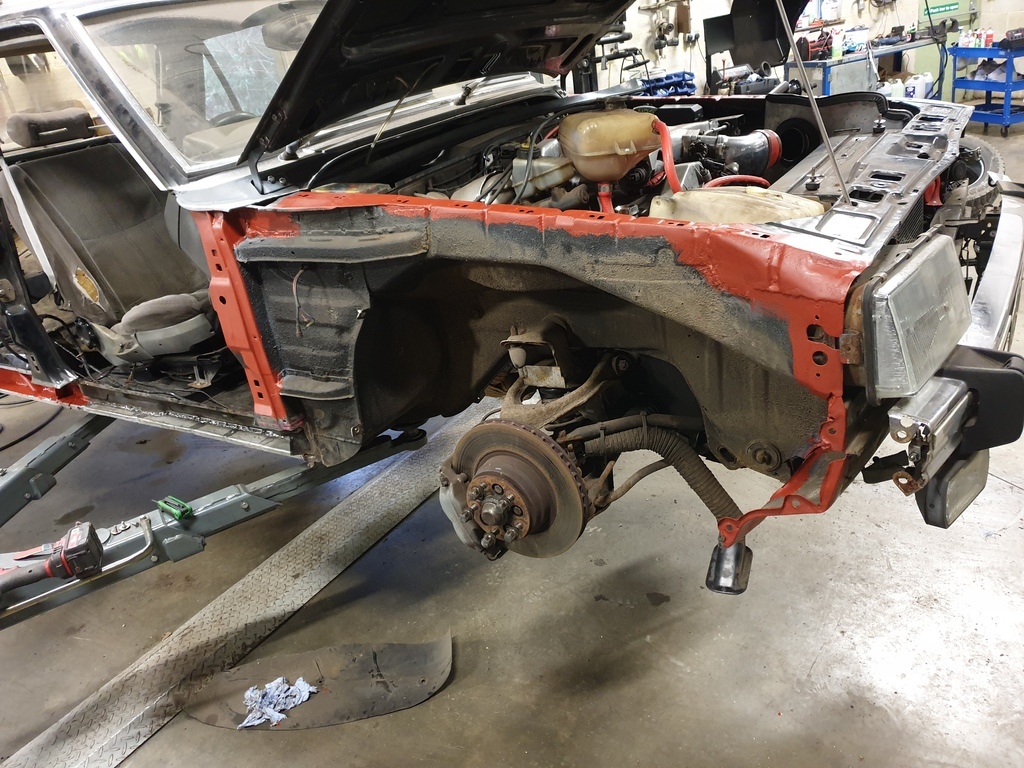
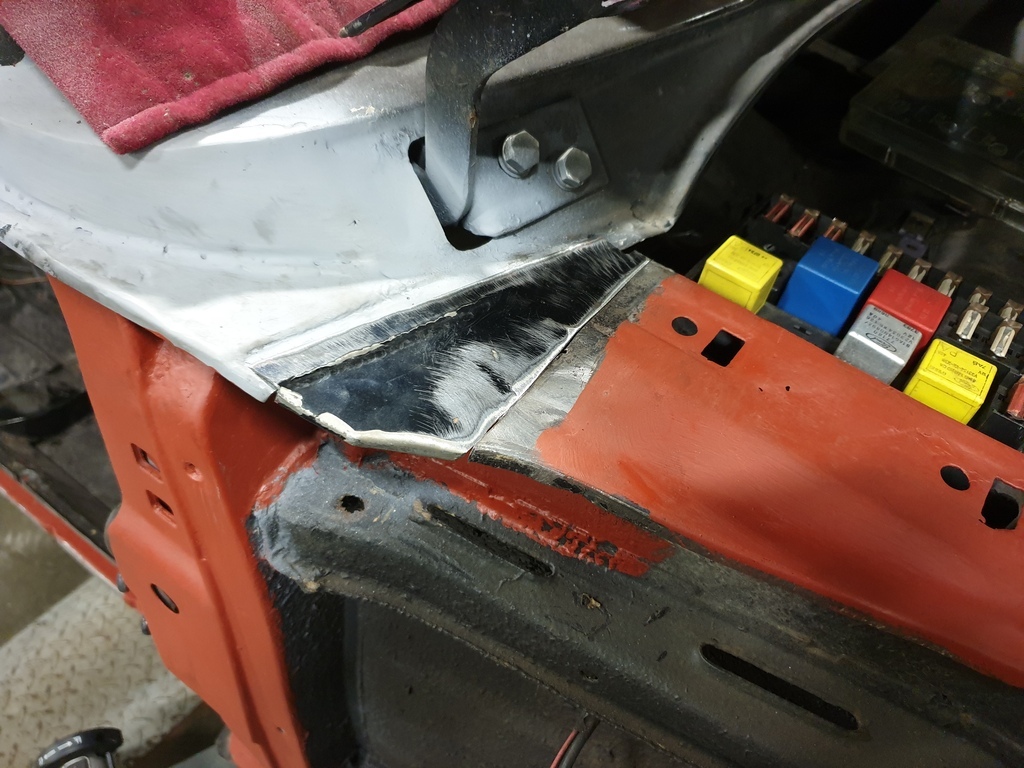
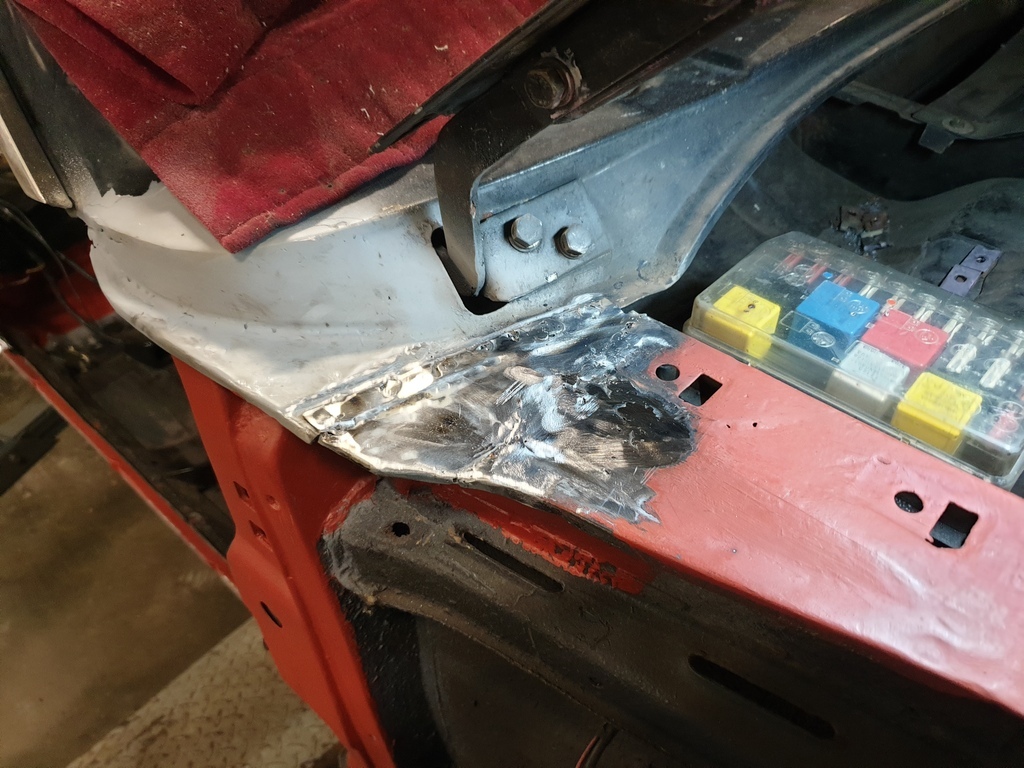
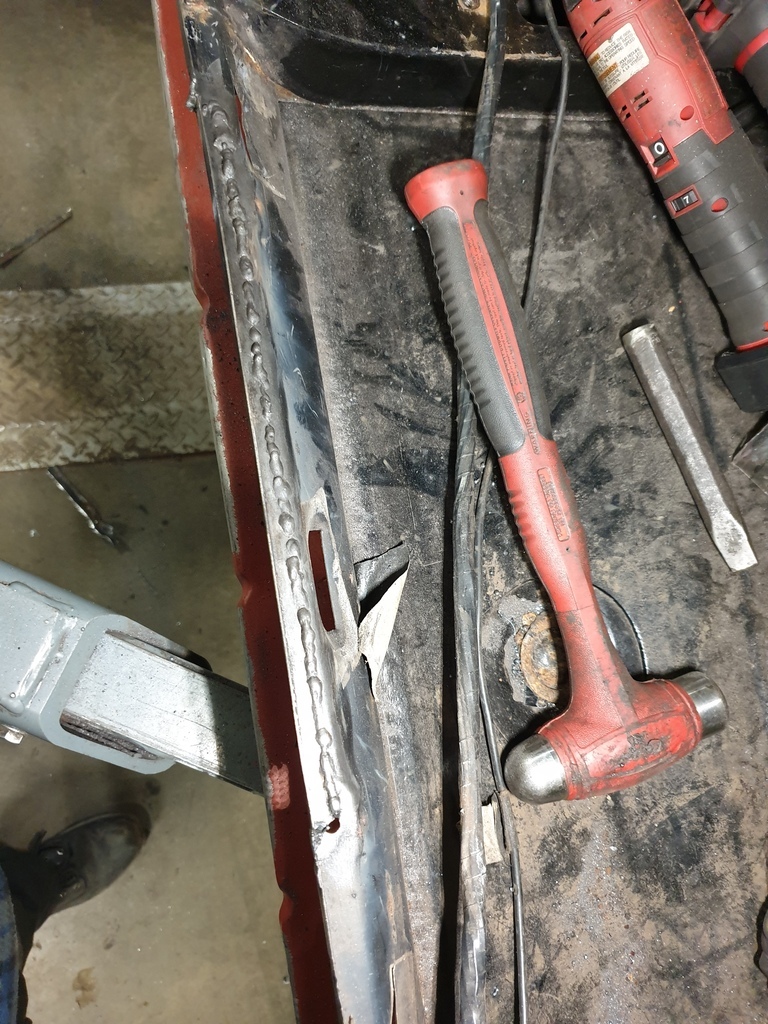
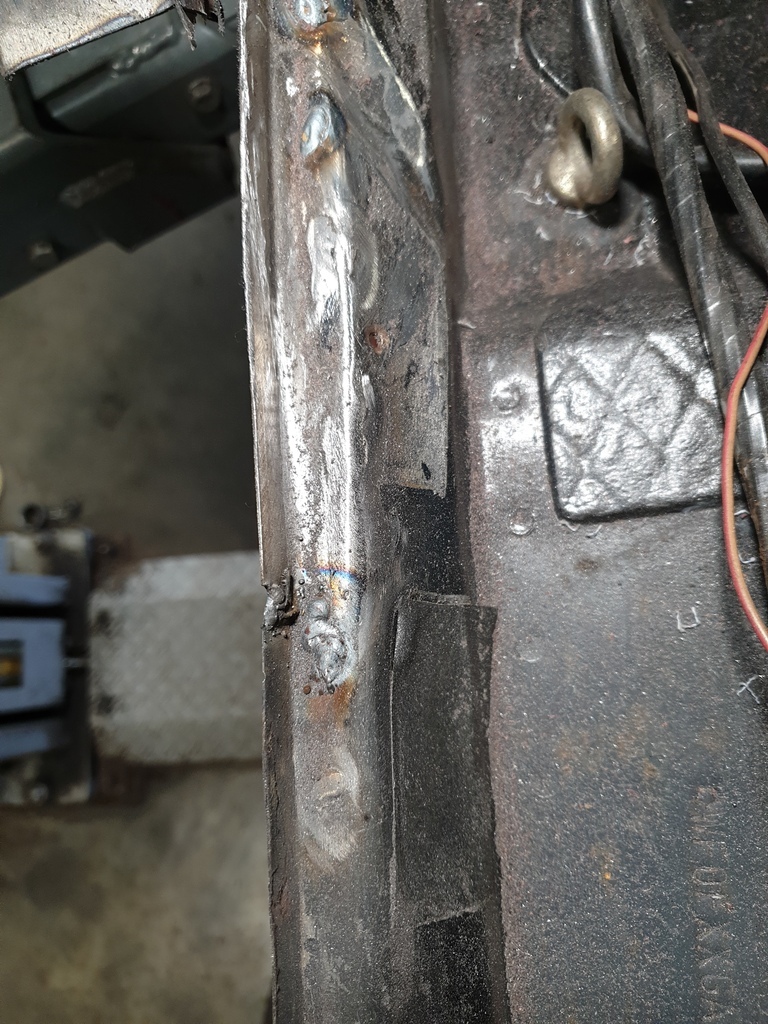
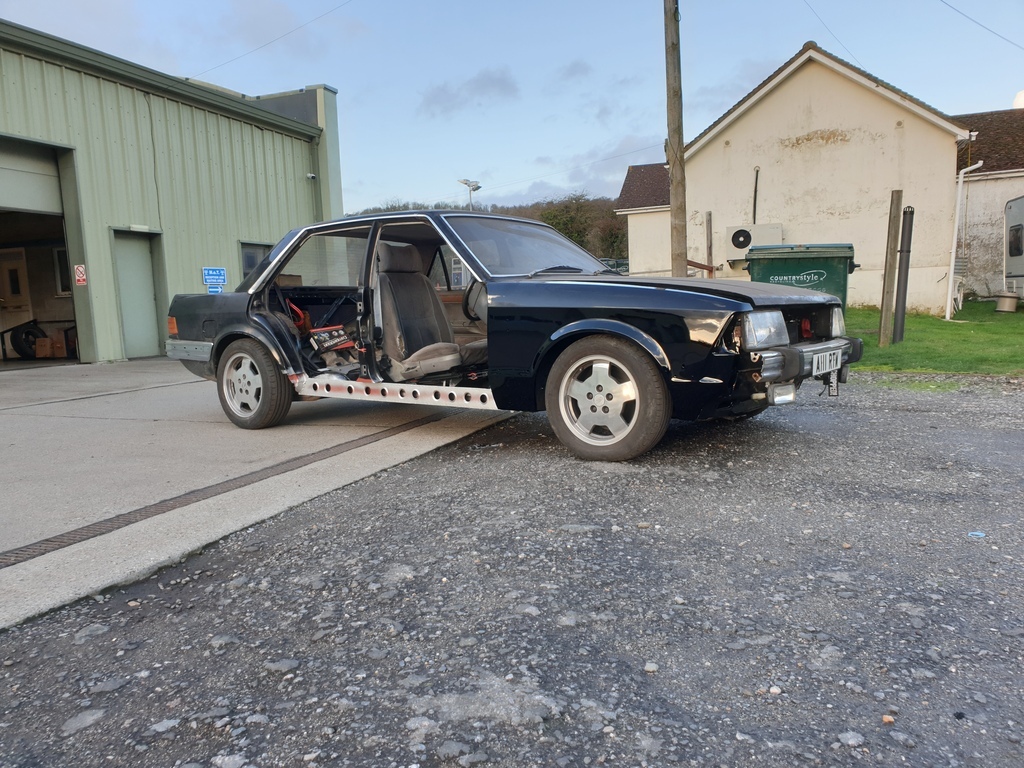
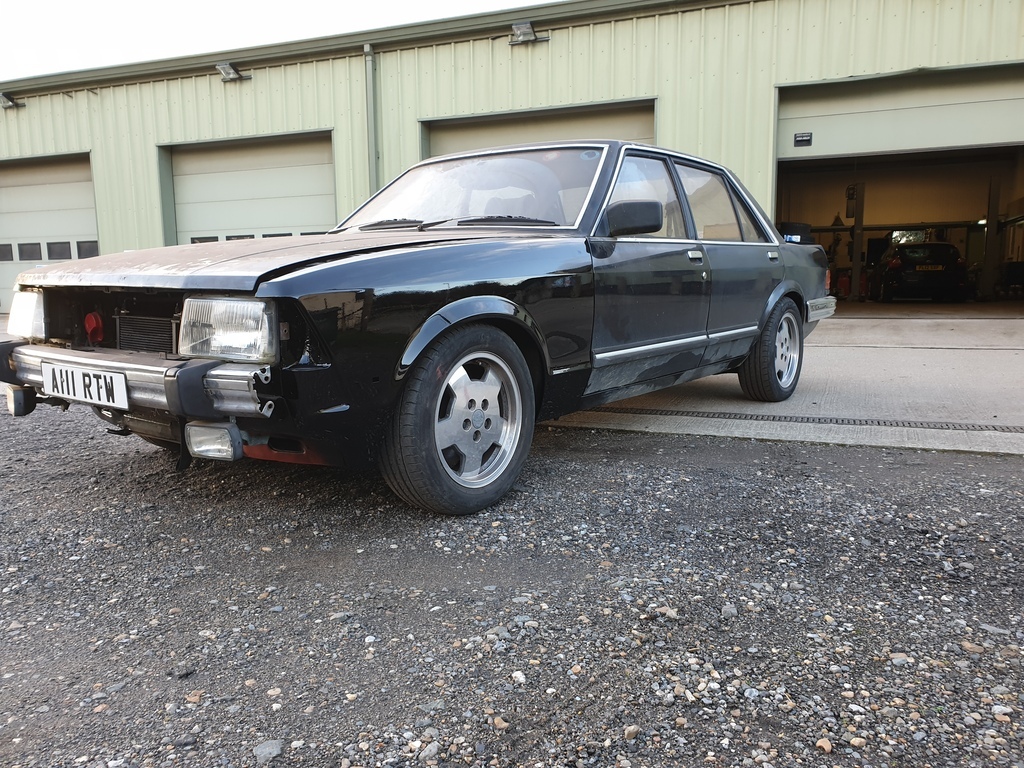
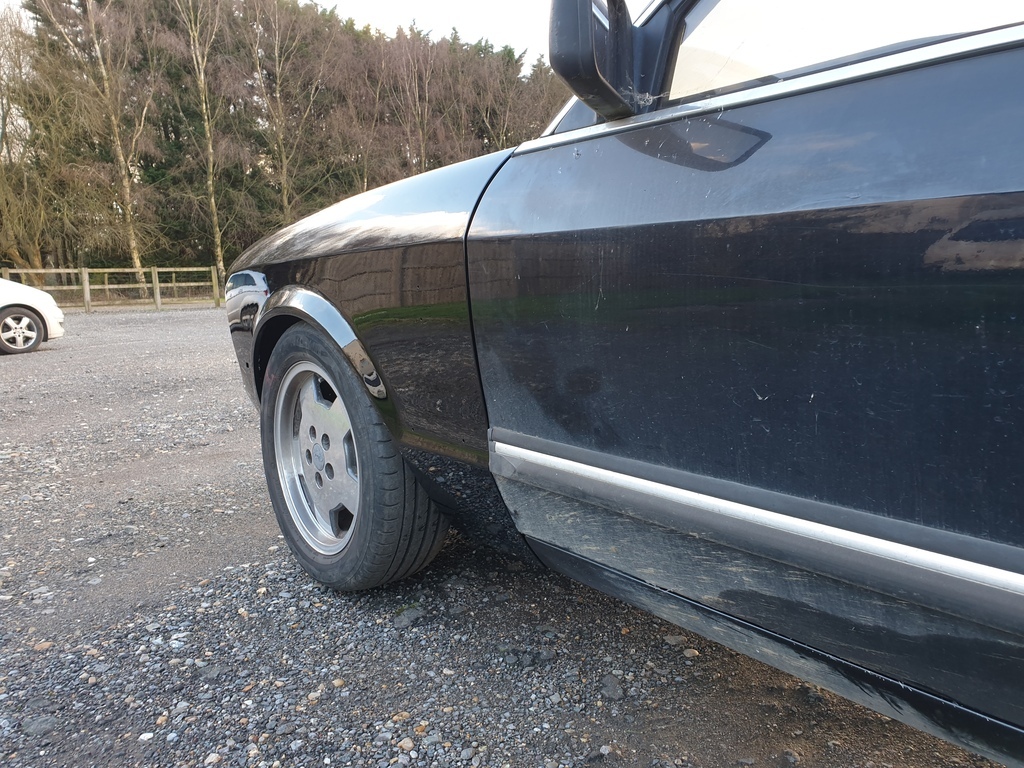
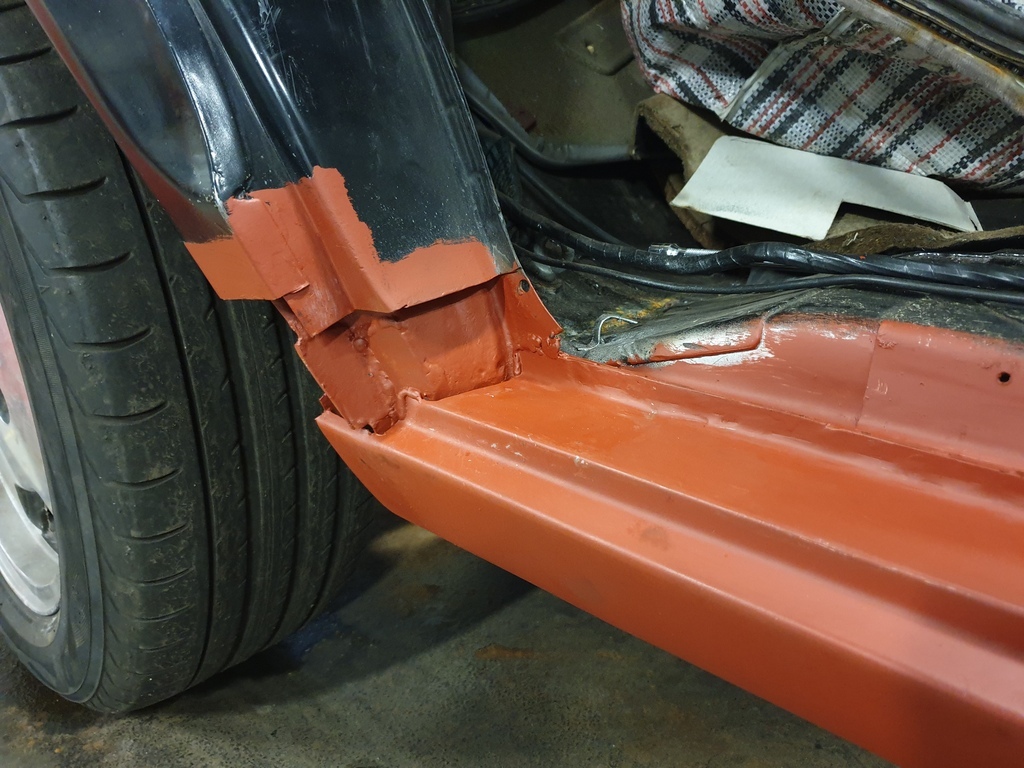
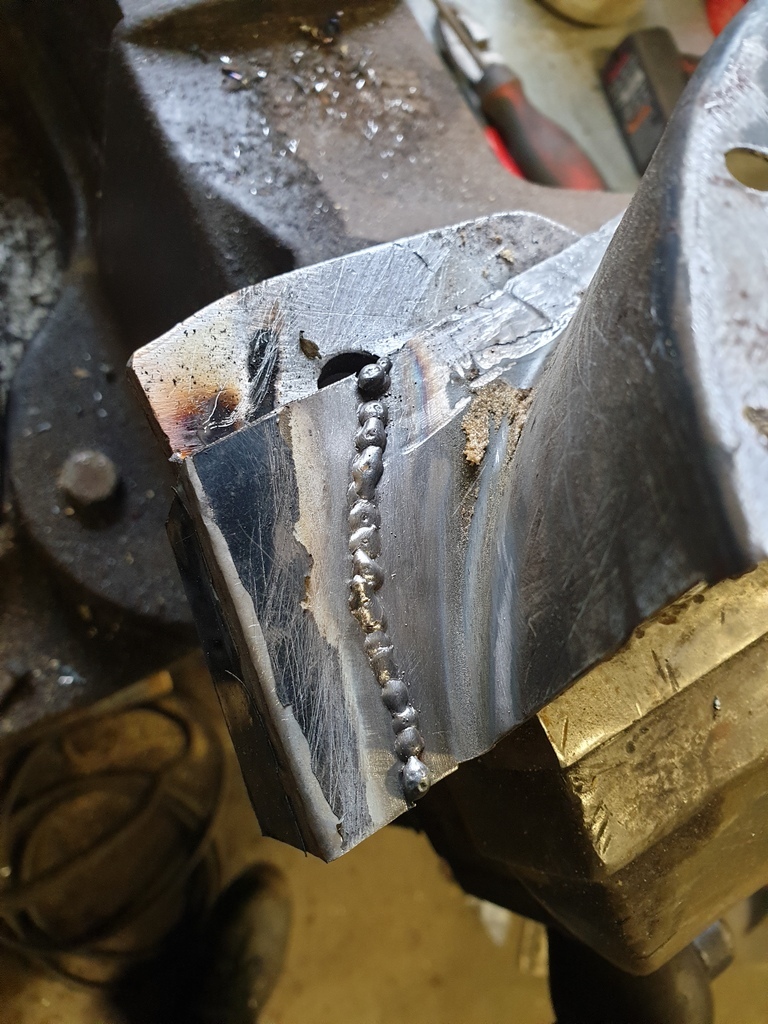
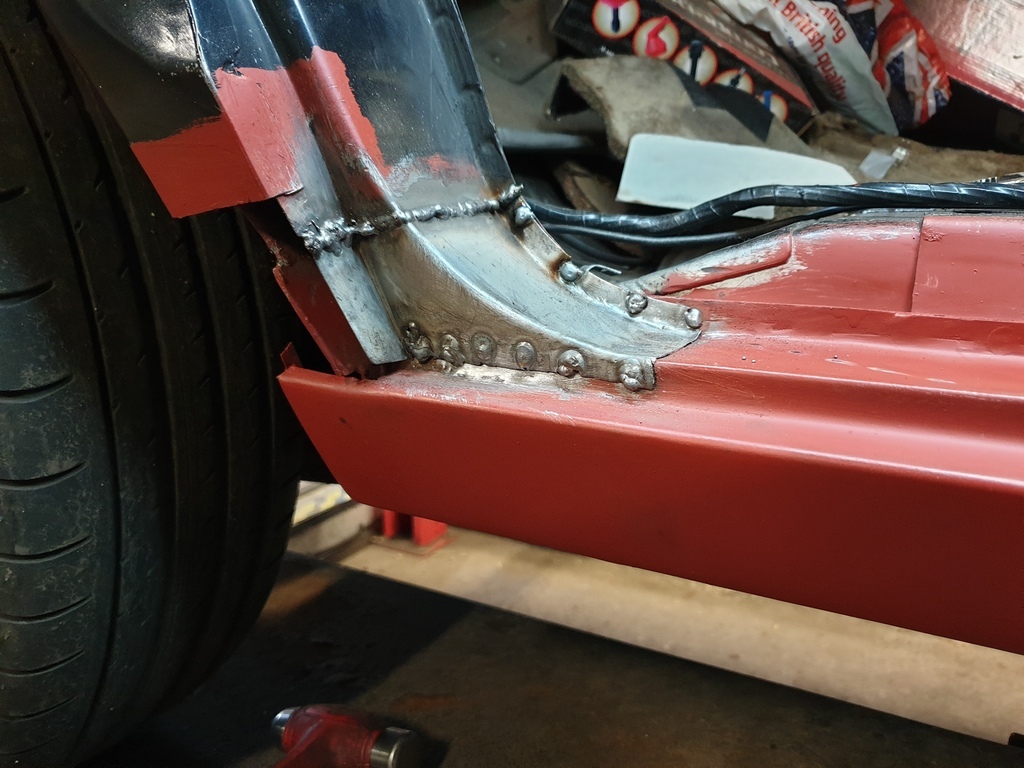
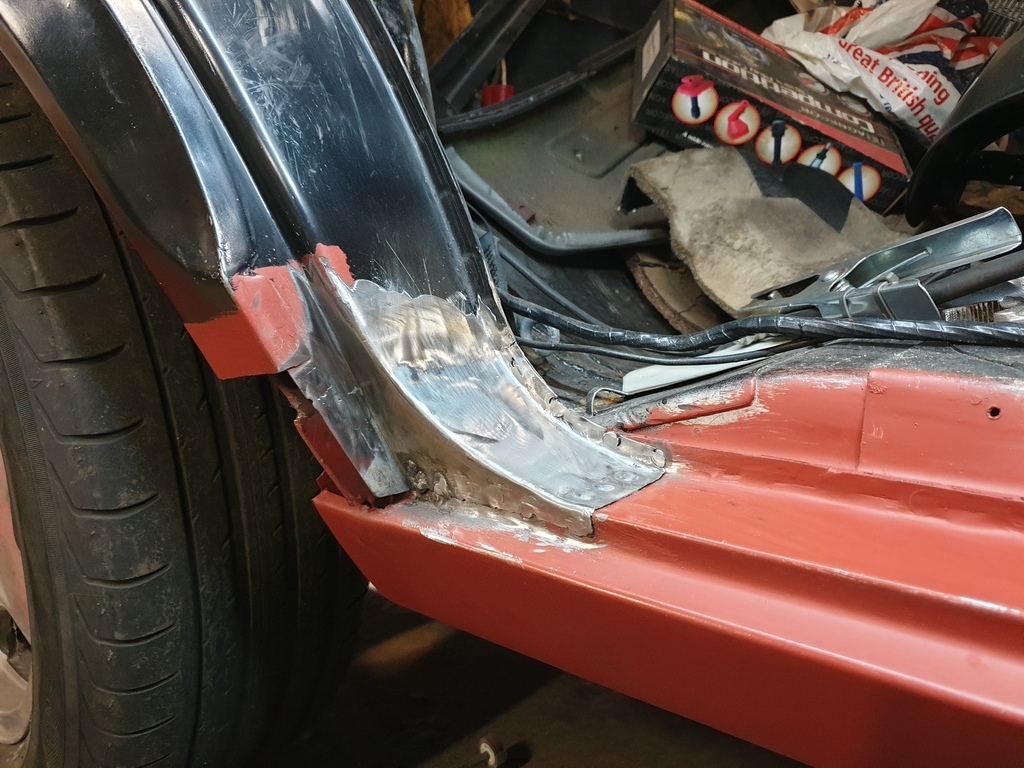
Yesterday at work, all on my lonesome. So decided to have a go at welding up a few bits that needed attention myself  There was a bit of the offside inner sill that had a pin hole, so I filled that in, and put a few tacks on the overlapping panels on the inner sill (no pics of that, so you'll all have to use your imaginations) Tapped a repair panel gap up close on the inner wing, and joined that up 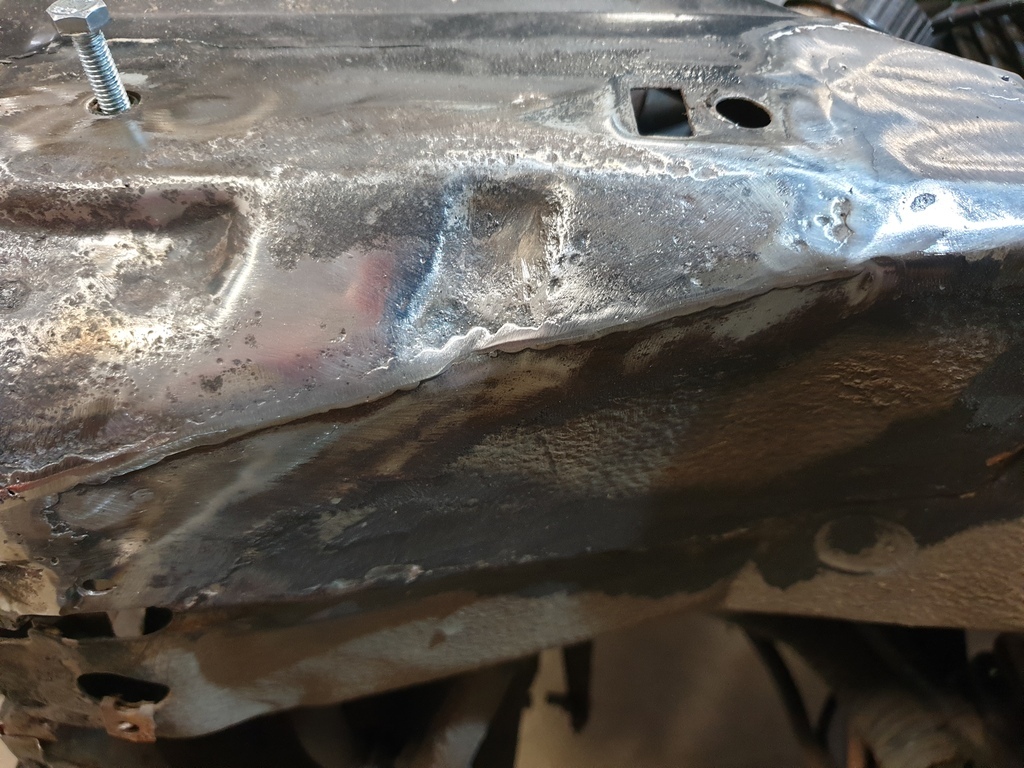 And tried to fill in the gap just behind the headlight, and promptly gave up 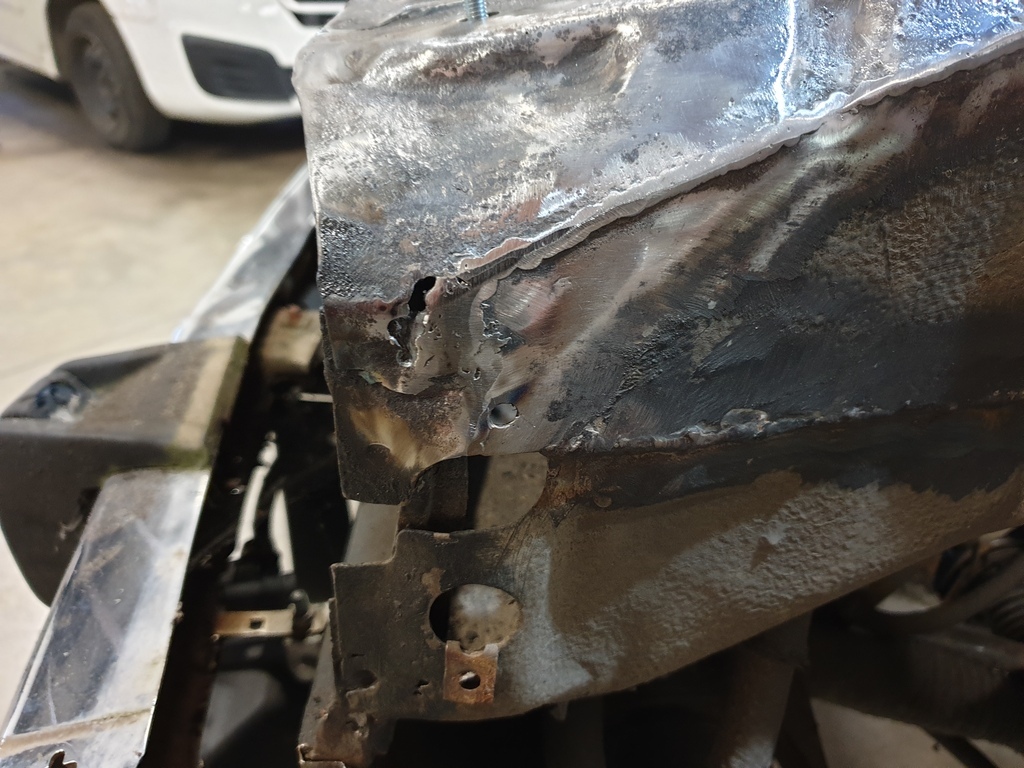 I did manage to open up the holes in the front valance to better match the brake ducts, and filled in the now surplus to requirements holes 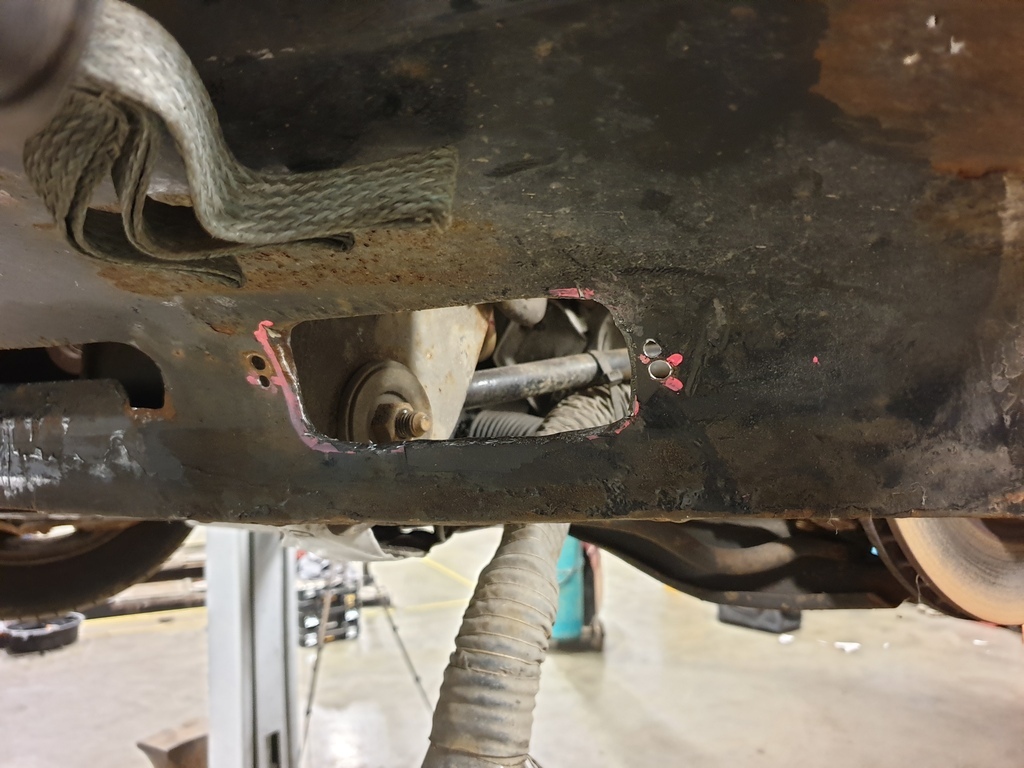 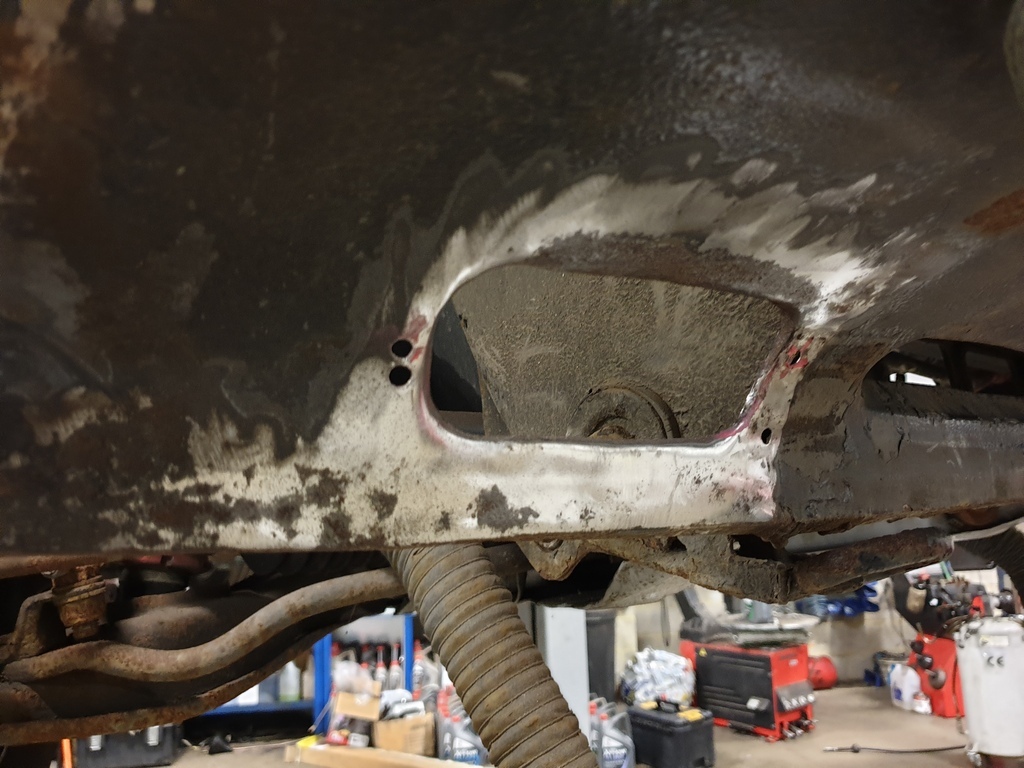 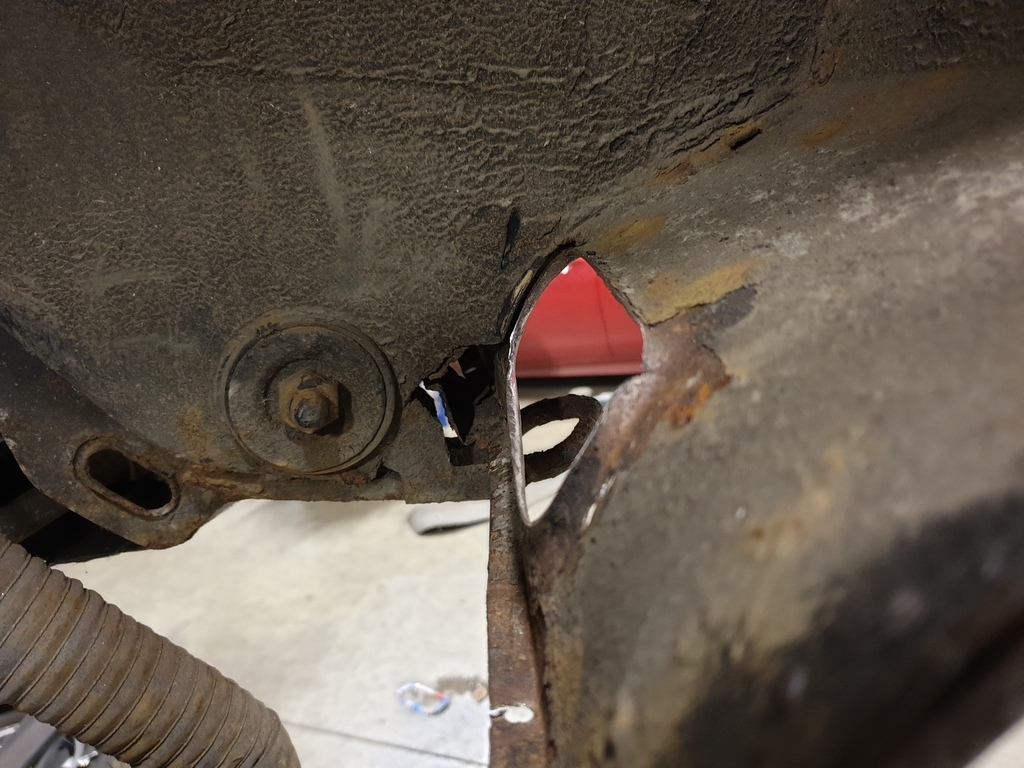 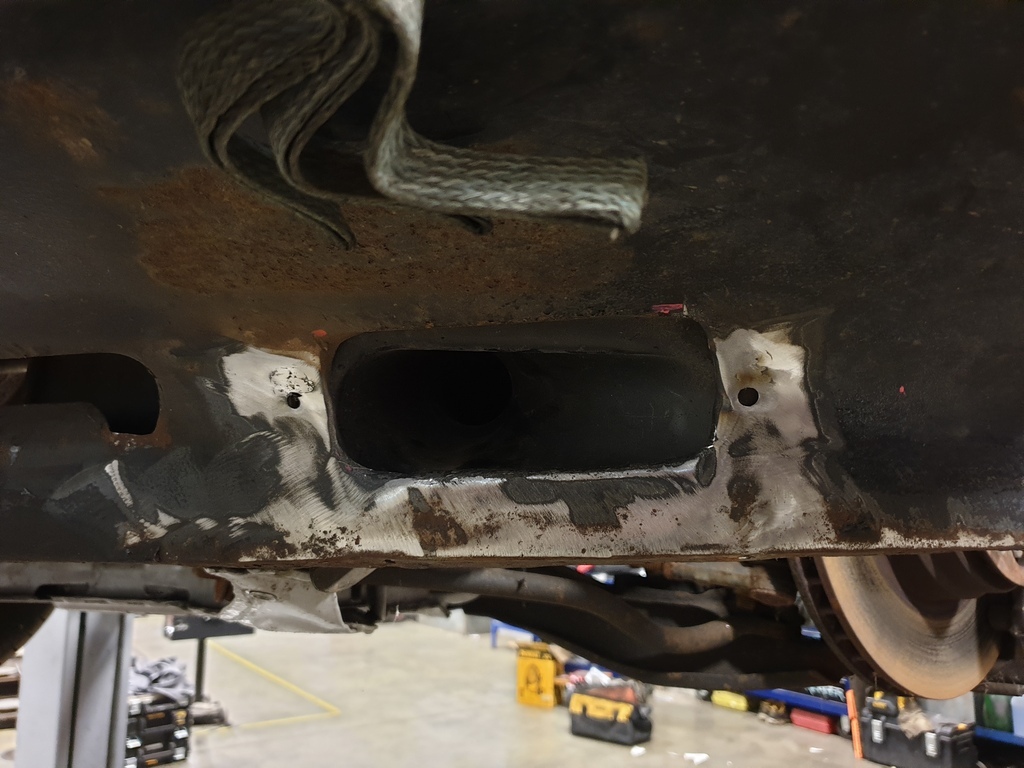 |
| |
|
|
|
|
mk2cossie
Club Retro Rides Member
Posts: 3,055  Club RR Member Number: 77
|
|
|
|
|
|
| |
|
|
spot
Part of things
 
Posts: 105
|
|
Jan 12, 2024 11:28:29 GMT
|
|
Always satisfying to be sticking fresh metal back in the the places where fresh-air and rusty bits once lurked.
|
| |
|
|
mk2cossie
Club Retro Rides Member
Posts: 3,055  Club RR Member Number: 77
|
|
Jan 30, 2024 19:19:10 GMT
|
|
|
| |
|
|
teaboy
Posted a lot
   Make tea, not war.
Posts: 2,116
|
|
Jan 30, 2024 20:56:44 GMT
|
|
That's looking super.
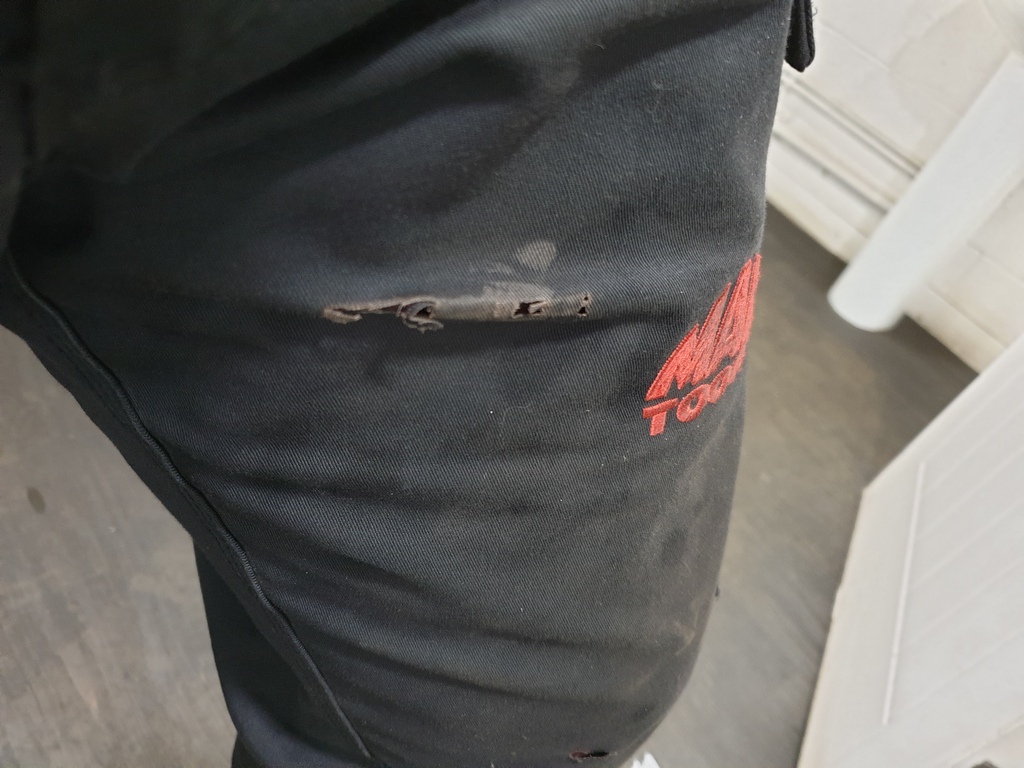
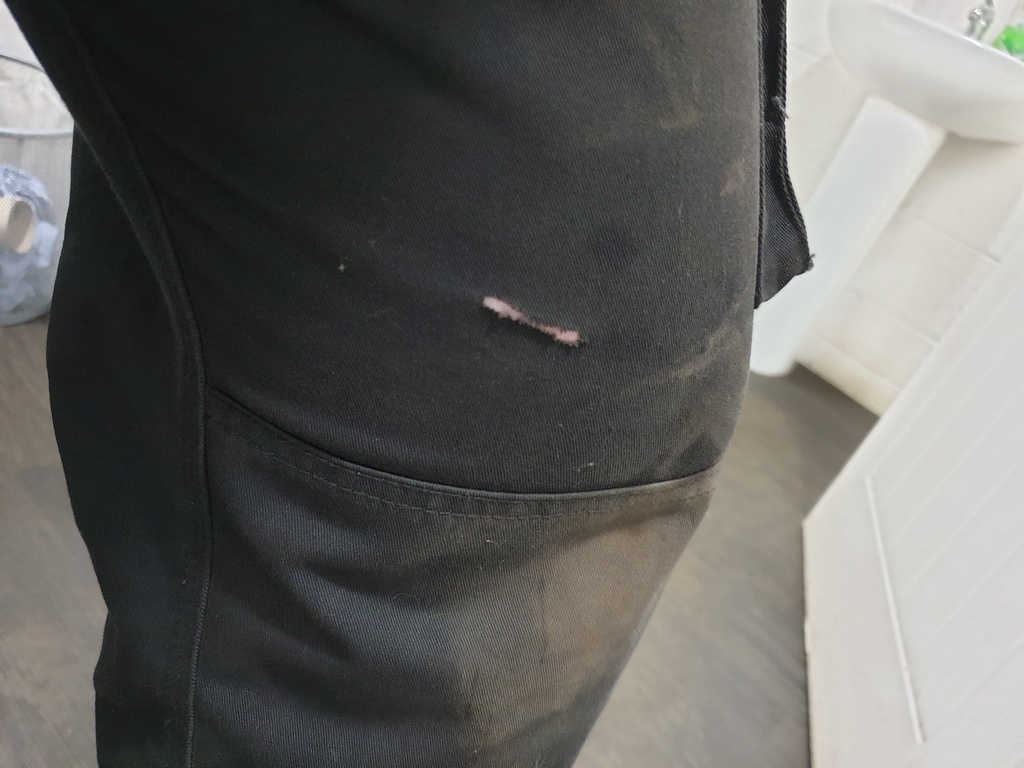
I really don't like doing the wiggly dance when a hot spark goes through the trousers, it isn't much fun.
|
| |
|
|
mr
Posted a lot
  
Posts: 1,607
|
|
|
|
|
Fair play, that's serious effort going in there. Guess I now know a welder😎.... Keep your phone handy, I'm taking some time out for the rat rod soon lol
|
| |
Got the car from 105 bhp at the crank to 152 at the wheels.nitrous going on next.....if it ain't broke,keep bolting on go faster parts until it is........ www.fordgranadaclubuk.freefo.de |
|
mk2cossie
Club Retro Rides Member
Posts: 3,055  Club RR Member Number: 77
|
|
|
|
Fair play, that's serious effort going in there. Guess I now know a welder😎.... Keep your phone handy, I'm taking some time out for the rat rod soon lol Don't confuse any of the above with me knowing how to weld  I've only shown the good bits, and none of the misery of blowing through tissue paper thin stuff. Nor any of the massive frustration caused by my lack of patience and not letting the metal cool down  Although I did get huge satisfaction making the holes and swaging them in the panel that will never be seen again  |
| |
|
|
mk2cossie
Club Retro Rides Member
Posts: 3,055  Club RR Member Number: 77
|
|
|
|
That's looking super. I really don't like doing the wiggly dance when a hot spark goes through the trousers, it isn't much fun. I decided against standing up and doing the dance, as I knew the spatter would've travelled down in to my boot. And there's no way I can get out of them quickly  |
| |
|
|
|
|
|
|
|
|
I use the elastic sided boots these days ‘cause I can get out of them quick. 🙂
That’s a big job / keep up the good work.
|
| |
1967 Triumph Vitesse convertible (old friend)
1996 Audi A6 2.5 TDI Avant (still durability testing)
1972 GT6 Mk3 (Restored after loong rest & getting the hang of being a car again)
|
|
kh97
Part of things
 
Posts: 25
|
|
|
|
Nice work, i'm currently busy with exact the same spot on my granada  |
| |
|
|
|
|
mk2cossie
Club Retro Rides Member
Posts: 3,055  Club RR Member Number: 77
|
|
|
|
Nice work, i'm currently busy with exact the same spot on my granada  I did see your build thread the other day. Thats quite a lot of rust hidden on yours with previous repairs  Also didn't realise how similar the inner wing area is between mk1 and mk2 Granada  |
| |
|
|
kh97
Part of things
 
Posts: 25
|
|
|
|
|
I thought the body of a mk2 was mainly the same as a mk1, only the rear quarters, front and rear valance and hood hinges differ.
|
| |
|
|
mk2cossie
Club Retro Rides Member
Posts: 3,055  Club RR Member Number: 77
|
|
|
|
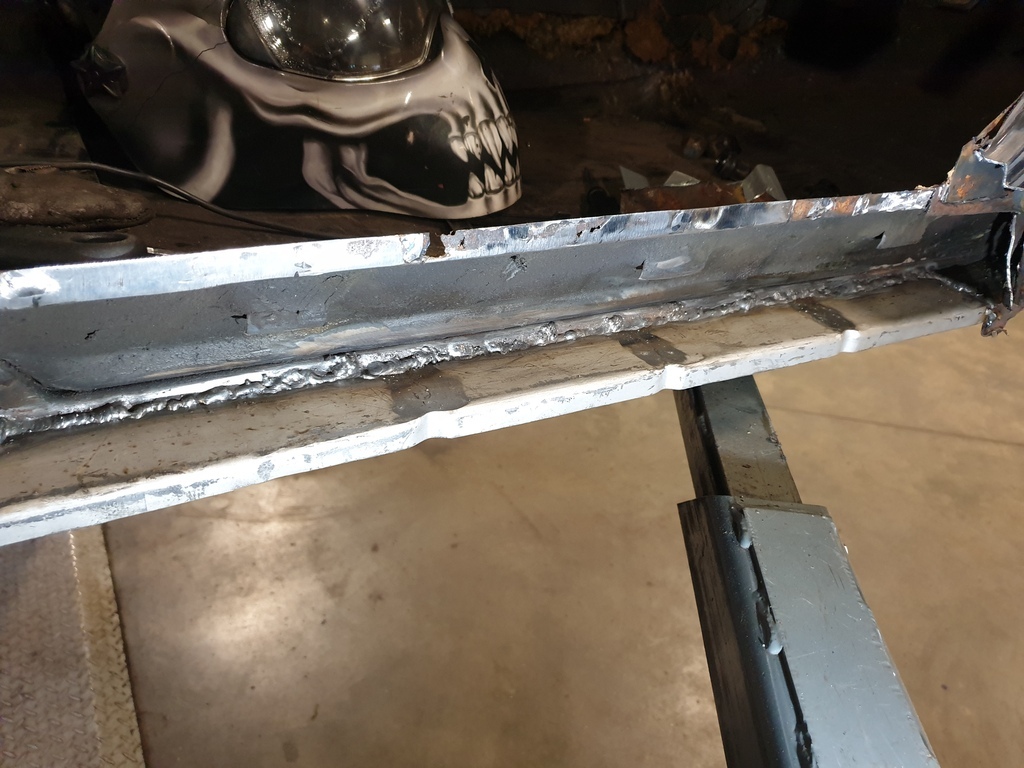
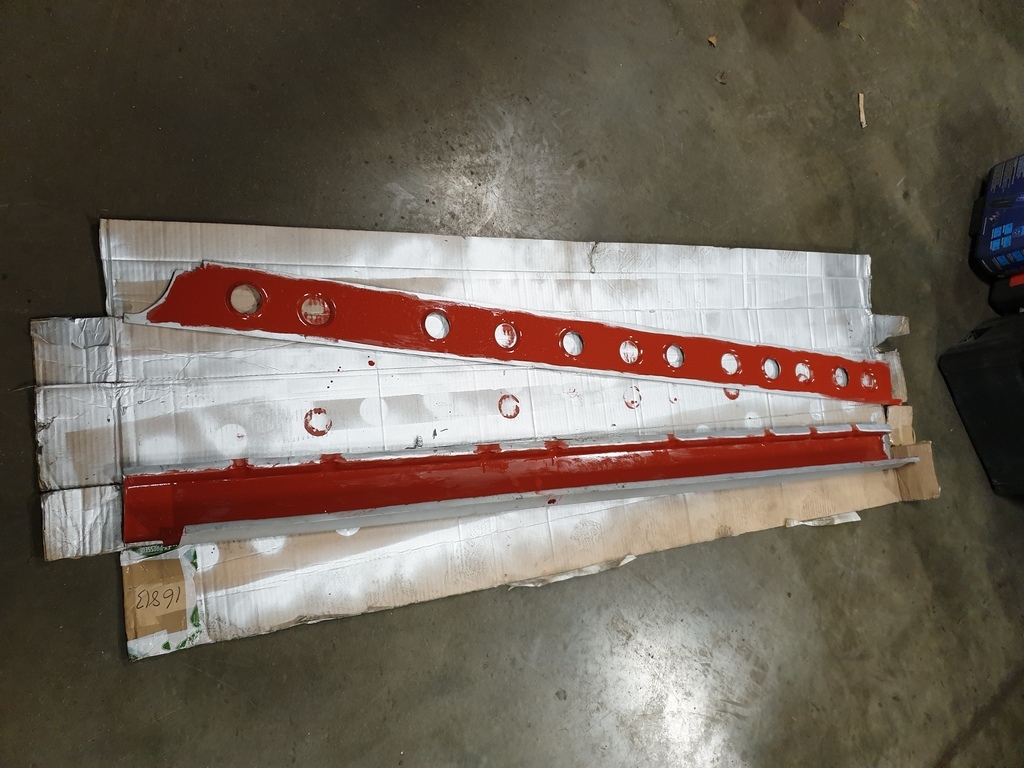
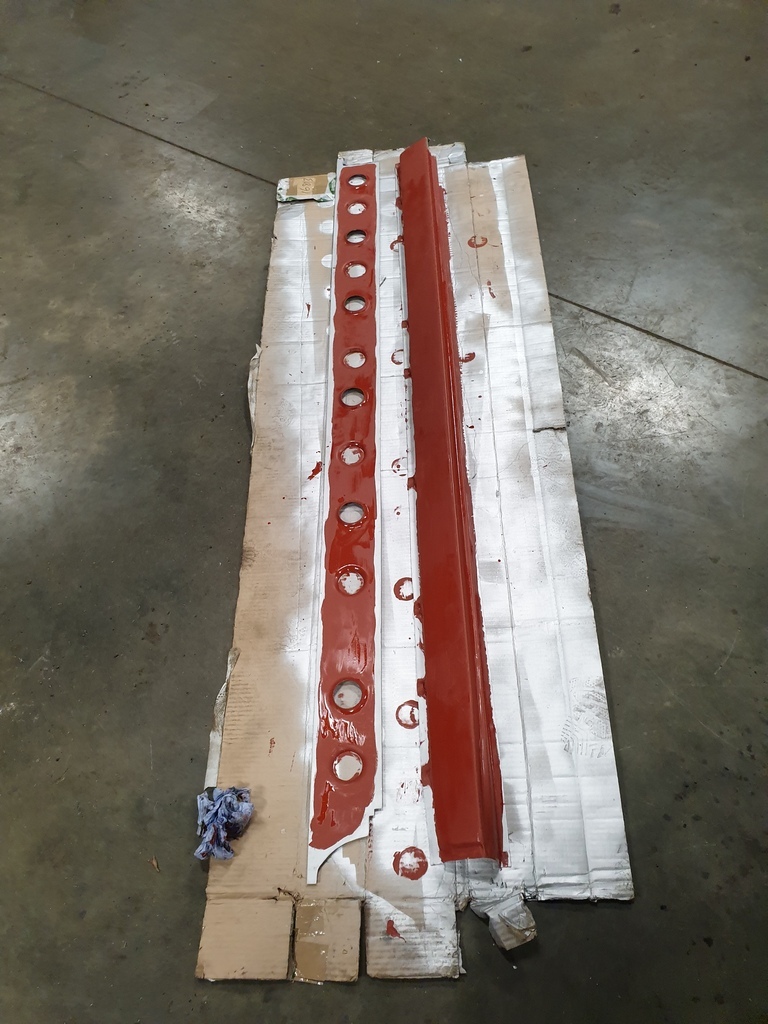
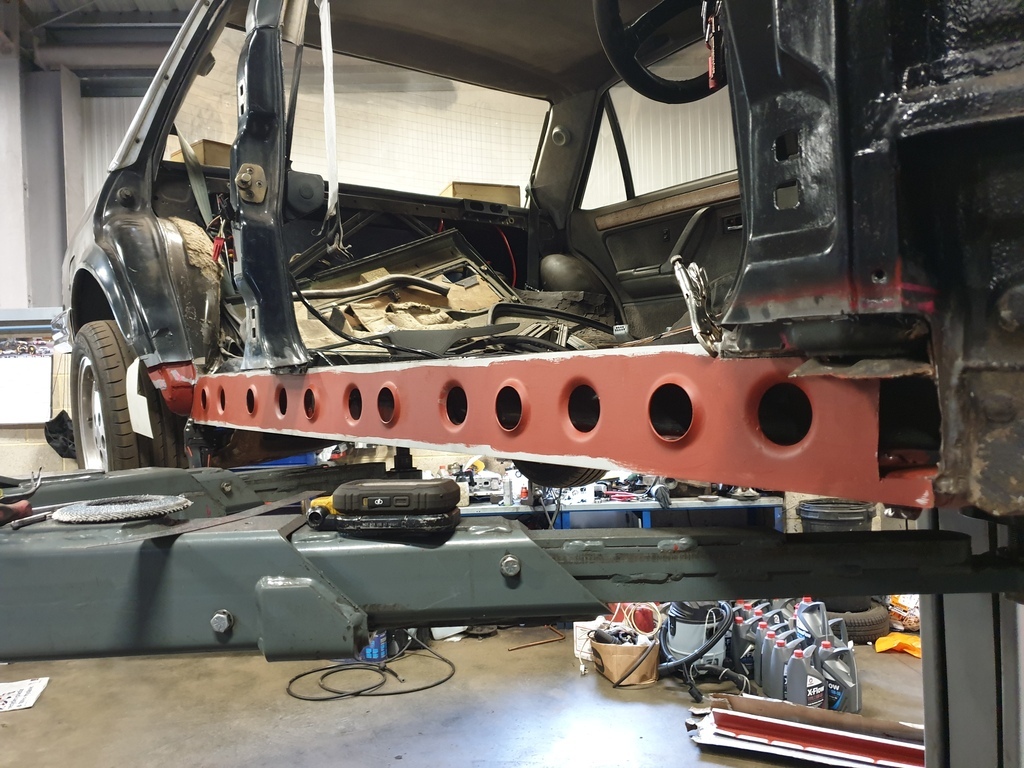
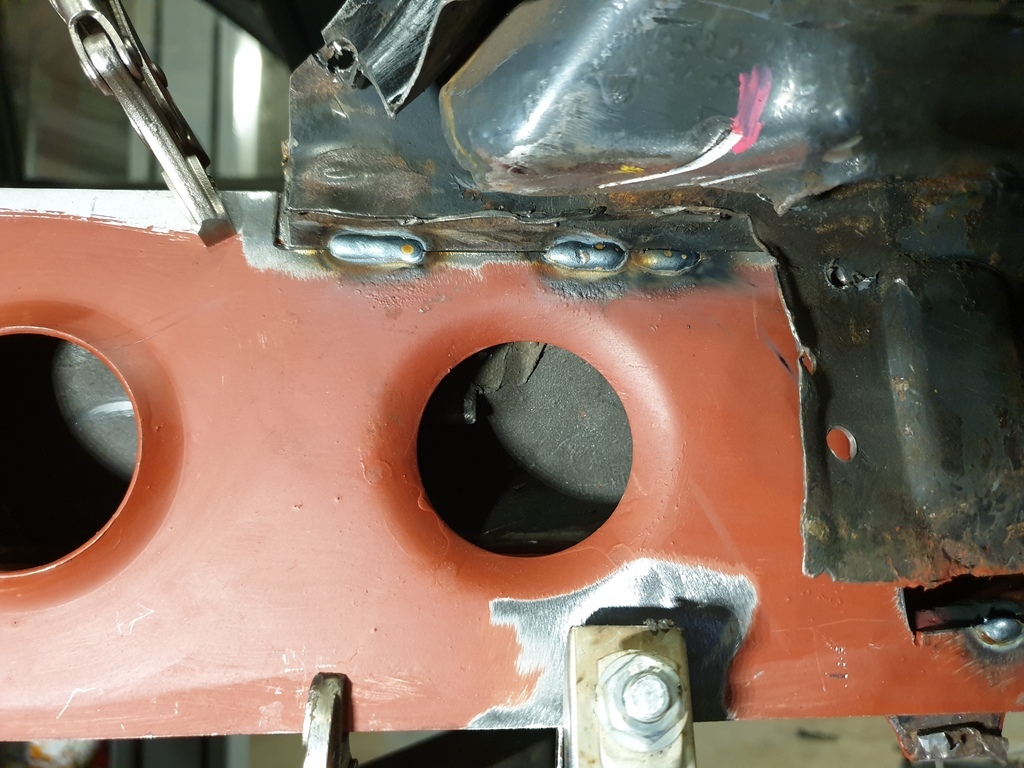
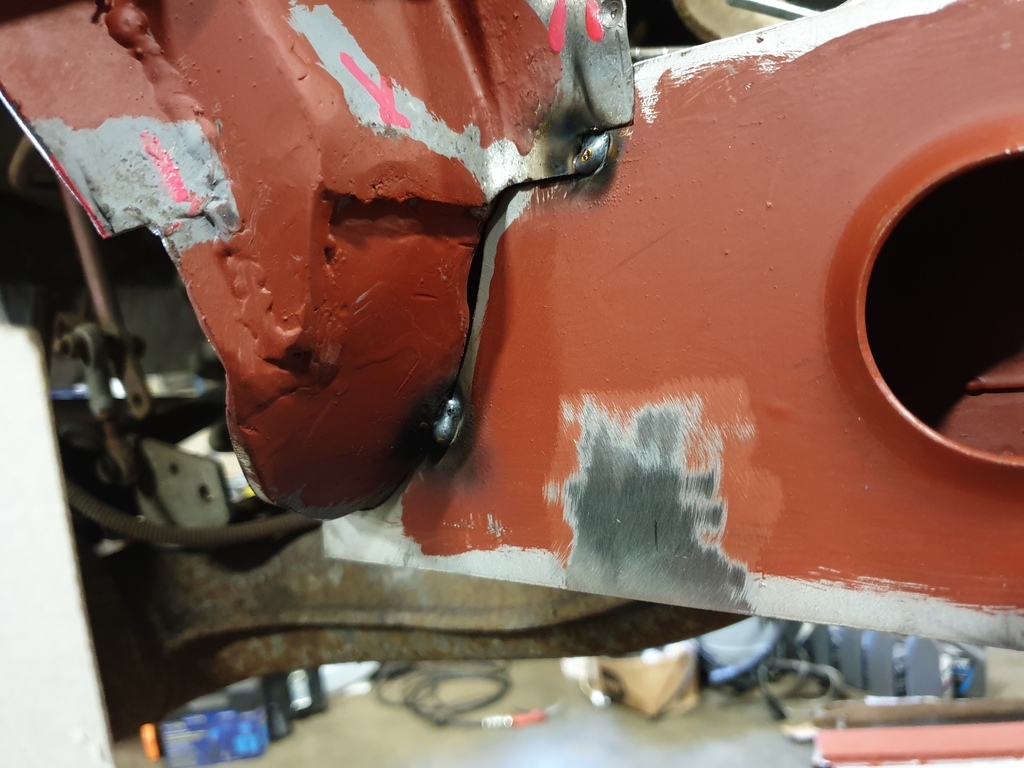
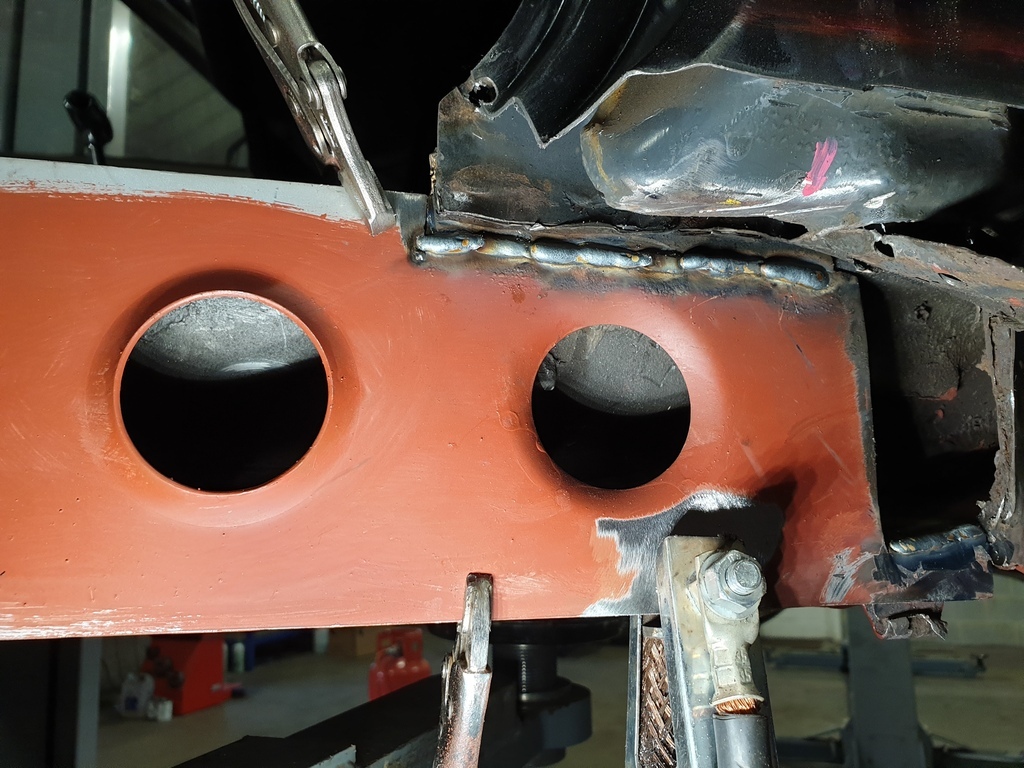
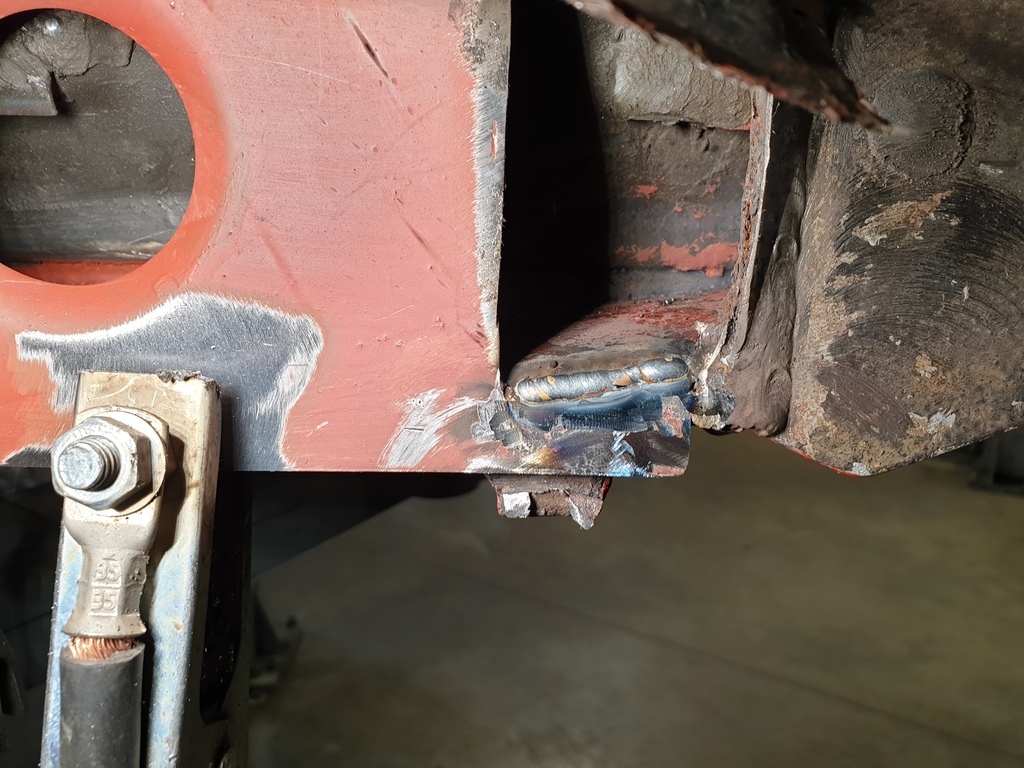
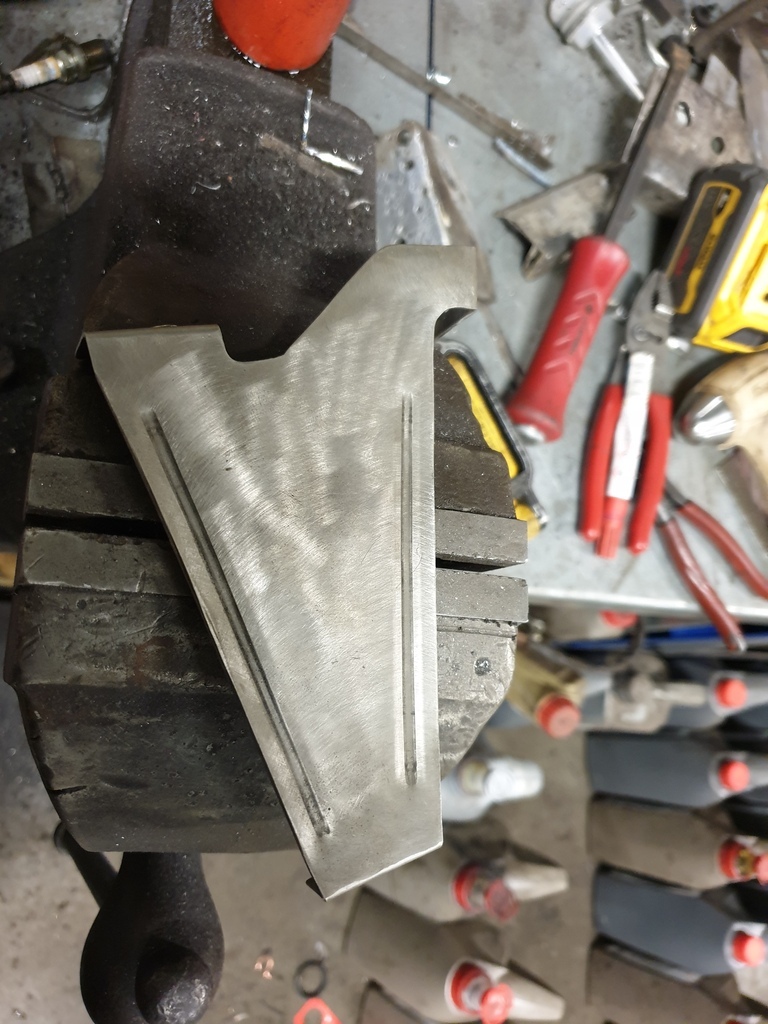
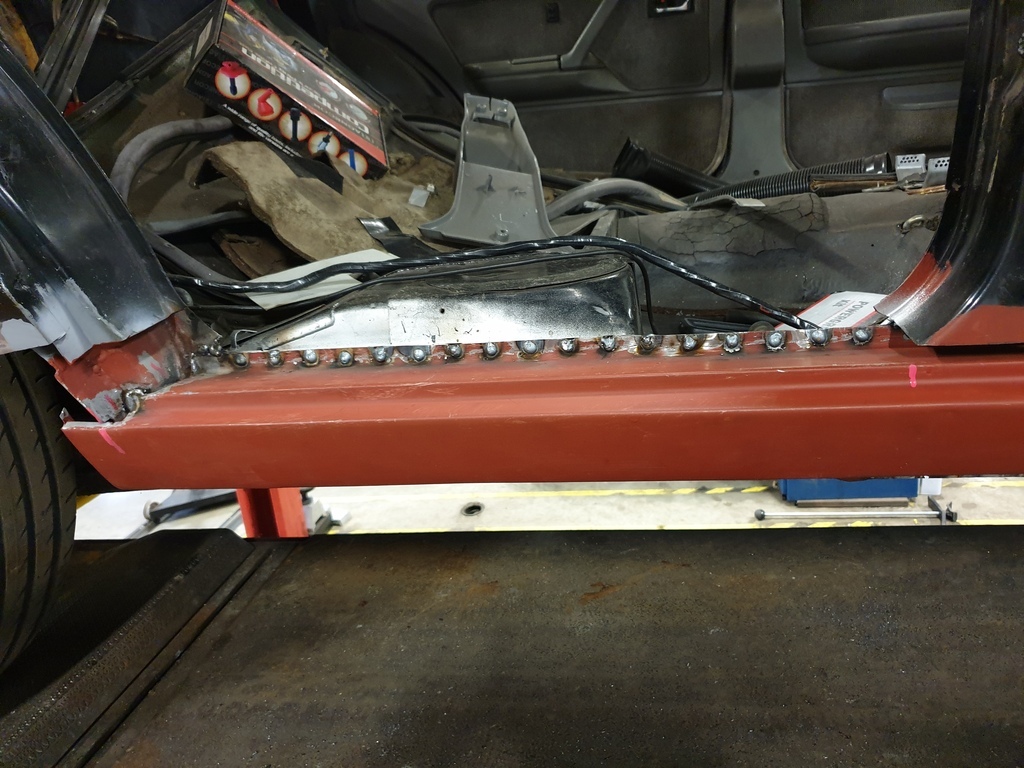
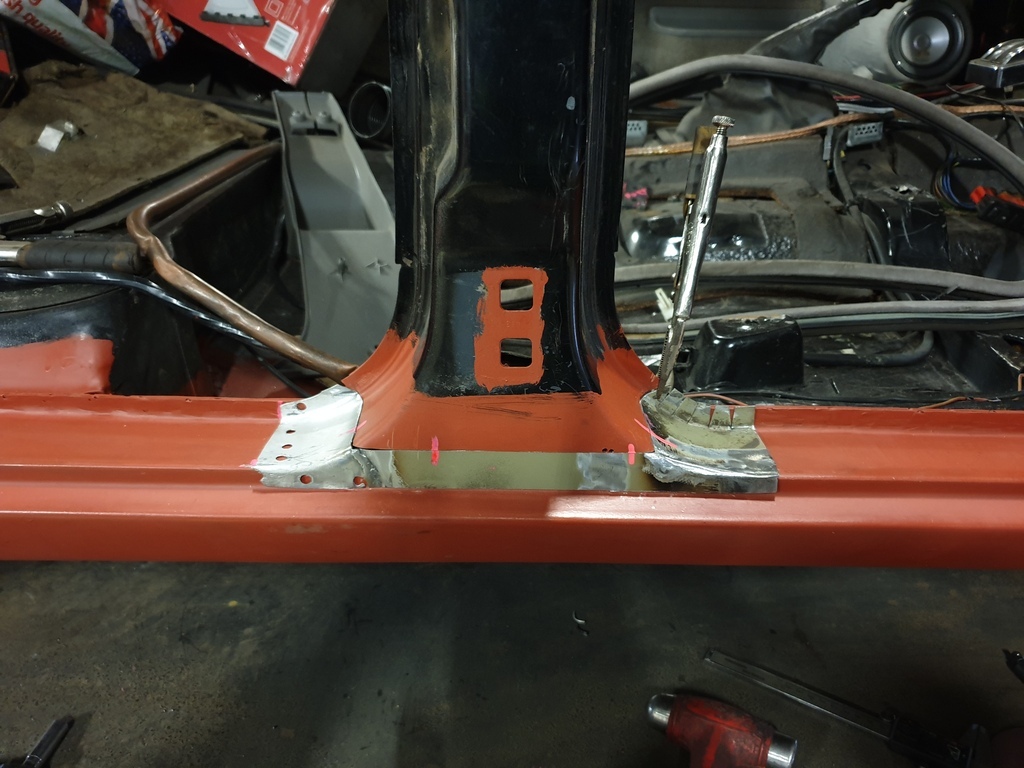
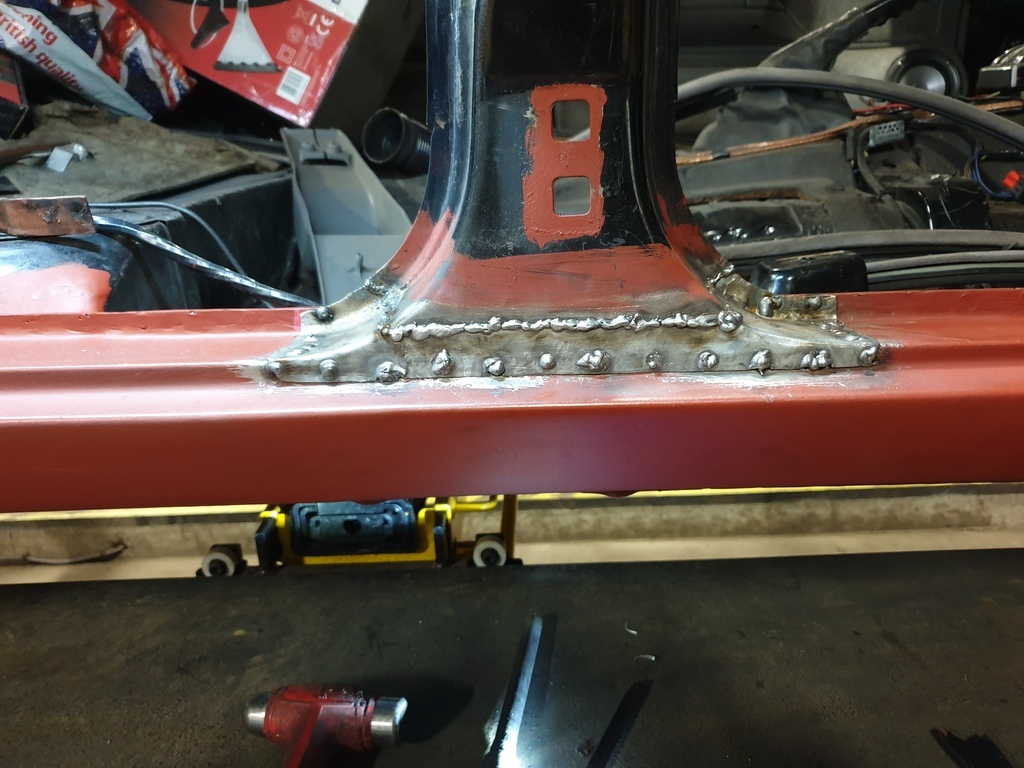
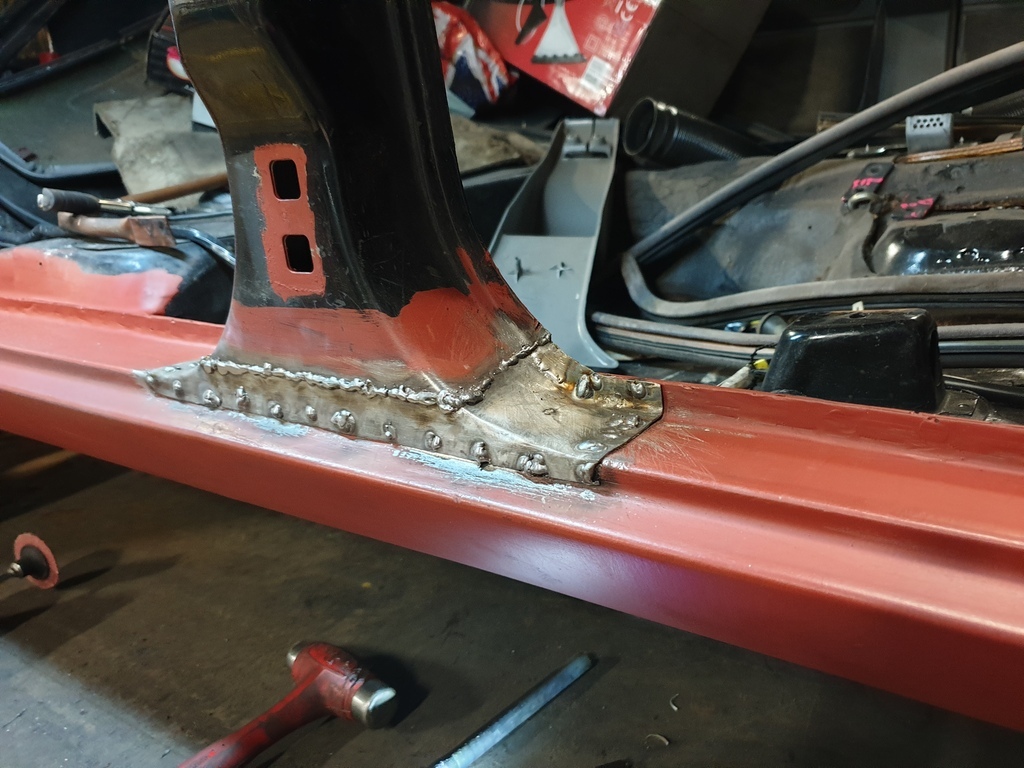
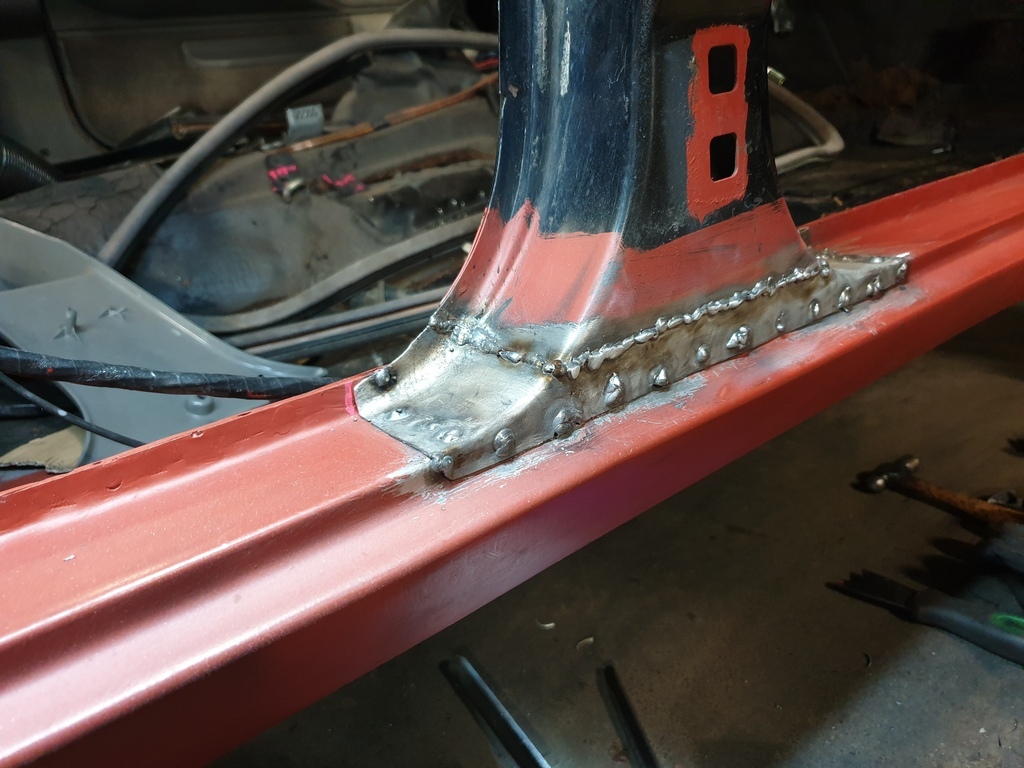
Where are my manners? Its been 4 days since Saturday, and I didn't update my build thread on Sunday  After fretting about the apparent lack of gas in the welder, my welding friends suggested I just got on with it, as the flow gauge was still pointing in the right direction! So I drilled all the holes in the sill upright for plug welding that in place, and did a bit of preemptive prep work to make the welding go better. Drilled all the holes to 5mm to start with, only to discover that was difficult to plug weld and get the upright to remain stuck to the inner sill. So the 2mm to 2mm side of the upright had the holes taken out 7.5mm, and that seemed to work very well... 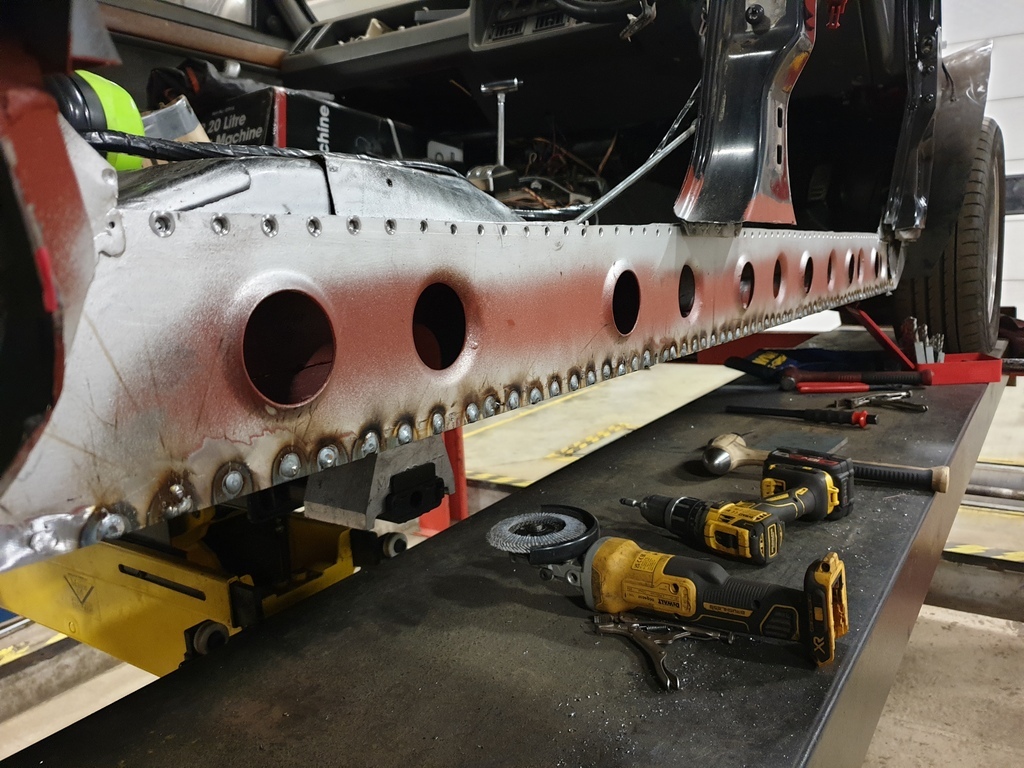 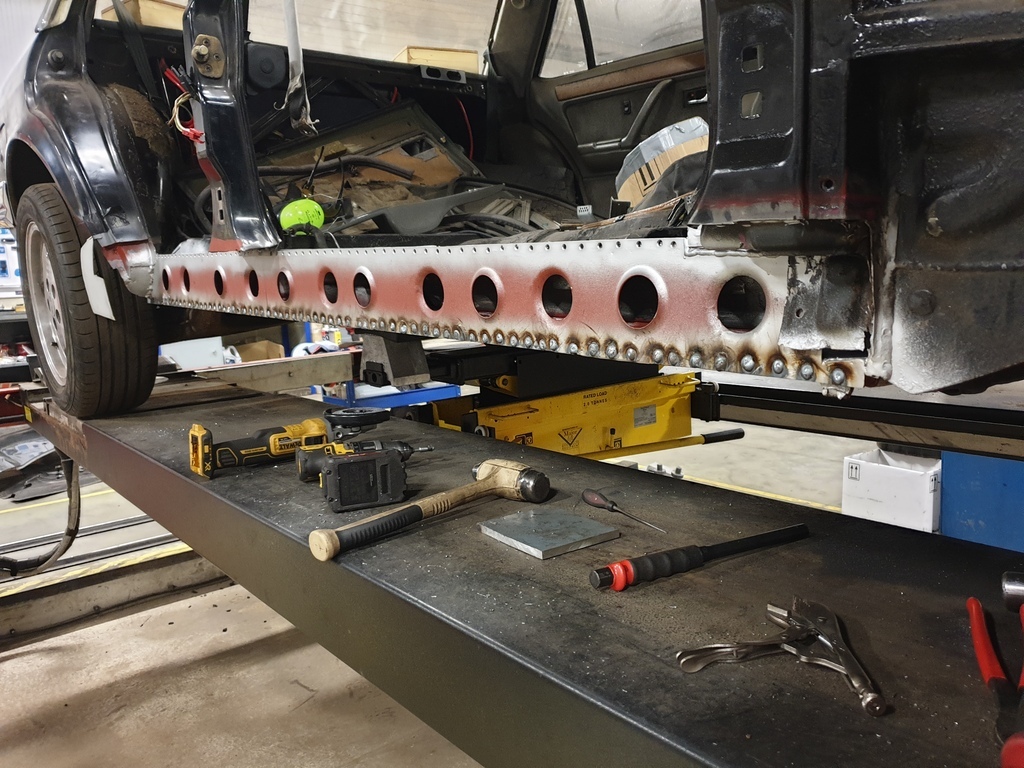 Had a slight issue with one of the lower ones midway being a git to hold, but got there with a bit of patience. And before end of day on Saturday, flap disced all those welds back ready for the outer sill panel, and gave them a quick weld thru primer as well |
| |
Last Edit: Feb 7, 2024 22:56:26 GMT by mk2cossie
|
|
mk2cossie
Club Retro Rides Member
Posts: 3,055  Club RR Member Number: 77
|
|
Feb 11, 2024 21:20:33 GMT
|
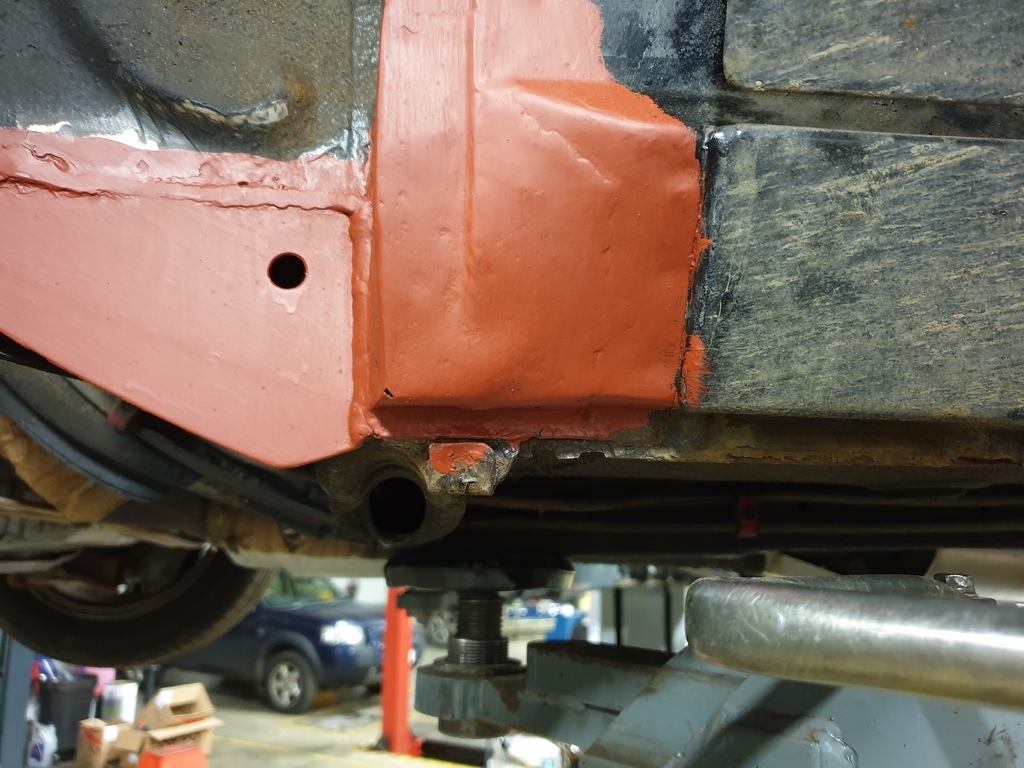
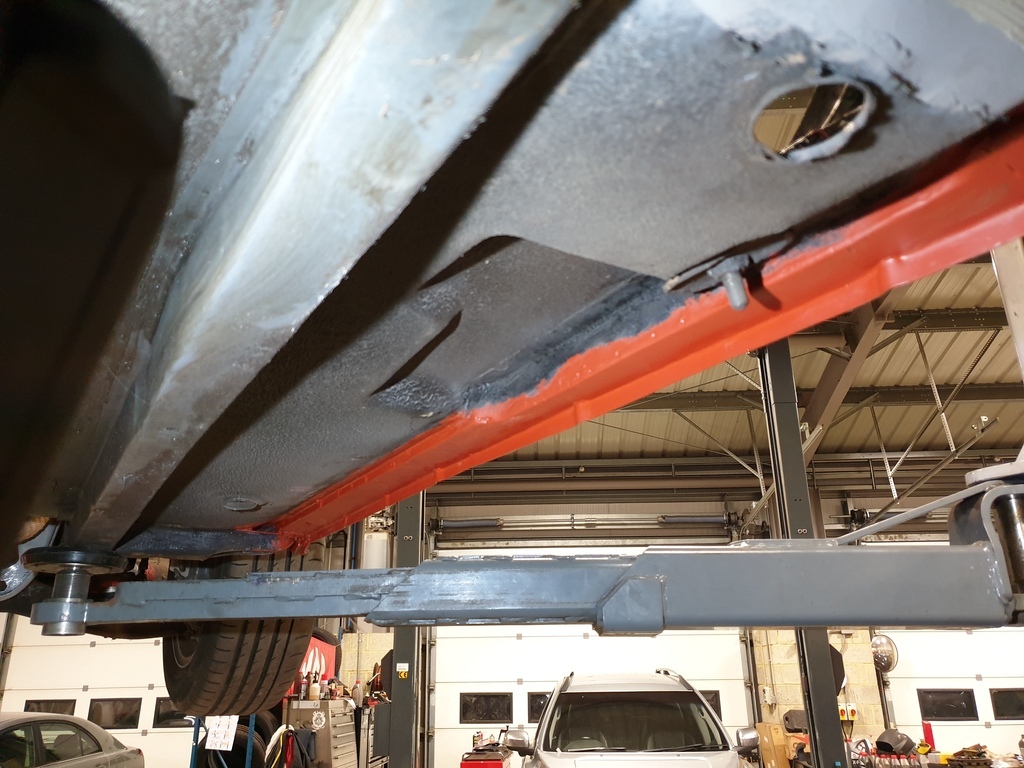
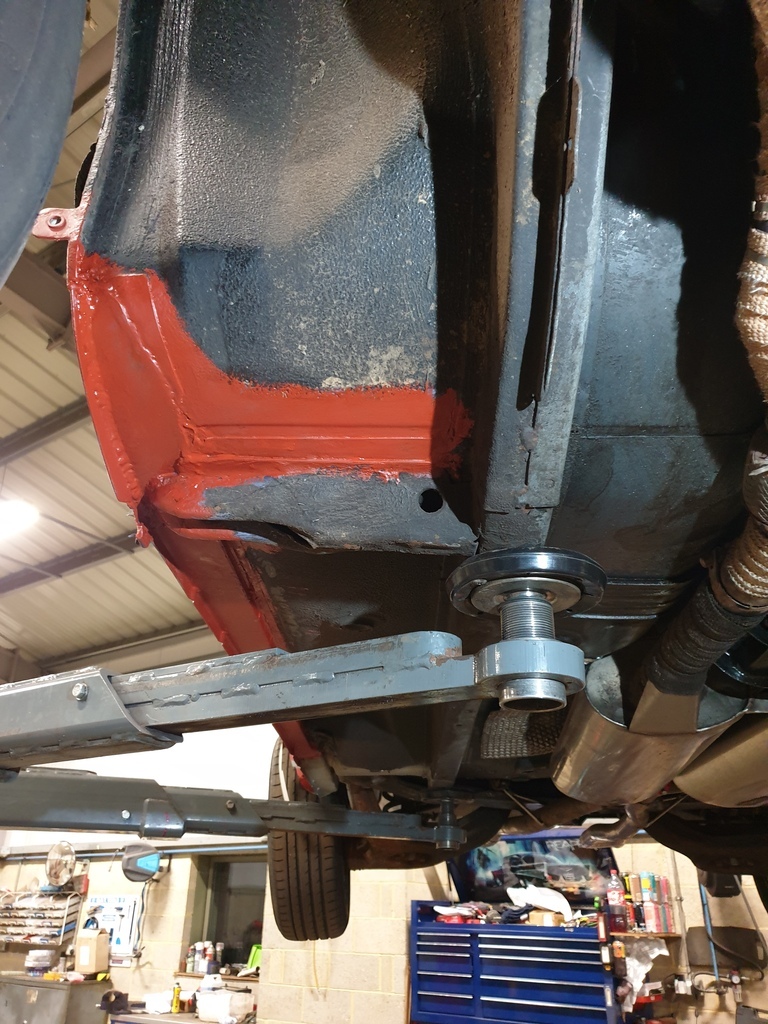
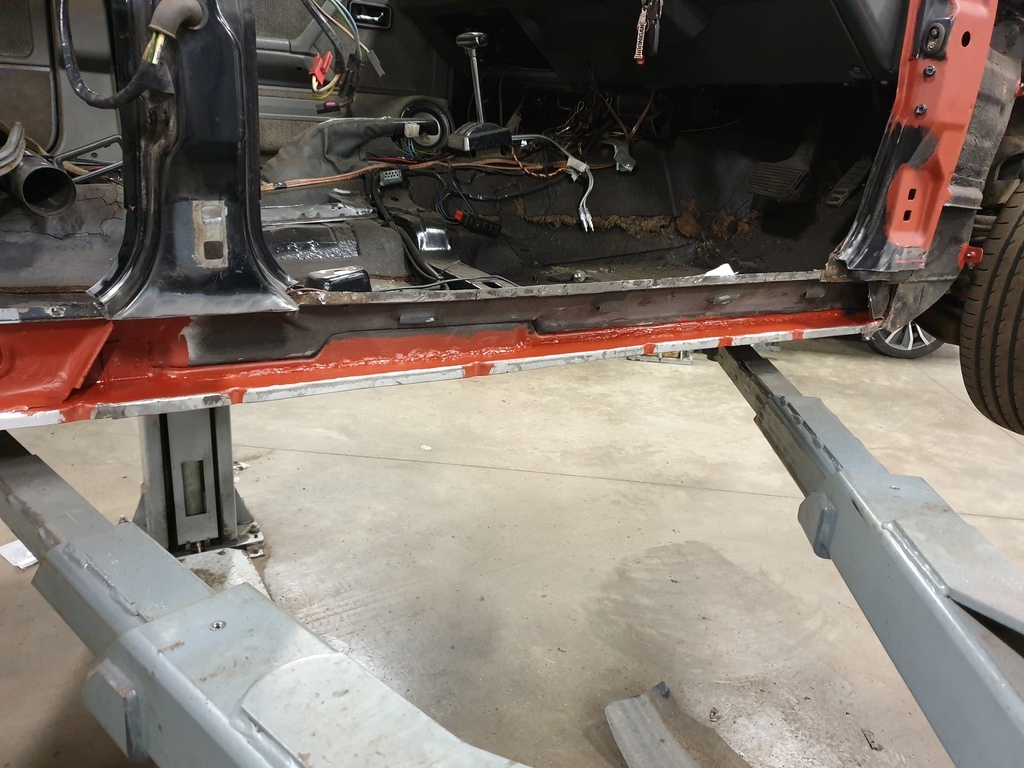
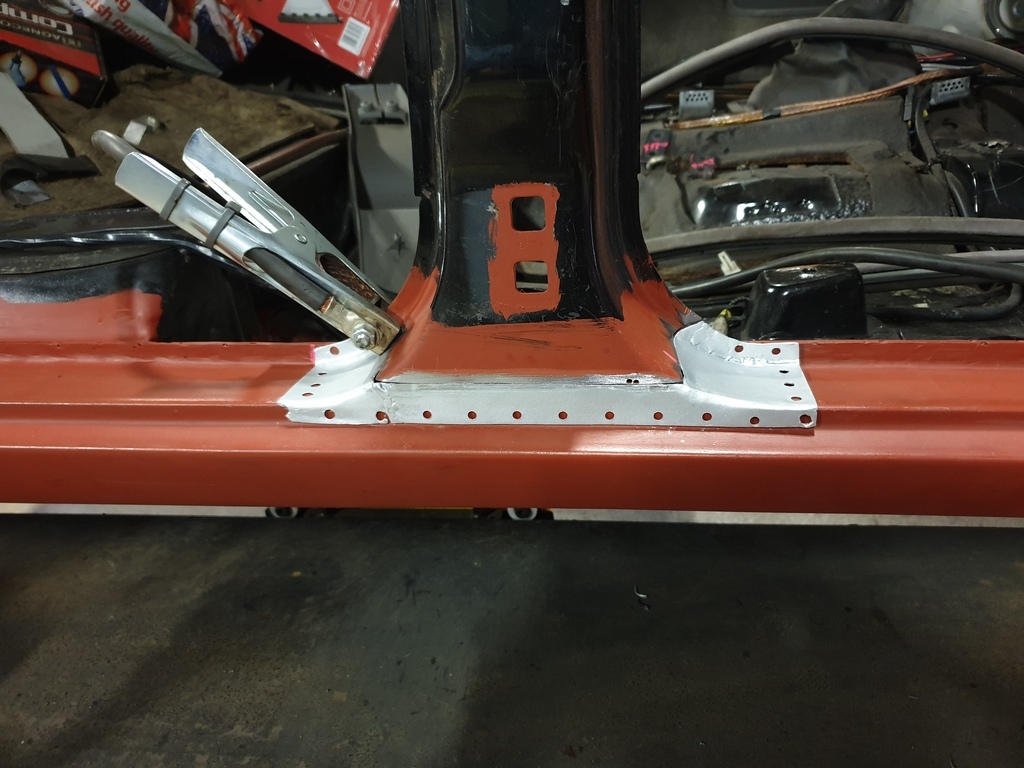
Only a small update from me this week. Helping out others at work instead of just getting on with my own thing. Managed to get the sill upright fully plug welded in, flap disced back, and just given a squirt of weld through primer 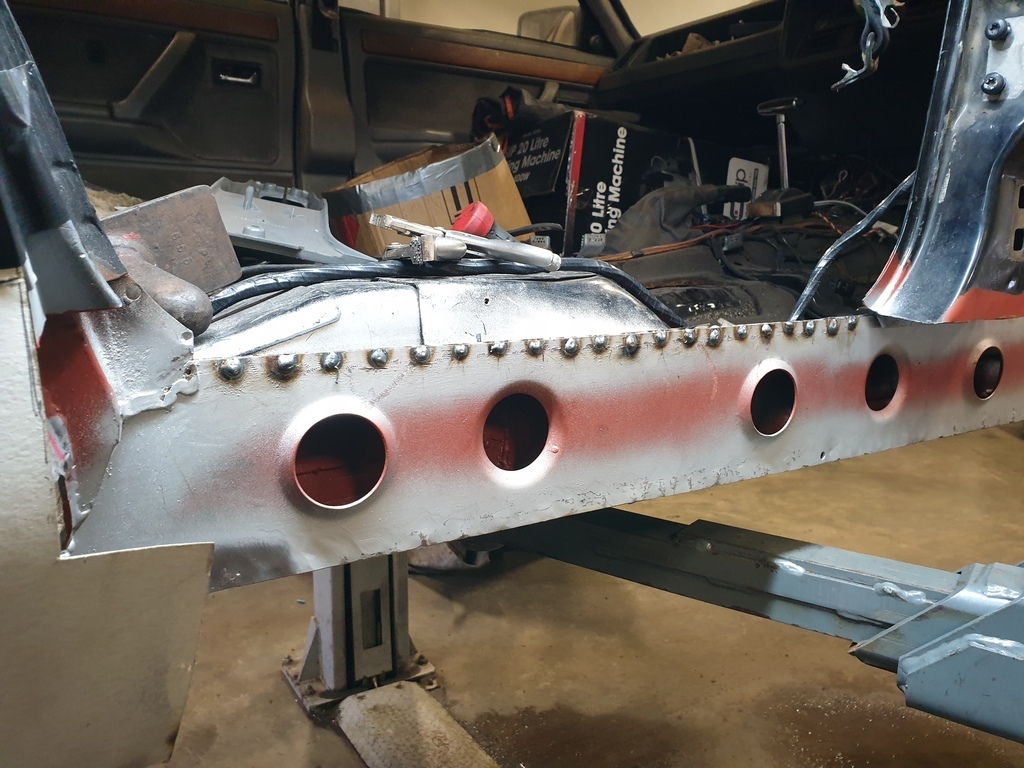 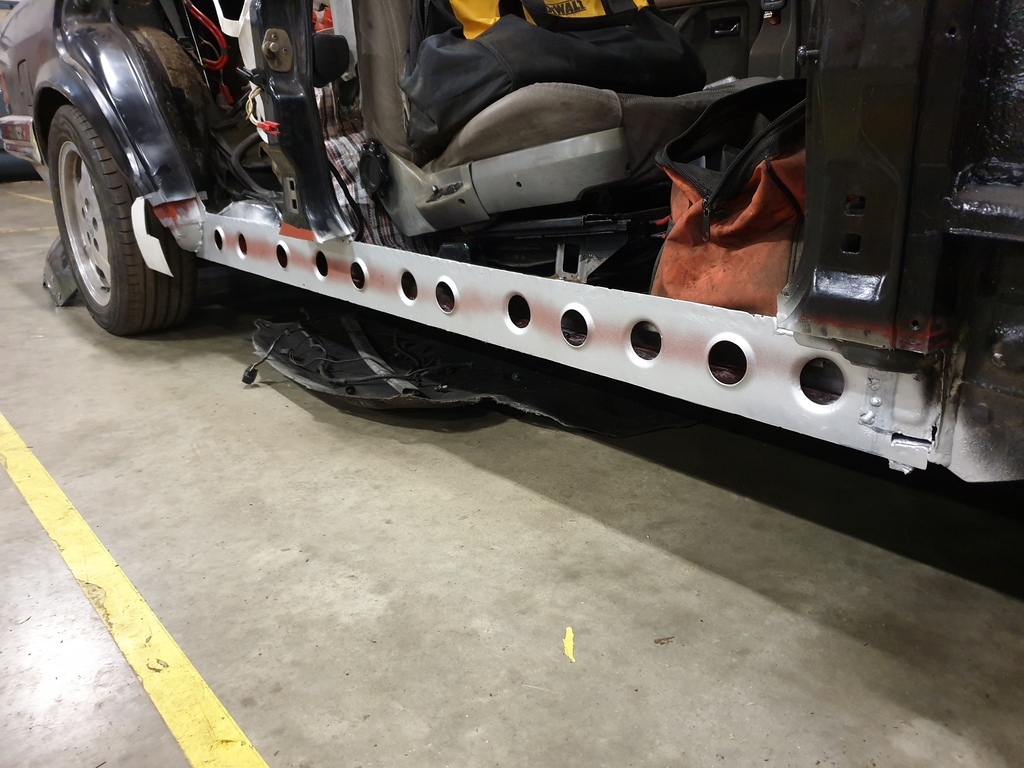 |
| |
|
|
mk2cossie
Club Retro Rides Member
Posts: 3,055  Club RR Member Number: 77
|
|
Feb 18, 2024 23:40:29 GMT
|
|
|
| |
|
|
mk2cossie
Club Retro Rides Member
Posts: 3,055  Club RR Member Number: 77
|
|
Feb 28, 2024 18:21:00 GMT
|
|
|
| |
|
|
mk2cossie
Club Retro Rides Member
Posts: 3,055  Club RR Member Number: 77
|
|
Feb 29, 2024 17:29:35 GMT
|
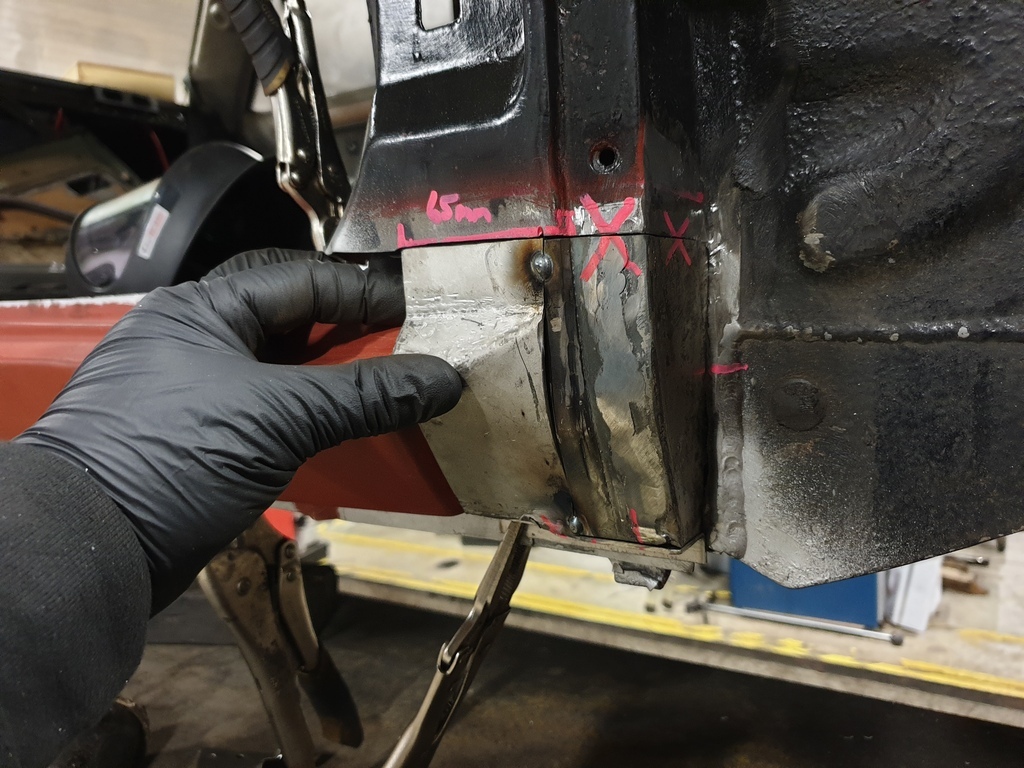
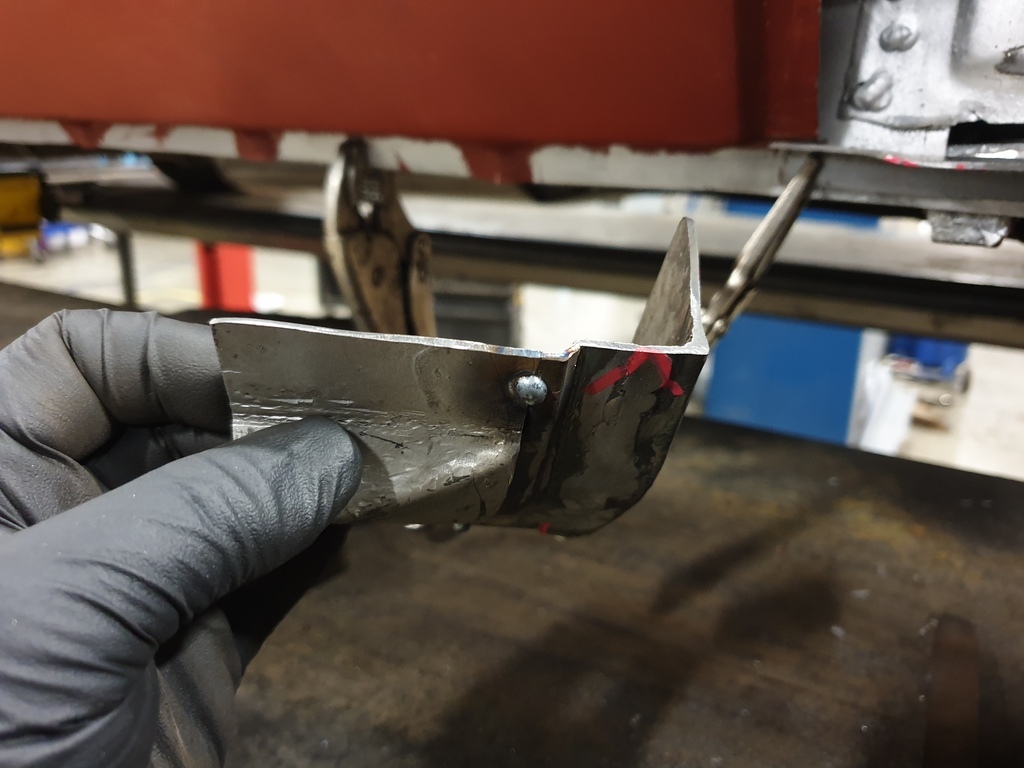
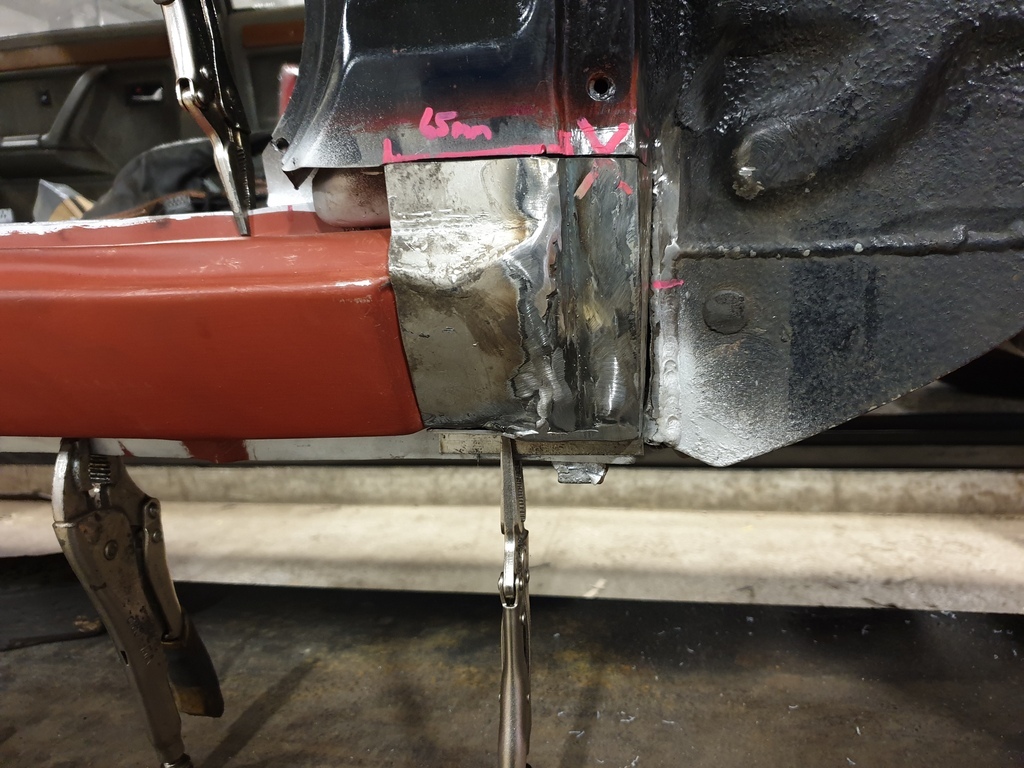
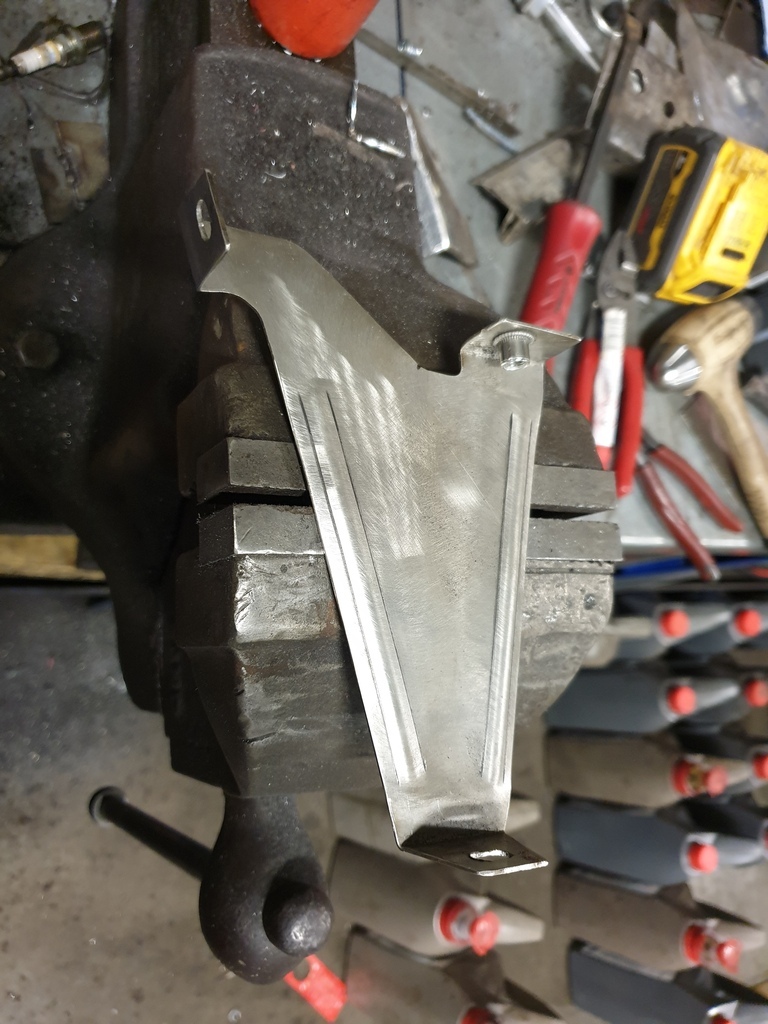
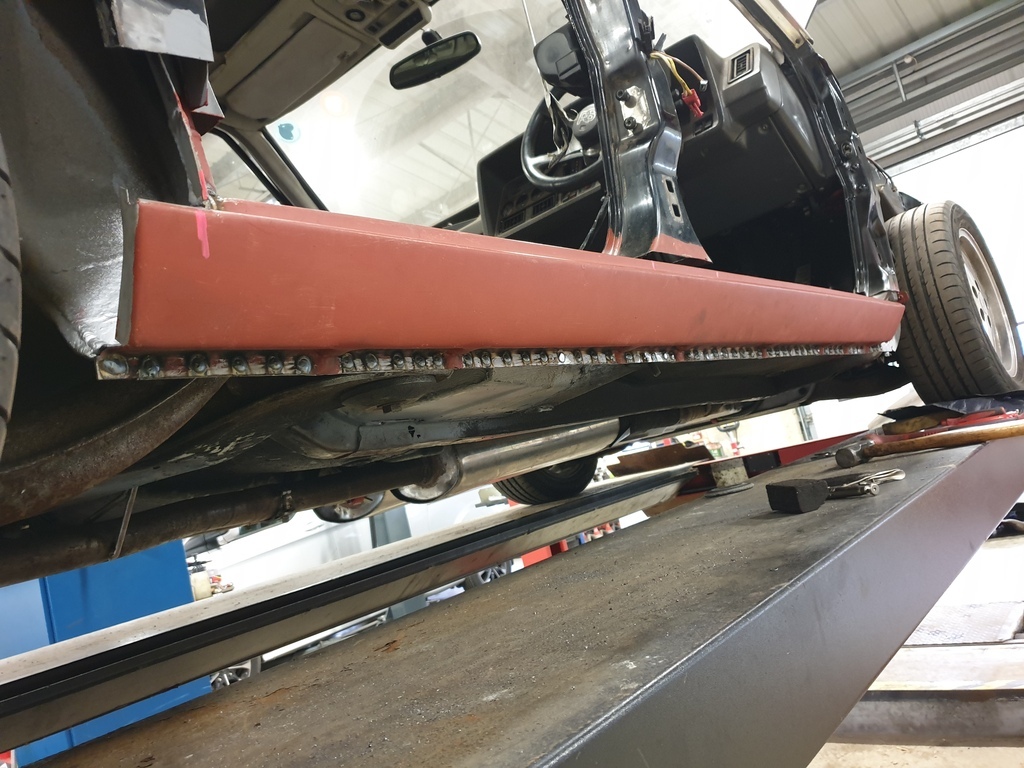
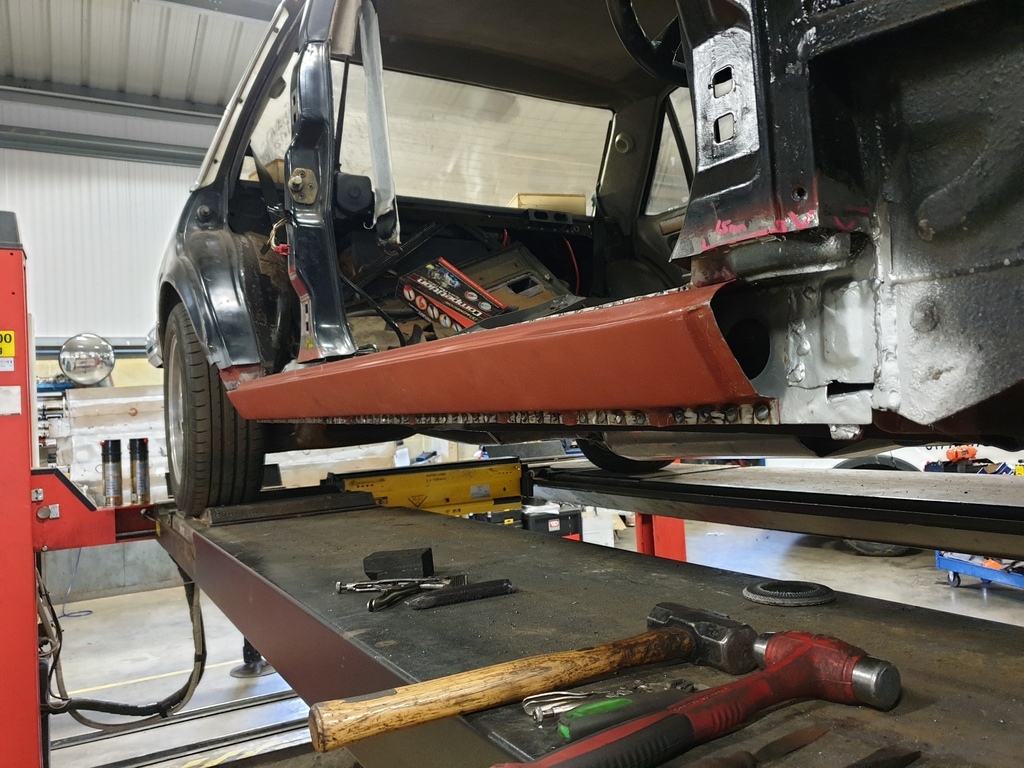
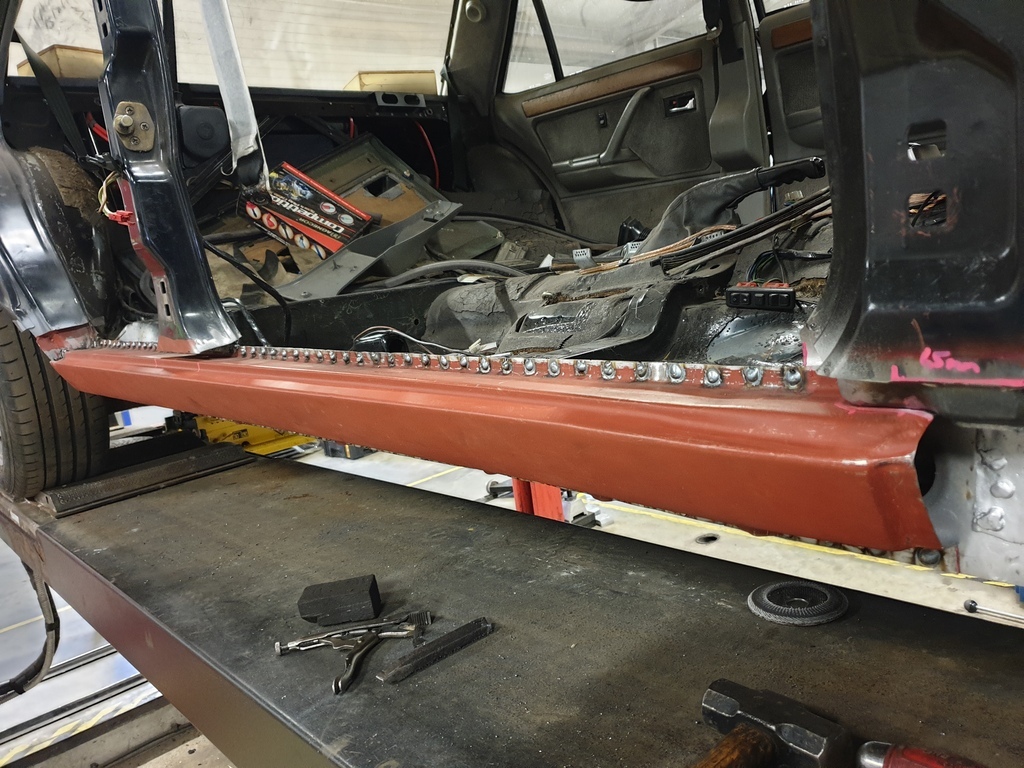
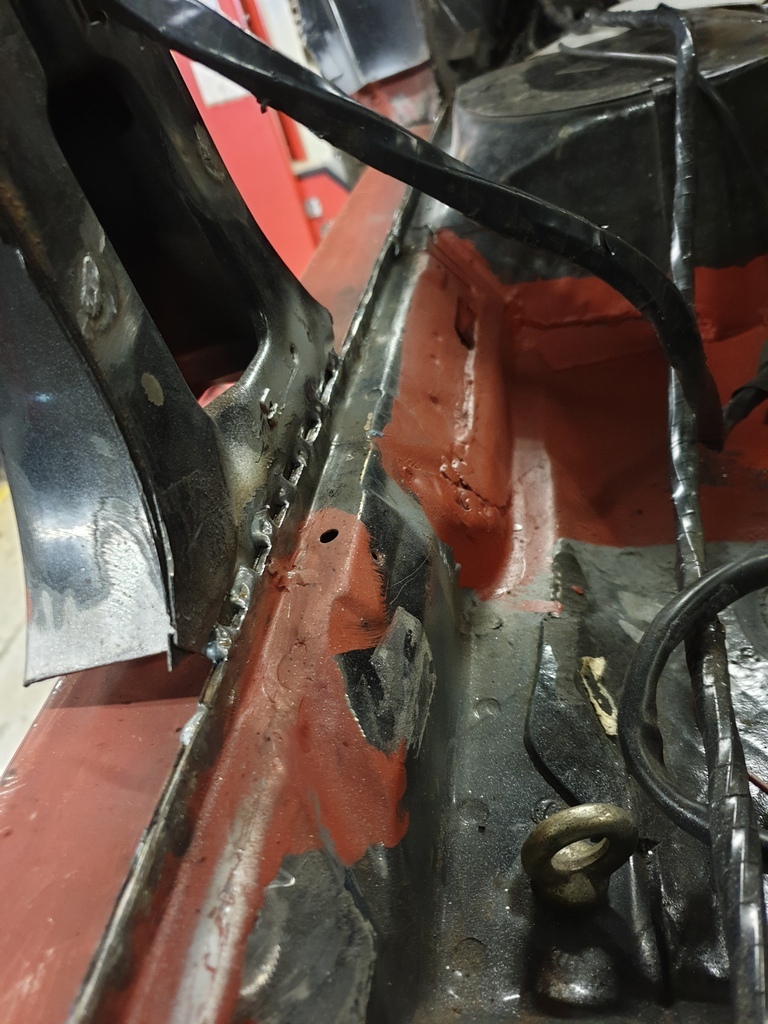
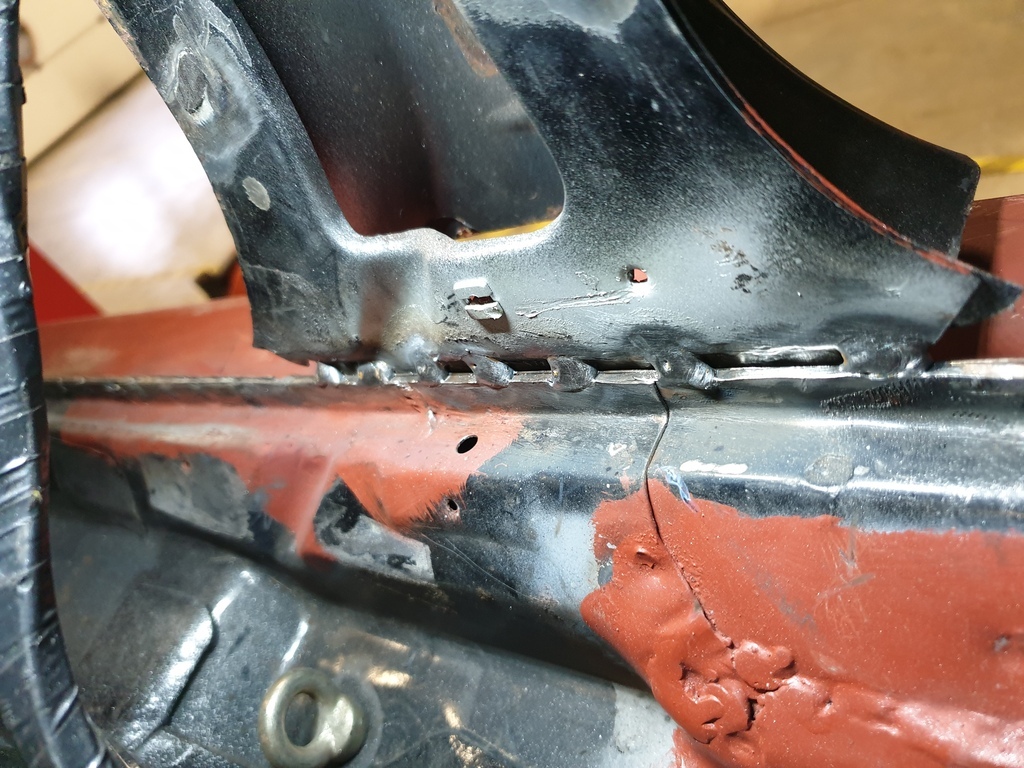
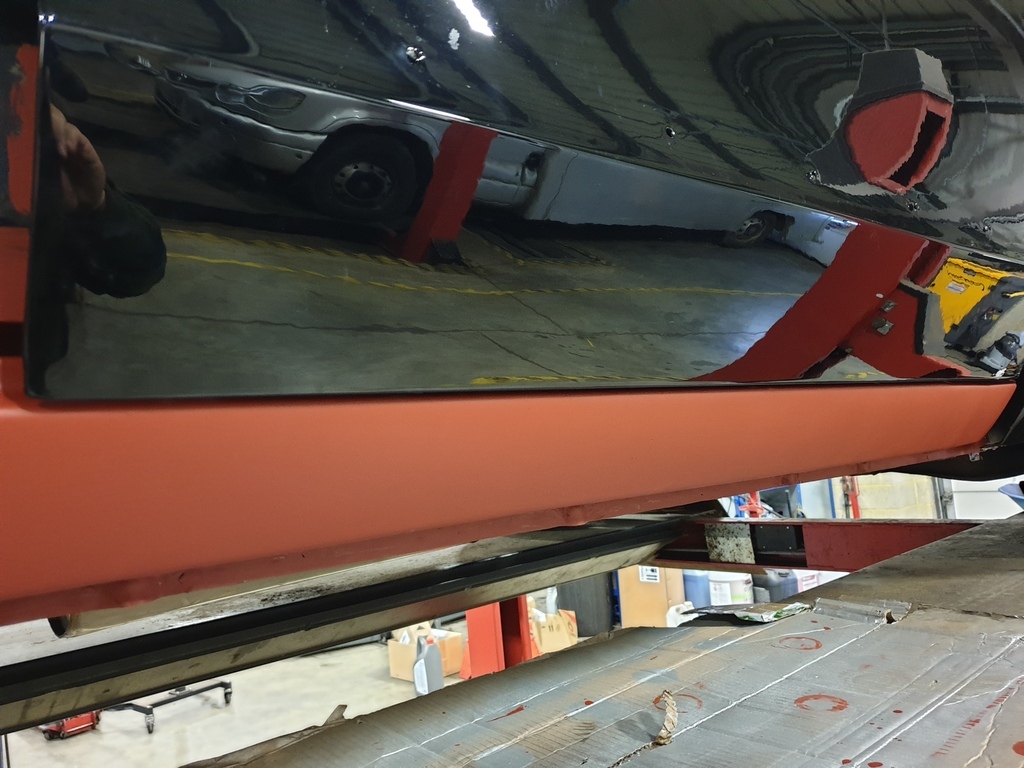
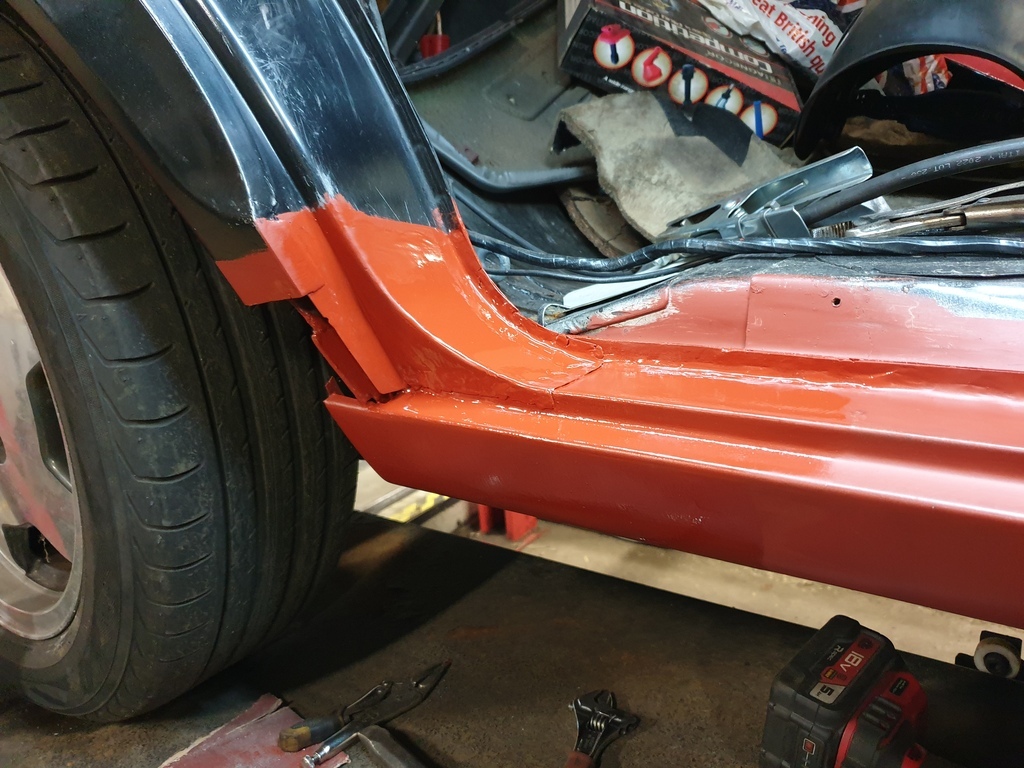
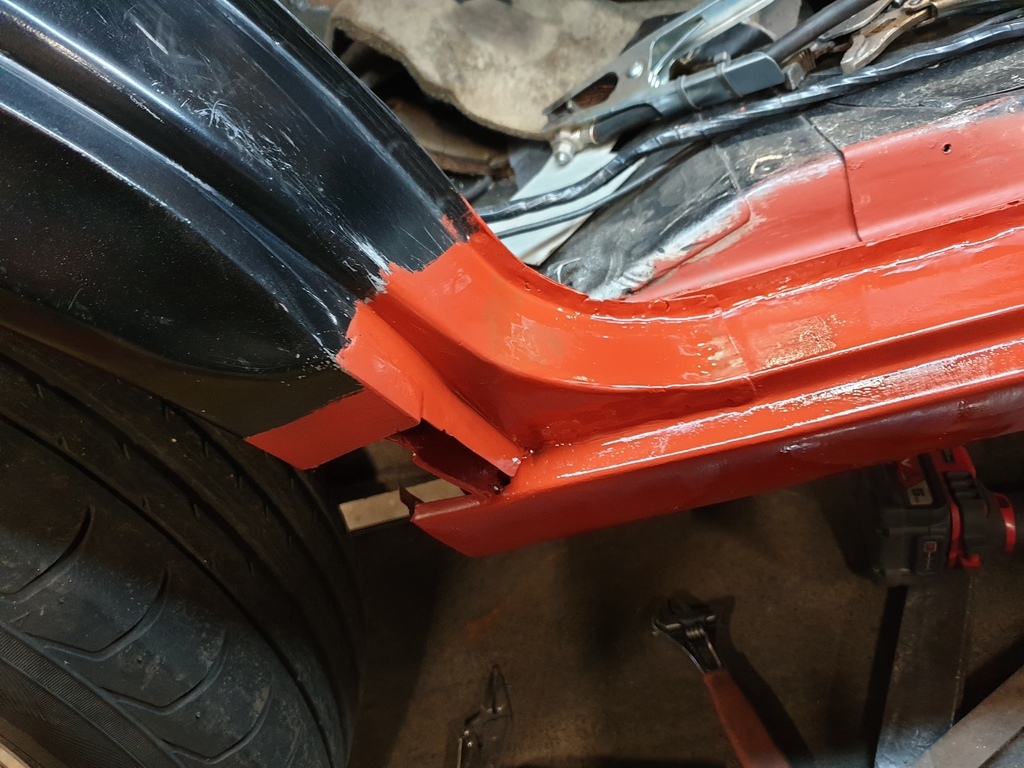
What day are we on now? Thursday, and the second day in a row of faff. Too many dead ramps at work with jobs waiting for parts, so I was chucked off the 4 poster. Managed to get the doors on Tuesday before being moved, and now know I need to give the outer sill panel an almighty tweak with a lump of wood and a BFH, as it heads upwards at the middle section around the bottom of the B post  (I'm really not impressed with the quality of the outer sill panel, especially for how much it cost!) 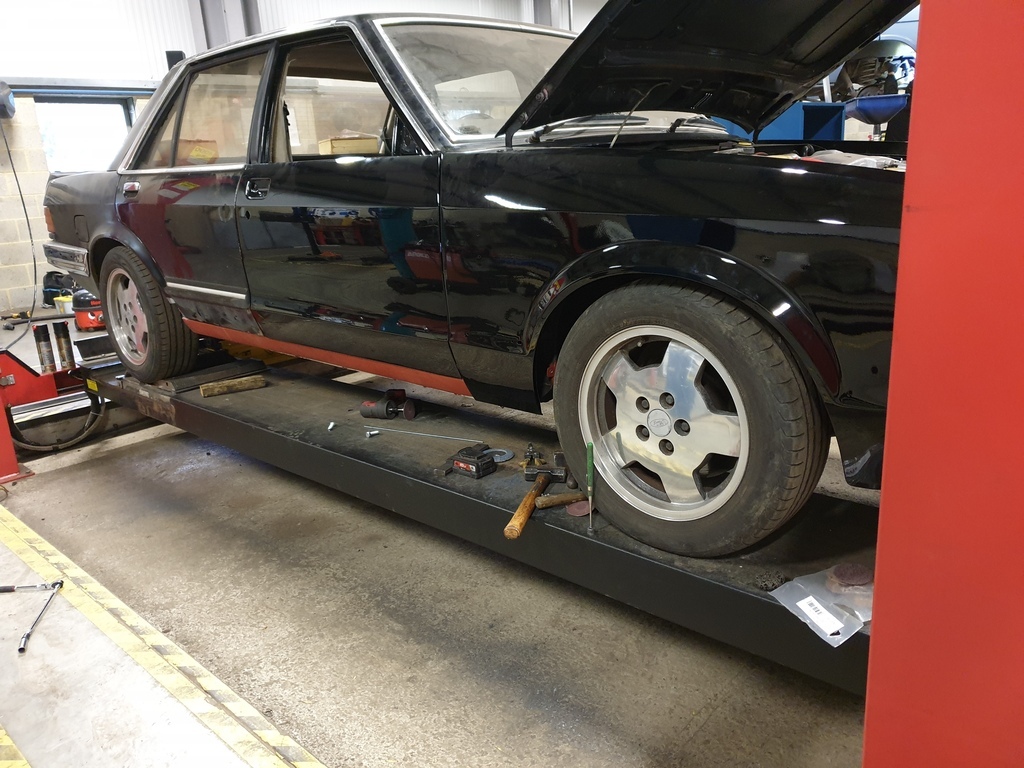 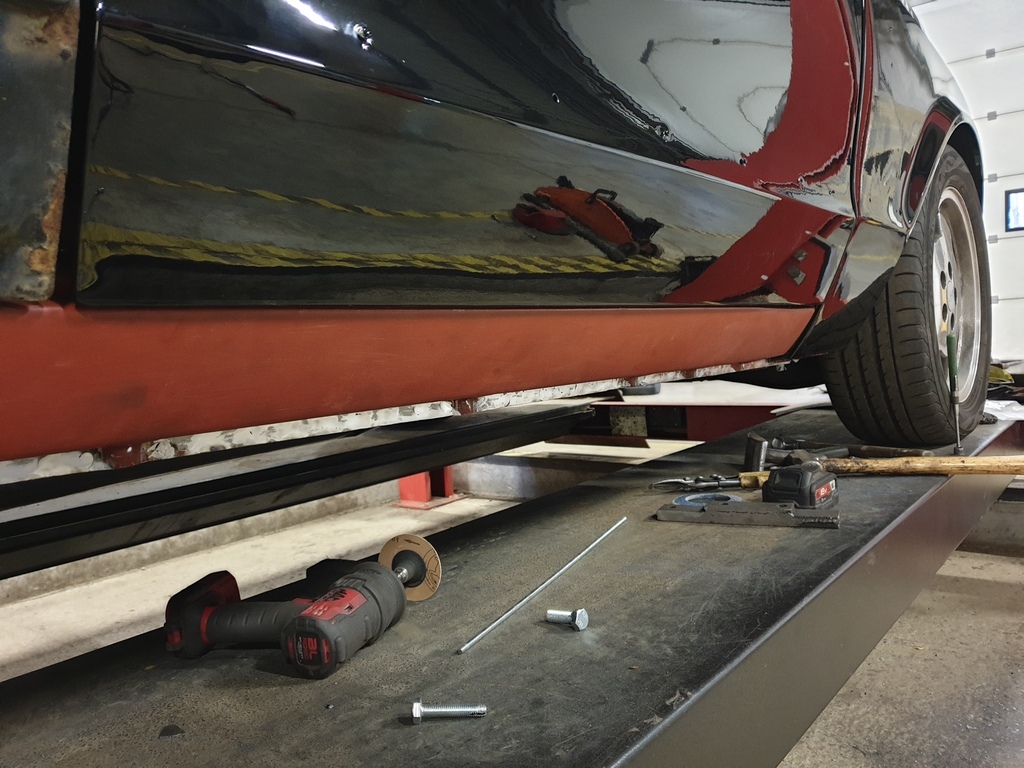 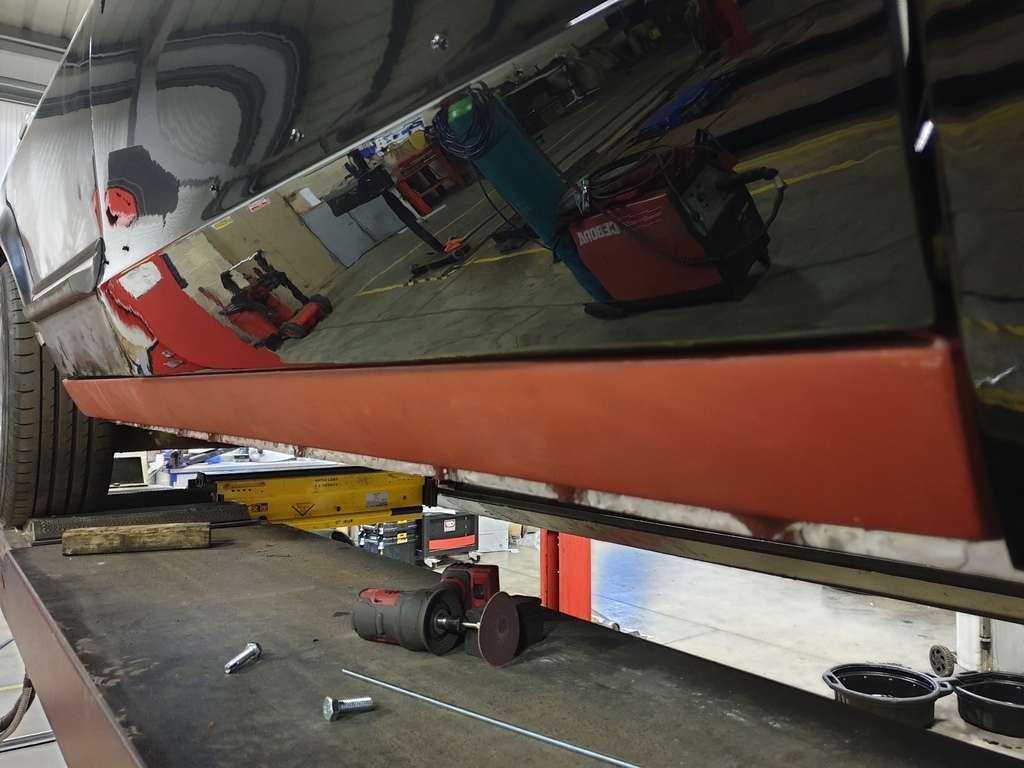 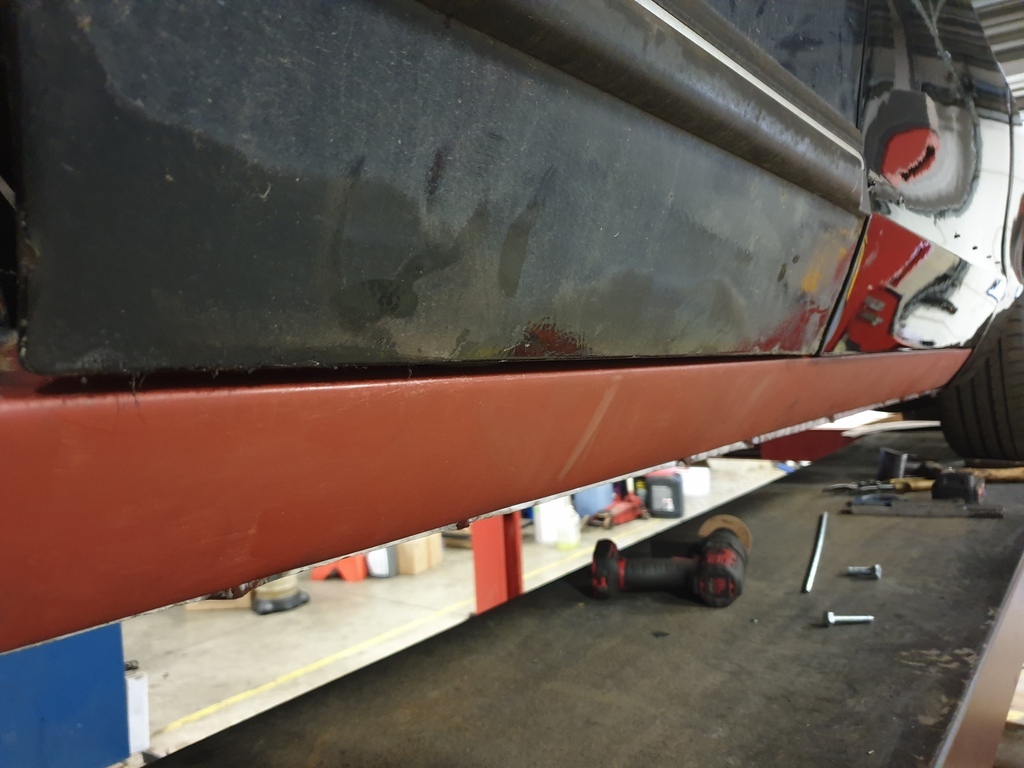 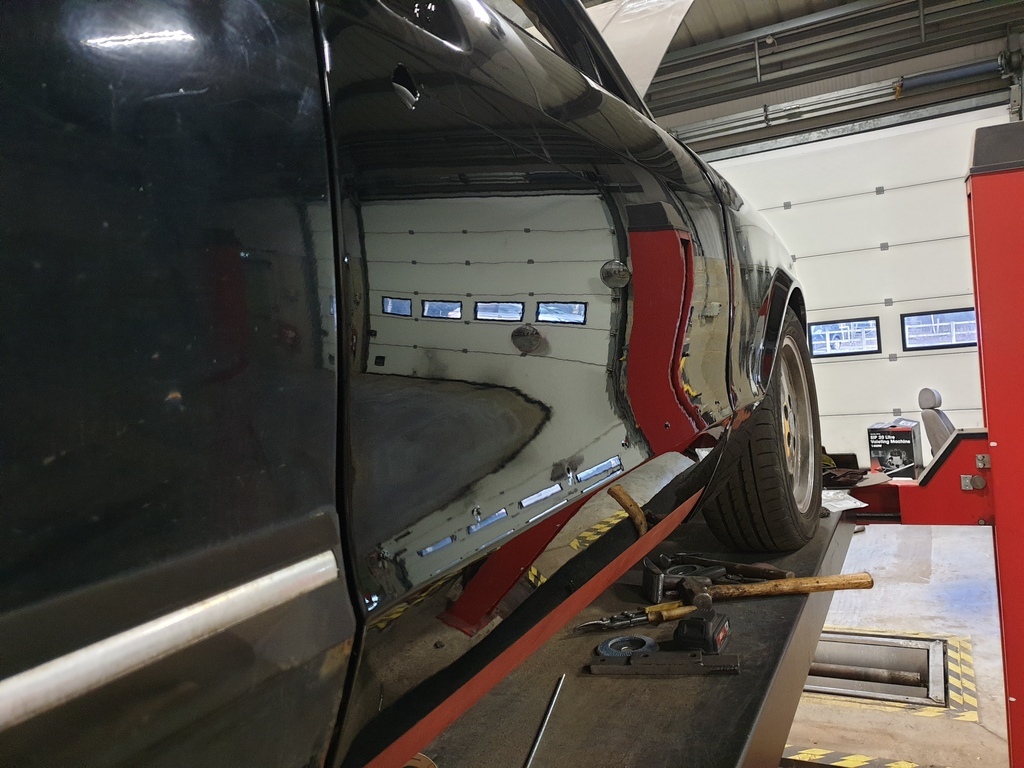 Although I did fit my coolant header tank bracket in place 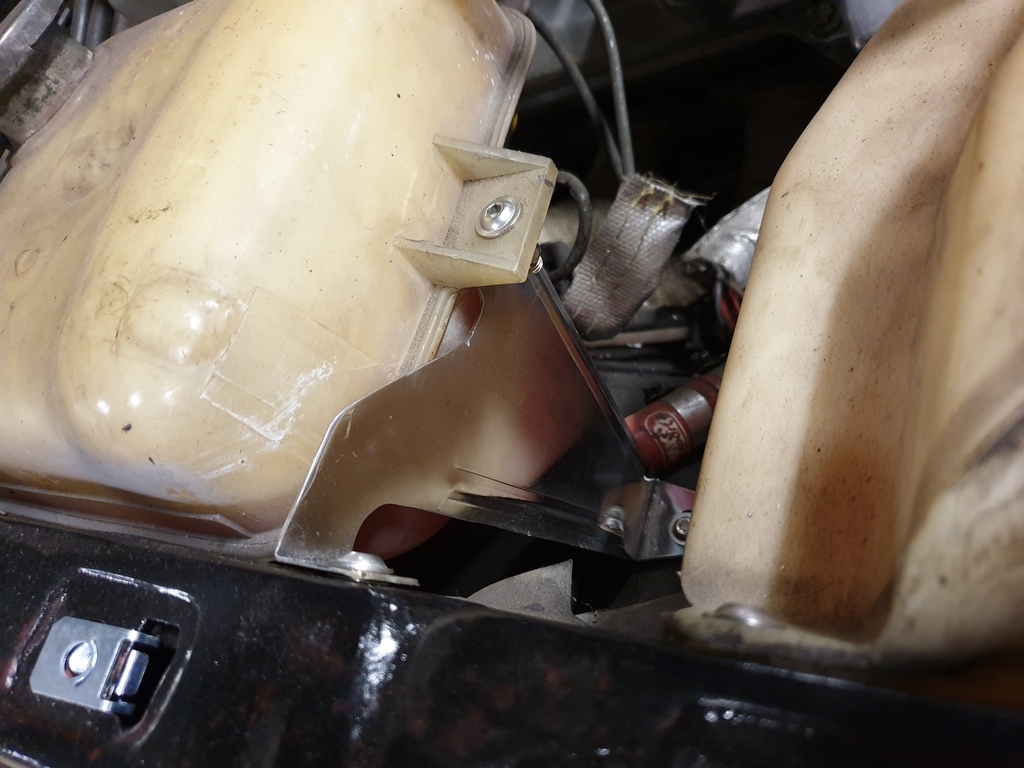 And today was spent fitting up some bits to the drivers door whilst I was floor bound 🙃 not taken any photos of todays shenanigans tho. You'll just have to wait til tomorrow for those |
| |
|
|
teaboy
Posted a lot
   Make tea, not war.
Posts: 2,116
|
|
Feb 29, 2024 20:47:30 GMT
|
|
It's all good progress, mate.
Block of wood and BFH are pretty much routine when fitting panels.
I had to use that technique when fitting a very expensive genuine Porsche sill to my 911.
It will be worth the effort when it is done.
|
| |
|
|
mk2cossie
Club Retro Rides Member
Posts: 3,055  Club RR Member Number: 77
|
|
|
|
|
|
| |
|
|
kh97
Part of things
 
Posts: 25
|
|
|
|
|
Great work!
Can't keep up with your progress.
I'm still working on the same section aswell. I did also spend too much time with trying to get my sill aligned with the doors. My reproduction sill was also a bit curbed which resulted in oneven panel gaps with the door bottoms.
Did you have to remake the dogleg panels or could you just reweld them on?
|
| |
|
|
|
|


