mk2cossie
Club Retro Rides Member
Posts: 3,061  Club RR Member Number: 77
|
|
Mar 20, 2021 15:04:38 GMT
|
Well then, today was a slight win, and also a bit of a bummer! Checked my stock of big battery cable; check! And also crimp/tube terminals to terminate the ends of the cable; also check! Unfortunately, I didn't count on needing smaller gauge cable for the ammeter and main feed to the vehicle  So I had stripped the loom from the alternator and along the chassis rail back to chop out the soldered joint from many years ago when the BOA went in 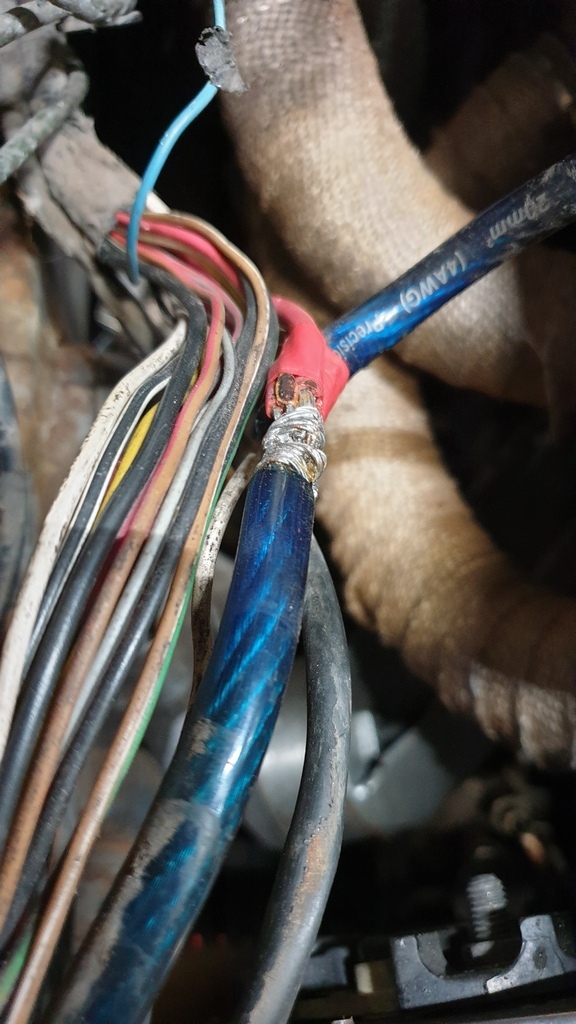 Main blue cable goes from the alternator to the distribution block on the nearside inner wing (where the battery used to live on its tray many years ago) Chopped out what I thought was just the 2 wires to the ammeter in the dash, to discover a third wire as well! Turns out that the unexpected third wire is the fuse box/interior feed. So a bit more sorting out for now til some proper cable arrives and I can do a proper job of it all, and currently looks like this 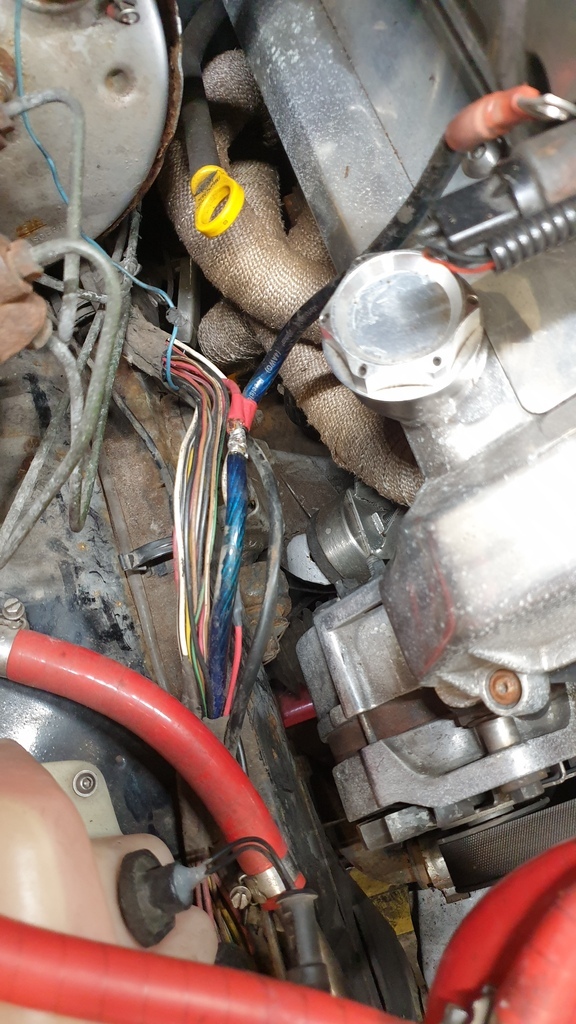 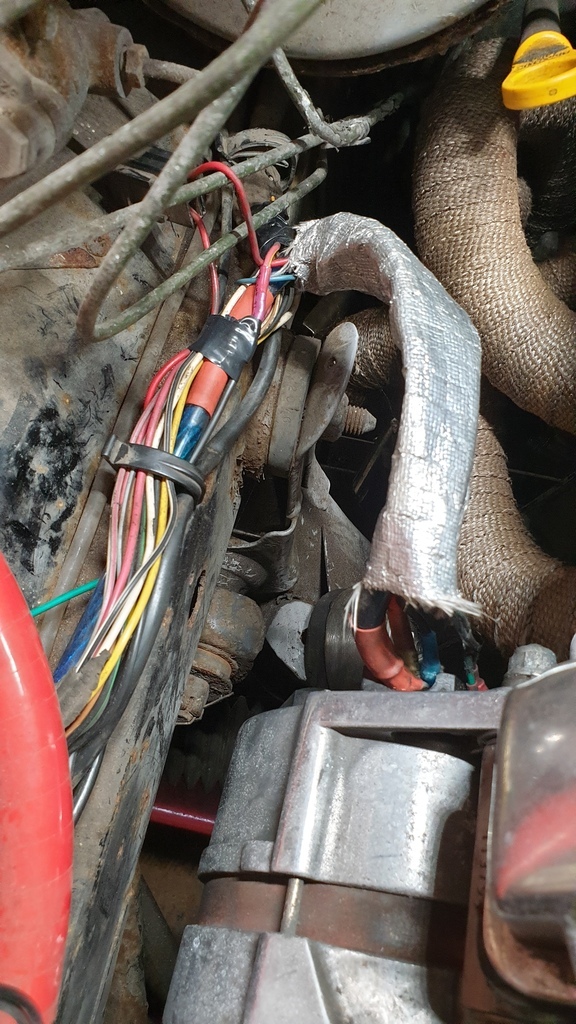 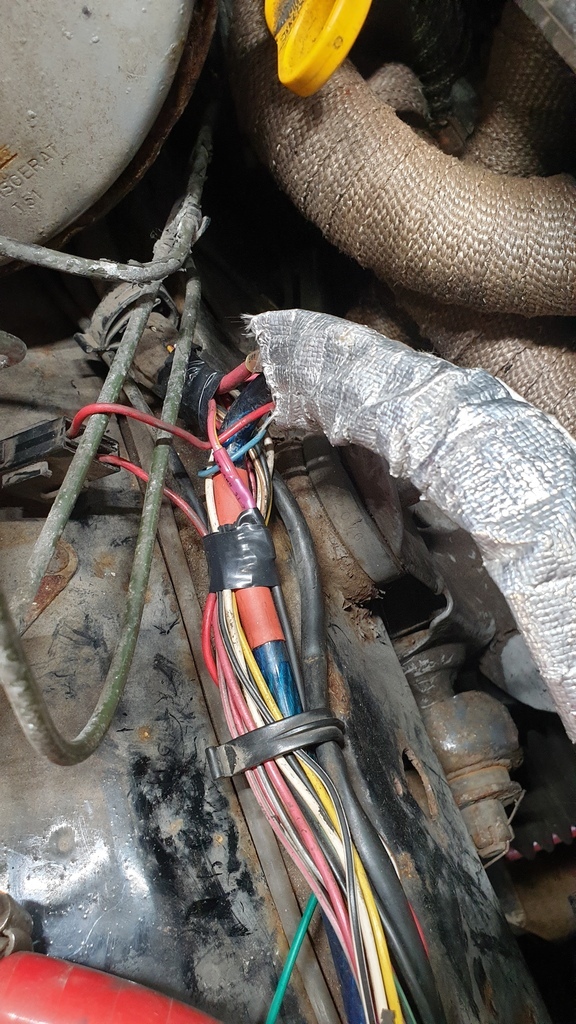 And all that means that now, the ammeter gauge thingy in the dash now works again  |
| |
|
|
|
|
|
|
|
Mar 21, 2021 23:25:56 GMT
|
And all that means that now, the ammeter gauge thingy in the dash now works again  Woohoo! Great success  I hate chopping through one more wire than you were planning to... |
| |
Last Edit: Mar 21, 2021 23:26:07 GMT by biturbo228
|
|
|
|
|
Mar 24, 2021 13:14:09 GMT
|
|
Oh, another quick question on the PS lines. Did you take a mockup to Pirtek for them to make, or a list of dimensions (or took the car to them!)?
Planning out how I'll get the Jag ones sorted...
|
| |
|
|
mk2cossie
Club Retro Rides Member
Posts: 3,061  Club RR Member Number: 77
|
|
Mar 24, 2021 17:40:33 GMT
|
Oh, another quick question on the PS lines. Did you take a mockup to Pirtek for them to make, or a list of dimensions (or took the car to them!)? Planning out how I'll get the Jag ones sorted... The return line is just a length of decent PAS fluid compatible hose (now with a section of alloy pipe in there) The main pressure line was indeed taken to Pirtek to swage on the ends, including working out the angles and hose routing so the ends pointed the right way without twisting the hose at all  That was a fun 5 minutes getting the man behind the desk to hold the rack end of the hose whilst I routed the rest of the hose around an imaginary subframe, engine mount, and chassis leg  |
| |
|
|
mk2cossie
Club Retro Rides Member
Posts: 3,061  Club RR Member Number: 77
|
|
|
|
So last Saturday was spent replacing the amplifier spec cable that originally went from alternator to distribution post, and sorting out the rest of the wiring harness that went along the right hand chassis rail and across the front of the car. That needed a partial strip down of the front end to allow easier access to it all 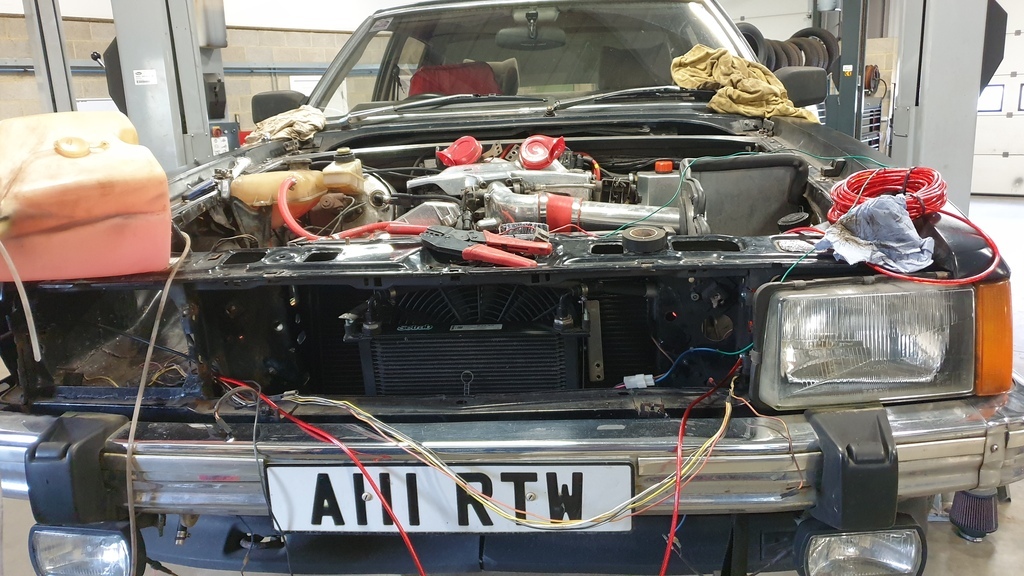 And this mess sorting out 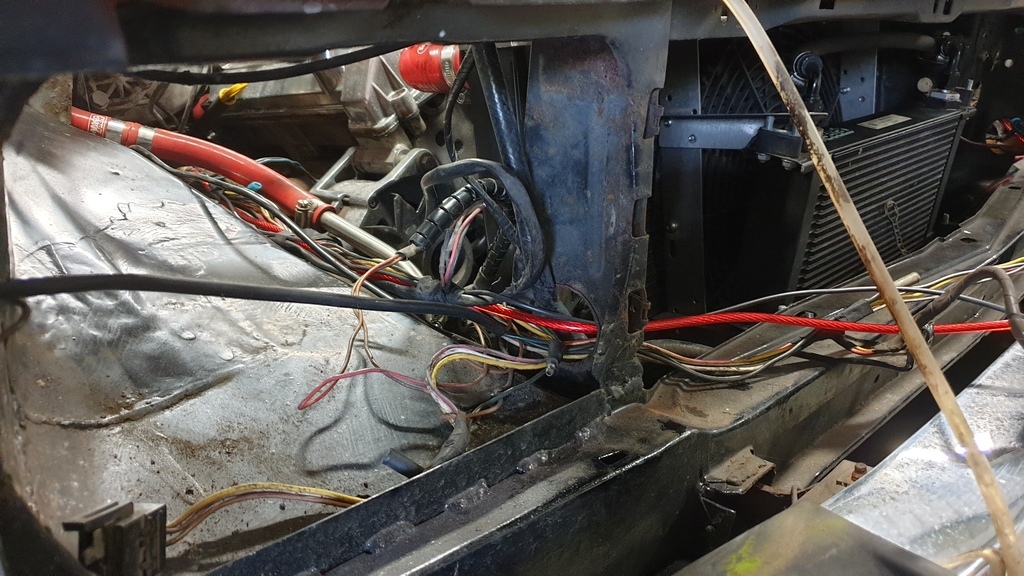 Retrieval of this lot 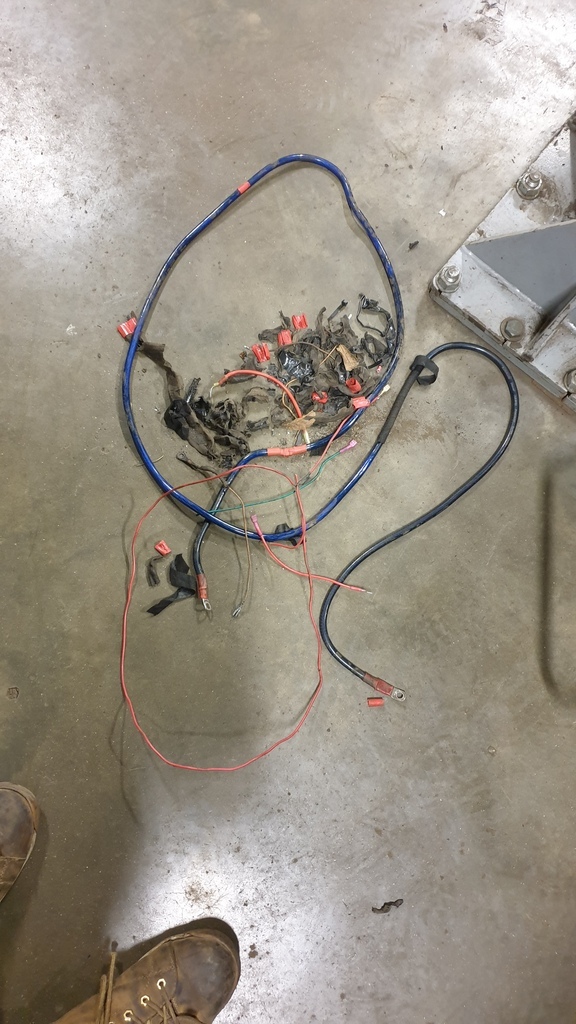 To end up with this 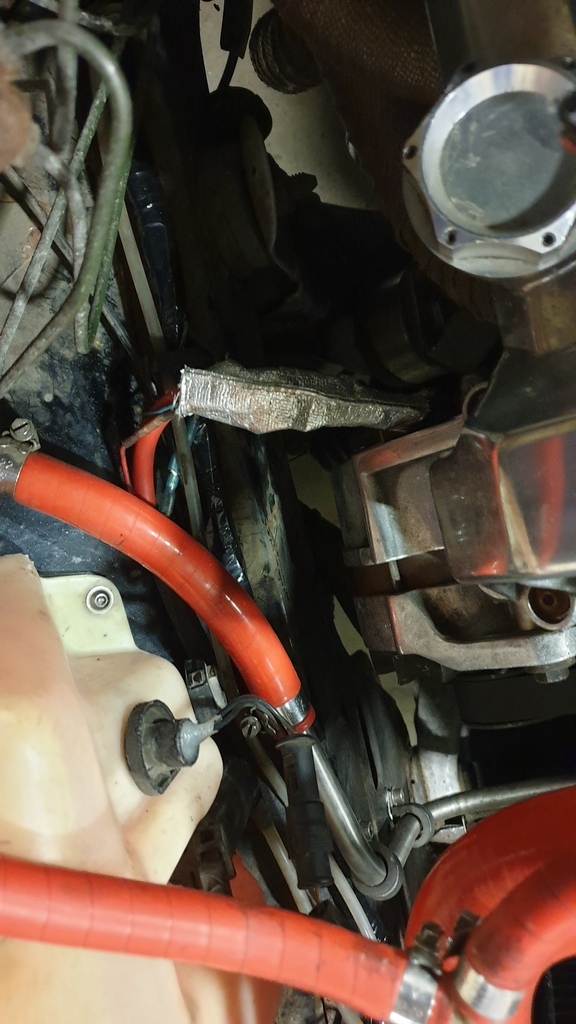 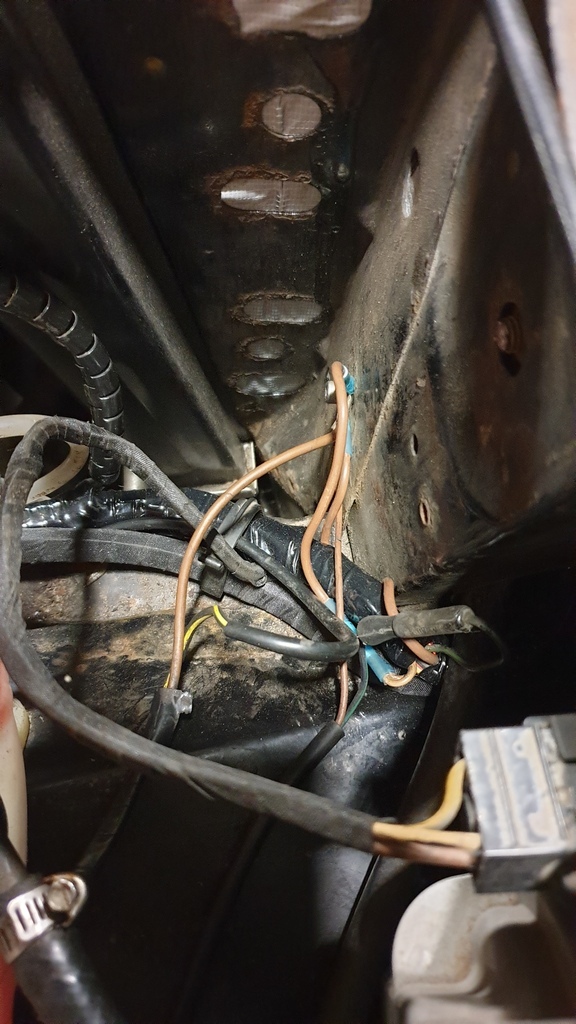 And whilst there, I renewed the headlight earth cable on both sides with some beefier cable, and proper non insulated crimp terminals in the headlight plug as well  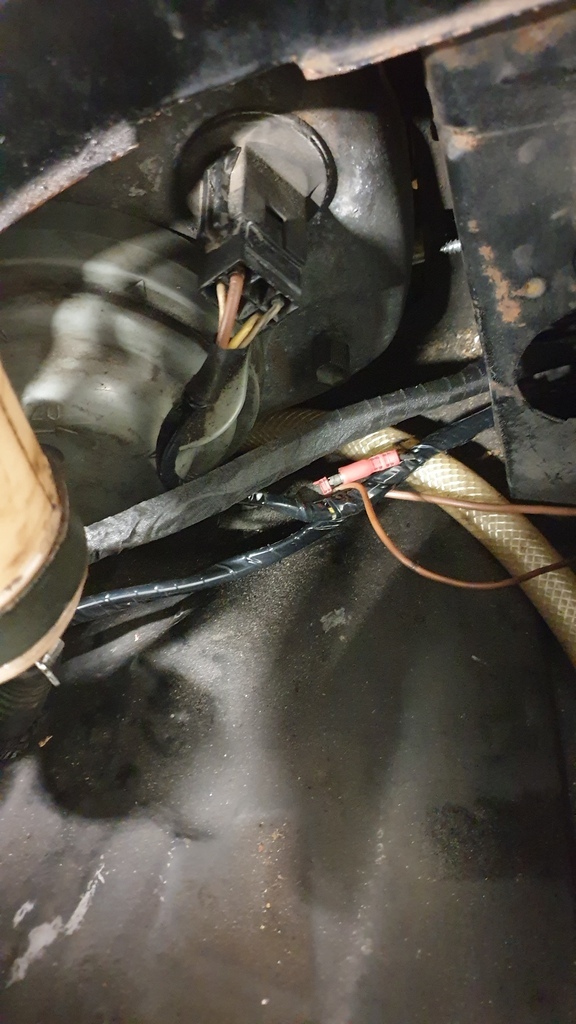 So that was last Saturday, car was going to be used on Monday for getting to work as I'd overslept. Only to be greeted with a non start! Starter motor not even engaging, and interior lights dimming when the ignition switch turned to crank  So after work when I got home it was out with the Power Probe and jump pack to fault find. All the ignition switch checked out, the starter engages when probed, and spins over healthily as well. All pointing towards either the automatic inhibit switch on the transmission, or the inhibit relay behind the headunits! So that is todays job to fault find  |
| |
|
|
jimi
Club Retro Rides Member
Posts: 2,228 
|
|
|
|
Good job  glad to see your using a proper rachet crimping tool  not these these mickey mouse pliers that some people use  |
| |
Black is not a colour ! .... Its the absence of colour
|
|
mk2cossie
Club Retro Rides Member
Posts: 3,061  Club RR Member Number: 77
|
|
|
|
Good job  glad to see your using a proper rachet crimping tool  not these these mickey mouse pliers that some people use  I have a pair of ratchet crimpers for insulated, and a pair for non insulated  Absolute godsend, and very rarely solder anything nowadays. Also have a big set of crimper for battery tube terminal ends as well |
| |
|
|
mk2cossie
Club Retro Rides Member
Posts: 3,061  Club RR Member Number: 77
|
|
|
|
Well, today appears to have been a non event! Fitted the battery after it had been charged on the antique battery charger, reset the trip fuse, and the car started up without any issues what so ever  So I shall see how it is tomorrow and give it a run about, maybe even a wash if the weather isn't too cold! And I've ordered a new Optima battery tonight as well  |
| |
|
|
mk2cossie
Club Retro Rides Member
Posts: 3,061  Club RR Member Number: 77
|
|
|
|
Well, today I used the ole girl to get me 40 minutes away to my mates house for a hop about on bicycles, and have a socially distanced BBQ! Loaded up the car with 3 bikes (a Diamond Back Venom, a GT Aggressor, and a loaned racing BMX i forget the name of) and headed over there at 12:20, all went well. Apart from the fan kicking in whilst cruising at about #mph, and the volt meter dropping to 12v! Drive home was almost all alright, until pulling up to the traffic lights in Ashford by the train station there was smoke escaping from the right hand edge of the bonnet! Get home and discover the right hand cam cover gasket has been pooped out along the front of the timing chain area  I bloody hate these engines and their poxy cam cover design! |
| |
|
|
|
|
|
|
|
 the rest of it sounded ok though  |
| |
|
|
|
|
|
|
|
|
|
|
Could you pop a blob or two of gasket sealant just ot hold them in place?
|
| |
|
|
mk2cossie
Club Retro Rides Member
Posts: 3,061  Club RR Member Number: 77
|
|
|
|
Could you pop a blob or two of gasket sealant just ot hold them in place? If only it were that simple  The BOA as standard doesn't have removable/replaceable cam cover gaskets. There is (or was) 2 companies that do replacements tho. But both need glueing in place on the covers or head before sealing the engine up again  And however I stick them to the covers, either doesn't seal or spits the gasket out. Shall order up new gaskets, and see if I can get the covers modified with something to locate the gaskets in place as well as sealant  And get some proper breather outlets welded to each of the covers as well whilst they are off |
| |
|
|
mk2cossie
Club Retro Rides Member
Posts: 3,061  Club RR Member Number: 77
|
|
Apr 10, 2021 19:45:45 GMT
|
Good evening all! I'm not going to open with something witty and whimsical like ivanhoew or blackpopracing would. I can open this post with a pic of food as grizz would though   A burger with pretty much everything in it from Mia's Snacks on the roundabout en route to work  Very nice it was too! Today was fairly productive at the workshop, and I may have my priorities wrong with what was done today, but hey ho! Started the day with using my Noco jump pack to get the car started after sitting up for 4 days inactive. Then at work I proceeded to remove the dash mounted sub box and sort out some of the wiring behind there, and sort out the headunit extras I have had to find places to mount  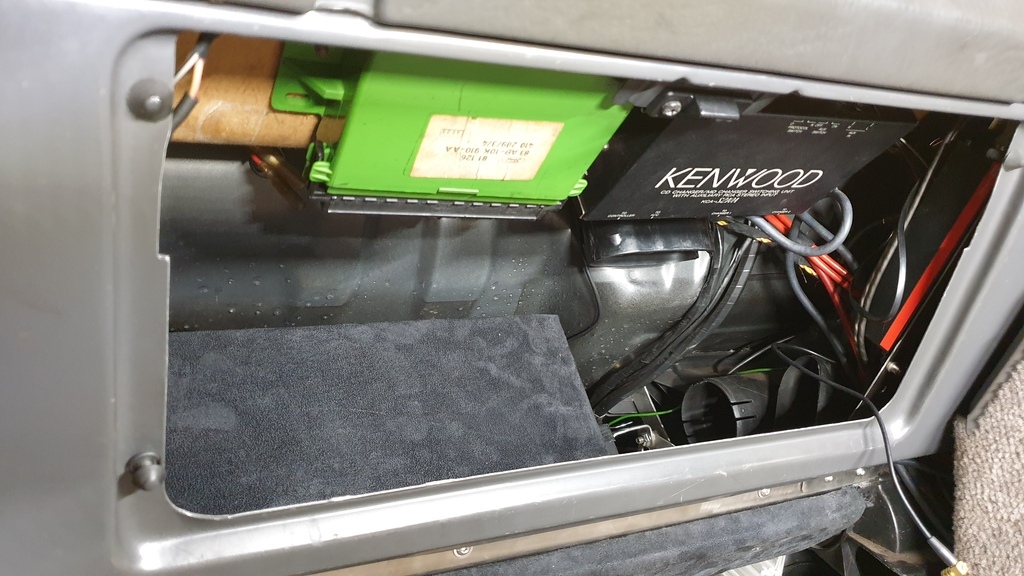 The green box is standard, and controls the low level warning thingy in the roof console. The Kenwood box next to it is a changer switch box. Sub box came out to mount the DAB module solidly instead of just slotted in 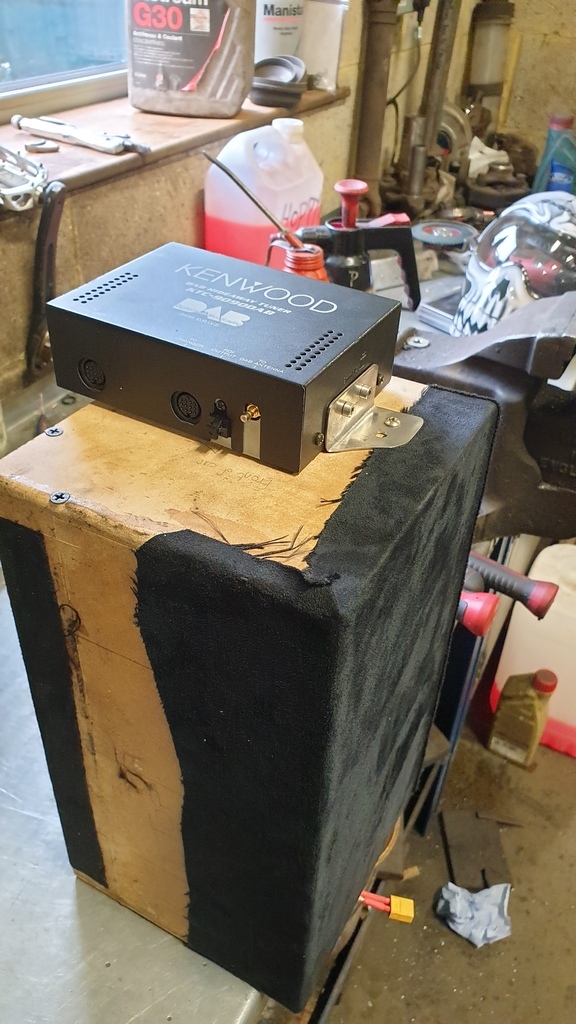 And some judicial use of gaffa tape to prevent the case rattling too much 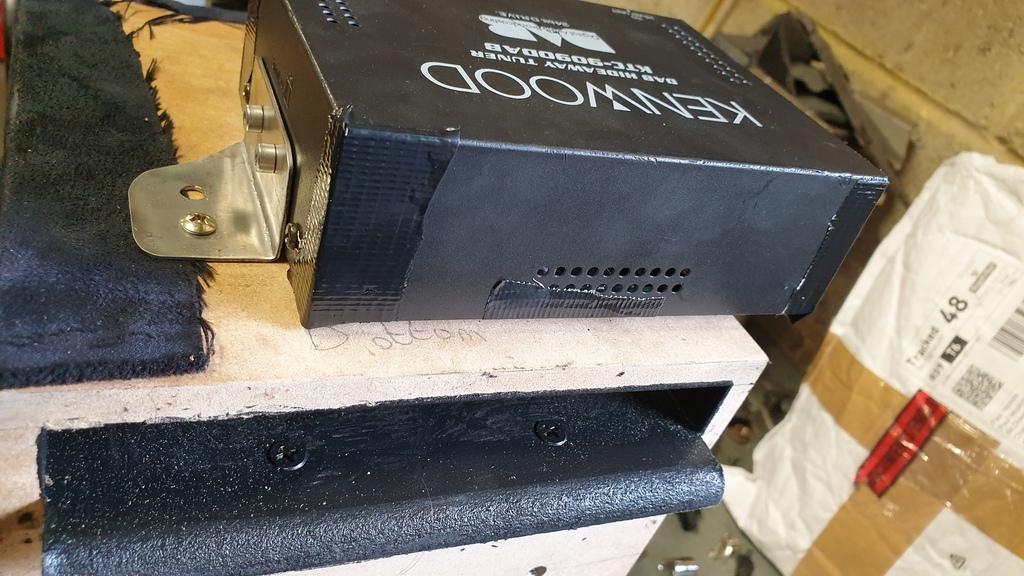 And all back in place 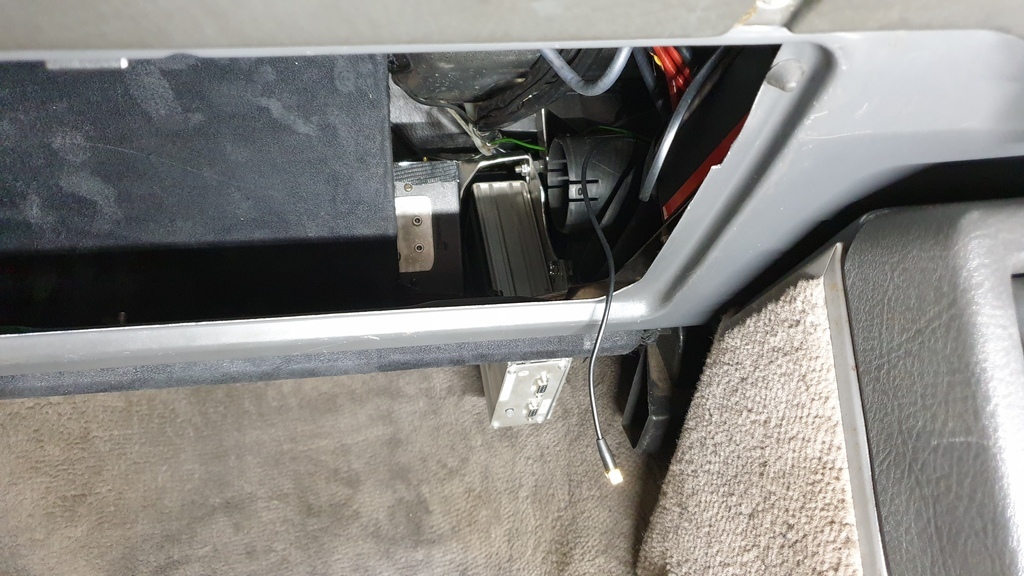 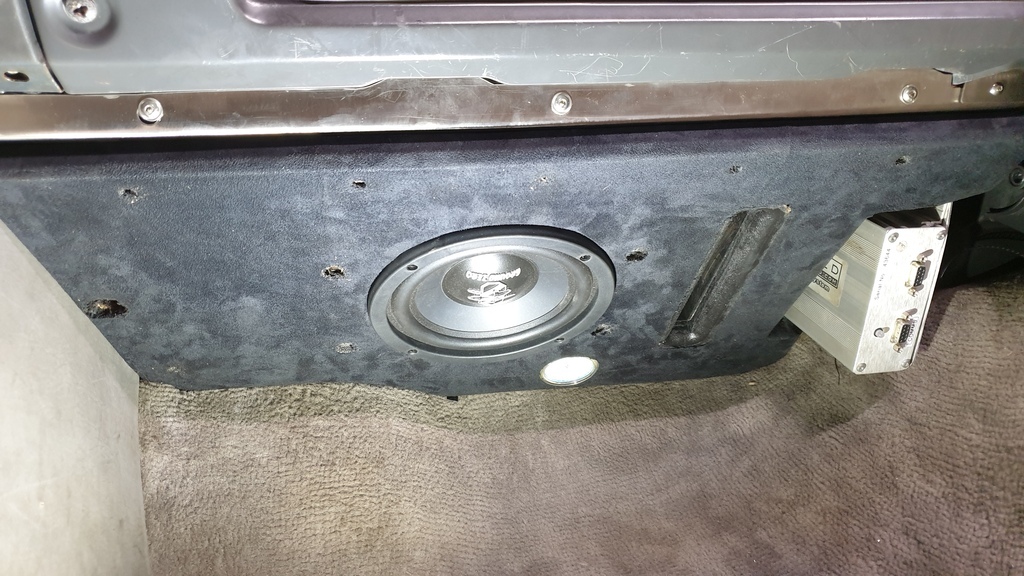 Oh, and I also loosened the right hand cam cover and poked the gasket back in where it should be and carefully tightened it back up  I have a new gasket to go on that side, but need to order up some fittings to sort the half bodged oil breather system... |
| |
|
|
|
|
|
Apr 10, 2021 19:56:59 GMT
|
|
OK, you got my attention.
Looks like a real plethora of flavours there.
You win.
|
| |
|
|
mk2cossie
Club Retro Rides Member
Posts: 3,061  Club RR Member Number: 77
|
|
|
|
OK, you got my attention. Looks like a real plethora of flavours there. You win. It was tasty! The chef makes the beef burgers himself, there is also bacon, egg, mushrooms, onions and a chicken breast in panko breadcrumbs too! And I think mustard, ketchup and burger sauce  |
| |
|
|
mk2cossie
Club Retro Rides Member
Posts: 3,061  Club RR Member Number: 77
|
|
Apr 12, 2021 17:54:12 GMT
|
And in car news, my Ebay sourced steering rack arrived today at last  Although that isn't being fitted Saturday morning as I have an appointment with a member on here who makes the best burgers in Kent and socially distanced meeting with friends later on in the day  |
| |
|
|
mr
Posted a lot
  
Posts: 1,619
|
|
Apr 14, 2021 10:33:15 GMT
|
|
nice work mate.
ive never seen the undersides of the cam covers so have no idea what does what. just supposing theres room,could your welder mate not weld a thin lip that overhangs downwards from the sides of the rocker covers all round so that theres something there holding the gaksets in situ ?
what about asking the same guy to make up bespoke covers that you can fit gaskets in?
|
| |
Got the car from 105 bhp at the crank to 152 at the wheels.nitrous going on next.....if it ain't broke,keep bolting on go faster parts until it is........ www.fordgranadaclubuk.freefo.de |
|
mr
Posted a lot
  
Posts: 1,619
|
|
Apr 14, 2021 10:38:36 GMT
|
|
have you given top boss a call? they may have something on the shelf you can buy
|
| |
Got the car from 105 bhp at the crank to 152 at the wheels.nitrous going on next.....if it ain't broke,keep bolting on go faster parts until it is........ www.fordgranadaclubuk.freefo.de |
|
mk2cossie
Club Retro Rides Member
Posts: 3,061  Club RR Member Number: 77
|
|
Apr 14, 2021 13:11:11 GMT
|
have you given top boss a call? they may have something on the shelf you can buy Top Boss don't even have a nice to use website, let alone a shop section  But there is a choice of 2 companies that make the gaskets, just depends if you want thin and wide or thick and narrow profile gaskets  Shall sort something out with the welder man as I want some proper fittings welded on to each cam cover anyway... |
| |
|
|
|
|
|
|
|
If only it were that simple  The BOA as standard doesn't have removable/replaceable cam cover gaskets. There is (or was) 2 companies that do replacements tho. But both need glueing in place on the covers or head before sealing the engine up again  And however I stick them to the covers, either doesn't seal or spits the gasket out. Shall order up new gaskets, and see if I can get the covers modified with something to locate the gaskets in place as well as sealant  And get some proper breather outlets welded to each of the covers as well whilst they are off Ugh. Who thought that was a good idea? I suppose you want a little recess machining into the cam covers that fits the shape of the gasket and helps keep it in position. Would probably be pretty simple if you had a gasket set, a set of cam covers, and a chap who does CNC milling. Might be a bit of a money spinner if it works and it's a problem without a good solution already. Most of the money involved would be in the initial prototyping, with any others just being a matter of popping the new set of cam covers in the machine and pressing a button. Edit: Ah, having a look at them on google they don't seem to be nicely shaped for that. Back to the drawing board! |
| |
|
|
|
|


 glad to see your using a proper rachet crimping tool
  not these these mickey mouse pliers that some people use


 the rest of it sounded ok though


