mk2cossie
Club Retro Rides Member
Posts: 3,062  Club RR Member Number: 77
|
|
Jun 10, 2019 17:34:50 GMT
|
Well, yesterday I finally managed to get the suspension back together and was going to replace the other 3 CV joints. But the weather and lack of enthusiasm saw to that! So today at work, I managed to get the use of a ramp and swiftly swapped the new CVs in  And also had a look at the front coil springs to see what kind of travel they have. And it would appear they do go coil bound before the bump stops are used on the coilover units  |
| |
|
|
|
|
mr
Posted a lot
  
Posts: 1,620
Member is Online
|
|
|
|
|
can you send them back? I cant imagine you ordering the wrong poundage..............that's not the kinda thing youd do.
is it possible they just sent the closest springs to hand out without checking ?
|
| |
Got the car from 105 bhp at the crank to 152 at the wheels.nitrous going on next.....if it ain't broke,keep bolting on go faster parts until it is........ www.fordgranadaclubuk.freefo.de |
|
mk2cossie
Club Retro Rides Member
Posts: 3,062  Club RR Member Number: 77
|
|
|
|
can you send them back? I cant imagine you ordering the wrong poundage..............that's not the kinda thing youd do. is it possible they just sent the closest springs to hand out without checking ? Send them back? Merlin Motorsport won't want them back, they have been in use and it was down to me ordering them  It's a voyage of discovery this coilover malarkey on a mk2 Granada  |
| |
|
|
mr
Posted a lot
  
Posts: 1,620
Member is Online
|
|
|
|
|
if it'd help.........I have probably got some silicon you can borrow,i always seem to have loads and it fixes most stuff on my car
so I'm curious, how do you decide what springs you need? have you weighed your car to get the desired strength or whatever they're measured in??
|
| |
Got the car from 105 bhp at the crank to 152 at the wheels.nitrous going on next.....if it ain't broke,keep bolting on go faster parts until it is........ www.fordgranadaclubuk.freefo.de |
|
|
|
|
Jun 11, 2019 21:30:28 GMT
|
|
Cant you just fit longer bump stops or spacers behind the ones you have?
|
| |
|
|
mk2cossie
Club Retro Rides Member
Posts: 3,062  Club RR Member Number: 77
|
|
Jun 12, 2019 12:38:56 GMT
|
Cant you just fit longer bump stops or spacers behind the ones you have? I could do, but the dampers/coilovers are pretty much bang on lenght wise. and the original Ford bump stops on the subframe should hit before the coilover bottoms out (at least, they did when I did a dummy setup of coilover with no springs) |
| |
|
|
mk2cossie
Club Retro Rides Member
Posts: 3,062  Club RR Member Number: 77
|
|
|
|
So after working out that the coil springs go coil bound, I've done what any sane person with a Ford does and... Ignored the problem and got on with something else! Had a scabby boot lid spoiler for ages, and had drilled the top of the boot lid for the threaded sections to go through. Only being me, I didn't actually get them close to far enough back for the spoiler to sit nicely in the first place  So I ordered some 3M double sided tape and applied that to the spoiler, polished the bootlid and set to fitting the spoiler up. 2 main downfalls there for me, the first being that the spoiler is beaten up and not really close to being bootlid shaped. The second is that it rained overnight whilst I had the spoiler taped down  So it was gradually peeling itself off again on the front edge, and collecting bugs at the same time. So the second attempt at the weekend was to use some Würth bond and seal, in the hope that would work better. Plenty of tape and imagination used this time as well 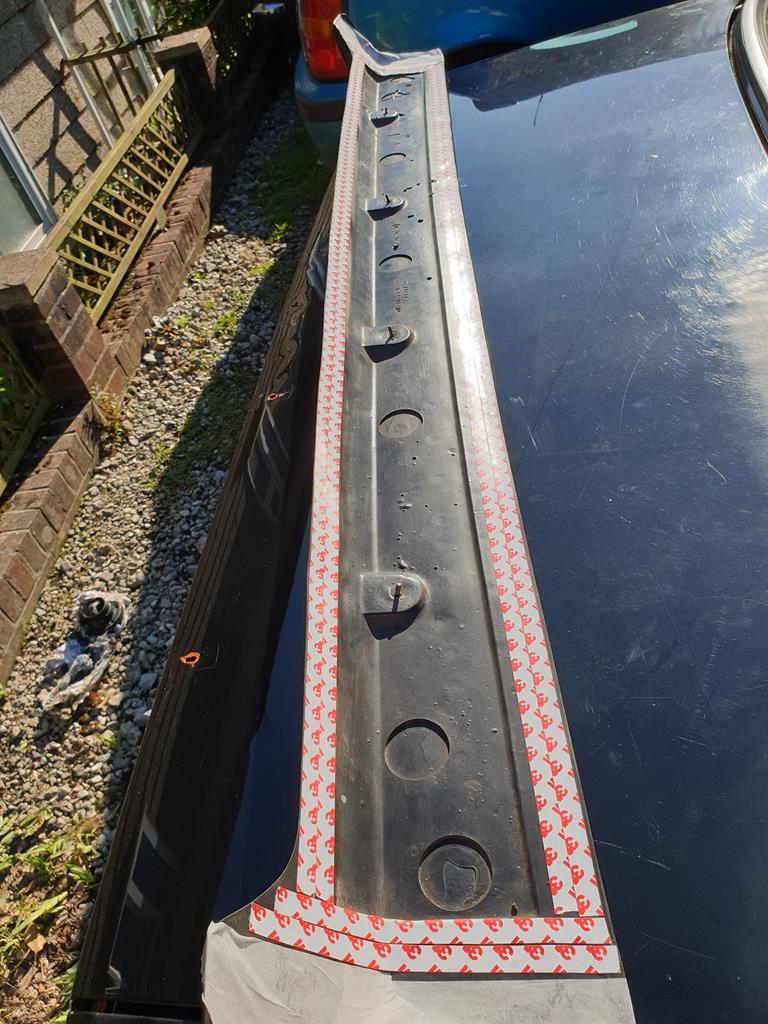 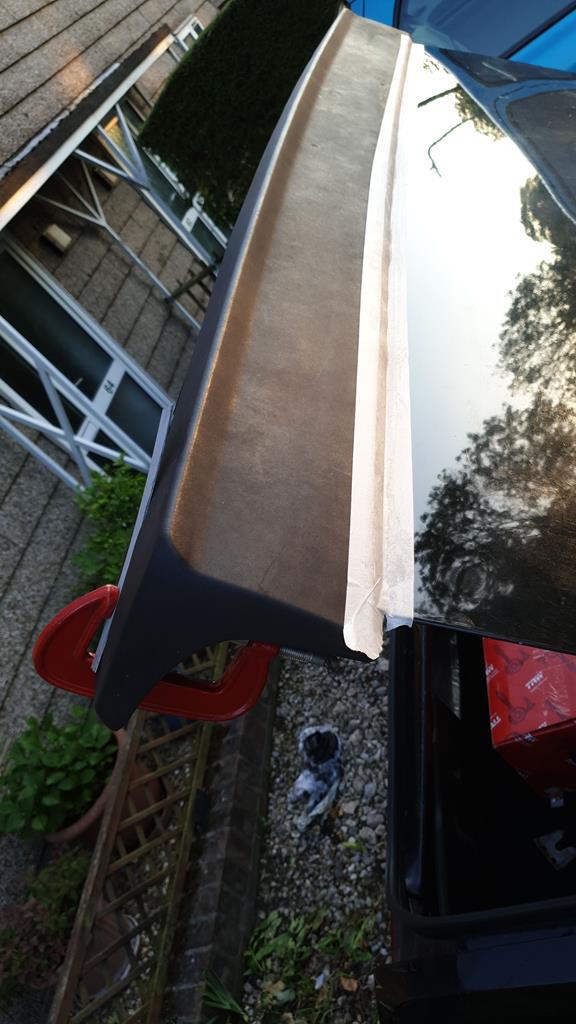 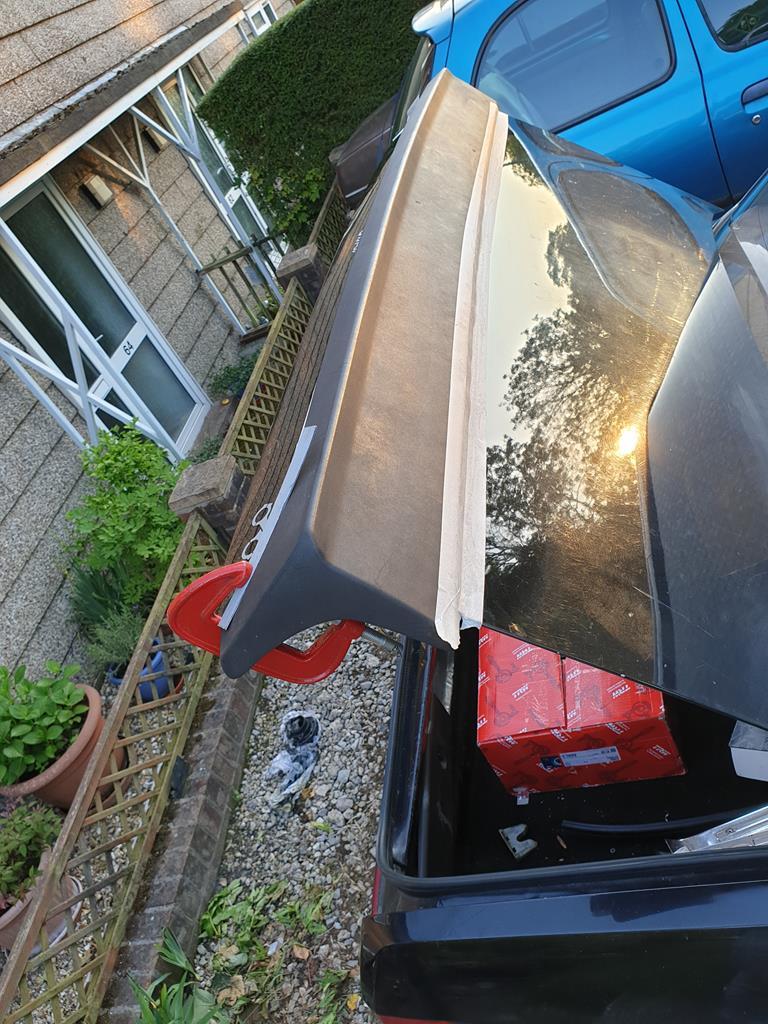 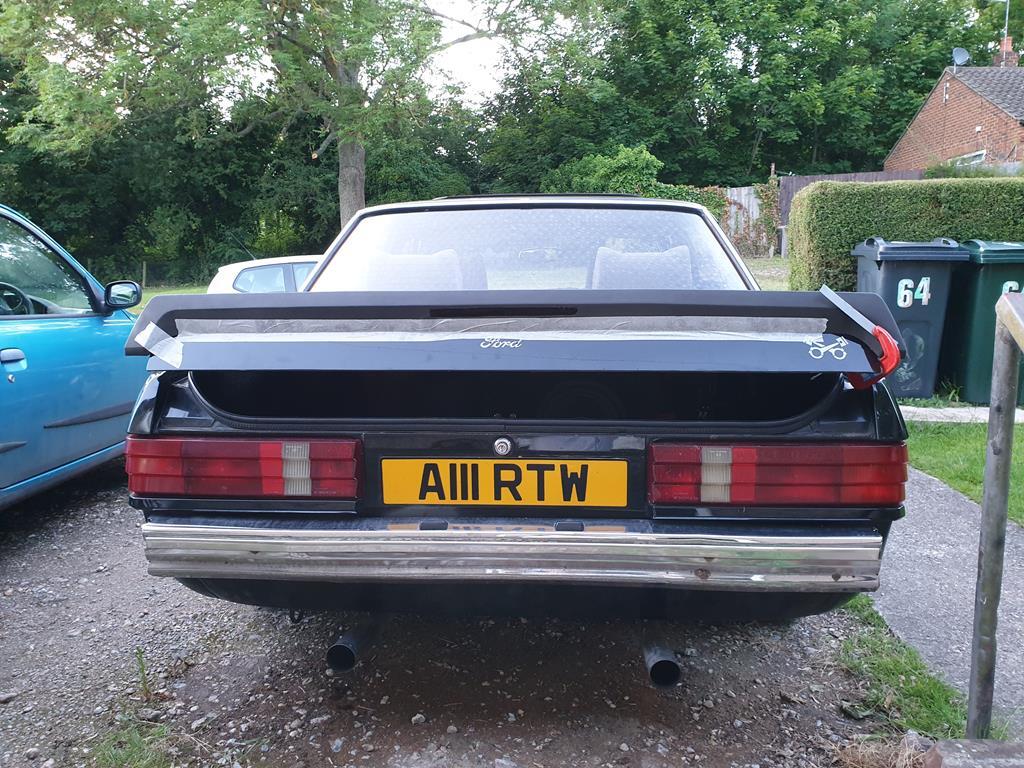 Also made up a section of pipe and fitted the one way valve for the fuel tank as well 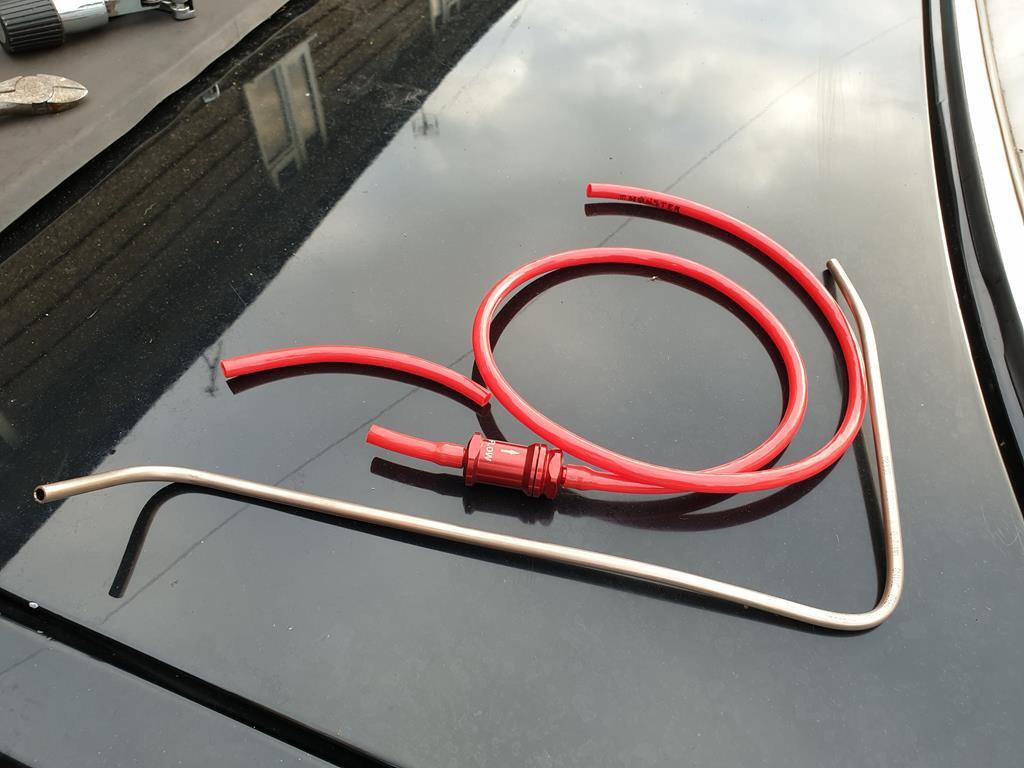 And the second attempt of spoiler fitting 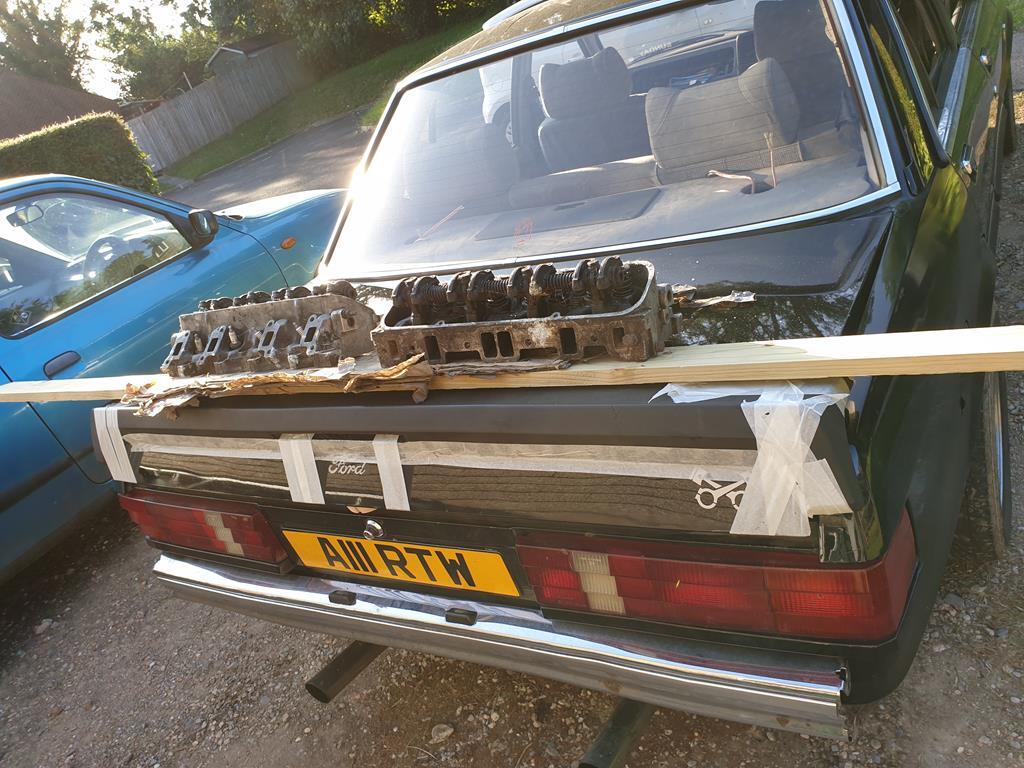 Also got around to swapping out the led driving lights that mr really doesn't like as well  |
| |
|
|
mk2cossie
Club Retro Rides Member
Posts: 3,062  Club RR Member Number: 77
|
|
|
|
Hmm, phone posting is playing about now. Shall start again! Got some Ring driving lights ages ago, and some new bulb replacements for them too! 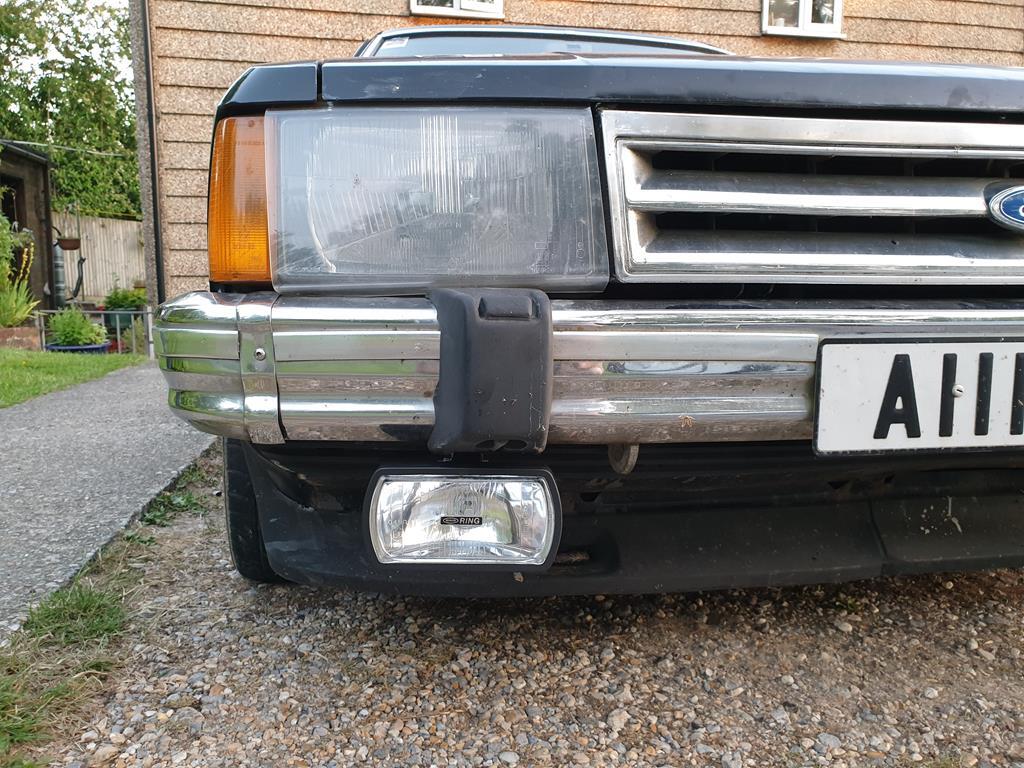 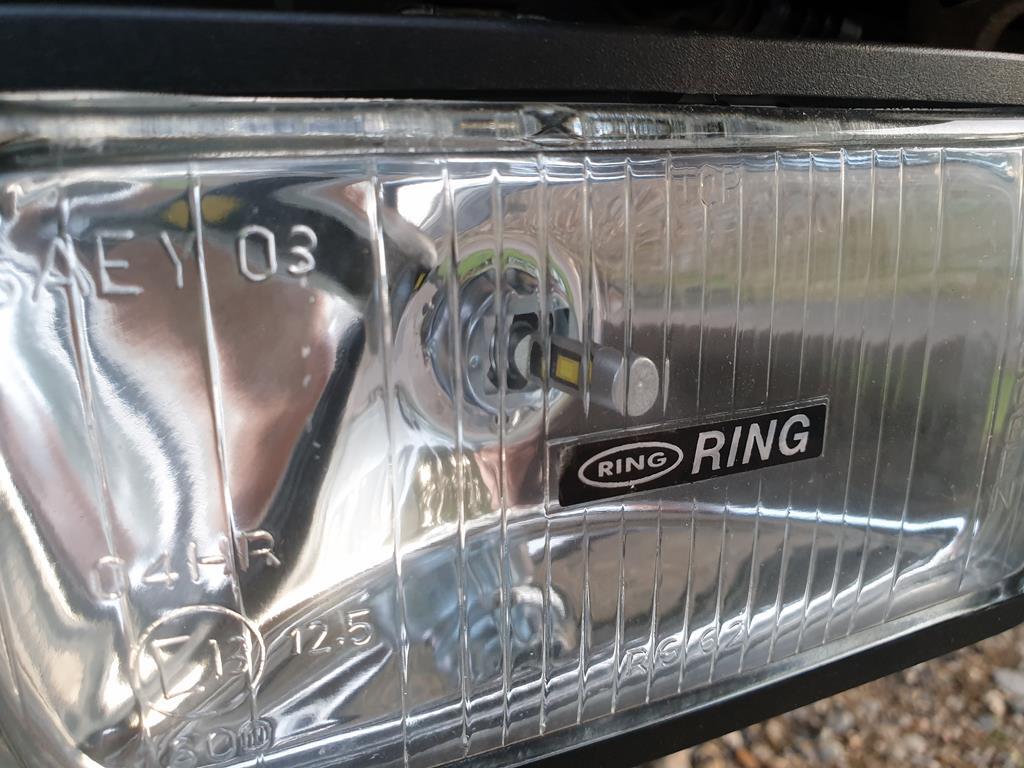 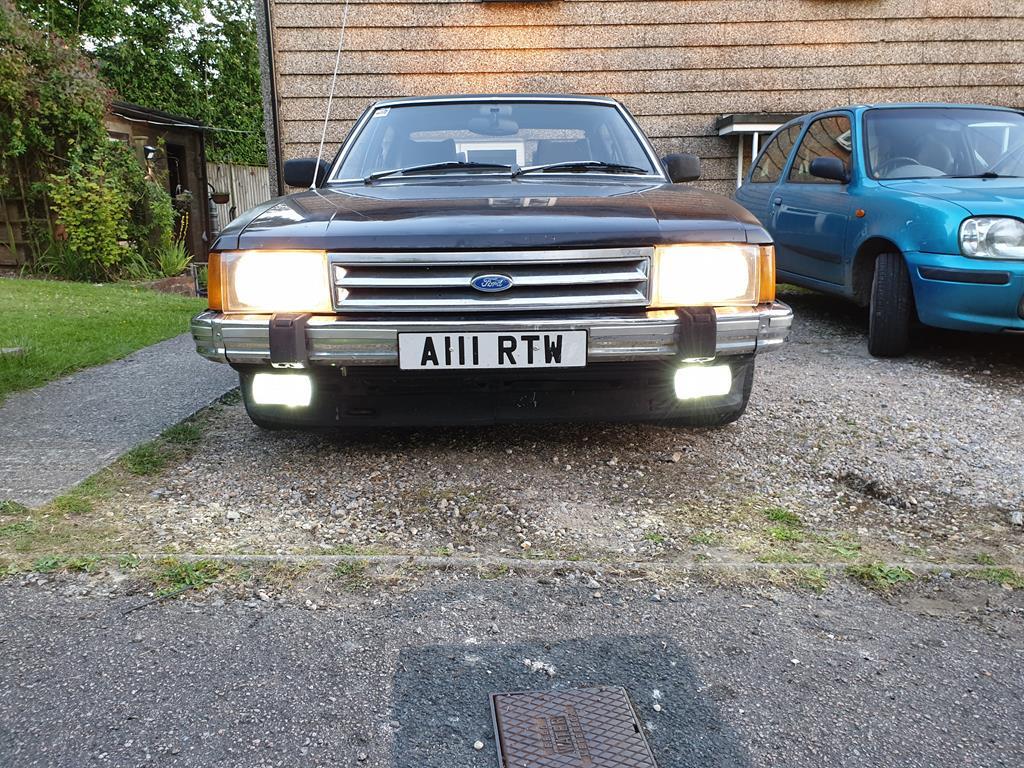 Not tried them out in the proper dark yet. But this morning in the light of day, they leave visible trails of light on the grass in front of the car! |
| |
|
|
|
|
|
|
|
|
Are they water cooled? 😂😂😂
|
| |
|
|
mk2cossie
Club Retro Rides Member
Posts: 3,062  Club RR Member Number: 77
|
|
|
|
Are they water cooled? 😂😂😂 Oi! Less of that! (They are IP68 rated tho) |
| |
|
|
|
|
mr
Posted a lot
  
Posts: 1,620
Member is Online
|
|
|
|
|
that looks loads better mate. I was looking at led bulbs but as you already know, I went for yellow filament ones instead after wasting money on leds and ballasts for the wifes merc.
did the spoiler settle ok in the end???want me to drop some silicone off ......................
|
| |
Got the car from 105 bhp at the crank to 152 at the wheels.nitrous going on next.....if it ain't broke,keep bolting on go faster parts until it is........ www.fordgranadaclubuk.freefo.de |
|
mk2cossie
Club Retro Rides Member
Posts: 3,062  Club RR Member Number: 77
|
|
Sept 8, 2019 13:42:48 GMT
|
that looks loads better mate. I was looking at led bulbs but as you already know, I went for yellow filament ones instead after wasting money on leds and ballasts for the wifes merc. did the spoiler settle ok in the end???want me to drop some silicone off ...................... Don't get me started on the blimmin spoiler settling! I may have to take you up on the offer of silicone... Currently still having driveshaft related troubles, and need to investigate the noise that sounds like a wheel bearing but isn't  Need to find out if I have the driveshafts themselves on the right side of the car, as my Ford workshop manual says they are sided but helpfully doesnt say what the difference between them is! Shall update on here with some pics for eurogranada and mr later on today hopefully |
| |
|
|
mk2cossie
Club Retro Rides Member
Posts: 3,062  Club RR Member Number: 77
|
|
Sept 9, 2019 17:23:15 GMT
|
So, I finally got around to getting some new discs and pads for the front of my car. But I had to first get the discs redrilled by someone so they bolt on to my hubs. My welder friends dad was more than up to the challenge, even if it was more than I anticipated  But at least I know he is on the same kind of playing field as @johnnybravo for machine work! 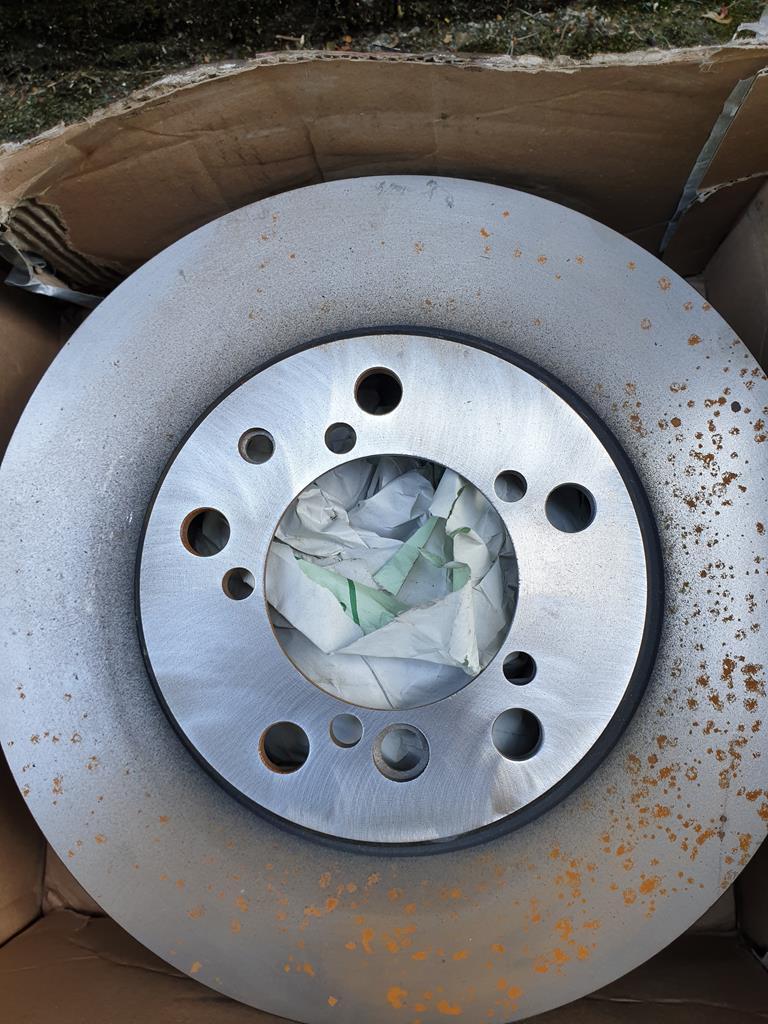 All bolted up no problem, and also changed the brake fluid to Motul 660 at the same time. Still have a slight brake vibration, but that is from the offside rear disc or hub I've now discovered! Also made a start on my brake ducting as well 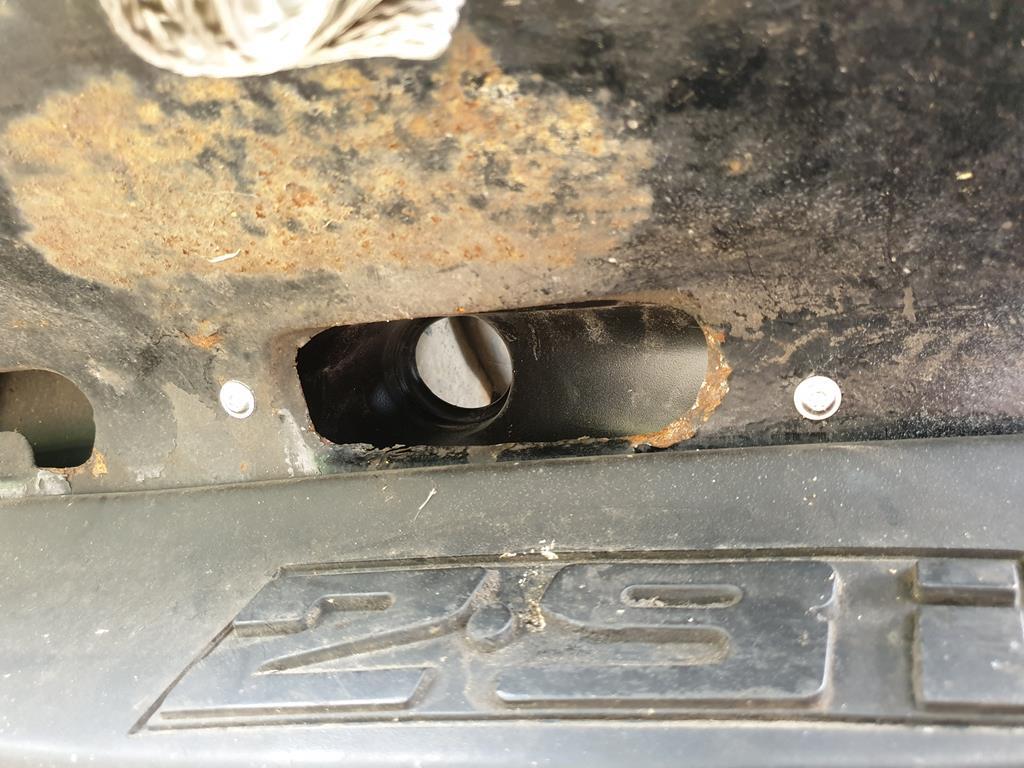 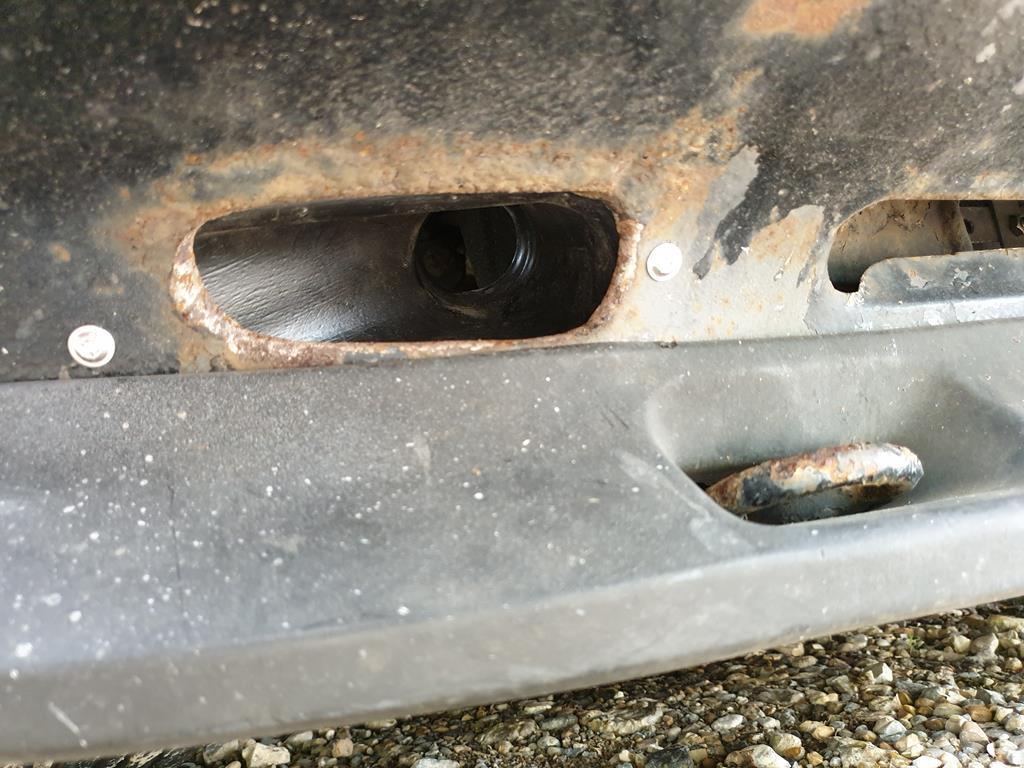 And last Sunday I set to my alloys with an angle grinder  Which I thought ended quite well... 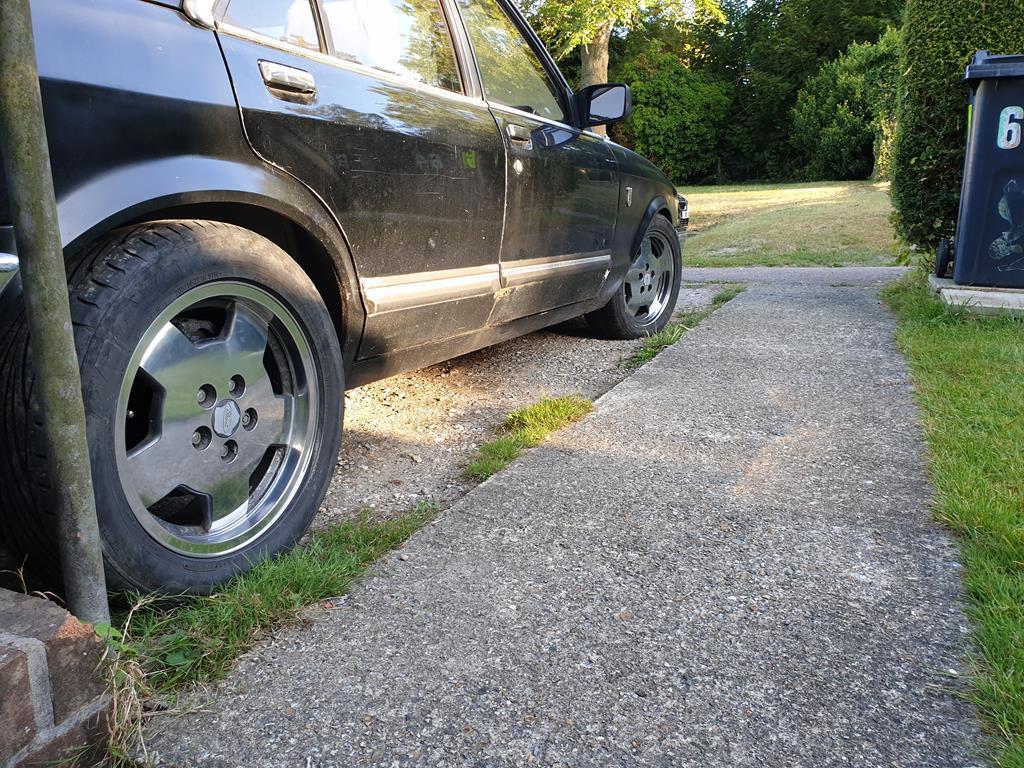 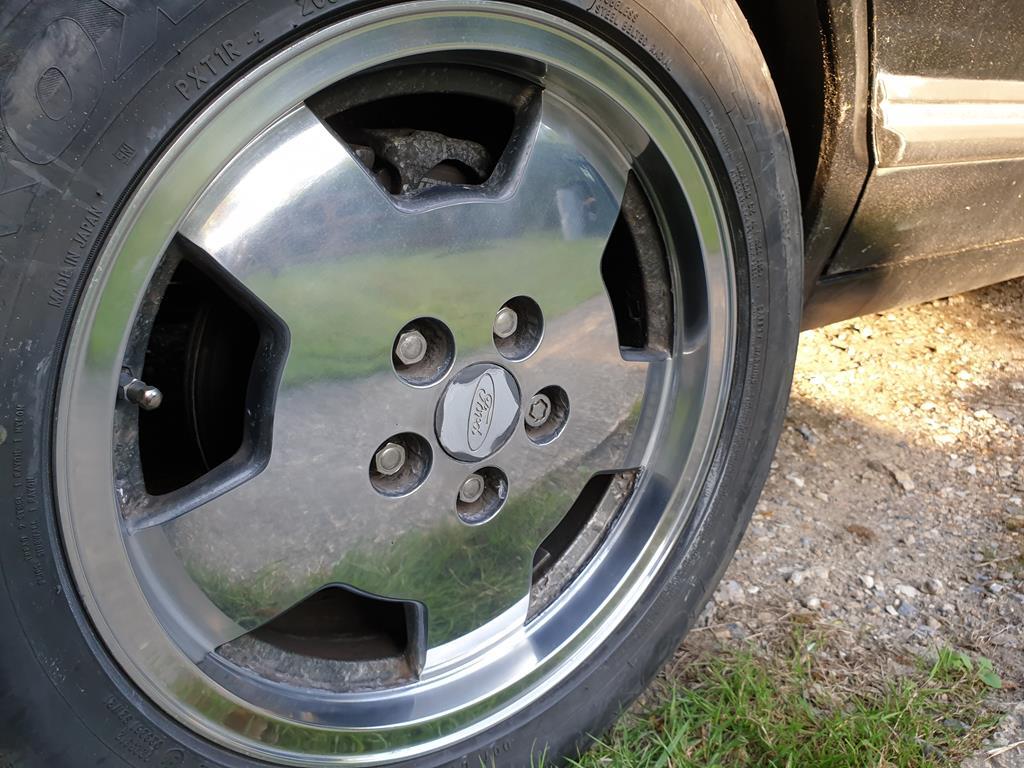 |
| |
|
|
|
|
|
Sept 9, 2019 17:28:28 GMT
|
|
I don’t like the fact that the mounting face on that disc where the wheel bolts up against has been wizzed over with a flap wheel...
Better to use a sharp countersink to remove burrs....
|
| |
Last Edit: Sept 9, 2019 17:29:36 GMT by Deleted
|
|
mk2cossie
Club Retro Rides Member
Posts: 3,062  Club RR Member Number: 77
|
|
Sept 9, 2019 19:31:05 GMT
|
I don’t like the fact that the mounting face on that disc where the wheel bolts up against has been wizzed over with a flap wheel... Better to use a sharp countersink to remove burrs.... You can put your mind at ease Johnny, it was a Brillo pad thing on a Roloc gun  And was purely to remove the surface rust with a light touch |
| |
|
|
mk2cossie
Club Retro Rides Member
Posts: 3,062  Club RR Member Number: 77
|
|
Sept 12, 2019 20:08:17 GMT
|
So after the short lived heat wave we had, my bits of plastic in the front wheel arches decided to sag on to the front wheels  At the weekend, I decided to just drill a hole in the inner wheel arch panel and nut and bolt the front of said bits of plastic. Drivers side went without any dramas (other than being a bit of a mare getting a nut on the other side of the bolt!) And thought I'd just repeat the process for the passenger side... Forgetting that all my wiring is tucked up where the drill bit went in to and grabbed some loom tape  Turns out it was just the main feed for the ECU relay and hadn't actually killed the wire. Recovered the wafty loom and thought I'd move the car back to its usual spot only to discover there was no noise from the fuel pump with the ignition on! Turns out the wiring is pooped from all the years ago I did that part and the little fuse box feeds were temperamental at best 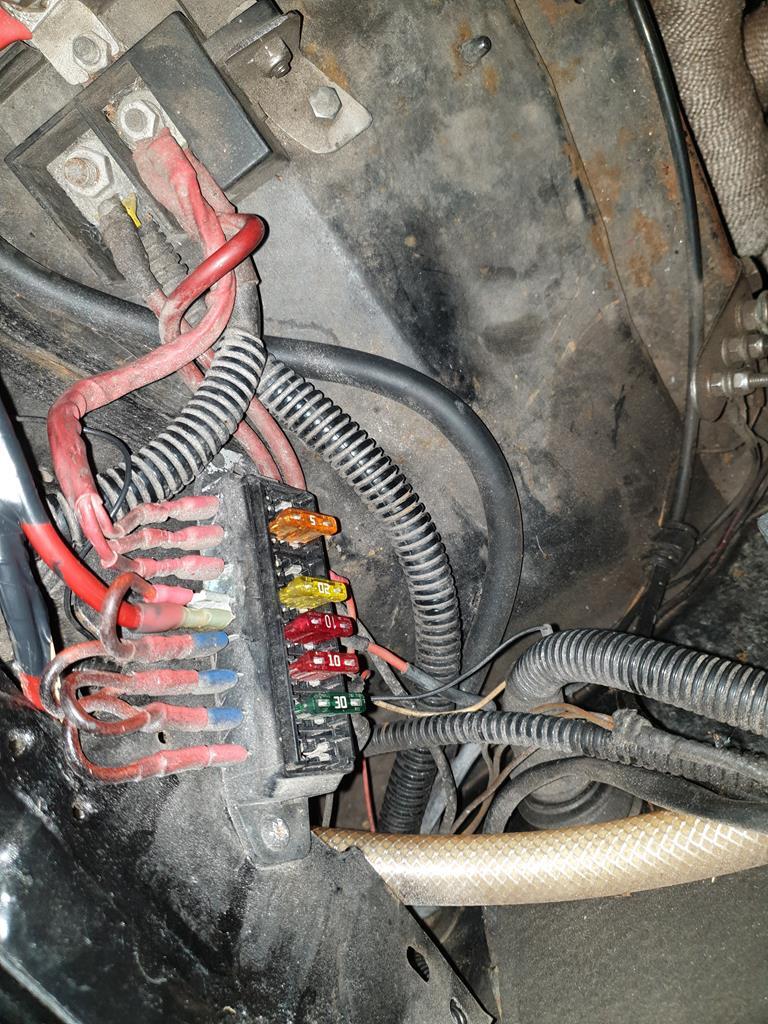 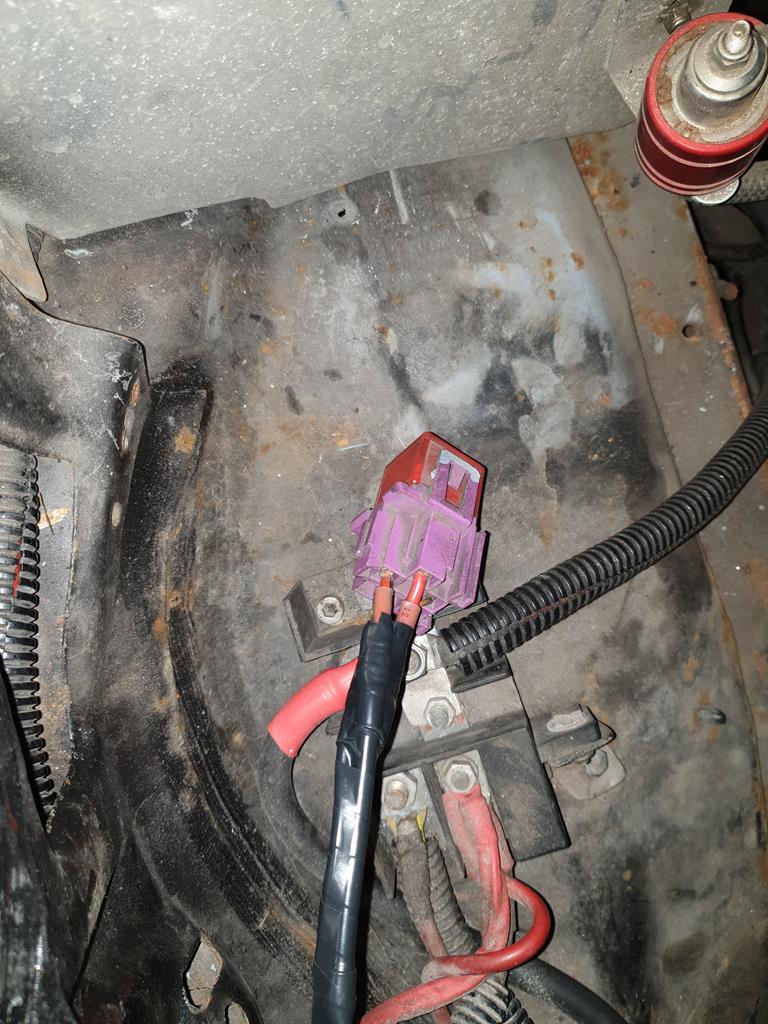 So tonight I did the same thing any like minded old car owner does and attacked the old curse word wiring 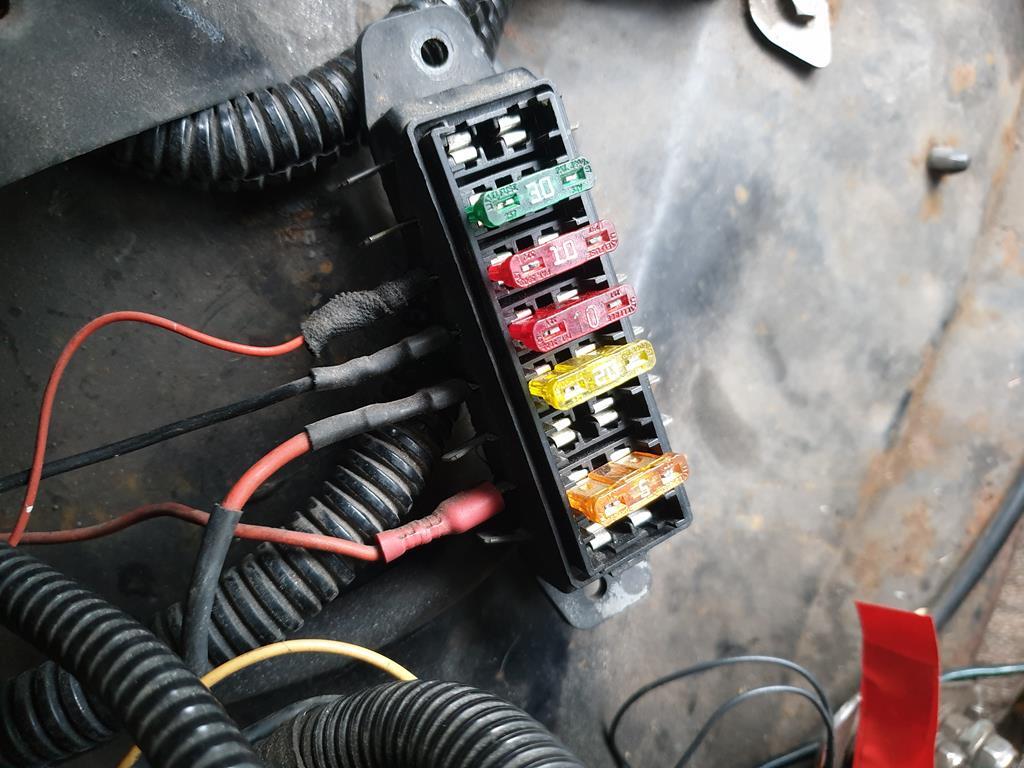 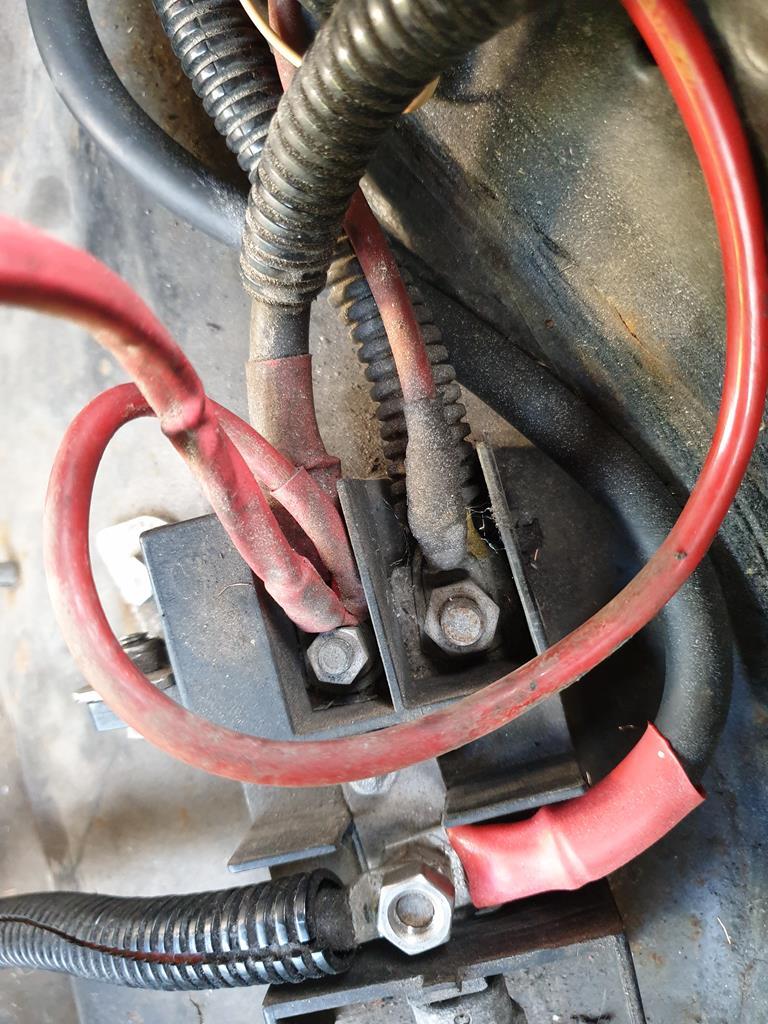 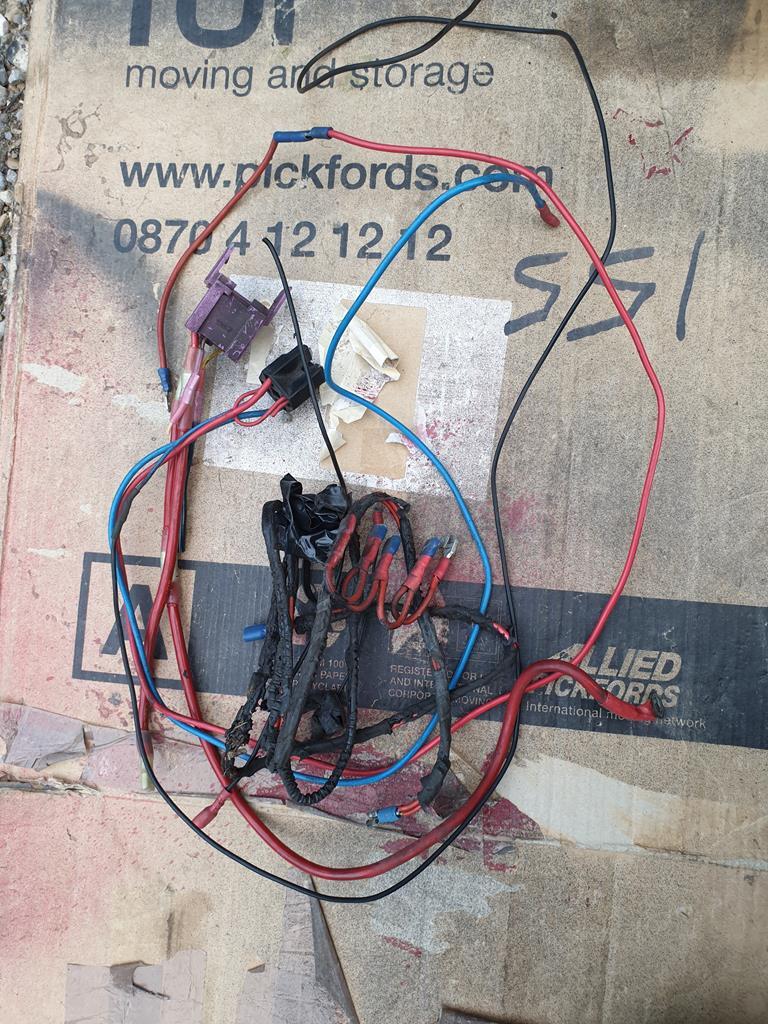 And ordered a fuse and relay box to replace it all and make it look more tidy as well hopefully. Also means I can relocate a couple of relays from around the engine bay in to the same box as the fuses then  |
| |
|
|
mr
Posted a lot
  
Posts: 1,620
Member is Online
|
|
Sept 18, 2019 5:31:03 GMT
|
|
been busy then lol
i've not touched my car for a while now...........have you checked your wheel balances are still on the wheels?
I had some rear wheel wobble on the Chrysler when braking . I bought new discs and a caliper in readiness but it turned out that a couple of nuts were just not tight enough.
|
| |
Got the car from 105 bhp at the crank to 152 at the wheels.nitrous going on next.....if it ain't broke,keep bolting on go faster parts until it is........ www.fordgranadaclubuk.freefo.de |
|
mk2cossie
Club Retro Rides Member
Posts: 3,062  Club RR Member Number: 77
|
|
Sept 18, 2019 17:15:58 GMT
|
been busy then lol i've not touched my car for a while now...........have you checked your wheel balances are still on the wheels? I had some rear wheel wobble on the Chrysler when braking . I bought new discs and a caliper in readiness but it turned out that a couple of nuts were just not tight enough. Full set of new tyres balanced up to perfection by my own fair hands  It will either be the slight play in the offside rear wheel bearing, the poxy driveshaft joint that side, or the mating faces between the hub flange and brake disc not sitting perfectly together. I have however, sorted the non-running issue with the wiring... 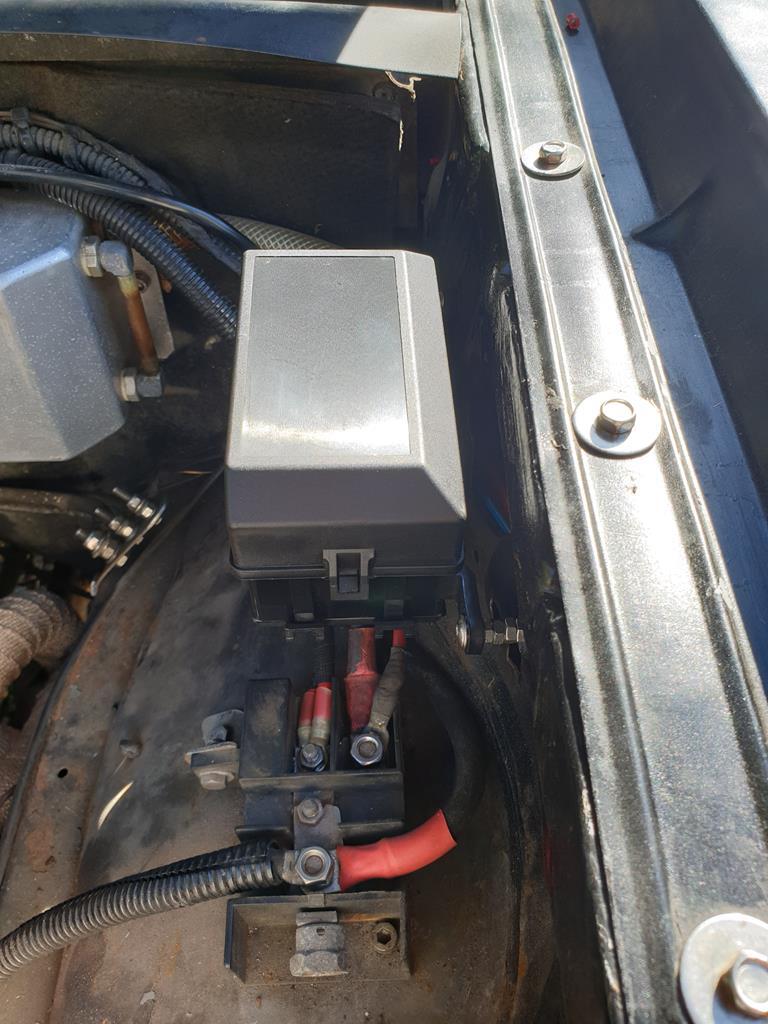 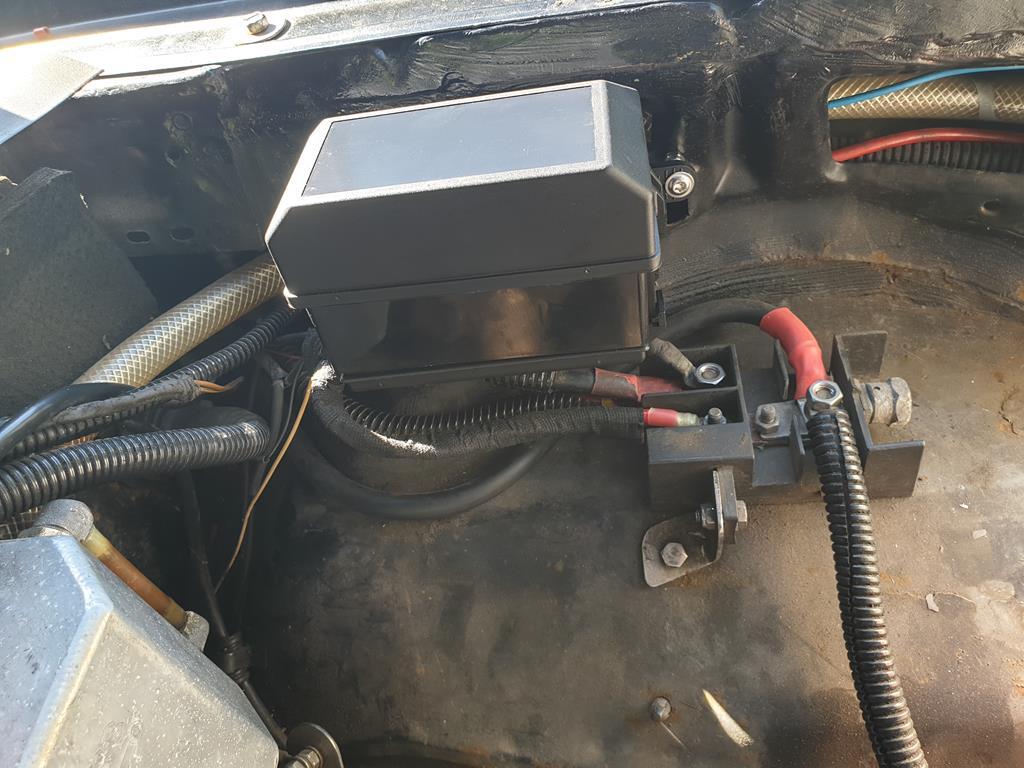 |
| |
|
|
mk2cossie
Club Retro Rides Member
Posts: 3,062  Club RR Member Number: 77
|
|
|
|
Well, what a lovely week of weather we've had in the middle of the county! Work til 5 through the week and not much light when I get home has meant a lack of tinkering time and enthusiasm lately. The wiring repair has proven successful though, so that is something at least. And when I went and saw my friend Paul the other week he confirmed my suspicions of a rear wheel bearing being the cause of all the whining from the rear of my car of late. Seems that none of the factors we deal with at work can source a wheel bearing for me tho, so on to Ebay to see what rubbish is on there. Turns out there is a man somewhere in Kent with 8 in stock, so I ordered a pair last week and they turned up on Thursday! (Was free delivery as well, which was nice) Working on Saturday til 12, and the boss said I could use the workshop to work on my car if I wanted. So I seized the opportunity and did just that! 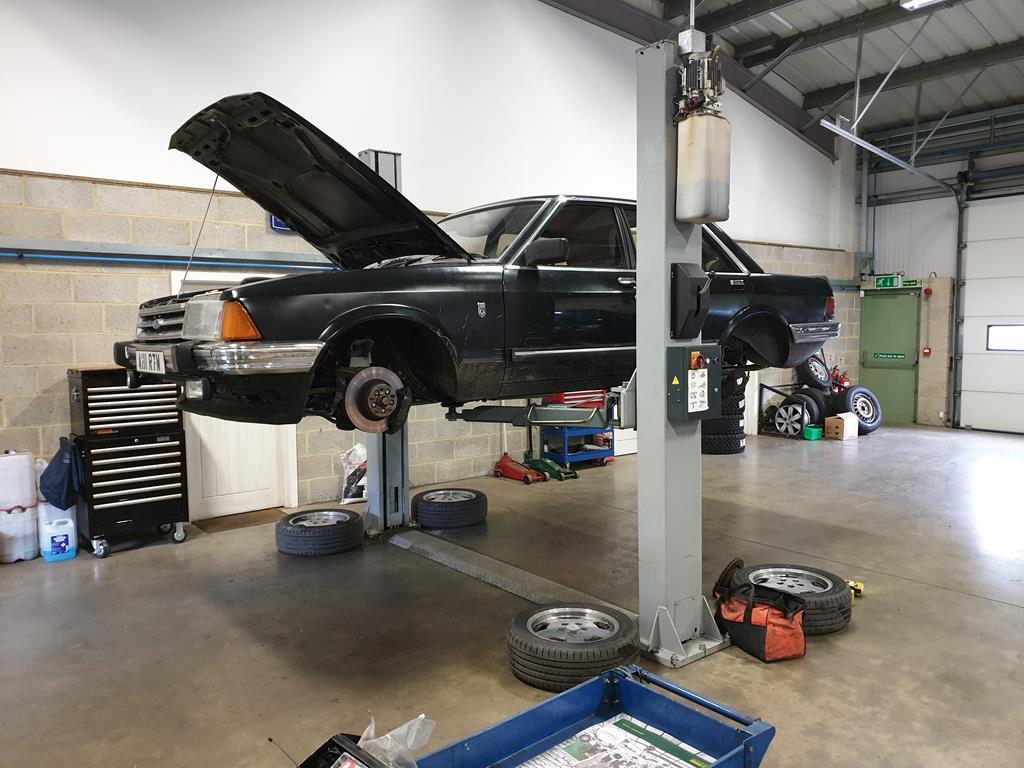 The bearing was just a tad noisy on the nearside rear (youtube link now here) And the grease inside it wasn't all that nice looking 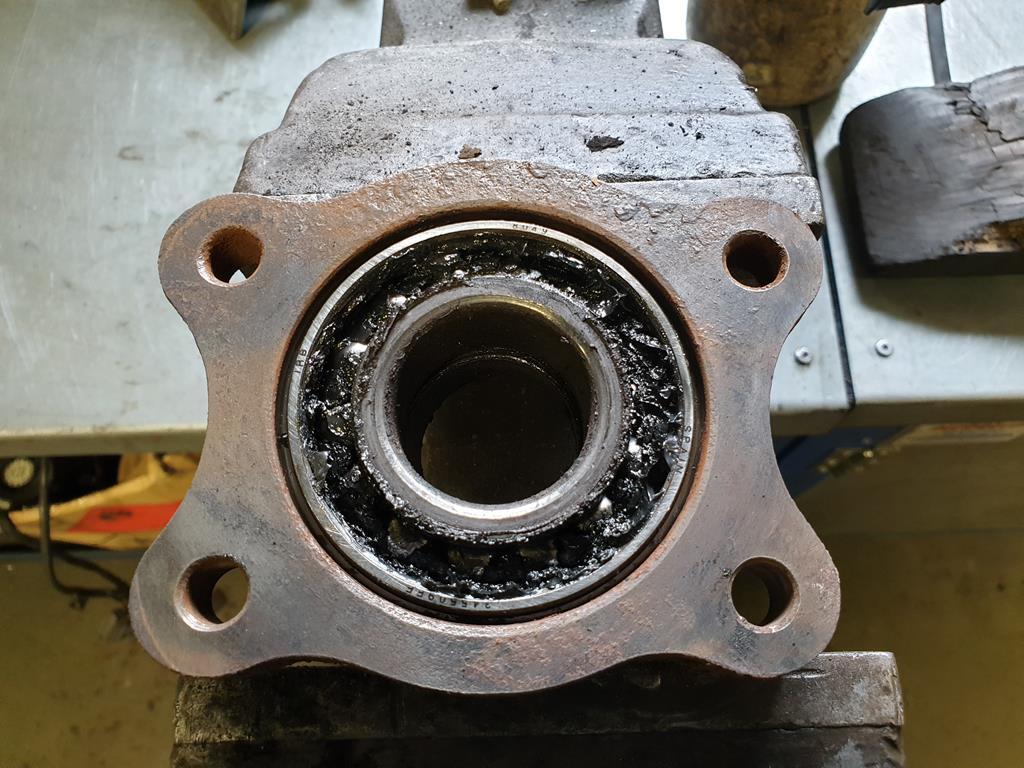 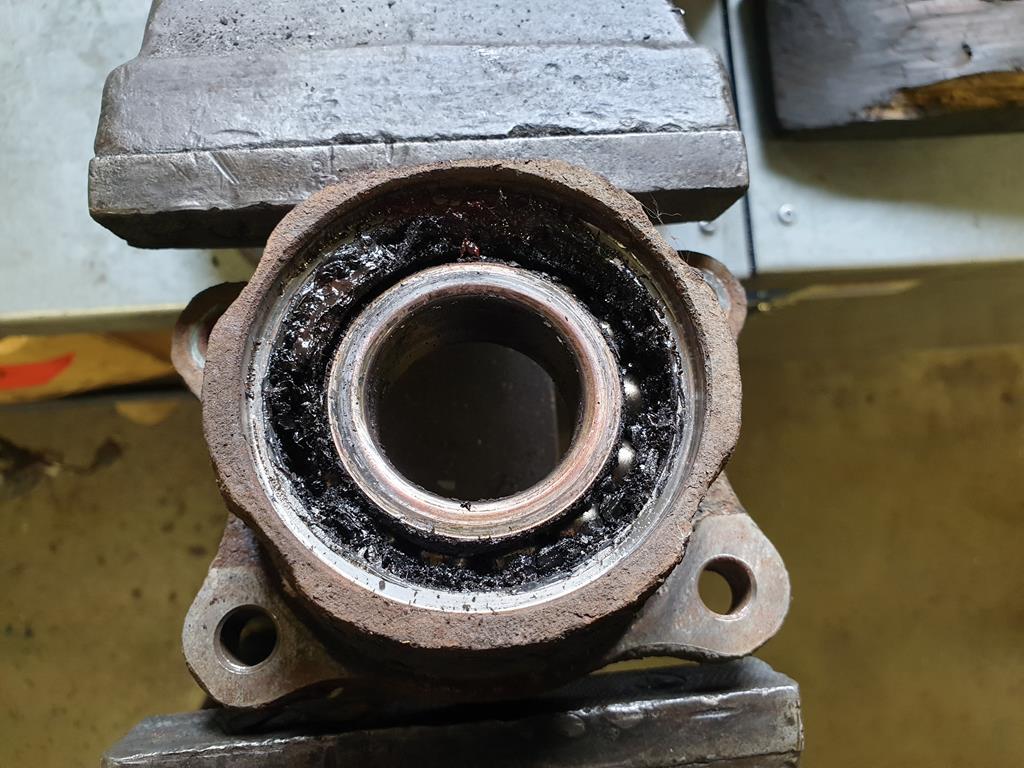 And I think I may have found the cause of the failure and noise with the stub axle 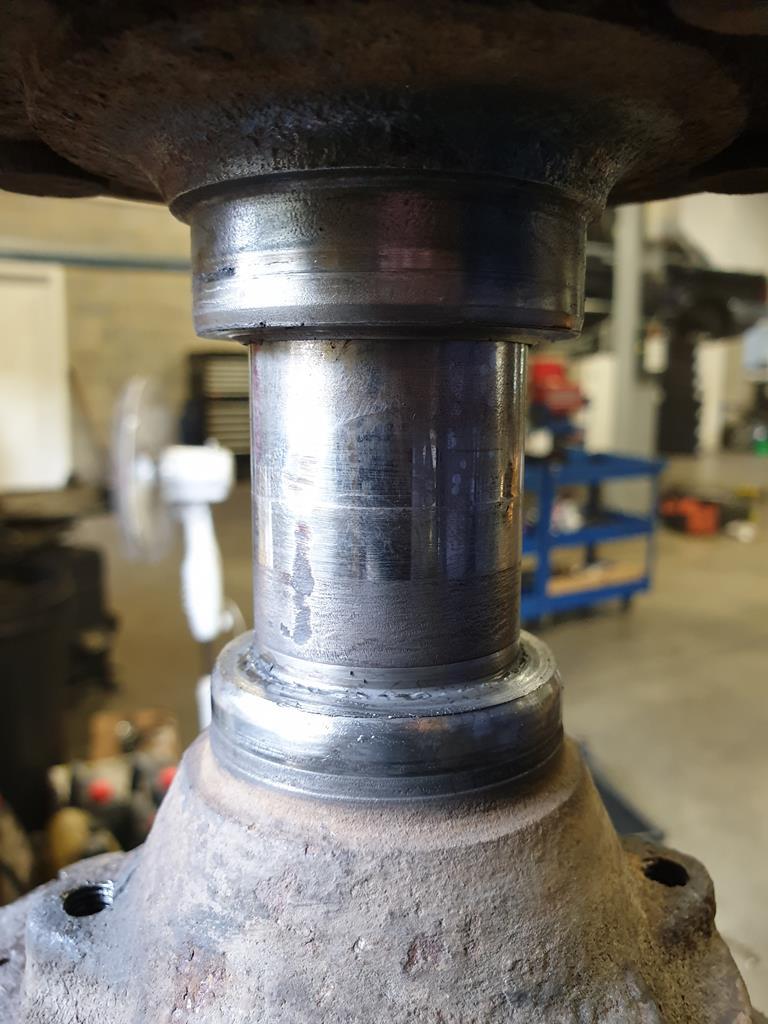 So that got a minor dressing with a little file and my stone to try and clean it all up a bit, and reassembled it with a smear of red locktite to hopefully take up the slack. Also went over all the mating faces with the wire wheel and a quick glance over with the stone to make sure they are as flat as I can get them. Cleaned out the rear caliper sliders and pads and regreased all the important areas and reassembled that lot. Made the most of my workshop useage and managed to get my front brake cooling ducting fitted 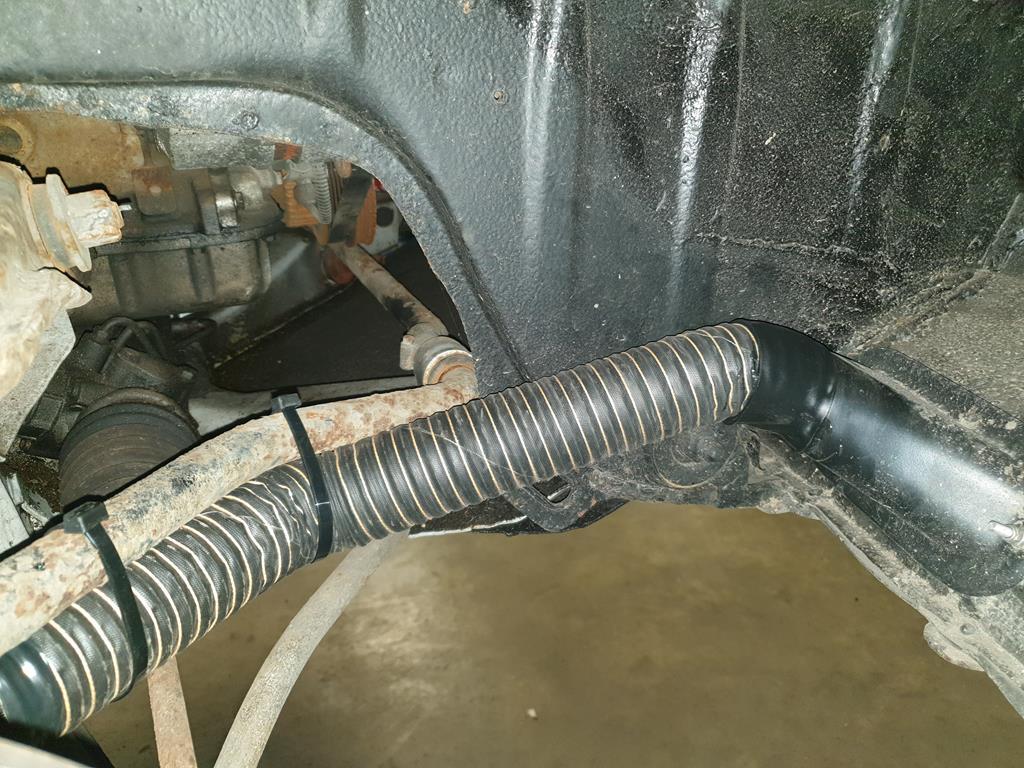 And the nearside front one required the steady bracket for the PAS pump to be clearanced 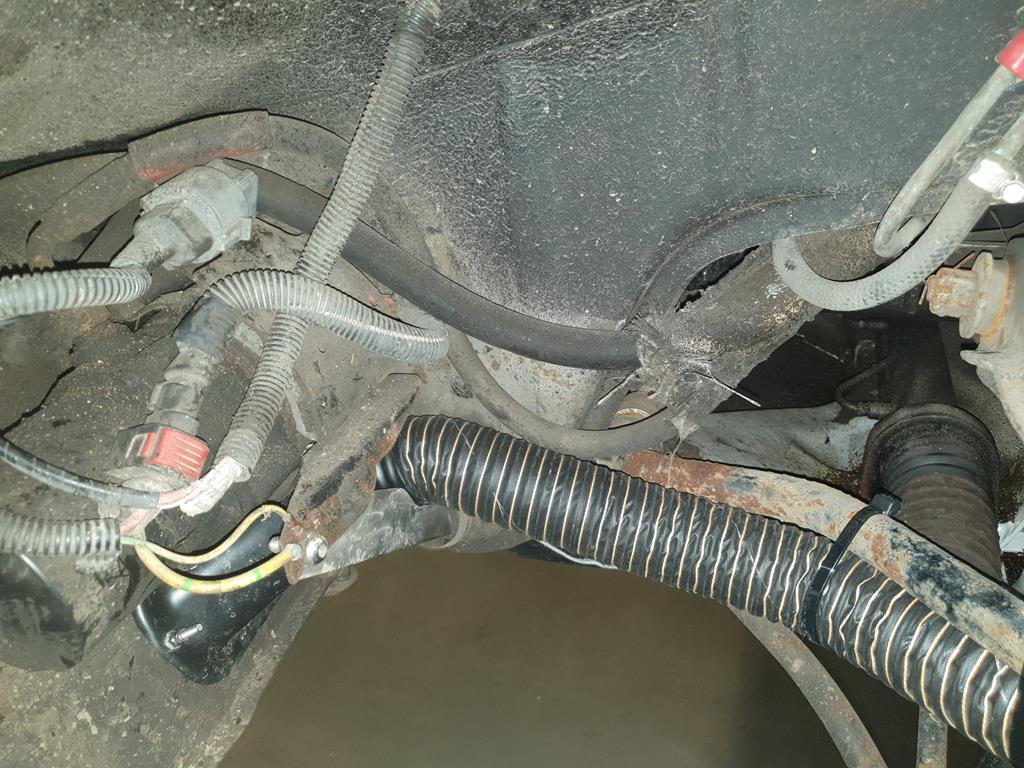 |
| |
Last Edit: Nov 12, 2019 9:26:52 GMT by mk2cossie
|
|
heathrobinson
Part of things
  Broken everything
Posts: 848  Club RR Member Number: 111
|
|
|
|
|
Always good to have a nice clean mating face...
|
| |
|
|
|
|


