|
|
|
|
|
|
Thanks jonesy! I'd put extra on the folded lip but I think I made an error when folding but I'll try again this week.
I think you're right though I'll drop a longer piece on then trim it. It'll be good to see your mk2 though
|
| |
1966 Ford Cortina GT
2018 Ford Fiesta ST
Full time engineer, part time waffler on Youtube - see Jim_Builds
|
|
|
|
|
|
|
|
|
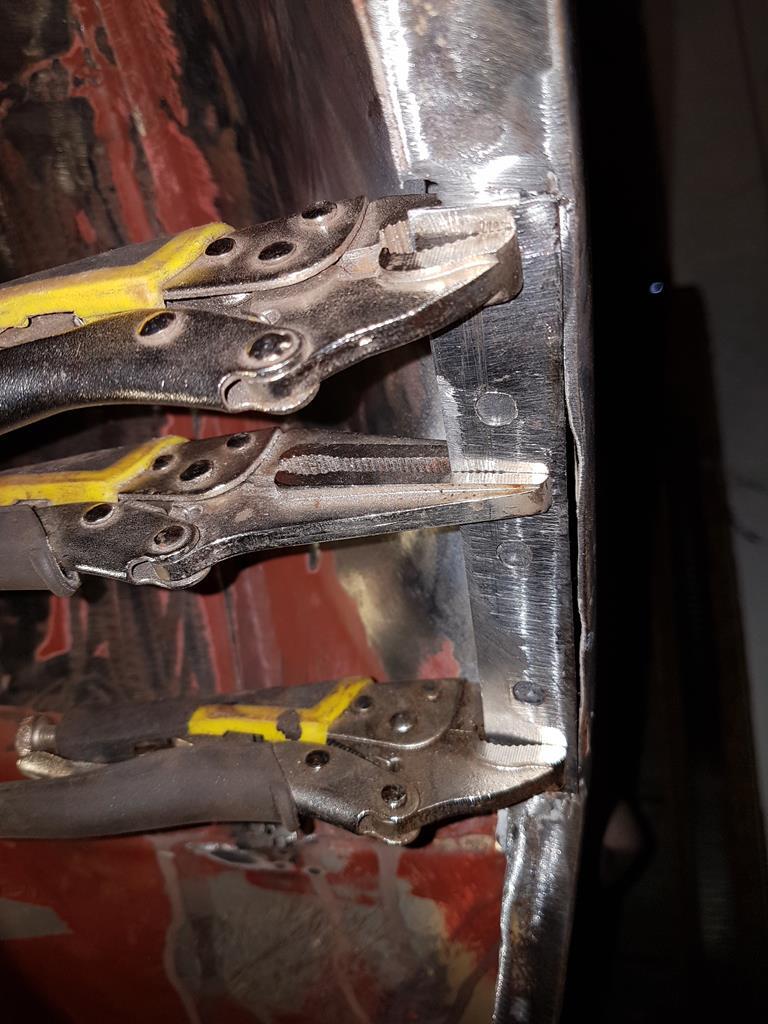
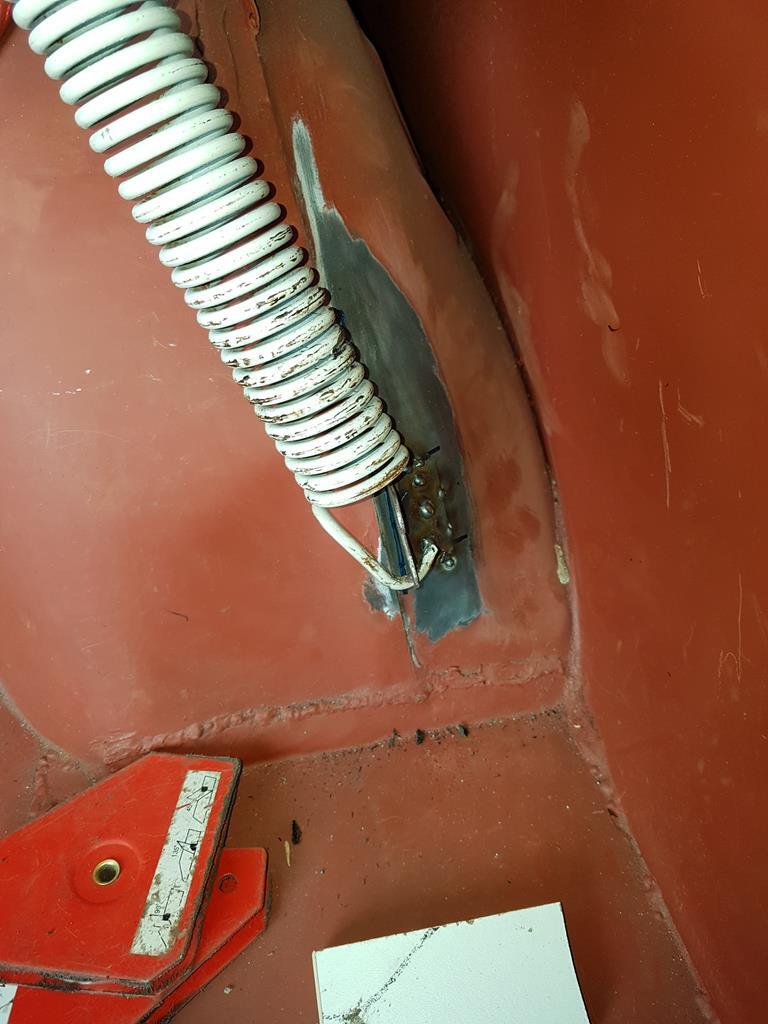
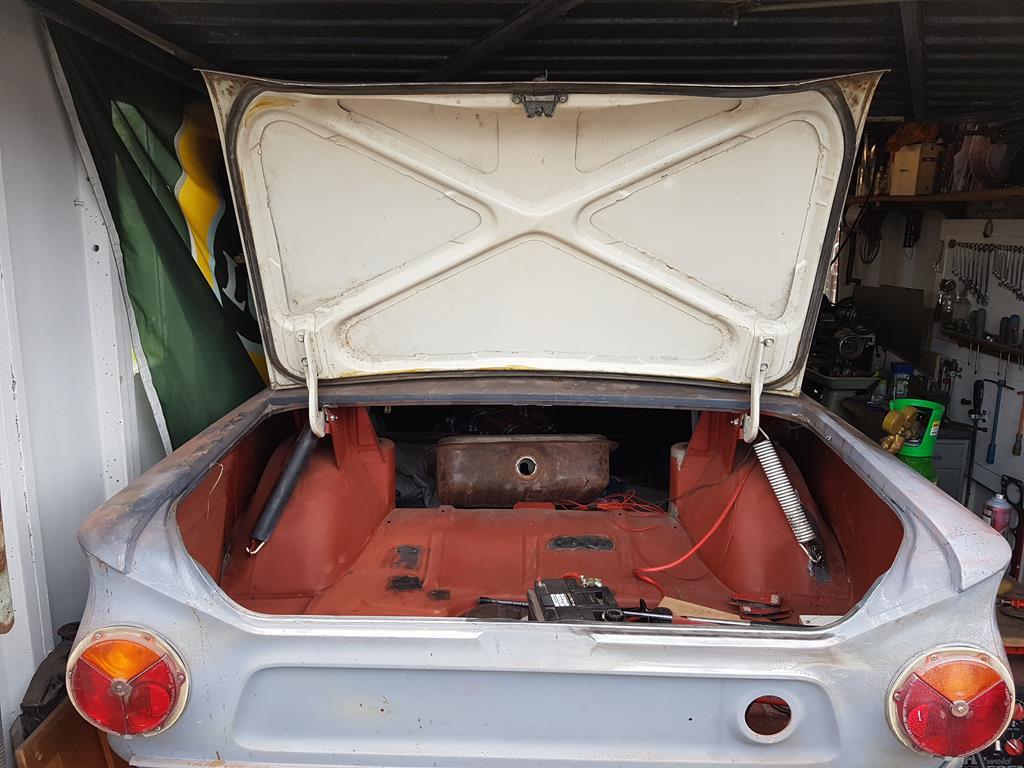
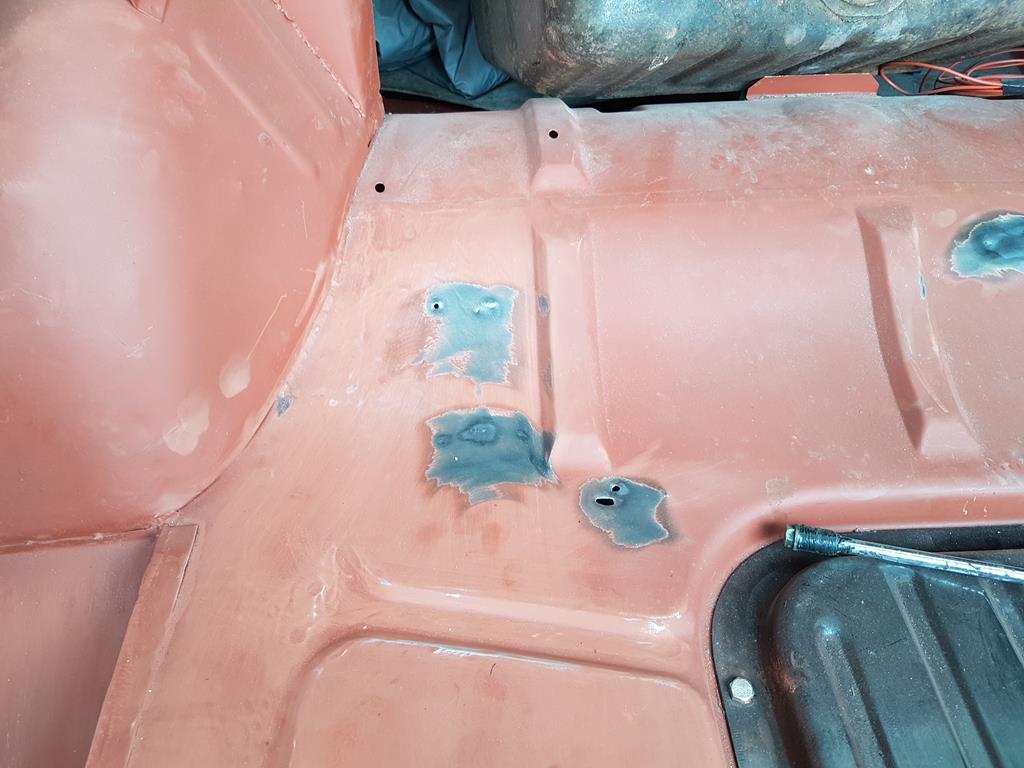
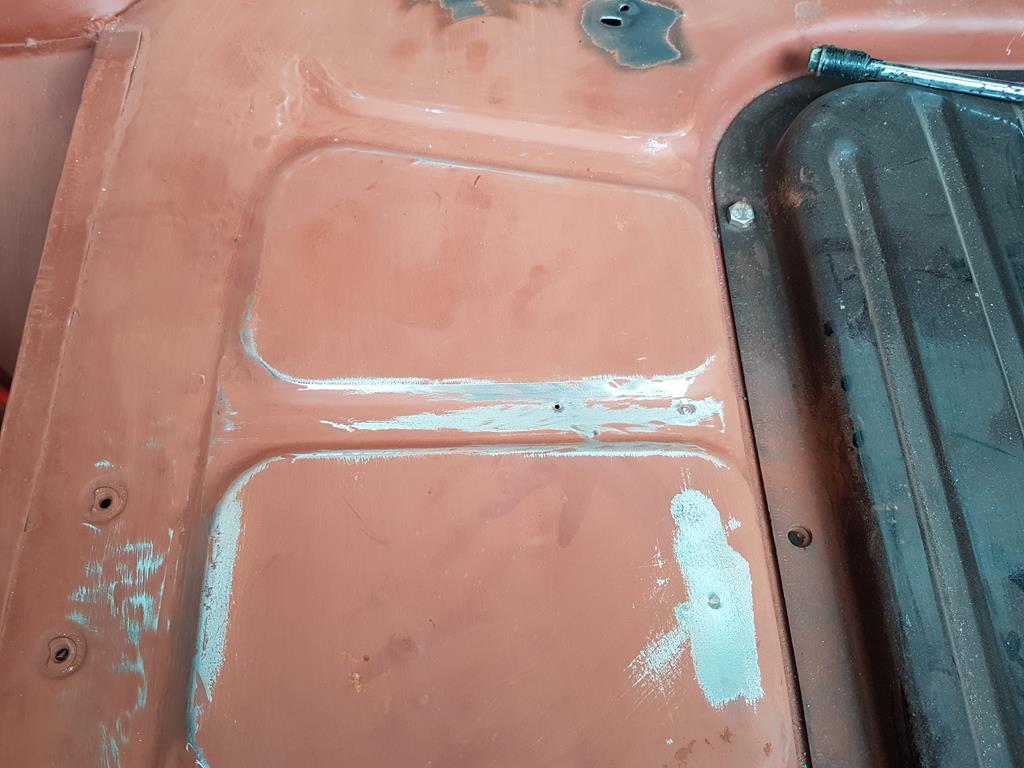
So after a few hours over the last few days I managed to make a new lower panel and got the fitment just about where I needed it to be 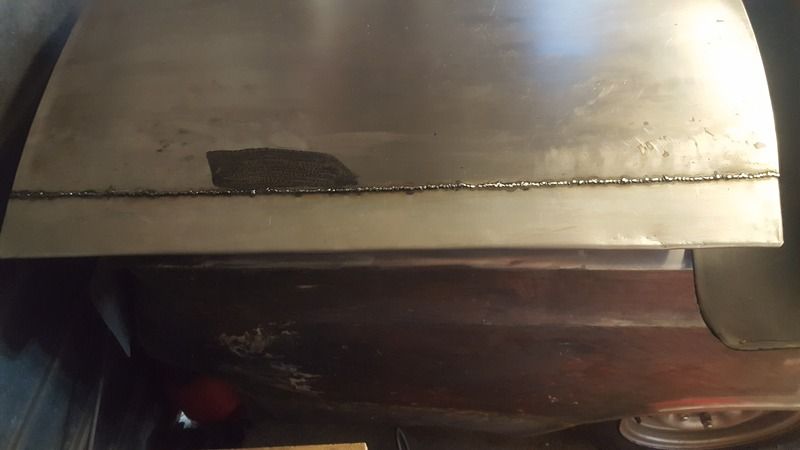 It's tacked in place 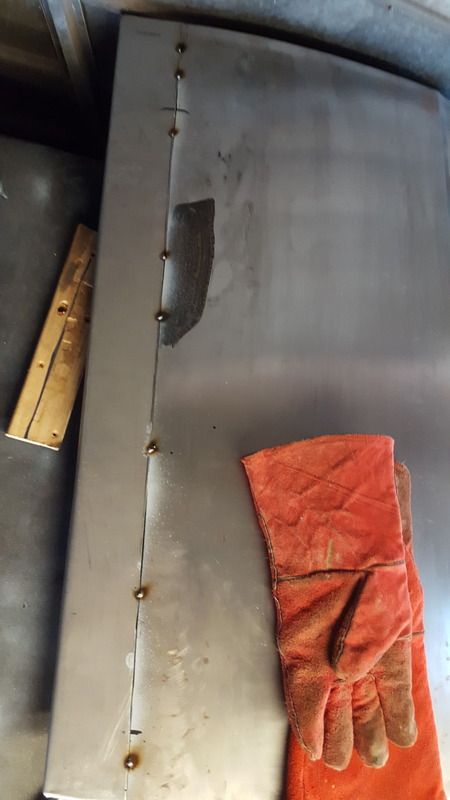 Over the next few hours today I dropped more and more tacks on which was ideal in 20 degree heat in the garage and wearing overalls!  Whilst crimping the panel I put a few small dents in which can be skimmed and it'll never be seen again! I love started to grind back the welds and hopefully I should get it back on this week! 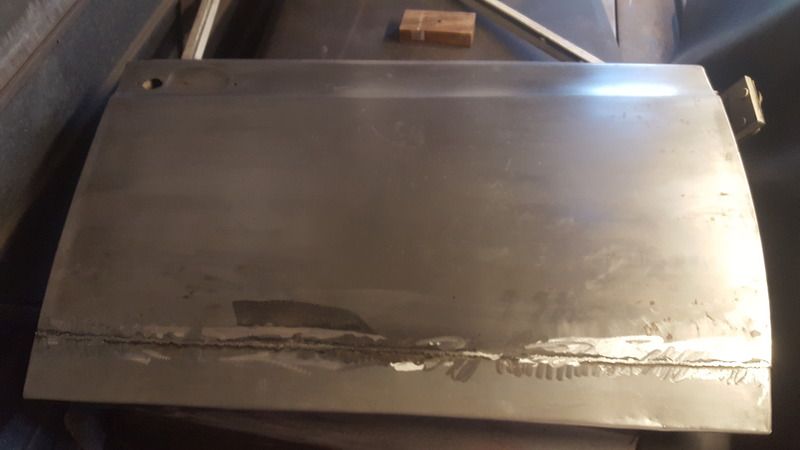 |
| |
Last Edit: Apr 9, 2017 18:53:32 GMT by jim
1966 Ford Cortina GT
2018 Ford Fiesta ST
Full time engineer, part time waffler on Youtube - see Jim_Builds
|
|
|
|
|
Apr 17, 2017 19:30:53 GMT
|
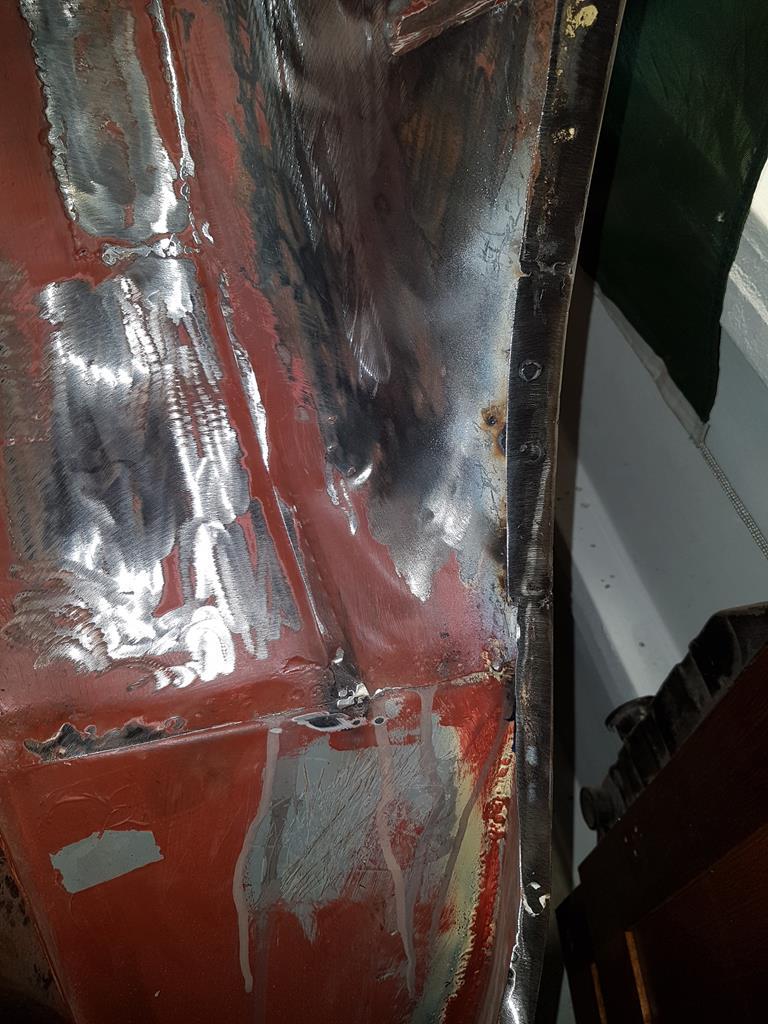
I've not ground the welds back totally - I thought I'd check the gaps etc, I think it looks ok but I need to do some further checks and panel fitting 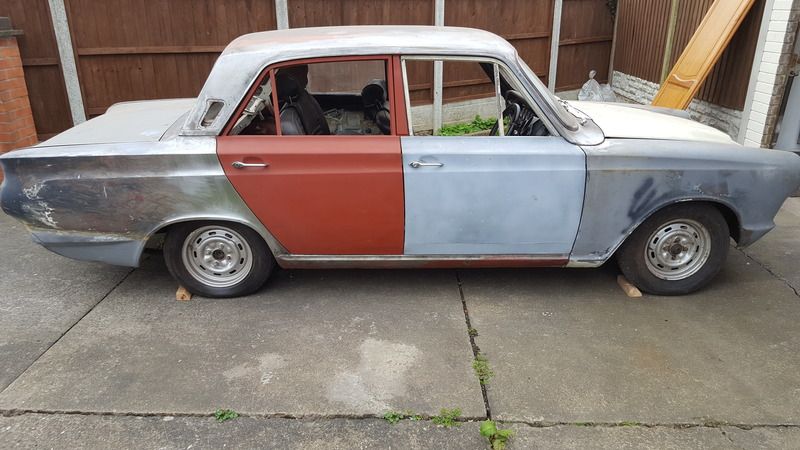 I then had the problem of cleaning up all sorts of chap 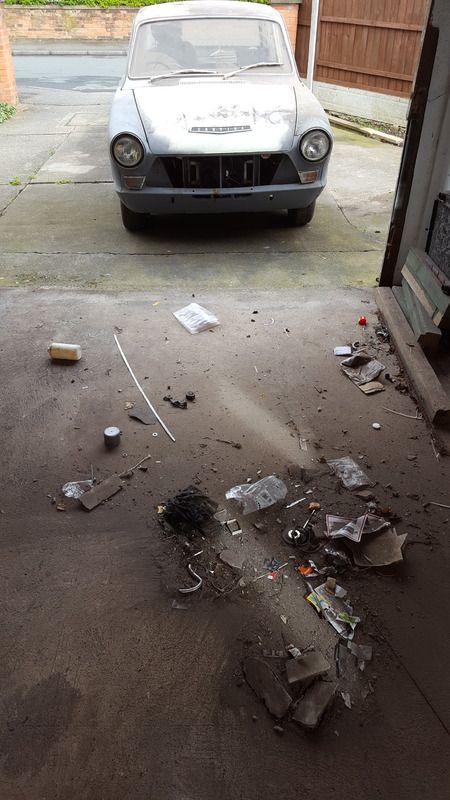 Onwards.... 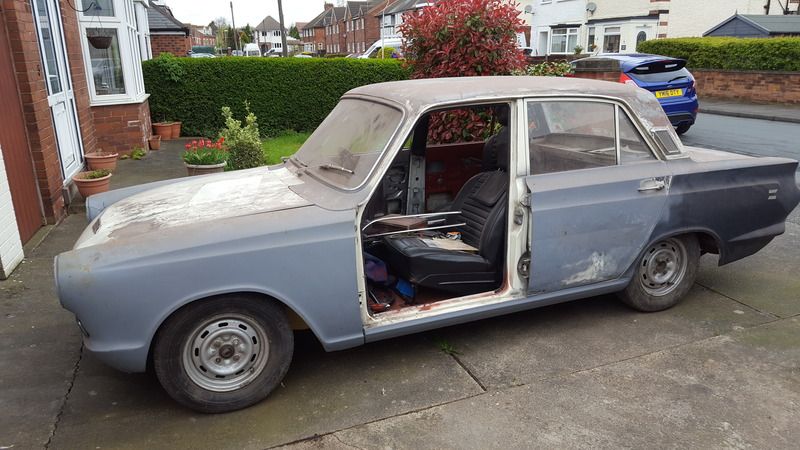 3 door conversions are easy! Back on with the grind, cut, weld 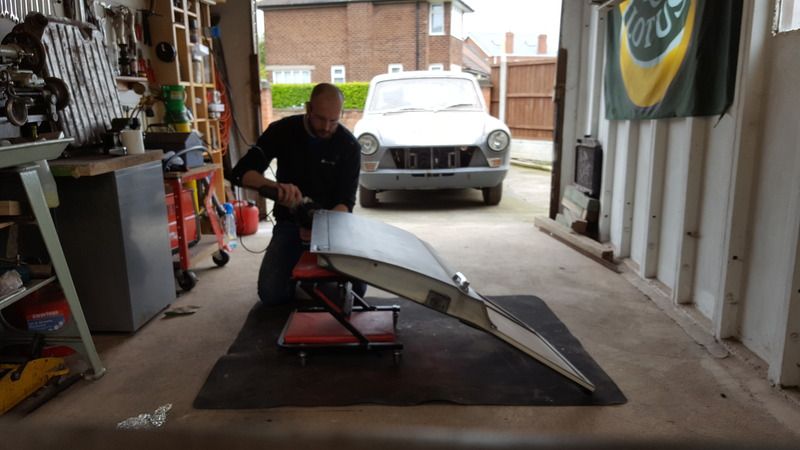 Then I was reminded that i married the right woman! I got this with no promoting too! 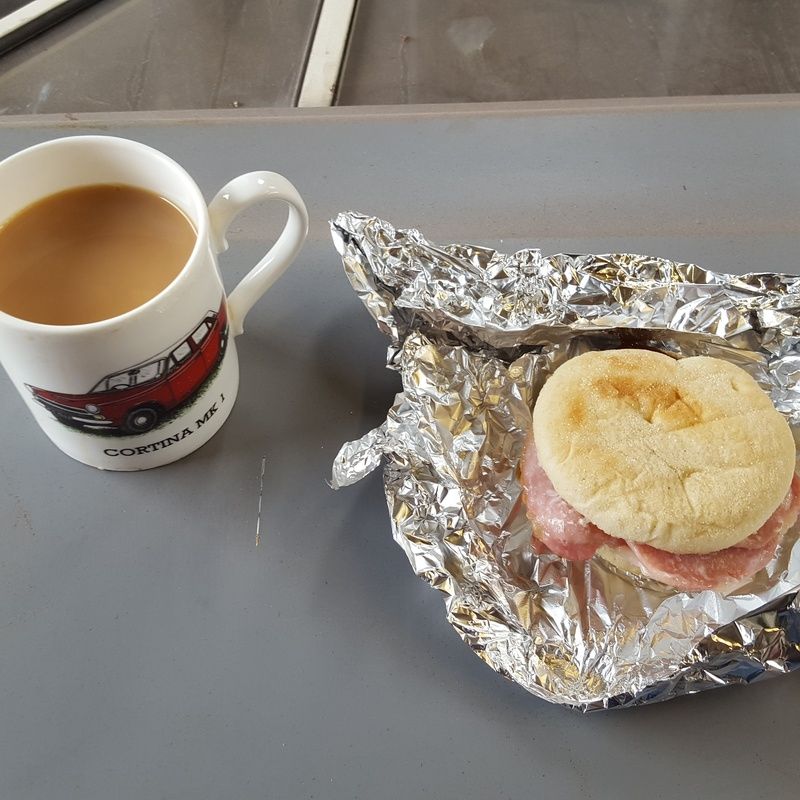 The damage is interesting in this as one side is invisible and the other was but had been filled with weld which was a huge pain in the  to get off as both the skin and inner we're sort of glued together! 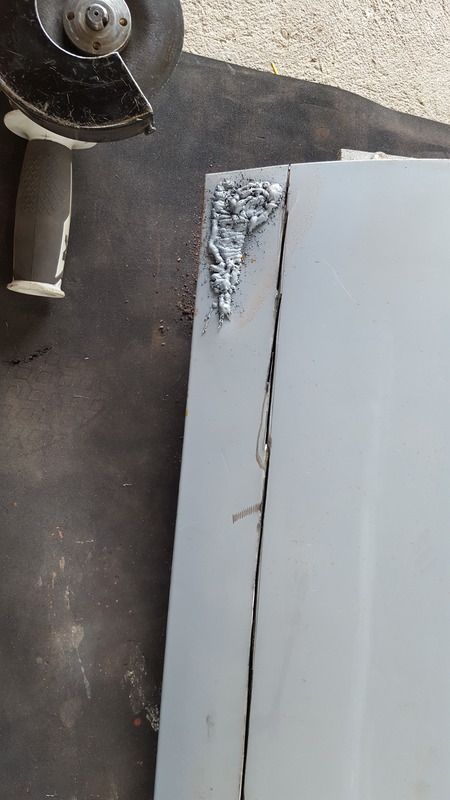 Inside looked even worse! 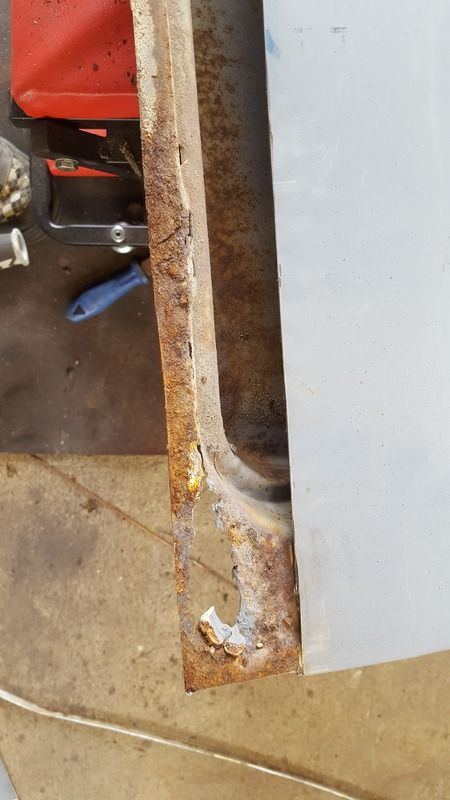 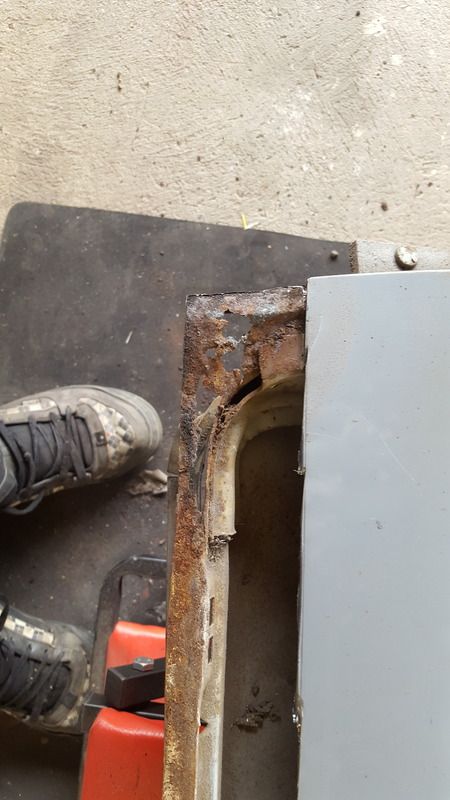 |
| |
1966 Ford Cortina GT
2018 Ford Fiesta ST
Full time engineer, part time waffler on Youtube - see Jim_Builds
|
|
|
|
|
May 24, 2017 20:01:40 GMT
|
Moving on from the door I started chop the old jacking point out as it looks to pay and the floor has gone underneath 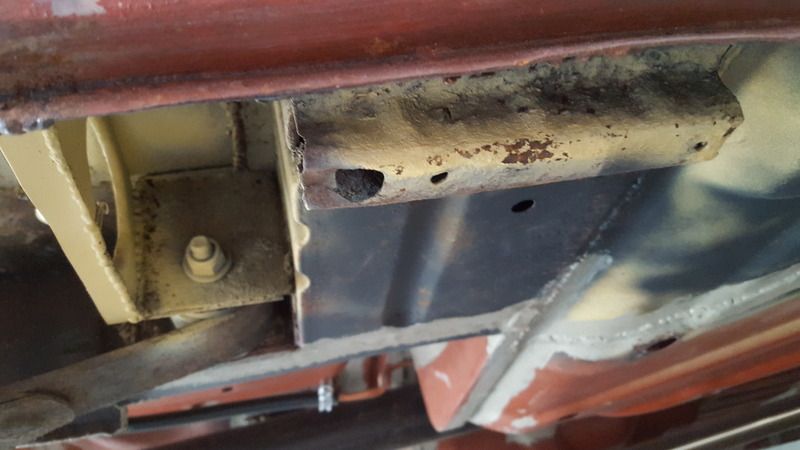 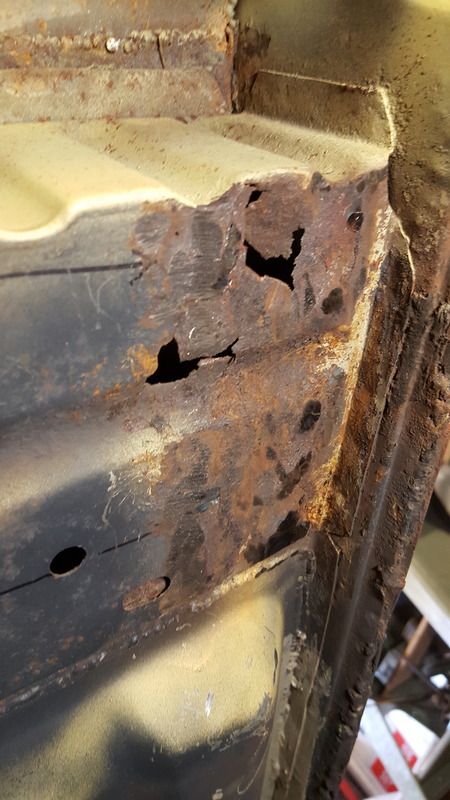  It looks like I chewed it out! To make the swage I needed to make a former which I did using some old chip board I had laying about  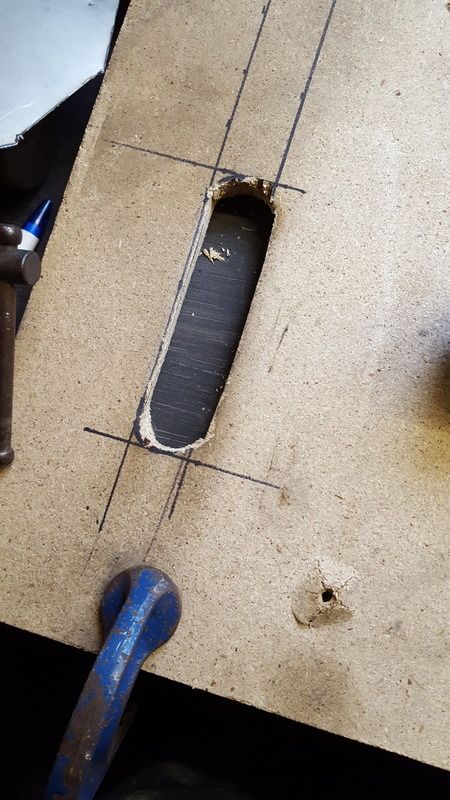 I'd say to make this 5mm narrower than you're after but that might be my technique! It's 25mm wide - is also suggest a stronger wood than chipboard 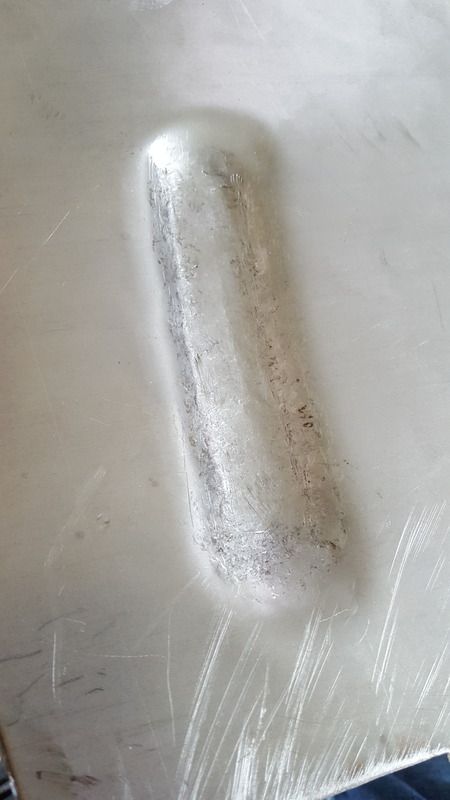 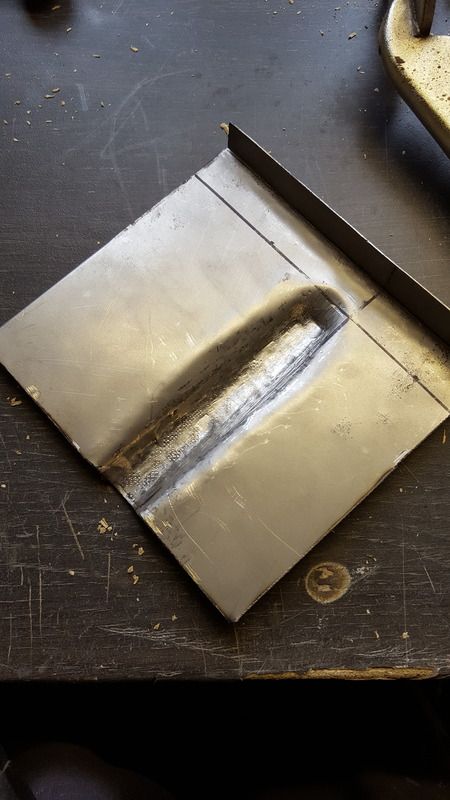 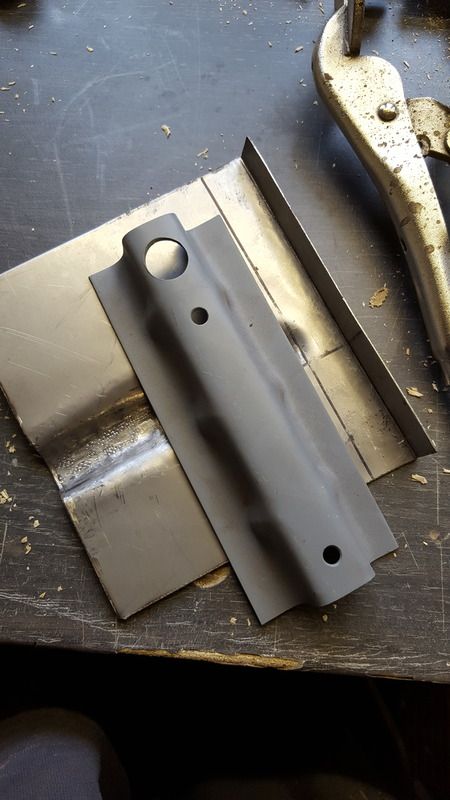 I had a week off due to getting metal in my eye which was not where I usually keep metal and wouldn't recommend it! Feeling better I thought I'd glue it together  I didn't grind it back too aggressively it's not the prettiest welding but it's strong enough   I lined the jacking point back where it should be and held it in place for welding  And it's done! 1 more to do! |
| |
1966 Ford Cortina GT
2018 Ford Fiesta ST
Full time engineer, part time waffler on Youtube - see Jim_Builds
|
|
|
|
|
May 24, 2017 21:44:46 GMT
|
|
Nice repair. Good to see you cracking on.
|
| |
|
|
|
|
|
May 26, 2017 11:31:50 GMT
|
|
Hats off to you sir, what you've achieved and the skill you're showing is a real inspiration.
I'll be following along with interest, it's a cracker of a car and I'm sure the finished product will reflect all your efforts.
Looking forward to the next update 😃
|
| |
|
|
|
|
|
Jun 13, 2017 20:16:48 GMT
|
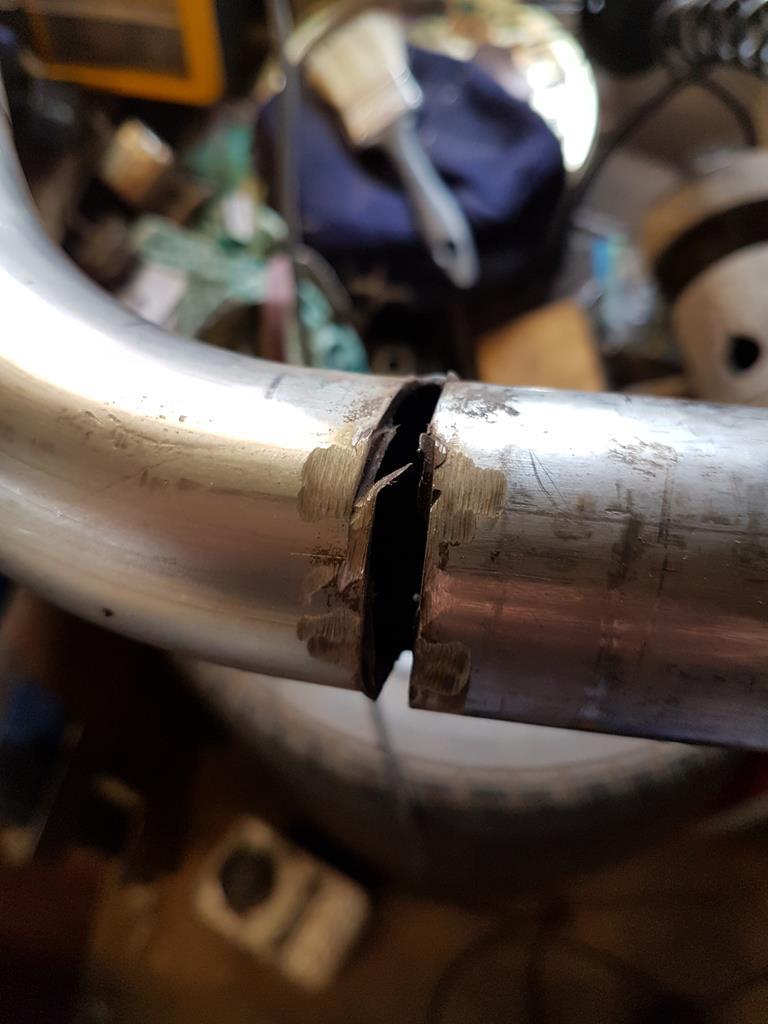
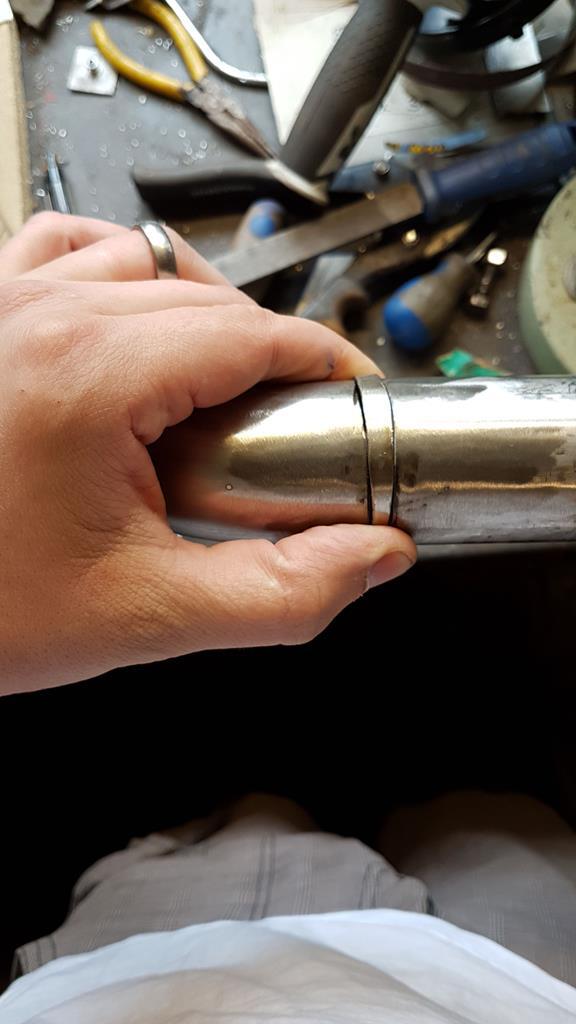
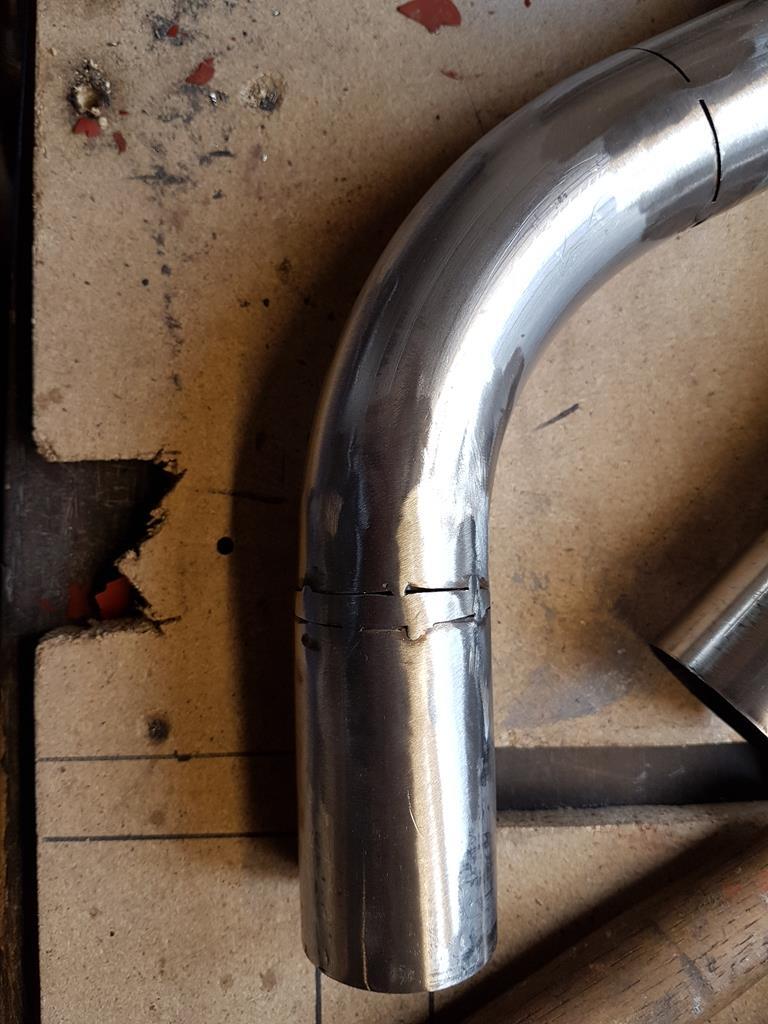
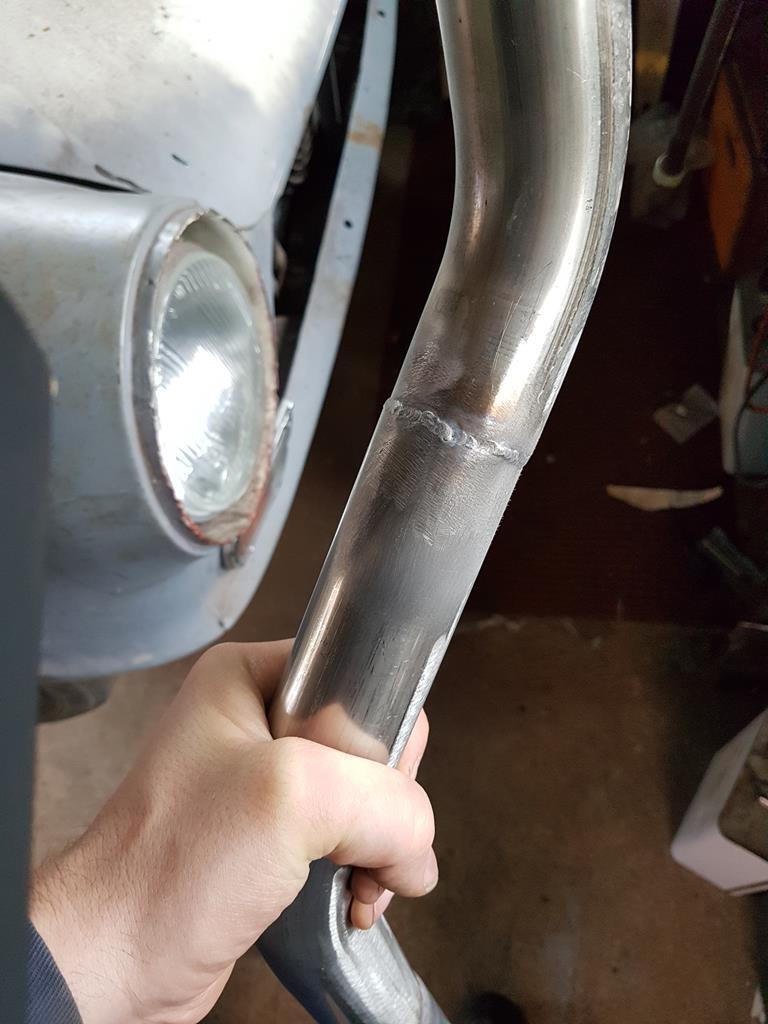
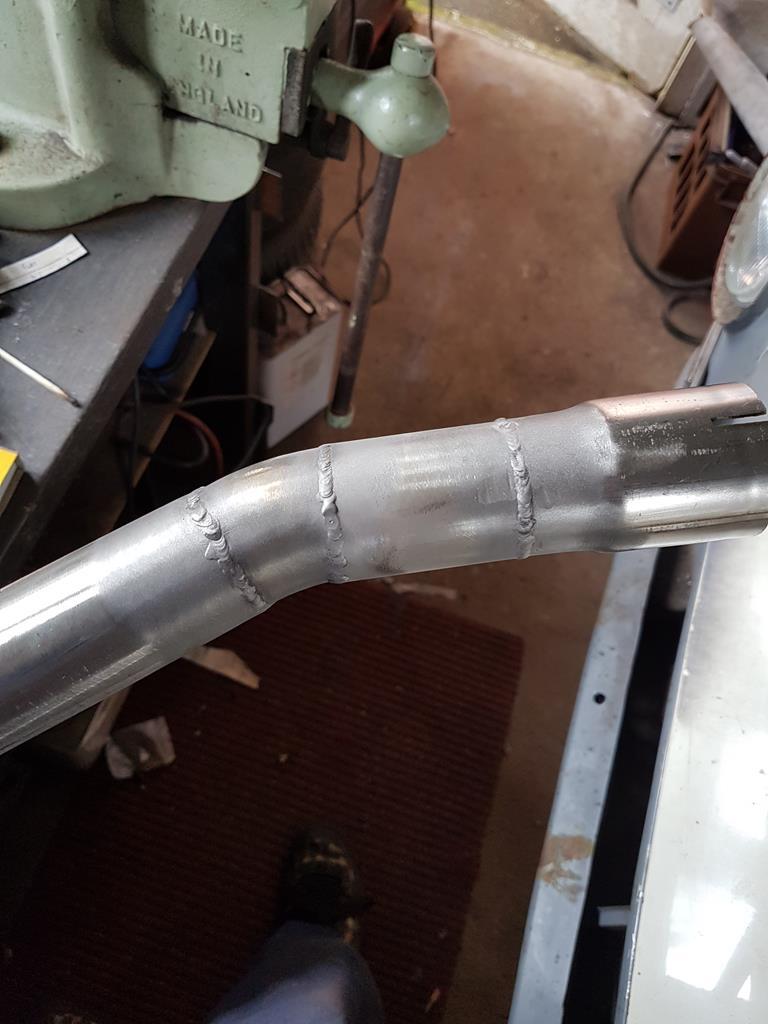
Thank you for that - it's great to know there's interest and also that I'm getting somewhere with the car! So 13/6 a rather exhausting post! (A poor pun I know but I'm writing this so it's my rules!) I've been head scratching and swearing at the exhaust since I last posted but finally it's supported and fits how I wanted! The silencer wouldn't sit level - about 10 degrees but it really frustrated me so I cut the tacks and re- not it all   The tail pipe kicks up a little but I quite like that but it might be me looking at it whilst it's jacked up. The original rear mount has been recycled as I thought it was pointless to make a specific part then have to block up the captive nuts in the exhaust  I ran out stainless bar for the system hangers so I used mild as a temporary thing then I'll hit it and reweld when it's seam welded  It just needs trimming down For a first go at this I'm happy with the finish and it'll sit nicely under the car  It's a lot more stable than the original which was like a pendulum! It's a little but firmer than my 2016 fiesta's so it's onto a few other welding repairs and making fuel line holders but I'll update as soon as I can |
| |
1966 Ford Cortina GT
2018 Ford Fiesta ST
Full time engineer, part time waffler on Youtube - see Jim_Builds
|
|
|
|
|
|
|
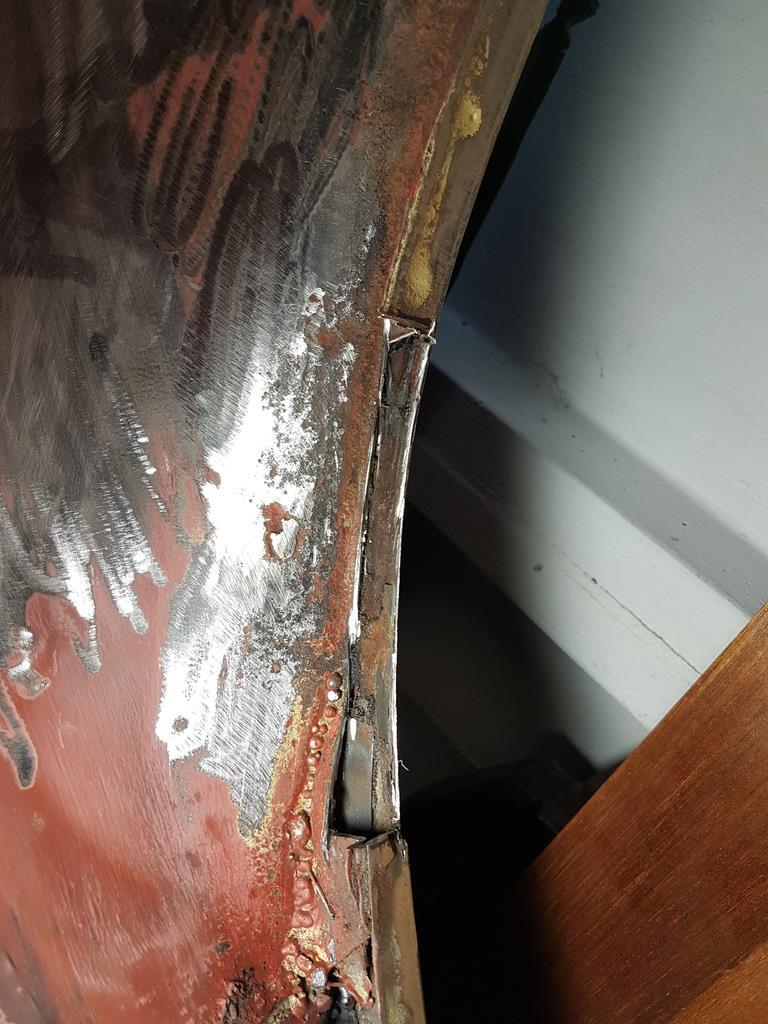
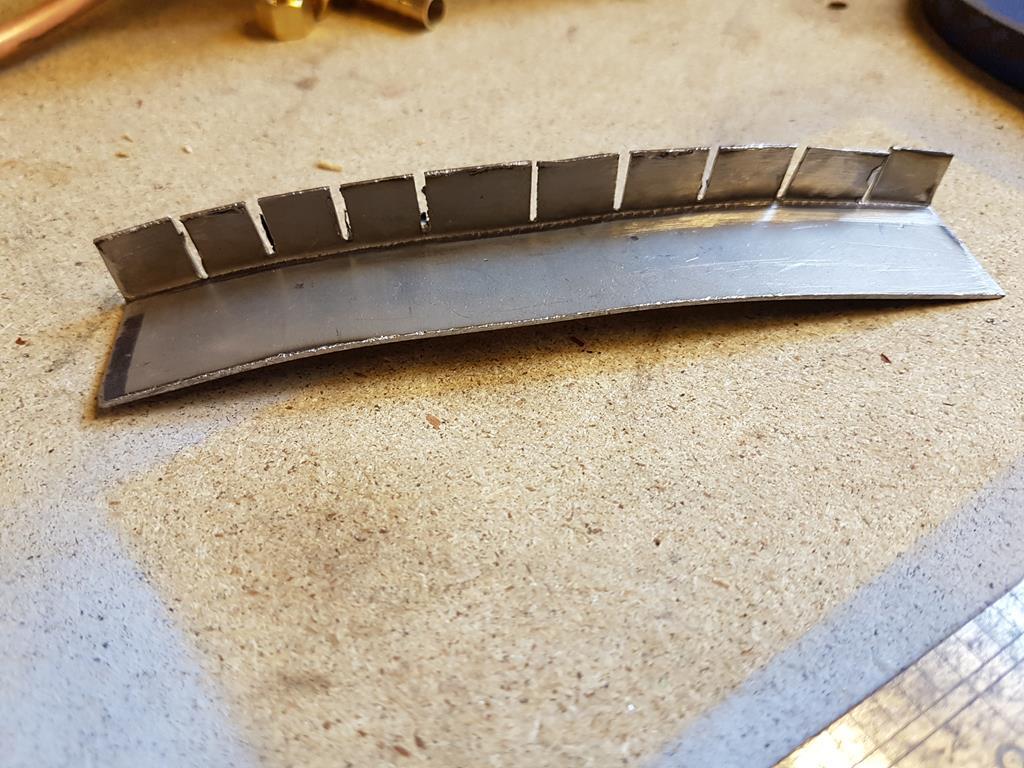
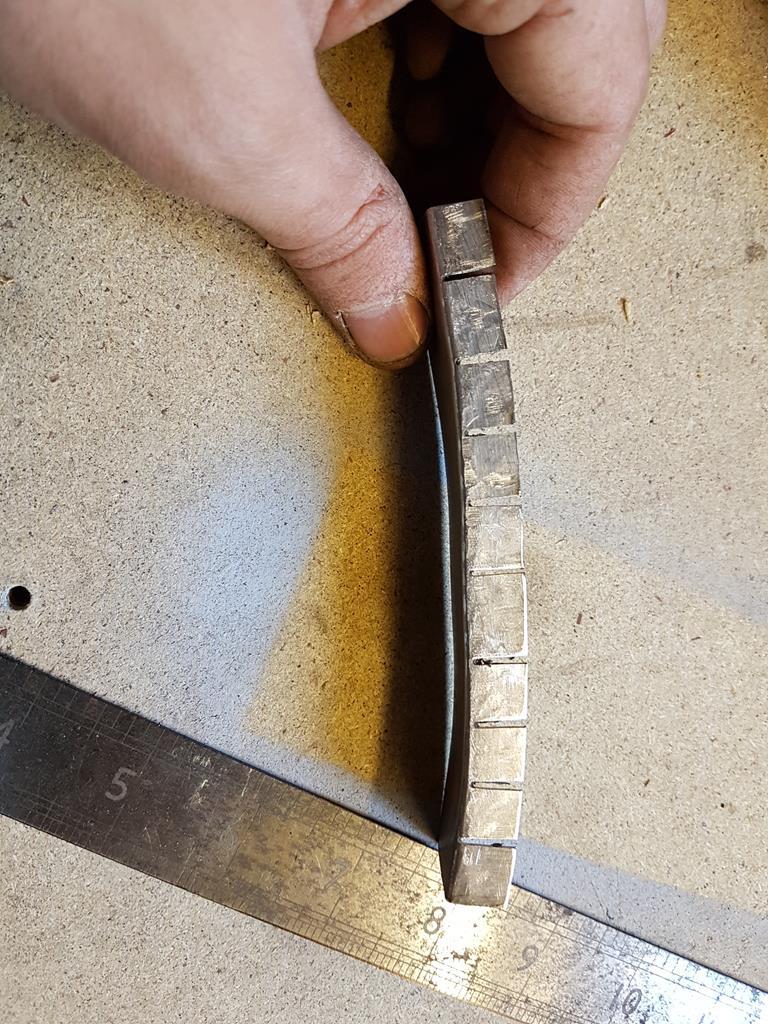
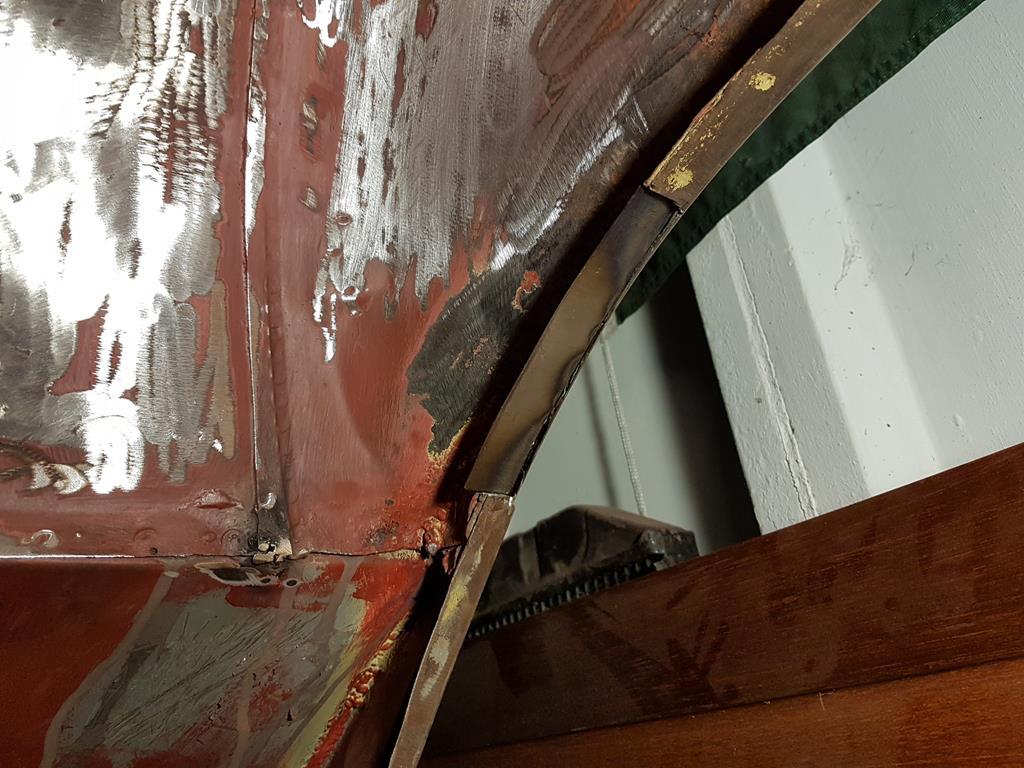
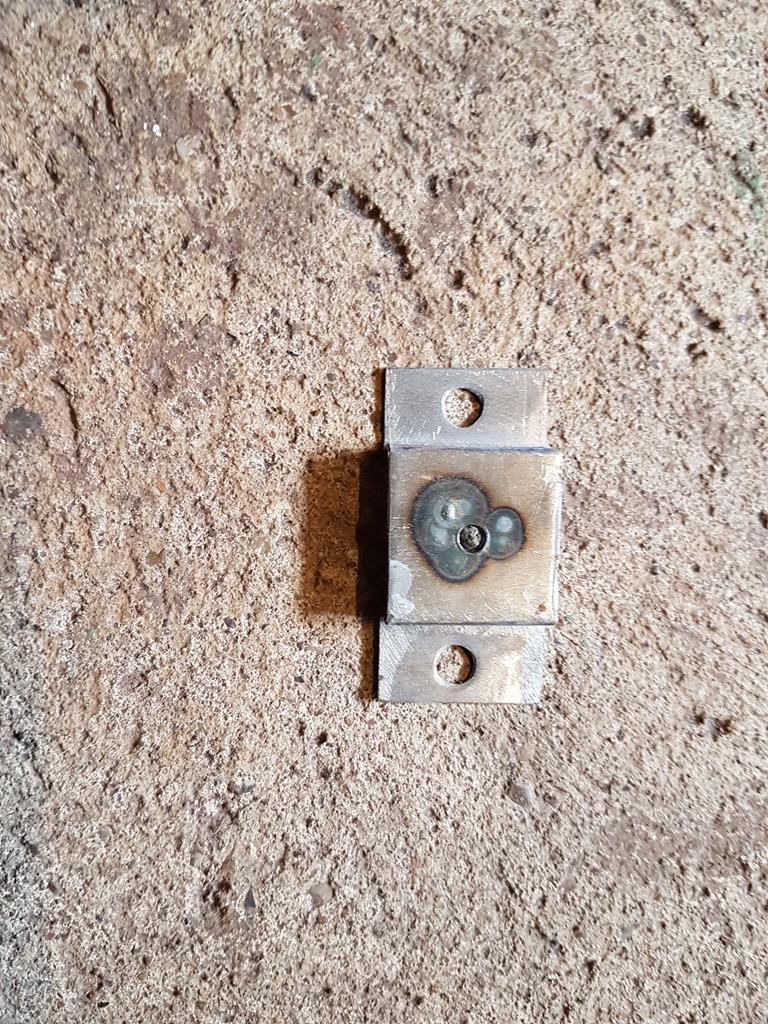
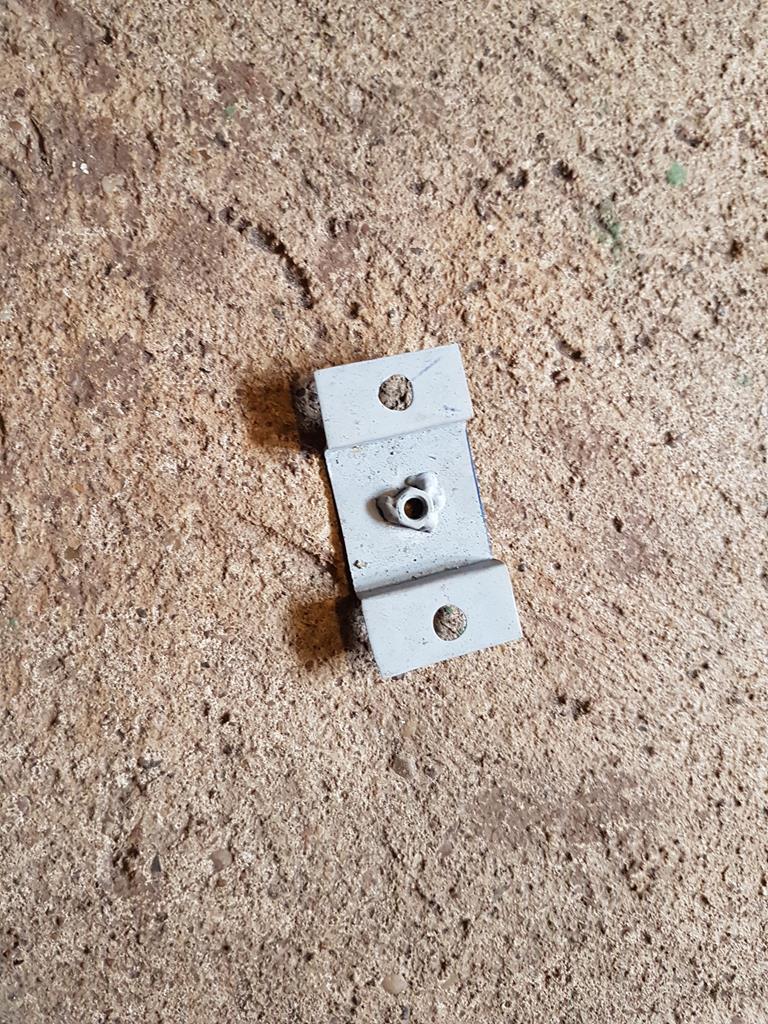
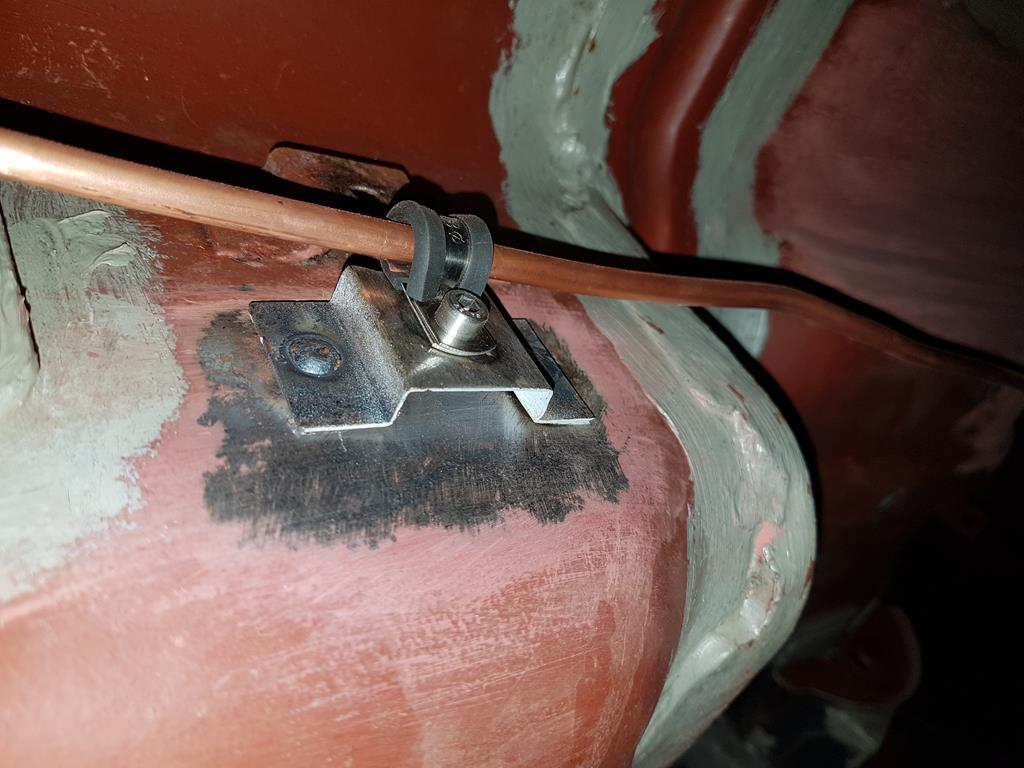
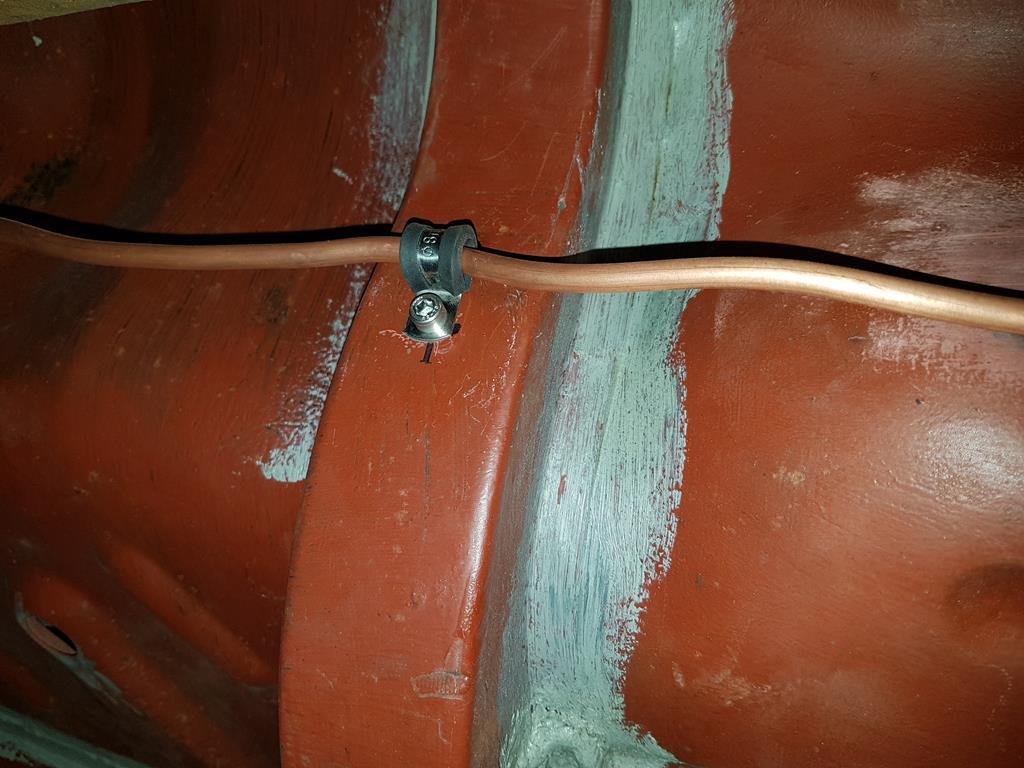
I'll sort the previous photos once my laptop is functional as it'll take some time and better than using my phone! Continuing on from finishing off bits underneath the car so I can start throwing some colour on her I was faced with a bigger of a hole as this one is shaped, has a lip where they meet and it isn't flat despite my terrible picture!  I've been watching some videos on the YouTube and there's a great series where I a guy is restoring a triumph vitesse - he makes moulds in wood then hammers the metal on them to get the shape. It's a great idea and I'm surprised how we it worked - if anyone is in this predicament I'd recommend doing this    I was do excited I actually forgot to show how it fitted in but this is the end result  Tonight I've started on new fuel line brackets and not use the hooks and clips on the standard cortina as I'd like to go injection one day and they're a bit They're similar to the brake line type but I've put an m5 but behind |
| |
1966 Ford Cortina GT
2018 Ford Fiesta ST
Full time engineer, part time waffler on Youtube - see Jim_Builds
|
|
|
|
|
Jul 11, 2017 20:18:51 GMT
|
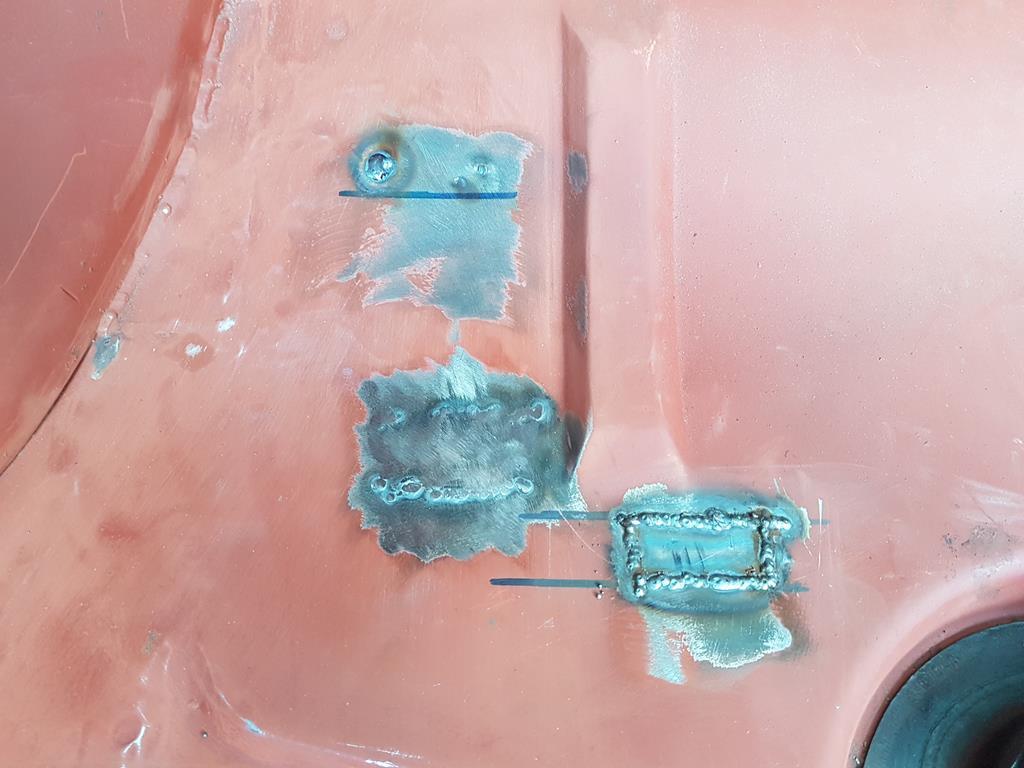
The brackets are coming along nicely, I've got to figure out placement at but here they are  These bits have arrived so that I can put barbed ends on so I can mount it to rubber lines  So whilst I was waiting for these bits to arrive I made a start on the other wheel run. It's had some repairs by other owners but I'll make the best of what's there as it's structurally sound just not overly pretty.   There's a few pin holes that need finishing then I'll do a rough grind back but It'll be seal sealed which will help tidy it up I've got to rebuild part of this lip I think I'll make it double layered - one for the top that ties into the tub and a dress piece to fit with the arch lip  |
| |
1966 Ford Cortina GT
2018 Ford Fiesta ST
Full time engineer, part time waffler on Youtube - see Jim_Builds
|
|
|
|
|
Jul 30, 2017 19:40:19 GMT
|
|
|
| |
1966 Ford Cortina GT
2018 Ford Fiesta ST
Full time engineer, part time waffler on Youtube - see Jim_Builds
|
|
|
|
|
|
|
|
|
|
Good progress. Can't be that bad a shell if your getting away with localised repairs like that on the rear arches. How much welding is left?
|
| |
|
|
|
|
|
Jul 31, 2017 19:29:32 GMT
|
Good progress. Can't be that bad a shell if your getting away with localised repairs like that on the rear arches. How much welding is left? Thanks Jonesy the shell is in a decent way it just needs a few repairs here and there but nothing that constitutes a new panel bar the nearsise door skin - it's the joys of 50 year old steel! The nearsise rear door is the last major piece, the underside needs the fuel lines finishing both tank side and engine bay, there's a few small holes on the inner sill that'll take a few tacks, the front wings need a tweak to get them to line up with the sill but again it's a simple job I think... There's probably more but I'll plead ignorance |
| |
1966 Ford Cortina GT
2018 Ford Fiesta ST
Full time engineer, part time waffler on Youtube - see Jim_Builds
|
|
|
|
|
Jul 31, 2017 19:39:13 GMT
|
I've been working on some electrical gremlins, the alternator isn't charging I've checked the wiring and that's giving the right volts so at least that's correct - it's look like the alternator... I've found this picture - I've not eat that the alternator at the moment, is this something I should Do? I thought it would be earthed via the mounting? 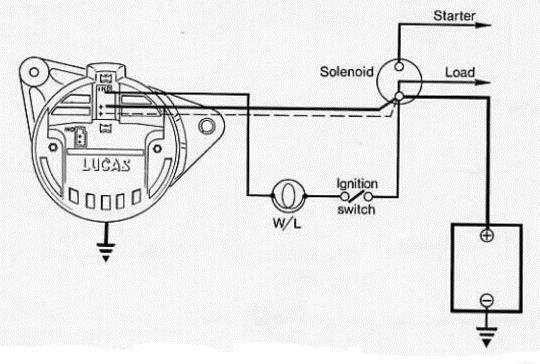 I'm trying to get the fuel gauge to work - the wire that goes to the tank is giving 8v on ignition so it's getting power. I found this in a manual but how do I check earthings? 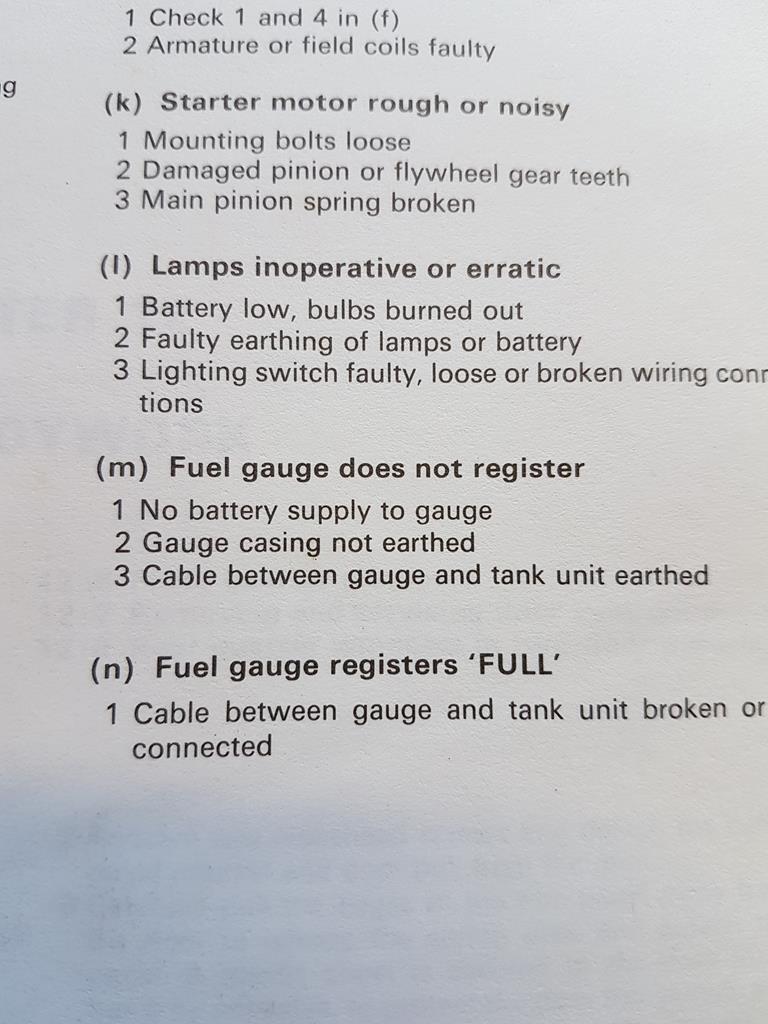 |
| |
1966 Ford Cortina GT
2018 Ford Fiesta ST
Full time engineer, part time waffler on Youtube - see Jim_Builds
|
|
|
|
|
Jul 31, 2017 20:53:54 GMT
|
|
Alternator is earthed through the mount to the engine.
If the ignition light comes on it must be earthed to complete the curcuit
|
| |
|
|
|
|
|
Jul 31, 2017 21:57:47 GMT
|
|
If you put the wire to the tank sender straight to earth the needle should go to full. If not the gauge is faulty. Sounds like not much left on the shell then. I've just painted the bottom of my Mk2. Just got to paint inside the wings and it can come off the rotisserie next week. I think it took me about 3 months of adjusting the wings before I finally plucked up the courage to weld them on last week.
Edit. The pic above says the gauge should read full if the wire is disconnected so ignore my comment.
|
| |
Last Edit: Jul 31, 2017 22:02:00 GMT by jonsey
|
|
|
|
|
|
|
|
That's great Jonesy, what did you use to paint your underside? I'm lookingbat por 15 and I'm not sure whether to go white or black underneath?
I'll have a play with the gauge later!
|
| |
1966 Ford Cortina GT
2018 Ford Fiesta ST
Full time engineer, part time waffler on Youtube - see Jim_Builds
|
|
|
|
|
|
|
|
I'm no painter but I've really gone to town on the underside as I don't want it to rot again. After I finished the welding I had the whole shell media blasted. I then spent a couple of days welding up pin holes in my welds that show up after blasting. I then immediately sprayed the whole shell with Octoral PE 130 2k epoxy primer. I then keyed that with sandpaper and sprayed with Terrotex super 3000 Aqua which is a water based stone chip. I then scotched padded that and sprayed a coat of wet on wet primer then after 15 minutes gave it a few coats of 2k body colour. Like I said I'm no painter but took thus advice from a guy who has his own business restoring high end classics. Obviously this is a lot easier to do on a rotisserie
|
| |
|
|
|
|
|
|
|
That sounds well done, I've applied red oxide to mine but I'm not sure if that's the right way to go - there's so many different ways of painting a car but I want it to last. I could do with a rotisserie! I'm doing everything on my back! So I had a play with the fuel gauge - thanks for the pointer Jonesy it did register full when earthed. I removed the sender and found that the body and the lock ring have a lot of surface rust which I've cleaned up and it's sprung into life! With just over 5l in it's about right! 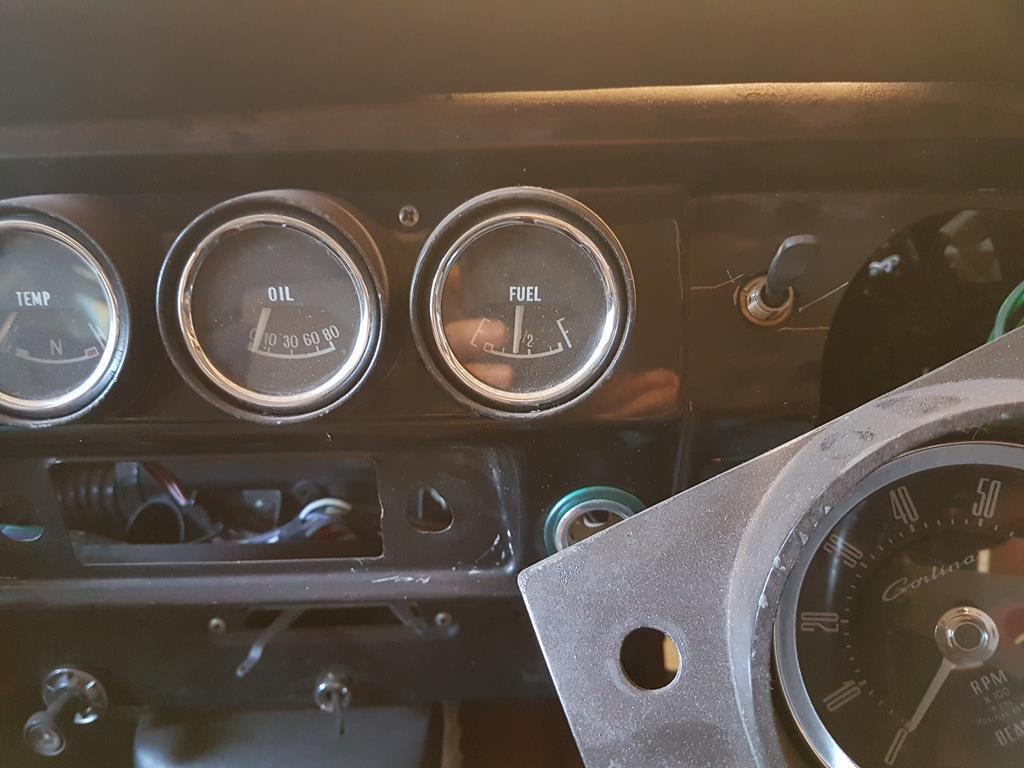 I've also been given an alternator from a Lipo 1.4 - it's 75amp and I'm a bit worried it'll melt some wires? Any ideas? The one I've got I'd a lucas acr 17amp they do a 48amp which should be ok 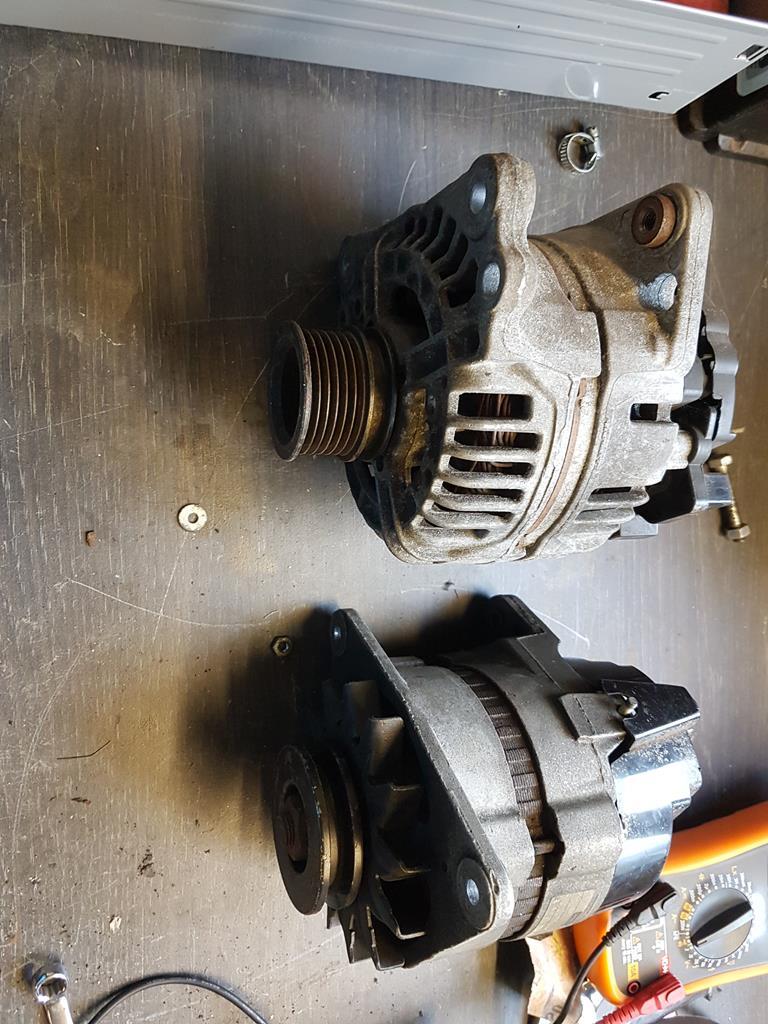 |
| |
1966 Ford Cortina GT
2018 Ford Fiesta ST
Full time engineer, part time waffler on Youtube - see Jim_Builds
|
|
|
|
|
|
|
|
If you are worried about the current you could add an extra wire. This wire runs normally from the alternator to the solenoid from the starter motor.
Peter
|
| |
|
|
|
|
|
|
|
|
Good fix on the gauge. Like you say there are many ways to sort the paint. I just did it this way as the 1 guy I spoke to about it said it was what he does. I didn't ask anyone else as it would of over complicated my brain.
|
| |
|
|
|
|


 to get off as both the skin and inner we're sort of glued together!


