|
|
|
Mar 20, 2014 21:14:06 GMT
|
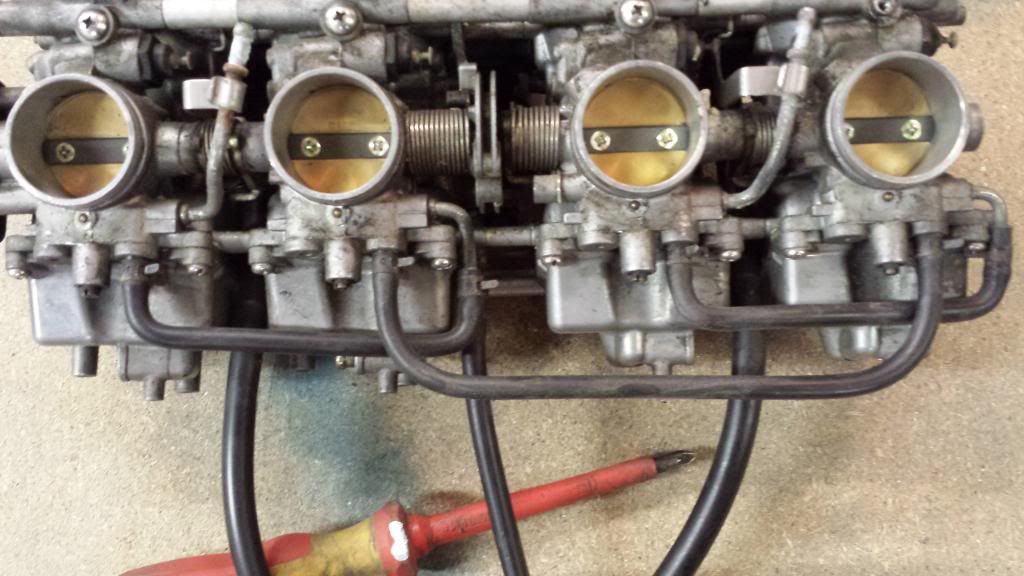
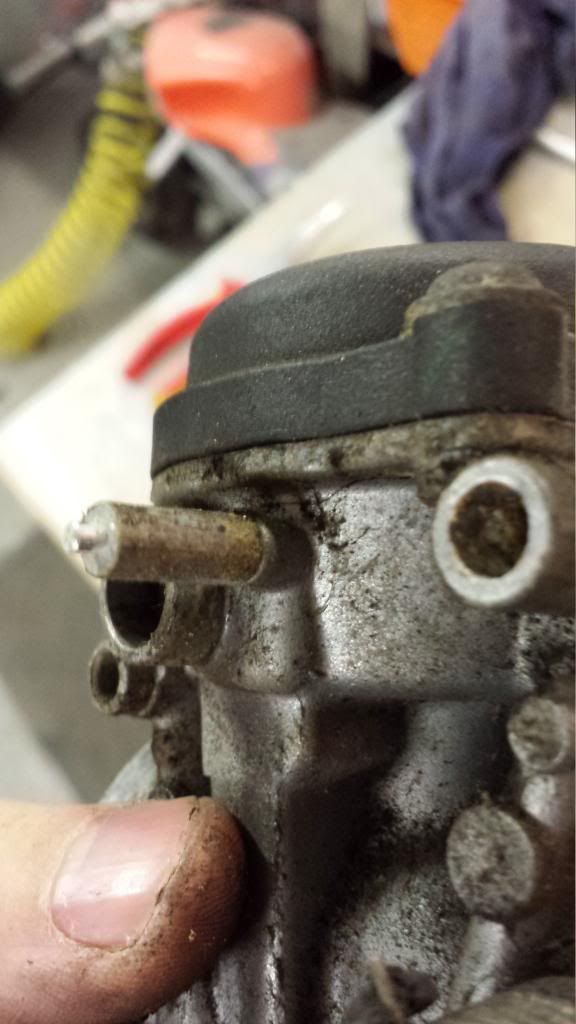
Wow its been a while! I haven't done a great deal on the cortina recently but I have had a big dose of mojo as I got engaged whilst in New York last week so in celebration I made a trial inlet flange for when I buy another set of bike carbs (the first had to go back as one was D shaped) 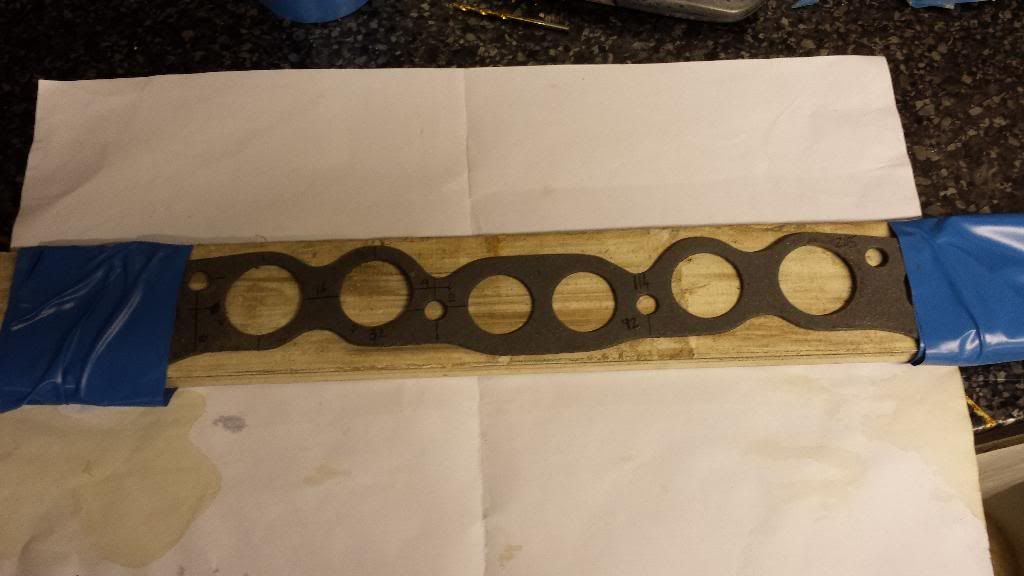 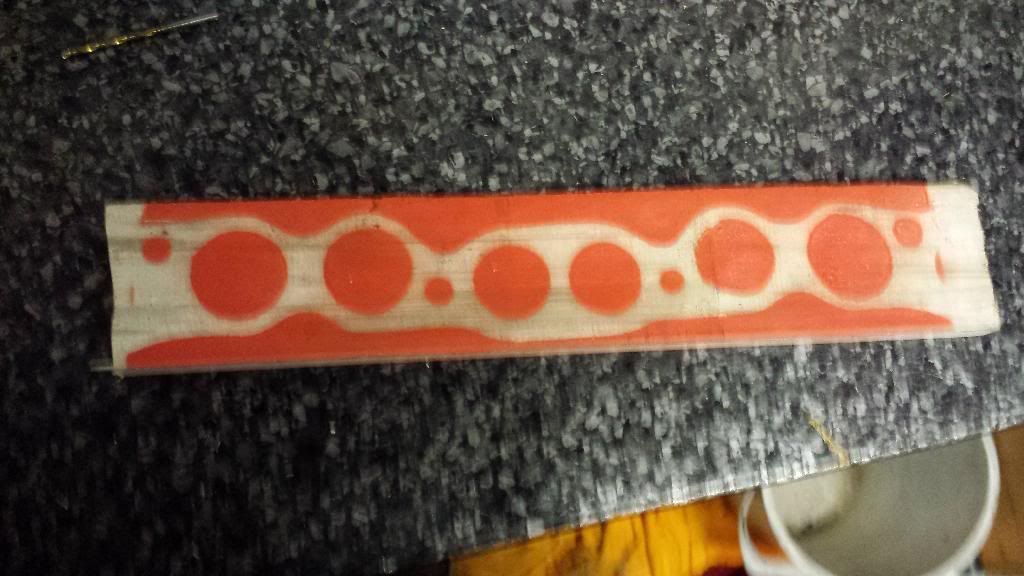 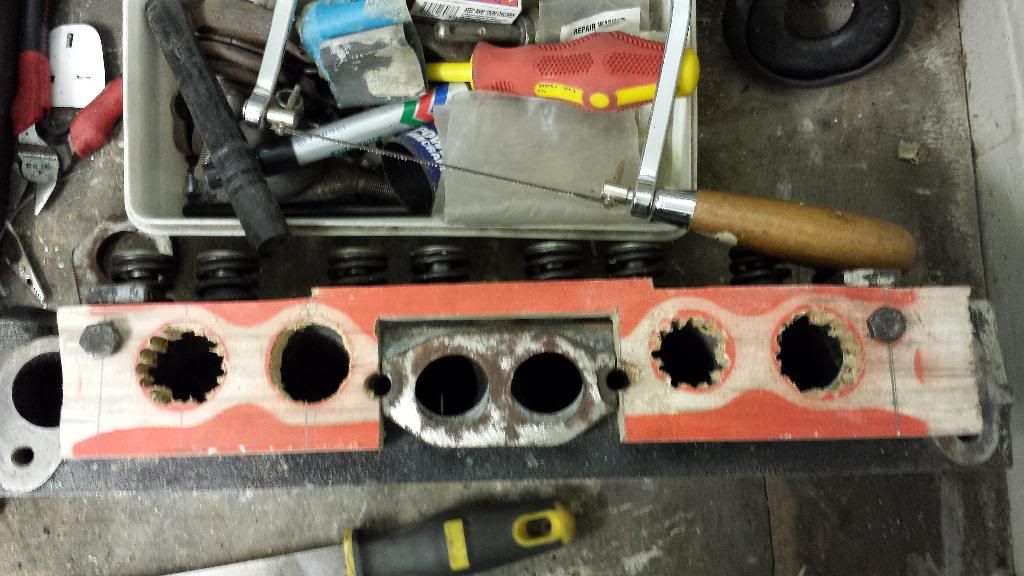 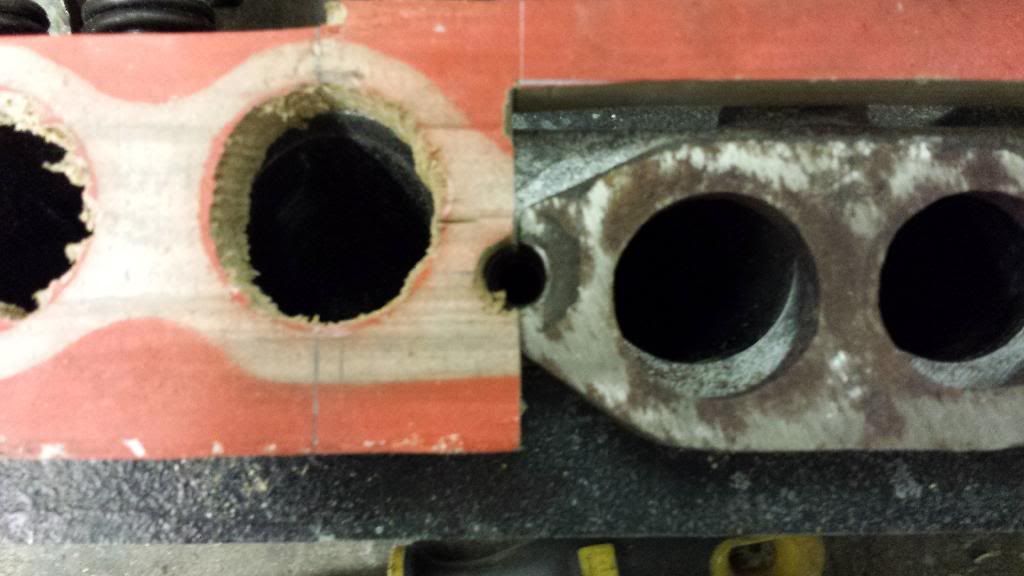 the plan is to keep it 1 piece as the 2 piece webber 40 manifolds can be a pain to setup as they can sit higher on one side to another |
| |
1966 Ford Cortina GT
2018 Ford Fiesta ST
Full time engineer, part time waffler on Youtube - see Jim_Builds
|
|
|
|
|
|
|
|
|
The manifold flange is off to a friends who has all the necessary toys to recreate it in steel which will buy me some time for getting the carbs sorted Yesterday I had a big trip to south london (I got up at an unnatural time to get there for 9!) to buy some seats for the Cortina. The reason I bought these seats is because these are the one from my Cortina - I stupidly sold the front a few years back to a guy named Steve and when I saw them in his cortina 6 months later I knew I made a mistake.... 6 years down the line Steve is breaking his Mk1 as no one wanted to buy it whole and I had to get them back - I even got a back seat which will be turned into a sofa for a friends motorbike shop 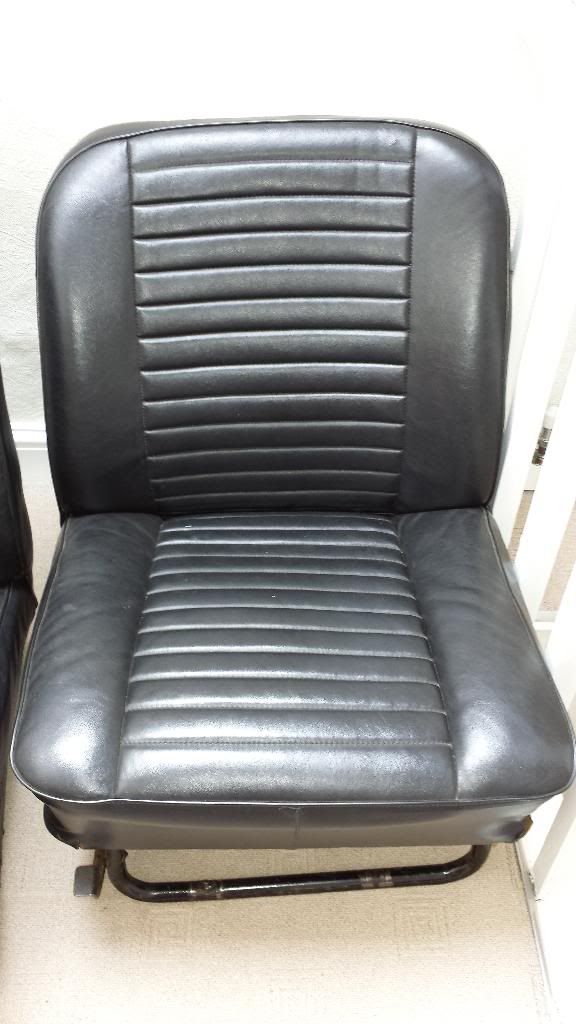 When Steve had them he bought some period clip on head rests which is what these seats are missing so I bought those too 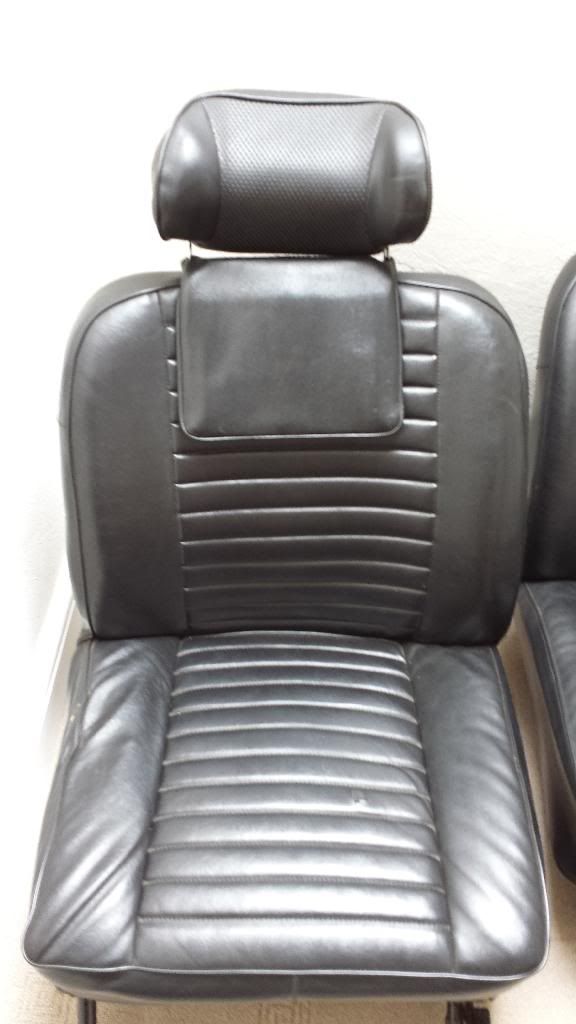 As another mojo boost I thought I'd drop the spare rear seat in the car and just sit for a bit and have a cup of tea 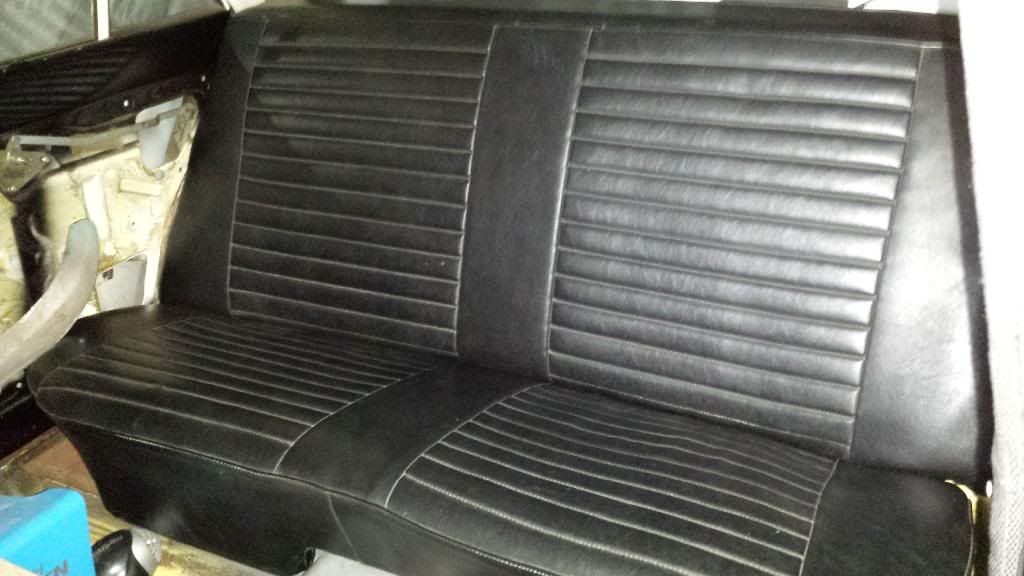 |
| |
1966 Ford Cortina GT
2018 Ford Fiesta ST
Full time engineer, part time waffler on Youtube - see Jim_Builds
|
|
|
|
|
Jun 30, 2014 20:11:30 GMT
|
|
|
| |
1966 Ford Cortina GT
2018 Ford Fiesta ST
Full time engineer, part time waffler on Youtube - see Jim_Builds
|
|
|
|
|
|
|
|
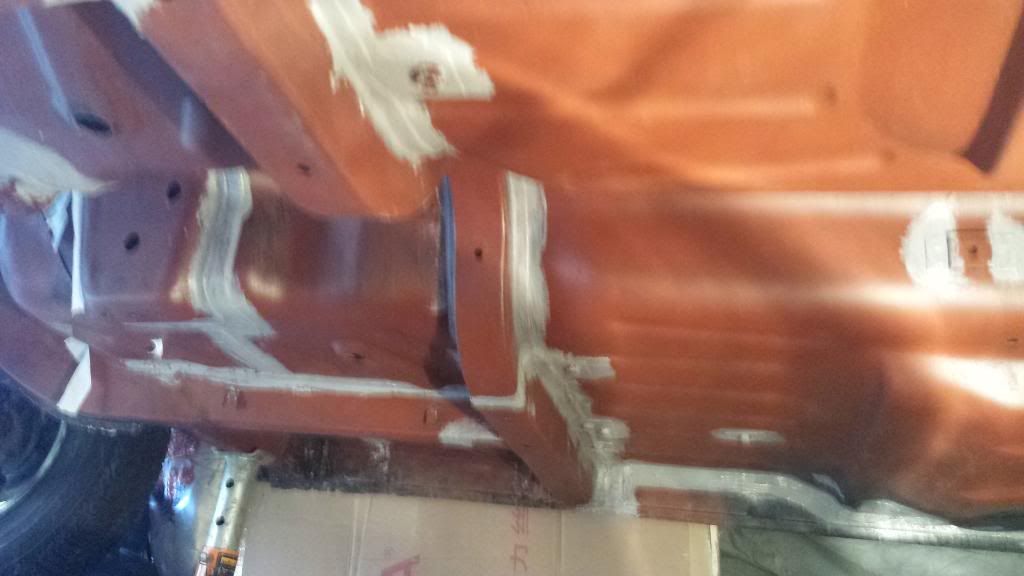
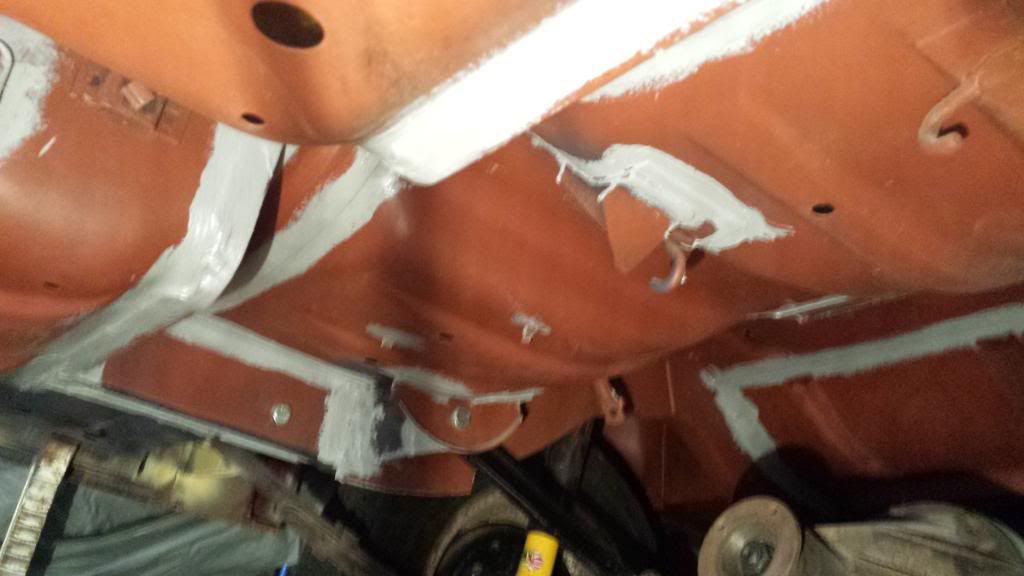
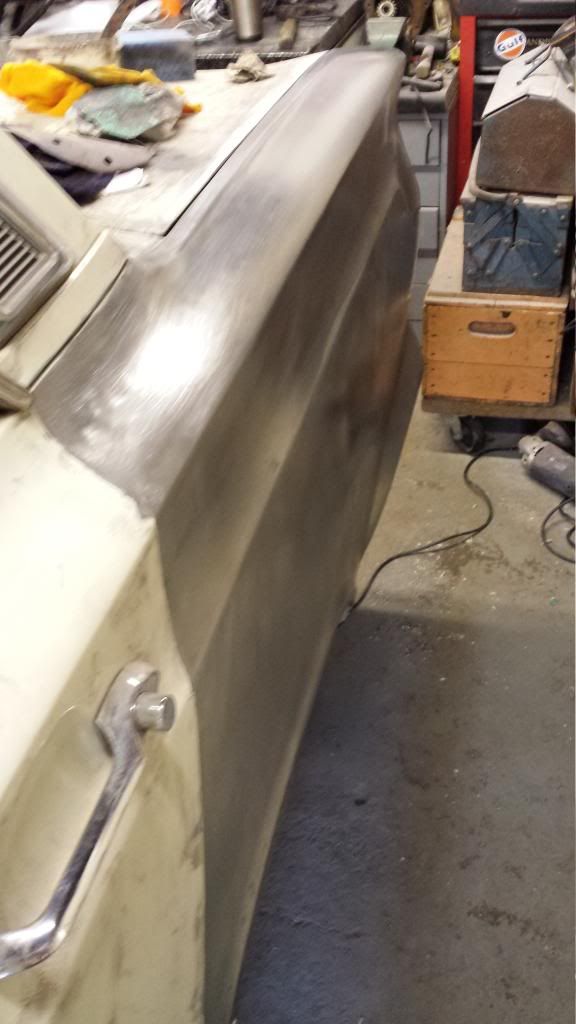
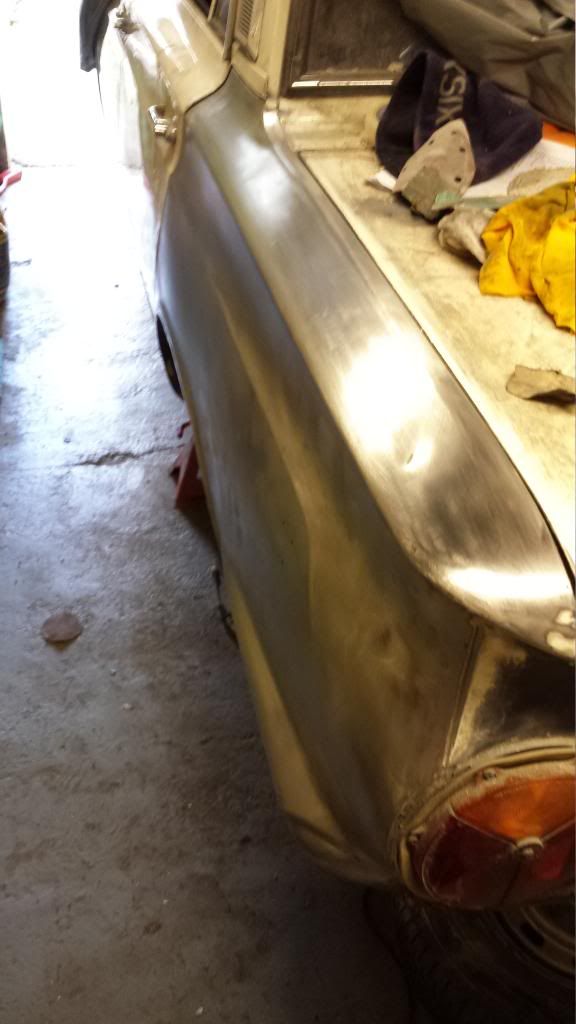
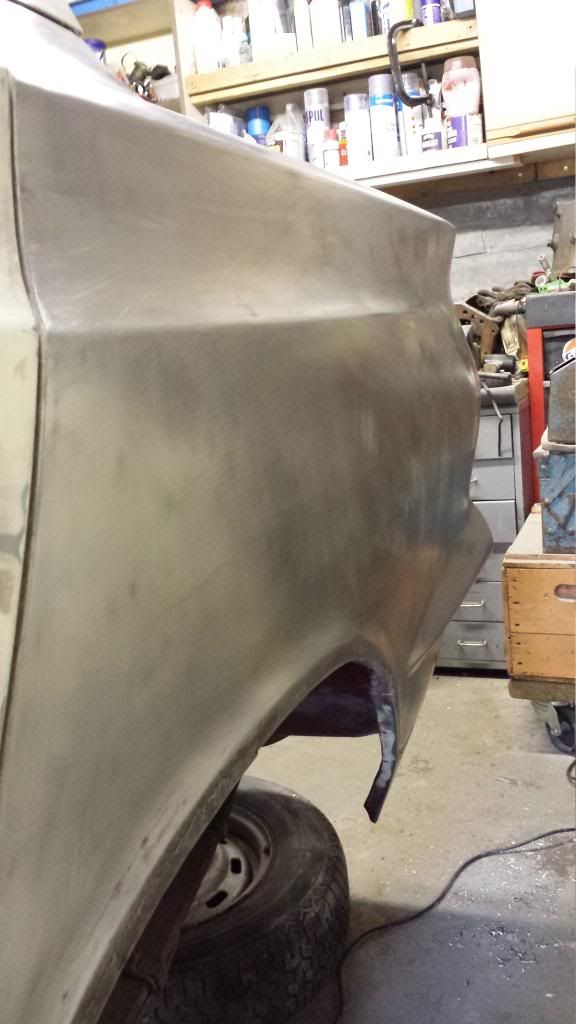
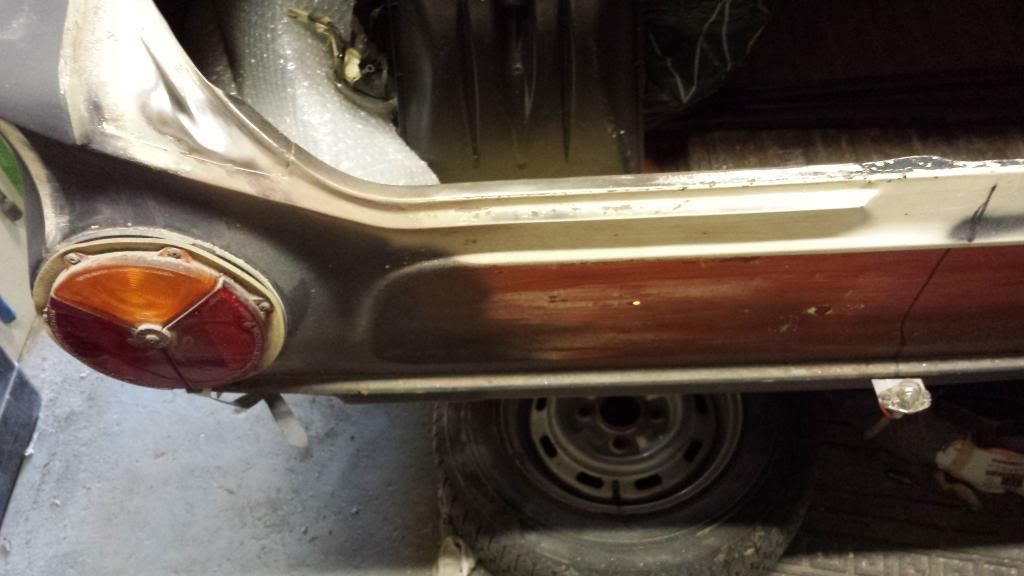
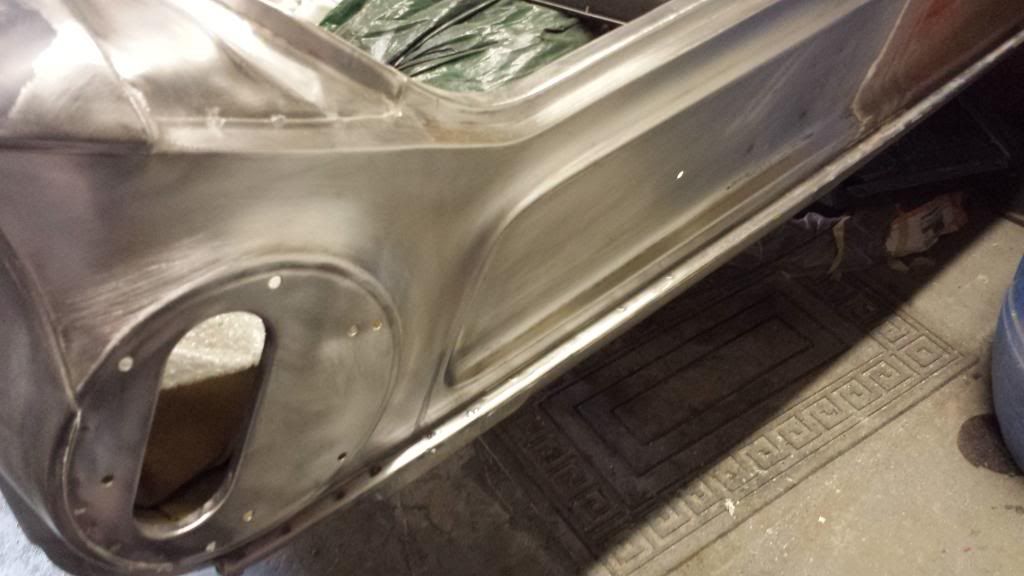
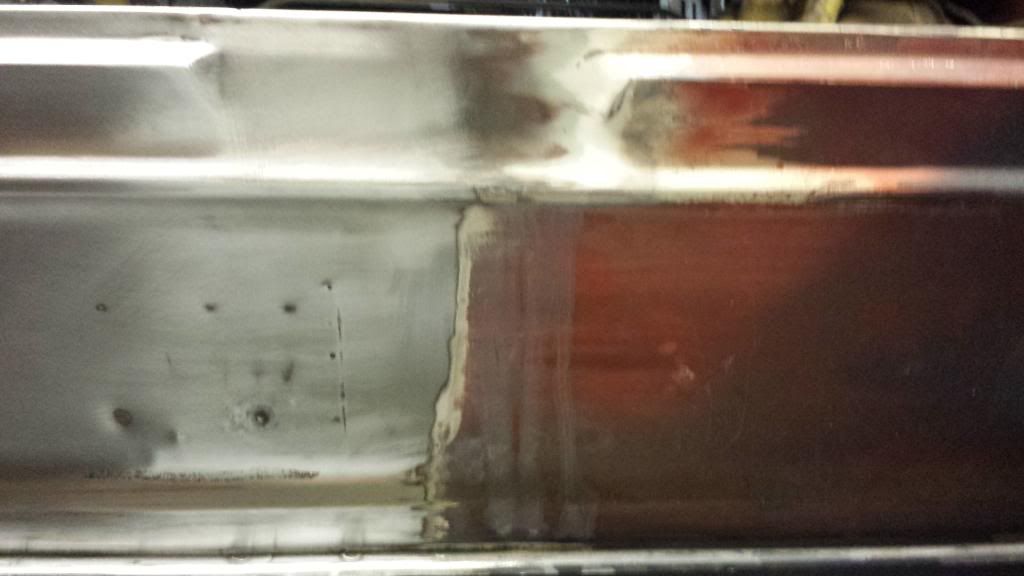
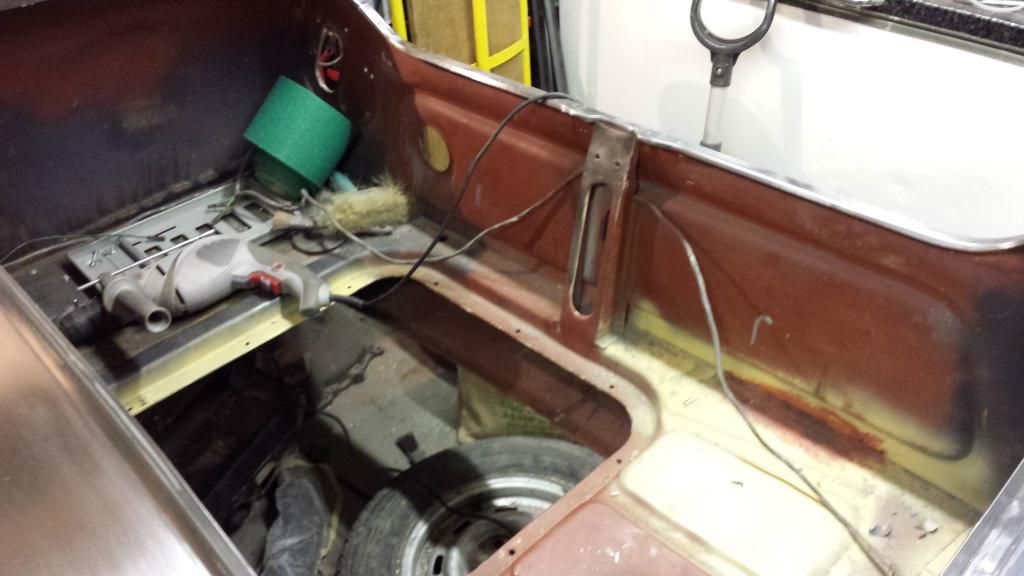
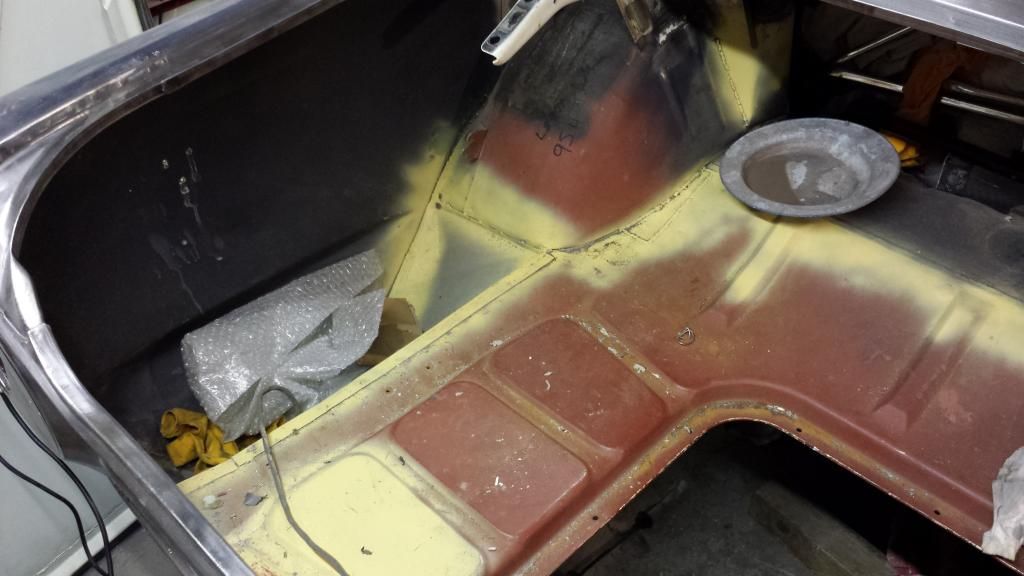
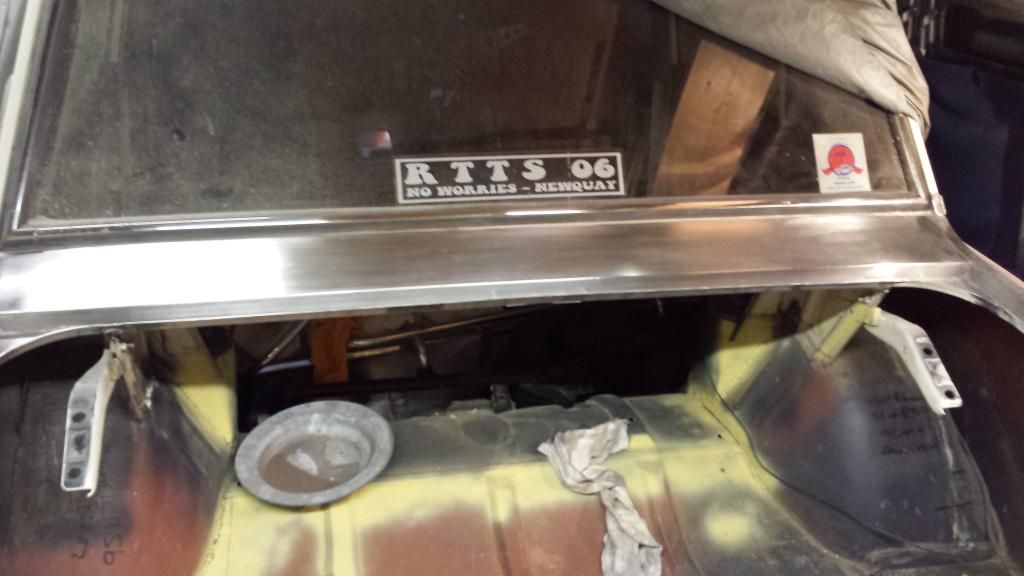
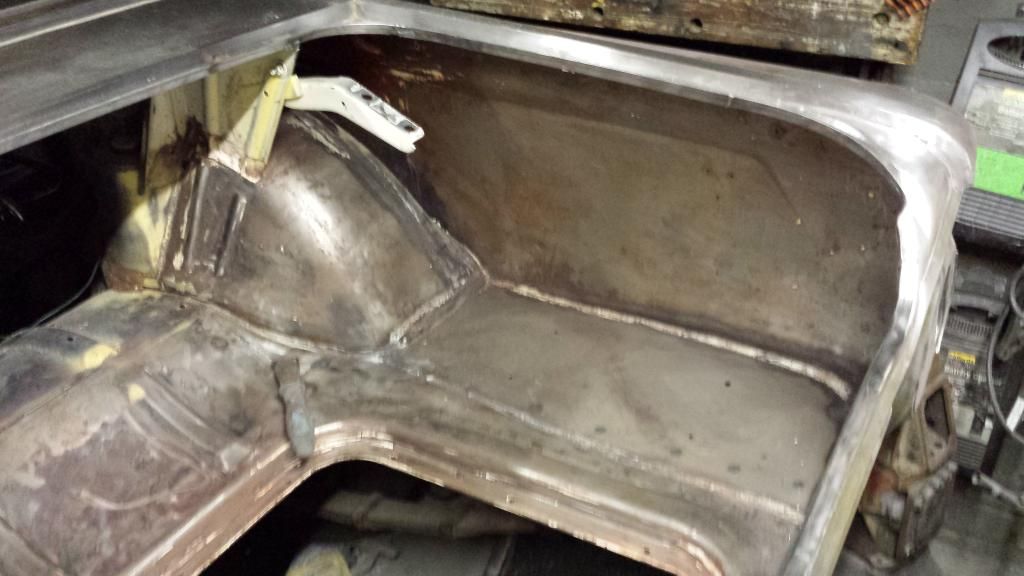
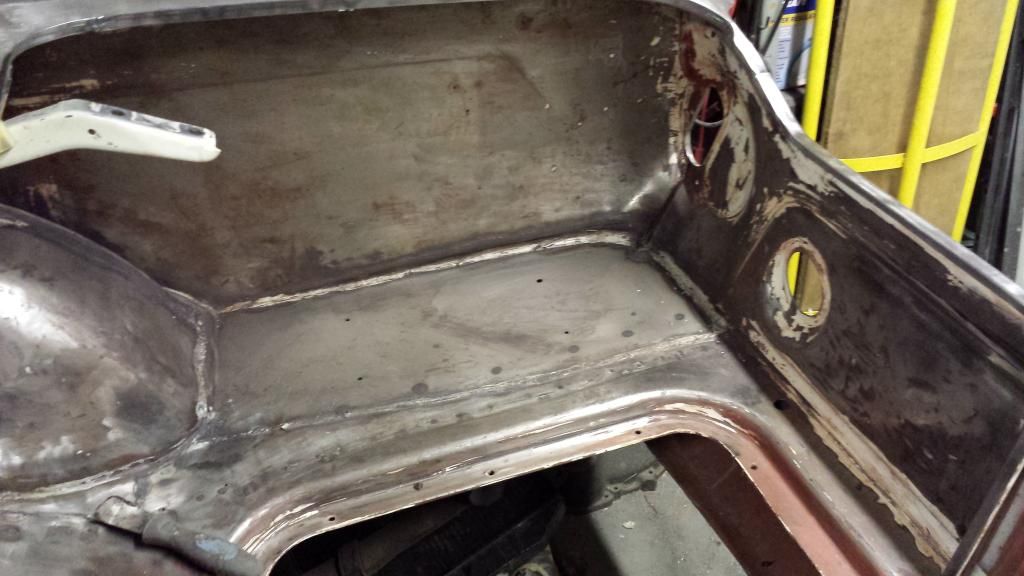
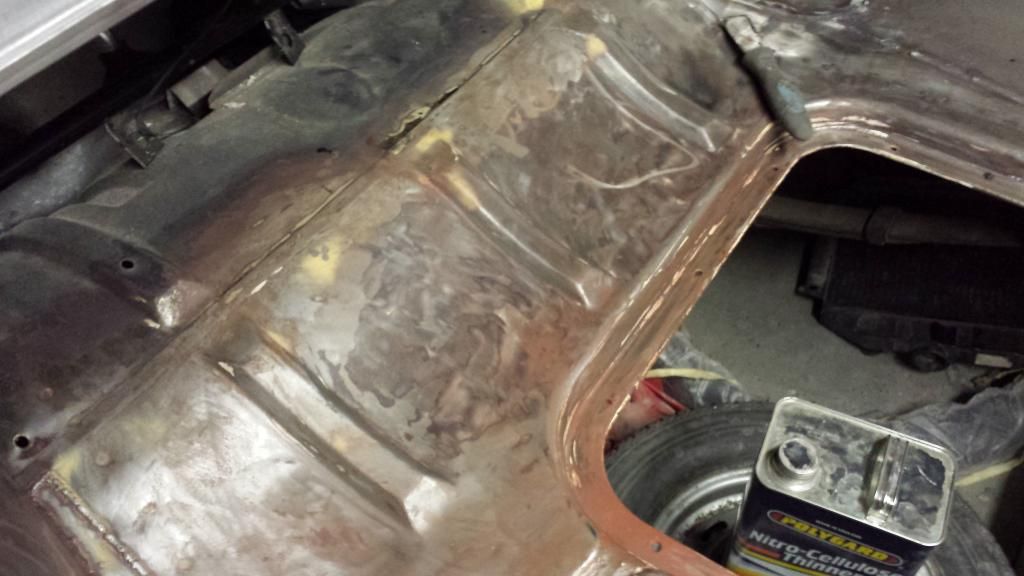
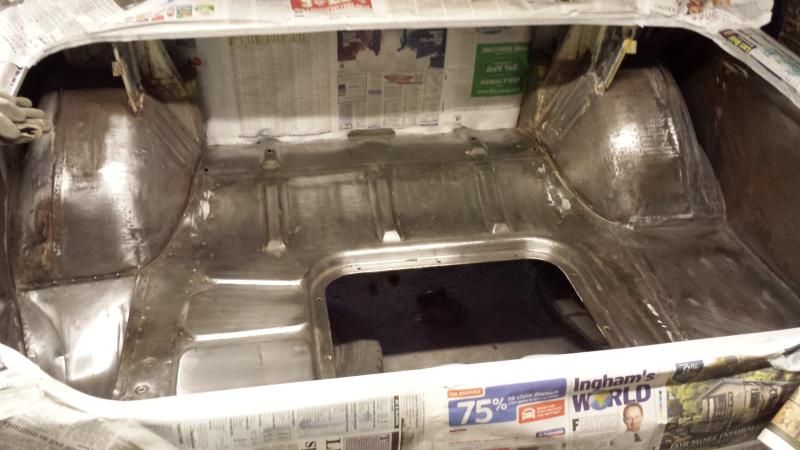
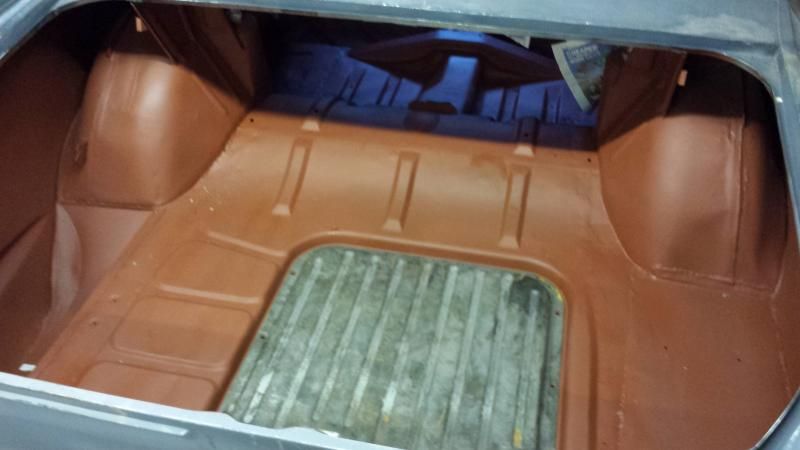
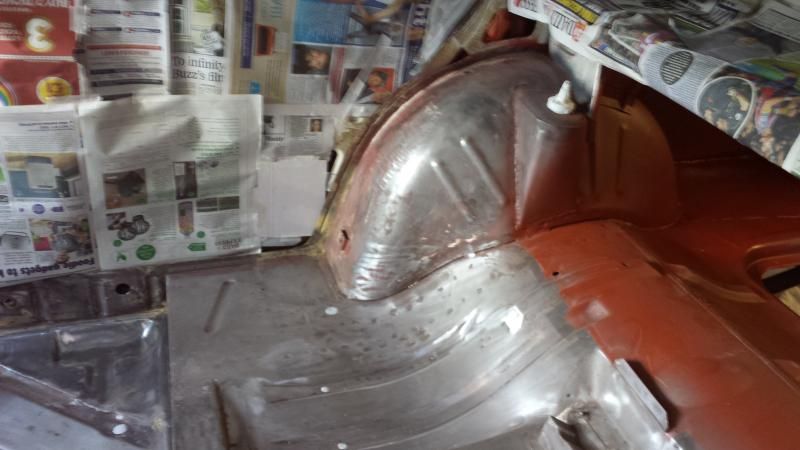
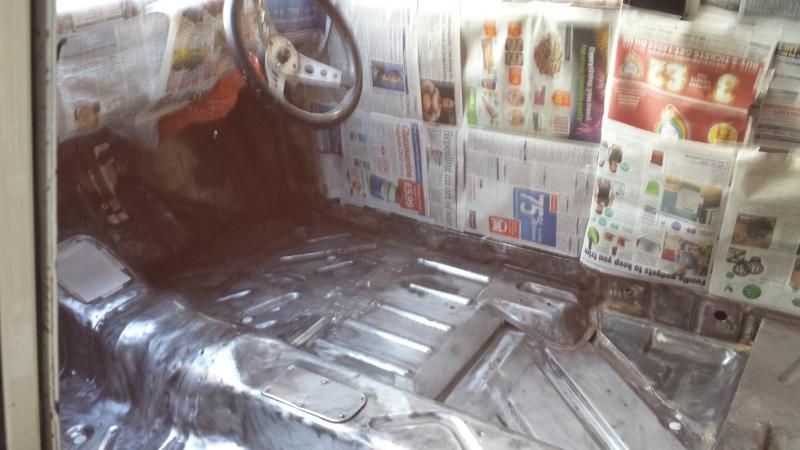
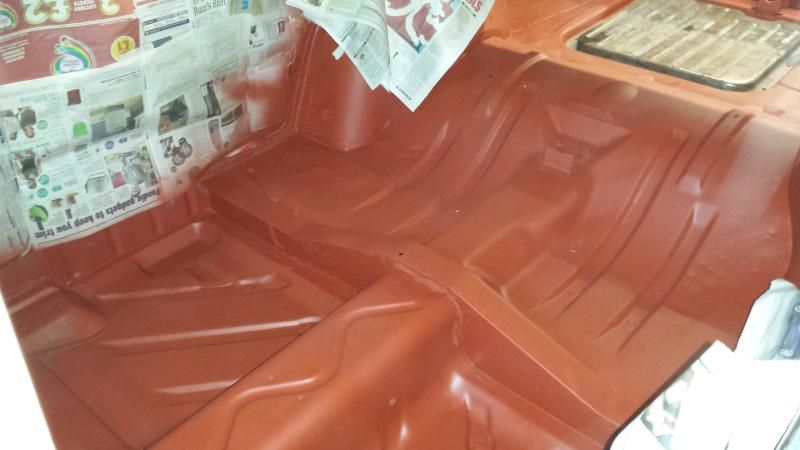
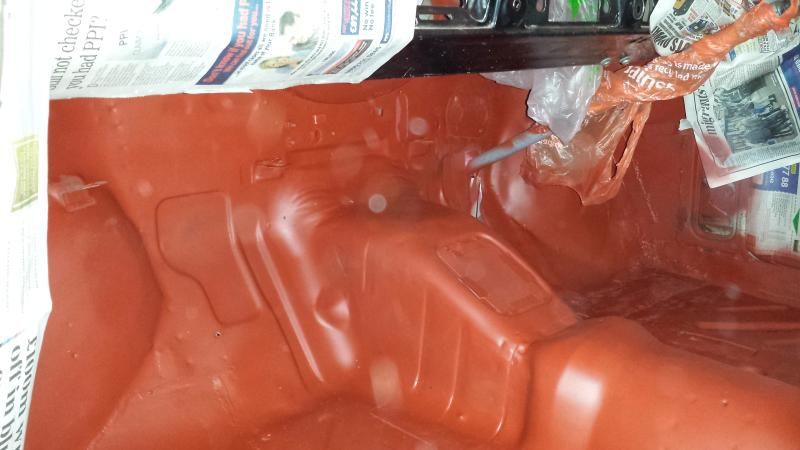
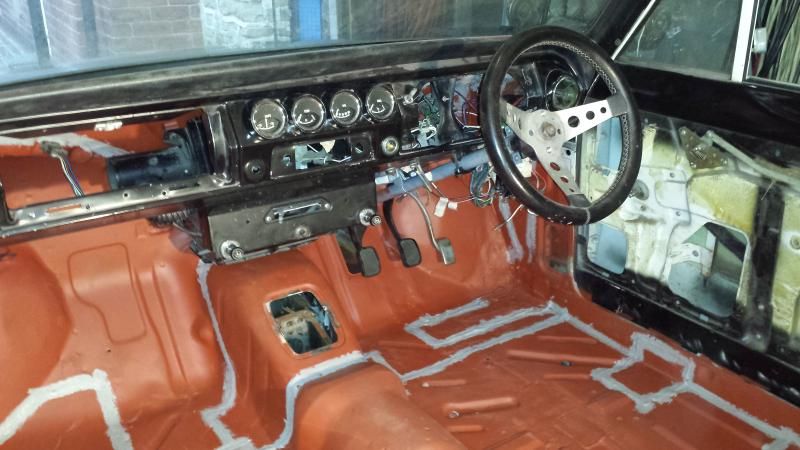
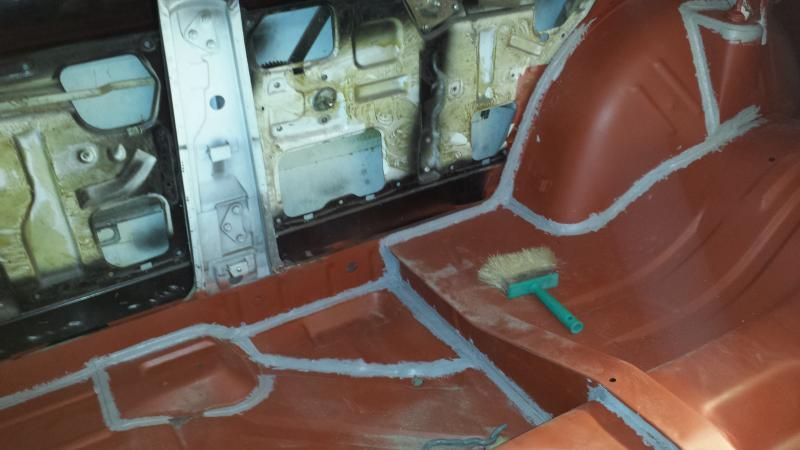
I haven't got much of an update but I have most of the floor bare and the boot lid and I'm working on a few other panels inbetween
I do however need to put some bitumen sound deadening pads down - does anyone have any tips or adive?
|
| |
1966 Ford Cortina GT
2018 Ford Fiesta ST
Full time engineer, part time waffler on Youtube - see Jim_Builds
|
|
|
|
|
|
|
|
anyone?
|
| |
1966 Ford Cortina GT
2018 Ford Fiesta ST
Full time engineer, part time waffler on Youtube - see Jim_Builds
|
|
Clement
Europe
ambitious but rubbish
Posts: 2,095
|
|
|
|
I don't have much advice apart from "heat it a little so it's easier to handle", "keep at it" and "yay Cortina".  |
| |
|
|
|
|
|
|
|
I have plugging away at the cortina but getting time after work has been tough, I got bored of rubbing stuff down so I painted the engine and dropped the short block in 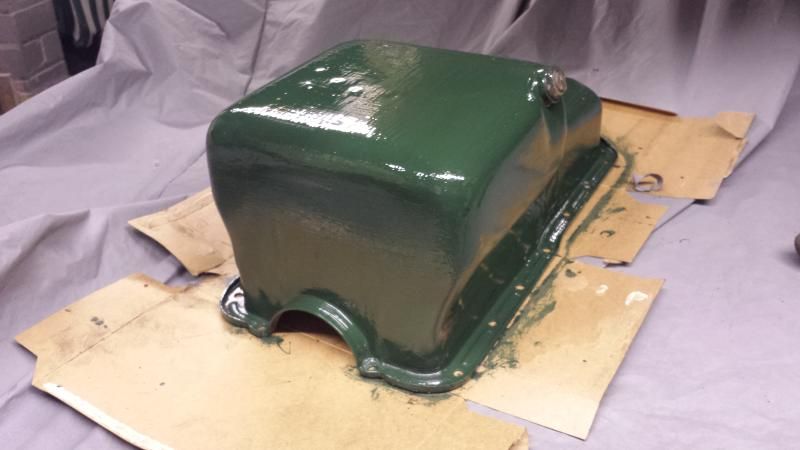 I bought some british racing green enamel as its the closest to factory as I could get. I switched the cam from a standard GT to an A1 which is a bit lumpier but driveable. 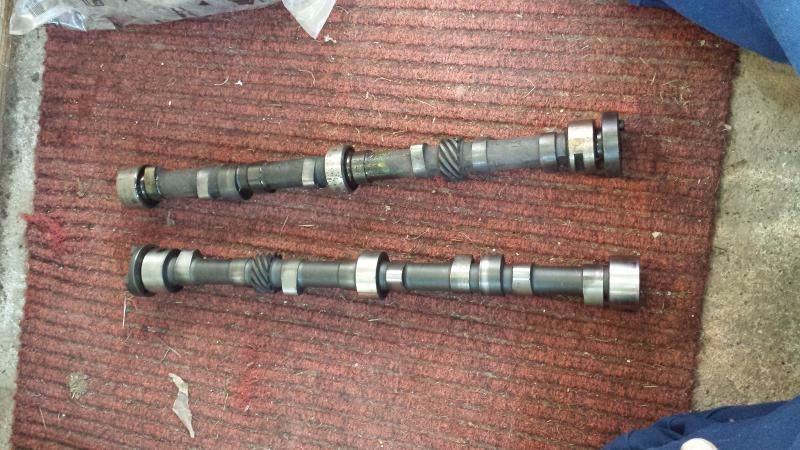 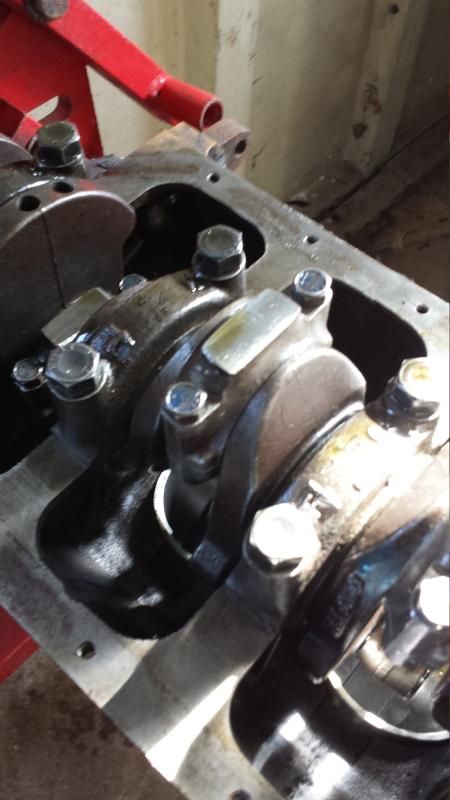 With a shiny clean block I thought I'd sort the water pump as it looked shabby 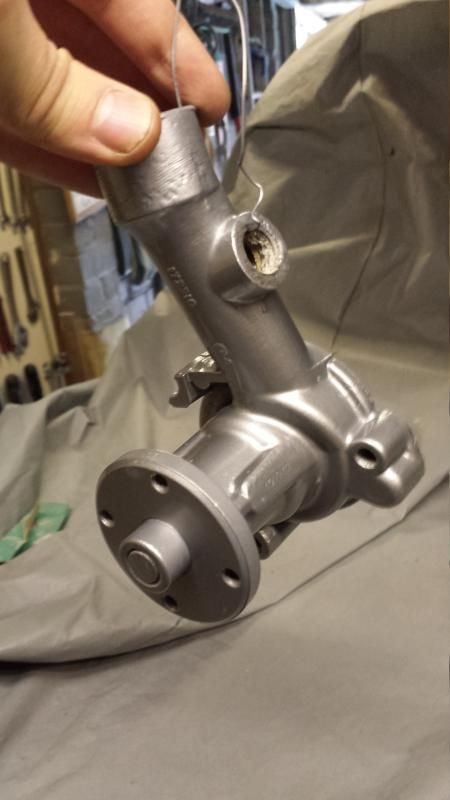 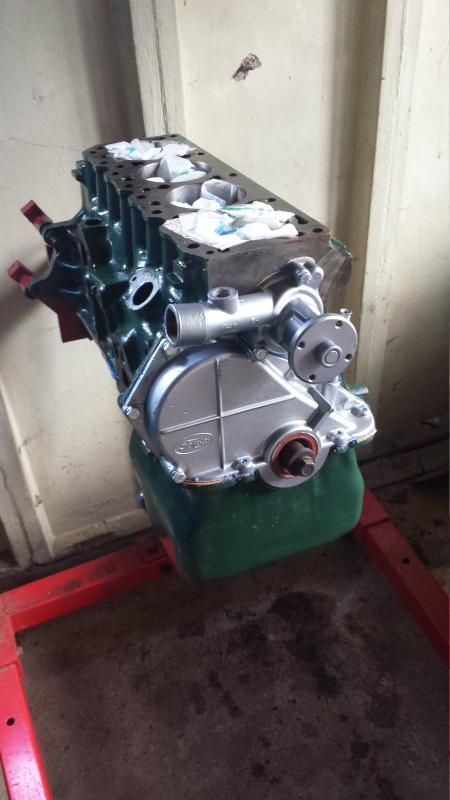 The big day came - this is the closest the engine has been to the car since 2007!!! 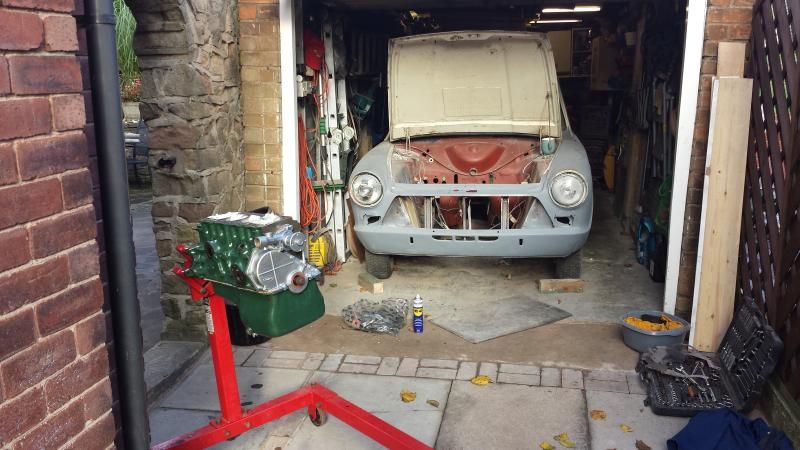 the gearbox is empty but itll let me get the engine bed in and rewired etc 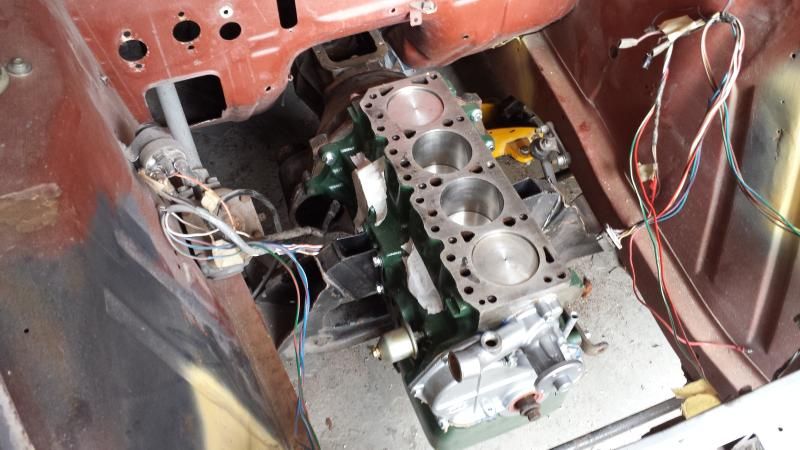 the cat helped by not sitting under the car for a change plus the internet is run by cats 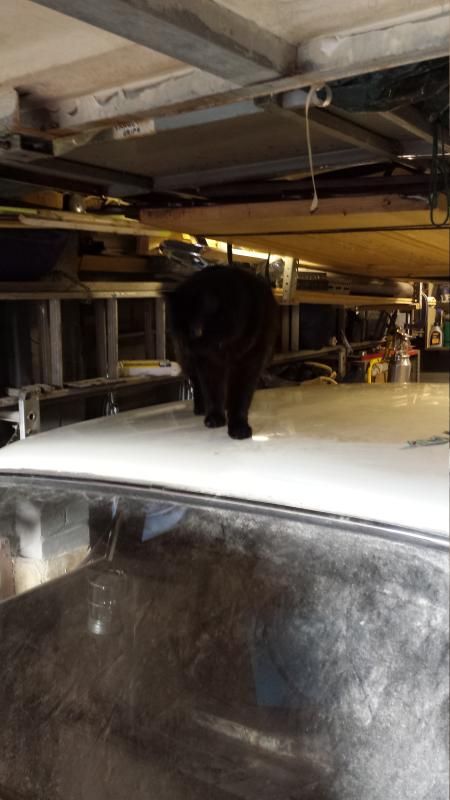 I've put a stunt head on to protect the bottom end from stuff, It has been cleaned underneath btw 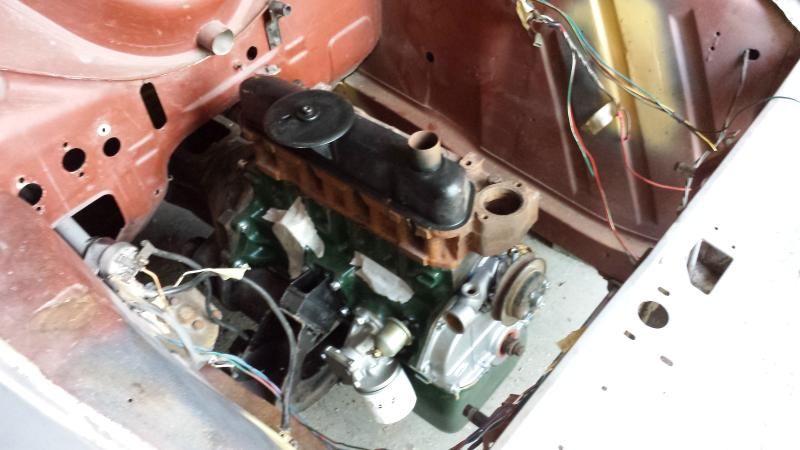 more to come...... |
| |
1966 Ford Cortina GT
2018 Ford Fiesta ST
Full time engineer, part time waffler on Youtube - see Jim_Builds
|
|
|
|
|
Nov 17, 2014 18:40:44 GMT
|
|
|
| |
1966 Ford Cortina GT
2018 Ford Fiesta ST
Full time engineer, part time waffler on Youtube - see Jim_Builds
|
|
Clement
Europe
ambitious but rubbish
Posts: 2,095
|
|
Nov 17, 2014 18:44:30 GMT
|
It's going to be brand new! Keep at it and you'll soon have a peach of a Tina  |
| |
|
|
|
|
|
Aug 23, 2015 10:30:13 GMT
|
its been a while! I lost mojo not long after the last updates with 2 bereavements and knowing that the cortina wont be ready for the wedding it just took a backseat. After a bit of an arsekicking from the wife to be I figured I better pull my finger out! The inlet manifold is nearly finished - instead of the rubber mounts people use we are trying a pinch bolt collar which fits very snuggly on the carbs 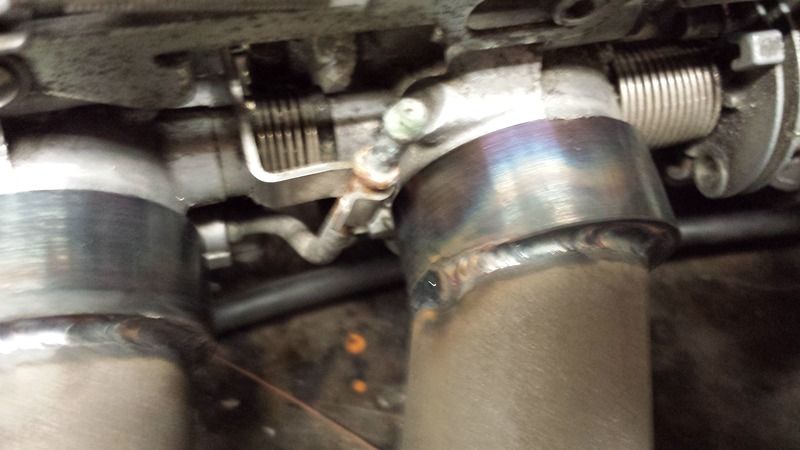 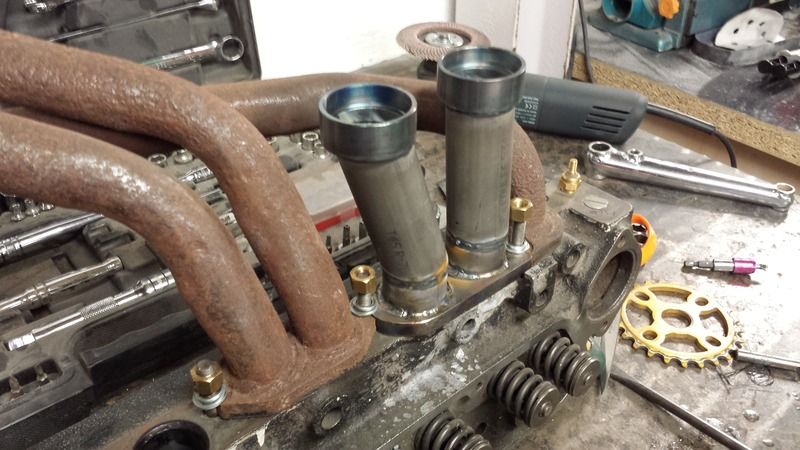 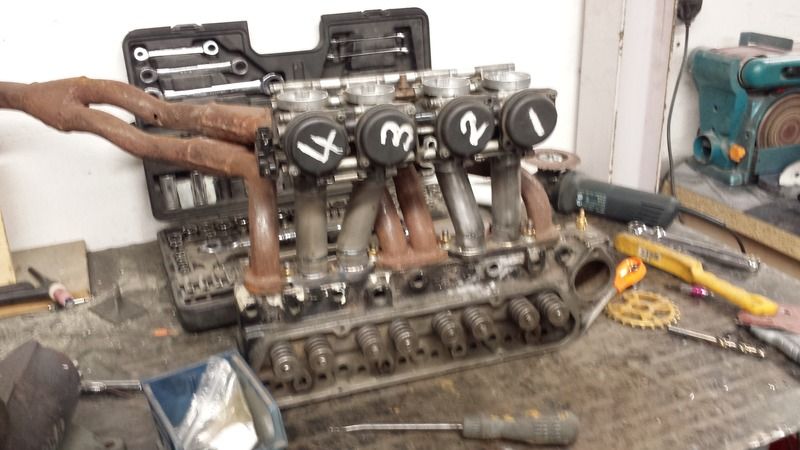 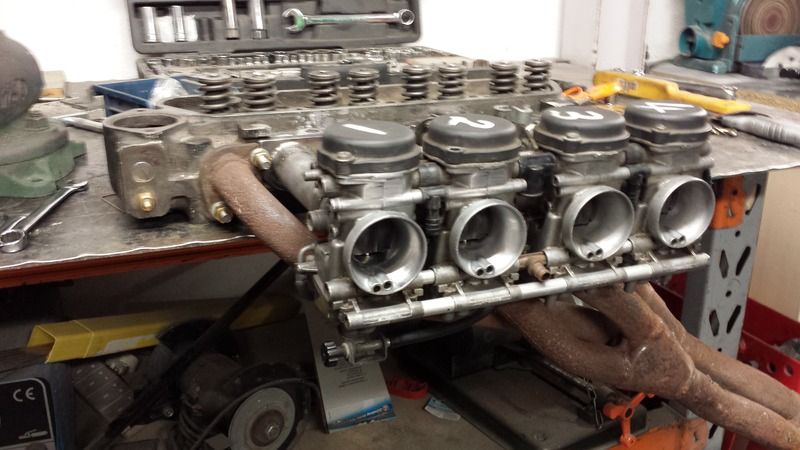 With the manifold almost finished I cleaned the head up and gave it a coat of paint before fitting it to the bottom end 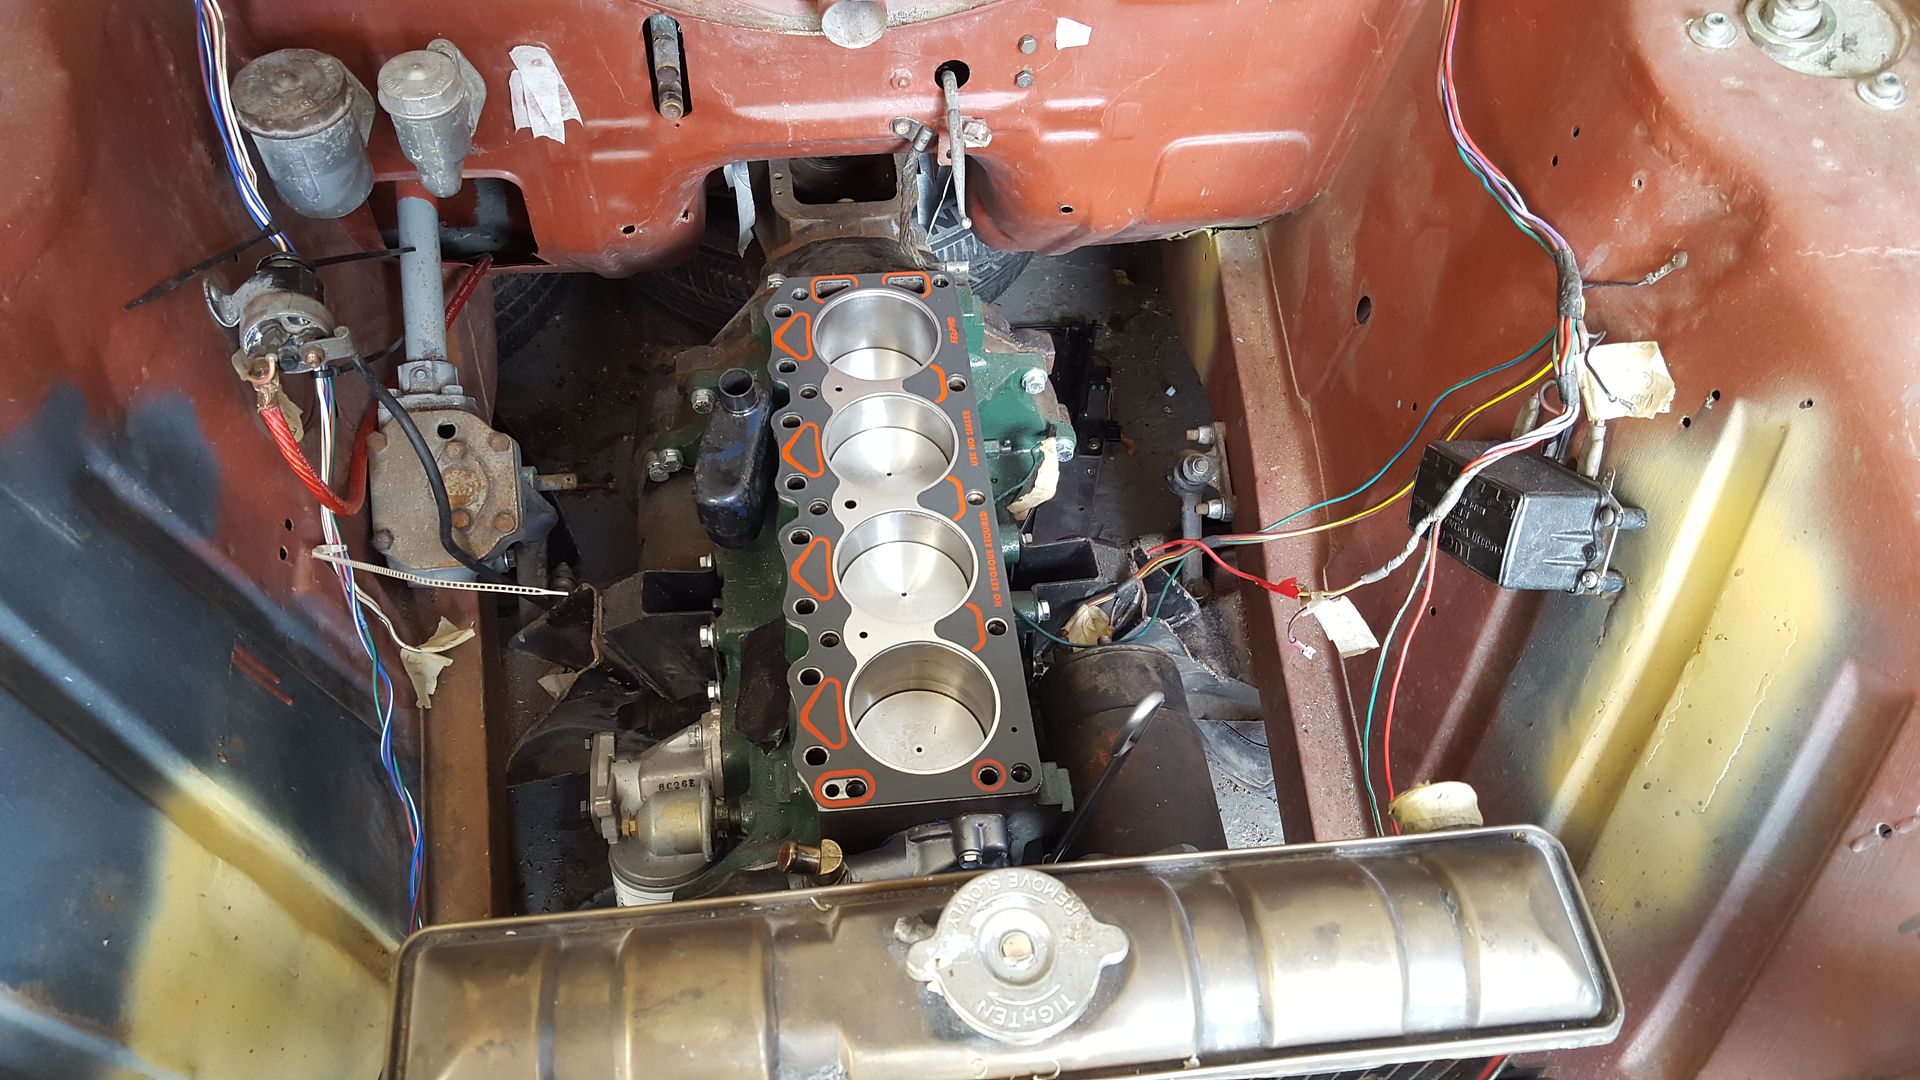 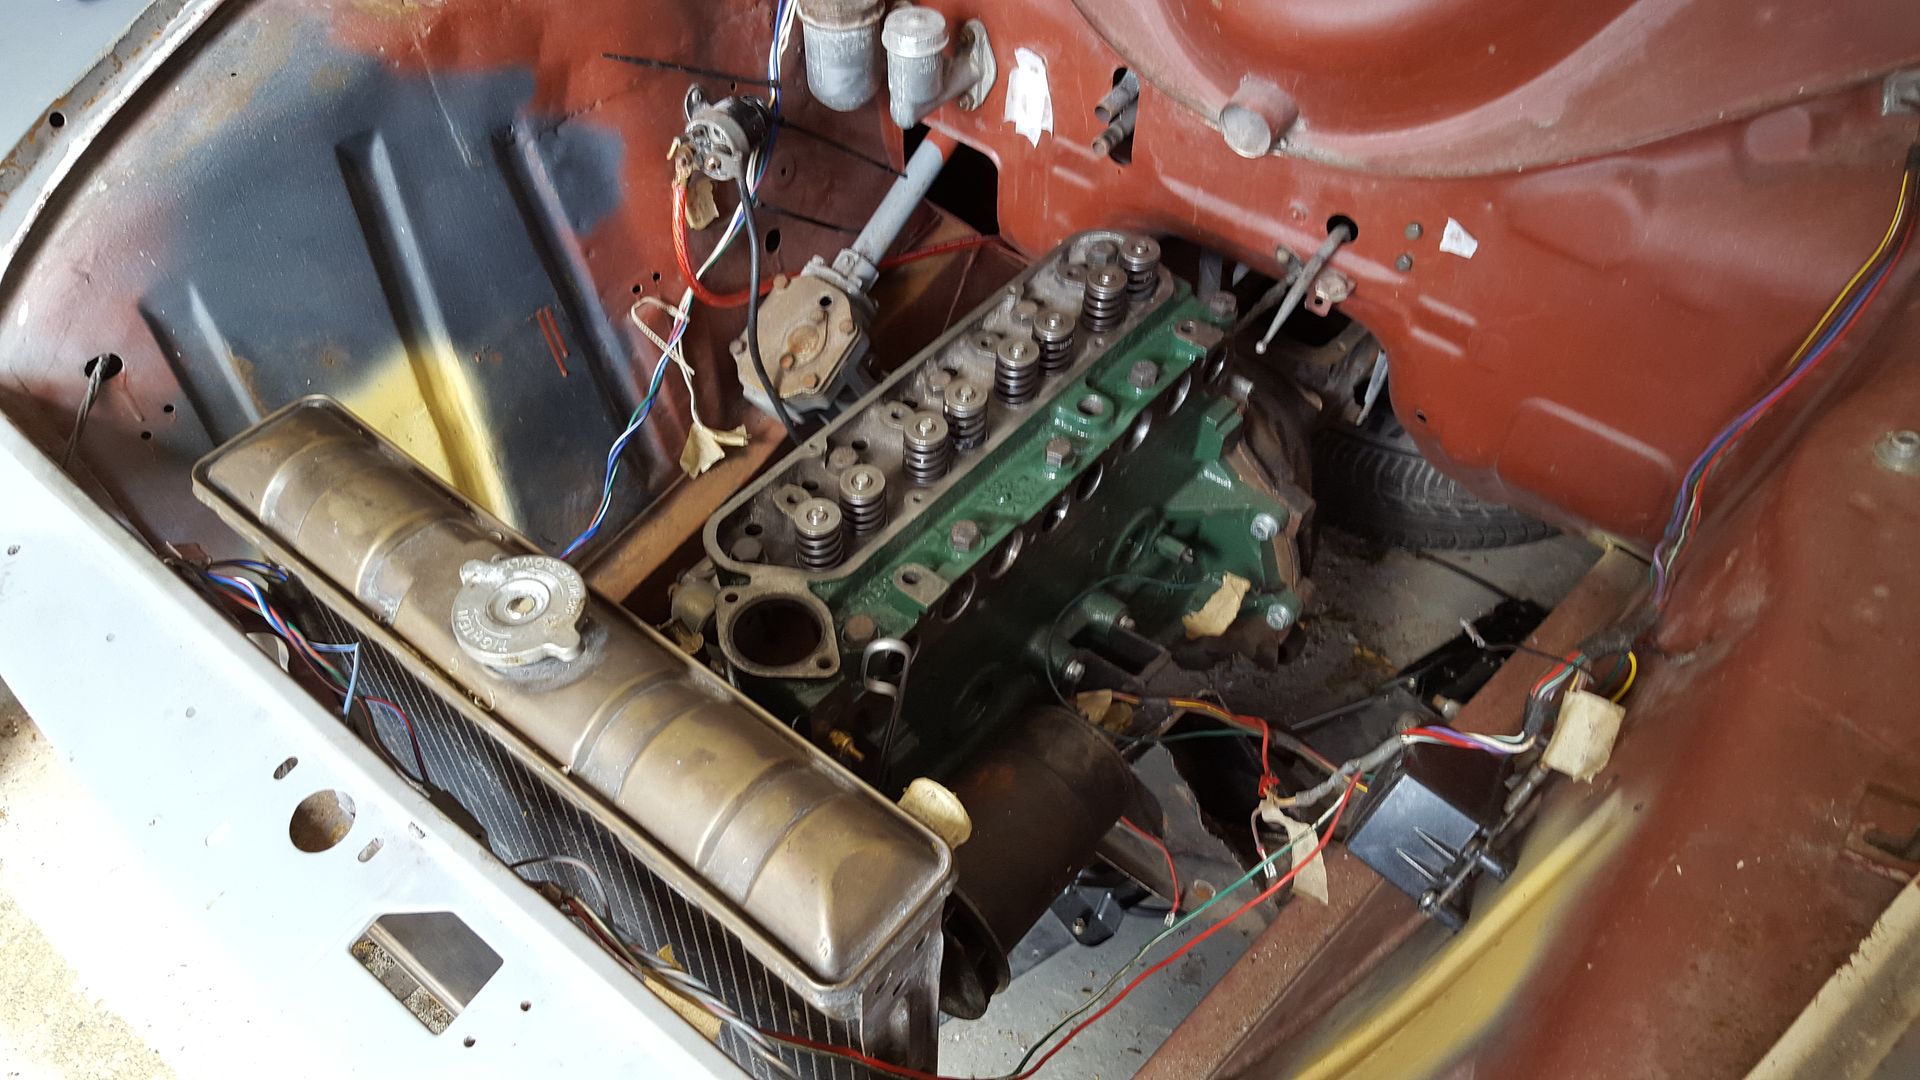 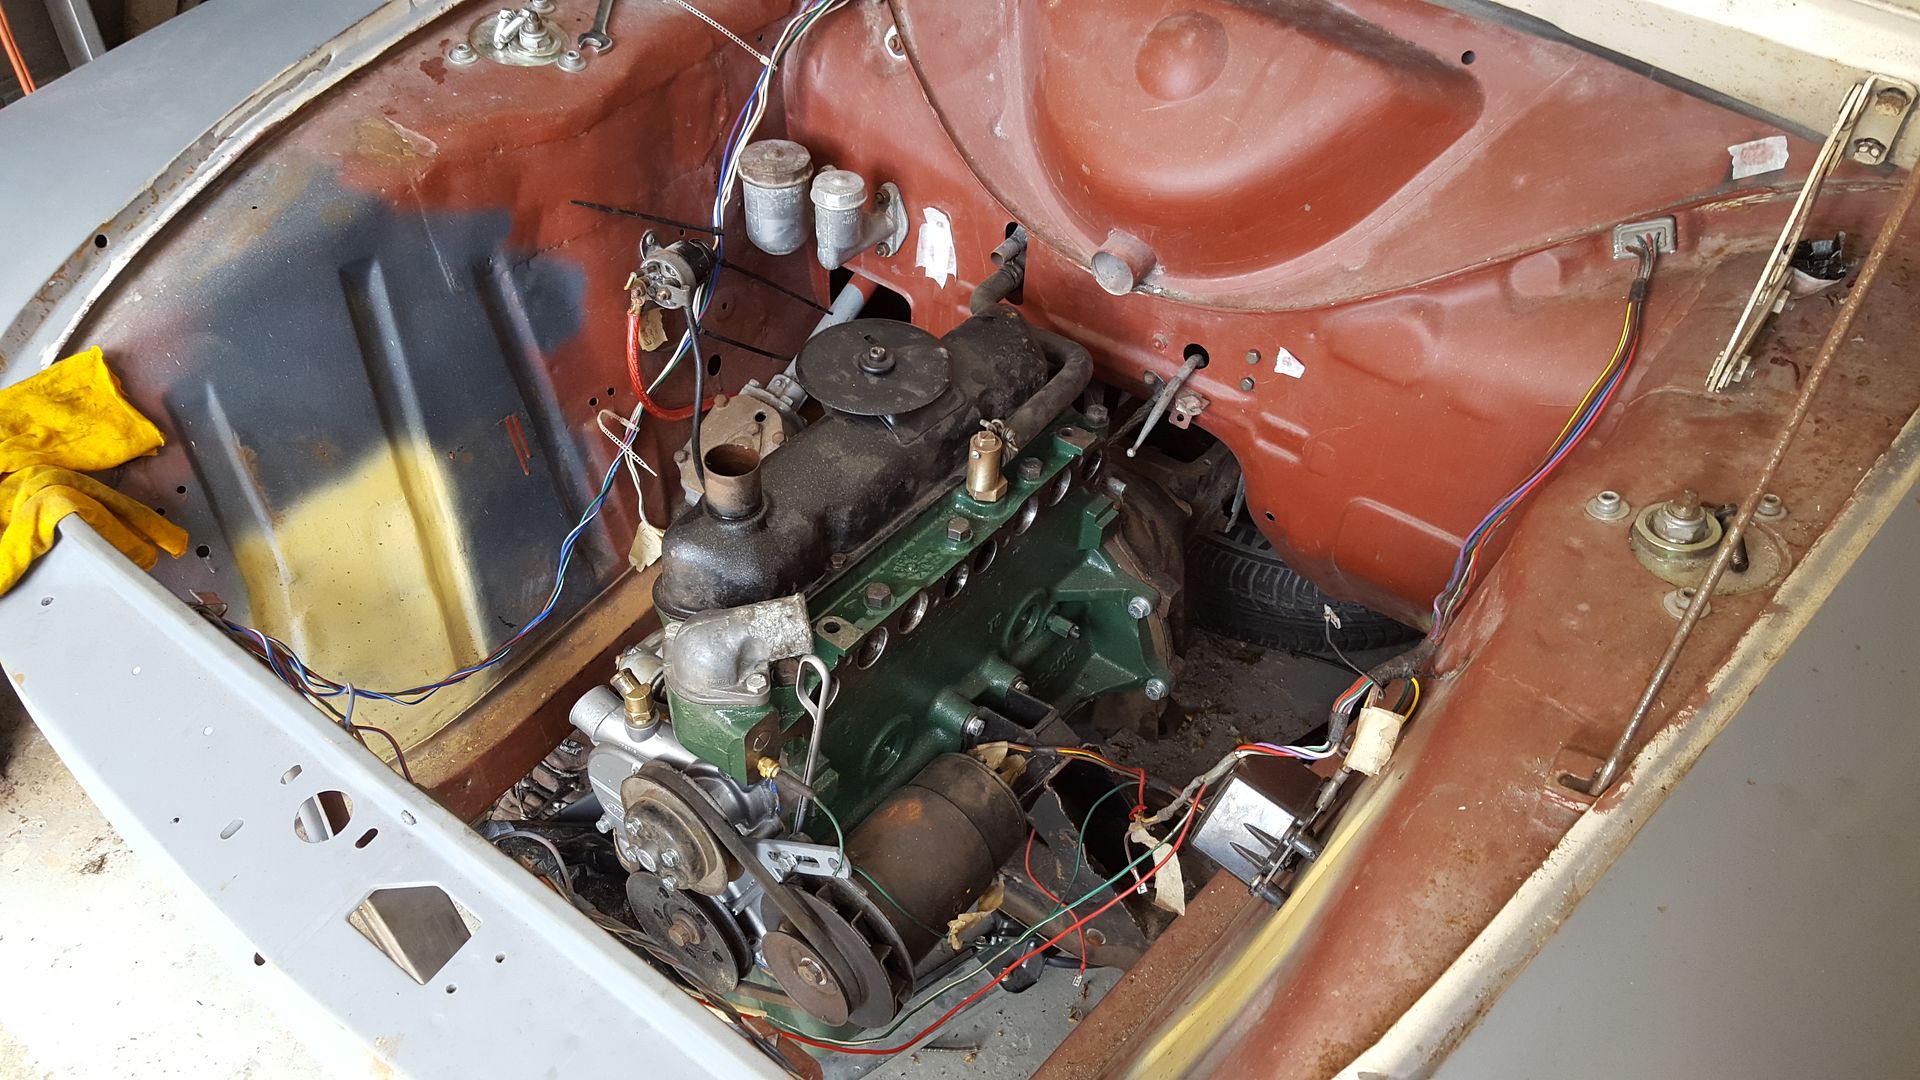 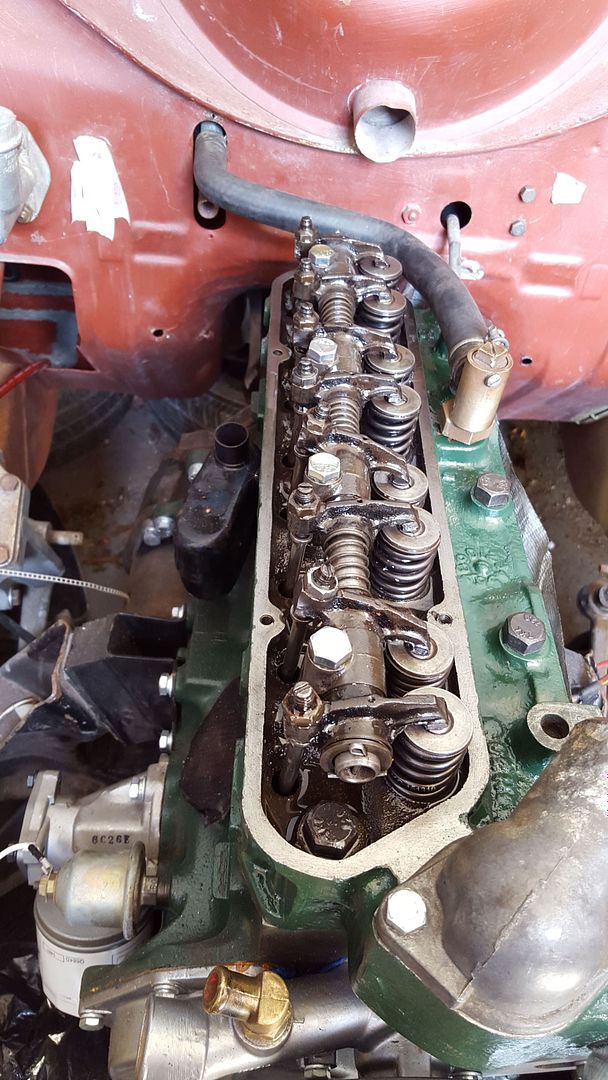 I liked the idea of a hard line running to the heater after seeing it on a morris oxford on here - so I made a temporary pipe out of some copper I had lying around 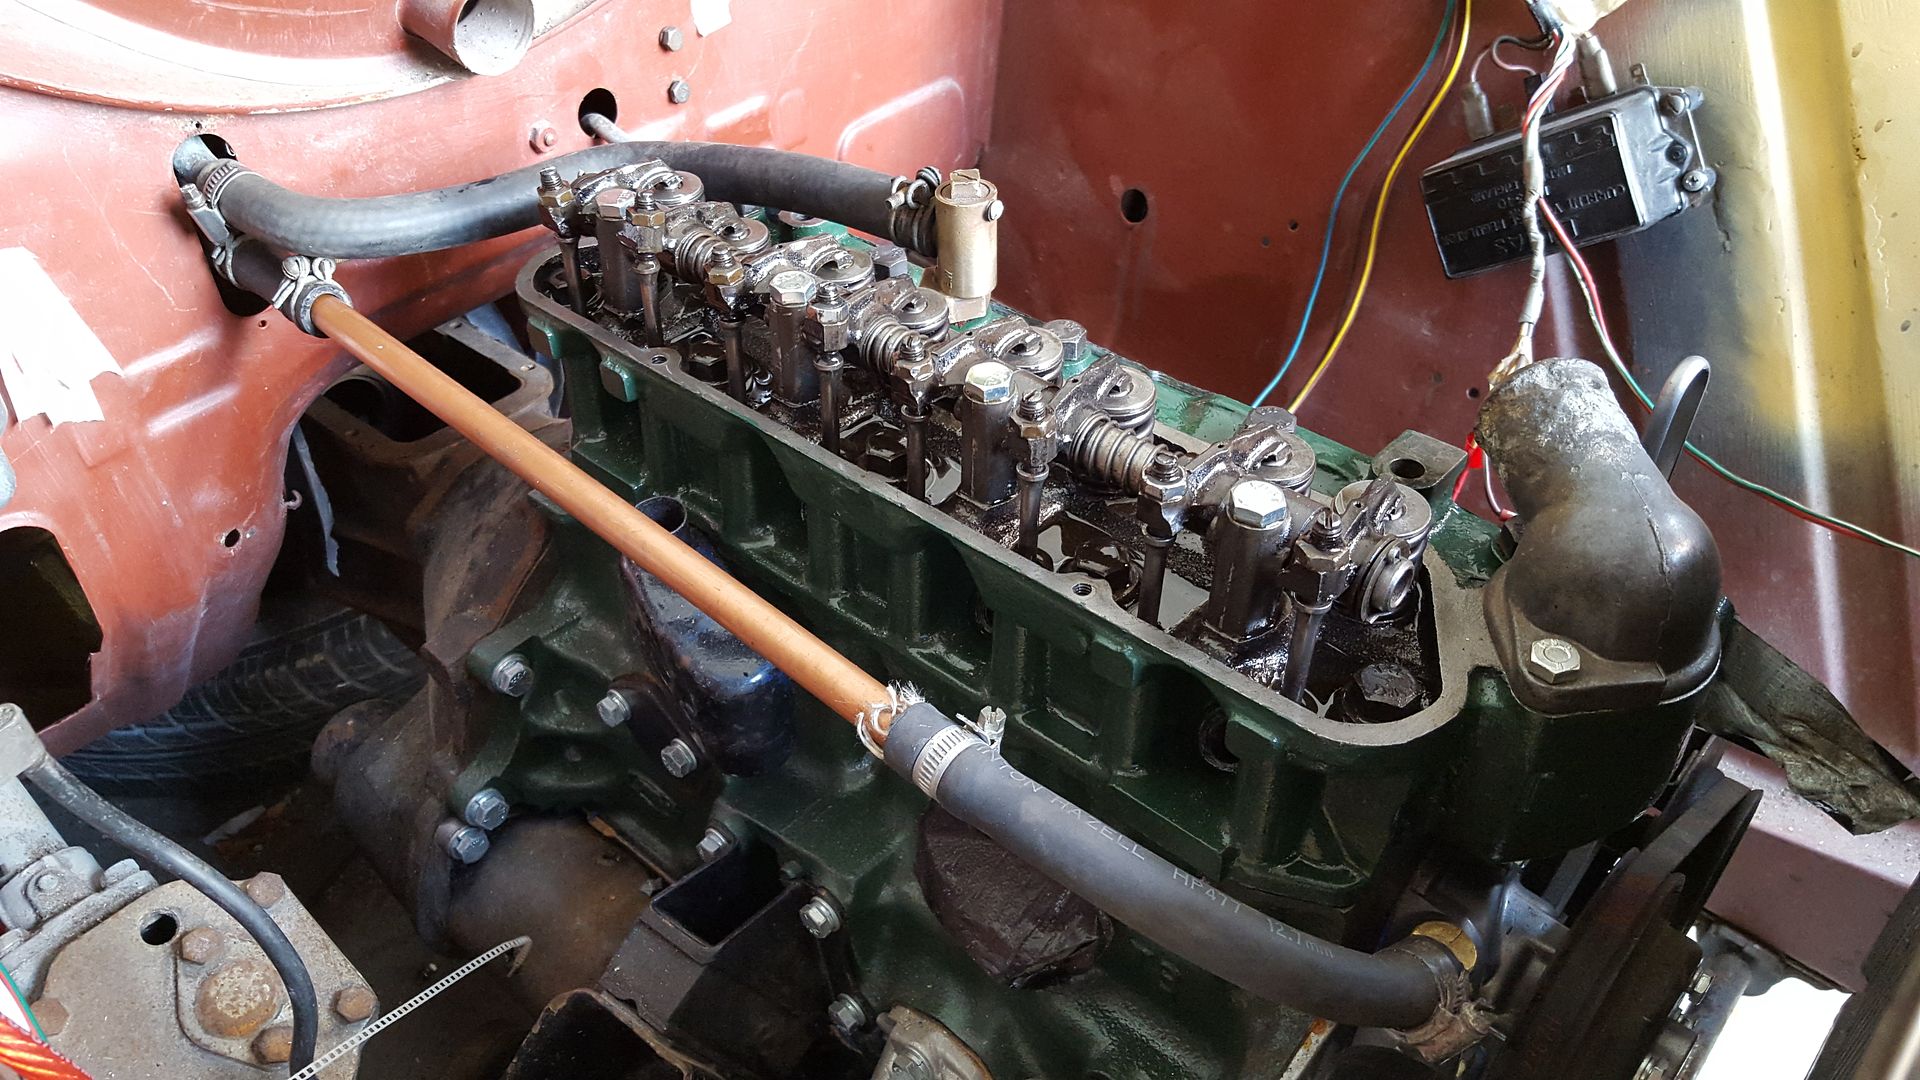 Whilst attatching the loom I found a few damaged wires - I have soldered them up but these will be replaced up - like I have done with the headlight wiring 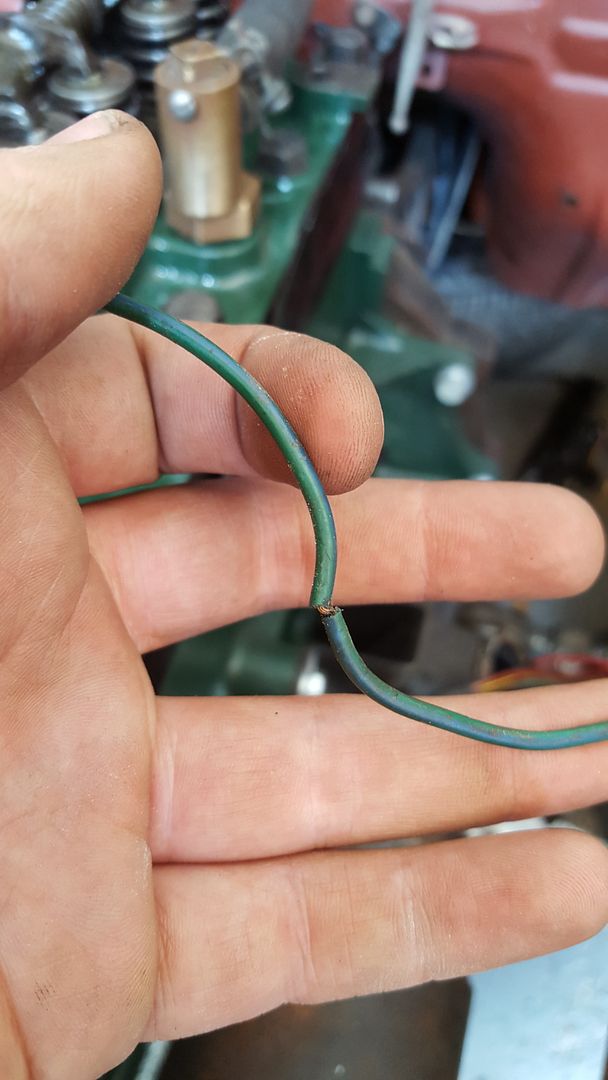 I bought some lowering blocks a while ago and would like to try them out but the axle has a bolt that goes down through the leaf spring to hold them together - so I am struggling to get these to fit - do I cut/remove the original bolt then the stud on the block locates into that hole?  Any help would be great! I'll finish with this! |
| |
1966 Ford Cortina GT
2018 Ford Fiesta ST
Full time engineer, part time waffler on Youtube - see Jim_Builds
|
|
|
|
|
|
|
Aug 23, 2015 12:02:33 GMT
|
Keep going mate i know what it feels like losing mojo , but your doing a top job there  |
| |
|
|
|
|
|
Aug 23, 2015 15:40:07 GMT
|
|
The bike carbs need a rubber mount. Youll get some strange fuelling scenarios because the vibrations will not let the floats shut,and will also airate the fuel.
|
| |
|
|
|
|
|
Aug 23, 2015 16:11:05 GMT
|
|
Hi, the the leaf spring has a bolt with a round head like an allen bolt, but without the hex, that holds the leaves together and locates in a hole in the saddle welded to the axle. This holds the axle square to the body. The lowering block should have a hole underneath for the bolt head and a 'nipple' on top to go into the axle saddle. If it doesn't, then you need to duplicate them. If the bolt is still attached to the axle then it needs to pulled out, it has just jammed in so shouldn't be hard to remove.
Colin
|
| |
|
|
|
|
|
Aug 24, 2015 20:55:39 GMT
|
The bike carbs need a rubber mount. Youll get some strange fuelling scenarios because the vibrations will not let the floats shut,and will also airate the fuel. No offence but that makes no sense, I did my research into the cards and how to mount them and aeration of fuel has been mentioned - surely that's what the jets do rather than a rubber mounting that's past the butterfly valve |
| |
1966 Ford Cortina GT
2018 Ford Fiesta ST
Full time engineer, part time waffler on Youtube - see Jim_Builds
|
|
|
|
|
Aug 24, 2015 20:56:58 GMT
|
Hi, the the leaf spring has a bolt with a round head like an allen bolt, but without the hex, that holds the leaves together and locates in a hole in the saddle welded to the axle. This holds the axle square to the body. The lowering block should have a hole underneath for the bolt head and a 'nipple' on top to go into the axle saddle. If it doesn't, then you need to duplicate them. If the bolt is still attached to the axle then it needs to pulled out, it has just jammed in so shouldn't be hard to remove. Colin Thanks Colin I'll have a look into it |
| |
1966 Ford Cortina GT
2018 Ford Fiesta ST
Full time engineer, part time waffler on Youtube - see Jim_Builds
|
|
|
|
|
Aug 24, 2015 21:17:07 GMT
|
The bike carbs need a rubber mount. Youll get some strange fuelling scenarios because the vibrations will not let the floats shut,and will also airate the fuel. No offence but that makes no sense, I did my research into the cards and how to mount them and aeration of fuel has been mentioned - surely that's what the jets do rather than a rubber mounting that's past the butterfly valve I believe that's why weber carbs have the rubber O ring between the manifold to stop vibration aerating the fuel in the float bowl. There not needed on throttle bodies. Don't ask me why a down draught doesn't need them though. I'm sure someone in the know will be along in a bit to explain. |
| |
|
|
|
|
|
Aug 25, 2015 19:35:18 GMT
|
|
I will be running on rings between the carb and manifold which would help the situation plus the engine mounts despite being new will move unlike on the bike which is solidly mounted to the frame
End of the day the whole thing has cost £50!
|
| |
1966 Ford Cortina GT
2018 Ford Fiesta ST
Full time engineer, part time waffler on Youtube - see Jim_Builds
|
|
|
|
|
Aug 31, 2015 13:47:26 GMT
|
I managed to get the bolt out of the axle, it didnt take a lot of effort which was a nice surprise, I have fitted the lowering blocks but they need a fettle to get them 100% but at least I know what they fit etc 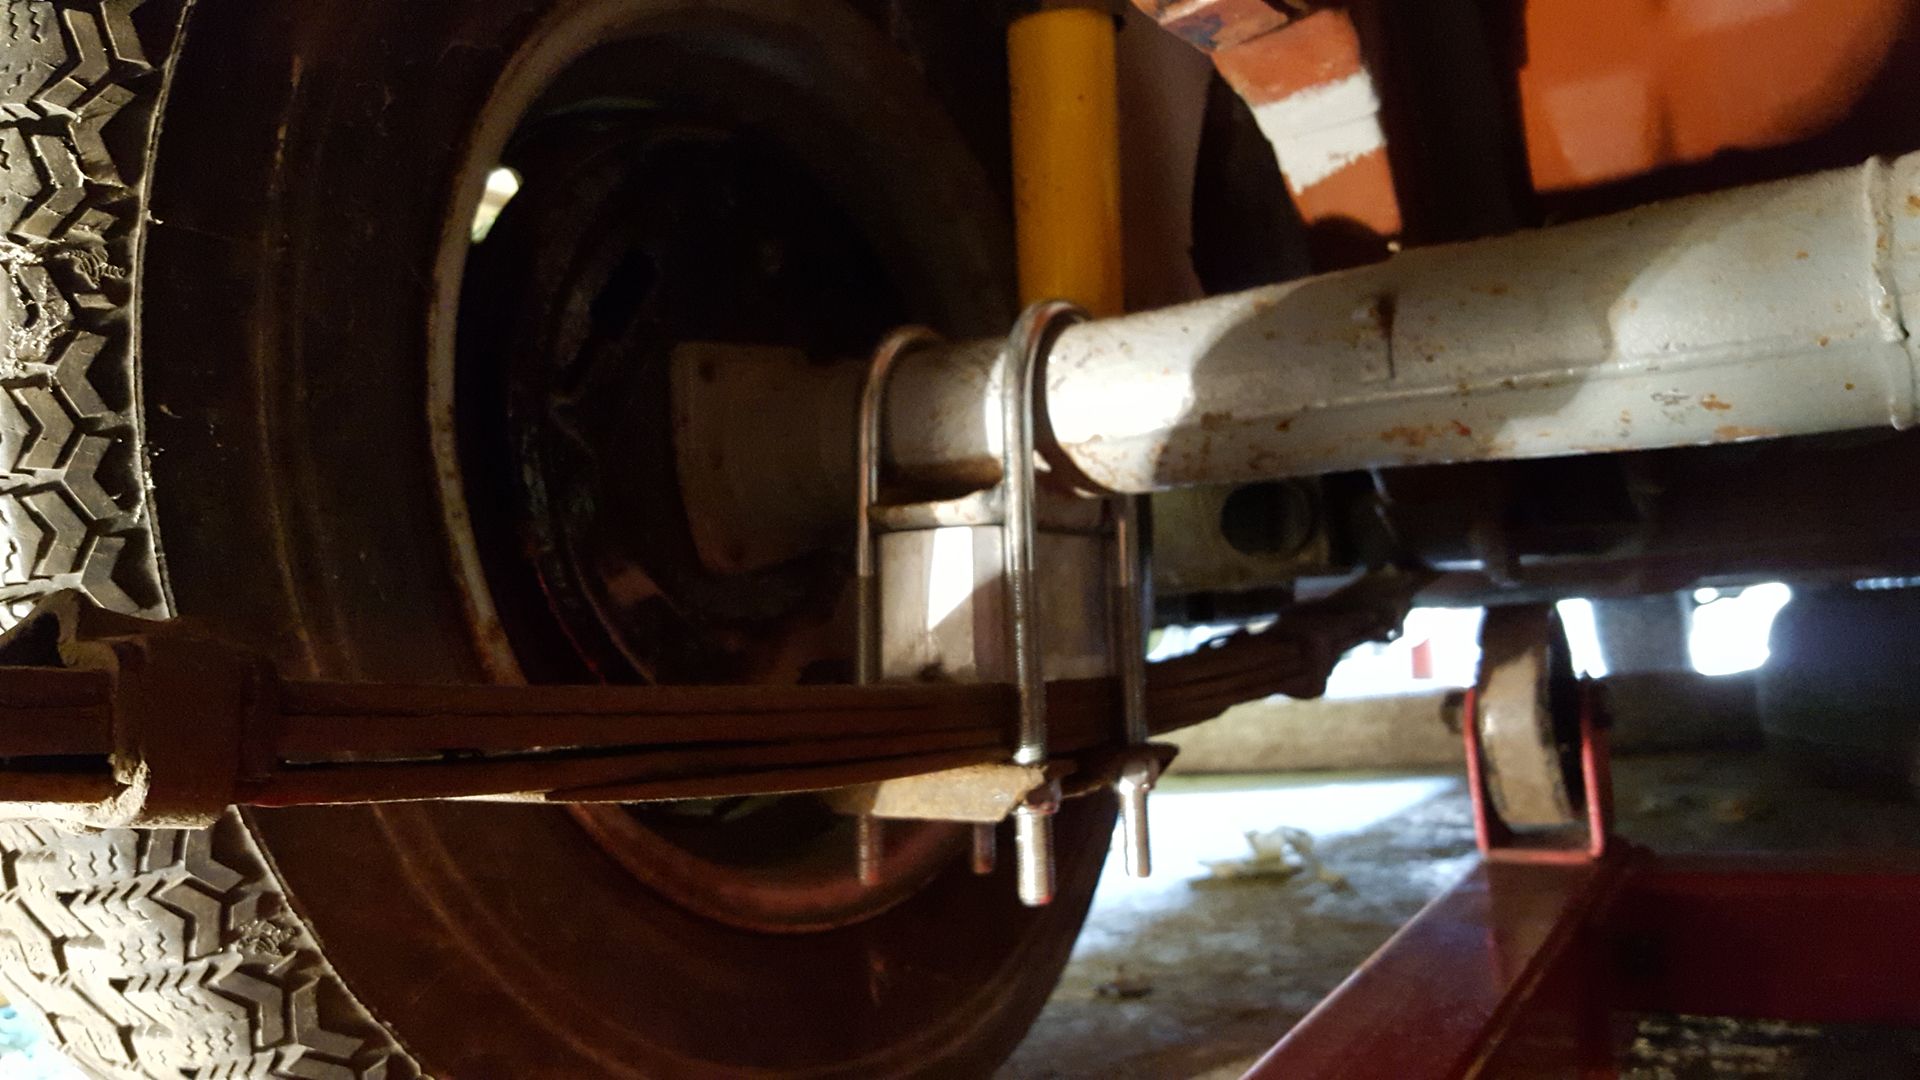 I think I'll need to add a spacer to the wheels when they go on as they look a little bit lost in the arches 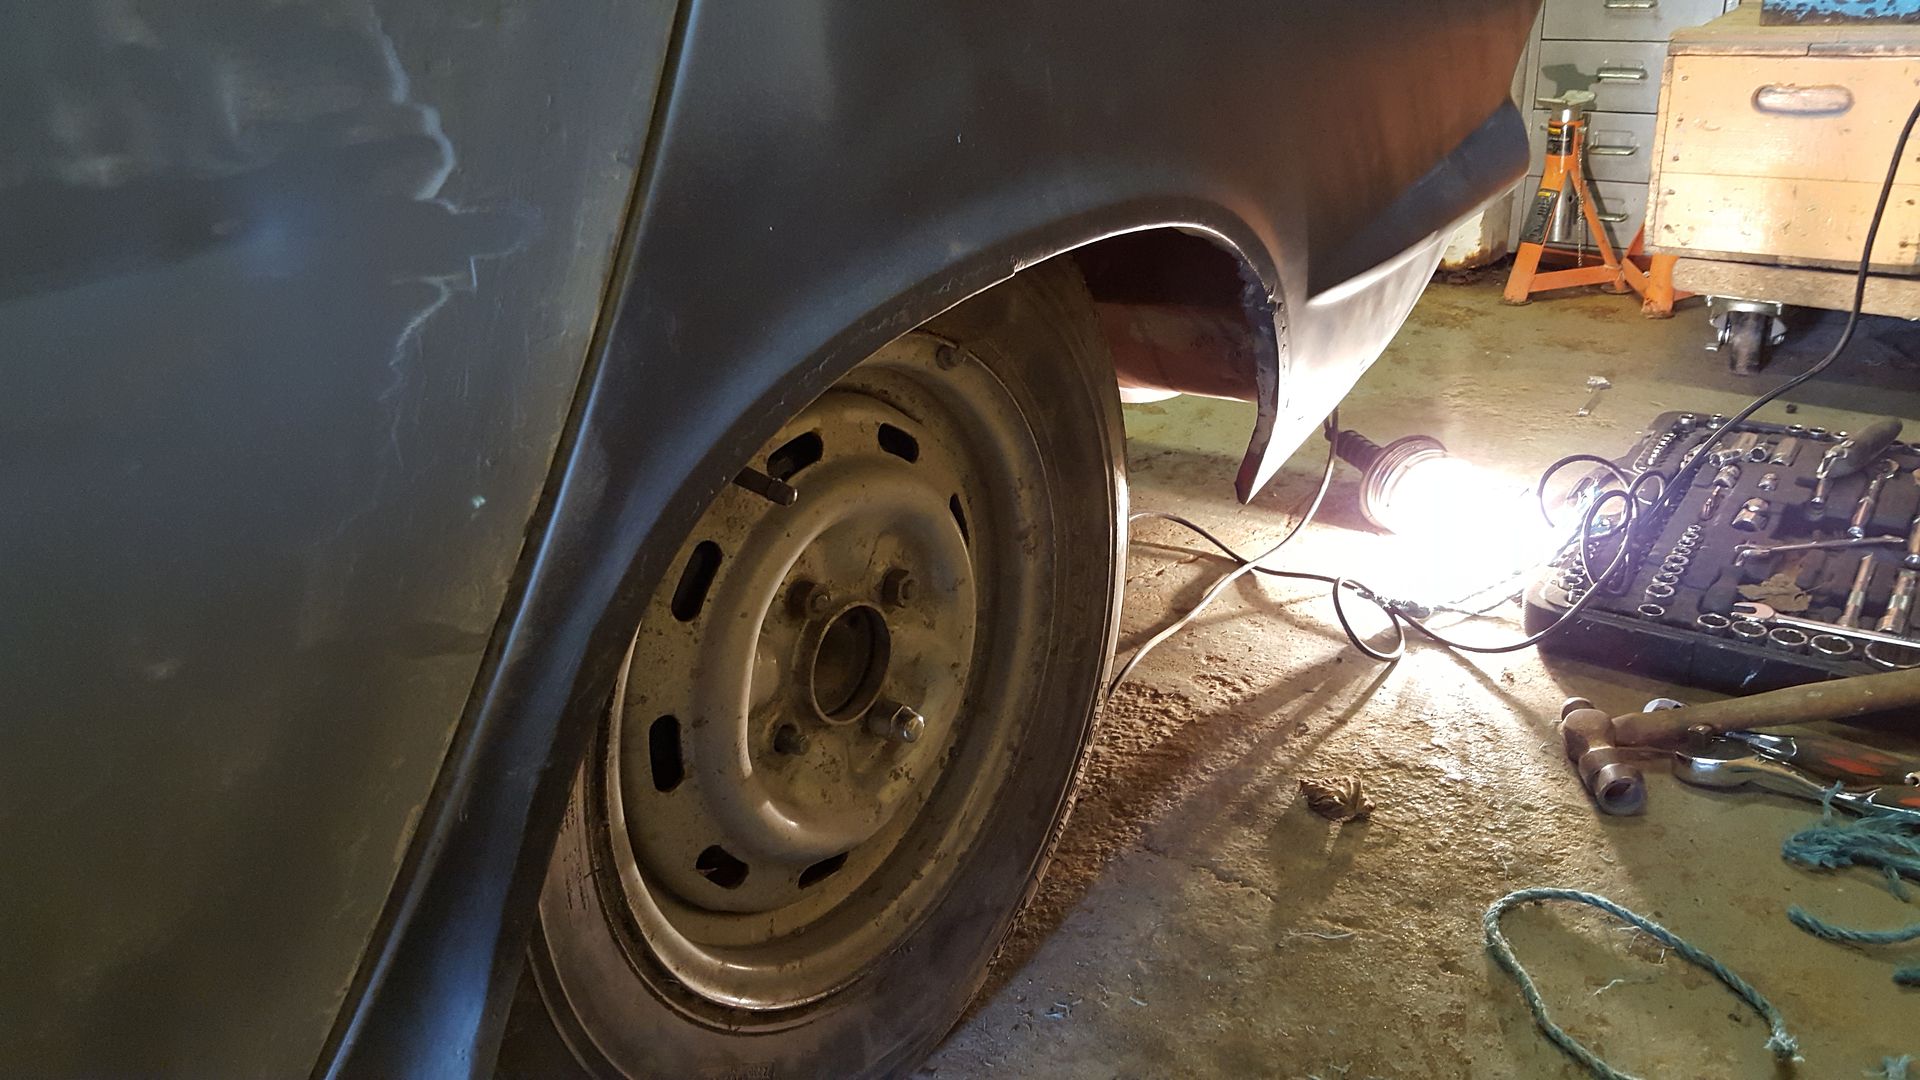 I decided to try multitasking as it seems to work out well for the Mrs! so whilst lowering blocks were being fitted and I dropped the centre console and passenger seat into the car (no where to store them till we've moved house) I thought I'd try electrolysis! The exhaust manifold has some extra holes in it that need to be addressed and it looks pretty ropey, it needs to have clean metal so that I can weld it up and paint it - usually I would wire wheel parts as its quick and easy but the problem with that is that there won't be much manifold let afterwards! 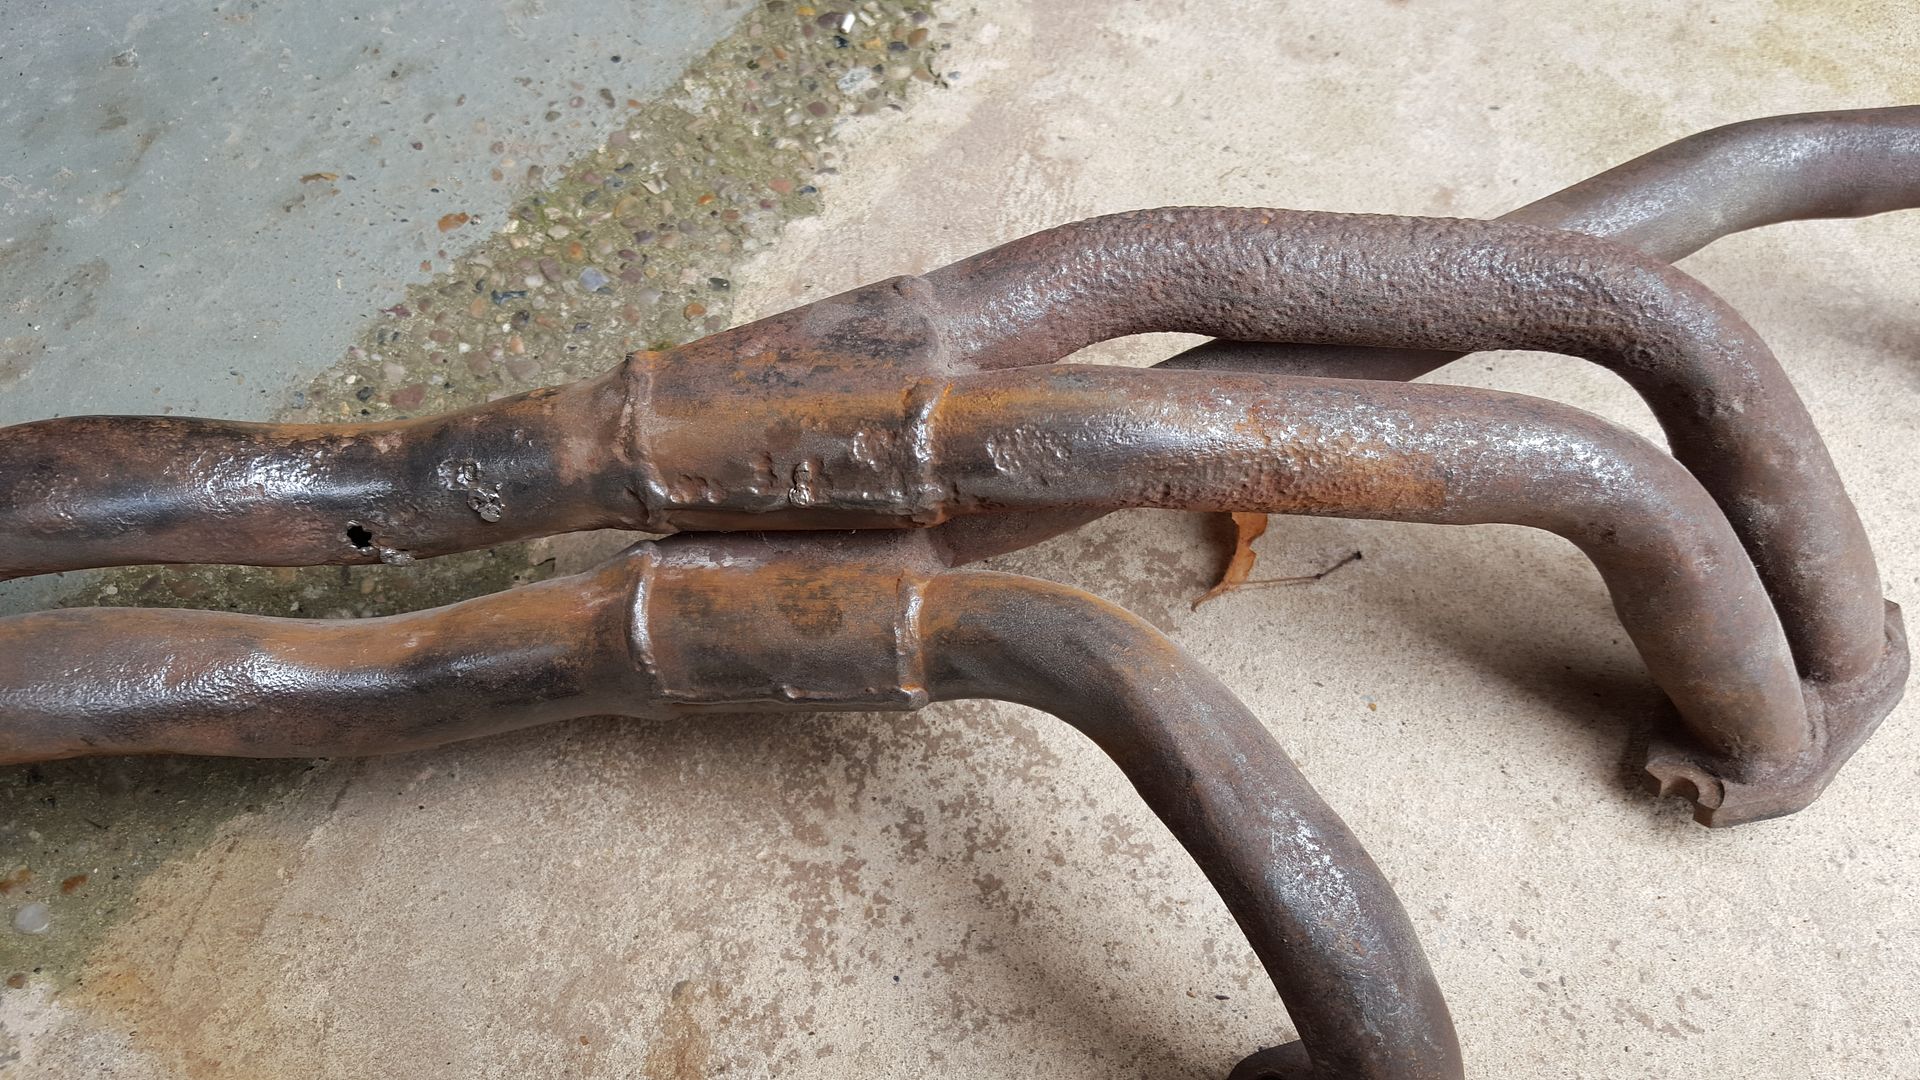 The setup is pretty easy, I had the plastic drum in the garage - It is usually used for storing rags and doubles as a seat for when I am polishing stuff! and the washing soda was £1 for a KG (it should be enough to do this for everything on the car!) and a battery charger 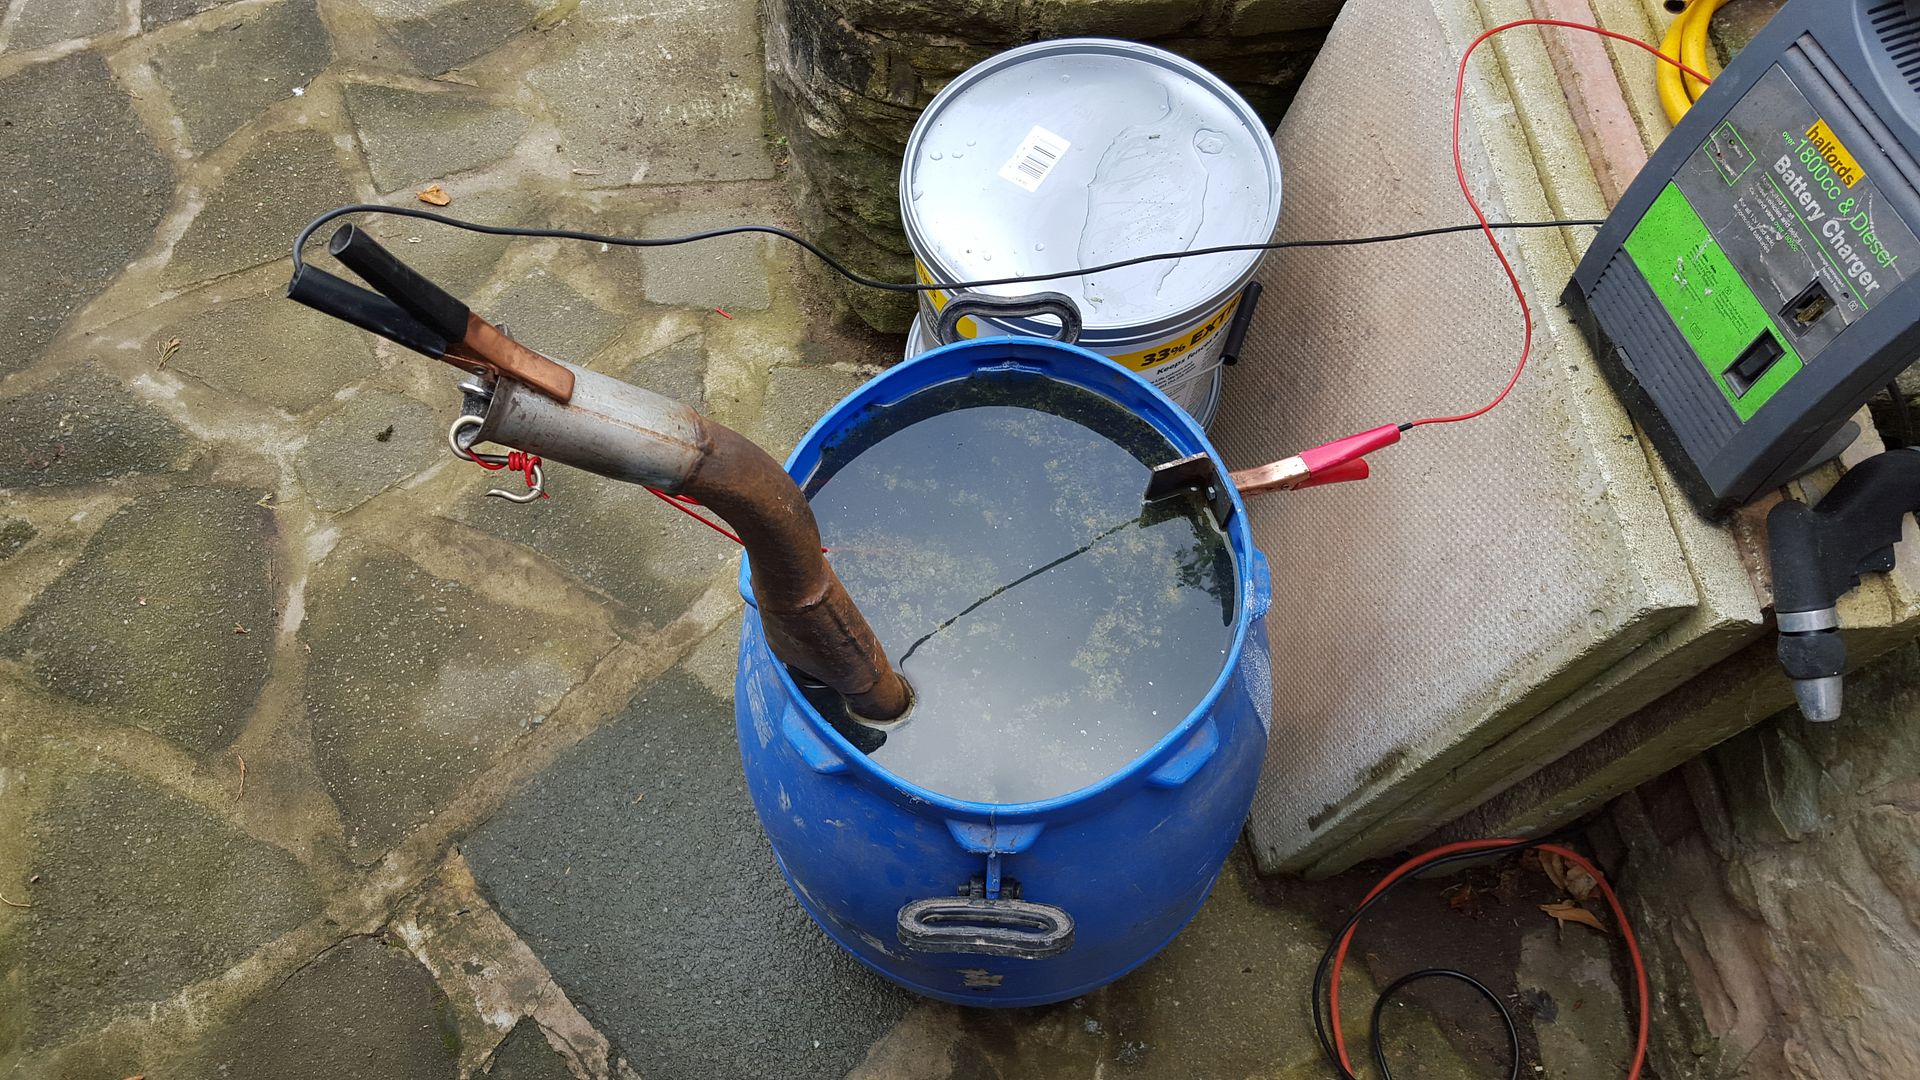 After an hour - I wasn't sure if it was going to work! 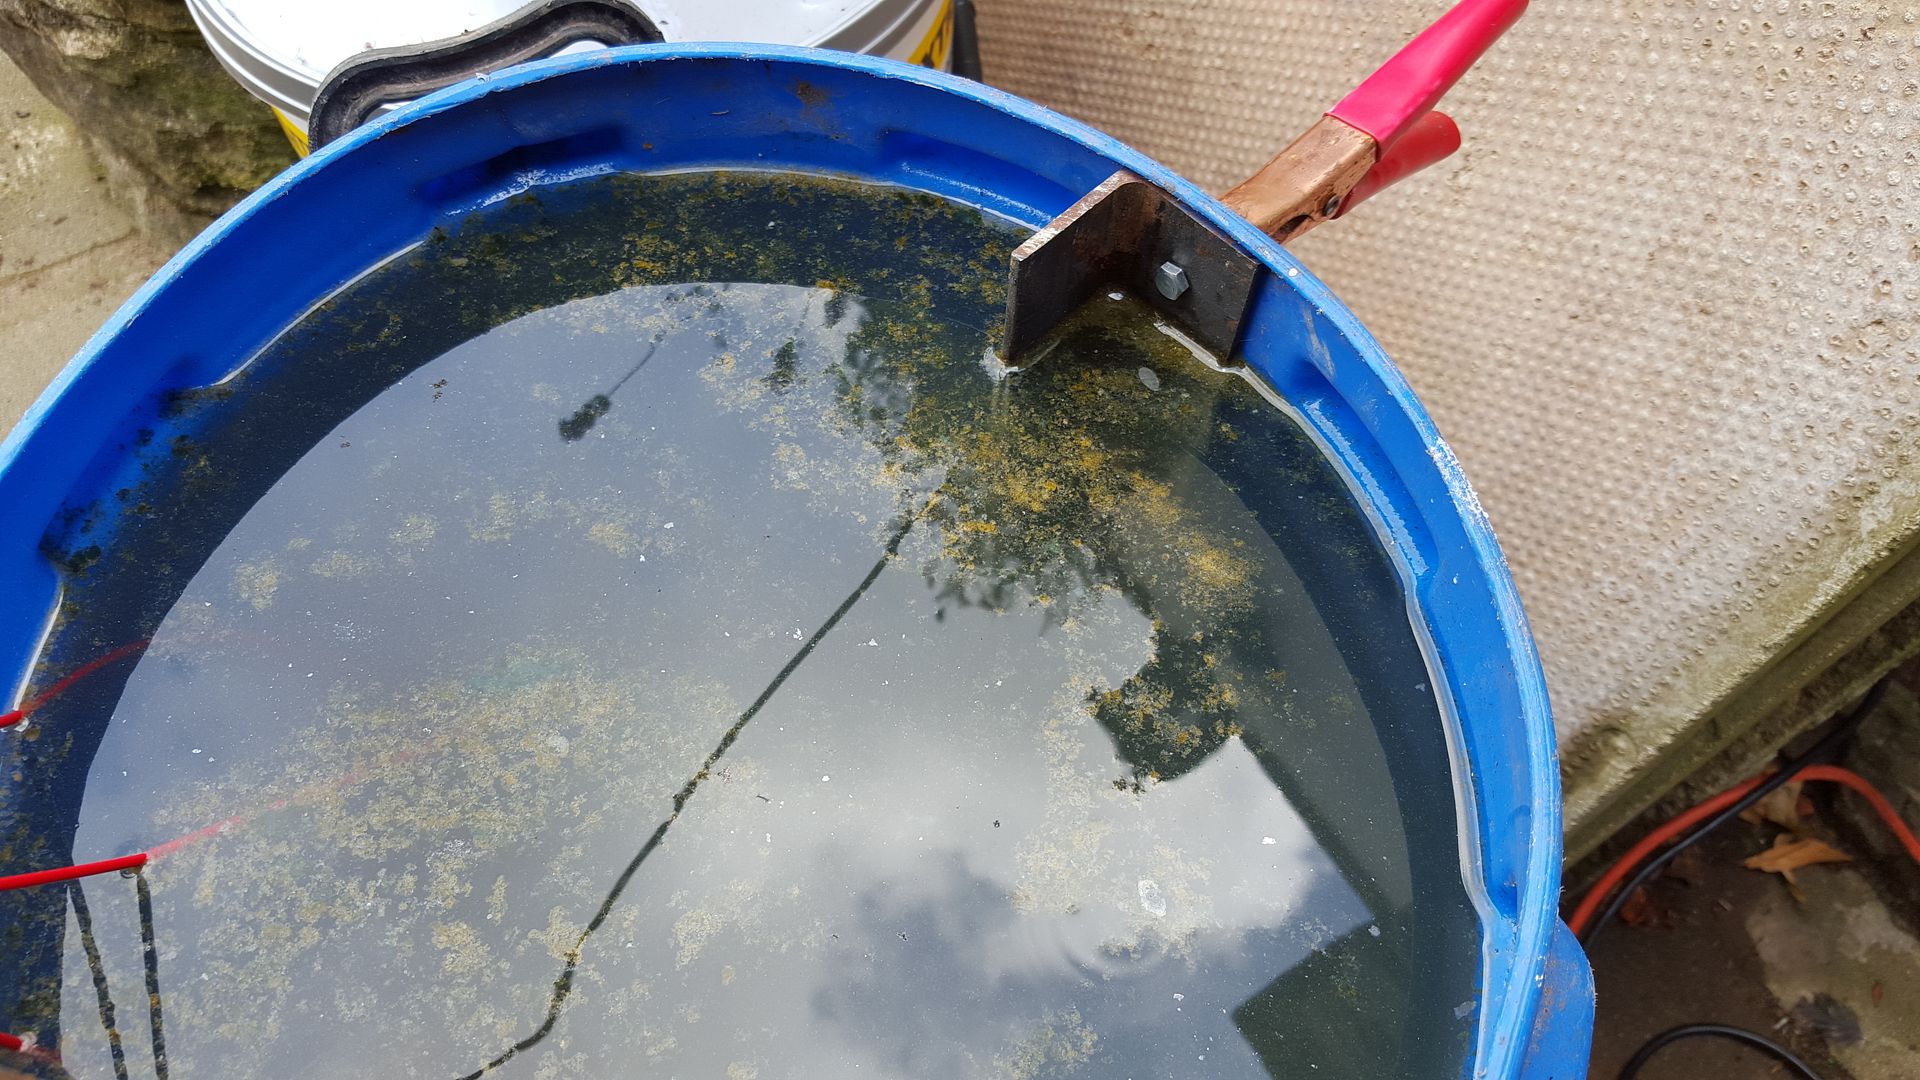 after 4 hours - rusty soup! 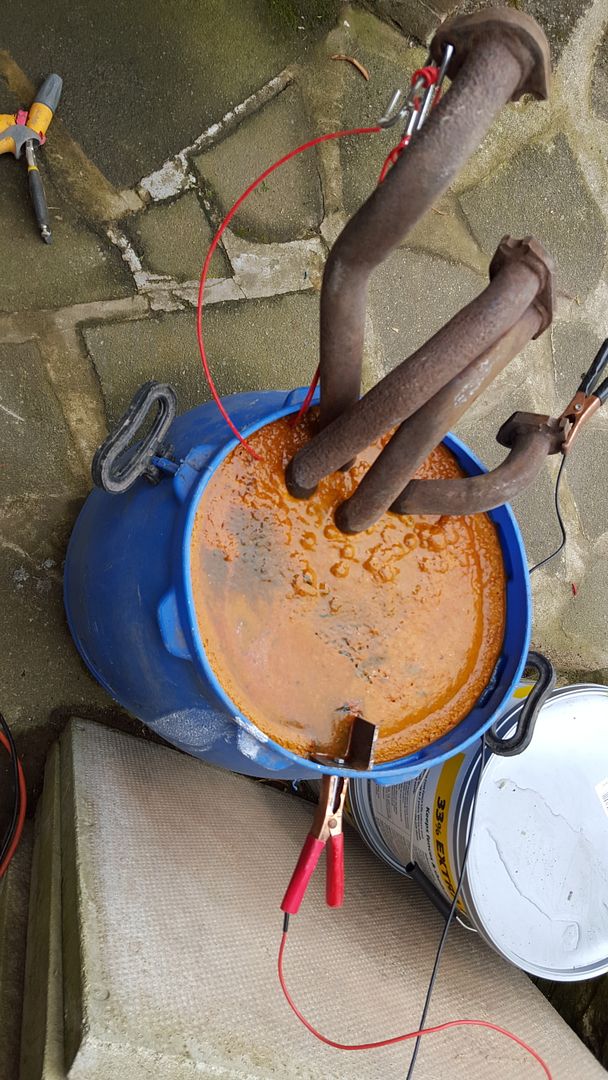 I pulled it out and rinsed it off - it looks much better than I thought it would 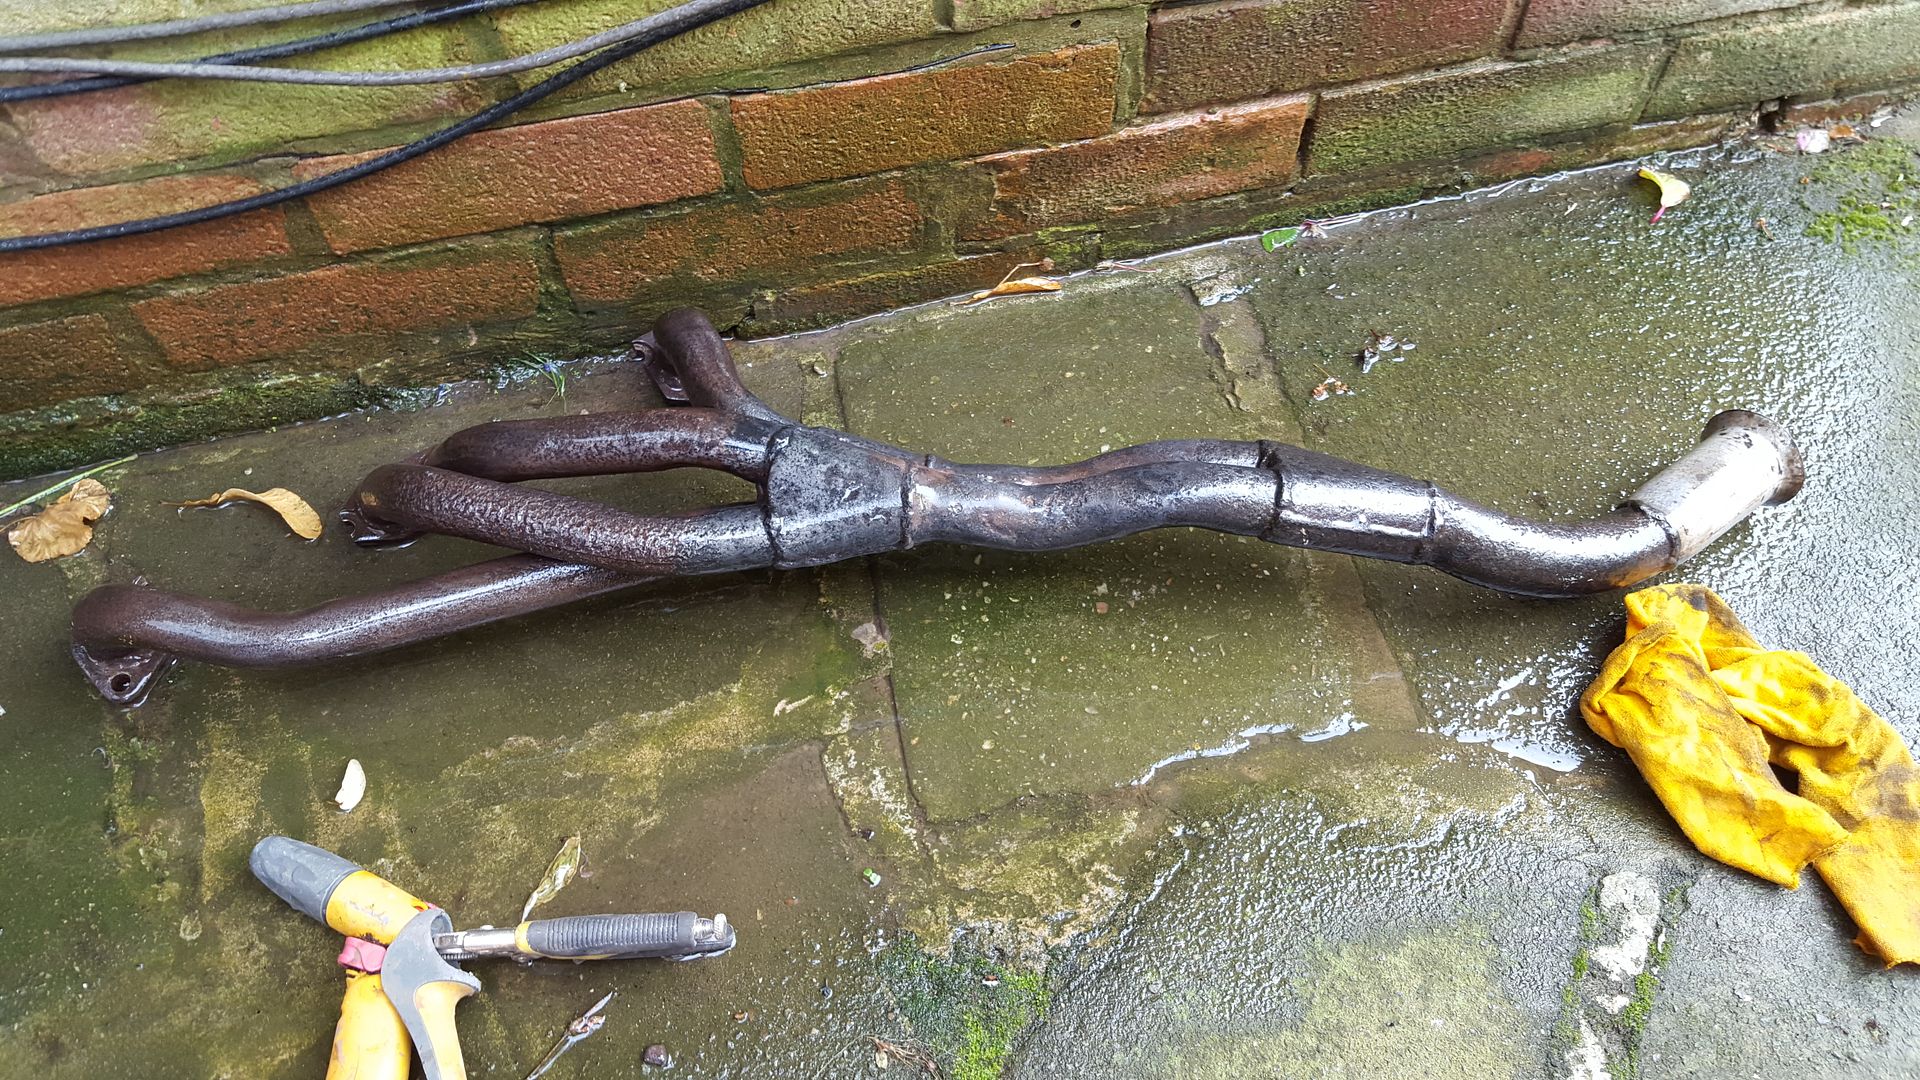 I would recommend this as its something you can do whilst working on other jobs - I think I have an old sieve which would work for doing bolts etc at the same time |
| |
1966 Ford Cortina GT
2018 Ford Fiesta ST
Full time engineer, part time waffler on Youtube - see Jim_Builds
|
|
|
|
|
Sept 10, 2015 22:19:58 GMT
|
|
Massive improvement with the manifold.
I've tried electrolysis before but it didn't work so well as your set up.
Ps. That's a damn cool car
|
| |
|
|
|
|
|
Sept 18, 2015 14:46:24 GMT
|
Thanks Quickrack! It was worth a go as its so cheap! So I'm currently on gardening leave which means I am technically getting paid to work on my car - Living the Dream!!!! I thought that the engine was slow at turning over so I stripped it down and found that only 3 of the brushes were working as a sring had broken - so I borrowed one from the dynamo as it is going to be changed for an alternator and to celebrate I made it look like I wanted to keep it!  I have taken on board what guys have said about the carbs and as a precaution I managed to acquire and original weber 28/36 DCD and manifold but there's a catch! 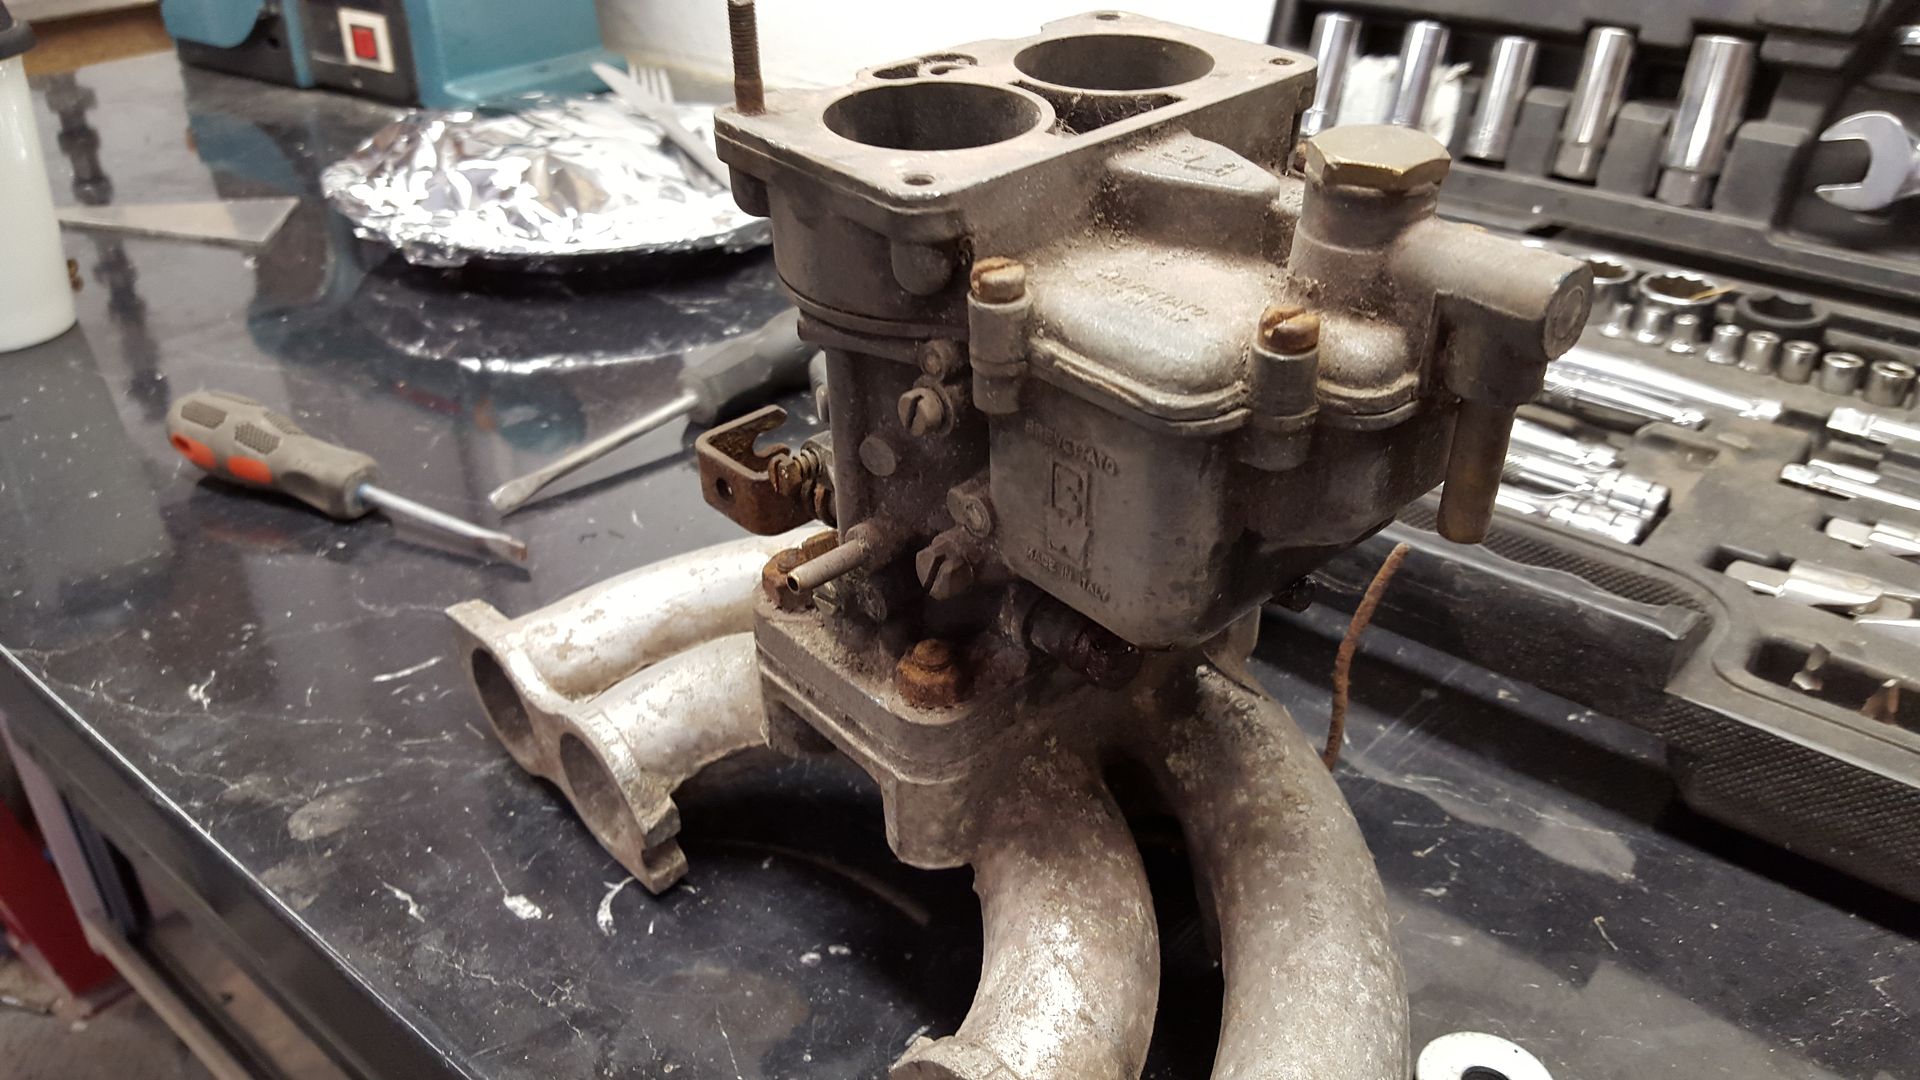 It looks was buried in a very deep hole for 50 years and because of that the throttle shaft was siezed which turned out to be twisted - so I needed to order another simple! 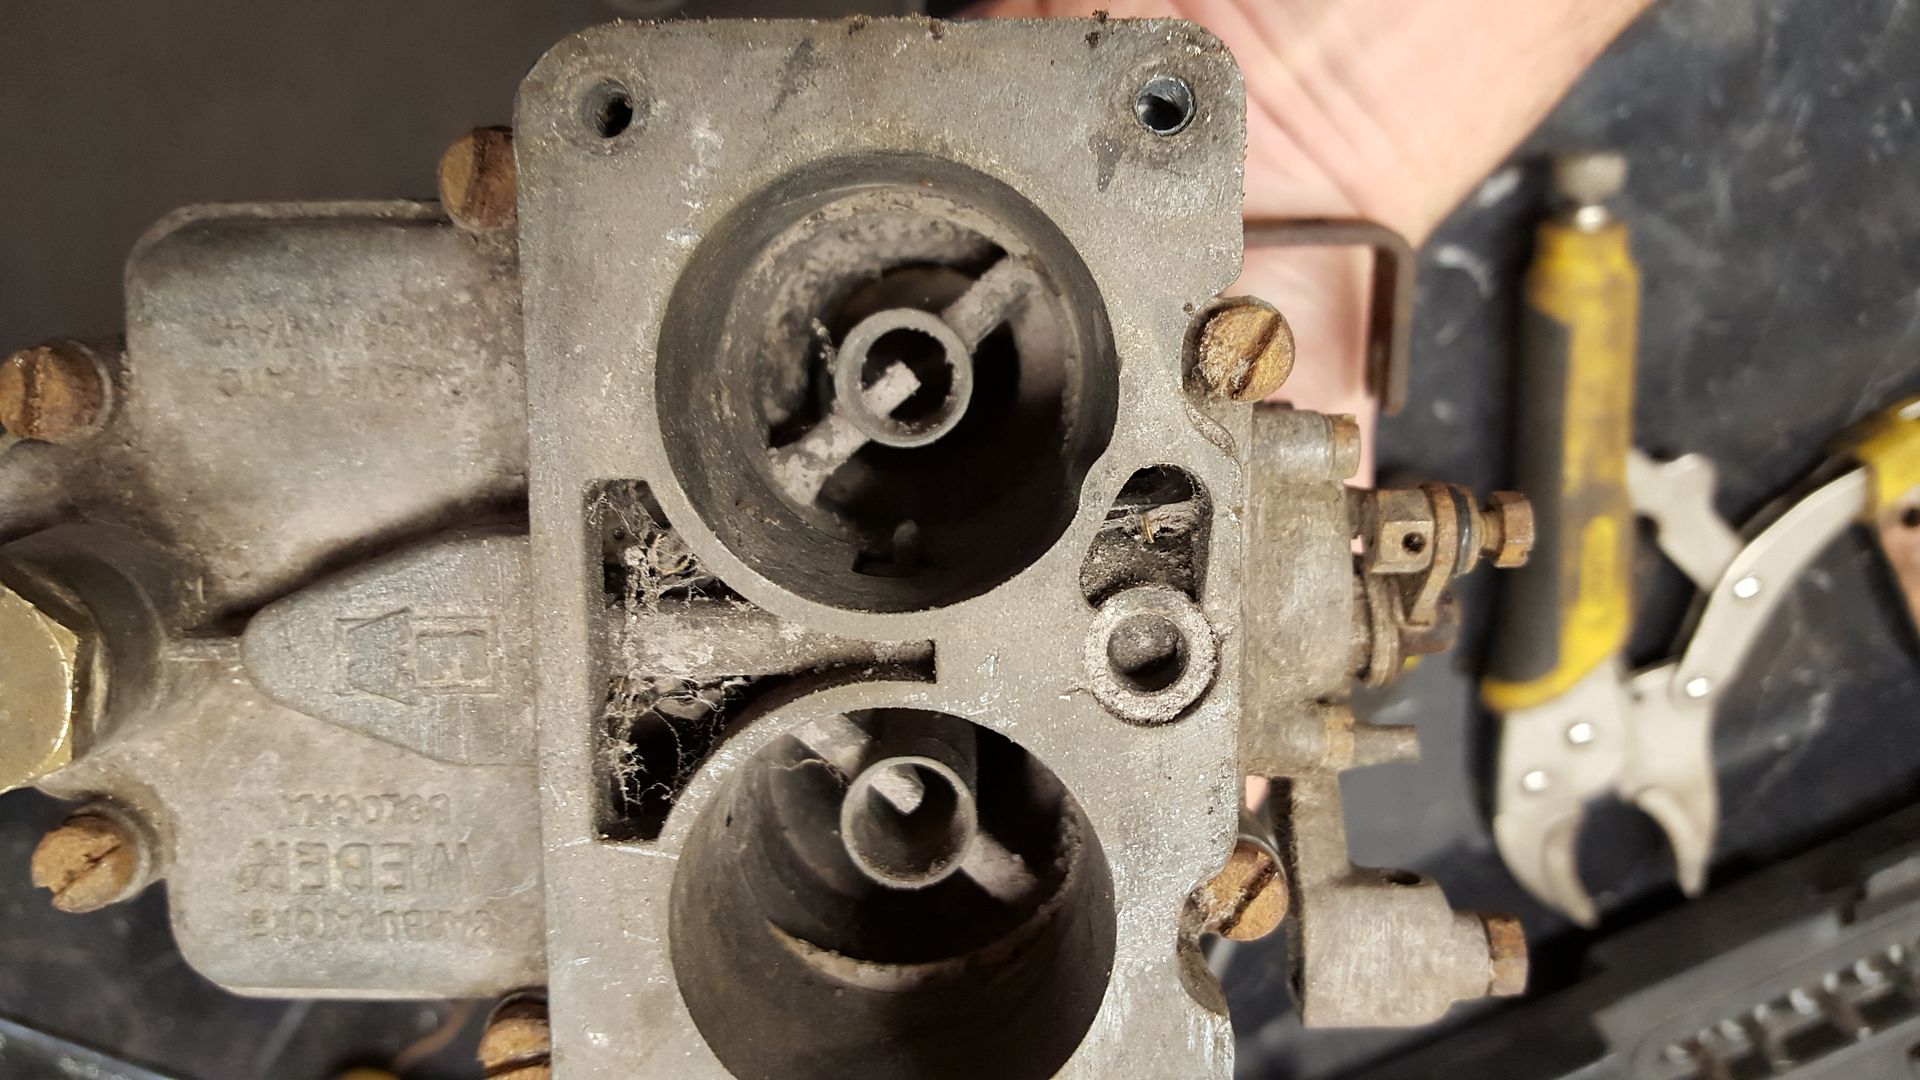 The problem was no-one in the UK has any - even weber! So I'm currently waiting for some to come from the USA! in the meantime I figured I'd pull my finger out and clean up the manifold 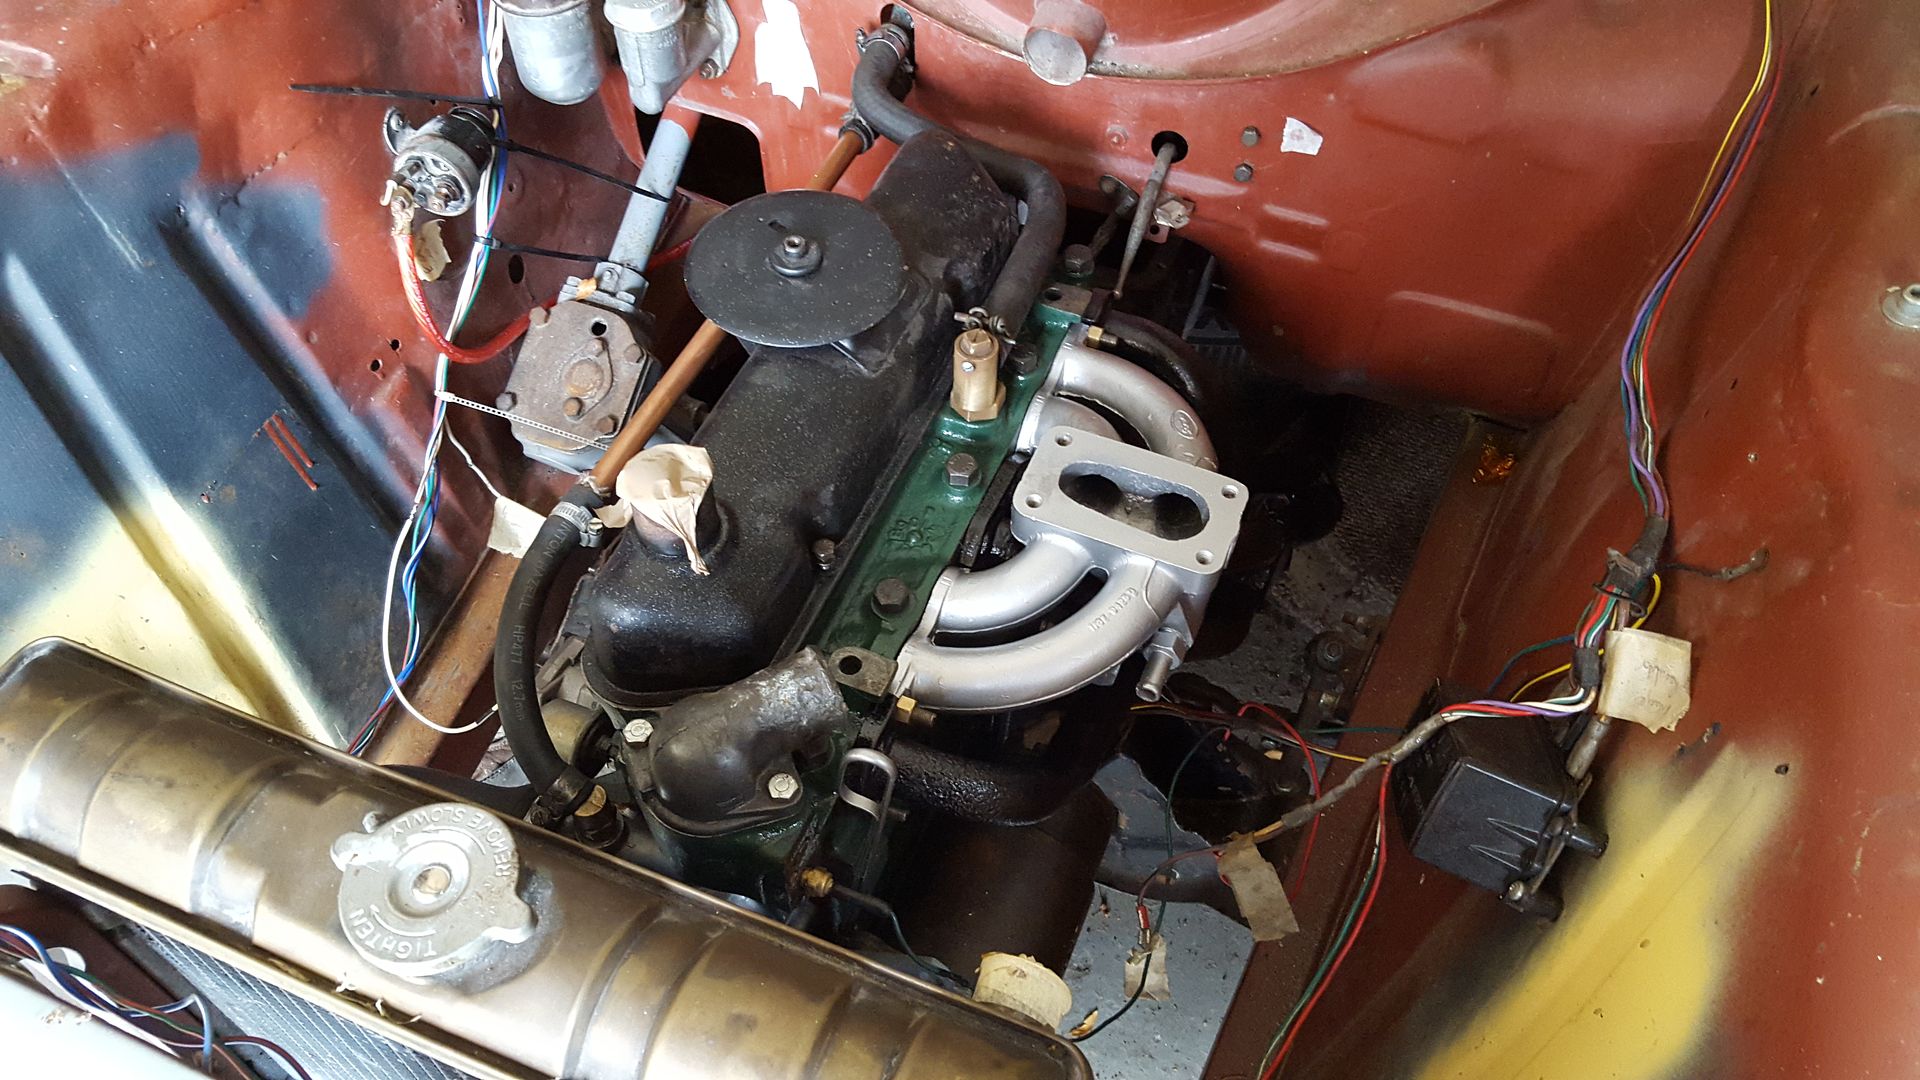 I painted the exhaust with High temp black paint and it looks pretty good and dropped it on and it got my motivated  I ordered a distributor that is non vacuum advance which will work with both carbs, and to celebrate I put the bike carbs on! 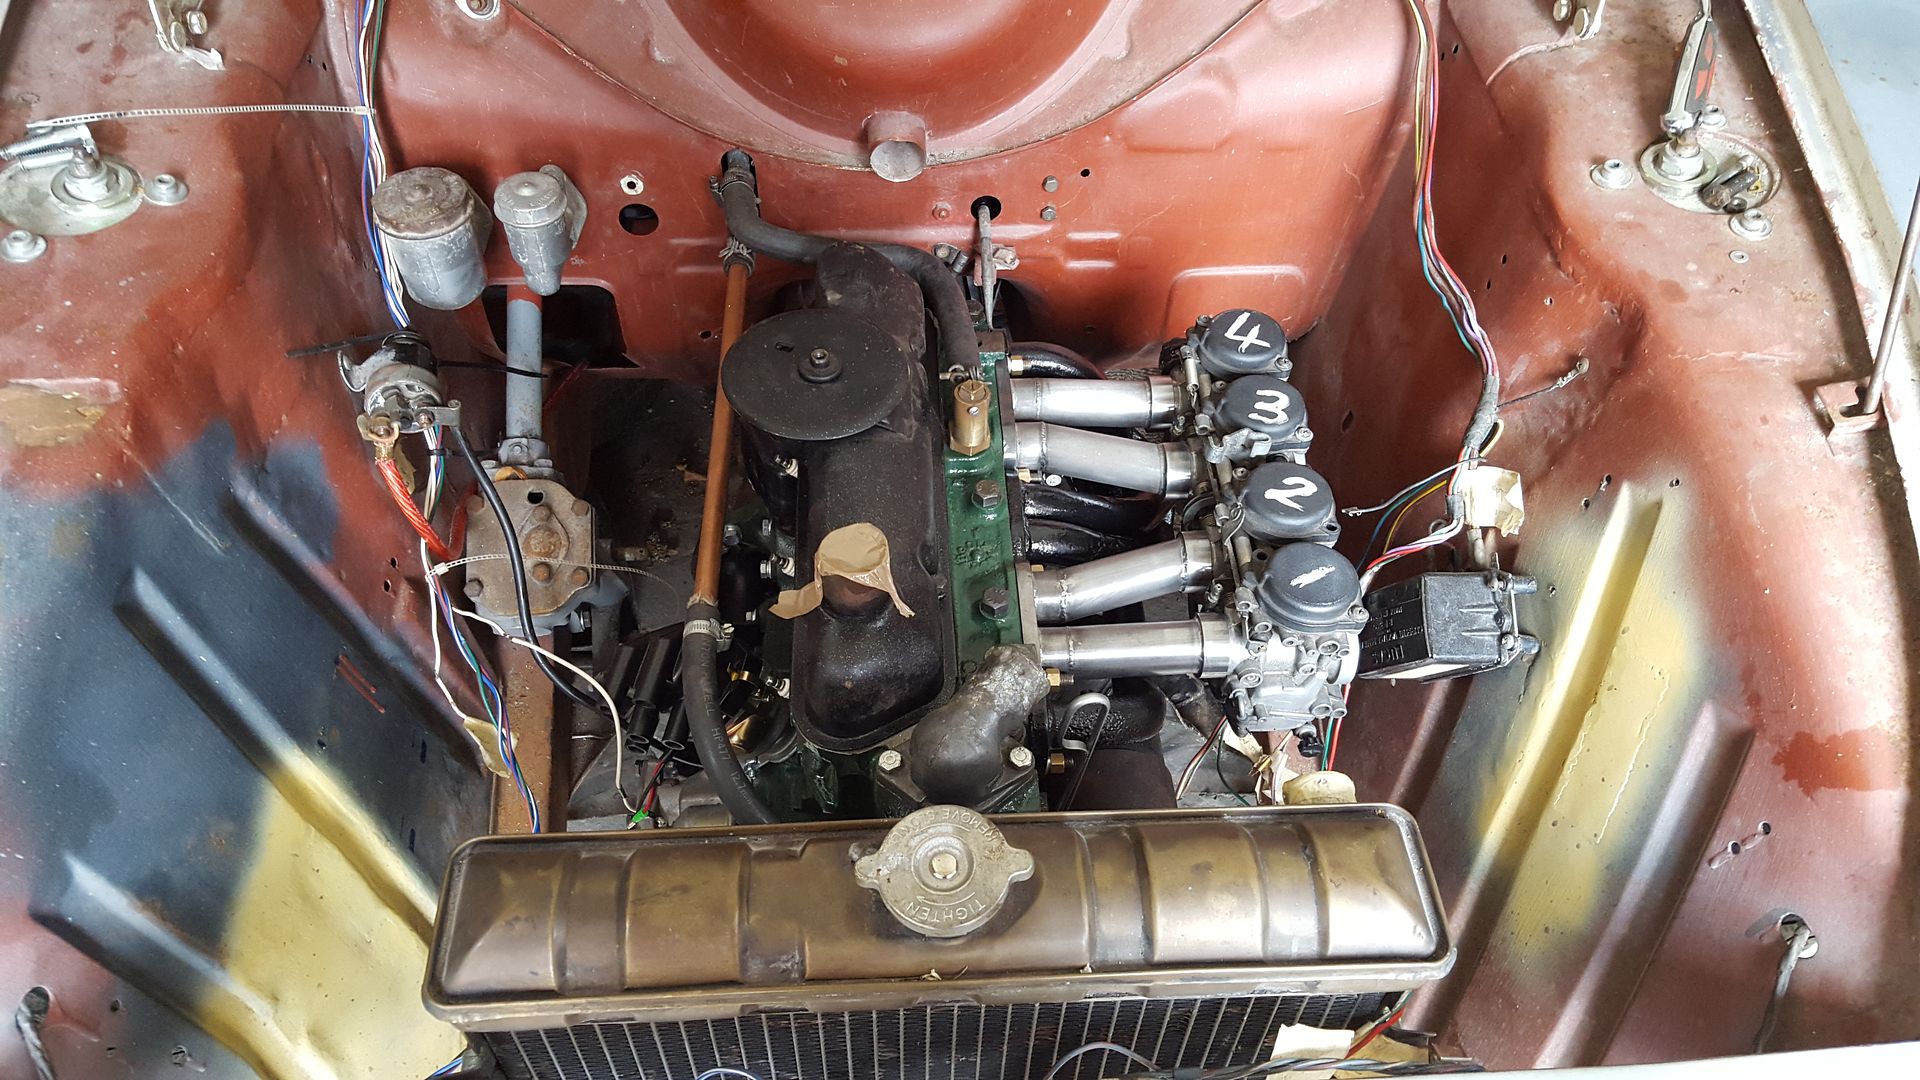 I need some HT leads, a top hose and some fuel I think to get it running now! |
| |
1966 Ford Cortina GT
2018 Ford Fiesta ST
Full time engineer, part time waffler on Youtube - see Jim_Builds
|
|
|
|


