as some of you may have seen in my metro w.i.p ...this one
retrorides.proboards.com/index.cgi?board=readersrides&action=display&thread=118587
i have posted a pic of some of the vehicles we have built in the past and the jetta monster truck got some attention so heres the w.i.p (some pics were small sorry)
I just thought i would share the project that is happening at my work
We teach teens from 11-23 on a course called trax, basically we teach them about mechanics to get them an interest in what they want to do when they are older
They do a trax 1 course which is basic mechanics, strip a basic engine, brakes ect
Then they do trax 2 which is slightly more complex, suspension ect
About 1 hour before they finish we take them round the dirt track (if they have been well behaved, majority of the time they are) out back in either an automatic to get them used to the basic controls and handling of a car and then when they are confident enough we put them in a manual (we sit as passenger)
Well whats this post all about i hear?
Well today we started a brand new course which we haven’t done before which is trax 3, this consist of the pupils we have had which have been best behaved and taken a real interest in the mechanics, and in this course they build a project whether it be a dirt car, track car, a car for the track out the back or a car to sell to someone who is interest.
They have 10 weeks to do this project but its only 1 day a week so 10 days to do a final project that they can drive each lesson starts at 9.30 finishes at 3
Well this is what happened today:
To start with they had to decide what they wanted to do as the first project of this course which they decided to build a dirt car for the track out back
The only say we had on the project was that they had to use everything that we have in the work shop (apart from when it comes to building the space frame/roll cage where will get the metal supplied)
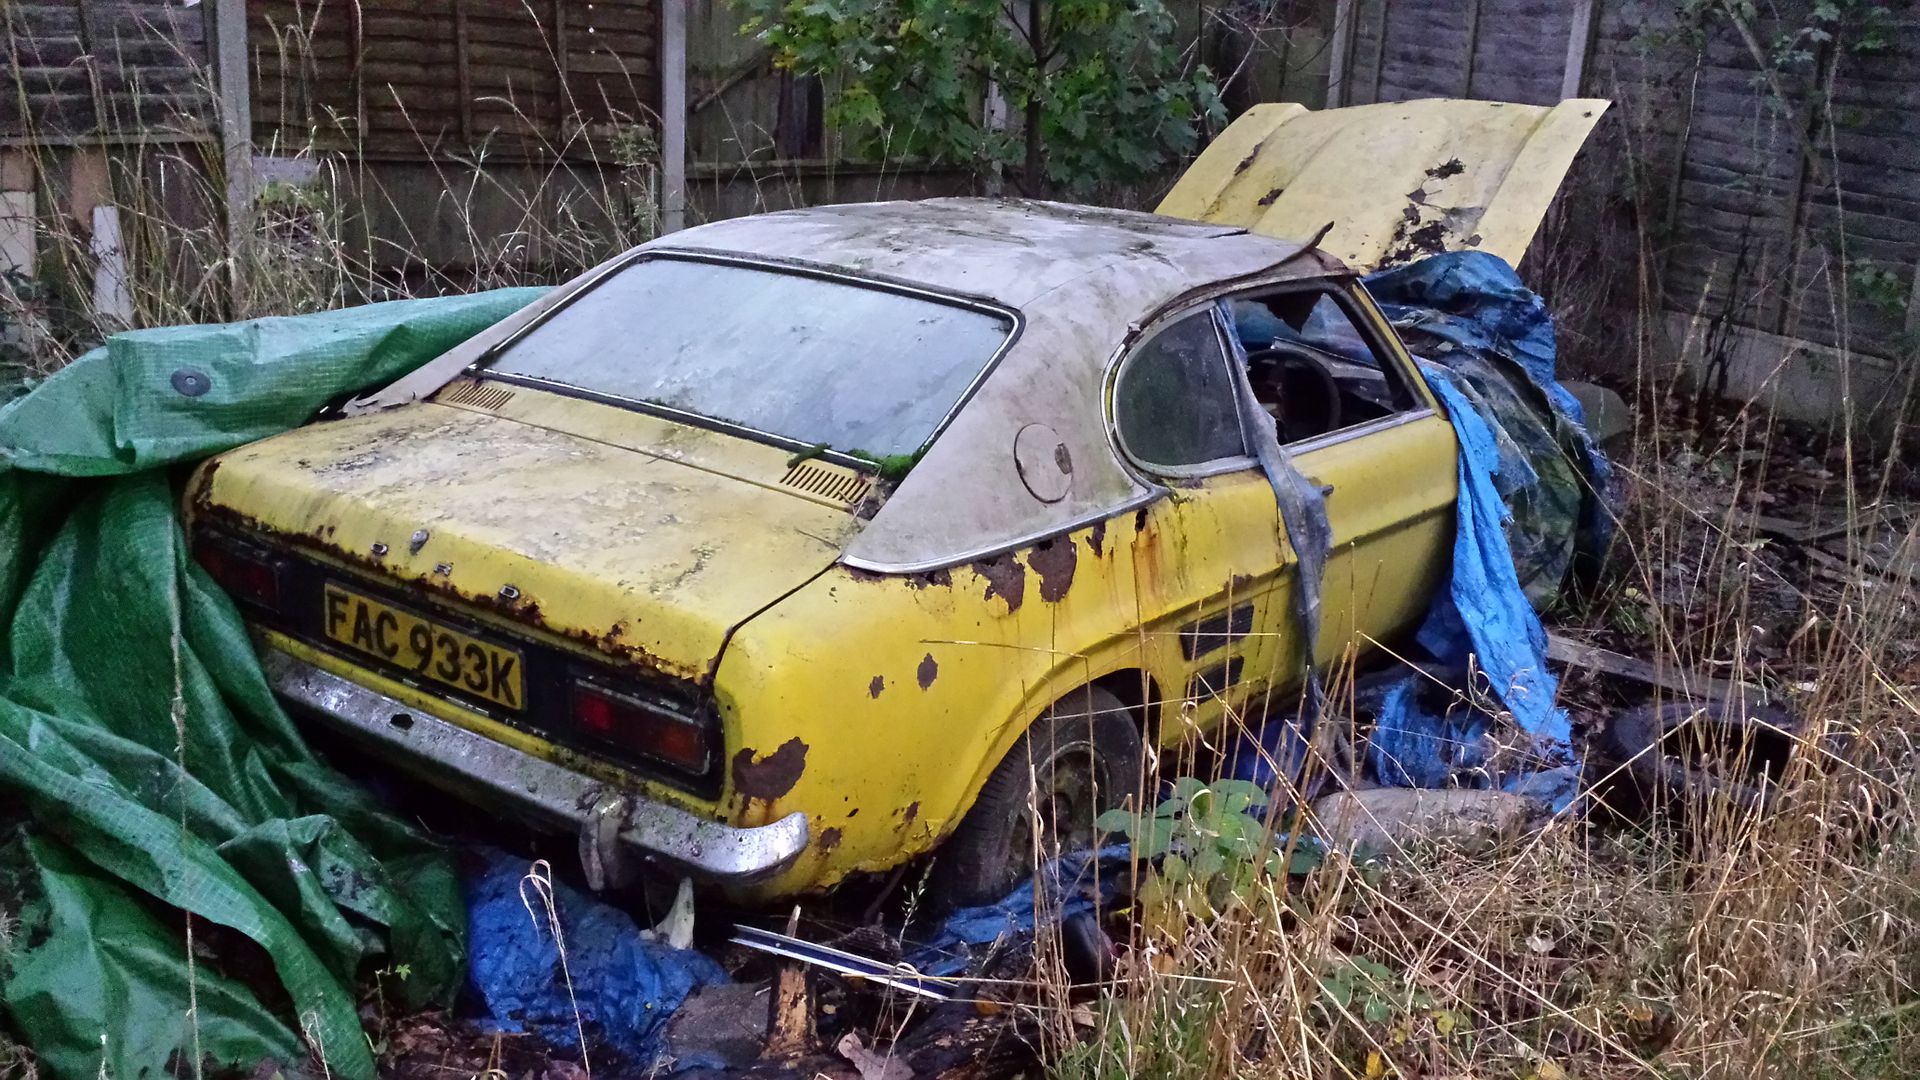
Here are the plans

There was alot of discussion about what car they wanted to use and whether it was going to be front, mid or rear engine aswell as FWD, RWD or 4WD
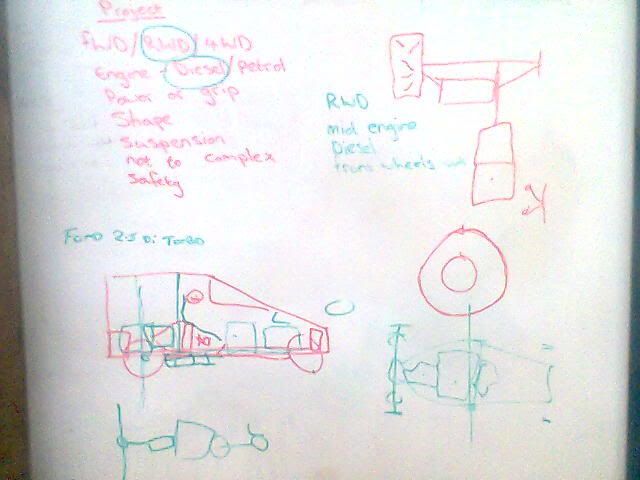
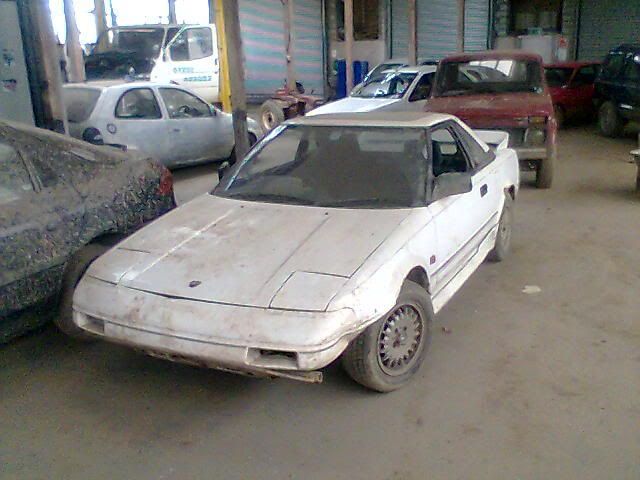
We have a 1.6 MR2 which we use as a drift car which came into the idea of stripping it from its shell and turn it into something similar to a Rage dirt buggy
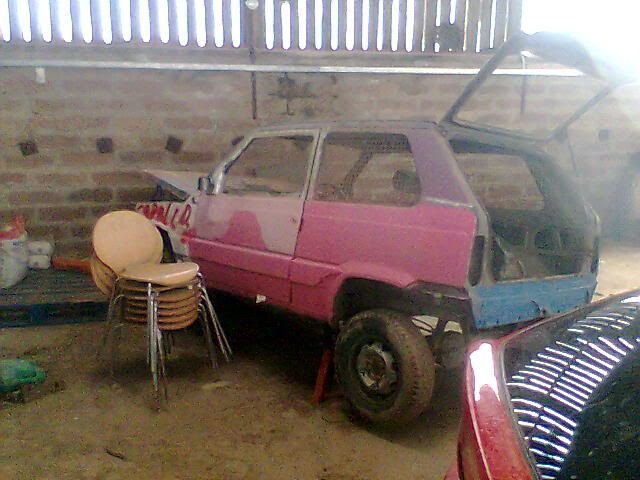
Then there was the idea of using a fiat panda which was an old dirt track car which was 4WD gutted ect but the clutch had been burnt out by a previous student not listening but decided they didn’t want to lol
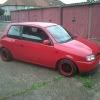
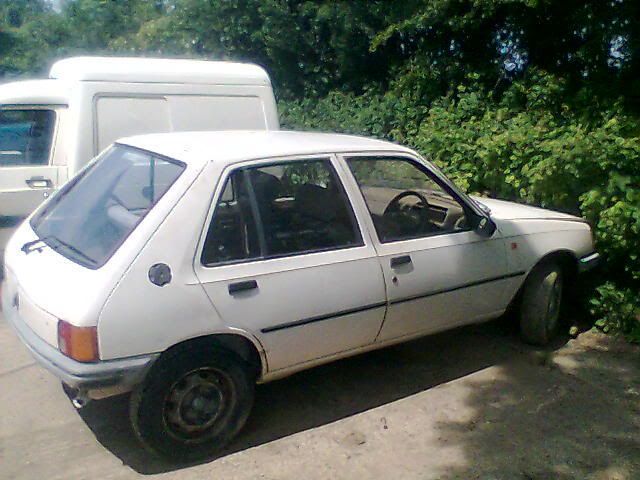
Then another idea which came up was to use which was using a pug 205 we have and putting a larger engine in the rear and removing the one from the front as its only 1.1 (they wanted more power lol)
(this is a pic of another car we have which we use was donated to us for free as do most of the cars)
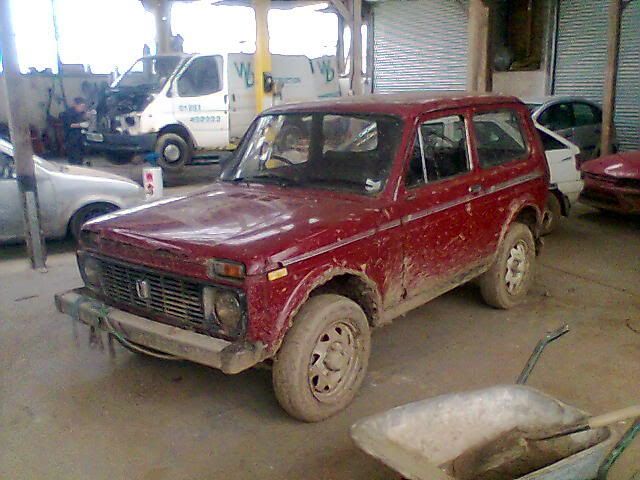
Yep its a lada niva lol
After final discussions and plans they decided on this
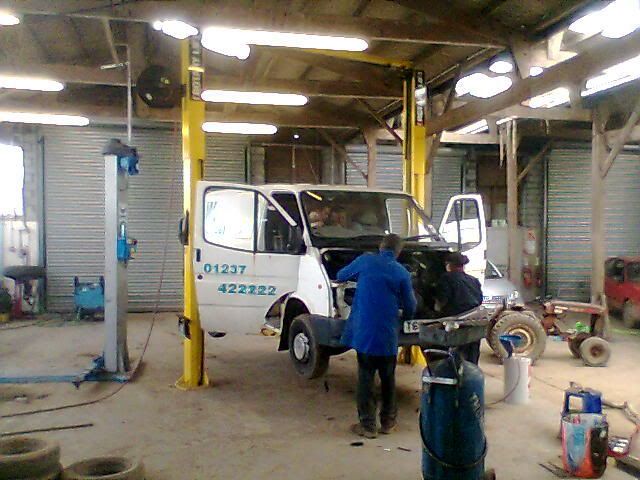
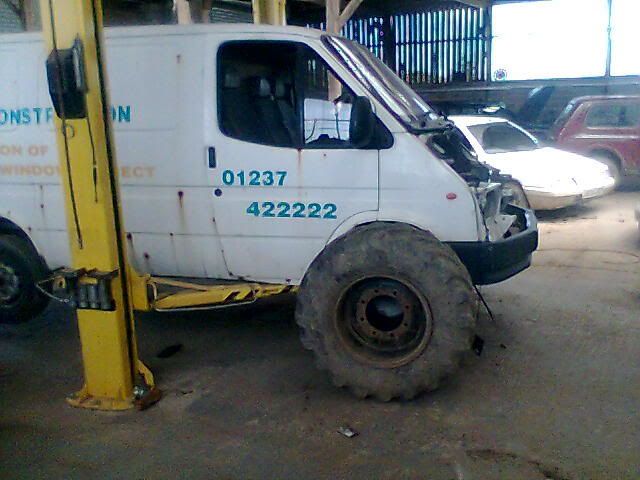
A ford transit 2.5D lol
WTF i hear you thinking?
Well the reason being is there tough, have all the parts ie gearbox, prop, rear axel and we are going to turbo it so it will produce roughly 100bhp
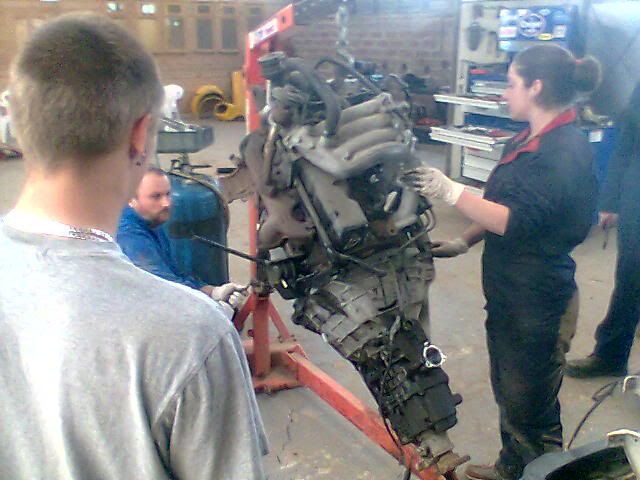
So they set to work on removing the engine
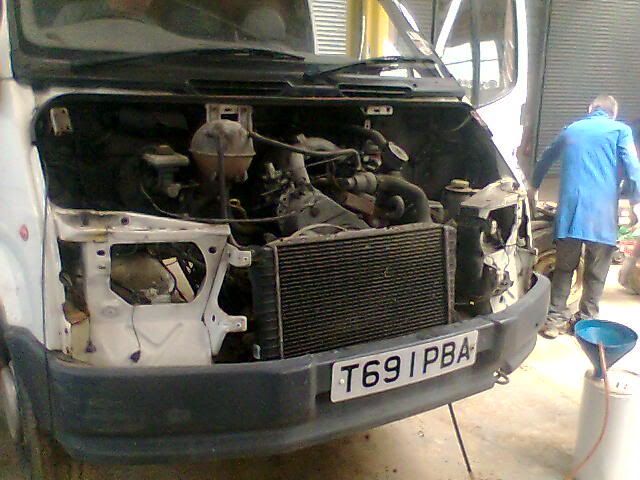
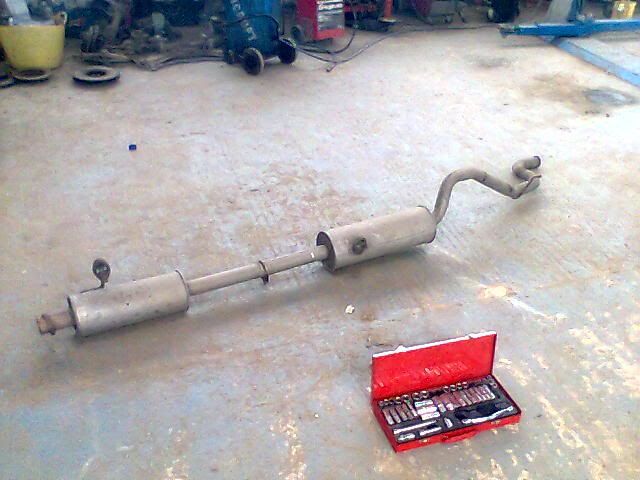
Removed the prop and exhaust

Finally on her way out
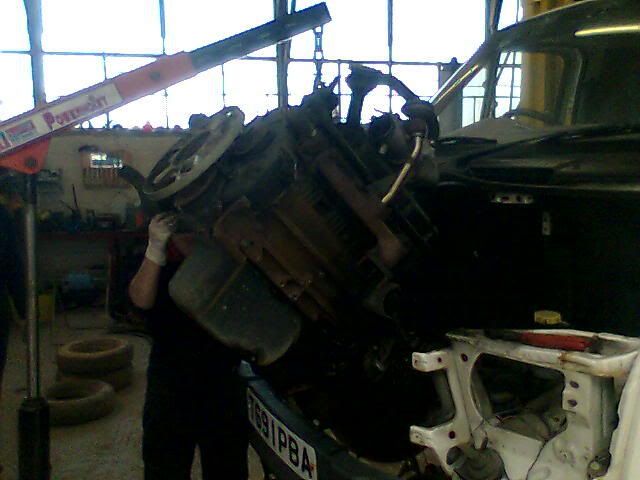
And shes out
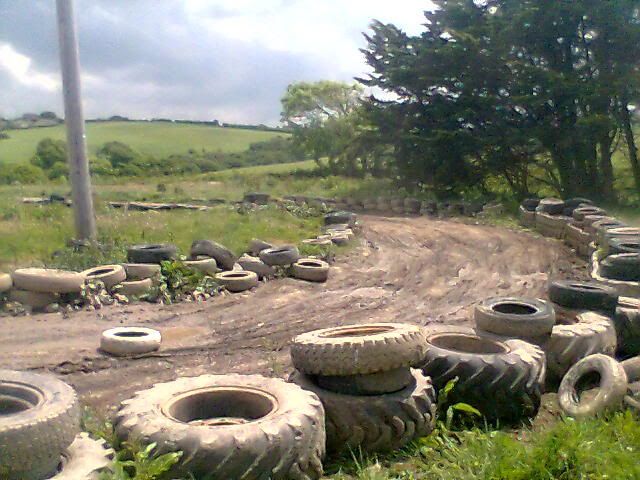
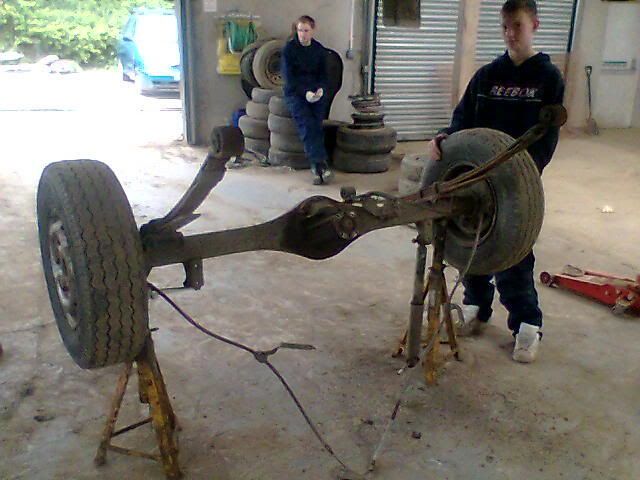
The other reason they chose the transit was so that enough torque was given to turn these bad boys (forget all you stretch tyres these are what you want :lol: ) :wink:
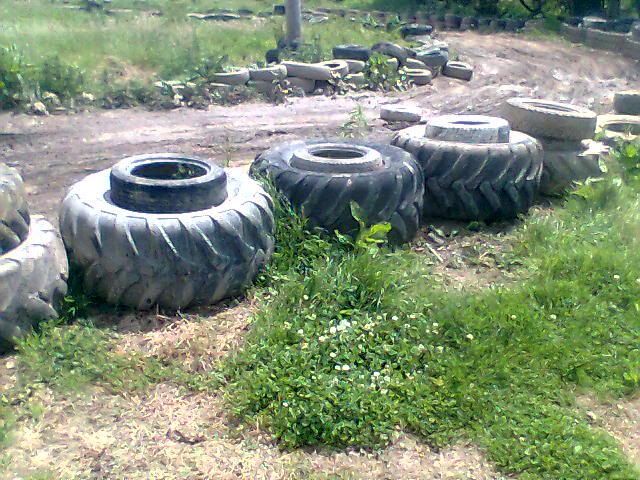
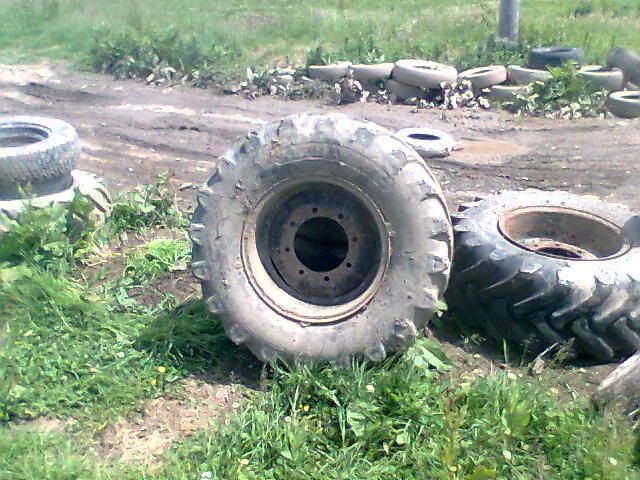
Again the idea changed once they saw we had four of the bad boys (which we were using as a crash barrier lol)
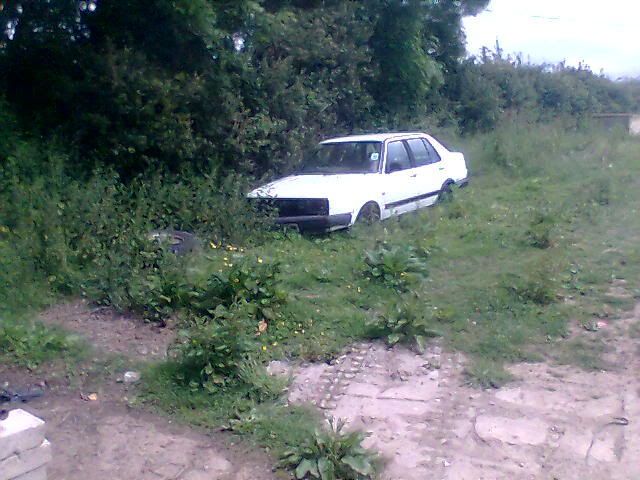
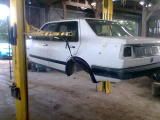
It went from dirt buggy to mini monster truck using this something special as a shell which we also had laying round as you can see :lol:

Here is a section of the track for you to see

Well as we had no power yesterday the class was moved to today
So what did they get upto today..................
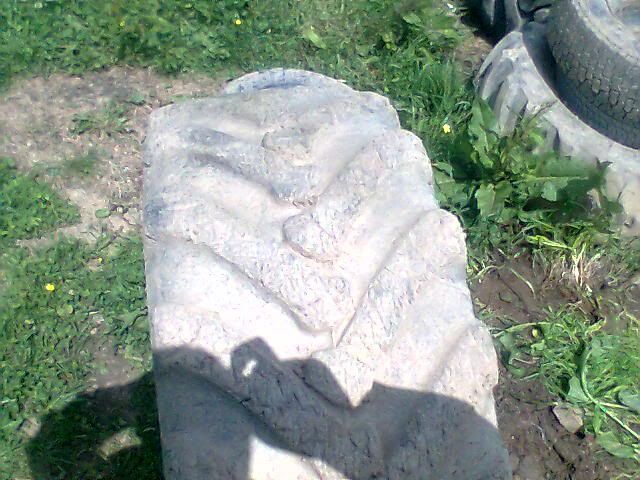
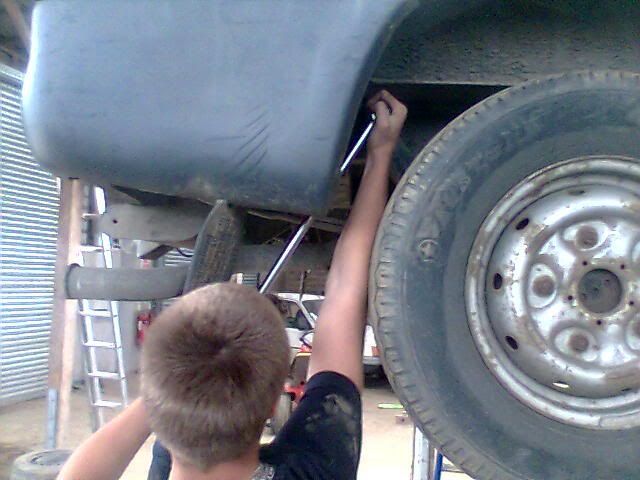
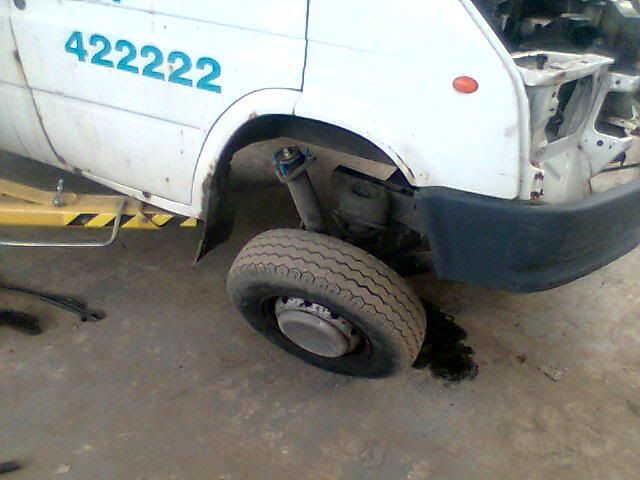
Well took a lil pic of how the wheel may look
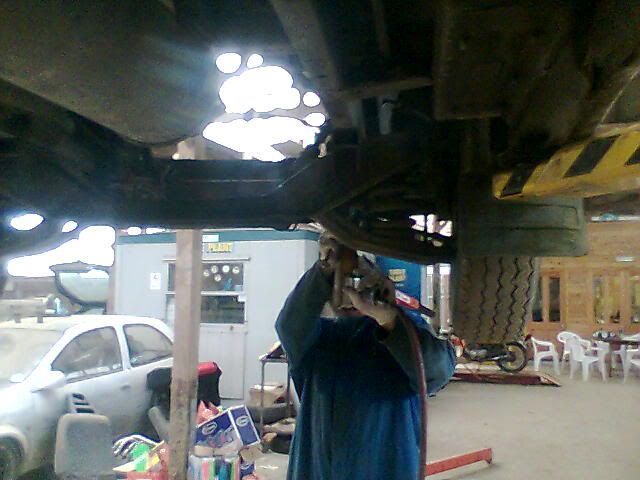
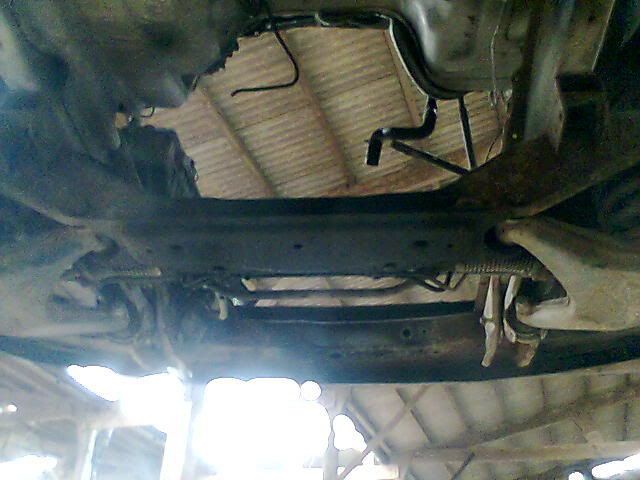
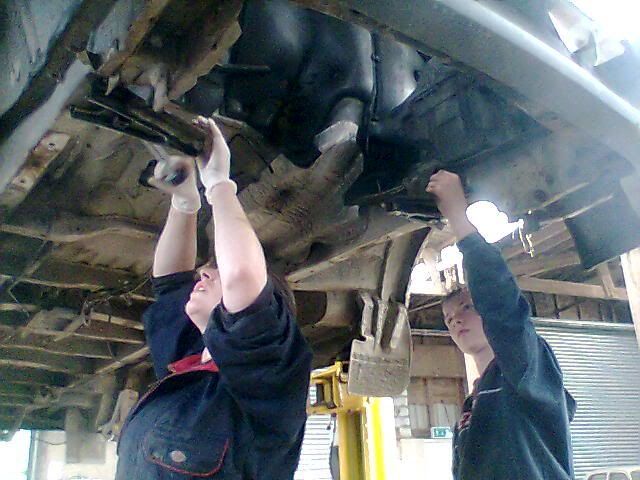
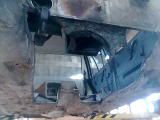
Removed the gear linkage under the chassis
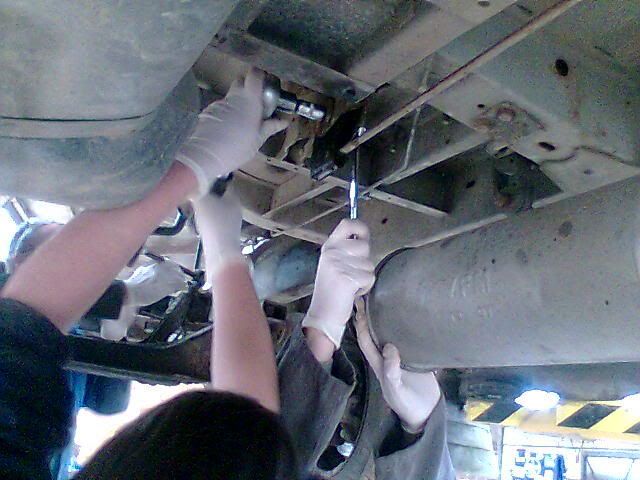
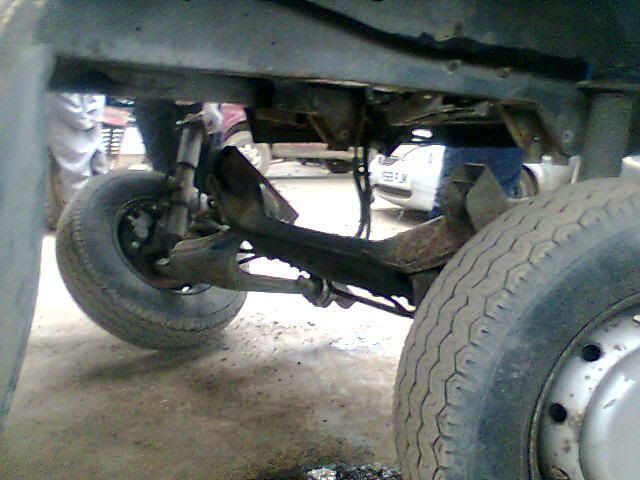
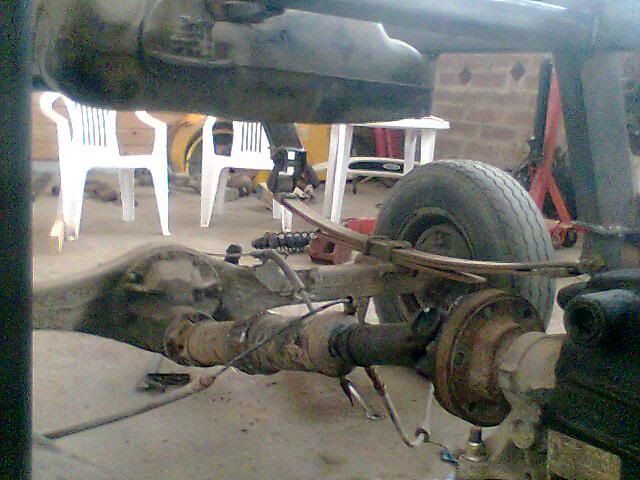
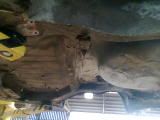
Then they set about removing more parts from the van ie rear suspension and axel and front subframe
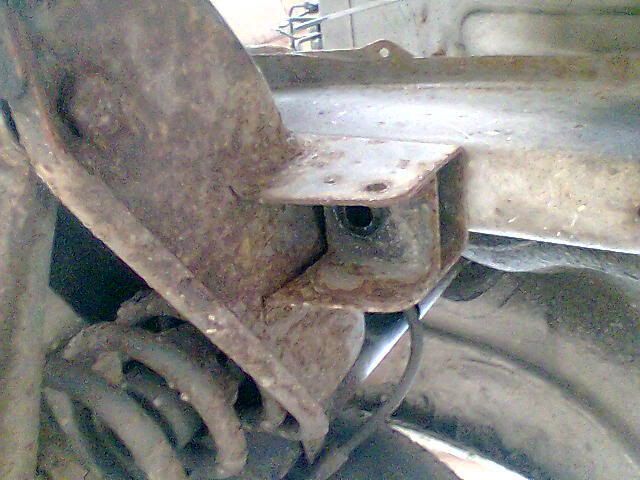
Rear


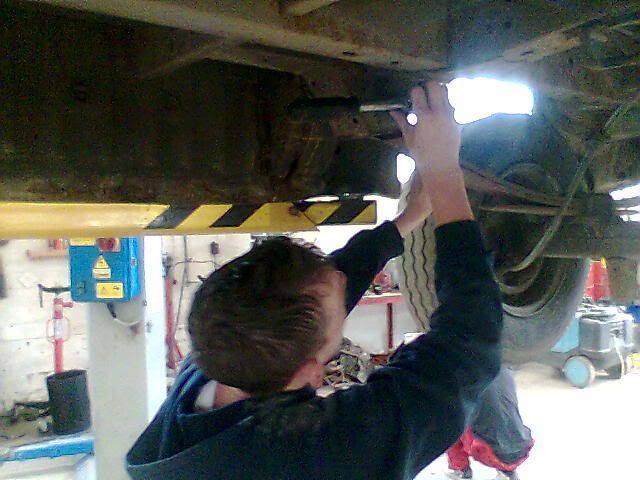

was a tough job as the bolts were rusted but alot of elbow grease and swearing and they removed it
then onto front
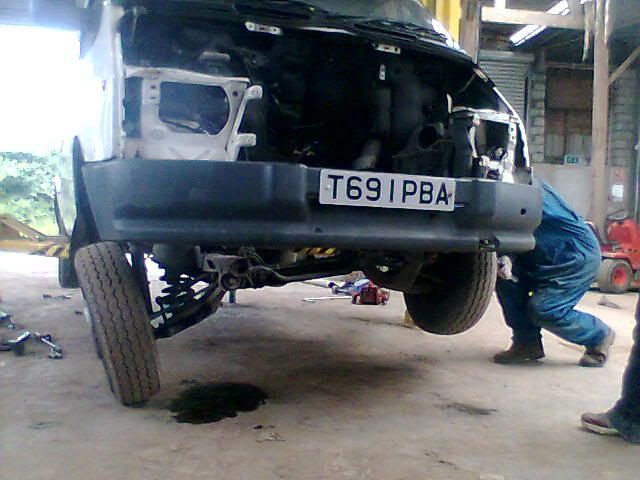
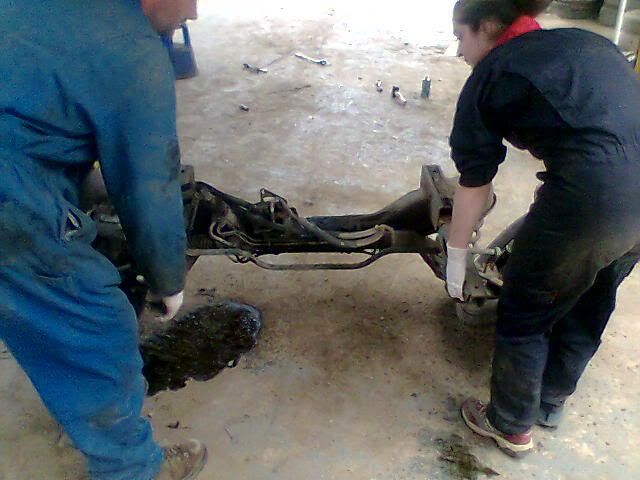
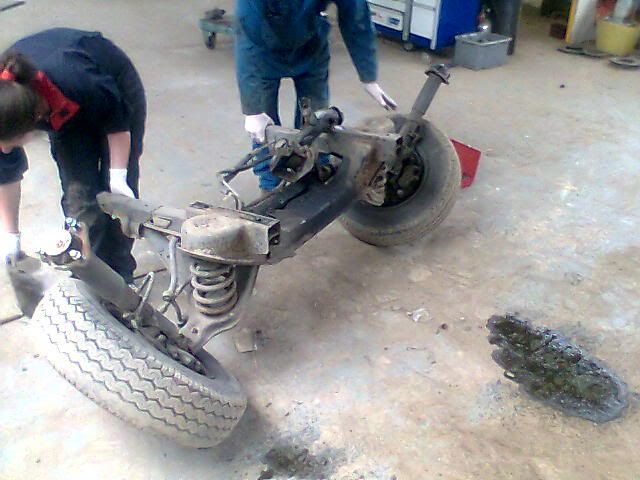
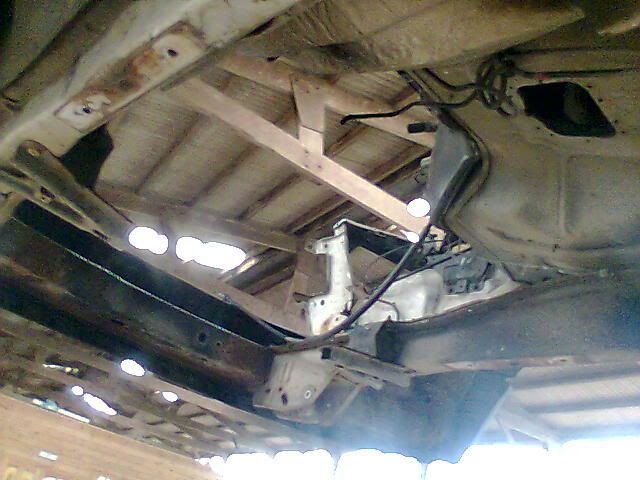
even after removing all the bolts the subframe didn’t budge until we gave it a bit of a jolt up and down on the ramp lol
Then removed the rest of the exhaust
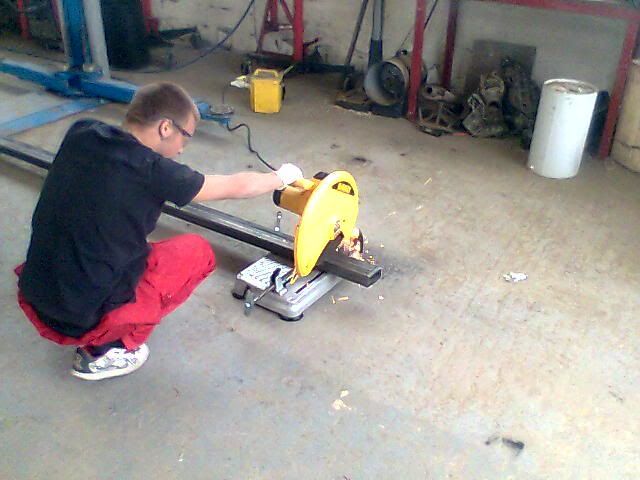
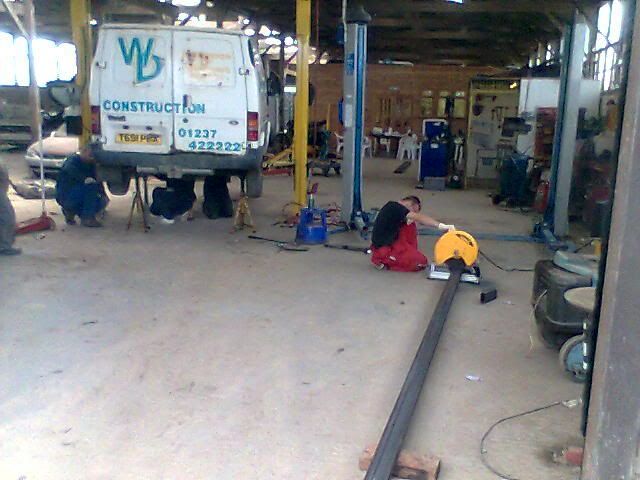
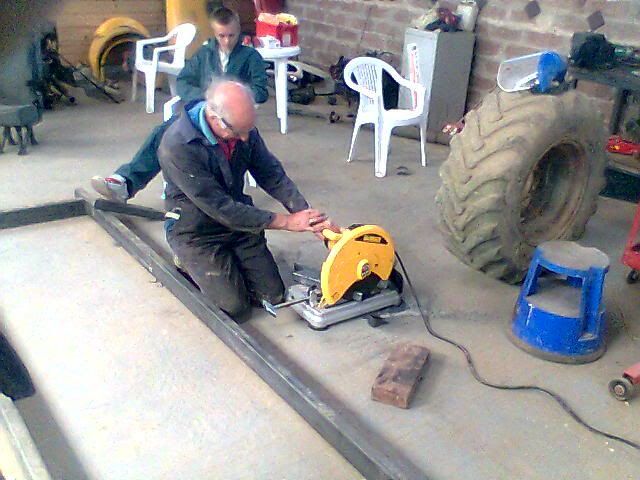
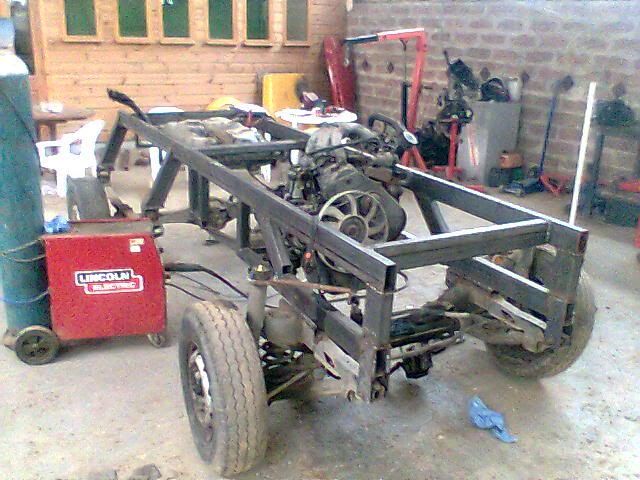
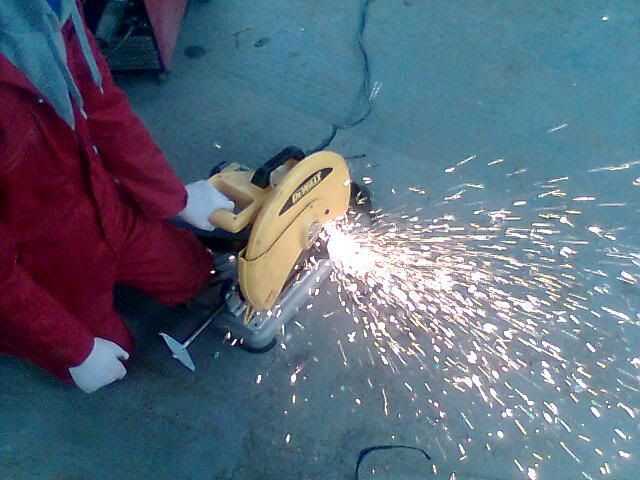
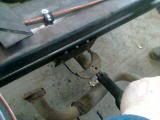
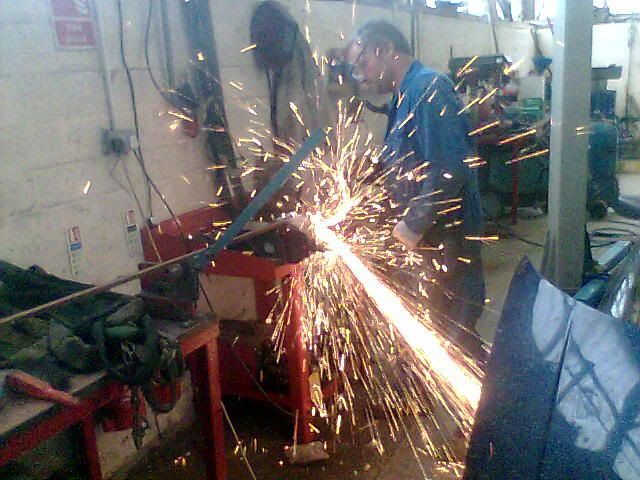
One of the kids set to work at cutting all the box section we received to make the ladder frame for the chassis and layout of the engine, suspension ect before we could fit the jetta shell

Then he measure where the 2 ladders had to be

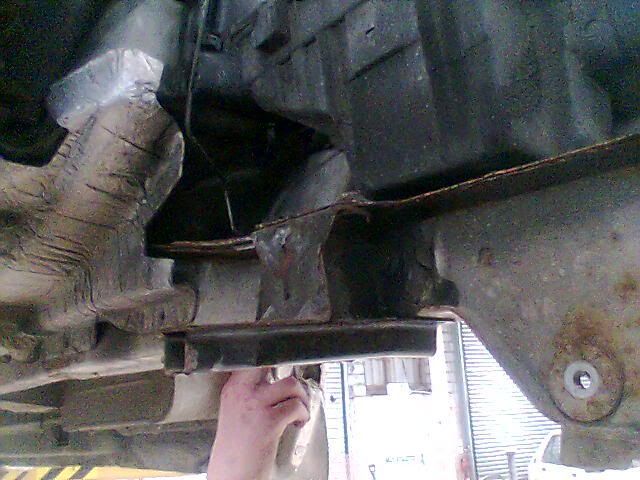
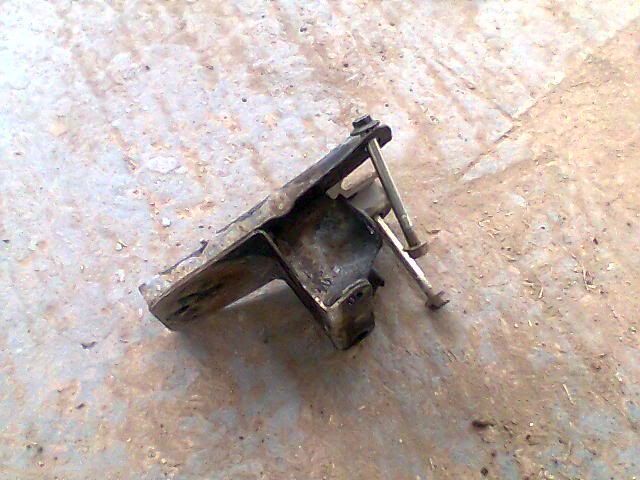
Engine mount were removed for the transit so that well could reuse them to make life easier
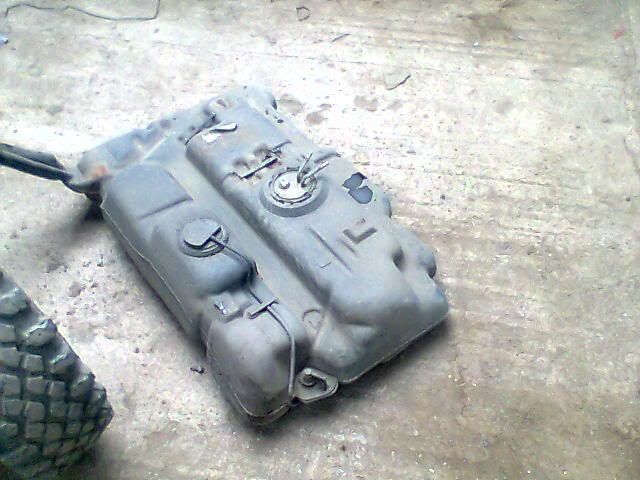
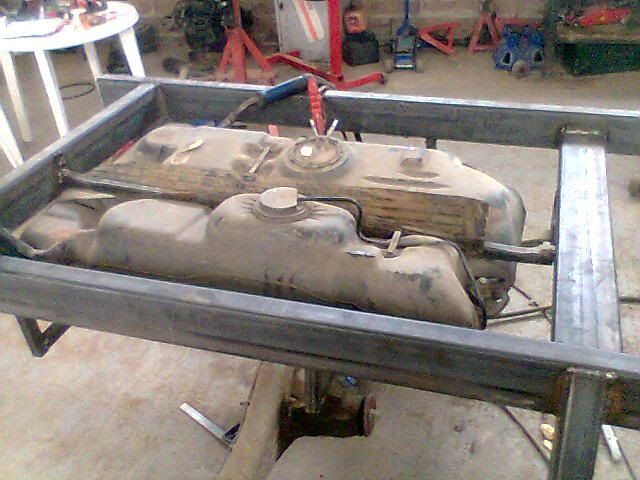
Fuel tank removed
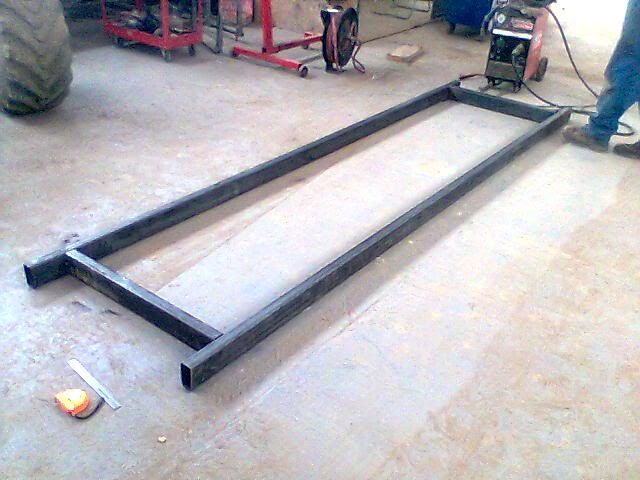
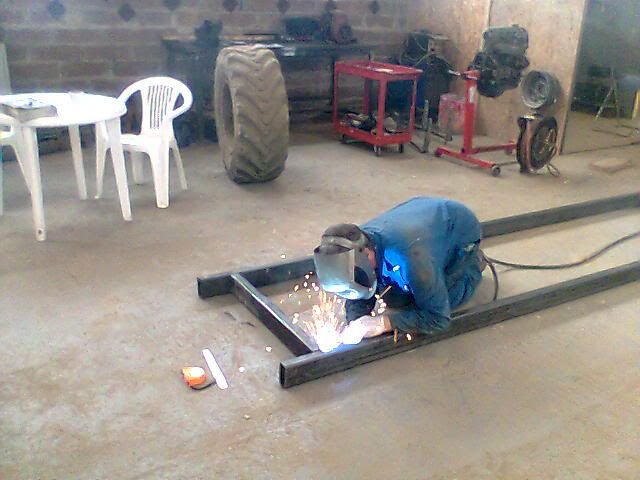
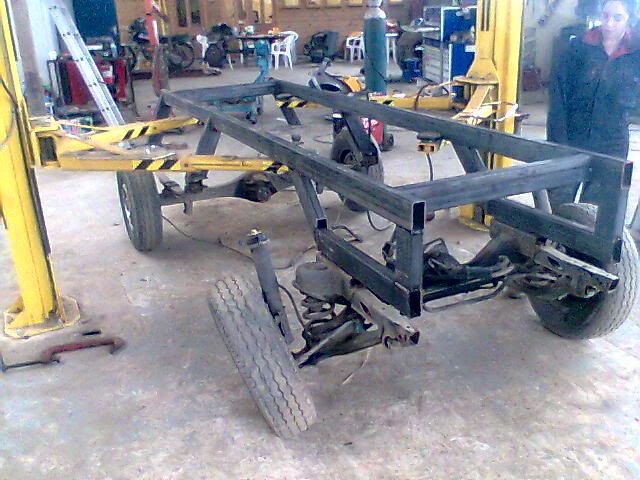
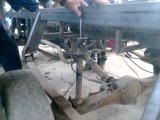
Then the ladder frame was tacked then welded
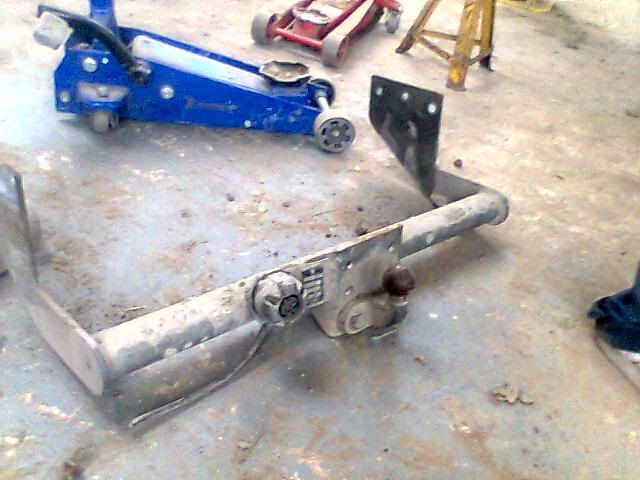
Them removed the toe bar as was a tough one and may come in handy on the monster truck if we need to toe vehicles stuck on tyres on the track
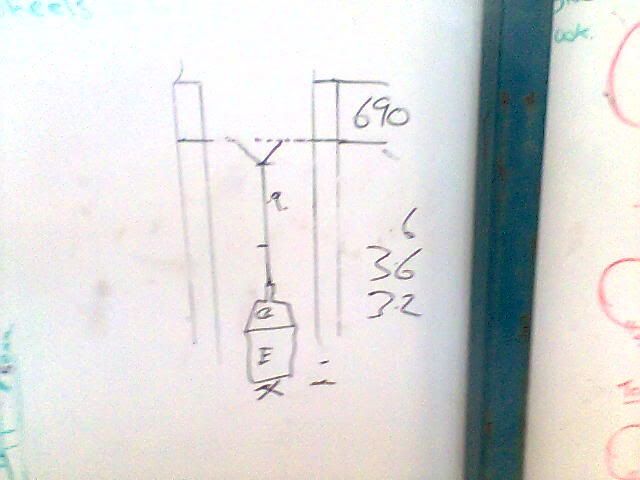
Then we hit a bit of a glitch whilst building the fame which resulted on redoing the calculations on the floor lol

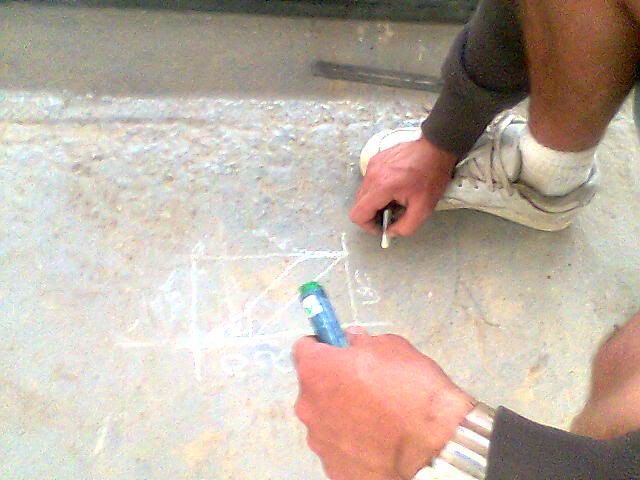
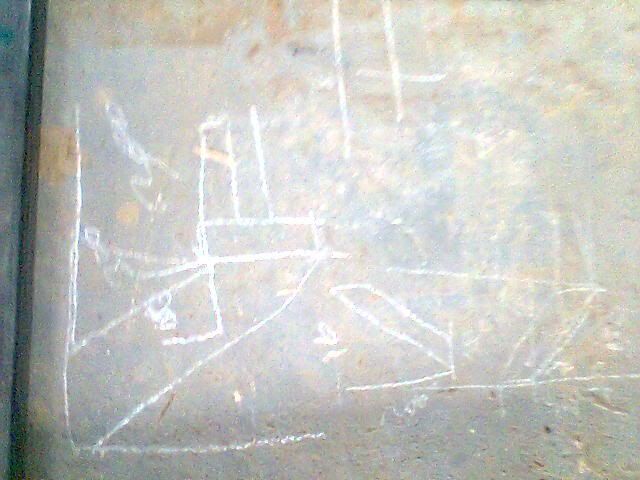
What was the glitch you ask?
Well basically we will be raising the ladder fame so that the bottom of the jetta (when fitted) will be at chest height lol so had to calculate what angle had to be cut from the box section so that it would raise the chassis and the front and rear suspension unit will be as the same hight and level, bit complicated (i don’t really understand myself but my boss knows what he is talking about lol)
Update time
Today they got a fair bit done i must say
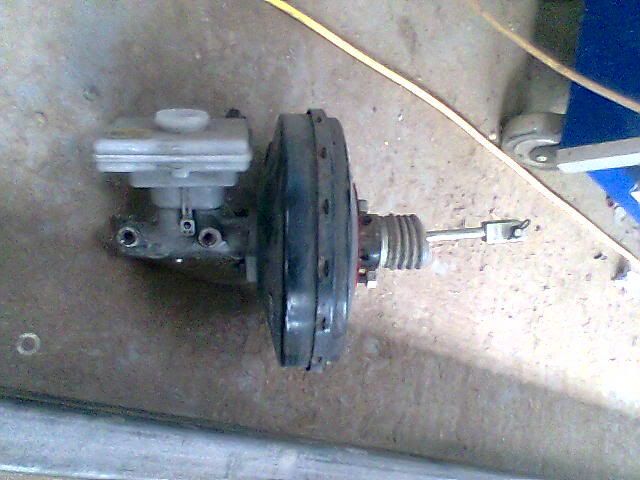
The brake servo was removed from the brake servo from the transit as we think that the original one that is in the jetta wont create enough pressure in the brake lines to apply the brakes from the transit
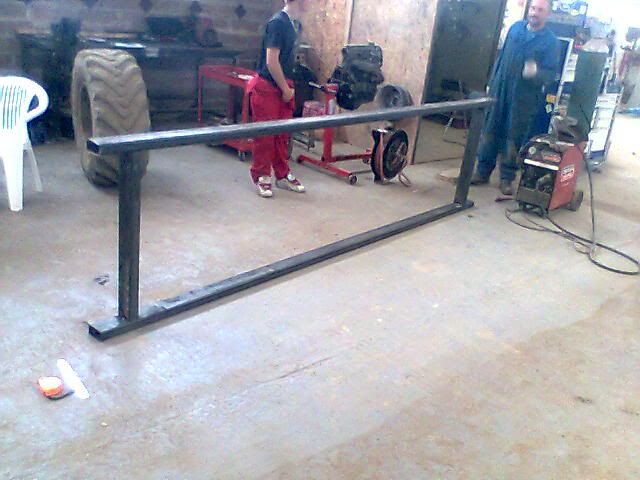
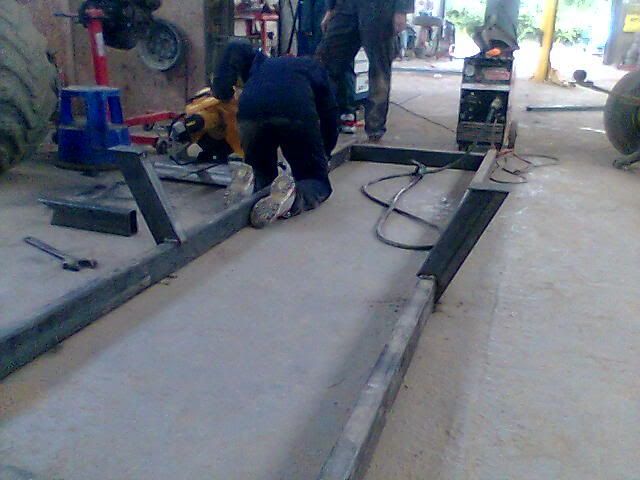
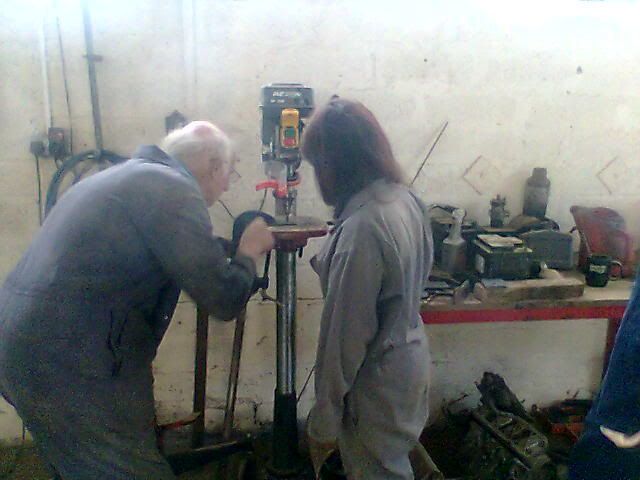
Then they got to work on building the raisers out of box section (the old gezza is a helper that comes in)
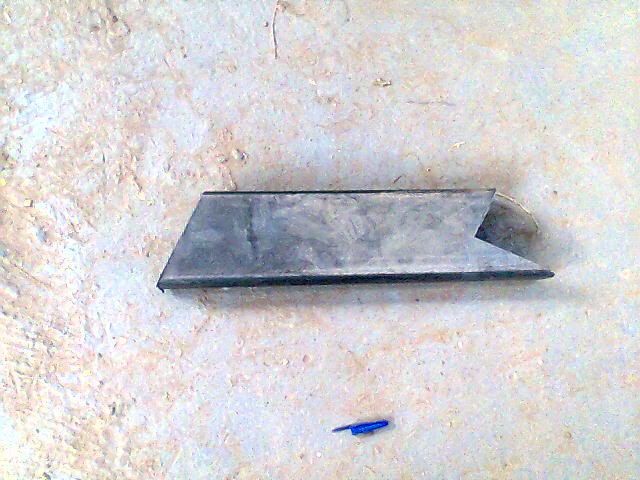
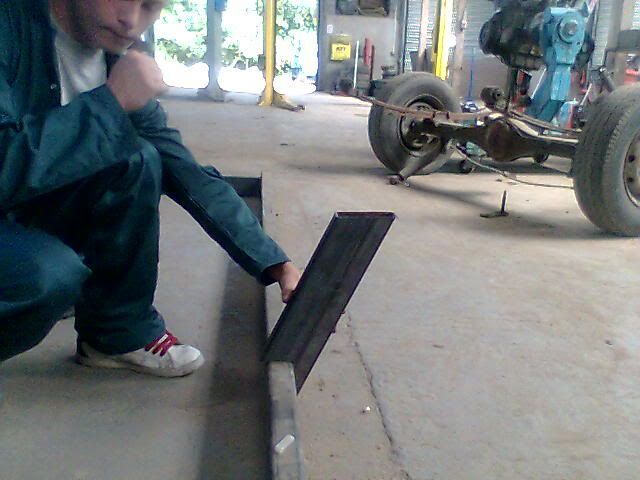
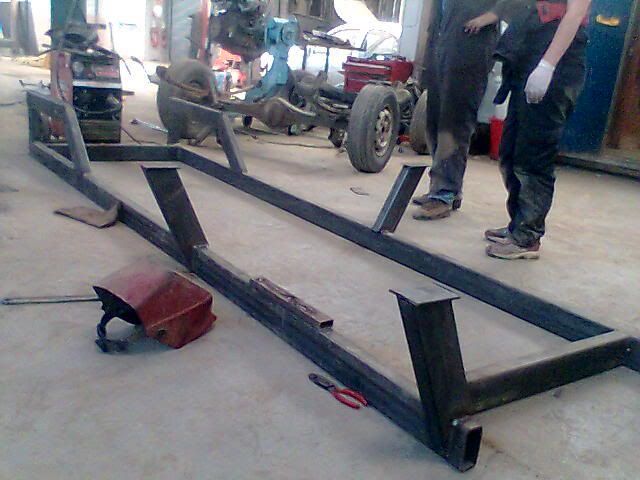
Box section raisers cut with the correct angles that we were trying to work out last time
Lined up in place (roughly get the idea of what we are doing lol)
More plans were drawn to roughly work out where the engine, gearbox and axel were going to sit
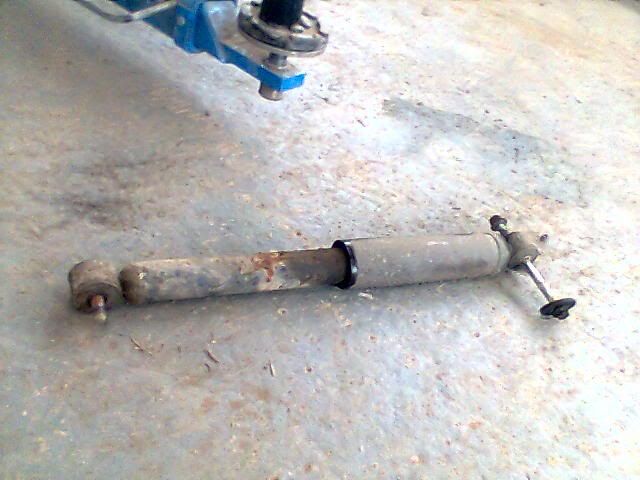
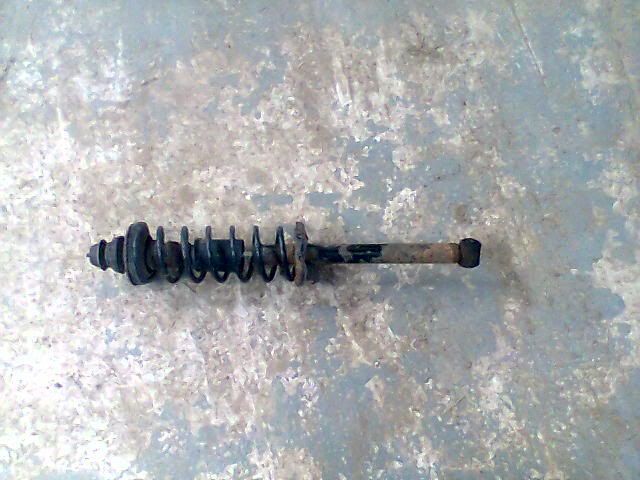
Then the rear shocks and dampers were removed from the rear axel off the jetta to allow abit more support and suspension for the monster truck
![]() i140.photobucket.com/albums/r32/rems2006/Image005-2.jpg[/IMG]
i140.photobucket.com/albums/r32/rems2006/Image005-2.jpg[/IMG]
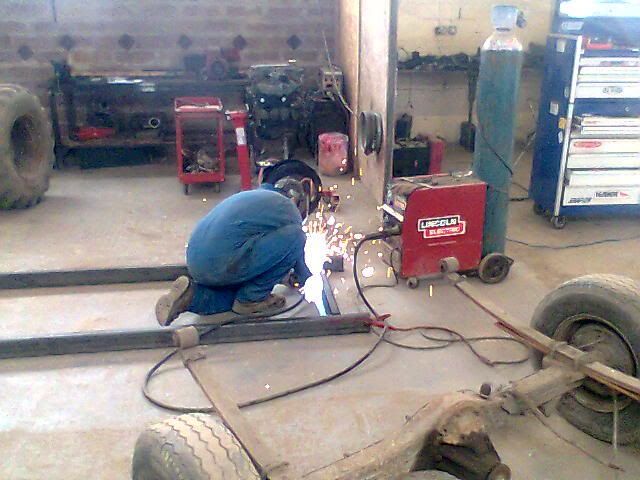
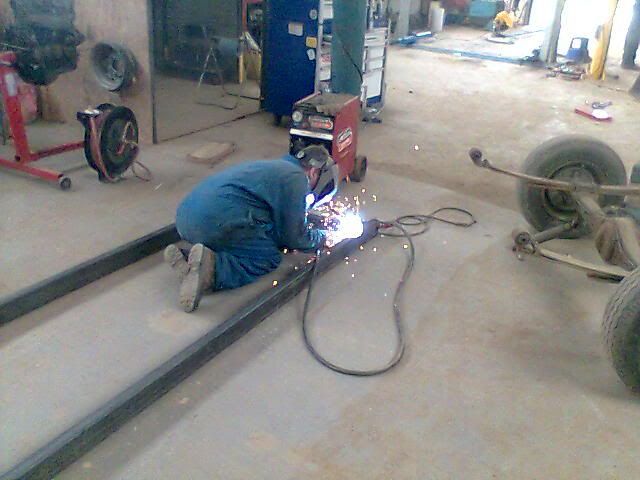
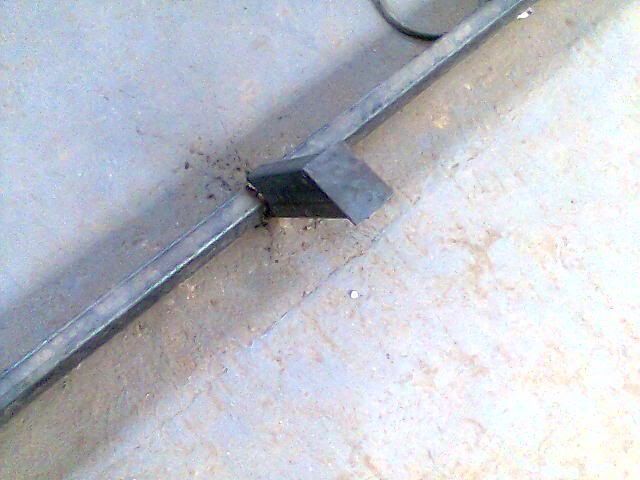
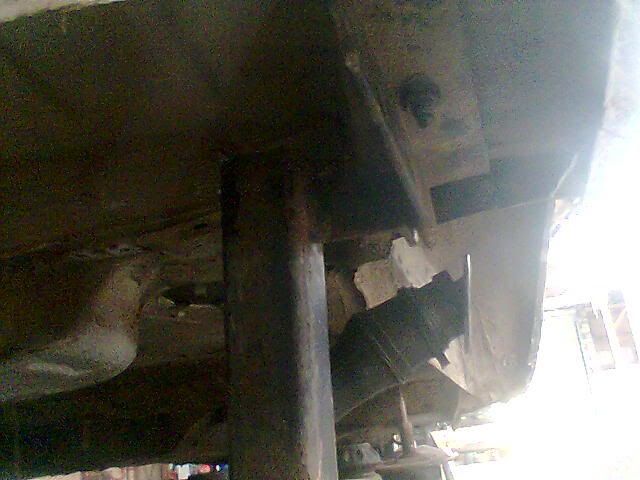
The box section raisers were then tacked an welded in place
![]() i140.photobucket.com/albums/r32/rems2006/Image007-1.jpg[/IMG]
i140.photobucket.com/albums/r32/rems2006/Image007-1.jpg[/IMG]
We then caped the ends
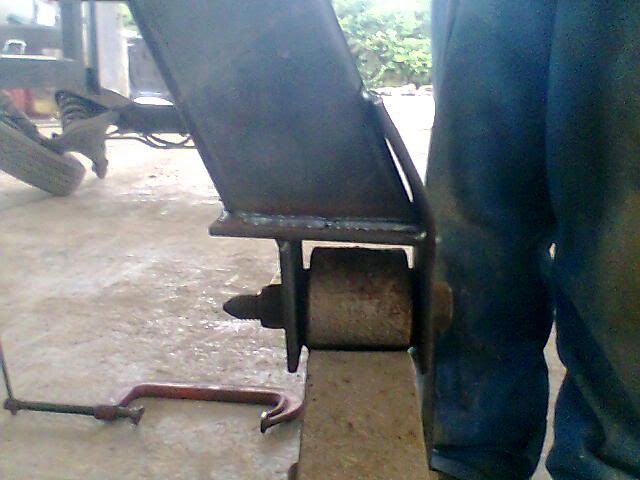
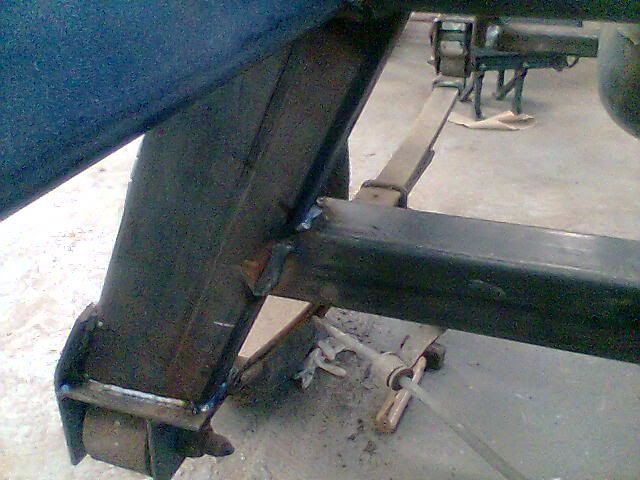
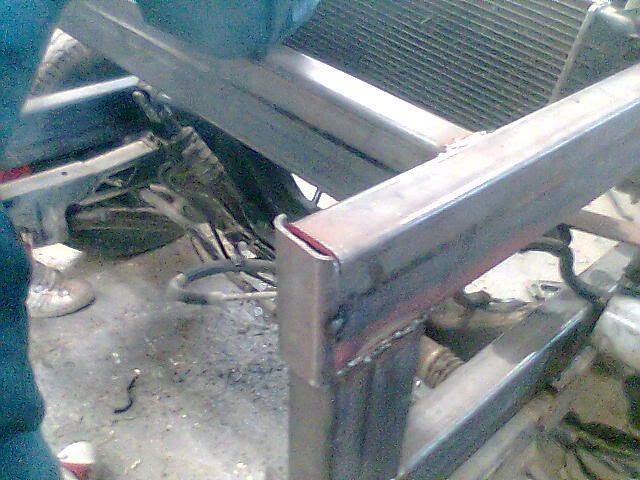
They then made plates and drilled holes in them to make a bracket so that the leaf springs can be fitted
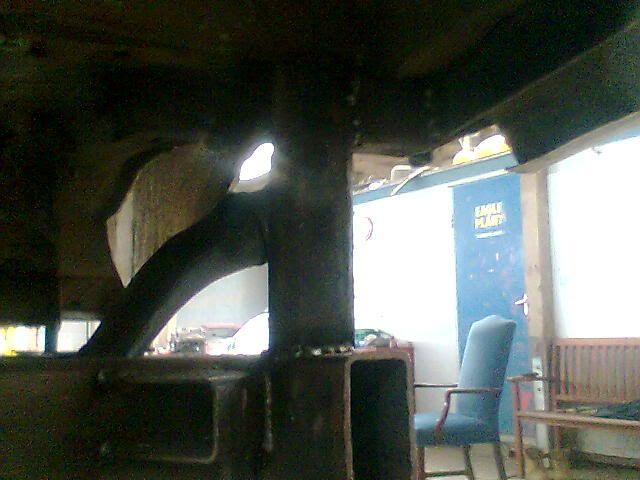
The raisers for the front were cut and welded into place
![]() i140.photobucket.com/albums/r32/rems2006/Image011-3.jpg[/IMG]
i140.photobucket.com/albums/r32/rems2006/Image011-3.jpg[/IMG]
![]() i140.photobucket.com/albums/r32/rems2006/Image012-2.jpg[/IMG]
i140.photobucket.com/albums/r32/rems2006/Image012-2.jpg[/IMG]
![]() i140.photobucket.com/albums/r32/rems2006/Image015-1.jpg[/IMG]
i140.photobucket.com/albums/r32/rems2006/Image015-1.jpg[/IMG]
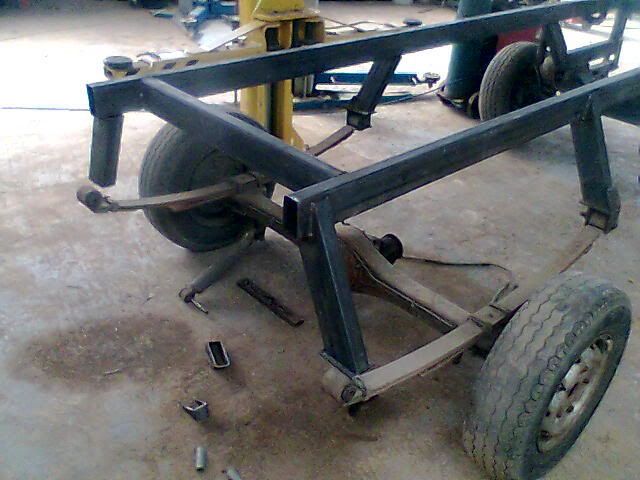
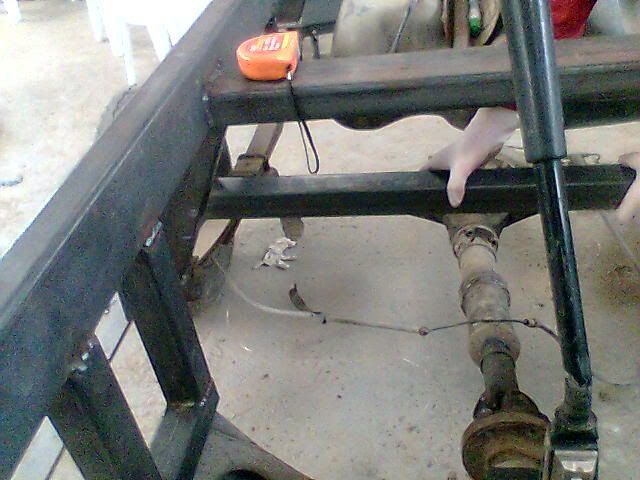
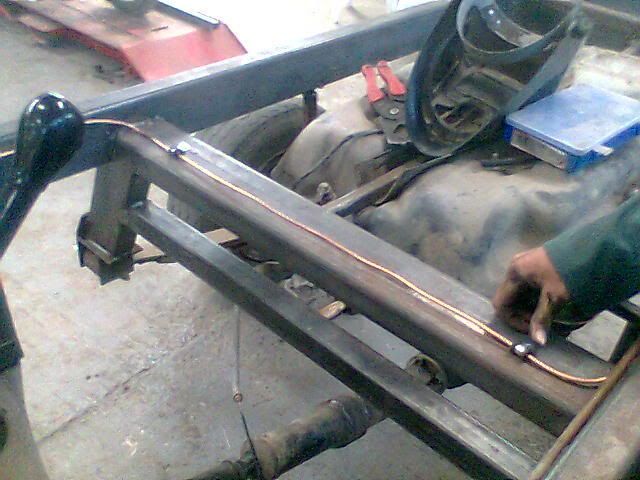
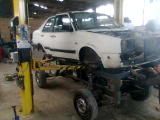
Once the welding was done they carried the chassis over to the 2 post ramp and lined it into place for the rear leaf springs so that they are in place for fitting
![]() i140.photobucket.com/albums/r32/rems2006/Image016-2.jpg[/IMG]
i140.photobucket.com/albums/r32/rems2006/Image016-2.jpg[/IMG]
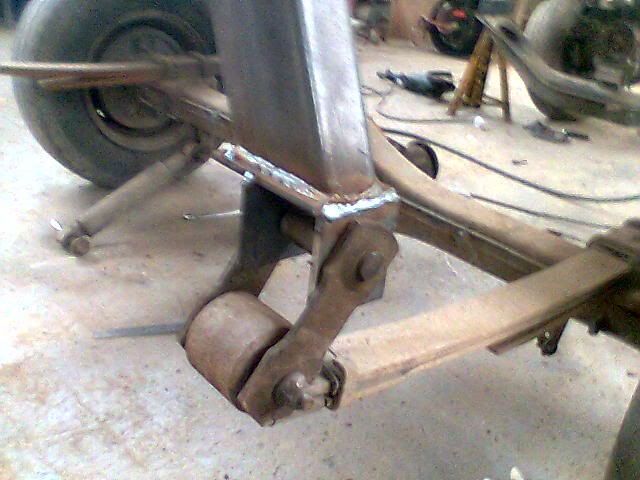
The brackets that they had made were then welded into place so that the leaf springs are lined up correctly
![]() i140.photobucket.com/albums/r32/rems2006/Image018-2.jpg[/IMG]
i140.photobucket.com/albums/r32/rems2006/Image018-2.jpg[/IMG]
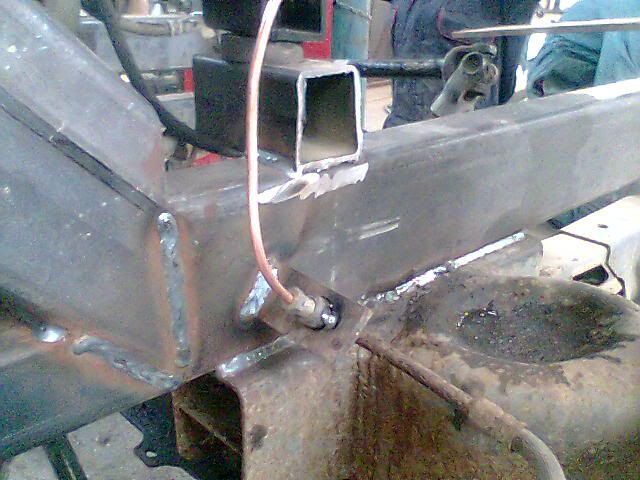
Then the front subframe was lined up in place
![]() i140.photobucket.com/albums/r32/rems2006/Image021-2.jpg[/IMG]
i140.photobucket.com/albums/r32/rems2006/Image021-2.jpg[/IMG]
Once the front subframe was in place backet were made just like the rear one on the leaf springs and more welding took place to hold it all together
![]() i140.photobucket.com/albums/r32/rems2006/Image023-2.jpg[/IMG]
i140.photobucket.com/albums/r32/rems2006/Image023-2.jpg[/IMG]
![]() i140.photobucket.com/albums/r32/rems2006/Image024-2.jpg[/IMG]
i140.photobucket.com/albums/r32/rems2006/Image024-2.jpg[/IMG]
![]() i140.photobucket.com/albums/r32/rems2006/Image025-3.jpg[/IMG]
i140.photobucket.com/albums/r32/rems2006/Image025-3.jpg[/IMG]

Next week or maybe if me and my boss get time we will make the brackets so that the rear of the leaf springs can be fitted
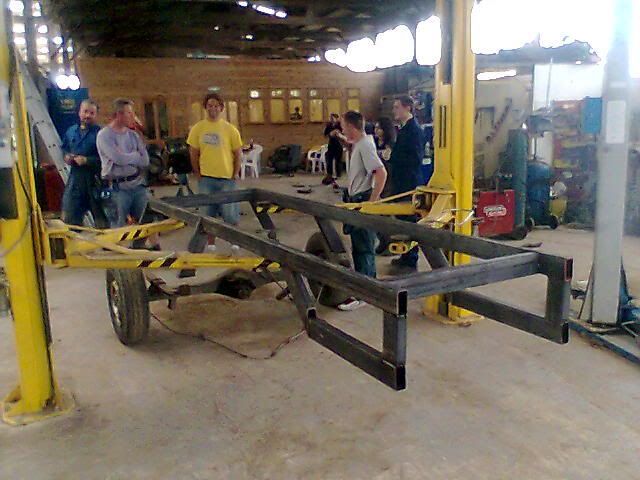
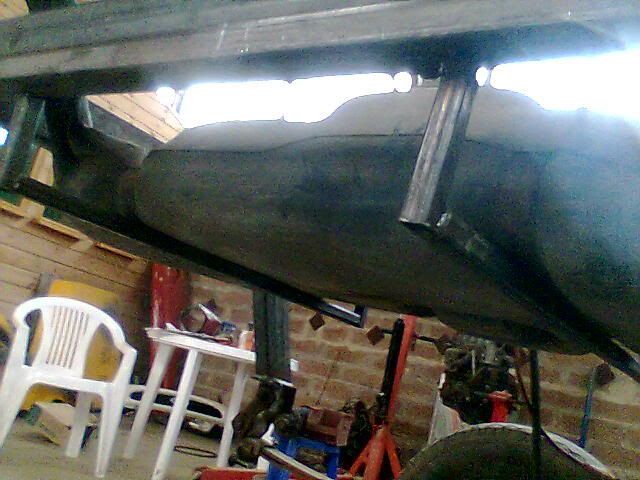
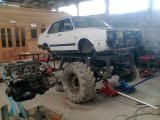
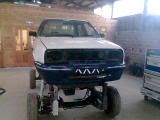
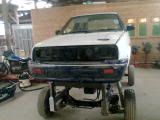
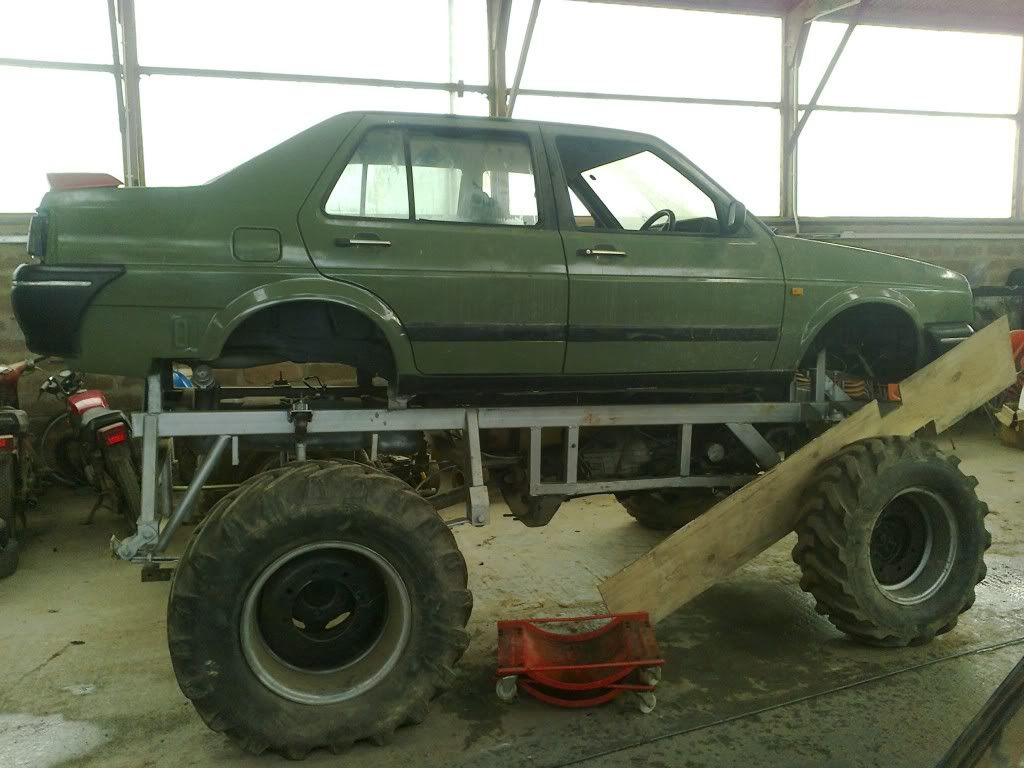
Pic of how it looks atm bare in mine how high it is atm, its gunna be higher once we fit the digger wheels
[img src="i140.photobucket.com/albums/r32/rems2006/Image029-1.jpg"]]
Bit of an update on the monster truck progress
Well i wasn’t there to help with the project or capture every moment on camera do to things going on in my life, so today i arrived at work and this is what i saw
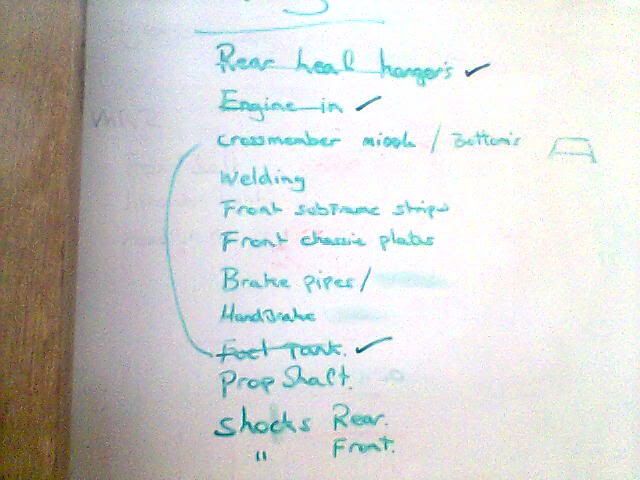
A to-do list had been written
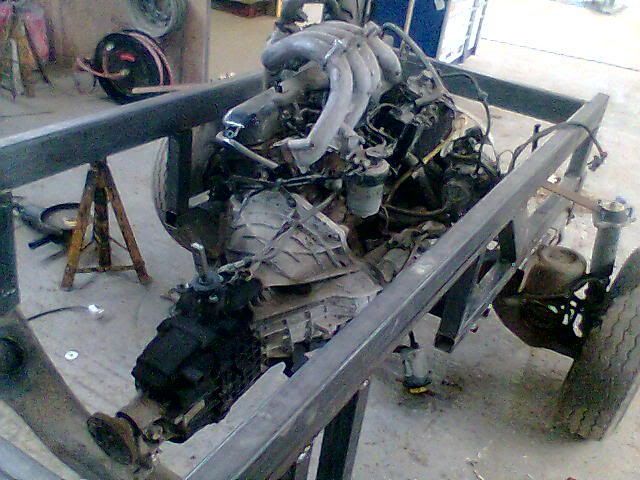
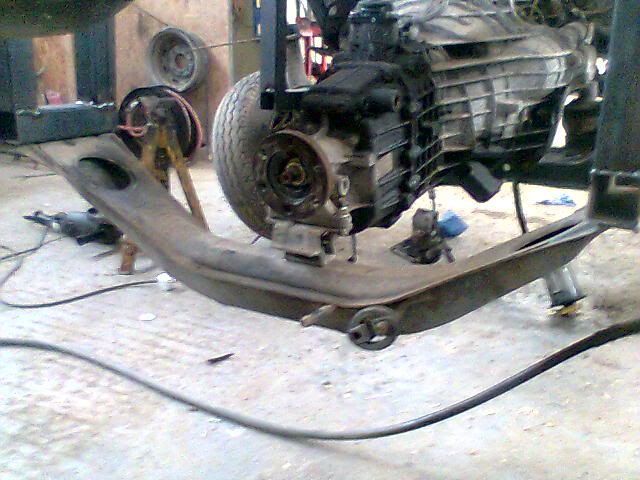
The engine, gearbox and fuel tank had been fitted
The rear leave spring mount had been finished
The original gearbox support member had been used, this would also provide more bracing to the chassis
Original engine mounts were used and welded into place

This is how its looking
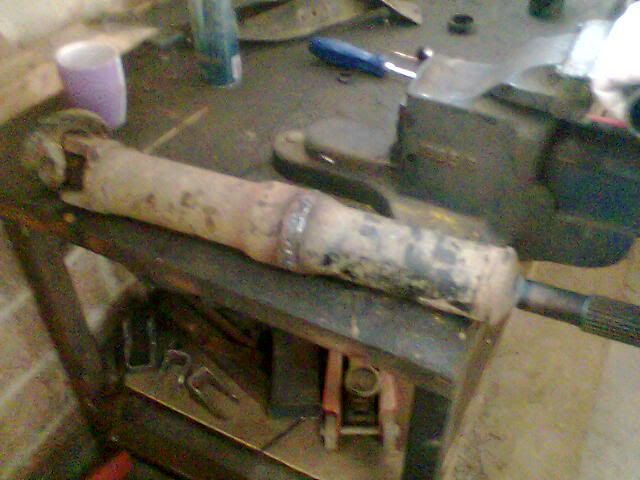
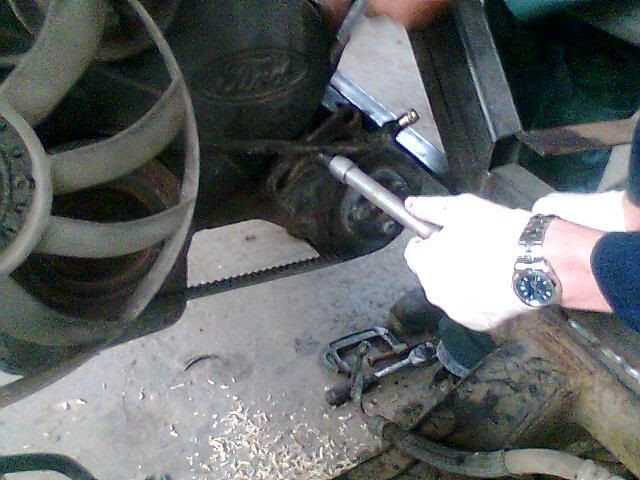
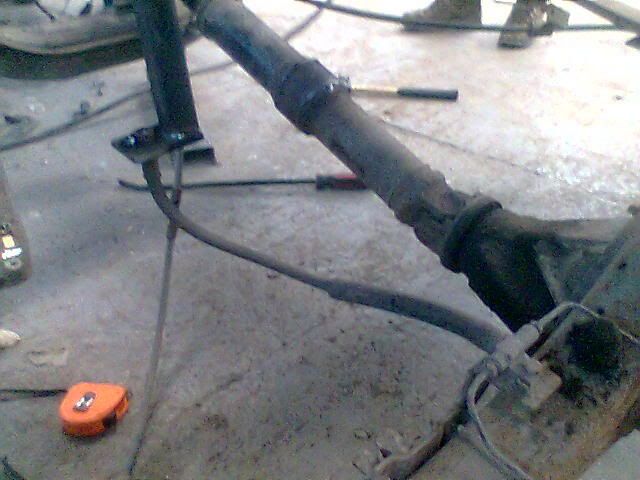
The prop shaft was shortened to fit
Gear leaver fitted into place but will need to be extended so that it will go through the floor of the jetta

time to update what took place on wednesday with the project
more box section was cut for the bracing to make the chassis stronger

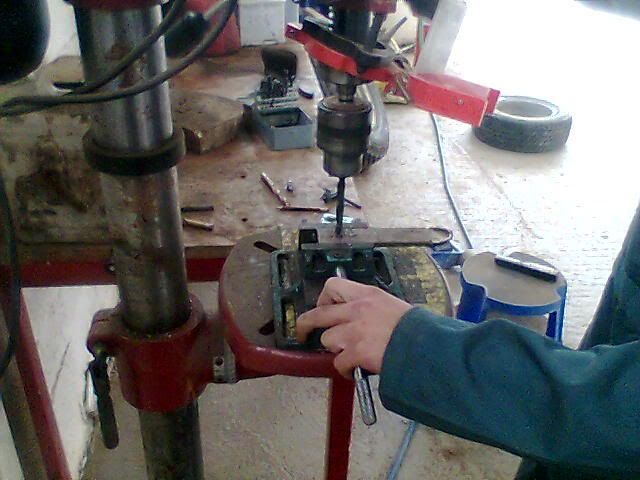
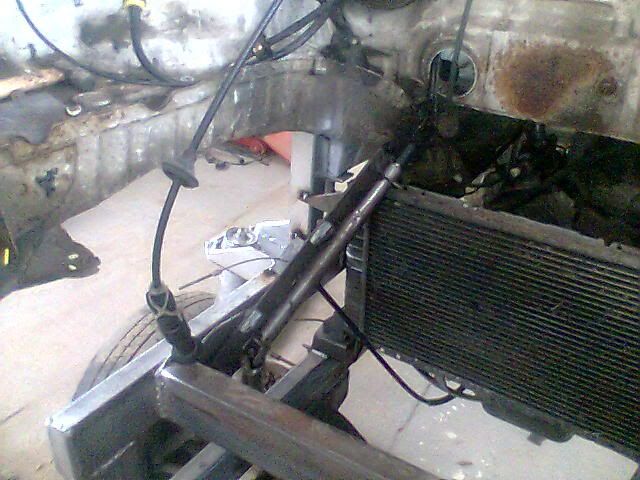
then they fitted the power steering pump
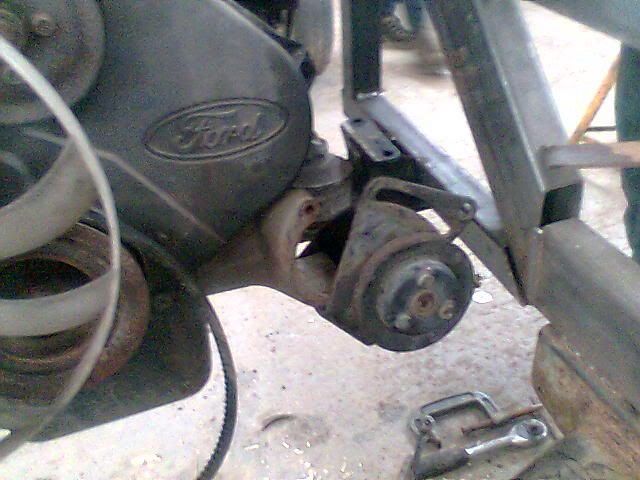
brackets were then mad to hold the end of the flexi brake line
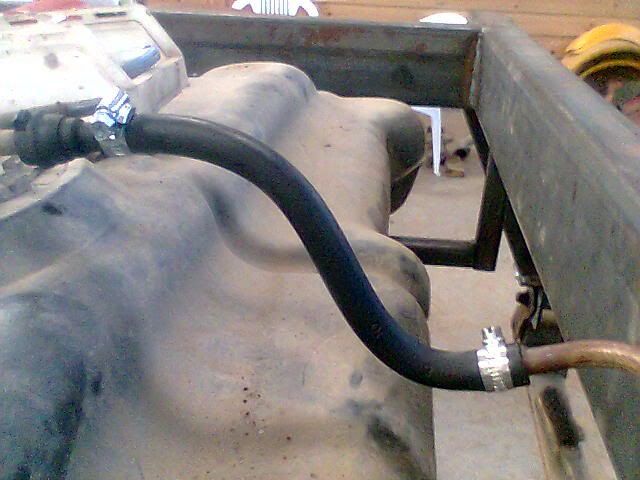
the return pipe for the fuel line was then put in place


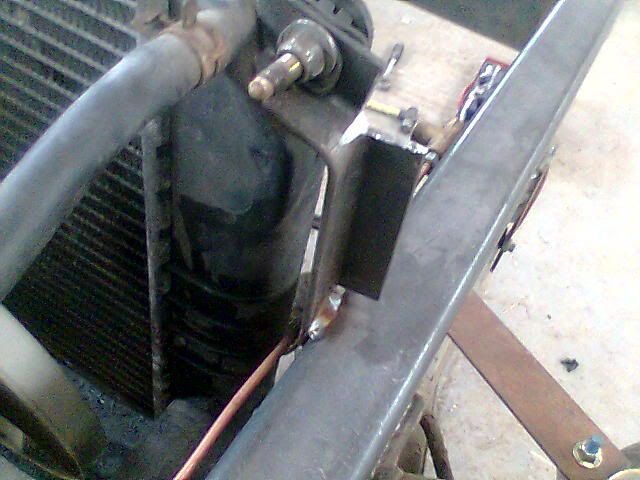
the rad was then lined up into place and mounted


got round to caping the ends of the open box section, these will be welded properly as they are just tacked in place
rear brake line was mounted and fixed into place
front brake line was also fitted
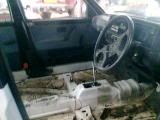
stripped the interior out of the jetta

other wireing which isnt needed under the bonnet was cut out

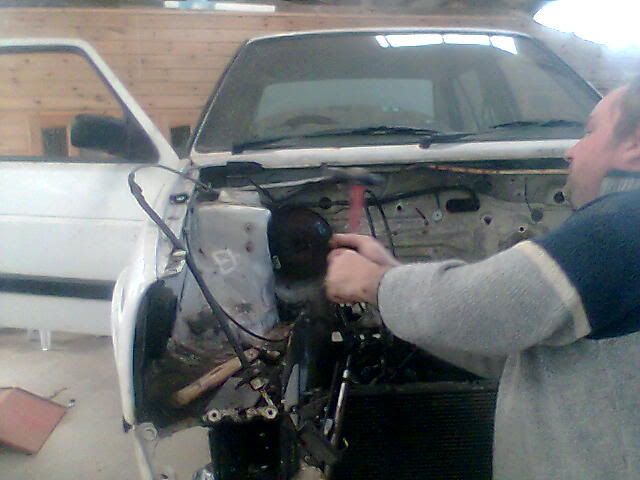
jetta shell was then placed onto the 2 post so that it can be fitted
outside of the shell was stripped

petrol tank was removed as it isnt needed and got in the way of the chassis
exhaust was fitted aswell as hand brake cable
rear shocks were added to give more support for the suspension
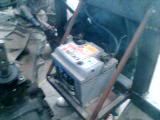
battery holder was made
time to fit the shell
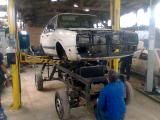
had to cut the floor out as the engine is in the way
roughly fitted

mounts were made to hold the shell to the chassis these will also be fitted next week

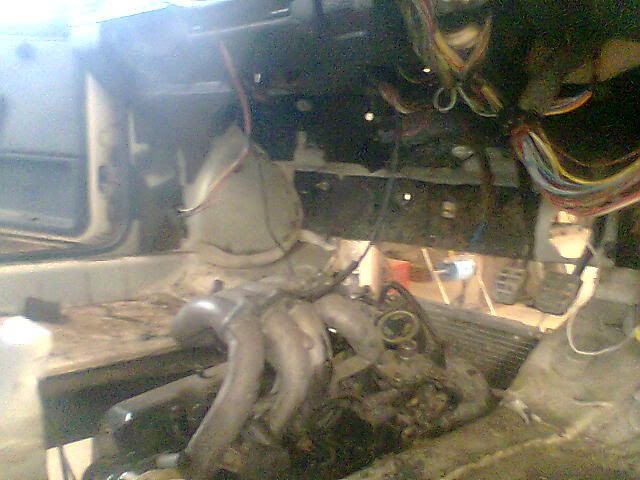
inside view of how the engine sits

rough idea of how its gunna look and curse word me its bigger then we thought
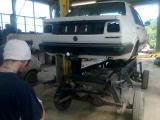
then 2day we had a bit of a play with some bumpers we had laying around which we may or may not use metro bumpers lol
front bumper
or
the rear bumper lol
soz pic are small didnt realise after i had uploaded them all
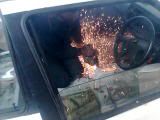
well this is upto how it is looking now (PICS ARE CAMERA PHONE QUAILTY SO BE WARNED)
the rear body support mounts were fitted and welded

wireing was taken out from behind the dash so they could work out what wires they needed and didnt need
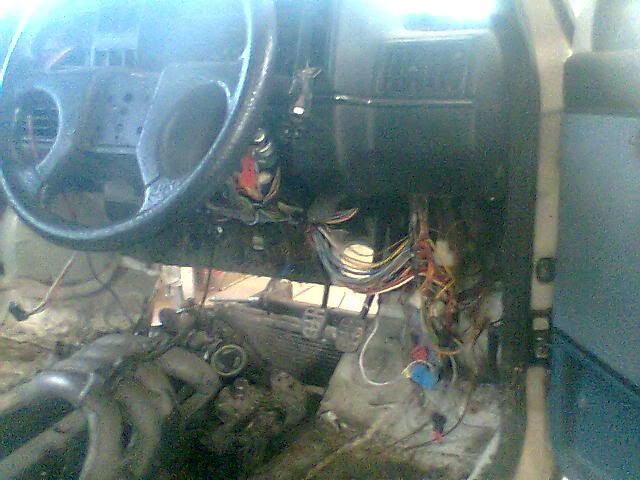
the middle of the dash was removed
steering coloumb (sp) was fitted
as the shock mounts on the jetta were in the way of the brake servo we, well my boss gently hammered the shock surround out of the was as it wasnt needed
brake servo fitted and brake lines in place
water bottle was mounted and hosed up
rear shocks were mounted and welded
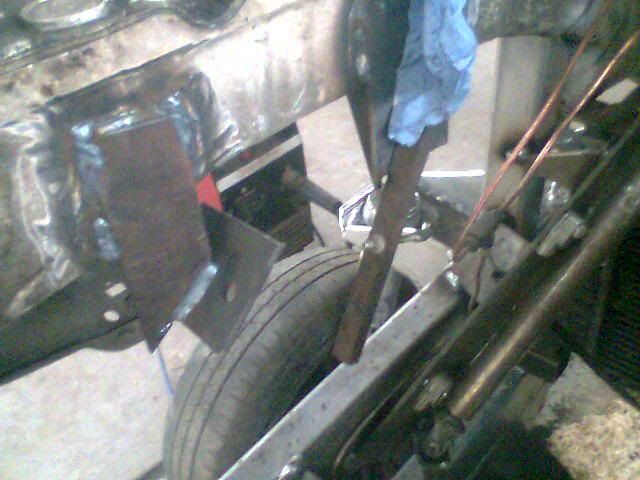
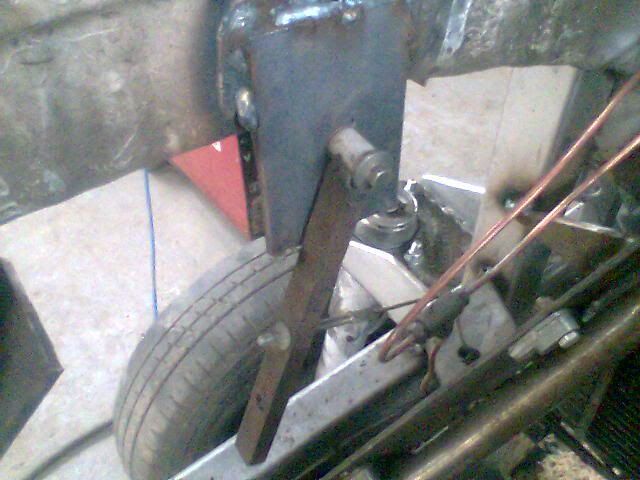
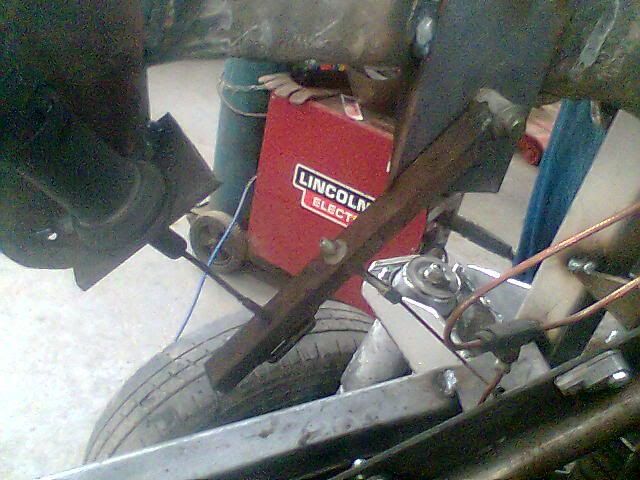
cut some steel to mount the clutch cable, tricky as the engine is now under that car and the fitting of the transit ont wouldnt fit the jetta pedal and the jetta clutch wouldnt fit the transit gearbox
so used both clutch cables and made a pivoit (sp) mechanism so that when the clutch was pressed the jetta cable would pull the transit cable and release the clutch
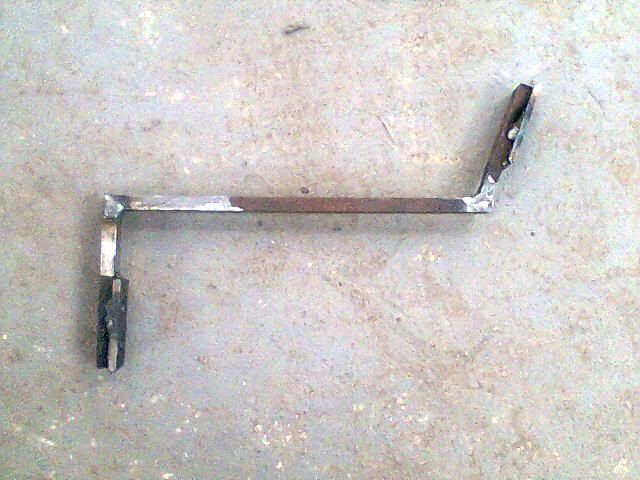
a dog leg was made for the gear stick so that the gear stick was in the right place
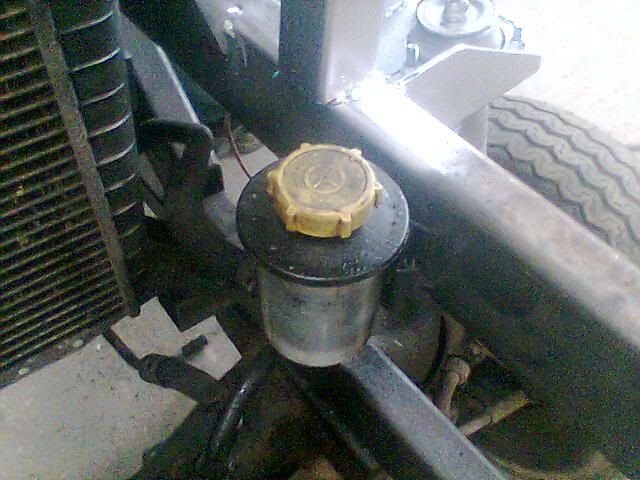
power steering tank was fitted
seats were refitted aswell as gear stick

metro front bumper has been fitted

and it now starts of the key, moves, brakes which means that its minor work from now on ie
wheels
floor
painted
handbrake
i also drives, brakes, reverses and goes pretty much anywhere the only thing is as we have put mahusive tyres on it we have geared it right up meaning that we only have first gear
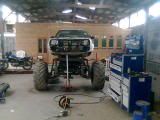
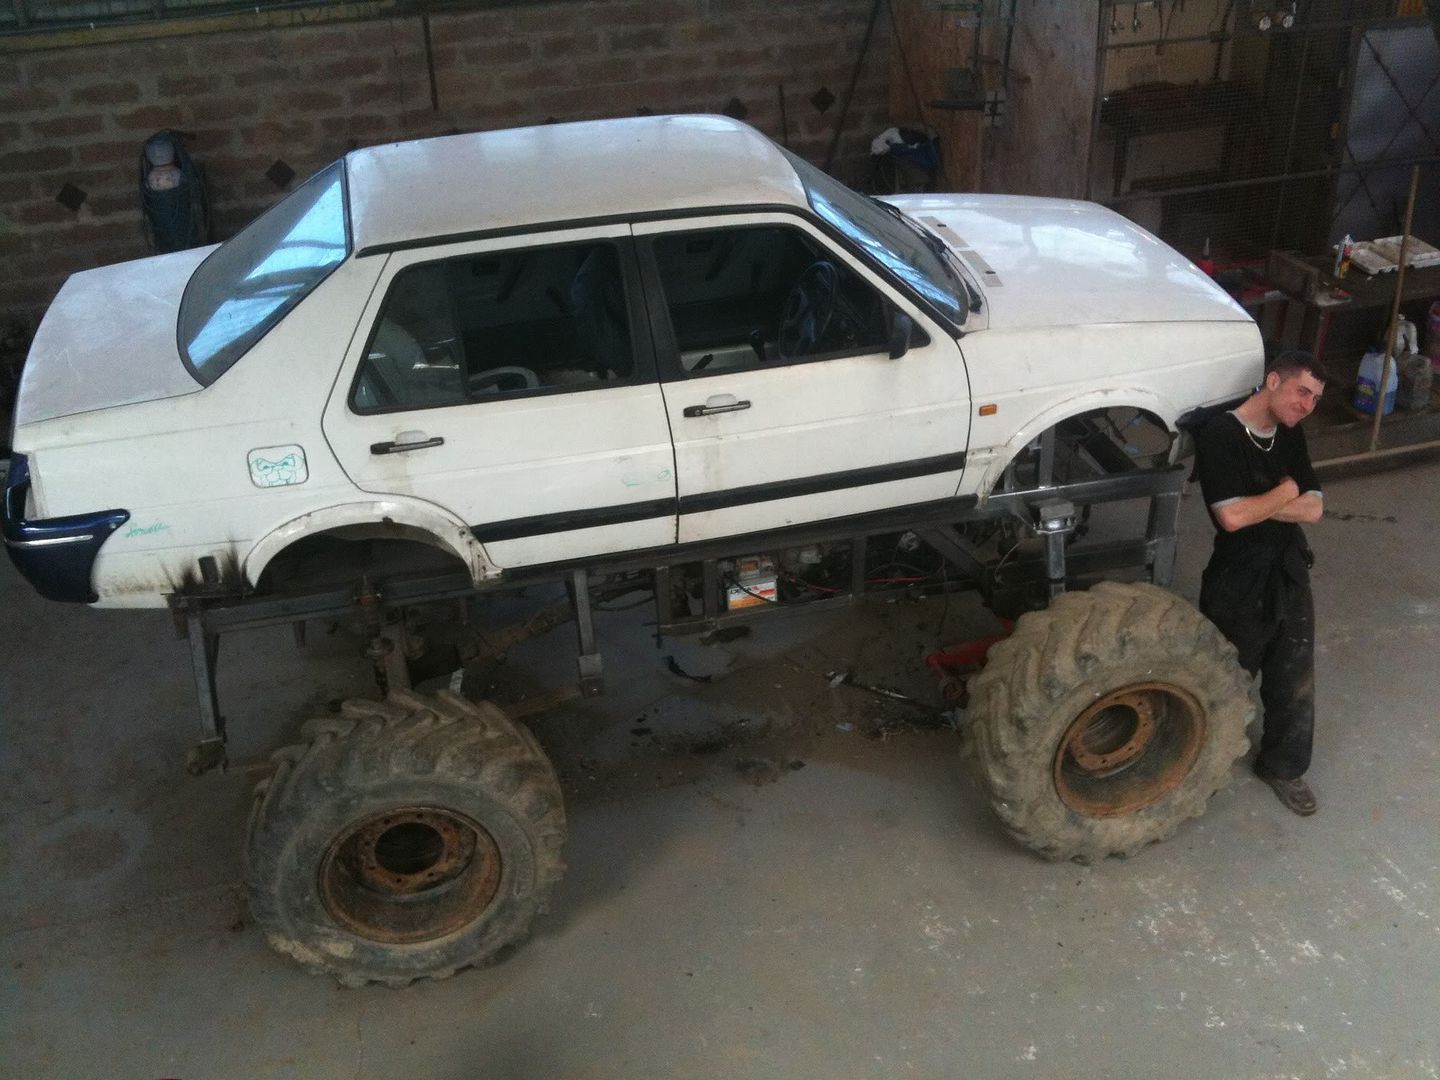
and me with my tim westwood pose, you get the idea of how big it is
and the most recent pic
hope you enjoyed reading
retrorides.proboards.com/index.cgi?board=readersrides&action=display&thread=118587
i have posted a pic of some of the vehicles we have built in the past and the jetta monster truck got some attention so heres the w.i.p (some pics were small sorry)
I just thought i would share the project that is happening at my work
We teach teens from 11-23 on a course called trax, basically we teach them about mechanics to get them an interest in what they want to do when they are older
They do a trax 1 course which is basic mechanics, strip a basic engine, brakes ect
Then they do trax 2 which is slightly more complex, suspension ect
About 1 hour before they finish we take them round the dirt track (if they have been well behaved, majority of the time they are) out back in either an automatic to get them used to the basic controls and handling of a car and then when they are confident enough we put them in a manual (we sit as passenger)
Well whats this post all about i hear?
Well today we started a brand new course which we haven’t done before which is trax 3, this consist of the pupils we have had which have been best behaved and taken a real interest in the mechanics, and in this course they build a project whether it be a dirt car, track car, a car for the track out the back or a car to sell to someone who is interest.
They have 10 weeks to do this project but its only 1 day a week so 10 days to do a final project that they can drive each lesson starts at 9.30 finishes at 3
Well this is what happened today:
To start with they had to decide what they wanted to do as the first project of this course which they decided to build a dirt car for the track out back

The only say we had on the project was that they had to use everything that we have in the work shop (apart from when it comes to building the space frame/roll cage where will get the metal supplied)
Here are the plans
There was alot of discussion about what car they wanted to use and whether it was going to be front, mid or rear engine aswell as FWD, RWD or 4WD
We have a 1.6 MR2 which we use as a drift car which came into the idea of stripping it from its shell and turn it into something similar to a Rage dirt buggy
Then there was the idea of using a fiat panda which was an old dirt track car which was 4WD gutted ect but the clutch had been burnt out by a previous student not listening but decided they didn’t want to lol
Then another idea which came up was to use which was using a pug 205 we have and putting a larger engine in the rear and removing the one from the front as its only 1.1 (they wanted more power lol)
(this is a pic of another car we have which we use was donated to us for free as do most of the cars)
Yep its a lada niva lol
After final discussions and plans they decided on this
A ford transit 2.5D lol
WTF i hear you thinking?
Well the reason being is there tough, have all the parts ie gearbox, prop, rear axel and we are going to turbo it so it will produce roughly 100bhp
So they set to work on removing the engine
Removed the prop and exhaust
Finally on her way out
And shes out
The other reason they chose the transit was so that enough torque was given to turn these bad boys (forget all you stretch tyres these are what you want :lol: ) :wink:
Again the idea changed once they saw we had four of the bad boys (which we were using as a crash barrier lol)
It went from dirt buggy to mini monster truck using this something special as a shell which we also had laying round as you can see :lol:
Here is a section of the track for you to see
Well as we had no power yesterday the class was moved to today
So what did they get upto today..................
Well took a lil pic of how the wheel may look
Removed the gear linkage under the chassis
Then they set about removing more parts from the van ie rear suspension and axel and front subframe
Rear
was a tough job as the bolts were rusted but alot of elbow grease and swearing and they removed it
then onto front
even after removing all the bolts the subframe didn’t budge until we gave it a bit of a jolt up and down on the ramp lol
Then removed the rest of the exhaust
One of the kids set to work at cutting all the box section we received to make the ladder frame for the chassis and layout of the engine, suspension ect before we could fit the jetta shell
Then he measure where the 2 ladders had to be
Engine mount were removed for the transit so that well could reuse them to make life easier
Fuel tank removed
Then the ladder frame was tacked then welded
Them removed the toe bar as was a tough one and may come in handy on the monster truck if we need to toe vehicles stuck on tyres on the track
Then we hit a bit of a glitch whilst building the fame which resulted on redoing the calculations on the floor lol
What was the glitch you ask?
Well basically we will be raising the ladder fame so that the bottom of the jetta (when fitted) will be at chest height lol so had to calculate what angle had to be cut from the box section so that it would raise the chassis and the front and rear suspension unit will be as the same hight and level, bit complicated (i don’t really understand myself but my boss knows what he is talking about lol)
Update time
Today they got a fair bit done i must say
The brake servo was removed from the brake servo from the transit as we think that the original one that is in the jetta wont create enough pressure in the brake lines to apply the brakes from the transit
Then they got to work on building the raisers out of box section (the old gezza is a helper that comes in)
Box section raisers cut with the correct angles that we were trying to work out last time
Lined up in place (roughly get the idea of what we are doing lol)
More plans were drawn to roughly work out where the engine, gearbox and axel were going to sit
Then the rear shocks and dampers were removed from the rear axel off the jetta to allow abit more support and suspension for the monster truck
The box section raisers were then tacked an welded in place
We then caped the ends
They then made plates and drilled holes in them to make a bracket so that the leaf springs can be fitted
The raisers for the front were cut and welded into place
Once the welding was done they carried the chassis over to the 2 post ramp and lined it into place for the rear leaf springs so that they are in place for fitting
The brackets that they had made were then welded into place so that the leaf springs are lined up correctly
Then the front subframe was lined up in place
Once the front subframe was in place backet were made just like the rear one on the leaf springs and more welding took place to hold it all together
Next week or maybe if me and my boss get time we will make the brackets so that the rear of the leaf springs can be fitted
Pic of how it looks atm bare in mine how high it is atm, its gunna be higher once we fit the digger wheels
[img src="i140.photobucket.com/albums/r32/rems2006/Image029-1.jpg"]]
Bit of an update on the monster truck progress
Well i wasn’t there to help with the project or capture every moment on camera do to things going on in my life, so today i arrived at work and this is what i saw
A to-do list had been written
The engine, gearbox and fuel tank had been fitted
The rear leave spring mount had been finished
The original gearbox support member had been used, this would also provide more bracing to the chassis
Original engine mounts were used and welded into place
This is how its looking
The prop shaft was shortened to fit
Gear leaver fitted into place but will need to be extended so that it will go through the floor of the jetta
time to update what took place on wednesday with the project
more box section was cut for the bracing to make the chassis stronger
then they fitted the power steering pump
brackets were then mad to hold the end of the flexi brake line
the return pipe for the fuel line was then put in place
the rad was then lined up into place and mounted
got round to caping the ends of the open box section, these will be welded properly as they are just tacked in place
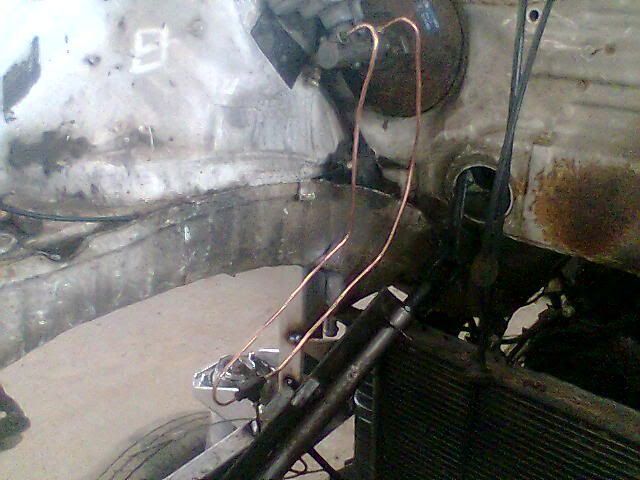
rear brake line was mounted and fixed into place
front brake line was also fitted
stripped the interior out of the jetta
other wireing which isnt needed under the bonnet was cut out
jetta shell was then placed onto the 2 post so that it can be fitted
outside of the shell was stripped
petrol tank was removed as it isnt needed and got in the way of the chassis
exhaust was fitted aswell as hand brake cable
rear shocks were added to give more support for the suspension
battery holder was made
time to fit the shell
had to cut the floor out as the engine is in the way
roughly fitted
mounts were made to hold the shell to the chassis these will also be fitted next week
inside view of how the engine sits
rough idea of how its gunna look and curse word me its bigger then we thought
then 2day we had a bit of a play with some bumpers we had laying around which we may or may not use metro bumpers lol
front bumper
or
the rear bumper lol
soz pic are small didnt realise after i had uploaded them all
well this is upto how it is looking now (PICS ARE CAMERA PHONE QUAILTY SO BE WARNED)
the rear body support mounts were fitted and welded
wireing was taken out from behind the dash so they could work out what wires they needed and didnt need
the middle of the dash was removed
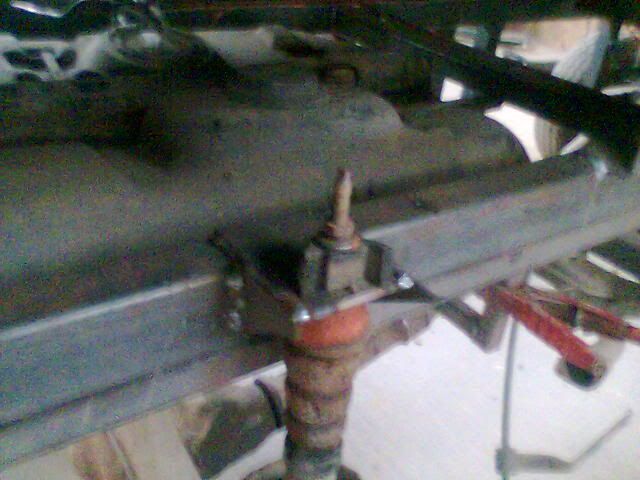
steering coloumb (sp) was fitted
as the shock mounts on the jetta were in the way of the brake servo we, well my boss gently hammered the shock surround out of the was as it wasnt needed
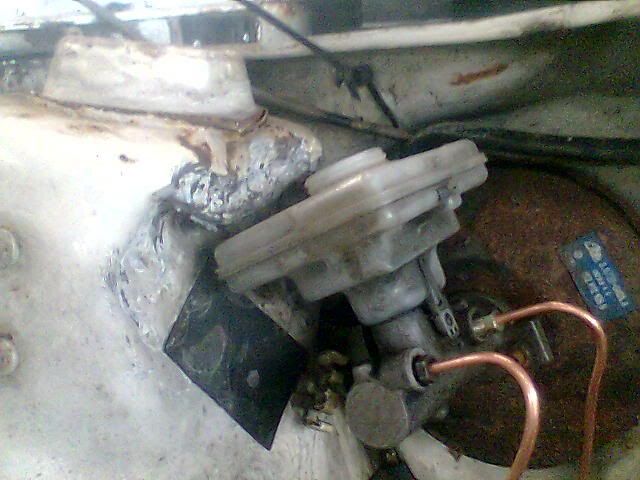
brake servo fitted and brake lines in place
water bottle was mounted and hosed up
rear shocks were mounted and welded
cut some steel to mount the clutch cable, tricky as the engine is now under that car and the fitting of the transit ont wouldnt fit the jetta pedal and the jetta clutch wouldnt fit the transit gearbox
so used both clutch cables and made a pivoit (sp) mechanism so that when the clutch was pressed the jetta cable would pull the transit cable and release the clutch
a dog leg was made for the gear stick so that the gear stick was in the right place
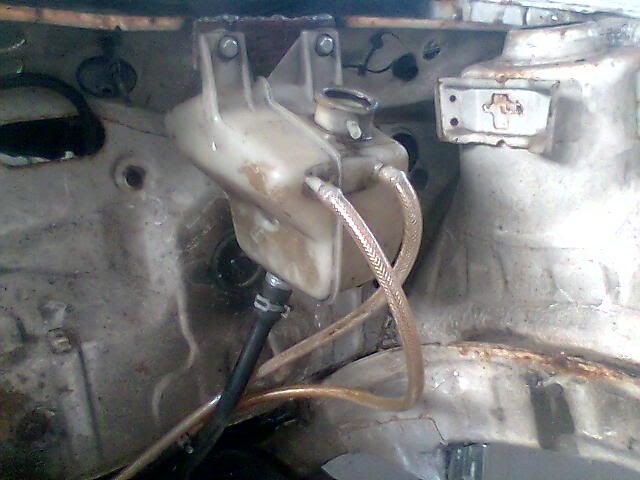
power steering tank was fitted
seats were refitted aswell as gear stick
metro front bumper has been fitted
and it now starts of the key, moves, brakes which means that its minor work from now on ie
wheels
floor
painted
handbrake
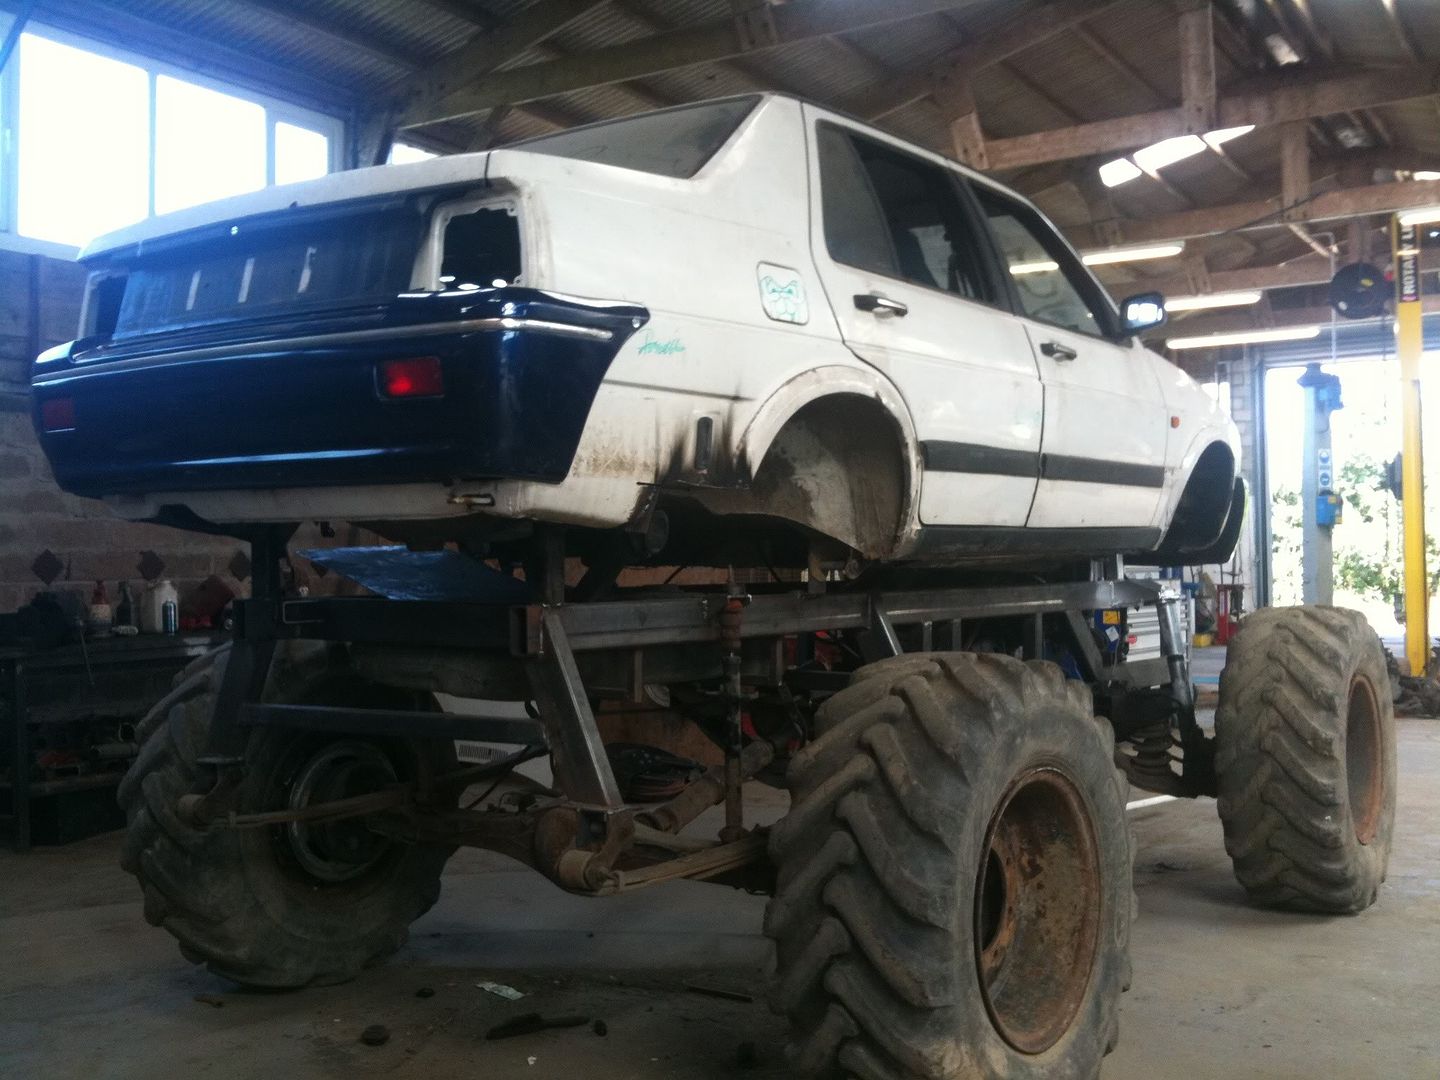
i also drives, brakes, reverses and goes pretty much anywhere the only thing is as we have put mahusive tyres on it we have geared it right up meaning that we only have first gear
and me with my tim westwood pose, you get the idea of how big it is
and the most recent pic
hope you enjoyed reading