|
|
|
|
|
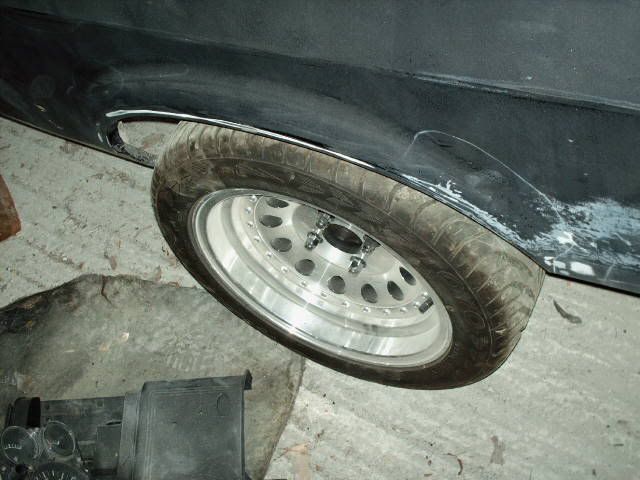
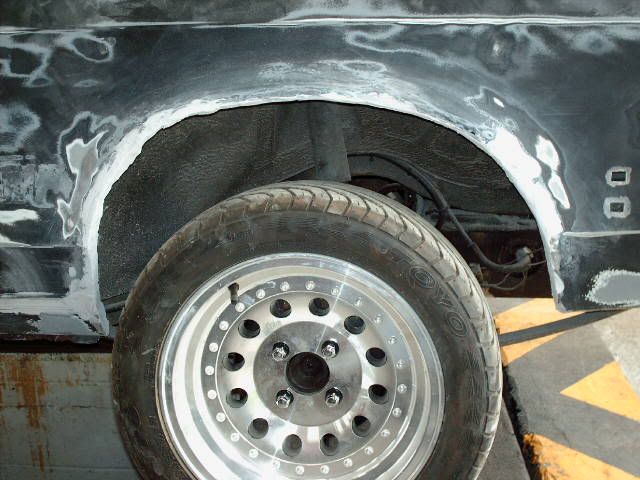
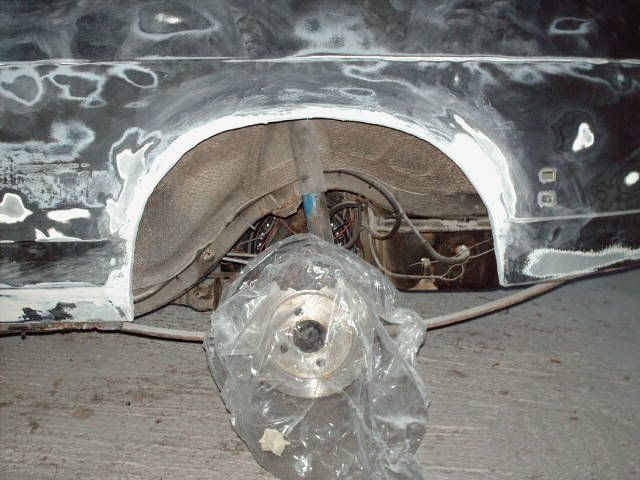
right ive got a capri with one scabby rear arch (n/s/r). I'm sick of welding (only one hole left) so ive put some anti rust paint on, some fiberglass on, and now some filler. anyway, instead of looking loverly and smooth like a ( if you tilted your head a bit like  but more complicated.  now ive done it, in reality it looks like a upsidedown (_/ a bit like 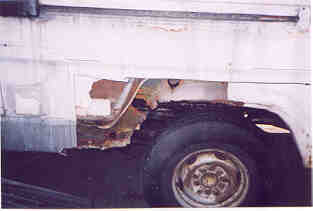 what do i need to do apart from get someone else to do it? I'm not welding another arch on, it'd kill me!  ta.  |
| |
|
|
|
|
|
|
|
|
|
|
ill do some pics tomorrow those aren't quite right.
|
| |
|
|
street
Posted a lot
 6.2 ft/lbs of talk
Posts: 4,662
|
|
|
|
Without seeing the pics its hard to say, but if its the wrong shape then surely you just need to knock back the filler 'til its the right shape? How bad was the arch before you put filler and fibreglass on it? I know its a bit of a pain in the ar*e but if you weld in a new arch, at least it will be done right, and you'll only have to do it once! Alternitively, you could just weld in a section of the arch where its scabby..... repairing the arch doesnt always mean ripping the whole lot off if it isn't that bad Lets see the pics  |
| |
Last Edit: Aug 4, 2006 11:28:16 GMT by street
|
|
|
|
|
|
|
|
|
|
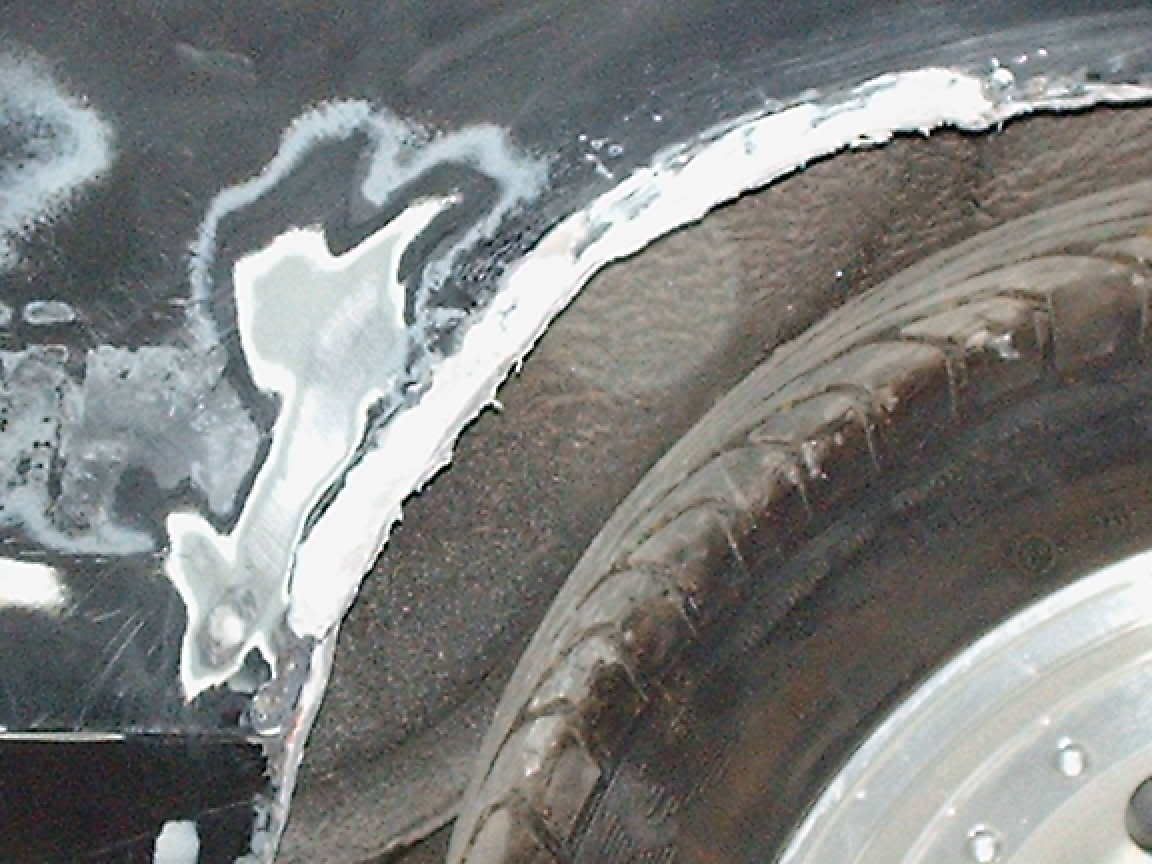
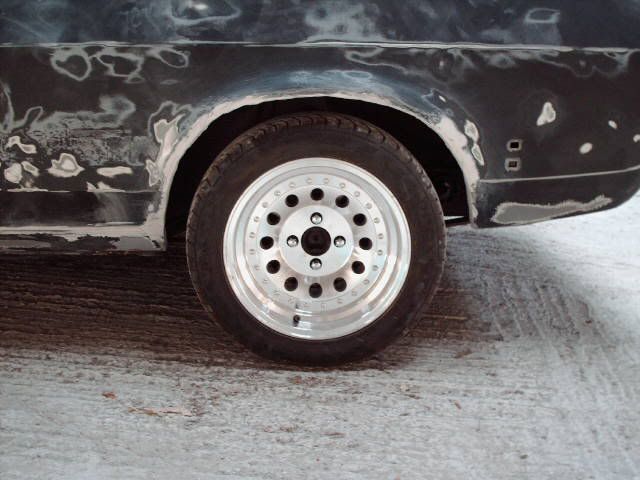
Right, basically you need a lot more filler on there by the looks of it and you have to sculpt the proper arch shape out of it with lots of 40-grit production paper, files, surforms and other tools. When you're happy with the shape you can finish fill it and paint over the top. Don't forget to seal it very well from behind or it will rot through and drop out in no time.
|
| |
|
|
|
|
|
|
|
what are surforms? and whats finish fill? ta. |
| |
|
|
|
|
|
|
|
|
A surform is like a cheese grater for grating off and shaping excess filler, but long and shaped like a big file!
That's going to leave some pretty big marks in the filler, as will 40-grit paper, so you skim carefully over the top to fill in the holes. Saves you then having to sand back more with finer paper to remove the scores. You can either use more filler or stopper which is like fine filler.
|
| |
|
|
|
|
|
|
|
|
|
the thing about filler is 80% of the stuff you put on you sand off again. You build up in layers until its right. Put it on too thick and it won't cure properly and it will sag and go all pete tong. You might be as quick welding another arch in |
| |
1941 Wolseley Not Rod - 1956 Humber Hawk - 1957 Daimler Conquest - 1966 Buick LeSabre - 1968 Plymouth Sport Fury - 1968 Ford Galaxie - 1969 Ford Country Squire - 1969 Mercury Marquis - 1970 Morris Minor - 1970 Buick Skylark - 1970 Ford Galaxie - 1971 Ford Galaxie - 1976 Continental Mark IV - 1976 Ford Capri - 1994 Ford Fiesta
|
|
|
|
|
|
|
You might be as quick welding another arch in  I'm think I'm going to ask andy and see what he reckons. ive kinda put this one into a wall. either way though i do it reckon it'll look awful. i kinda think a new one will be a better idea. is it Retford thats full of guns or am i thinking of radford/ratford?  i need some more garage room. ;D ;D ;D ;D |
| |
|
|
|
|
|
|
|
|
|
actually I'm going to keep at it. the bumper should hide part of it  ive not got the front strip, so that can just get dirty.  |
| |
|
|
|
|
|
|
|
hmm i cant remember the last time i saw a black xpack capri.... |
| |
 2006 Audi A3 2003 Fusion 2 looking for a project.... |
|
|
|
|
Aug 10, 2006 20:17:28 GMT
|
 getting better. yaarrrrgggghhhhhh!!!!!!!  |
| |
|
|
|
|
|
Aug 17, 2006 21:15:54 GMT
|
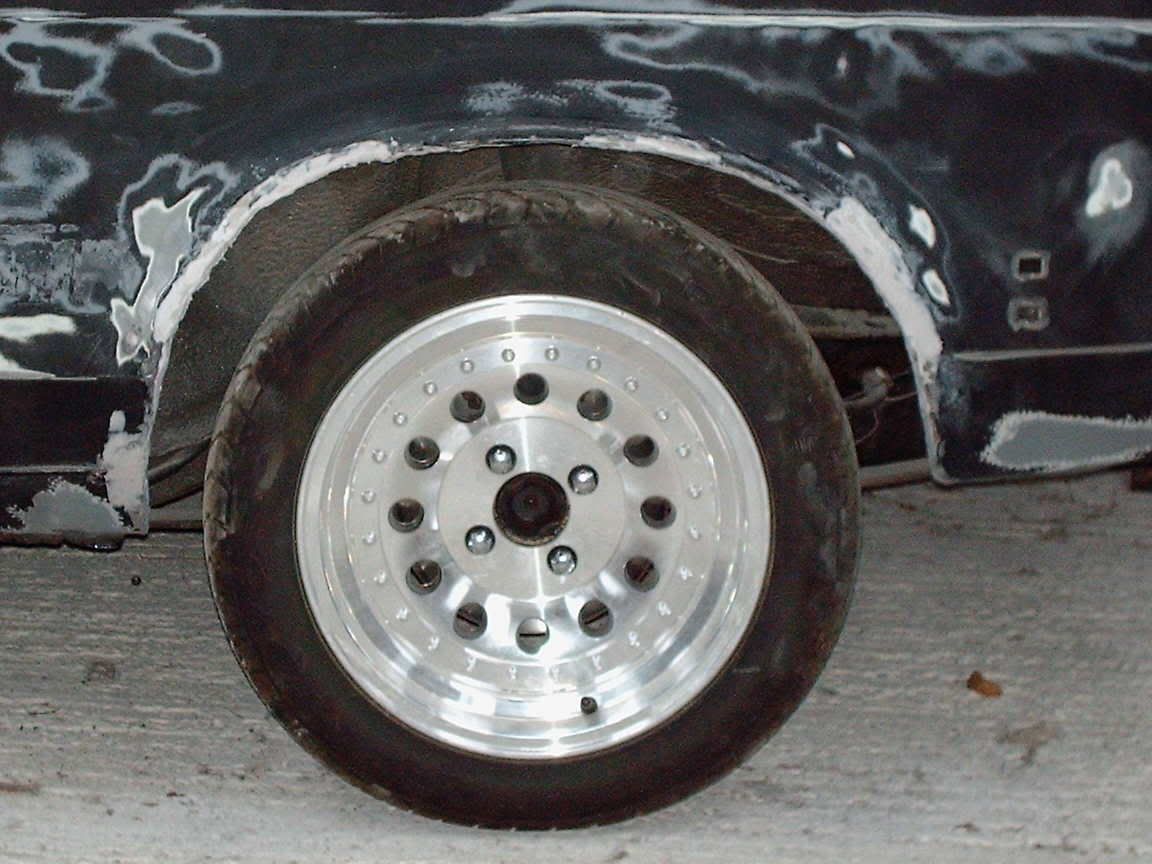
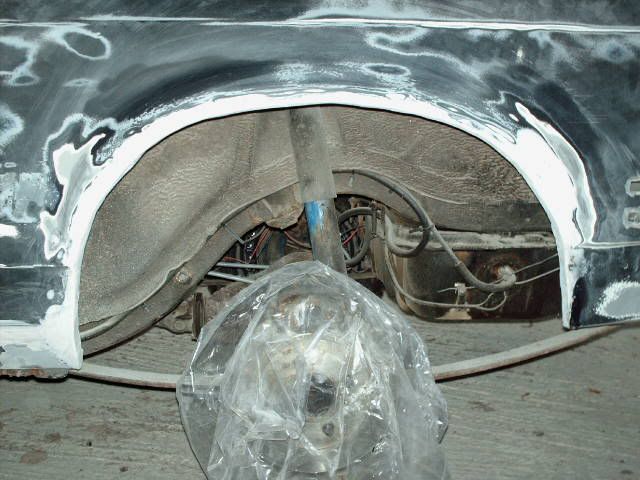 this is as good as it gets. next up welding, more filler, the 400wnd then barcoat. |
| |
|
|
Rob
Posted a lot
You know, for kids!
Posts: 2,515
|
|
Aug 17, 2006 23:07:35 GMT
|
|
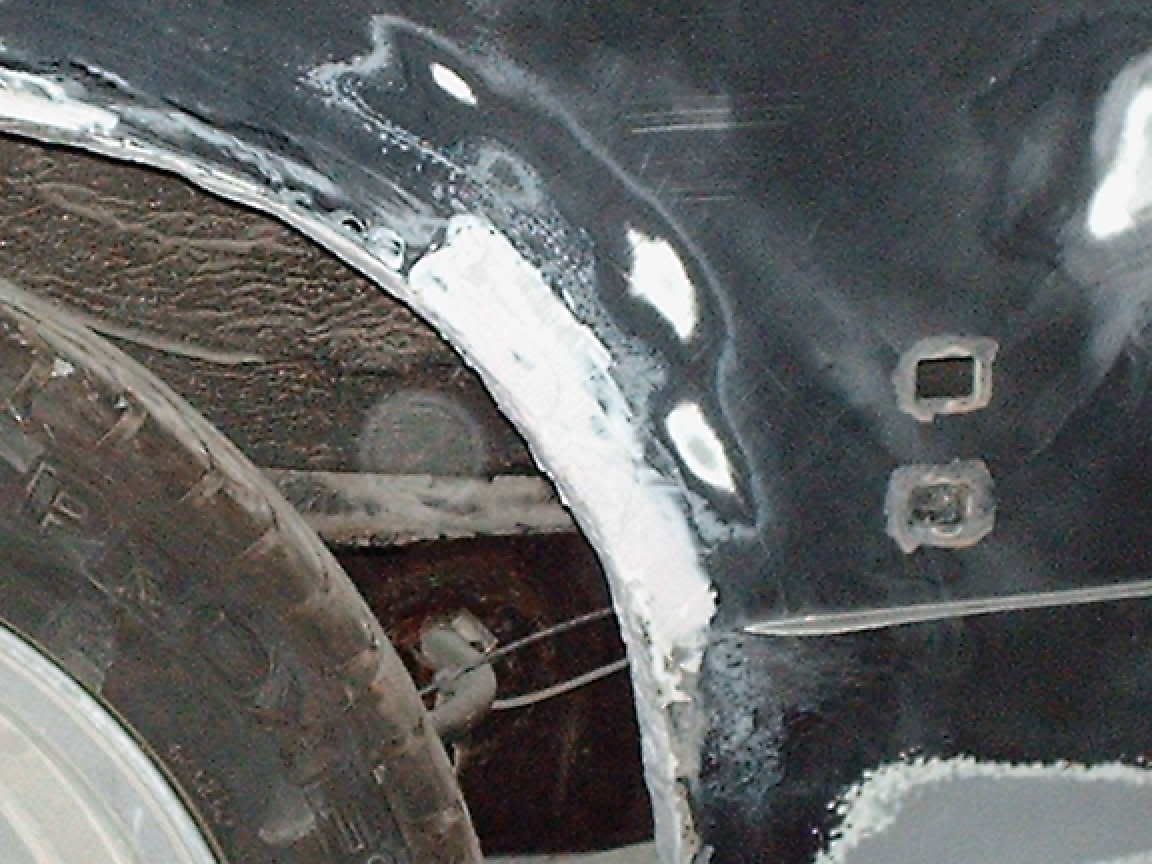
have you compared it to the othe side ?
i think youre gonna kick yourself if you leave it like that... :/
|
| |
|
|
|
|
|
|
|
^What he said^ I did a similar job on my brother's BMW last year.... it was all wobbly and lumpy like that. If we were gonna do it properly, fresh metal would have been the order of the day, but it was just a cheap tart-up on a cheap car. Depends what you are trying to achieve - if all you want to do is scrape an MoT pass then some 'lovely crinkly edges' are fine. But if it's long term satisfaction you want then proper repair sections are the order of the day |
| |
|
|
|
|
|
Aug 18, 2006 15:47:54 GMT
|
|
I think you should bite the bullet and weld in new steel. Like street said, you needn't hack off the entire arch, just parts of the lip by the looks of it.
I think it'd be a shame to have the arch full of bodge like that, personally.
Go on dave, you can do it! ;D
|
| |
|
|
|
|
|
Aug 18, 2006 16:05:50 GMT
|
|
Mate, spend the money and get some new arches welded in.
Once fresh paint goes on that it's going to look horrific....
|
| |
|
|
|
|
|
Aug 21, 2006 20:08:18 GMT
|
ive ordered a new arch. so whats the proceedure to put them in, makeing it look mint? i don't want to do it then think bah humbug!  |
| |
|
|
Seth
South East
MorrisOxford TriumphMirald HillmanMinx BorgwardIsabellaCombi
Posts: 15,538
|
|
Aug 21, 2006 20:28:56 GMT
|
Remove paint back to bare metal so you can see all the areas that will need to be covered by the repair section - there's no point doing the bit that looks obviously bad and have it scabbing elsewhere 6 months later. Equally there's no point welding in the whole arch and making life more difficult if you only need to do a shorter section so cut the repair panel down to what you actually need leaving a good inch or so over any rusty section. Hold the repair section up against the car and scribe round it so you can see exactly how much metal you need to remove. Cut/grind/file out to that line so that when you offer the repair section up it you have a good fit with a minimum difference in gap. Now repair the inner arch where necessary using the repair panel as a guide. Then tack on the outer repair section working from one end with a tack every couple of inches. Working form one end allows you to work the panel into the right place with a nice even gap all the way round. Doing one tack at each end and then jumping around right from the start will cause the original gap to disappear as your welds shrink and you'll get worse warping/distortion. Once its on with tacks every couple of inches all the way along then you can start randomly filling in the gaps slowly allowing it plenty of time to cool to avoid building up too much heat. Finally you should need just a minium of filler to sort it out for paint. This is the method that was taught to me by a Mulliner Park Ward trained body man when he instructed me to hack into a customer's E-type... |
| |

Follow your dreams or you might as well be a vegetable. |
|
|
|