sonus
Europe
Posts: 1,392
|
|
Sept 26, 2012 19:30:30 GMT
|
Enjoying following your progress  What dimension tires are you going to use at the rear? My sebring valances were also a shocking fit. I think that whoever makes these remove them from the mold too early so that they are not cured properly in the mold. They then warp while curing out of the molds. How are you attaching the front valance to the lip? |
| |
Current
1968 TVR VIXEN S1 V8 Prototype
2004 TVR T350C
2017 BMW 340i
Previous
BMW 325d E91LCI - sold
Alfa Romeo GTV - sold
Citroen AX GT - at the breakers
Ford Puma 1.7 - sold
Volvo V50 2.0d - sold
MGB GT - wrecked by fire
MG ZT 1.8T - sold
VW E-golf Electric - sold
Mini Countryman 1.6D -sold
Land Rover Discovery TD5 - sold
|
|
|
|
|
|
|
Sept 26, 2012 20:31:26 GMT
|
|
Really loving this thread, the bodywork is top notch.
Dying to see the finished product, bet it will look proper fat and aggressive.
Are you changing the paint?
|
| |
MK5 Transit MK1 capri
|
|
bstardchild
Club Retro Rides Member
Posts: 14,965
Club RR Member Number: 71
|
|
Sept 27, 2012 20:47:49 GMT
|
|
Really impressive work and I'm so glad you are taking the time to explain what you are doing and how......
It looks Briliant
|
| |
|
|
|
|
|
Sept 28, 2012 18:14:34 GMT
|
|
The fit of those panels is shocking. It's good to see you've had the dedication to work through that problem.
|
| |
|
|
|
|
|
Oct 15, 2012 19:30:22 GMT
|
|
Excellent work really enjoyed the thread....i have a rubber bumper mgb gt thats been off the road for a year or so...iv changed the front and rear to sebring the car drives ok...but was wanting to do the 3.9 v8 conversion with the Lt77 box like you have done..i was just wandering what the cost of the conversion would be approx if I done the work myself?just the engine and box conversion not the sebring and wheels...and do you have a parts list please...any help would be great...ke_ef@hotmail.co.uk
|
| |
Last Edit: Oct 15, 2012 19:31:39 GMT by keefyboy
|
|
GavinJ
Club Retro Rides Member
MGB 3.9 v8 Sebring
Posts: 927  Club RR Member Number: 209
|
|
Oct 16, 2012 21:20:26 GMT
|
Cheers for the comments guys. Here's a few more pics of bits and piece's we have been upto. Firstly an anti tramp bar kit, now they are silly money to buy! so I got my dad on the case to make me a set and he didn't dissapoint. First mod was to beef up the original spring hanger as long term I plan to be running some serious power (well once i've got my wedding out the way  ) this also allows easy fitment of the anti tramp bar, for this we followed a guide from a v8 conversion book I have. The strengthening piece, 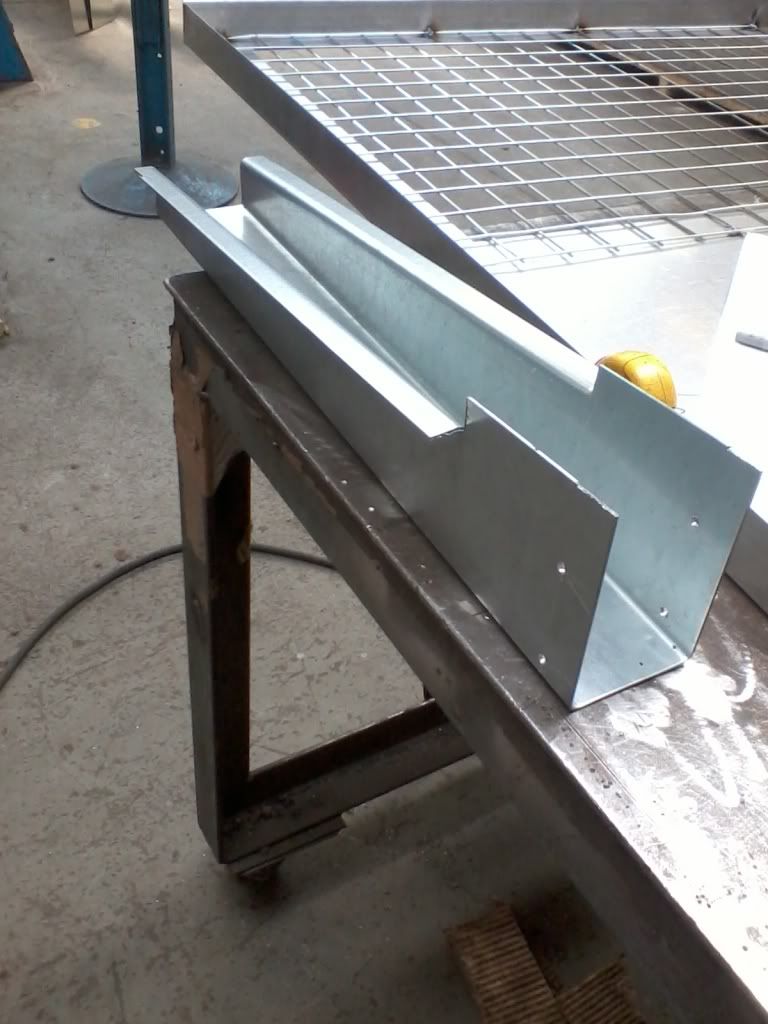 and in place, fully seam welded and slotted over the original sping hanger mount. 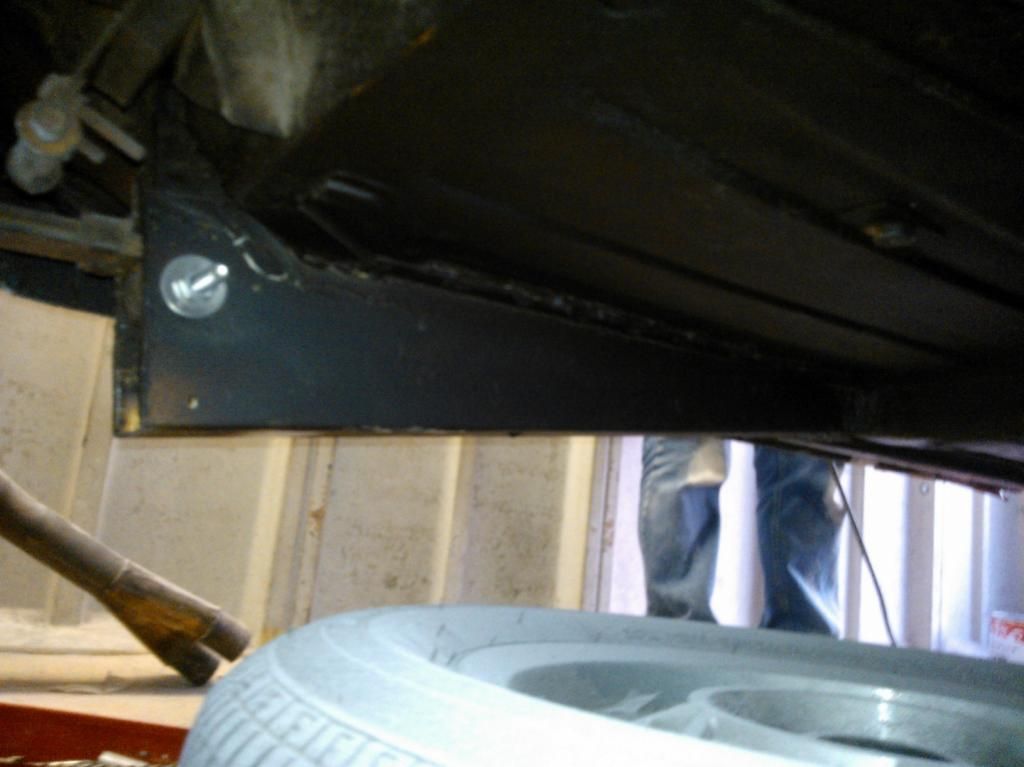 You can see the mounting point in that pic for the anti tramp bar (hole to be re-drilled to correct size) And the anti tramp bar kit, my dad followed some pics of kits available and pretty much matched it complete with rose joints and fully adjustable (in length) 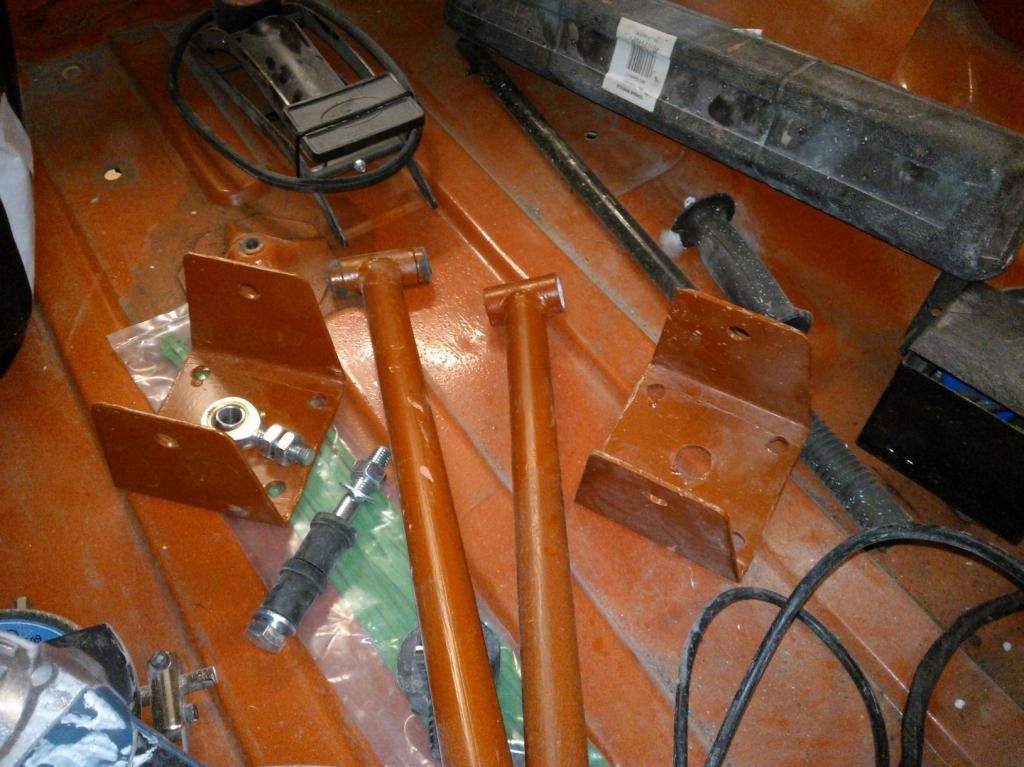 Not a great pic, but the other end of the bar is threaded to allow adjustment - but i'll come back to this when we get to the point of fitting it all, probably at the point we make up the exhaust system.. Wings are now on for good, fully bolted up and hopefully won't be coming off now for a long long time! Although they are obviously fibreglass, we still decided to stone chip the insides to give it a nice finish and then painted it body colour, 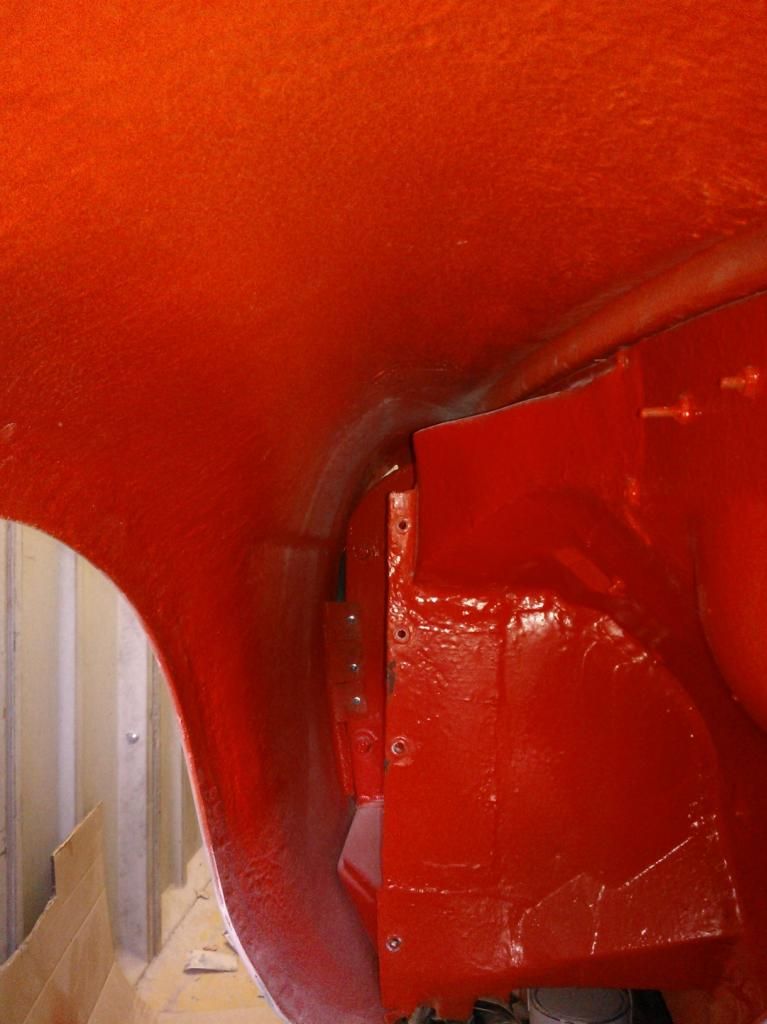 (Picture taken through headlight opening) As you can see the wings are now 90% prepped with the cut and shut sections to get it fitting now repaired/prepped. 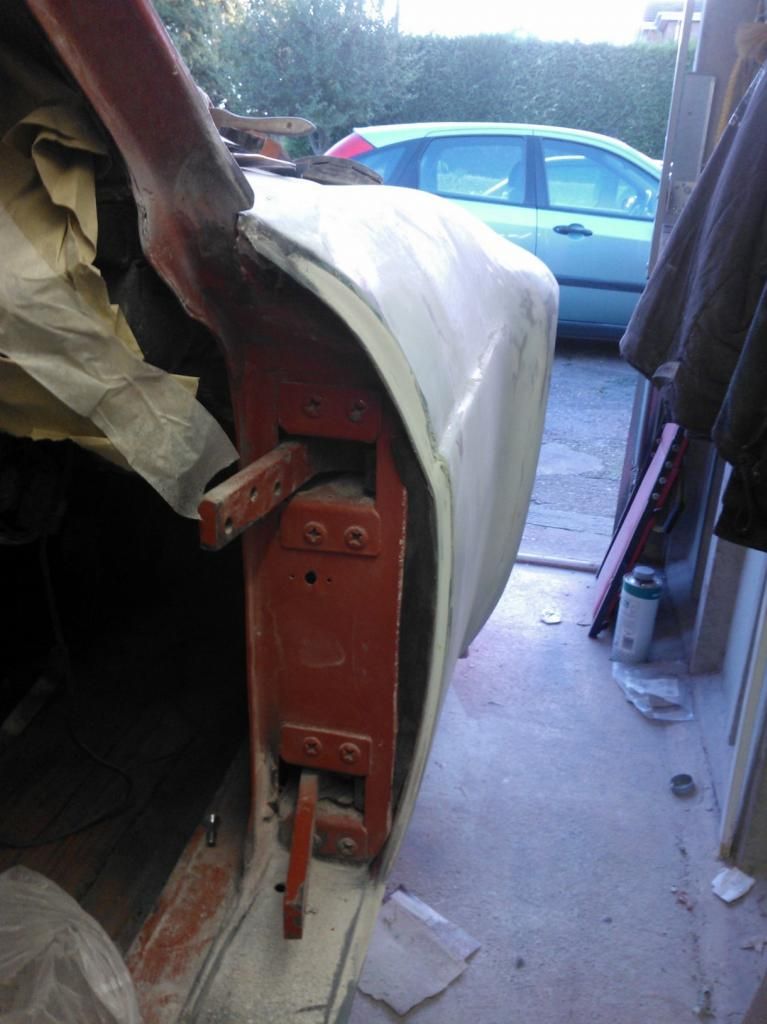 Hopefully have the whole car in high build this weekend and get the front bearing kit fitted so I can bolt on the front wheels and see how 10" fits at the front... |
| |
Last Edit: Oct 16, 2012 21:43:20 GMT by GavinJ
|
|
GavinJ
Club Retro Rides Member
MGB 3.9 v8 Sebring
Posts: 927  Club RR Member Number: 209
|
|
Oct 16, 2012 21:27:19 GMT
|
Whoah big pics!! sorry about that!! Keefyboy - will be in touch  Sonus - i'm going to try 225/70/14 - so should give me some stretch and make sure I get the clearance I need at the back, as its running 'race' rear leaf springs so sits pretty low. Bondyfnm - i'm going for the original colour vermillion as you can see in my latest pics and all the shiny bits will be black  so going for the orange/black colour scheme... |
| |
Last Edit: Oct 16, 2012 21:38:52 GMT by GavinJ
|
|
|
|
|
Oct 20, 2012 21:21:53 GMT
|
|
Nice one Gavin, This thread never disapoints always top quality work.
Cant fault the colour,my capri will be sumat like aswell.
Keep up the good work,oh yeah nearly forgot the fabrication work on the antitramp kit is propper.
|
| |
MK5 Transit MK1 capri
|
|
task
Part of things
 
Posts: 374
|
|
Oct 21, 2012 20:02:21 GMT
|
So much awesome! Keep it coming  |
| |
|
|
Mike
Part of things
 
Posts: 352
|
|
|
|
the car is looking awesome i must say! i hope those wheels fit on alright for you, what tyres are you planning on running? i spaced out the rear wings by 5 mm and run 185 tyres stretched onto a 245mm wide rim. 9.5? band was going to be 45 inch but i pussied out at the last minite and thankfuly as they are 3.5 inch on them now and they jussstt i mean just fit on, 3-4mm gap between arch and wheel, scrapes constantly tho  cant wait to see this finito!! |
| |
|
|
|
|
|
|
|
Oct 22, 2012 11:26:20 GMT
|
fab project. the amount of detail is superb as are the pics and descriptions. watching with great interest. run 185 tyres stretched onto a 245mm wide rim. the words unsafe and dangerous spring to mind |
| |
|
|
GavinJ
Club Retro Rides Member
MGB 3.9 v8 Sebring
Posts: 927  Club RR Member Number: 209
|
|
Oct 26, 2012 20:16:37 GMT
|
An update, Front suspension all built up and got myself some nice camber  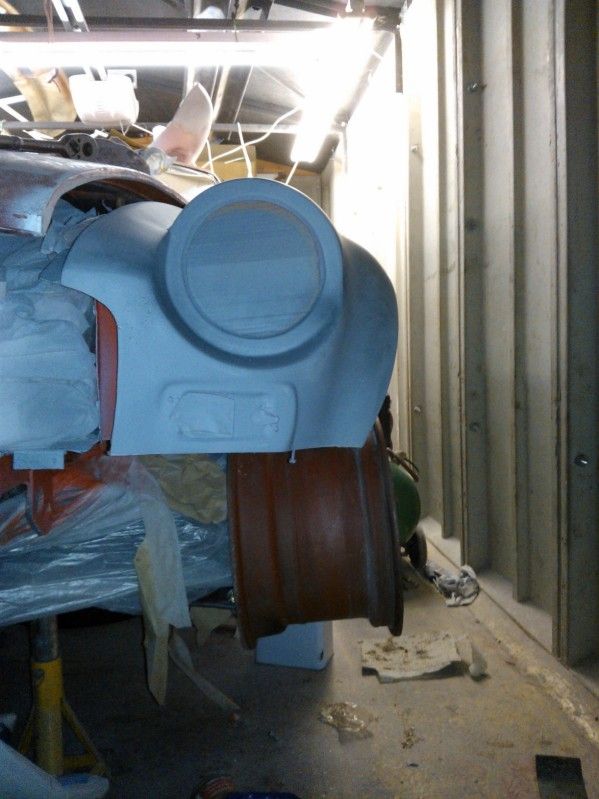 and should tuck in quite nicely, 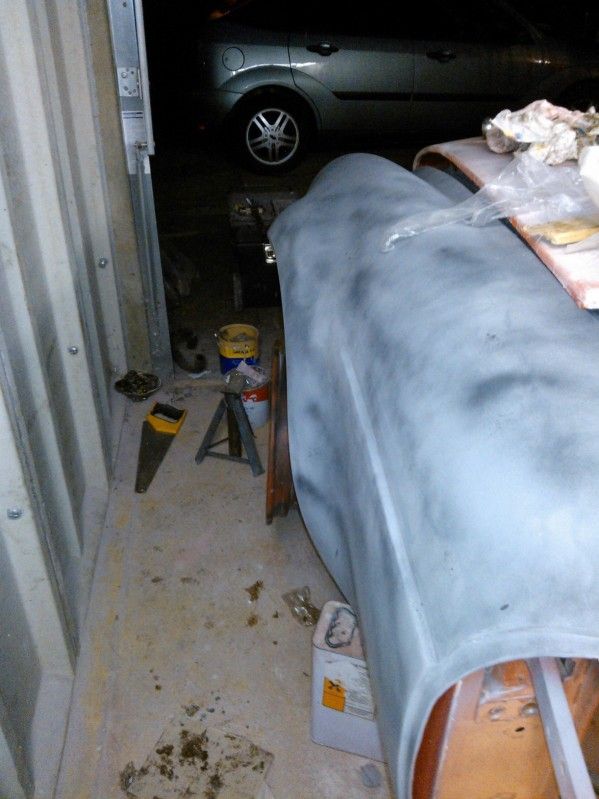 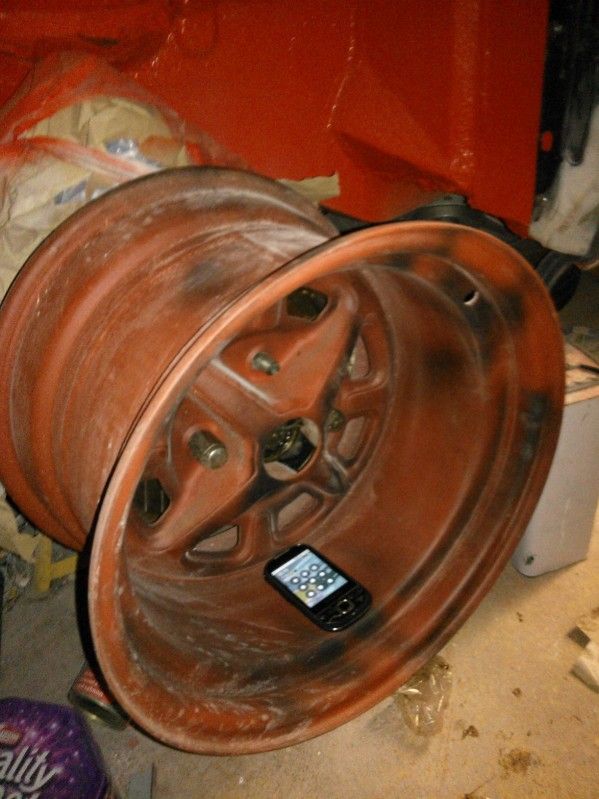 Prepping is getting there but my god it's a slow process! 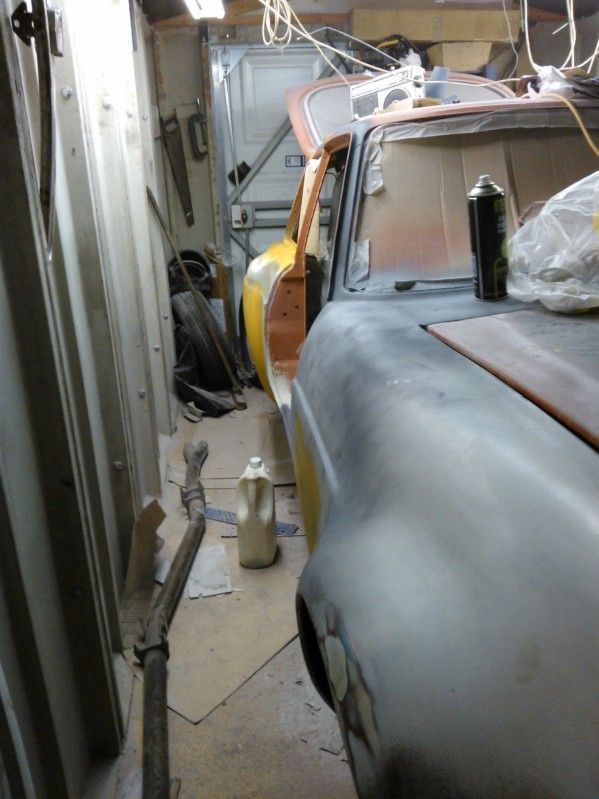 |
| |
|
|
|
|
|
Oct 28, 2012 17:29:06 GMT
|
Whoah big pics!! sorry about that!! Keefyboy - will be in touch  ... cheers Gavin :-) |
| |
|
|
|
|
|
Oct 28, 2012 17:48:34 GMT
|
|
Loving the attention to detail, never knew how involved fitting sebring arches was, now I know, and now I know I don't want to be doing that to mine!
Like where your going anti-tramp wise aswell, need to do similar with mine.
|
| |

'69 MG Midget | '94 200SX S13 RB25DET Project
|
|
GavinJ
Club Retro Rides Member
MGB 3.9 v8 Sebring
Posts: 927  Club RR Member Number: 209
|
|
Oct 28, 2012 20:57:15 GMT
|
Cheers guys really pleased with how its coming along, had a good tidy up of the garage today and even got it on wheels! the originals though as i've got to save my pennies for the tyres on the banded rims + i'm still debating tyre sizes, thinking either 225's or 215's at a push!? Here's a better pic of the front end, i'm really happy with the width at the front, they should tuck in nice although I may need to change the front springs to get it sitting how I want it, but really need to get some tyres on banded rims before I can tell for sure. 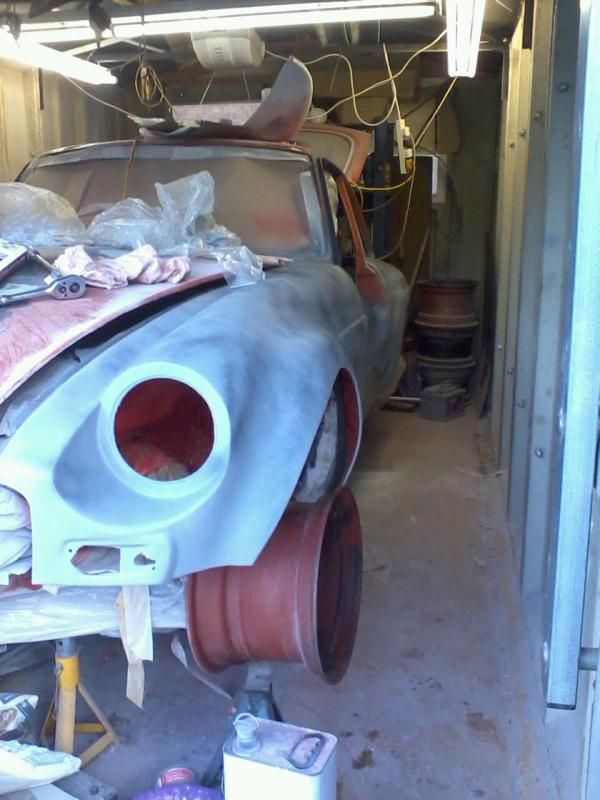 Valence just wedged in place for piccy, 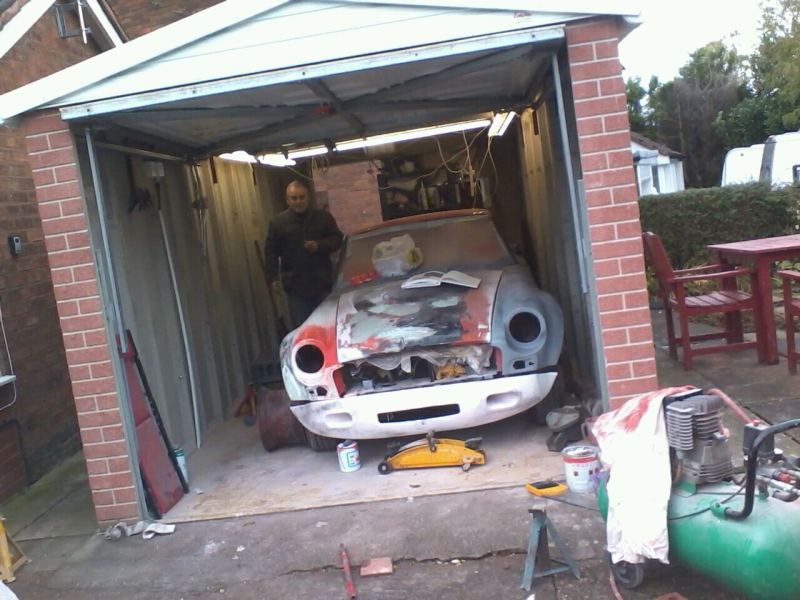 Hoping for some big progress this week. |
| |
Last Edit: Oct 28, 2012 21:20:04 GMT by GavinJ
|
|
|
|
|
Oct 28, 2012 22:12:16 GMT
|
|
A 225 on a 10+1/4" rim will be stretched like mad, hell, a 225 on a 9J will have minor stretch.
the "correct" size for a 10J would be 255 or 265, then again most 14" tyres are quite bulgy (unless ive missed it and your a winner and have 15" rostyles somehow?)
|
| |

'69 MG Midget | '94 200SX S13 RB25DET Project
|
|
GavinJ
Club Retro Rides Member
MGB 3.9 v8 Sebring
Posts: 927  Club RR Member Number: 209
|
|
Oct 28, 2012 22:20:54 GMT
|
They are 14", but from various googling etc it seems 225 is feasible and to be honest i'm going to need a fair bit of stretch on the rear. Ive been looking at this website that is a gallery of stretched tyres categorised by rim size and tyre size www.tyrestretch.comThis is a 225/40 tyre on a 10j rim,  When I had them banded I had two 10" and two 10 1/4" so if needs be I can put the narrower rims on the back as I can get away with a bit more at the front, plus visually I don't think youd notice 1/4". |
| |
Last Edit: Oct 28, 2012 22:32:08 GMT by GavinJ
|
|
GavinJ
Club Retro Rides Member
MGB 3.9 v8 Sebring
Posts: 927  Club RR Member Number: 209
|
|
Nov 29, 2012 20:16:00 GMT
|
Bit of a mini update really, not alot to look at but we have been spending alot of time getting the front wings prepped because as you can imagine due to the original poor fitment and all the cutting and slicing its created alot of prep! Here's some pics of it in high build and ready to be dusted in black and then flatted off, high build again etc.... 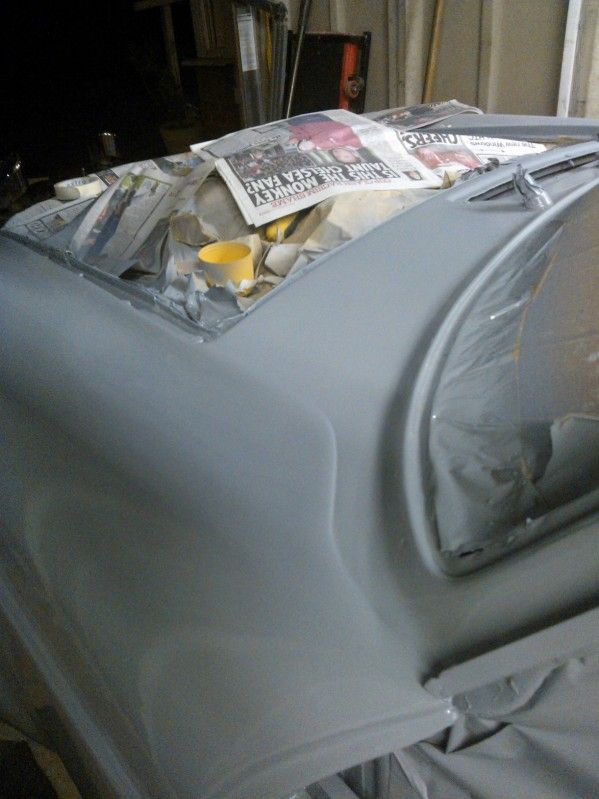   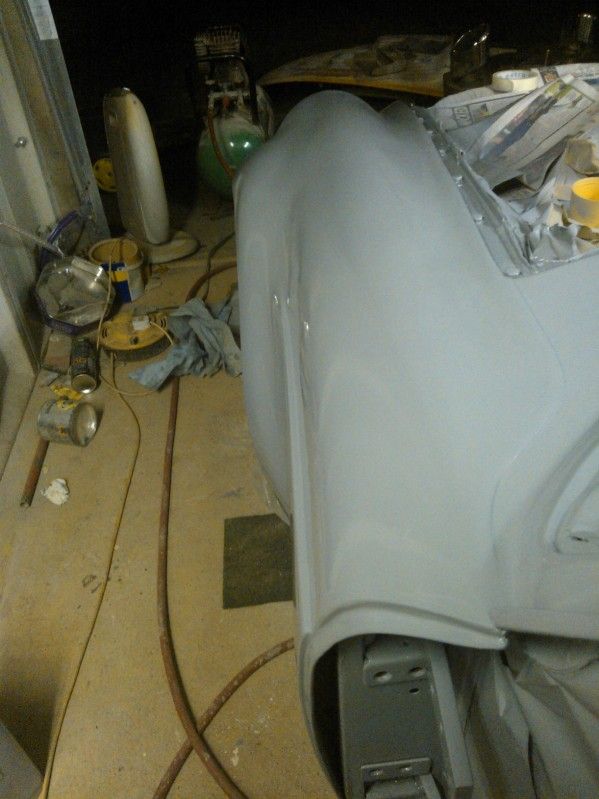 Rear Wing/door shut, 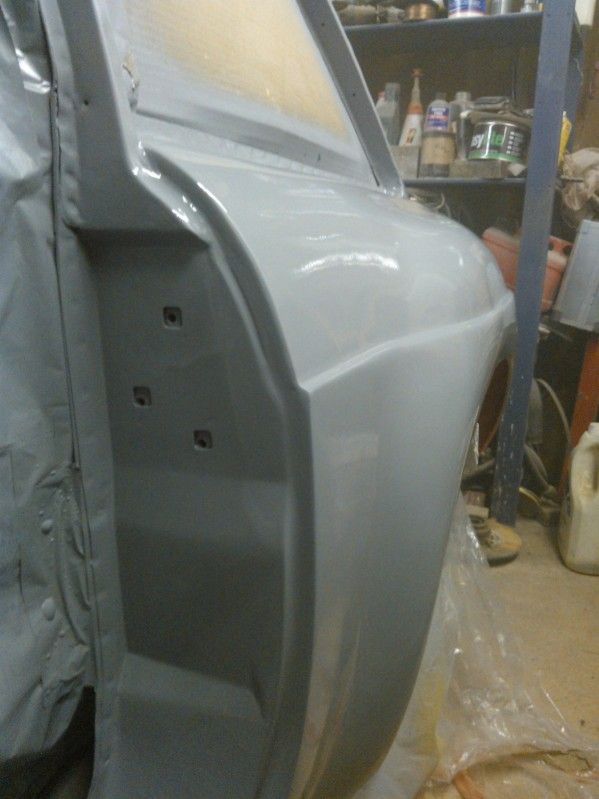 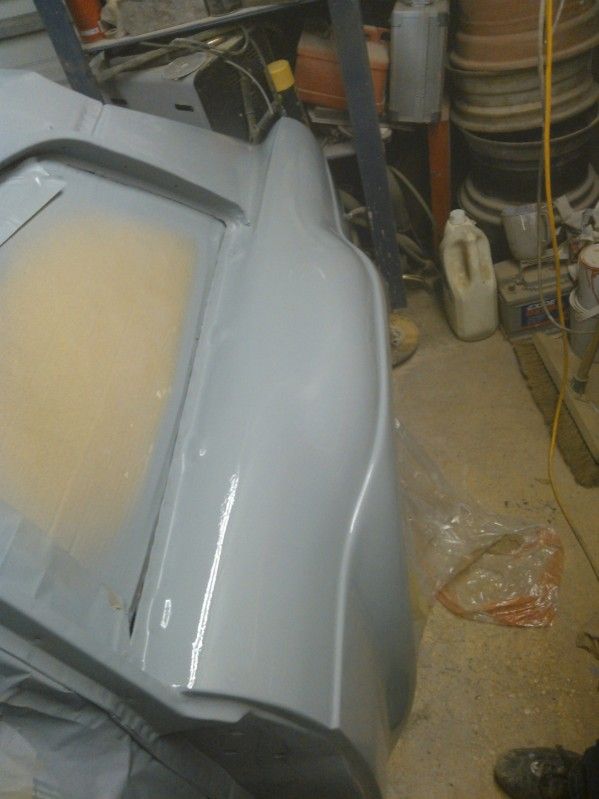 Really pleased with how we are getting on considering both me or my dad have minimal bodywork or fibreglass experience, although it is starting to get incredibly frustrating and the temptation to rush it is immense, but were determined to get as best DIY finish as possible. |
| |
Last Edit: Nov 29, 2012 20:22:37 GMT by GavinJ
|
|
luckygti
Posted a lot
   I need to try harder!
Posts: 4,912
|
|
Nov 29, 2012 21:10:10 GMT
|
Starting to really come together, and the prep will be worth it in the end I'm sure. Wheels look like they will be the perfect fit as well, any tyres yet  |
| |
|
|
|
|
|
|
|
Really getting there now  , makes a real difference to a project getting it all in one colour, even if it's primer. Recon you may need to look at American tyres for those size wheels. Back in the 90's i had a 74 Firebird with 10x14" Keystone five spokes on the rear, had meaty Kelly Supercharger tyres on, tyres were so wide they bulged out past the rims, doubt a 14" tyre like that is available these days (not a tyre with such a cool name anyway  ) |
| |
72 Pontiac Firebird Formula 400. 95 BMW E34 525i Manual. 80 Lotus Elite, sold  86 Mk4 Escort RWD V8, sold  |
|
|
|


 ) this also allows easy fitment of the anti tramp bar, for this we followed a guide from a v8 conversion book I have.




 )
) 