|
|
|
Apr 24, 2011 21:13:45 GMT
|
Some of you know me and how my head works, so nothing in this thread should come as a surprise. This will be a slower thread than many of my other builds etc..... as I am going do stuff differently. Today we did a bootfair and I got lovely chimney pot for £15, not a bad price in my view, even though I would have loved a CROWN one, or something a bit different. When we got home thought I would start by laying out the space. I have 2.8meter by 1.8meter to play with, which will include a small decked area in front of the BBQ, joined up on the level of the lower step of the deck on the right of the pic. 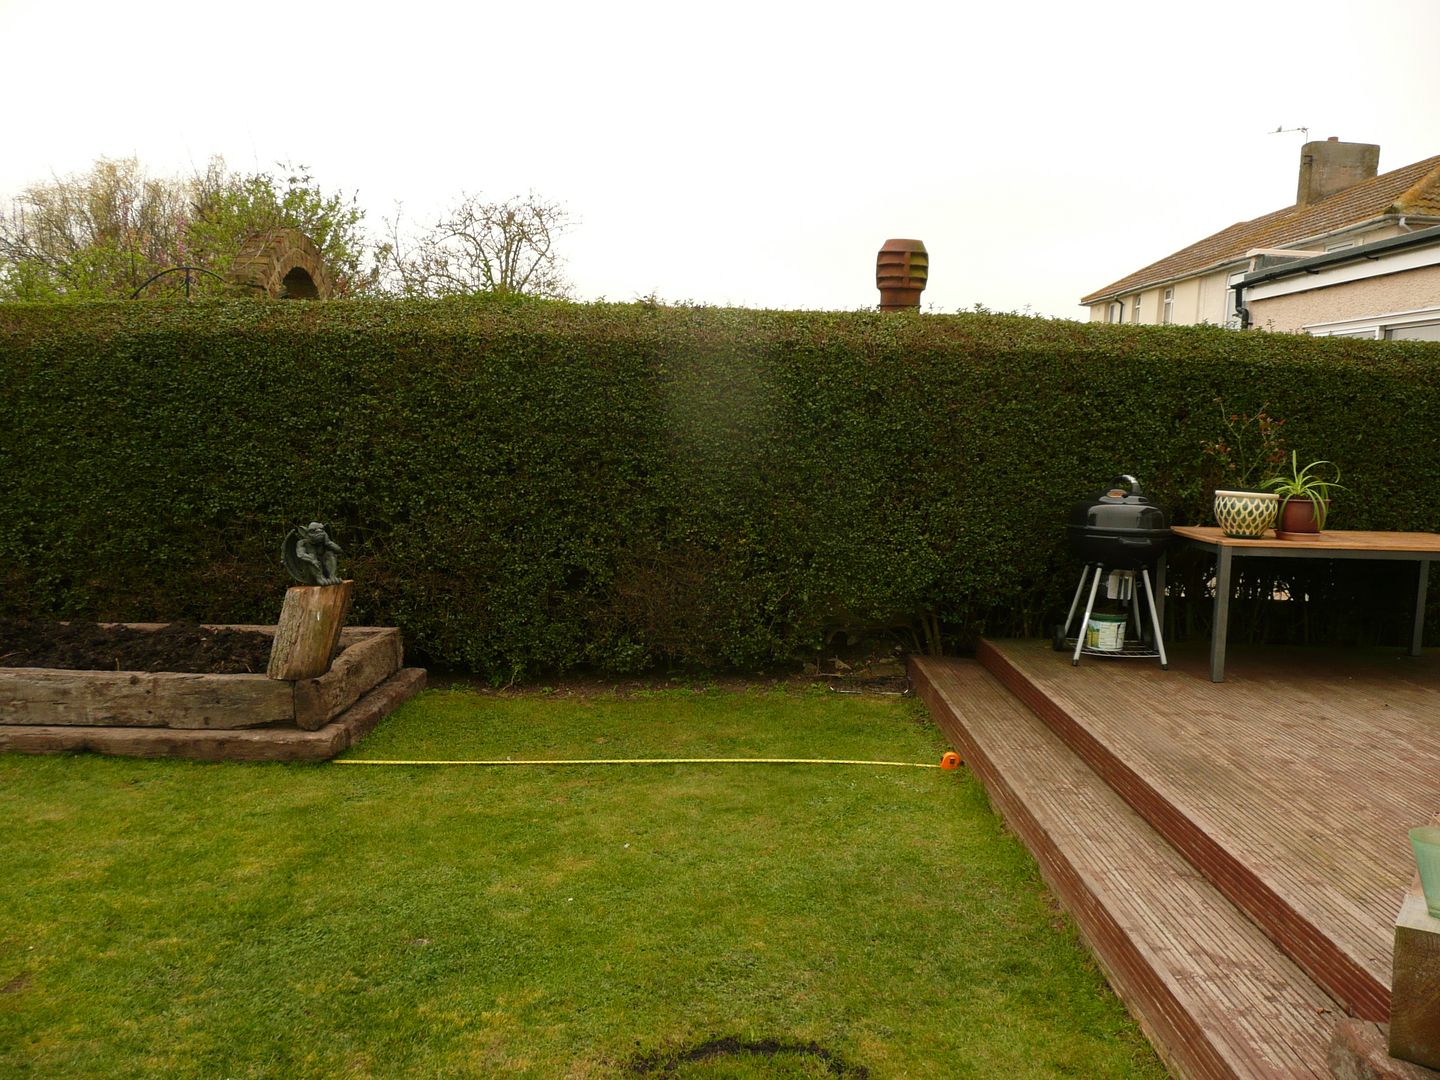 Once I had set out the pins, my neighbour Mickey came around to check up on me , and the give advice. He also offered me a 11foot by 12 inch strip of steel which is about 5/8th of an inch thick. It took the two of us to carry it to my place. I cut two 1 meter sections off it, and also used some of the angle iron rescued from the frame of the trailer I used to build the Grizz-Pod to be butt welded 50mm on each side, this tray will form the floor of the BBQ under the chimney. 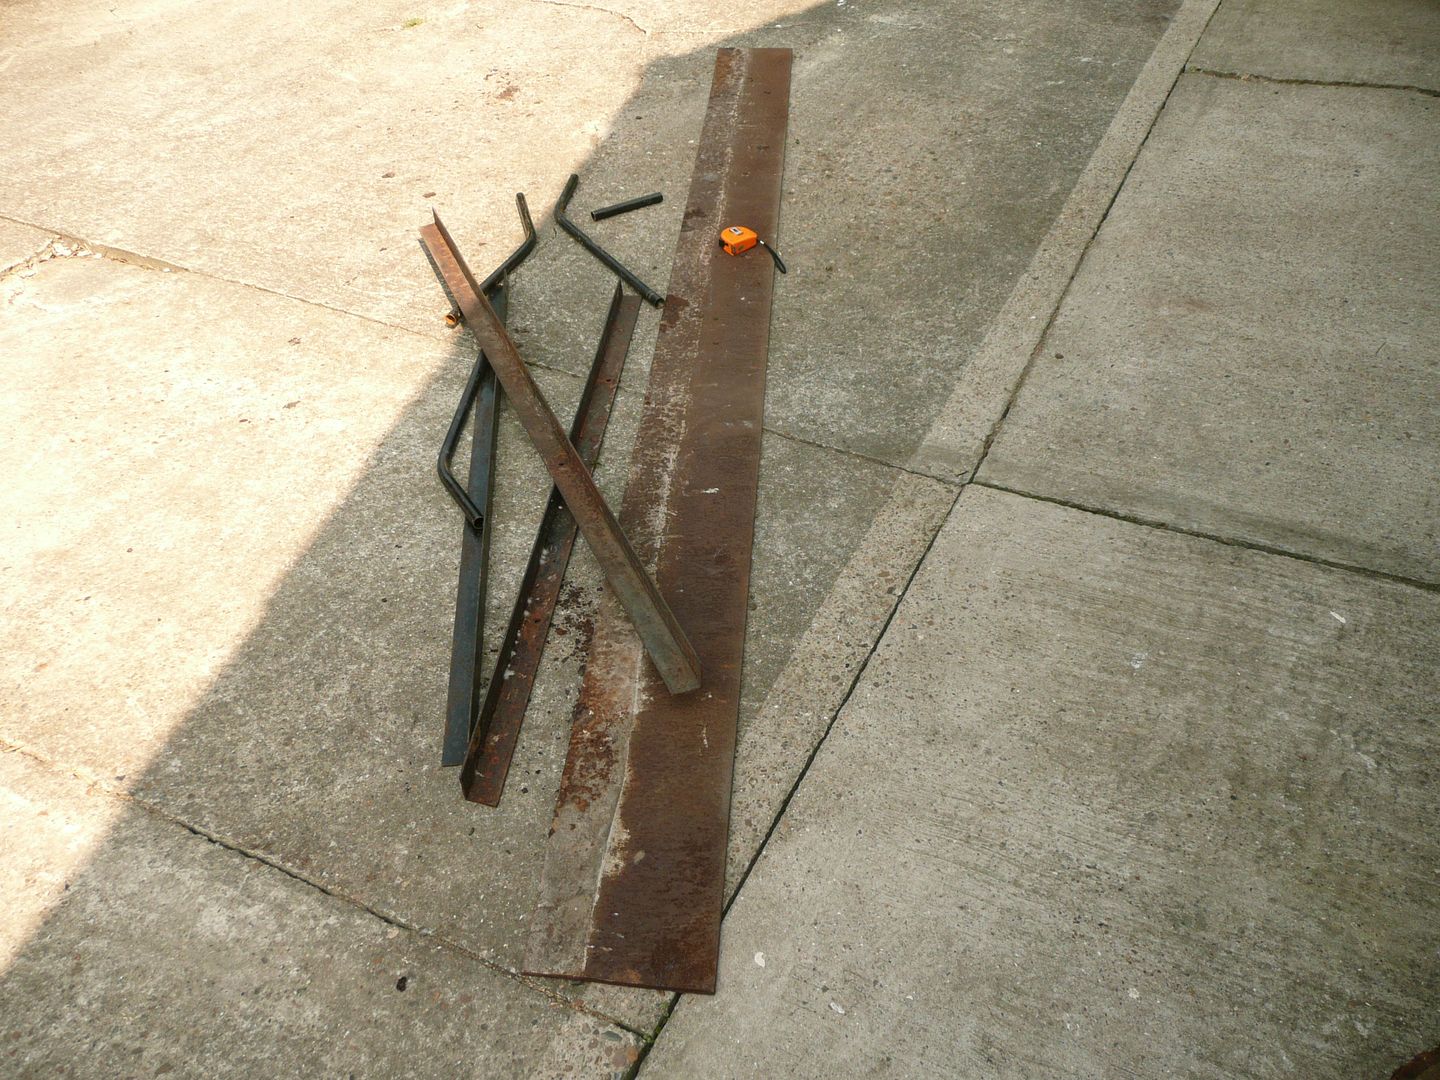 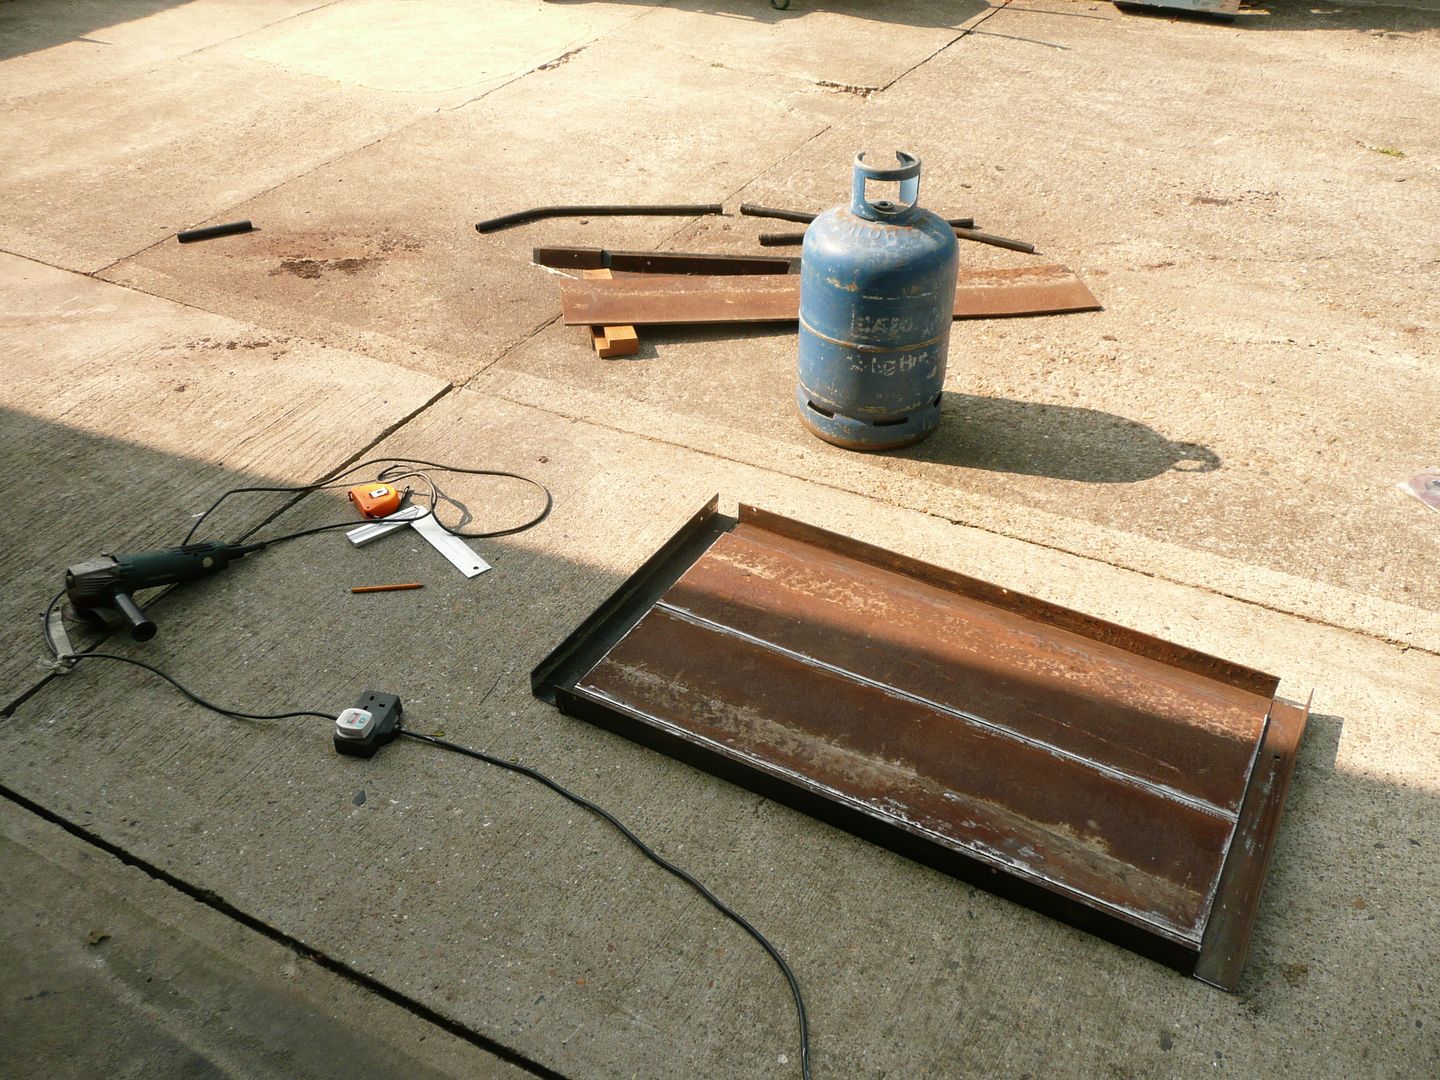 While I was at the cutting phase I thought it sensible to start making the oven I plan to build in as well..... I drew up the lines and then cut all of them leaving about 2mm in each corner so that I could weld hinges and catches in place. 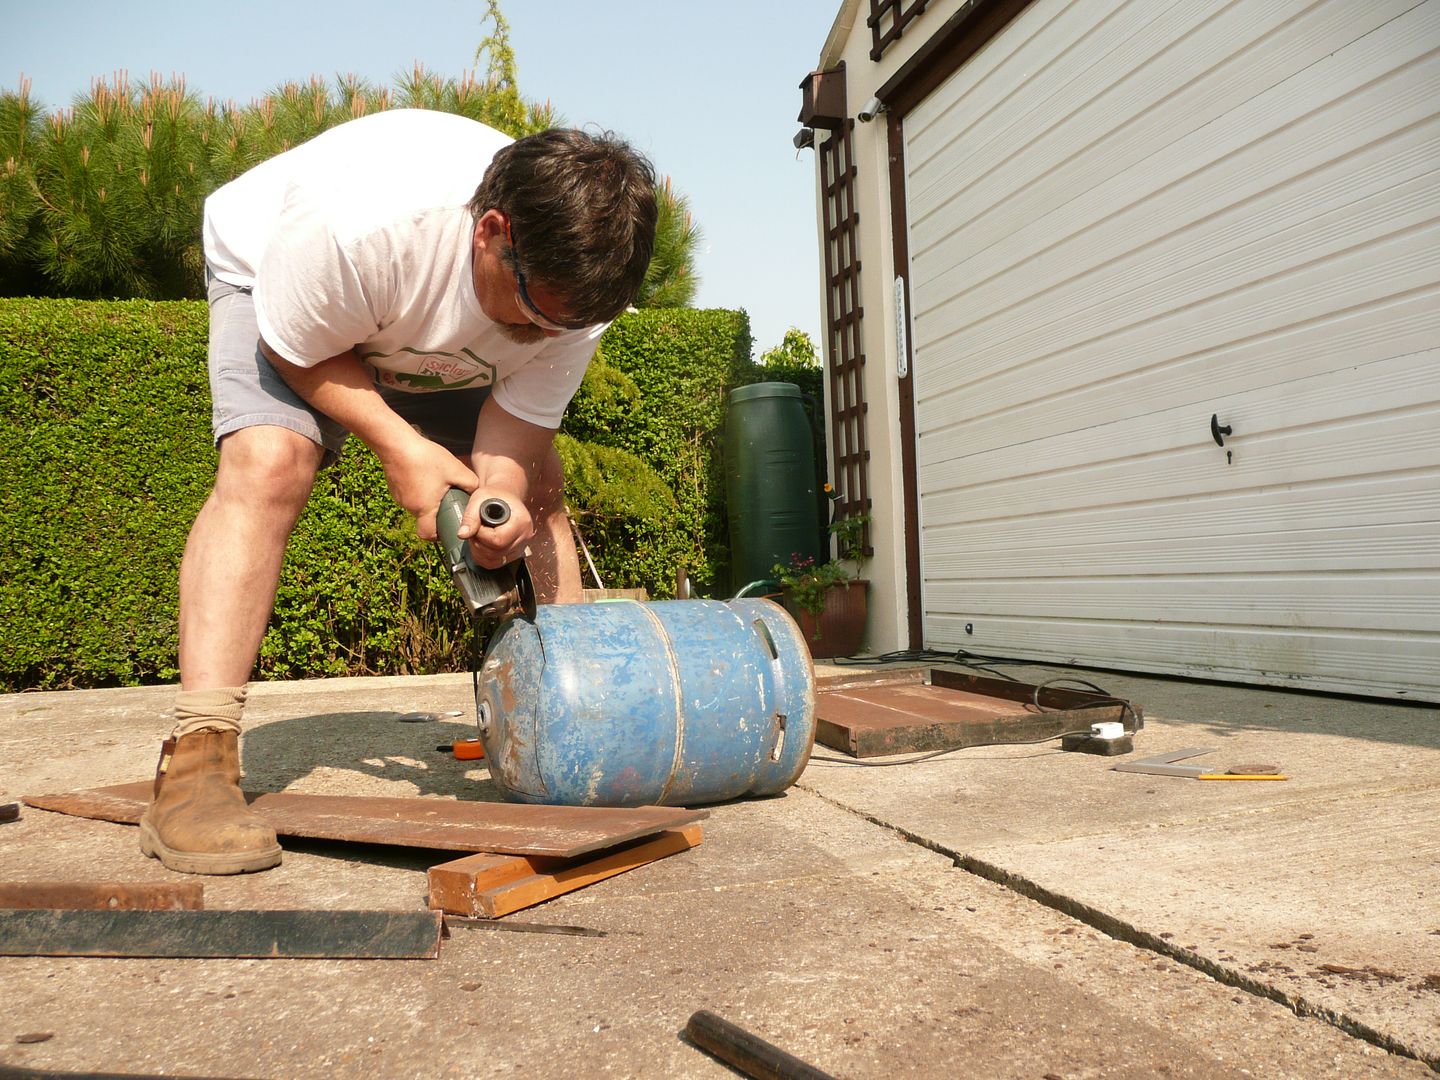 One of the items I picked up on a tip visit... a Ball Pein hammer was going to be the handle. 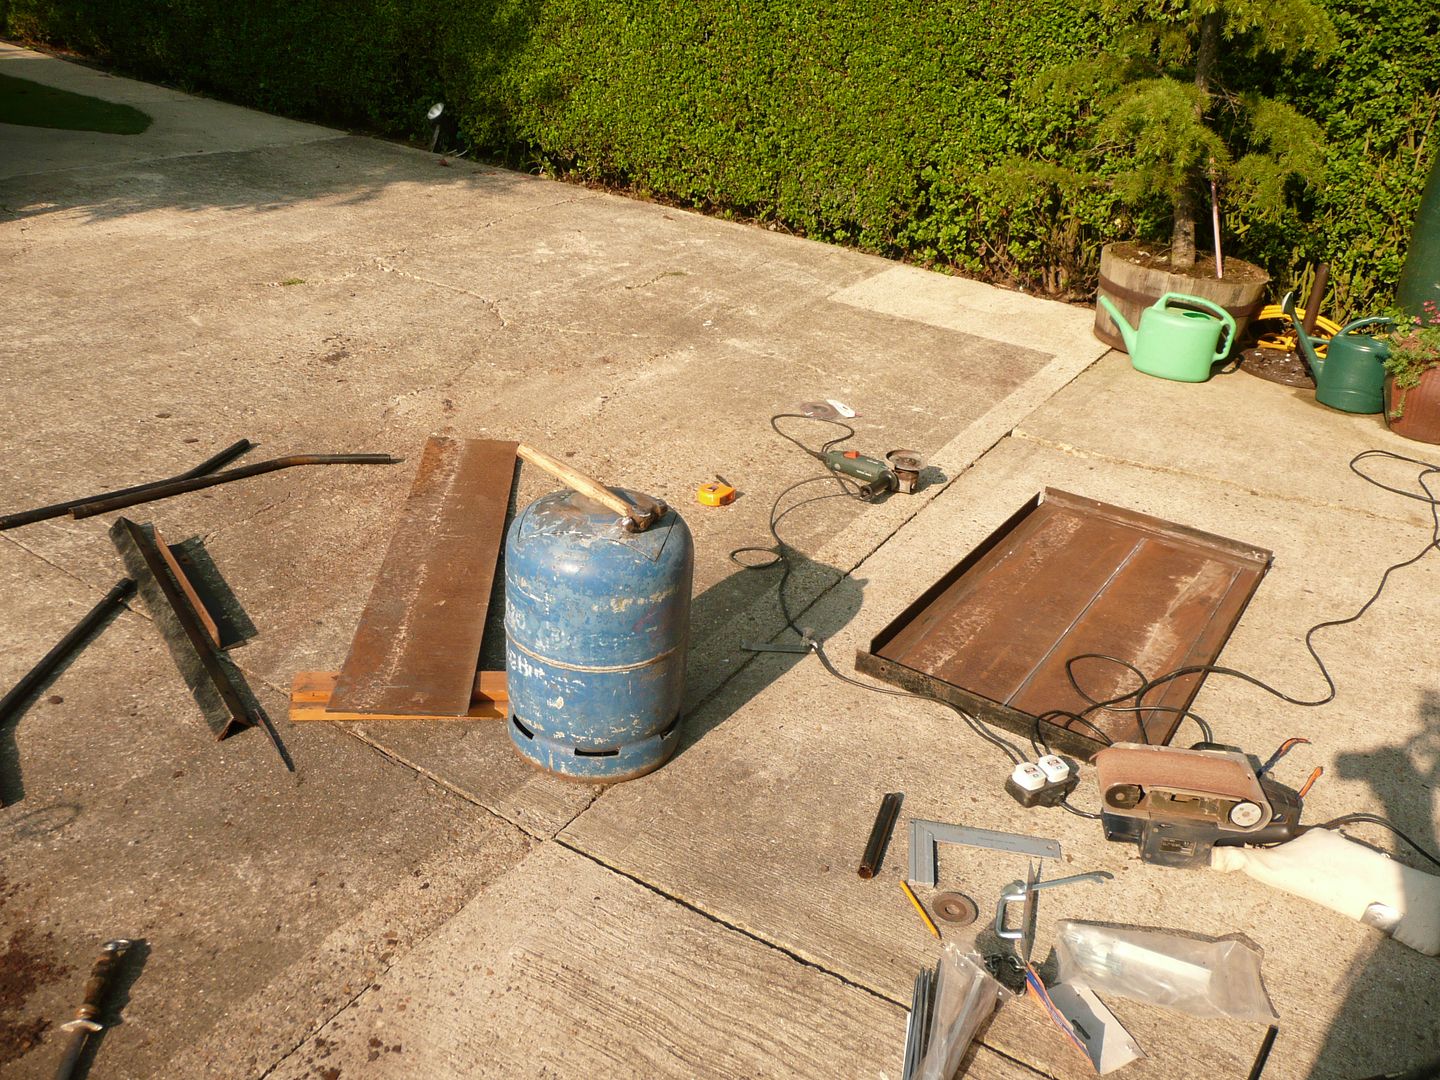 At this point, Mickey came around to "Help" me..... he donated the hinge, which I had planned on making from scratch. Once all the welding is done, I will grind the lot down neatly, and paint the part that will be sticking out the brickwork with stove black enamel. 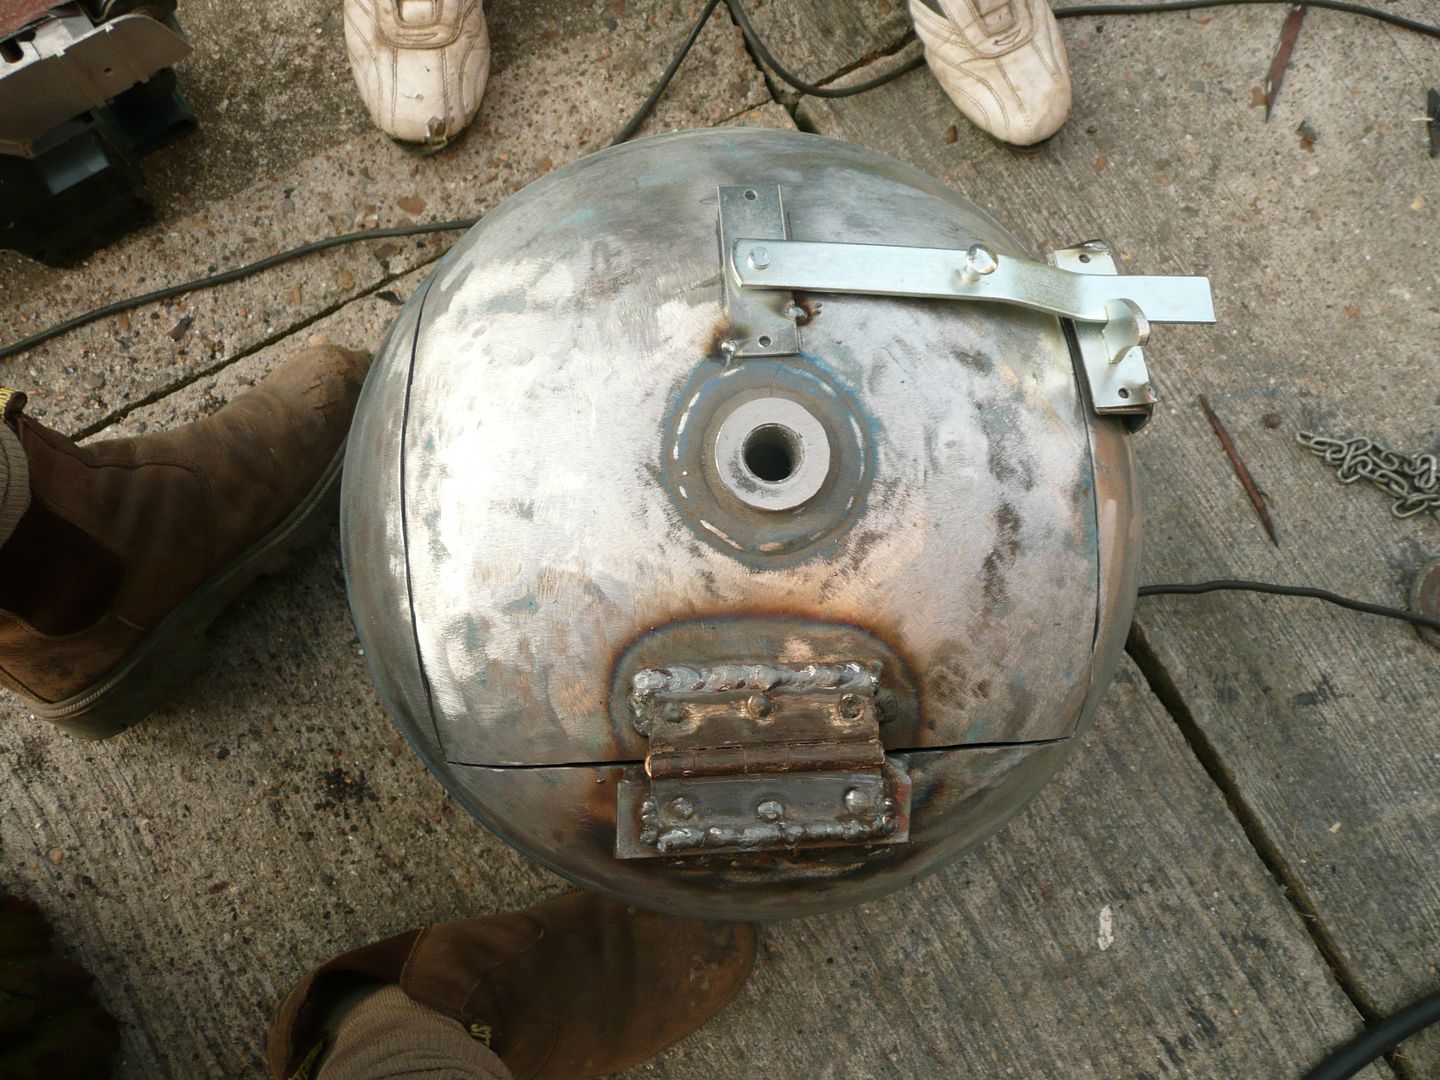 Hammer handle in position. 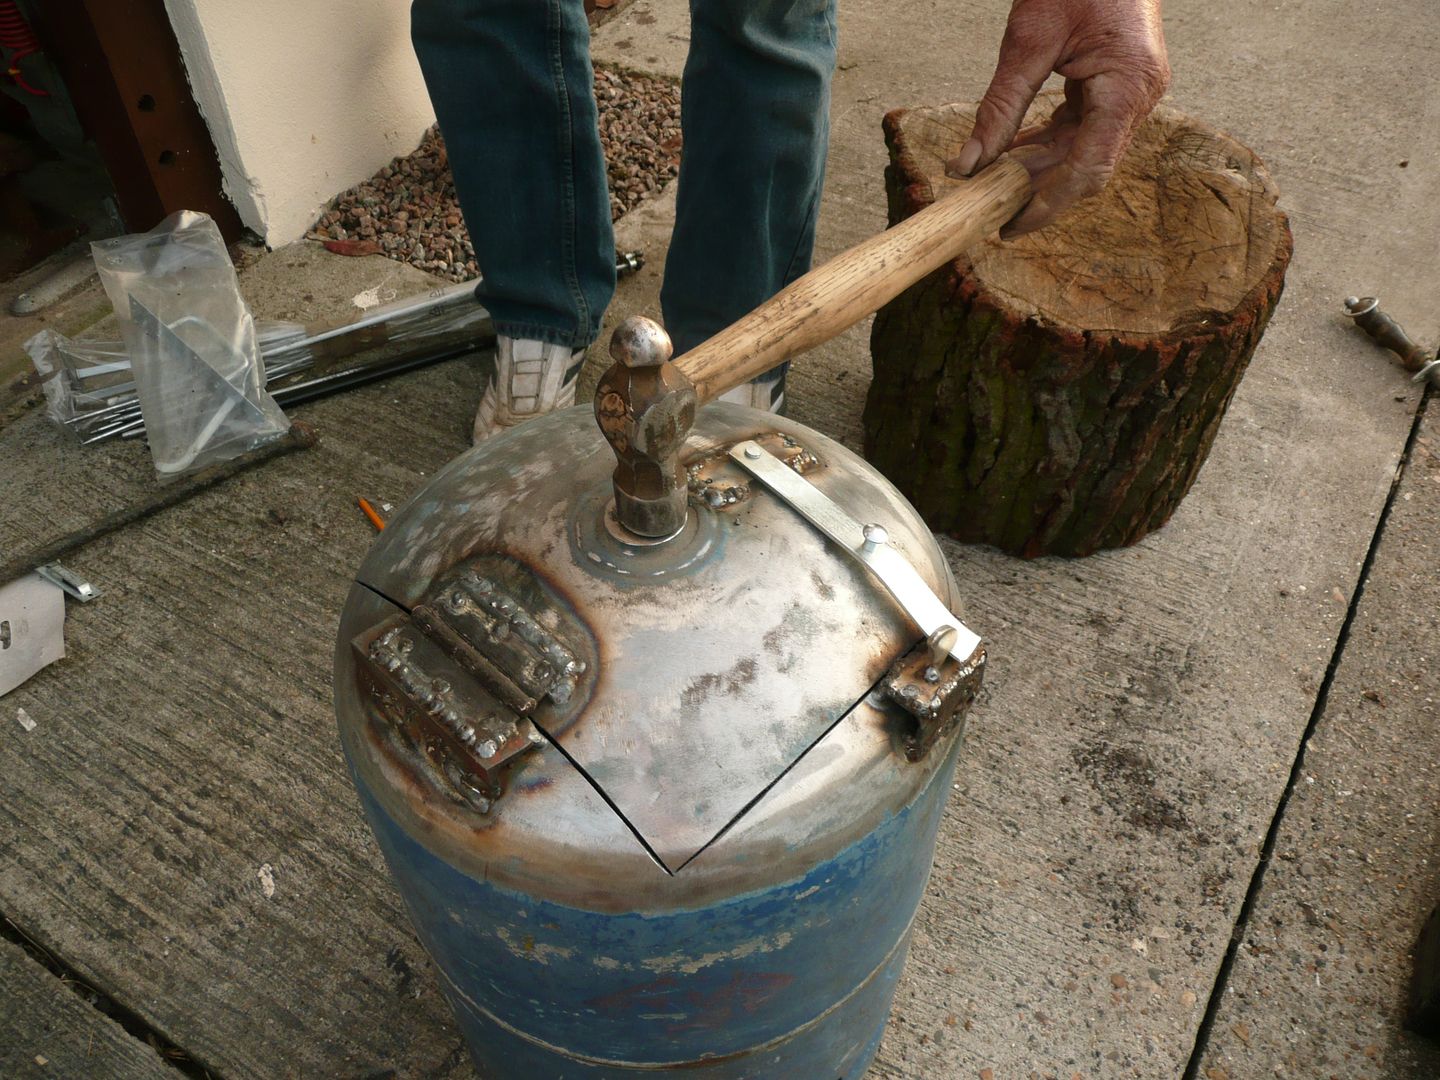 And glued on. 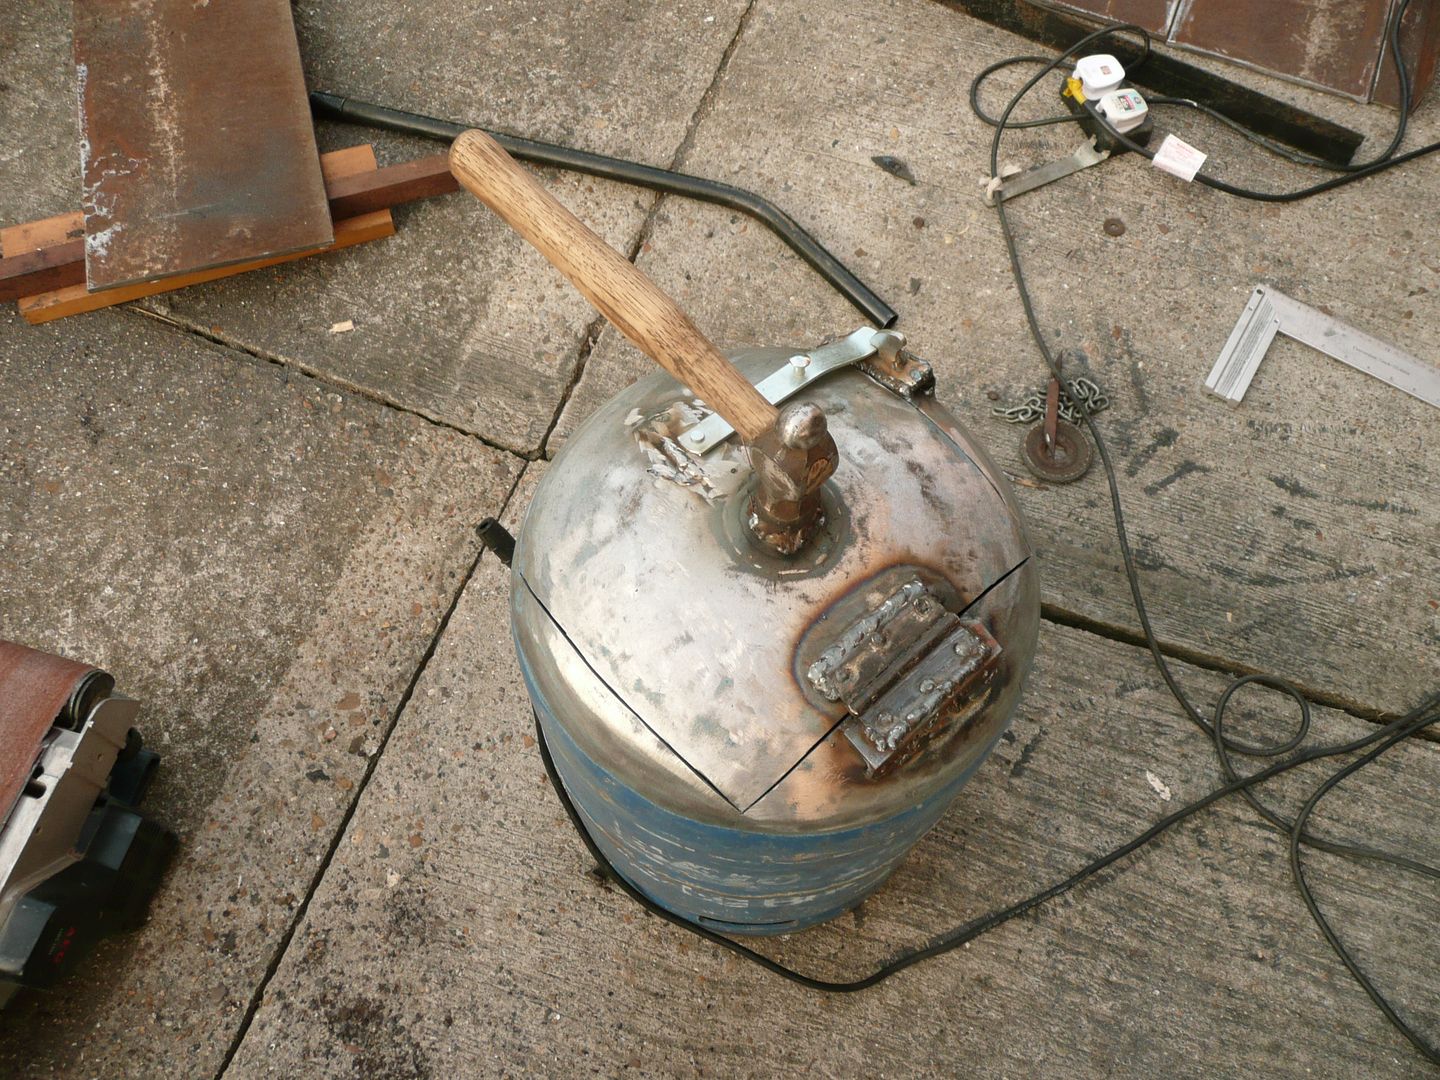 Mickey is a lot like me, loves a bargain, always looking for stuff to fix and runs his own transport company, so loads of house clearances and various other good jobs. He is the guy who gave me the Makita chop saw last week as well. Here he is posing like a proud father with the oven door in open position. I still need to get some oven/cooker grill to cut to fit inside for the pans or meat dish to sit on when using the BBQ. I also have to weld support sections to the sides, so that the whole lot can be bricked in, in suspended position, above the coals that will be pushed in underneath the oven from the BBQ side. 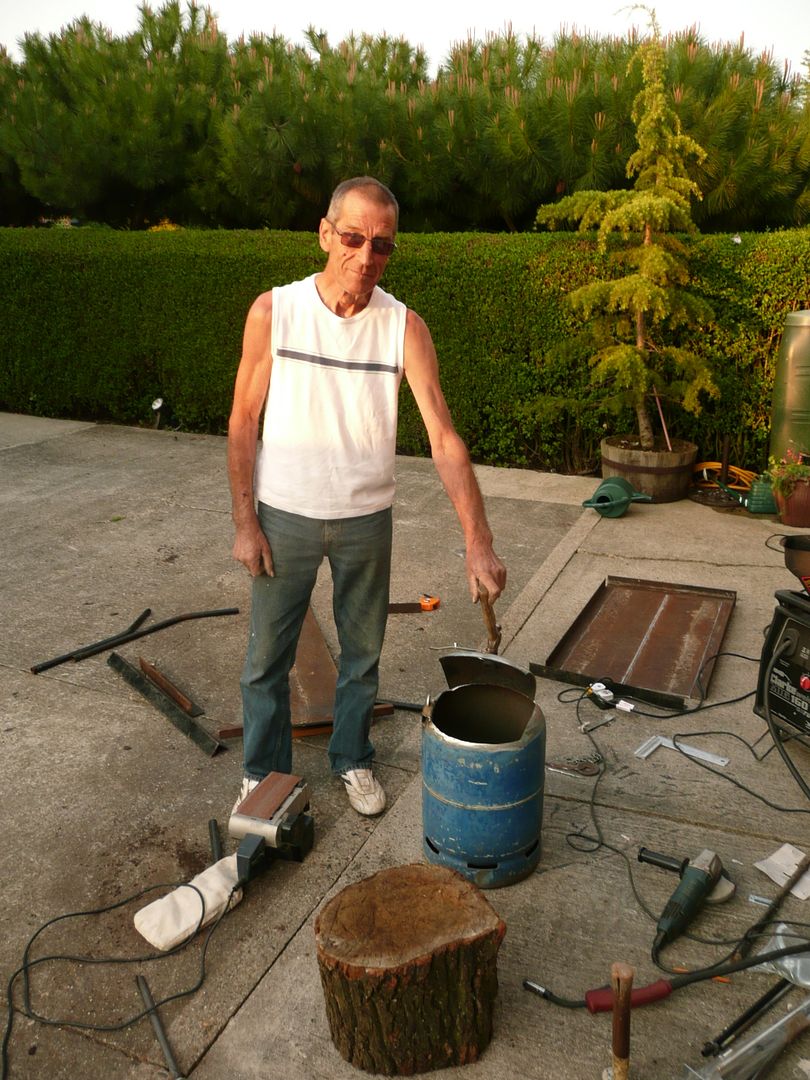 Once all the welding is done, including a retaining chain for the door, I will grind down and smooth all the edges, and fit the floor to the unit, I also need to make a lot of fire in the unit to burn away the potential taste of gas. 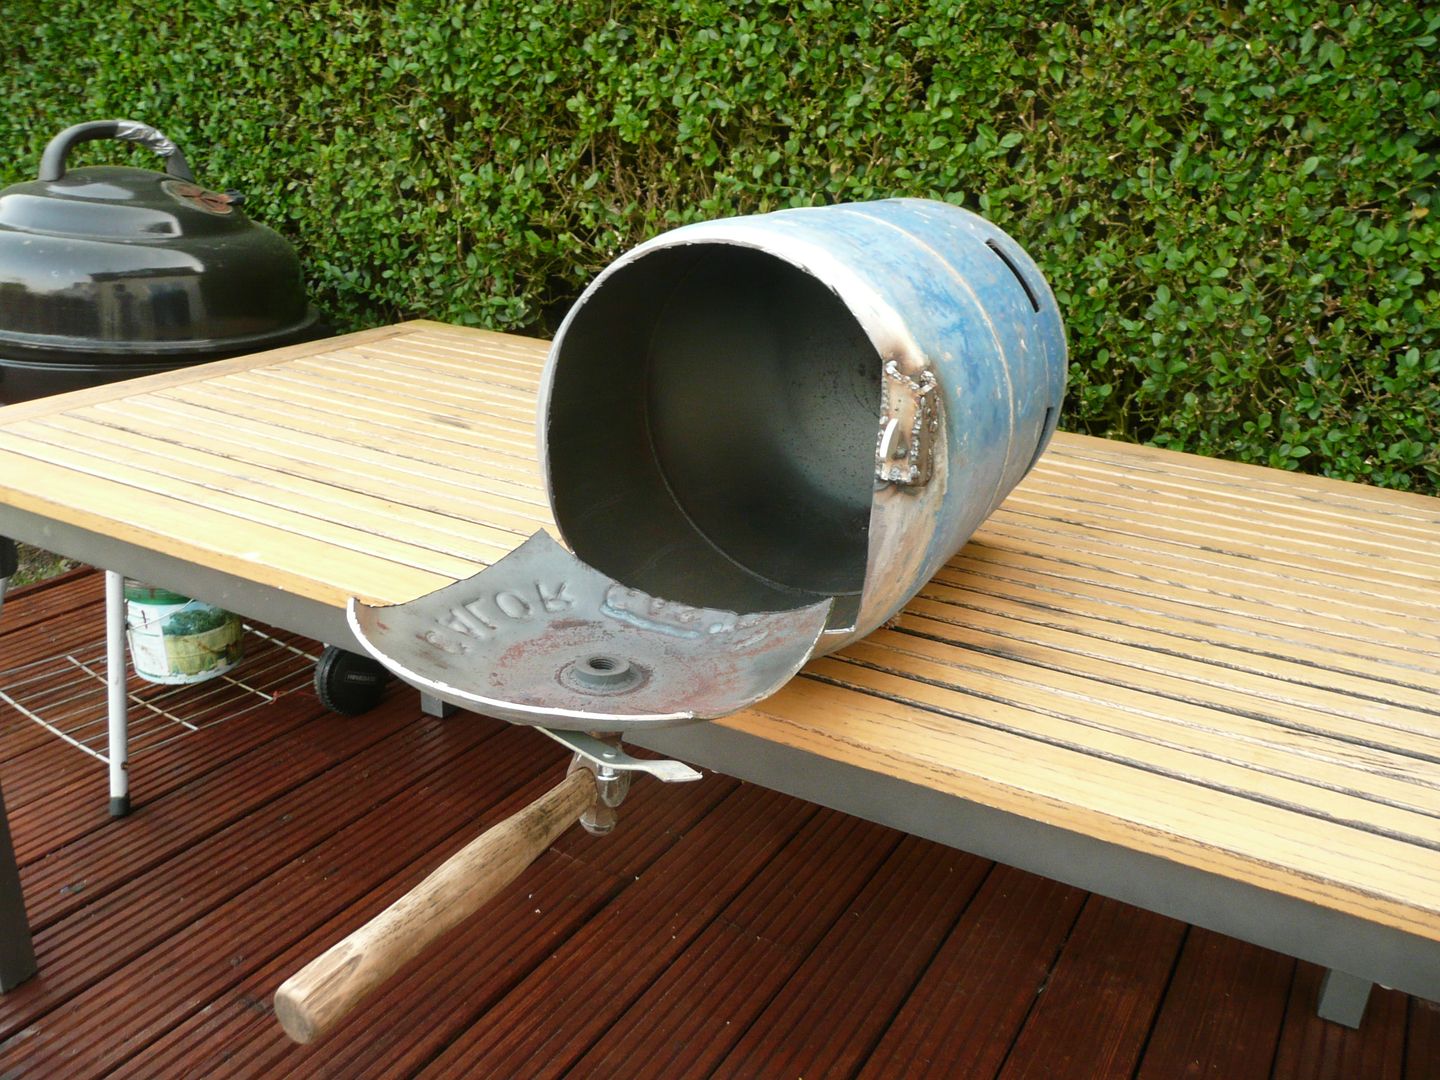 Next up the supports, then prepare the area where the foundations are going down, and build the timber frame and doors for the storage space below the concrete slab. This is a mock up, out of scale, but just to get the perspective of what goes where. I drew a pic over a photo, the cut it out, copied the pic with the blank in place, then drew in what I wanted.... does that make sense. Oh, should have mentioned before, happy with any advice or tips on the whole build. 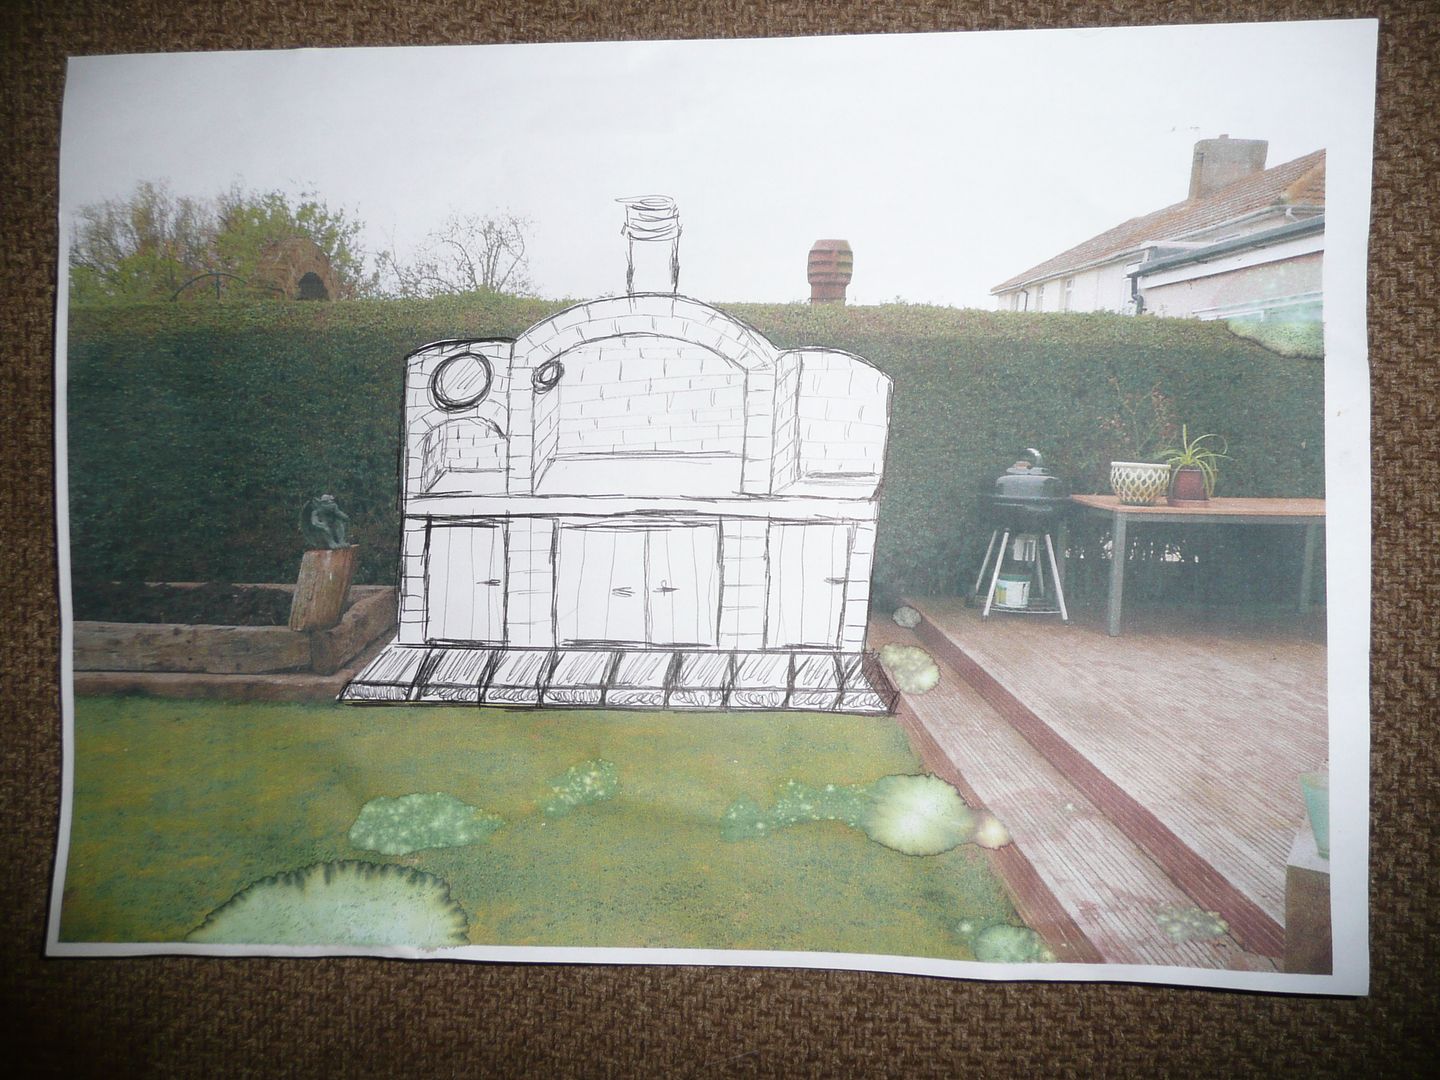 |
| |
Last Edit: Mar 23, 2015 16:49:38 GMT by grizz
|
|
|
|
|
|
|
Apr 24, 2011 21:25:49 GMT
|
Getting more professional when grinding I see (no sandals  ) Nice to see a proper BBQ though, as most people around here have a £19.95 metal thing on a tripod from B&Q  |
| |
1939 Francis Barnett Powerbike
1971 Honda C90
1992 Mitsubishi Lancer 1.5 GLX
1993 Fiat Panda Selecta
2003 Vauxhall Combo 1.7DI van
|
|
|
|
|
Apr 24, 2011 21:28:00 GMT
|
Just to add, imagine now that cleaned and painted deck, as well as the water feature and plants growing all in the back ground to your BBQ. 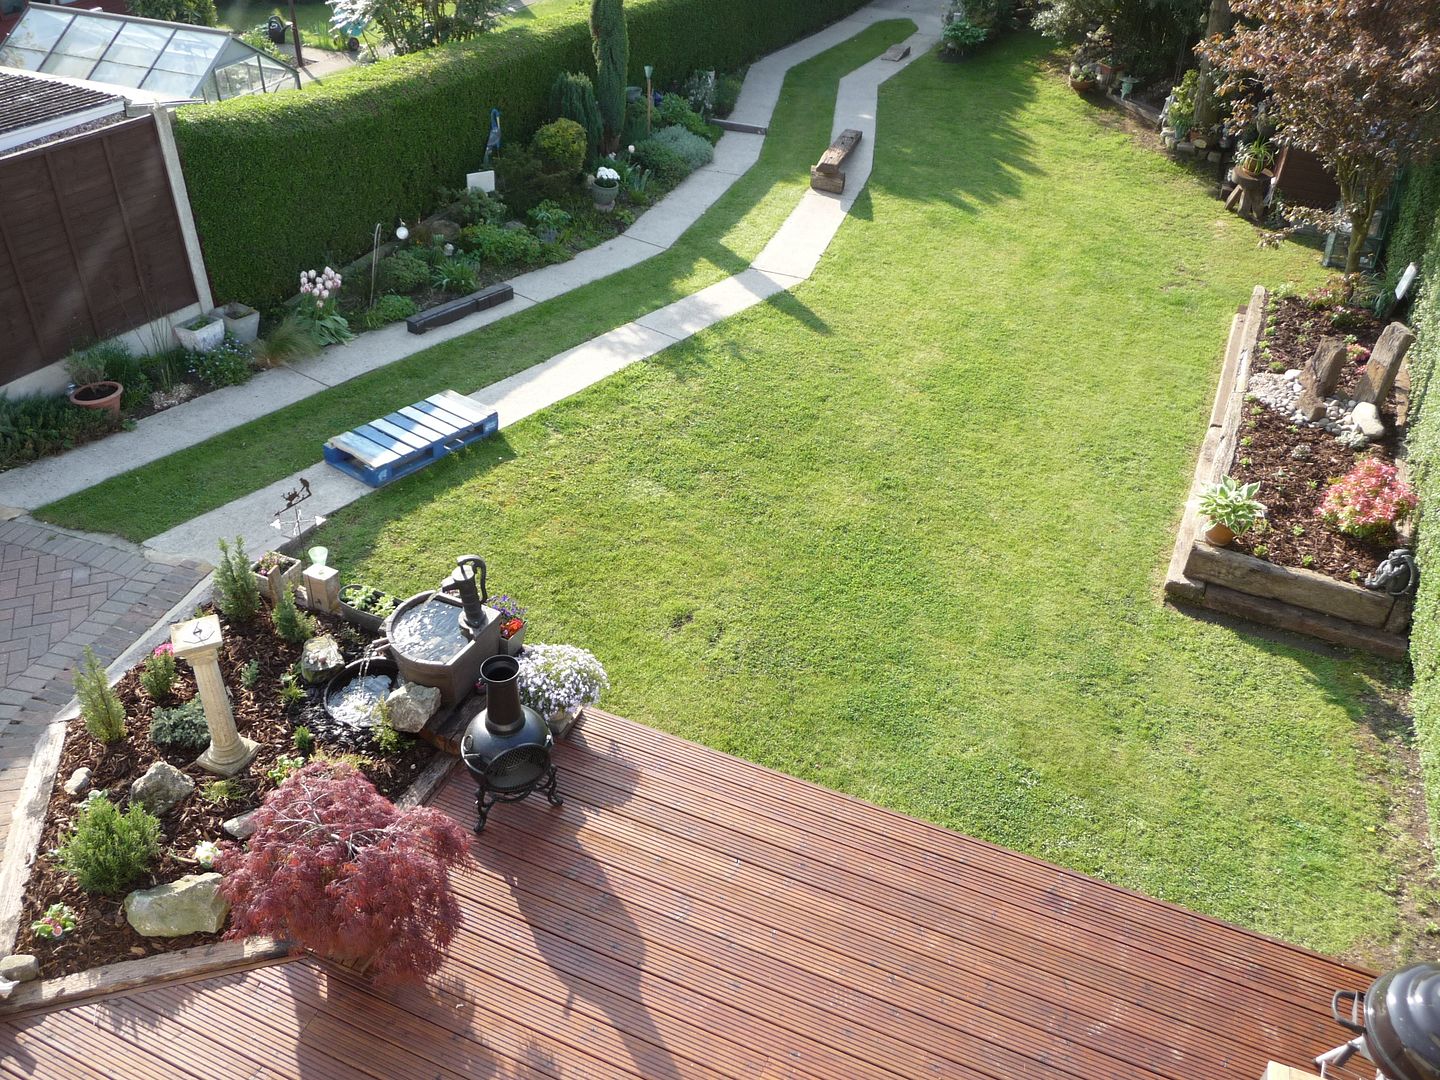 |
| |
Last Edit: May 29, 2011 17:31:29 GMT by grizz
|
|
|
|
|
Apr 24, 2011 22:06:56 GMT
|
WOW give me your garden  thats garden to lust for :L |
| |
Nobody dies a virgin, because lifes curse word us ALL
|
|
kabman
Part of things
 
Posts: 348 
|
|
|
|
Now that's going to be a SERIOUS bbq ! Has next door got something similar? I'm going on the chimney pot sticking up. For inspiration, here's a pic of the barbeque at a villa we rented in Greece. Room for a buffalo on the grill. That's my Dad firing up the oven. I think he overdid it with the wood - it would cook a pizza in about 15 seconds  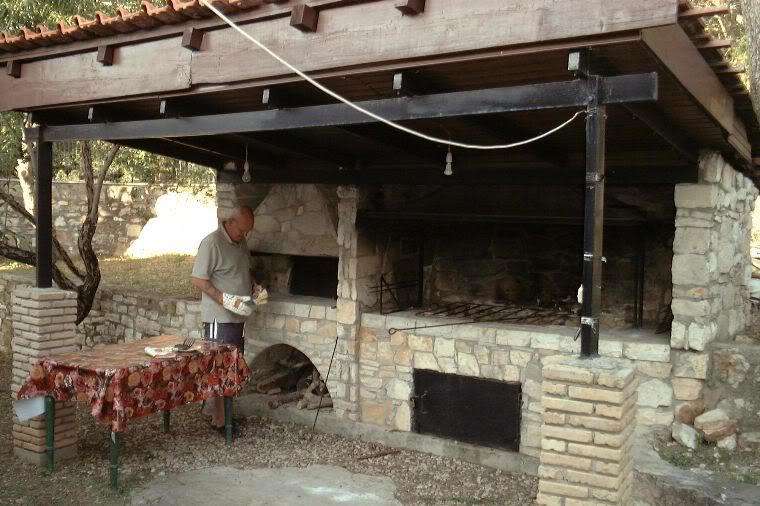 |
| |
|
|
|
|
|
|
|
|
Hi Kabman, yes, well spotted, next door has a similar BBQ, just smaller than mine, that is Mickey's place.
He however has gone over to the dark side and bought a gas BBQ, also mainly BBQ's burgers and some pork sausages.
Mine is a bit more ambitious, but not as nice as the one in the pic you posted of your dad.
|
| |
|
|
|
|
|
Apr 25, 2011 18:16:44 GMT
|
|
Haha, it must be the weather, but I have also just embarked on, what I like to call, my 'manly outside multipurpose range cooker'. The name does need some work I admit.
I went to fire up the gas BBQ for the first time and relised that 1) the gas bottle was empty and 2) tin worm has been hard at work on the vital inner workings (despite being under cover). I also decided that I was slightly less of a man for not cooking on fire (Gutteral grunt).
I see a bbq rack bit and an oven. What other 'features' will it have?
I have been a bit ambitious an tried to combine an oven, pizza oven, rotissary, smoker and BBQ that can run on either charcoal or wood into one unit. Granted it won't be able to do all of that at one, but should be sweet. It is half up.. build thread sooon.
Lewis
|
| |
|
|
skinnylew
Club Retro Rides Member
Posts: 5,708
Club RR Member Number: 11
|
|
Apr 25, 2011 23:51:09 GMT
|
excellent work and brilliant vision as per usual Rian  |
| |
|
|
|
|
|
|
|
|
Lewis, I had originally planned on doing a pizza oven too, as it is multipurpose, but decided that the overall agravation of building it vs benefit ratio, did not compute.
I spent a few hours yesterday with grinder and a file smoothing every edge so that you can run your fingers everywhere without amputating them.
Next up I started welding together the strips of steel until my welders wire feed (trigger electrics I suspect) stopped working.... have about 200mm left of 3meters worth.
I was being a clever dick when welding and did so in shorts, so today my one arm and part of my chest is sore and red from the heat..... not very clever now ehhh ?
Anyway, the oven will be basic in use, mainly heating stuff, and also to try bake bread in it.
|
| |
|
|
|
|
|
|
|
excellent work and brilliant vision as per usual Rian  Thanks Mate, I think the vision comes from having too much time on my hands. ;D |
| |
|
|
|
|
|
|
|
|
|
|
looks good, and it's an added bonus with your great new place to have a great neighbour 8)
just one Q, how high would the stack have to be to be sure the smoke gets well away?
|
| |
|
|
|
|
|
Apr 26, 2011 10:00:10 GMT
|
looks good, and it's an added bonus with your great new place to have a great neighbour 8) just one Q, how high would the stack have to be to be sure the smoke gets well away? Not sure about height, but I do know there is a ratio for smoke updraught, and also cubic meterage of actual ovens to make them work. Here is a pic of the other side of the hedge, Mick cut his shorter after building it, as it looked crappo, but he says he lost some of the draughting. I will approach it a bit more scientiffically...... make a fire and then add bricks till it works ;D 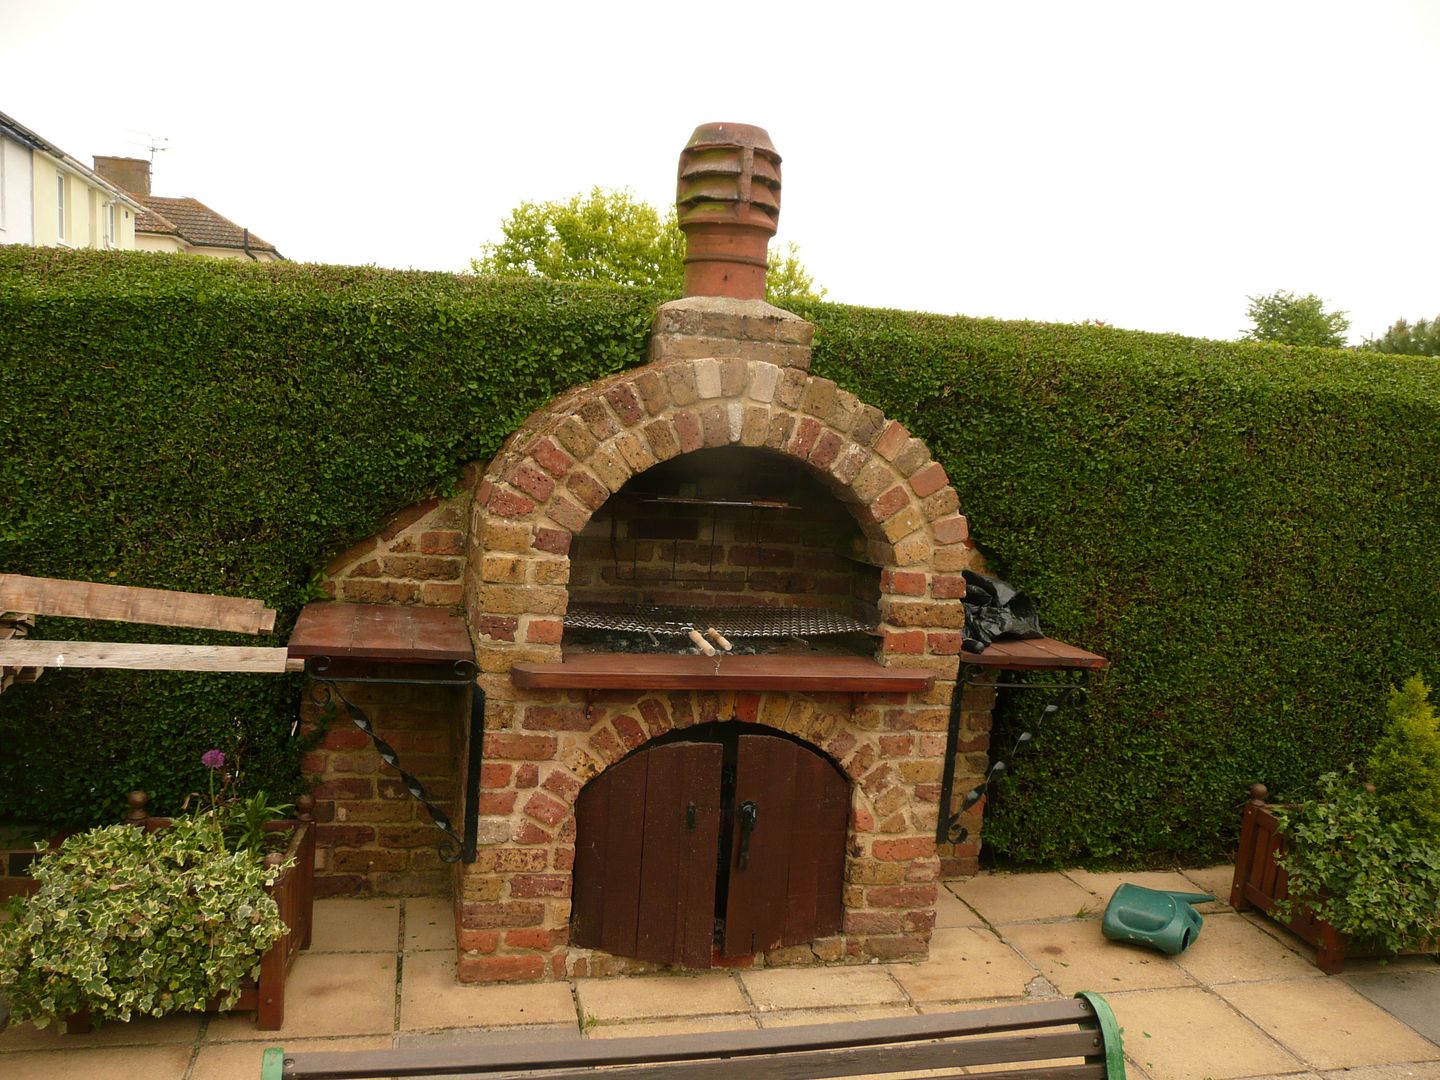 |
| |
Last Edit: Apr 26, 2011 10:01:09 GMT by grizz
|
|
|
|
|
|
|
Between riding the trials bike at two venues over the weekend, bootfairs and other thinks, this is a small update. Welder had stopped working on Monday, about 8 inches from the end of completing the steel plate weld, then yesterday I tried it, so maybe a bit of overheating. Plate will go on top of concrete base, as concrete does not like heat in the long run, so the steel should absorb and dissipate most of the heat. 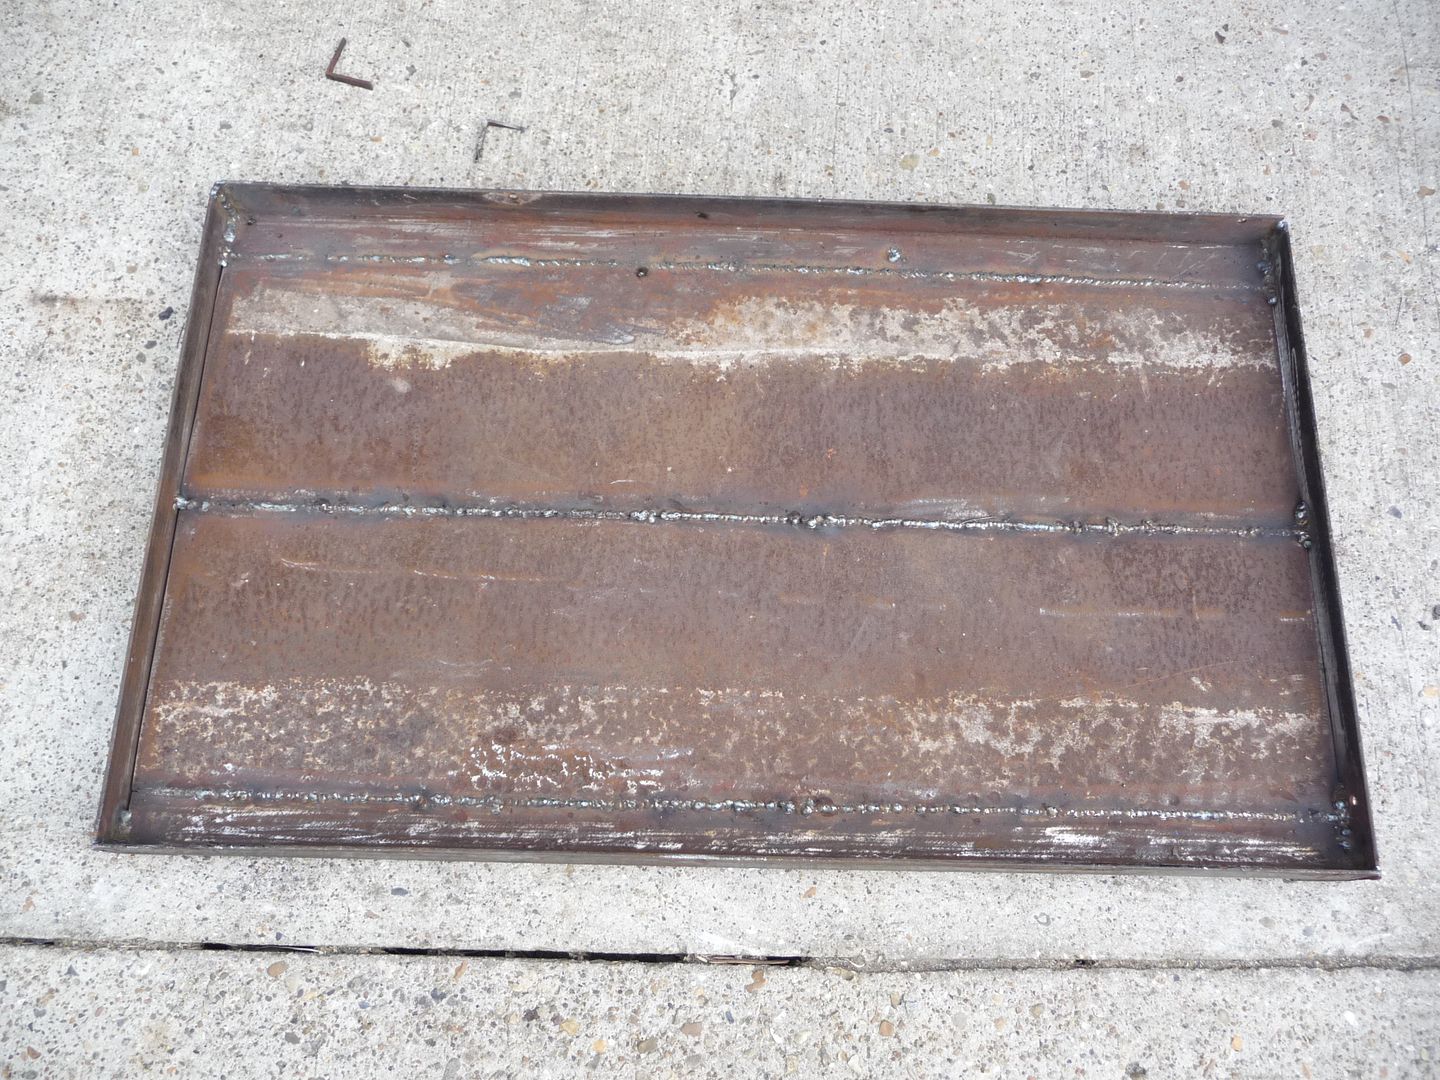 While welding up the last bit and the sides, I also started a fire in the gas bottle oven to burn out any residual chemicals on the inside, as I do not know what it will taste or smell like once I start a fire, or shove coals under in when built into the BBQ structure. I will be welding either short legs or horizontal supports to build into the structure onto the sides later when I get to that point in the build. 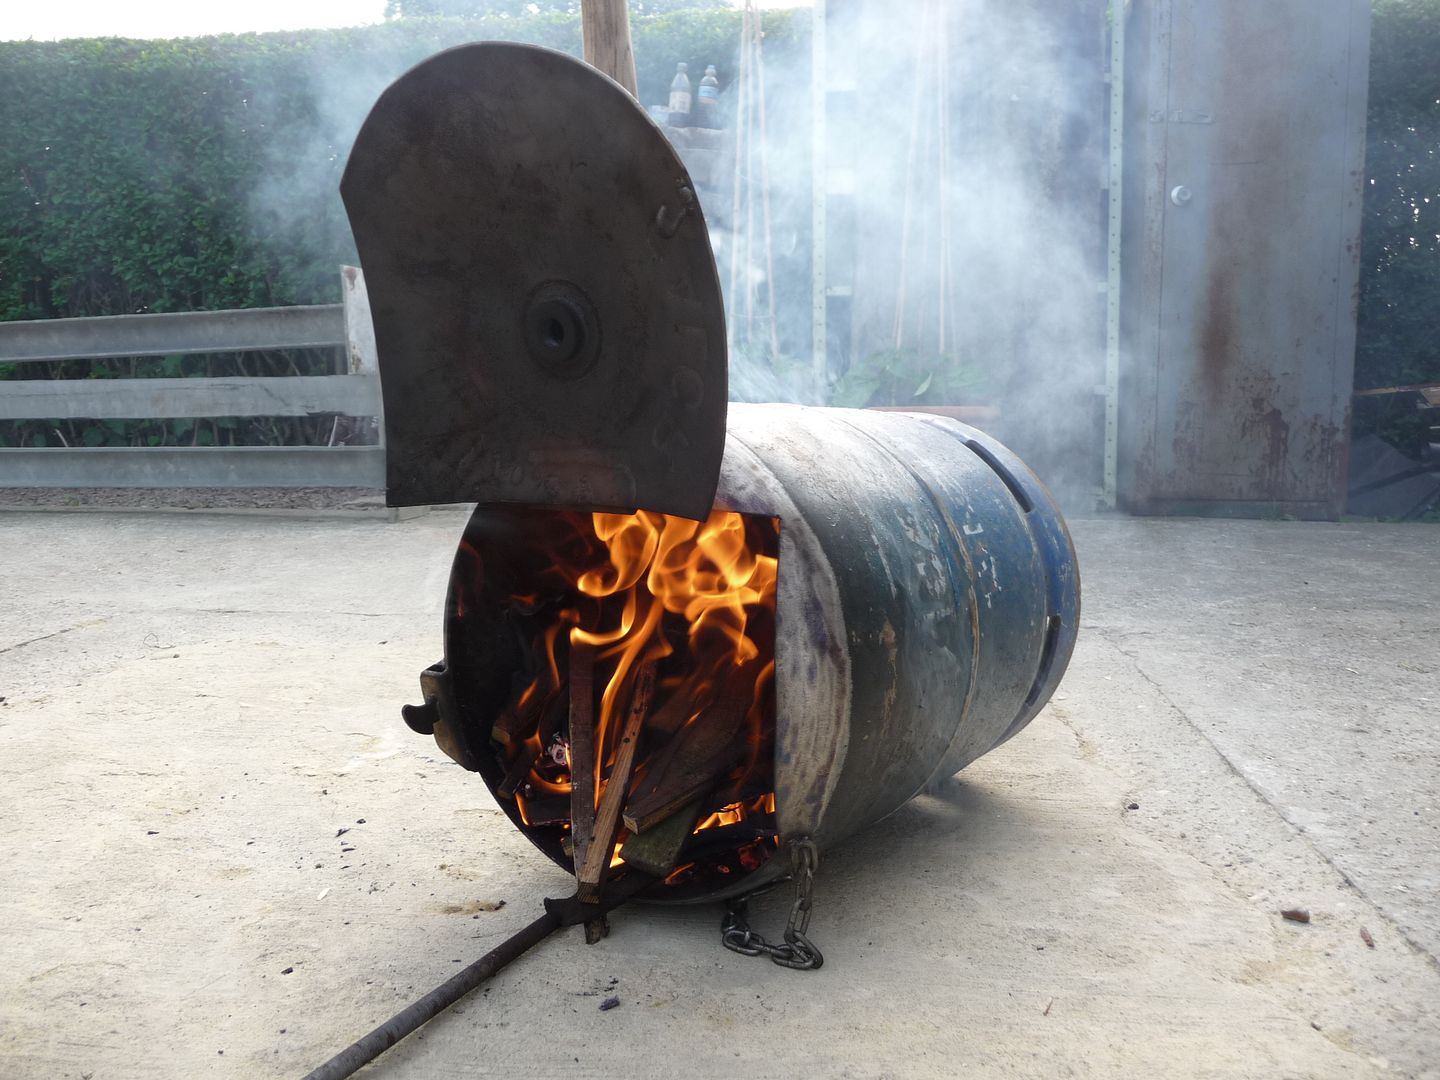 Lastly, a pic of the chimney pot that will find it's way onto the top of the whole structure...... UNLESS someone has a CROWN chimney pot to donate, or trade for the one I have. 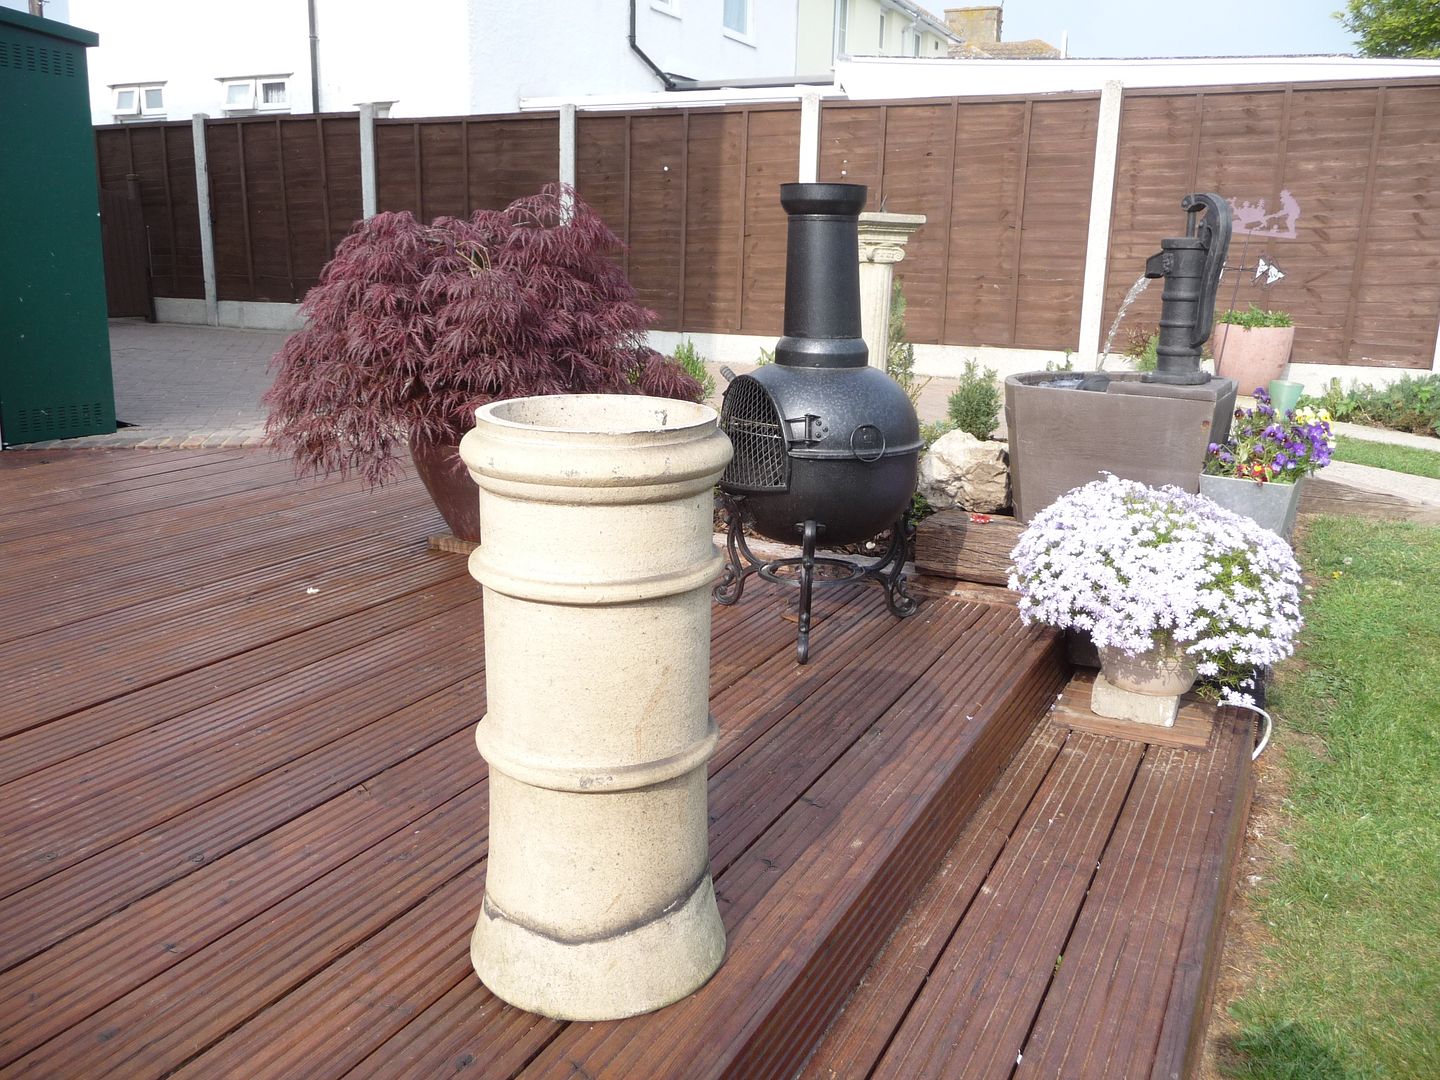 One of these.....   |
| |
Last Edit: Apr 27, 2011 7:53:15 GMT by grizz
|
|
|
|
|
|
|
|
Looking good...
You are right about the concrete not liking heat. I have built a number of furnaces over the years out of concrete blockwork, and without exception they have started to crumble after a year or so. I am building the outer skin of mine out of concrete, but then lining it and making the inner oven area out of bricks which much prefer the heat. Perhaps you could put a layer of sand between the steel tray and the concrete below to further help.
As for steel supports, I would consider expansion of the steel when it gets hot. One of the furnaces I made I ran metal tubes through the side walls and though the combustion area to heat water. When the pipes expanded in the heat, they started (just gently) to push the side walls out slightly breaking the mortar joints. I don't expect yours will get that hot, but worth considering.
Lewis
|
| |
|
|
|
|
|
|
|
Looking good... You are right about the concrete not liking heat. I have built a number of furnaces over the years out of concrete blockwork, and without exception they have started to crumble after a year or so. I am building the outer skin of mine out of concrete, but then lining it and making the inner oven area out of bricks which much prefer the heat. Perhaps you could put a layer of sand between the steel tray and the concrete below to further help. As for steel supports, I would consider expansion of the steel when it gets hot. One of the furnaces I made I ran metal tubes through the side walls and though the combustion area to heat water. When the pipes expanded in the heat, they started (just gently) to push the side walls out slightly breaking the mortar joints. I don't expect yours will get that hot, but worth considering. Lewis Wise words Lewis, and well thought out response (or is that experience speaking ? ) Sand below the steel plate was in the plan, as are a few sections of old skool electrical conduiting to act as rollers when fired up. I hope for the chamber to be large enough to allow some heat to dissipate and not crack the brickwork. I was looking around for some old fire bricks from a furnace, but not much about these days. If I did go the horizontal support route with the oven, they would be sliding inside some channels made of sections of scaffolding pipe to make up for the expansion and to prevent stress cracks. There are many variables, and i love getting advice and input, as one does not always cover all the variables. |
| |
|
|
|
|
|
Apr 27, 2011 12:03:35 GMT
|
|
Experience and failed experiments speeking!
Bricks are a lot more tollerant of the heat (afterall, they were fired once to create them) so shouldn't spall and break apart. Concrete blocks are not fired, they are poured, so don't take heat well.
Sliding expansion joists sounds like a good plan. The problems I had with my furnaces were a lot to do with how hot they got. Hot enough to melt aluminium! So an oven getting to 200 - 300 C shouldn't cause anywhere near as many issues.
Lewis
|
| |
|
|
|
|
|
May 11, 2011 11:39:30 GMT
|
Well, as said before, this will be a slower build, with loads of other stuff keeping me busy inbetween..... Like: Had a good job interview last Friday, been invited to a second interview (may be a 3 interview process) and also traveling to Southampton tomorrow for a different job interview, for a job I would really love to get. In the mean time my neighbour and I have cut down and removed a 34foot long hedge in preparation for putting a shared footpath out to the back fields with seperate gates at the top and shared exit, as Nicola and I are busy developing a mini allotment behind the garage for veggies and some fruit trees I planted. Back to the BBQ. After burning the old gas bottle out, I sanded the outside, masked the hammer handle (dated 1940) and also the door latch which has been painted red, the front facing part of the oven has been painted High temerature stove black. I also decided to put the oven on legs, and have it inside an expansion ring, as the heat may cause it to crack the brickwork when in use, so used another gas bottle I found, (someone had drilled a pair of holes in the neck and mangled the valve) to donate a strip of steel, which was than attached to a steel door I found at the tip. 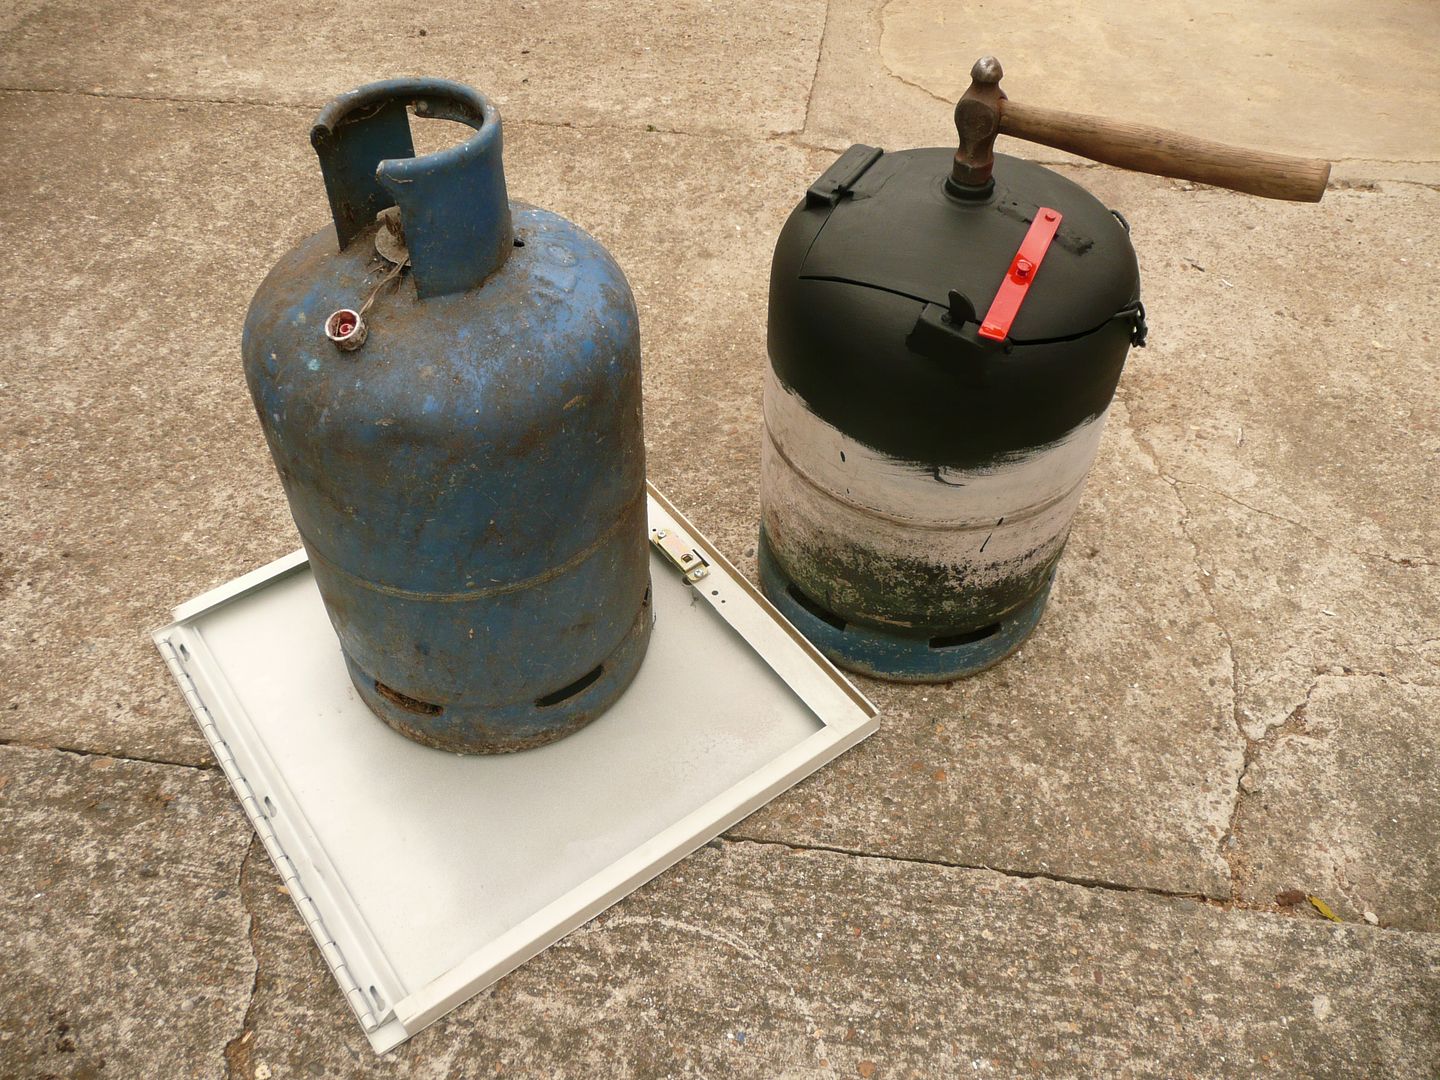 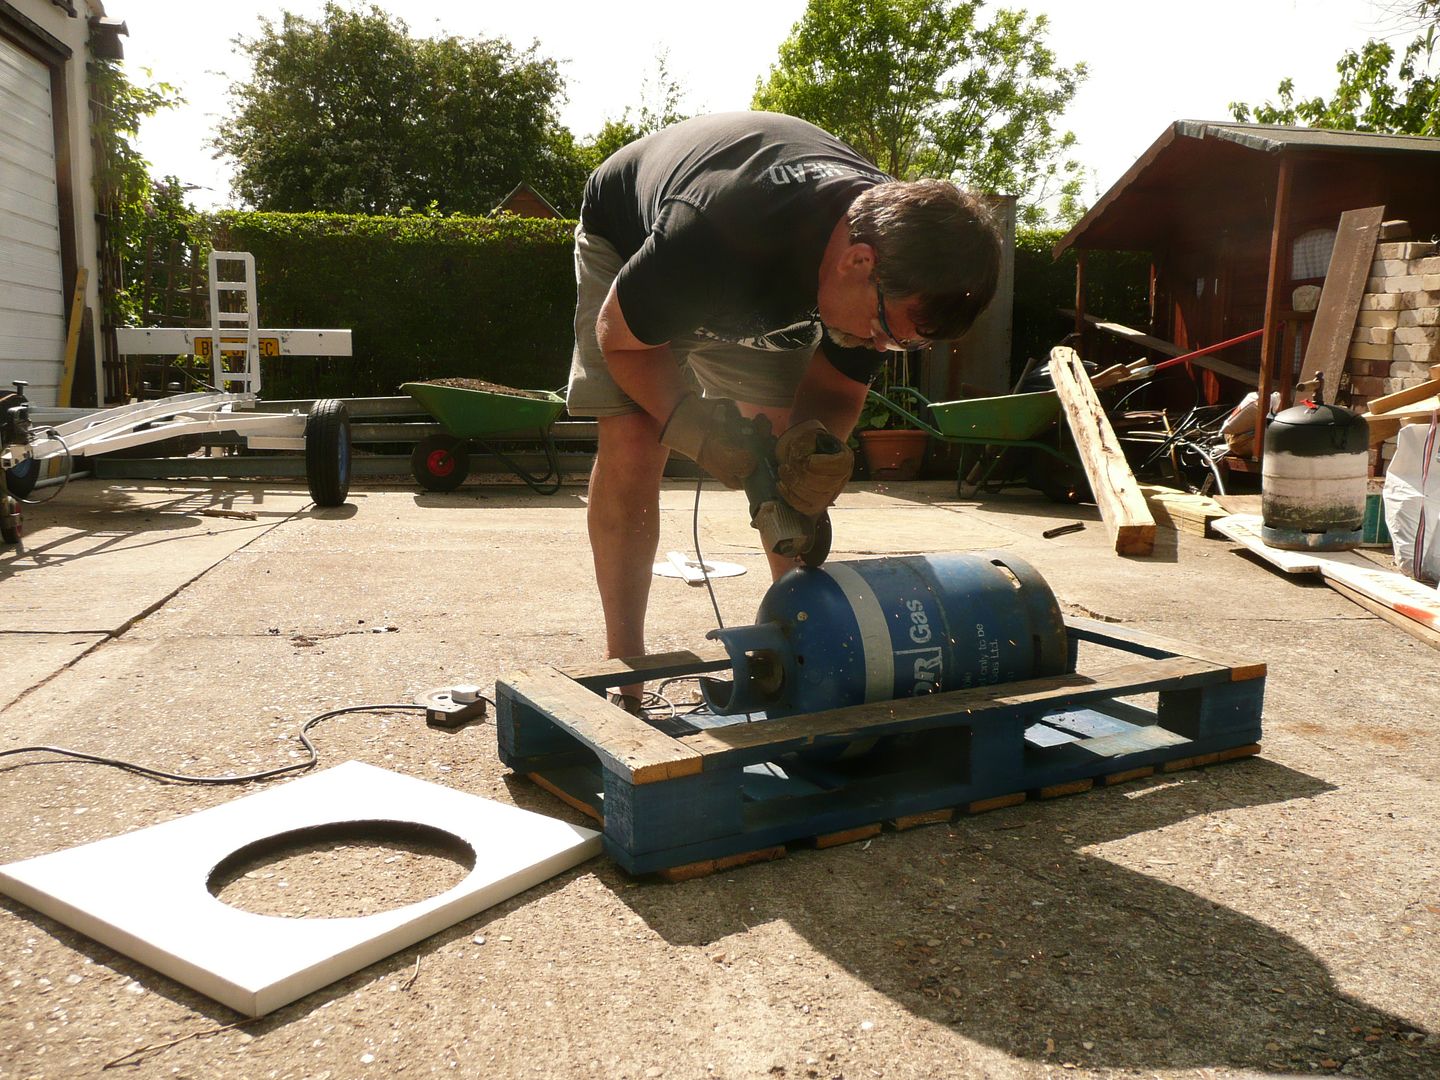 Interesting job, welding thinner plate to thicker guage steel rim. I welded a bead around both the front and around the whole of the rear, to ensure good adhession once ground back 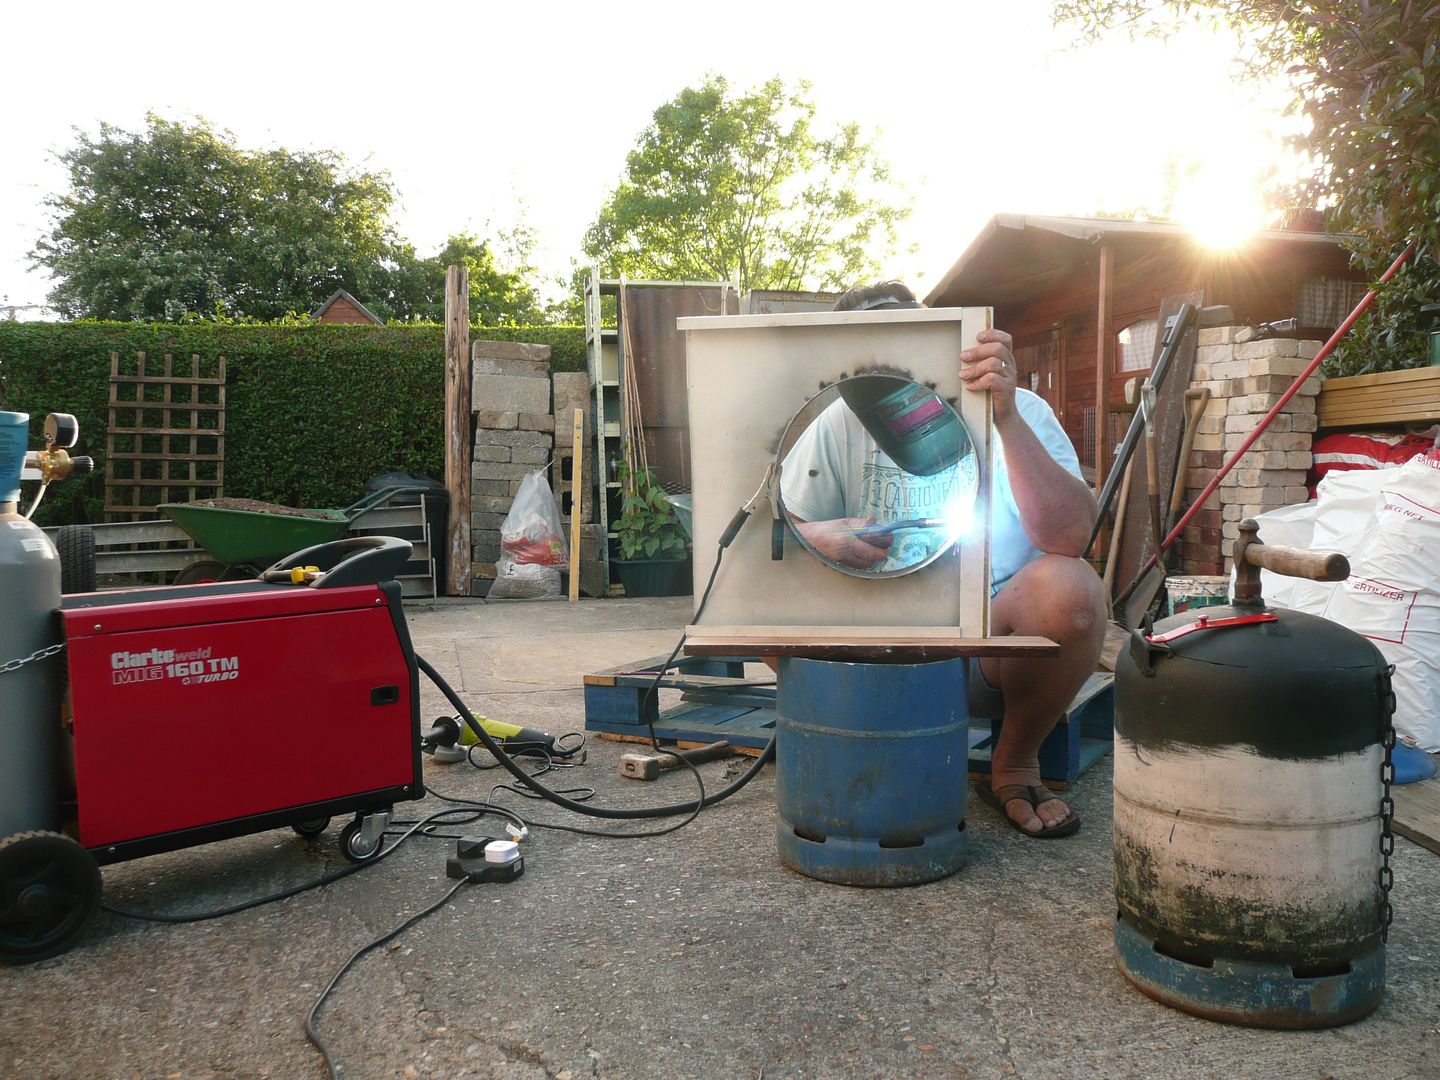 Welded up ring, next was a section of 15mm pipe at the bottom, then flap disc all the paint off the door and grind back the welds. 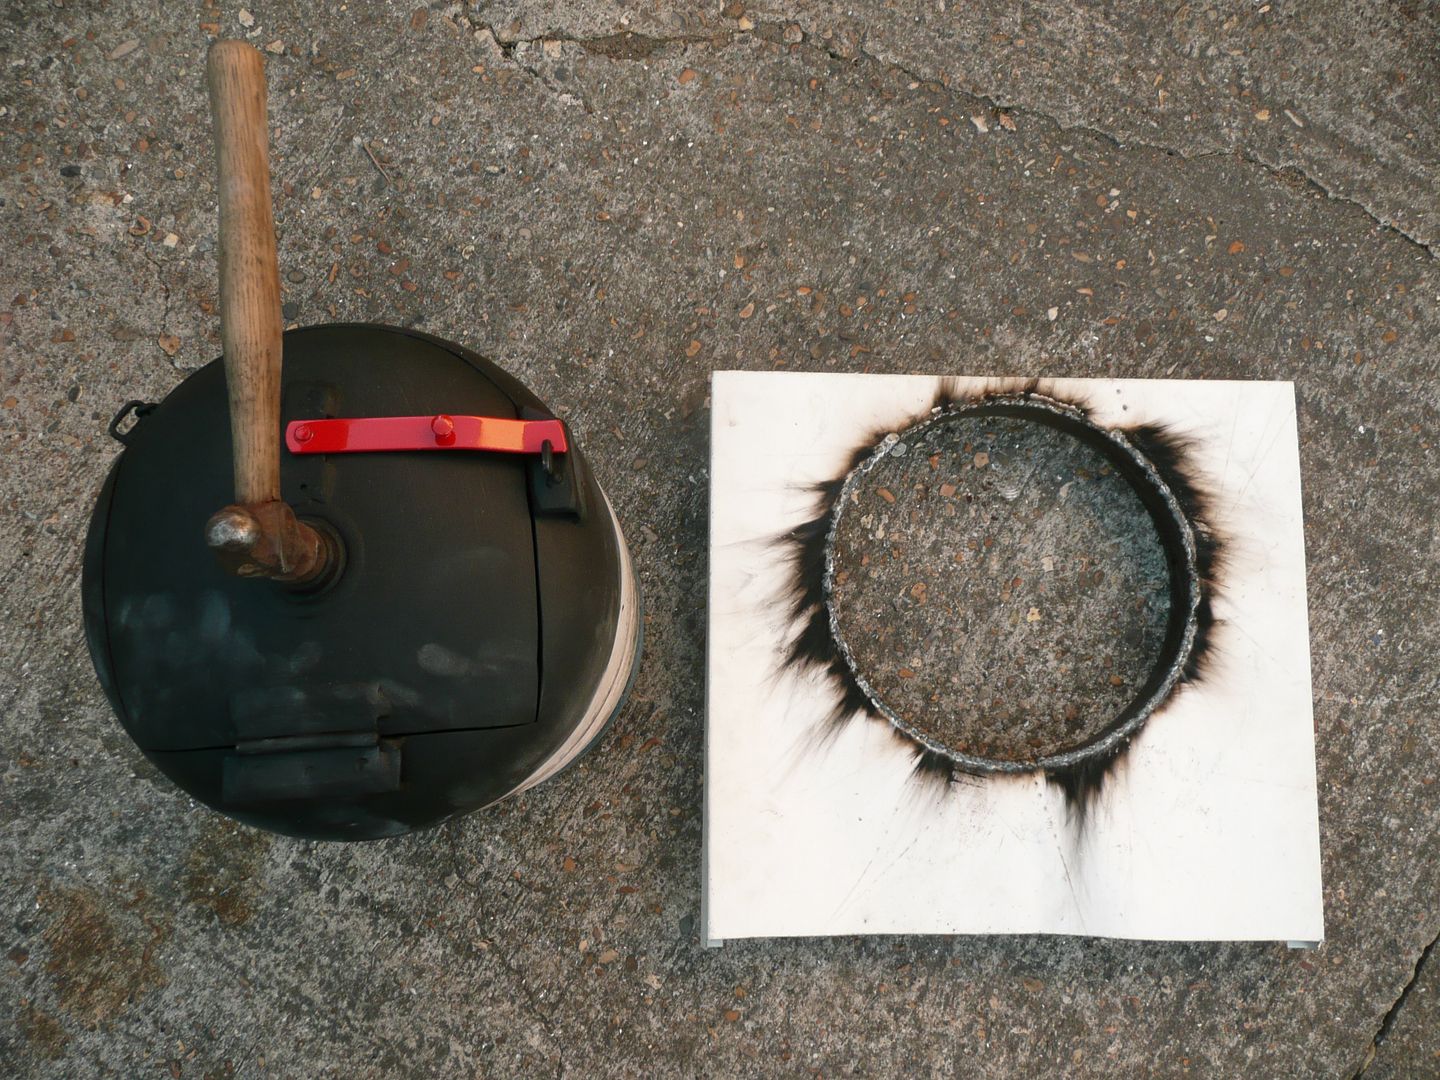 The front end will be built into the brick work and the oven gets a single layer of heat resistant wrap (think exhaust wrapping) to seal it all. 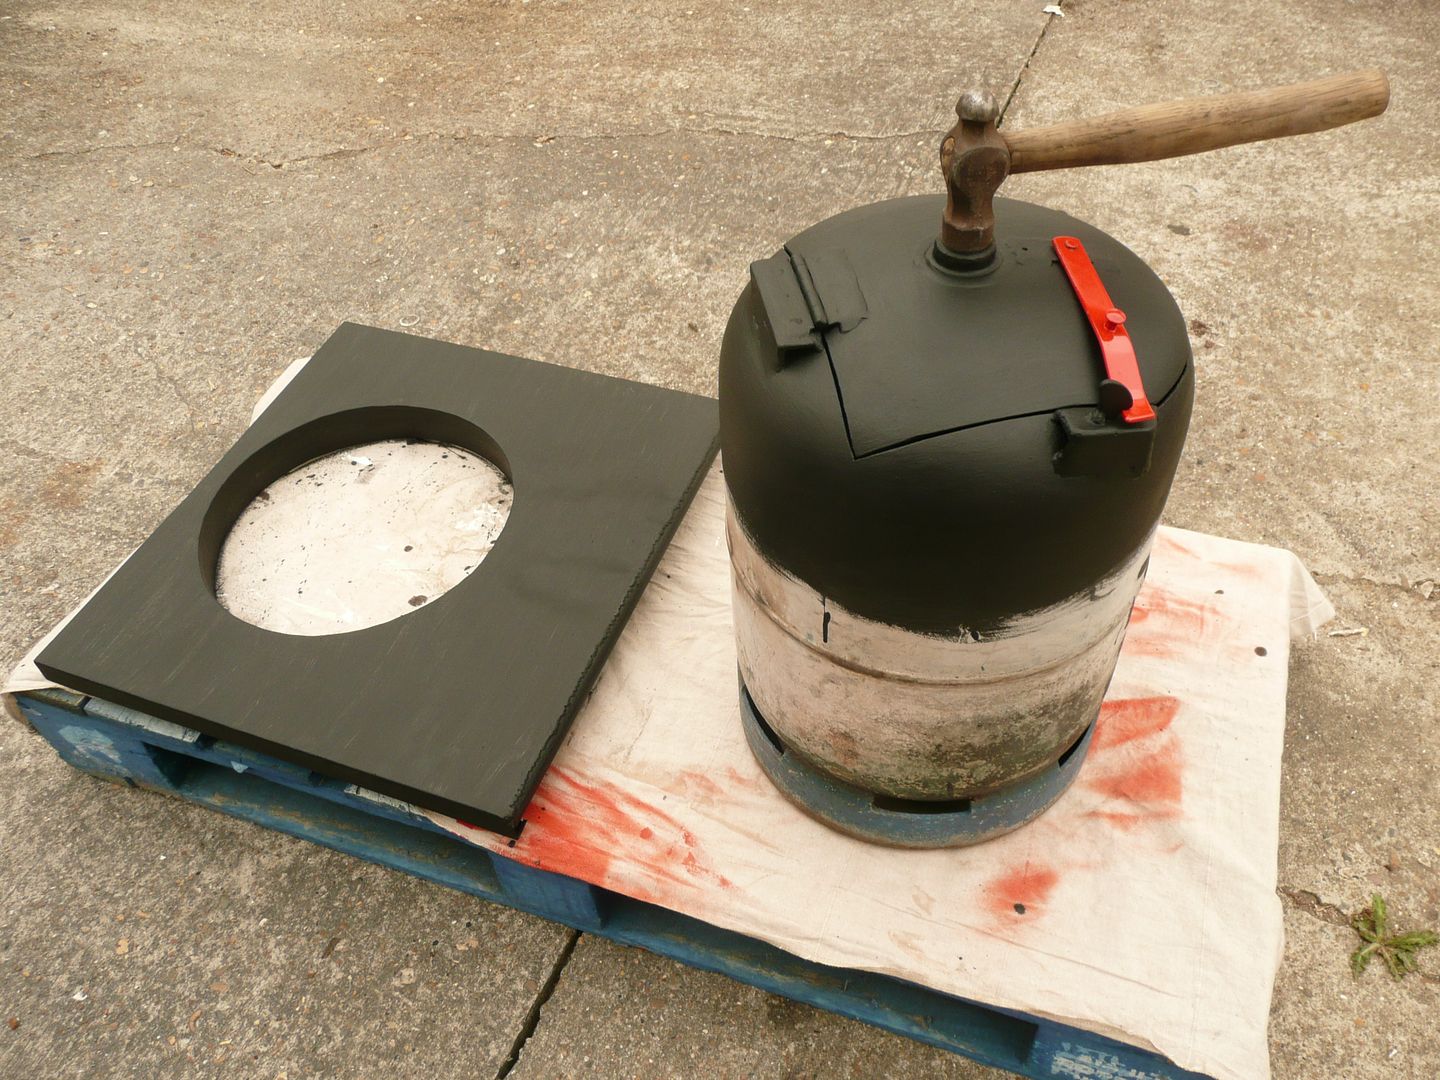 Back to the hedge, just a few pics. Looking from Mickey's side, he is 65 and cant be bothered to maintain the hedge anymore, it is my hedge, and the previous owner did not want it cut down, I have no use for it, and it was a nuisance getting to the back of the garage between it and the garage wall. Now it will be a "win/win" for us both. 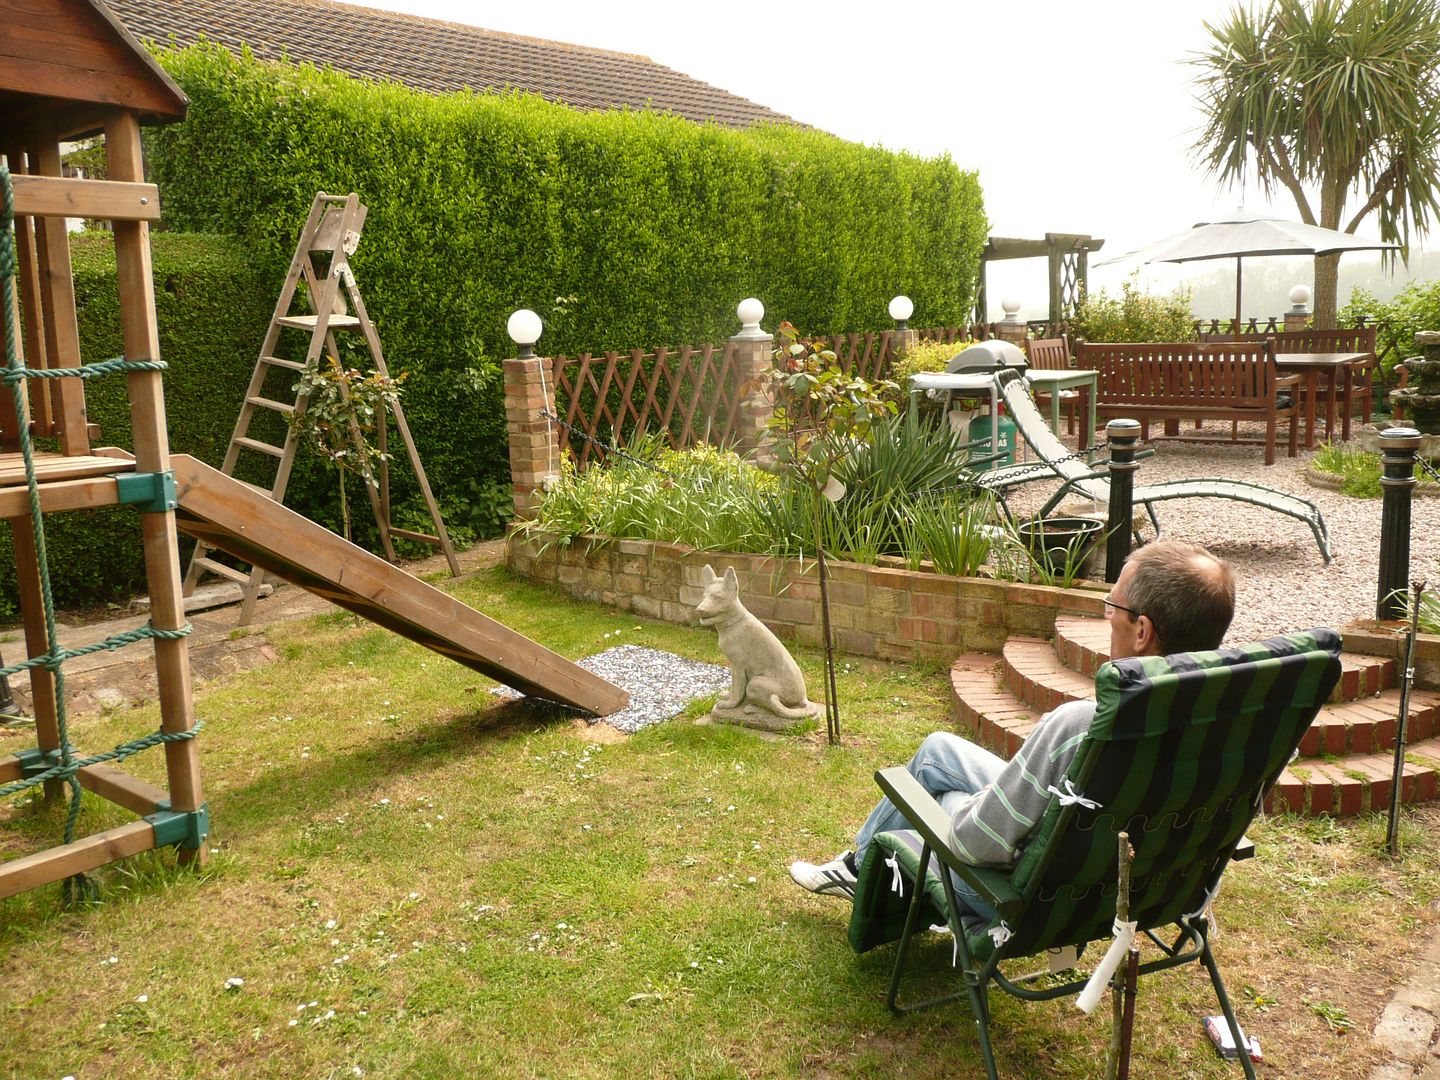 First load ready. 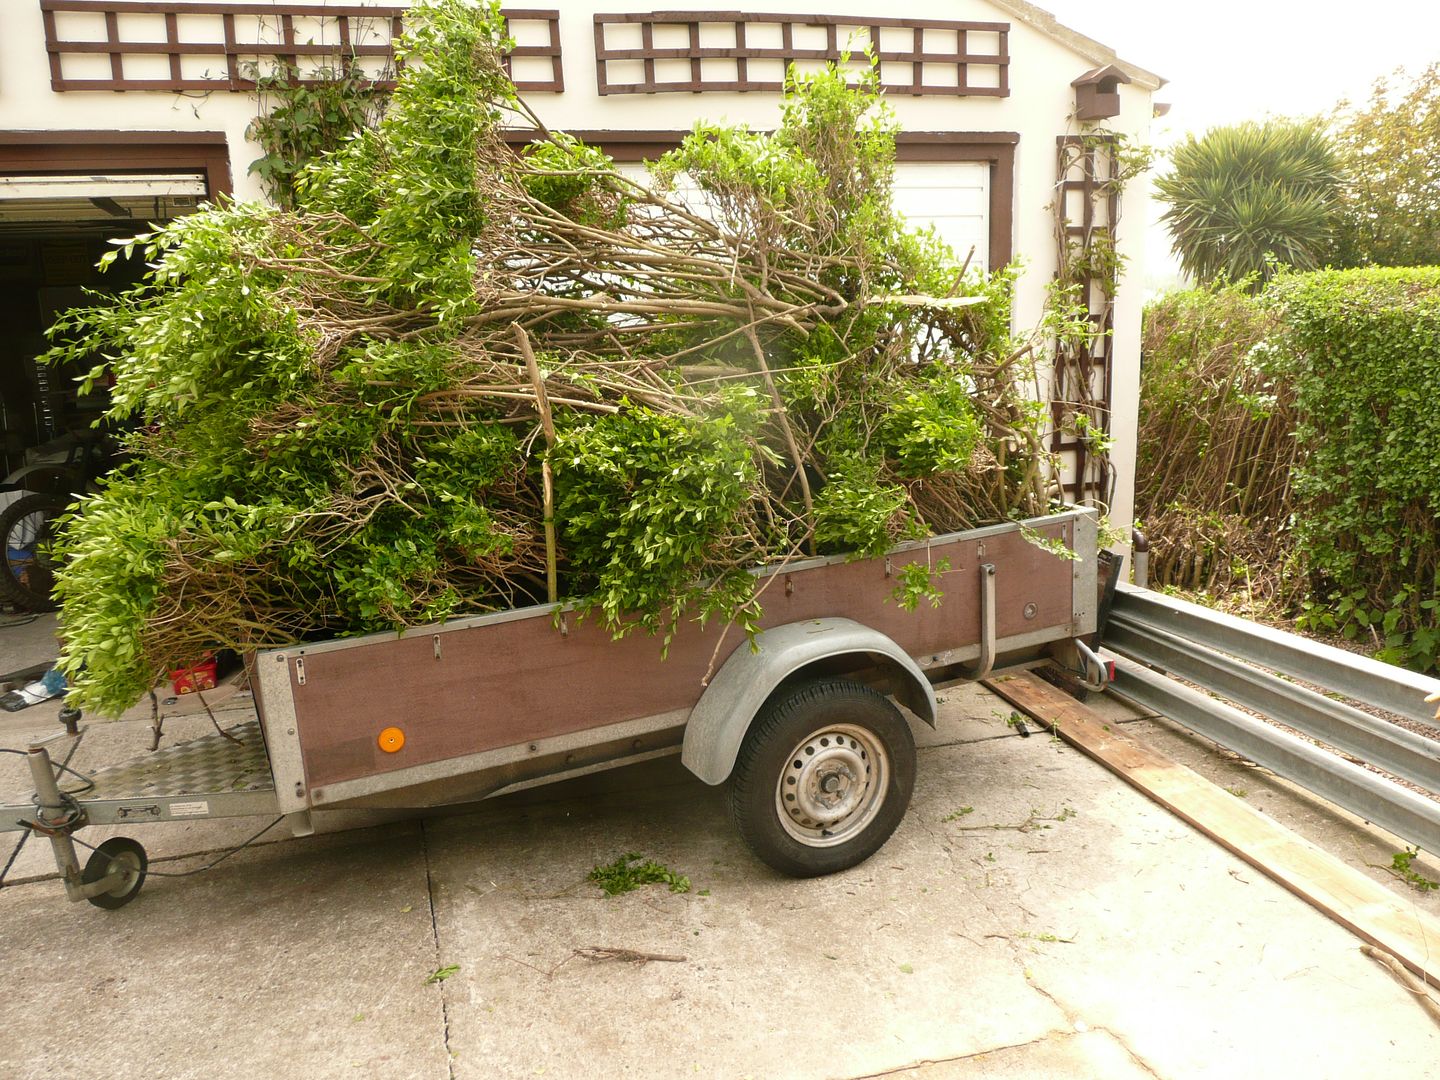 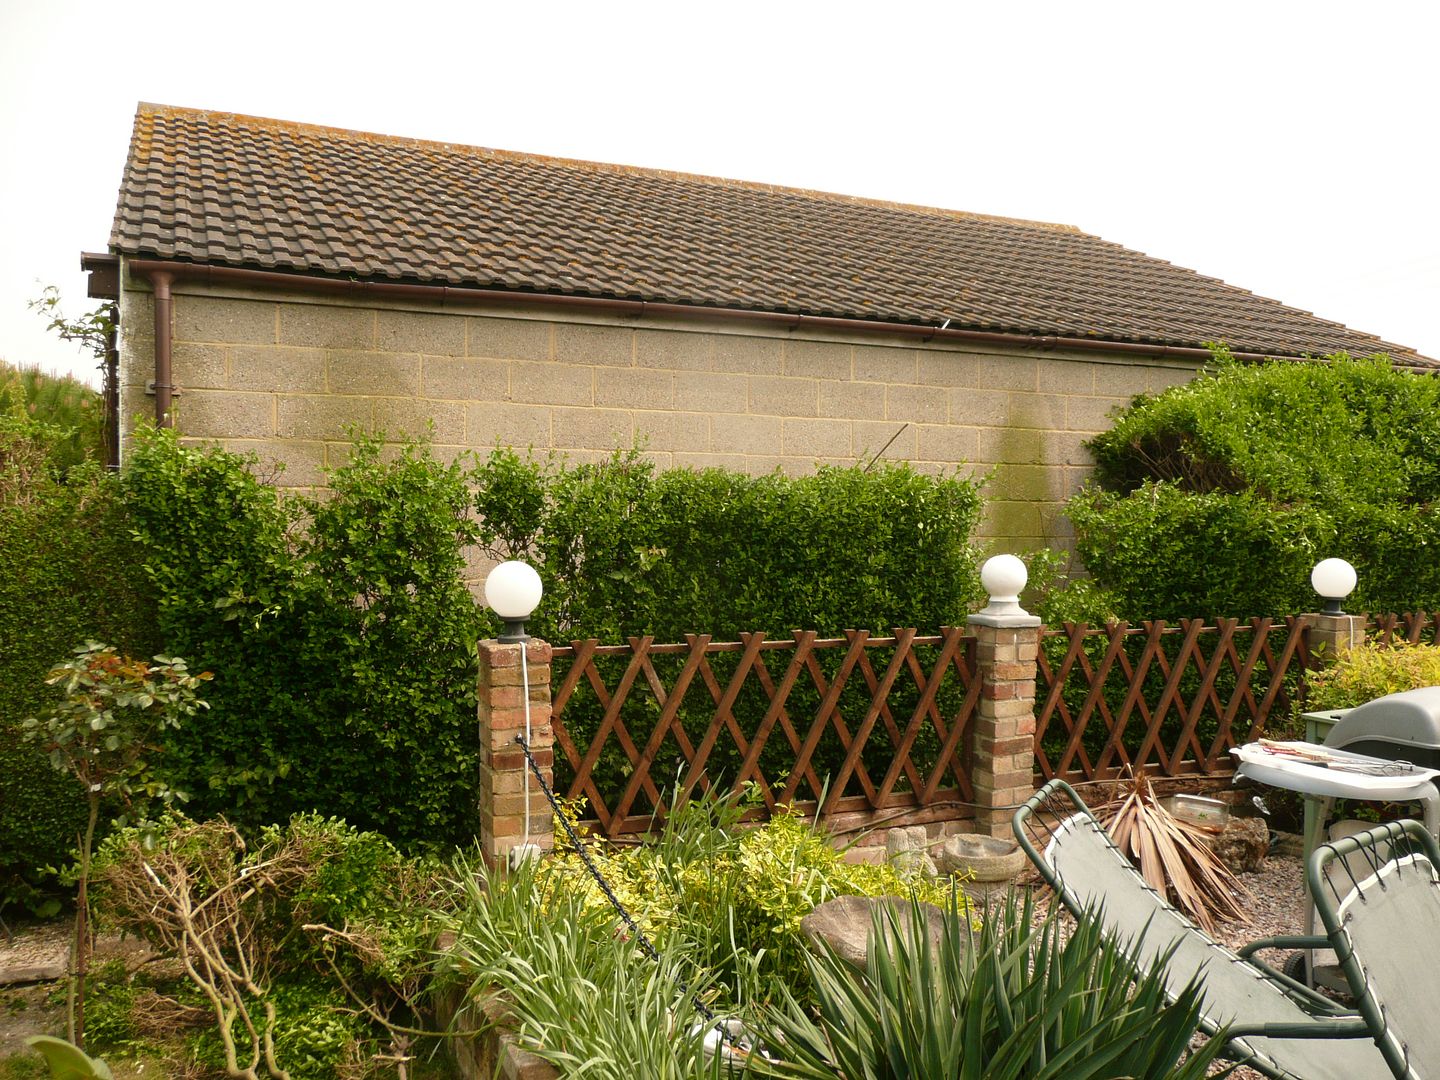 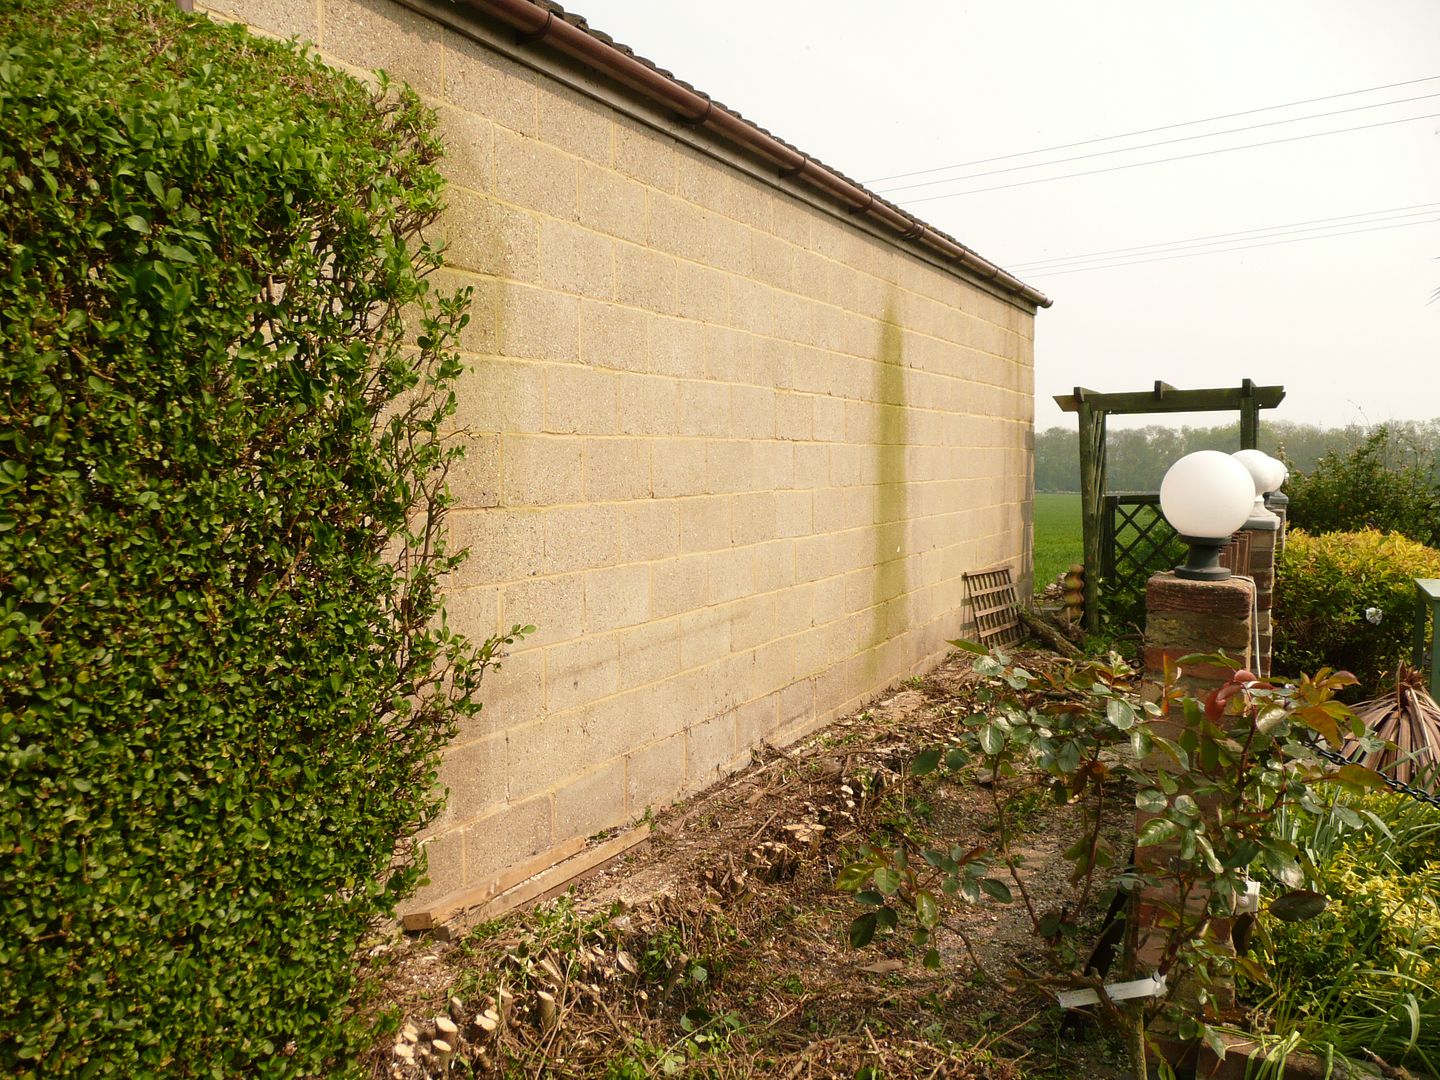 I decided to keep the longer sections to use in the garden as stakes and to build some trelliswork and obelisks for Nicola's pots etc. 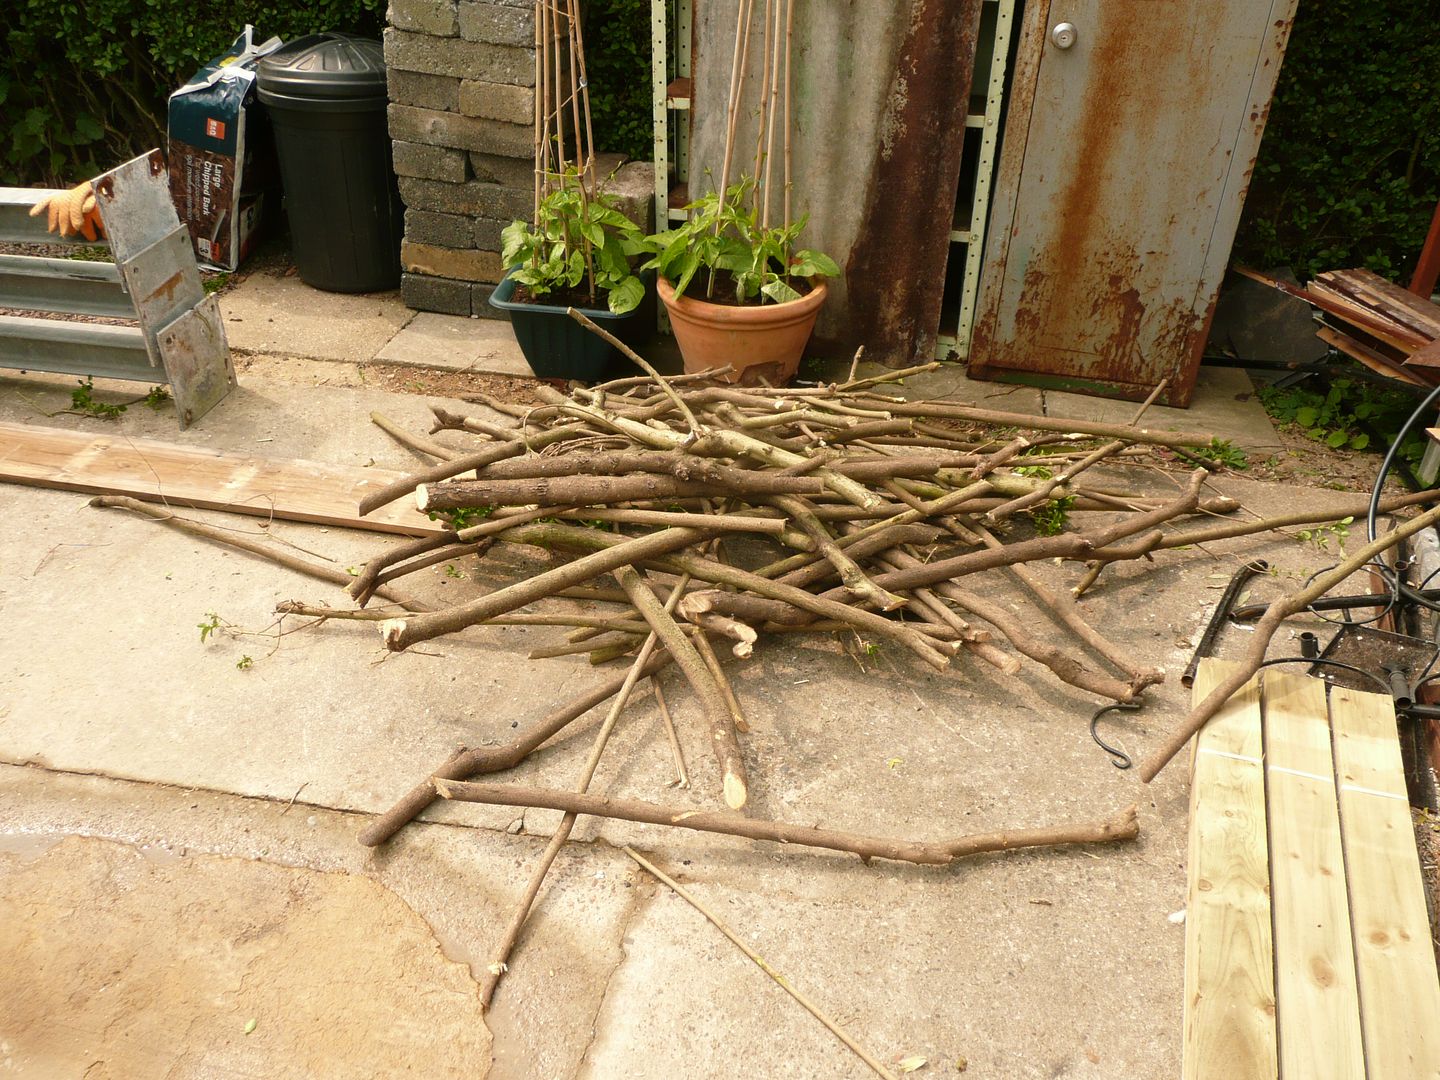 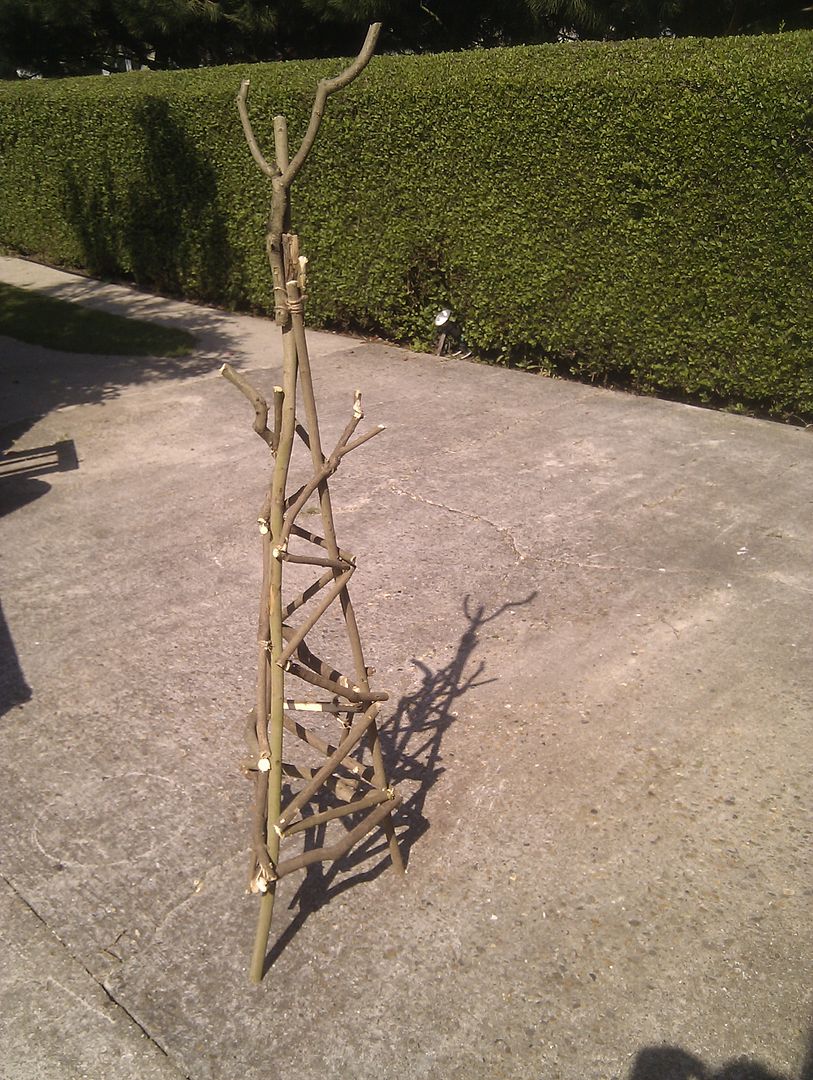 Nicola's Peugeot 1007 came in really usefull to help pesuade the roots and stumps to get out, along with pick axe and matlock/mattock (spelling ? ) Even around a 90 degree bend it worked. 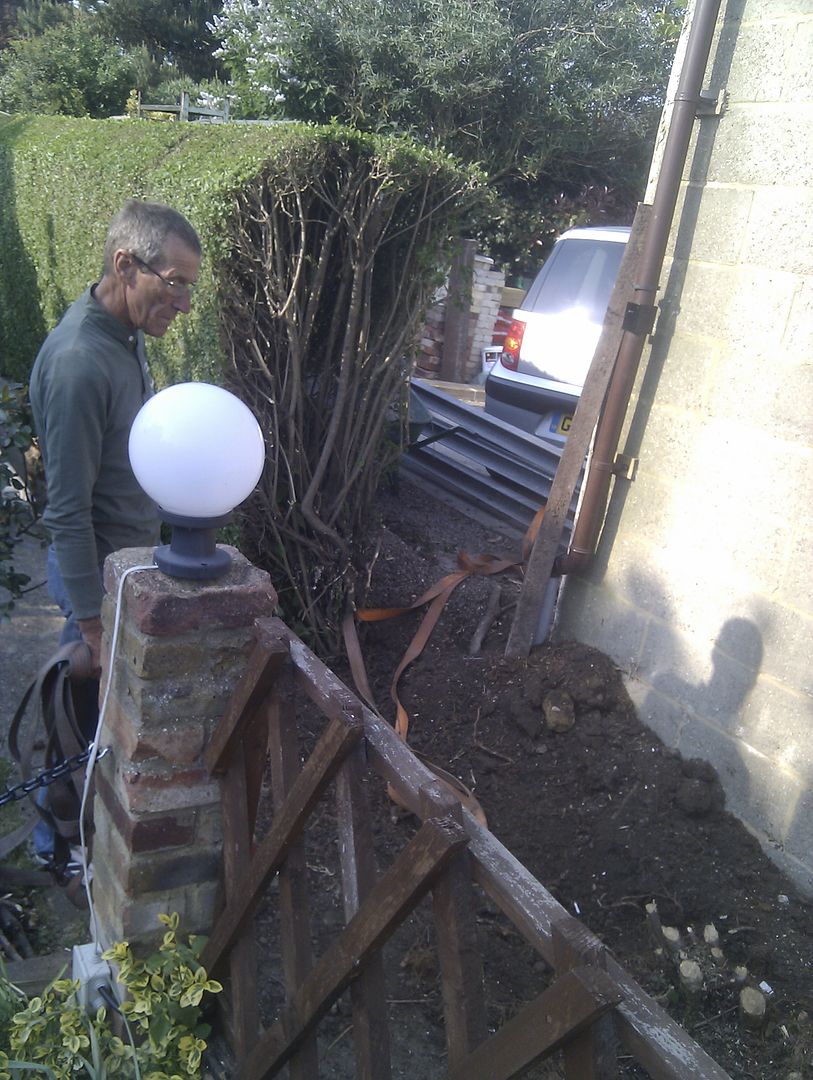 Next up, new posts and gate at the bottom, a pair of gates at the top and new panels between the brick posts on the right, there will also be a single panel from the hedge to where Mickey wants his gate to fit into the first brick pillar. 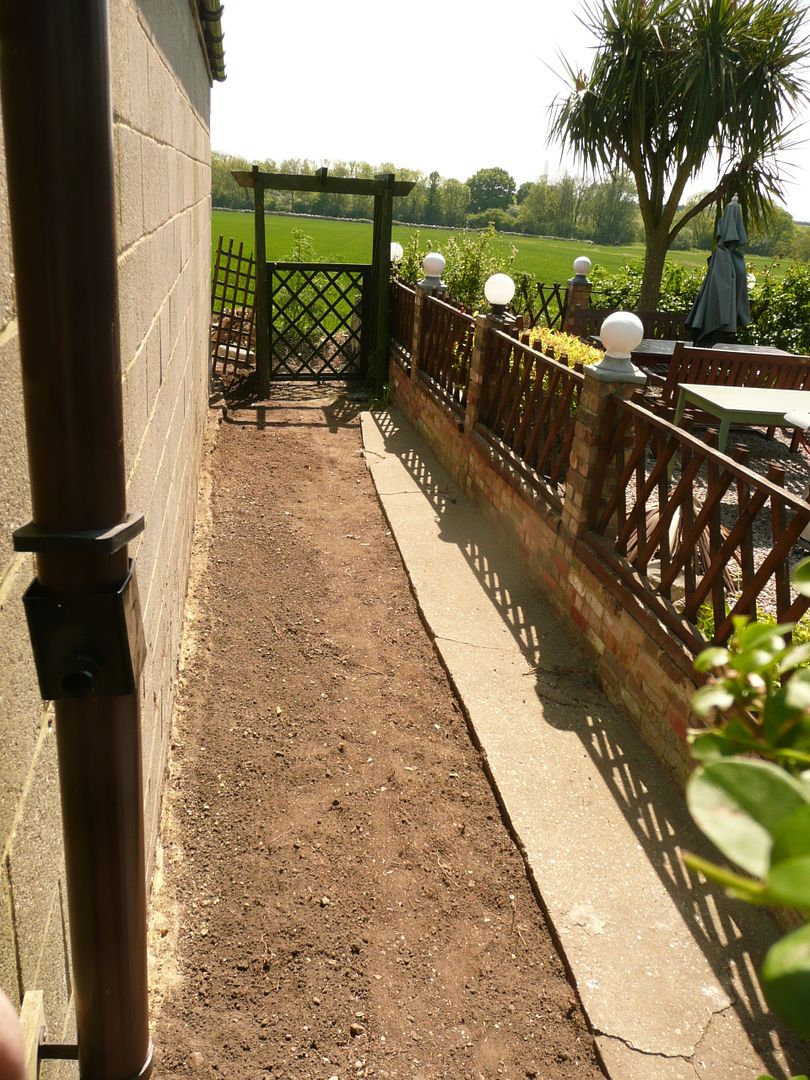 In the mean time I snagged this solid wrought iron gate for £7.50 off Ebay, and made a post that will be bolted to the corner of the garage wall, and bolting into a 7 foot oak post, which used to be a road sign post before..... 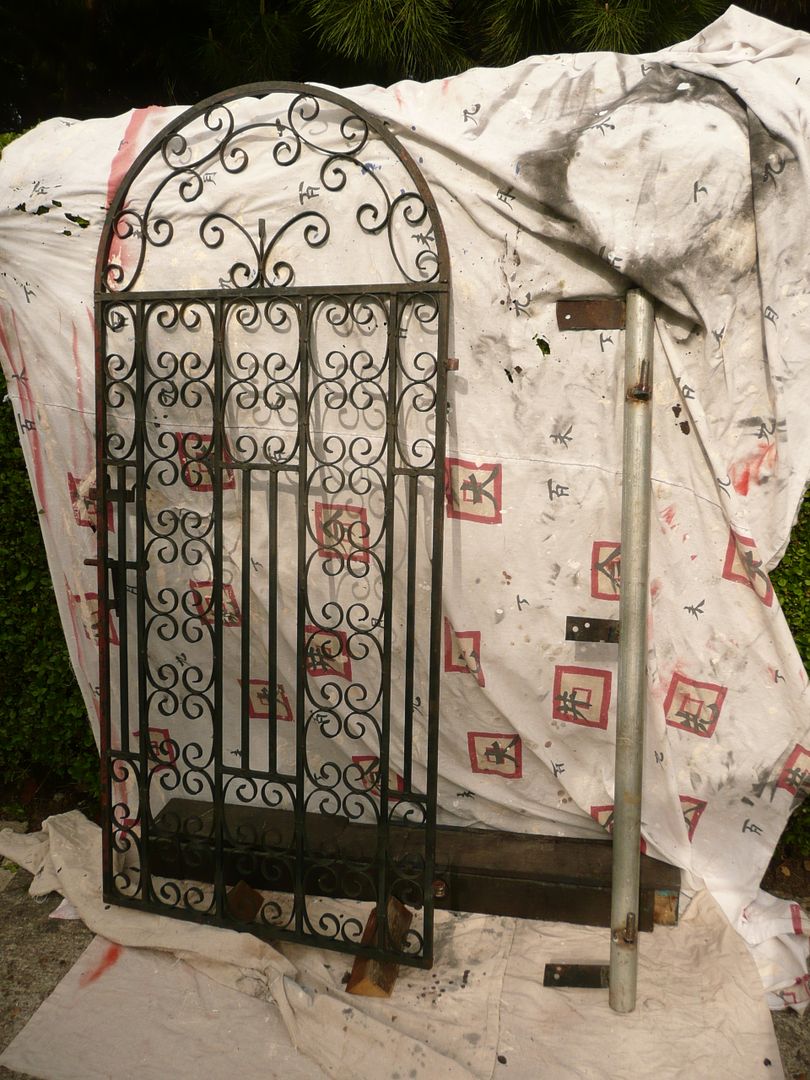 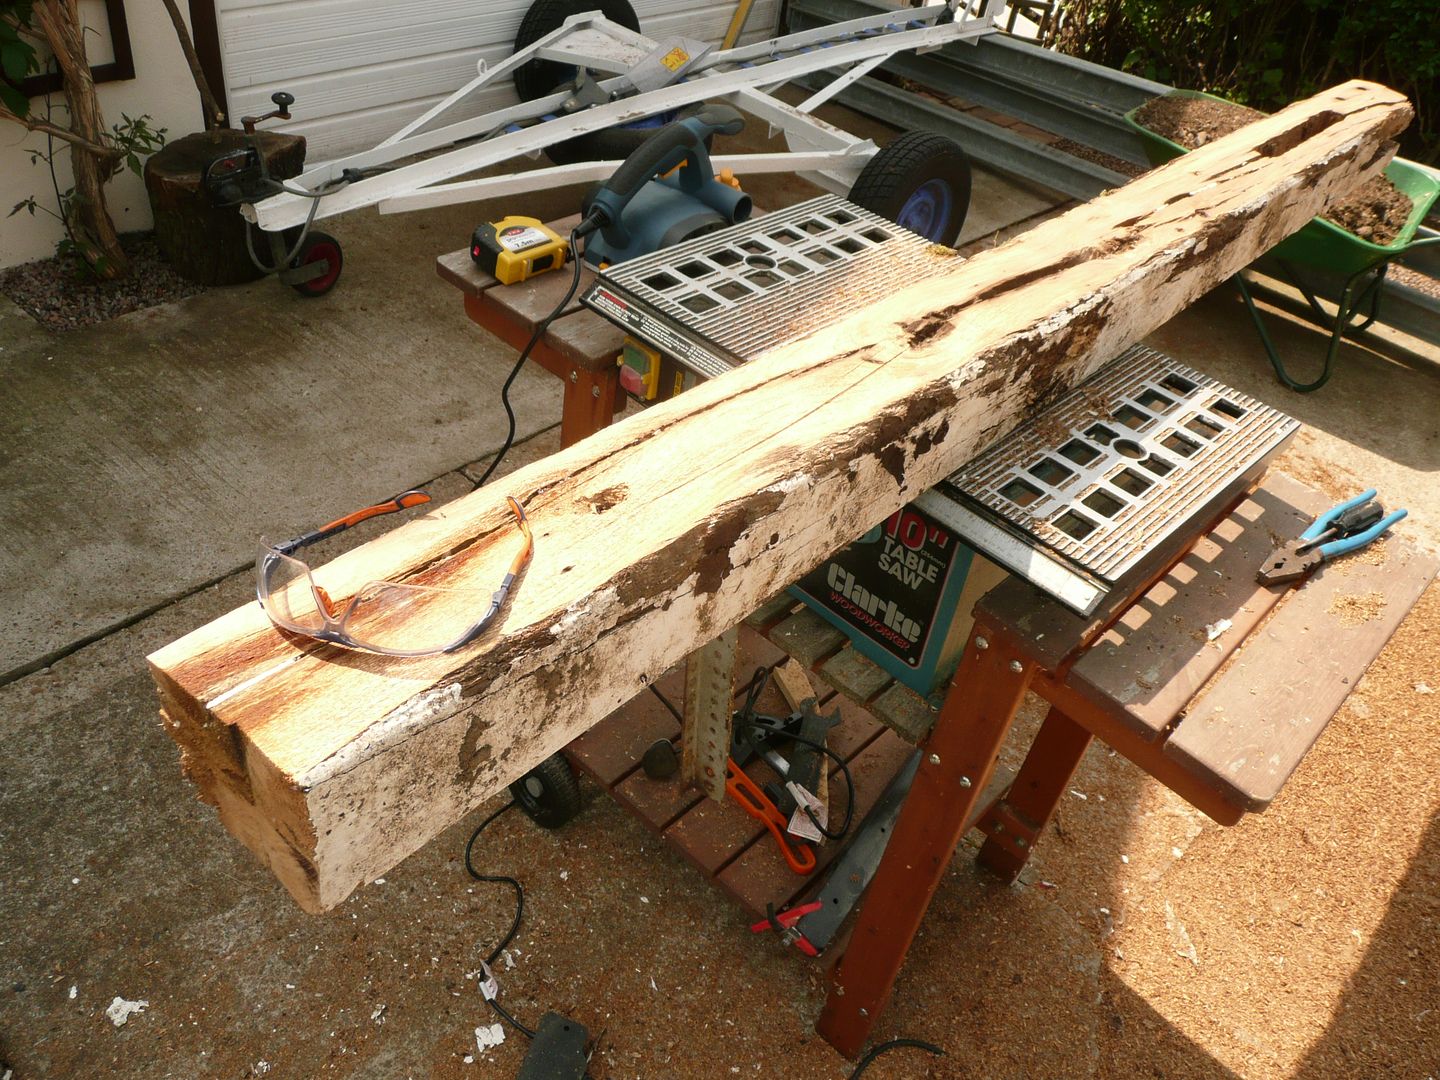 A few coats of clear varnish should see this post survive a long time yet. 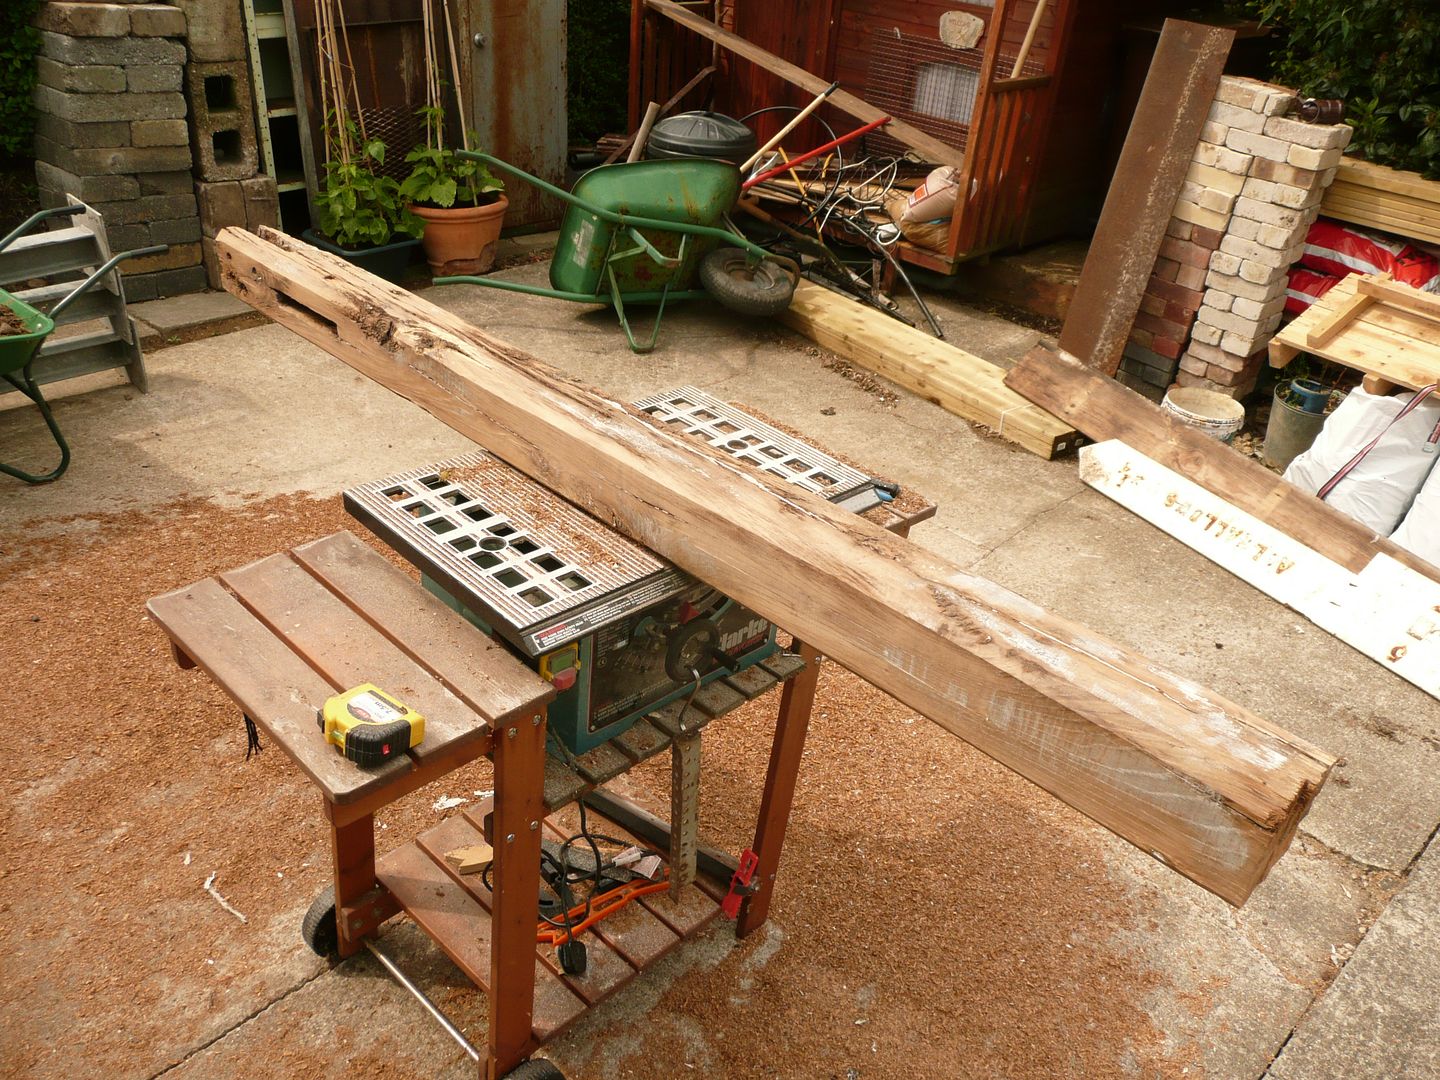 |
| |
Last Edit: May 13, 2011 14:47:38 GMT by grizz
|
|
|
|
|
|
|
Good luck with the interview today Rian, hope all goes well for you. It's going to be a nice day for your drive to the 'Hampton. Loving the gas bottle cooker thingy :-) It reminds me of my Workshack heater, it has a wooden handle as well.  |
| |
My YouTube Channel www.youtube.com/user/UkWheelHorseBlokeQuote - D'you know, it's people like you, doing totally brilliant and pointless stuff like this that gives me a little hope for humanity |
|
|
|
|
|
|
|
we have a pretty large bbq and its been standing for a good 10 years brick built with 18p bricks from wickes and rendered in "fireproof cement" one wood fire my grandad lit in it with all the wood piled up against the back did crack the cement on one side but there was some serious heat in it. we used similar gauge steel for the base to go under the coals and large flat stones on the top at the edges and on the "meat table" between the two grills. serves the pourpose it was intended for but at the house in ireland we are building there will be something much grander similar in design to that greek one posted up on the one side with a wood fired pizza oven and wood / charcoal fired oven and a smoker and a pretty long work surface and also space for a fridge and wall mounted optics for an outdoor bar but the actual bbq will be in the middle of the patio
patio is about 15m x 15m and the "bbq" will be a 6 foot wide circular fire pit with a close metal grill to hold the charcoal that will have dividers uip into 4 sections making it possible ot only usepart of it at a time and the cooking surface will be suspended from the pergola type roof and the pit will be made of dry stone to match the house.
so to sum up great thread as per usual grizz with some ingenious solutions and good vision
|
| |
|
|
|
|
|
May 13, 2011 14:54:04 GMT
|
|
Hi Ian !!!
Good to see you here, I love the Wok pan door to the burner, my kinda solution.
Messenjah, I will do a small update later.
I love so called solutions, and have a nice one that should add to the character of the whole place.
|
| |
|
|
|
|


 )
)


 thats garden to lust for :L

 Ax GTi Turbo


