|
|
|
Aug 22, 2012 20:00:59 GMT
|
kind of lost mojo but luckily I now have a helper on board in the form of my wife (well it is her car!  ) so whilst she started to strip the underside of the floor pan I finished the beam off. Got the arms back from Danny at Reichspeed with the new ball joints. The seals on the ends of the tubes were shot so I ordered a set but the ones I ordered were to long as i didnt need to remove the bearings. I still needed the seals so just cut them down to use as seals. 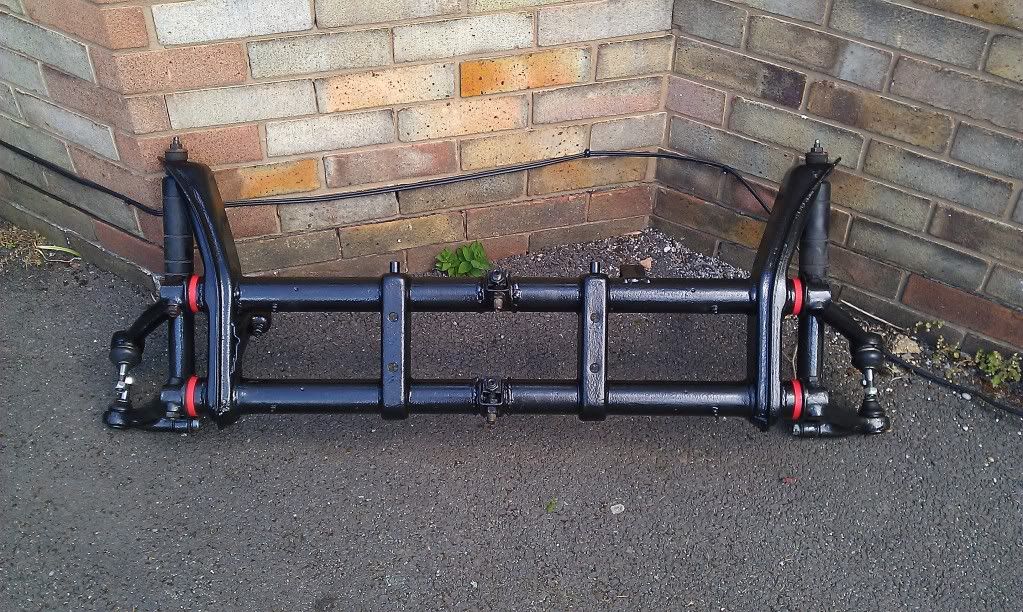 Still a long way to go but the added help is a real morale boost  |
| |
|
|
|
|
|
|
|
Aug 22, 2012 20:01:35 GMT
|
Soooooooooo, it's holiday time (luckily I get the school holidays off) and I now have no excuse not too get on. this first obstacle was the curse word hole that I call my garage, in true AA style, my name is Steve and my garage is a tip! 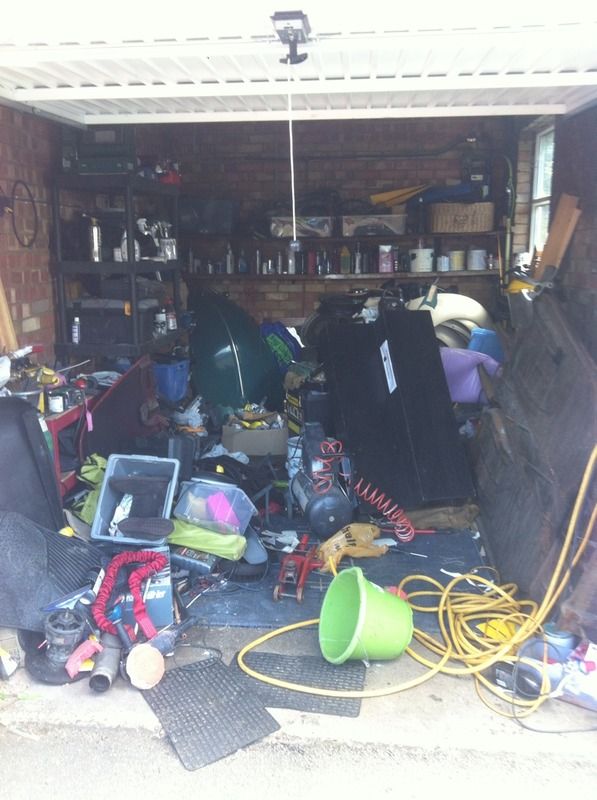 But the first day of the hols sees me having to bite the bullet 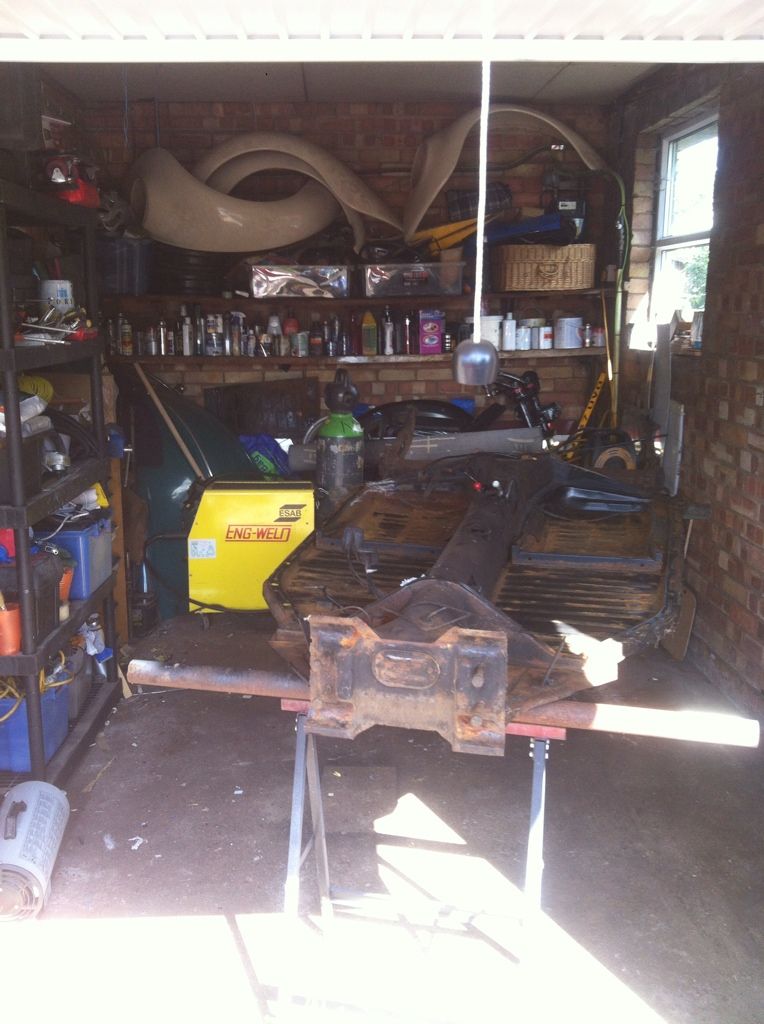 |
| |
|
|
|
|
|
Aug 22, 2012 20:01:52 GMT
|
spent another afternoon in the garage, not much to show for it though! painted the other front half of the pan but still no sign ofthe jacking point panel so made a start on the rear. 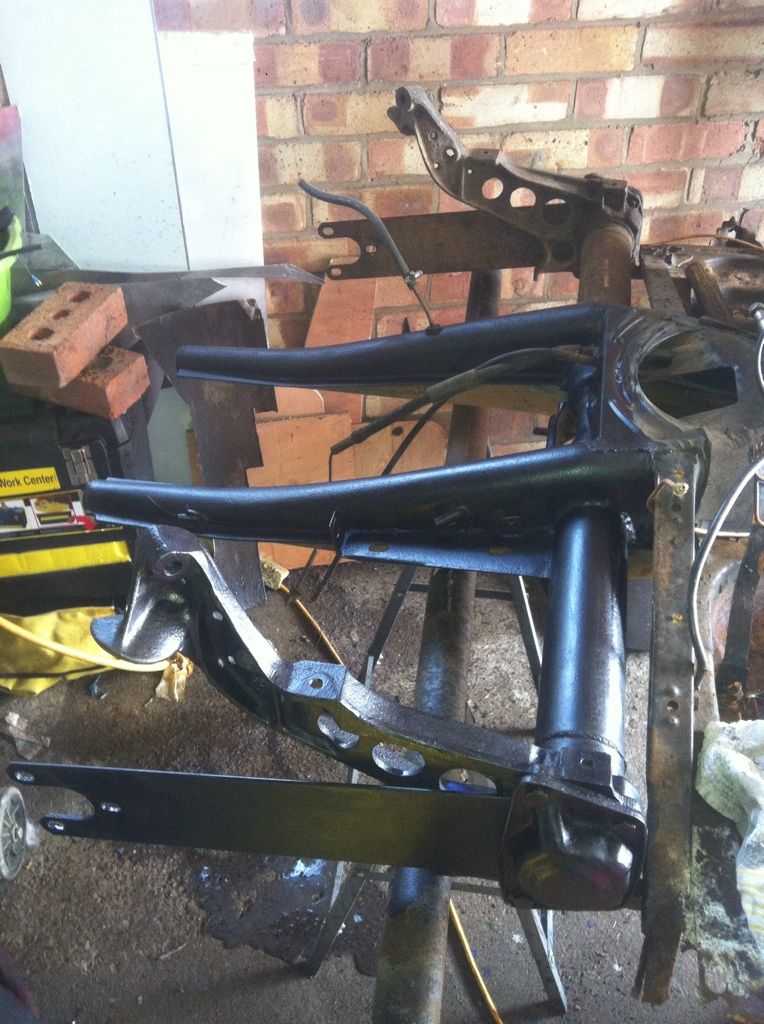 Had a bit of mimble to Halfords where the wife decided she wanted to see if they could mix up the colour she wants and amazingly they did! So armed with a can of Mango green I tired it on a few bits to see how the colour was. Painted brake master B289 stylee  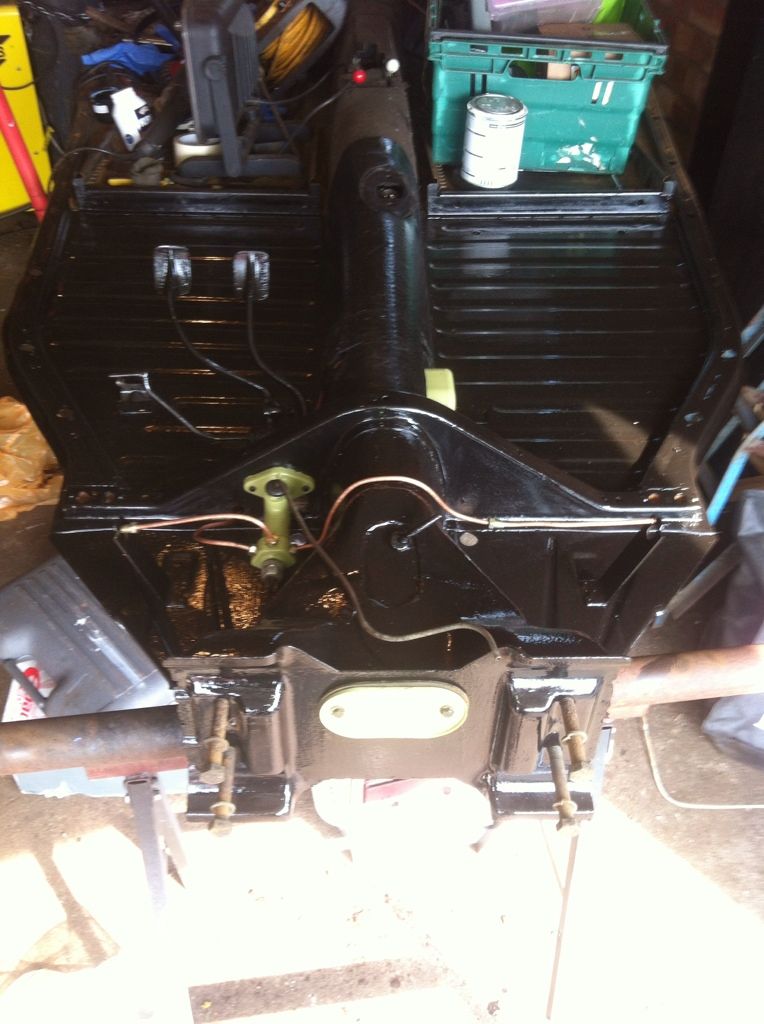 Whilst I was working round the back end (ooooh matron) I thought I'd tackle something that I have put off doing my self for 20 years! Namely lowering the back of a bug. The thought of buggering up the inner splines and outers terrified me! Turns out it was a piece of curse word and took 15 mins per side! Hard to tell at the moment but it now sits a spline lower. Reaching the end of my attention span I thought I would bang a bit of colour on Hal to see how it sits, and it's lovely, certainly spurred me on towards the finish.  |
| |
|
|
|
|
|
Aug 22, 2012 20:02:14 GMT
|
well not much done today as I was on airport duty taking my mum, when I got back there was a parcel for me! ripping it apart like a kid at christmas my eyes were met with a jacking point panel, the joy! So I trotted off to the garage to check the fitment and how terribly off the pressing would be, it wasnt so bad. The wife had nipped to Tesco for Olympic nibbles so I thought it would be rude not to have a little play with it....... by the time she got back it went from this 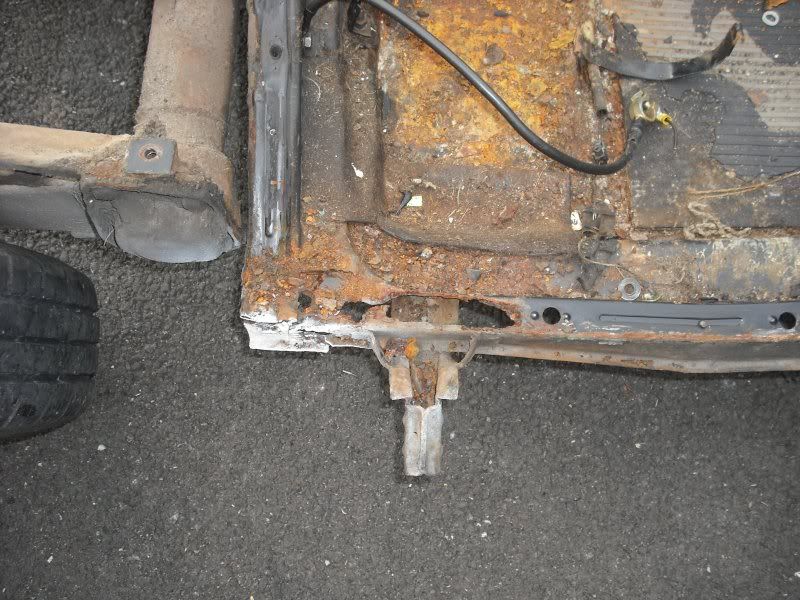 to this 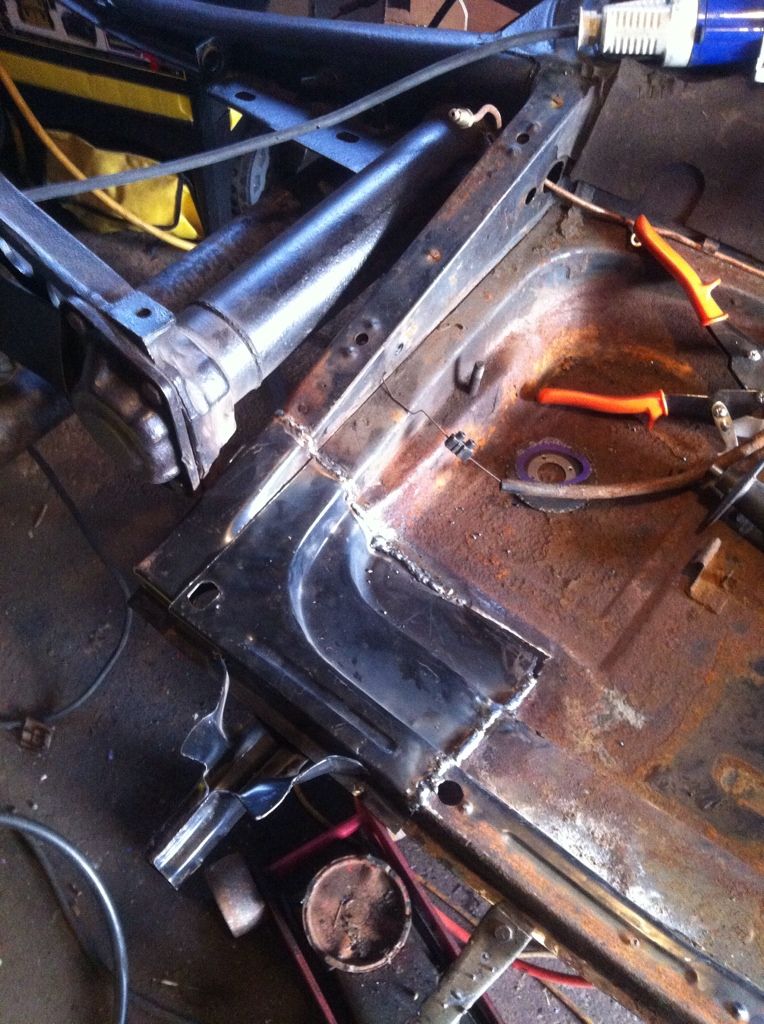 needs finishing and took alot of working to get the pressings to line up, but it better than the rotten curse word I cut out!  |
| |
|
|
|
|
|
Aug 22, 2012 20:02:36 GMT
|
not too much to report, damn Olympics keep making me watch telly! got the floor pan corner tidied up and painted 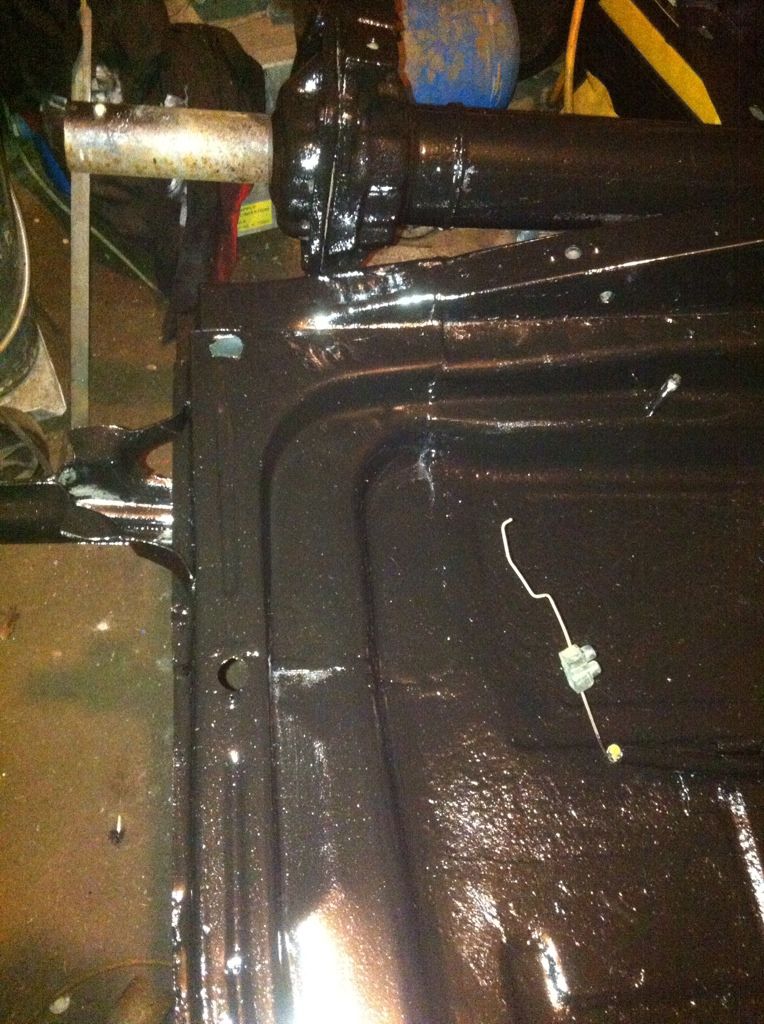 I then turned my attention to the front brakes, when they came off the looked like this 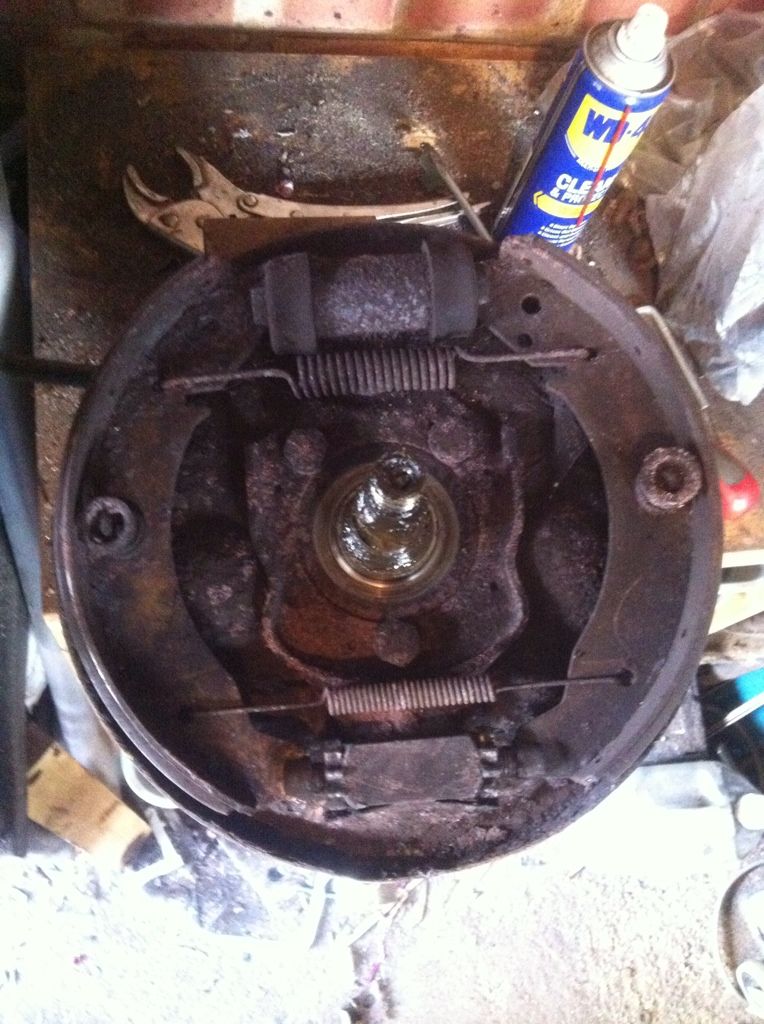 after a rub down, paint, new cylinder, shoes, fitting kit and reassembly they now look like this 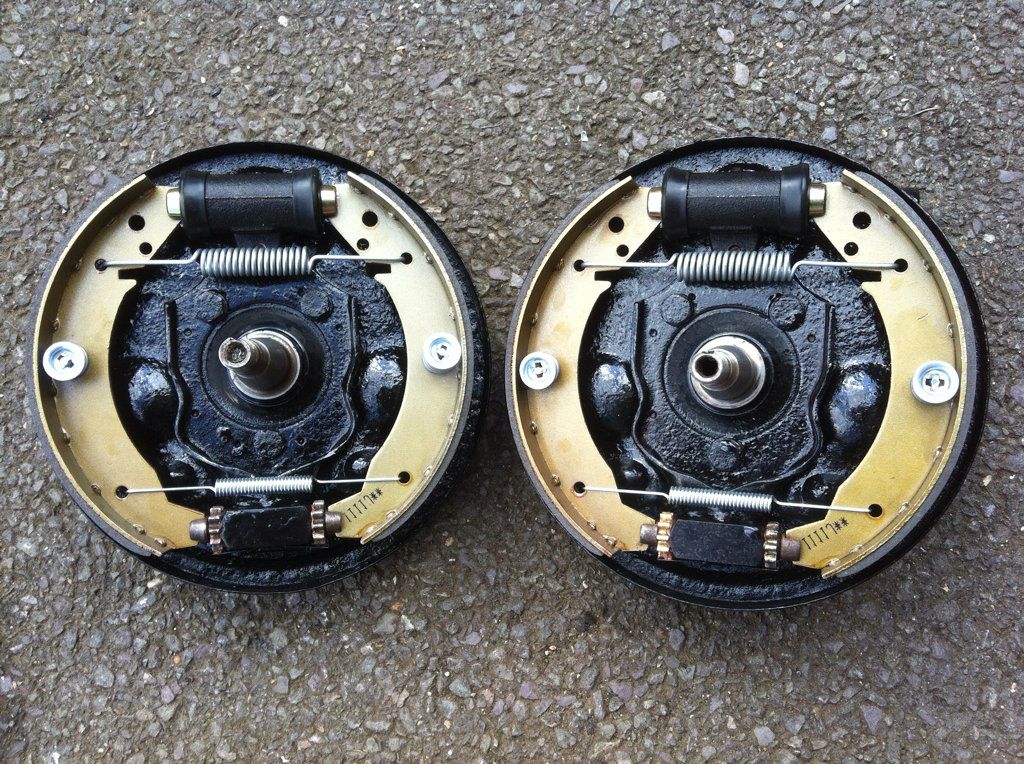 much better  |
| |
|
|
|
|
|
Aug 22, 2012 20:02:54 GMT
|
popped back into the garage between gold medal and flipped the chassis over to sort the under side. Again it is in remarkably good nick considering it is nearly 50 years old! 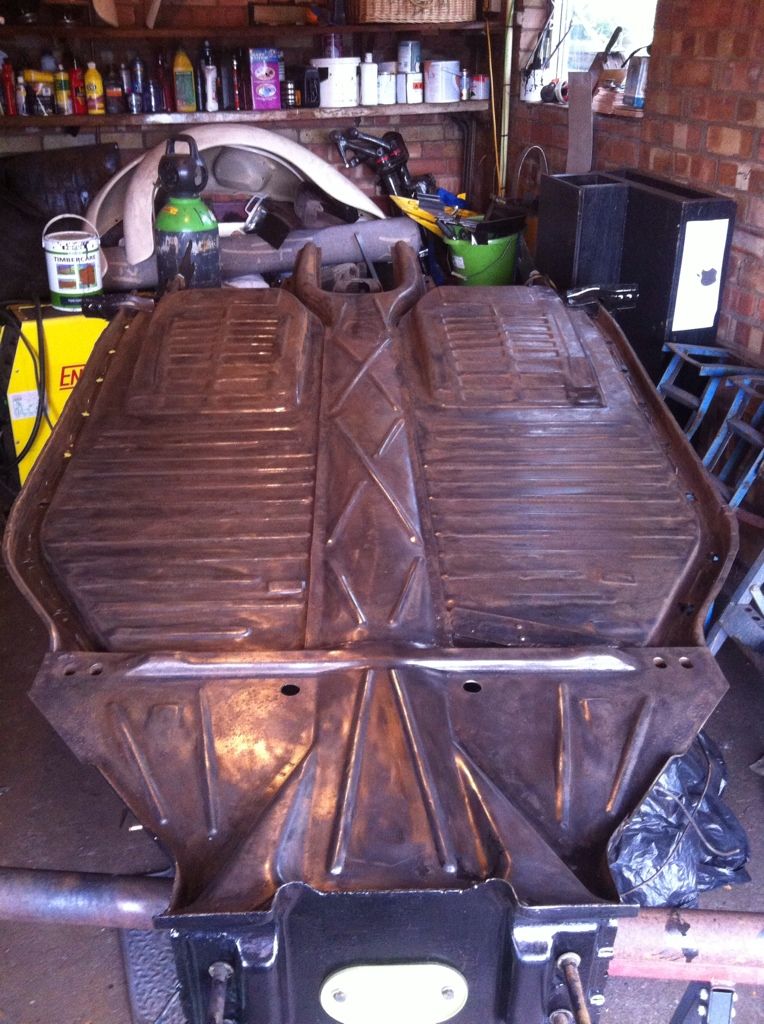 when it was stripped we removed the factory seam sealer (well most of it fell off!) so I had to seal it back up again before painting. 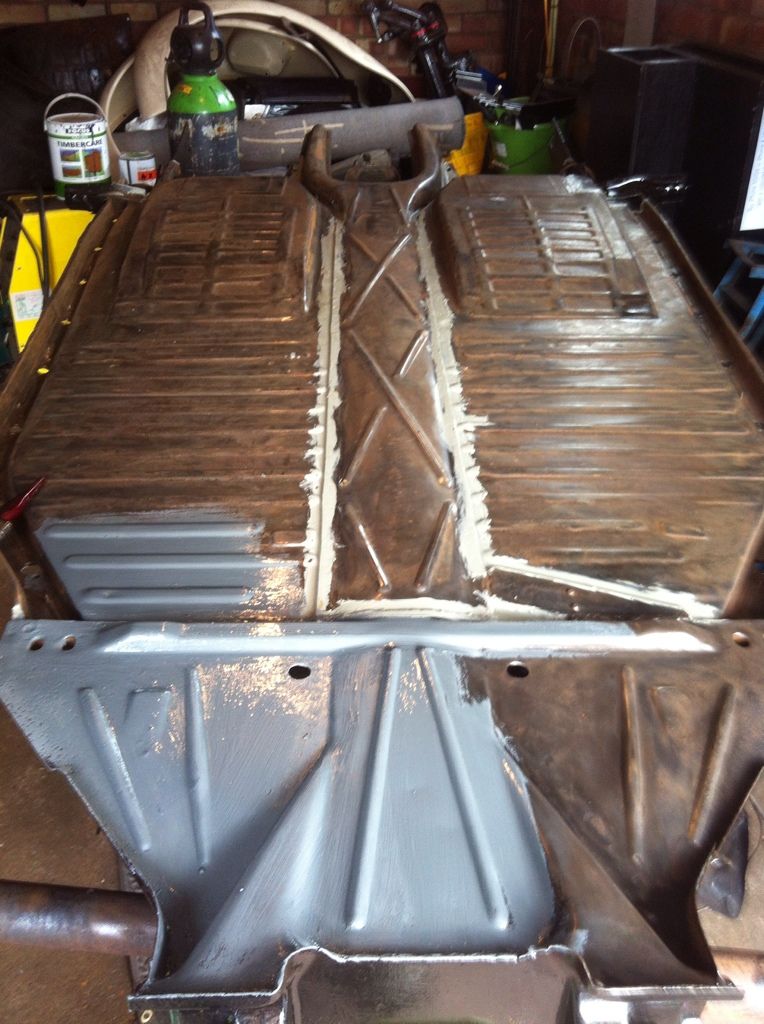 now to protect the underside there are huge debates over what to use, I asked the chap next door what he uses at work as he works for a metal tank fabricators and they have to protect them from all sorts and for a long time. He said I'll bring you something home, next day he appears with a 10 litre drum of zinc rich paint they use and guarantee for 50 years! that'll do me  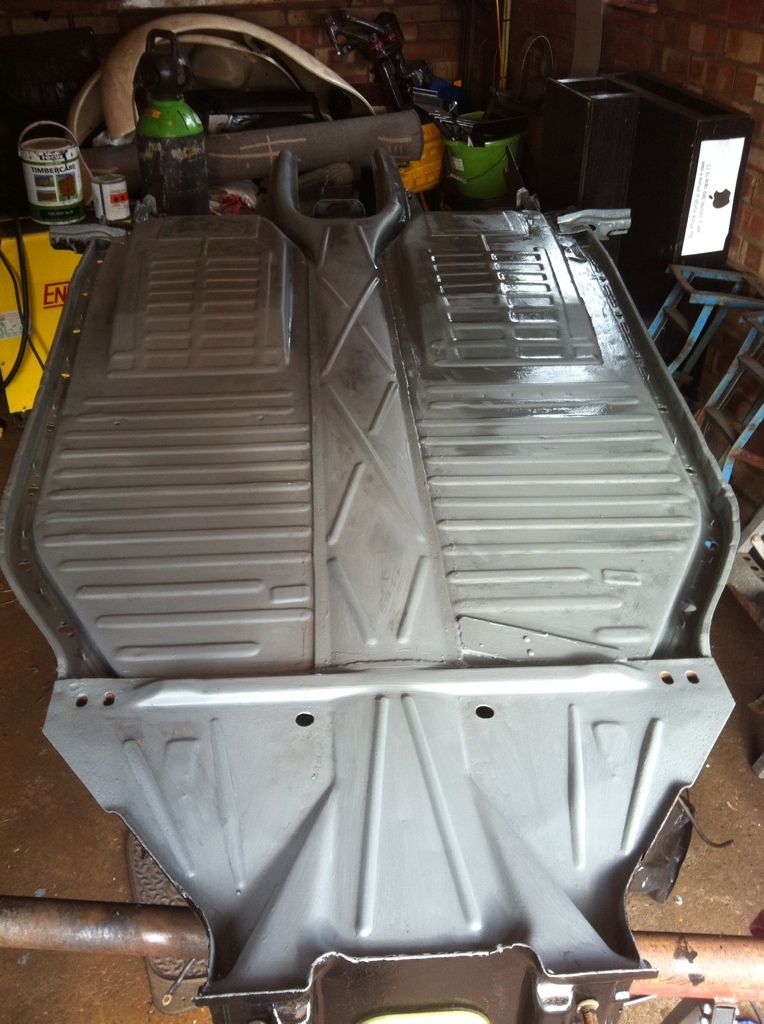 so just a topcoat of underseal and that's it done. |
| |
|
|
|
|
|
Aug 22, 2012 20:03:36 GMT
|
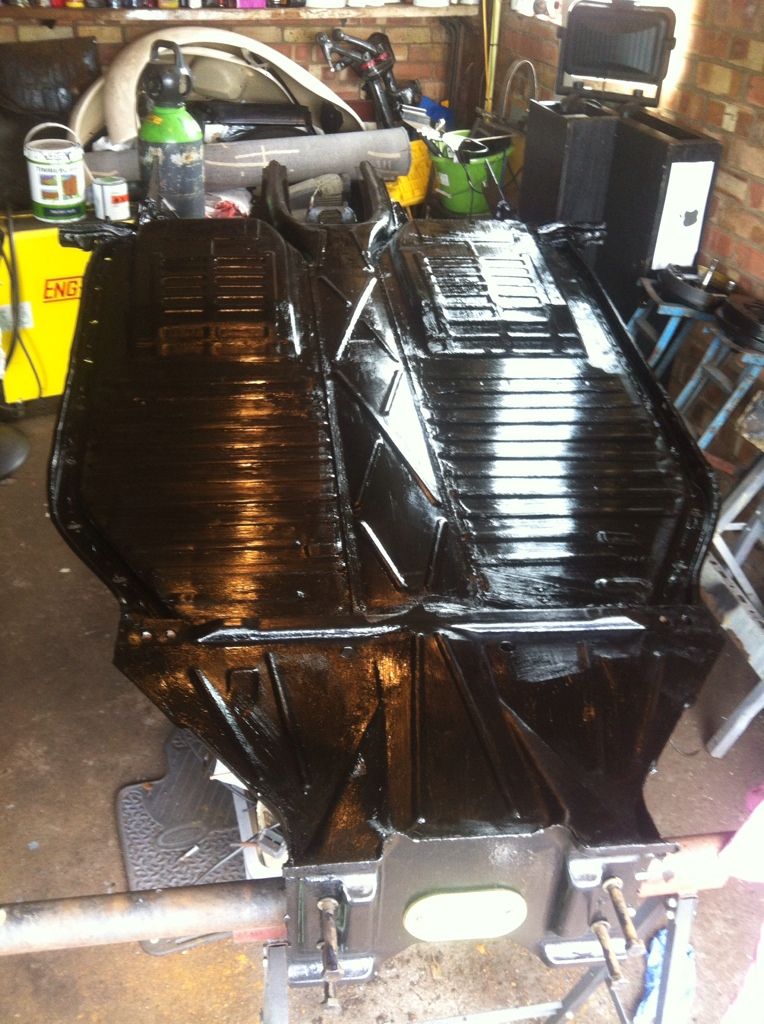 and topcoat done, just got to wait the 3 years it takes for this stuff to dry!! stuck another coat of sticky tar on the underside then started fitting up the front beam. 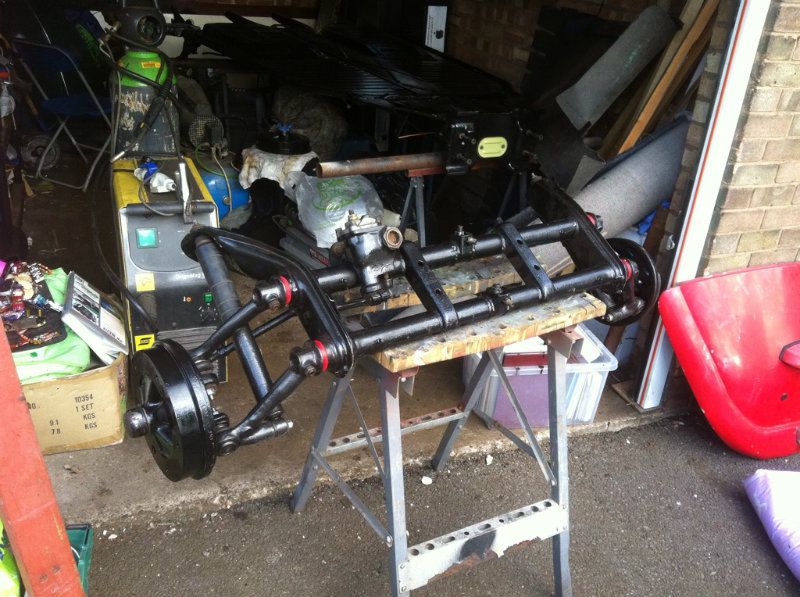 then turned my attention to the gearbox. before 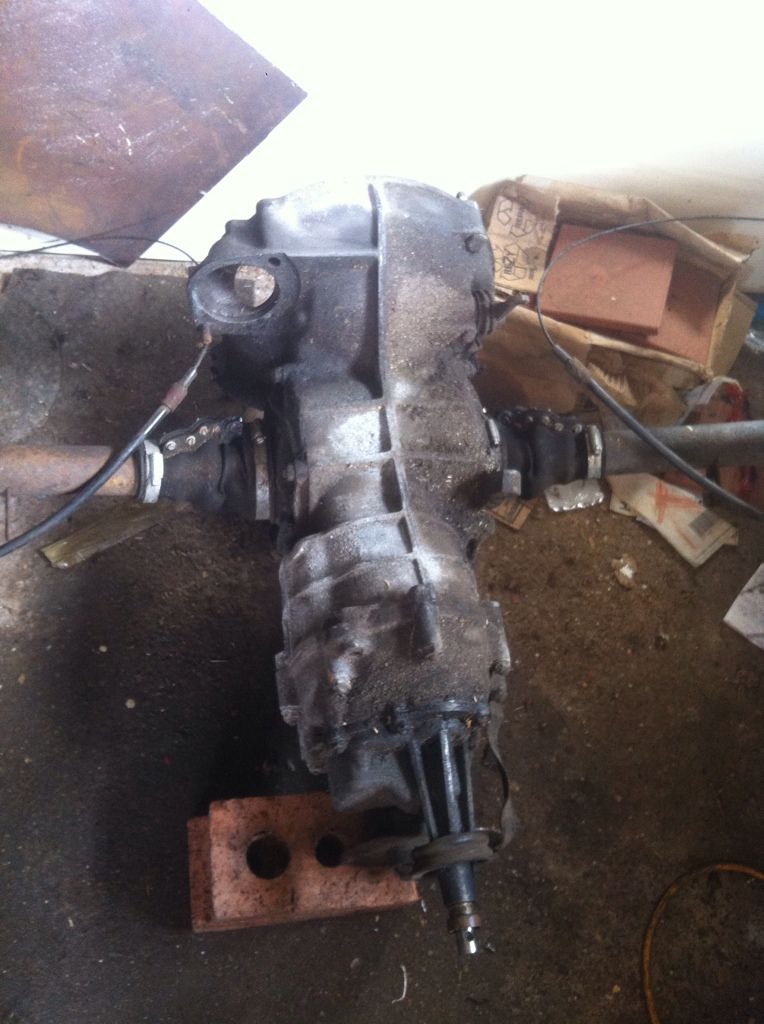 after (amazing what you can do with WD40 and a wire brush in a drill!) 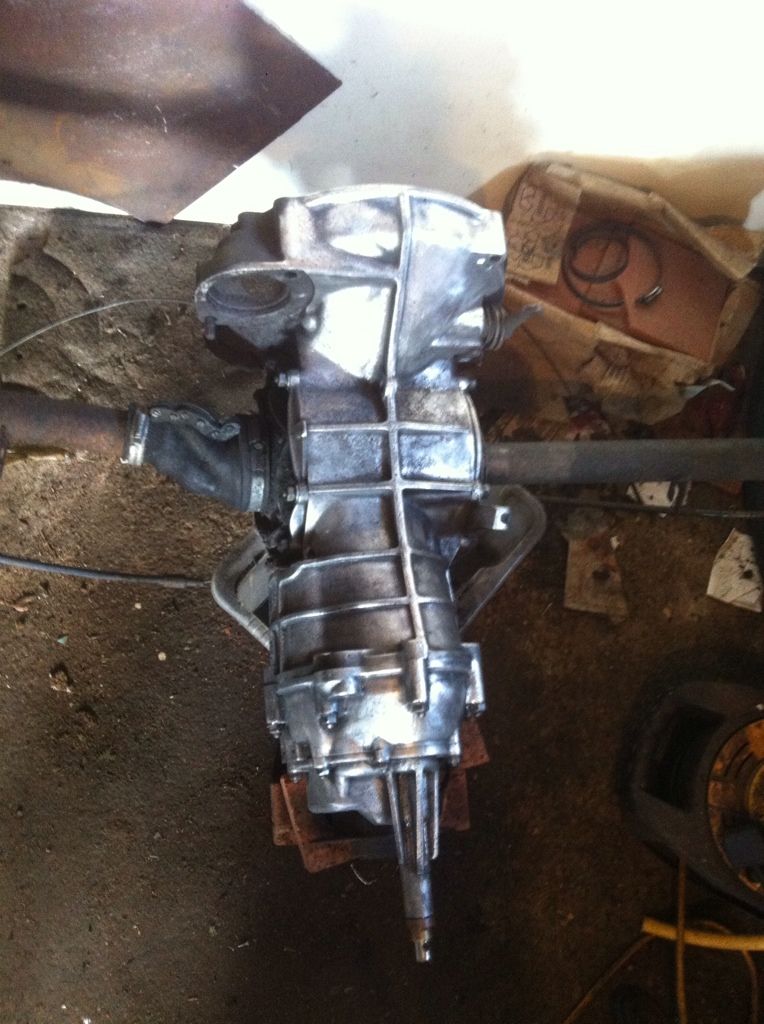 |
| |
|
|
|
|
|
Aug 22, 2012 20:04:00 GMT
|
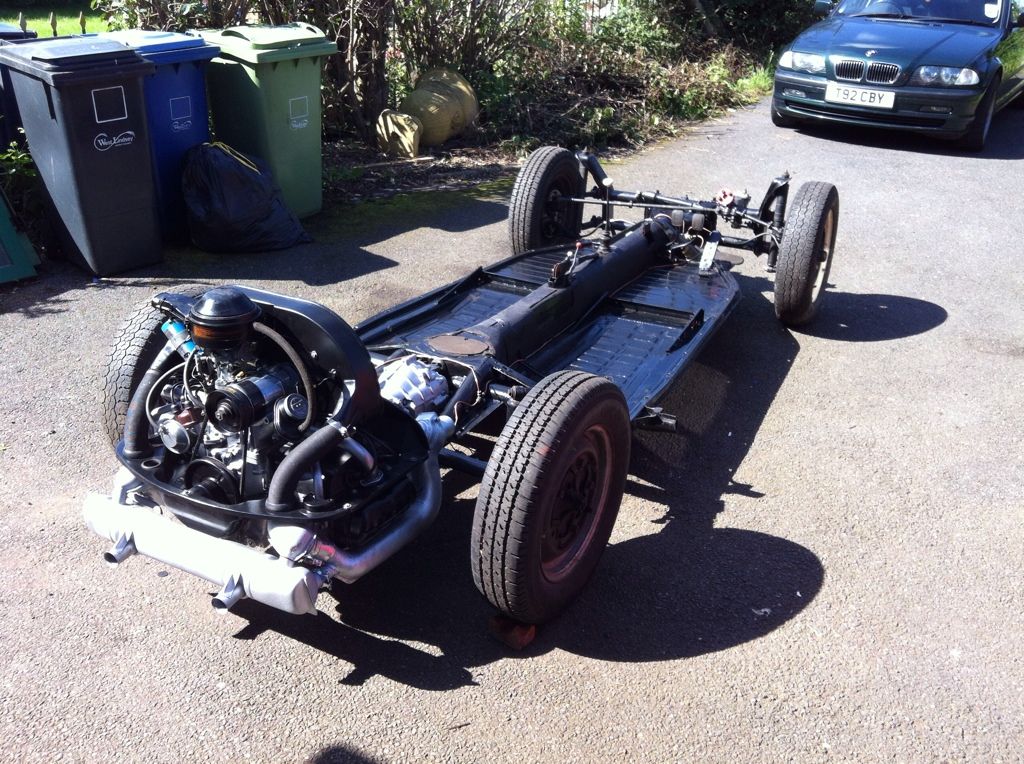
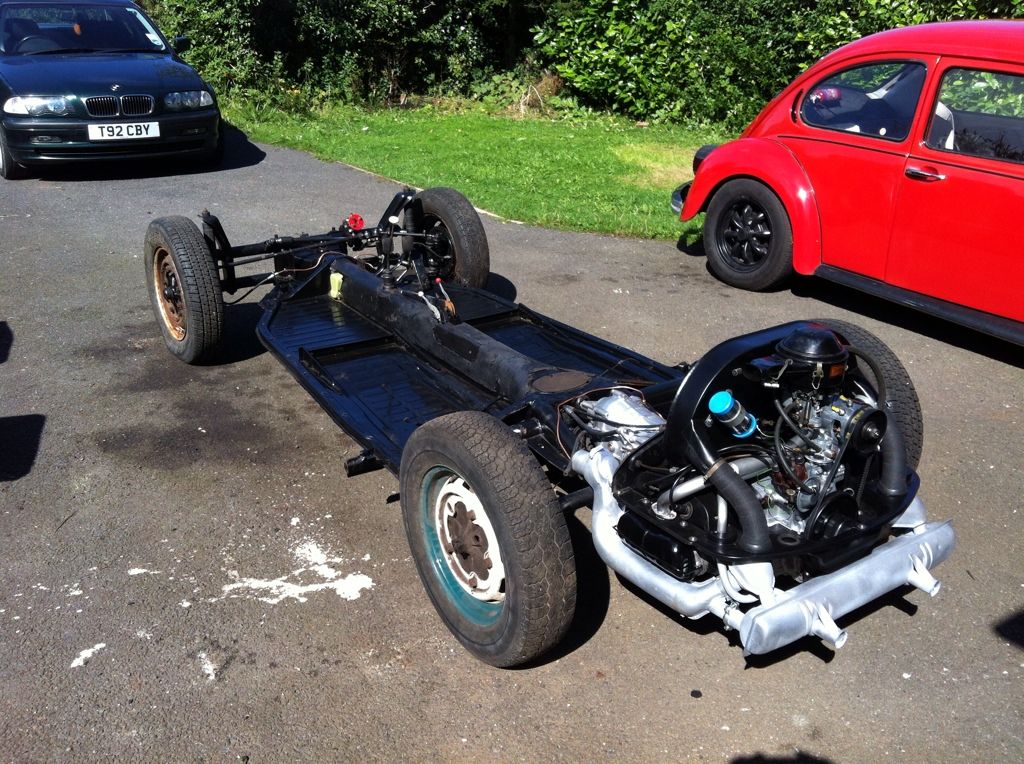
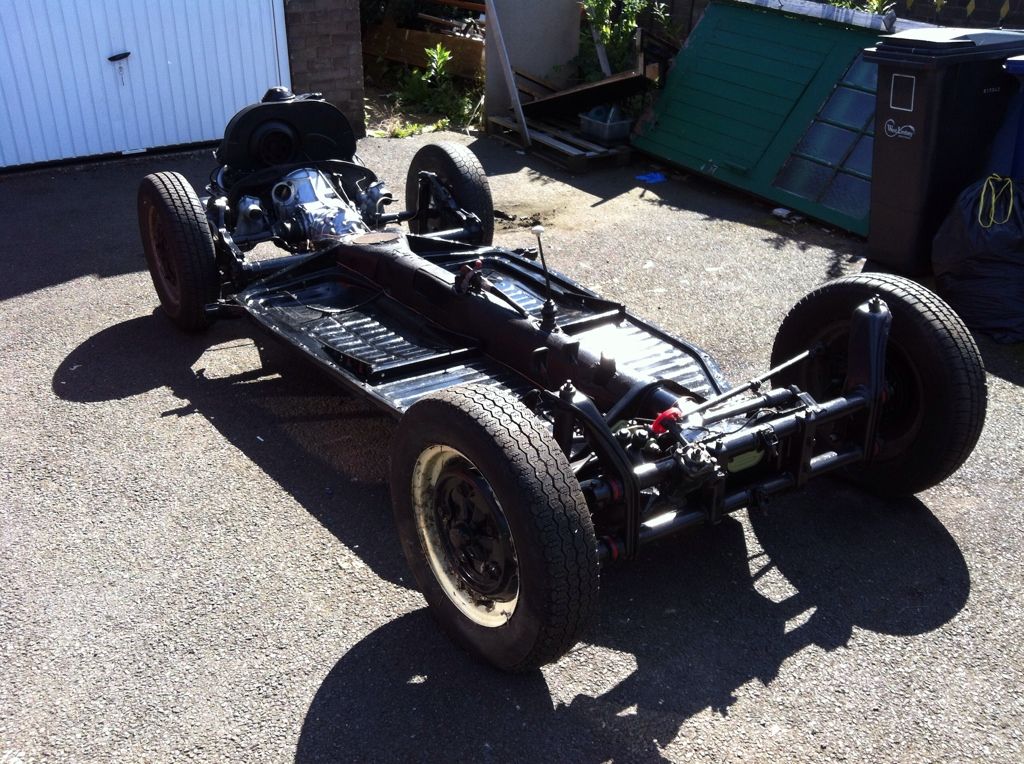
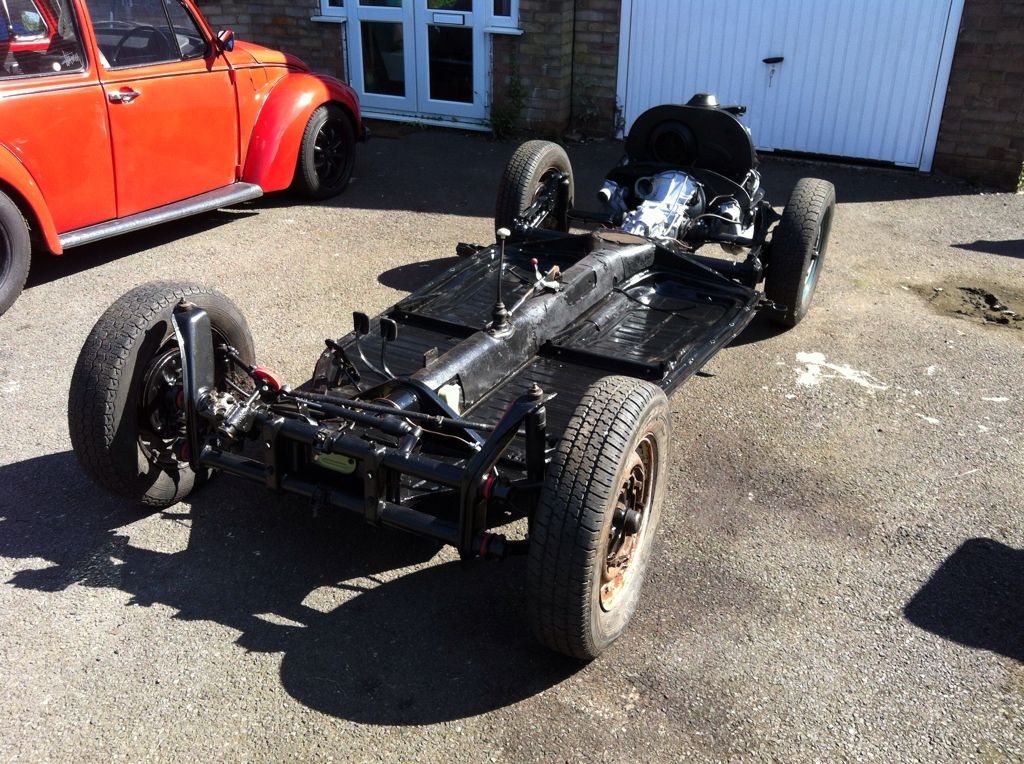
well for the first time in 16 months the beam is reunited with the pan 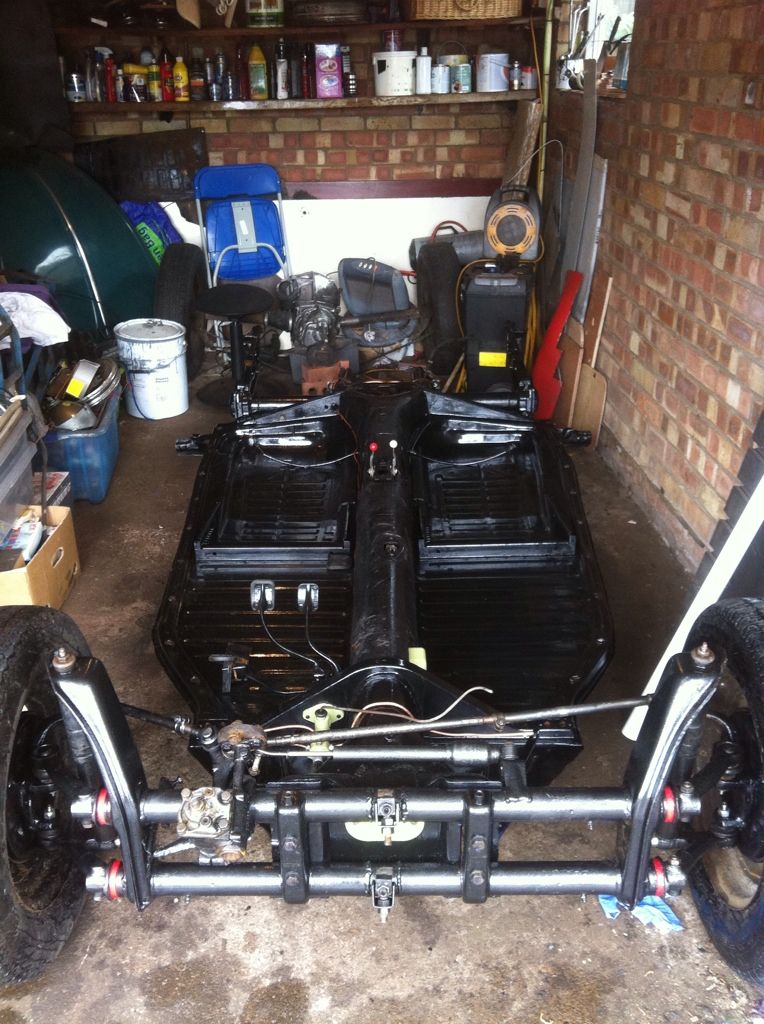 looks a bit better than it did! 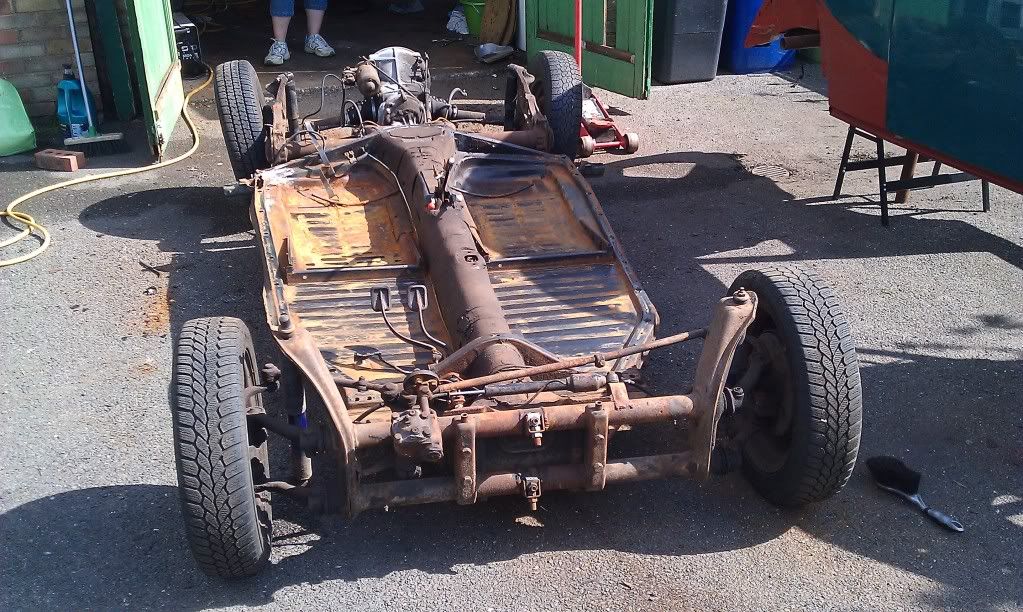 |
| |
|
|
|
|
|
Aug 22, 2012 20:04:51 GMT
|
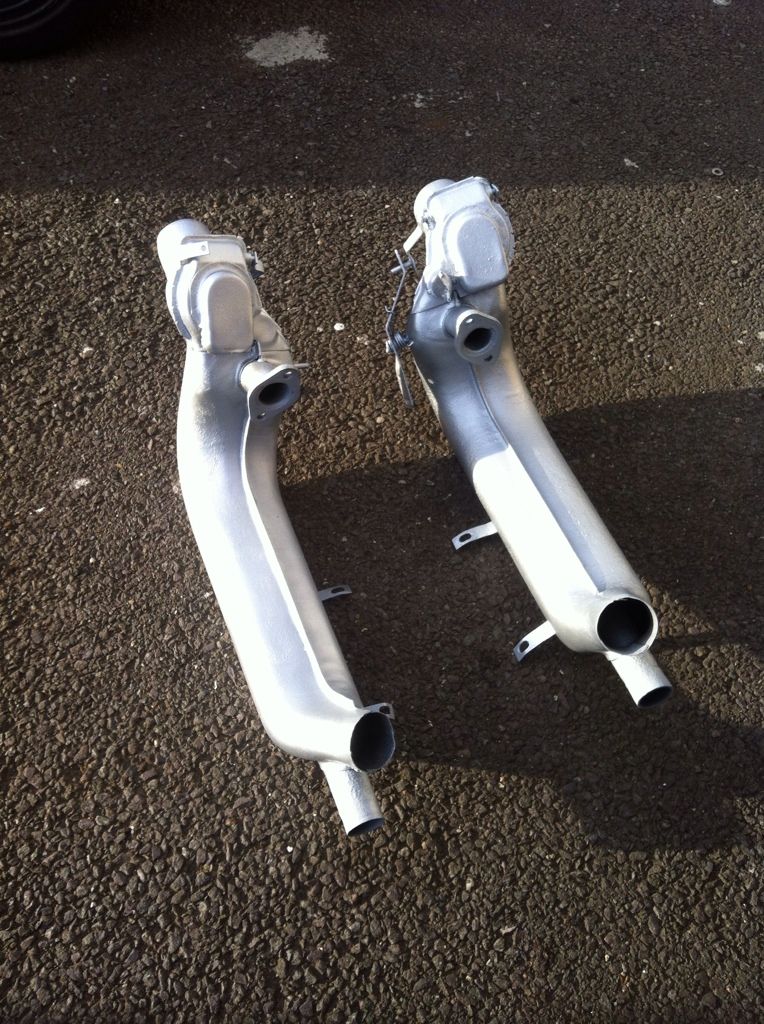
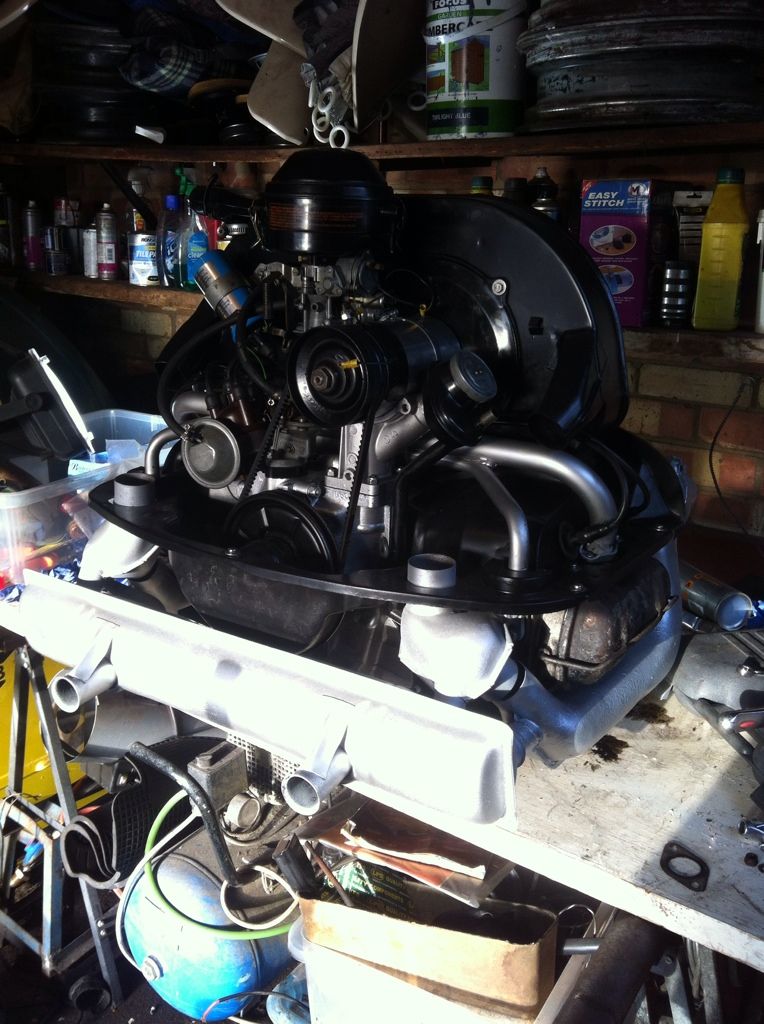
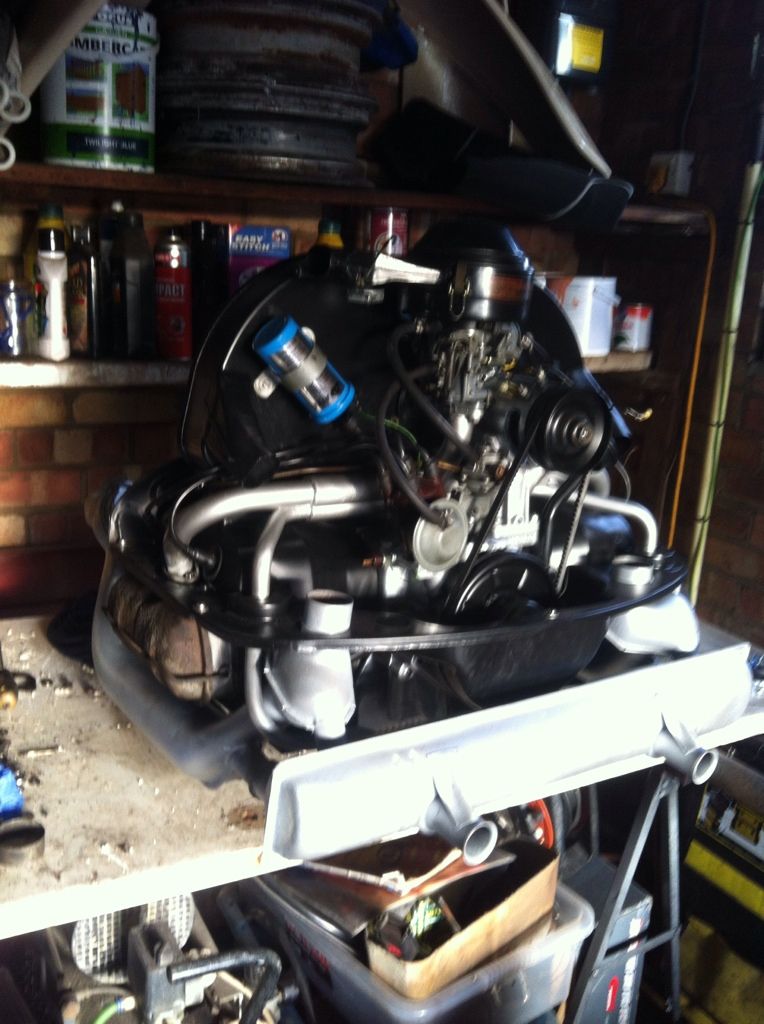
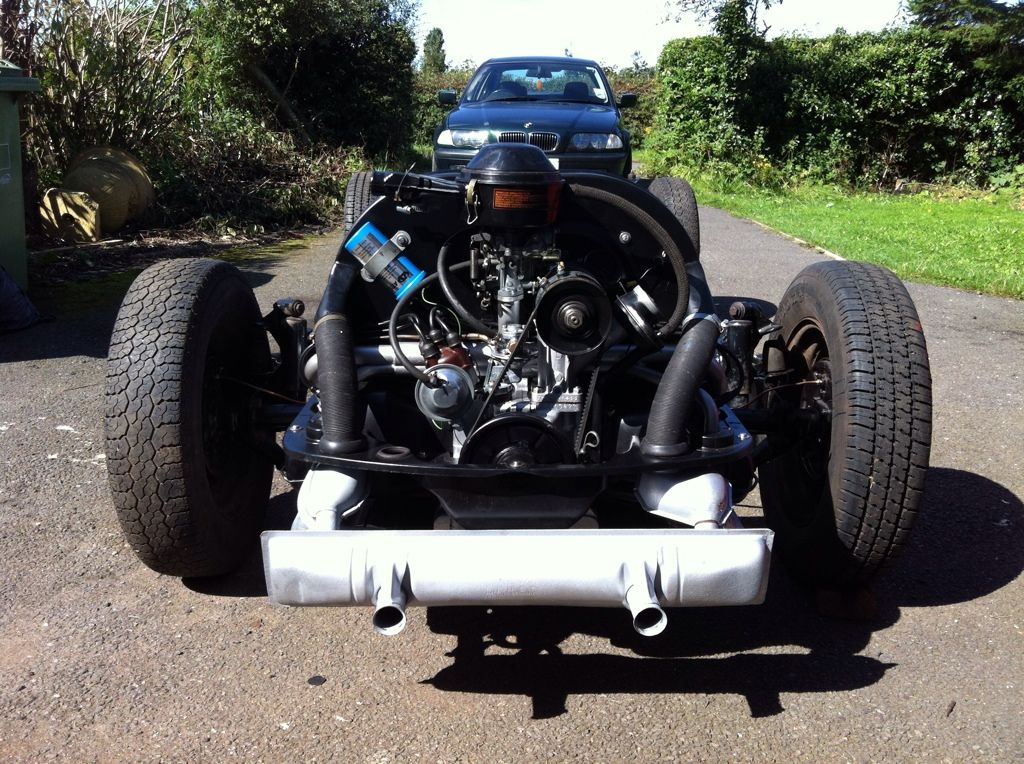
painted box 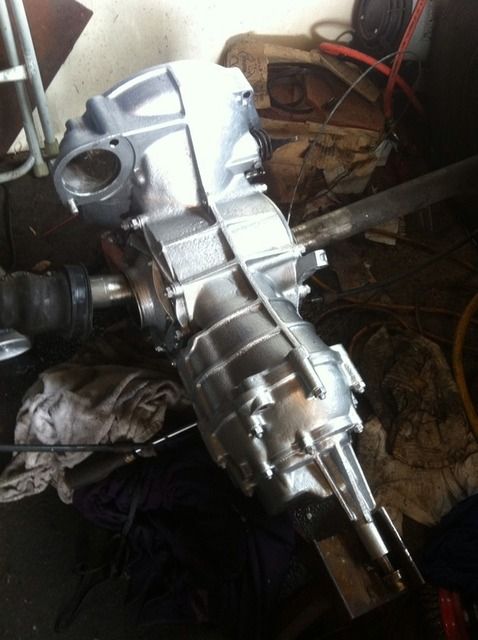 For the first time in a long time the box is back on and it's moves!! 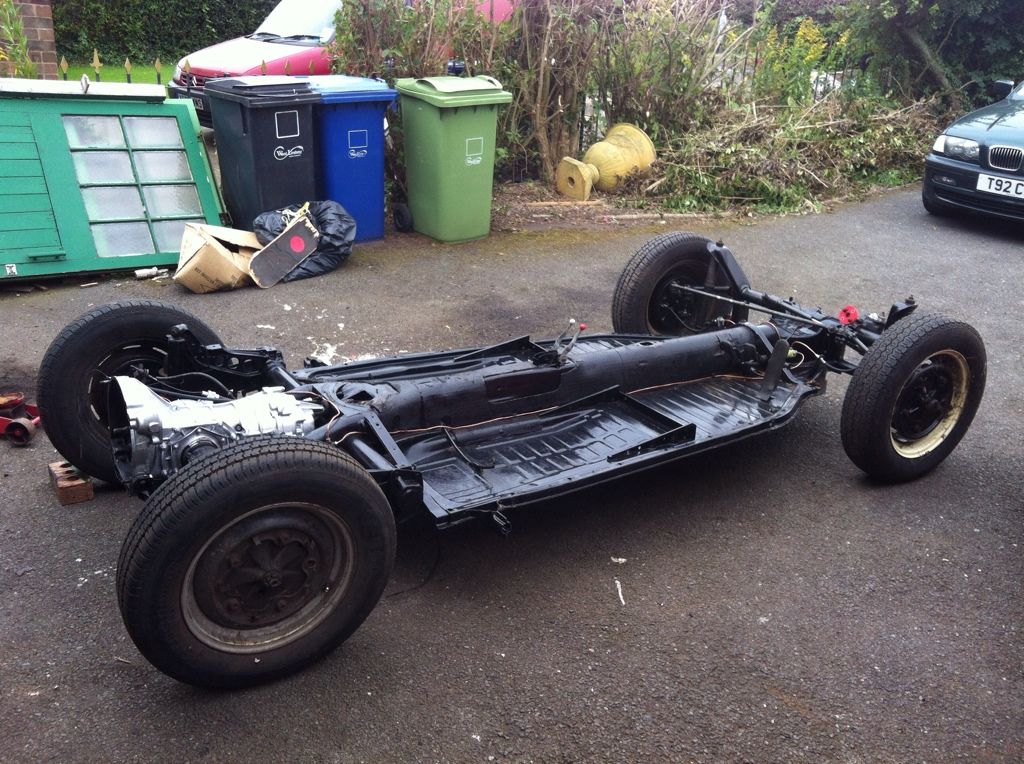 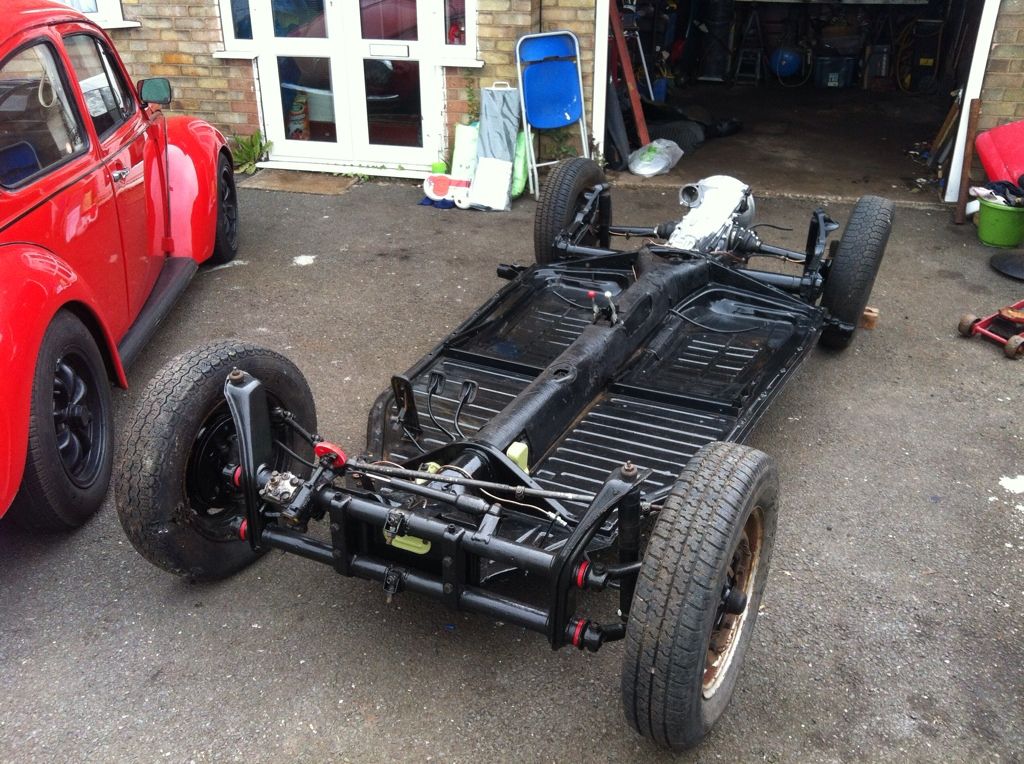 The box had a change of oil as a treat, and because most of it fell out when I was messing about with it, but it's not quite there yet, a few bits to do, namely clutch cable, handbrake cables and waxoyl the tunnel. As I have got this far the next stage involves rearranging the man cave. 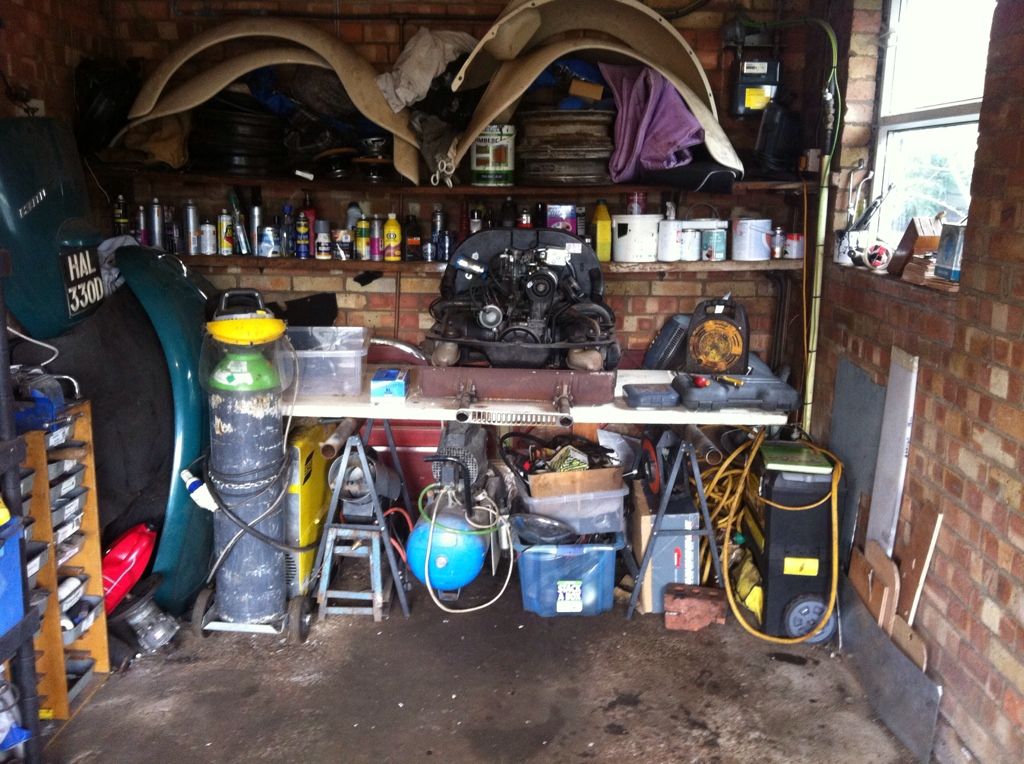 This is so I can start pulling the engine to bits. 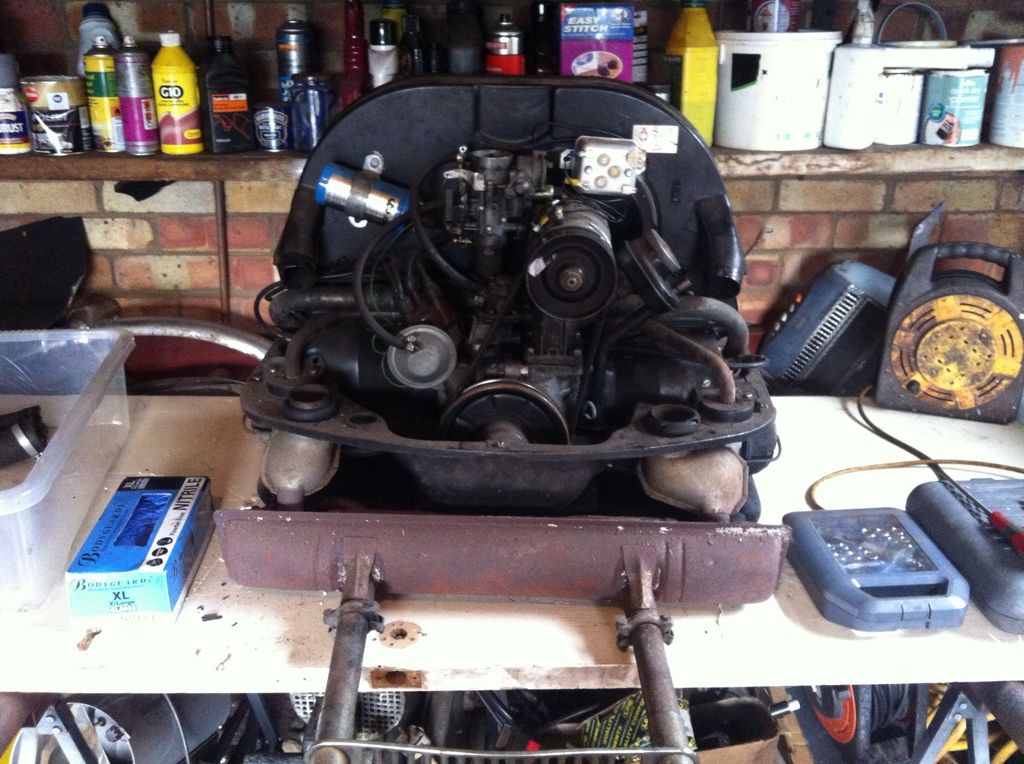 The engine was rebuilt by Danny at Reichspeed and has only done about 5k miles so internally it needs nothing but the outside is a bit of a state. An hour later I have this 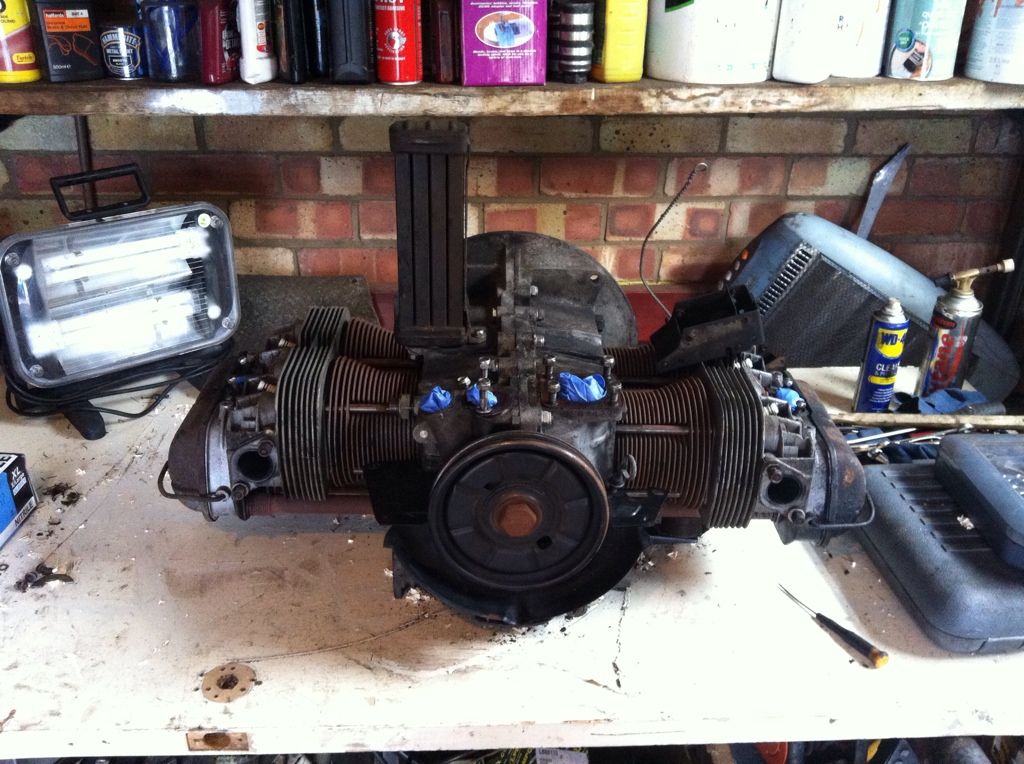 and these (amongst other things) 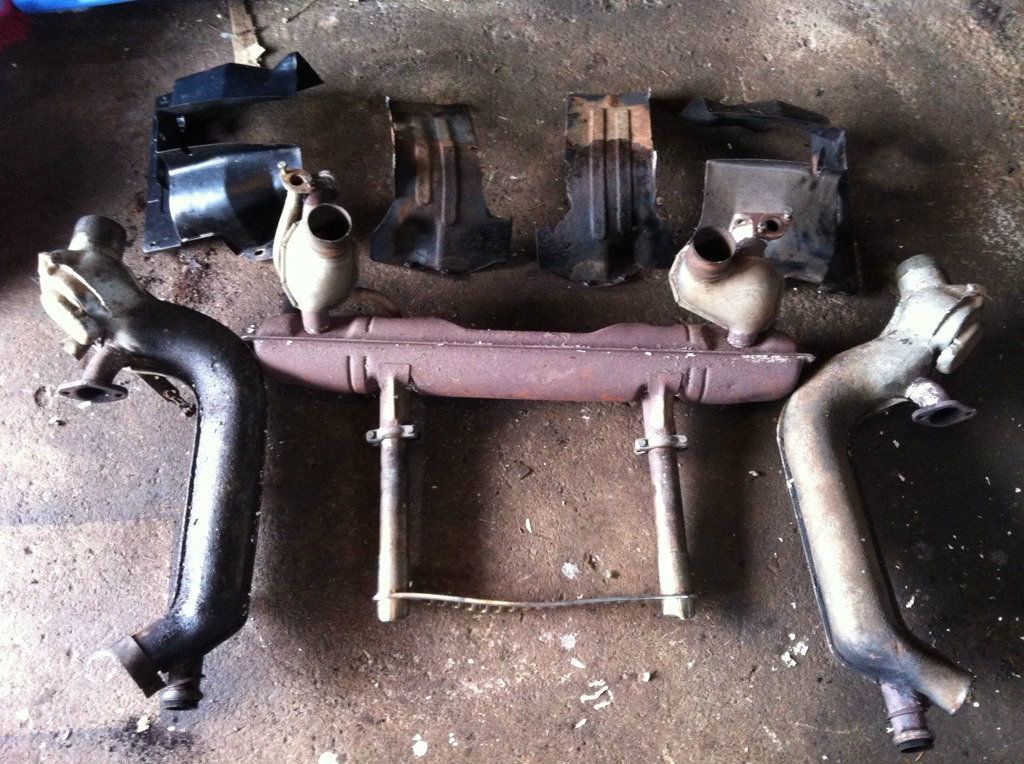 lower tinware is scrap but heat exchangers are remarkably good as is the exhaust (rusty but solid). So that's how it stands tonight 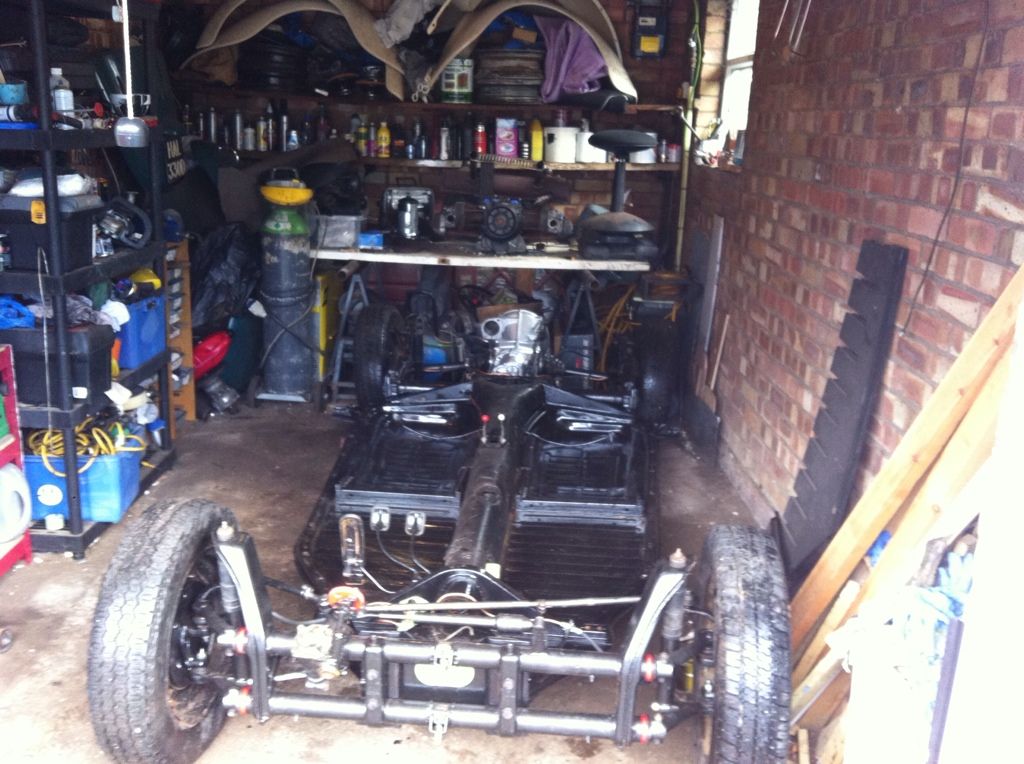 |
| |
|
|
|
|
|
Aug 22, 2012 20:05:35 GMT
|
dirty engine cleaning today start:  during 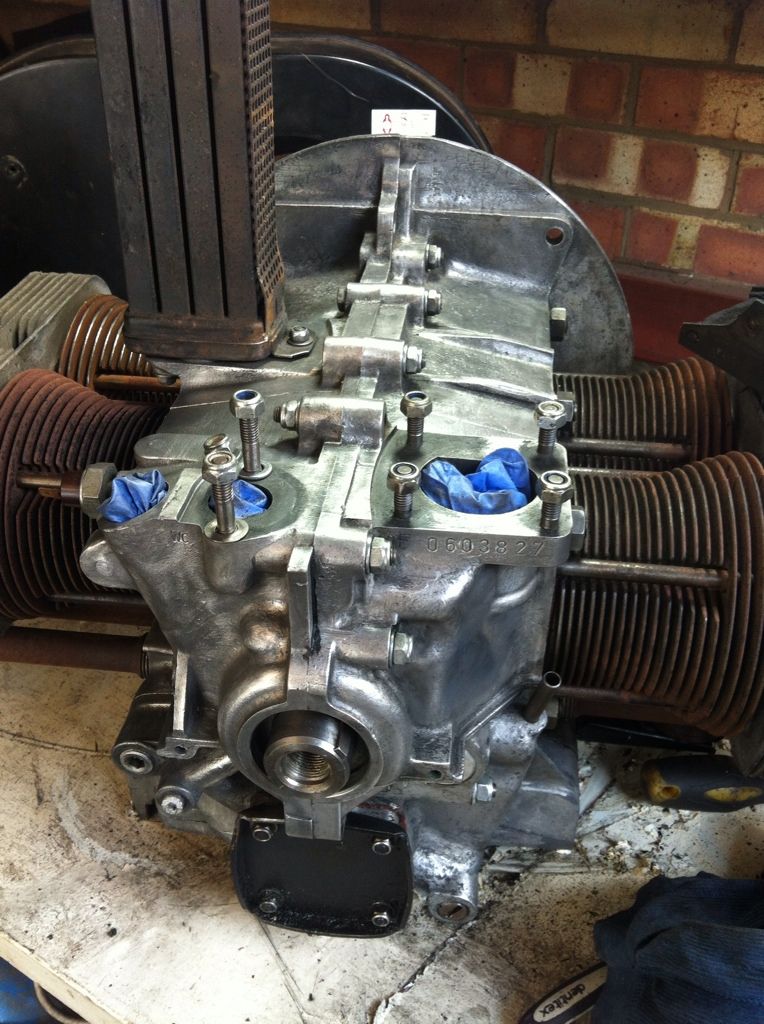 finish (kind of) 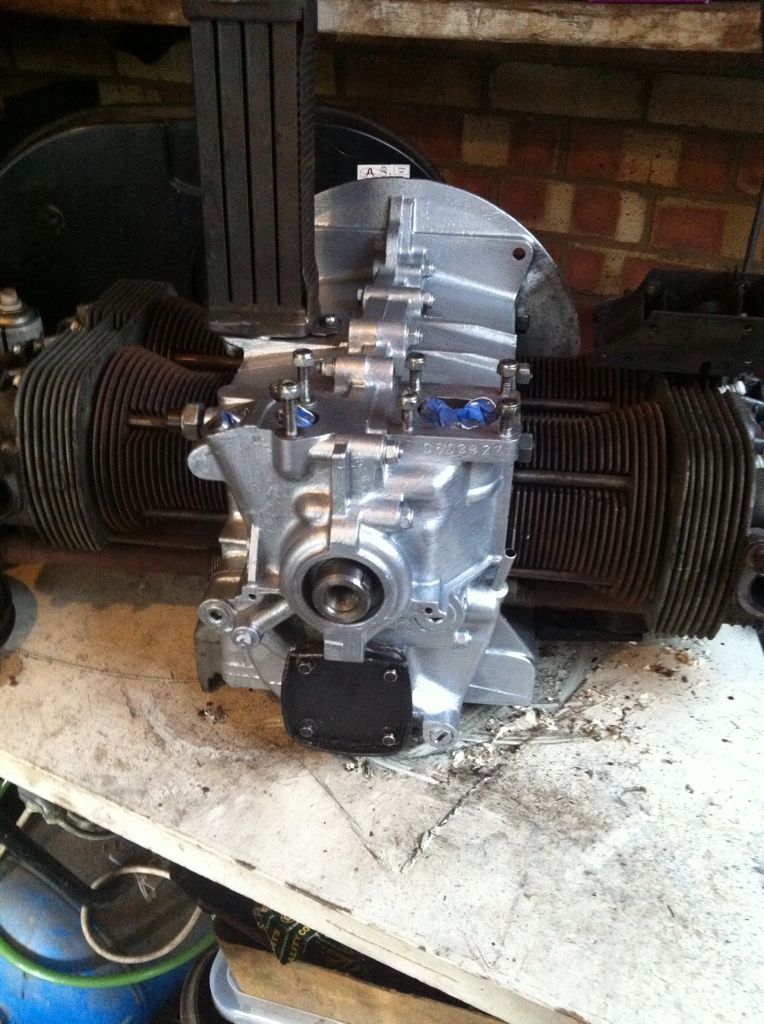 and that's up to date! Must remember to update this  |
| |
|
|
|
|
|
|
|
Aug 22, 2012 20:14:29 GMT
|
|
Crikey, good work there!
|
| |
Currently: 1974 Beetle - Golf -
Previously: e38 735i, e34 525iSE, 1972 Beetle, 1991 Scirocco Scala, Morris Minor, 1983 Polo Breadvan, 1991 Mazda MX6
|
|
|
|
|
Aug 28, 2012 14:19:42 GMT
|
progress today tinware rubbed down 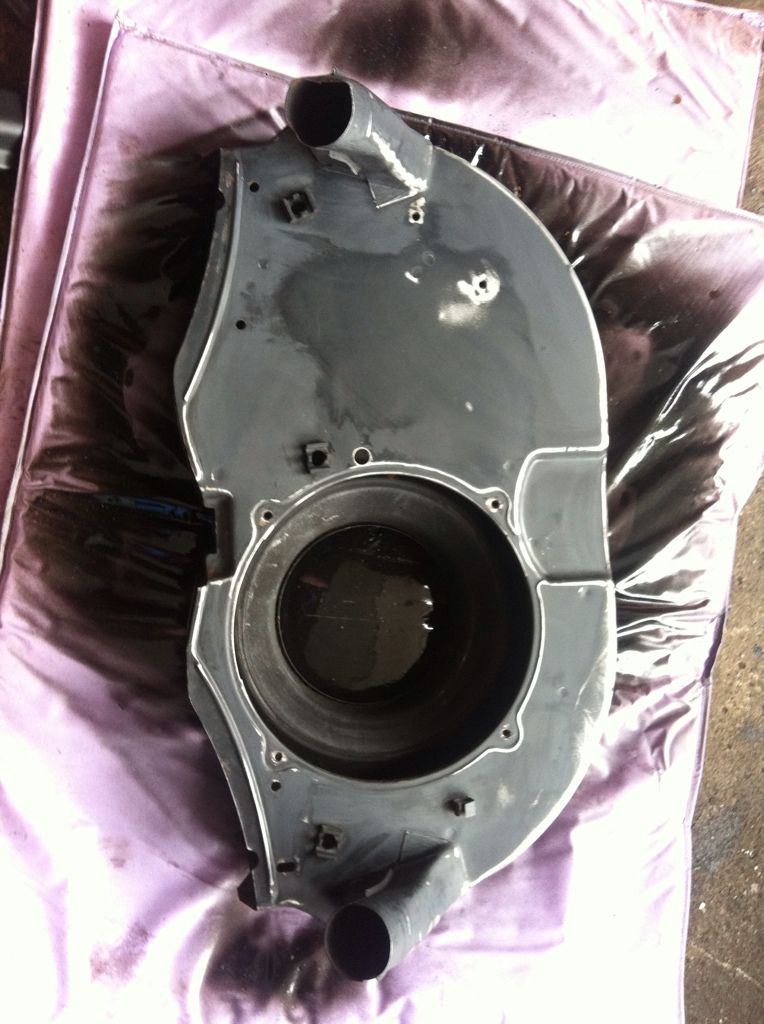 primed 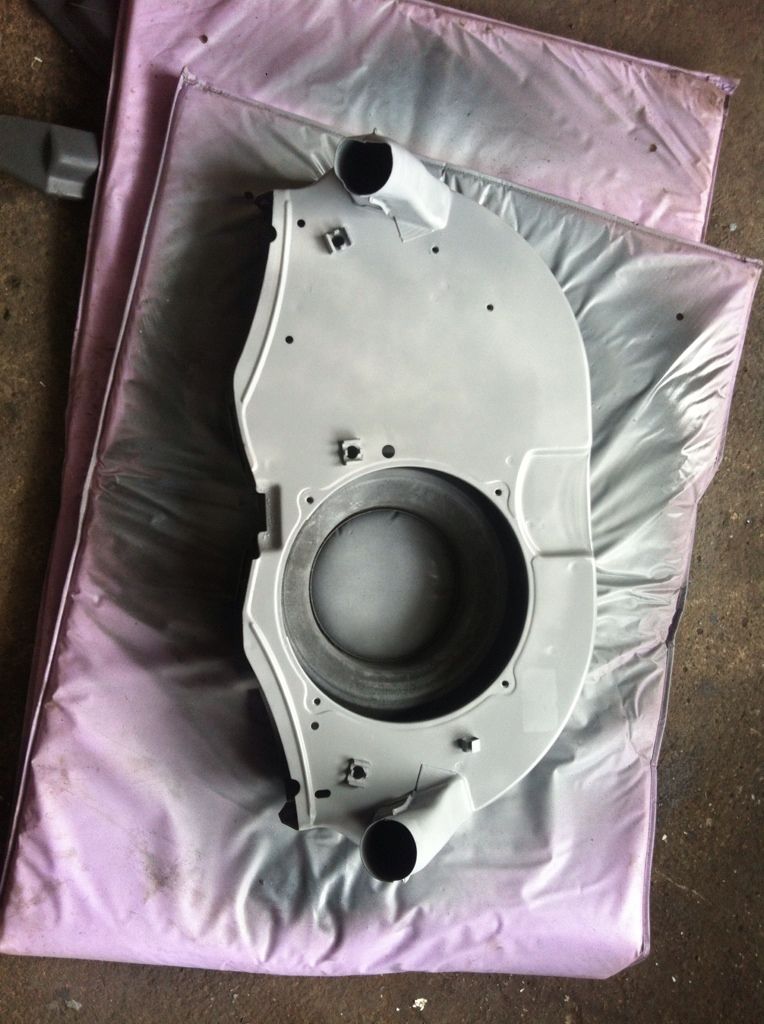 painted (missed that bit) and put back together to make sure I can remember where it all goes! (sorry for the curse word pic) 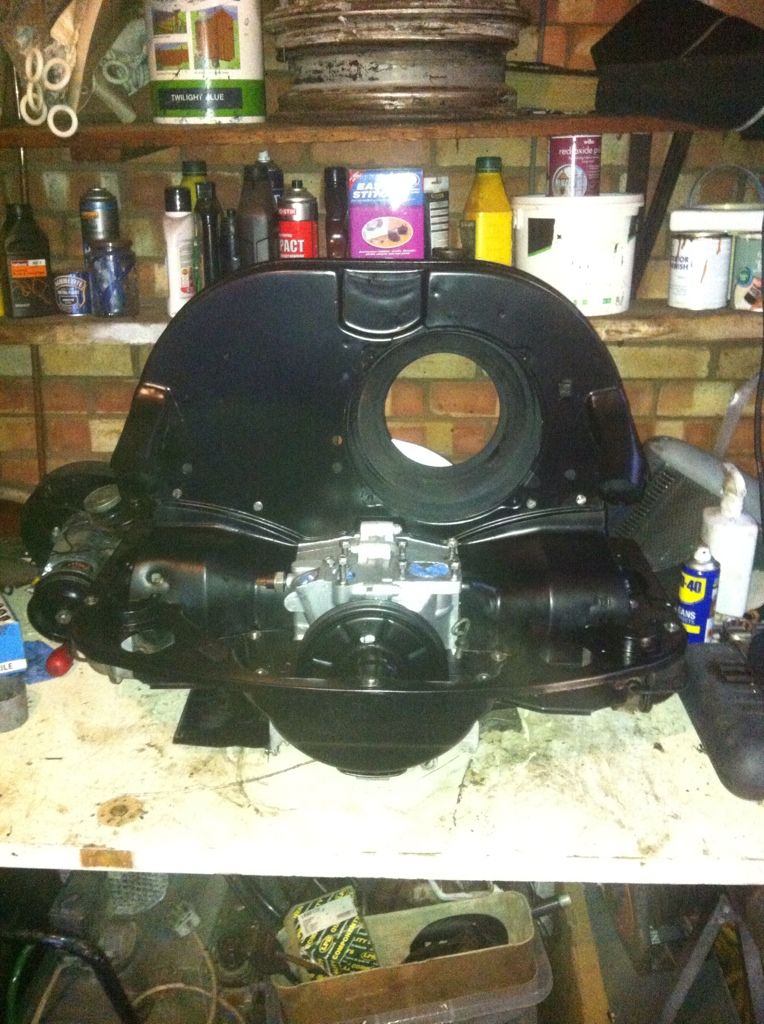 before  after 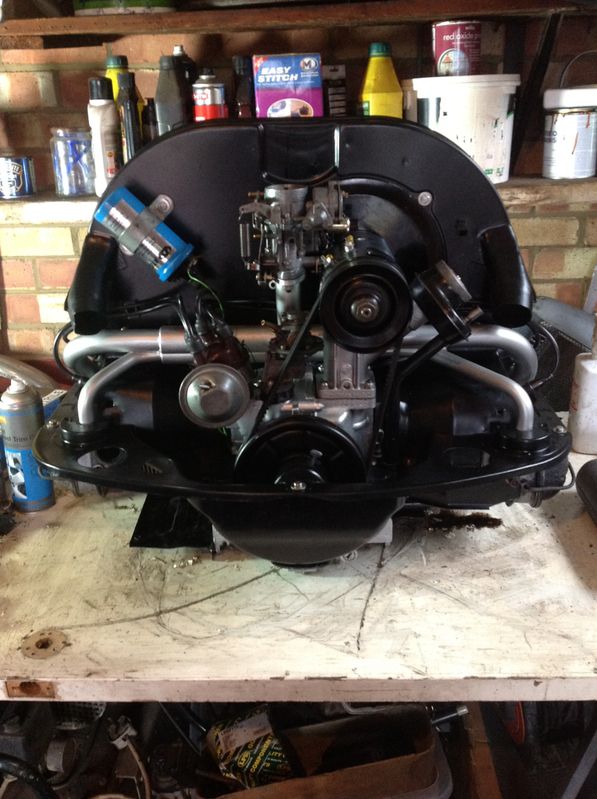 Really not feeling the 12V blue coil though it has had a different manifold on that I cleaned the carbon out of (not an easy task!). Still got the heat exchangers and exhaust to clean up the it's ready to install back on the gearbox |
| |
|
|
|
|
|
Aug 28, 2012 14:20:55 GMT
|
exhaust cleaned and sprayed with high temp paint 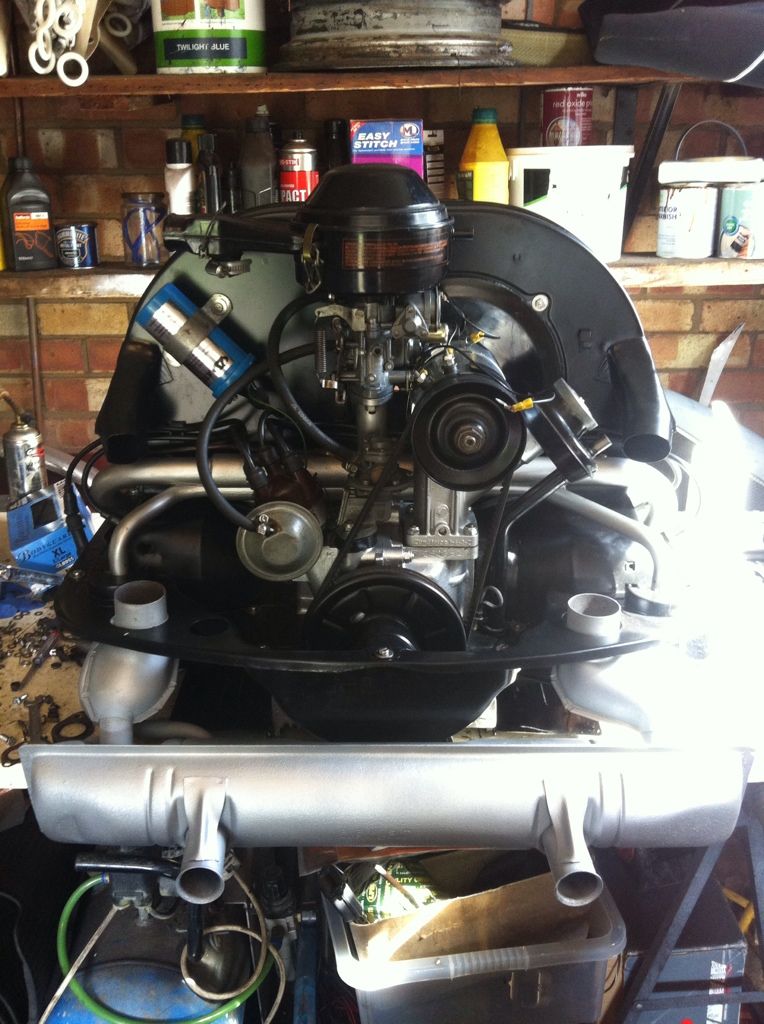 |
| |
|
|
|
|
|
Sept 1, 2012 18:50:06 GMT
|
|
|
| |
|
|
Mike D
Club Retro Rides Member
Posts: 2,197
Club RR Member Number: 57
|
1966 VW BeetleMike D
@v8mike
Club Retro Rides Member 57
|
Sept 1, 2012 19:24:32 GMT
|
Is this the one you got off the old Chap? She's looking a little dream now  Nice work Dude! |
| |
|
|
|
|
|
Sept 1, 2012 19:27:17 GMT
|
|
This is the second 1 owner java bug we have had, the first one sadly got sold, and now is a full blown drag car (such a waste) this one was put in a garage when the owner died as his wife couldnt part with it, 8 years later she went into care and we took custody.
Seems the right thing to do and restore it properly(ish)
|
| |
|
|
|
|
|
Sept 1, 2012 19:56:28 GMT
|
|
Loving this. Plenty of inspiration for doing my own Beetle.
|
| |
|
|
|
|
|
Sept 14, 2013 14:39:52 GMT
|
So it's that time of year again when I try an find some enthusiasm to get more done to poor Hal. It's been 4 years so far and now starting to get a bit of a drag. Once I'm up and running it's all good. so things done this week: so the crossmember/rear quarter/boot floor had been 'fixed' a couple of years ago when I first started and it had sat outside ever since and by now was kenked again 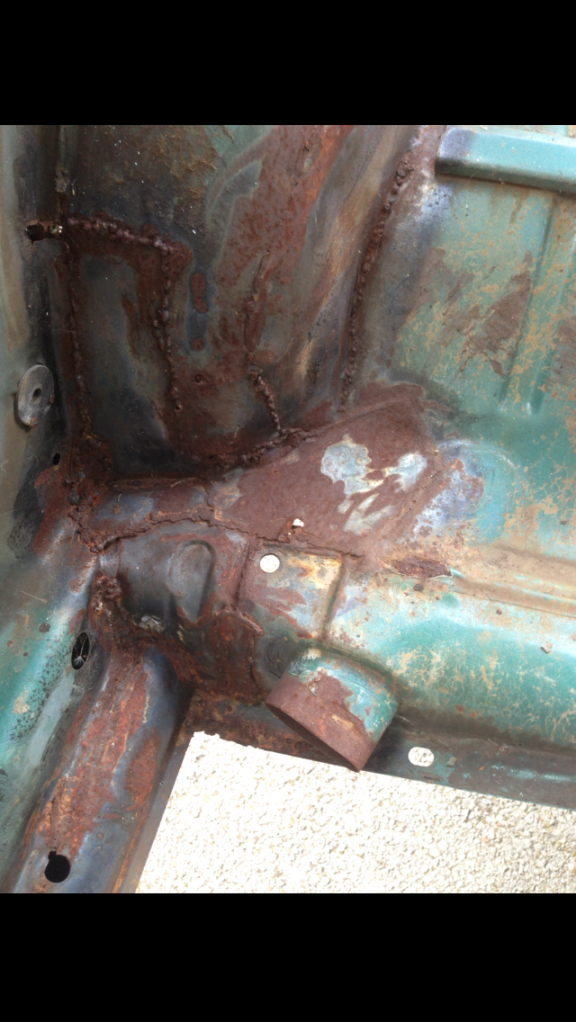 not proud of my 'handy work' here so it had to be sorted properly so this lot was ordered 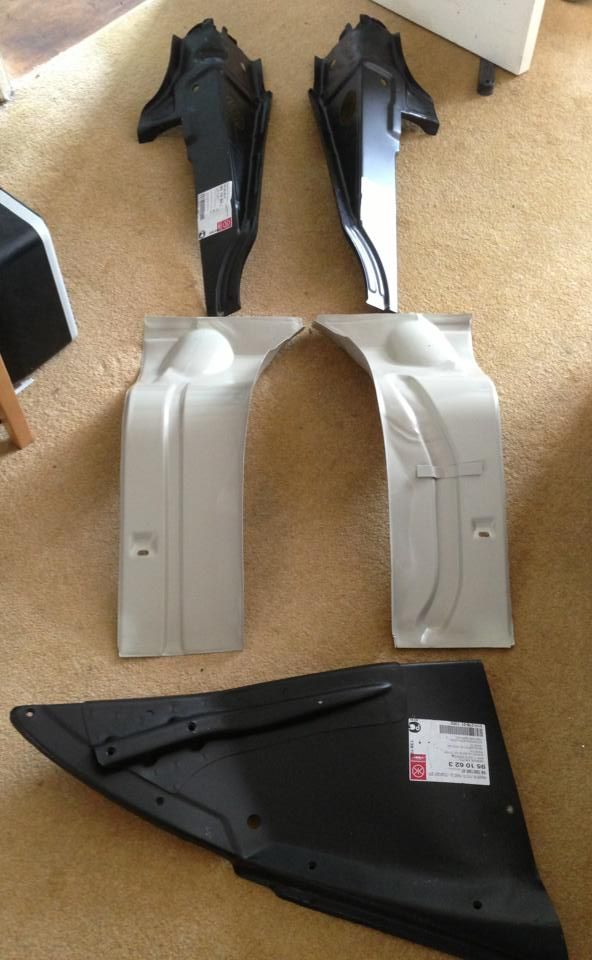 4 panels was £200 and I wasn't even going to use all of each panel! So sorting the bodged work out was the first port of call cut out all the curse word 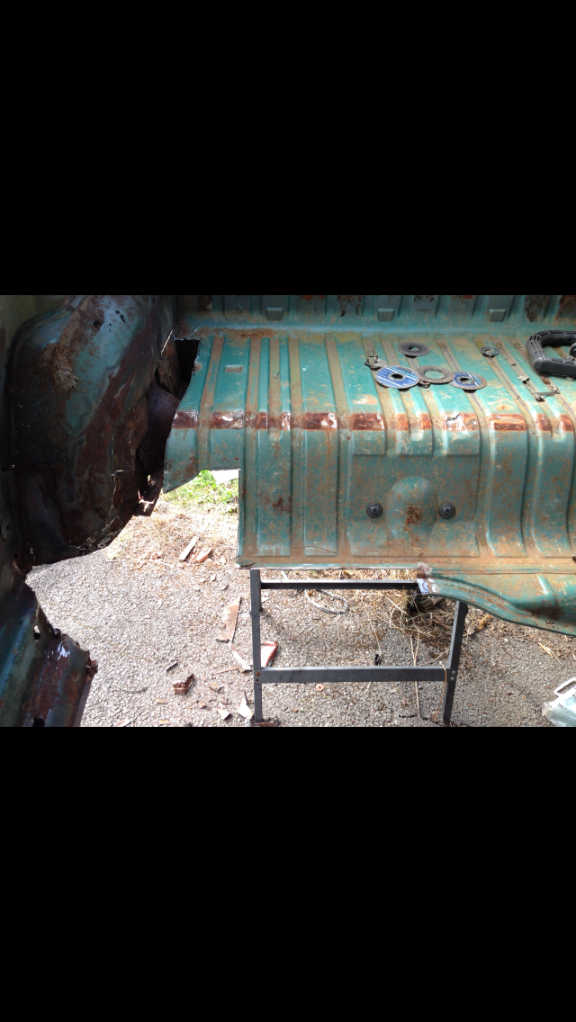 after cutting all this out I discovered that the rear of the body mount was rotten, luckily it was just around the mount itself. It had been plated before but need cutting out and redoing (more on this later) So with me wanting to preserve as much original metal as possible I cut off just as much as I needed from the new crossmember, mainly just the other side from of the heater tube. After ALOT of dicking about I realised the new pressing was pretty much nothing like the original and the two bits were never going to line up! Kiss goodbye to £40 and order a new crossmember was the order of the day then. Just Kampers delivered in extra quick time, so thanks to them, and I could get under way. Unfortunately that side has been bodged many times before (me included) and it's a bit patchworkie (probably not a word) and realistically it needs a full rear quarter to make it 'correct' however I did my best and now it's rock solid and the small mercy is that this will never be seen (thankfully). 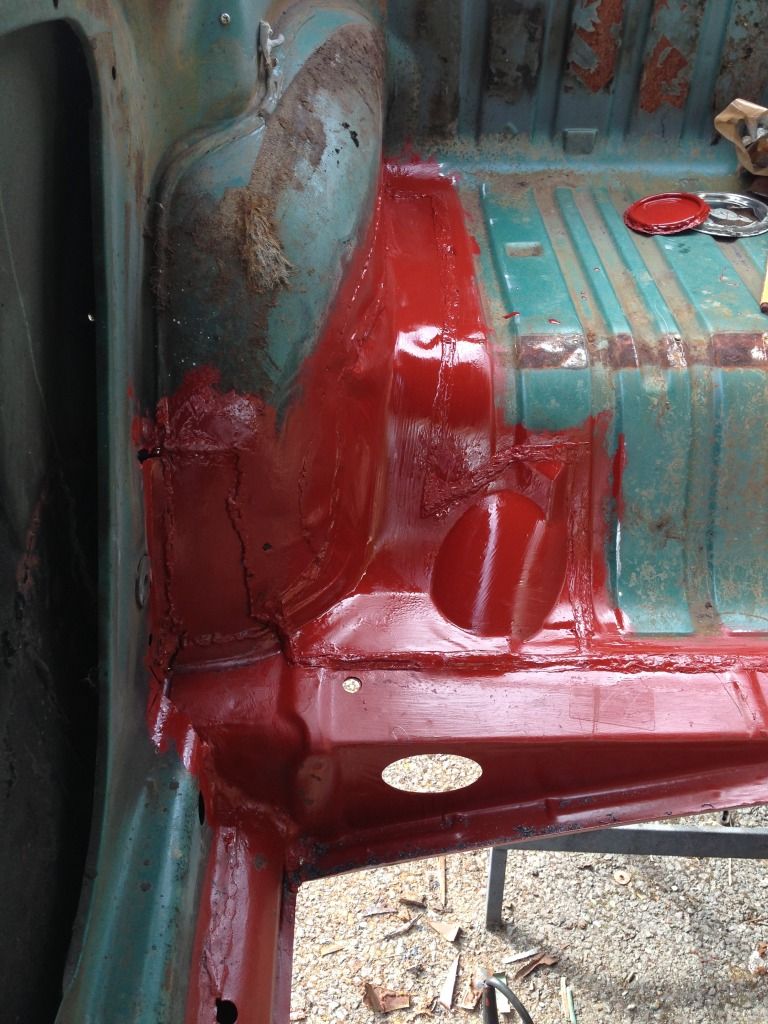 functional! The other side was a chuffing breeze in comparison and wasn't as knackered! 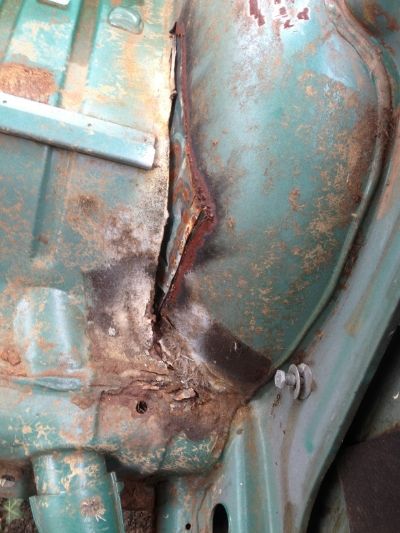 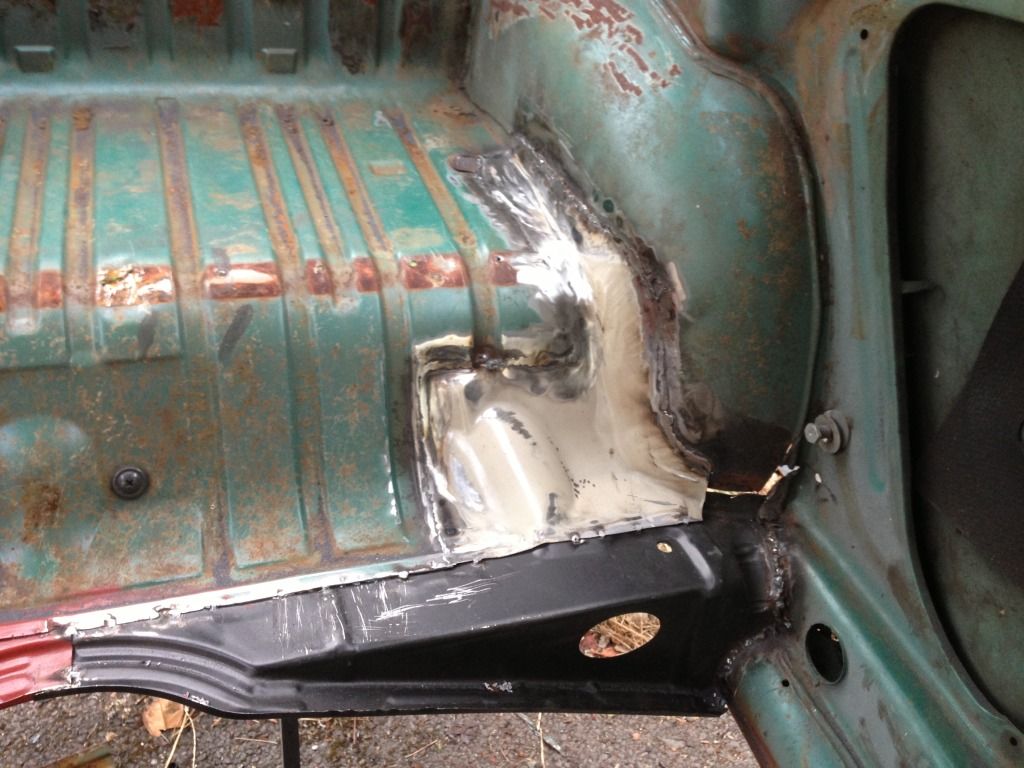 (I know there is a huge gap! That's ready for a rear quarter repair on the outside) So both crossmembers and boot floor sections replaced and solid, the boot floor is no longer free floating like it was (it wasnt attached at all on the nearside!) 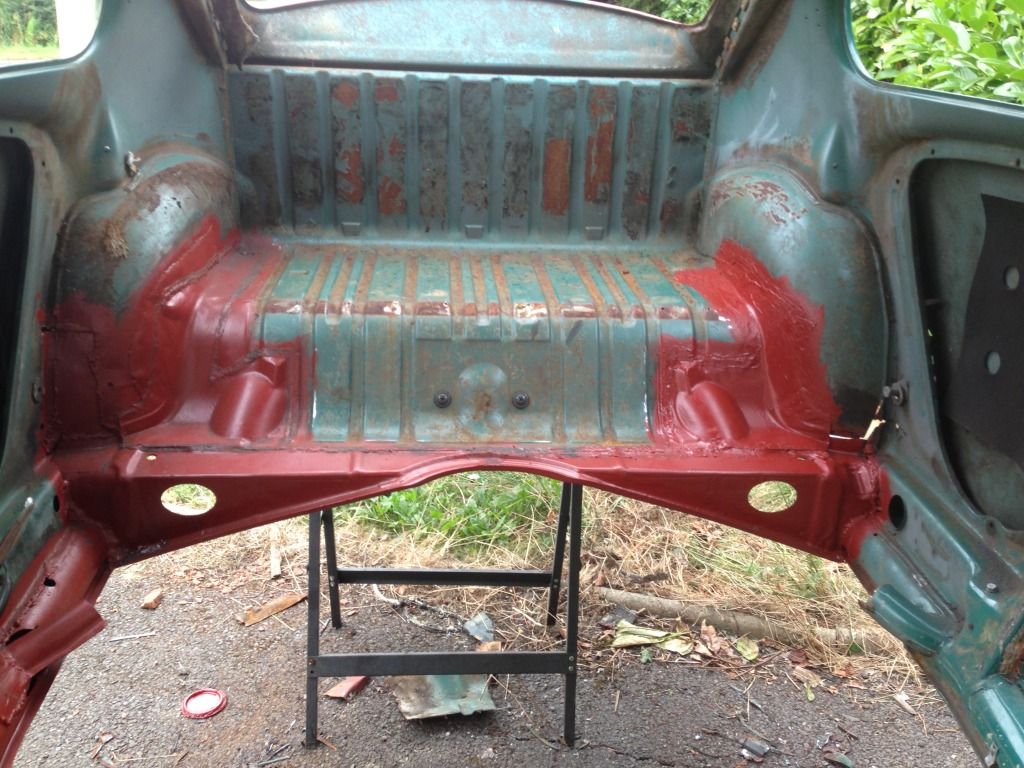 |
| |
|
|
|
|
|
Sept 14, 2013 14:40:19 GMT
|
The next task was to sort the body mount out. Again I ordered a panel I would only use 20% of :rolleyes: after careful inspection I could get away with a small section of the new panel, the rest was just surface rust thankfully. 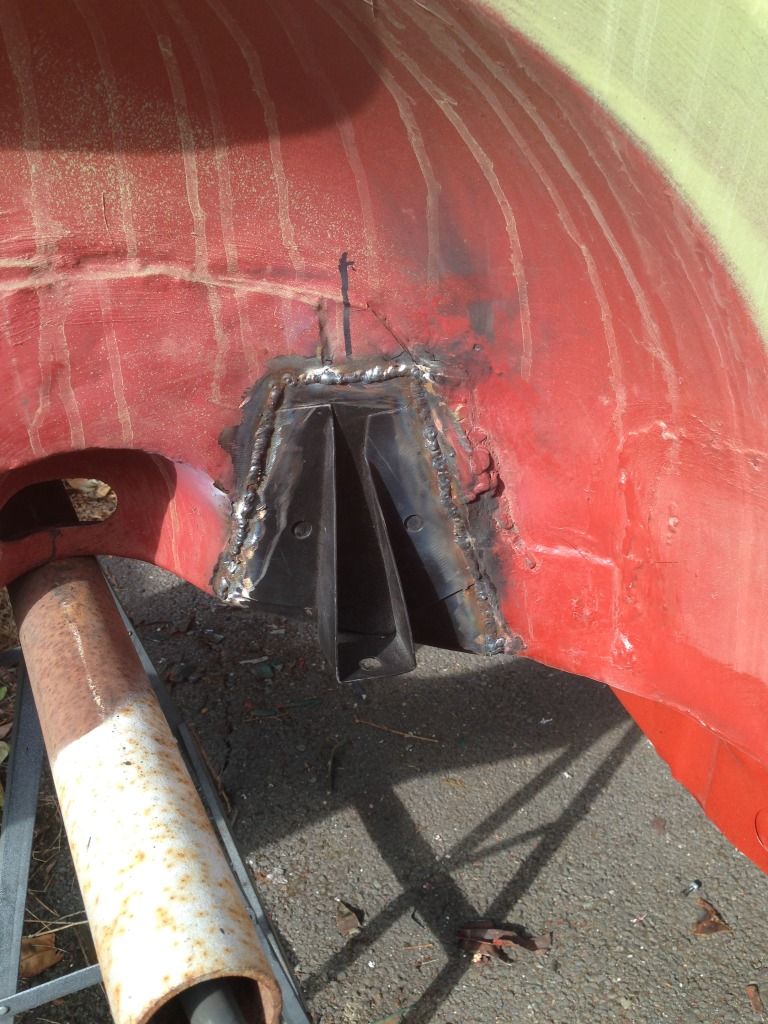 that went in quite nicely, as mentioned before please excuse the patchwork, it'll all vanish under ALOT of stone chip  and dressed 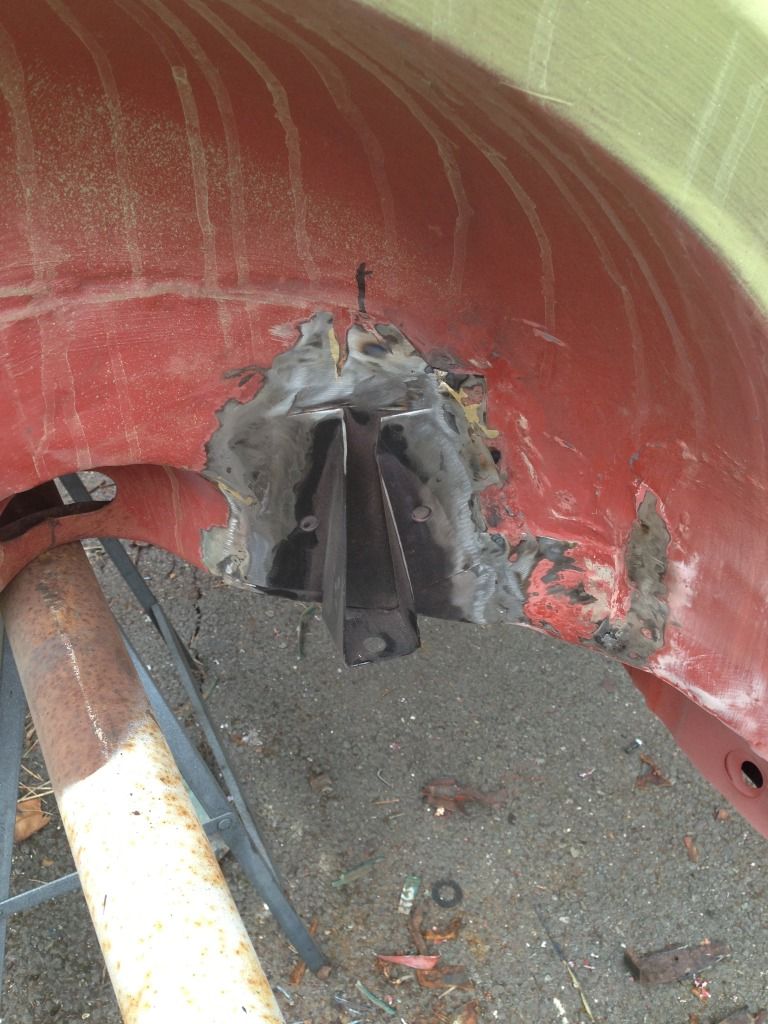 so still to do is: rear bumper hanger and part of the rear valance wing mount n/s rear n/s rear lower quarter outer heater channel n/s lower A pillar lower screen corners hopefully! |
| |
|
|
|
|
|
Sept 14, 2013 15:06:16 GMT
|
further repairs of late include the rear bumper hanger that was a tad nasty before 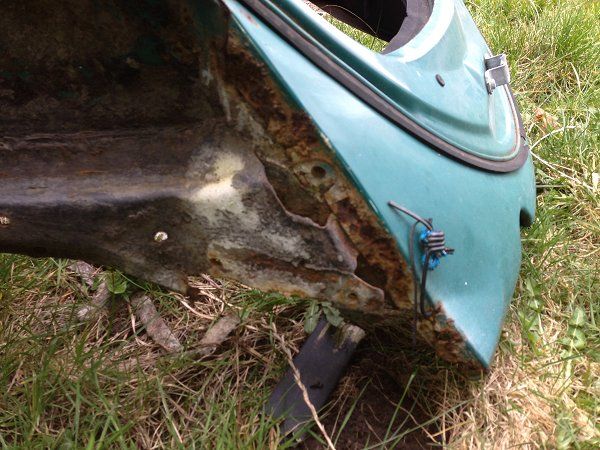 After (still have the valance return lip to fab and fit) 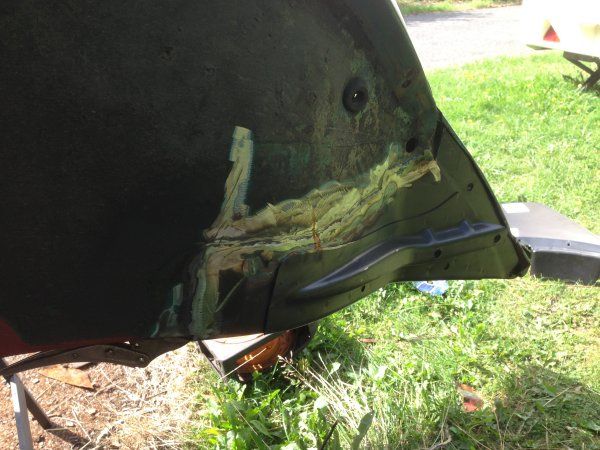 |
| |
|
|
|
|
 ) so whilst she started to strip the underside of the floor pan I finished the beam off. Got the arms back from Danny at Reichspeed with the new ball joints. The seals on the ends of the tubes were shot so I ordered a set but the ones I ordered were to long as i didnt need to remove the bearings. I still needed the seals so just cut them down to use as seals.

 ) so whilst she started to strip the underside of the floor pan I finished the beam off. Got the arms back from Danny at Reichspeed with the new ball joints. The seals on the ends of the tubes were shot so I ordered a set but the ones I ordered were to long as i didnt need to remove the bearings. I still needed the seals so just cut them down to use as seals.


 Nice work Dude!


