|
|
|
Mar 26, 2011 23:56:59 GMT
|
thought I'd best put a thread one here about my adventures of restoring our 66 bug, it all started way back in september 2009.... this is Hal, our 1966 one owner 1300 in java green. We have had him about 3 years now and has been the wifes daily driver for that time. Since we have had hime he has had a full engine rebuild by Danny at Reichspeed and a rear brake overhaul. It came round to mot time so I had a bit of a poke around to see what might be wrong and things just got worse and worse to the point where I just told the wife to forget the mot, it was never going to happen! These are the chronicles of how we go about making him better. This is the important bit >>>> I have never undertaken a full resto before so this should be fun!!!this is Hal, well how he was earlier in July 2009!  this is hal was once I got the bit between my teeth, all the bits in white are the knackered bits 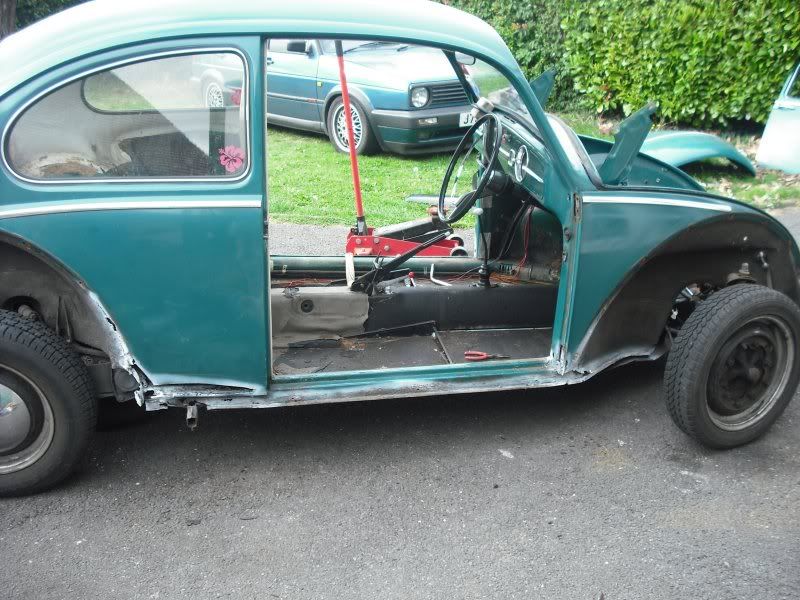 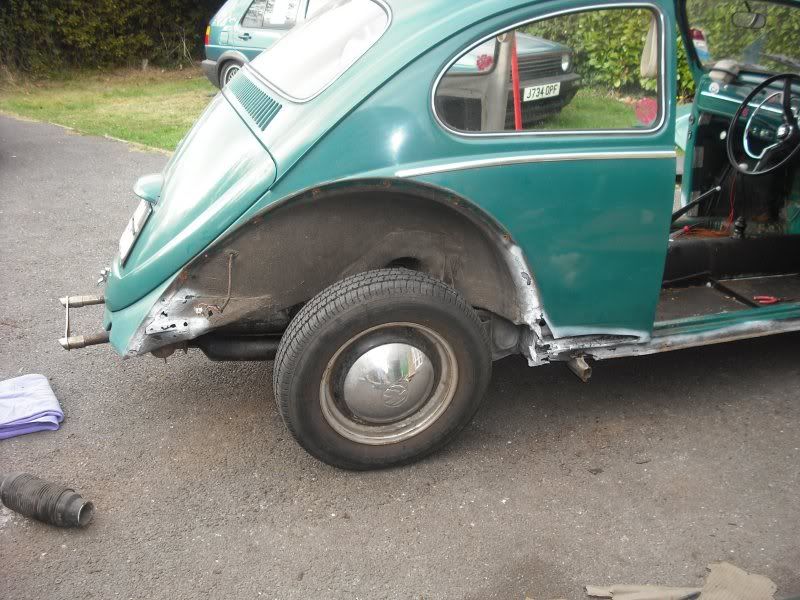 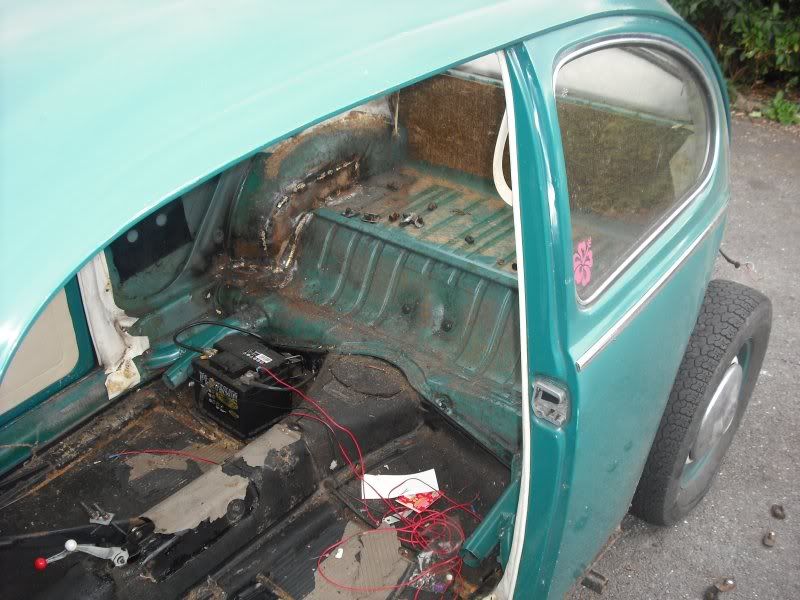 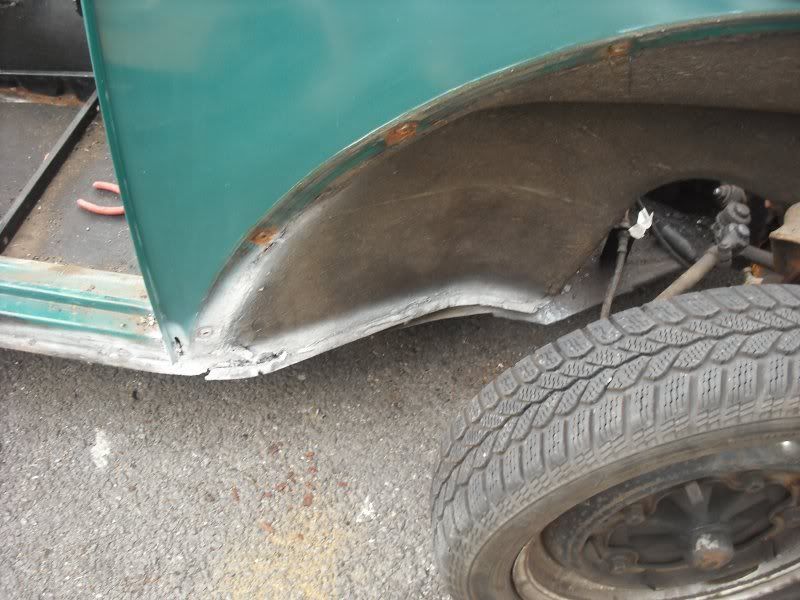 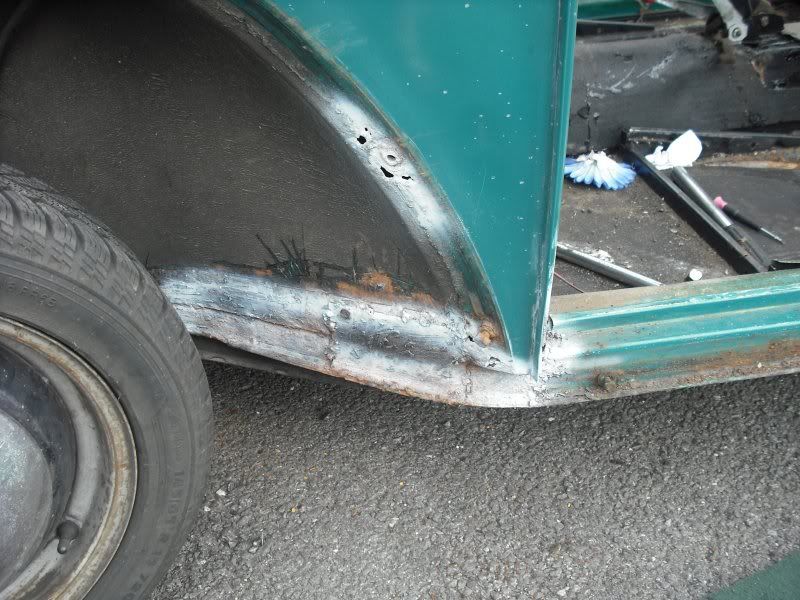 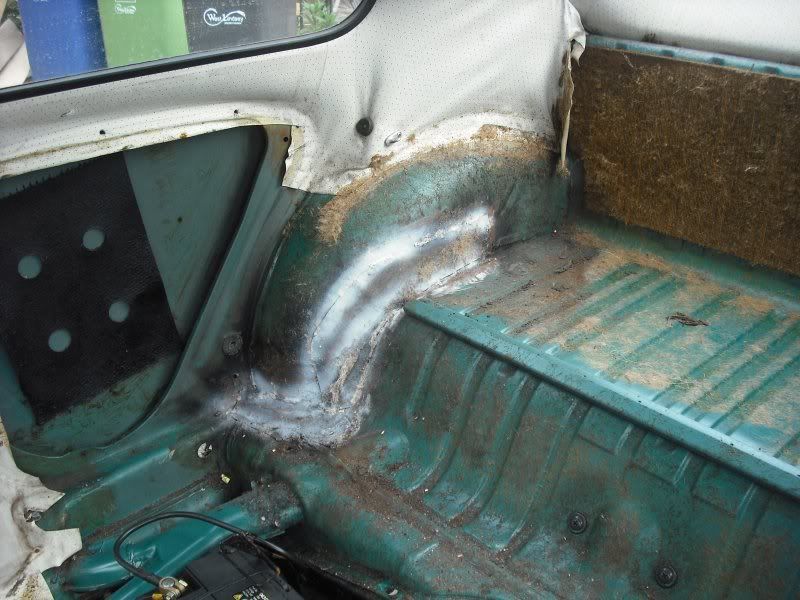 |
| |
|
|
|
|
|
|
|
Mar 26, 2011 23:57:27 GMT
|
so the following morning comes around and I need to get the body off, hmmm only 1 of me and I really need 4 to do it properly. but that not the way I roll so cracked on with figuring out how I was going to do it. so with lots of head scratching, use of highly inappropriate tools (oil drum, scaff pole, too many bricks to mention, buggered ramps and my lads skate grind pole) and lots of praying I managed it all on my own!    hints and tips: take the engine out if doing this on your own, in fact just take it out! also take the gear stick off as it fouls the rear valance when you roll it backwards. |
| |
|
|
|
|
|
Mar 26, 2011 23:57:53 GMT
|
So now we have the 2 apart I need to support the body a bit better so devoid of any metal with which to build a decent rig I turn to mans oldest friend, wood. It took me longer to make the supports than it did to take the bloody body off! to my amazement they didnt just snap and fold the shell in half like a cheap rusty pancake! behold: 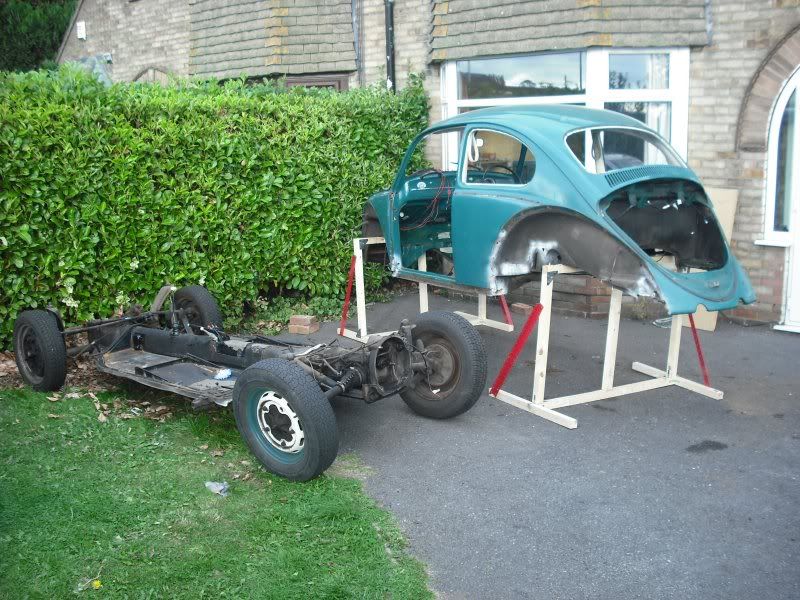 now I could see the true horror of what awaits me, see below, go on, treat yourself and have a look 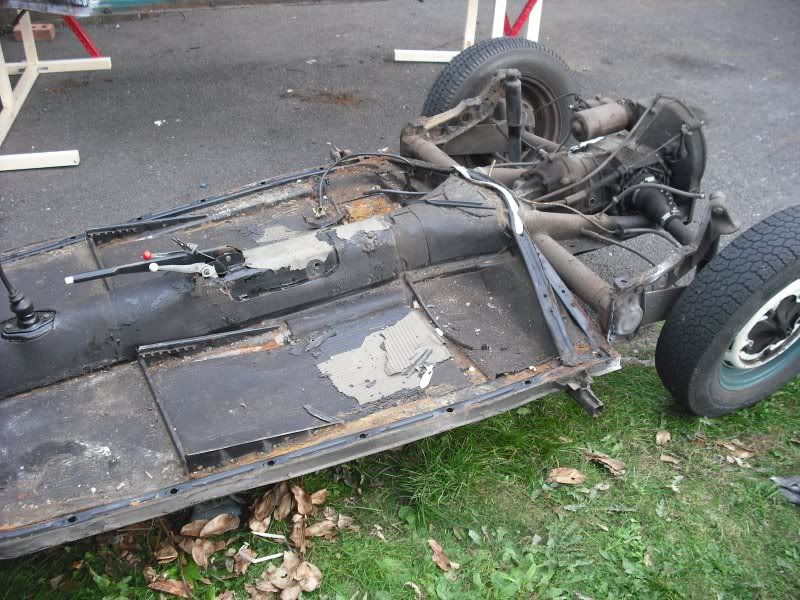 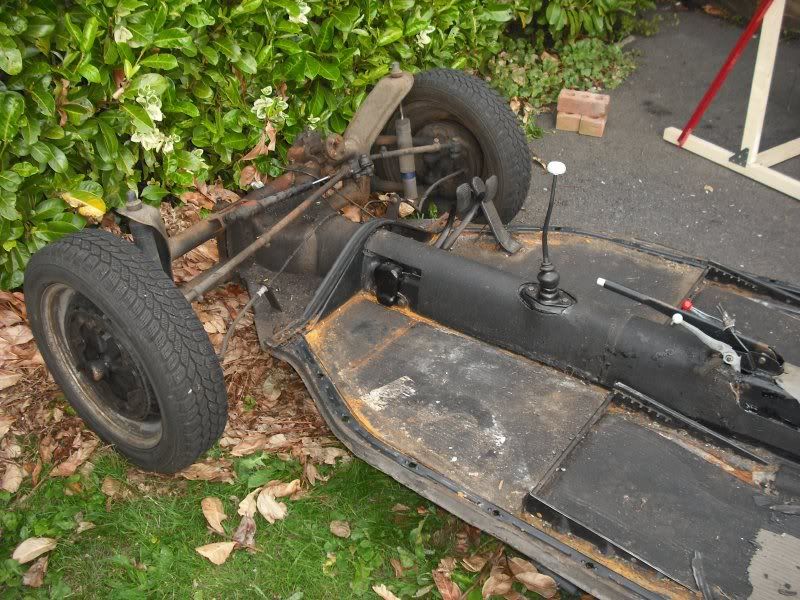 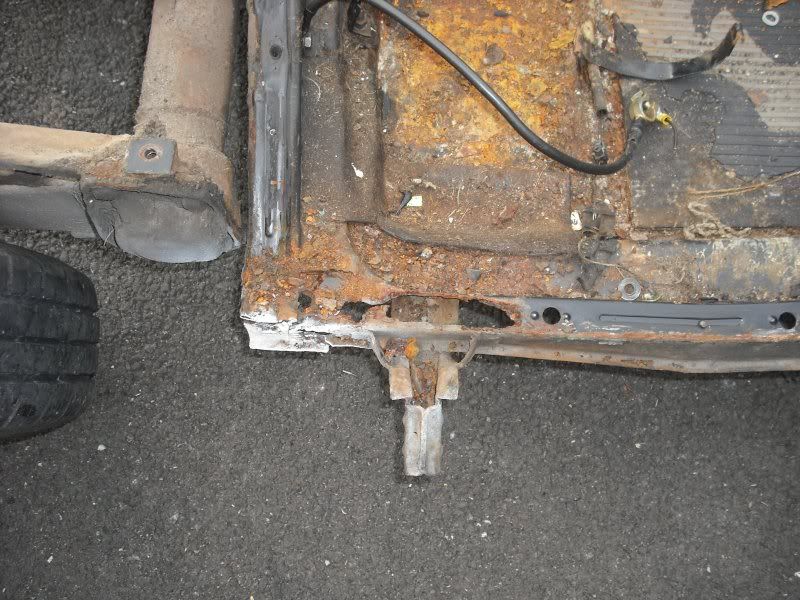 this 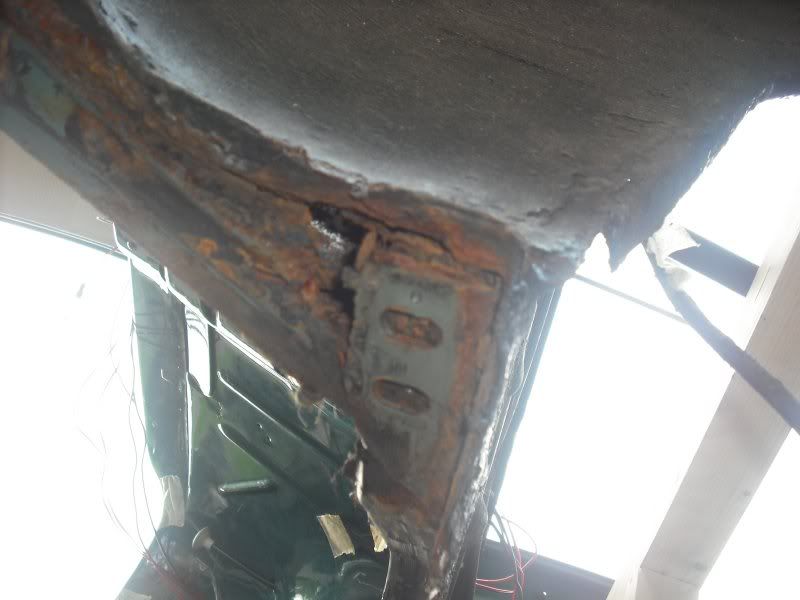 became this all to quickly 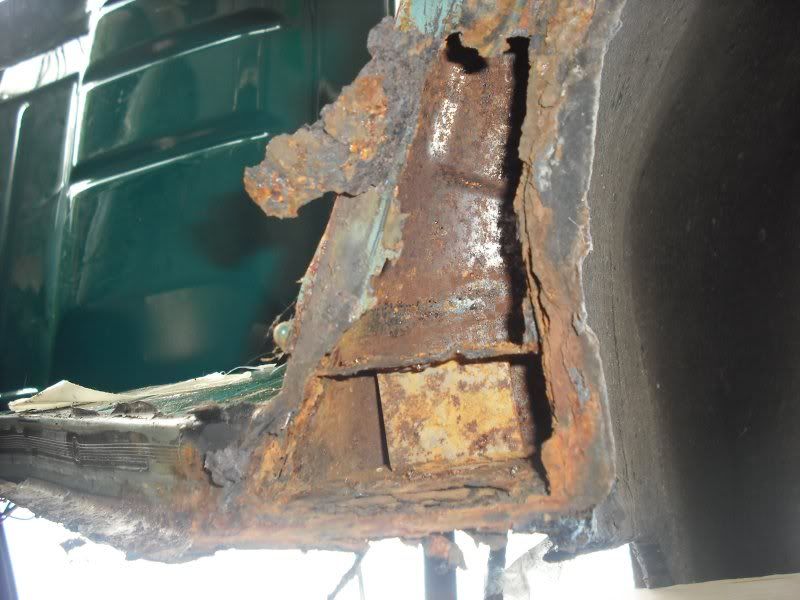 to be fair I have seen worse but they have been someone elses problem!! this isnt going to be quick or cheap to do, but it will be done right! |
| |
|
|
|
|
|
Mar 26, 2011 23:59:20 GMT
|
so after an embarrasing 7 months (April 2010) of doing absolutely chuff all to Hal I thought it best that I cracked on once we had some decent weather, plus I have a week off so rude not too. the first part to tackle was the drivers channel and all the bits stuck to it. I was due to have a mate come round and lead the way as I have never done a channel before and didnt want to have a bent car at the end of it. Unfortunately that went tits up as my mate's car decided that was the day to fall apart in the rain! So now I'm all revved up and ready to go but no help, so what do I do? well just get stuck in and do it my self, how hard can it be?? you know the phrase 'all the gear and no idea' well that pretty much summed up the day! but grinder, welder and an old copy of keeping you legend alive was all I needed. behold..... 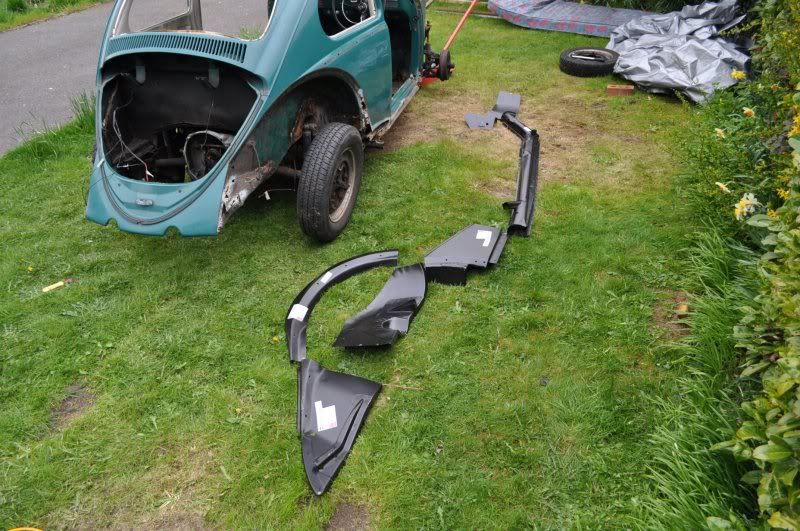 lots of rubbish panel, apparently they are as good as they get (jesus!!) 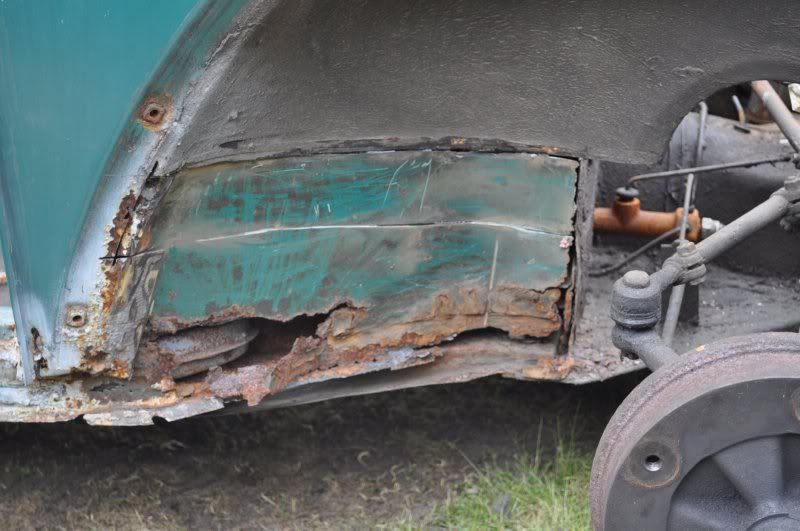 as an indication of previous 'repairs' this is what was underneath the front splash panel when I removed it! I can see there being more awaiting me! and as an added bonus, all previous repairs have been braized in! 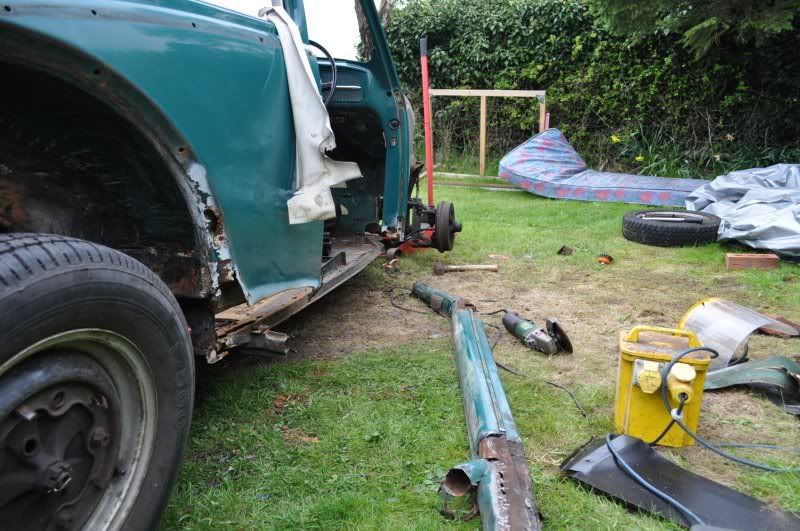 after alot of 'if I just cut here and hit this......' the old channel was out and a whole world worse than I had first thought! 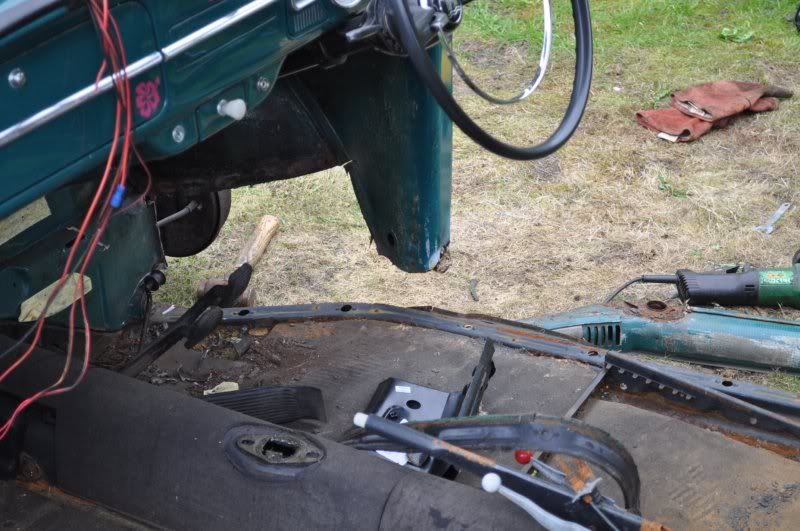 big hole 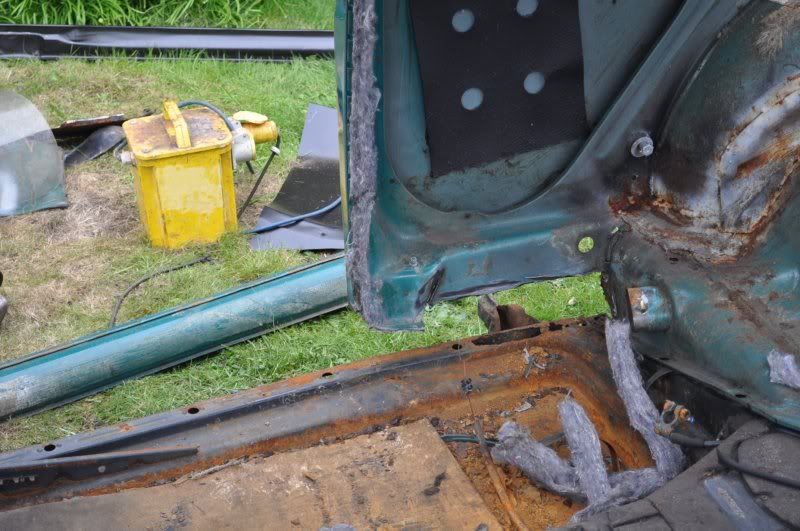 another big hole 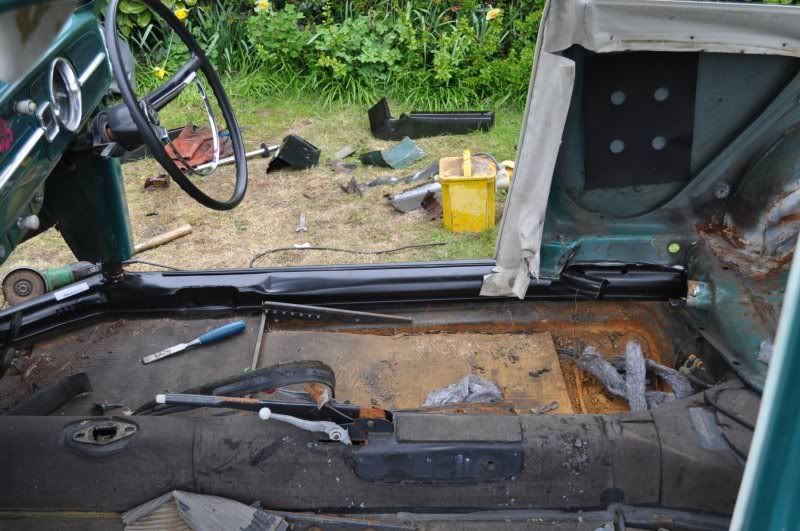 after alot of in, out, shake it all about and bolting to the pan and unbolting to the pan I had it in place, eventually 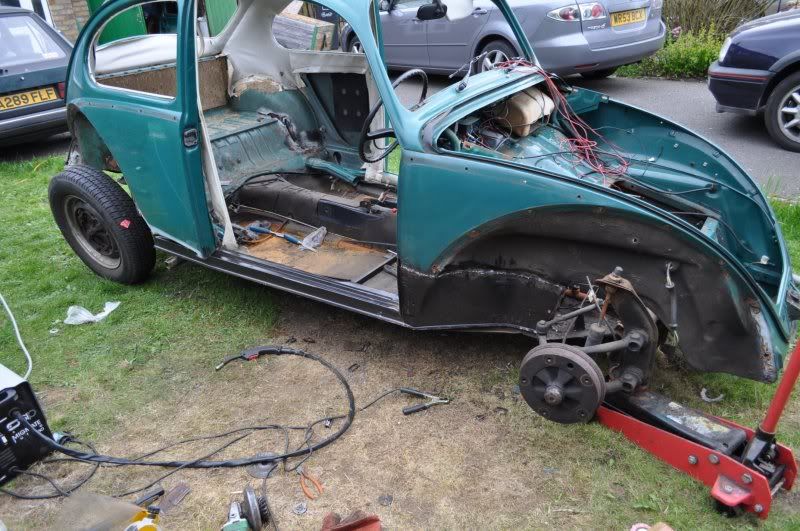 then skip a few hours of fitting up and making fit, we have this 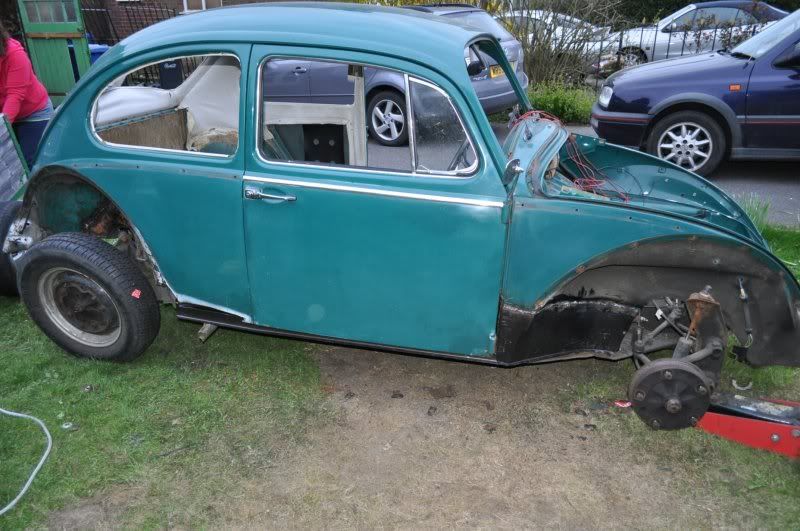 and after using one of hooky's door alignment tools borrowed of Danny at Reichspeed (oh the joys of having an aircooled specialist down the road), the door actually fits the hole, which is nice. |
| |
|
|
|
|
|
|
|
pan is qute good, thankfully, all it needs is a rear corner where the channel went boobs up. that rear corner is quite a nightmare.......which leads my nicely onto todays fun and games! 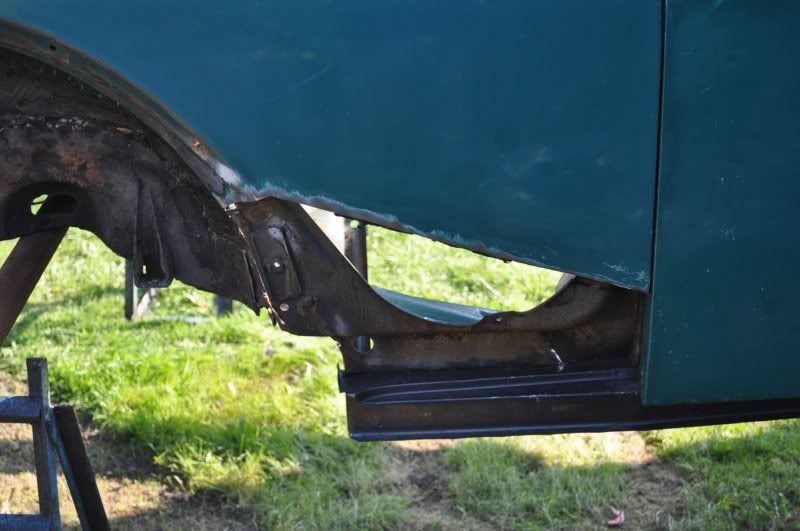 big hole 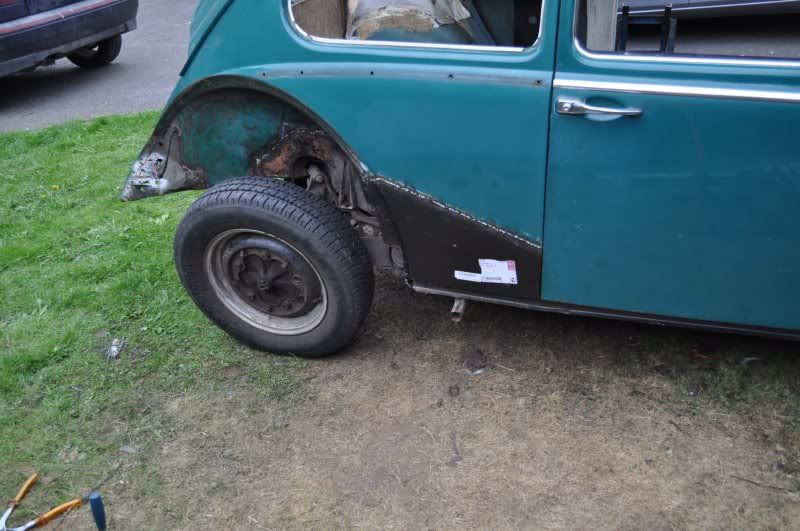 no big hole, very pleased with the lines, everything lines up nicely 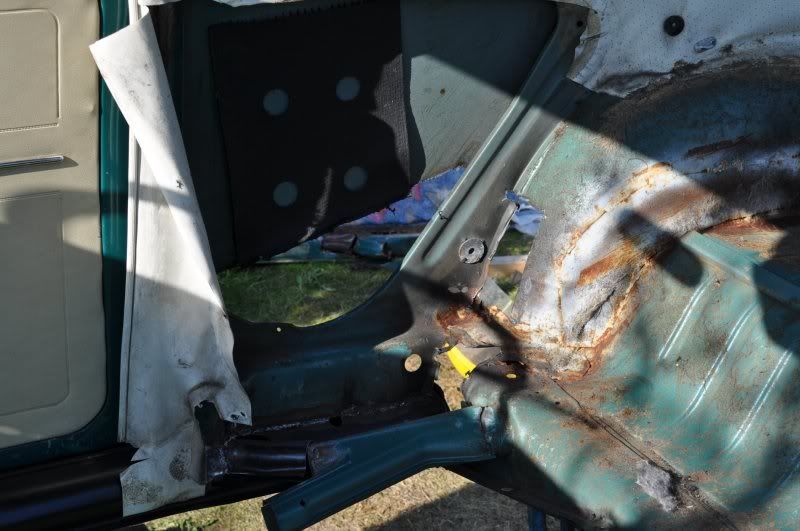 many many nightmares! 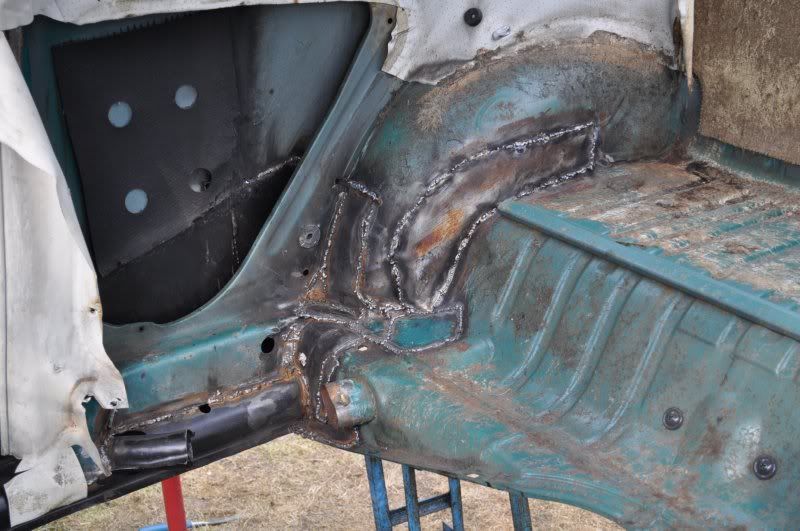 after alot buggering about |
| |
|
|
|
|
|
|
|
Now into MAy 2010 and I had a day of with nothing to do so sorted the rear bumper hanger, used the absolute bare minimum new metal. it had been repaired before but not so great.....mind you, not sure if the new ones any better!! 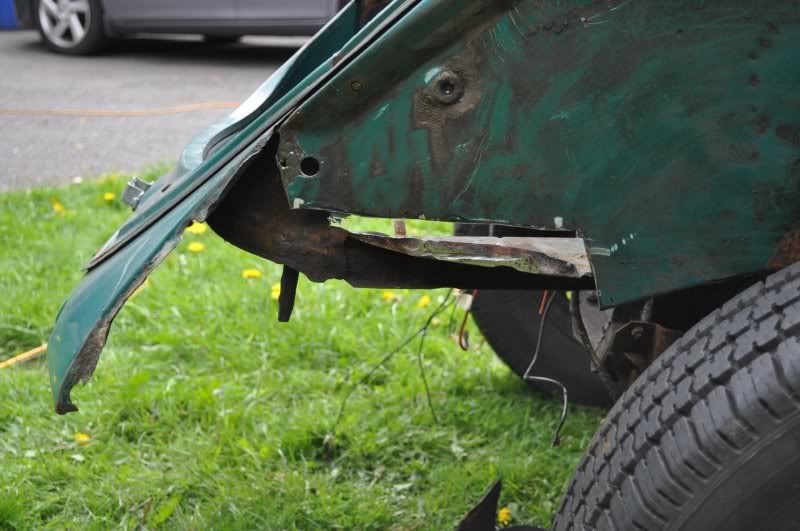 removed the old lace work 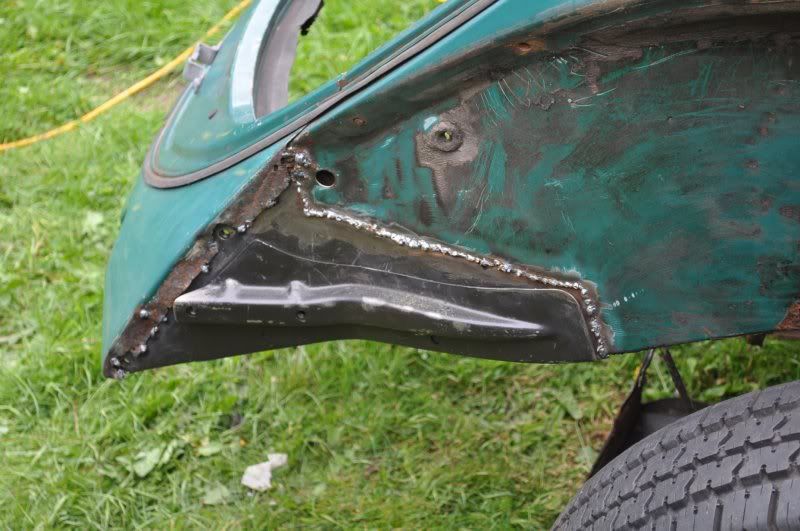 new metal |
| |
|
|
|
|
|
|
|
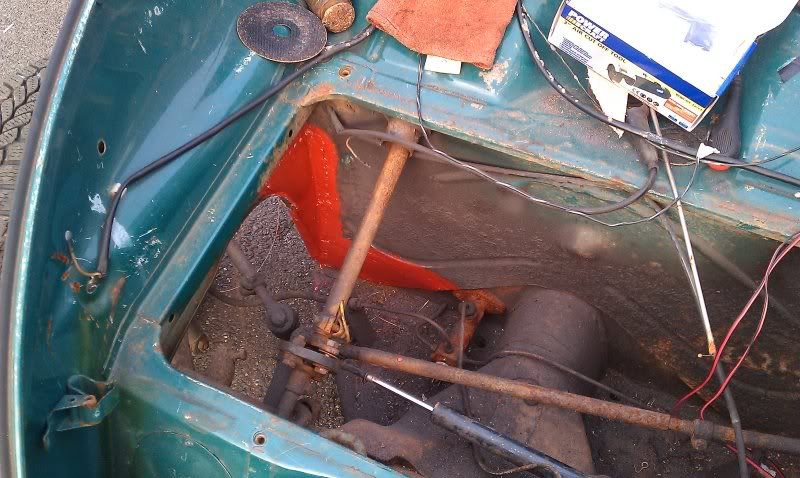
Skip forward nearly a year of the bug being sat in the garage awaiting some love!! Sadly 70 hour weeks got in the way but I have now changed my job and find myself with a few weeks off work so it's about time I got my fat  into gear and cracked on. I also want to keep tabs on the hours spent on him. hours so far I'm guessing at 60 hours (included splitting shell and pan) here's what this week has entailed for me: I started at the front where I knew the corner of the bulkhead was buggered and as I had done the other side of the quarter panel and heater channel it needed sorting 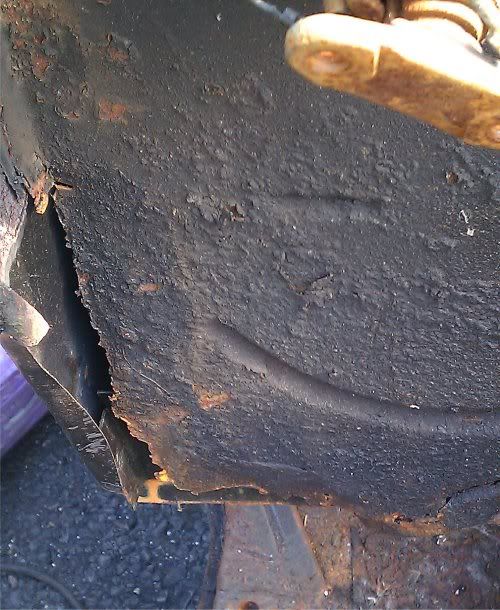 side done (lucky I have some old good metal left over from what I had cut out elsewhere in java green  I then cut out the bottom section as it was goosed too, didnt realise how knackered it was though! 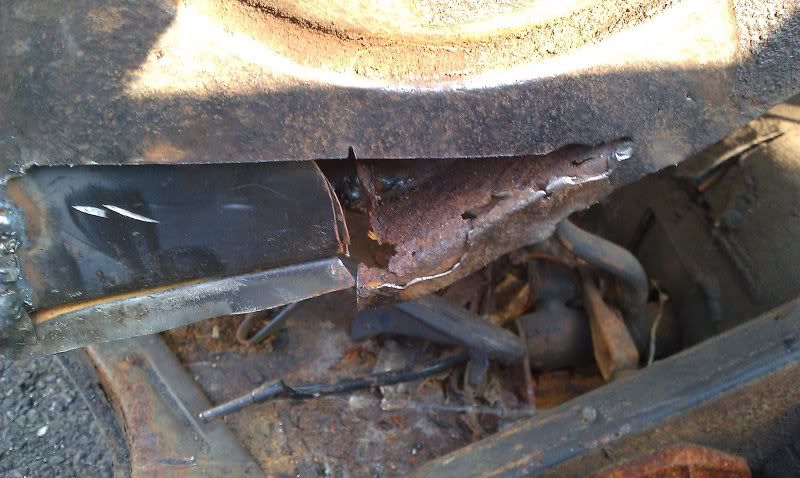 so it needed more fabbing than I though as I had to sort the inner piece too skip forward through much measuring and buggering about it now looks like this 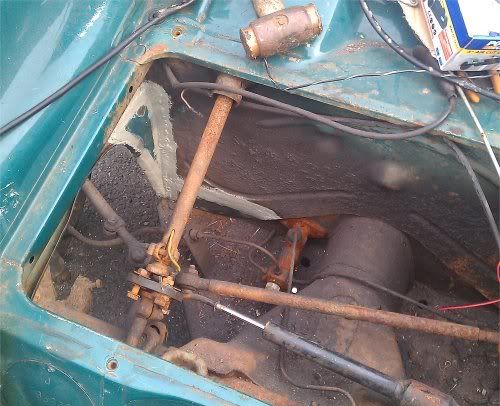 (everything I am touching is getting as much seam sealer on it as I can get!! I'm not doing this again!) |
| |
|
|
|
|
|
|
|
So the next task was to sort out the front quarter as I had rushed it to get it in the welds had gaps and needed dressing and the bottom of it needed attaching to the heater channel 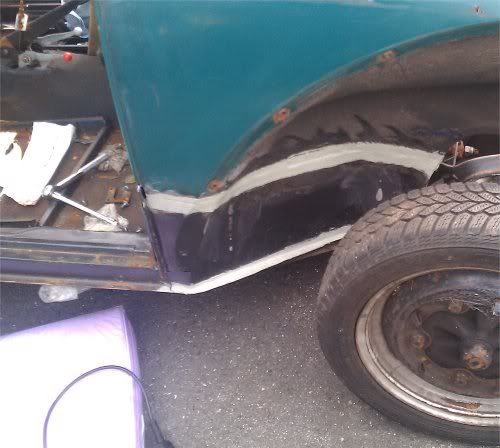 the next job to address was a gap i had in the A pillar. When I put the door pillar bottom in I stupidly did it without a door gap tool, unsurprisingly the door didnt fit when I had finished (I was convinced I knew better! lesson learnt!). To rectify this I had to cut the pillar and ended up with a gap about an inch that needed filling, as seen here 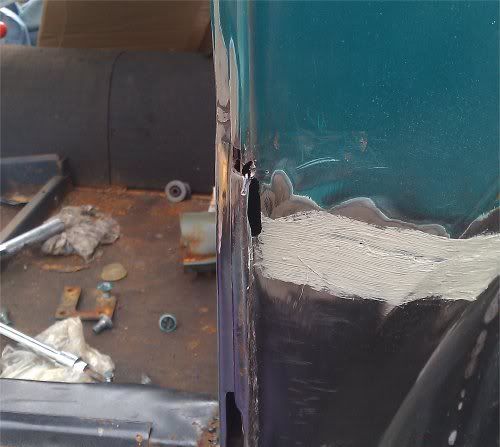 so much chuffing about was had making the smallest repair panel to fill the gaps! 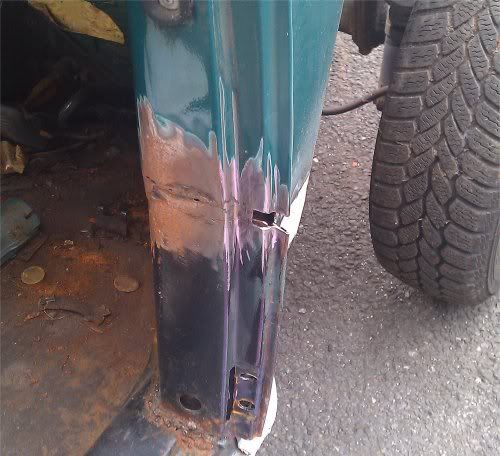 (yes all the welding I did before he was stored has gone rusty where I didnt protect it) 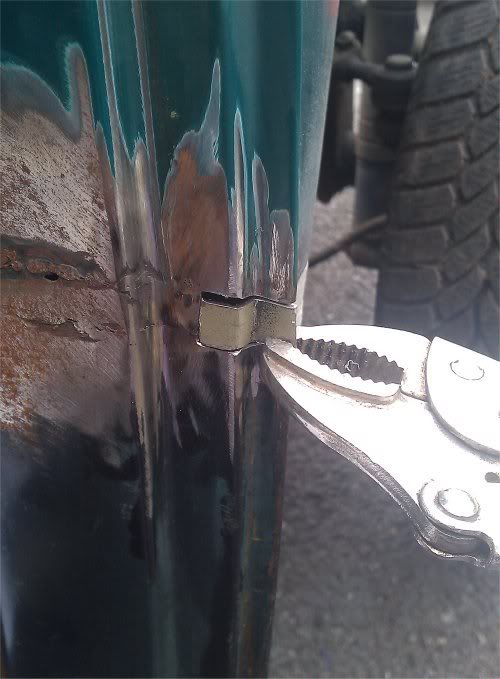 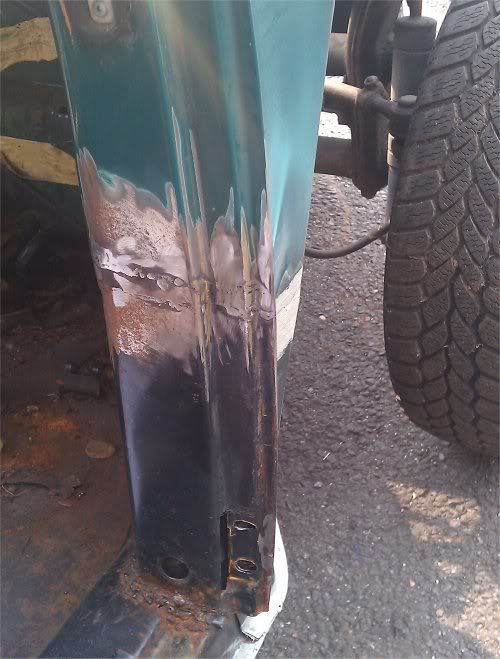 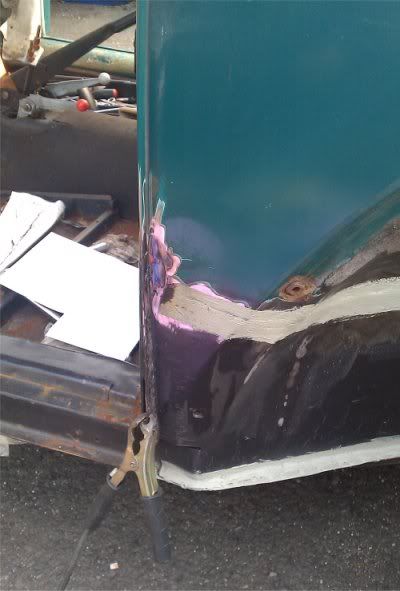 then covered in goo 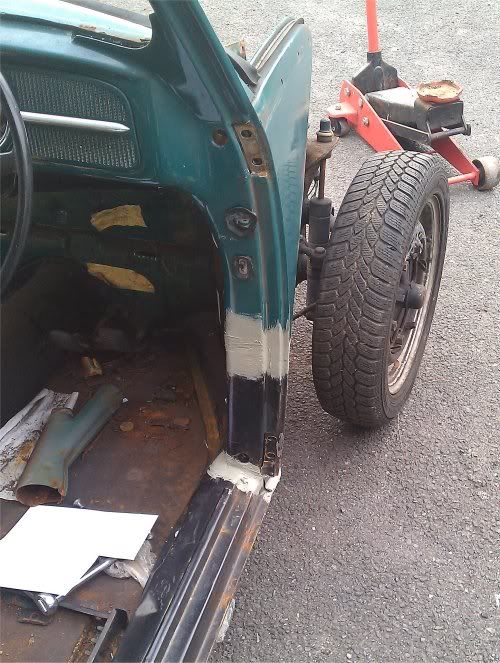 |
| |
|
|
|
|
|
|
|
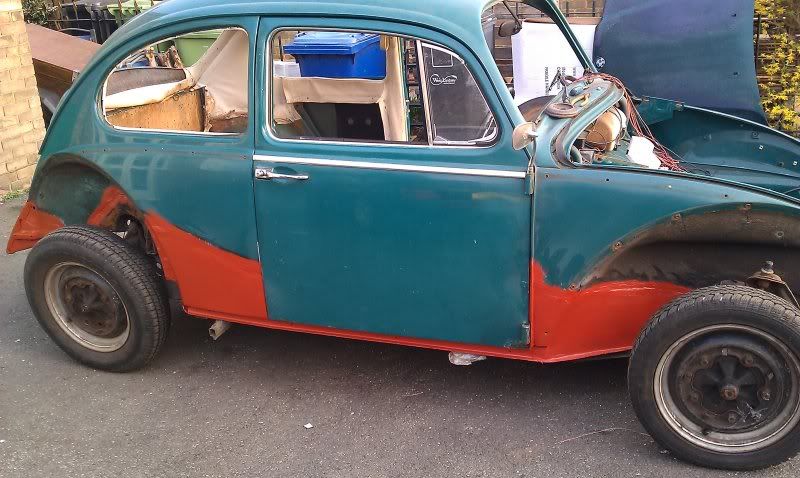
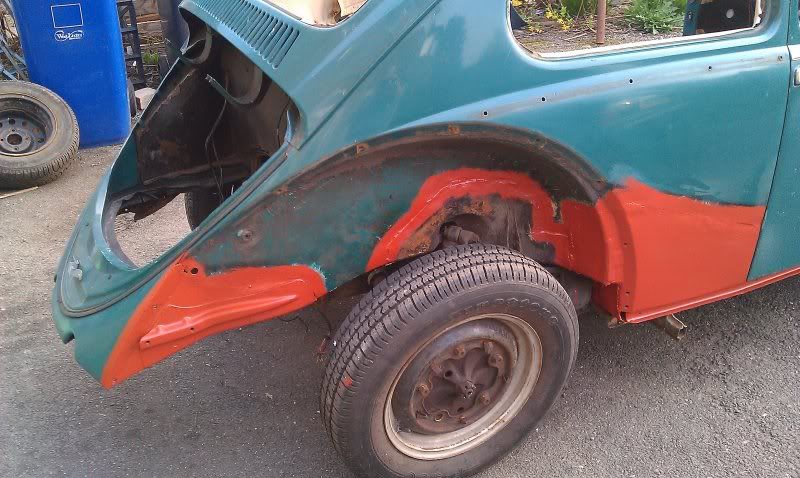
next job was to sort out the rear quarter as it had been rushed like the front, so dressed and covered in goo 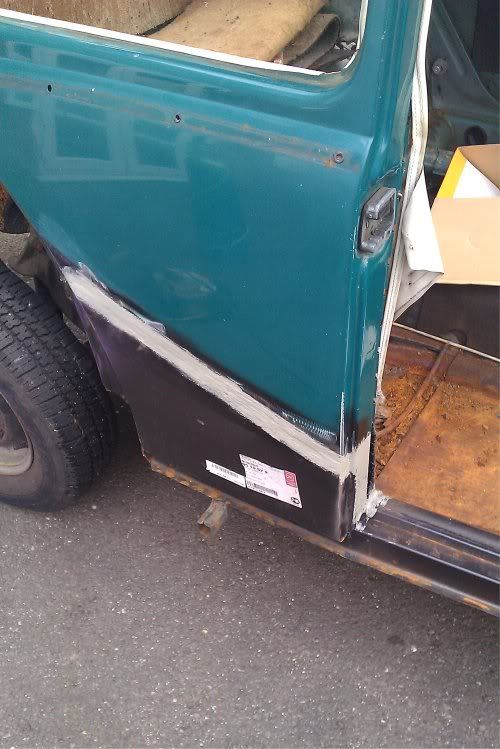 now to a bit that really bugged me, when I put the new rear bumper mount on I notice the return lip off the rear valance was buggered and looked like hell so this afternoon I set about sorting it out. Really I should have just put a new valance on but all of it is solid apart form the return lip, so in true blue peter fashion I cut the lip off and fabbed up a new one to replace it, worked out quite well I thought. this is plainly just shagged and fooling noone! 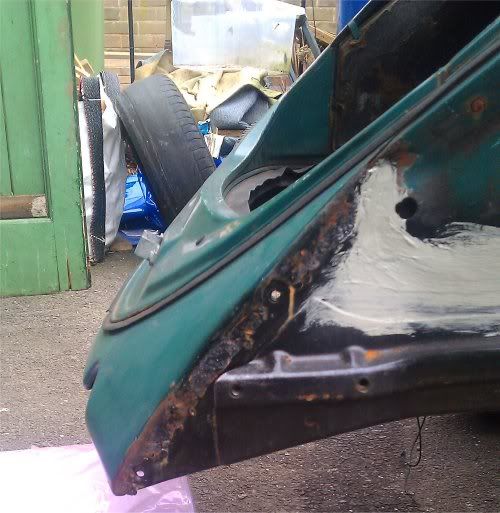 ahh thats better! 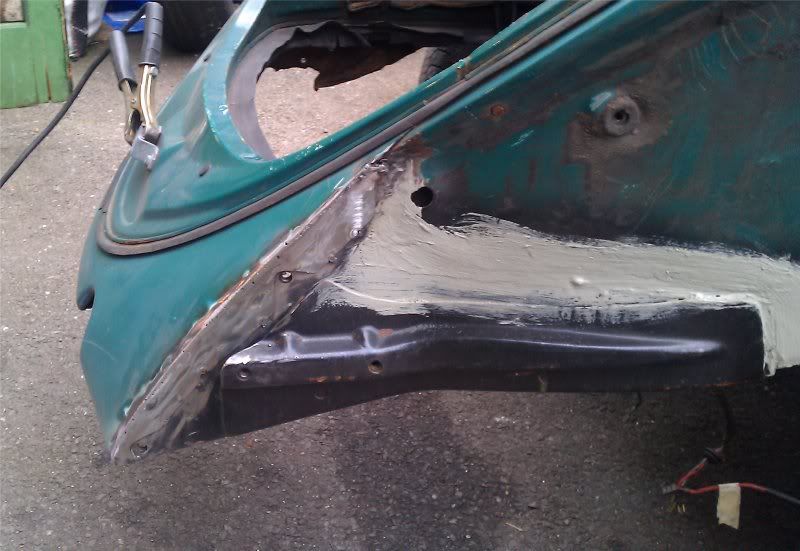 So thats the latest update and I am full of mojo to get him sorted and this is how he looks at the moment. 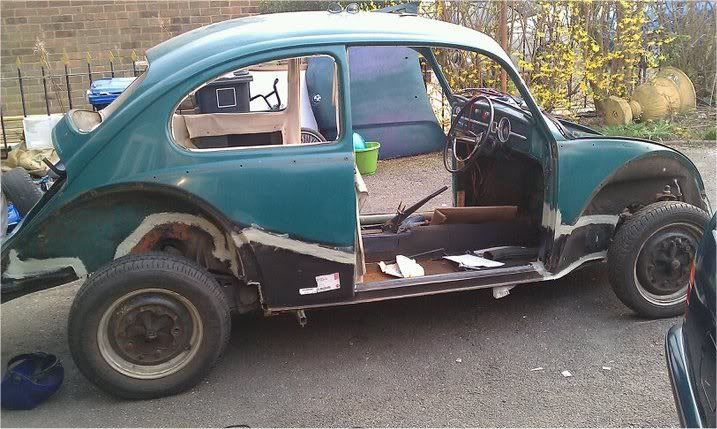 time spent so far is 74 hours (so glad I'm not paying for this!) |
| |
|
|
|
|
|
|
|
Dude I don't want to curse word on your chips but all that seam sealer needs to come off. You need to put a good quality primer over the welds. Seam sealer has no rust inhibiting properties whatsoever. If I were you I'd apply Zinc Weld Through primer to all the welds (as I tend to before and after welding any panels. Seam sealer for parts that won't be visable from the outside, so stuff like the inner arches etc. The bits like the rear quarters and a pillars you are best off leaving in primer and then skimming with filler (or going one better and lead loading) . You will have problems with adhesion if you try and apply filler over the seam sealer. Looks like you've got a good solid base to work from though, if you need some inspiration I'll send you photos of a bug I had to do 2 heater channels, 2 pan halves, front quarter panel, front valence, spare wheel well, rear arches and bumper mounts and fabricate half moon vent sections. It's all good fun  |
| |
|
|
|
|
|
|
|
|
|
|
Thanks for the advice, as I said I haven't done this before so kind of feeling my way in the dark! I'll get it off and do it properly asap.
|
| |
|
|
|
|
|
Mar 29, 2011 17:50:17 GMT
|
|
|
| |
|
|
|
|
|
Mar 29, 2011 17:50:49 GMT
|
today update was to tackle some knackered wing bolt holes, when I stripped him a few bolts sheared here and there. I bought a rear repair section to fix this side but after having a look at it I didnt fancy cutting a huge bit of curved metal out just to replace it with brazillian tin foil so I was a bit more selective with what I cut out. knackered bolt holes (note highly scientific datum points!) 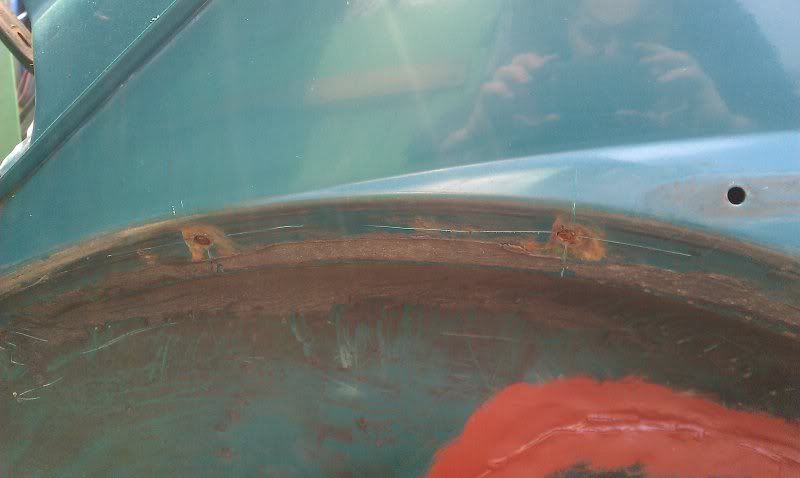 bigger version 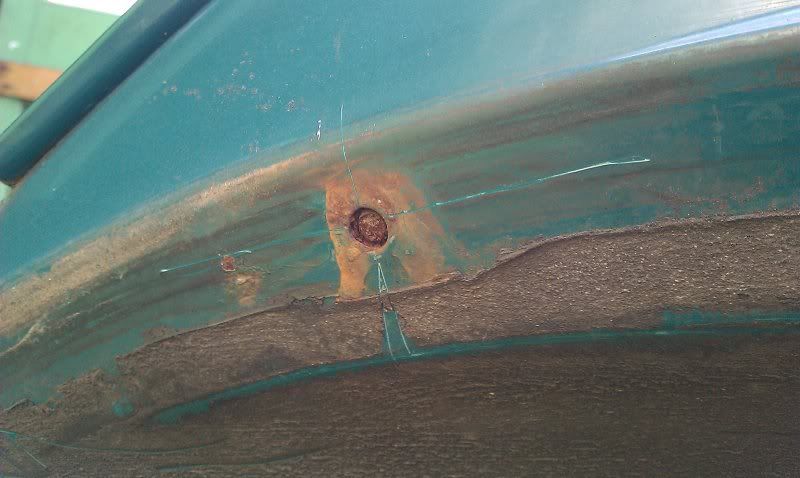 cut that curse word out 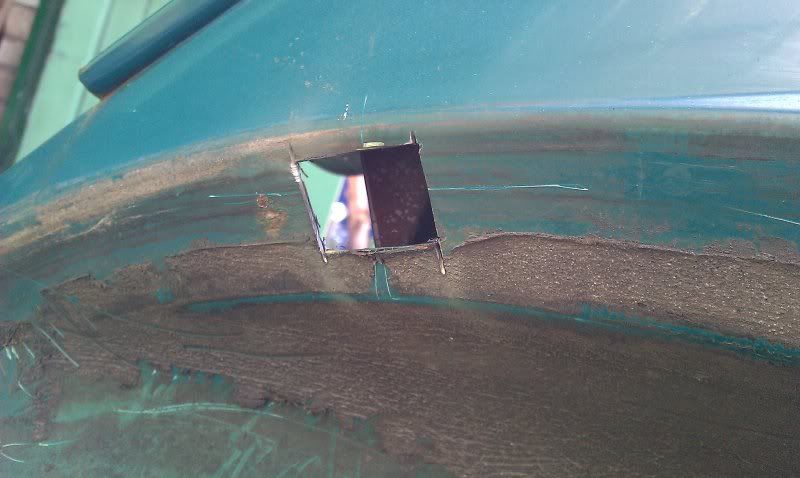 missed the bit where I cut the replacement out but use your imagination at this point, then welded in and dressed. 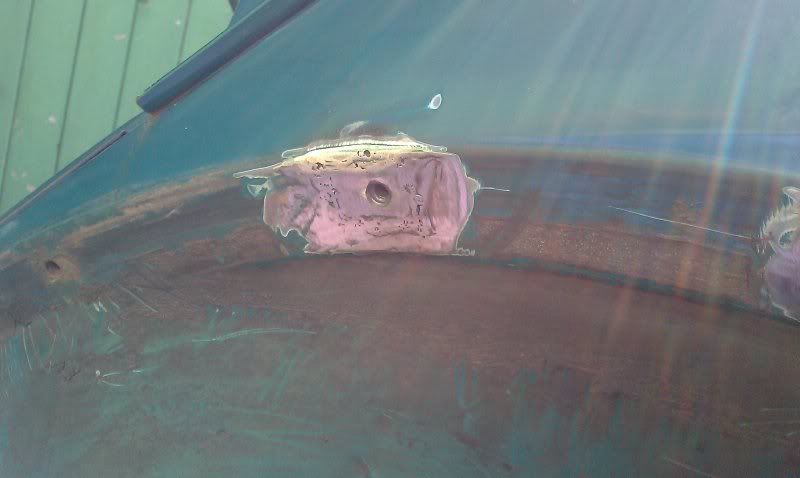 same story on the other hole 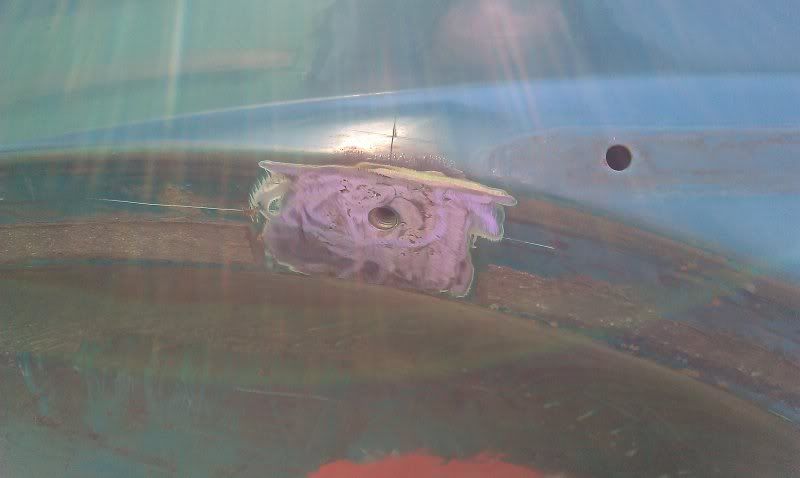 next job was to strip the rear quarter as I know the body mount has had work in the past and I wanted to make sure it was sound as the other side is proper screwed! well not pretty but it looks like it was done a while ago as it looks braized in and the metal that has been used looks like it's come off an aircraft carrier and looks like it will withstand a nuclear strike! I think I'll leave it, not pretty but can't see the point wasting time removing it just so it looks nicer (that's what filler is for!  ) 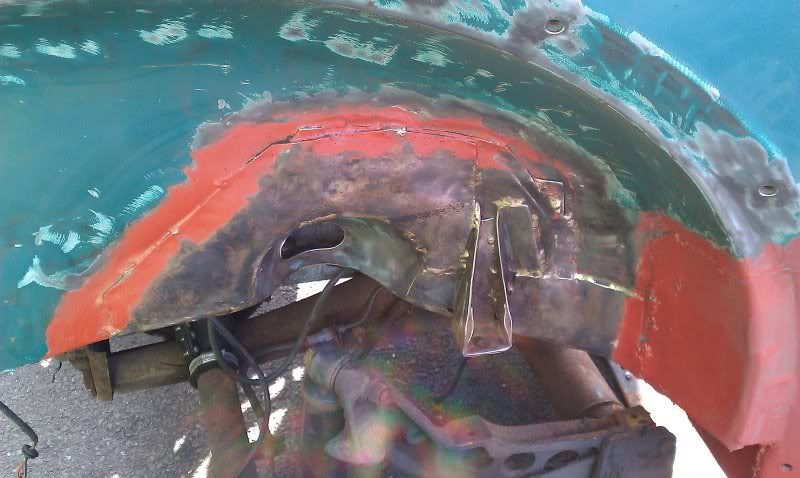 fast forward to me covered in underseal and old paint after stripping it back, then on with the vehicular anti rust metal paint (it's not technically red oxide) to add some protection. 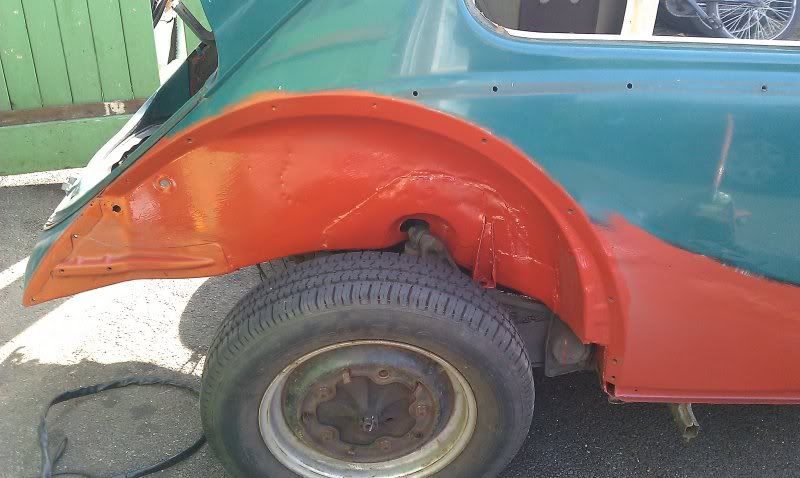 and the bolt holes look a bit better now (ooh look at my big bald head in the reflection!) 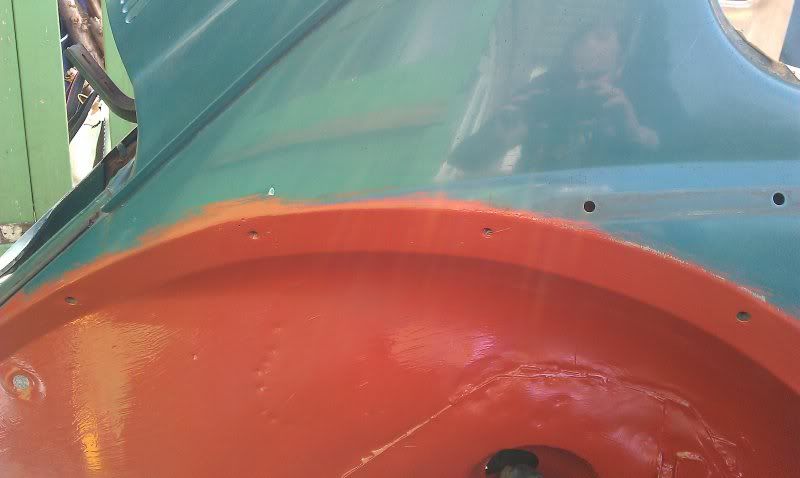 |
| |
|
|
|
|
|
Mar 29, 2011 17:51:26 GMT
|
spurred on by earlier work I thought I'd have a look at the corners of the rear window, after having the wire wheel on then 1 turned out to be ok and the other had a slight hole issue, can you tell which is which? 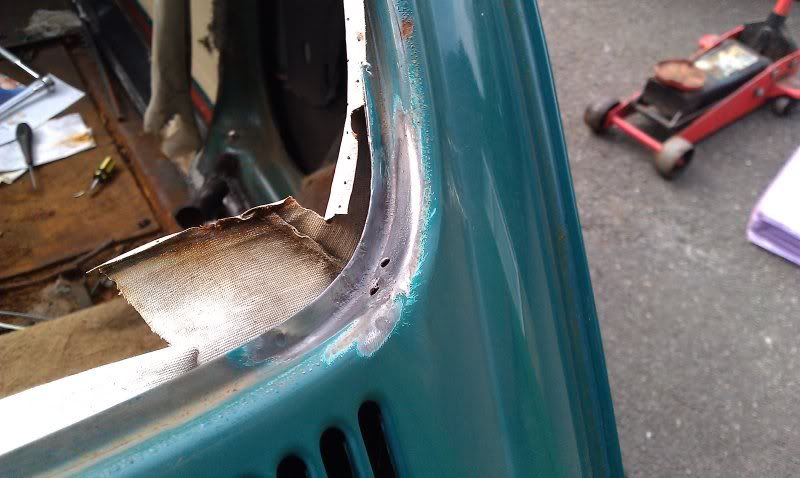 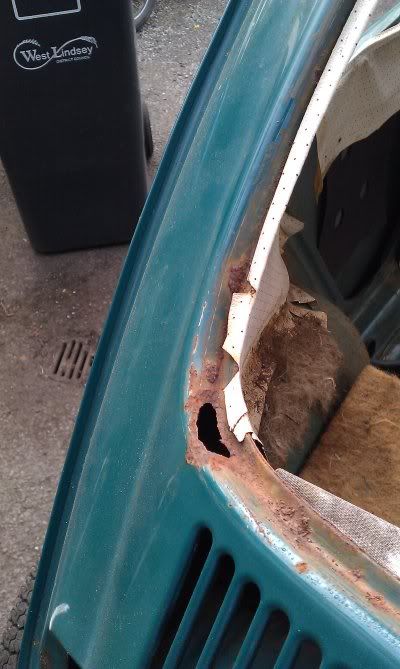 As there are no repair panels available for the the rear corners it was a hit and hope scenario with making one up, this proved to be a bit of a mare as it curves in rough 70 millionty thousand ways, not put off by this I forged ahead with the age old trial and error scheme, got there in the end! didnt get a head on shot of this, thought I did but apparently I didnt. But you can see the curves anyway. 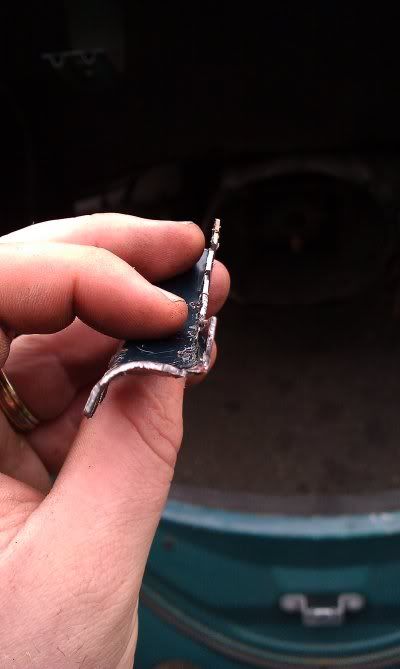 As it had to be made with lots of knicks to allow it to bend in all directions, welding it was fun! When I say fun I mean horribly messy! My welding is shocking (it's not me honest) so it swings from blowing holes to curse word feed. anyway enough excuses, here is the mess! 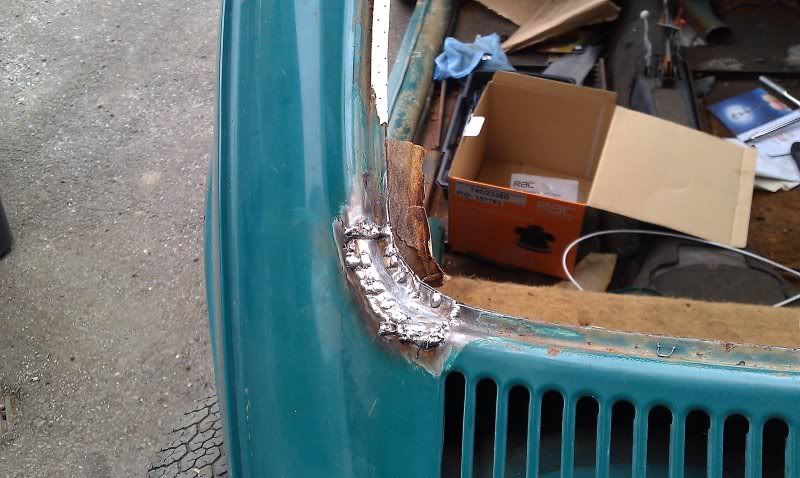 but the lord invented flapper discs for a reason 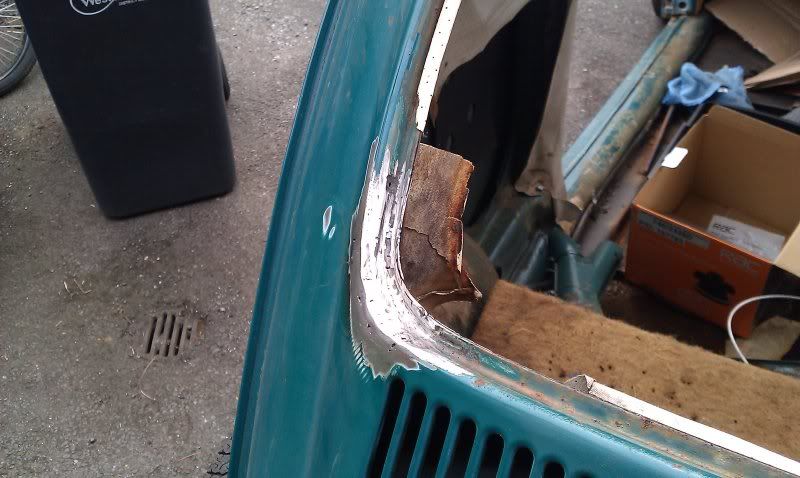 and a quick blob of red, still needs shaping a bit with filler and drain holes drilling but at least it's not rotten any more! 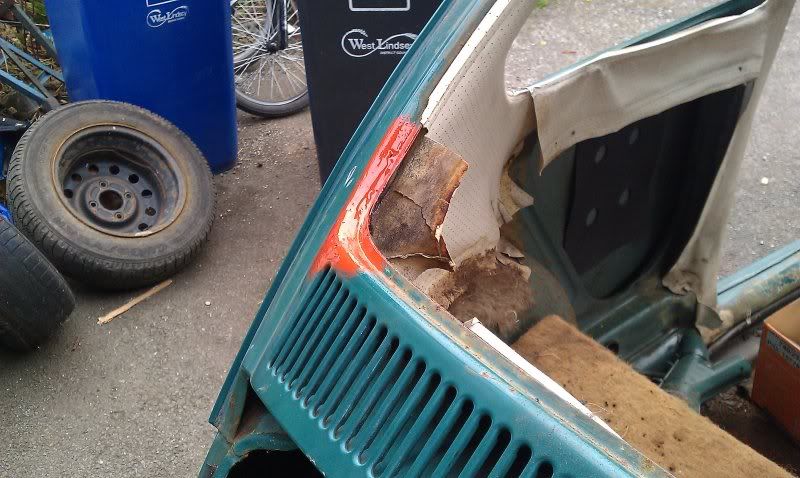 |
| |
|
|
|
|
|
|
|
today hours of tourture were spent sorting the NS rear body mount. I had hoped to buy a repair panel for this side but at about £50 I can't really afford to (I forgot to mention I am skint and trying to do this at minimal costs!), so break out the grinder and make one myself, how hard can it be!! this is what I had to start with, I'm guessing there isn't meant to be so much daylight coming through it! 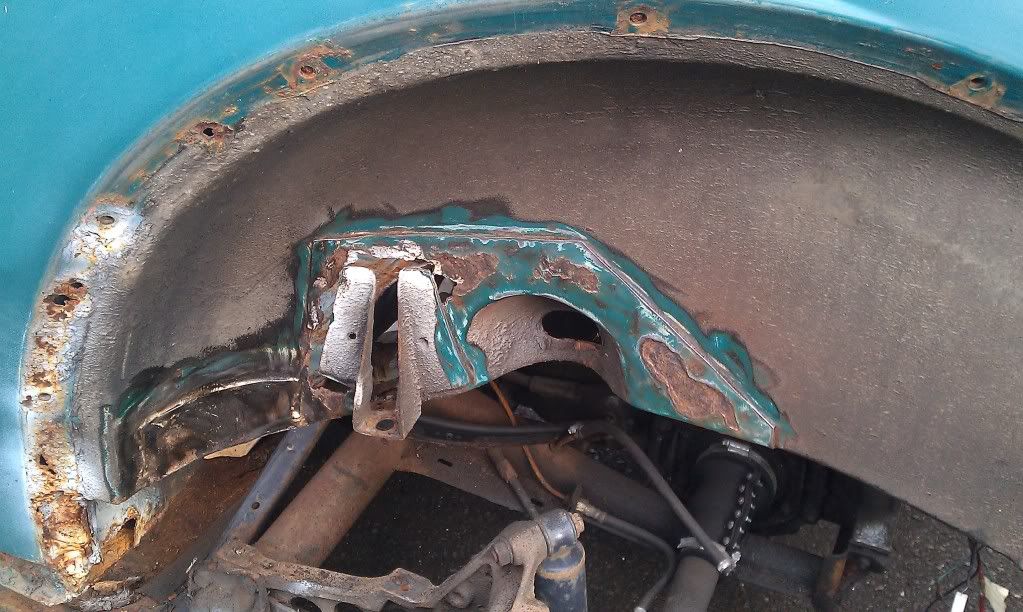 this is what the other side looked like 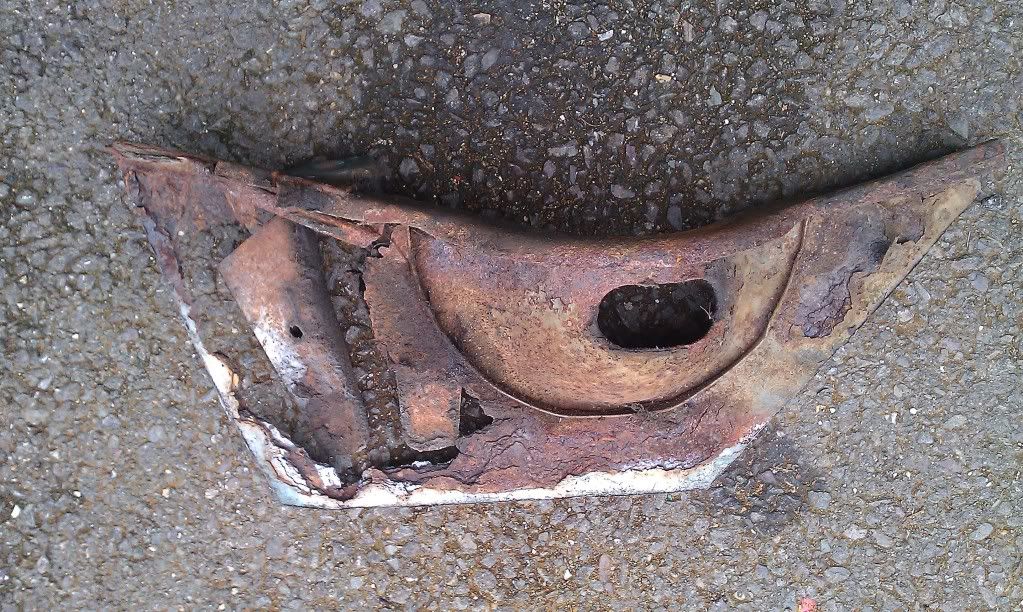 and the hole it all came out of 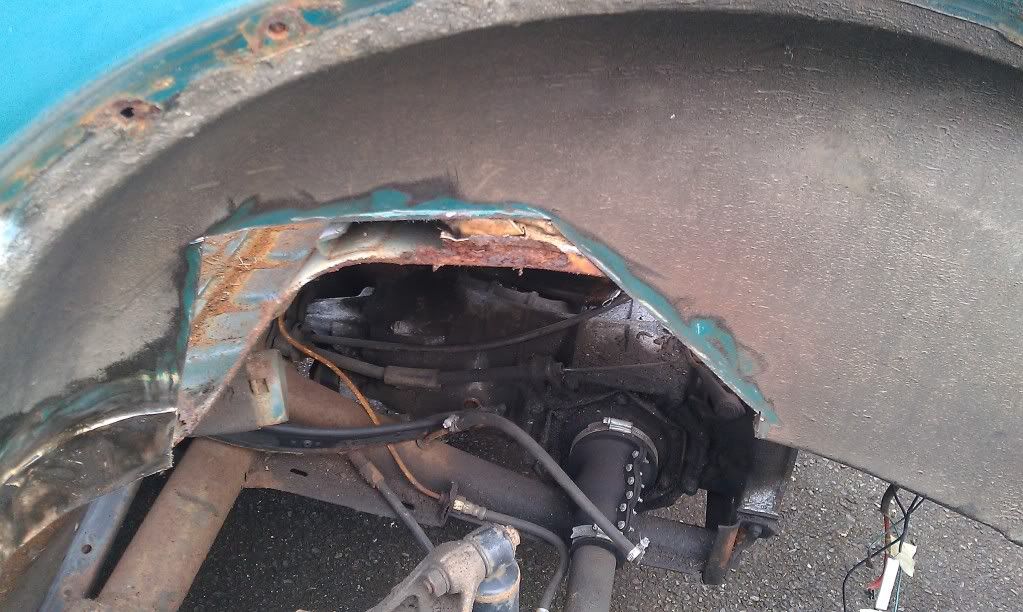 luckily the important bits were still solid so I surgically removed all the dead metal and was left with this 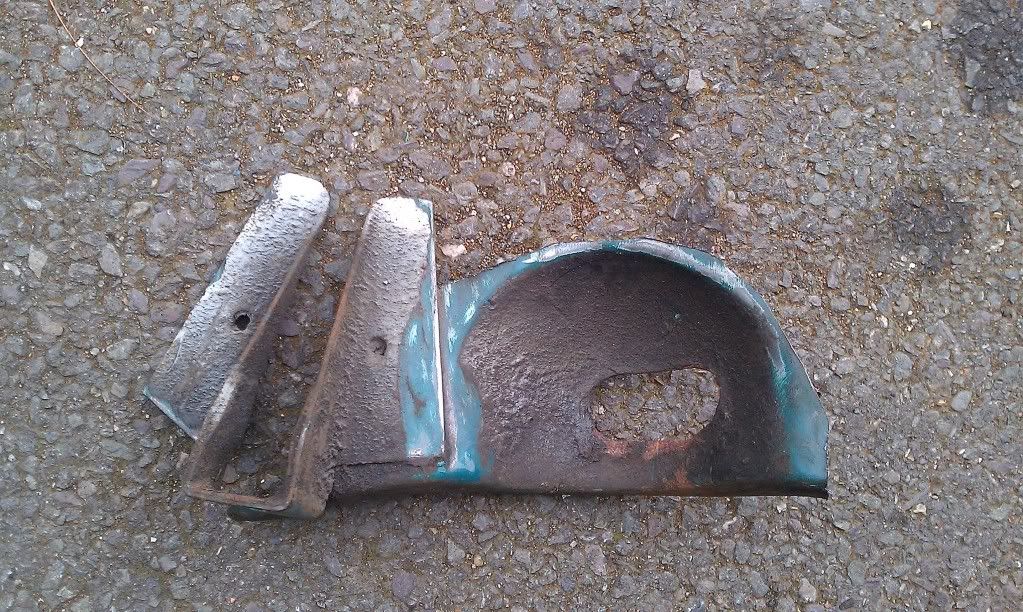 fast forward an hour or so and we have this 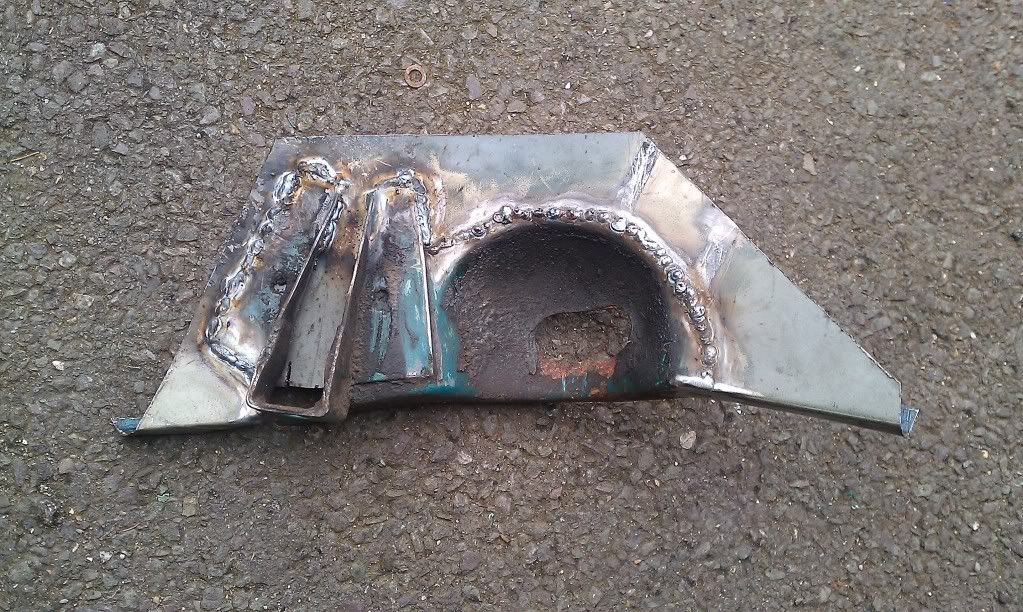 I had to make the return lip to match the original too 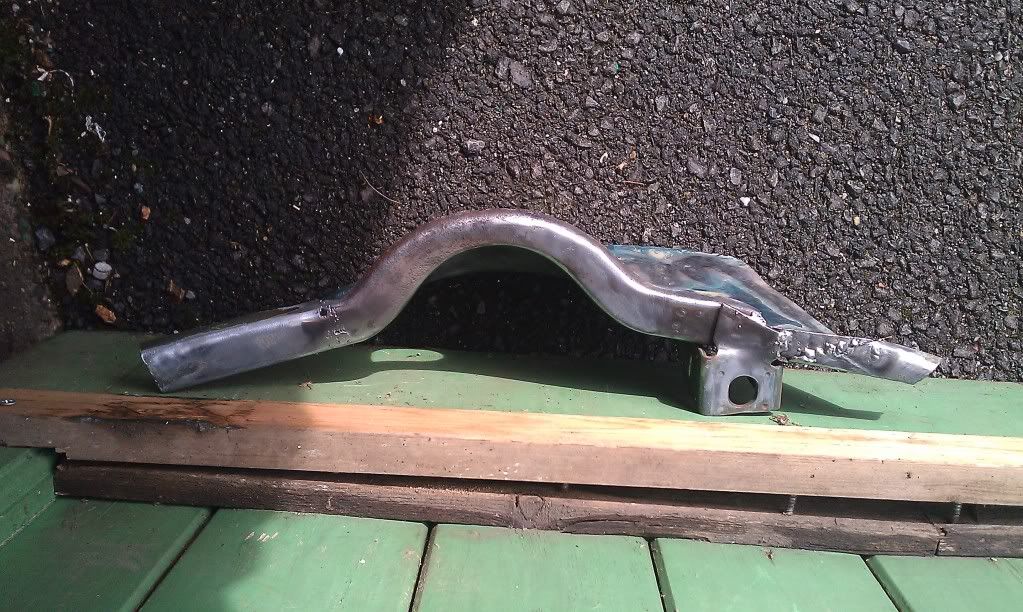 cleaned and ready to glue back in 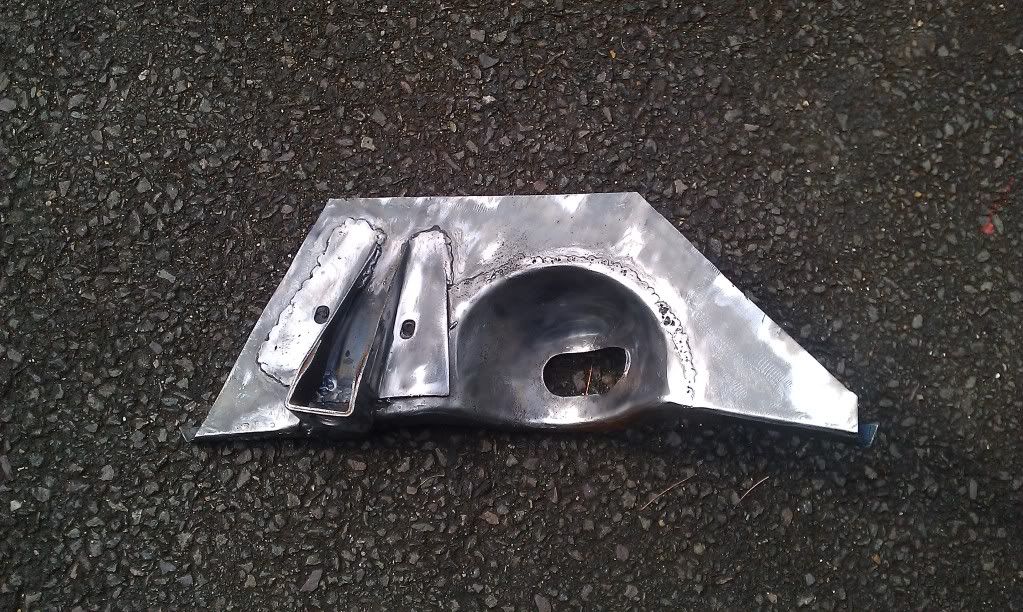 with pritt stick applied, sadly I had cut the panel about 10mm too short so had to add an extra slice of metal to fill it, from this I have learnt that no matter how many times you think you have the panel right, you are wrong! 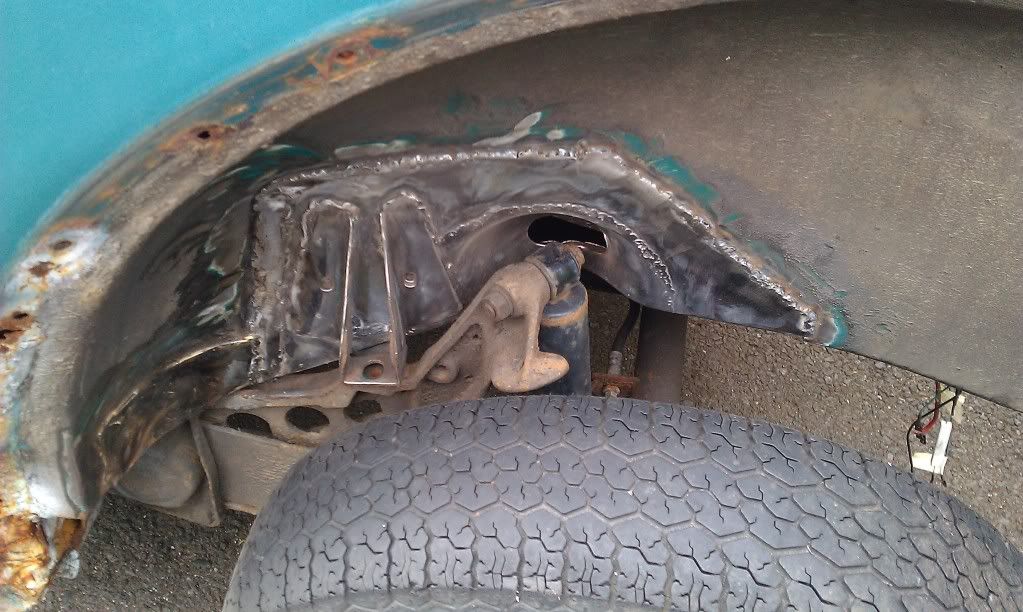 and covered in the red 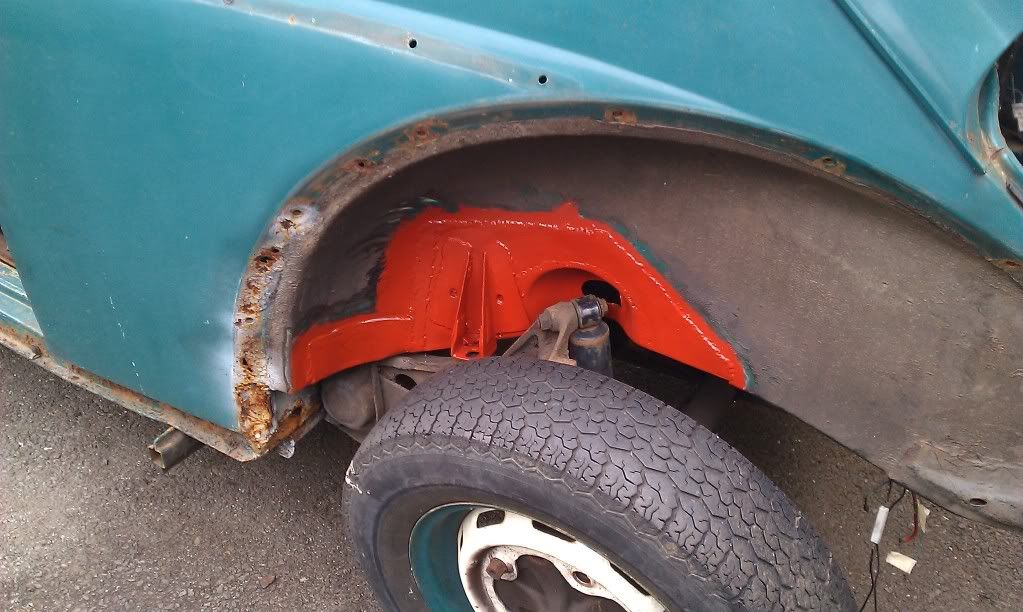 Luckily everything lined up so should be able to bolt the body back down when the time comes! timewise so far I have put about 85ish hours and alot more to come!!! |
| |
|
|
|
|
|
|
|
Great work mate, keep it coming  |
| |
|
|
|
|
|
|
|
Good to see your making progress! With your welds I'd say it looks like you've got a little too much wire so I'd back the speed off and looking at the holes there is a sheilding problem. If your using gas outside its always going to be an issue but sticking up a windbreak can help.  Not sure if you've left the wiring loom in or not, but it runs behind the captive nuts on the nearside(I think, from memory, might be the offside though!) rear wheel arch so make sure to lift it out the way from the inside before you start cutting and welding  |
| |
|
|
|
|
|
|
|
|
I can categorically say my welder is terrible! there is no setting the chuffing thing is happy on! I have tried all manner of settings, wire speed, technique etc and I have just learnt to go with whatever it gives me! SIP migmate 150 just in case you were wondering. If I could afford to buy something decent I really would. It just seems to be too hot even though it is as low as it'll go! AAAARRRRGGGHHHH!!!! I should have it set up in time to do the next one (this is SWMBO's, mine will be done after)
on another note, yes the loom has been removed, so at least that will save me from cocking that up!
|
| |
|
|
|
|
|
Aug 22, 2012 19:59:52 GMT
|
Just realised I haven't updated this in 18 months  . To be fair I havent done much until late anyway, here's what you missed. wondered how bad this was 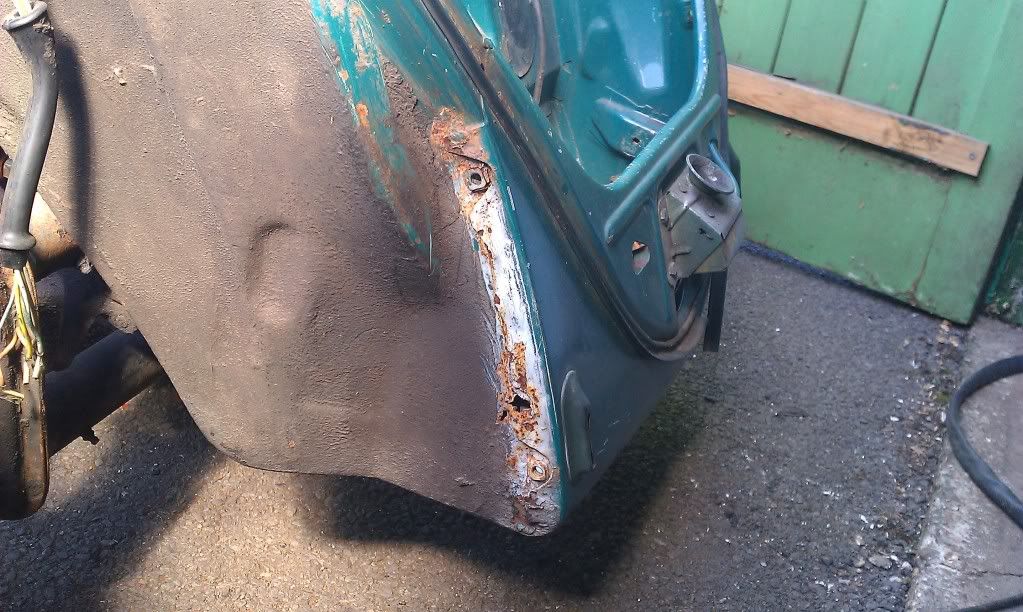 quick wire wheel showed this, had to cut off the edge of the front valance as the spot welds wouldnt break 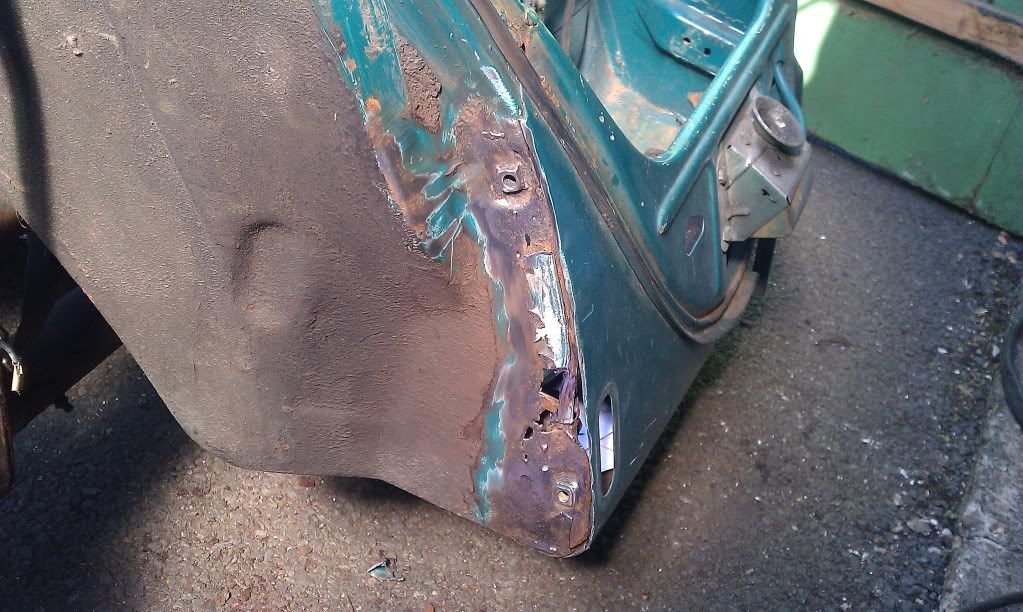 panel cut and welded 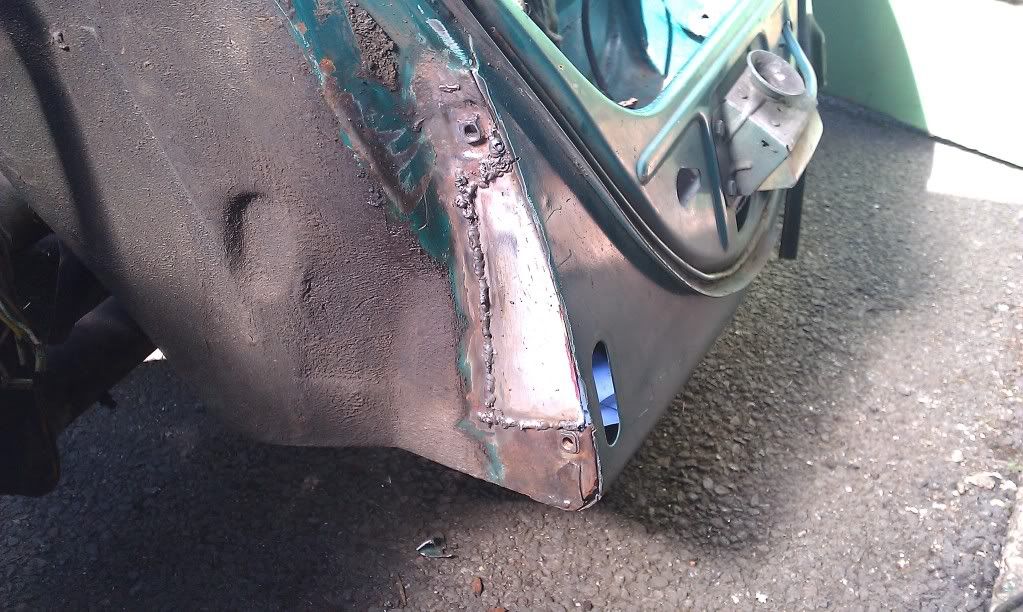 then made the return lip for the valance, kept the original shape 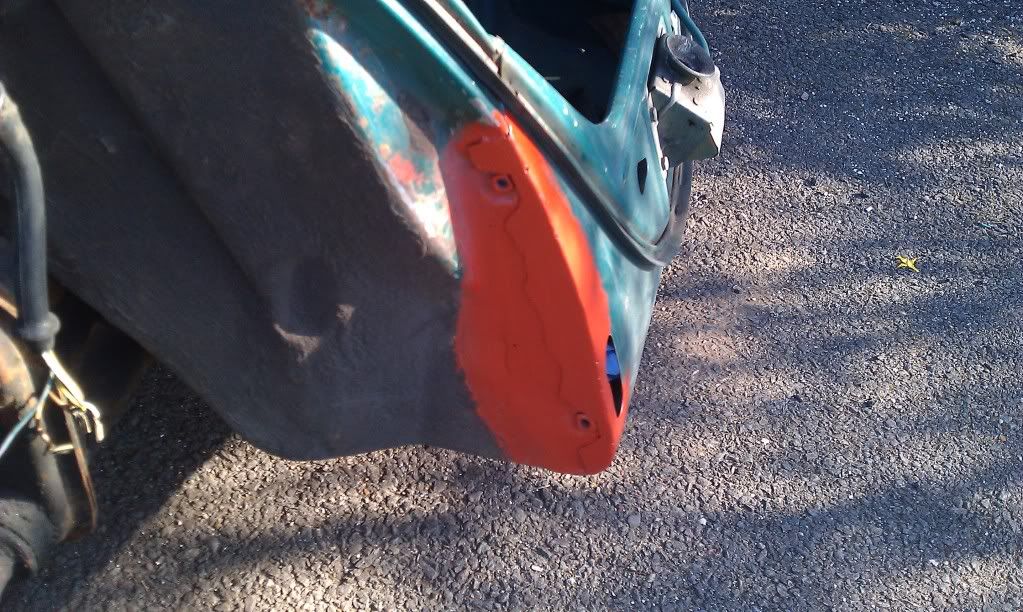 other things I have done is redo the rear screen corner as I wasnt happy with the lines, alot better now 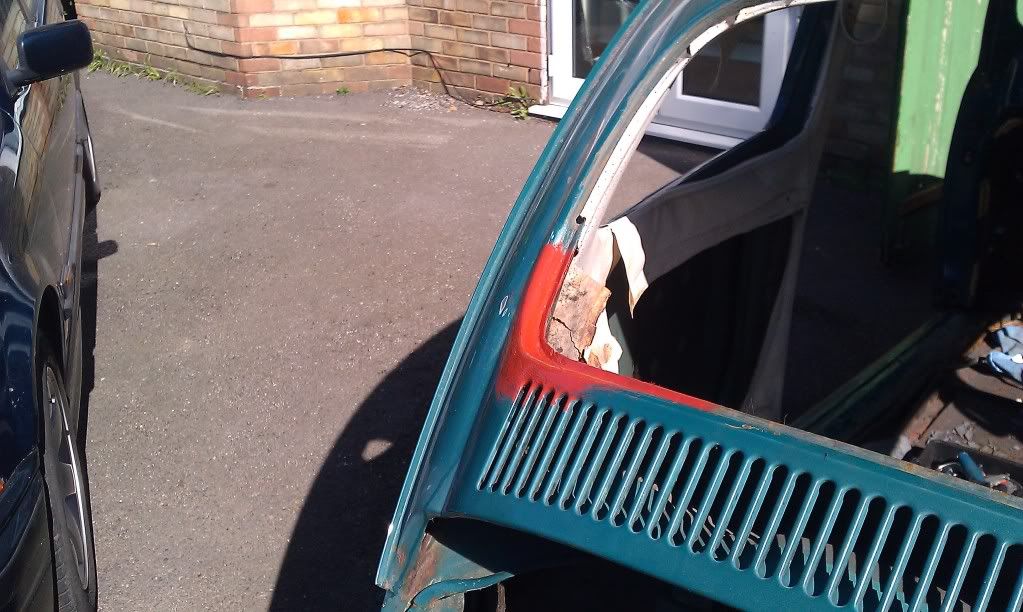 After having enough of body work I turned my attention to the chassis, stripped all the curse word off it to see how bad it was, turned out not to be to bad 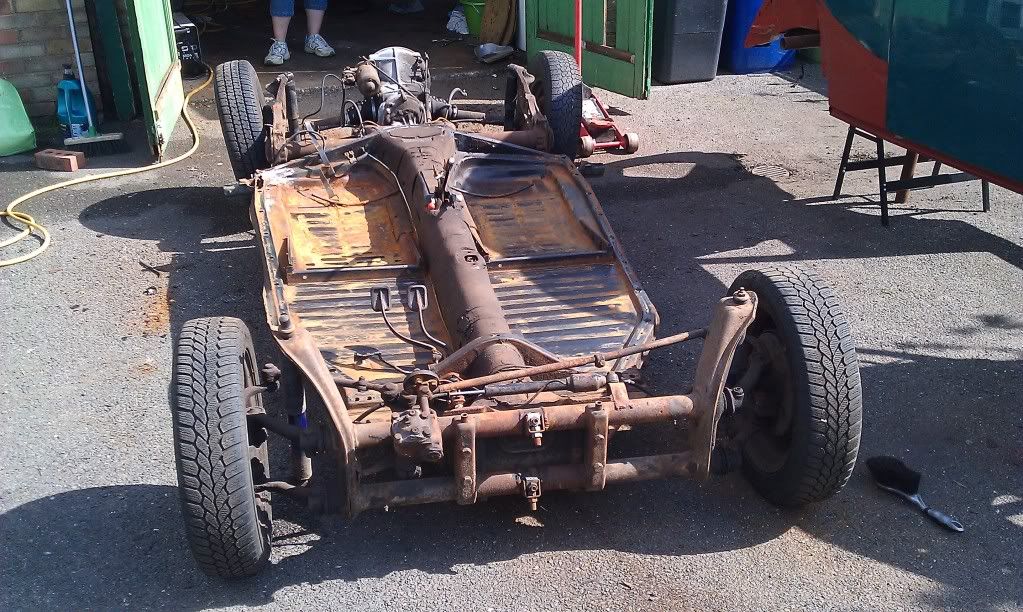 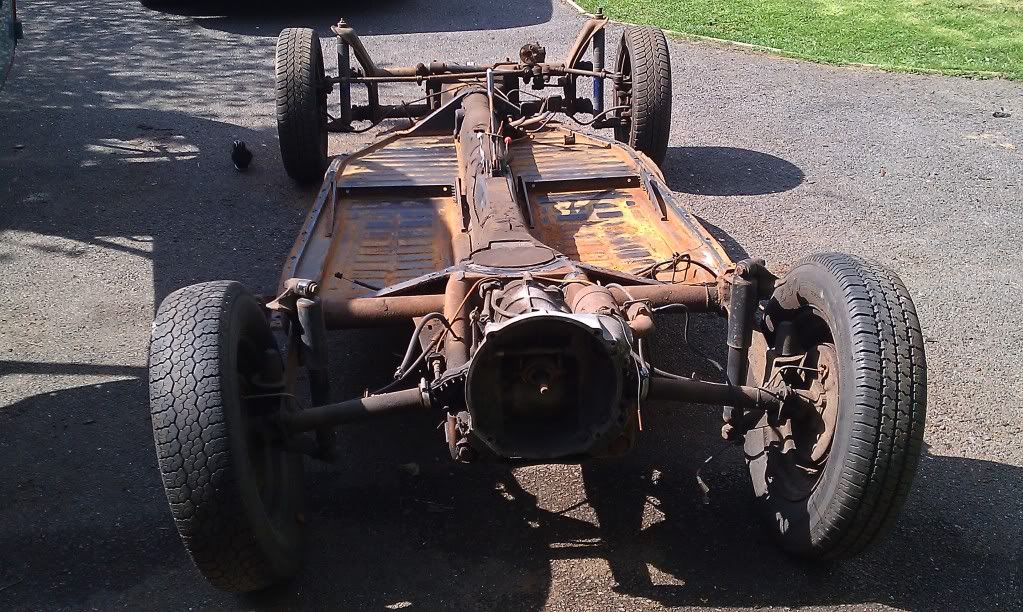 the only bit that needs attention 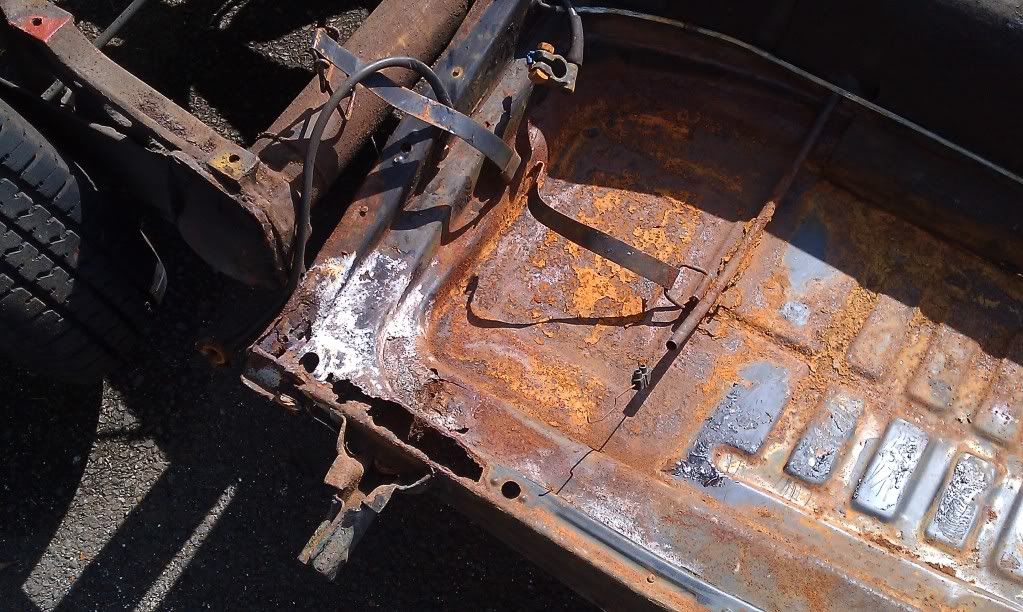 then stripped the front and rear off the floor pan for easy of working 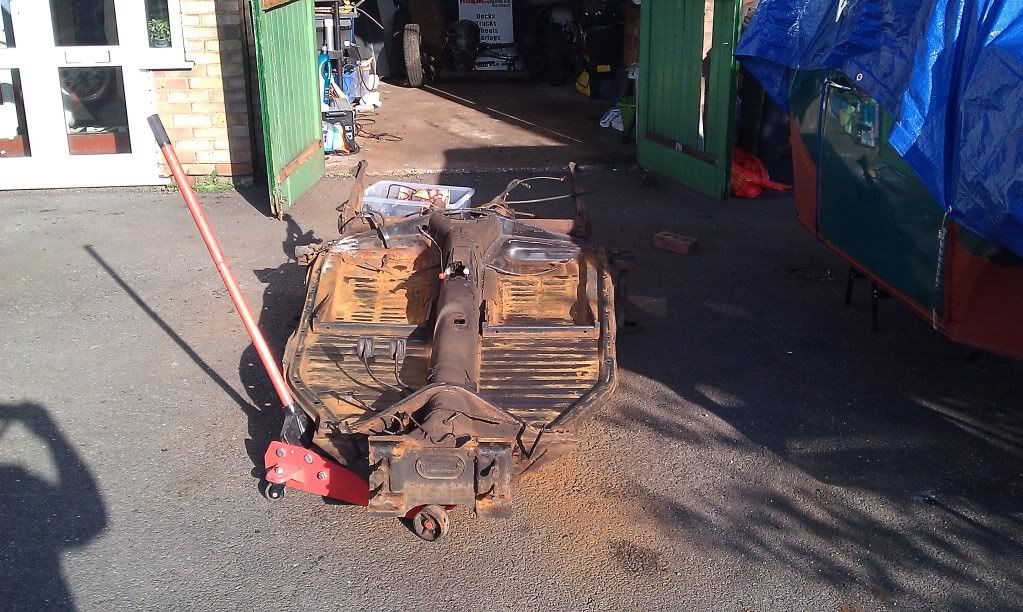 |
| |
|
|
|
|
|
Aug 22, 2012 20:00:24 GMT
|
took the front beam apart to see how bad it a was 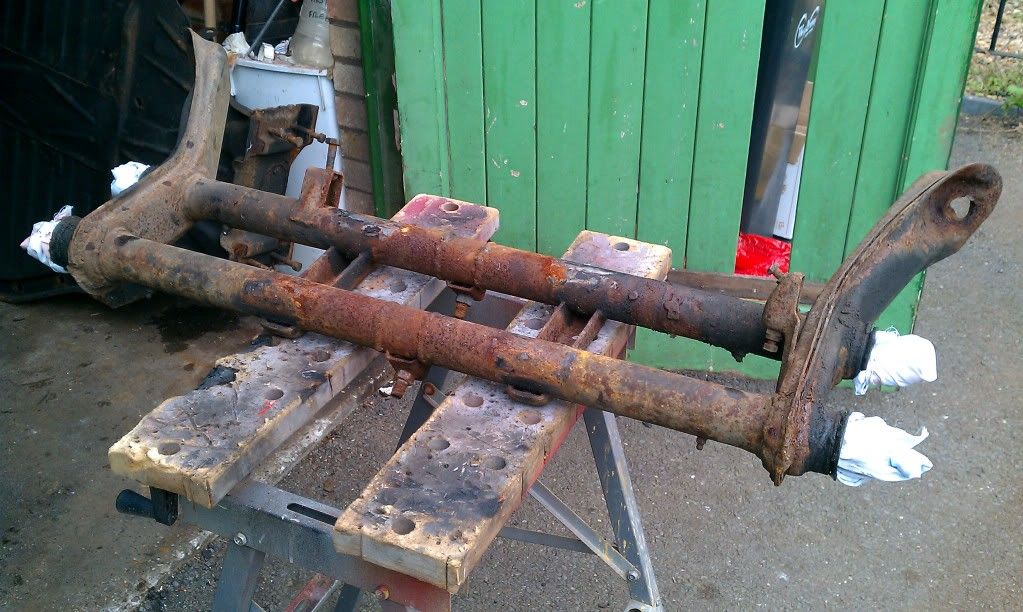 and it had it's issues 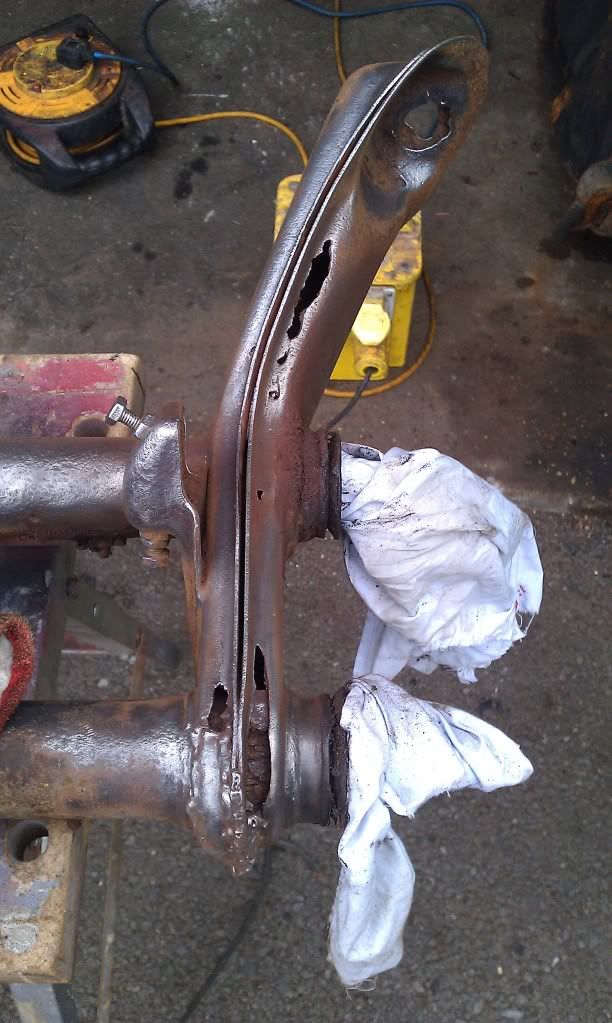 but nowt a good zap with the welder wouldnt cure 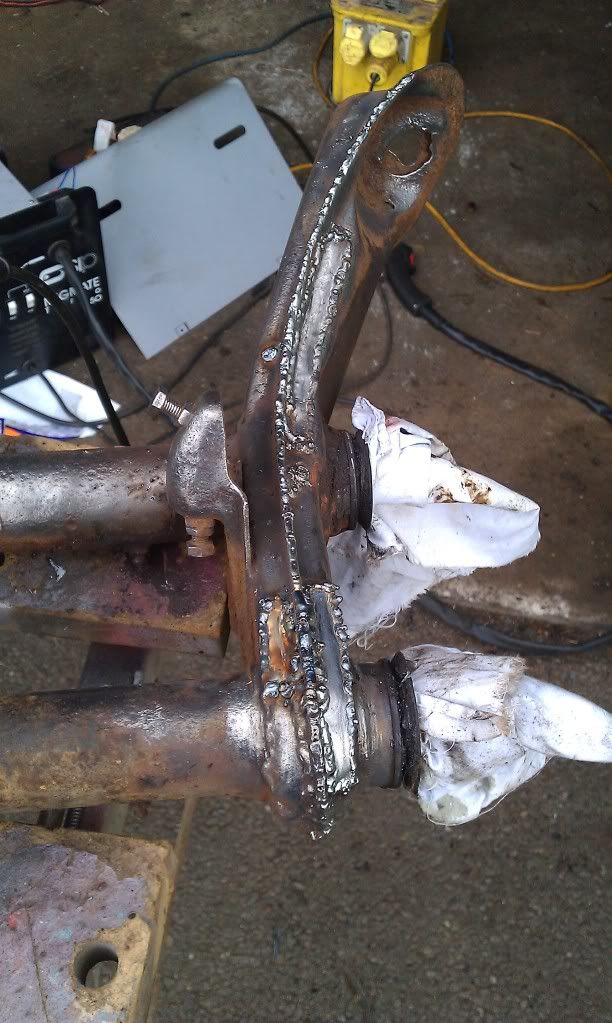 then cleaned it up and painted, ready for another 45 years! (excuse the state of the garage!) 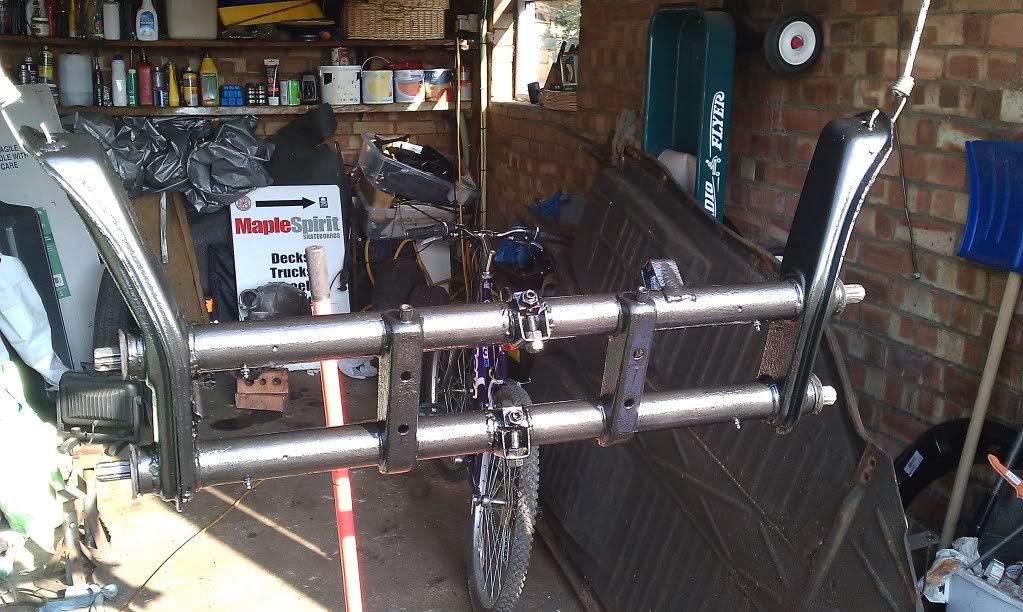 The arms have gone to Reichspeed ( www.reichspeed.com) to have new ball joints fitted. |
| |
|
|
|
|


 into gear and cracked on. I also want to keep tabs on the hours spent on him.


