|
|
|
|
|
Today was only a half day working on the car. First off was to finish from yesterday by re filling the gearbox with EP80 gear oil. Then I fitted the exhaust system. 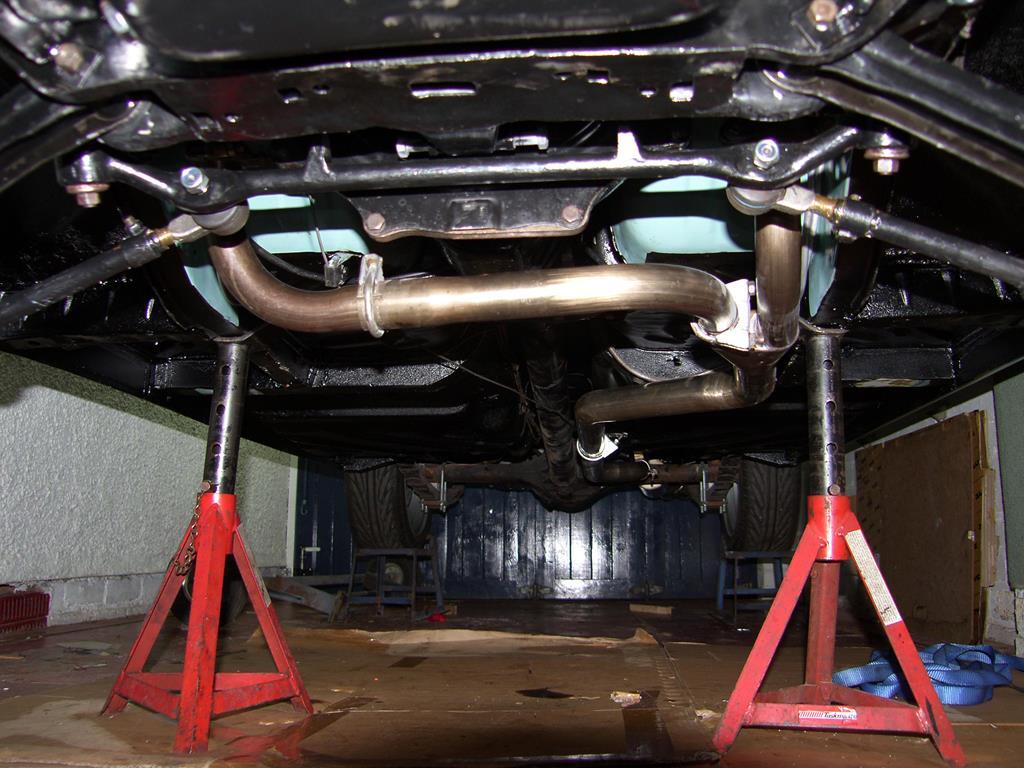 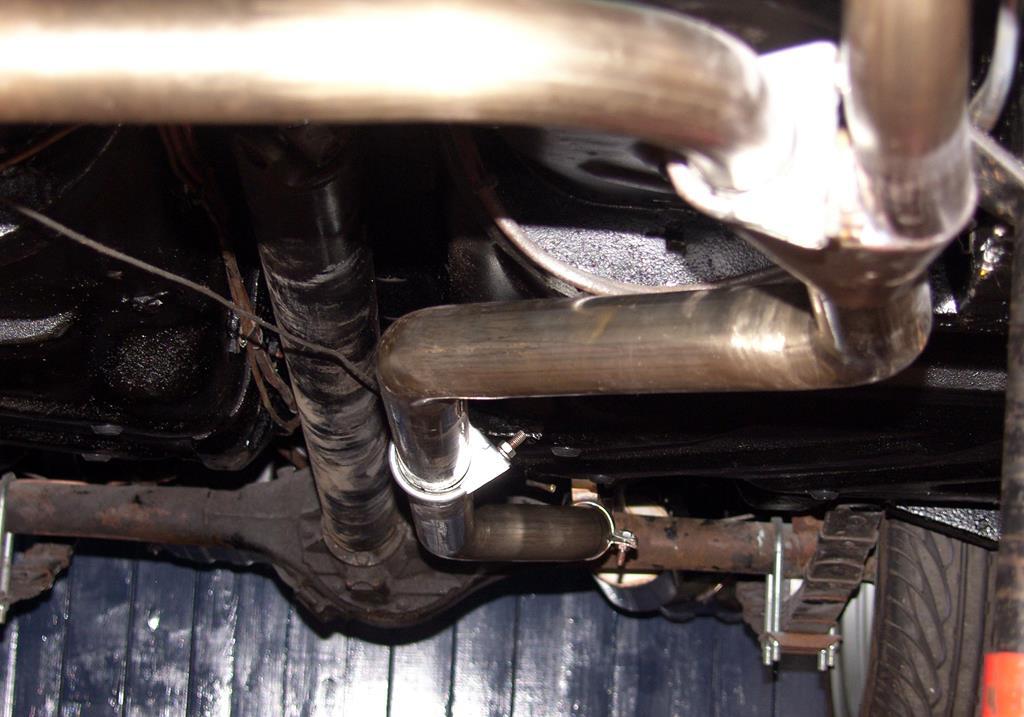 Then I fitted new bushings to the control arms and then fitted them into the cross member, this was difficult as I needed to use the trolley jack to push them into the cross member then line them up and put the pivot bolt in plenty of spray de greaser as a lubricant placing the control arm vertical with the outer (ball joint) end on the trolley jack and raise the jack slowly keeping the the arm in place, after a while they both were in and I fitted the struts, with the caliper mounts facing forward. 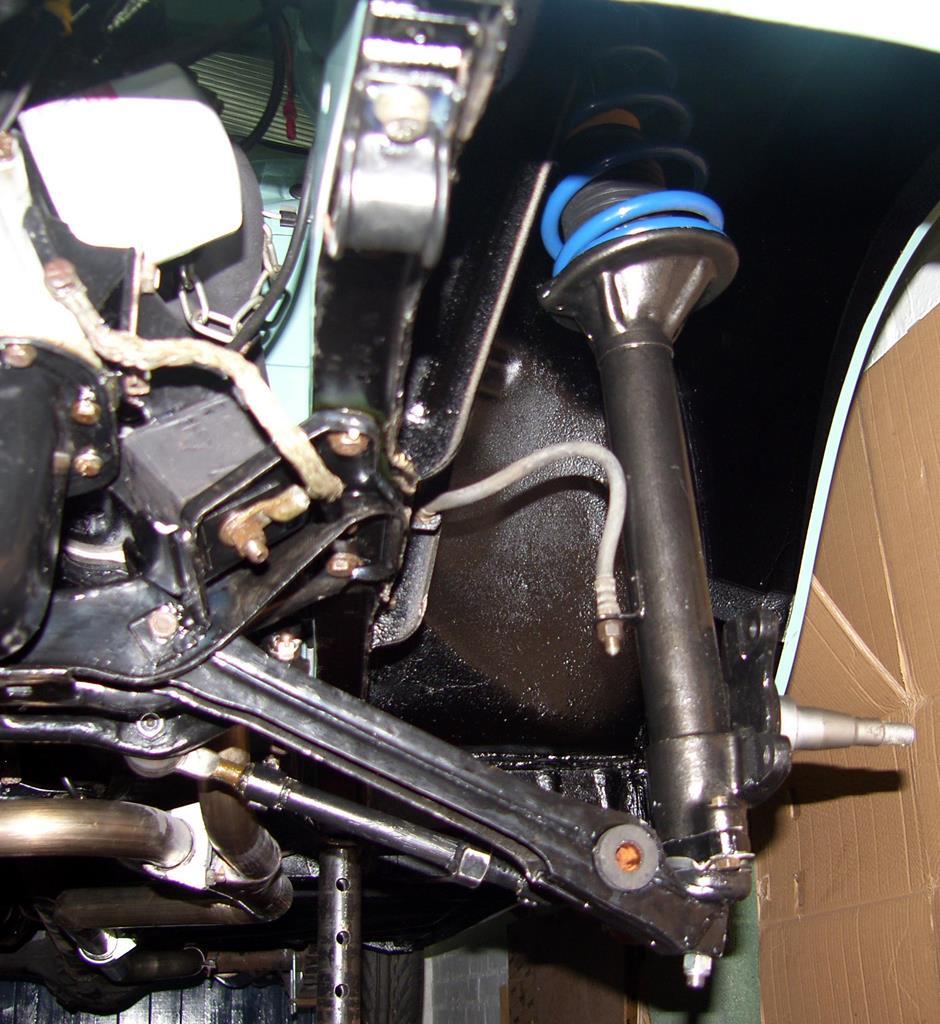 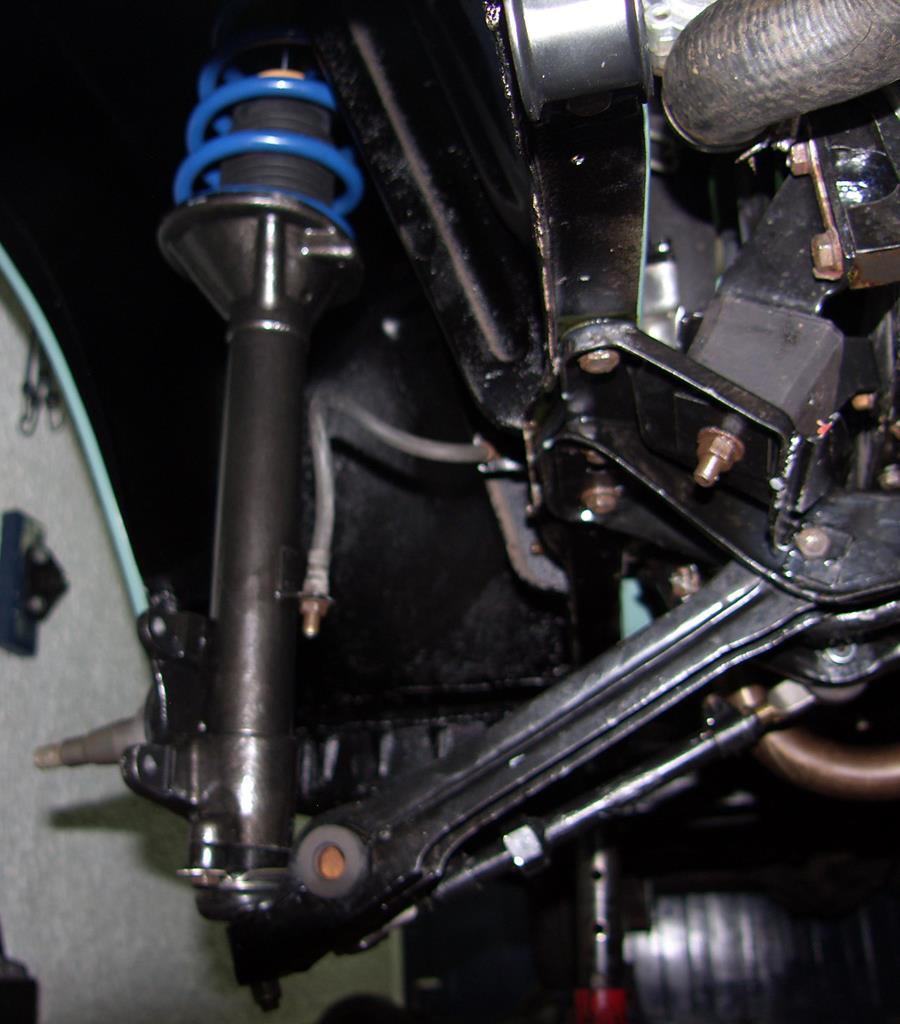 I will finish those off in the couple of days. |
| |
|
|
|
|
|
|
|
|
|
So good seeing this in its final stages of rebuild, Fantastic looking rare Ford and i can't wait to see it in the flesh if you are going to any shows. I will be going to shows no plans which shows yet and I will be using her as an occasional daily as well. |
| |
|
|
|
|
|
|
|
|
Finally with a lot of effort and time from Hotwire I had my membership came through, and I'm No: 107
|
| |
Last Edit: Oct 9, 2019 19:18:01 GMT by peteh1969
|
|
|
|
|
|
|
|
Mark
It can go in from the top bit it's much easier from the bottom especially with the fixed front on the car.
I had a right game joining the engine to the box when I rebuilt it and it's safer with all the new paint.
|
| |
|
|
|
|
|
|
|
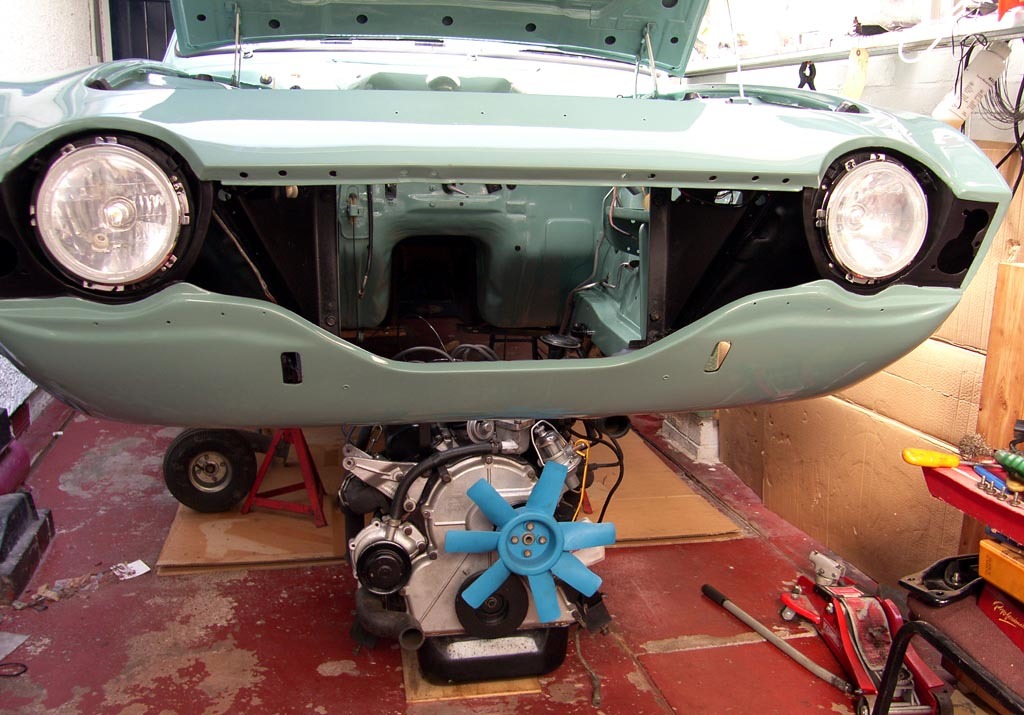
Today I have been mostly refitting the Heart back in to the Corsair This was totally an UN-planned event today I had no intention of doing it so soon, I was preparing parts and cleaning bolts and everything ready to do it later in the week but everything feel into place so i went with the flow and thought well lets see if I get stuck but it all went well.
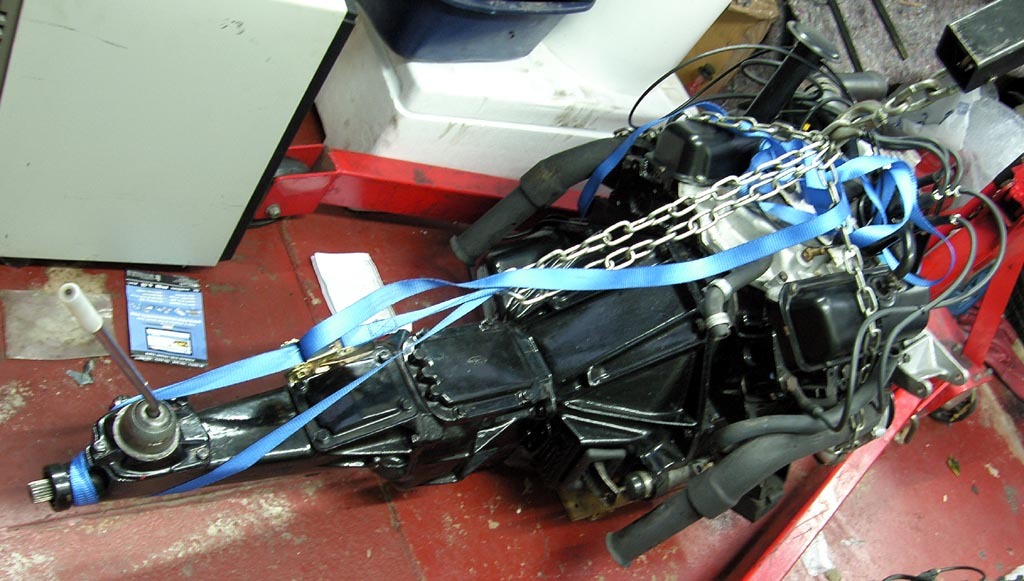 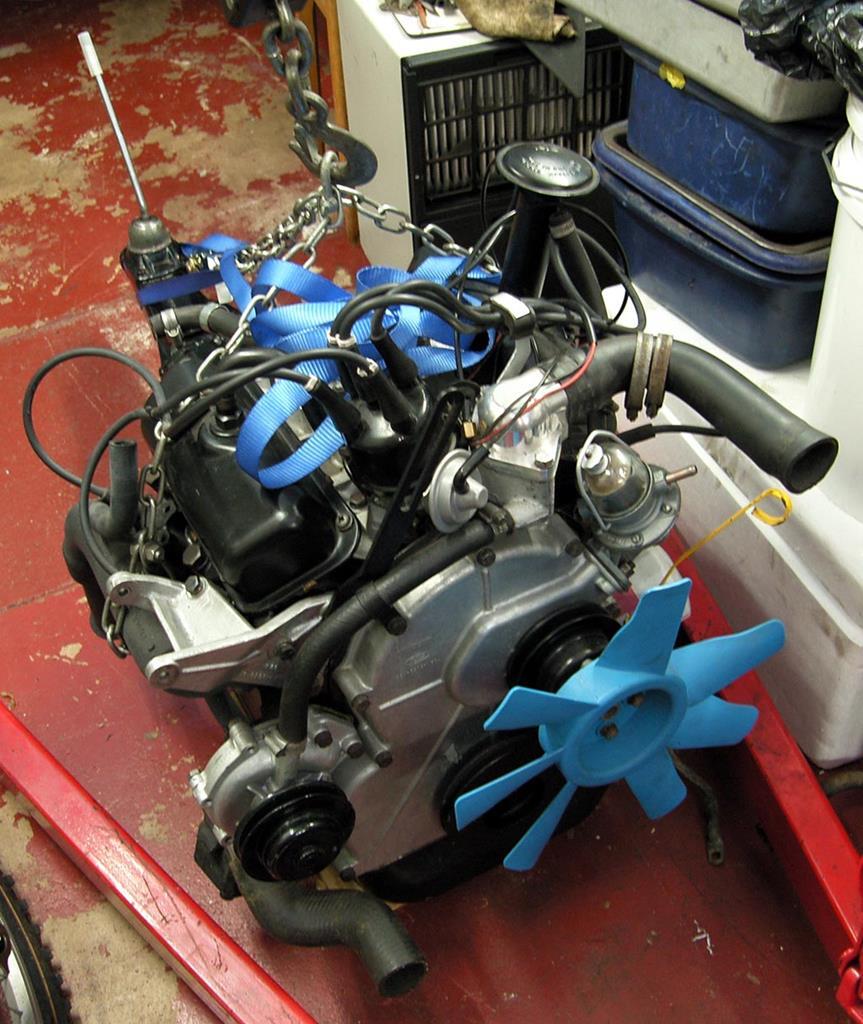 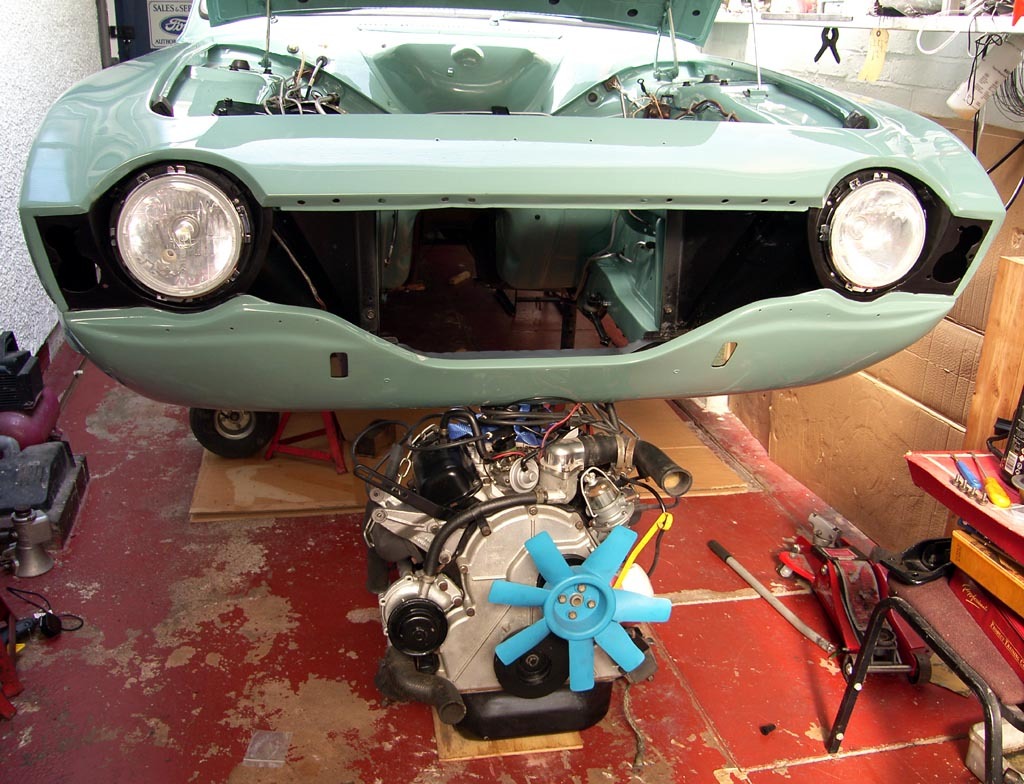 Stage 1 move the engine and box into place, all I had to remove was the dizzy cap which I laid on the top of the engine and carried on walking it on under the car.
All most there. 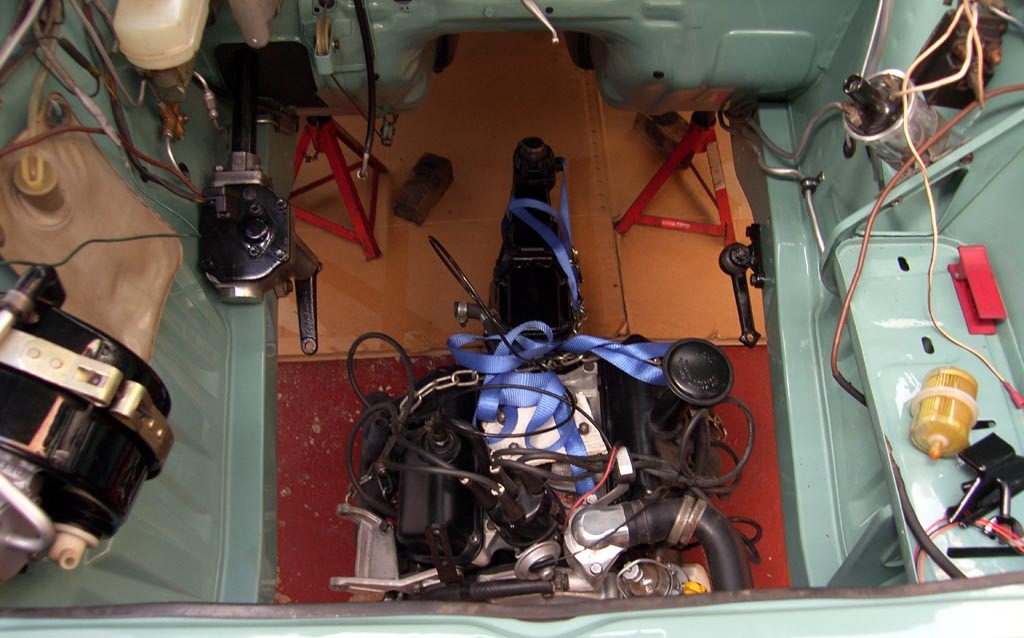 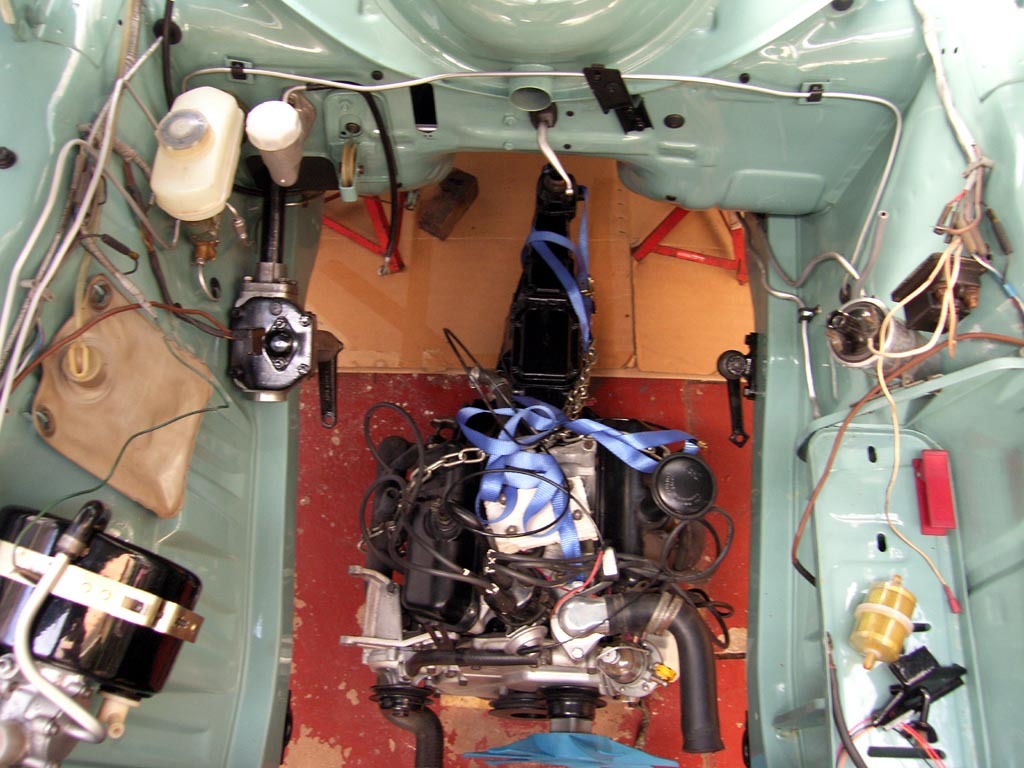
In the right place
Stage 2 connect the engine lift and slowly lift the engine and gearbox in to the car using a trolley jack to keep it level lifting it about 18" as I lifted I fitted new engine mount rubbers and gearbox mount rubber.
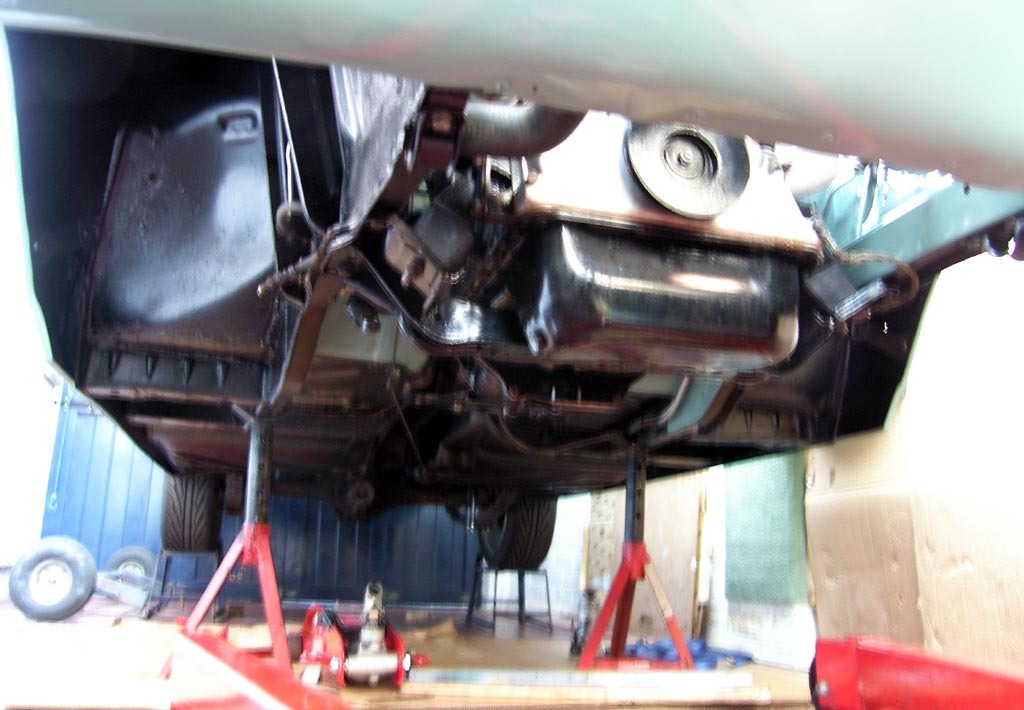
Once up enough and lined up I fitted the 10 bolts that hold the engine and box into the car.
A good days work with an unexpected outcome, now i can work on the front suspension rebuild and fitting the new old stock Armstrong front suspension bush set I have, but more on that later.
|
| |
|
|
|
|
|
|
|
|
Yes the Restorer all went in ok.
I still had to plan how to get the gasket retainer plate on with the pedal box fitted and the new gasket but all done now.
|
| |
Last Edit: Apr 30, 2021 20:08:59 GMT by peteh1969
|
|
|
|
|
|
|
|
Yes that's very true Mark which is why I wanted one in the Corsair as it's a period mod that will be useful.
|
| |
|
|
|
|
|
|
|
Still no email or club sticker received?  |
| |
|
|
|
|
1951 Pontiac Chieftainpeteh1969
@peteh1969
Club Retro Rides Member 107
|
|
|
|
Phil
If you can add some Oxygen gas to the flame that will make the propane hotter for you.
|
| |
|
|
|
|
|
|
|
|
Thank you for your input Robert with the various input from you all it's starting to make more sense.
I have used vac gauges before for diagnostics but this will be the first car of mine I have ever had one fitted to drive with.
|
| |
|
|
|
|
|
|
|
Excess rubber gasket removed. 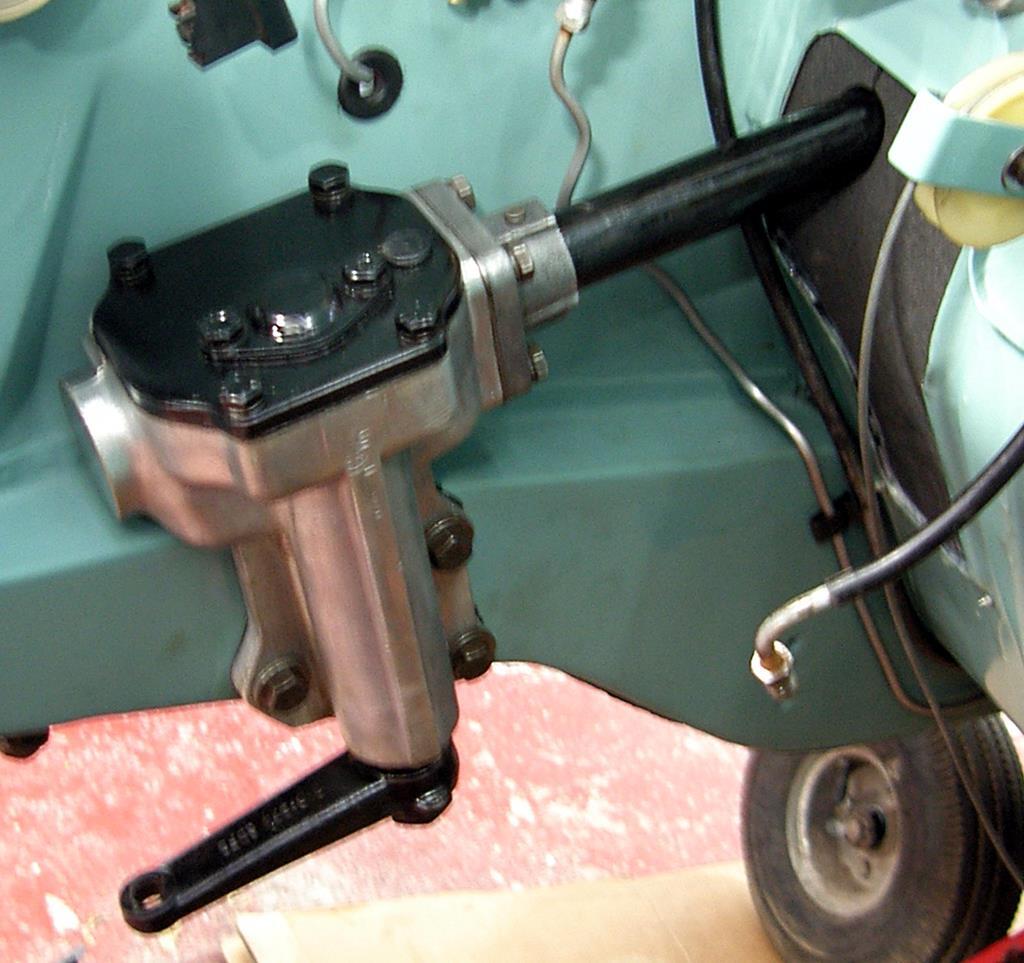 Now on to the next stage of today's preparation for the next stage of the refit. 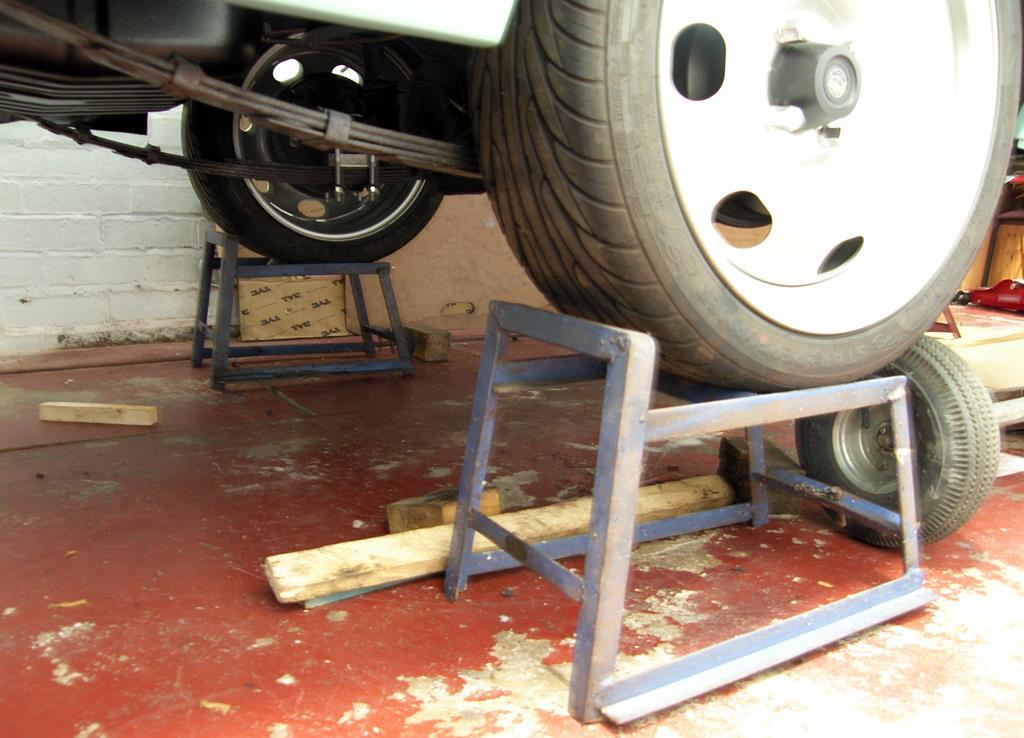 First off jack the rear axle up and put on a pair of ram ends 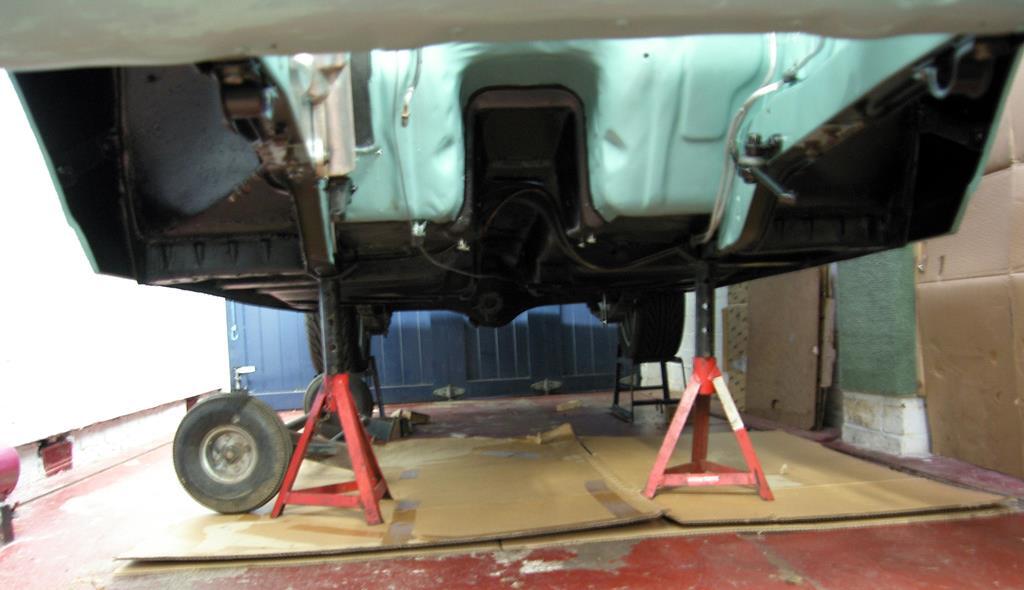 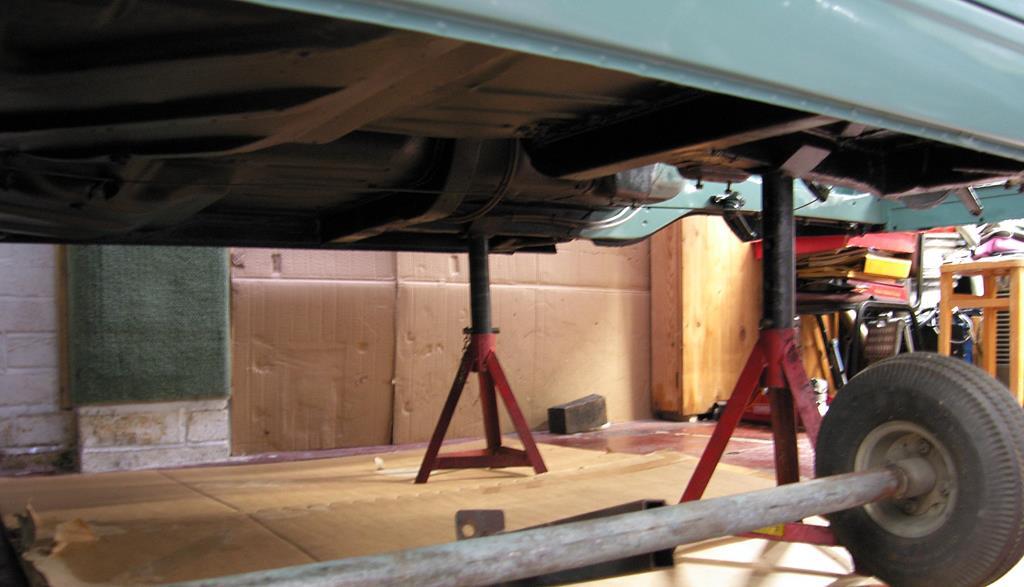 And axle stands under the front set as high as poss, I will have to put a beam under them just to get that crucial couple of extra inches.  This is how the care is at the moment I have a few little things to fit then all will be ready for the next stage. 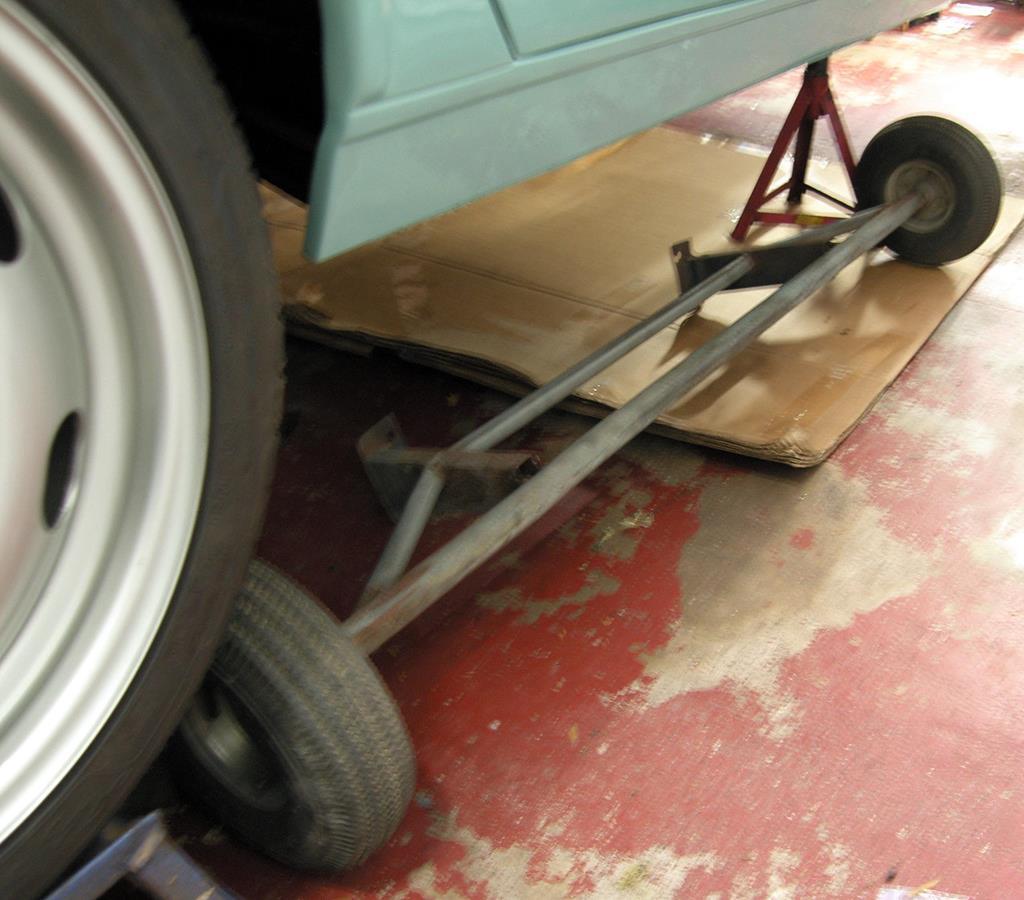 KenB KenB there is something here for you to collect when you are passing this way next time? |
| |
|
|
|
|
|
|
|
If you're using the carb takeoff for the vacuum advance, I was surprised by mine (Carter twin barrel) that the vacuum advance takeoff hole in the venturi is slightly above the flap at warm idle position. Thus, at idle there is no vacuum advance at all and the ignition timing should be dead on where it's set static. Once you open up the throttle a little it engages as the butterfly moves the other side of the hole and vacuum is drawn. The little digging into this that I did would appear to be quite common because it aids starting (DO NOT PRESS ON THE THROTTLE WHEN CRANKING THE ENGINE in the manual, this appears to be the reason because the timing flails around like crazy if you press on the throttle a little while turning the engine over and it doesn't like to catch). --Phil Interesting Phil this may apply to all that have vac gauges fitted. |
| |
|
|
|
|
|
|
|
|
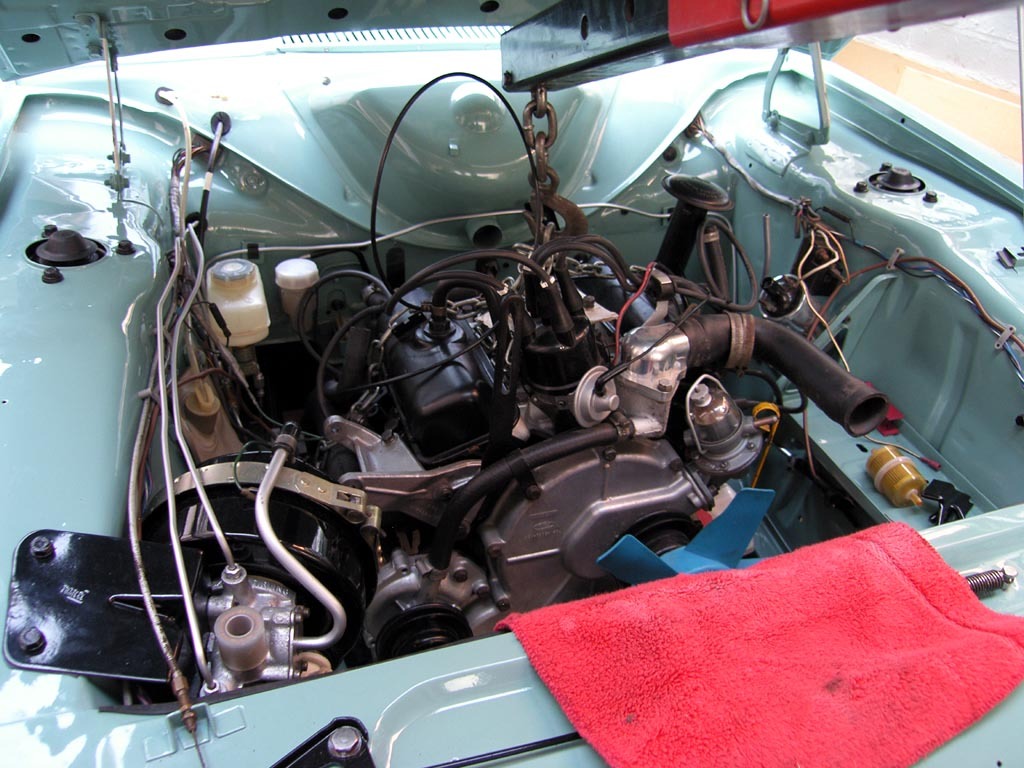
The ported feed (vac advance take off on the carb) is small A on the pic is the servo take off and B is the engine breather take off, I was not sure about the ported take off on the cab and the affect on the vac advance so still unsure which would be best.
|
| |
|
|
|
|
|
|
|
This is a question to Mark and Robert I have fitted a Vacuum gauge to the Corsair and it worked before I stripped it but I was never sure of where the take off should be? 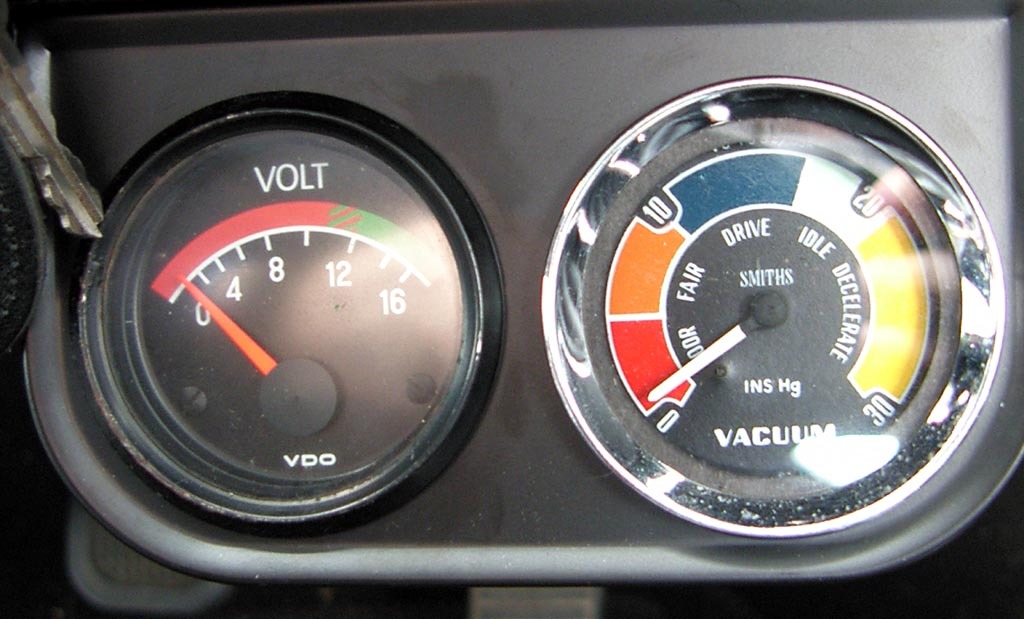 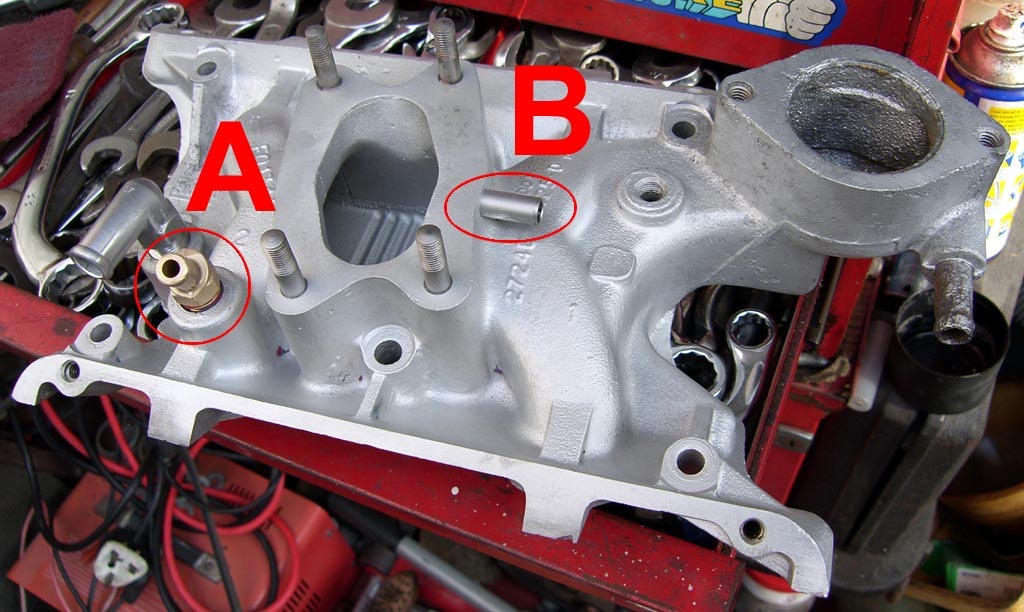 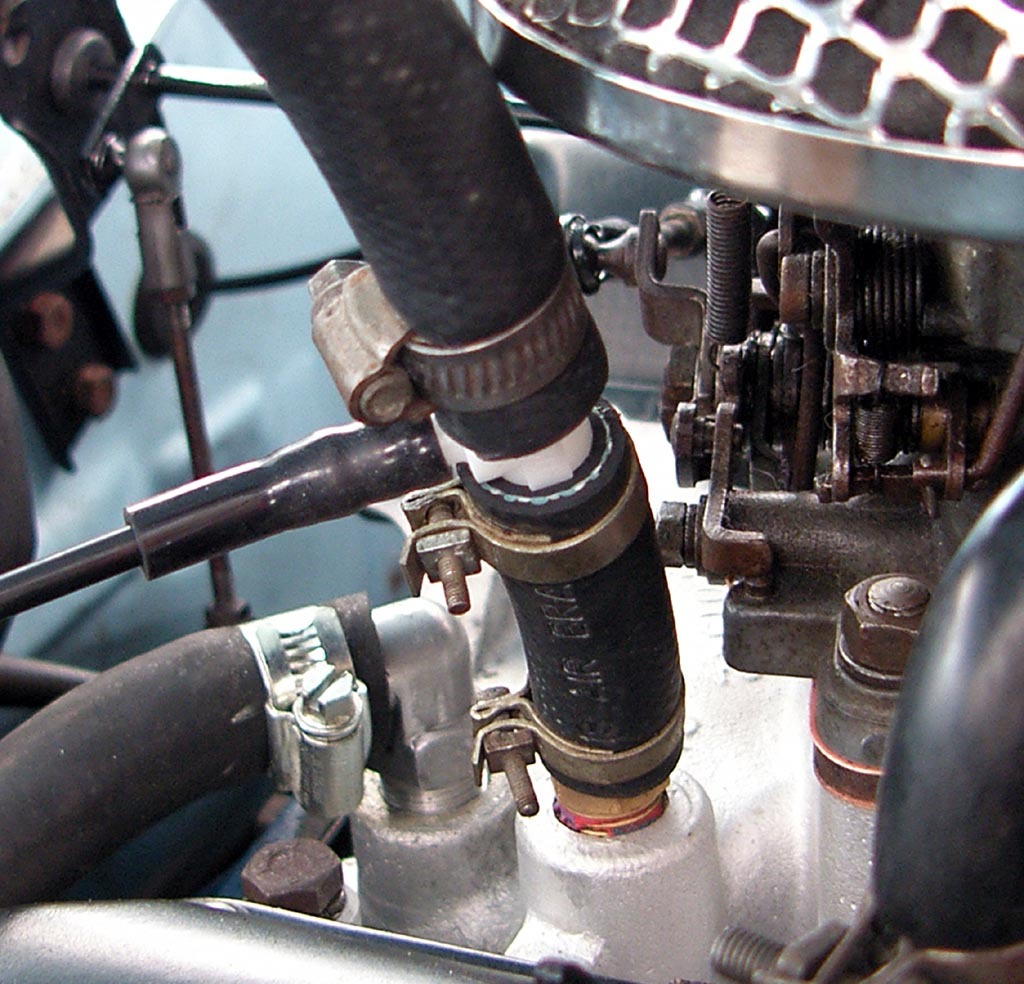 Any advise appreciated? |
| |
|
|
|
|
|
|
|
|
Mark where are you taking the vac feed from?
|
| |
|
|
|
|
|
|
|
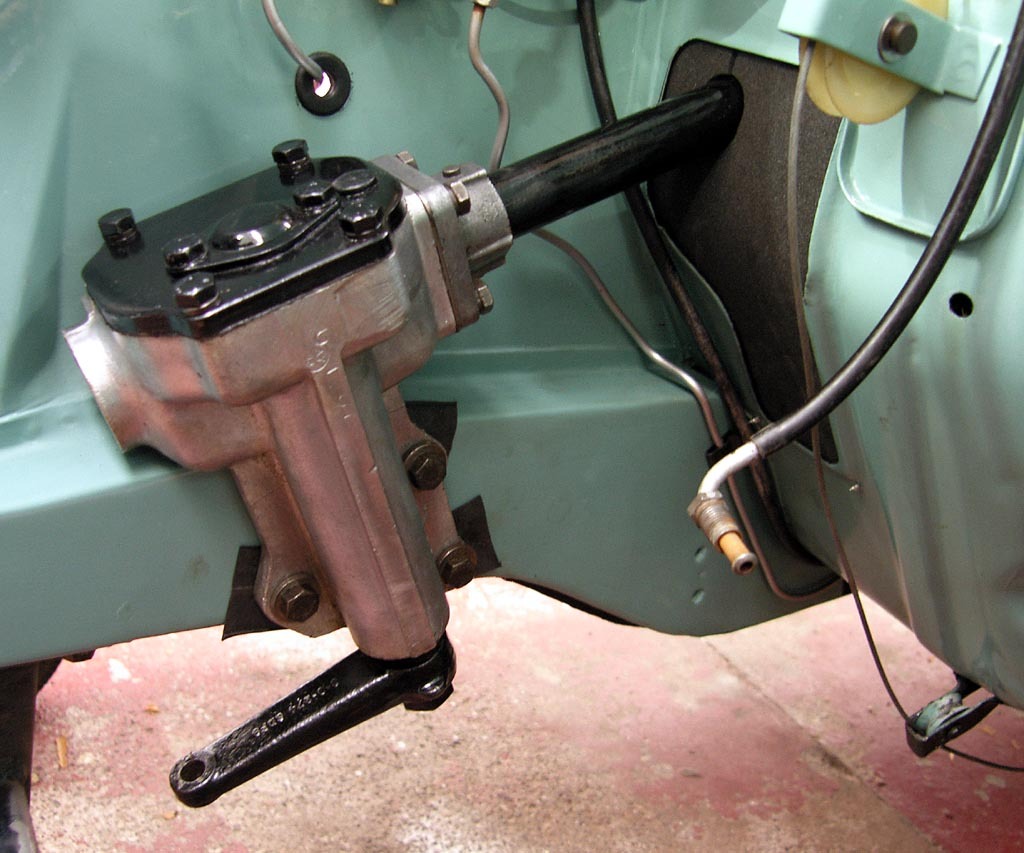
This weekend has not been that productive in the sense of not much to show for it but I have got some things done. I won't bore you with pictures of cleaning bolts so there is only a picture, though as you will see I'm one step closer to re fitting a big part to the car.
It's a heavy unwieldy thing to fit but I managed made some rubber washers to protect the paint, I will trim them tomorrow.
I had to fit it with just the top bolt in and the bolt on the column inside the car,while inside the car I lowered the column pivoting it on the top bolt and slid the column gasket plate down the column and ready to take the new gasket, I split the gasket at the top and put it in place, fitted the retaining plate with new screws and hooked it in under the pedal box inside the car, the pressure and leverage really pushes the gasket into place and seals it very well, the old gasket fell apart when I stripped the car, the new one being a closed sell foam it should last as long as the original.
|
| |
Last Edit: Oct 6, 2019 18:24:03 GMT by peteh1969
|
|
|
|
Fiesta mk3peteh1969
@peteh1969
Club Retro Rides Member 107
|
|
|
|
God aren't those discs small there like dinner plates.
Good work getting it done George you have another nice car there and the insurance will be so much cheaper on a 1.1
Keep up the progress updates.
|
| |
|
|
|
|
|
|
|
|
Good to have an update Jim thanks
Sorry to hear about your troubles but good you got it all sorted and the van will be a useful if temporary addition to the fleet and should help with the house.
|
| |
|
|
|
|
|
|
|
|
Hot Wire can you post after the emails have gone out please so I can check to make sure I have received?
|
| |
|
|
|
|
|
|
|
|
I will be using 3M tape if I do use tape because of it's bonding as you say Mark it wont damage the paint and work properly.
|
| |
|
|
|
|