|
|
|
|
|
|
|
Mar 15, 2021 18:42:25 GMT
|
|
I use a power file for hard to acces areas. A really handy tool also for cleaning metal in preperation for welding. Had a few Black and Decker ones but these do not last very long. then bought a Makita which lasts a long time already.
Good progress by the way!
Peter
|
| |
Last Edit: Mar 15, 2021 18:43:02 GMT by petervdv
|
|
|
|
|
Mar 10, 2021 18:04:10 GMT
|
Nice mods on the P6
There is a small O-ring fitted on the shaft of the shifting mechanism. It is better to replace that o-ring as it can leak if the o-ring is not replaced, even when this shaft is in a high position Peter |
| |
Last Edit: Mar 10, 2021 18:04:48 GMT by petervdv
|
|
|
|
|
|
|
|
Excellent work on the bulkhead!
I am not a welding specialist but i do not use automatic welding helmets anymore. There are a lot of cheap ones for sale and i doubt if their darkening time is good enough. I had some problems with my eyes and now use a conentional "helmet".
Keep up the good work. We can see there is more then enough energy and motivation to tackle this job at your high standard
Peter
|
| |
|
|
|
|
|
|
|
|
I also use Hydrate 80 on pitted steel and also prefer to sand it off before applying primer as i believe thinner solves the Hydrate 80
Good to see you working on a new project!
Peter
|
| |
|
|
|
|
|
|
|
|
really nice work! Experience creates a master in bodywork!
|
| |
|
|
|
|
|
Feb 27, 2021 20:19:47 GMT
|
|
There is a man called Andy posting on the P5 forum as "Eightofthem". He rebuilds BW35 and 4ZF HP22 boxes and is very friendly and has a lot of knowlegde. I bought a rebuild 4ZF HP22 from him for my P5B and the work was done at a very high standard and he was very helpfull when i was converting from BW35 to 4ZF
Good luck with your autobox. I do everything on my classics except the autoboxes. I think i could rebuild them but was afraid making a small mistake and then having a lot of work with pulling the box out.
Peter
|
| |
|
|
|
|
|
Feb 13, 2021 14:47:17 GMT
|
Also received a Jaguar Etype steering wheel which had been restored but the wood cracked a few after the resto These are good looking steering wheels due to the thin rim and have a good feel. The aluminum was in excellent condition and covered with masking tape to avoid scratches  A new rim was made out of 2mm thick mahogony 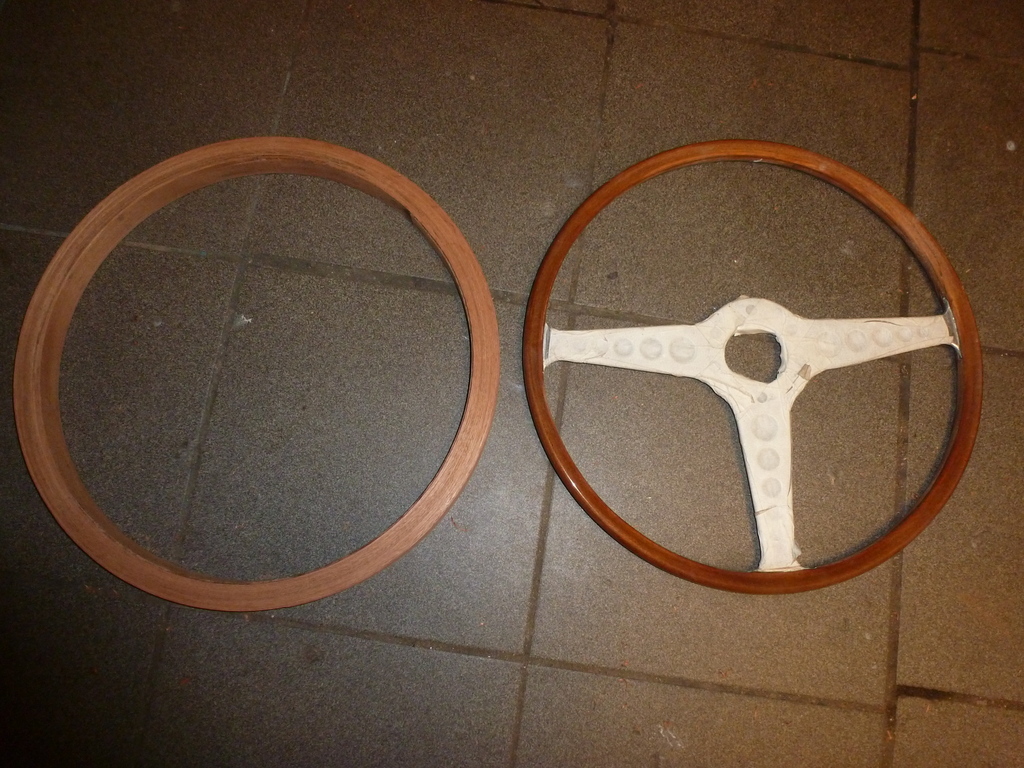 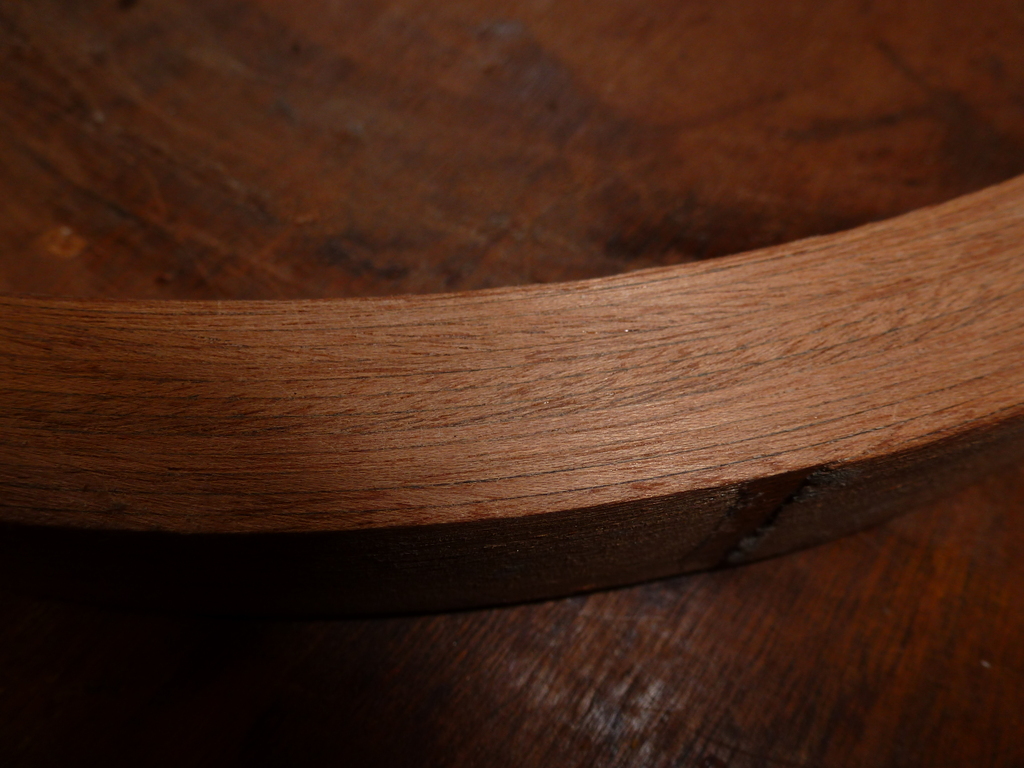 The old wood rim was removed 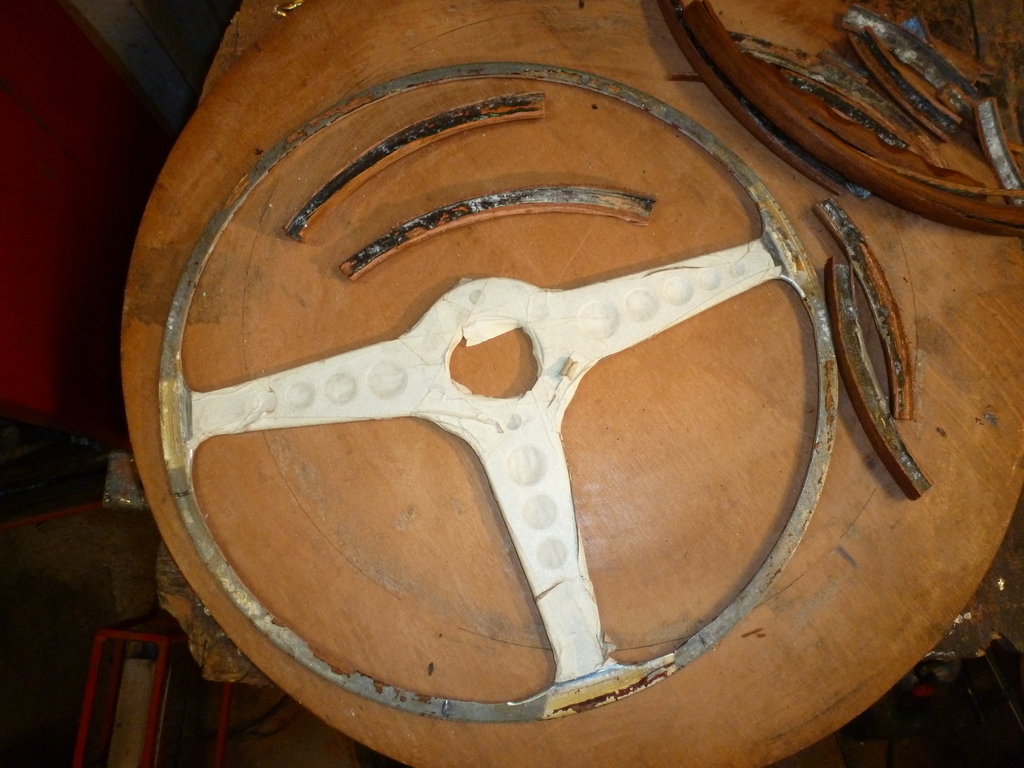 The new rim was glued on the aluminum and shaped with the router 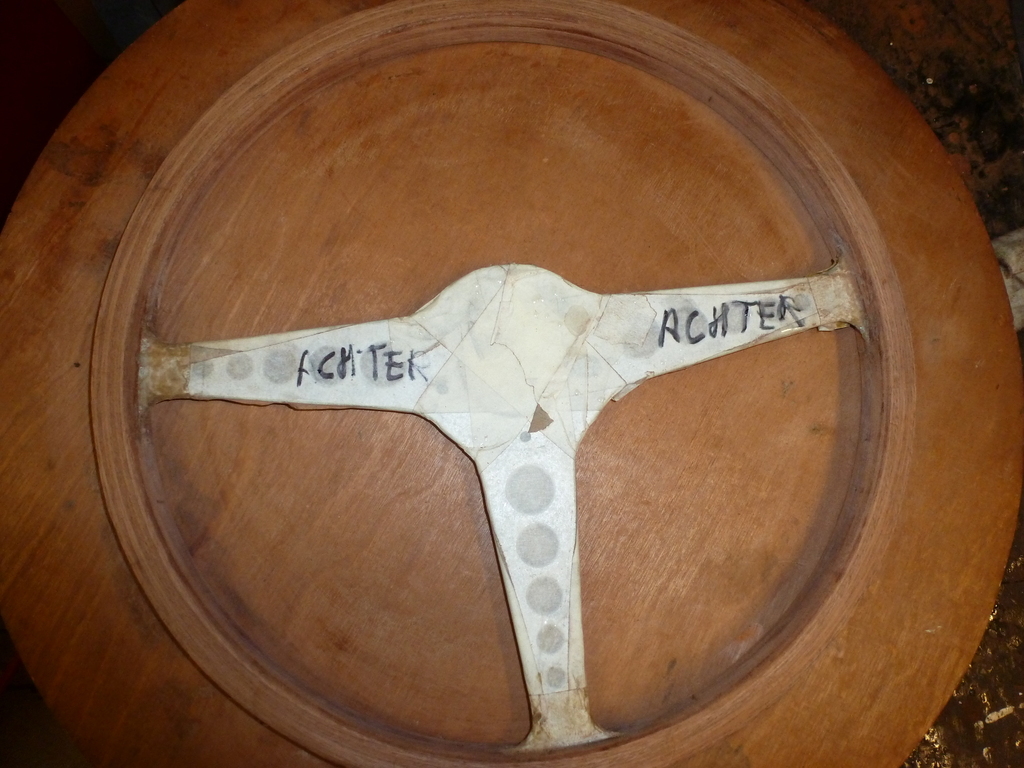 and clear coated 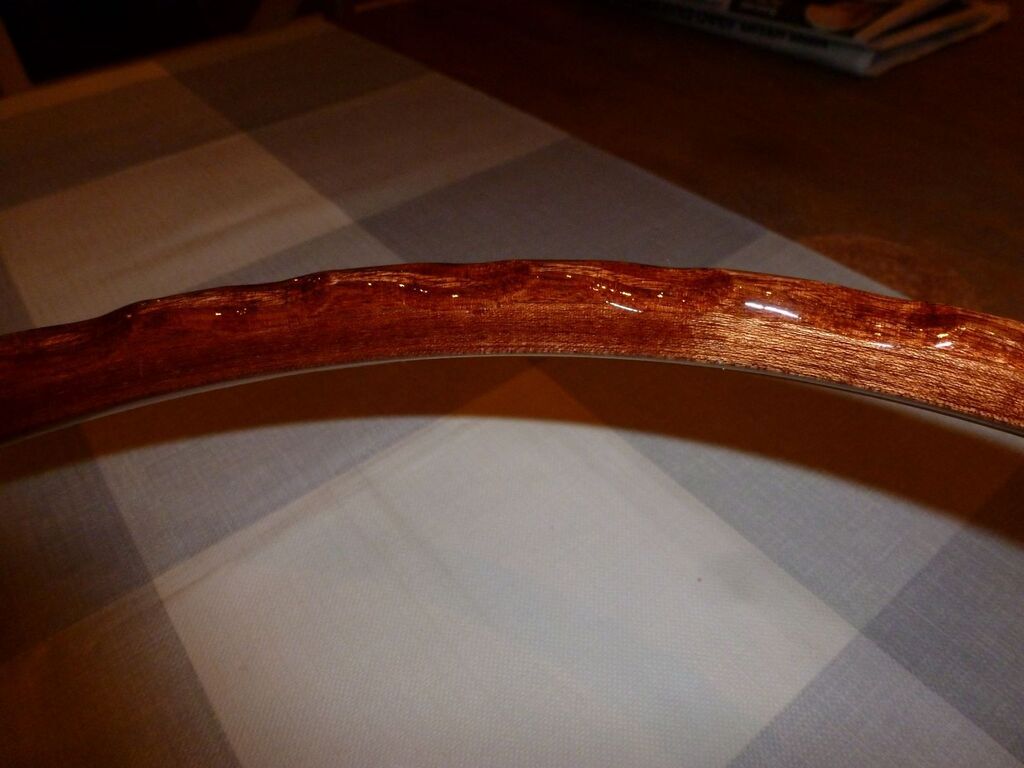 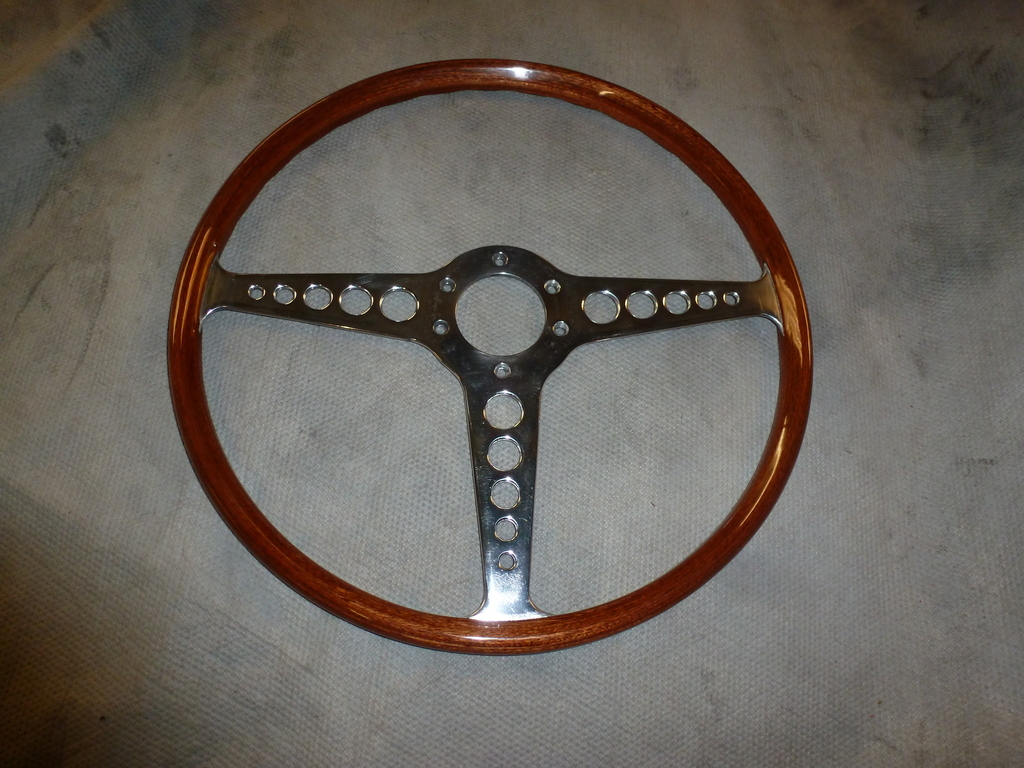 Peter |
| |
|
|
|
|
|
Feb 13, 2021 14:30:58 GMT
|
A rather long time since my last post. Restored some steering wheels in the meantime This steering wheel was a Nardi steering wheel from a 1960 Alfa. It is a 420mm thin rimmed steering wheel which was also fitted to Ferrari s and other Italian Exotics of that era. You can still buy these new from Nardi for a staggering price of over Euro 2500,- and used ones are offered for over Euro 1500,- The aluminum part was in resonable condition and the wood rim was in many pieces. These steering wheel have a black 4mm line in their woodrim and aluminum pins which are visible from the rear. First i made a new rim piece 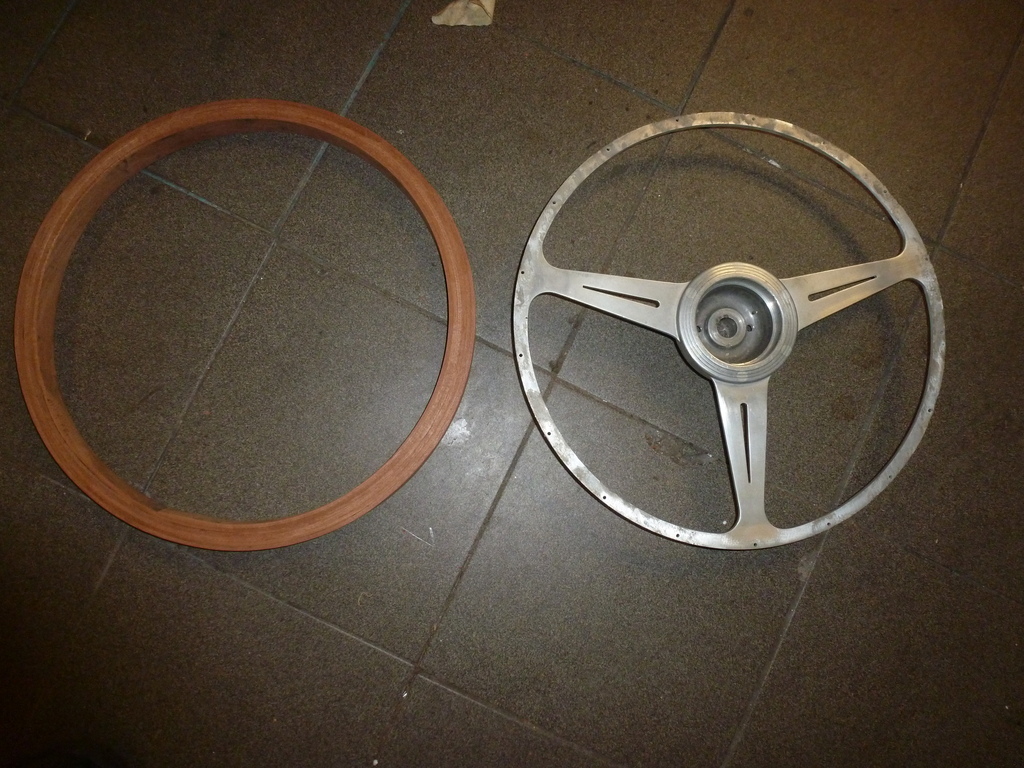 As these are originally made from 4mm thick mahogony, i had to steam bend these before gluing these together The decission was made to make a copy for myself a demo steering wheel After making the rim piece, it was glued to the aluminum part and with the router a chanel was made for the black stripe. The black stripe is originallt a piece of plastic but i decided to cast it into the steering wheel with black epoxy 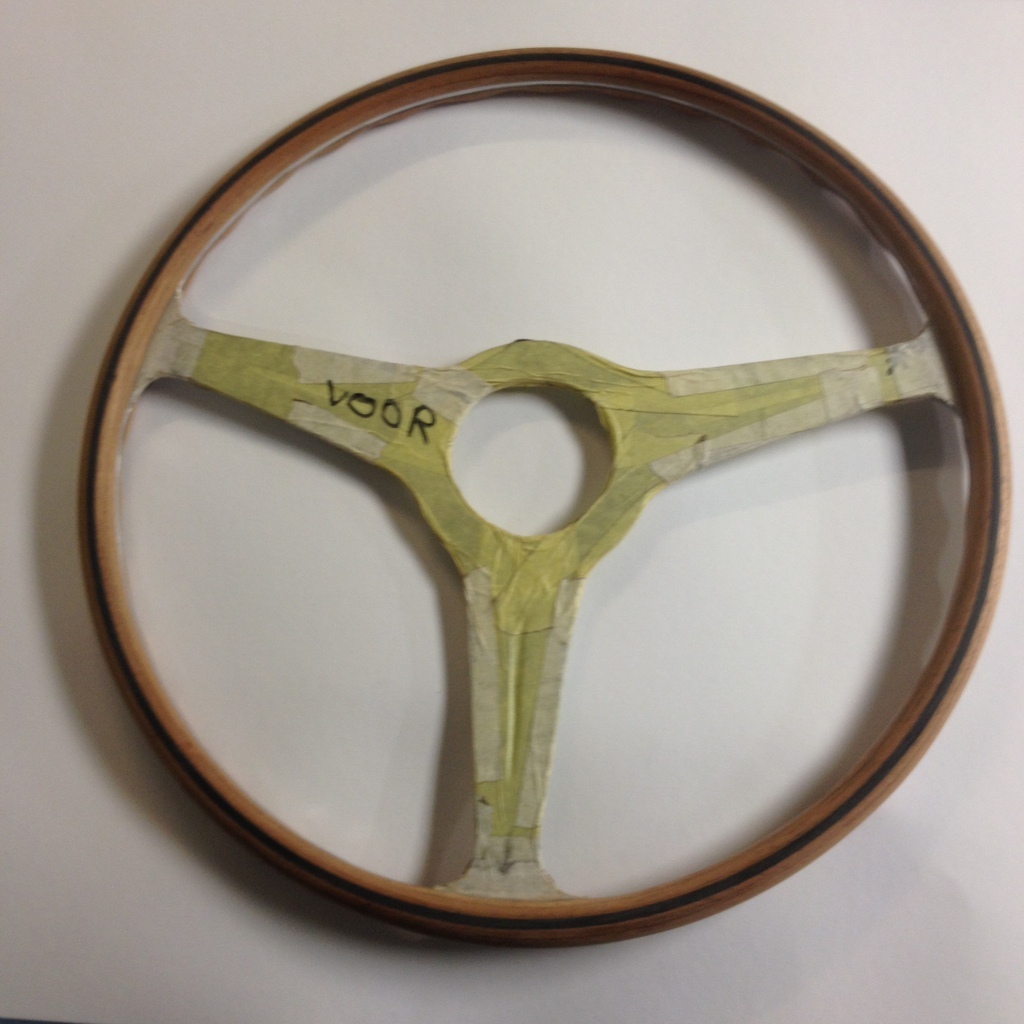 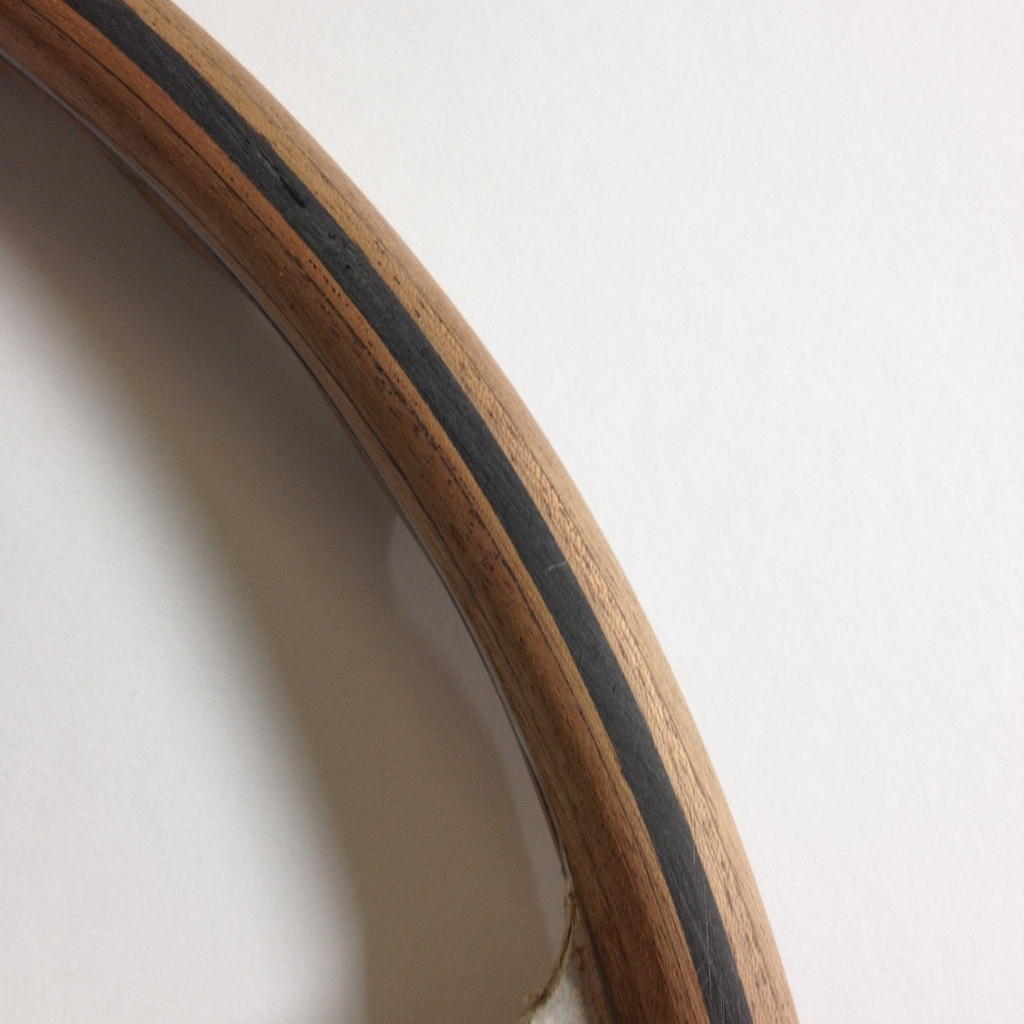 This worked well 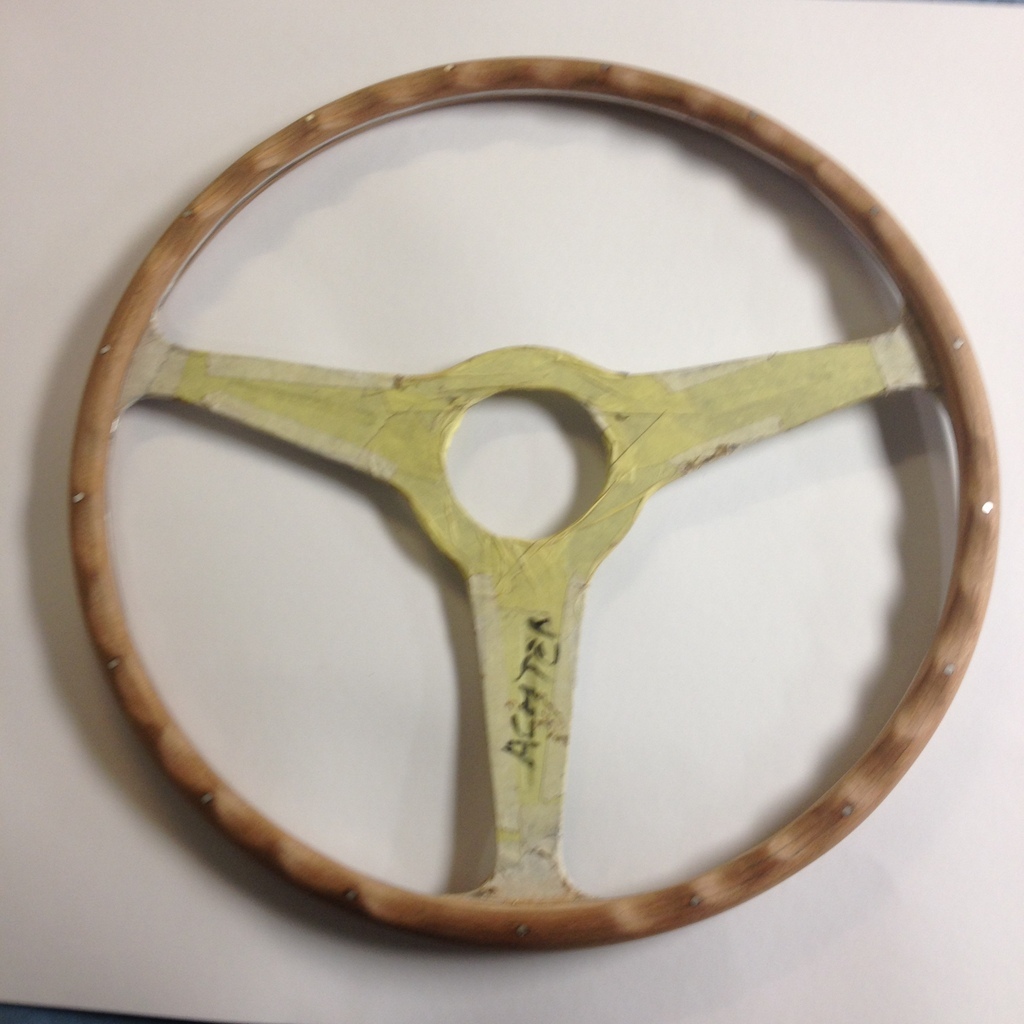 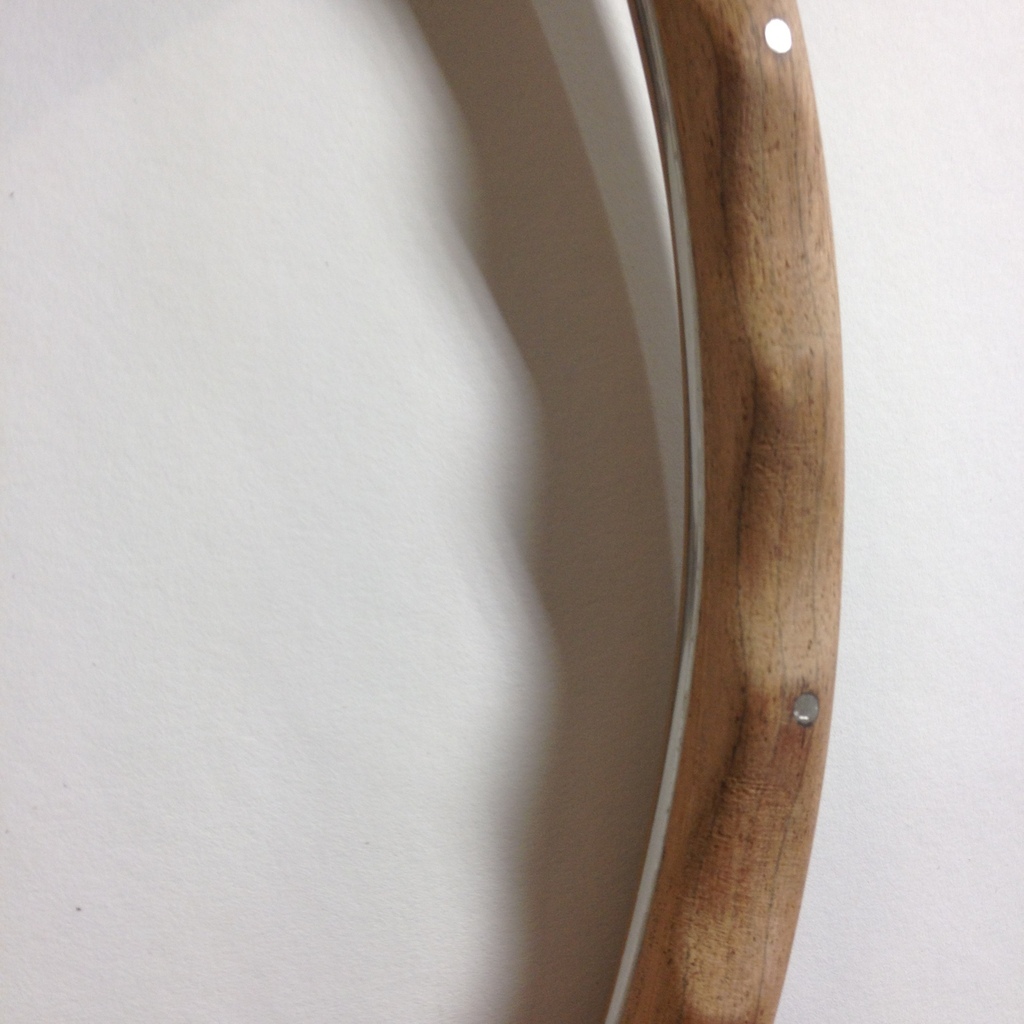 Also the alu pins were fitted and the fingergrips were made Here a pictures of the finished steering wheels with the aluminum polished and the remain of the old wood 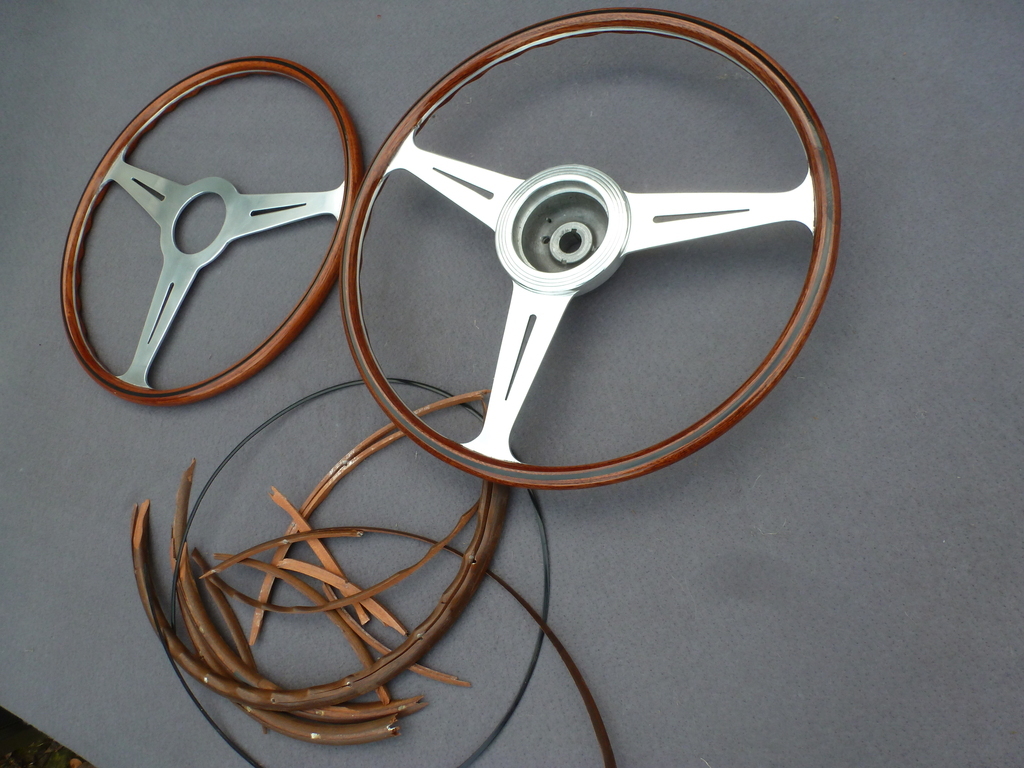 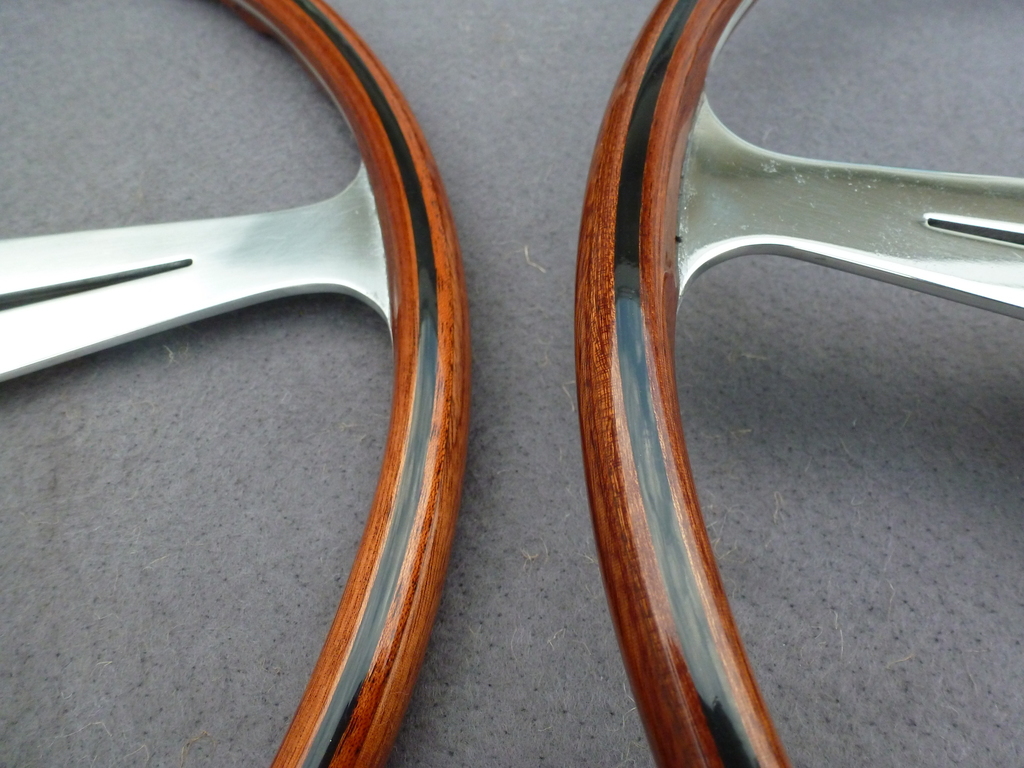 These are really good looking steering wheels with the thin rim and they also feel good Peter |
| |
|
|
|
|
|
Feb 13, 2021 13:37:22 GMT
|
Koni are Dutch so these must be good  I have been in Tokyo a few times and their train system was quite impressive Peter
|
| |
|
|
|
|
|
Feb 13, 2021 13:21:53 GMT
|
You could protect the area to polish with Ducktape. There are good quality Ducktapes which can handle shotblasting. I did this on the Jensen alloys which i have on my Rover P5B. I first polished the areas, then covered the polished areas with Ducktape and send them out for shotblasting and epoxy primer 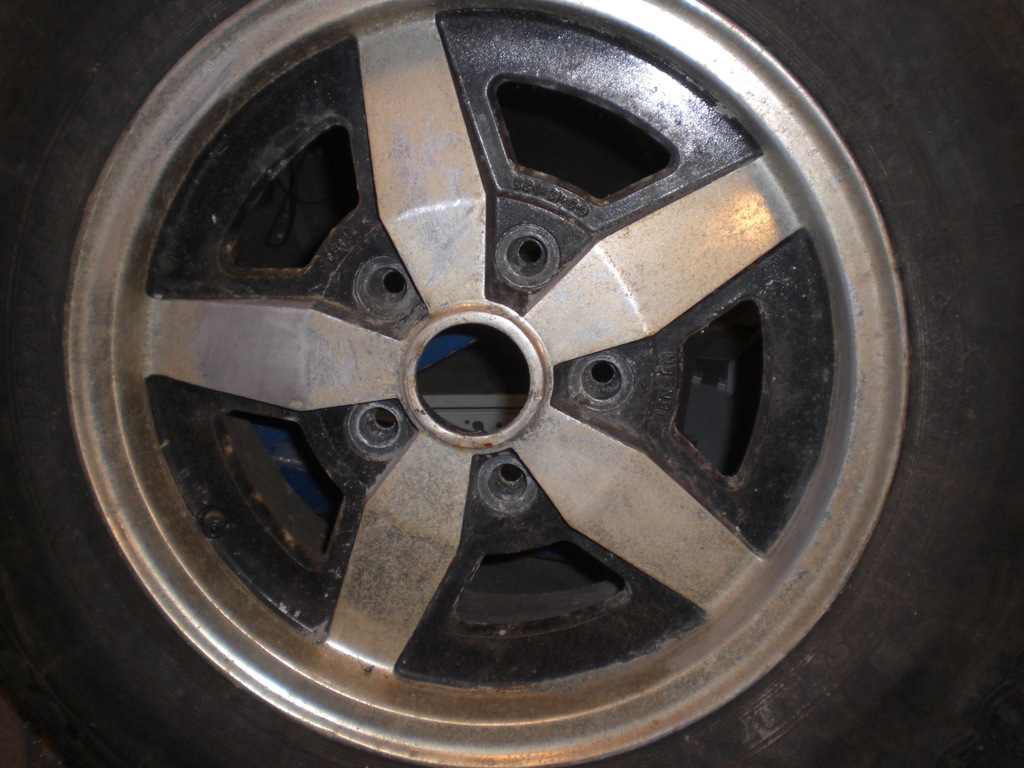 Wheel as bought 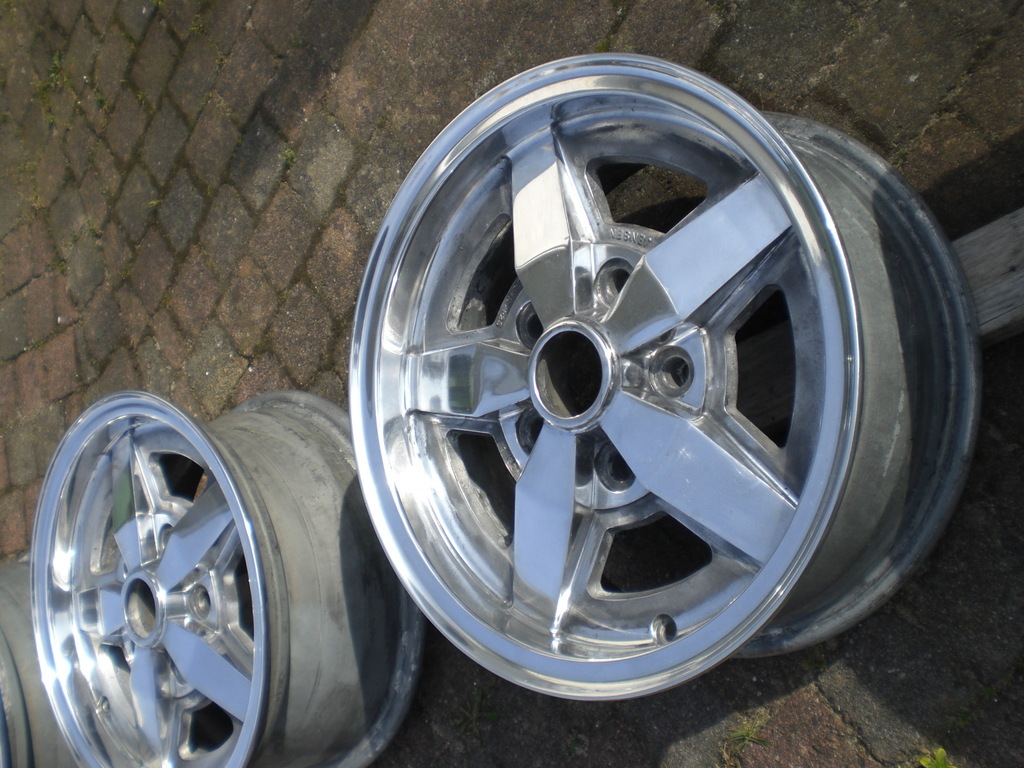 Wheel after removing the paint and polished the spokes and rim 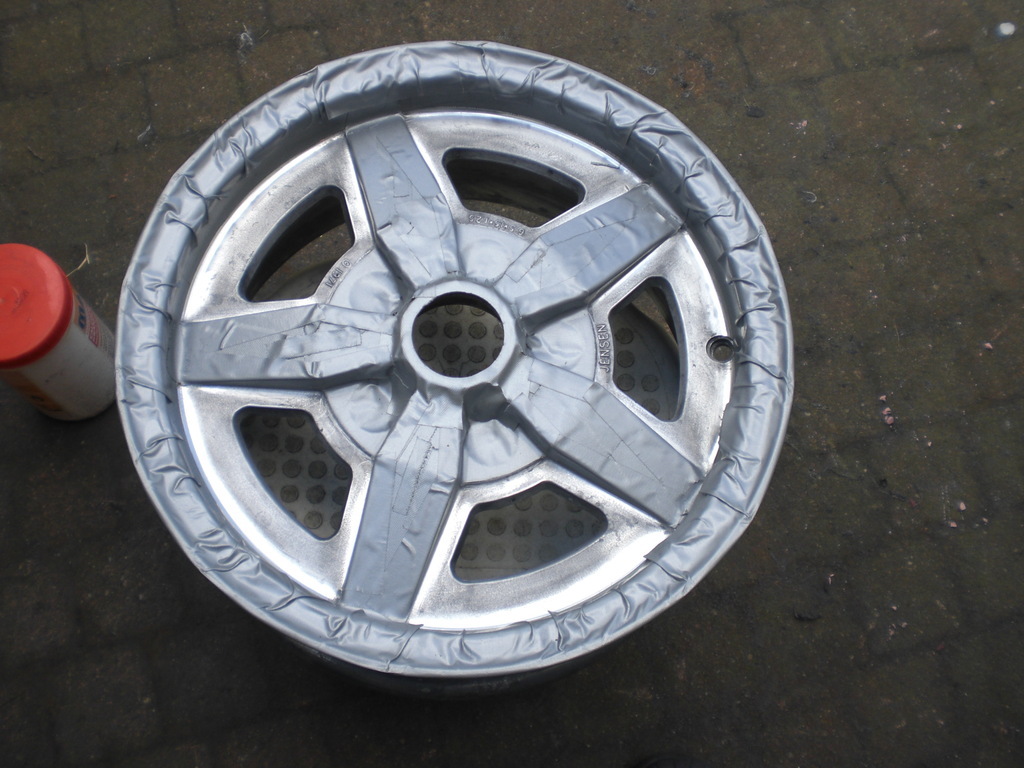 Polished area covered with Ducktape before shotblasting  Wheels after shotblasting and epoxy primer 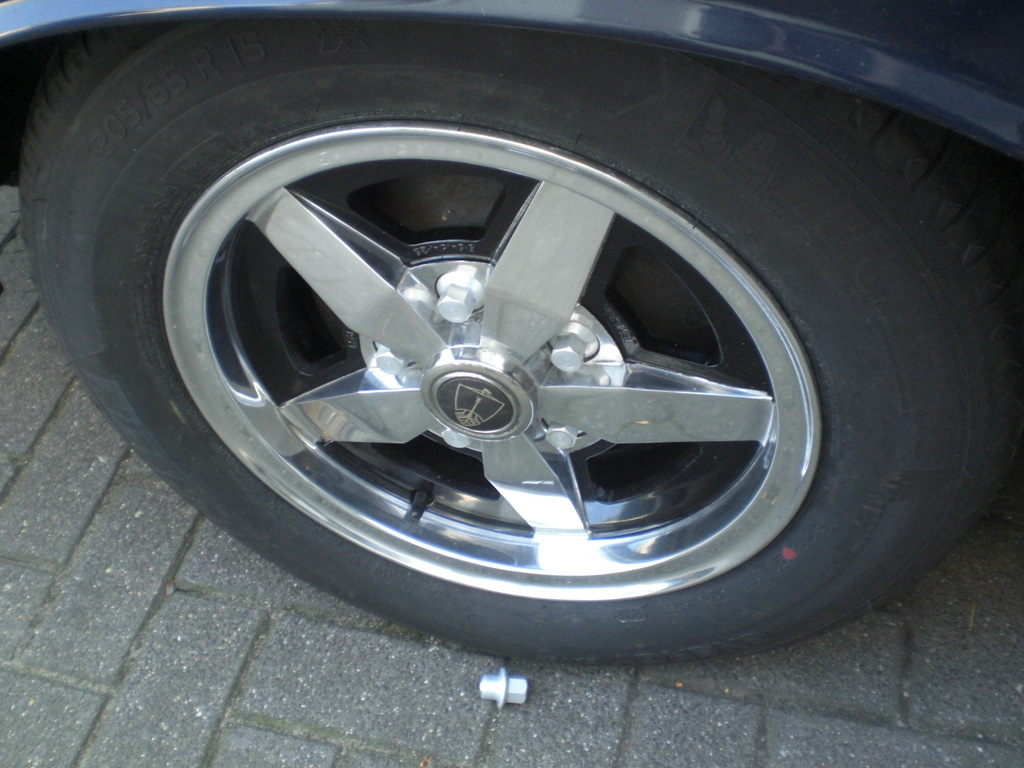 And partly painted black and fitted to the car. Polishing is a fair bit of work but doable Peter |
| |
|
|
|
|
|
Feb 11, 2021 18:40:45 GMT
|
|
Nice car and thorough work on the welding. I also seam welded most seams of my MGB before converting it to V8 to make the body more stiff.
I did not have the stress cracks. If you look at the theory, You should be carefull with welding stress cracks. Welding changes the material structure and it will be hardened and therefore less flexible and more prone to cracks. This is all theory. Things would improve if you could weld another plate in that area but doing this in the area as pictured is not easy. It may not be needed as the car might be pampered after the resto is done.
Keep up the good work as i like these cars and the work you are doing.
Peter
|
| |
|
|
|
|
|
Jan 31, 2021 11:19:31 GMT
|
|
Your paint job is a lot better then just functional. Your prep work is good so it will not rust again Just the surface is not 100%. You can achieve a lot with sanding and polishing but it takes a lot of time.
In the end it is a bit sad as your fabrication work is top notch and the prep work is also good so i am pretty sure you will redo it or polish it.
I also did some spray painting with low temperatures but never had good results either.
Keep up the good work. It will be fabolous car when finished
Peter
|
| |
|
|
|
|
|
Jan 30, 2021 21:32:39 GMT
|
|
Good progress. I am not a paint specialist but was told that temperature influences how the painted surface looks. I was told that preferabel it should be above 20 deg C but 15 was the lower limit
Keep up the good work!
Peter
|
| |
|
|
|
|
|
|
|
|
Be happy with the result. It looks pretty good. Not easy because of not having a spray boot, black is not an easy color and the low temps. Put enough layers on it so you can polish it. Lightly sanding it back and polish it does not take that much time you compare it with the time all the prep work takes.
You are almost there! Keep up the good work!
Peter
|
| |
|
|
|
|
|
|
|
|
looks good and well deserved after so much work done to a high standard!
|
| |
|
|
|
|
|
Dec 31, 2020 18:02:06 GMT
|
|
nice color indeed
|
| |
|
|
|
|
|
Dec 30, 2020 22:56:36 GMT
|
|
Good progress on the Maestro!
Its often difficult to trace where the leaks come from. I had some water in the boot of my Rover P5 for yearsa untill i recently discovered there was not enought arbomast used on the rear window seal quit far away.
If you apply some masking tape near the area where you apply the Arbomast, you just remove the masking tape and no cleaning needed. It takes a few runs to remove all the Arbmast from a painted area.
Keep up the good work!. It is enjoyabel to read
Peter
|
| |
|
|
|
|
|
Dec 28, 2020 22:33:24 GMT
|
|
It could be that there also is a starter motor relais fitted which powers the solenoid on the startermotor. It is a normal relais.
You could take a loose wire. Connect it on 1 side to the battery and on the other side to the connection on the solenoid. If nothing happens it is the starter being not oke. If the starter turns then there is a problem in the wiring, the ignition lock or the startermotor relais (if fitted)
Good luck
Peter
|
| |
|
|
|
|
|
Dec 28, 2020 22:13:21 GMT
|
|
I believe there are 2 ways of doing this. Either with 4 relais or with 4 diodes. Just wire the 4 lights with their individusl switches an then fit a wire from the everything in 1 go switch to the lights but add a diode to each wire. The other option is to use 4 relais.Just wire the 4 lights with their individual switches and add a feed wire to each relais and from the relais to the individusl lights and fit a wire from the everything in 1 go switch to each relais. You do not need a 5 pin relais for this. 4 pin relais (4 of them) will do fine
Peter
|
| |
|
|


 I have been in Tokyo a few times and their train system was quite impressive