vulgalour
Club Retro Rides Member
Posts: 7,088
Club RR Member Number: 146
|
|
Apr 16, 2024 15:36:04 GMT
|
Hoping for reasonable weather this weekend and enough energy to make use of it. Regular use of the Princess has helped me find the cause of a couple of oil leaks I want to resolve and the car generally has been so well behaved lately that I'm feeling a bit bad that I've not been able to give it more attention than I have. Was quite please that I managed to get a pic with some cherry blossom before the weather obliterated it. Matchy-matchy! 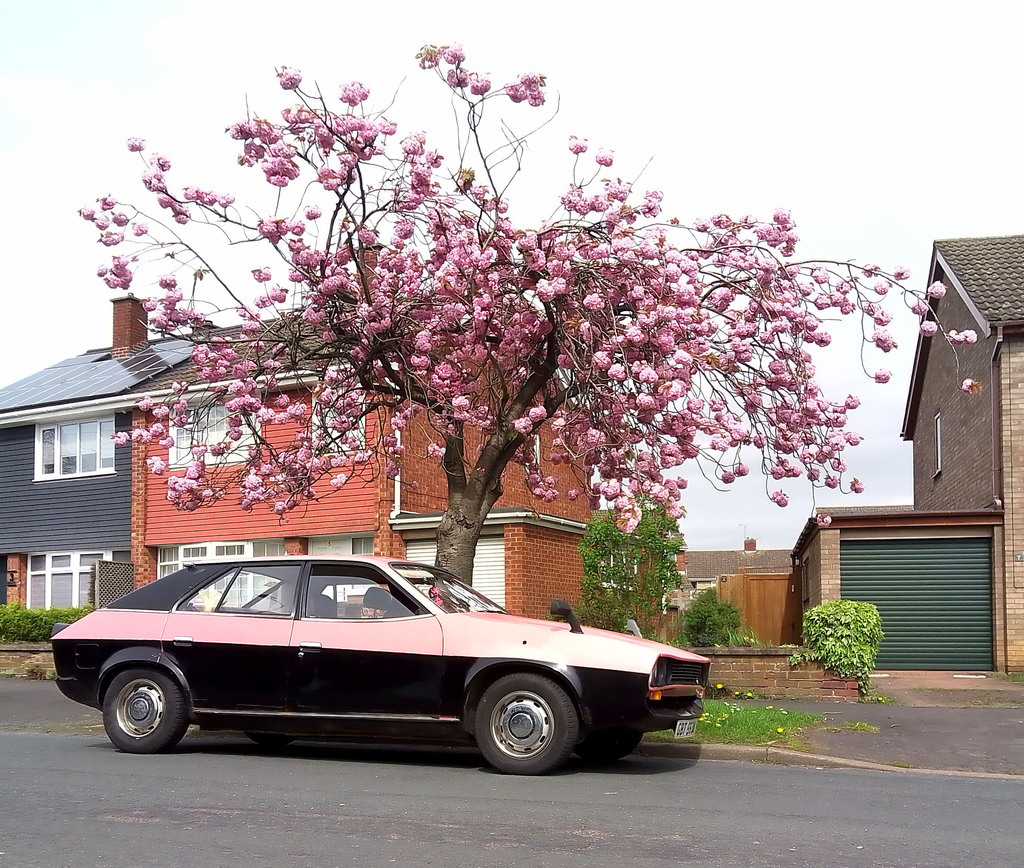 |
| |
|
|
|
|
vulgalour
Club Retro Rides Member
Posts: 7,088
Club RR Member Number: 146
|
|
Apr 15, 2024 14:17:07 GMT
|
|
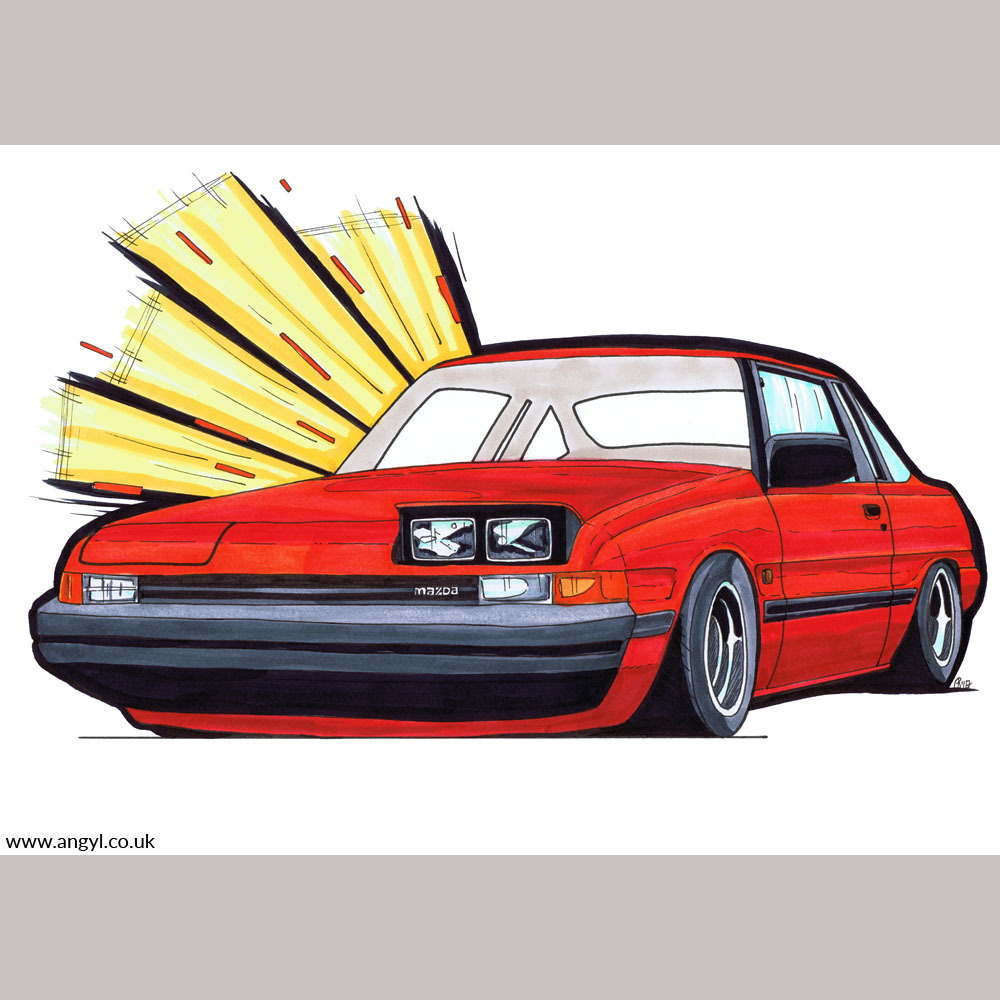
I want to keep it proper twins rather than singles and spots. I also want to move the indicators and sidelights up into the headlights so two pairs of those above would answer all those challenges.
|
| |
|
|
vulgalour
Club Retro Rides Member
Posts: 7,088
Club RR Member Number: 146
|
|
Apr 15, 2024 13:11:07 GMT
|
|
|
| |
|
|
vulgalour
Club Retro Rides Member
Posts: 7,088
Club RR Member Number: 146
|
|
Apr 14, 2024 21:21:29 GMT
|
Hylomar with the gasket- not instead of. I've tried sealing that pump with just a paper gasket, just Hylomar, and paper gasket and Hylomar together. The latter is the most effective but it always starts leaking again eventually. I can stop it for, at best, six months before needing to redo it. There's something about the design of the area that's causing the leak, probably to do with imperfect mating surfaces, heat cycles, and vibration. Funnily enough, when it's just the original rubberised metal blanking plate that's fitted it doesn't leak at all but since I've not yet had a reliable electric pump on this car, that's not an option either. Cork gaskets have worked well for me before with stubborn leaks like this so I'm hoping it'll work on this one too.
I could really do with a weekend where I've the time and energy to get on with sorting this out, since the house move I just seem to be busy and/or wiped out every weekend and it's pretty tiresome. Thank goodness I've only got one car to look after!
|
| |
|
|
vulgalour
Club Retro Rides Member
Posts: 7,088
Club RR Member Number: 146
|
|
Apr 14, 2024 19:02:38 GMT
|
Bit late on the old reply here, missed the above.
I found this set which is pretty close to what I had in mind. A chrome bowl like the ones you link with the indicator function would have been perfect but I don't mind the styling enough that I think they'd work on the front of the Princess thanks to the black plastic section. £260 is still a lot to spend but that's balanced out by the fact they solve a couple of things in addition to the lighting upgrade so they're bookmarked for when I can afford them. |
| |
|
|
vulgalour
Club Retro Rides Member
Posts: 7,088
Club RR Member Number: 146
|
Bilbo's mk1 Cavaliervulgalour
@vulgalour
Club Retro Rides Member 146
|
Apr 14, 2024 15:28:22 GMT
|
Straight over black on the vinyl, no bleaching or whatever required. Didn't really take any more coats than going over the brown either. Here's one of the front seats with the first coat of red going on. Plenty of light coats prevent a sticky finish, you just have to be patient building them up and all at once you have decent coverage as you do it. 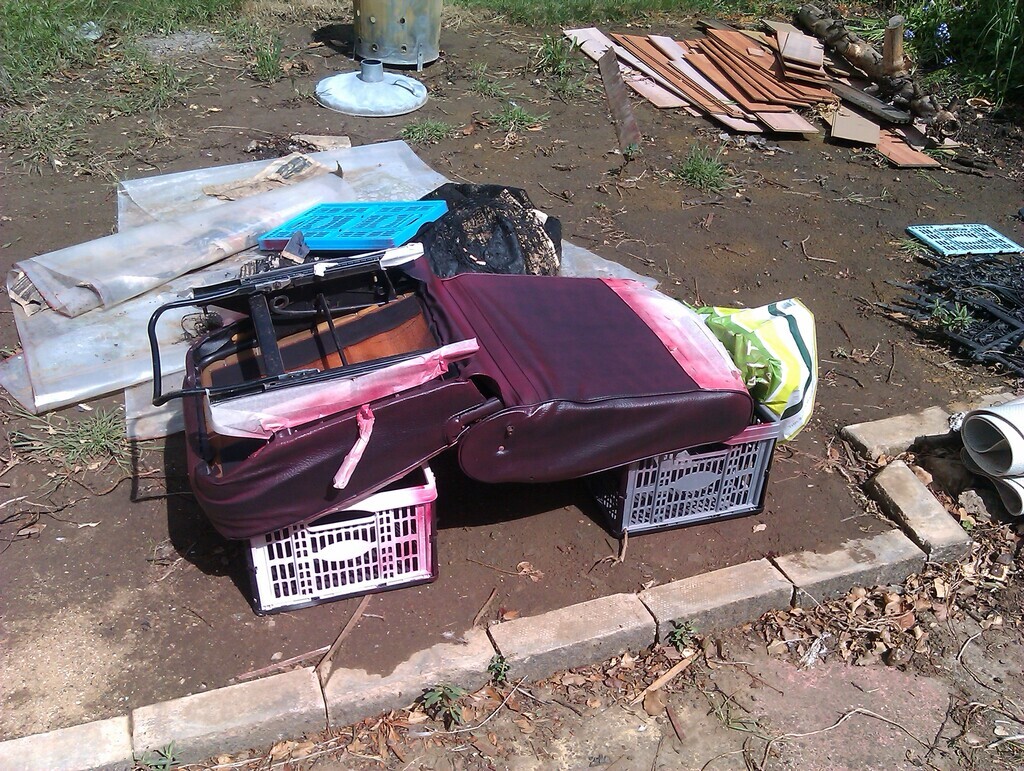 Door cards were a pale brown, coverage was a bit quicker there. 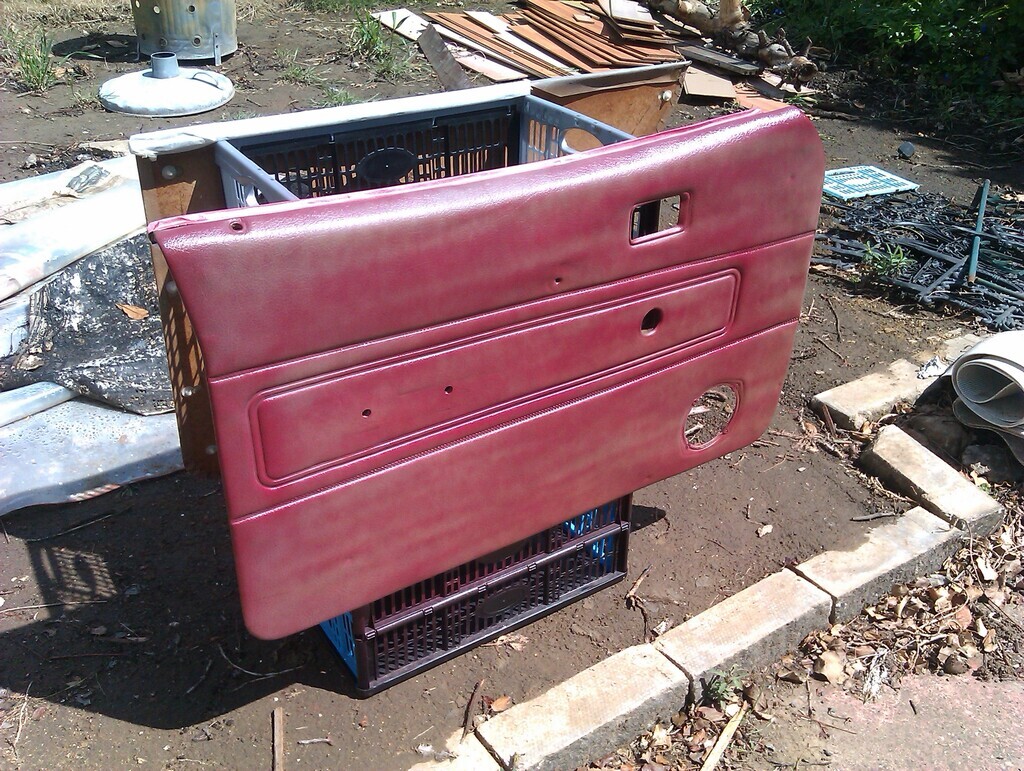
I didn't try it on the velour, I masked that off since I wanted to keep it black. I see no reason why it wouldn't take, the dye chemically bonds to the vinyl which like the velour is a form of plastic. What might happen is the dye might rub off on the higher wear areas of the seat facings, that was another reason I chose not to dye those bits and left them black, the other reason was purely aesthetic.
|
| |
|
|
vulgalour
Club Retro Rides Member
Posts: 7,088
Club RR Member Number: 146
|
Bilbo's mk1 Cavaliervulgalour
@vulgalour
Club Retro Rides Member 146
|
Apr 14, 2024 13:20:50 GMT
|
Other option for the red interior is to dye it. My interior was originally black and brown vinyl, it's now red (the black you see in here is the original fabric). Got the dye from www.vinyldye.co.uk/TRG-Vinyl-Dye-Spray-Paint and it does the job pretty well. 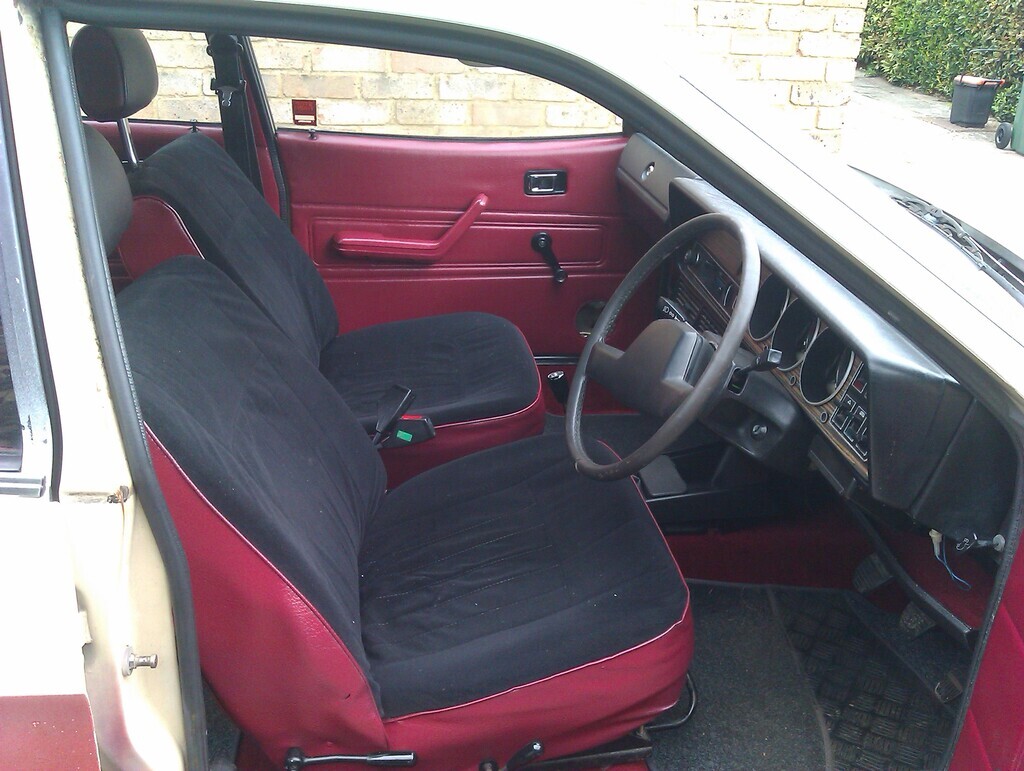 I did that almost four years ago now and it still looks the same with the exception that the gloss has settled to a more OEM satin look which is what I wanted anyway. I didn't use a top coat but it would probably be a good idea if you want the extra protection on the colour. I think I used 6-8 150ml cans for four door cards, two kick panels, two B pillar trims, four grab handles, and the vinyl portion on all the seats to give you some idea of quantity needed, the Cavalier is going to be pretty similar proportions to the Princess I expect on the interior. |
| |
Last Edit: Apr 14, 2024 13:22:18 GMT by vulgalour
|
|
vulgalour
Club Retro Rides Member
Posts: 7,088
Club RR Member Number: 146
|
|
Apr 14, 2024 13:10:38 GMT
|
blackpopracing: I've used Hylomar and found it 90% effective. It couldn't seal up that phenolic spacer for much longer than a regular gasket. It will do a good job on the oil filler tube though, ideal for that sort of thing. spacekadett: That's exactly where it's "leaking" but I'm pretty sure it's not actually leaking there. If I clean it off the oil doesn't reappear at the seam first, it starts appearing nearby, I just haven't pinned down exactly what is putting the oil out in the area yet. Of course, it could be leaking from there, wicking back with capillary action to another area, and confusing the source because you know, that's how these things go. I'll keep an eye on it for now. On the plus side, oil usage (whether through leaks or consumption, maybe both) does seem to be reduced since I've been using the car more often.
|
| |
|
|
vulgalour
Club Retro Rides Member
Posts: 7,088
Club RR Member Number: 146
|
|
Apr 13, 2024 17:08:51 GMT
|
|
Today friend visited so we could finish the work on other friend's white Rover. All done and dusted, time for it to head out and possibly be replaced with another car, we shall see. Visiting friend did mention the little oil spots all over the drive where the Princess parked and had a giggle about it so we had a look to see just what we think is leaking.
Number one culprit is the phenolic spacer on the mechanical fuel pump. These was an issue when the O Series was a new thing, many a Marina has been plagued by it. I need to pull off the pump (just two bolts, no hardship) and fit some new gaskets, going to try cork instead of paper this time to hopefully cure it. Just tightening the bolts doesn't actually cure the leak, instead it can make it worse if you overtighten especially if you managed to crack the spacer. It's not a huge leak, just one that collects in the casting beneath the pump and then leads to a hot oil smell.
Number two culprit is the gasket at the bottom of the filler neck tube. Since I have the later iteration of the O series in FWD application, I have a filler neck tube that puts the oil in at the bottom of the block instead of the filler neck built into the cambox cover. I've had to wait for enough oil to accumulate on the front of the block to highlight this one after cleaning everything down to be sure, but now I can see it's the highest point of the oil leak in that area I know what to fix. Another fresh cork gasket here should solve things for a few months to a year before needing to be replaced.
Number three culprit is less clear. Some of the waterpump bolts are a bit oily, not all, and it's not very clear where the oil is actually coming from. It's not the speedo cable or the oil filter this time, so those leaks appear to be cured. It could be coming from further up, perhaps the camshaft, I'm not sure. It also has a bit of oil collecting at the front corner of the head-to-block gasket seam but since I've still got good compression across the board and no mixing of oil and water I think this is actually leaking from somewhere else and finding the path of least resistance rather than OMGHGF.
Number four is suspected to be the sump gasket itself. However, this could also be any of the above leaks finding their way to the lowest point of the engine and making it look like the sump gasket is leaking. Or it could be both.
We also chatted about materials cost and did some rough planning for getting the paintwork done. It seems the most sensible thing is to start with the roof and satin black sections first since they can be fully separated from the rest of the bodywork with no need for blending. This also means I can break the cost down a bit, I need a new windscreen so it would be good to get the roof painted with that removed, may also remove the rear screen if we feel we can risk the rear screen seal which is fully unobtanium.
I'll also tackle all of the door shuts and probably the engine bay with good quality rattle cans because there's not a lot of surface area and again, colour matching and blending isn't vital because of the nature of the areas, most of it needs to be plain black with the exception of the engine bay which I want to be pink.
After that we can do the rest of the bodywork. Friend is keen to see it done mostly because he's a good egg who knows how much the car means to me and how hamstrung I've been to get it sorted. £500 should be enough to get all the materials and then it's down to us to do a metric poopload of prep and welding and sanding and sanding and sanding and sanding and a little bit more sanding with some extra sanding just for fun before we do the sanding.
|
| |
Last Edit: Apr 13, 2024 17:13:45 GMT by vulgalour
|
|
vulgalour
Club Retro Rides Member
Posts: 7,088
Club RR Member Number: 146
|
|
Apr 12, 2024 12:55:49 GMT
|
|
|
| |
|
|
vulgalour
Club Retro Rides Member
Posts: 7,088
Club RR Member Number: 146
|
Bilbo's mk1 Cavaliervulgalour
@vulgalour
Club Retro Rides Member 146
|
Apr 12, 2024 12:54:01 GMT
|
|
That's a nice option, proportions look pretty good in the car, and the colour is spot on. A standard red Vauxhall interior would probably match them really nicely.
|
| |
|
|
vulgalour
Club Retro Rides Member
Posts: 7,088
Club RR Member Number: 146
|
|
Apr 11, 2024 16:06:23 GMT
|
Latest piece is underway. If you sign up to the Patreon you'll see what it actually is and get early access to buy the original before I release it to the shop. 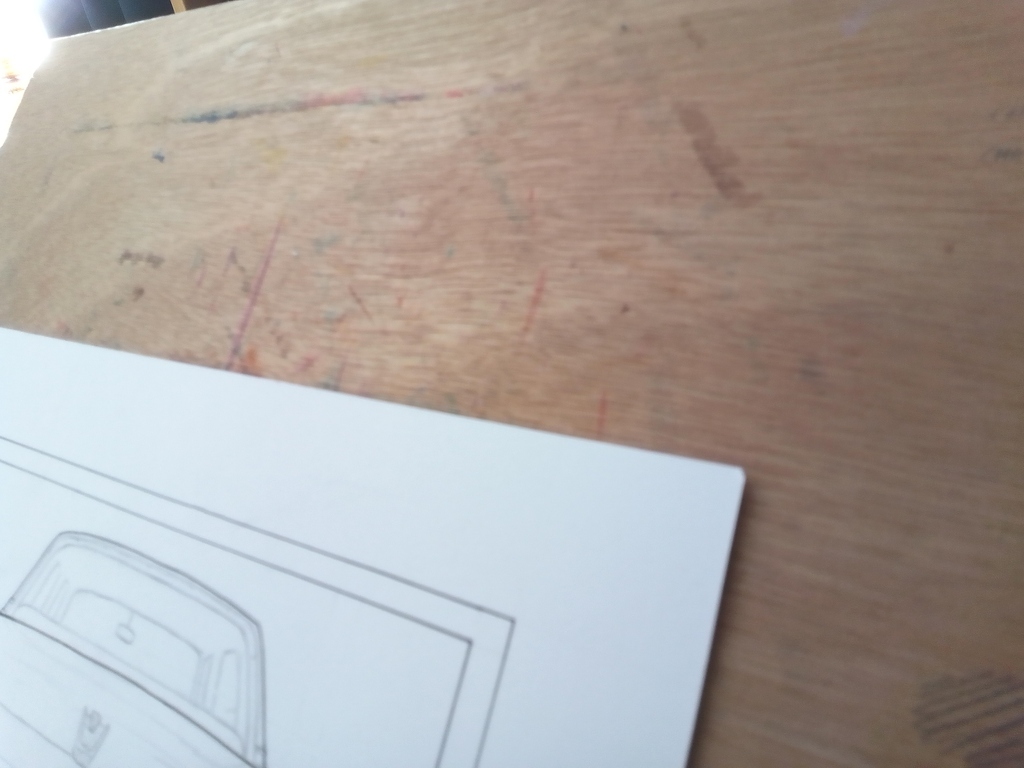 Bonus points if you can even figure out what it is I'm working on from the above shot. |
| |
|
|
vulgalour
Club Retro Rides Member
Posts: 7,088
Club RR Member Number: 146
|
MPC 1980 Chevrolet Monte Carlovulgalour
@vulgalour
Club Retro Rides Member 146
|
|
|
Time to start a new kit. This time it's a collaboration with a friend in the States who sent me this one. He's building the same kit, he'll put a lot more effort into the engine than I'm likely too. It'll be fun finding out how our kits turn out because our approaches are usually very different.
Like usual, this will be a short multi-part series of videos as I fumble my way through the build. I'm only 80% certain of the direction I'm even going so far, I like to see how things will evolve.
If you want to see what my friend is getting up to with his kits and the racing he does (Corvette, stripey, much zoom) then you should go here: www.youtube.com/@tiptoetherat |
| |
|
|
vulgalour
Club Retro Rides Member
Posts: 7,088
Club RR Member Number: 146
|
|
|
|
There's some more original pieces available in the shop, skip on over to www.angyl.co.uk to see what's up at the moment. If you've seen something I've done in the past that you'd like to buy, just drop me a line. If it's still in stock it's likely available, even if it isn't posted in the shop yet. I do commissions too if there's something particular you're after. www.angyl.co.uk/shop |
| |
|
|
vulgalour
Club Retro Rides Member
Posts: 7,088
Club RR Member Number: 146
|
|
|
|
|
I do that. It doesn't help enough. It stops me being totally blind but I'm pretty sure every time some ultrabrights head towards me I'm slowing down because I lose all my reference points pretty quickly.
|
| |
|
|
vulgalour
Club Retro Rides Member
Posts: 7,088
Club RR Member Number: 146
|
The RR Spotted Threadvulgalour
@vulgalour
Club Retro Rides Member 146
|
|
|
|
The Princess is still as big as you remember it. Everything else just got bigger around it.
|
| |
|
|
vulgalour
Club Retro Rides Member
Posts: 7,088
Club RR Member Number: 146
|
Your Retro at the Pumpsvulgalour
@vulgalour
Club Retro Rides Member 146
|
|
|
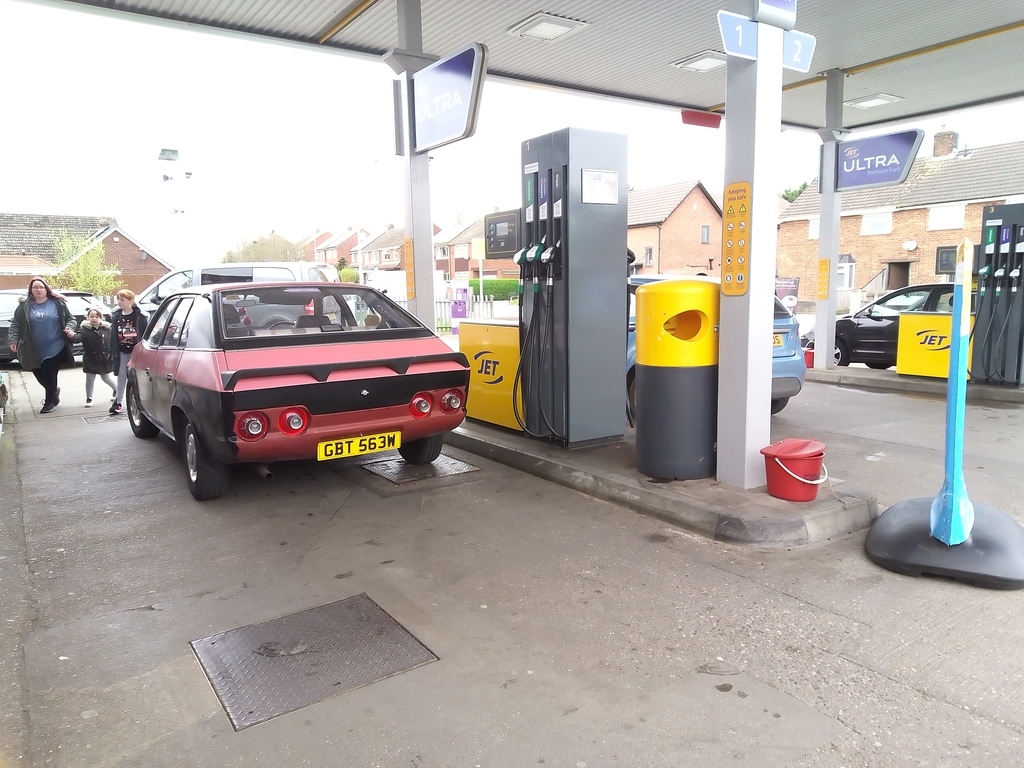 Until I moved to Scunny I didn't even know Jet stations were still a thing. |
| |
|
|
vulgalour
Club Retro Rides Member
Posts: 7,088
Club RR Member Number: 146
|
|
|
|
Met the owner of the Beetle today, entirely by chance. She had her grandaughter in tow and said my car was good because it was in the best colour, and I'm not going to argue with that, she clearly knows her stuff.   It's actually been a hectic but lovely day today, several compliments on the car from strangers, and even on my outfit. That, combined with getting back to the gym for the first time in a couple of months has put me in a particularly good mood today. |
| |
|
|
|
|
vulgalour
Club Retro Rides Member
Posts: 7,088
Club RR Member Number: 146
|
|
|
|
Been on loads but never driven one (yet) , semi auto gearbox would totally confuse me and the how quick can you corner in one I wonder. And it won't go into the garage.  They're not as difficult as you might imagine. When you're thinking about changing gear, you just select which one you want to suit slowing down or speeding up and when you need it you press the engagement pedal and it does it for you. Makes for a very smooth change and is well suited to slower vehicles. Used the one in my Lanchester briefly which uses column change to select the gear, and a foot pedal to engage it. Very nice system, especially in an era when most gearboxes were frankly still a bit dreadful. |
| |
|
|
|
|